Community Brag Posts

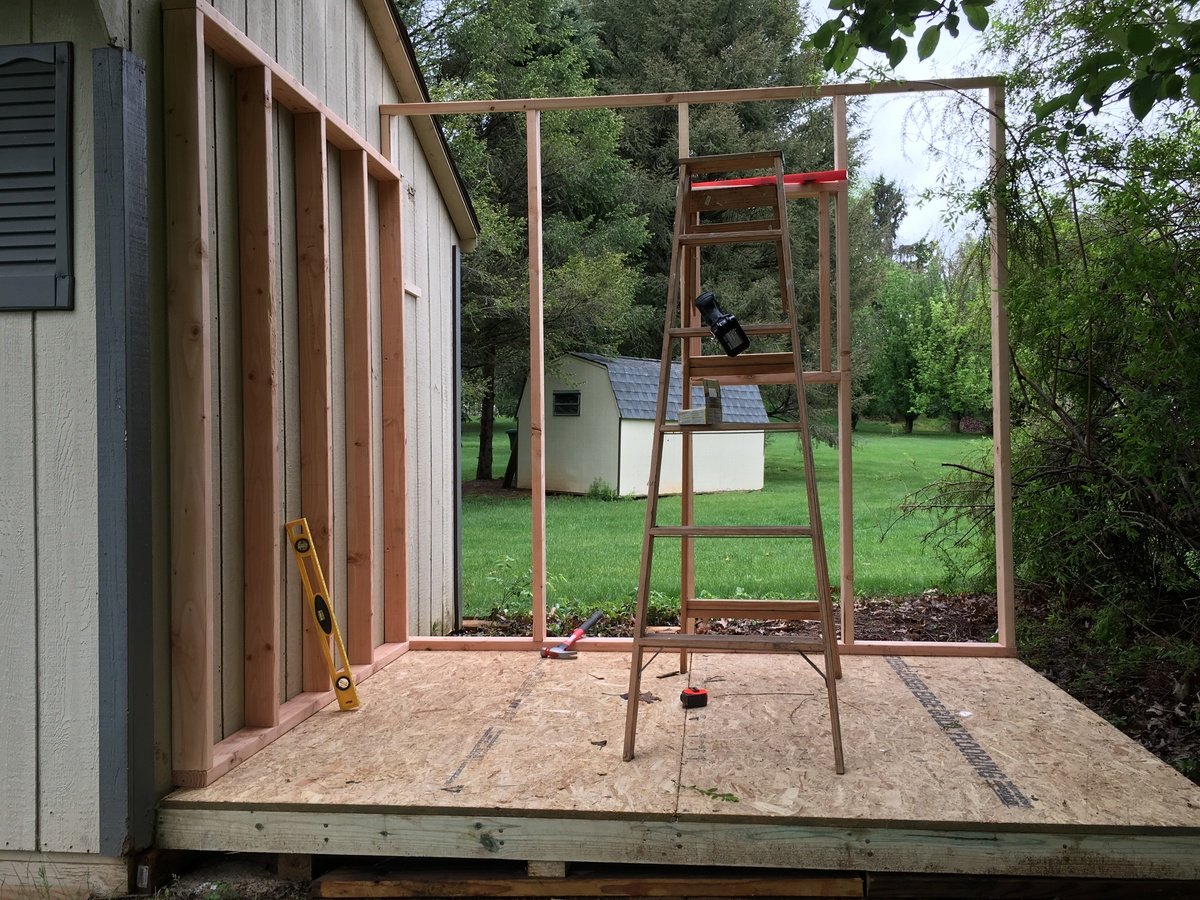
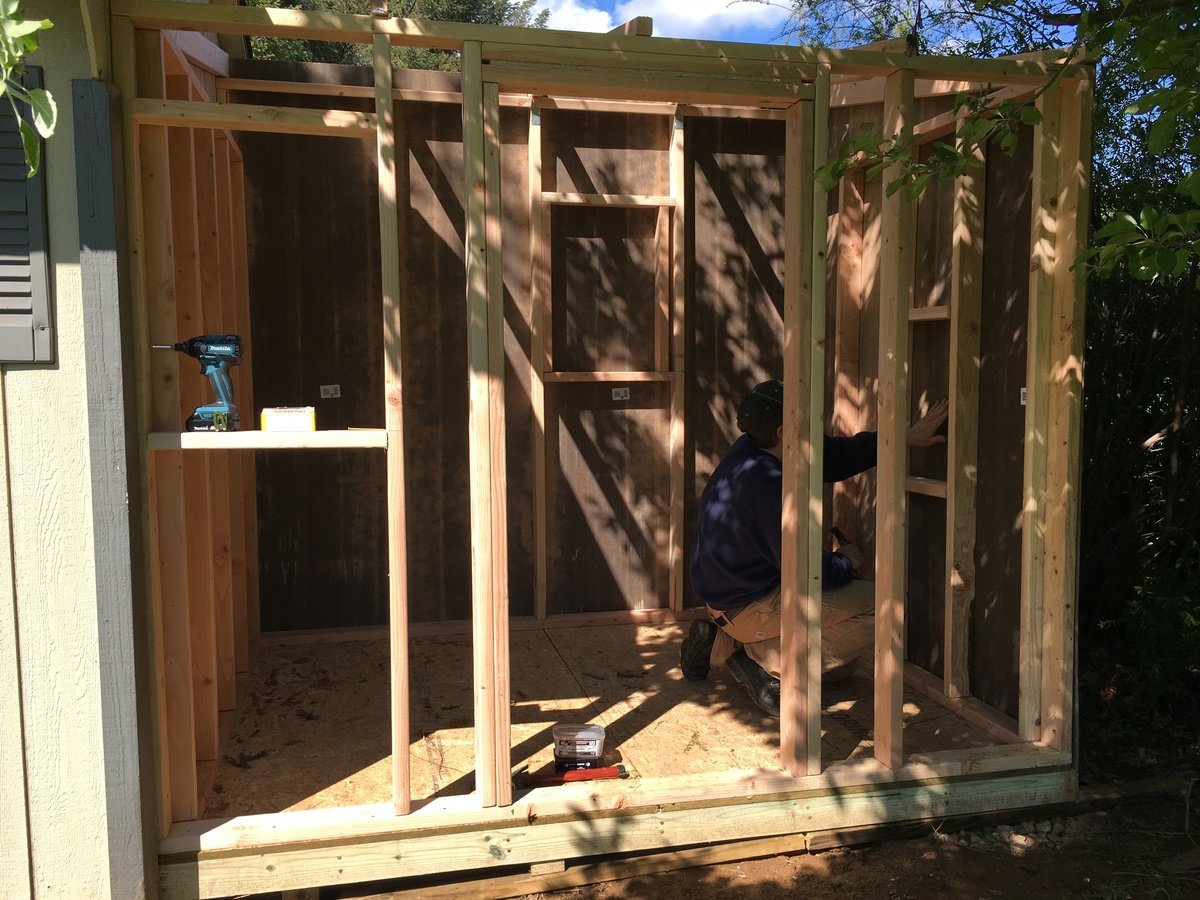
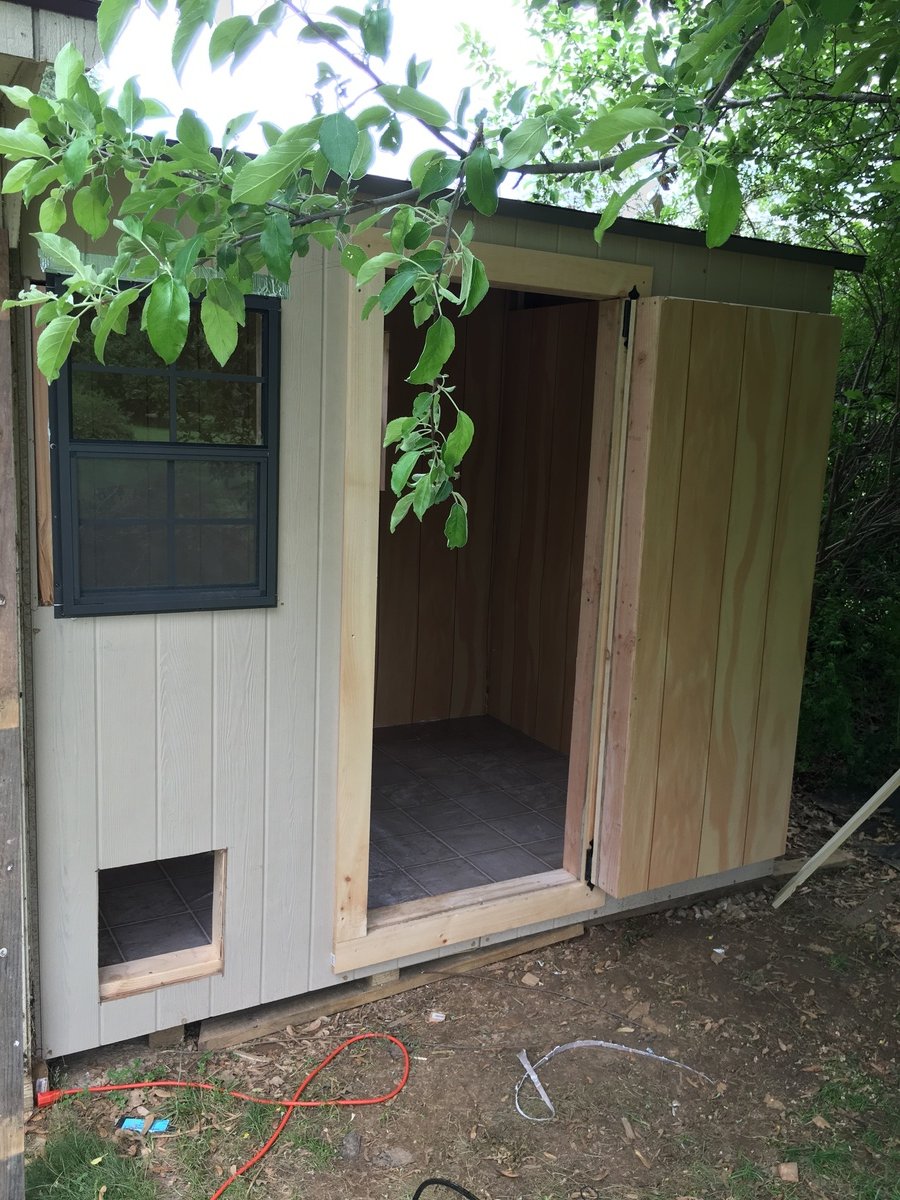
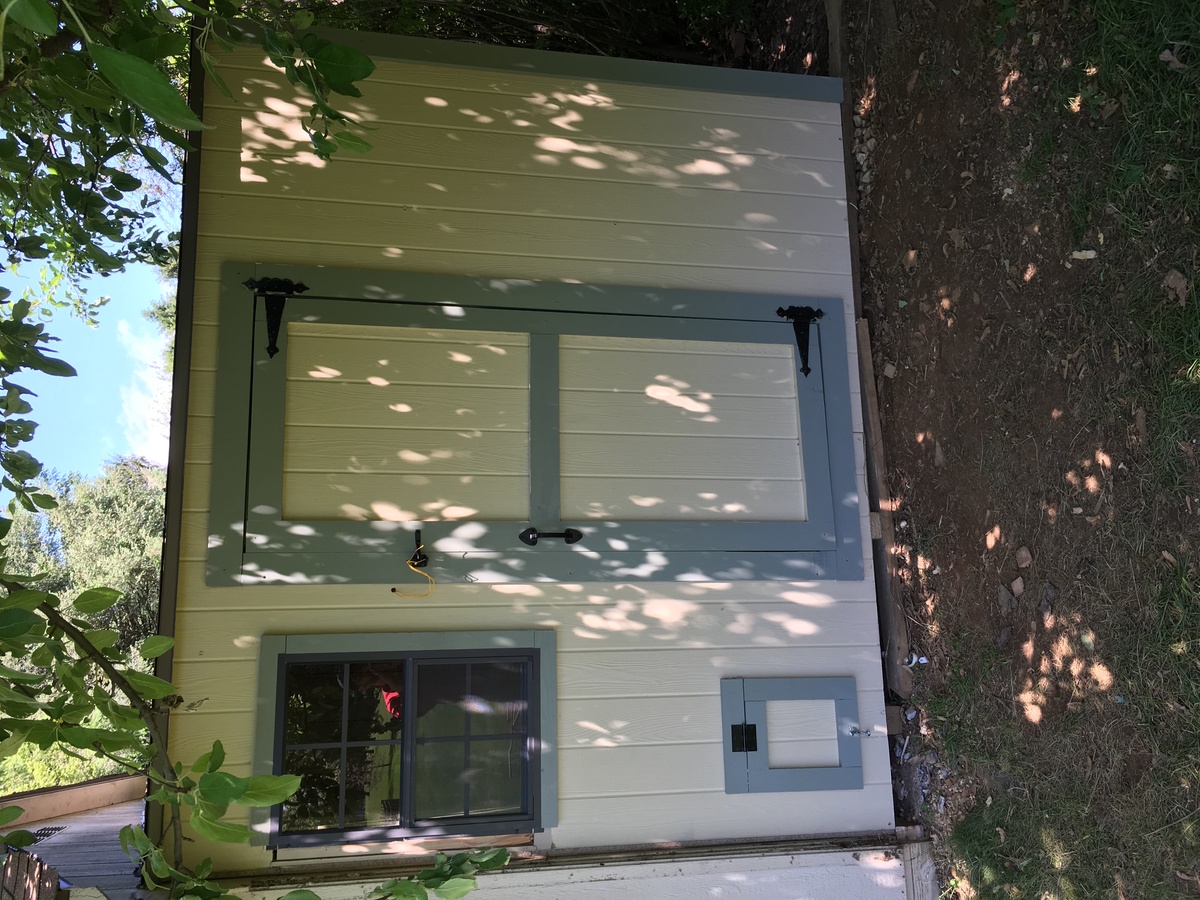
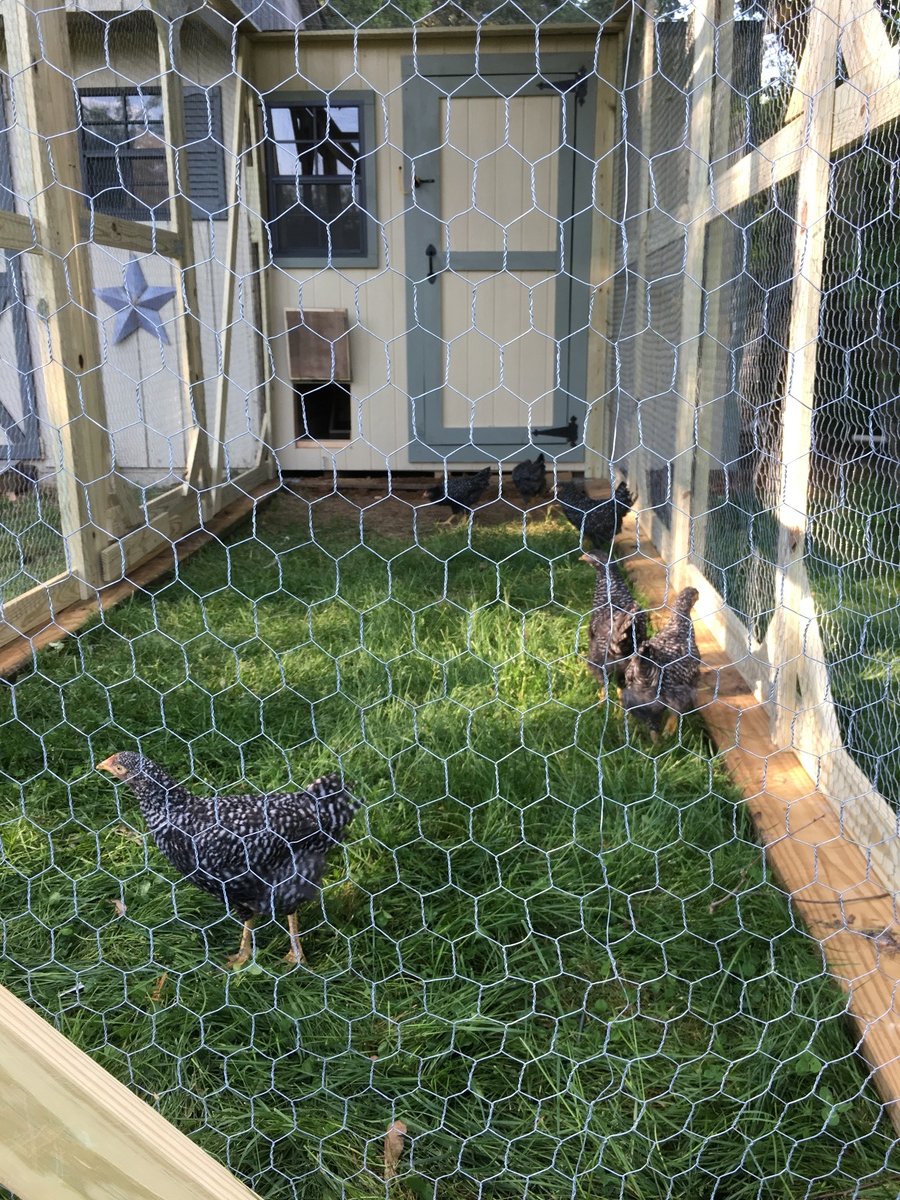
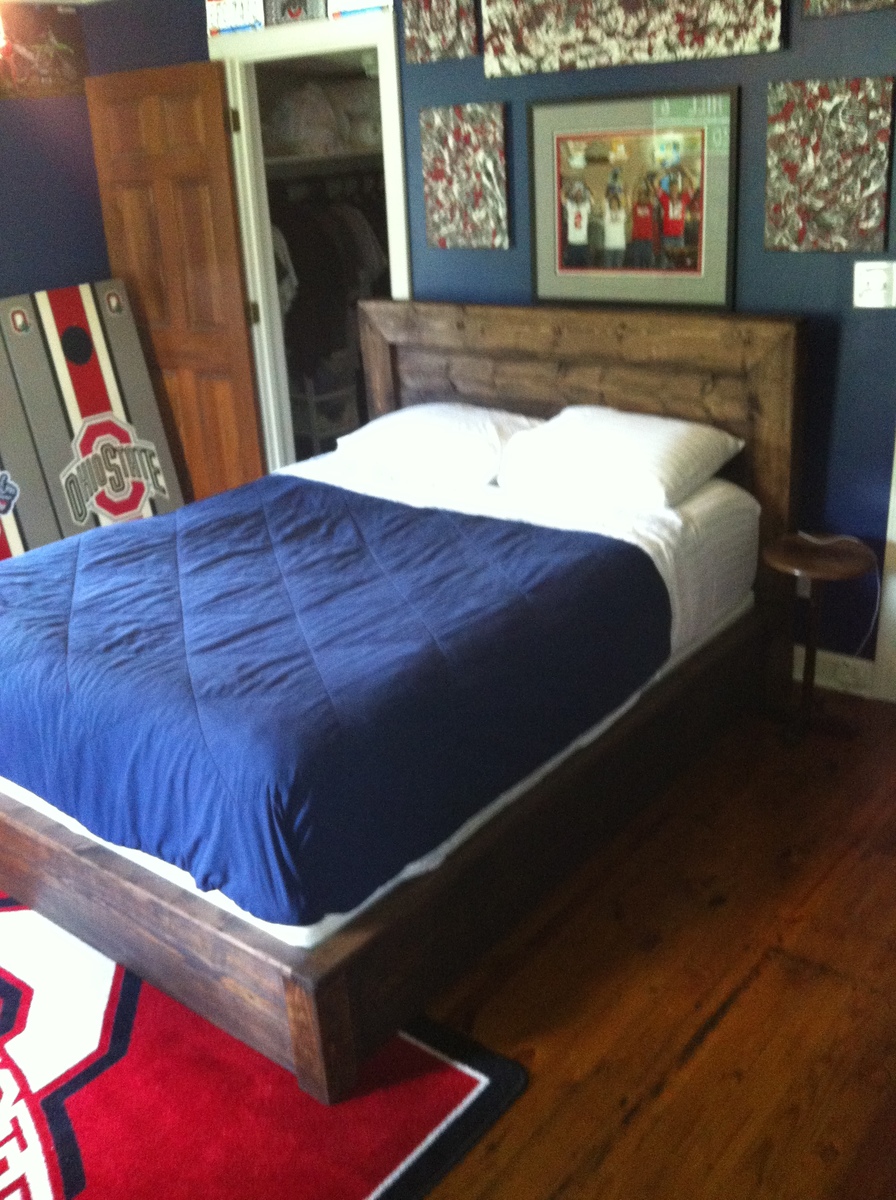
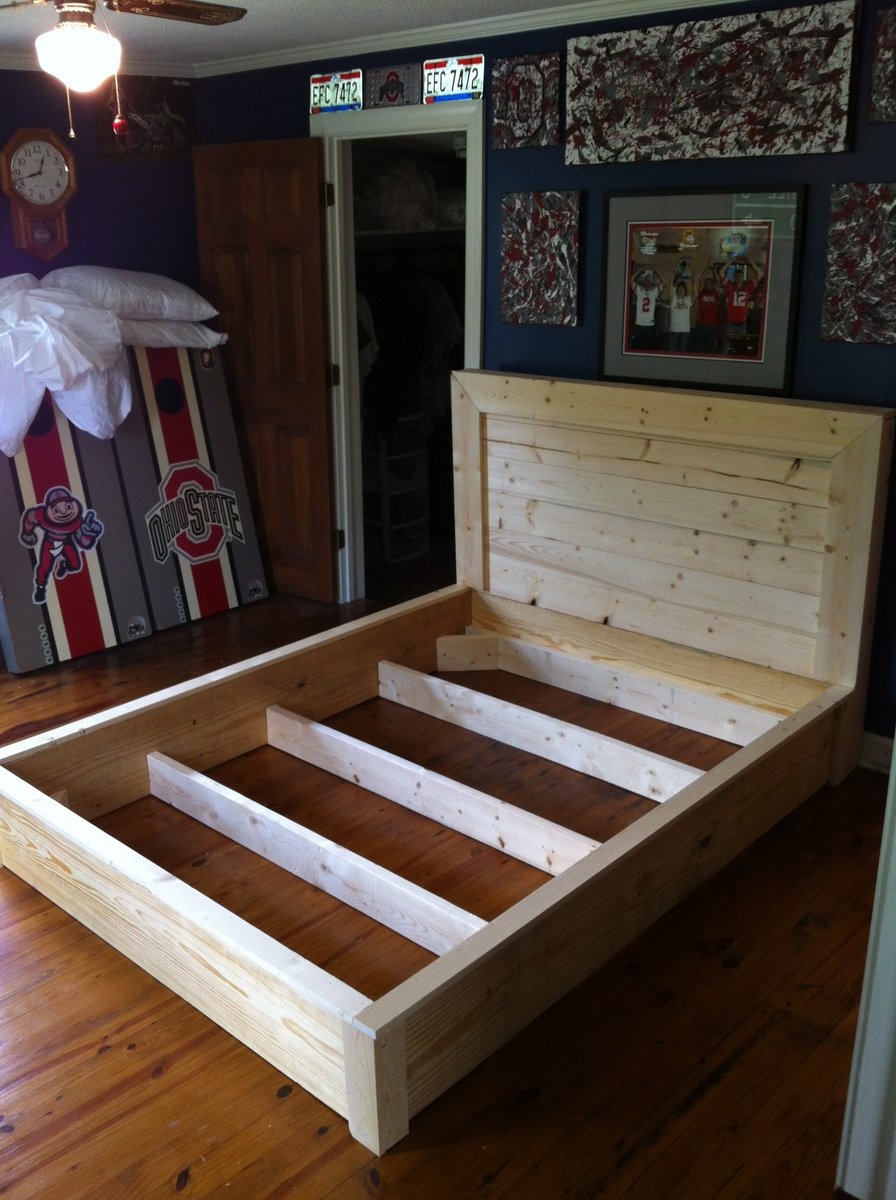
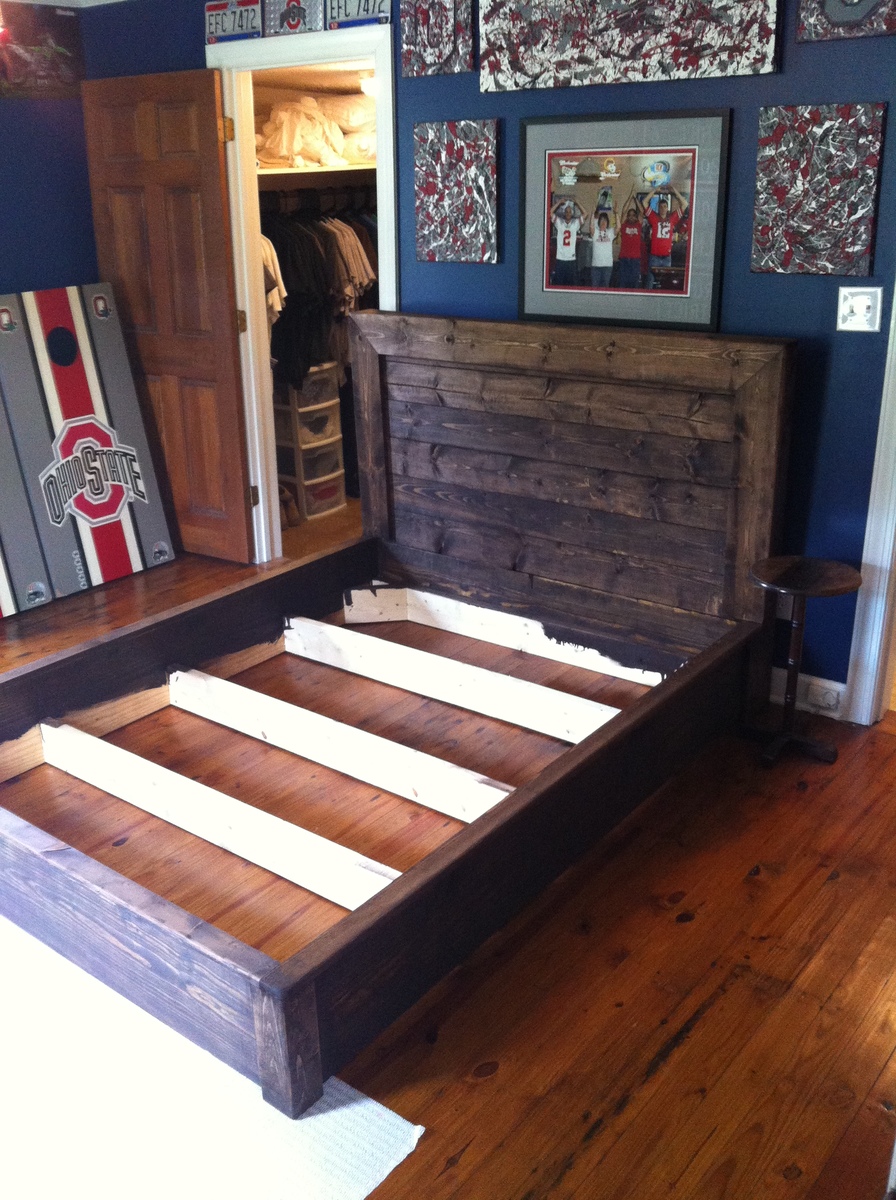
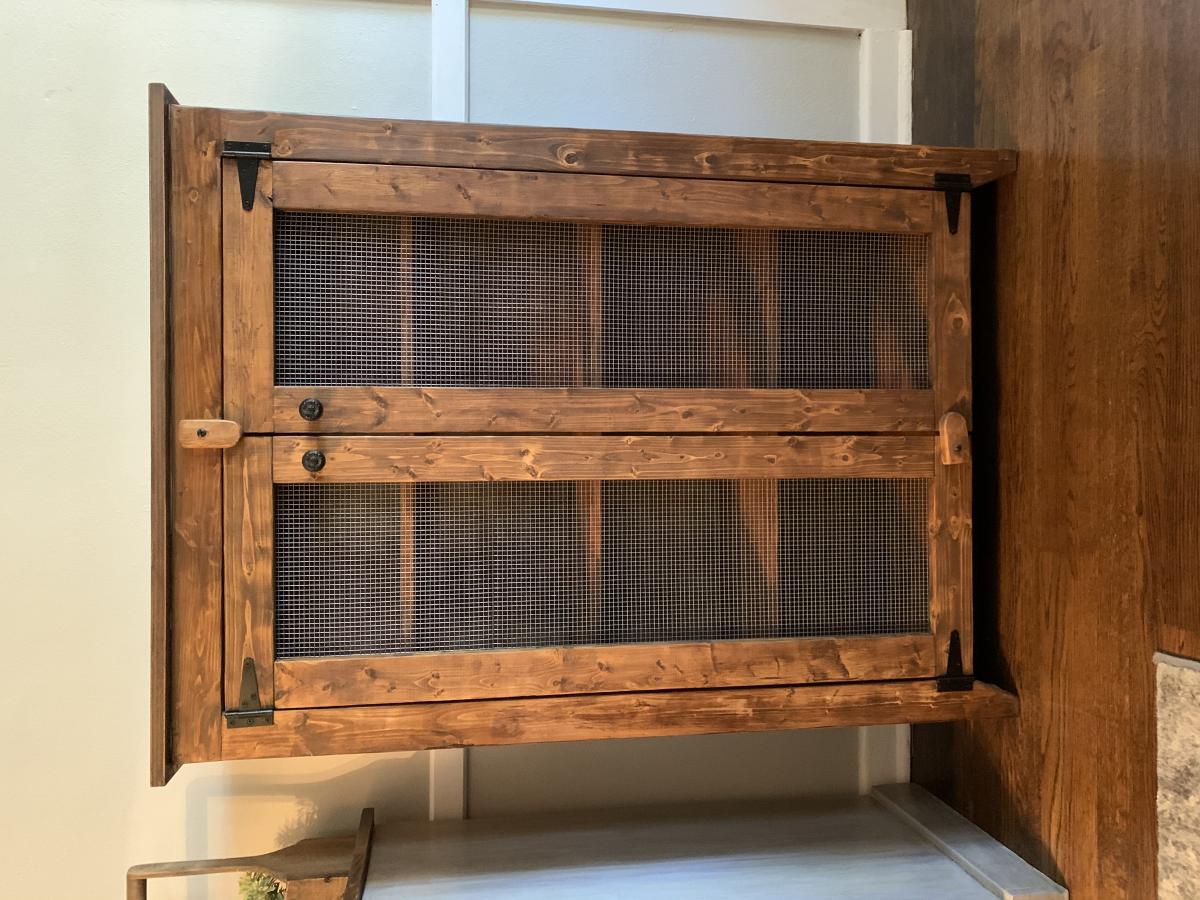
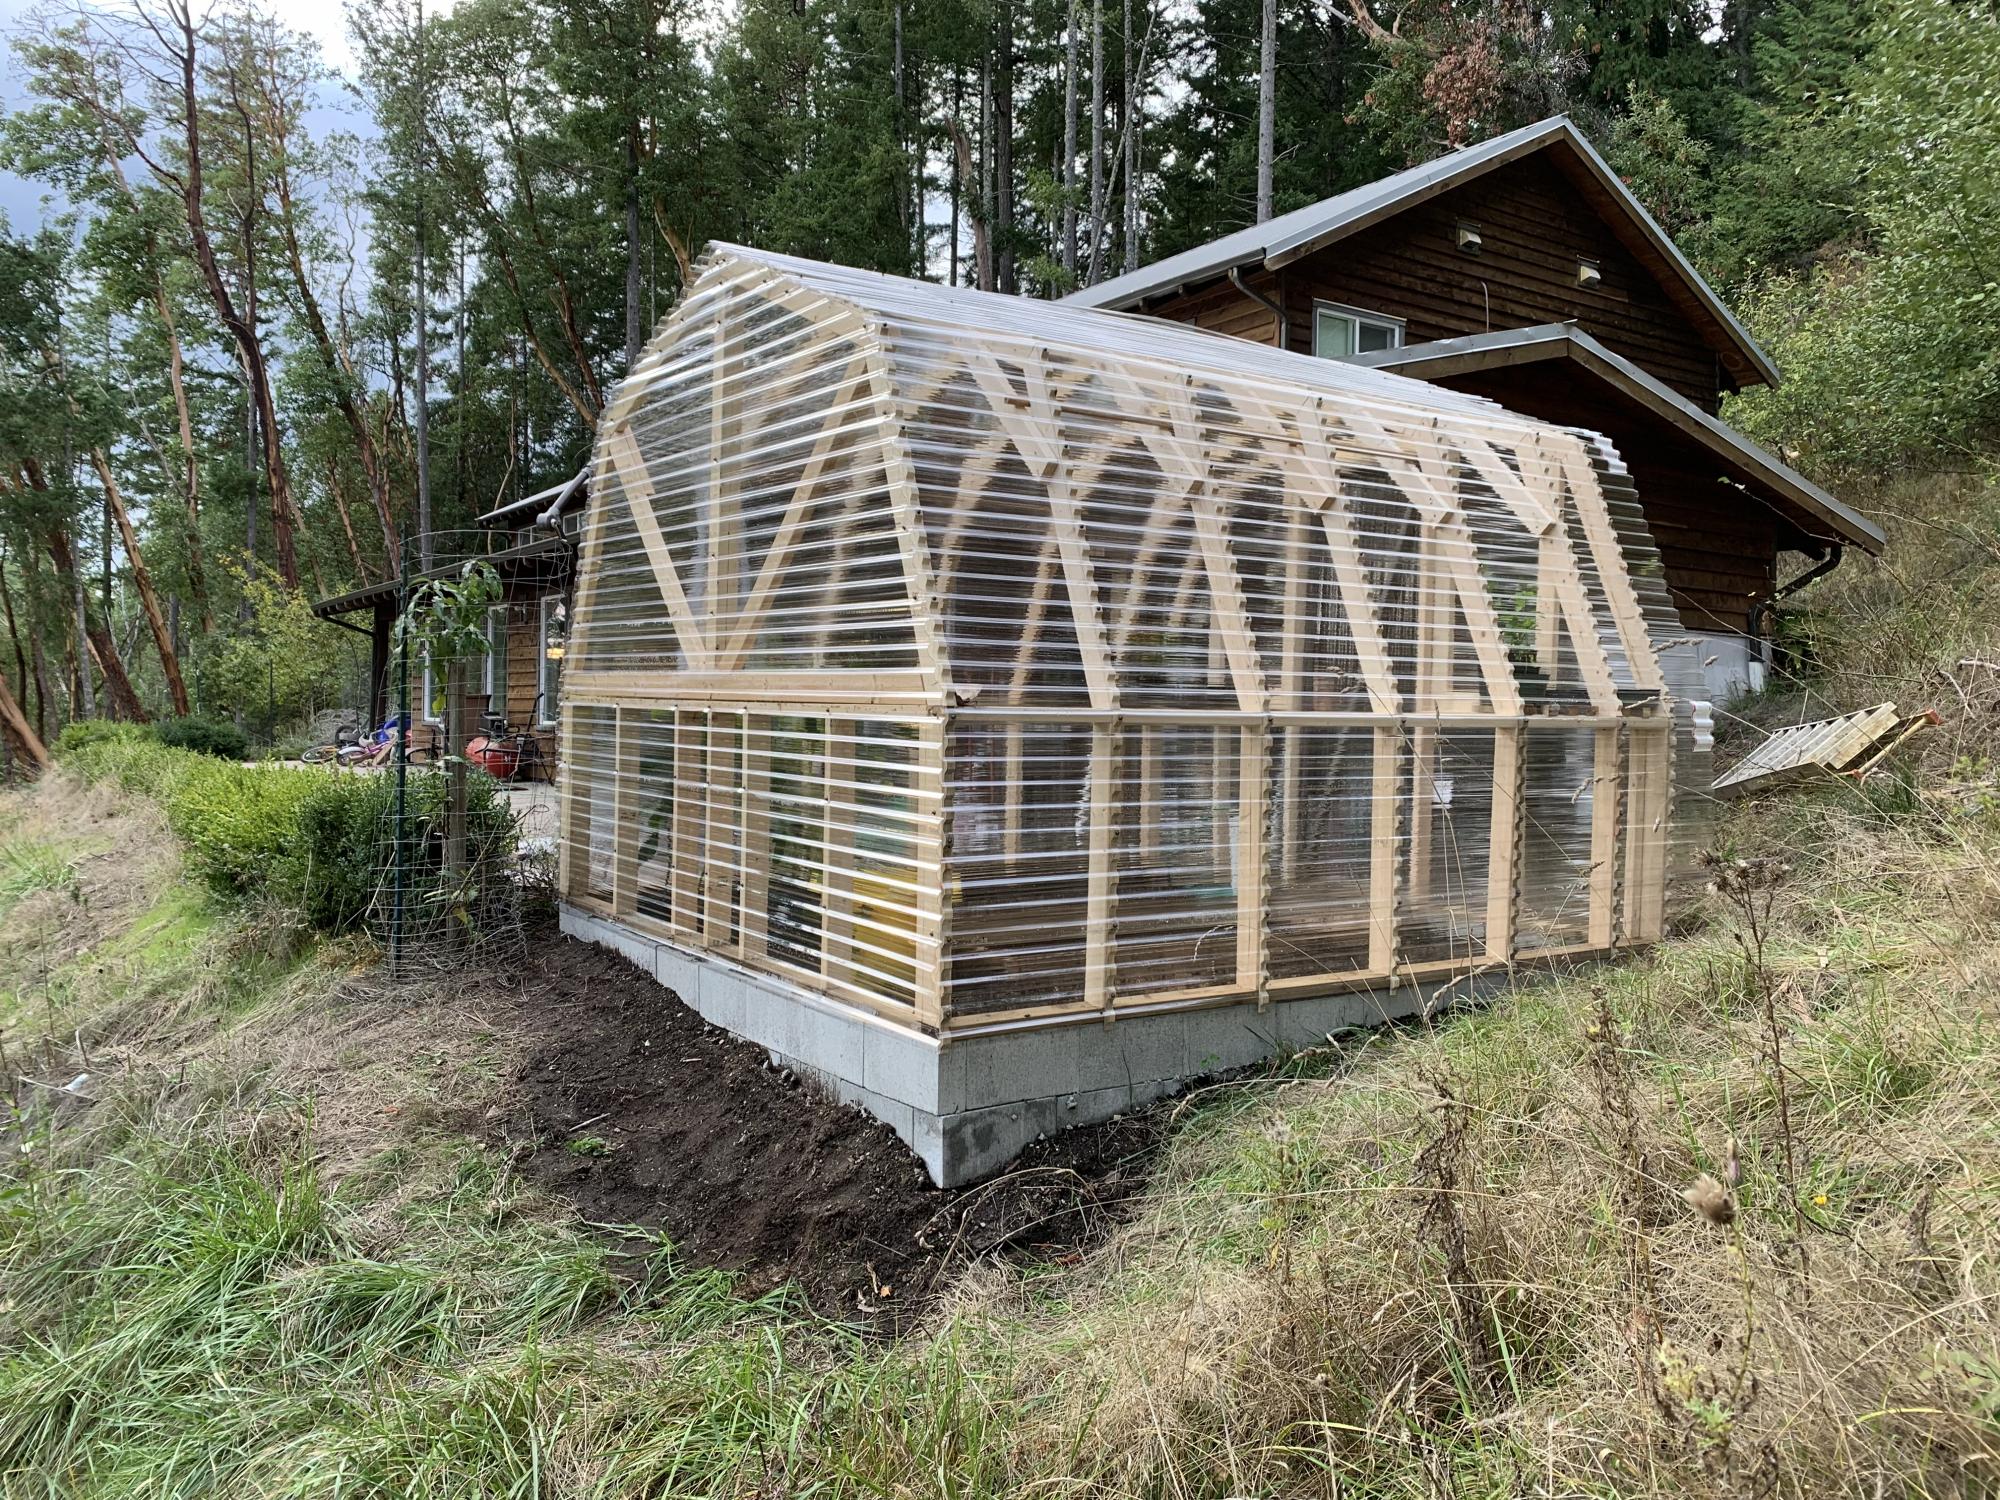
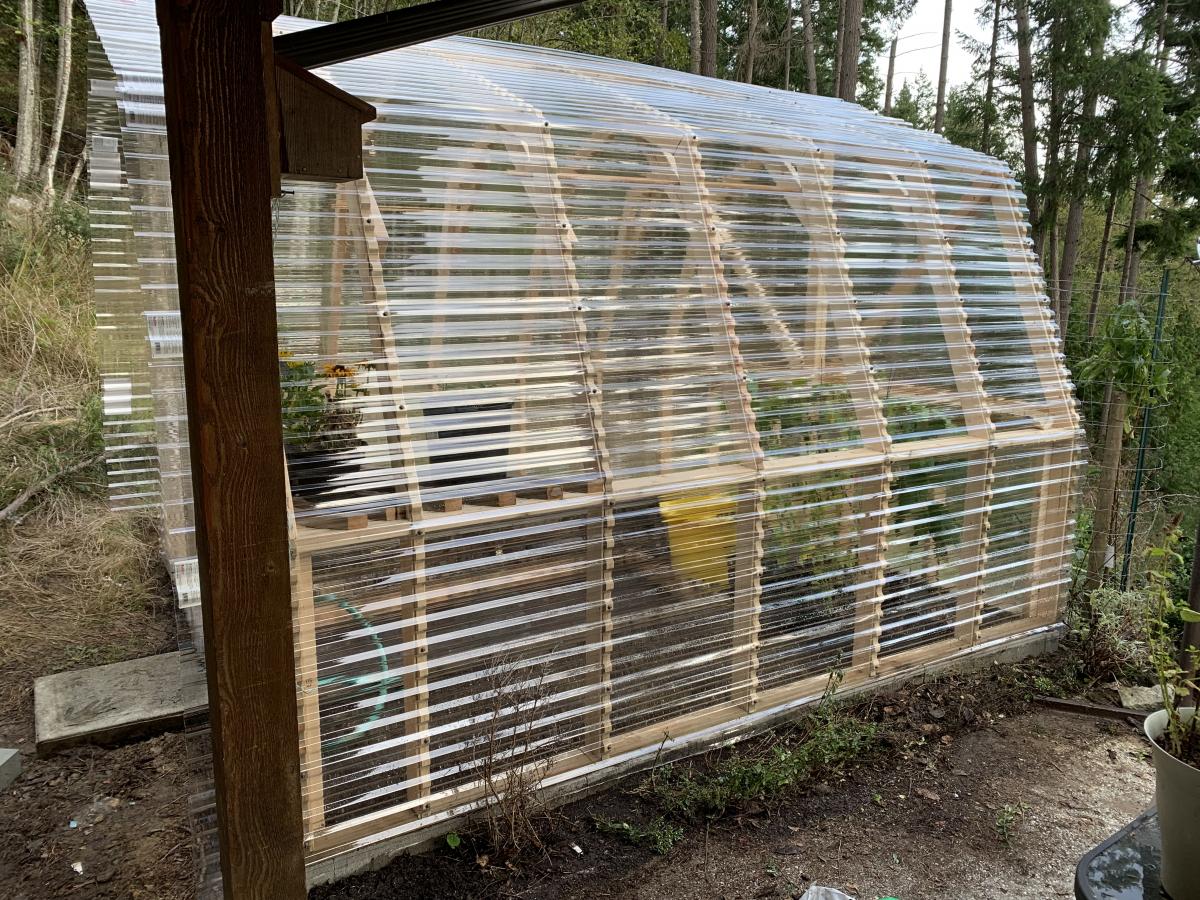
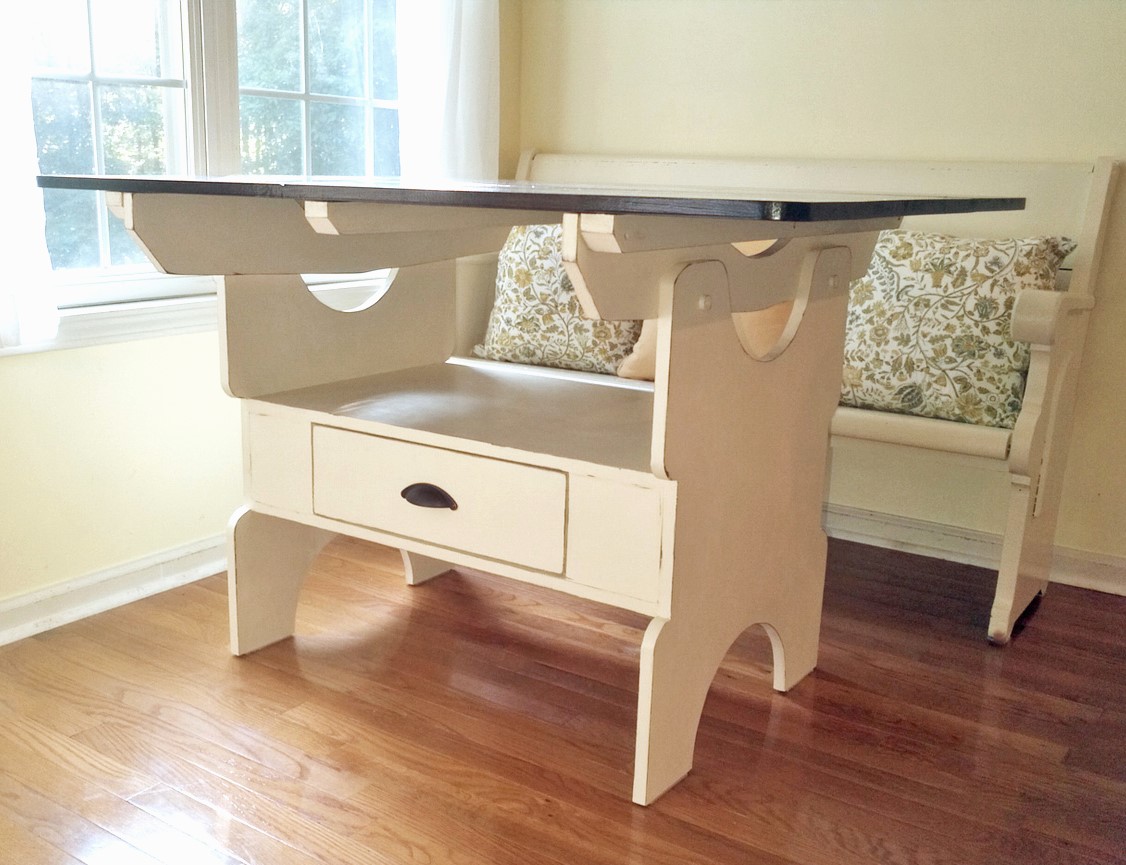
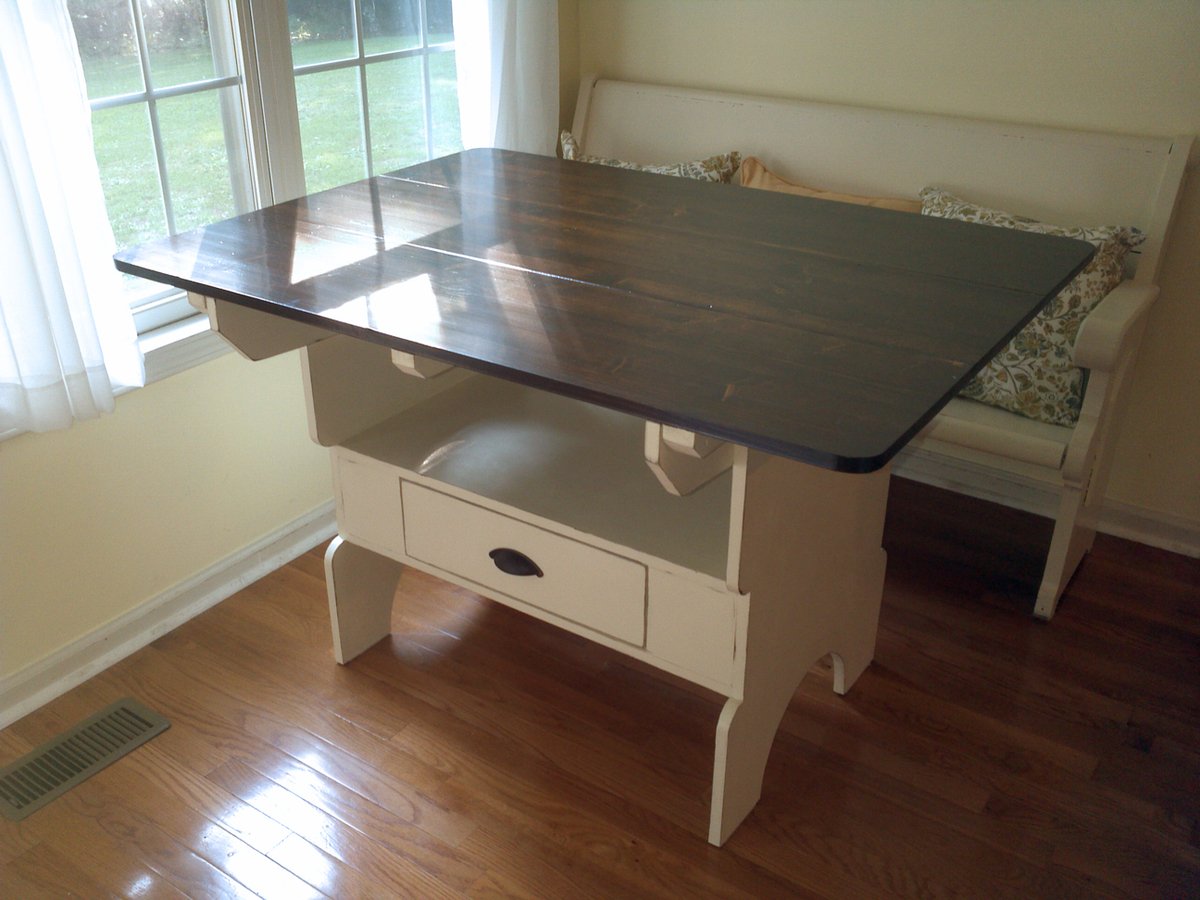
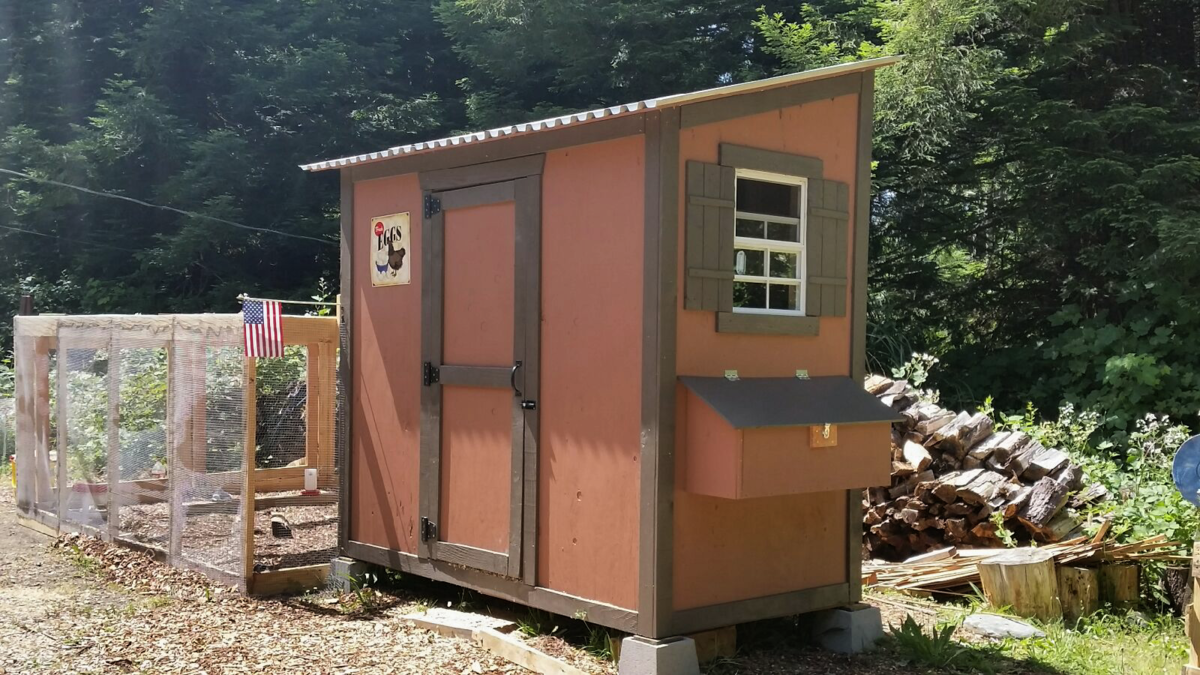
DIY Shed Chicken Coop 6x8

Submitted by Anonymous (not verified) on Thu, 05/19/2016 - 19:50

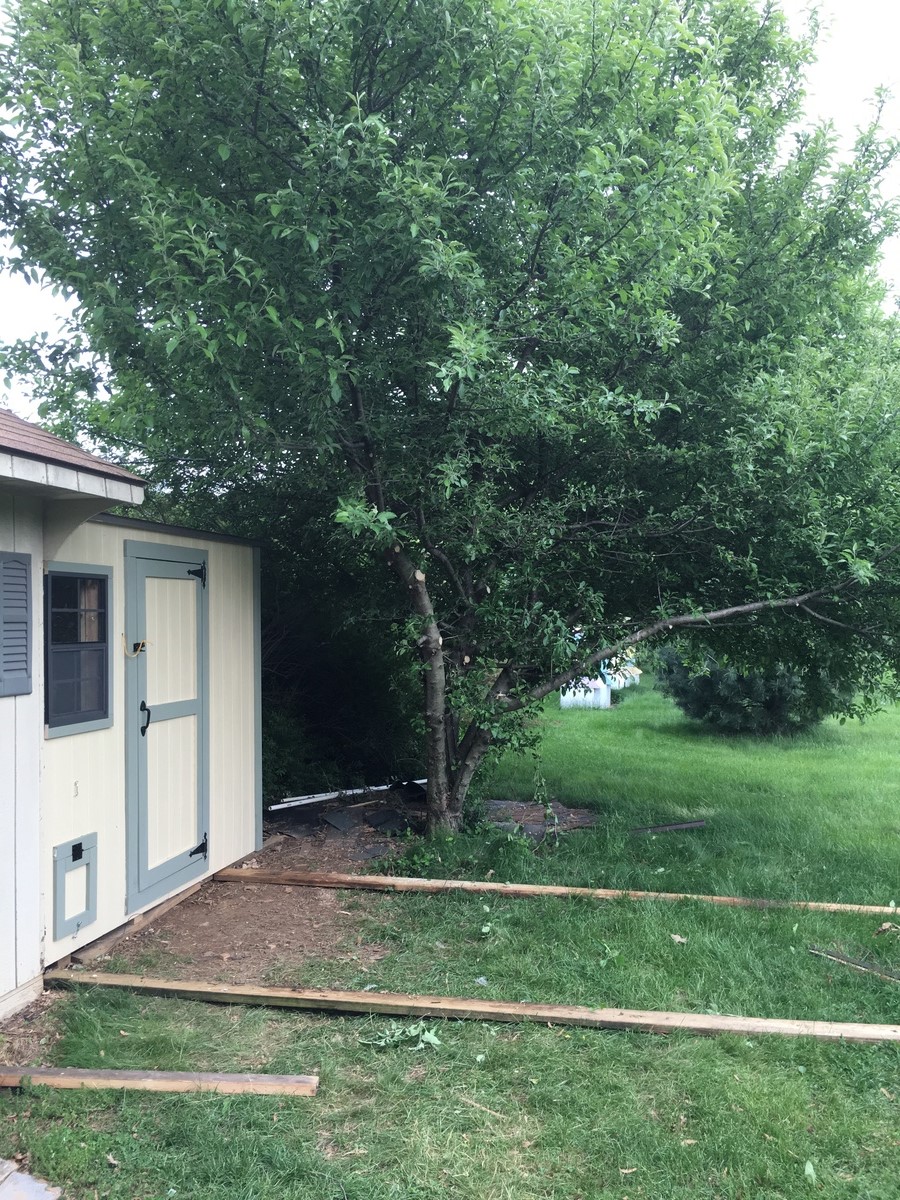
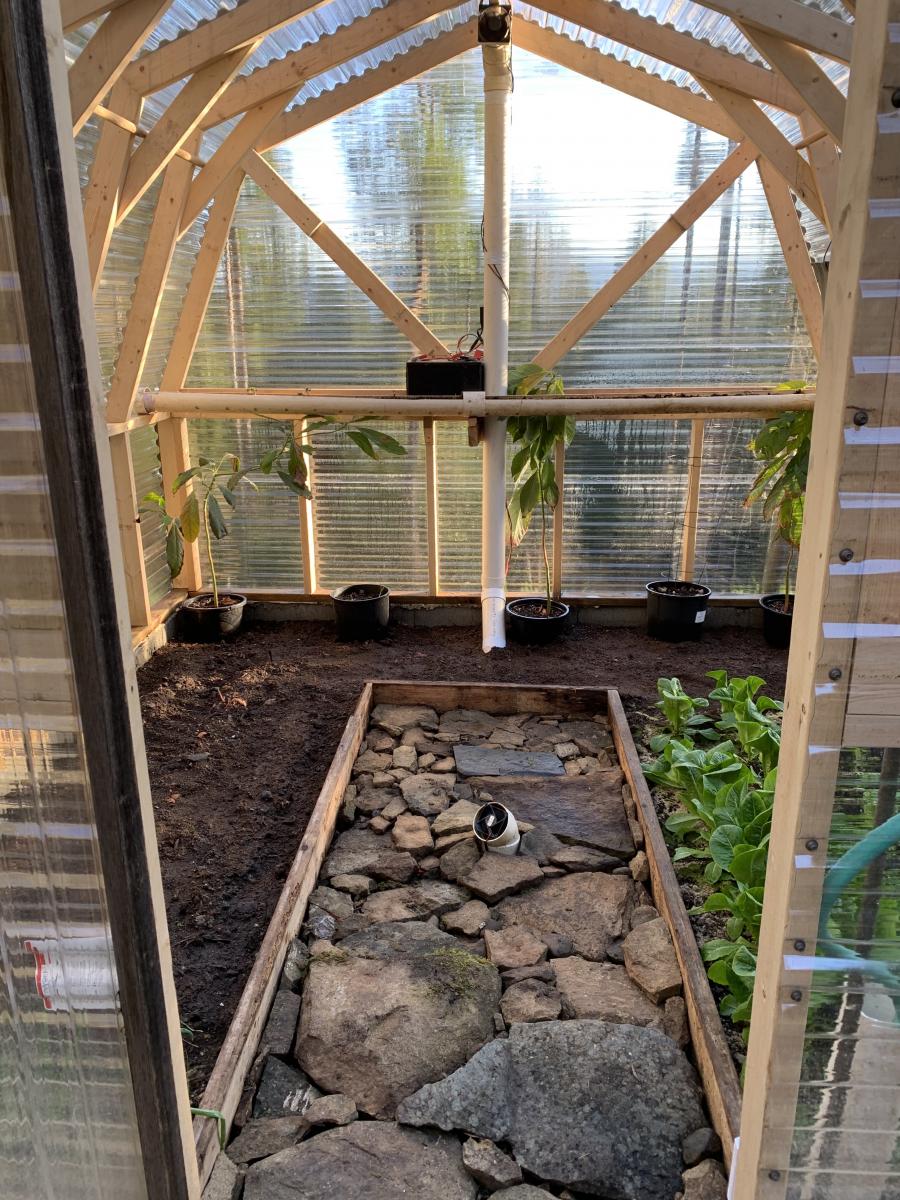
 The project was used using the same plans but I extended the floor to be 6 feet wide vice 4 feet the additional 2 feet provided the perfect amount space I wanted. I also added an extra windows  to get cross ventilation.    I also insulated the coop and put paneling on the walls and lenolium on the floors.  I dropped the back wall sheeting 1.5 inches for additional airflow since the shed doesn't have a ridge vent.   The plans are easy to follow and easily adaptable.   

Built from Plan(s)
Estimated Cost
$700. You may think that is a lot but you will learn a lot. Coops we were looking at were $1,200. This coop was less expensive and bigger and better plus you can say you built that.
Estimated Time Investment
Week Long Project (20 Hours or More)
Finish Used
T1-11 with home depot behr exterior paint.
Recommended Skill Level
Beginner

Comments

Bunk Beds with Trundle Bed for American Girl

Submitted by Klabadie on Sat, 02/22/2020 - 14:53

Followed Ana White's Doll Bunk Beds for American Girl and added a Trundle Bed using a few small modifications. Ana's plans were easy to follow and I was able to complete this in an afternoon. 

Estimated Cost
Free - used scrap materials
Estimated Time Investment
An Hour or Two (0-2 Hours)
Finish Used
Rustoleum Aged Gray Chalk Paint
Recommended Skill Level
Beginner

Sliding Barn Door Console

Submitted by Anonymous (not verified) on Mon, 10/16/2023 - 09:30

I was remodeling my house. I couldn't find anything that I liked in my price range. I decided to try my hand at making some furniture. I'm wasn't sure if this was something I could tackle, but I'm really pleased with how it turned out.

Comments

Platform inspired bed frame

Submitted by KL728MX on Sun, 02/23/2014 - 15:01

I had searched for a nice bed frame for the longest time. I wanted something that would last and the prices in furniture stores or antique shops were crazy. I found the plans for the platform bed/headboard and modified them a little. I used 2x12's for the frame and set my 2x6's down inside for my box spring. 2x6's for the headboard and trimmed it the same way as in the plans. I love it. Thanks for the plans Ana.

Built from Plan(s)
Estimated Cost
125
Estimated Time Investment
Day Project (6-9 Hours)
Finish Used
Rust oleum dark walnut. I didn't put polyurethane on it so it would have an older look.
Recommended Skill Level
Beginner

Comments

Jmar2038

Fri, 05/30/2014 - 18:40

Love your inspired bed! What size mattress is your frame for? I am looking to make a frame just like yours for a queen size bed. Do you have your measurements or are they pretty similar to the original post? Complete beginner here, any help is much appreciated!!

My New Art Desk

I liked Kristi's version of the modern craft desk but I decided to add another cubby area. I have a lot of art things and I like for them to be organized. Here is Kristi's version: http://www.ana-white.com/2013/10/kristis-craft-desk

I really love the way it turned out and I've definitely got my use out of it.

Built from Plan(s)
Estimated Cost
$300.00
Estimated Time Investment
Weekend Project (10-20 Hours)
Finish Used
I custom painted it to match the murals in my home using acrylic paints. I had to use oil based kilz on the cubbies before painting them.
Recommended Skill Level
Intermediate

Kiddo Closet Organizer

Submitted by craw4dz on Thu, 02/27/2020 - 11:51

My daughter's closet was a nightmare and helter-skelter with a lot of wasted space after we moved into our house.  So I decided one day I was done with the mess and built this to suit her needs.  I used 3/4 plywood, closet rods cut to size, and adjustable shelving.  When she's bigger, I can pull the shelves out if needed for taller closet hanging but for now this works pretty good.  She's kept it pretty clean 3 years later. 

Built from Plan(s)
Estimated Cost
$65
Estimated Time Investment
Day Project (6-9 Hours)
Finish Used
Basic white paint
Recommended Skill Level
Beginner

Custom Craft Room!

Submitted by Anonymous (not verified) on Fri, 10/20/2023 - 07:58

My daughter asked for a corner desk for art, sewing and work. She wanted storage drawers on each end and also a mobile island to use as a place to lay out and pin sewing patterns. She also wanted her art side of the desk to have an easel that laid flat or raised up at different angles. I’m very proud of this and still can’t believe I built it. My son drew the plans on sketch up and then I cut and assembled.

Karla Stevens

Comments

Wardrobe for American Girl Doll

I Loved this plan ever since the first day I saw it! I was very intimidated though by the star cut out.

I modified this plan a little, mine is about 6 inches taller than the plan, because I had to fit my daughter's Pottery Barn kids washing machine inside which I believe is bigger than the machines in the original plan. My middle shelf is only about half the width of the shelf pictured, I wanted to add extra space beneath, plus it was the cheapest piece of shelf I found.

For the star cut out, since I did not have a protractor, I cut out little templates with my miter saw at the different angles, I labeled each piece, so I could reuse them if I ever build another one. My daughter loves this wardrobe, so does my son! I am planning on making this again for my son, but making it grey and calling it a "Hockey Locker". Thanks for the plan Ana! This is my favorite plan so far!

Estimated Cost
$25
Estimated Time Investment
Day Project (6-9 Hours)
Finish Used
Berry Pink Spray Paint, Spray Poly-Acrylic
Recommended Skill Level
Beginner

Comments

itzann

Sat, 10/13/2012 - 09:41

Very nice job! I love that color of pink, too. Where do you find hangers for the doll clothes? I make a lot of clothes for my granddaughters' dolls, so I guess I need to find hangers!

Farmhouse table

Submitted by Dtrain1680 on Tue, 02/25/2014 - 05:46

First time project, this was a birthday present to the wife. Good project and a very good build. I only modified the length and went with 3 2x10s instead of one. Nice big table that we hope to enjoy for years. The entire table is distressed and we actually went with two stain colors. Dark Walnut on the top and an Ebony on the base.

Estimated Cost
Under $200 only because I didn't know what I was doing and made mistakes.
Estimated Time Investment
Week Long Project (20 Hours or More)
Finish Used
Dark Walnut on the top with Ebony stain on the base. I did let the stain soak in for at least 10 minutes and did re-apply. I used Spar Urethane Satin as my clear coat and it was the most difficult to get perfect. I would advise at least 4 coats with sanding in between.
Recommended Skill Level
Starter Project

Comments

Isla and Averys bunk bed

Submitted by Anonymous (not verified) on Fri, 05/27/2016 - 19:33

2x6's all the way up the sides, added window and "roof"

picket fence rails and angled  ladder

Built from Plan(s)
Estimated Time Investment
Weekend Project (10-20 Hours)
Recommended Skill Level
Beginner

Patrick’s Jelly Cupboard

My husband and I loved this plan and created a few original touches. Like many other of Ana’s plans, we enjoyed making it. 

Estimated Cost
$70
Estimated Time Investment
Week Long Project (20 Hours or More)
Finish Used
General Finishes Antique Walnut Gel Stain and General Finishes Gel Topcoat
Recommended Skill Level
Intermediate

Country Primitive Side Table

This is another one of those, honey I like this projects. My wife was doing her normal primitive furniture web surfing and came across this end table. It's really not to hard to build. All you need is 8ft of 1x10, 5ft of 1x12, 16ft of 1x3, and some spare 1x2 and 1x4. A few simple cuts and then you have a perfect little primitive side table.

Estimated Time Investment
An Hour or Two (0-2 Hours)
Finish Used
Natural
Recommended Skill Level
Beginner

OCTAGON PICNIC TABLE

Submitted by BigBry on Sat, 03/01/2014 - 07:36

My son and I had a blast building this table last October. I have been meaning to write and thank you for the great plans. We took the suggestion of staggering the legs for better access and it turned out great. I also used deck boards for the top to help reduce weight and they were already slightly curved on the sides which made sanding easier. Thank you!
My cost includes a nice Kreg Jig set up (approx $100)

Built from Plan(s)
Estimated Cost
$220
Estimated Time Investment
Weekend Project (10-20 Hours)
Recommended Skill Level
Intermediate

Dining Room Table

Submitted by Anonymous (not verified) on Tue, 05/31/2016 - 07:23

Great plans. Fairly easy project. My husband built it and I stained it, Briarsmoke by Varathane. The most difficult part was to get the bread boards to sit flush with the perpendicular boards when attached. We had to undo and re-do that part several times. We followed the plans and built the table base before adding the bread boards at the end, but my husband decided that it would have been easier to attache one end of each board to the bread board, then attach the perpendicular boards together, then attach the other bread board.

Built from Plan(s)
Estimated Time Investment
Weekend Project (10-20 Hours)
Finish Used
Wood pre-conditioner. The stain color is Brairsmoke by Varathane, folowed by two coats of matte poly.
Recommended Skill Level
Intermediate

Green House

Great little project from your site!

I put PVC to the ground vs the metal siding and added a heat sink in the middle with some old computer fans.

Built from Plan(s)
Estimated Cost
$1,300
Estimated Time Investment
Weekend Project (10-20 Hours)
Finish Used
PVC
Recommended Skill Level
Intermediate

Comments

Niccador

Sat, 05/23/2020 - 17:23

That PVC heat pipe intrigues me. Can you share a little more about it? I'm assuming it pulls hot air from the upper vent, and cools it down via the section of pipe below ground, sort of like a natural A/C. Keeps things from gettting too hot during the summer months?
Kinda looks like you'd frequently trip over it though. I'd probably have run the lower exhaust right up by the edge of the door frame, or a corner.

Mother's Day First Build - "Cameron" Vintage Storage Dining Table

Submitted by meggrs on Sun, 05/20/2012 - 17:04

This wasn't my first DIY project but it was my build from this side and first real woodworking project and it's been the most satisfying to date. I made this table for Mother's Day for my mom who has been dreaming of the PB Cameron fixed trestle dining table but couldn't take the hefty price tag. Things I changed: - I added the "pegs" on the table ends to make it look more like the PB version. They are just 1/2" round wood plugs glued to the trestles. - I was going to add two more tabletop braces underneath (again to make it more like the PB version) but I cut one of them incorrectly so I just added on more in the middle. I'm turning the boo-boo lumber into a yarn swift; waste not. Things I learned: - If the wood is going to be stained and varnished, shell out for the *good* stuff. I had to put on way to many coats of polyurethane to make the cheapo pine boards smooth enough even after I had dampened it to raise the grain and sanded it. - Don't believe the stated length of the boards you buy. 36-inch boards are actually 36 inches and a bit. I ended up having to disassemble and re-cut my tabletop supports. - Practice with your jigsaw if you haven't made curved cuts before to see how tightly you can turn. Luckily I had extra ply to make another couple trestles after I botched the first two...

Built from Plan(s)
Estimated Cost
$160 for materials
Estimated Time Investment
Weekend Project (10-20 Hours)
Finish Used
Table base:
- Stained edges with Minwax Dark Walnut.
- Two coats Annie Sloan chalk paint in Old White.
- One coat Annie Sloan clear soft wax.
- Distressed edges with sandpaper to show stain underneath.
- One final coat Annie Sloan clear soft wax and a good buffing.

Tabletop:
- One coat Varathane wood conditioner. (Pine takes stain unevenly without it.)
- Three coats Minwax Dark Walnut.
- 18-million coats Minwax Semigloss Polyurethane. (It seemed like it anyway.)
Recommended Skill Level
Intermediate

Comments

tracysmith

Sun, 05/20/2012 - 21:33

I've had to learn some of those things myself since I started building a year and a half ago. Sometimes it's frustrating and even costly, but when you learn it, you learn it and you never have to again. haha Unless you're really a gluten for punishment. ;-) Good job and thanks for sharing with us some of those lessons learned.

Mirror Frame

Submitted by AndyH on Tue, 03/04/2014 - 11:00

We had a big ugly frameless mirror in one of restrooms that builder had fitted as standard. Took it down and made this framed mirror instead.

Made from 4 by 1 with routed recess for mirror. Edges are 3 by 1s

Finished in Rustoleum Driftwood and two coats of Minwax Satin WIpe On Poly.

It is quite heavy so I fitted it to the wall with a French cleat made from two scraps of wood which also means it fits flush to the wall.

Estimated Cost
$40
Estimated Time Investment
Afternoon Project (3-6 Hours)
Finish Used
Rustoleum Driftwood and Minwax Wipe On Satin Poly
Recommended Skill Level
Starter Project

ATV Bench

Got this idea while driving on the interstate and was able to snap a quick picture (I wasn't driving). Used plans for 2x4 garden benches and made them the dimensions of my dad and Grandpa's mule. Now we more can go for a trail ride! That's why I added cupholders! 

Built from Plan(s)
Estimated Cost
$45
Estimated Time Investment
Day Project (6-9 Hours)
Finish Used
Stain (eventually)
Back