Console Tables, Outdoor Furniture and Beds!
All these awesome projects build by Laticia!
Built from Plan(s)
All these awesome projects build by Laticia!
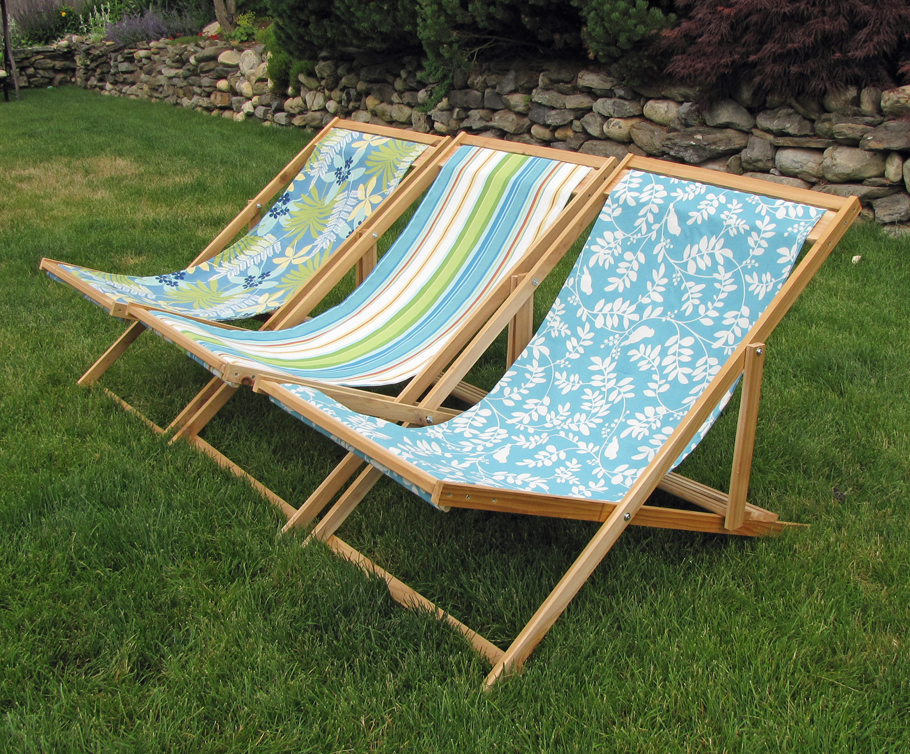
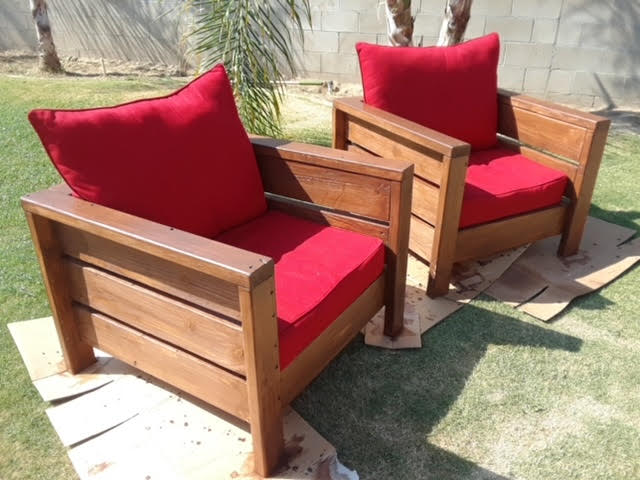
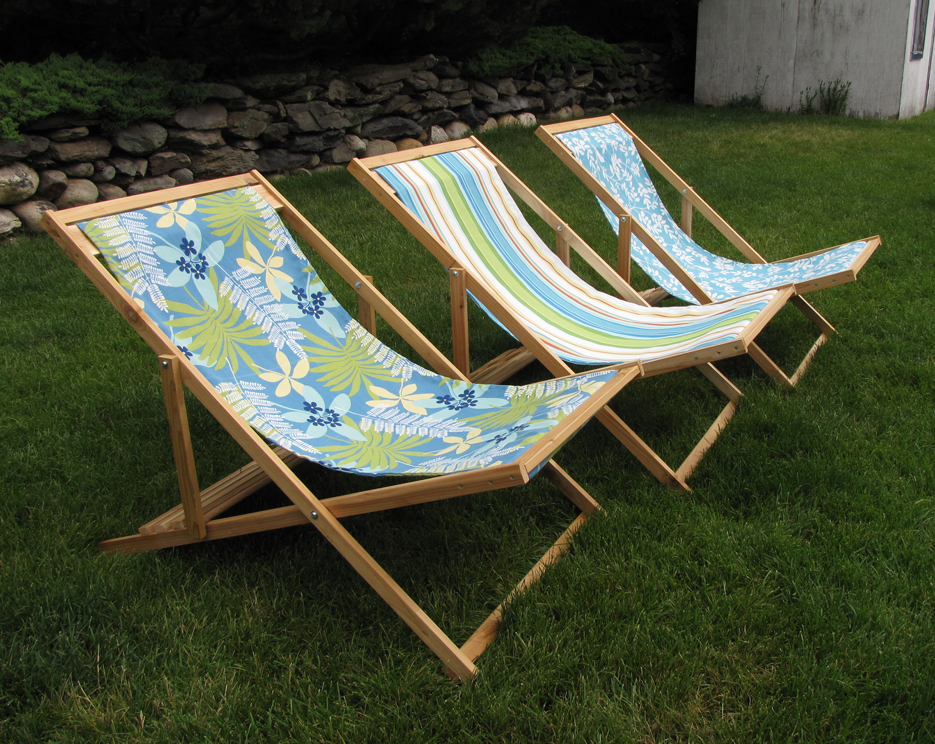
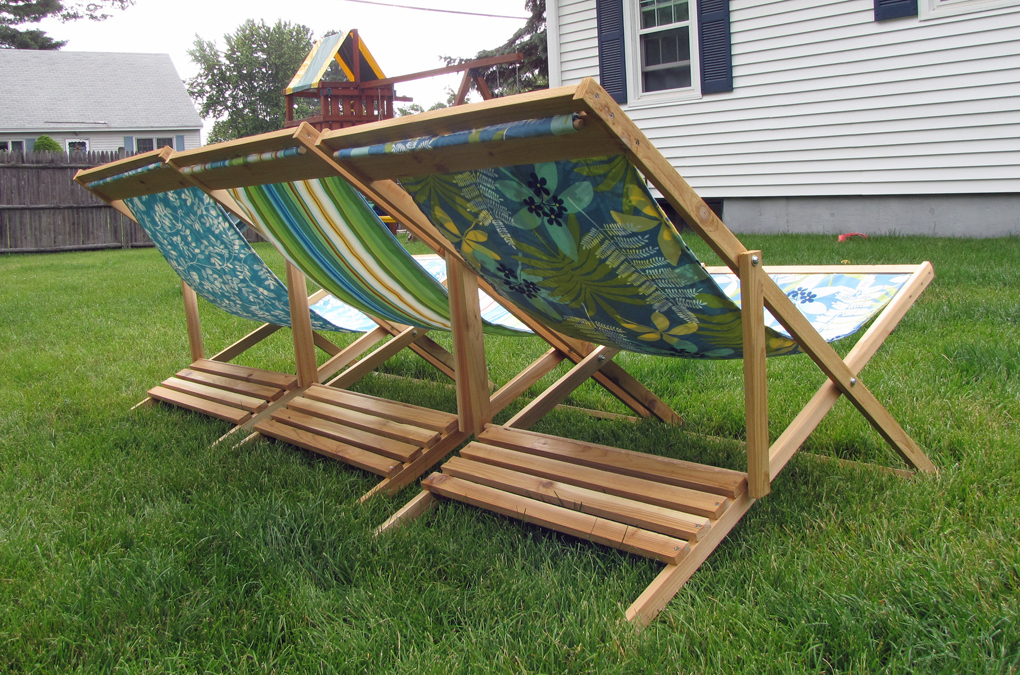
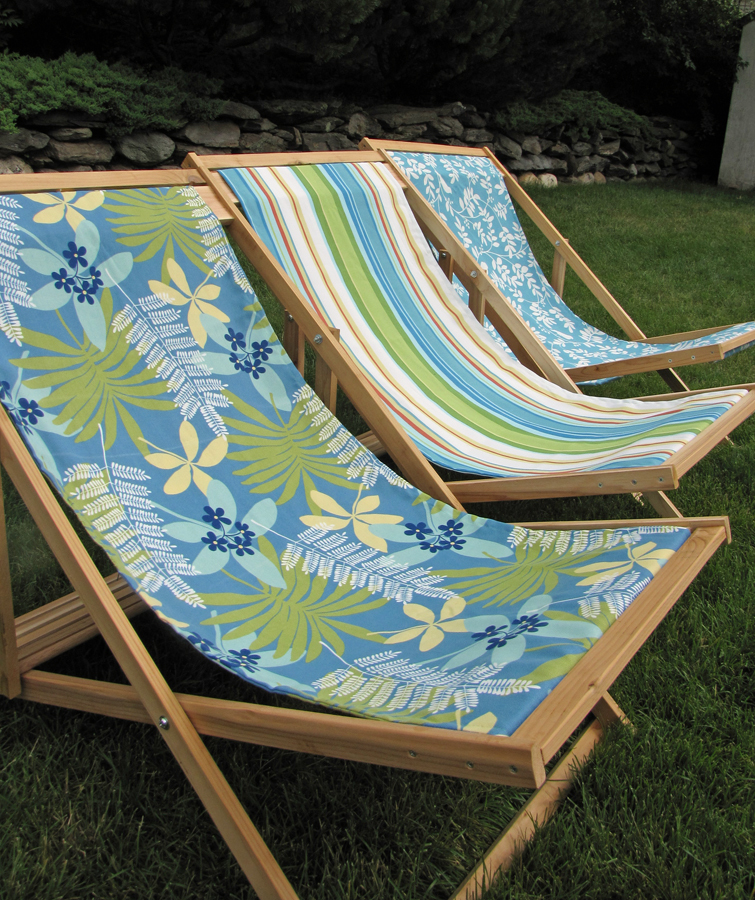
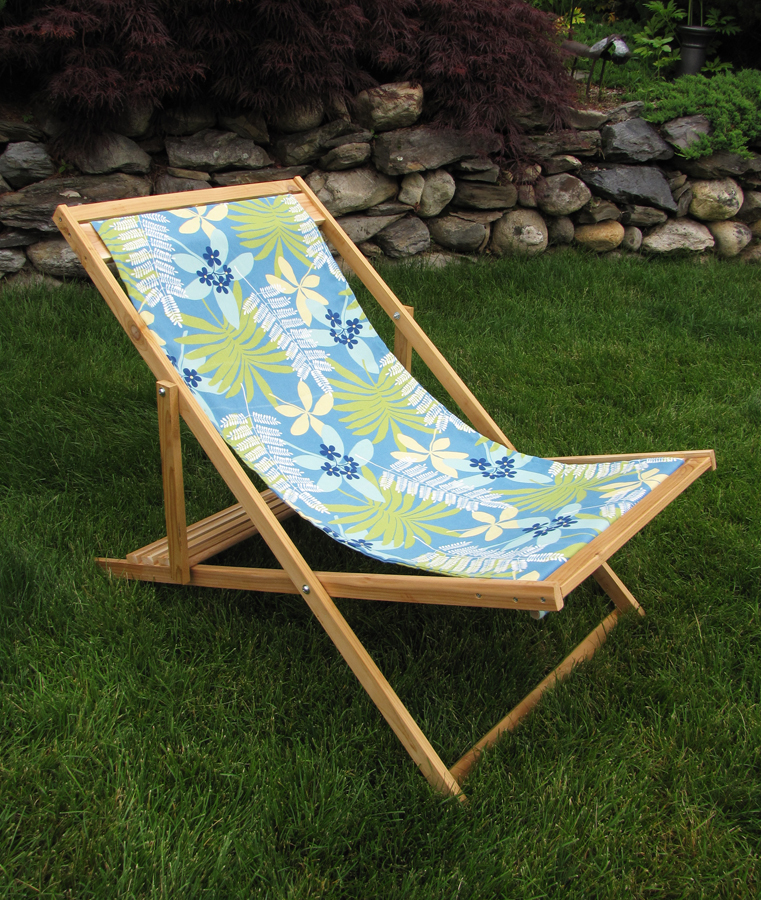
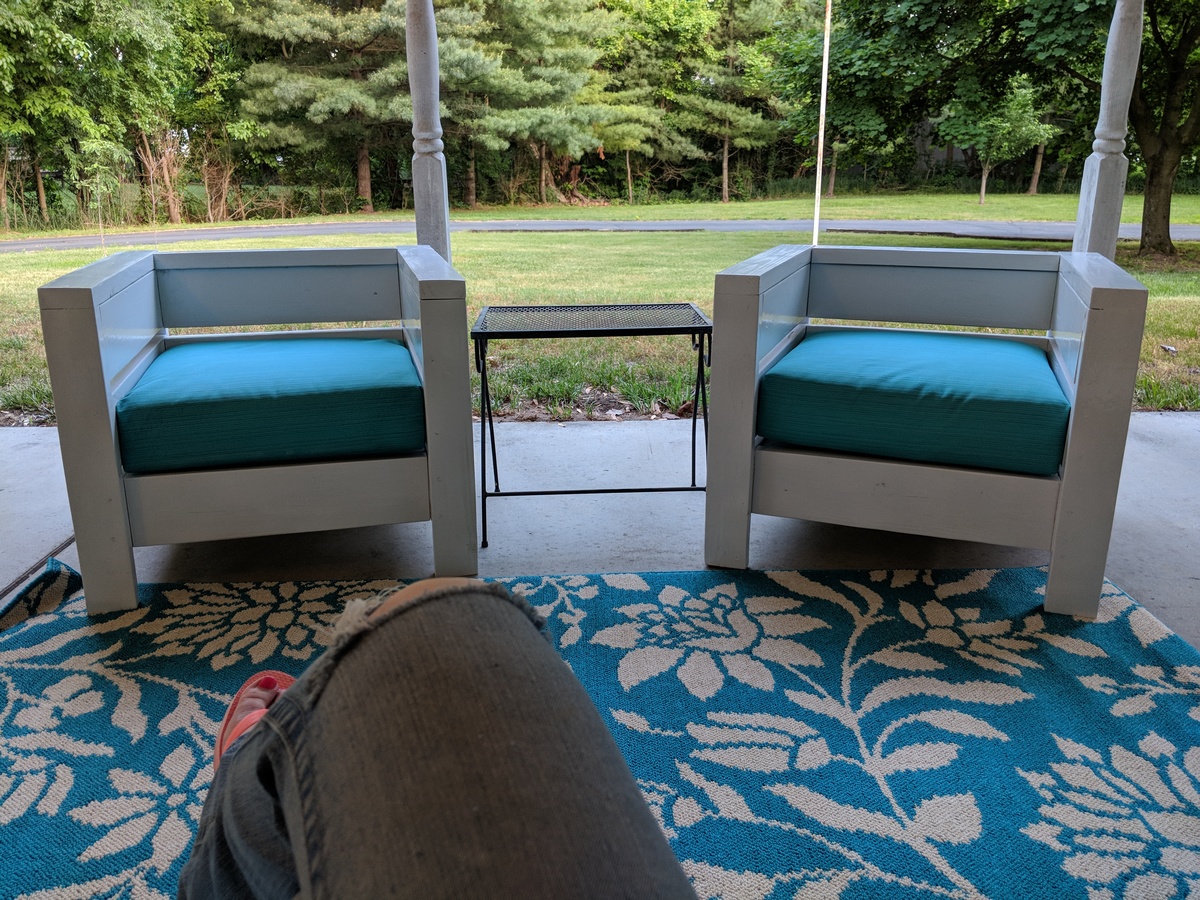
My son Jack, has Down syndrome. He's had the same preschool teacher for the last 3 years, and now it's time to move on to kindergarten. Not only does he have a dedicated teacher, but he has two paraprofessionals (teacher's aides) that take turns in helping him 1:1 all day long. I figured that it was time for all three of them to relax this summer. So, in appreciation, I made three of the adult sling chairs so they can enjoy their much deserved relaxation.

Tue, 06/21/2011 - 00:00
As an OT in the schools, I can understand your connection to the dedicated teacher and staff that work for your son. I'm sure that these gorgeous chairs will show your appreciation! What great choices in fabric, too!

Tue, 06/21/2011 - 15:18
Seriously so thoughtful! I love how they turned out!!!
Tue, 06/21/2011 - 18:20
I made this same chair for my husband and I got my fabric at JoAnn on sale! They have a great selection of outdoor fabric. :)
Fri, 09/23/2011 - 19:31
Would you mind sending the instructions for these chairs. I think this is something that I could do and would love to make a set for my husband for Christmas. We are all about homemade. That would be so great!

Wed, 09/28/2011 - 20:05
Hi Sherry. To find the page where I got the plans, just click on the words "Wood folding sling chair - adult" next to the bolded "From Plan" listed above. That will take you directly to Ana's plan.
Fri, 02/10/2012 - 03:45
would love to make could i get these instuction thanks

I had my eye on this clubhouse bed from the Pottery Barn kids catalog and was so excited when I came across this plan and my hubby offered to build it for my 4-year-old. I think it actually turned out cuter than the Pottery Barn version! Thanks so much, Ana!


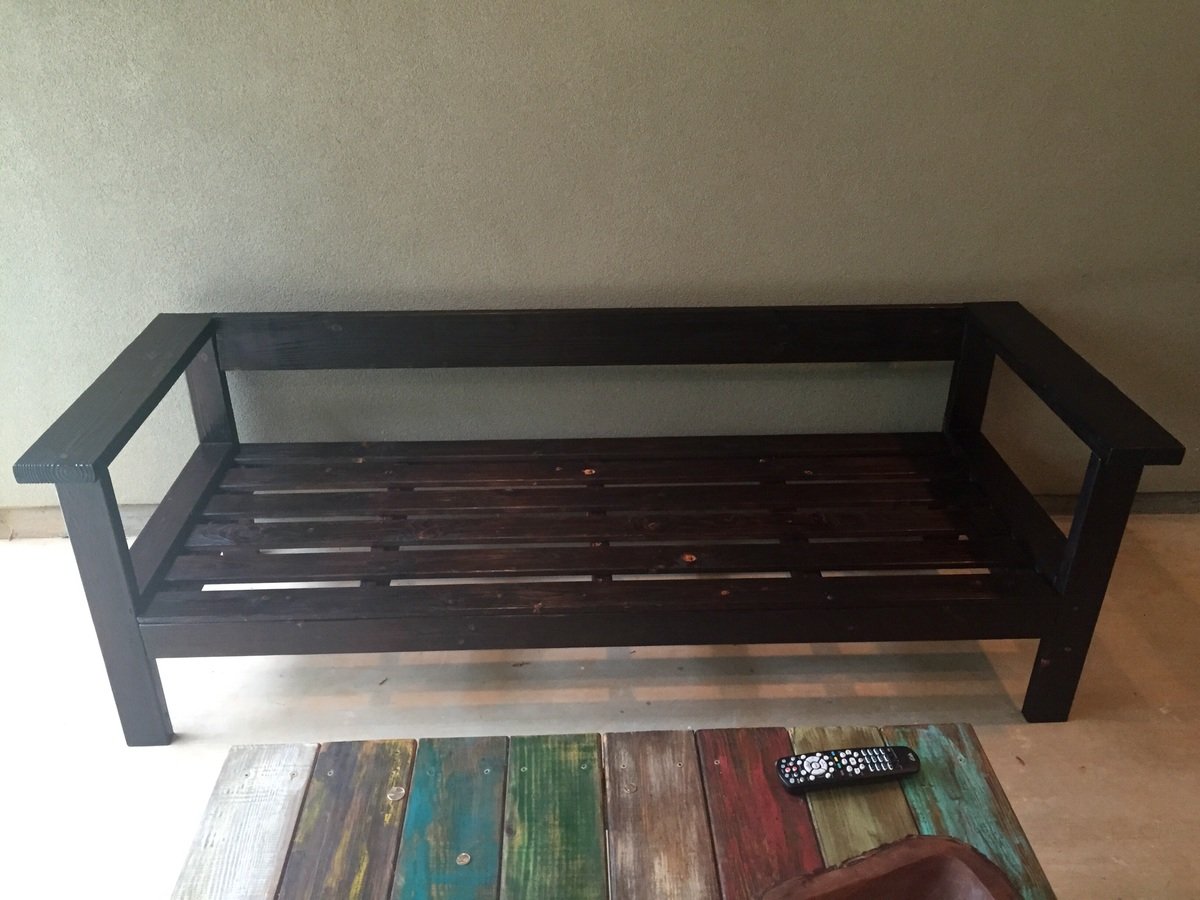
Tweaked the plans a bit. Used 2x6s for arm rest (to support a cocktail better) and back rest. Also tilted the back 2x6 to make it more comfortable. Burnt wood with a torch. Then stained and used a spar urethane.
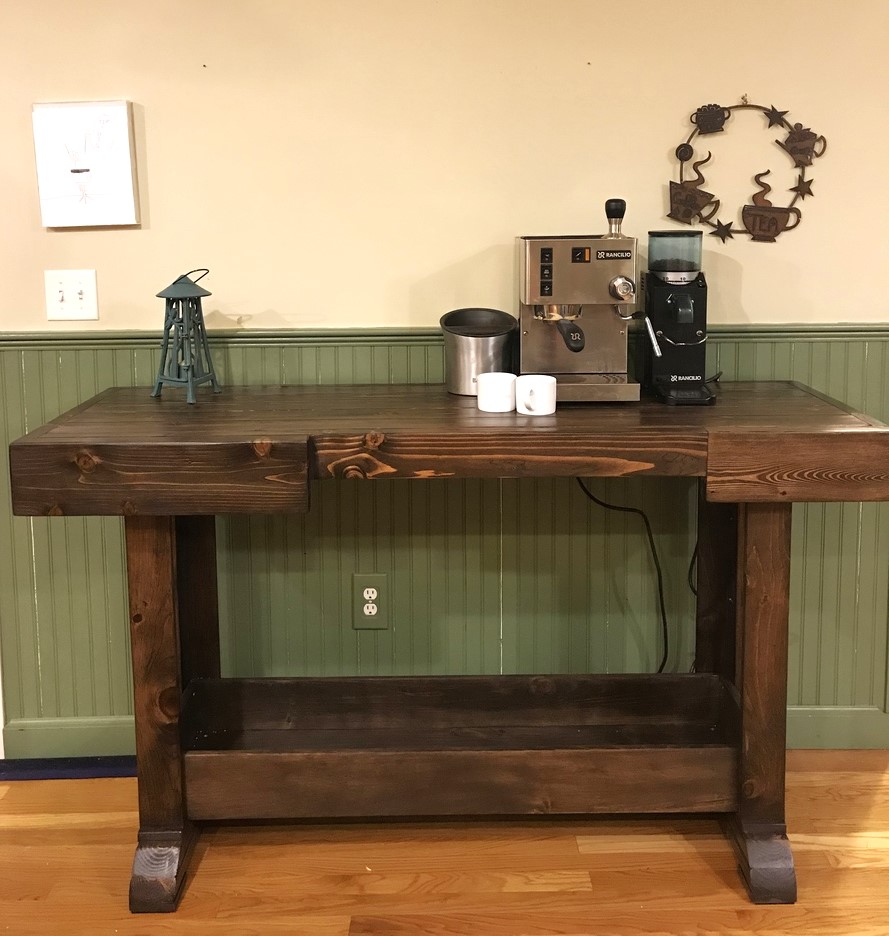
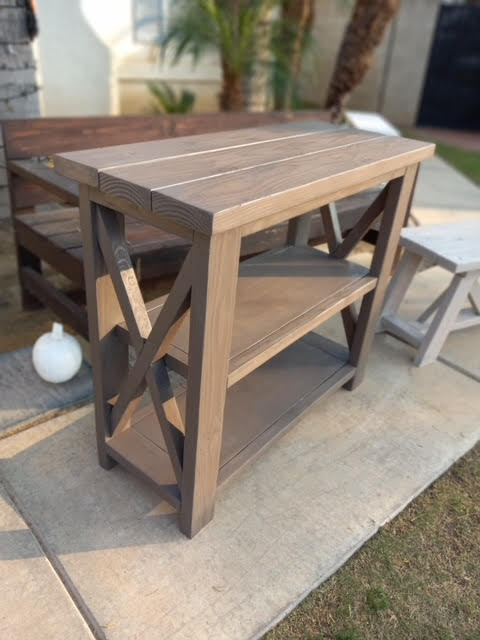
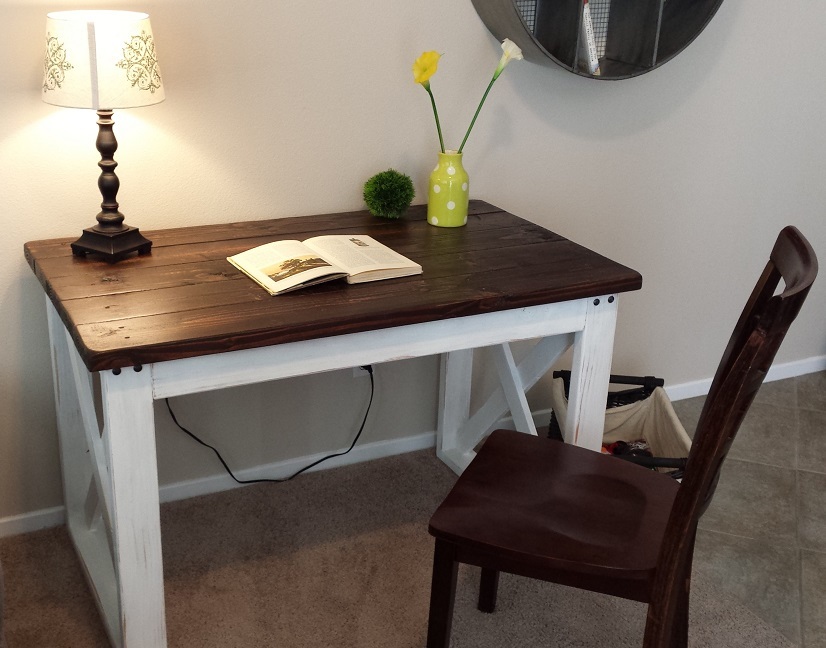
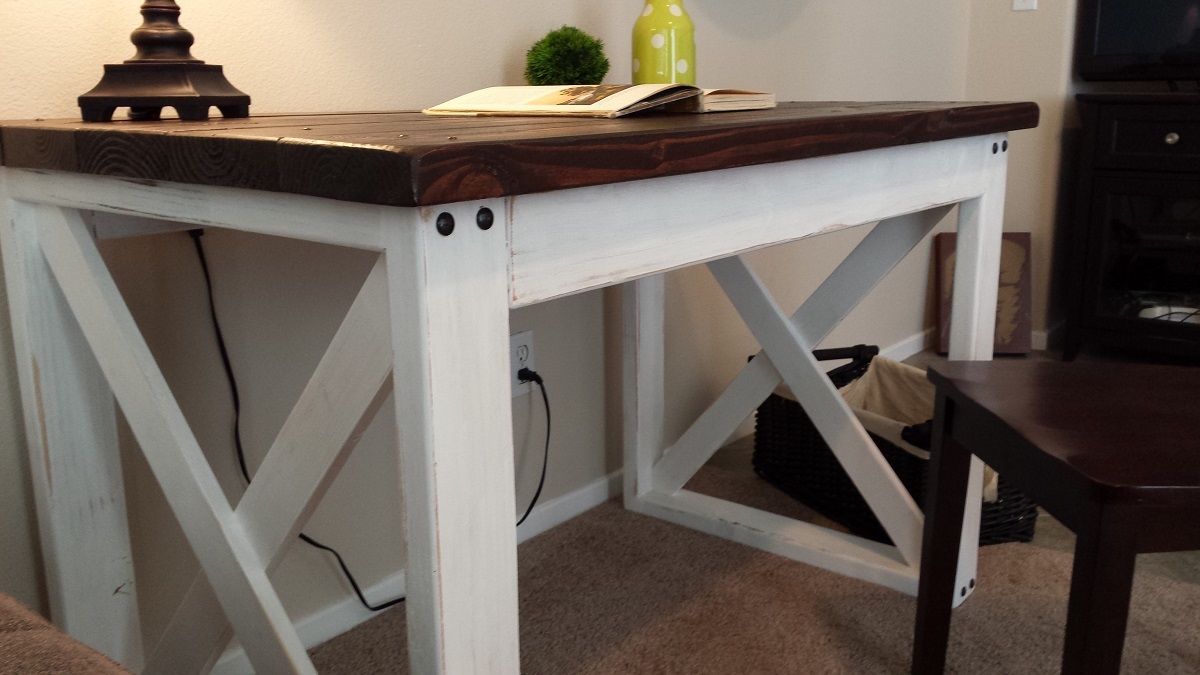
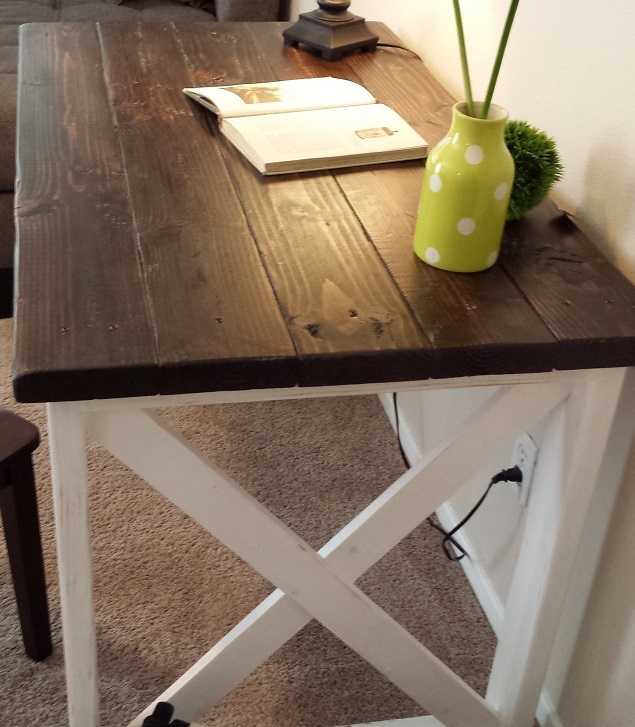
This table was fun to build, but took me a looonng time. Things I learned doing this project: First, when the pros tell you something can be put together in a few hours, they do not mean for mere mortals. Second, good staining really requires you to know your wood. I had several pine boards with a very pink undertone that made it impossible to get the color I wanted. I had to restain this twice. Third, this console table can support at least 130 pounds!

Barn door liquor cabinet.
by Greg
This was my first building project. It turned out better than I thought it would!
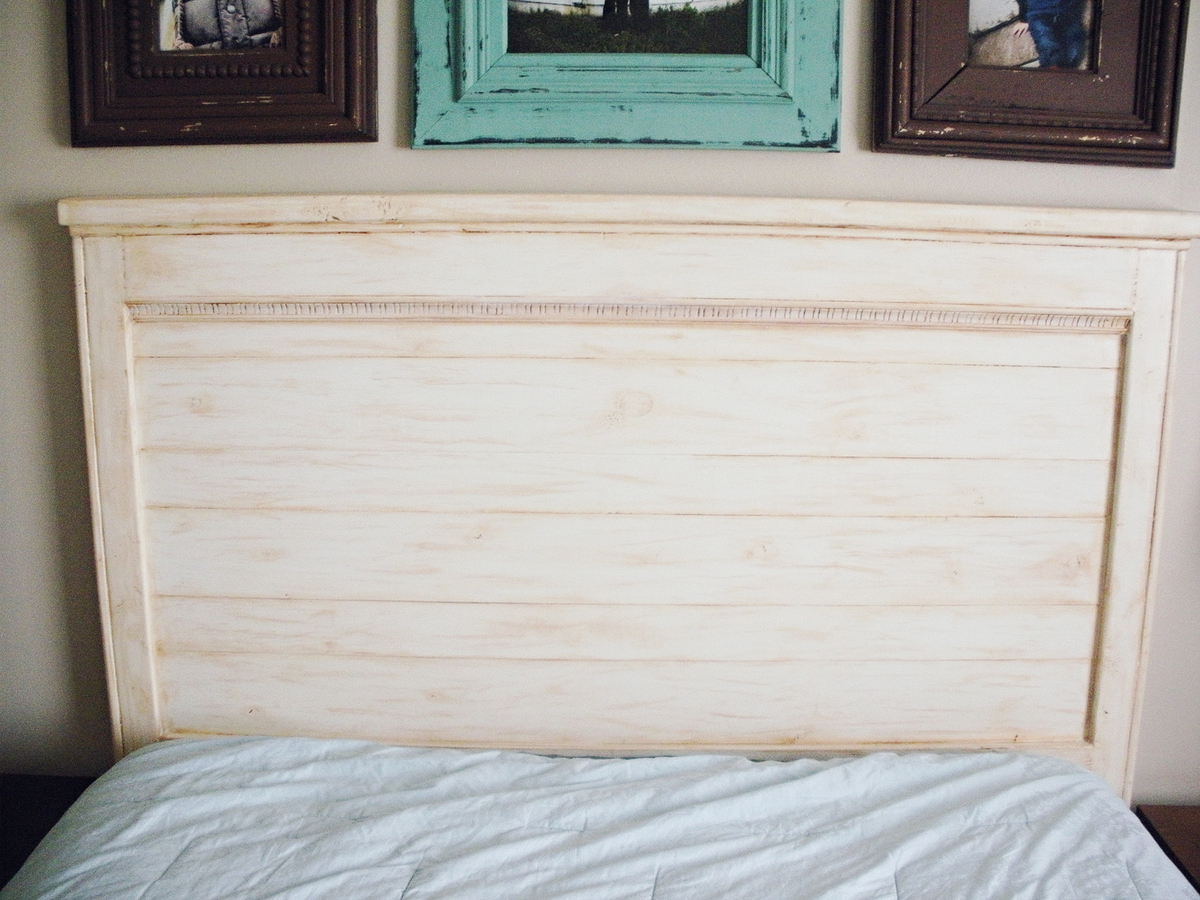
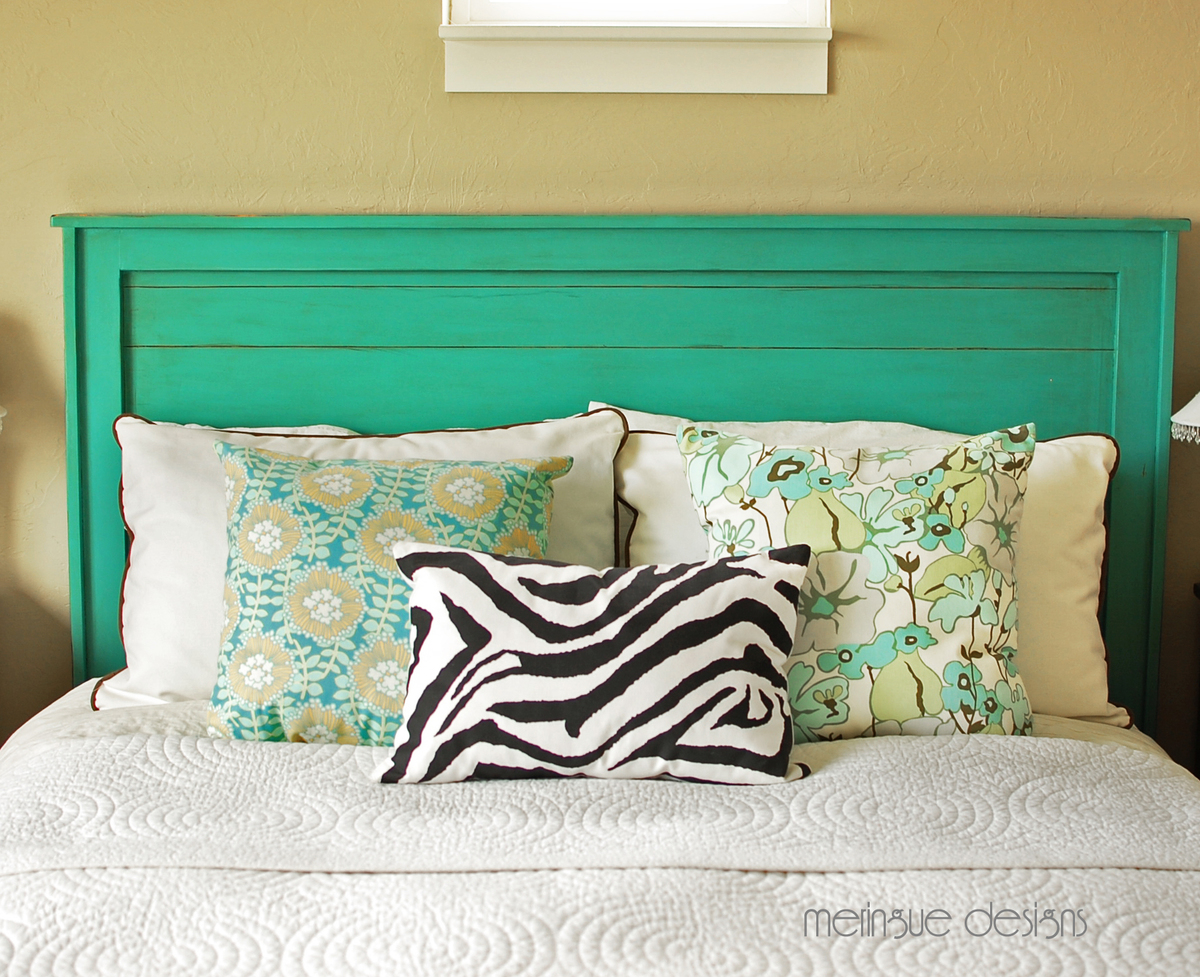
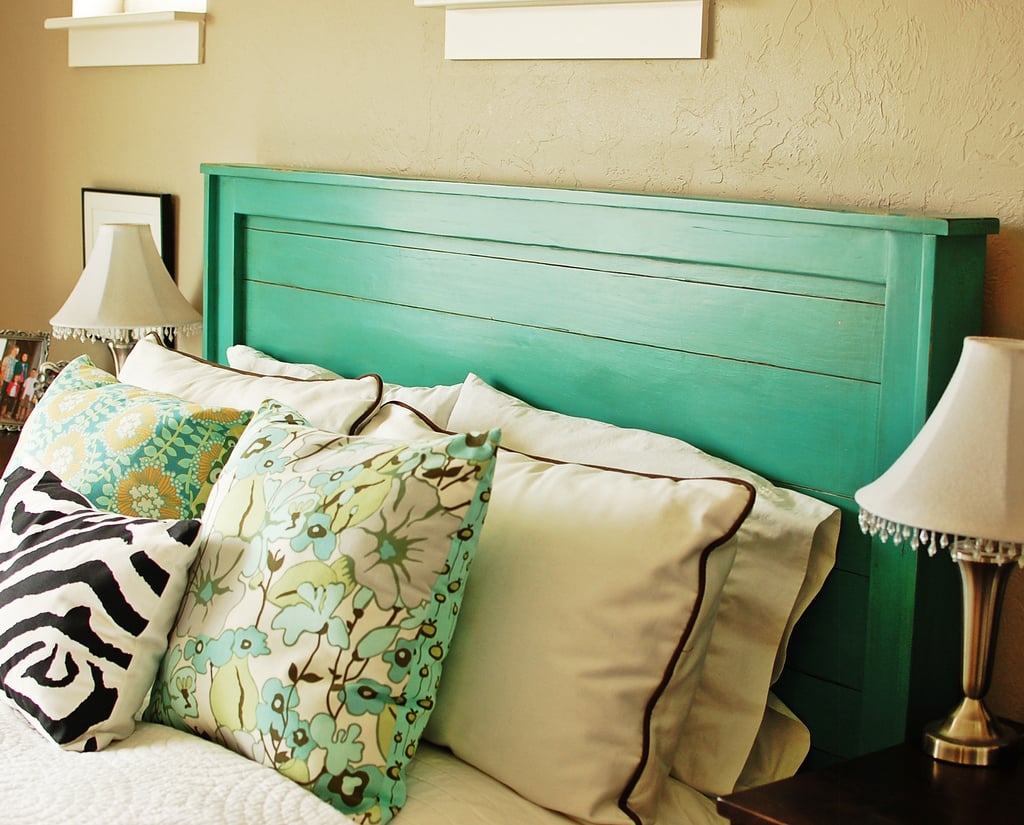
I used the reclaimed wood headboard plans. The only things that I did different was added a decorative trim piece to it & did some wood filler to areas to fill in. I painted it a cream color, then antiqued it. The stuff I used was folkart antiquing medium that I got at a local craft store.
A few things that I learned...
*Make sure the wood you buy it straight. Check it at the store that it lays flat on the ground.
*Don't take a 4 & 5 year old with you to the hardware store!
*For some areas screws work better than finishing nails. AKA the top pieces of the headboard (pre drill a hole a little so that the screw head will fit in. When done add wood filler after to fill in the hole)
*measure your bed frame rail to make sure that the headboard will fit where the holes in the frame are.
Fri, 09/07/2012 - 09:36
This looks great! I just finished my headboard and TOTALLY agree with the make sure your wood is straight thing. I didn't and it really screws things up!
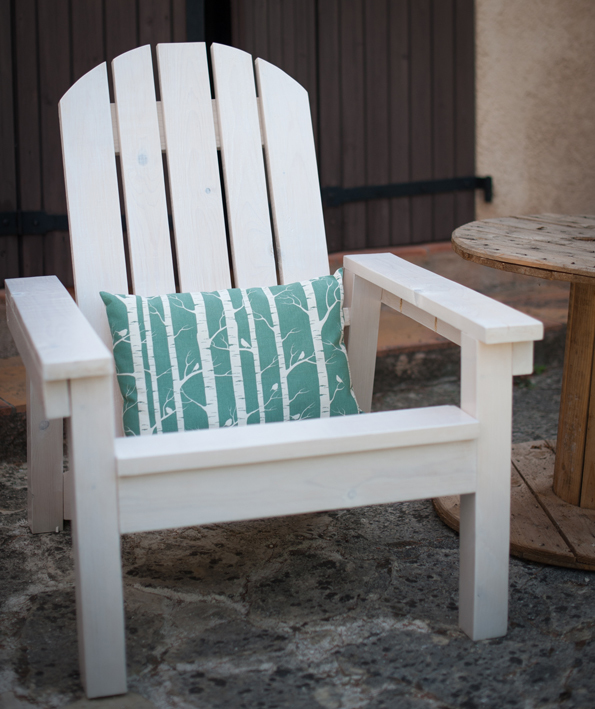
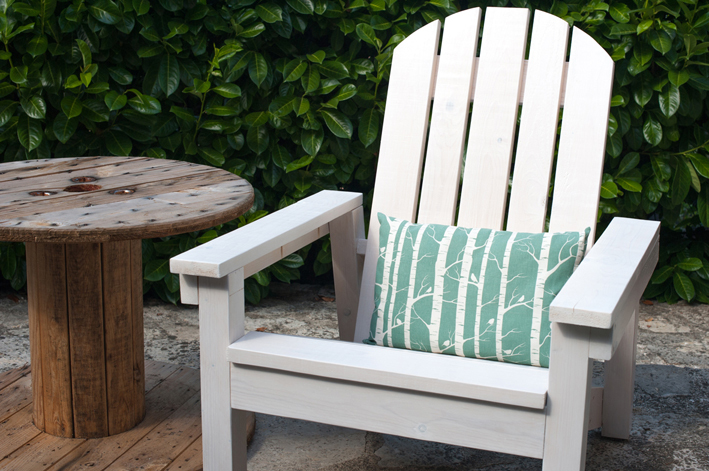
I'm a French woodworking. It was so easy to buid this adirondack chair. I'm using my lovely kreg jig. I want to redo two other chairs... Thank you so much Ana ;-). Sory for my bad english !!!


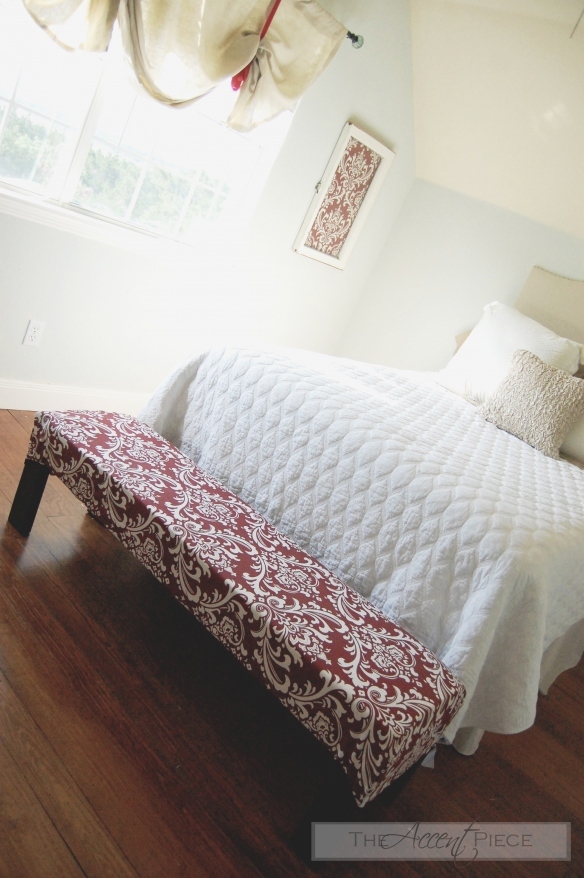
A lot of time and planning when into making this bench! Love how it turned out
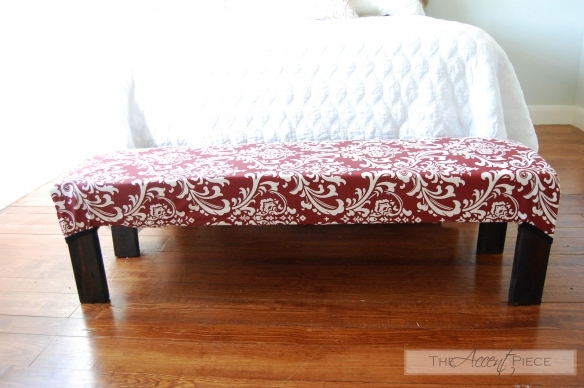
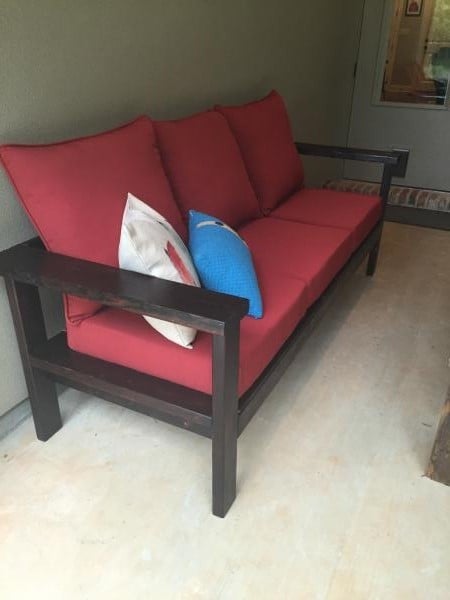
Used the easiest upholstered bench plans as a start. I modified it just a little so that I could use what I had on hand!

Wed, 06/29/2011 - 10:41
I love that fabric too! I've used that exact same stuff in my kitchen, and also framed a piece of it to cover the hole in the wall over the stove where my range hood vent is supposed to go if my husband ever gets it put up. I've also got the black version of the fabric to make baskets to go on my wire shelves.
Thu, 03/08/2012 - 14:38
This is perfect but it needs a back. do u have plans for something like this
thanks
Jimmy

I used the Rustic x coffee table plan and modified the top. I used 2x2's to make a frame and a router to make notches for plywood under the letters and glass to fit inset on top. The letters are antique letterpress blocks that I obtained on ebay and at antique shops.
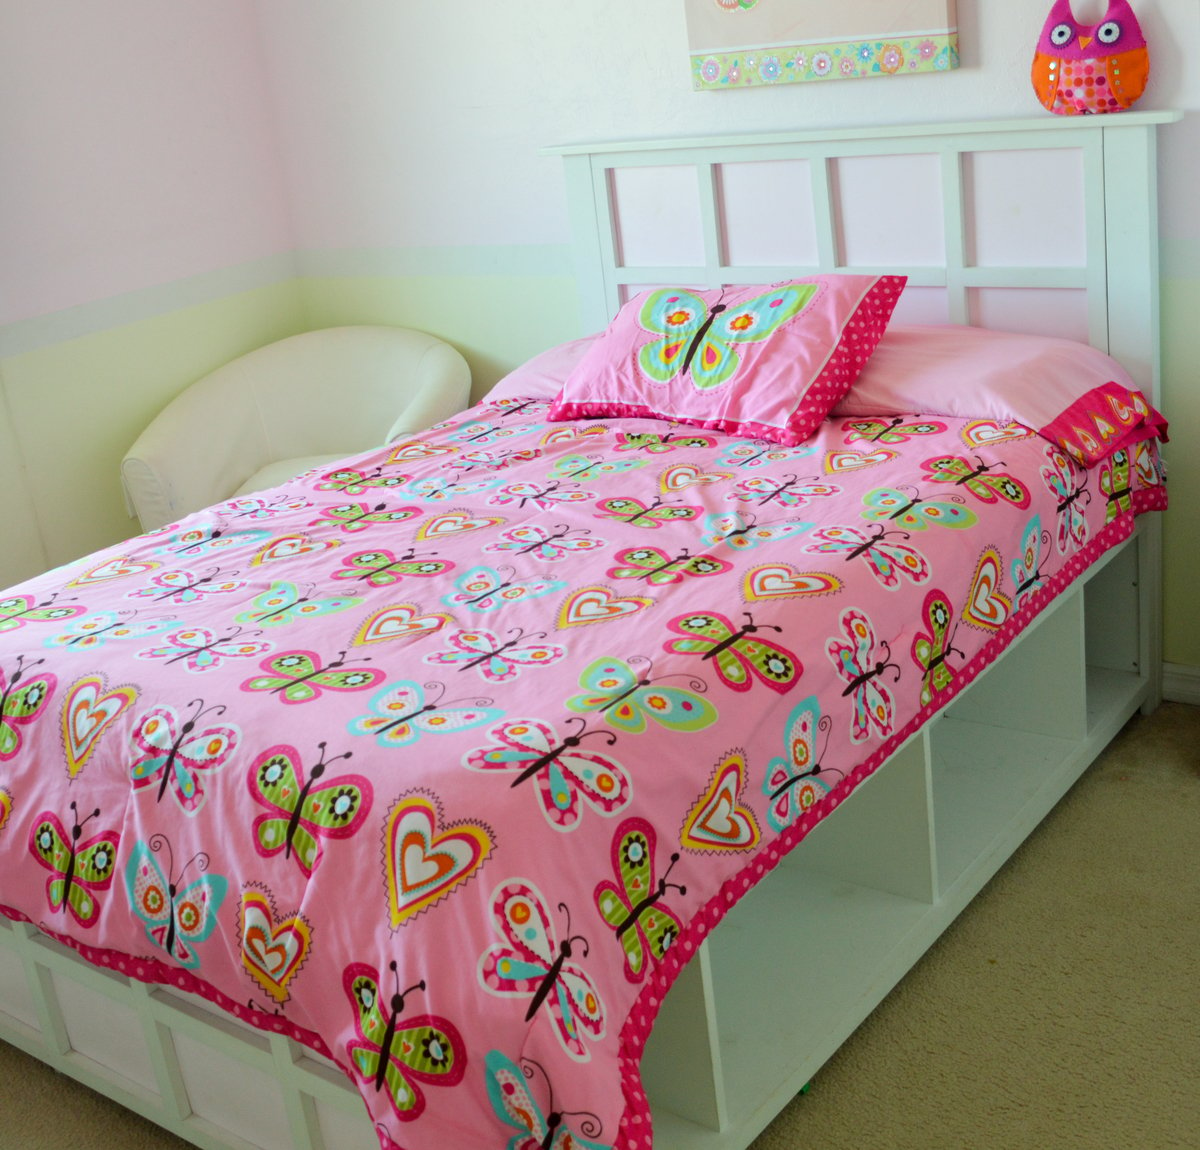
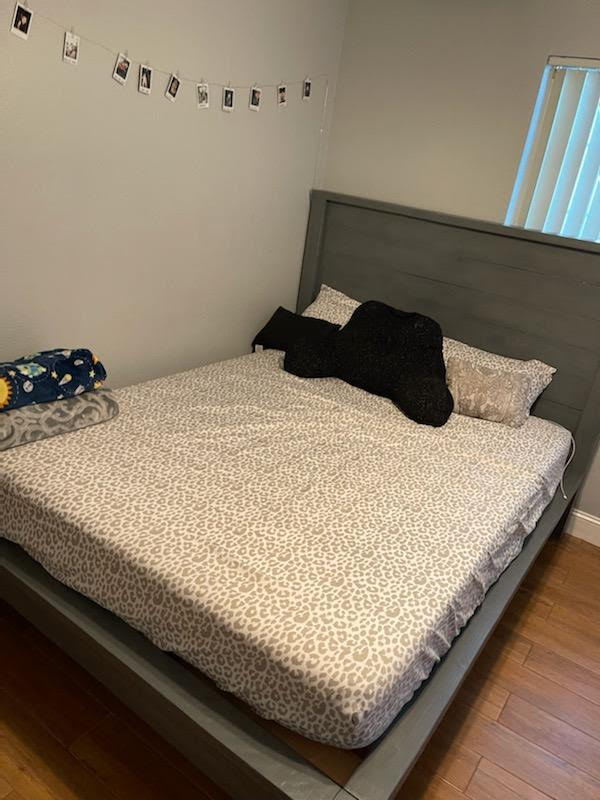
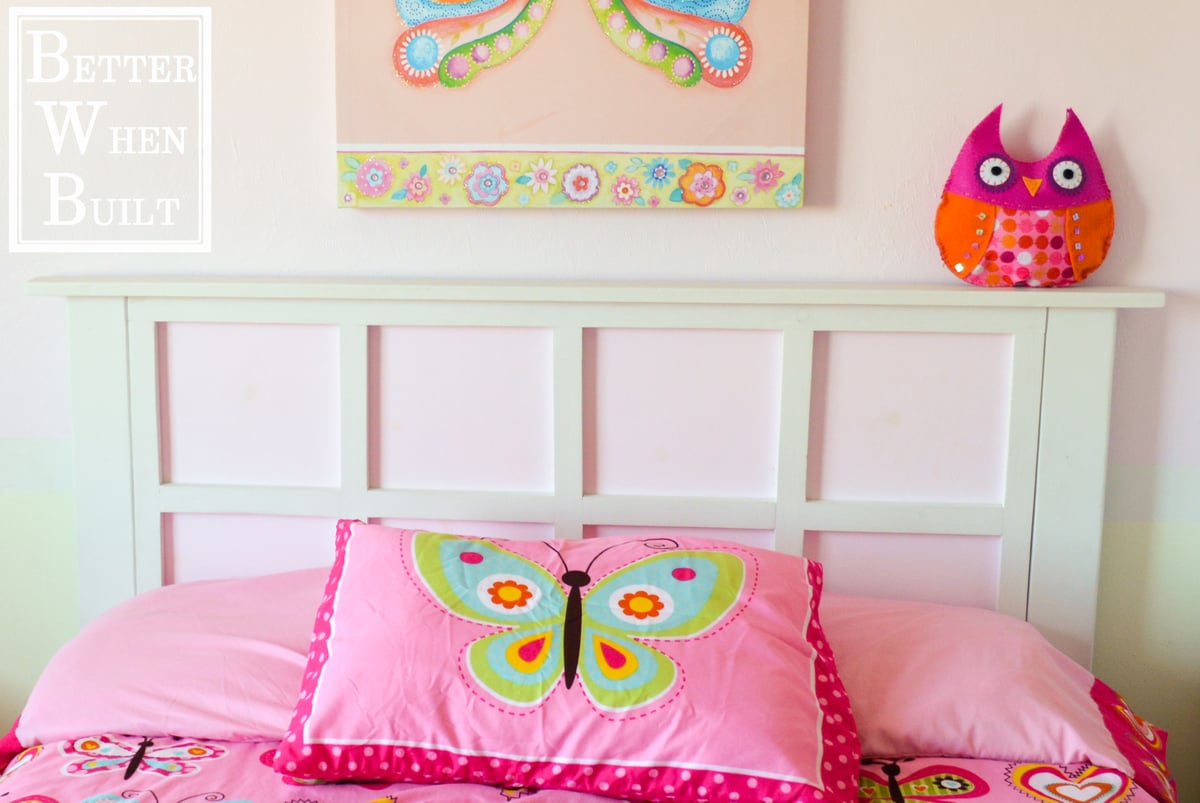
My daughter needed a new bed and I really liked Ana's Hailey Storage Bed plans. I adjusted Ana's plans to fit a full size bed and I also made a different headboard and footboard. To see how I made the headboard and footboard follow the links below:

A few 2x4’s and some old fence boards.
Danish oil - walnut.

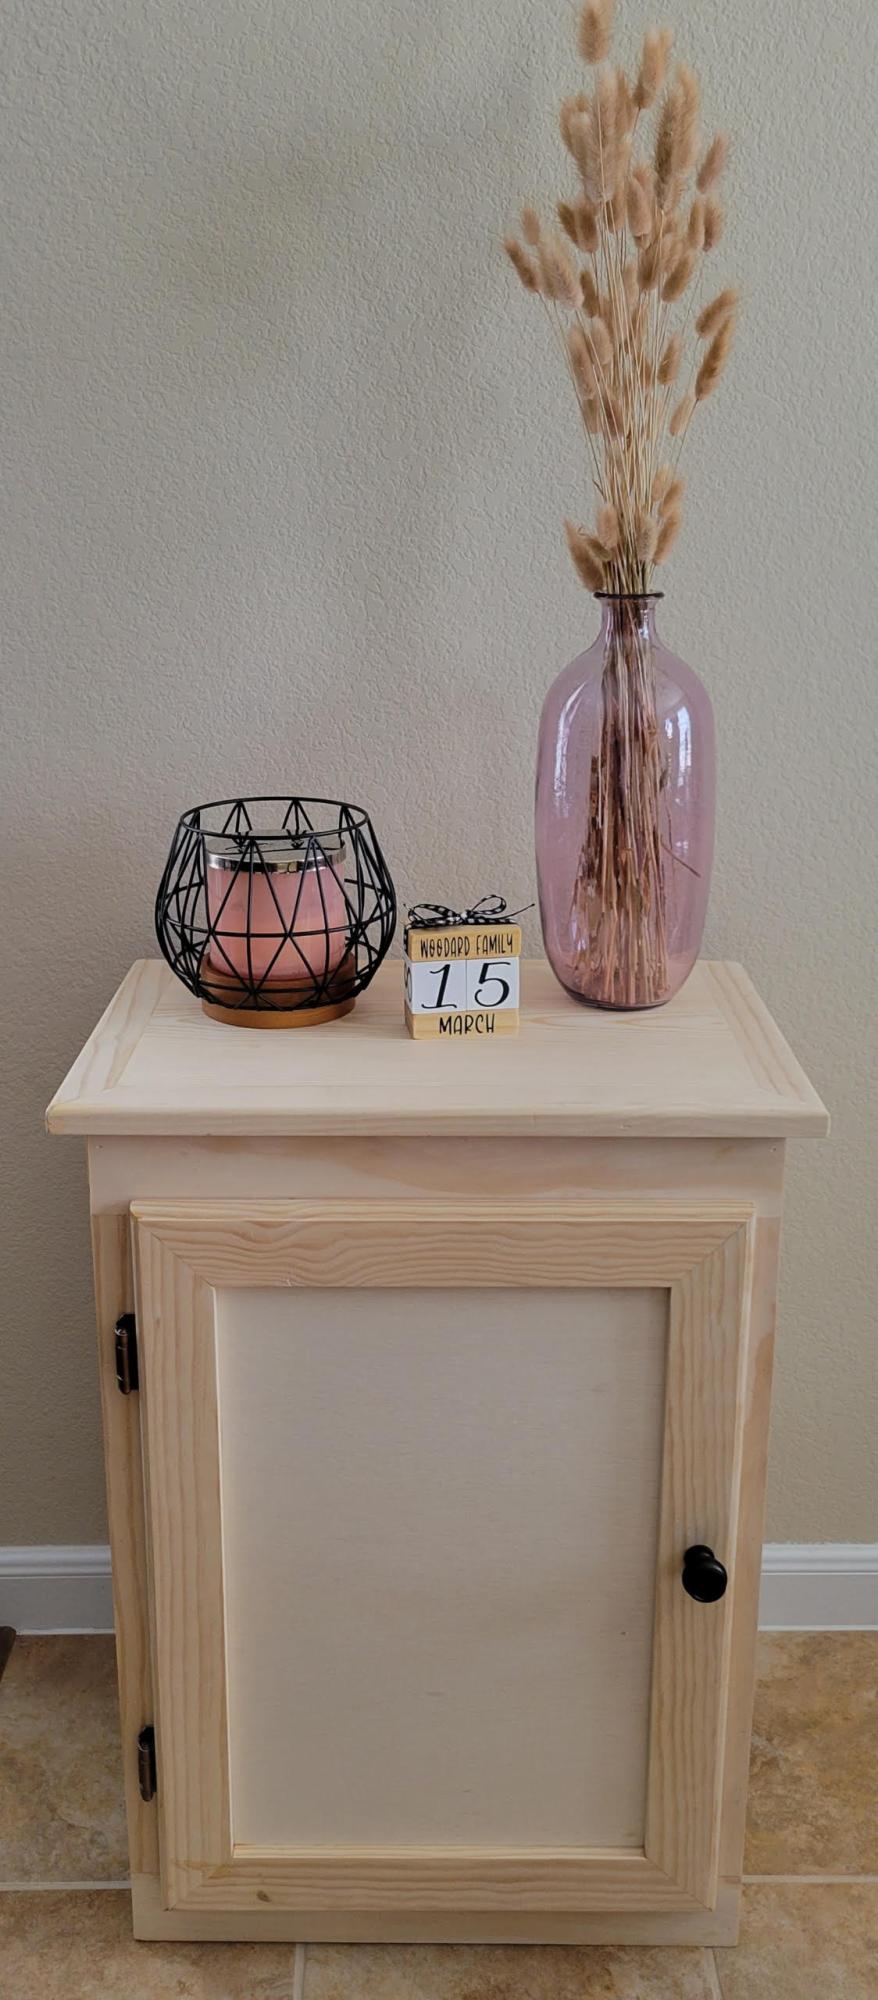
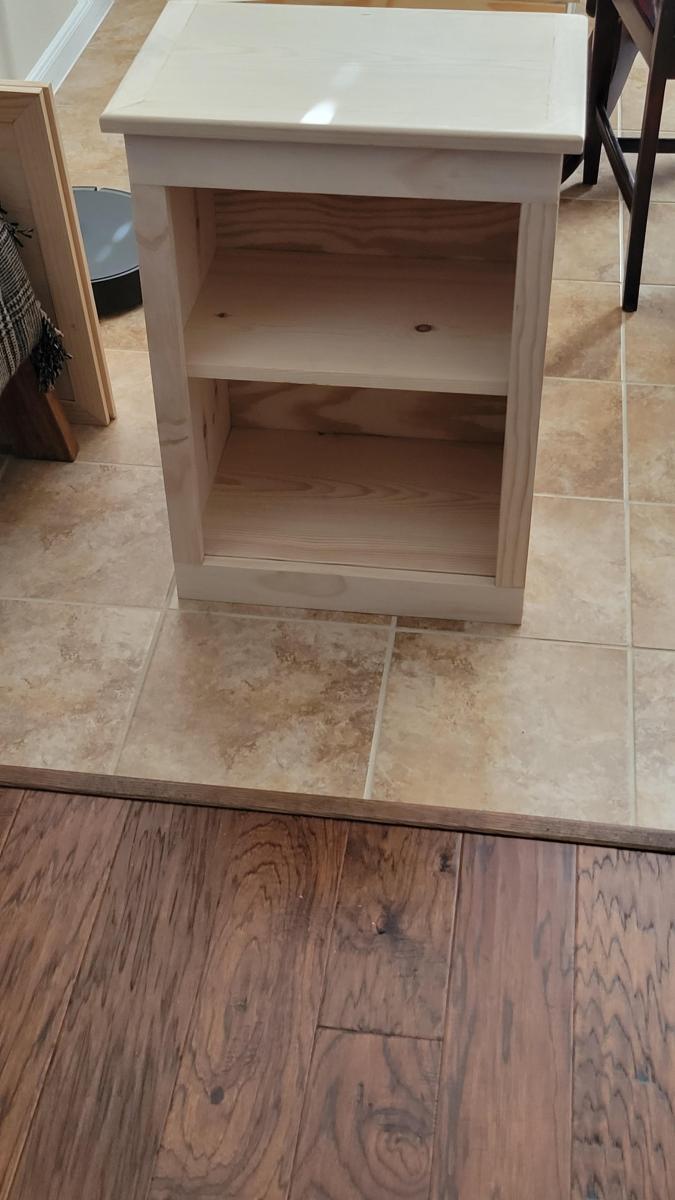
Gorgeous Storage Cabinet by Sandra!
used Ana's plans for the Reclaimed Wood Headboard, queen size. Details can be found on my blog post about this project.
Sat, 07/02/2011 - 18:08
i made this last year and although ana has it featured here for the plans, i never did officially add it to the 'brag blog'
Thu, 03/01/2012 - 11:36
I see you mentioned that you have the details about the finish work in your blog, but I don't know where to find that. I'm making one of these now and I'm really impressed with what you've done. I'd like to know more!
Thanks,
Adam
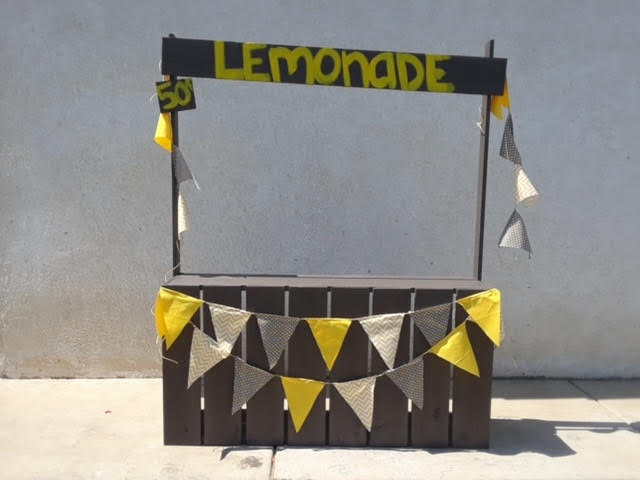
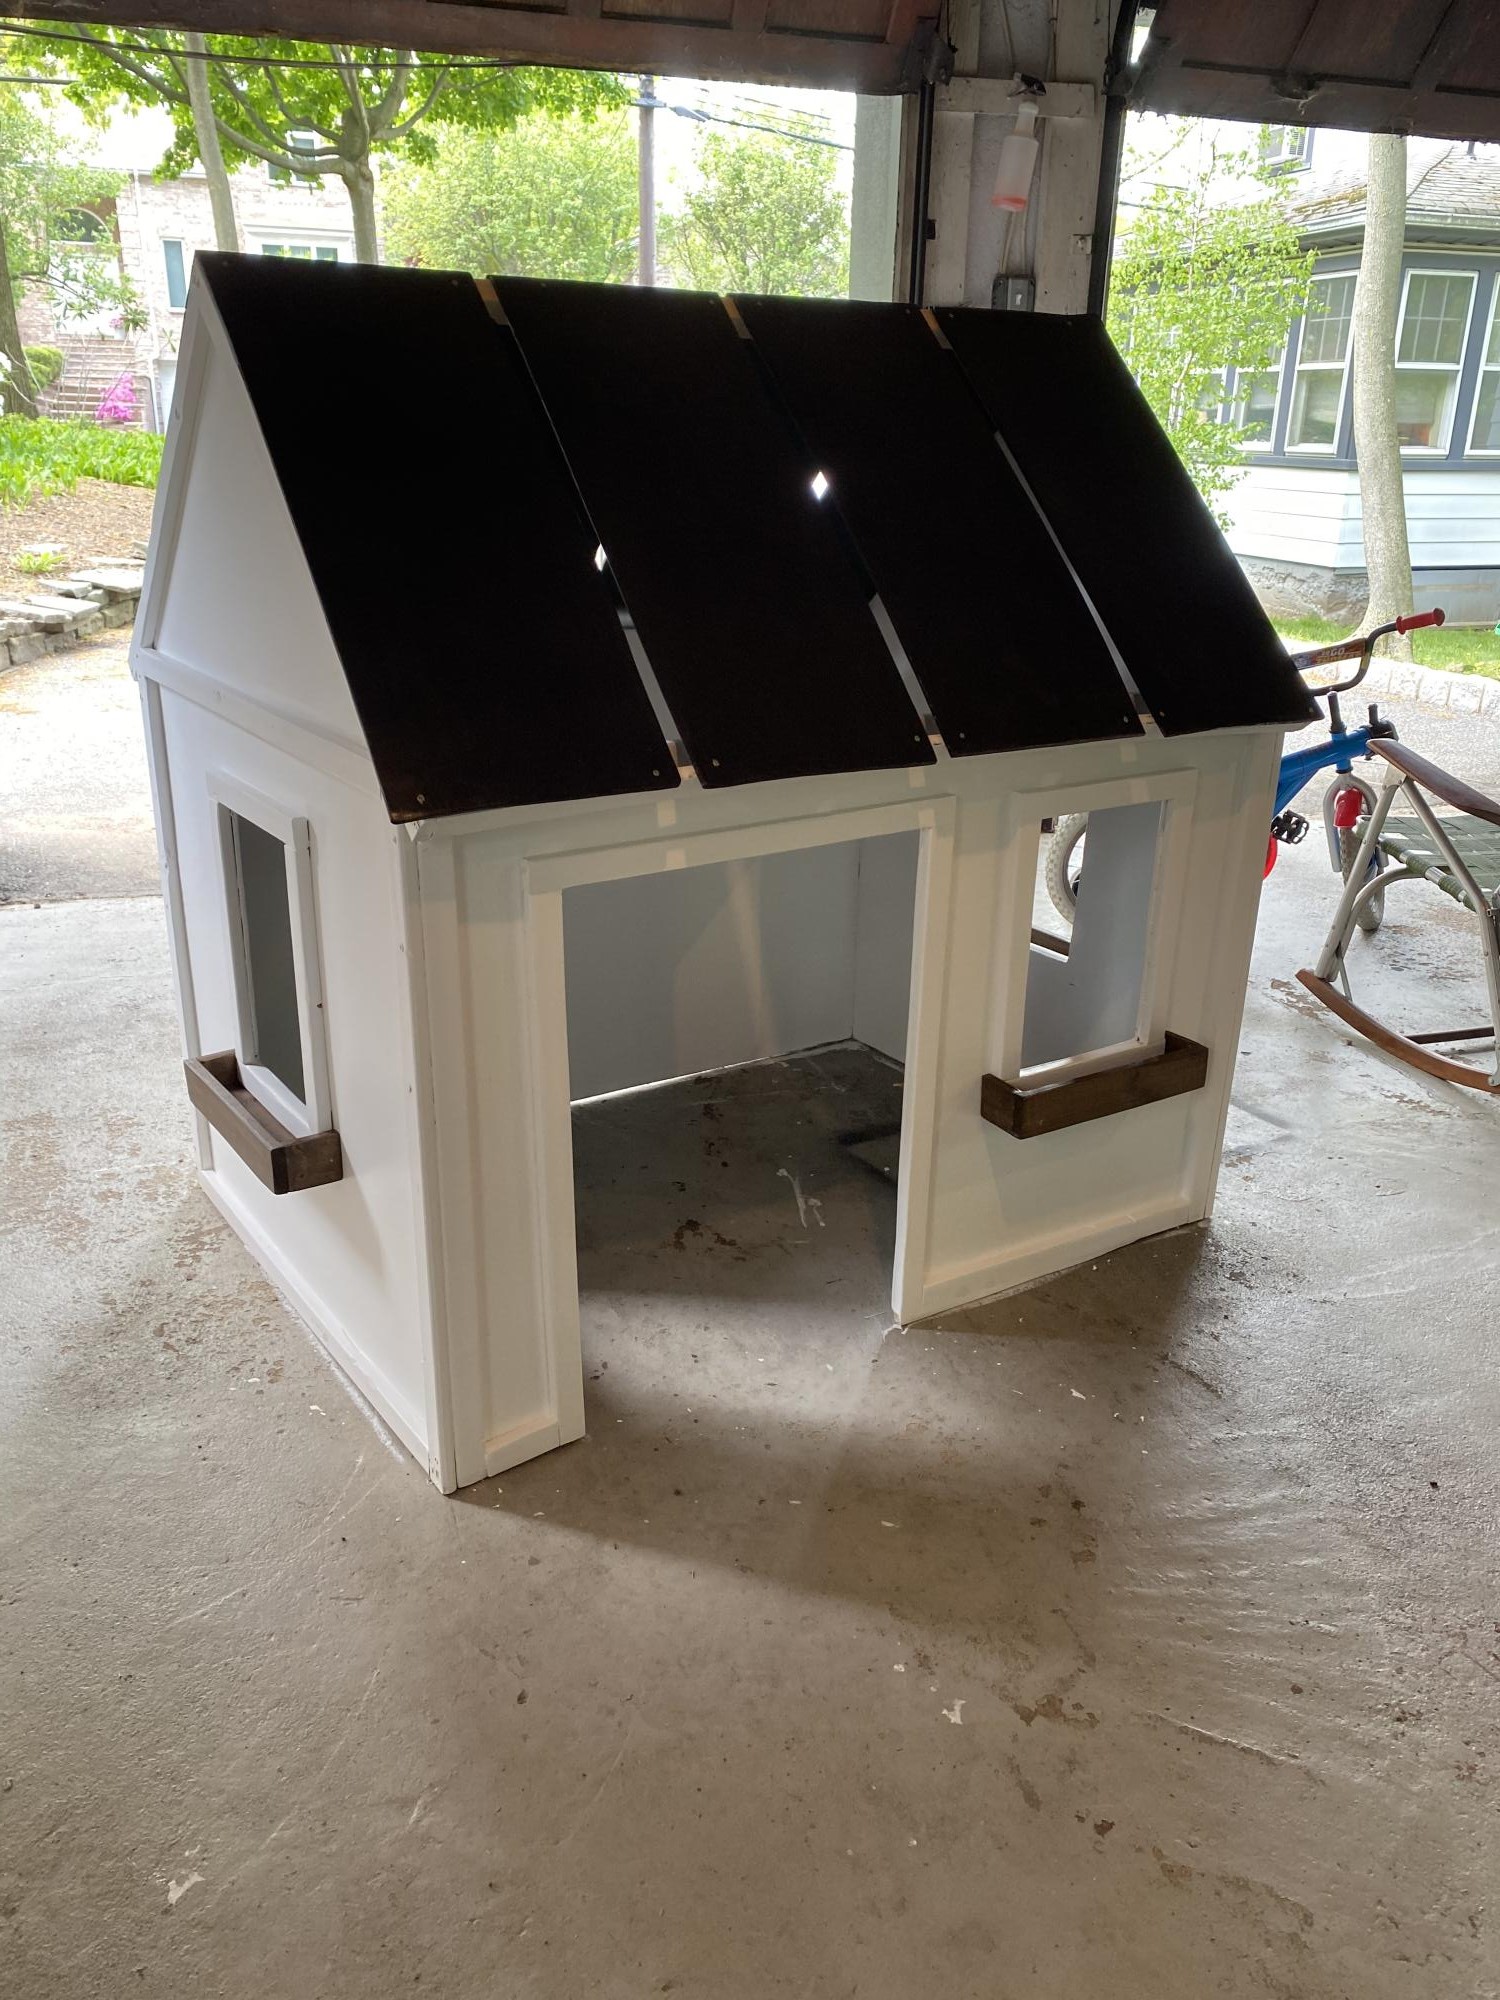
I made this in a few minutes. The kids were too excited to try it out; they didn't want me to fill and paint it. I made it out of scrap wood.
My first build using plans through this blog. This project took me about four hours total and cost about 40$ with wood, paint, stain, and hardware.

I used modified plans from Thrifty and Chic. I have the same cushions size from Target that she has. It worked out beautifully.

Tue, 06/05/2018 - 14:44
Love the bright cushions and white paint! Thanks so much for adding a brag post!
First project with pocket holes. A little challenging for a complete beginner, but pretty forgiving and fun to make! My nephew LOVES it!