Community Brag Posts

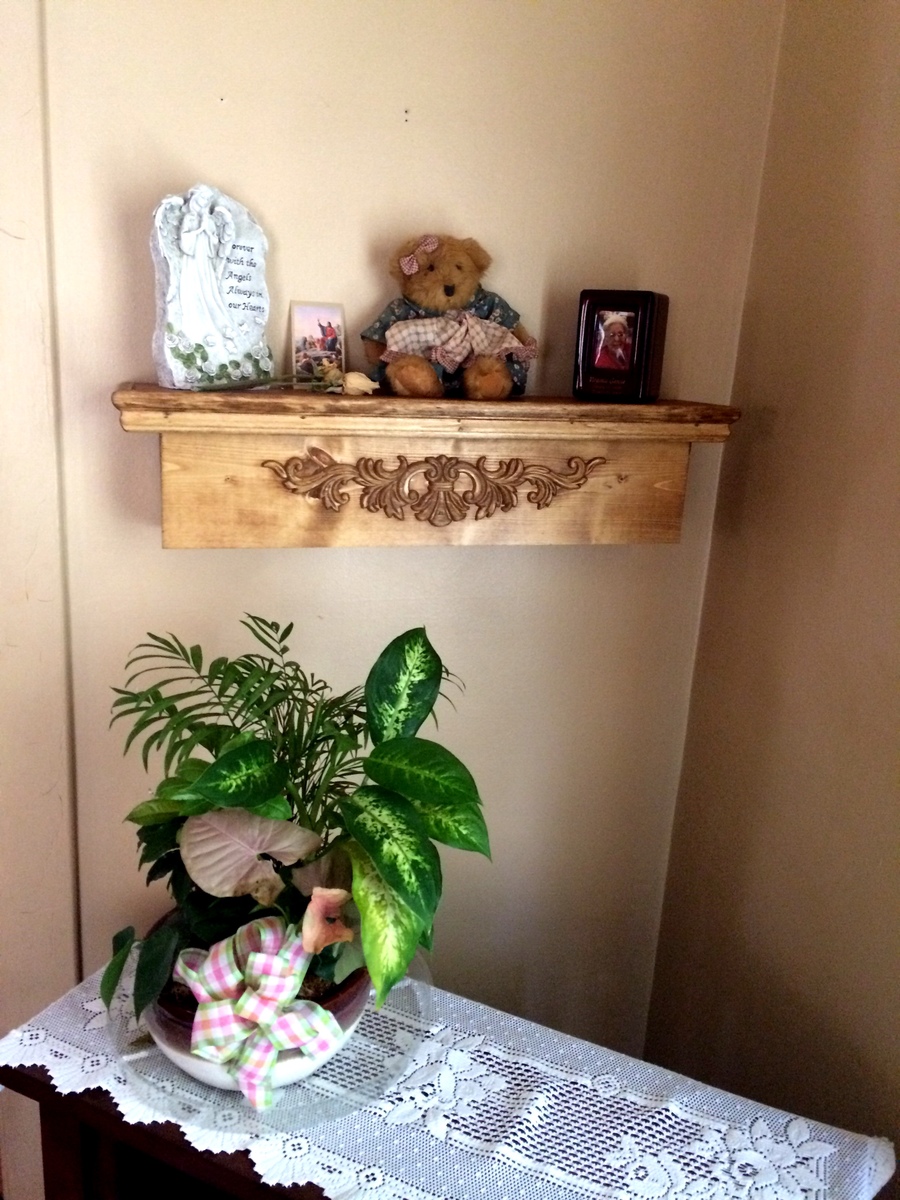
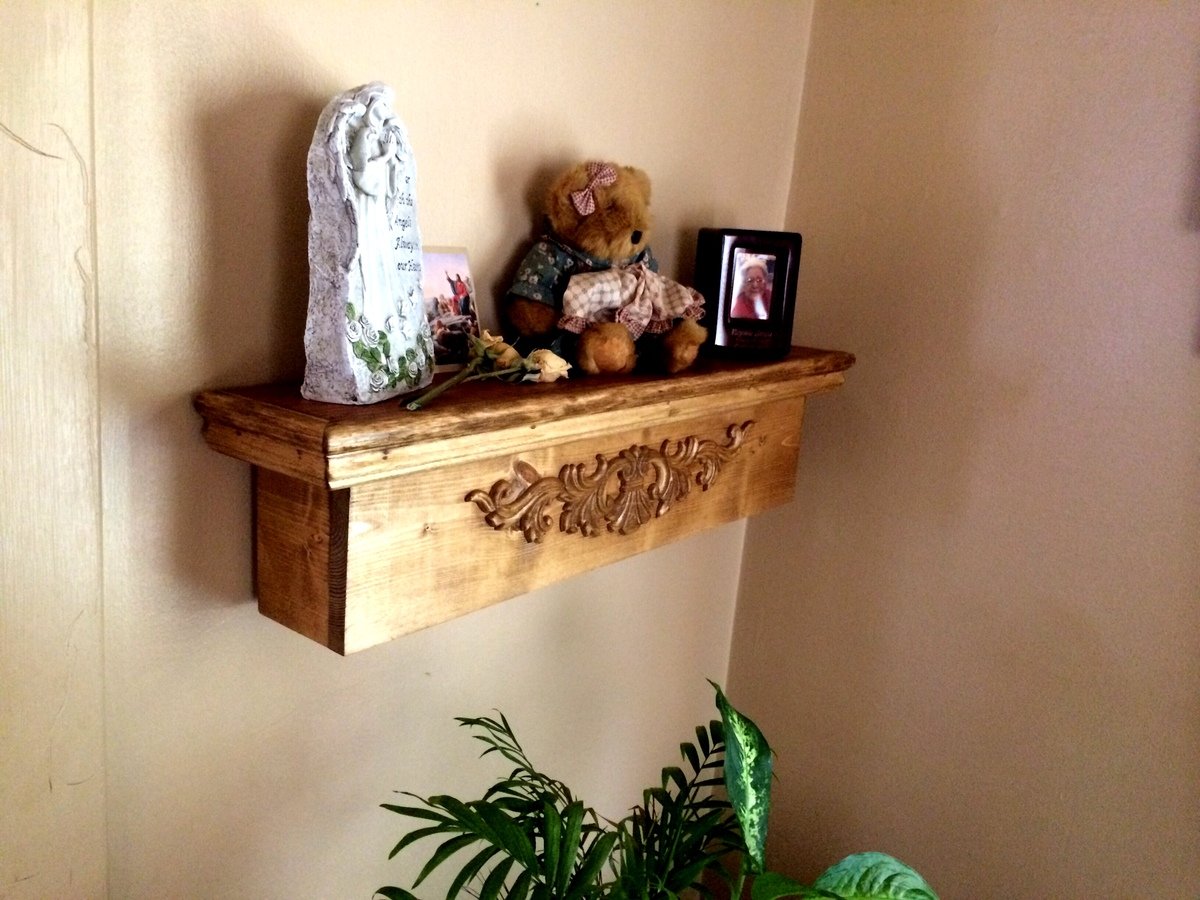
Floating Shelf

Submitted by pde00311 on Mon, 03/02/2015 - 07:50

My father-in-law needed a place to display the remains of Great-Grandma after she passed away last winter. I modified the plans posted at Shanty-2-Chic to fit the space in his living room: http://www.shanty-2-chic.com/2013/02/diy-shelving-floating-ledge.html

Built from Plan(s)
Estimated Cost
$30
Estimated Time Investment
Afternoon Project (3-6 Hours)
Finish Used
Minwax Golden Oak with gloss Minwax Polyurethane
Recommended Skill Level
Beginner

Rustic X Coffee Table

Submitted by Anonymous (not verified) on Mon, 05/29/2017 - 20:15

I was looking to purchase a new coffe table when I found your tutuorial to build this Rustic X Coffee Table. I feel that I have a much nicer table than I could've purchased at a store. Or if I did find this table at a store, I'd imange it would cost around $400. So, thanks for taking the time to create and share these with us. I think it turned out nice. Also, this is the first time I've ever used a pocket jig, and I'm in love. 

Estimated Cost
$120
Estimated Time Investment
Week Long Project (20 Hours or More)
Finish Used
Steel Wool / Vinegar, Used Wax to seal it, but I don't think wax does a good enough job protecting it. I'll prob throw some poly on it.
Recommended Skill Level
Beginner

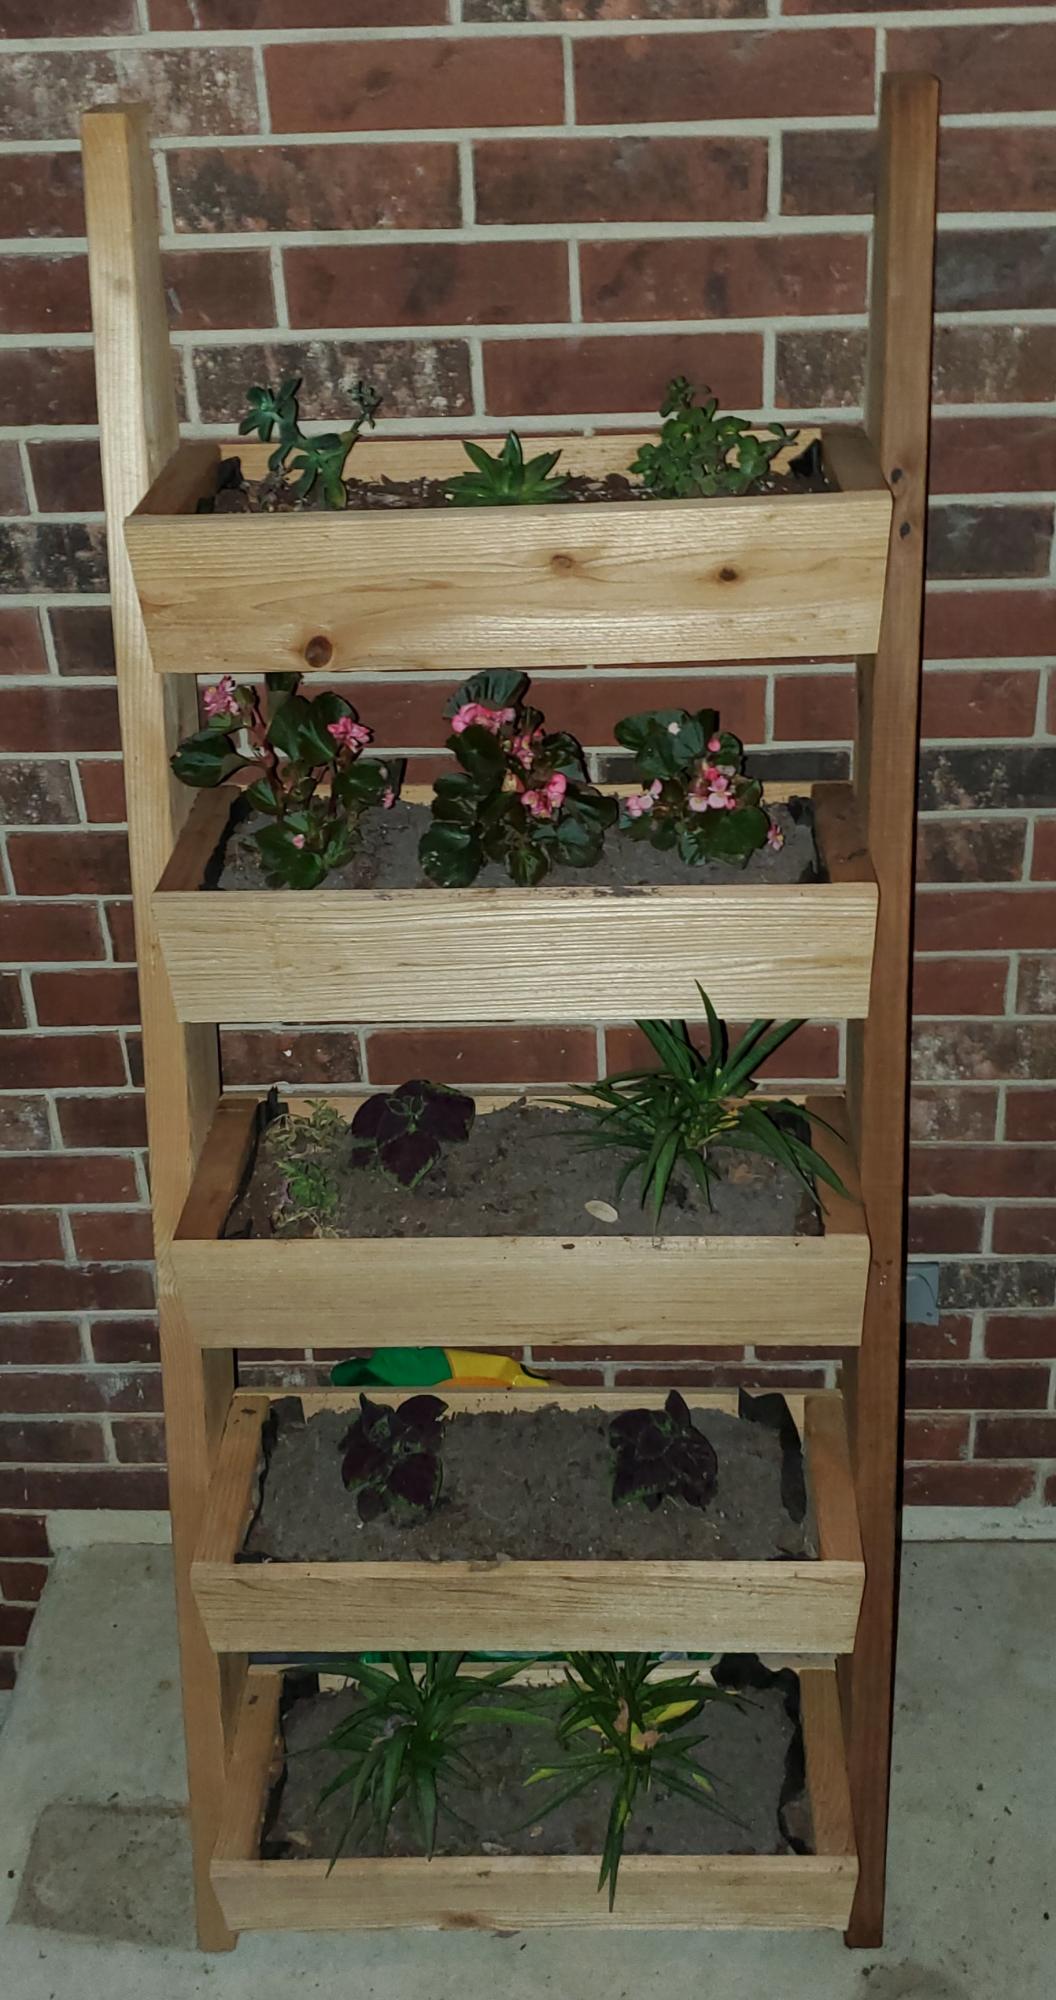
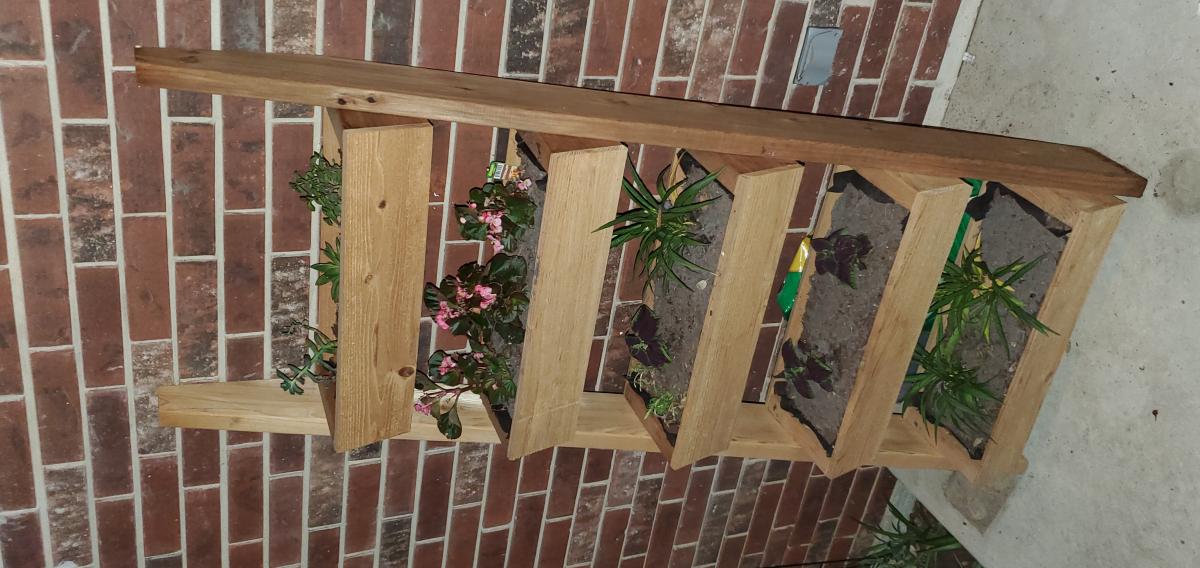
Cedar Laddet Planter

Submitted by Steven W. on Sun, 06/20/2021 - 21:38

This year for Valentines Day, I wanted to do something special for my wife...
Rather than buying some THING, I decided to build a cedar ladder planter for her. I've built a few things now from Ana's collection of plans (a farmhouse bed for my daughter, a potting bench that I use for an outside cooking surface at our remote property in the woods, and outdoor chair and sofa from 2x4s)
I followed Ana's plan to the T and it came out beautifully! (Just like the other projects)
Obviously with the whole COVID craziness and subsequent wood prices lunacy it cost more than $20, but it was still EXTREMELY reasonable. A family friend said they'd seen similar ones (to not nearly as pretty) costing WAY MORE than what I paid for materials.
I've been meaning to put pics up here for a long time but, life, army, COVID craziness...
For the gift, I filled out with raised bed type potting soil and put "chocolate roses" and a gift card for the local nursery to buy whatever plants or flowers she wanted...
I think she was a little irritated with me the days leading up to it because I was spending all my time outside in my shed and not letting her come in... but the end result blew her away (and made her feel a tad guilty for thinking I was just trying to not spend time with her hehehe)!

Estimated Cost
$65
Estimated Time Investment
Afternoon Project (3-6 Hours)
Finish Used
Linseed oil
Recommended Skill Level
Beginner

Comments

Storage Table

Submitted by Yesi on Sun, 04/14/2013 - 20:05

This was my first Ana White Project and I think it came out well. I already had the chairs and needed a table to match the whimsy. The chairs are counter-height so I changed the dimensions of the table to match the height. I re-used an old oak table top to save some money. The top is painted all by hand and the messages on the apron read: "life is too short to drink bad wine", "sit, relax, and accept the crazy", "eat, drink, and be merry", and "frolic". To help the top from wear, I found a perfect-sized glass on craigslist.

Thank you, Ana, for the inspiration. I just finished the Kids Storage Leg Desk. Off to paint it now. :-)

Built from Plan(s)
Estimated Time Investment
Weekend Project (10-20 Hours)
Finish Used
I used a high quality primer, 2 coats of flat paint for main color, acrylic paint for checkerboard and apron, latex paint for feet. I used 2 coats of satin finish polyurethane to protect it.
Recommended Skill Level
Beginner

Comments

Vintage Step Stools

Submitted by pde00311 on Wed, 03/04/2015 - 07:30

Our two-year-old daughter's newfound hobby of washing her hands and brushing her teeth really took off a few weeks before Christmas. Santa left stools for her and her little sister to be used in different bathrooms.

Built from Plan(s)
Estimated Time Investment
Day Project (6-9 Hours)
Finish Used
Behr frosty glade and cabbage green with silver and gold paint pen for the names. Minwax polycrylic
Recommended Skill Level
Intermediate

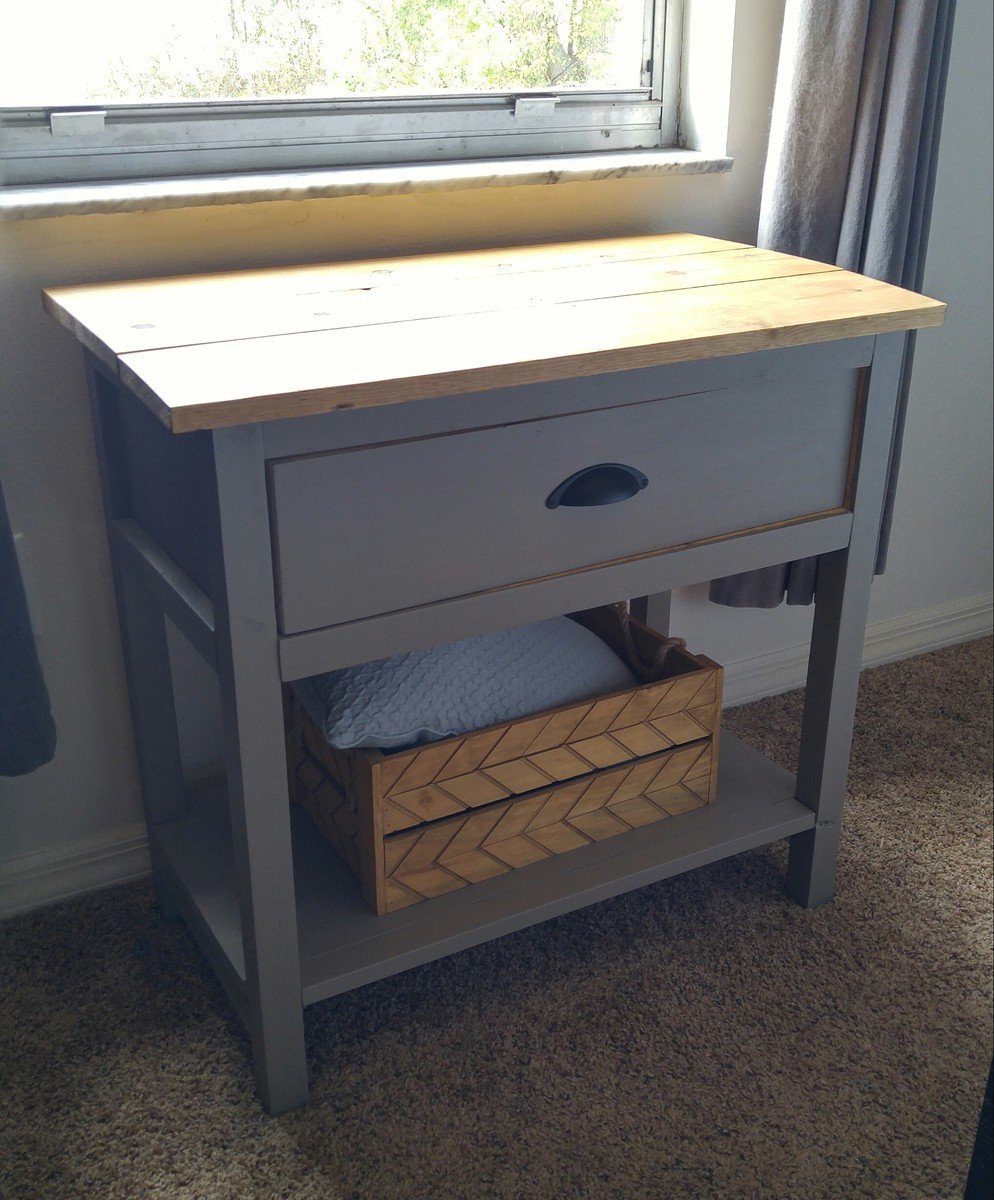
Farmhouse Nightstand

Submitted by Anonymous (not verified) on Fri, 06/02/2017 - 04:52

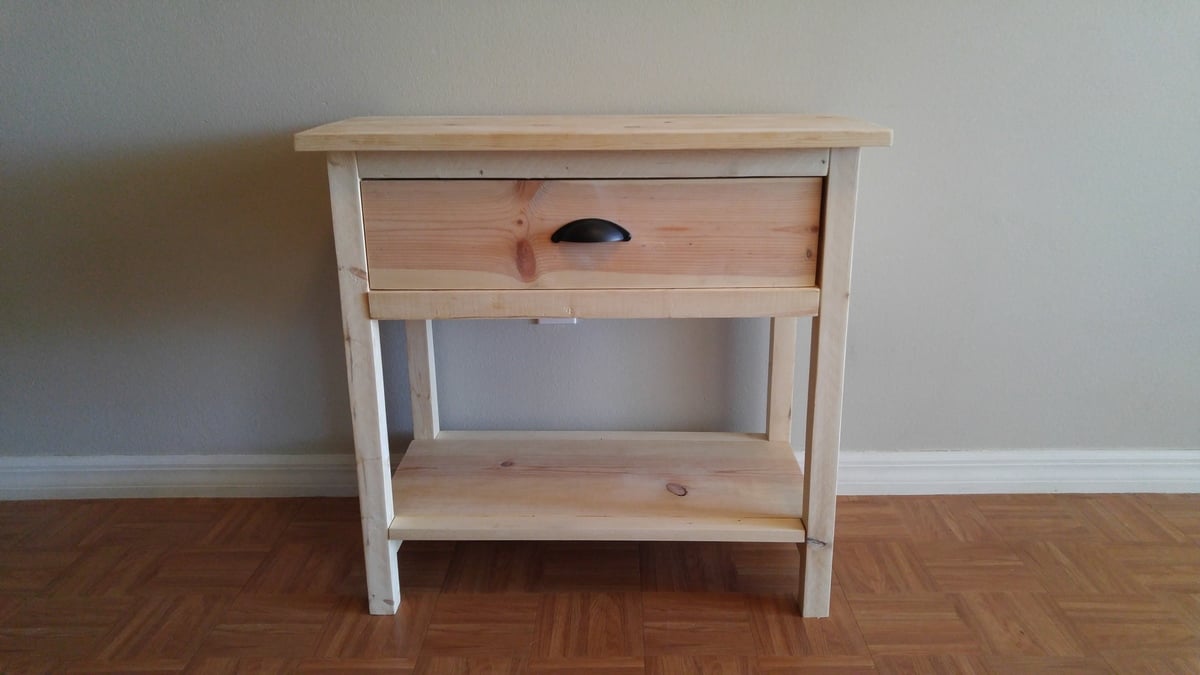
My first build. Wanted something to put in front of my window for my cats to sit and look out on.

Built from Plan(s)
Estimated Cost
$40
Estimated Time Investment
Weekend Project (10-20 Hours)
Finish Used
Artminds Trellis chalk paint, weathered oak and provincial stain
Recommended Skill Level
Beginner

Spa Bench.... Tara's First Project!

Submitted by taradactel on Wed, 04/17/2013 - 09:23

I am so so so proud of myself for building this great bench. I can' t wait to do the next project. I wanted something bright and fun to put in my entry way to put shoes on. I thought this was a great first project. I opted for orange, ( ) I wish it had been a different shade, it's pretty bright. When I ruffed up the edges with brown (with a toothbrush) that helped take the brightness down a bit. I chevroned the top to make it funner. Chevroning is a pain in the behind, it takes forever to tape it off but it's cute in the end. I noticed a few people said they did this in a couple hours, I don't know how. It took me two days! It doesn't take more than two or three hours to cut the wood and put it together but then you have to fill the holes, sand it, prime it, paint it, touch it up....

If you have all the tools already... Then the cost is low.
I spent:
$28 lumber @ Home Depot
$20 paint & primer @ Walmart

Now the only problem is I don't have ANY other orange things in the house. I'm going to have to rethink my decorating, or build another bench ;)

Thanks Ana!

Estimated Cost
$40-$60
Estimated Time Investment
Weekend Project (10-20 Hours)
Recommended Skill Level
Starter Project

Comments

dmcarwin

Wed, 04/17/2013 - 14:20

Great job! I agree with Pam, use the same orange paint and paint a few things in your house to pull the colors together!

Pet Kennel - Side Entrance

Submitted by Quovadio on Sat, 03/07/2015 - 14:32

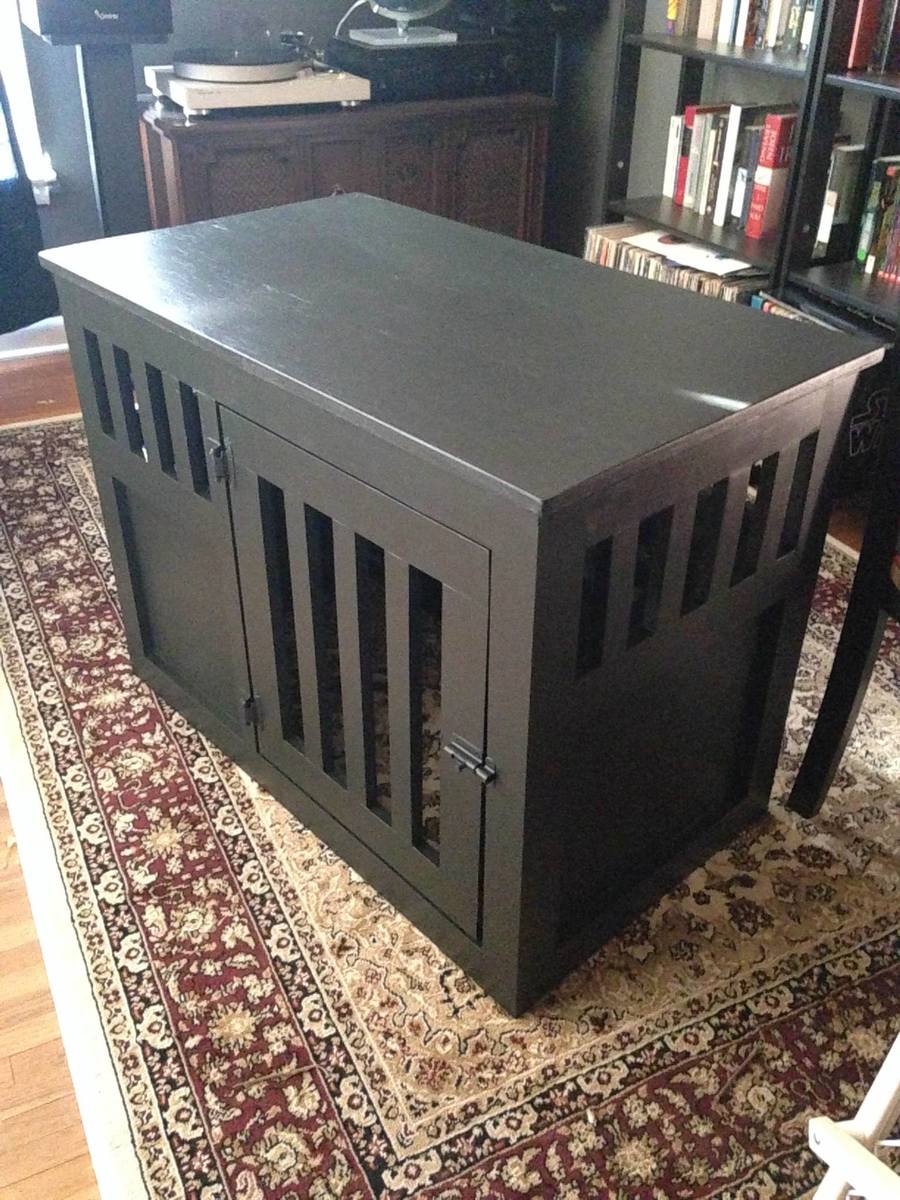
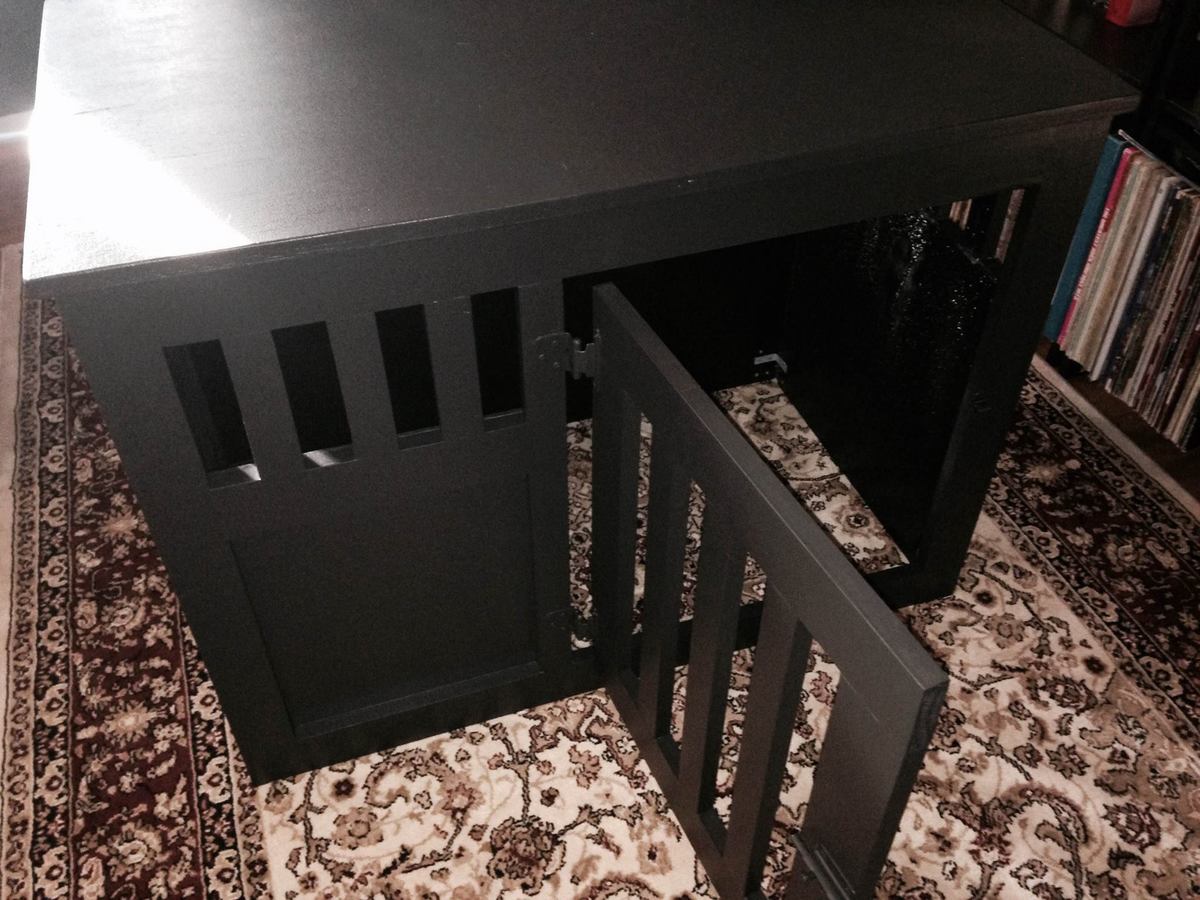
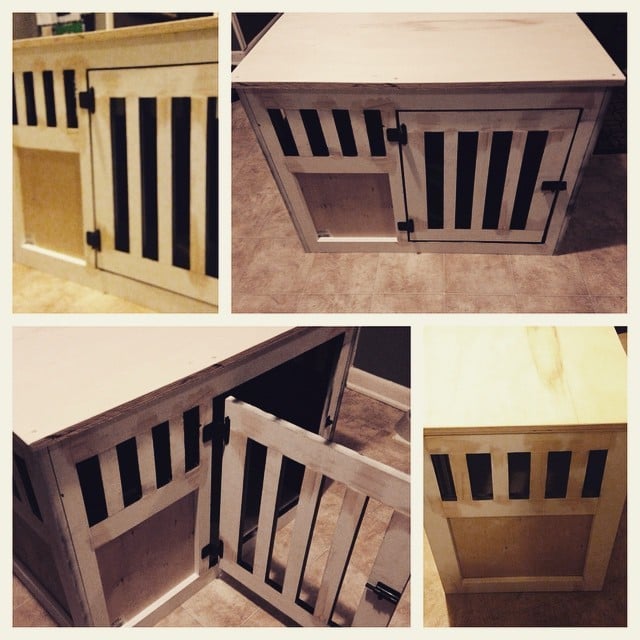
I used the basic plans with two significant alterations.  I made the dimesions slightly narrower, and I moved the entrance to the side.  Both of these changes were made because of space constraints in the location we chose.

Built from Plan(s)
Estimated Time Investment
Weekend Project (10-20 Hours)
Recommended Skill Level
Beginner

Comments

Day bed with headboard

Submitted by Anonymous (not verified) on Mon, 06/05/2017 - 12:02

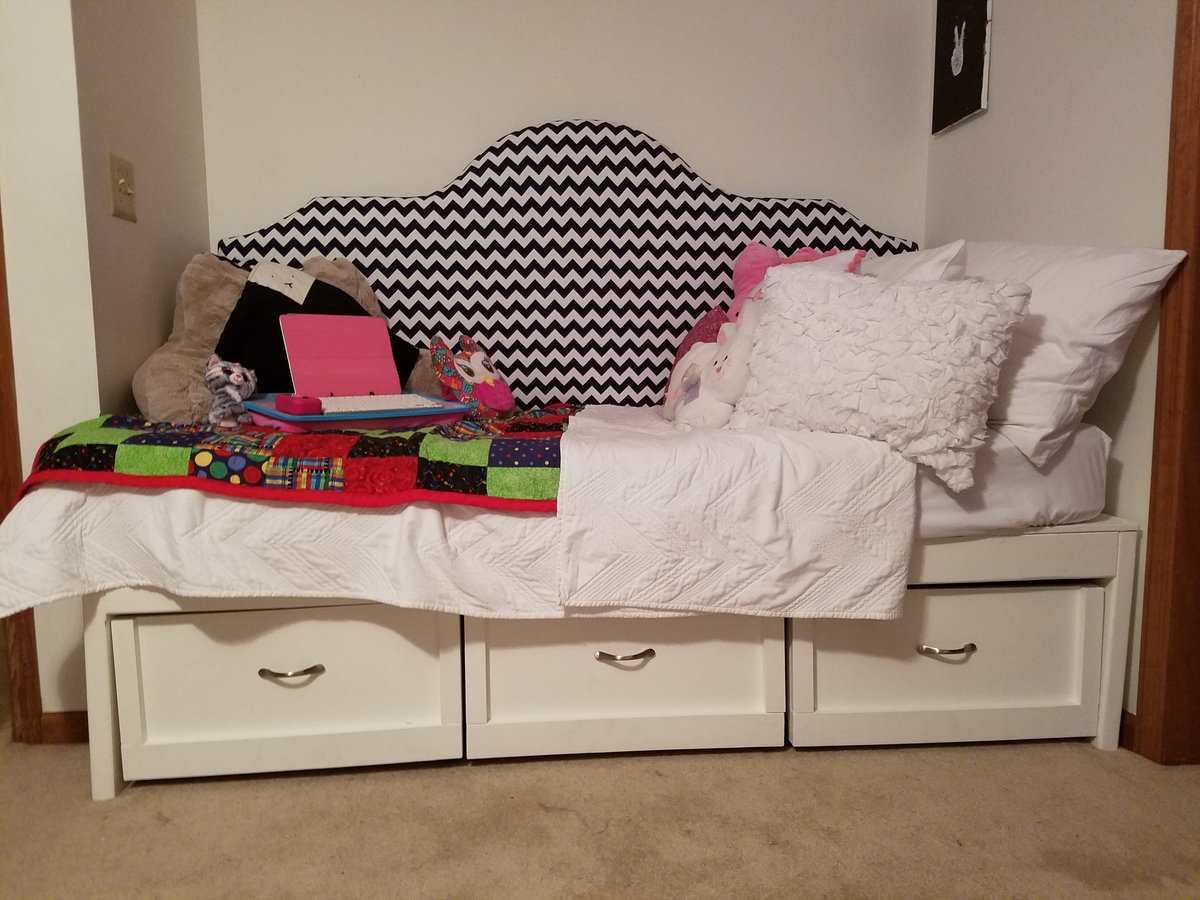
We needed a custom bed to fit a niche. We used the Daybed with storage drawers, but shorted the length by 1.5 inches to fit our space. Our daughter is very happy with her new bed.

Estimated Time Investment
Weekend Project (10-20 Hours)
Finish Used
Paint
Recommended Skill Level
Beginner

A special gift to my friends son!!

Submitted by danfig on Tue, 03/10/2015 - 13:30

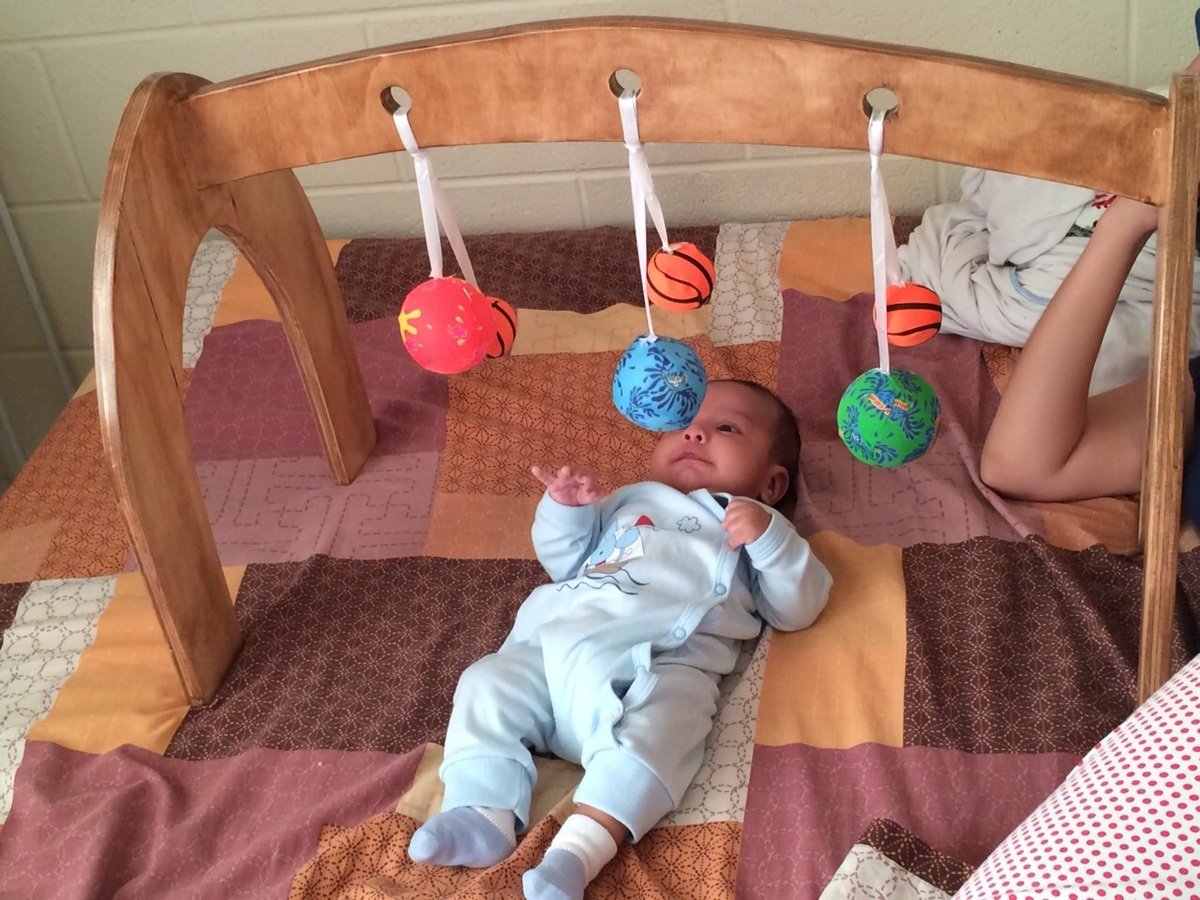
Hi from El Salvador, Central America, this was a realy easy proyect but give this gift to your friends and you will touch their hearts, take the time and effort to build it with your own hands is very meaningfull to everybody. Thanx Ana great site!!

Built from Plan(s)
Estimated Cost
all material was spare material, really is a very low budget 4 screw 2 onz of color tint, sand, sealer, thinner in very low quantitys. $30 or less.
Estimated Time Investment
Afternoon Project (3-6 Hours)
Finish Used
Yellow tint (tinte rubio), Sealer, Varnish.
Recommended Skill Level
Beginner

Comments

Linda7

Tue, 03/10/2015 - 16:52

You are so right. People really do appreciate thoughtful, hand-crafted gifts, and yours is beautiful.

Farmhouse Dinner Table - Seats 8

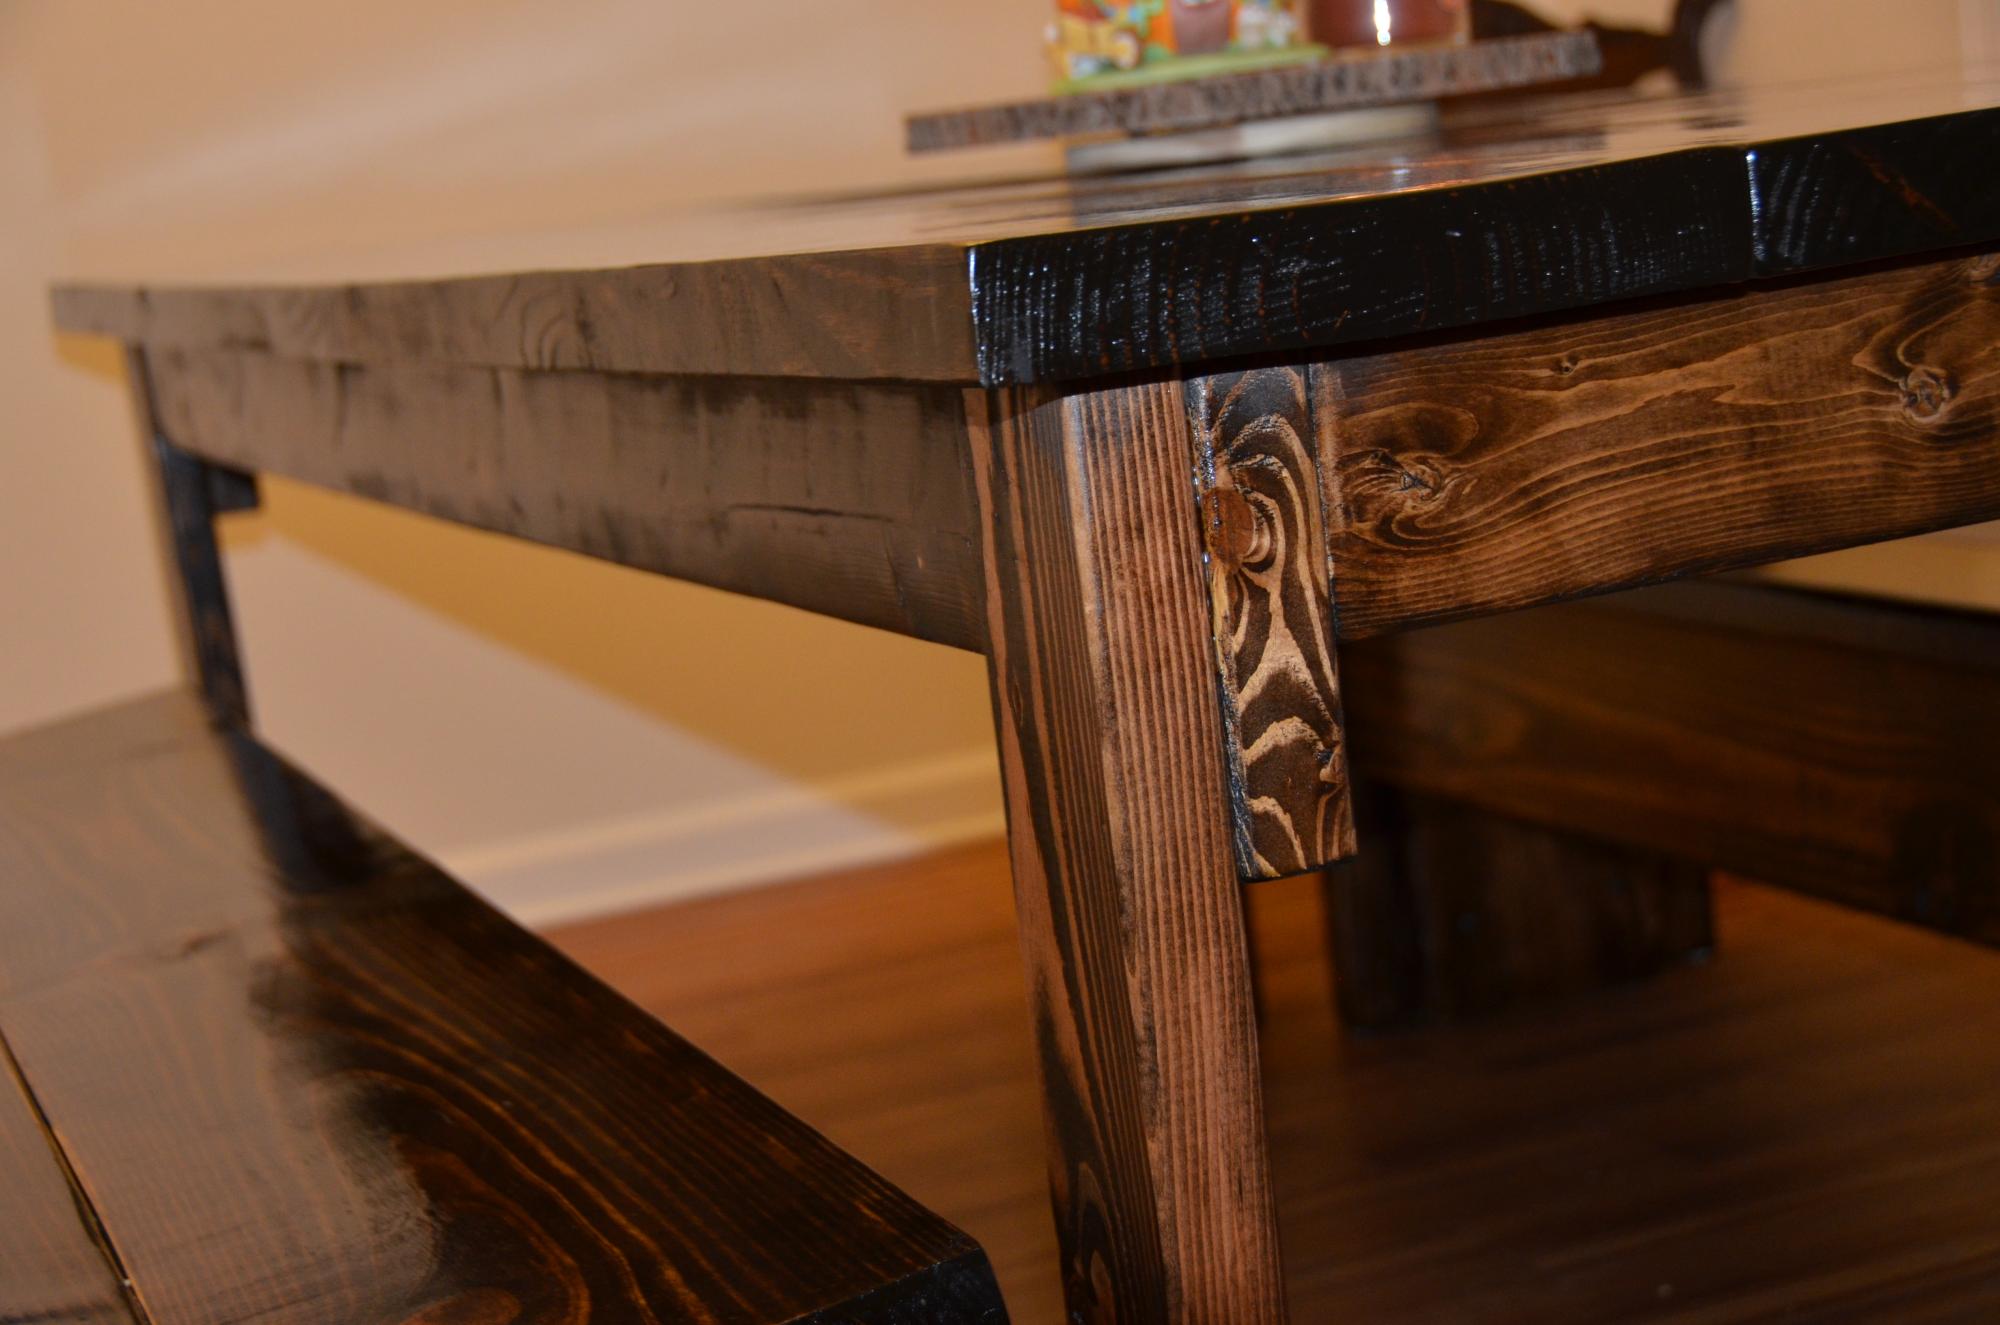
All pine 2x4, 2x6, and 2x10 seating for 8 in espresso stain and semigloss top coat

Estimated Cost
$100.00
Estimated Time Investment
Day Project (6-9 Hours)
Finish Used
Espresso Stain and Semi-gloss
Recommended Skill Level
Starter Project

Comments

Awesome Bed

Submitted by brant on Mon, 04/22/2013 - 13:18

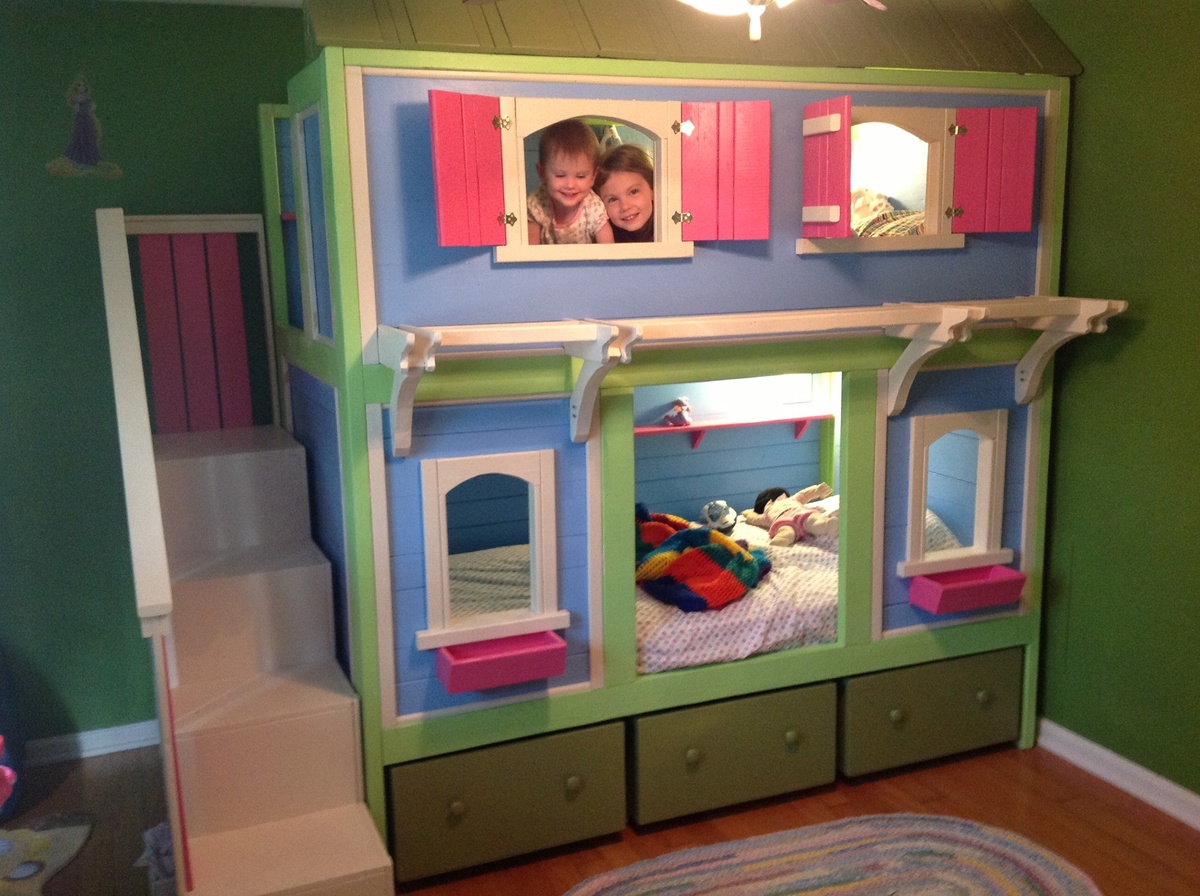
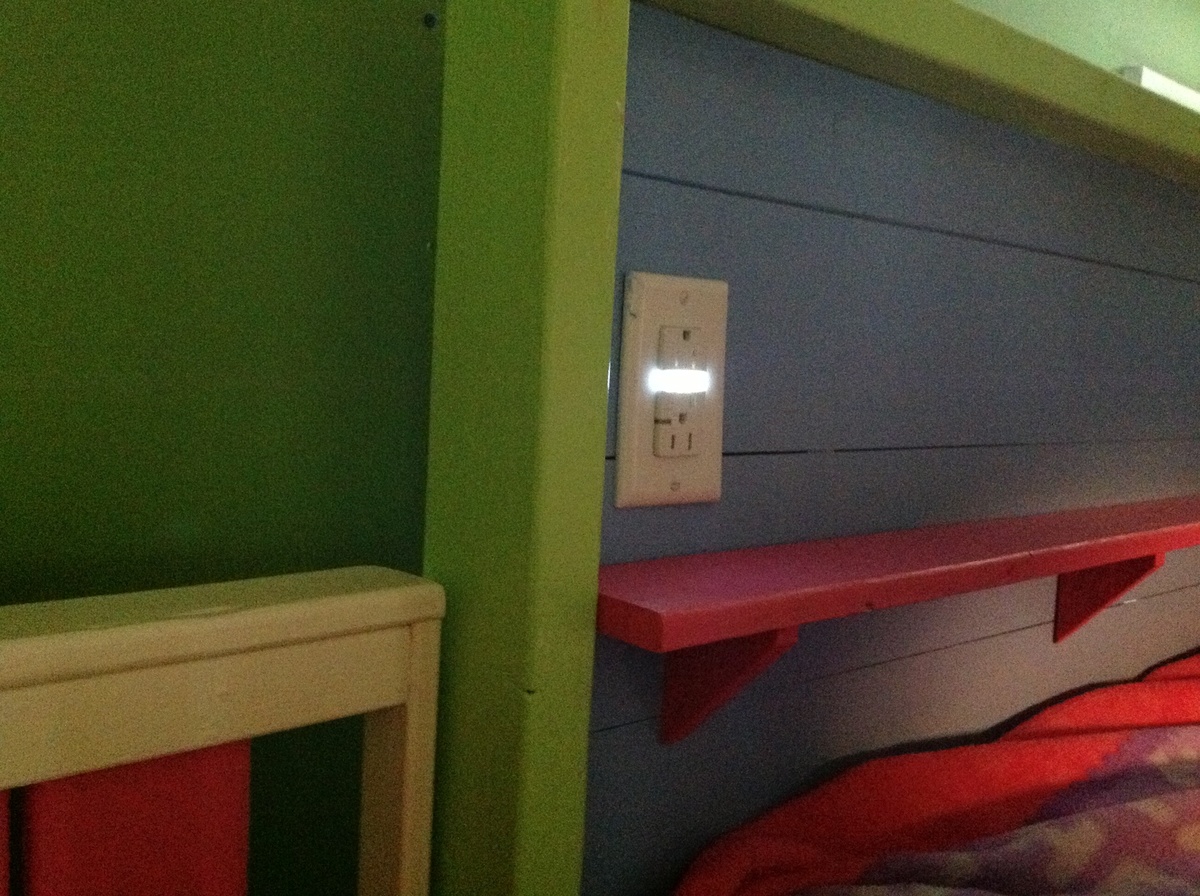
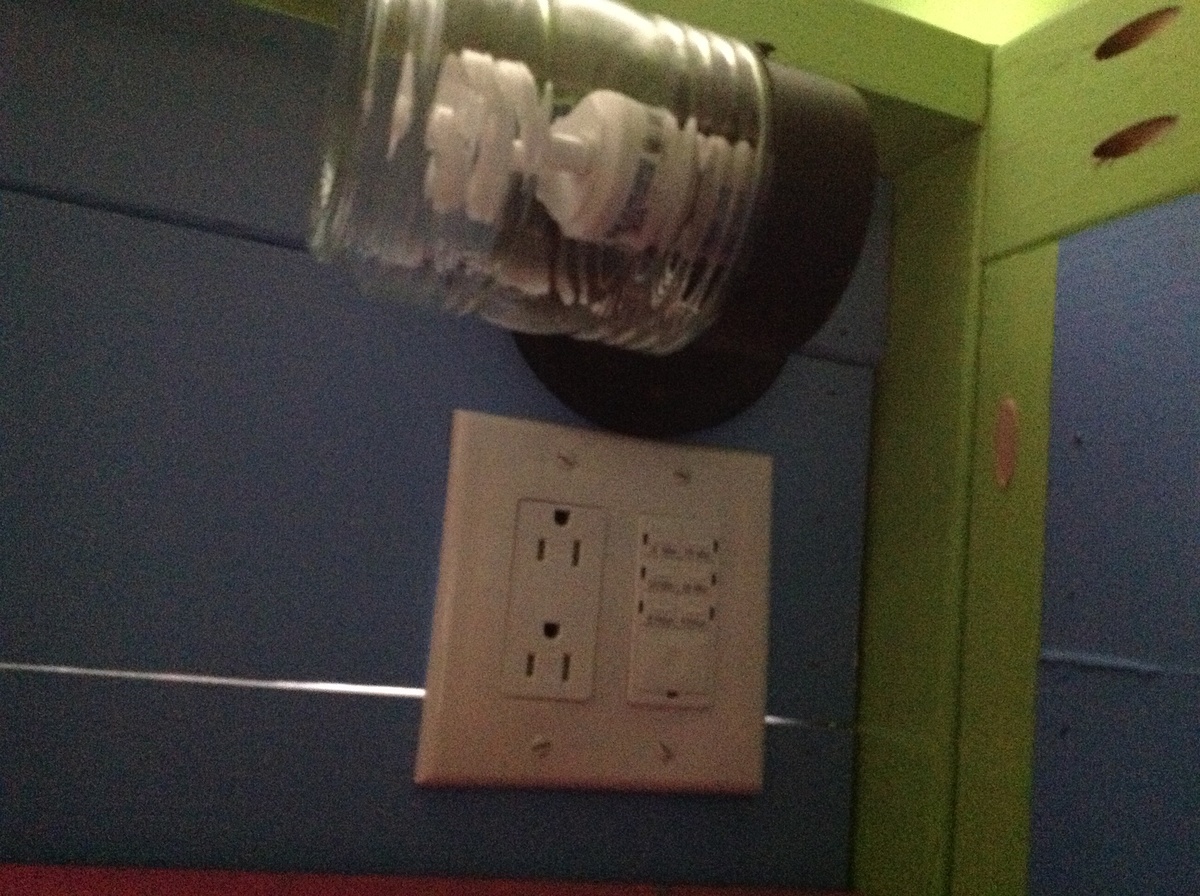
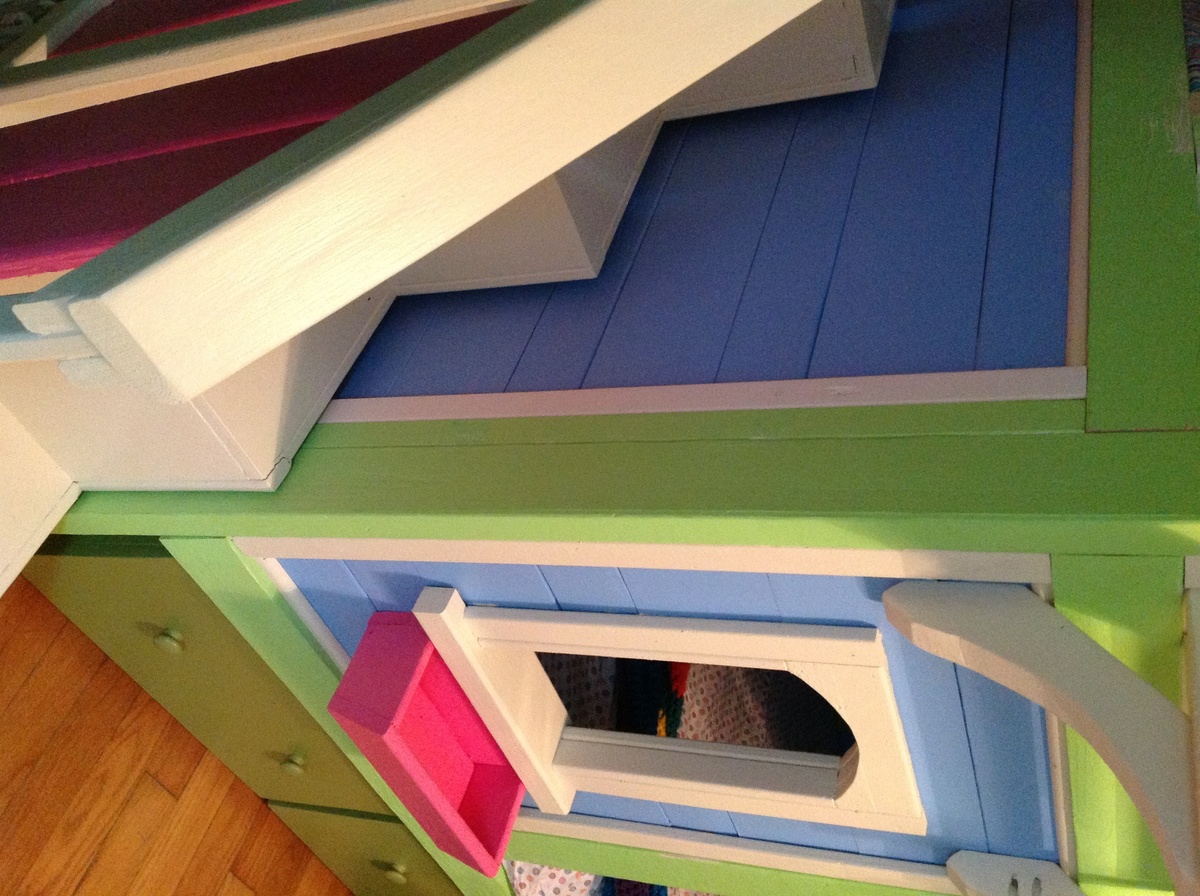
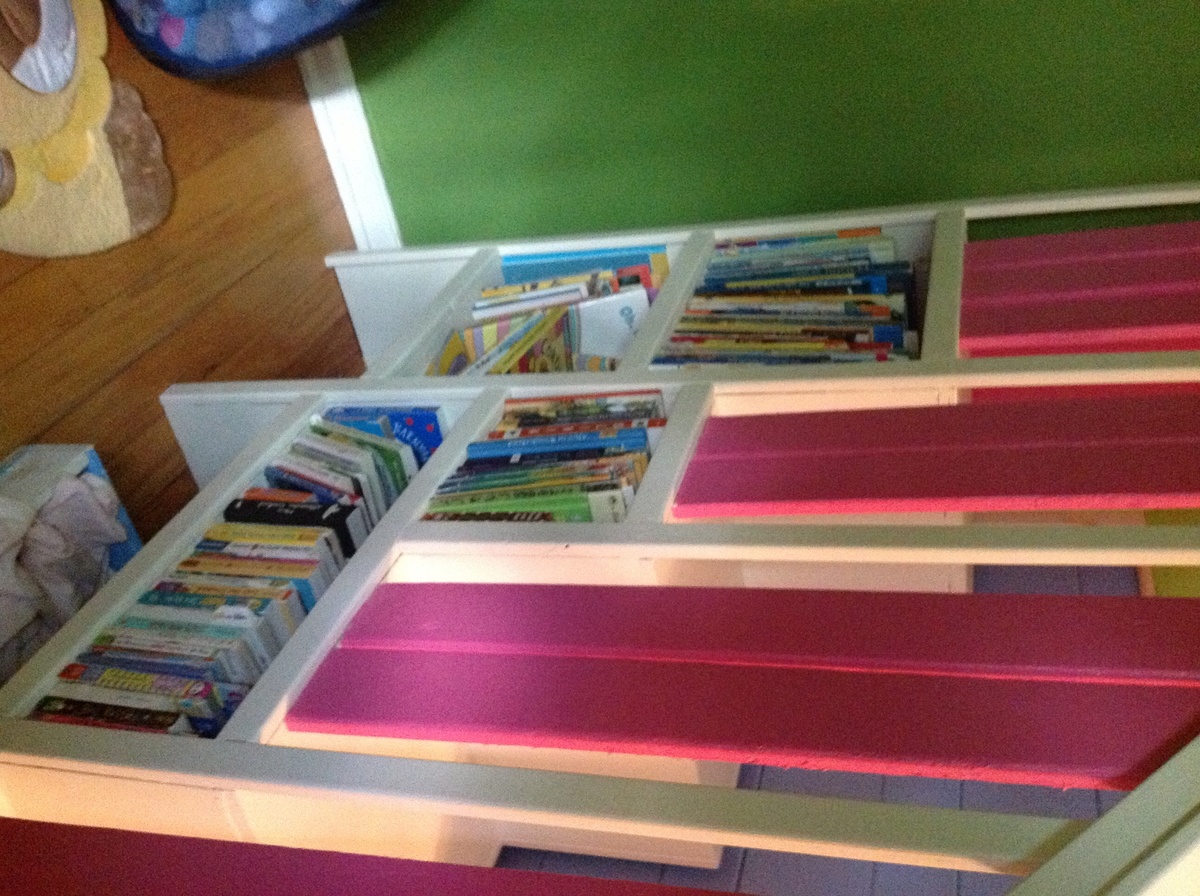
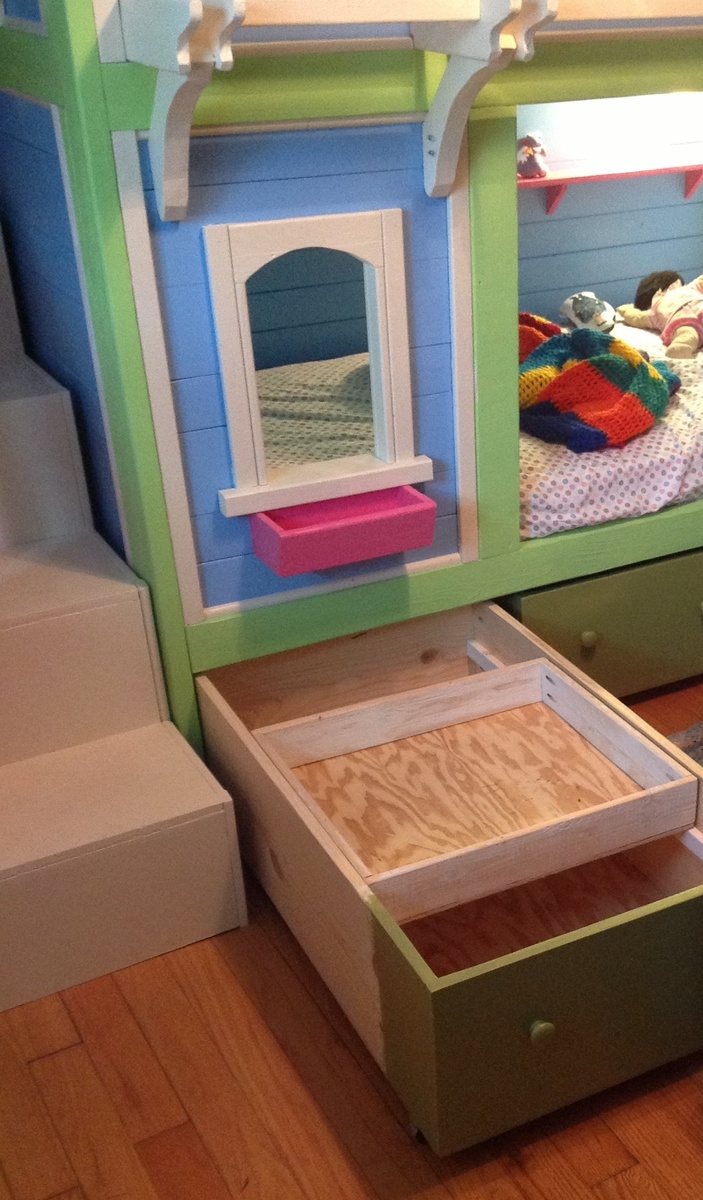
Thank you Ana and Jenny for this project. After many searches for the perfect bunk bed for our 4 and 2 year old daughters I was ready to spend more than $1500 in a store on something that was not nearly as cool as this. The plans were easy to follow and it took my dad and me about a week to make the bed. My girls love it and have spent the last two days in their room.

We made a few modifications to the design that I highlighted in the pictures. We wired the back of the bed with electricity to include some outlets, a light that is on a timer switch, and an outlet with a built in night light. We also added 2x2s to support the sides to make them stronger when the bed is apart. We move a lot (4 times in the last 5 years) and the design was great for taking apart and putting back together. The light on the timer is great for telling my oldest she can read books for 5 minutes and then go to sleep when the light goes out.

Thank you so much for these great plans!

Estimated Cost
$850
Estimated Time Investment
Week Long Project (20 Hours or More)
Finish Used
Behr paint. They have an app for ipad for choosing colors that is great.
Fiesta pink PPH-63
Antique White 1023
Tart apple 420B-4
Scotland isle 410D-5
Costa Rica blue 550B-4
Satin finish
Recommended Skill Level
Intermediate

Comments

brant

Mon, 04/22/2013 - 15:19

Thanks. The storage drawers were per Jenny's design. The inner drawers are a little smaller than the plans say because I don't think there is enough quarter inch plywood for all of the bottoms if you only buy one sheet.

spiceylg

Tue, 04/23/2013 - 05:59

This came out fantastic! If I were their age, I'd never want to leave my room either! Wonderful build and love the fun colors!

birdsandsoap

Tue, 05/07/2013 - 23:37

Your bed looks superb!I LOVE that you wired the backside. I think that is a great idea. Glad your kiddos are enjoying their bed!

SARmomEMT

Wed, 03/26/2014 - 13:57

I love all of these fantasy bunk/loft beds but as I look at them i wonder how hard it is to take the sheets off, put on new ones & tuck in blankets etc. I love these beds but I have physical limitations because of chronic health problems & I am afraid that if I had a bed like this for my kids that I would have to hurt myself to strip or make the bed... Can someone who has one tell me how hard it is - or isn't???? Thank you... A newbie to Ana-white.com but it's now my new #1 favorite website!!

rustic style double kitchen island

Submitted by avanroon17 on Sat, 03/14/2015 - 16:45

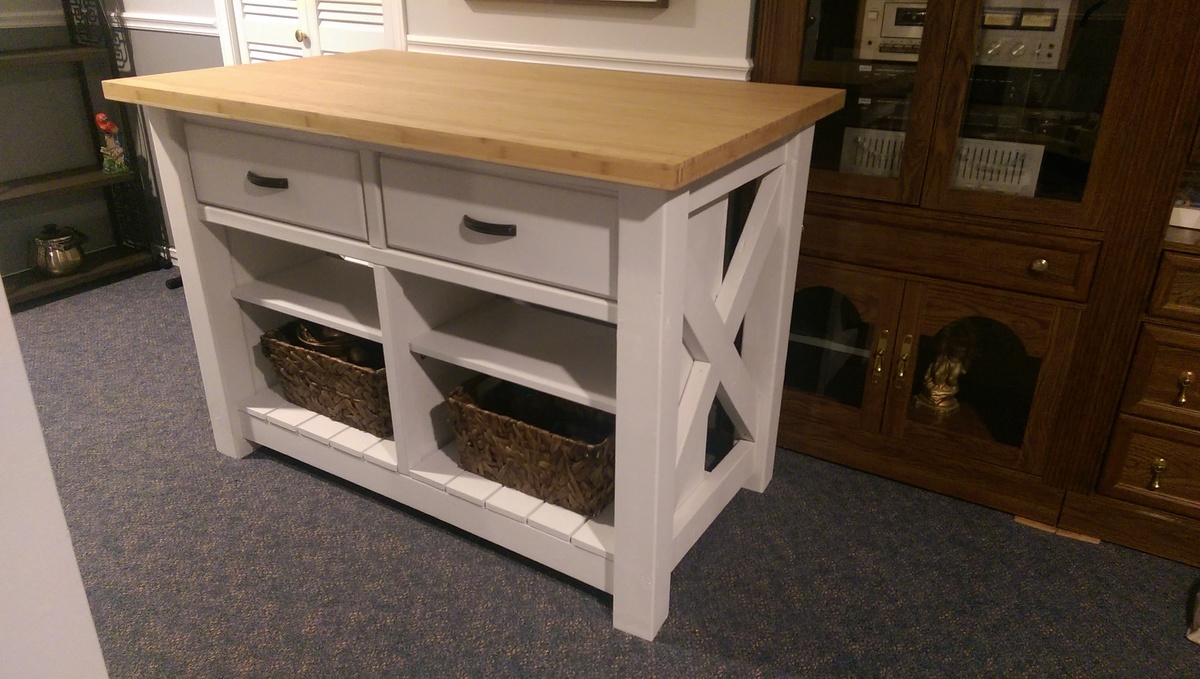
Loved the look of the 4x4 for the corners another user did so we build it that way with a little alterations. Also used a premade top from Lowes - bamboo - finished with a tung oil finish.

Turned out beautiful, I love it. Would reccomend this project, but found it took a long time with paint involved- paint before u screw together- much quicker!

Built from Plan(s)
Estimated Time Investment
Week Long Project (20 Hours or More)
Recommended Skill Level
Intermediate

Comments

Emmerson Buffet or Console

Submitted by Anonymous (not verified) on Sun, 06/11/2017 - 22:12

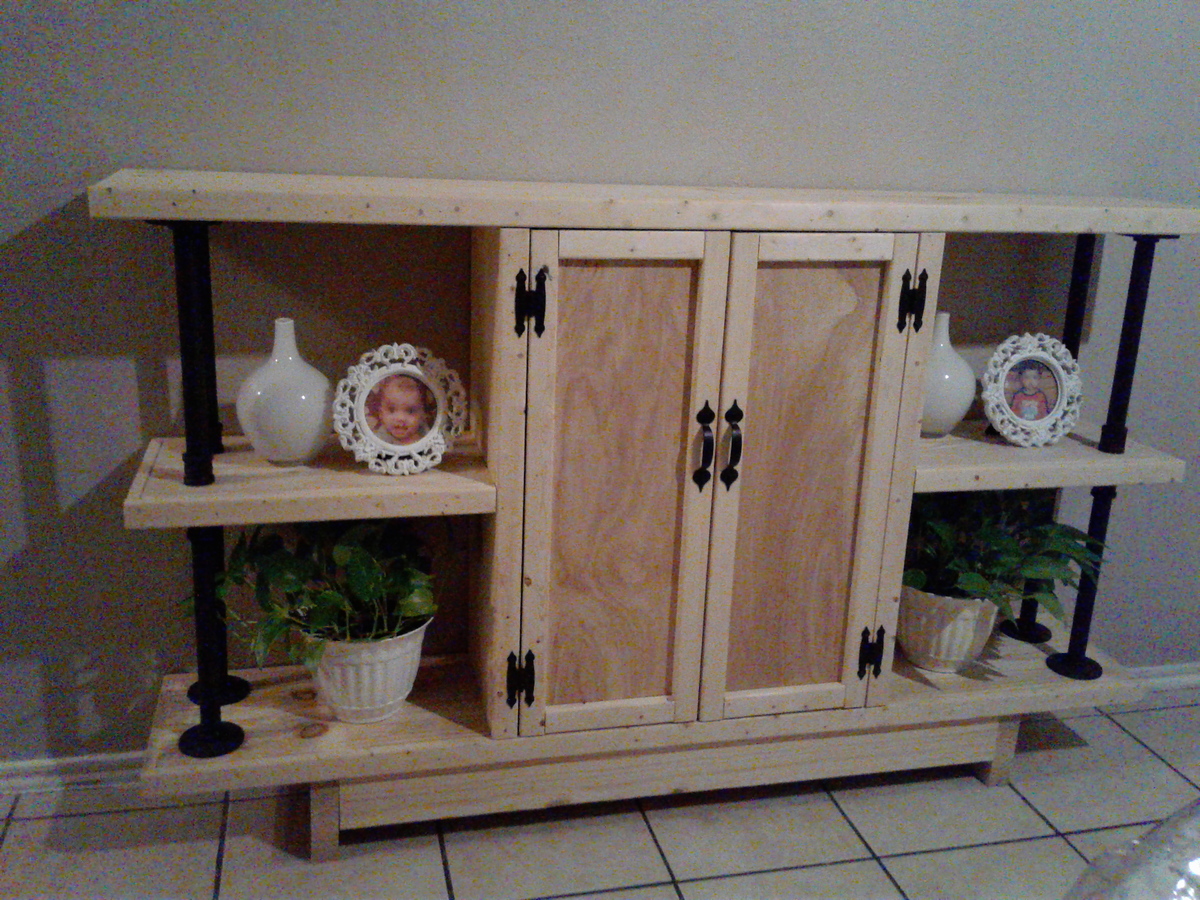
I had a console (or three tiered shelf) that I made with 2x10 and black pipe. At first I was happy with that but when I saw this console and another one on the blog of "Shades of Blue's", I decided to change the designe of my three tiered consol to Emmerson console. I love the console. In new console, I did not use any side pieces. I didn't want to throw away the black pipes because it cost money. So I ended up with this designe. I haven't put any stain or paint. I am not sure what paint or stain to put. So I leave it as it is.

Estimated Time Investment
Weekend Project (10-20 Hours)
Finish Used
Unfinished
Recommended Skill Level
Intermediate

Modern Adirondack Chairs

Submitted by Anonymous (not verified) on Sun, 08/08/2021 - 17:40

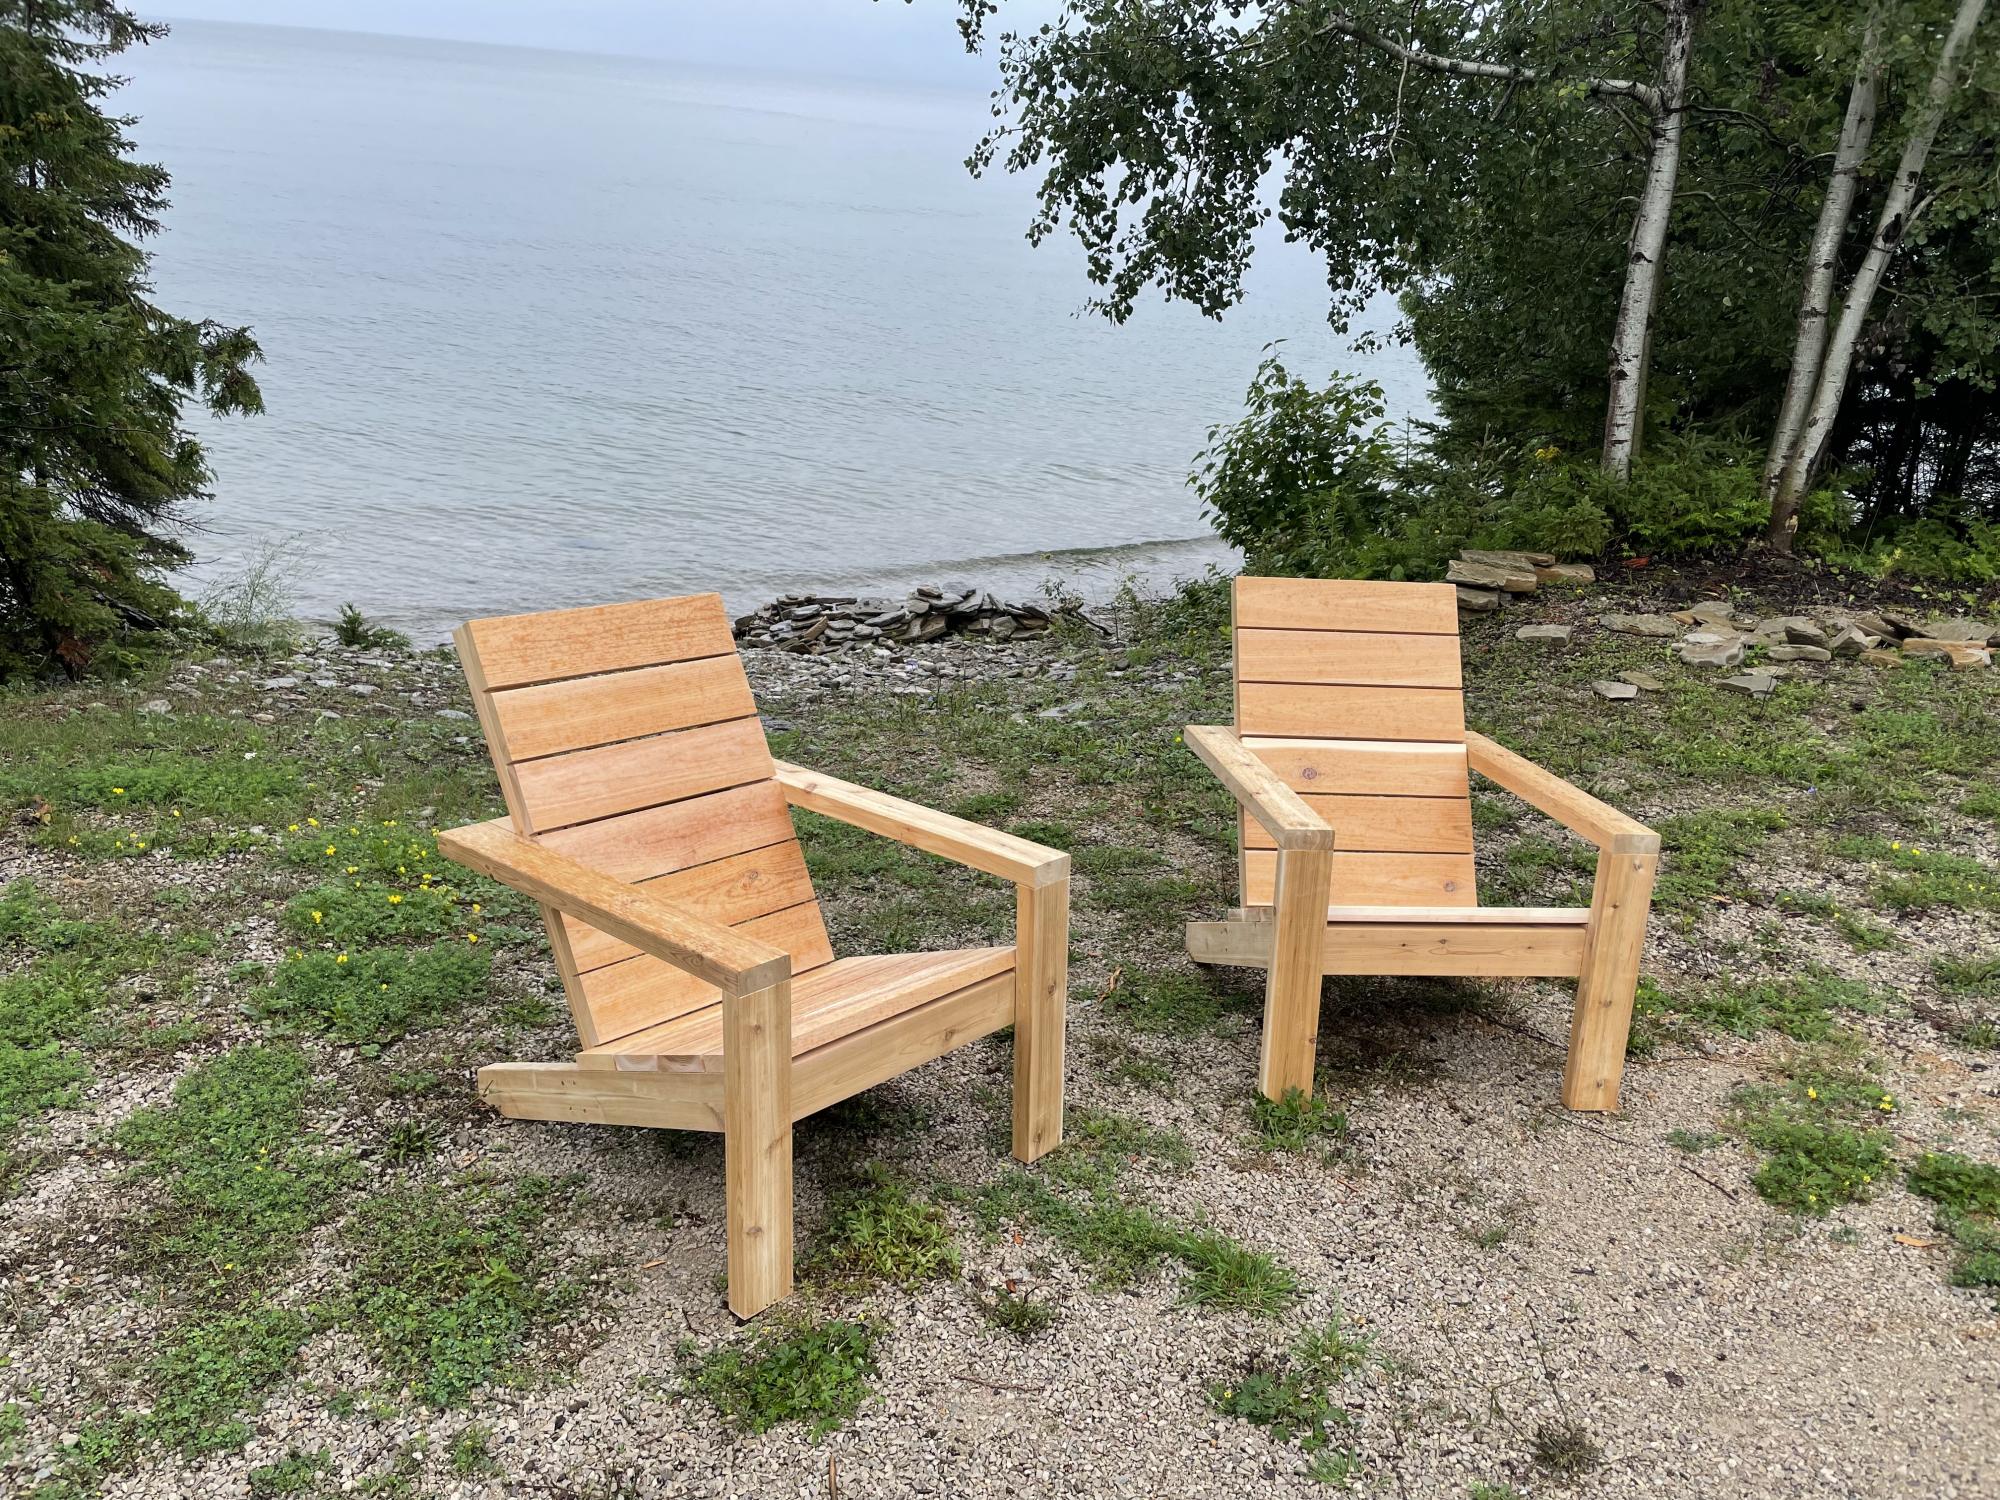
Have been wanting to build these chairs since the video came out for them. Finally found an occasion to build them for a friend of mine. I couldn’t find 1x10’s in cedar, so I used 5/4”x6” cedar deck boards ripped down to 4 1/2”. I also pocket-holed the seat boards in from the inside of the stringers and drilled the back boards in from behind for a clean look on the seat. Overall, it was a really enjoyable build and I’m really happy with how they turned out.

Estimated Cost
$100/chair
Estimated Time Investment
Day Project (6-9 Hours)
Recommended Skill Level
Beginner

Comments

Industrial Numbered Crate

Submitted by efmolly on Thu, 04/25/2013 - 22:51

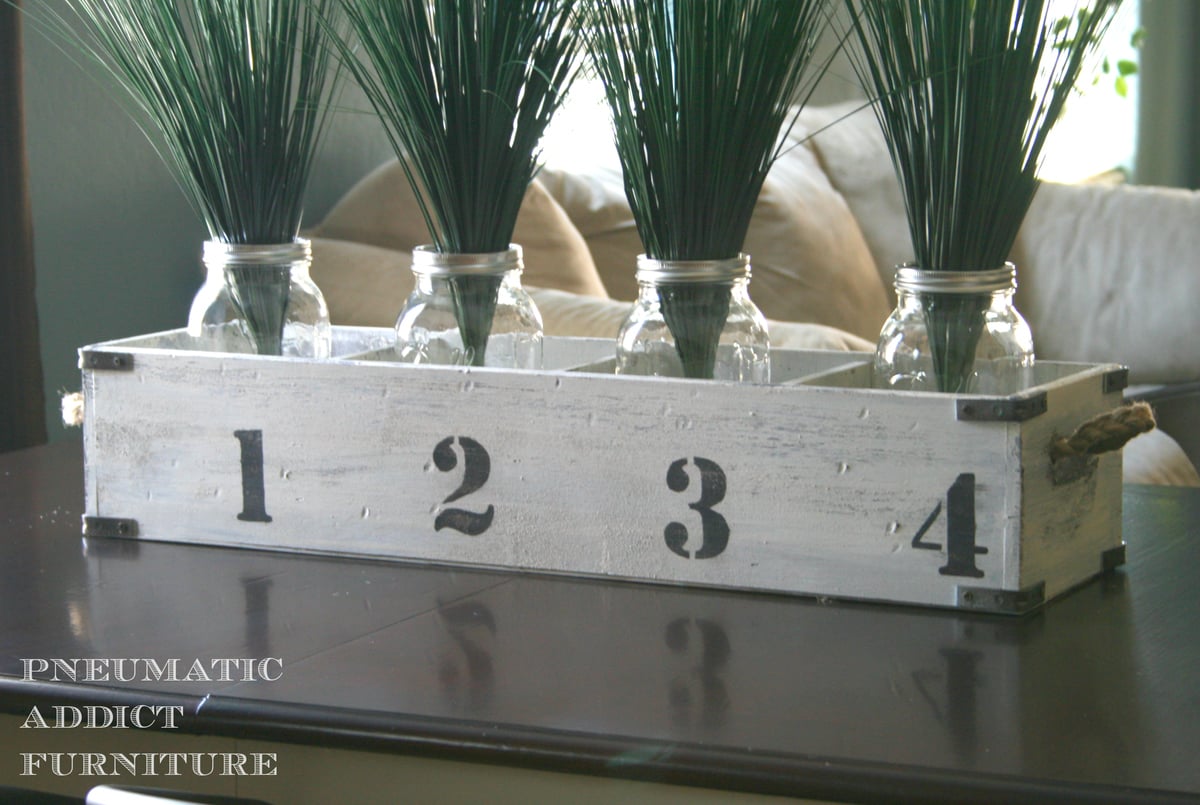
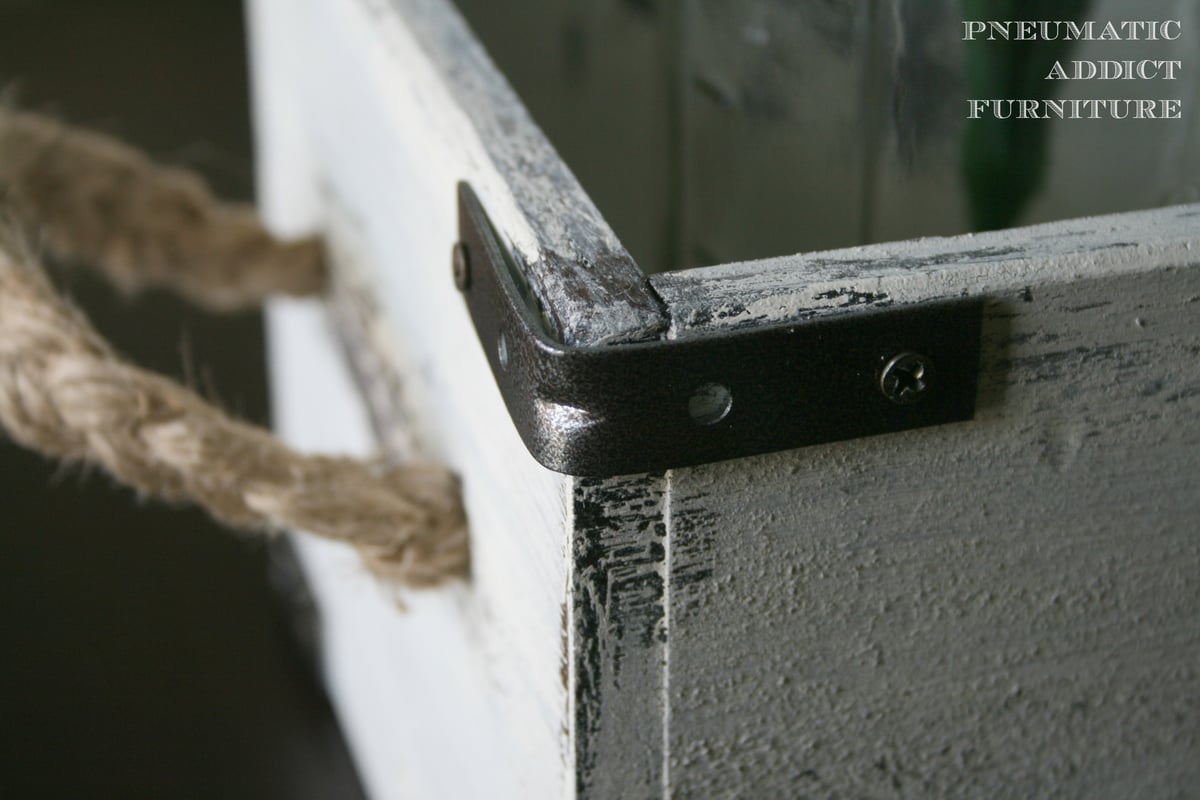
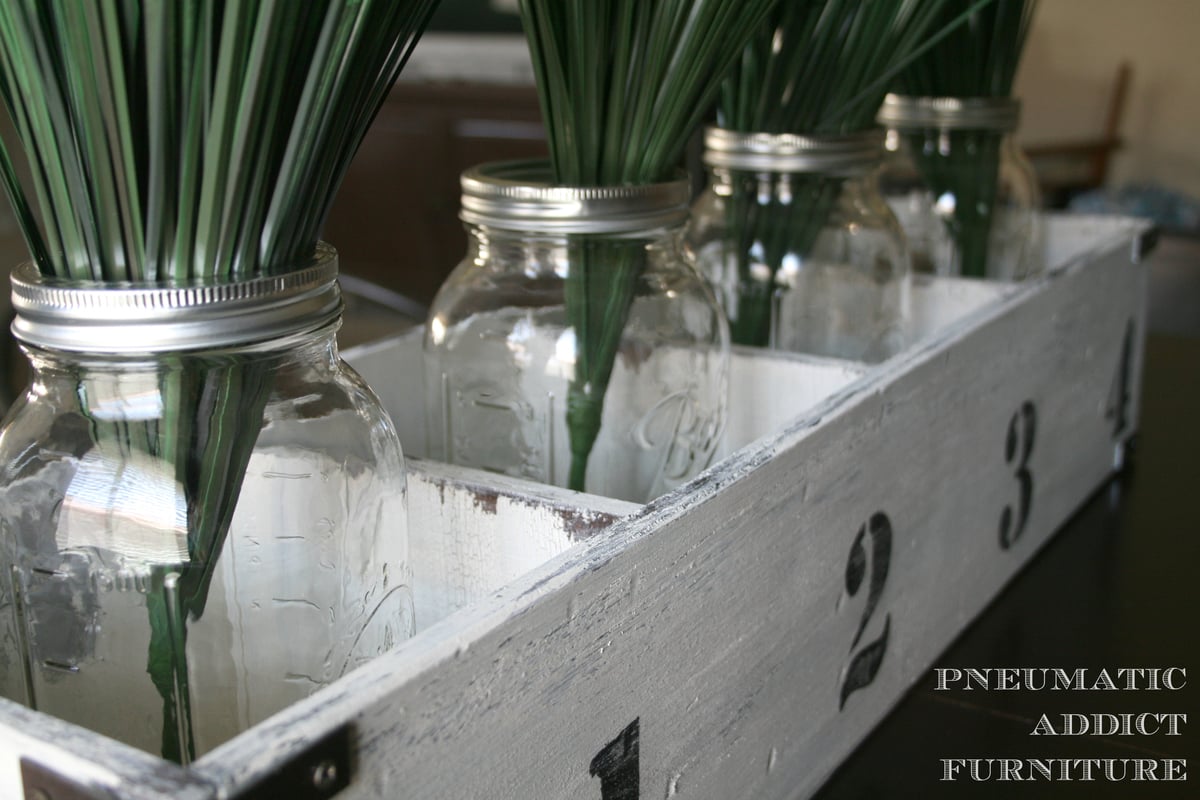
I built this storage crate to fill out space on top of my kitchen table. On my table saw, I ripped 1/2in birch plywood down to 6in widths for the outside frame and 5 3/4in for the dividers. The dividers are 6in wide and so I cut the outside ends to 7in. I attached the whole thing with 1 1/2 finish nails and glue. After finishing, I attached some L-brackets on the corners and drilled 2 holes on either end for handles. For handles, I simply braided 6 strands of jute together and tied knots on the inside of the box. I have more details and photos on my blog link.

Estimated Cost
$20
Estimated Time Investment
An Hour or Two (0-2 Hours)
Finish Used
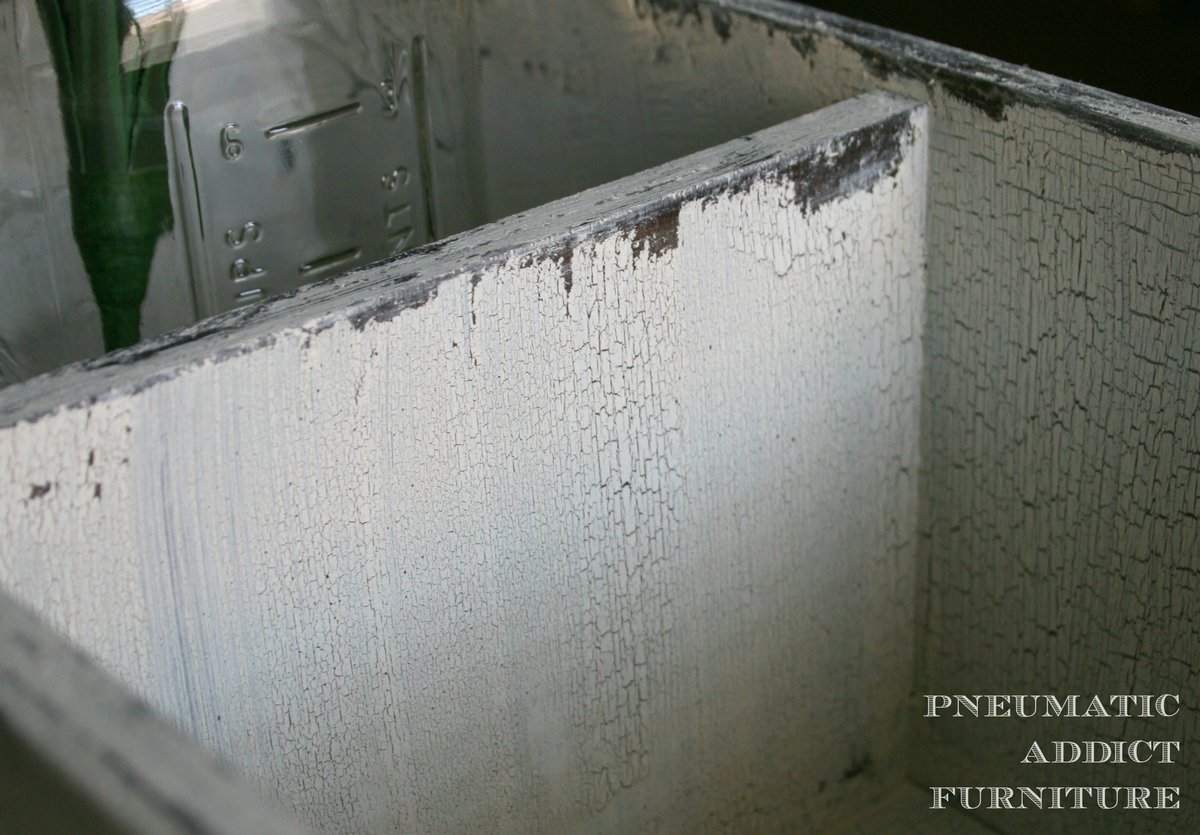
I started by staining the whole thing with Antique Walnut by Minwax. I then used Antique Crackle medium by Old Fashioned Milk Paint, and used some Vaseline for paint resistance on the edges. I then applied one coat of a creamy white, latex paint. After stenciling the numbers, I sealed the entire piece with Crystal Clear by Krylon in matte.
Recommended Skill Level
Beginner

Comments

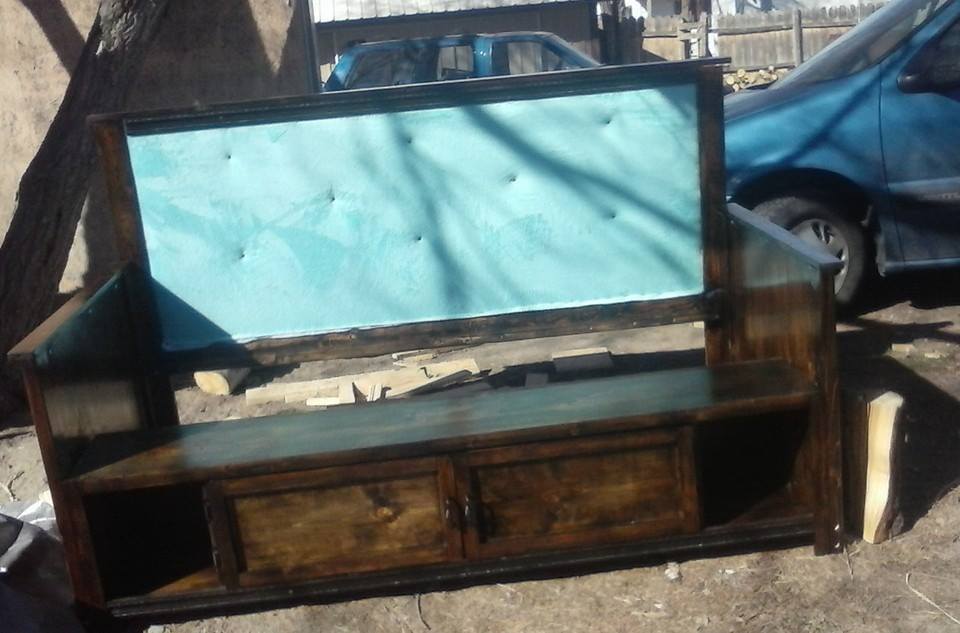
Day Bed with stuffed backing

Built with most plans from the day bed but grooved the 2x4 a 1/2" and used a 1/4 plywood on back and stuffed it and wraped in fabric then used tack to make a tuck pattern.  Still need to install slats but is mostly done here.  Was stained with a jacobean stain.

Estimated Time Investment
Weekend Project (10-20 Hours)
Finish Used
Jacobean from minwax.
Recommended Skill Level
Intermediate

Comments

Paver Coffee Table

Submitted by Anonymous (not verified) on Wed, 06/14/2017 - 09:32

Had a lot of fun making this, and it only took an afternoon! Had all the hardware and finish needed so it was a quick trip to Home Depot for the 2x2's, pavers, and adhesive.

One caution I would give people is check how the pavers lay on the top before applying finish in case some sanding is needed to get the pavers to all lay flat and level. I had one of my cross pieces bow a bit and it needed some sanding to get the pavers laying on it to be level with the others.

Great table for outdoor use and has been a functional table for a lot of BBQ's already, thanks for the great plans, Ana!

- Mike

Estimated Cost
$18 (4x $2 pavers, $4 adhesive, 2x $3 2x2's), Had all the hardware and finish already
Estimated Time Investment
Afternoon Project (3-6 Hours)
Finish Used
Sanded and wiped with a damp cloth, BEHR outdoor stain wiped on with a cloth, 2 coats of poly
Recommended Skill Level
Beginner

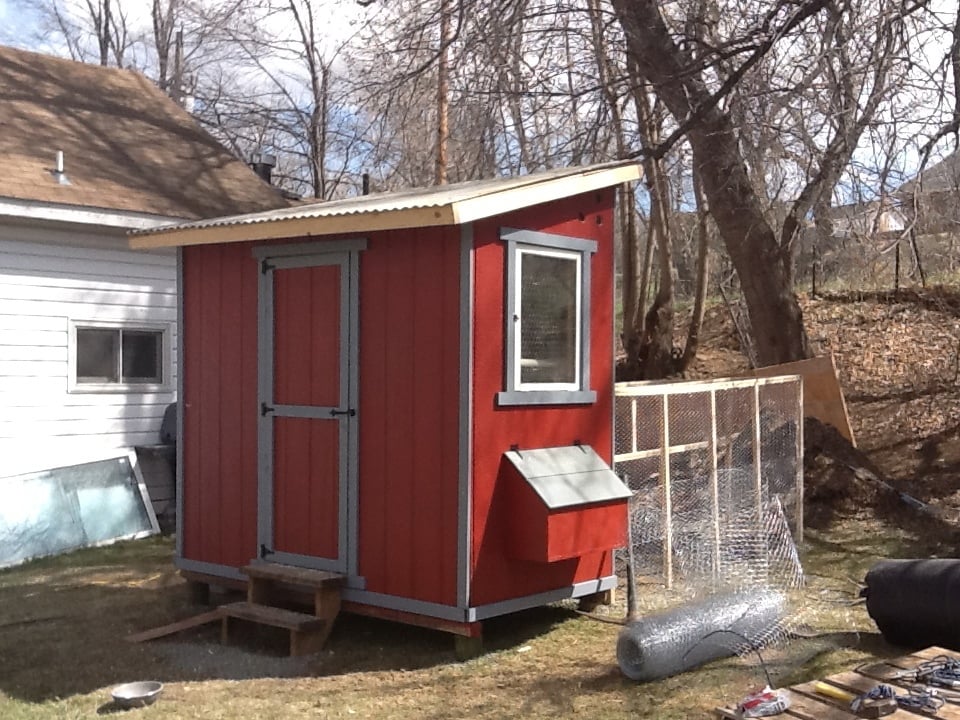
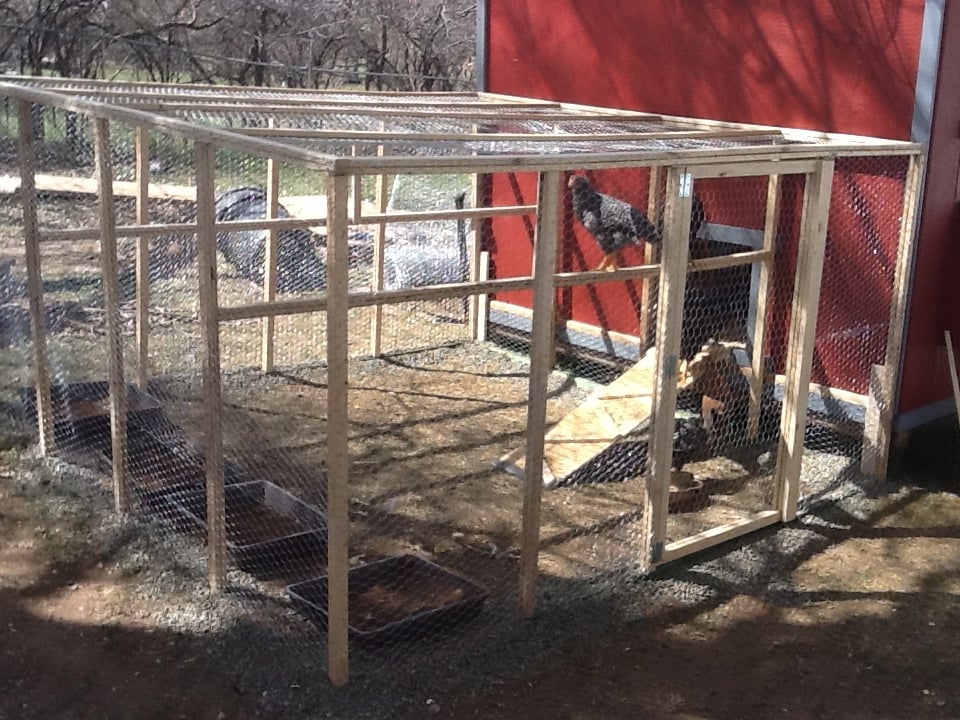
Chicken Shed

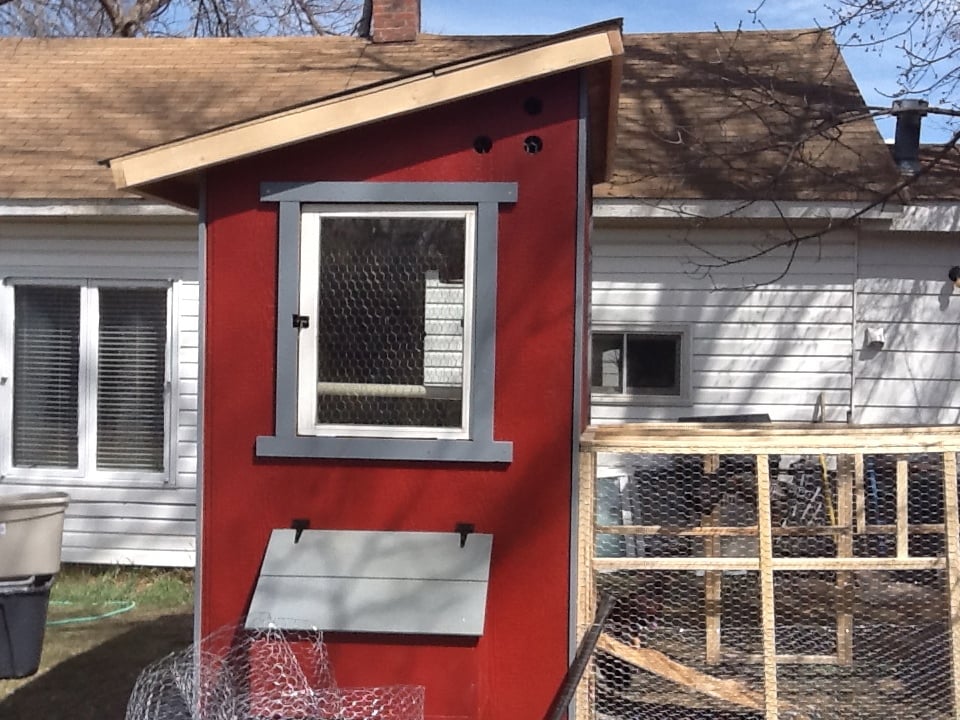
I used the chicken shed plans to create the coop, with a modification to include two nesting boxes, one on each side.

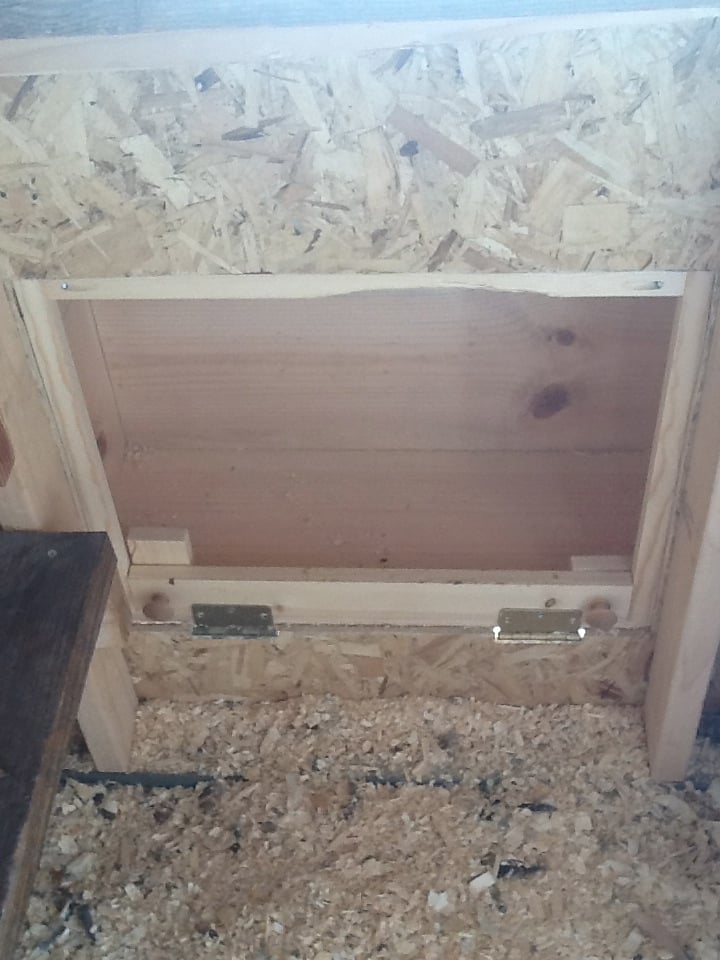
I slightly modified the nesting boxes, using a U shaped frame and added hinges for the front to swing down and the pine shavings to be swept out.

For the siding, we found it easiest to do the tack and trace method. We tacked each full sheet of siding in place and traced the cuts for the window, roof line, doors, and nesting boxes. We then took them down, darkened the lines, cut 'em, and re-hung them. It made it a million times easier, IMHO.

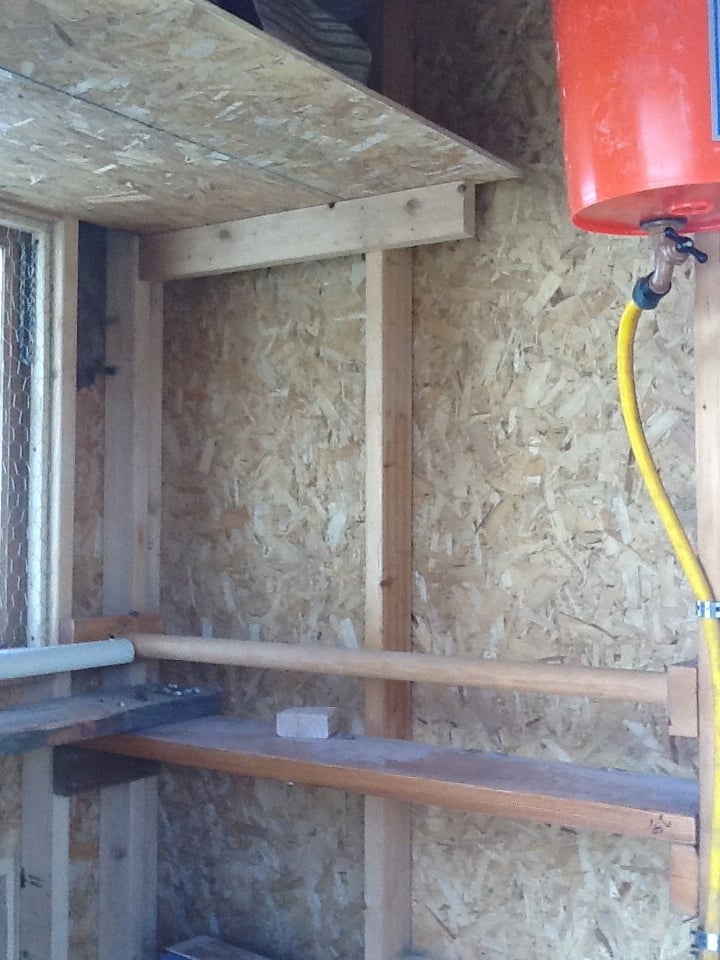
For the inside, I designed several roosting bars with poop platforms. The water is a gravity fed chicken nipple/pvc setup, which I found online.

The food stations, also gravity fed, are (new) sewer pipes with wye connectors.

I used the roof and siding scraps to make shelves for storage inside.

By sourcing reclaimed materials, I built the coop, run, interior, feeding stations (5), and waterer for $550. I only bought 27 pieces of new lumber (15 2x4's and the 12 8 foot long 1x3's)

Even the paint was free! (We have a drop and swap at the haz mat recycling center run by the county. We have gotten 100's of dollars of free paint, stain, and varnish there. I even used a can of free spar varnish to seal the inside of the coop)

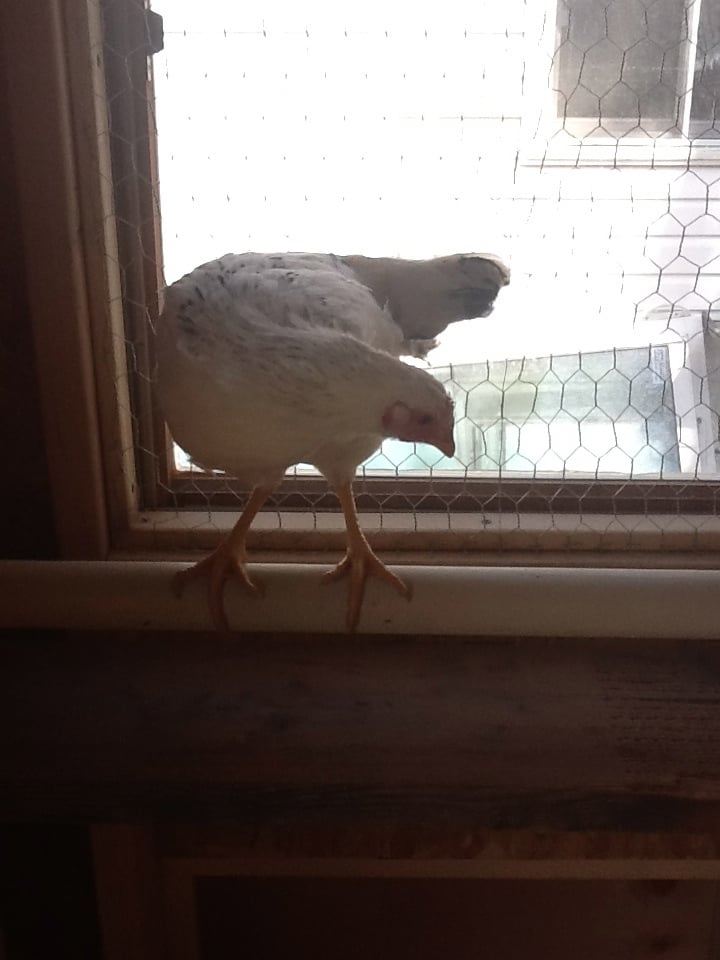
There are still a few pieces of trim to be cut and painted, but the girls are inside eating, drinking, and merry!

I did find that at the Home Depot, if you buy chicken wire, it costs way more then 150 feet x 36 inch "stucco netting". The stucco netting was $54 for 150 feet, and chicken wire is $76 for the same amount. It is the exact same wire.

I built the run out of resourced 1x2 furring strips. They were a pain to work with, very prone to breaking when not supported, but with the entire run costing $25 for wood and $54 (with half a roll left over) for chicken wire, I can handle some extra time and effort.

If anyone has any questions for me, feel free to contact me! I'd love to help!
Built from Plan(s)
Estimated Cost
550
Estimated Time Investment
Week Long Project (20 Hours or More)
Finish Used
Free paint !
I know several counties in CO have drop and swap places. Maybe your county does, too!

We got three cans of exterior rust colored paint and mixed them all together to make one color. This only works if the colors are pretty similar. It prevents one side from looking different then another.

The trim was a full gallon of blue-grey. Free and never even used.
Recommended Skill Level
Intermediate

Comments

xman1x

Mon, 02/06/2023 - 08:12

Hi! Do you still have this coop? It's been about a decade now and wondering how it has held up, if you have any suggestions, or additional pictures of the inside. Thank you!

Lighted Bar Sign

Submitted by tedgray86 on Wed, 03/18/2015 - 21:56

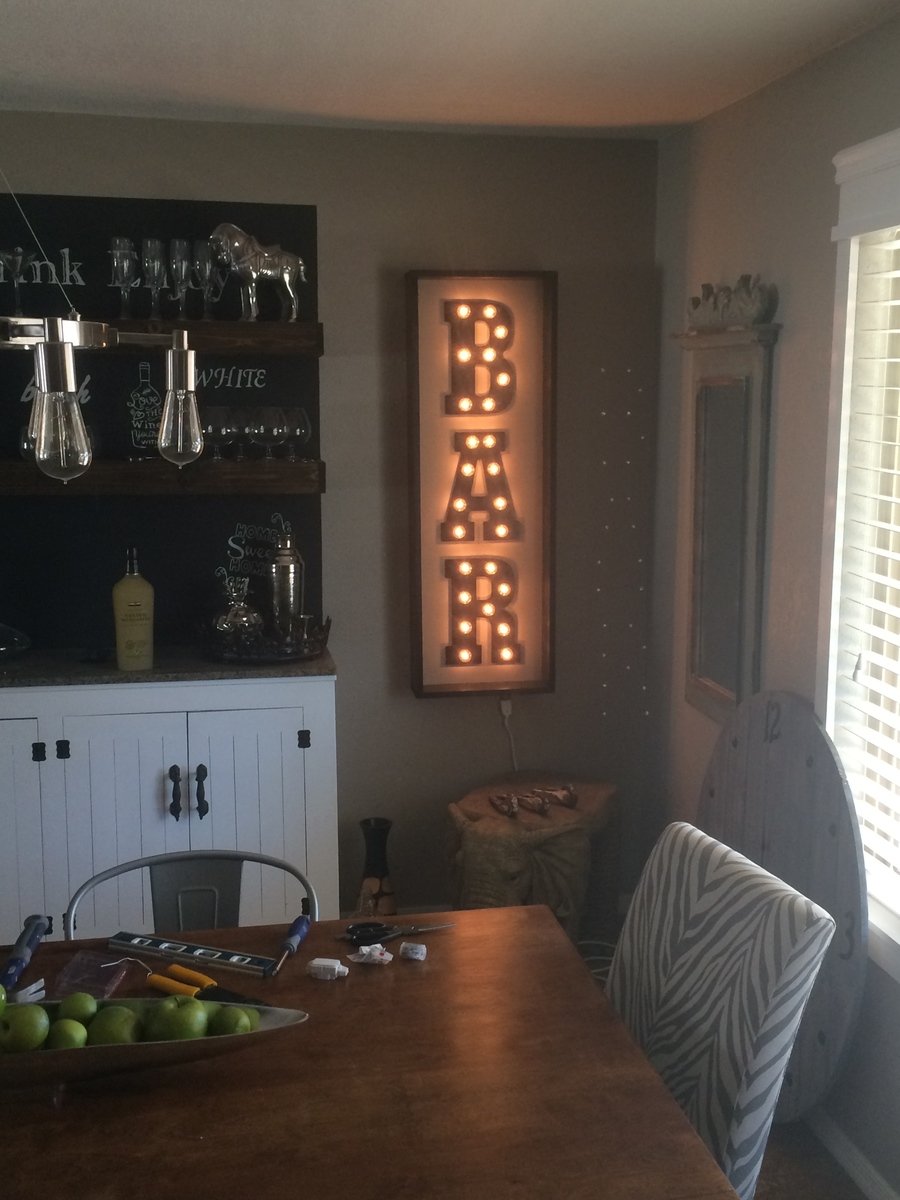
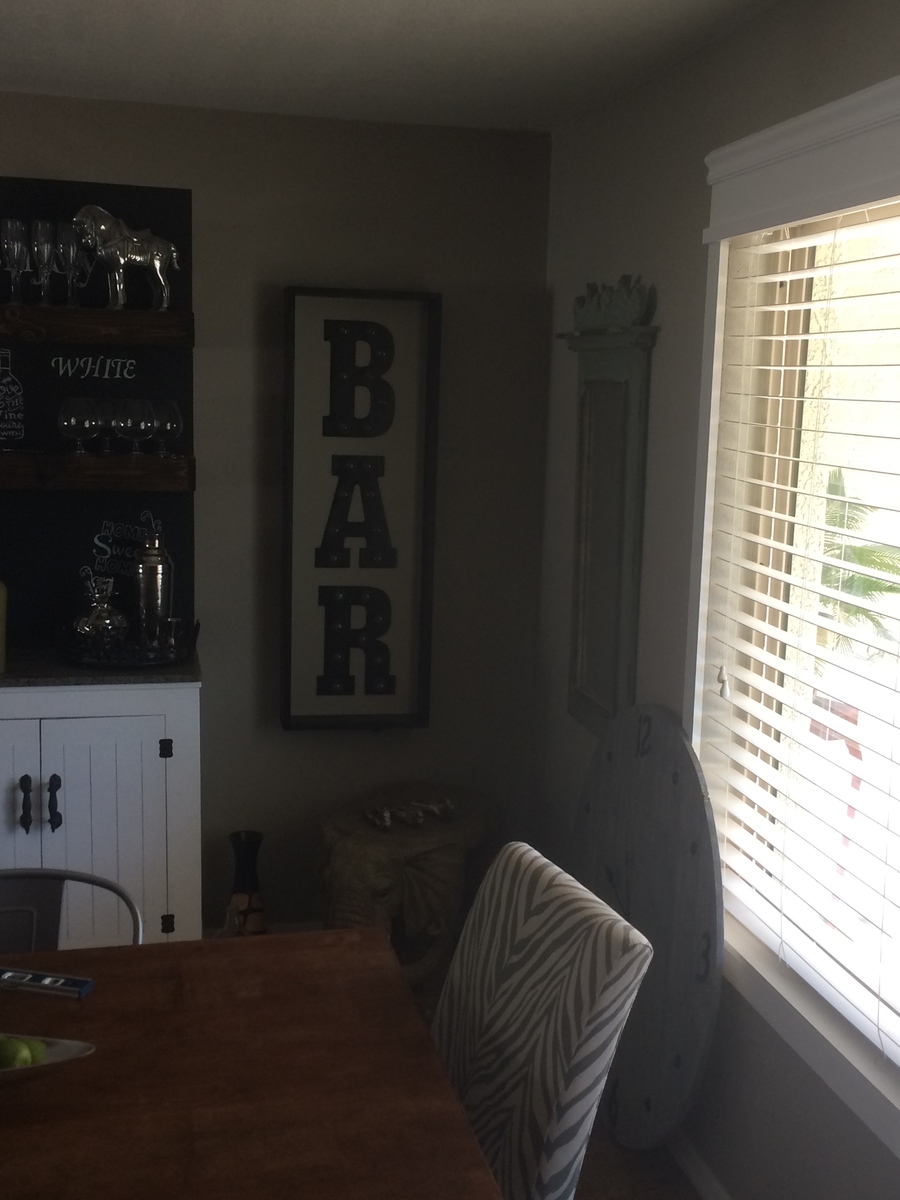
Inspired from a sign we saw at Home Goods however it was half the size and twice the price!  Ask for a how to.

Estimated Time Investment
Day Project (6-9 Hours)
Recommended Skill Level
Intermediate

Comments

Thank you! Came out beautiful and sturdy.

Submitted by Anonymous (not verified) on Sat, 06/17/2017 - 14:44

Thank you for your Adirondack plan. I used 2x6s for the arms and 3 coats of outdoor polyurethane over the paint. These are strong and sturdy. Thank you! 

Finish Used
Sherwin Williams outdoor paint and outdoor polyurethane.
Recommended Skill Level
Beginner