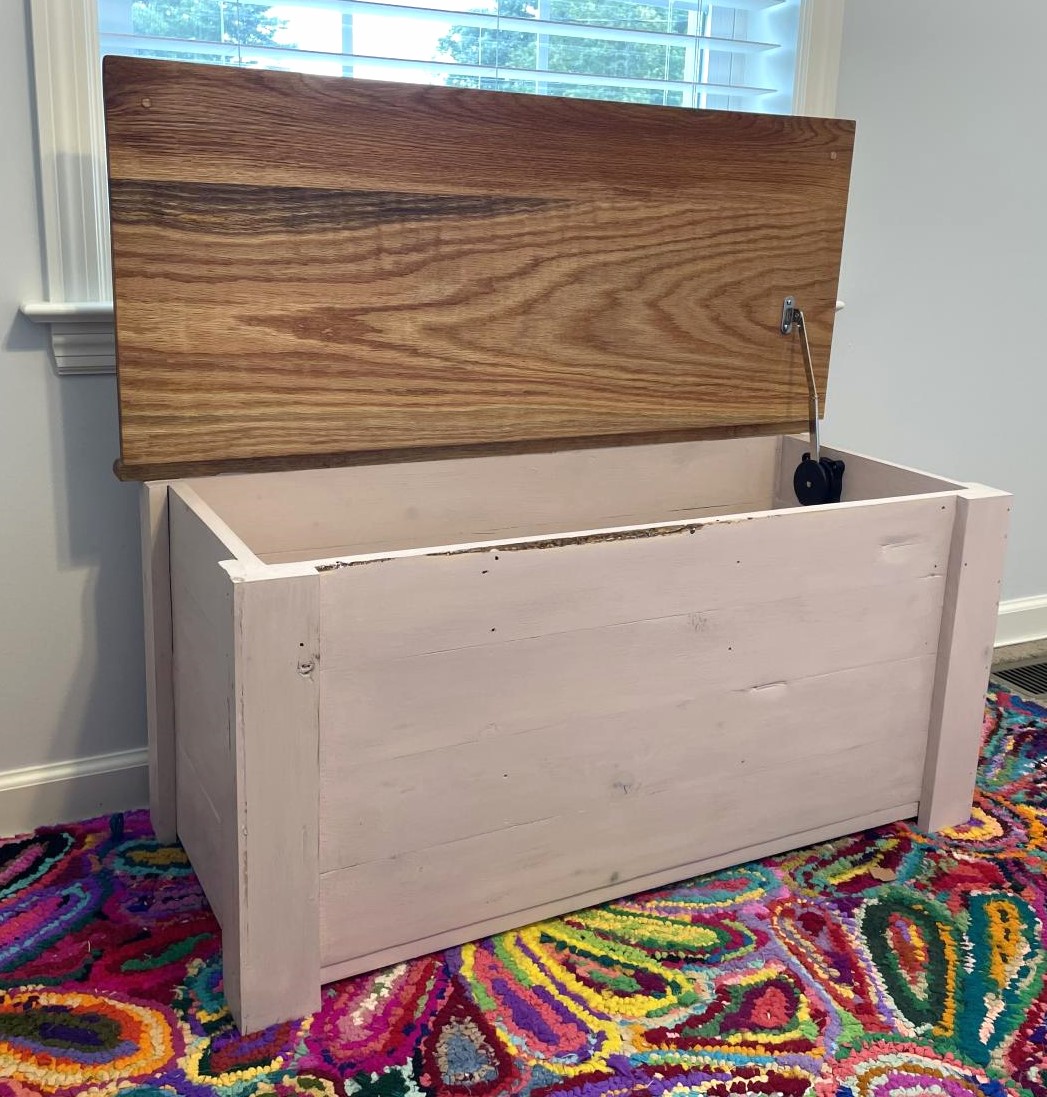
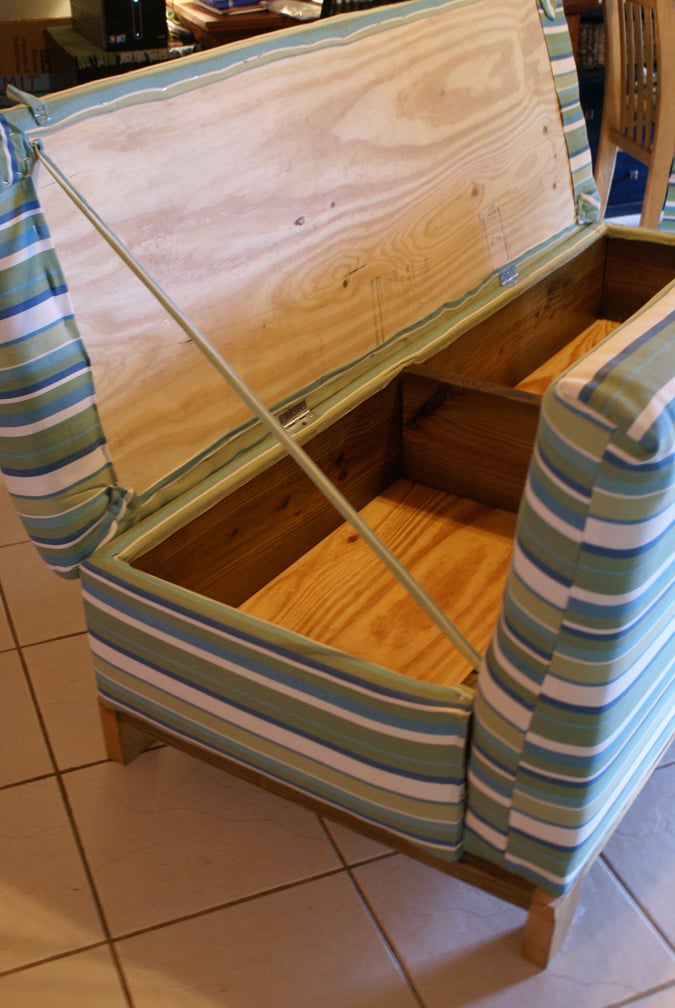
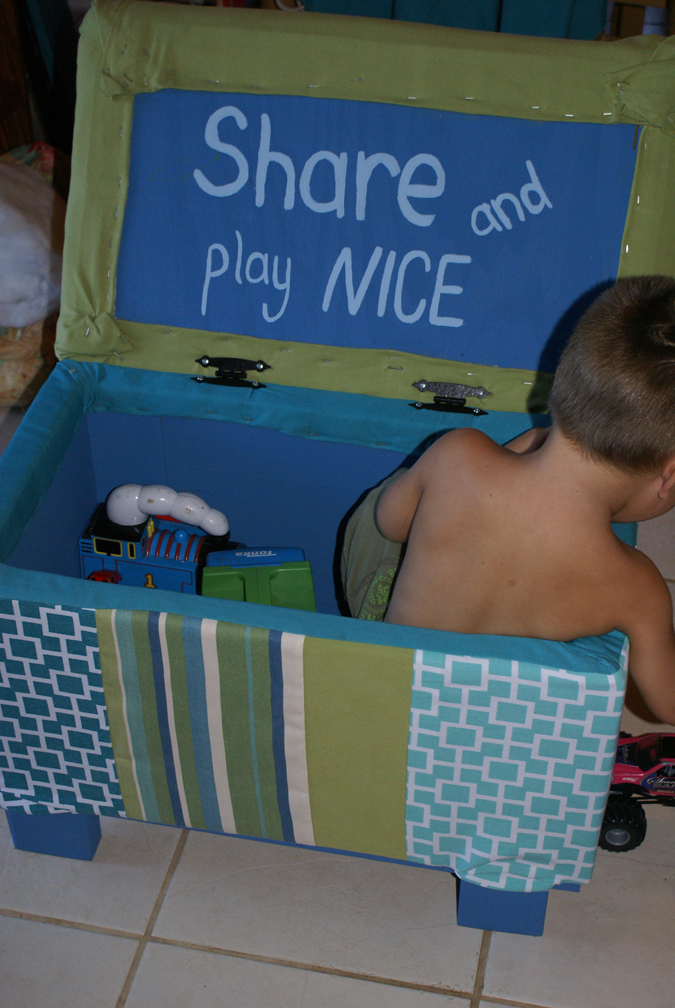
Community Brag Posts

Farmhouse Toybox

Submitted by Anonymous (not verified) on Fri, 03/10/2023 - 05:56

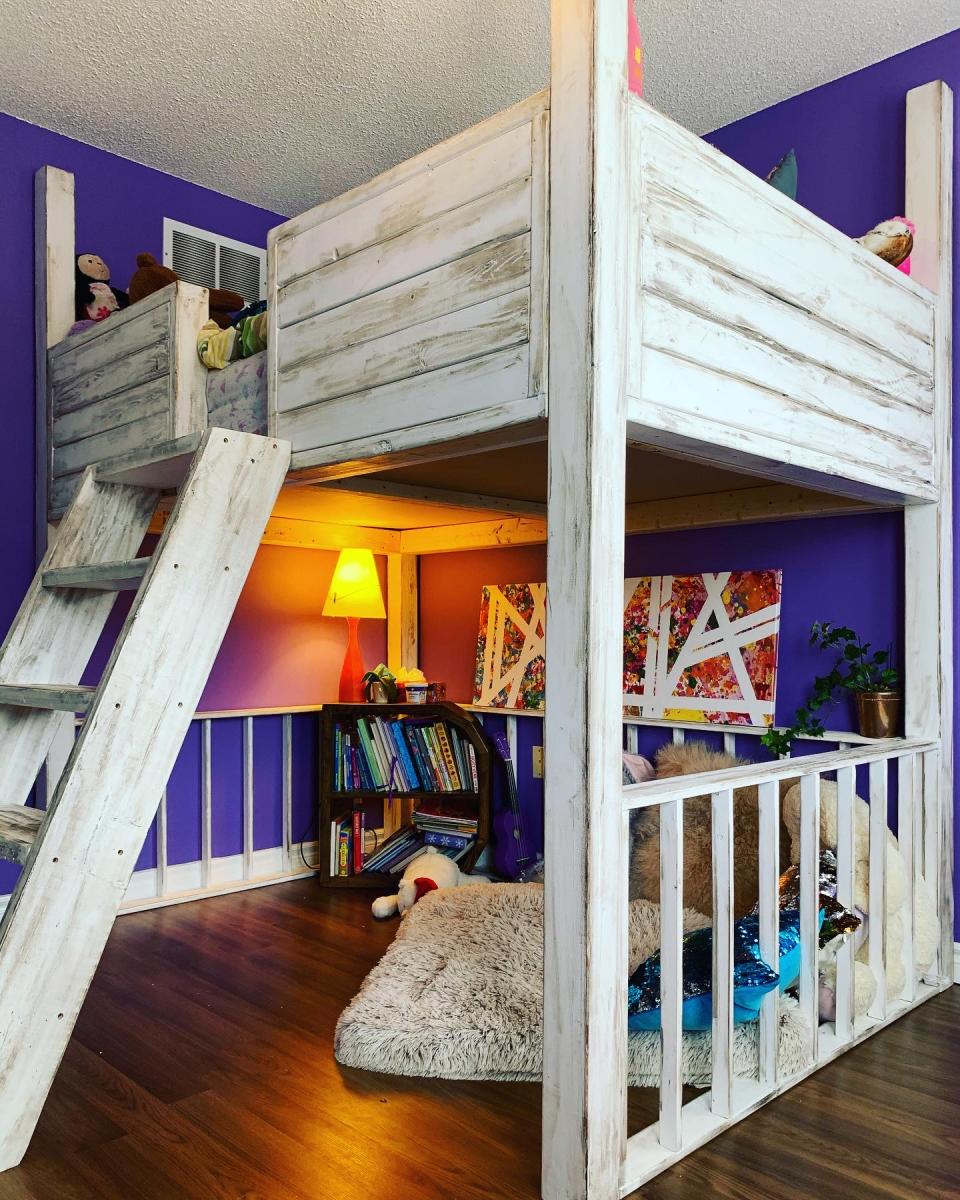
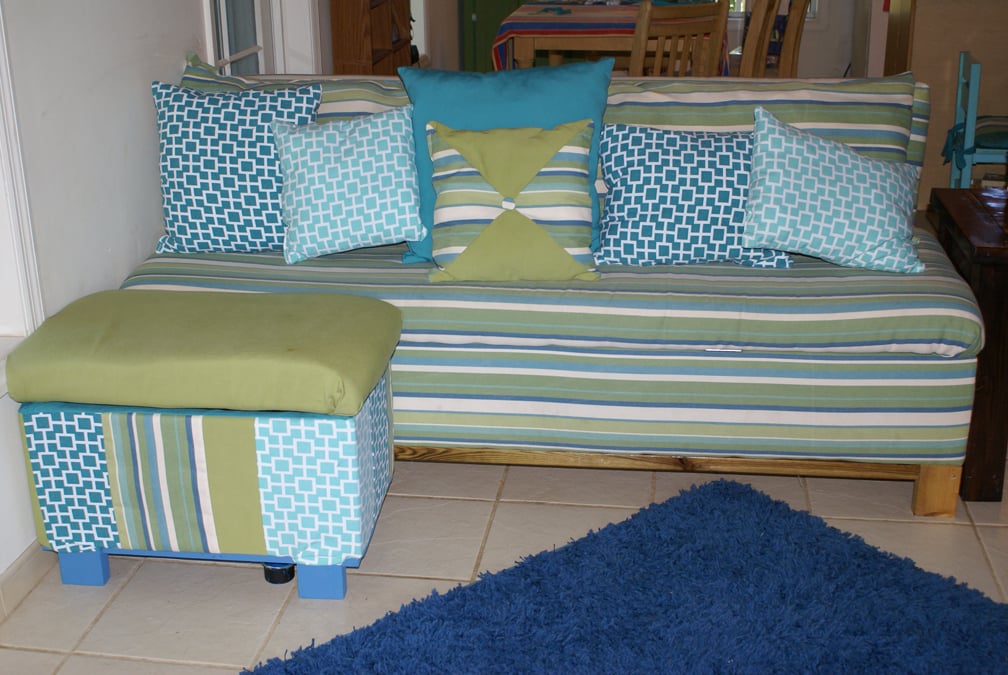
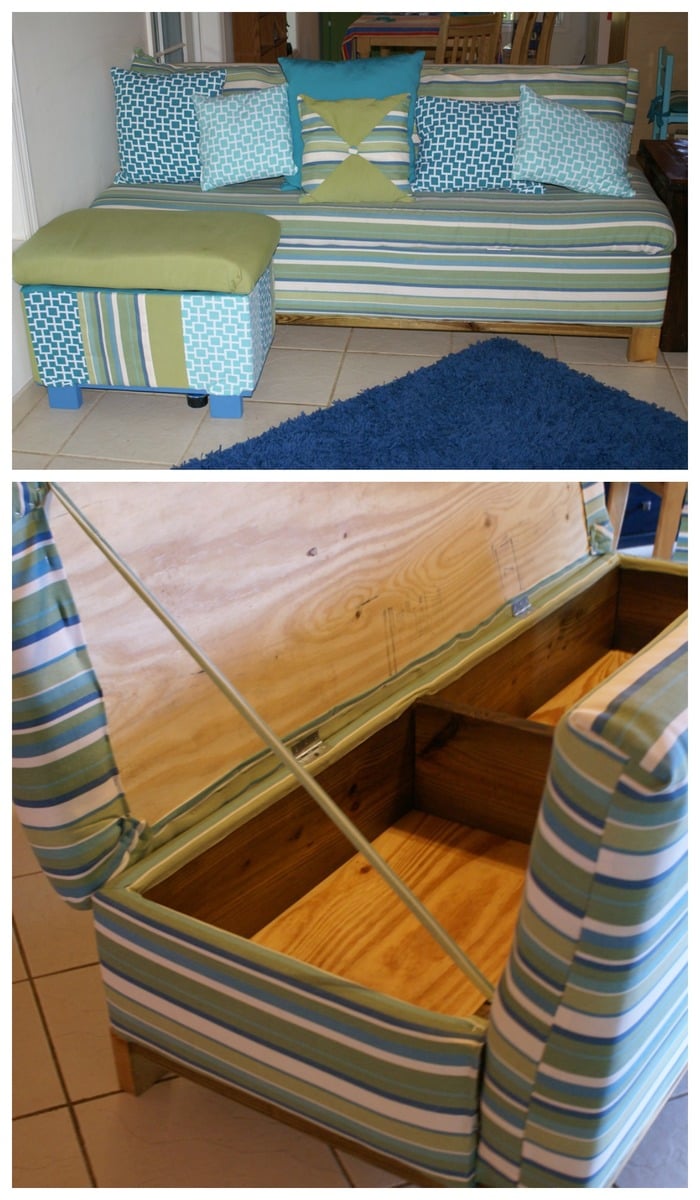
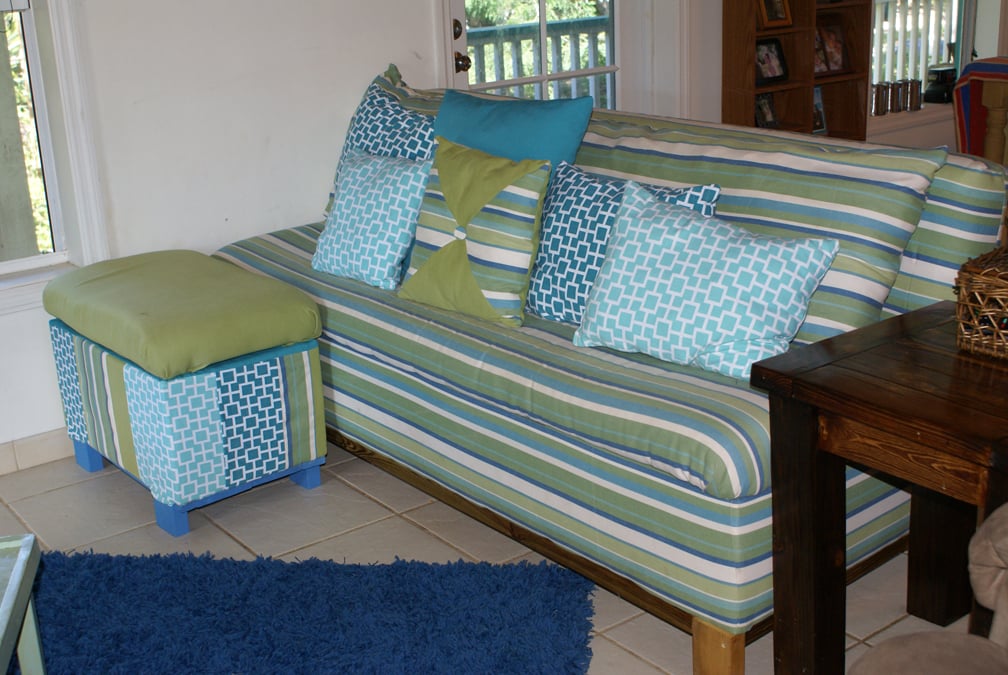
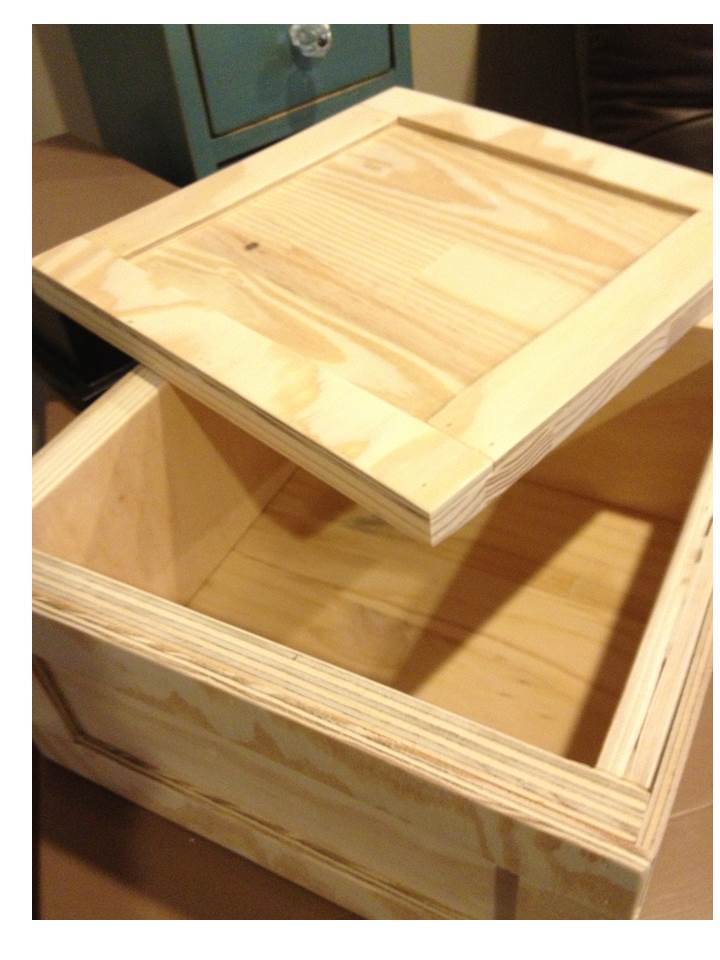
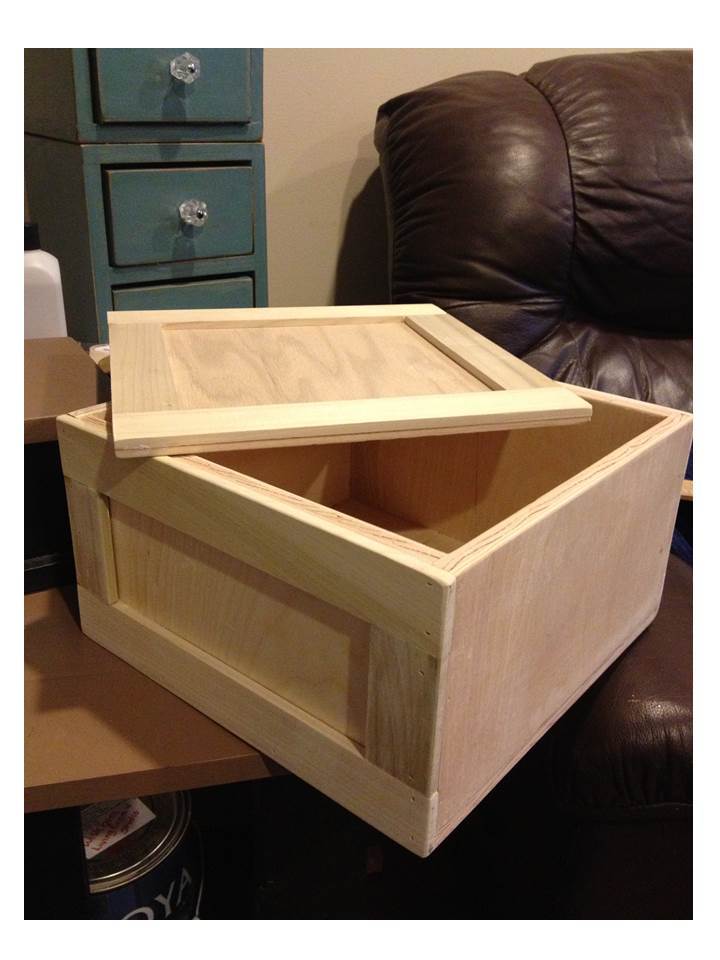
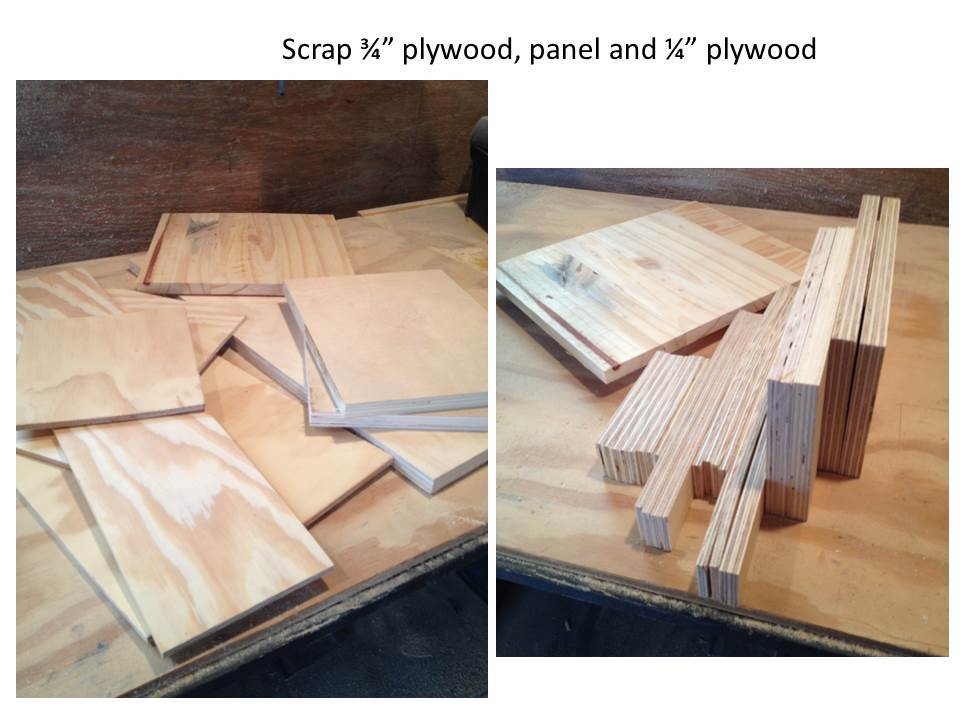
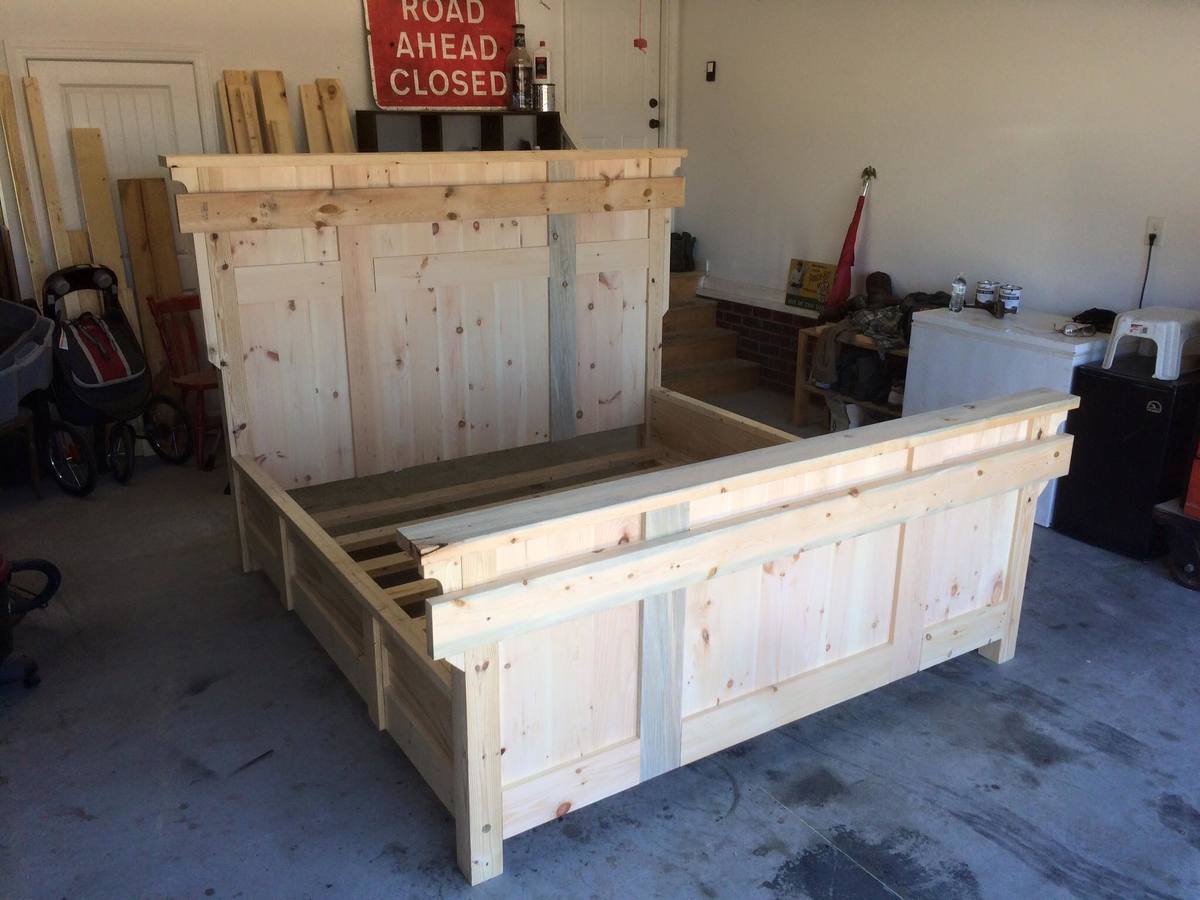
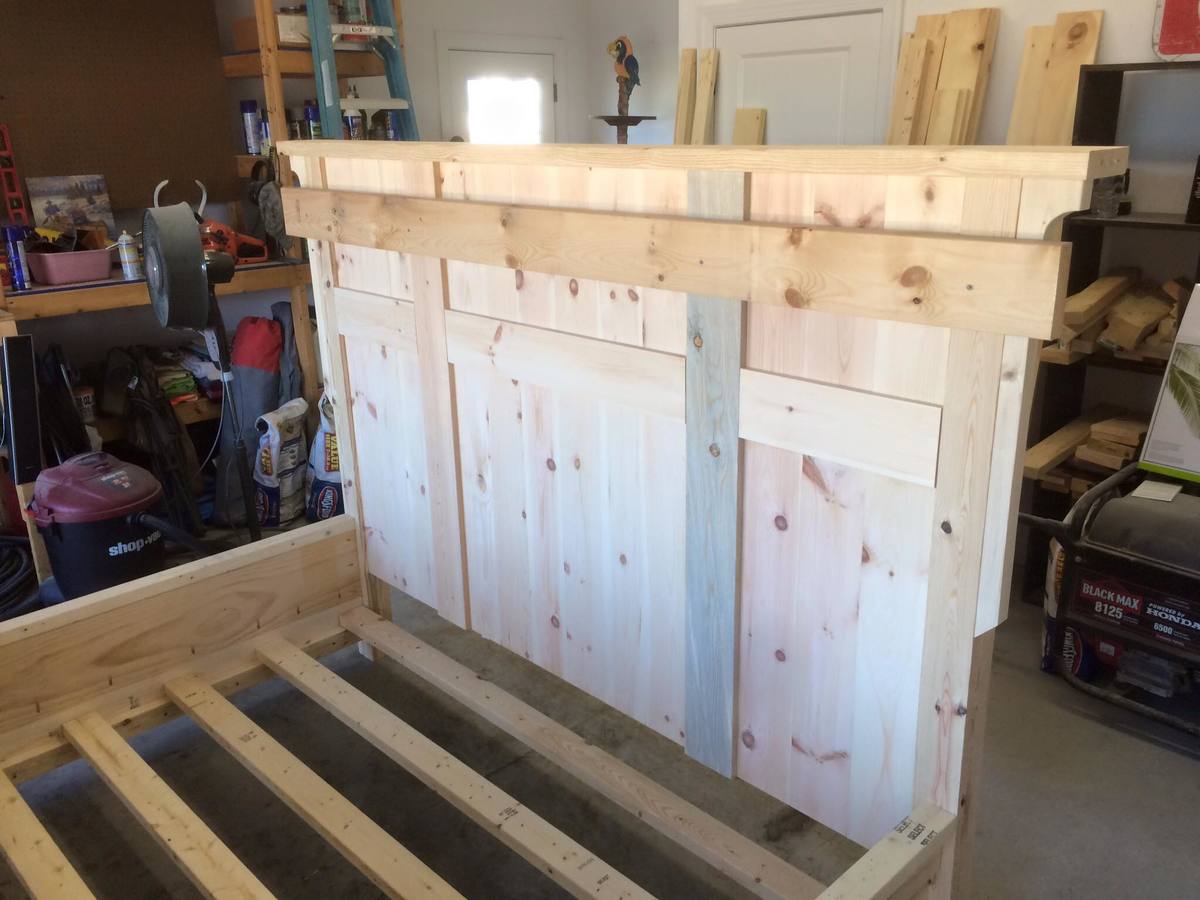
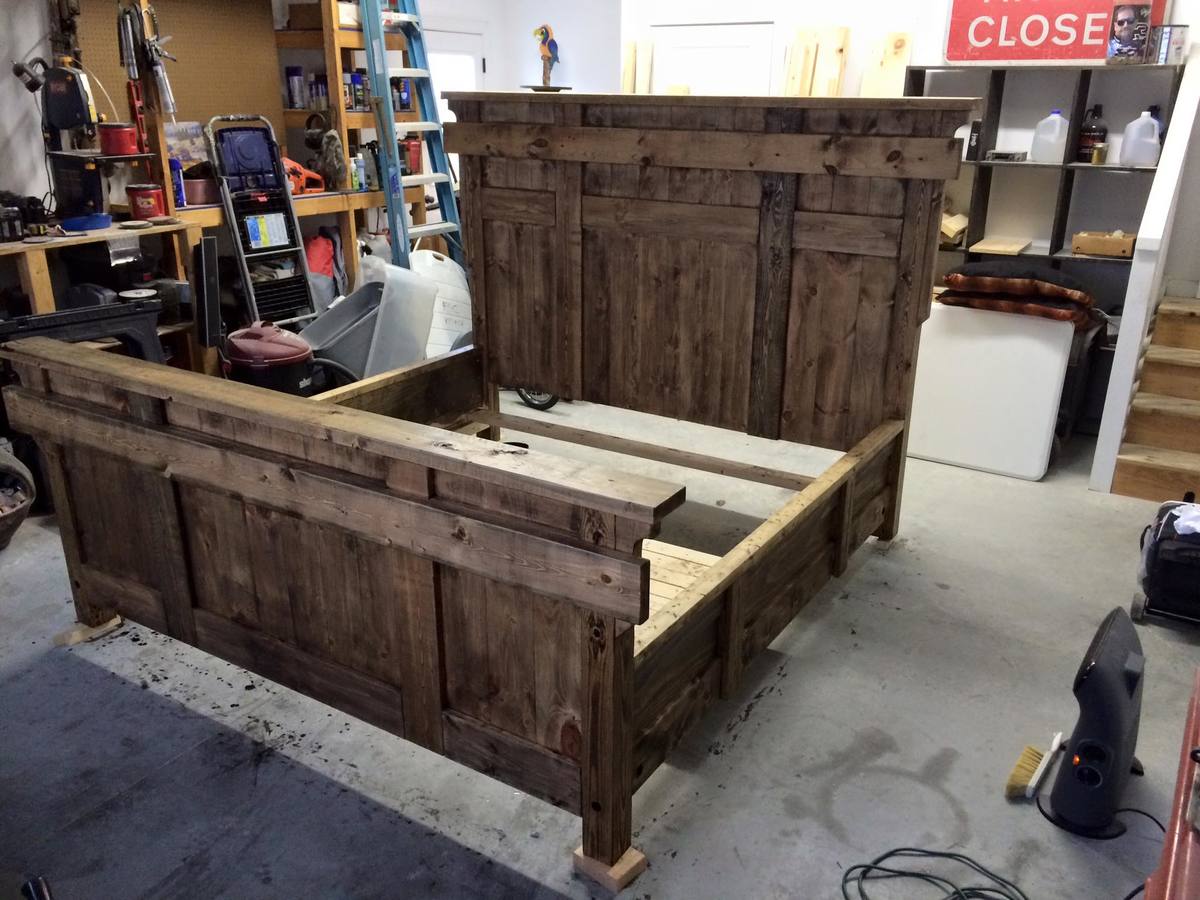
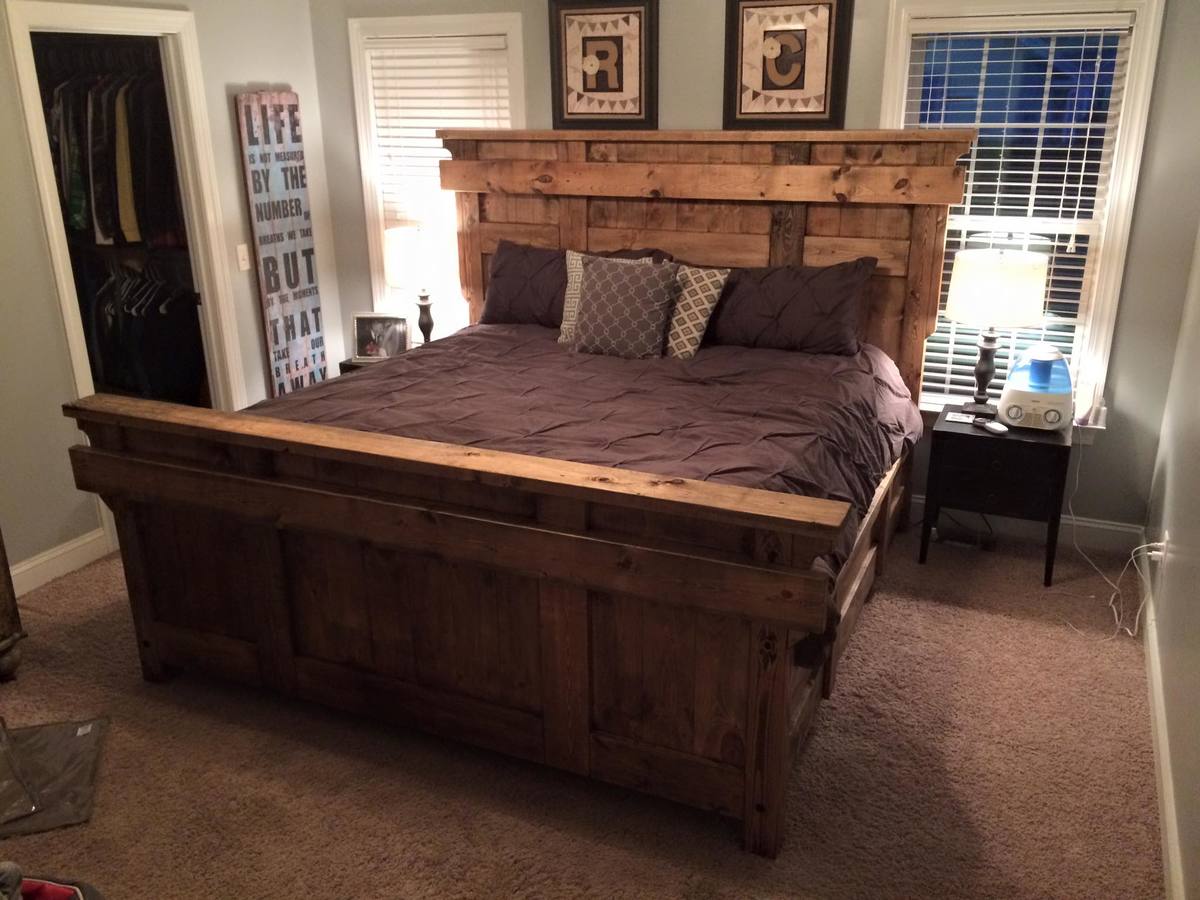
I've wanted to build a toybox for our daughter as soon as she was born, and Ana's plan was my favorite. It took a couple of years to finally get the supplies and start building it, and I was able to build it last year. I used recycled wood (I believe it's pine) I had and used a couple of nice pieces of oak for the top. I ran into a few snags with the box itself, with the wood splitting easily in some spots (used a lot of wood filler!), but was able to get it looking the way I wanted keeping a distressed look . I rounded out the corners of the top by hand with a rasp plane and sandpaper. The box was lightly painted with Annie Sloan Chalk Pain (Antoinette/Pink) and finished with Annie Sloan Clear Wax. The top was finished with three coats of linseed oil (24 hours between coats). The slow closing hinge was found on Amazon after a long time spent searching; I ended up using just one which works great. I'm very happy with the end product and my 3-year old daughter loves it! I was very pleased with how simple the plan was to follow, thank you Ana!

Built from Plan(s)

Comments

Doll Bed and Wardrobe

Submitted by Robinwood on Mon, 11/21/2011 - 21:49

I love the Farmhouse Doll Bed, but because we bought a lot of doll clothes, I built a wardrobe to go with it.

The wardrobe is 21 1/2" tall X 14" wide X 7" deep. The inside shelf is 4" from the top. I'm having trouble uploading a photo of the inside, but will keep trying...

I made a mattress to look like the older striped "ticking" style. I still need to do a little more with the bedding because I'm not happy with the (muslin) pillowcase and want to do something brighter.

Cost was minimal because I'm still using up scraps from other wood projects and I used material for the mattress and bedding that I already had. That is what I love about some of the plans - they help me to use my leftover materials and still have something nice to give as gifts.

Thank you so much Anna for this plan - I also followed your suggestion and made a second one to donate. I love your site...

Estimated Time Investment
Day Project (6-9 Hours)
Recommended Skill Level
Beginner

Comments

Cherie Heltne (not verified)

Tue, 11/22/2011 - 07:25

Beautiful! I am trying to do a wardrobe right now, too! I am making my second of this bed today. Great job!

Guest (not verified)

Sat, 12/03/2011 - 11:29

Where and how do I find the plans for the doll wardrobe?? I made the Farmhouse bed and love it. Thank you

Guest (not verified)

Sun, 02/26/2012 - 15:22

I'll trade you picture and info for a great doll closet for you plans for the Farmhouse bed. Our granddaughter loves the closet, so now I need to build the bed.
Thanks,

Robinwood

Sat, 12/03/2011 - 14:12

Thanks for your interest - I'm sorry, I tend to work by the seat of my pants and develop an idea as I go; so I don't really have plans. The best I can do is give somewhat of a cut list; which is:

Sides: 2@7"X19.5"
Bottom: 1@7"X13.5"
1st Top Board:1@7"X14" (hangs over 1/4in on sides)
2nd Top Board:[email protected]"X15"(hangs over 1/2in on sides and in front- it's even at back)
Doors: [email protected]"
Inside Shelf 1@7"X12" (Top of shelf is 4" below top of inside cabinet.

I just measured enough below to allow for doll hangers and drilled for dowel, but it came out just right for the longer dresses.

The front trim overlaps the left door, so that I only had to put one door catch at the bottom.

I hope this helps - I really need to learn the Sketchup program.

I used 3/4" plywood because that is what I had, but used 1/2" playwood for doors to make them lighter.

Stephanie (not verified)

Fri, 12/09/2011 - 14:41

What size dowel rod did you use? I have a niece who I've made a bunch of clothes for, and I'd love to make her a wardrobe to house new clothes!

Robinwood

Fri, 12/09/2011 - 21:14

I believe it was 3/8 or 1/2 inch - I took one of the hangers with me and just put it on dowels until I got the right size.

sgilly02 (not verified)

Wed, 03/14/2012 - 20:25

Just a suggestion for a quick way to "brighten up" the pillow case. Just find some ribbon to coordinate with the bedding and sew (or use iron on adhesive - really easy then!) around the hem line of the opening.

The wardrobe is darling. I love the flower knobs!

Rustic X end table

I love this site. We needed new furniture in are house and didn't want to spend a bunch of money. Finding the Rustic x plans was a life saver.

Built from Plan(s)
Estimated Cost
$80
Estimated Time Investment
Weekend Project (10-20 Hours)
Finish Used
White paint and kona stain.
Recommended Skill Level
Beginner

Tweeked

Submitted by Anonymous (not verified) on Wed, 01/13/2016 - 17:51

Few tweeks such as router work, finish, and forged corner braces.  

Recommended Skill Level
Intermediate

Adirondack chair

Submitted by Davis_Reed on Fri, 05/24/2019 - 07:10

These are the adirondack chairs and I took the basic model and added a wine glass holder and also a bottle/snack bag holder.

Estimated Time Investment
Weekend Project (10-20 Hours)
Finish Used
Benjamin Moore wood primer and then Benjamin Moore oil based paint.
Recommended Skill Level
Beginner

Comments

Loft Beds

Submitted by Anonymous (not verified) on Fri, 03/17/2023 - 15:08

I found these on a Pinterest post. I made them for my girls and they absolutely love them! A place to sleep and play. All the kids that come over ask their parents for one.
A little bedroom oasis for my little ladies. ☺️

Comments

Beachy Storage Sofa

I love my new sofa! It is ten times more comfy than our old one. We live on an island and it was definitely cheaper to build my own sofa than to ship one in and pay duty on it. Thank you Ana for making this possible! Never thought I'd be building my own sofa, but we are so thankful for it. We even threw together our own little ottoman/toy box to go along with it from scraps...added bonus!


Built from Plan(s)
Estimated Cost
Total for everything probably about $500 ( a little higher costs for the wood here on the island, in addition to the other materials)
Estimated Time Investment
Weekend Project (10-20 Hours)
Finish Used
Clear Satin Poly finish on the parts of the wood that are still visible after the fabric goes on.
Recommended Skill Level
Intermediate

Comments

Jan (not verified)

Sat, 07/21/2012 - 09:56

this is so amazing! We go through so many sofas, mainly because we buy used, and you never know if they are going to last. This one looks really sturdy, and it could be recovered if the fabric got old, or you just wanted to update. Definitely considering this before we buy another one. And the storage hidden inside makes it even more desirable!! Love the fabric you chose as well.

Bunkbed

Submitted by Miles35 on Sun, 01/17/2016 - 12:17

I built this for my grandkids. It took me several weekends to complete to this point. I made a few changes from the original and still have the drawers to complete but overall its about finished.

Built from Plan(s)
Estimated Time Investment
Week Long Project (20 Hours or More)
Finish Used
Water based paint
Recommended Skill Level
Intermediate

Comments

CarrieLJP

Mon, 01/22/2018 - 10:41

I love how bright and vibrant you made this! It looks absolutely beautiful! I'm working on a bunk bed for my two young daughters now and I liked seeing how you tweaked the plans a bit- I'm doing something similar. Thanks for sharing!

3 Seat And Loveseat 2X4 Outdoor Couches

Submitted by jerryo on Mon, 06/03/2019 - 19:39

Used Redwood and Kona colored stain. This is my first wood project and Ana really inspired me in being able to complete this. Thank You Ana all the way from California! The Love Seat was easy to modify from the original 3 seat plan.

Estimated Time Investment
Weekend Project (10-20 Hours)
Finish Used
Rustoleum Kona
Recommended Skill Level
Beginner

Comments

jerryo

Thu, 06/06/2019 - 11:40

hard to believe, we found them on the Big Lots website...$40 a set back and cushion. We looked everywhere for an affordable option. These look great and are really comfortable..!thanks for the compliment : )

Jerry

King Size Headboard

I am so happy about how this headboard turned out. It is exactly what I have always wanted. I am so excited that it is sooooo much cheaper than buying the one from Pottery Barn. I would never have been able to afford that one. This one only cost me about $50 for the wood, and then I was able to make an end table and a picture frame from the leftover scraps!

Estimated Cost
$50
Estimated Time Investment
Day Project (6-9 Hours)
Finish Used
Minwax prestain, minwax red mahogany stain (2 coats), minwax polyeurethane (2 coats).
Recommended Skill Level
Beginner

Desktop Organizer

Built this in an afternoon with scraps left from other projects! Using it at at work on my desk. Added 1/4" plywood to base to close up drawer space. Felt strips on bottom of drawer makes the drawer slide out very nicely. 

Estimated Cost
Wood scrap project. Bought drawer pull for $2 and a paint sample from Lowe's.
Estimated Time Investment
Afternoon Project (3-6 Hours)
Finish Used
Valspar paint sample in "Prickly Pear" shade. Furniture wax over paint.
Recommended Skill Level
Beginner

Large Rustic X Bench

Submitted by RHgaijin2 on Thu, 06/13/2019 - 09:16

I made this bench to go along with the matching table.  I also made a video of me making on youtube:  https://youtu.be/B-5KKcPxM24

Estimated Cost
The base was made from reclaimed wood.
The seat was made from 2x6's purchased from Lowes.
Approximately $20
Estimated Time Investment
Weekend Project (10-20 Hours)
Finish Used
Polystain for seat
primer and paint for legs
Recommended Skill Level
Intermediate

Round Modern Wood Side Tables

Submitted by Anonymous (not verified) on Tue, 03/28/2023 - 06:05

Fun weekend project! Thank you for the great plans.

Built from Plan(s)

Comments

Easiest Chalkboard Shelf from Scraps

Submitted by jlamorey on Wed, 12/14/2011 - 10:19

I loved this when I saw it posted the other day, it really doesn't take long to make and adds character to our kitchen! I added a dowel that i sanded a little on one side to the long end of the 1x4 so that the chalk won't slide off, just something that I can see happening here.

Estimated Cost
$6 - can of chalkboard paint and hooks
Estimated Time Investment
An Hour or Two (0-2 Hours)
Finish Used
primed and then spray chalkboard paint. I sanded the corners and edges a bit.
Recommended Skill Level
Starter Project

Factory Cart Coffee Table with Storage

I have been longing to make a factory cart coffee table for years after seeing one in a local antique store in Jacksonville Florida. I started by following the dimensions from Ana Whites table and then decided to make the table top with the ability to open up into storage. I followed the plans and updated with hardware that I (painstakingly) pieced together from various sites online. I love the industrial feel the cast iron hardware brings to this adaptation and cannot wait to start building matching end tables. Thank you Ana for the inspiration!

Built from Plan(s)
Estimated Cost
$200
Estimated Time Investment
Week Long Project (20 Hours or More)
Finish Used
Minwax provincial stain for the primary and minwax espresso to detail the distressing and edges. Finished with 4 coats of minwax water based polyurethane
Recommended Skill Level
Intermediate

Comments

jahnkekong

Wed, 11/06/2013 - 17:11

Could you share any details about how you finished the wheels? I have a cart I am trying to refinish but stalling out on the cast iron parts. I really don't want to paint them, and I don't want them to rust.

Just noticed the Kupo Nut reference! I love it!

In reply to by jahnkekong

TongueAndTeak

Wed, 11/06/2013 - 19:16

Thank you so much for catching the Kupo nut reference! Haha I only felt it was fitting to add a little nerd flair :) rust oleum has a hammered black paint that also doubles as a rust inhibitor so it worked perfectly to touch up the cast iron parts and keep that rustic feel to the hardware. I finished with a clear top coat as I'm sure that I will end up constantly kicking the wheels by accident haha.

Cyber Sapp

Wed, 12/04/2013 - 18:45

I know you mentioned it was painstaking to find all of hardware, but can you share where you found the front casters? Also how did you put your stamp on it? I'm knew to woodworking so please excuse my ignorance.

In reply to by Cyber Sapp

TongueAndTeak

Wed, 12/04/2013 - 19:18

Hi cyber sapp! I was able to piece them together from eBay and etsy items. I searched for key words: "antique cast iron caster" or "factory/industrial cart wheel" and you should be able to find ones that work. I held out for the best deals I could. Be prepared to search quite a lot if you want to find the best deal.
As far as the decal is concerned, I created the template on illustrator and used it as a template to paint the decal on. I checked online and saw a few examples of transferring images on to wood that will probably be easier than hand painting. Hope this helps!!

Cyber Sapp

Wed, 12/04/2013 - 22:25

Thanks for the update. I made one similar to your modifications. I'm using storage too, I will share once I get the soft close installed. I'm looking for something that want slam fingers when it is closed. I also used Walnut to build it. It is solid like a tank with the hardwood, but came out pretty good. I made a few minor mistakes and now want to make one closer to yours.

Mandymoochops

Mon, 12/16/2013 - 23:30

What an amazing job you did, I'm still holding out for my end wheels too and you are so right about search search search. It doesn't help being in Canada with shipping costing so much for these too.

Love love love, well done

TongueAndTeak

Tue, 12/17/2013 - 21:23

Thank you very much!! I do not envy you right now as the search took me forever to find the right wheel that matched one I already had. I have had good luck in the past asking eBay sellers about changing to flat rate shipping options. Not sure if they have that option for shipping internationally but it never hurts to try! Keep up the good fight as the wheels REALLY pay off in the end.

Full Open Kitchen cart

Submitted by 914934 on Thu, 01/21/2016 - 10:27

Mom wanted an island for her new large kitchen but something that could be moved out of the way. With all her cabinets and drawers, we omitted the shelves and drawer from the original plan. We also wanted it full across the inside, not just half way. This allows her to put her stool on the shelf out of the way if needed. However, after getting all her furniture into her new home, she decided that she had enough in her new kitchen so she scoots it under the breakfast bar for now. 
This was made on a tight budget. We only had to purchase the 2x4s and casters.
We also used tongue and grove blue pine left over from our house for the bottom shelf and staggered scrap pine 1x4 & 1x6 boards for the top and then routered it to give it smooth rounded edges on top. 

Estimated Time Investment
Afternoon Project (3-6 Hours)
Finish Used
Unfinished. Mom hasn't decided if she wants to paint it or not.
Recommended Skill Level
Beginner

Indoor Picnic table for grandchildren

Submitted by tcm9966 on Thu, 06/27/2019 - 08:09

Easy build- used Coated boards for top and seating to reduce finishing work and potential splinters . It can go outside but shouldn’t LIVE outside.

I’m a little in love.

Estimated Time Investment
Afternoon Project (3-6 Hours)
Recommended Skill Level
Intermediate

Modern clock

Submitted by Anonymous (not verified) on Fri, 04/07/2023 - 13:51

From a picture I found on Pinterest

Comments

Gift crate (aka man crate)

Submitted by JoanneS on Sat, 11/09/2013 - 13:31

This is the prototype builds for the Plywood Gift Crate (man crate) plan. I had a great time developing and building this plan! I read a forum post about these and was inspired to do up a plan and build. When you give these as a gift, present it with the top nailed shut, and a crowbar for getting it open!

Two crates are shown. These each took a little over an hour to build. The 3/4" plywood one was entirely from scraps, and I purchased the poplar craft boards ($2 each) for the 1/2" plywood one. New wood would cost about $15. I left them unfinished like the inspiration. The picture just has the text added to it as a graphic. I do plan to stencil "man crate" on them though. The first prototype with 1/2" plywood scraps was made with a 1/4" scrap plywood top and poplar trim boards. My scrap top wasn't wide enough to cover trims on the sides, which is why the sides on that one are plain. The 2nd prototype was with 3/4" plywood scraps and uses strips of 1/4" thick scrap plywood for the trim boards.

If anyone is interested in different size crates, I've created a project calculator in Excel, that you can key in the desired dimensions and sizes of wood you plan to use, and the spreadsheet will give you the sizes for the pieces and a cut list. I couldn't figure out a way to attach that to the plan, but if you would like one, just send me a note through the contact form, and I'll email it to you.

I hope you build these, it was a fun and easy build!

Built from Plan(s)
Estimated Cost
$8
Estimated Time Investment
An Hour or Two (0-2 Hours)
Finish Used
These are both unfinished, just sanded smooth. I'm planning to stencil "man crate" on them in black.
Recommended Skill Level
Starter Project

King Farmhouse Bed Frame

Submitted by Anonymous (not verified) on Sun, 01/24/2016 - 13:26

I spent 3 weekends building this for a friend. It was alot of work but it came out great!! He got the plans from Shanty-2-chic. We modified the plans alot to make it a truly unique piece. 

Built from Plan(s)
Estimated Cost
$400
Estimated Time Investment
Week Long Project (20 Hours or More)
Finish Used
varathane ash
Recommended Skill Level
Advanced