Community Brag Posts

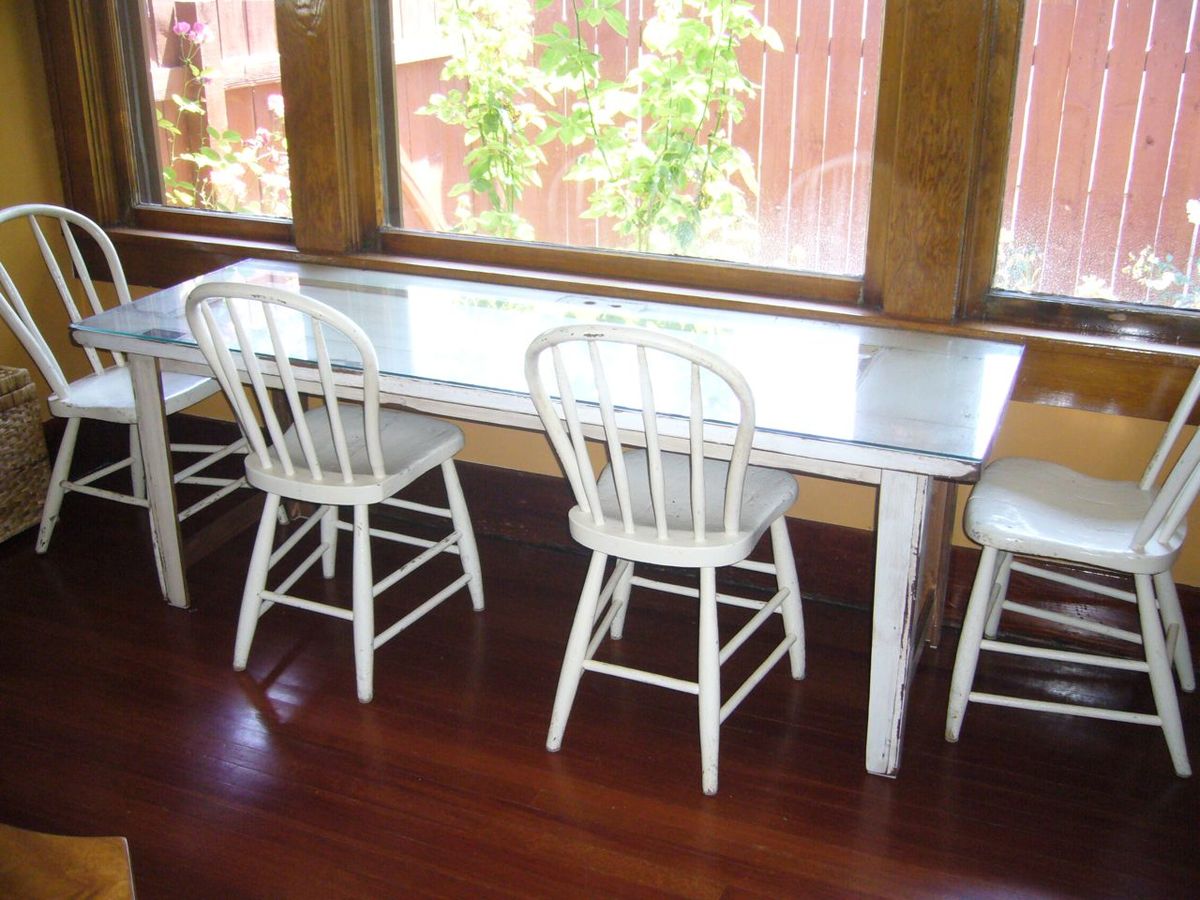
Clara Table & Chairs

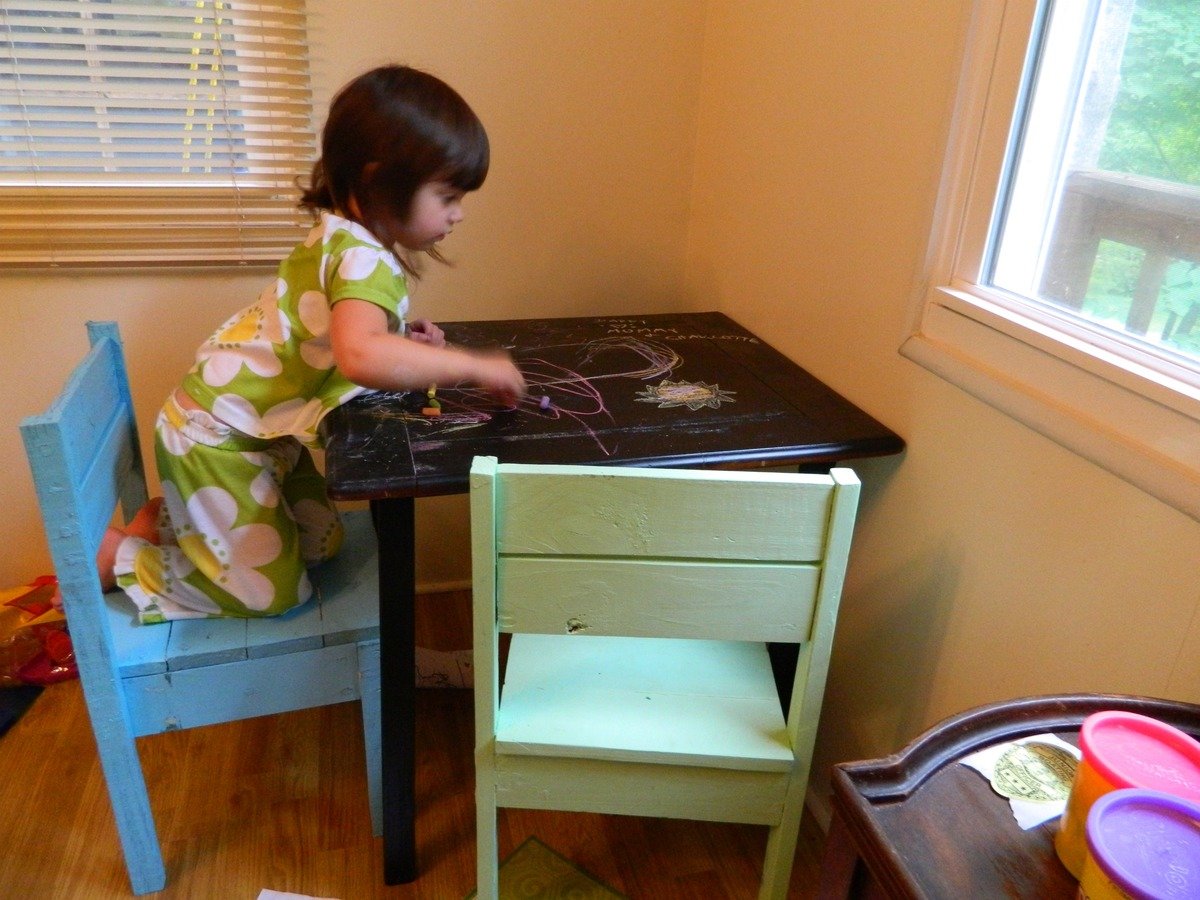
Fun, easy build. This is the first project from this site and the kids loved helping make their own chairs. They got to pick their own color paint - I think I spent more on paint than I did on the wood!

Built from Plan(s)
Recommended Skill Level
Starter Project

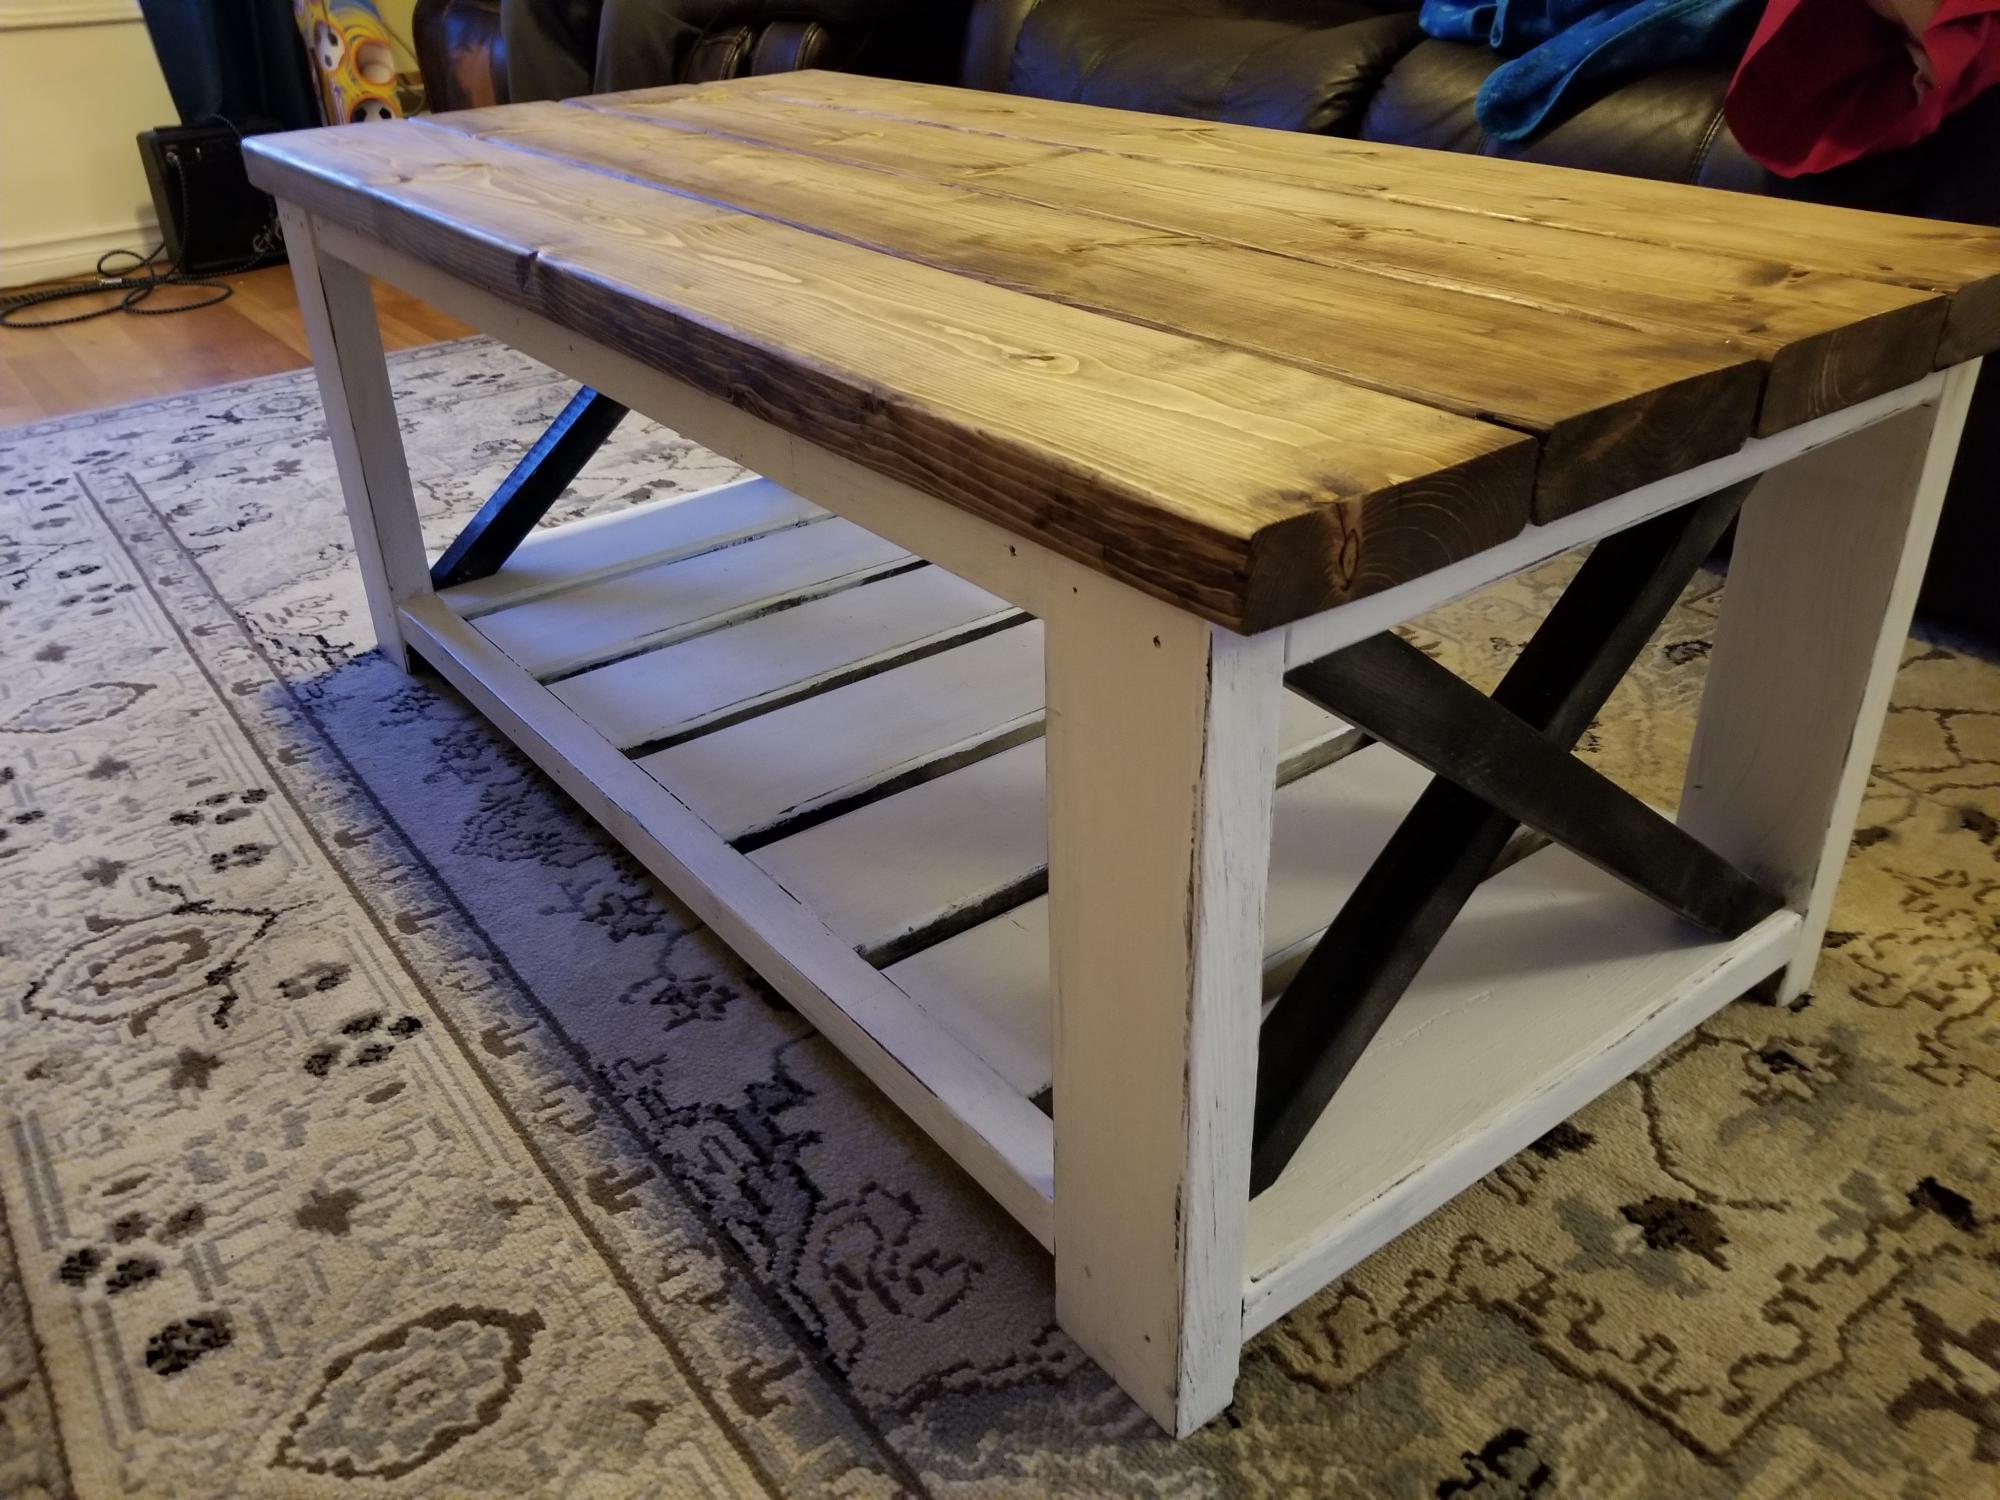
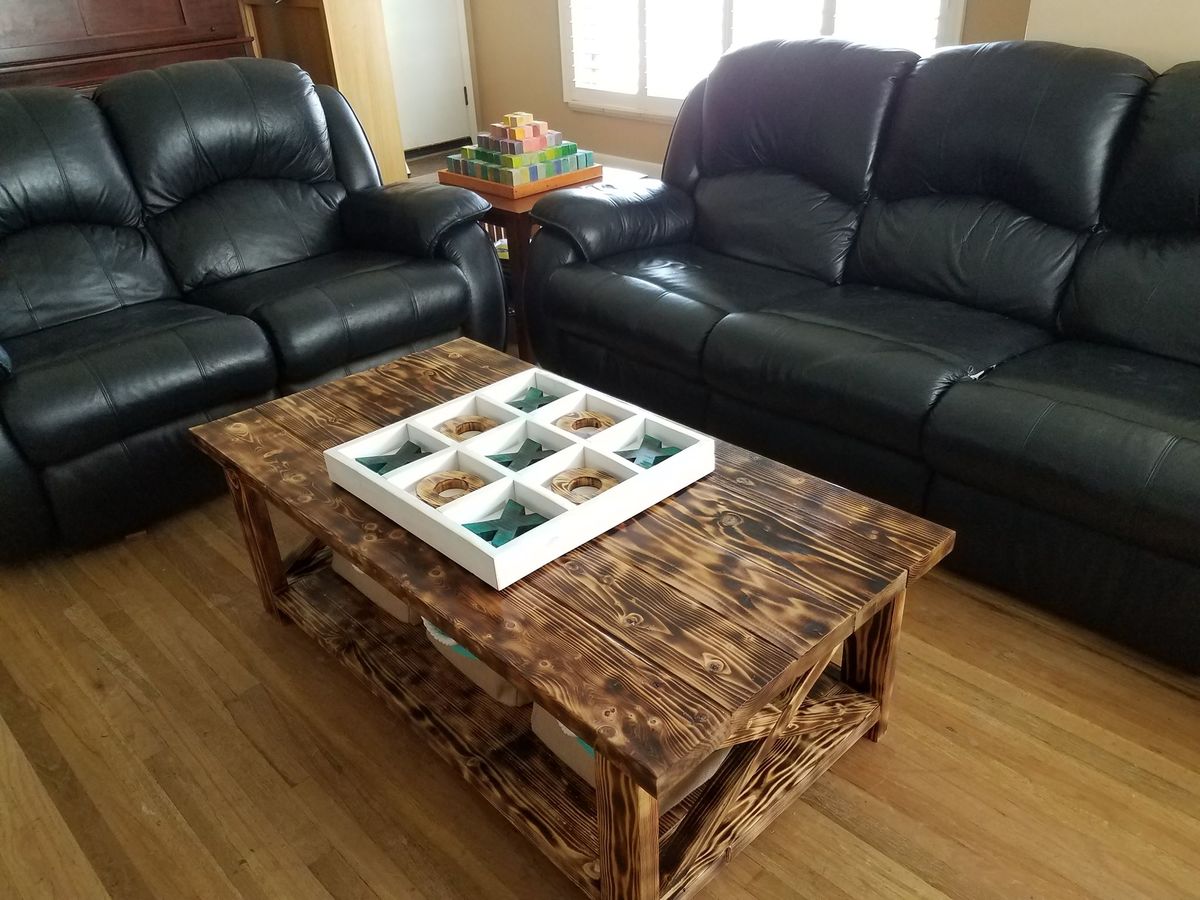
Rustic X table

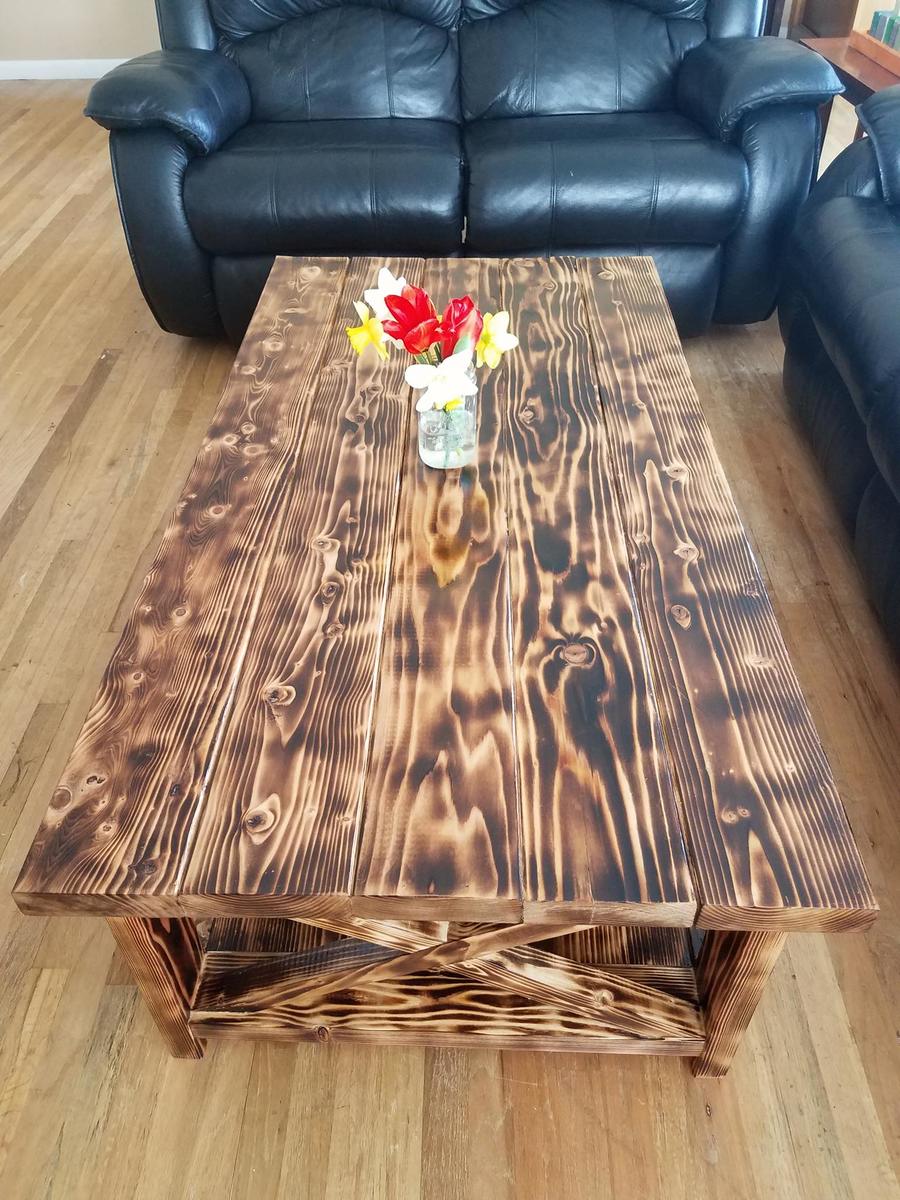
I saw this project and fell in love with it. Ive never done a wood working project before and wanted to do this all on my own so i wouldnt let anyone help just to know if i could do it. It didnt turn out perfect but i CAN NOT stop looking at it. Ana thank you somuch for theses plans!

Estimated Cost
$70
Estimated Time Investment
Weekend Project (10-20 Hours)
Finish Used
I didnt really use a finish just used coffee and vinegar and rubbed a small sbount of orange essential oil on the top to give it a better smell.
Recommended Skill Level
Beginner

Comments

CreativeChaos

Mon, 02/24/2014 - 11:22

Looks amazing! I'm dying to build this also and am nervous about trying out that finish. Where did you get the corner hardware?

kennasmomma

Wed, 04/30/2014 - 20:44

Sorry I got locked out of my account but I got plain silver corner pieces from walmart and spray painted them with a matte black.

Stenciled Fold Down Headboard

Submitted by Jaime04285 on Wed, 02/26/2020 - 11:11

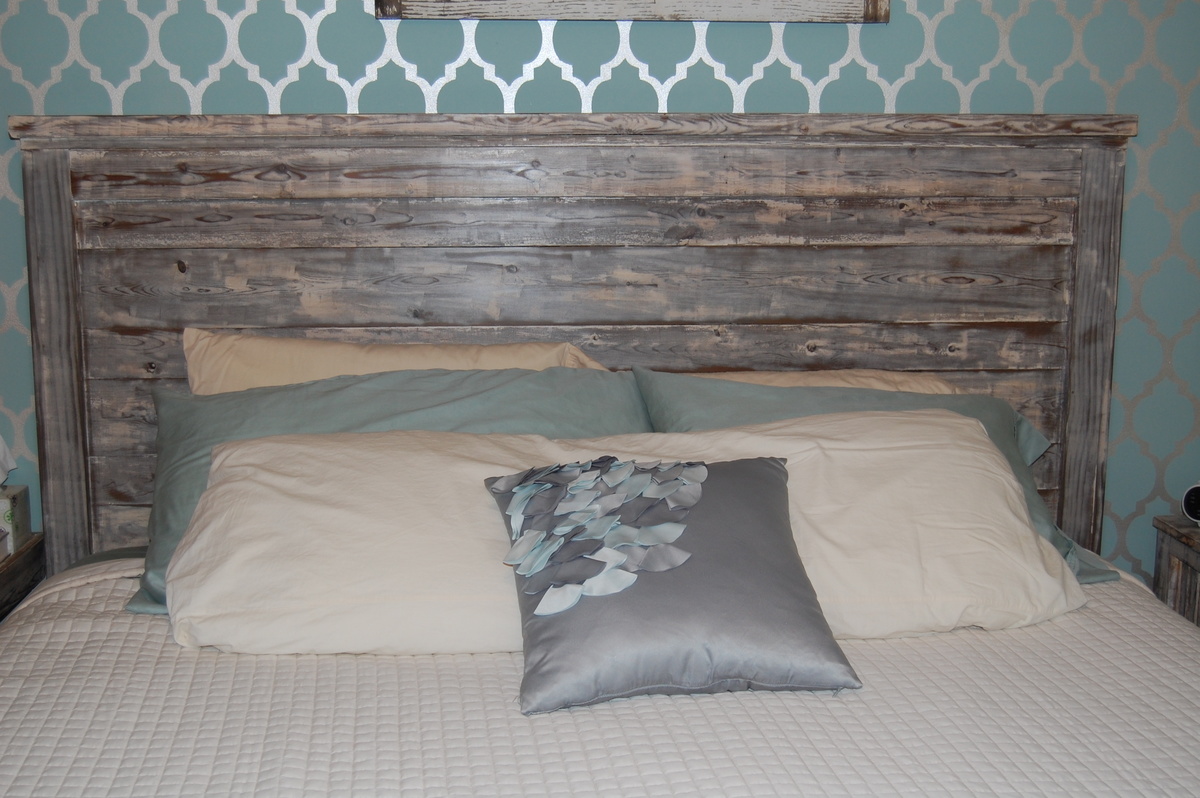
I made the fold down headboard to fit a California King bed and added a design to the panels using my vinyl cutter. The last picture continues to be flipped when I try to post it here sorry.

Estimated Cost
$75.00
Estimated Time Investment
Weekend Project (10-20 Hours)
Finish Used
mixture of stains then a slight white wash followed by a top coat of polyurethane. The designs were cut on my vinyl cutter and stenciled in with a white wash.
Recommended Skill Level
Intermediate

Comments

Cottage bench for my cape-cod

Submitted by TF in VA on Fri, 05/11/2012 - 12:59

I really wanted a place to sit down and take my shoes off when I got home. I don't have a large entryway, so the space was tight. I looked online for a bench that would fit the measurements, and found a few that looked good-- except for the price! Luckily I already knew about Ana White, so I came here in search of some plans and lo and behold she already had plans posted for the exact same bench I liked most from the catalogs!

I've used power tools before, but never actually *built* anything from scratch. I thought my boyfriend would help me with this (he's got woodworking experience), but I got tired of waiting for him to get around to it, so I just did it all by myself!

I first attempted to make this without a Kregg Jig, cause I didn't want to spend the money on it if I didn't need it. But it didn't take long to figure out that I needed it. So back to the store I went (found out the hard way that Lowes sells Kreggs but Home Depot does not, at least the ones near me). And holy cow it was SO WORTH IT!

I also got to buy a new sander for the project, cause the hand-me-down from my dad had a missing bit of the clamp that holds the sandpaper to the sander (kind of essential)
So all in all I spent more than the catalog price of the bench, but I will get to use the tools to build all sorts of fun stuff!!!

Thank you Anna! You empowered me to build exactly what I wanted and I LOVE IT!!!!

Estimated Cost
$50 wood + Kregg Jig (and screws and wood plugs) + palm sander
Estimated Time Investment
Weekend Project (10-20 Hours)
Finish Used
Red paint, to match my front door. Still need to protect the finish with some sort of sealant.
Recommended Skill Level
Beginner

Flower Storage Table with Thumb Chairs

Submitted by pde00311 on Mon, 02/24/2014 - 22:32

I put together the flower storage table and the thumb chairs during the week leading up to our daughter's first birthday party. With a lot of older toddlers/kids at the party, the table served as a perfect coloring station in our basement (as you can see from the mahem/aftermath photo below). In any event, as my daughter is about to turn two, she has really grown into using the table and chairs for completing her own arts and crafts projects.

Estimated Cost
100
Estimated Time Investment
Day Project (6-9 Hours)
Finish Used
Behr Sweet Taffy, Camembert and Kashmir pink paints with a couple coats of polycrylic
Recommended Skill Level
Intermediate

Modern farmhouse bed with nightstands

Submitted by judge on Thu, 03/05/2020 - 05:09

I made this beautiful bed in just one (long) day (12h). The next day I made the nightstands with the scraps of wood from the bed.

Built from Plan(s)
Estimated Cost
€100
Estimated Time Investment
Weekend Project (10-20 Hours)
Finish Used
Hard wax oil with a splash of "alaska white" paint mixed in it
Recommended Skill Level
Intermediate

Media Center

Submitted by Felicka on Mon, 05/14/2012 - 22:29

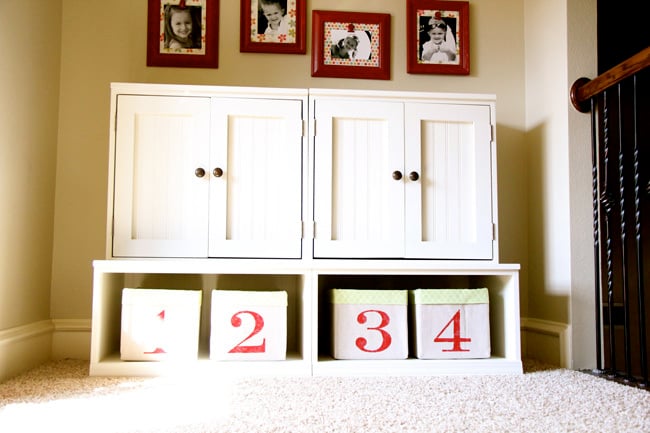
Easy, fun great project that my husband and I did together. This project cost about $202, and I will take that price over the price that you would have to pay in the furniture store any day. We found some great wood at Lowe's that worked perfectly and gave it the "rustic" look that we like. Thanks Ana for the plans and sharing them with us.

Estimated Cost
$202.54
Estimated Time Investment
Week Long Project (20 Hours or More)
Finish Used
We used Minwax wood conditioner and then a coat of Minwax Dark Walnut stain. We then used a coat of poly followed by wet-dry sandpaper for the smooth finish.
Recommended Skill Level
Intermediate

Comments

Debi_G (not verified)

Wed, 05/16/2012 - 19:01

That's a fine quality piece of furniture!

Why can't I get dark walnut stain to look like that?

Felicka

Wed, 05/16/2012 - 22:07

Thanks

My hubby used wood conditioner prior to applying the dark walnut. with using the conditioner especially with soft wood such as pine it allows the stain to adsorb in evenly. we only used one coat of both.

claydowling

Wed, 05/16/2012 - 19:45

Debi_G, I've had lots of trouble getting stains to look the way I want too. What I've taken to doing is either mixing my own (see http://claydowling.com), as well as trying out various commercial stains until I find one that satisfies my desires. Good use for your scrap.

So far the best commercial stains I've found are from General Finishes. They're designed to sit partially on top of the wood, which prevents some of the splotchy and washed out look that make some stains unpleasant to work with.

Herb boxes for the deck

Submitted by monster on Wed, 02/26/2014 - 19:01

I made these boxes with my dad one afternoon. We had a great time! We wanted our herbs to be close to the kitchen and still get plenty of sun, so attaching them to the deck railing was ideal. I made them out of timber decking with pocket holes, and attached them to the railing with metal brackets underneath.
Built from Plan(s)
Estimated Cost
50
Estimated Time Investment
Afternoon Project (3-6 Hours)
Finish Used
Cabots Deck & Exterior stain
Recommended Skill Level
Beginner

Comments

Sectional seating

Submitted by Anonymous (not verified) on Mon, 05/30/2016 - 06:18

This was by Far The Best Sectional plans on the Net! Very Easy To Make! Thanks Anna white

Recommended Skill Level
Beginner

Comments

Fancy X Farmhouse Table

Submitted by Loaded918 on Sat, 03/14/2020 - 12:01

This is my first big project. It took about 5 days with the help of my 3 yr old little boy. I made a couple of modifications. I took the size down to 6 ft to fit our current dining room. Essentially I just took 24 inches off of the table top and the long cross braces. For the diagonal cross pieces, I just clamped the wood on the side and marked where the cut was needed. Somehow though, I ended up needing 8 2x4’s... It turned out a lot better than I expected. Although I wish it was explained how they attached the table top. I ended just screwing in from the top. Wish there was a way to avoid this, and the ensuing shown screws, but it will do for now!

Built from Plan(s)
Estimated Cost
~120
Estimated Time Investment
Week Long Project (20 Hours or More)
Finish Used
Dark Walnut
Recommended Skill Level
Intermediate

Playhouse loft princess bed

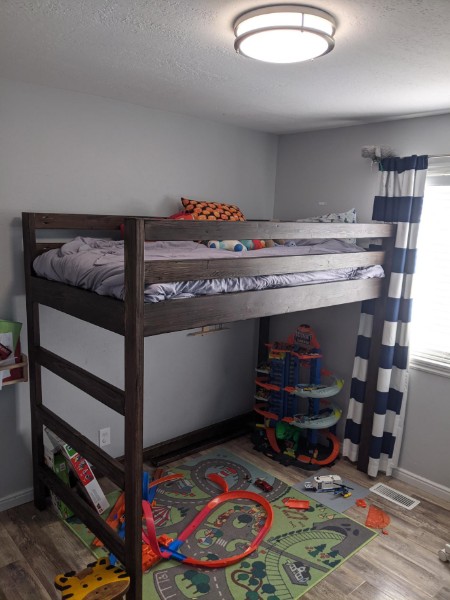
My daughter was turning 4 and we were expecting our 2nd child in a few months and needed her crib/toddler bed back to start setting up the nursery. After googling fun big girl beds for a few weeks i came across the plans for the cottage bed and decided to sit down with my husband and decide if we could build her this bed. by building instead of buying the bed of her little girl dreams we were creating many fond memories with her and a real attatchment to it so she would actually sleep in it. We went through alot of the other brag posts first and picked out a few things we liked from each and made a few modifcations. I felt the spindles around the bed needed to be taller to keep her from falling out of the bed. We also made a door way under the slide that is now a little secret fort for her to go in and read her books and have quiet time. Under the steps my husband made a closet for her dress up clothes utilizing as much of the space under the bed as possible as it takes up most of her bed room We painted the back wall under the bed with chalk board paint to give her a art space under there as well. In the end it took us about a month to build the bed working on it on the weekends. We spent around 500 dollars including the purchase of a few tools we diddnt have and needed like the kreg jig and all the paint and princess decals. She loves the bed and my very amazing handy husband has been approached by many friends and family members to make one for their children as well.

Built from Plan(s)
Estimated Cost
500$
Estimated Time Investment
Week Long Project (20 Hours or More)
Finish Used
Valspar paint
Recommended Skill Level
Intermediate

Comments

birdsandsoap

Sat, 05/19/2012 - 19:37

I love the little valance over the window, it looks so cozy. You've got one lucky girl. The picture with all of the princess dolls on the steps is adorable.

Rustic X Book Case

Submitted by Casey R on Mon, 03/03/2014 - 09:33

I wanted to build something a little bigger than the Rustic X Console table. So my wife and I came up with the plans for this 5 shelf "Rustic X" Book Case. Took me about 20 hours to build over a three day weekend.

Estimated Cost
$120
Estimated Time Investment
Weekend Project (10-20 Hours)
Finish Used
Rust-Oleum Stain Onix
Minwax Helmsman Spar Urethane
Recommended Skill Level
Intermediate

Comments

HuskyBlue

Wed, 04/16/2014 - 08:18

What dimensions did you end up using?- the proportions look great! Even the shorter legs look great! And did you just use 2x6's for your trip on the top? We would love to follow your design to a t!

HuskyBlue

Wed, 04/16/2014 - 08:37

We were thinking of increasing the overall height to 84" and the width to 48" (keeping the depth) but weren't sure if that would mess up the ratio.

Bown

Tue, 08/27/2019 - 17:53

I think your looks much nicer than the original due to the finished top. It looks complete with the way you've made the overhang. How much of a overhang is it? 

I love the rustic x console and coffee table but hated the bookshelf due to the odd looking top, thank you for your inspiration! 

Geo Dresser

Submitted by Anonymous (not verified) on Sat, 11/04/2023 - 14:44

Bedroom dresser made from Ana White’s plans! Absolutely love it and it was easy to build!

Kristen Kobeszko

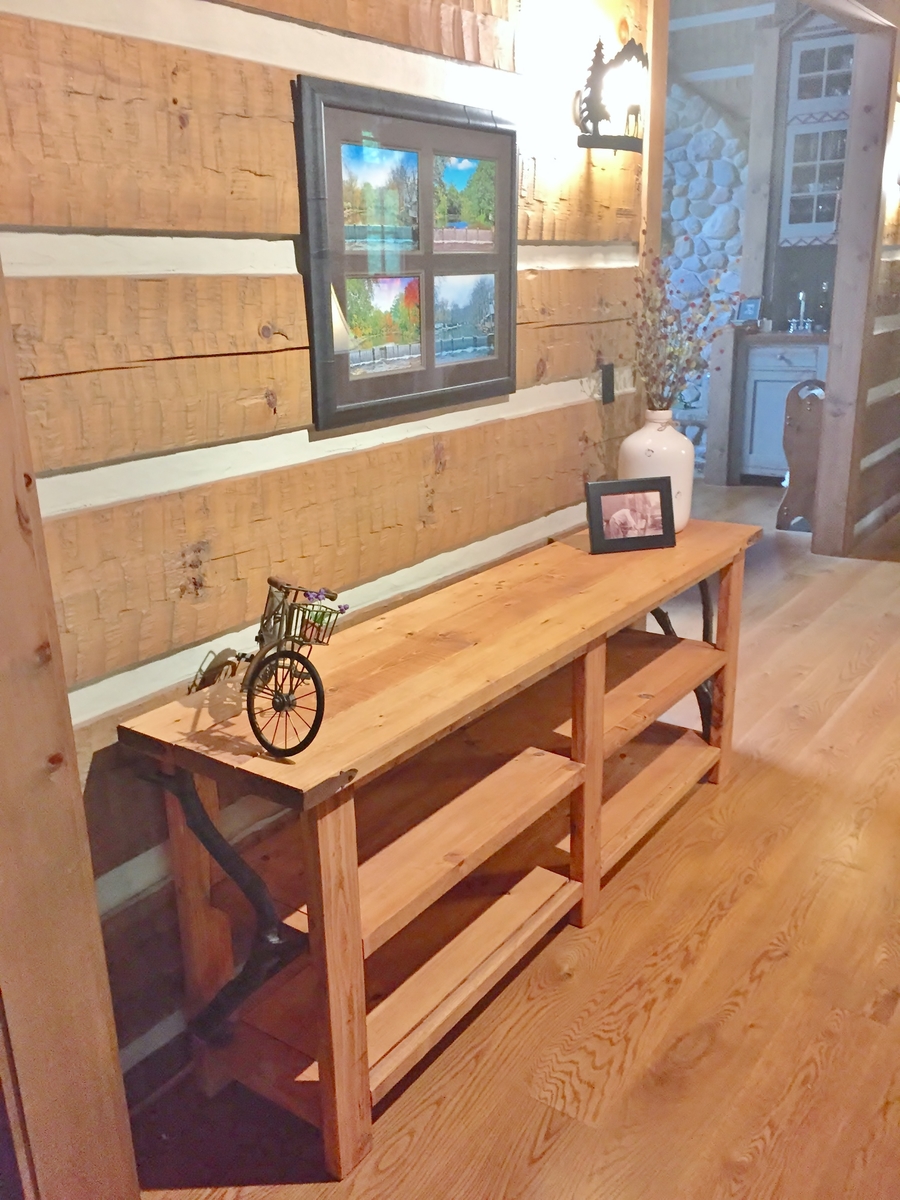
Rustic X Console Table

Submitted by jwerne2 on Wed, 03/05/2014 - 12:55

My husband built this Rustic X Console table to plan. We love it so much he is now building the coffee table and end tables to match (and I may convince him to build the bookcase too!)

Estimated Time Investment
Day Project (6-9 Hours)
Finish Used
Rustoleum Dark Walnut, wipe on satin polyurethane, furniture wax
Recommended Skill Level
Intermediate

Alexia Bench modified

Submitted by rkyount on Sat, 06/04/2016 - 15:35

This was a very quick and easy build that was completely finished in an afternoon. My Kreg jig was loaned out, so I have exposed fasteners, but I prefer to let them show instead of filling the holes. I built this with 20" legs to make it a little taller and more comfortable for my height. I also prefer straight lines and angles, so I changed the trim pieces a bit to suit my style. The hardest part was getting the drawer slides lined up. The finish is Rustoleum Heirloom White with a coffee colored glaze. The picture makes one drawer look darker, but it's really just a shadow. I'm in love with this project!
Built from Plan(s)
Estimated Cost
$65
Estimated Time Investment
Afternoon Project (3-6 Hours)
Finish Used
Rustoleum Heirloom White with a coffee colored glaze
Recommended Skill Level
Beginner
Back