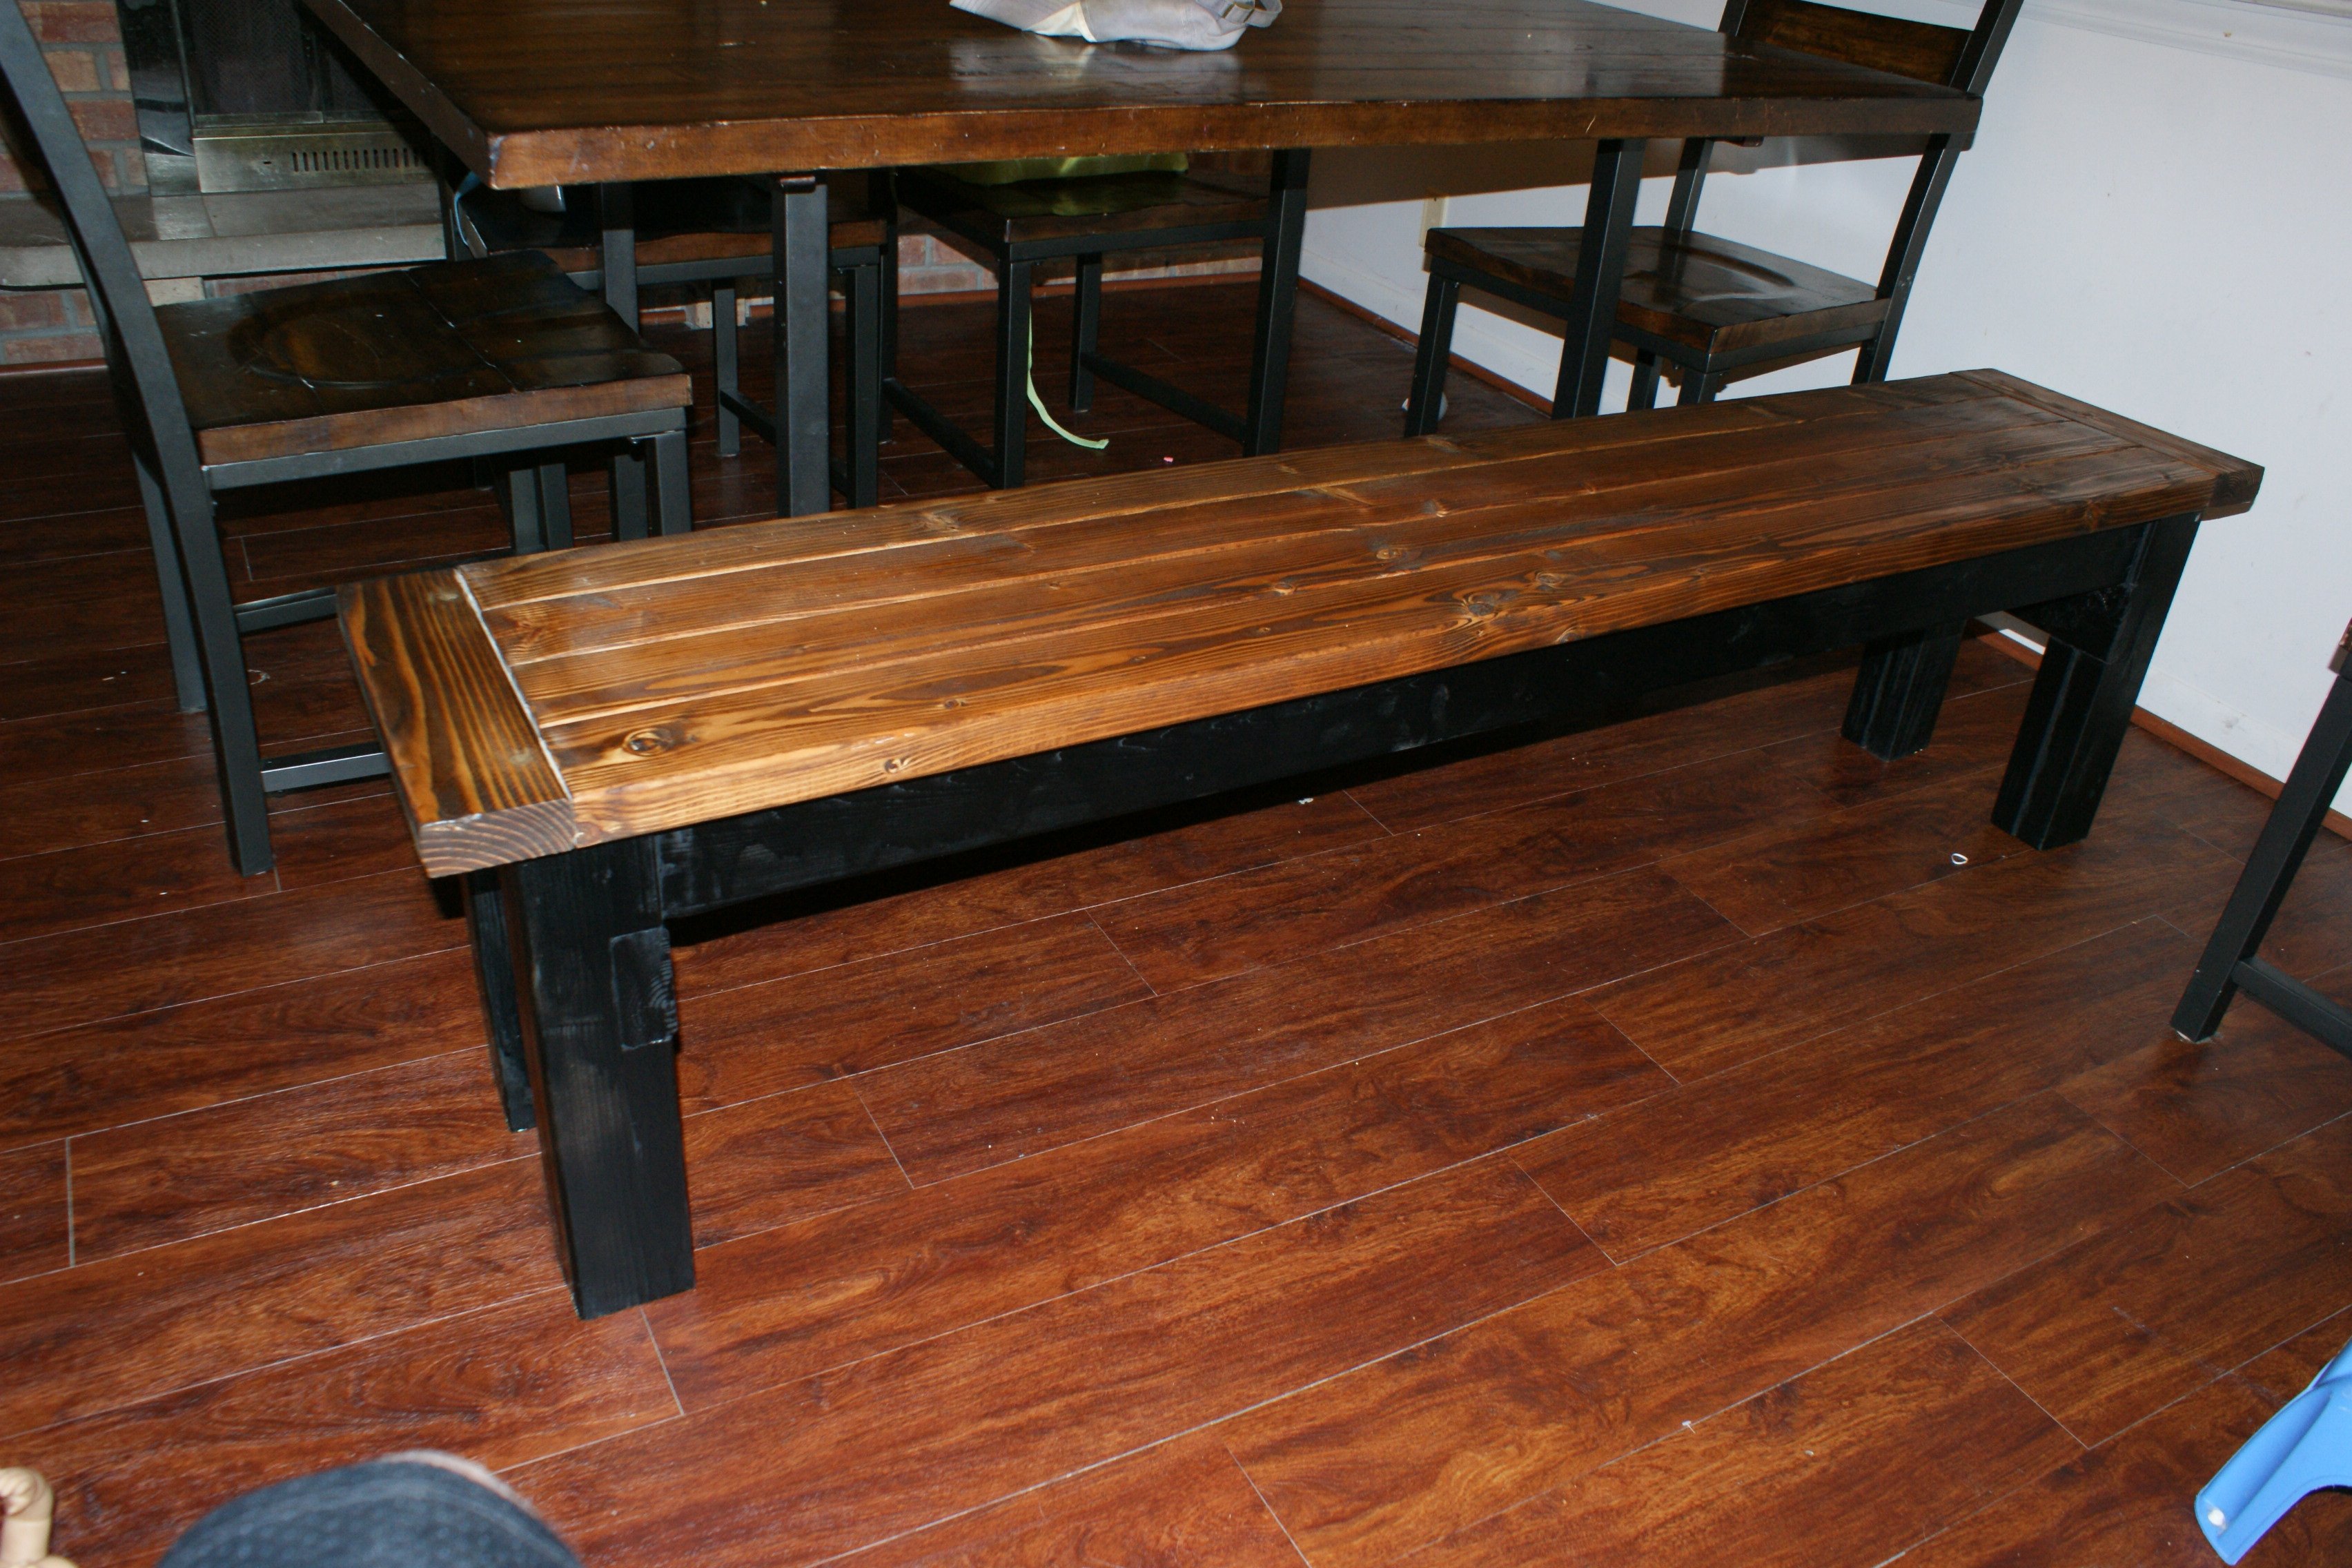
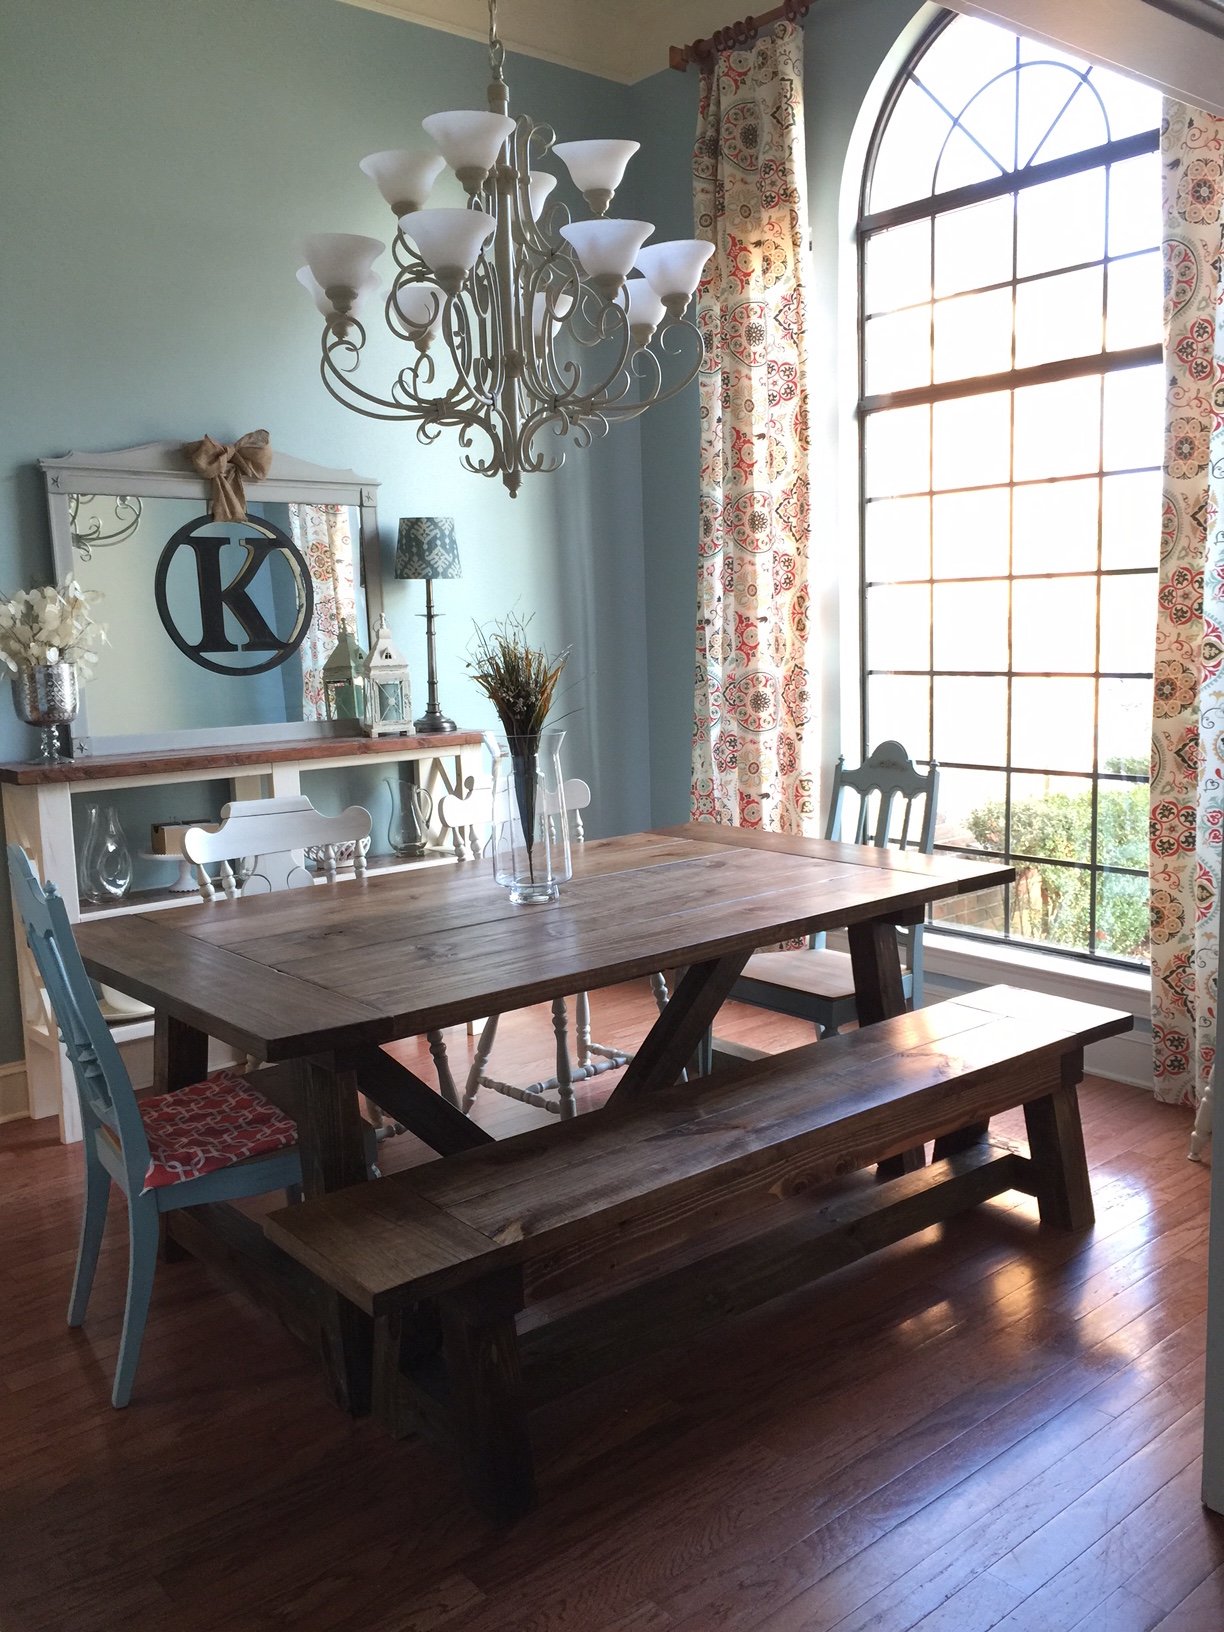
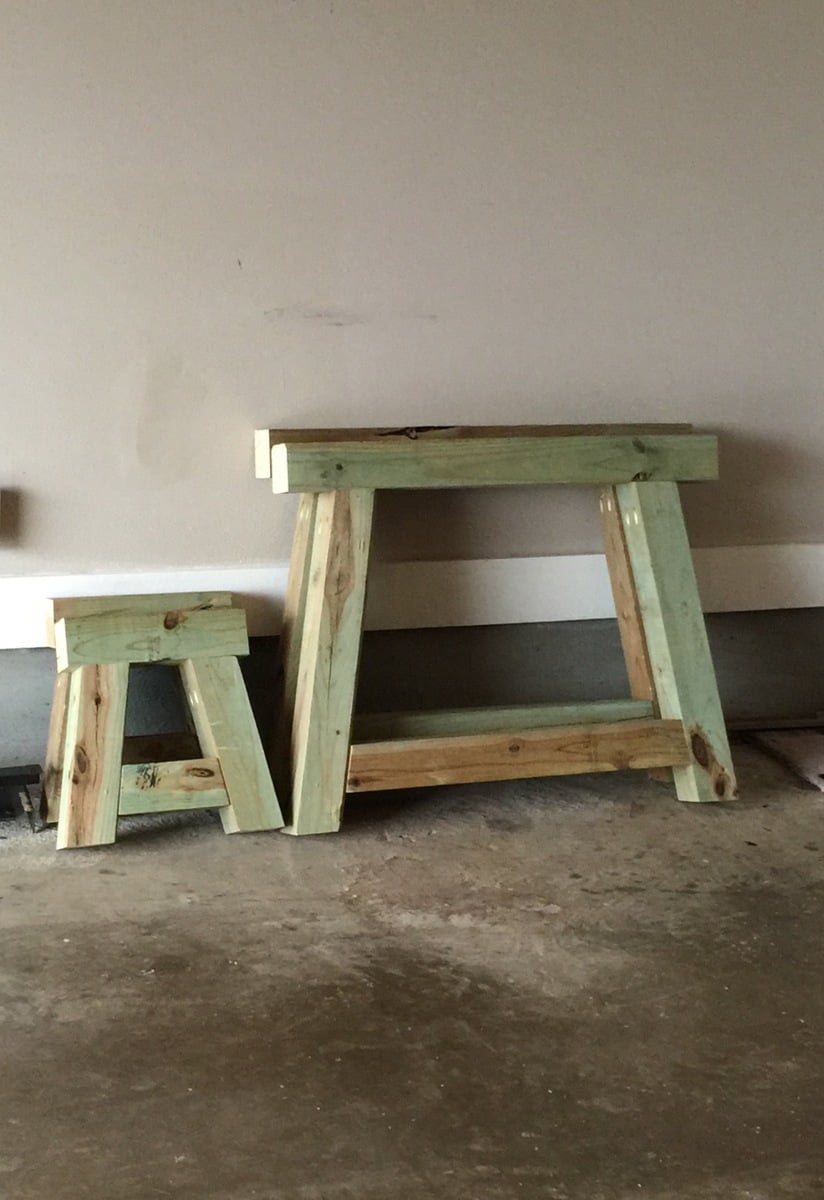
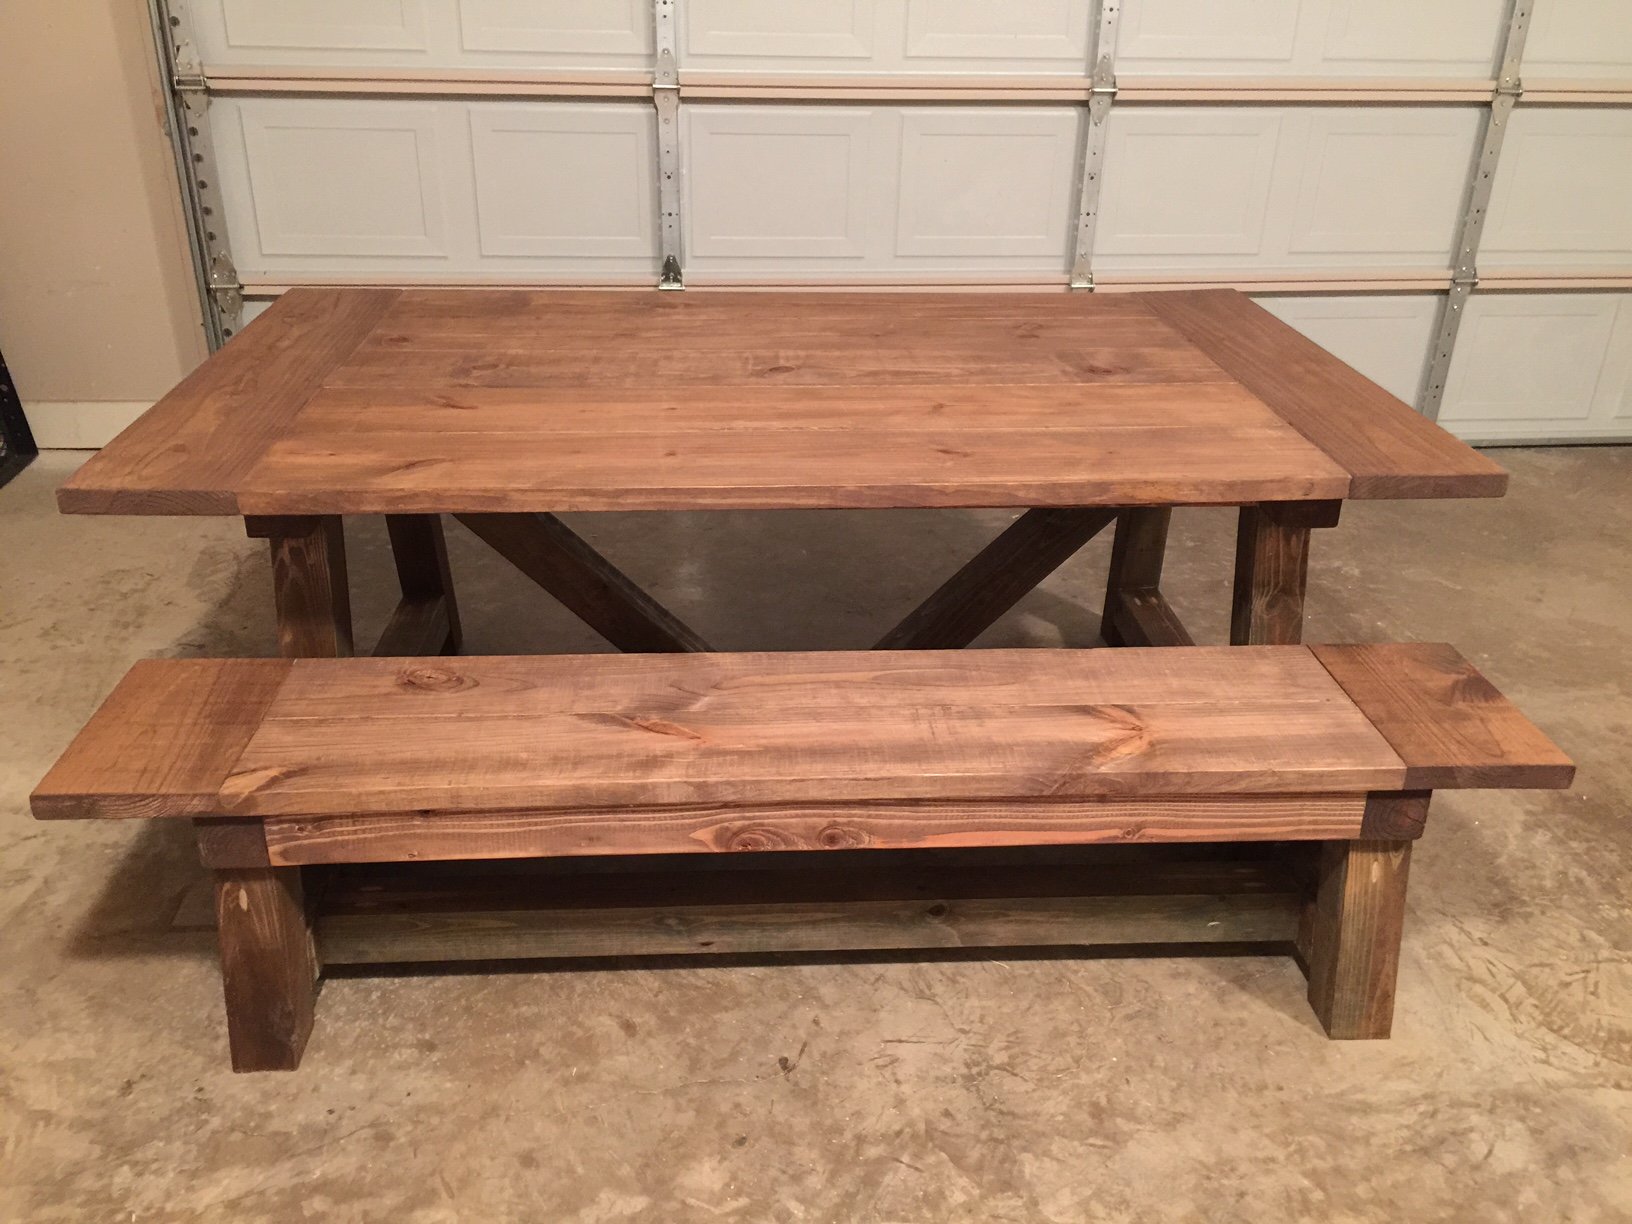
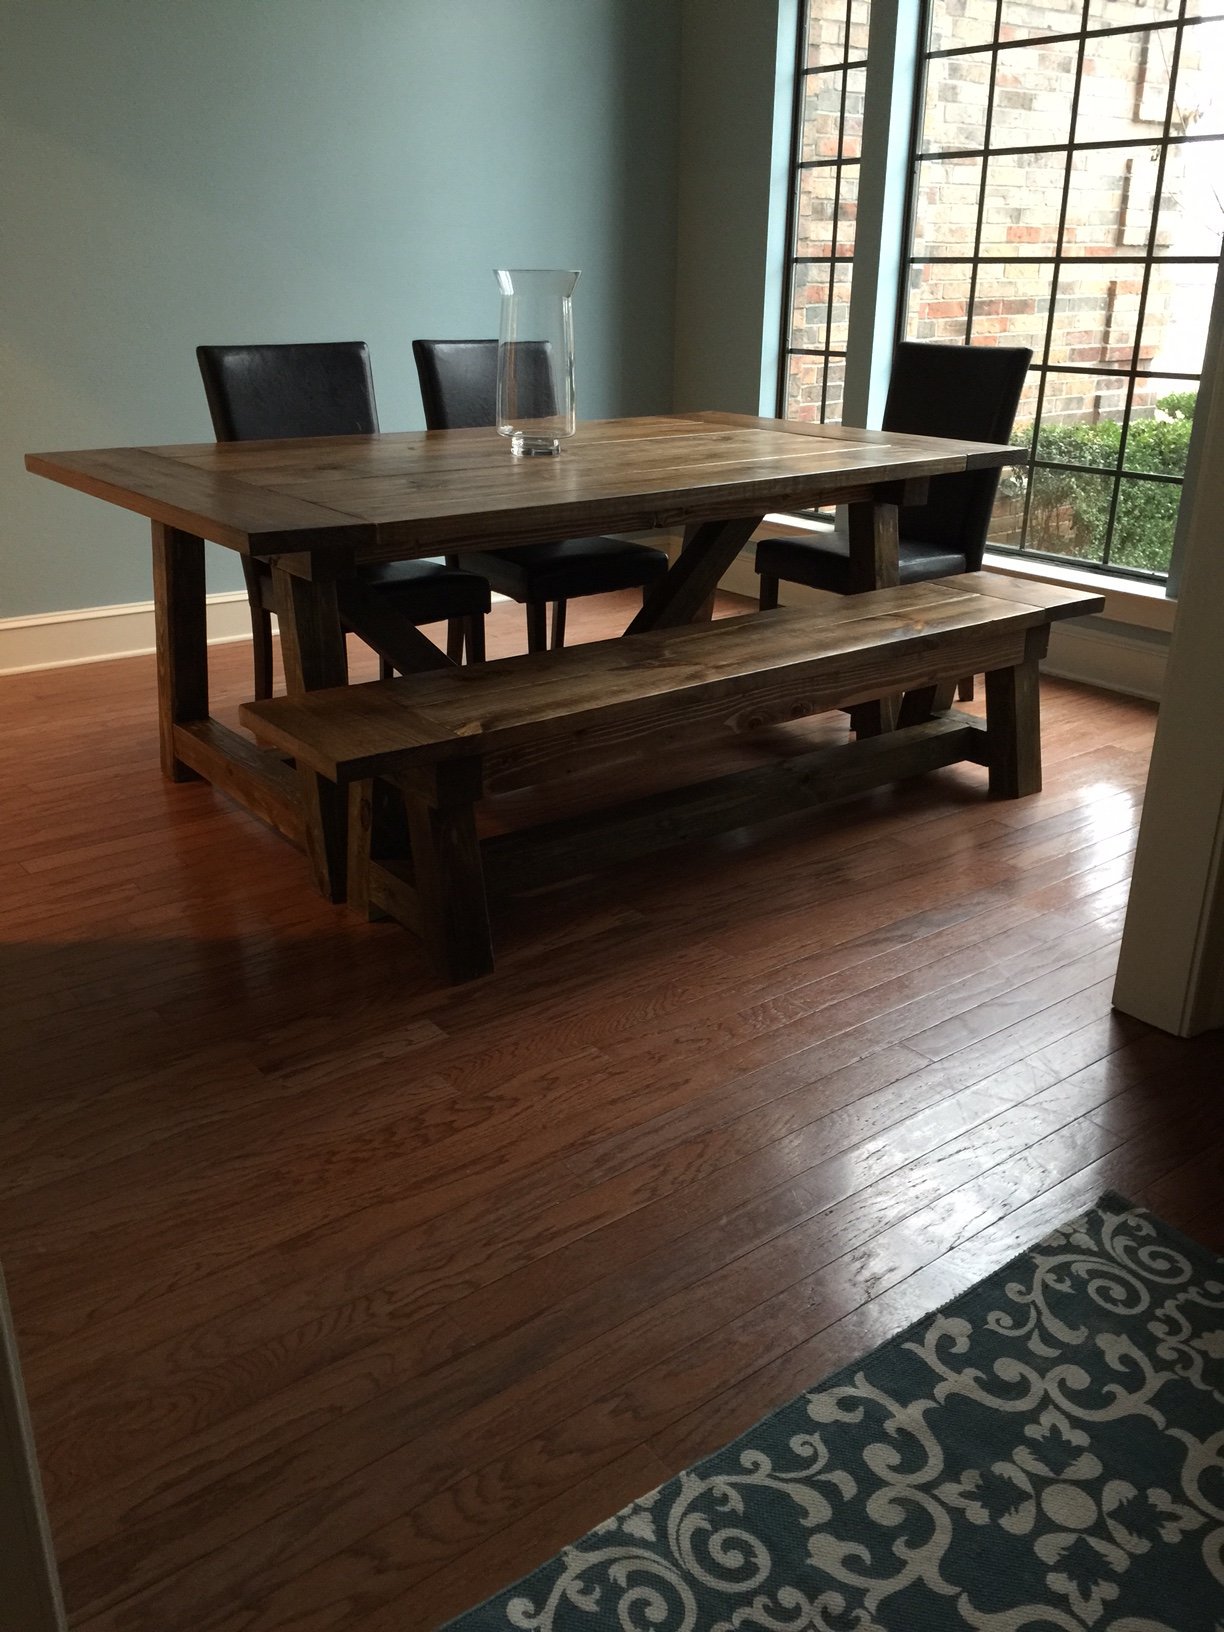
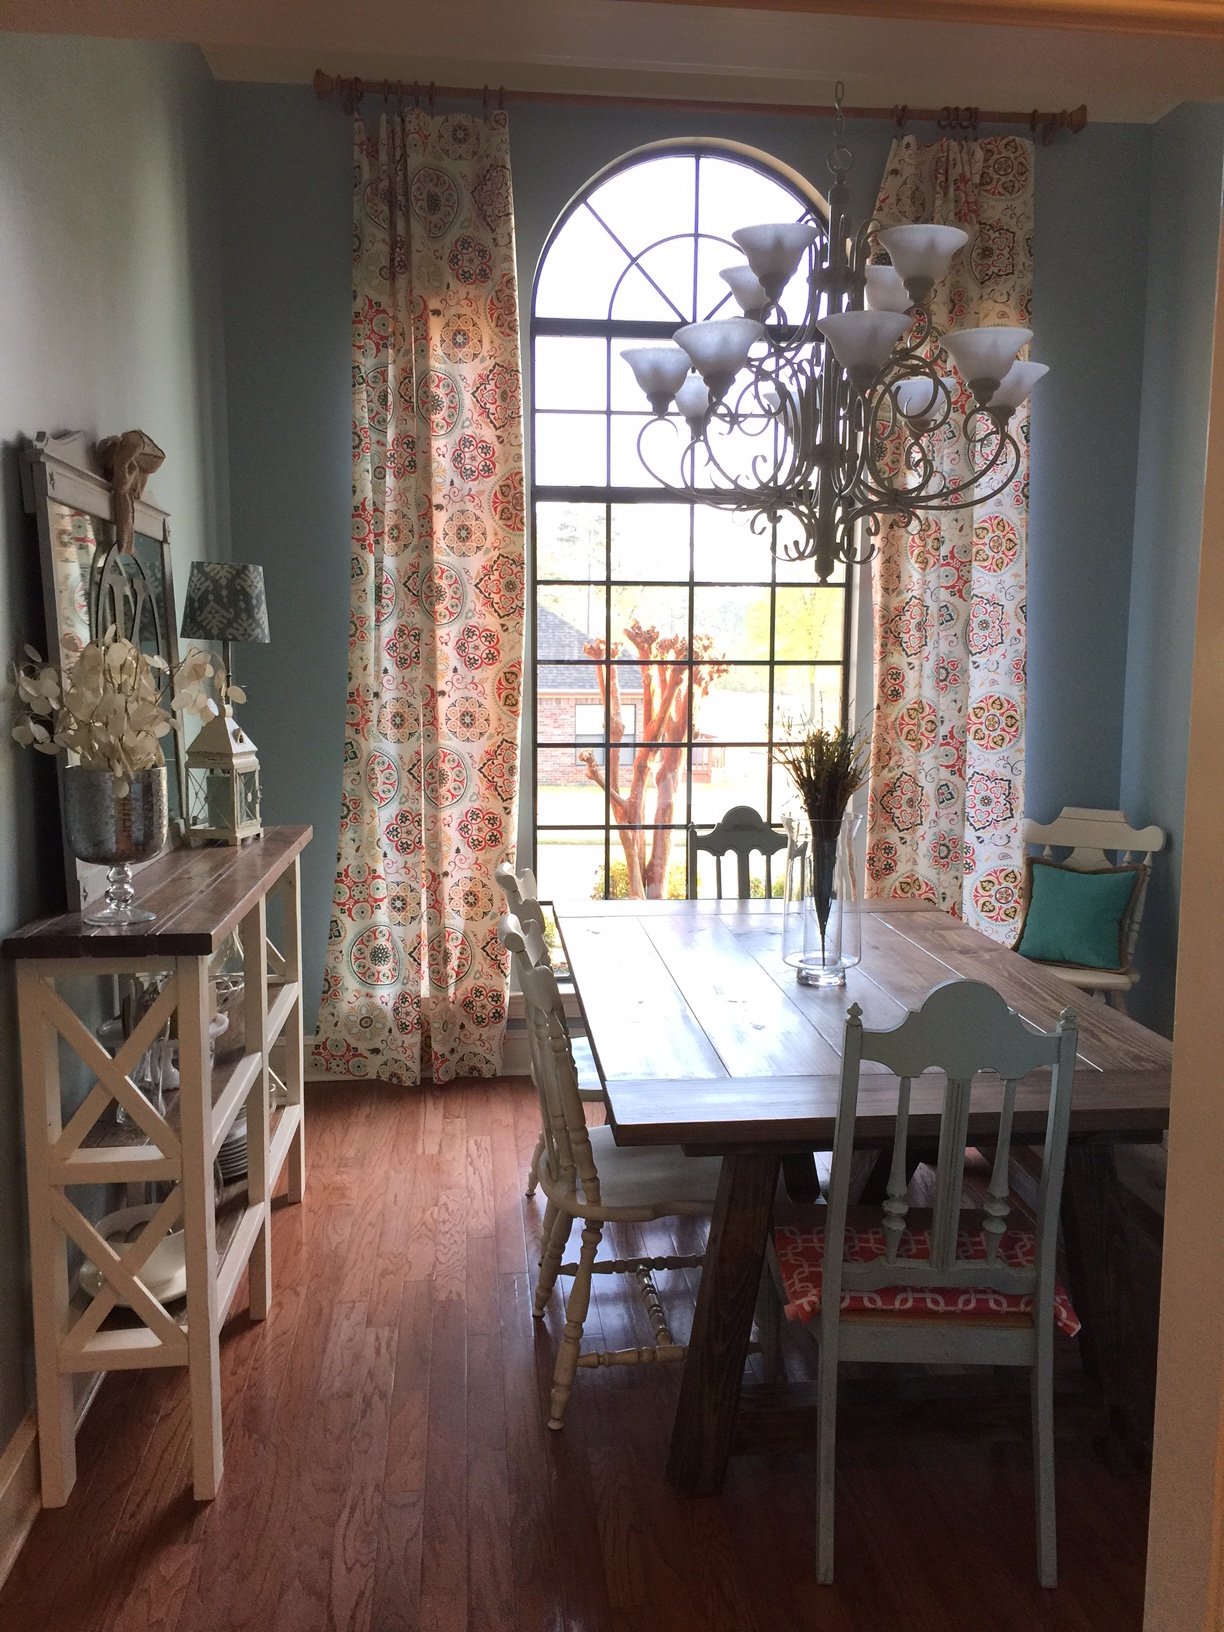
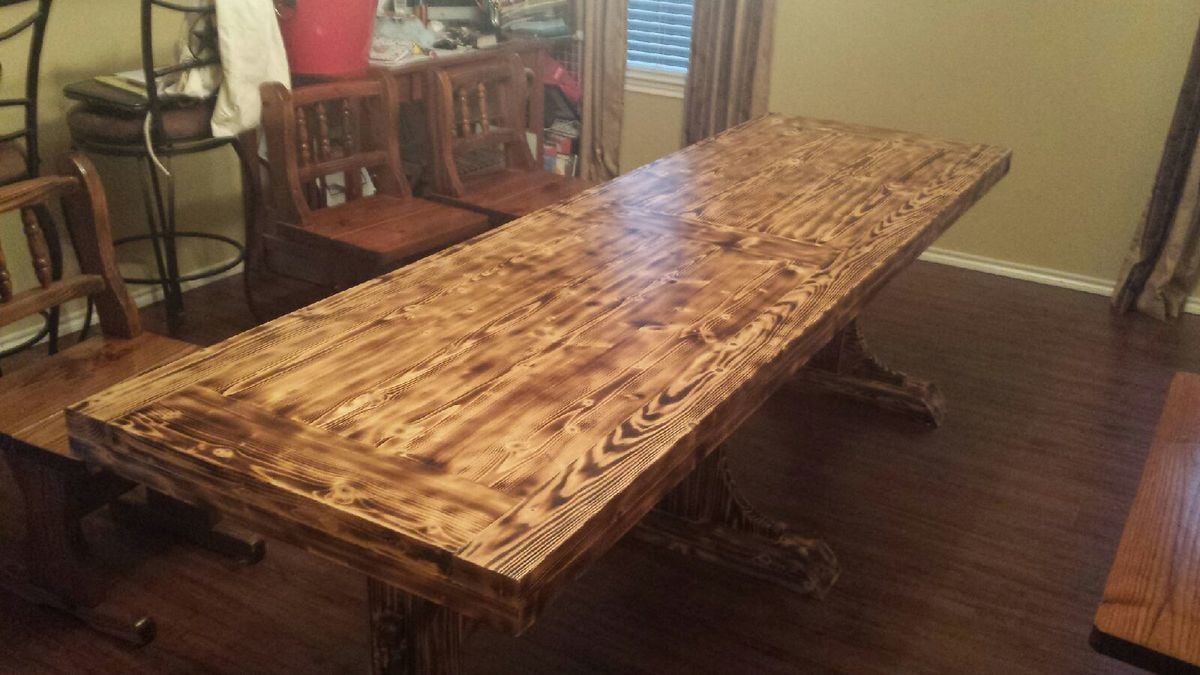
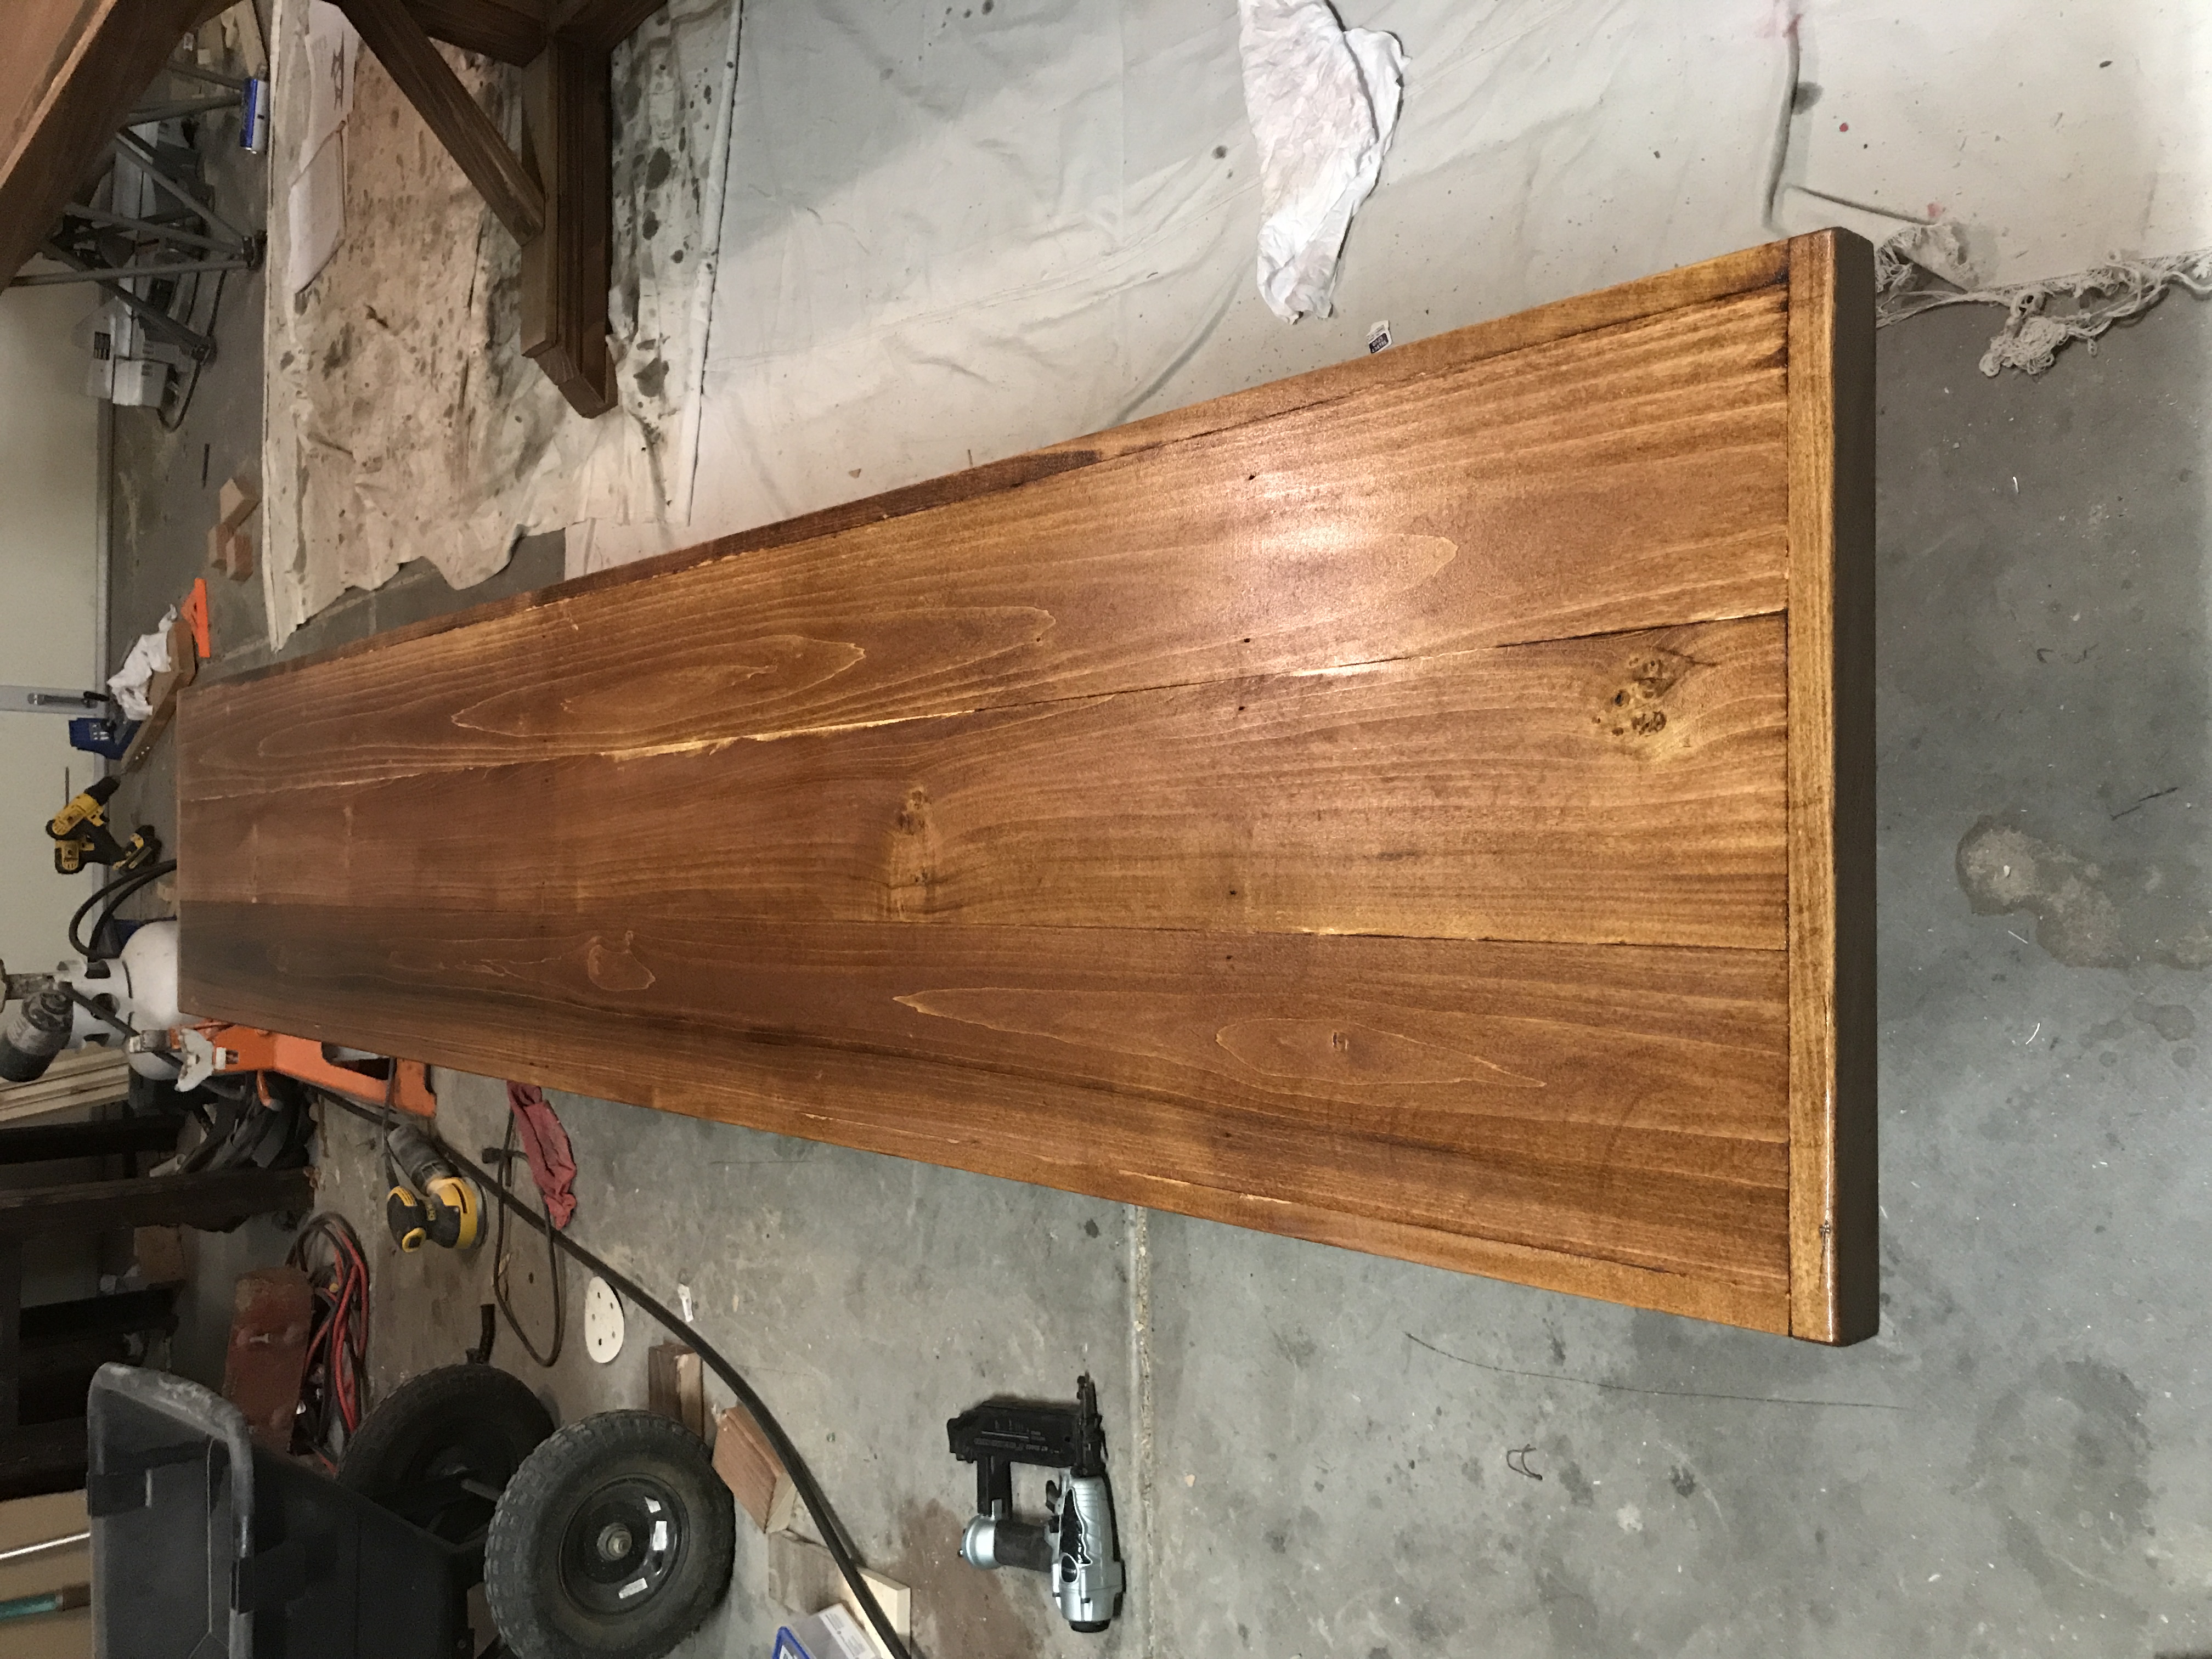
Farmhouse Bench
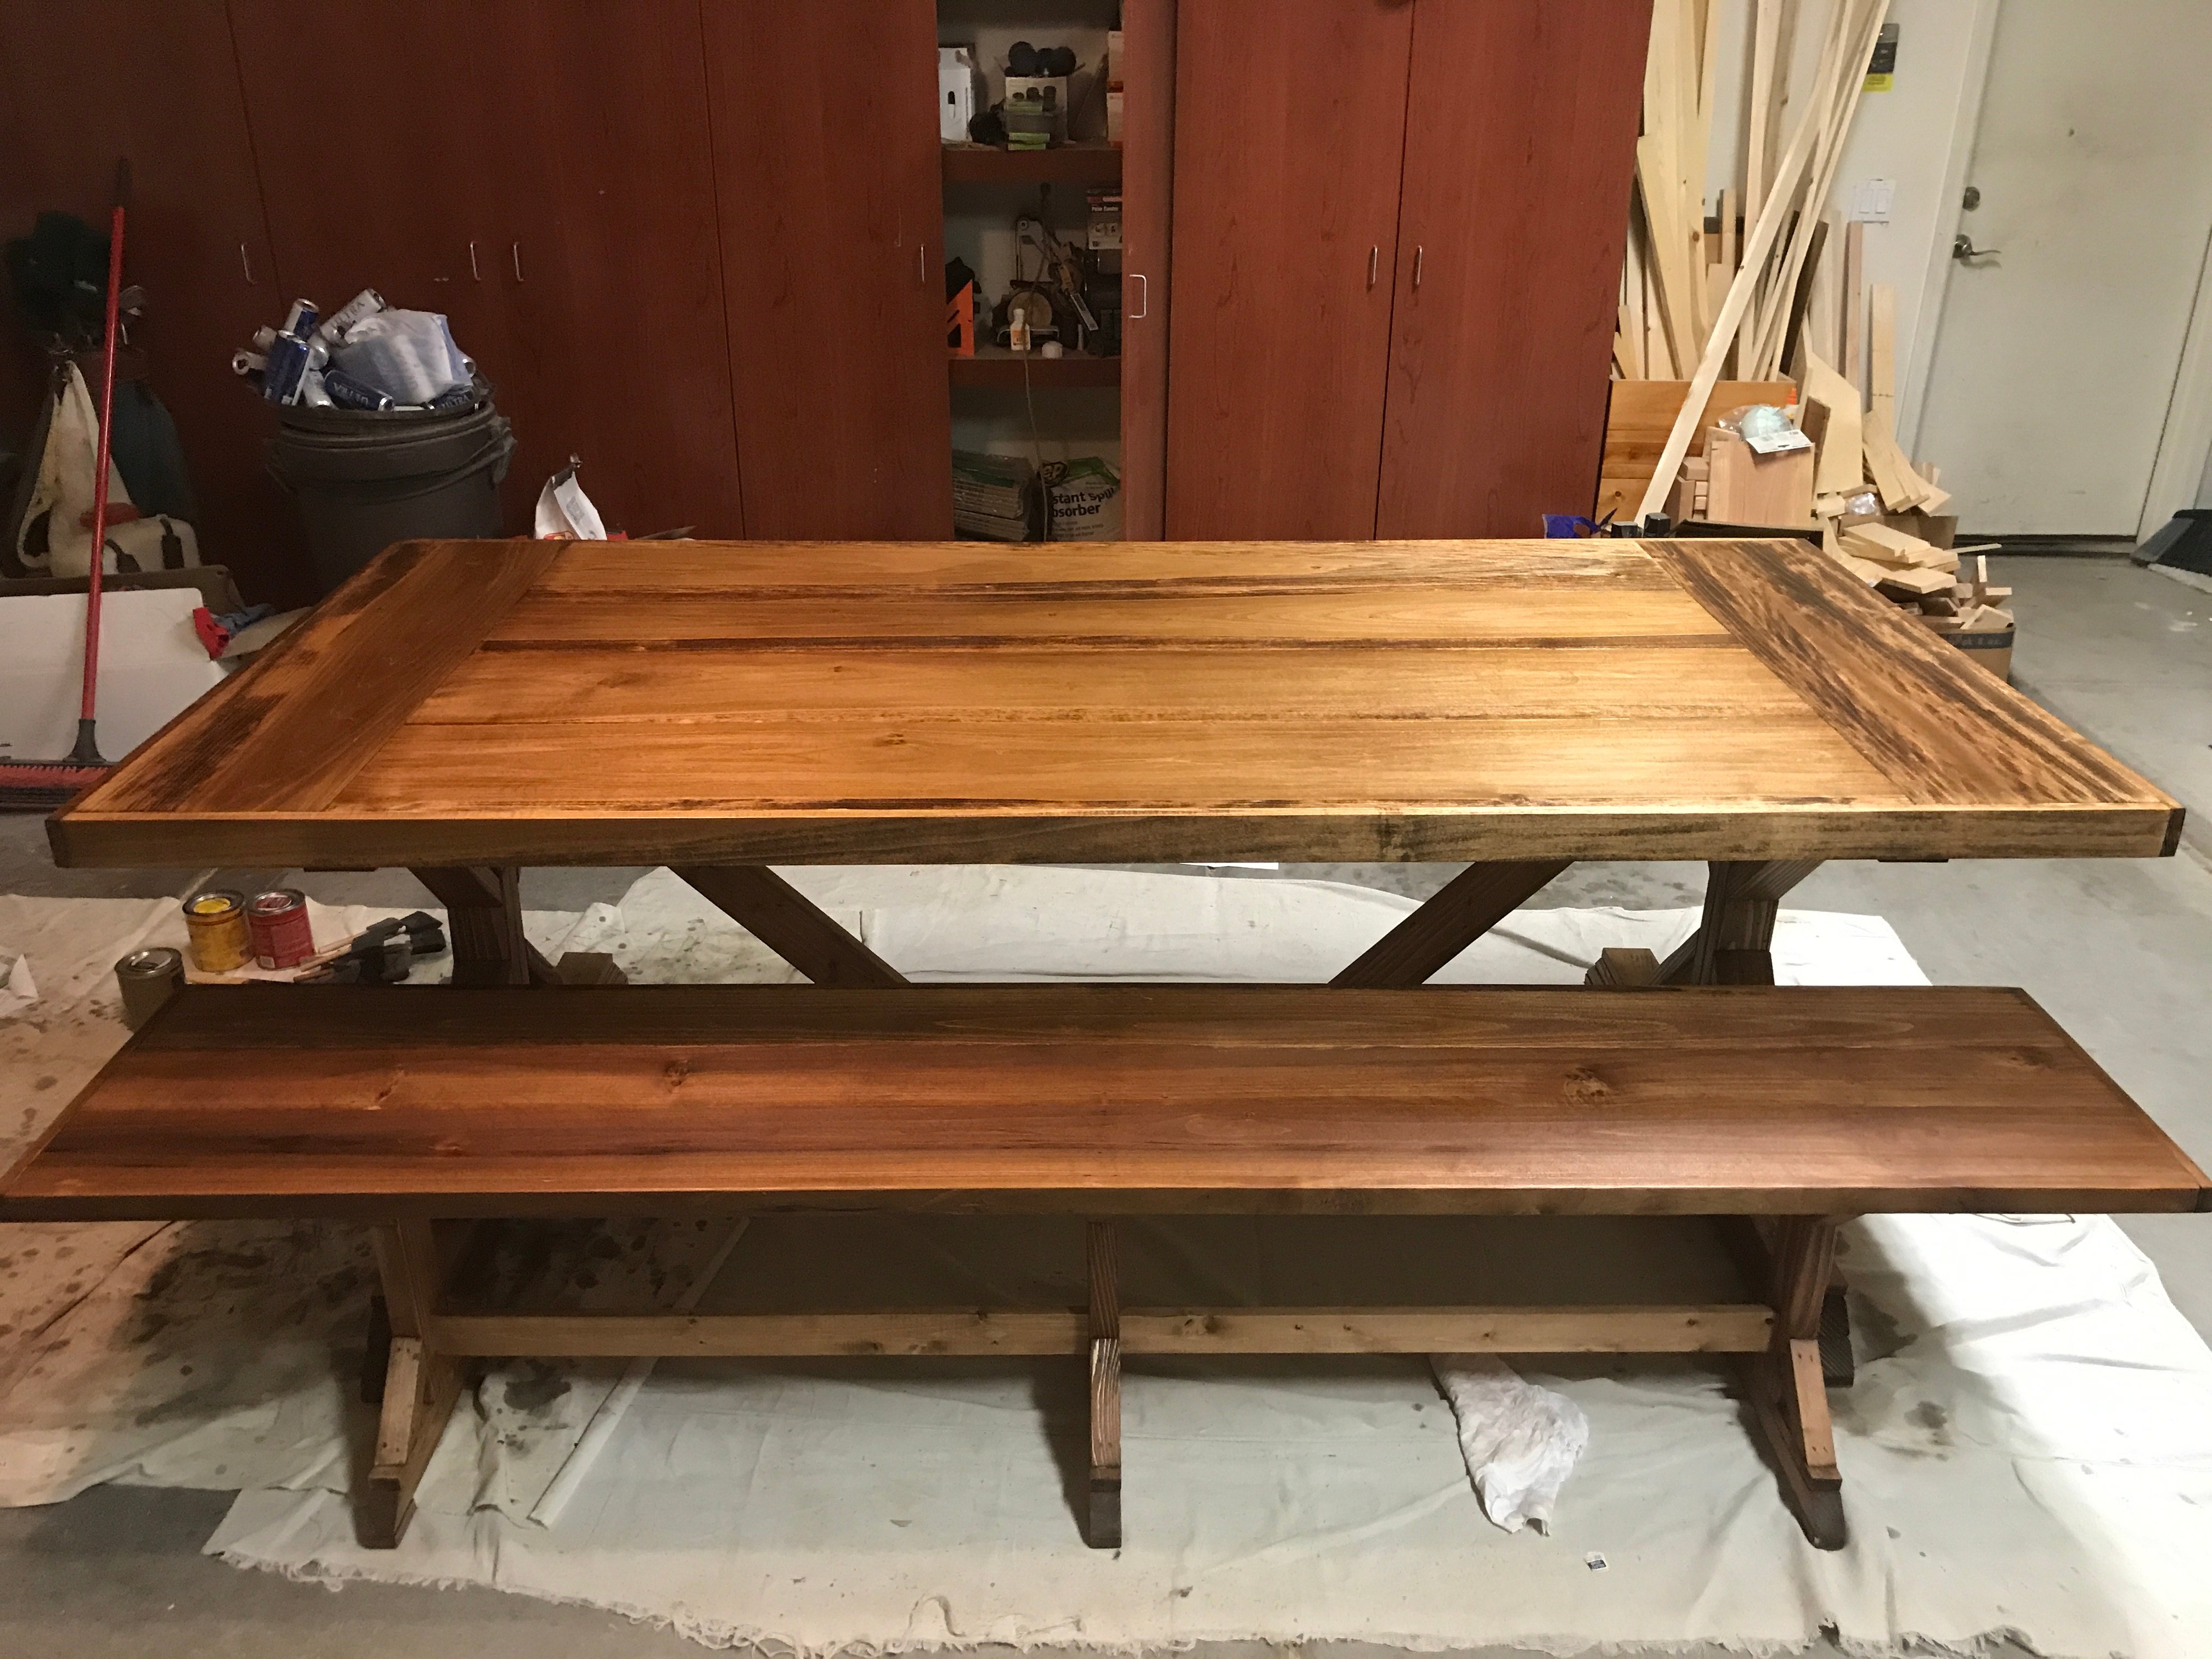
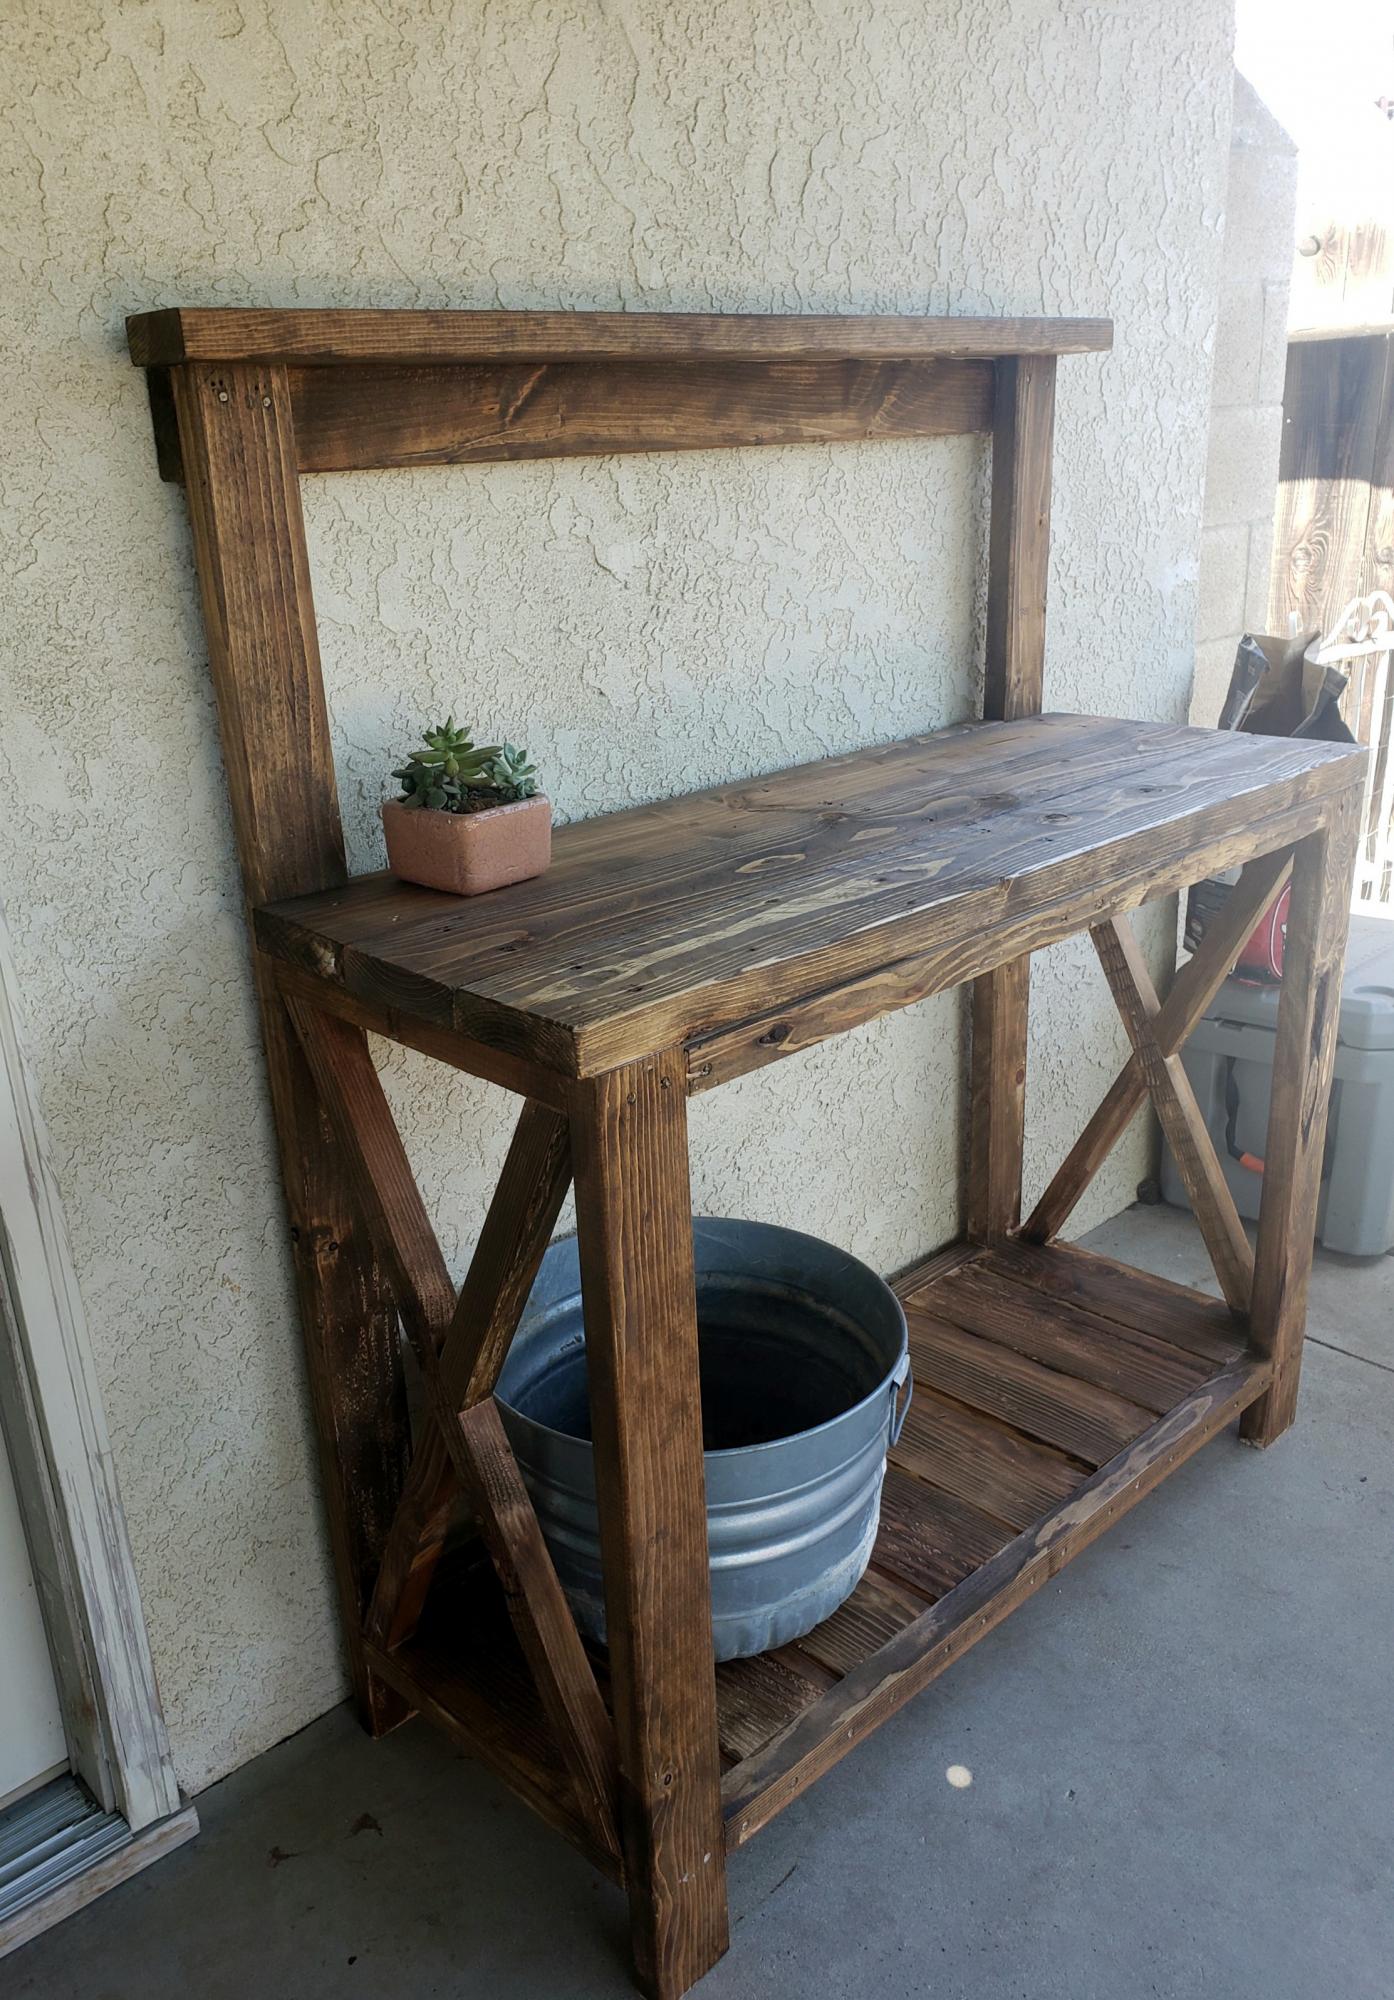
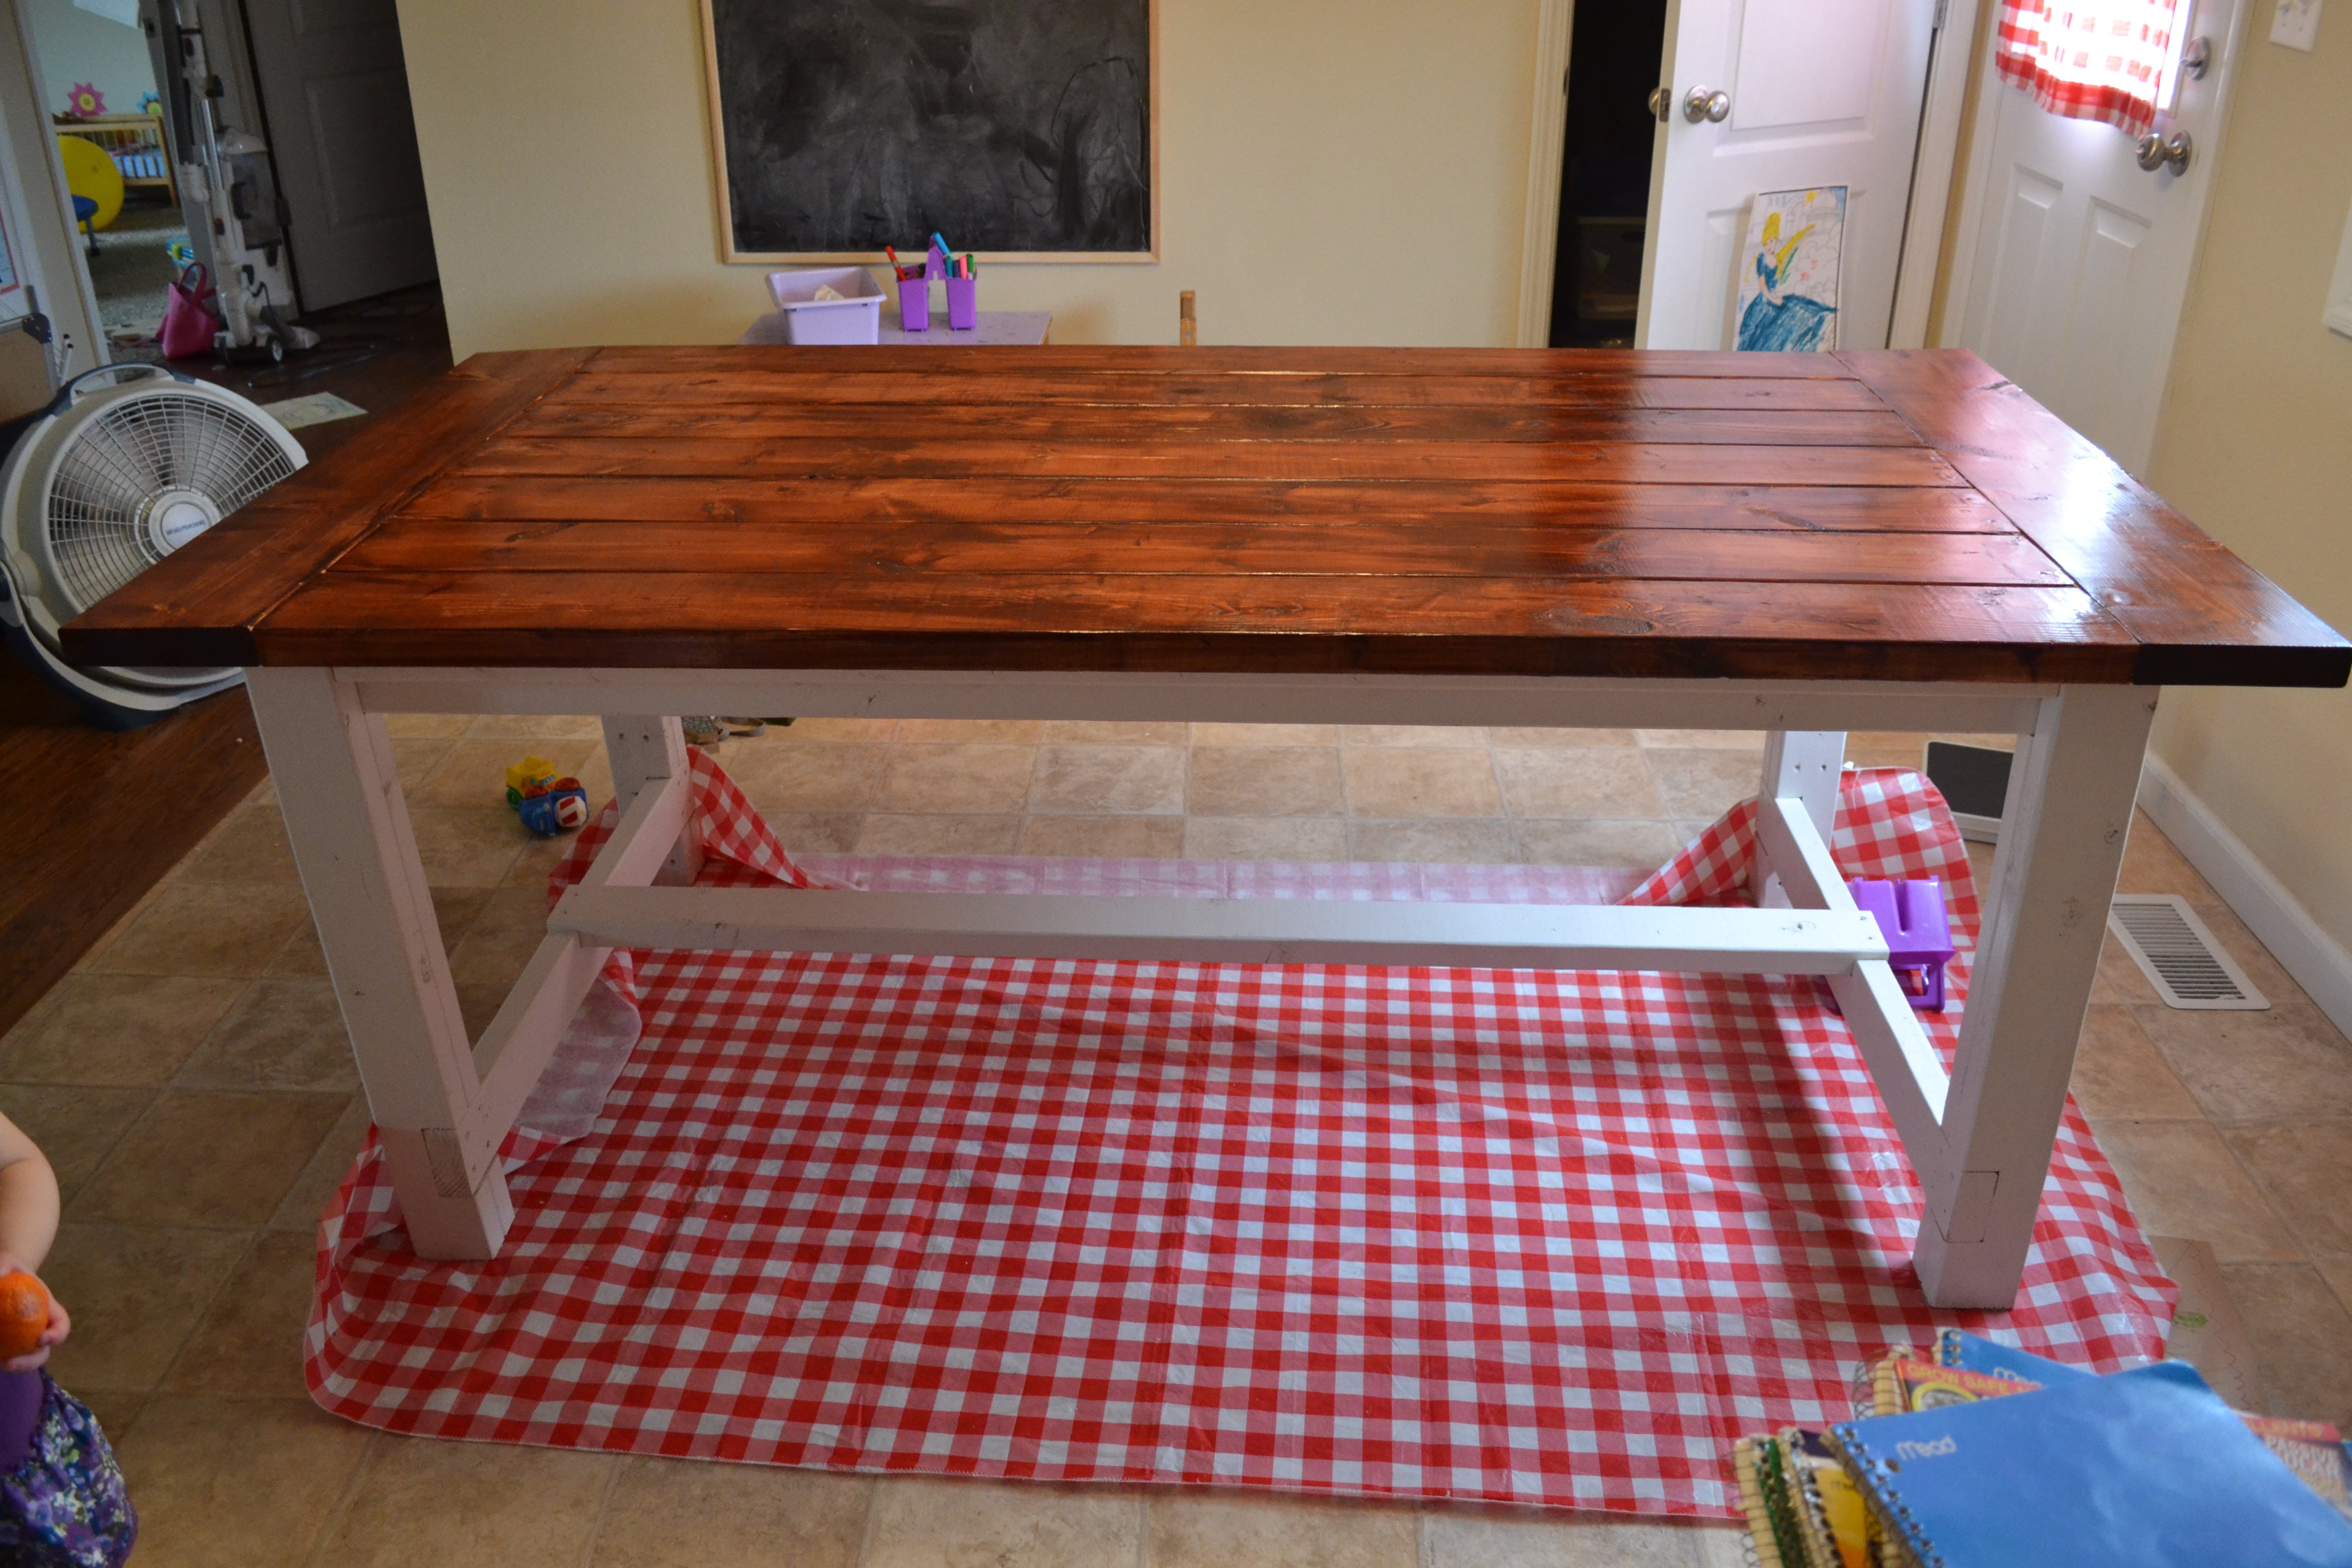
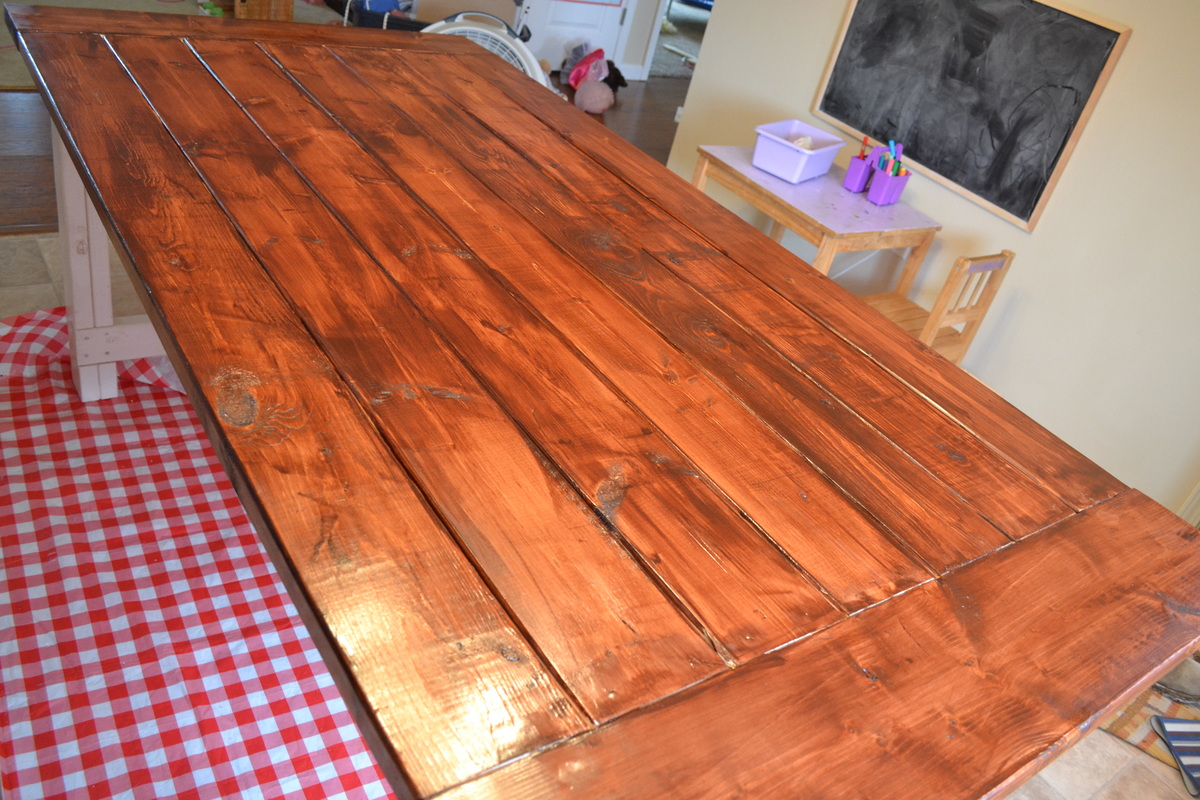
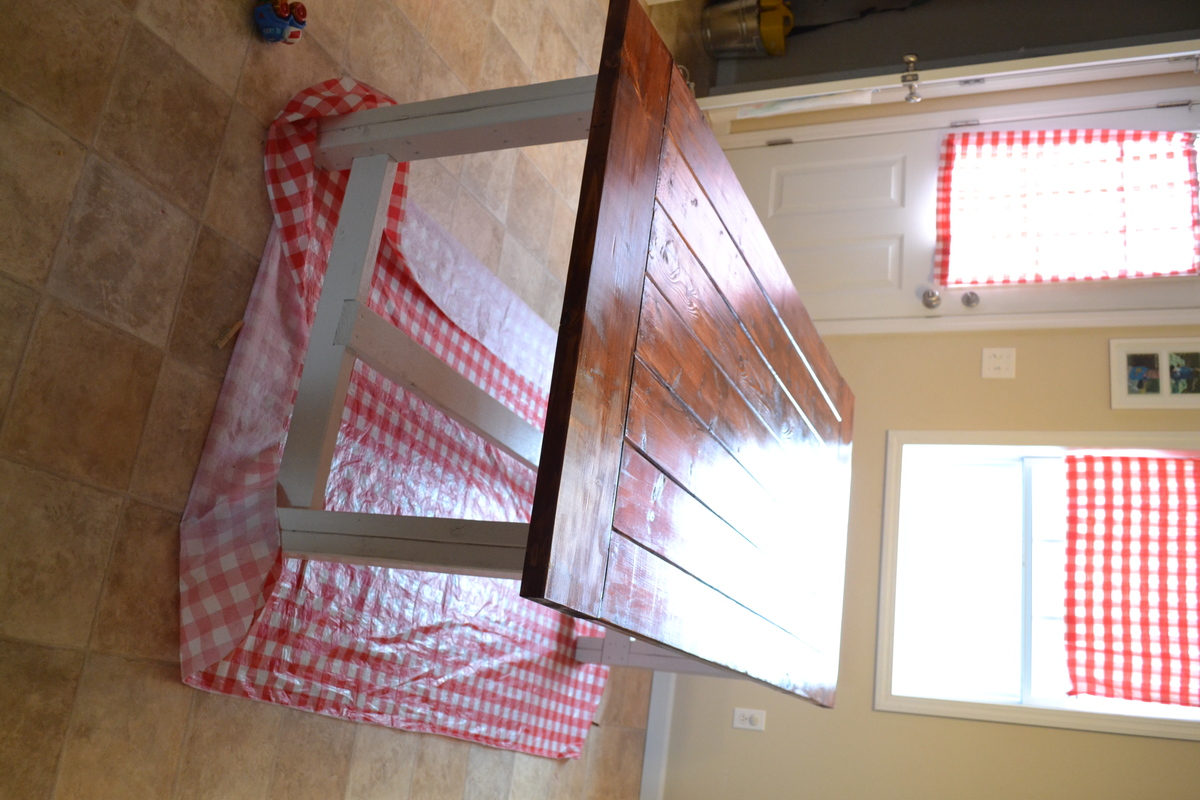
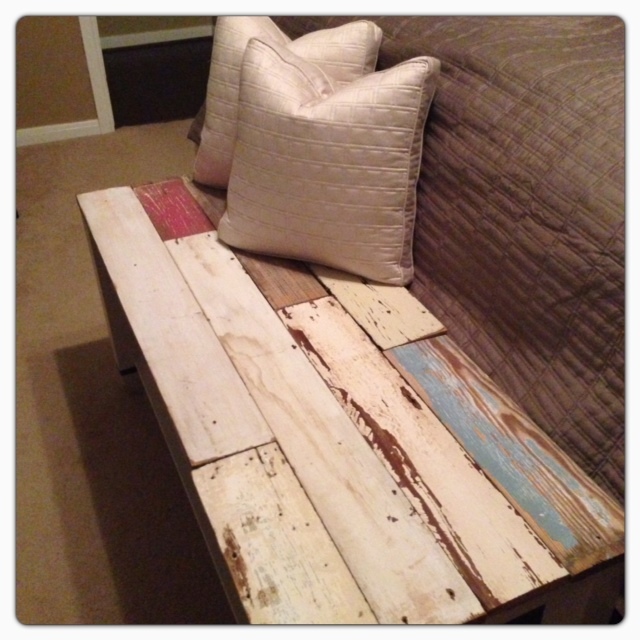
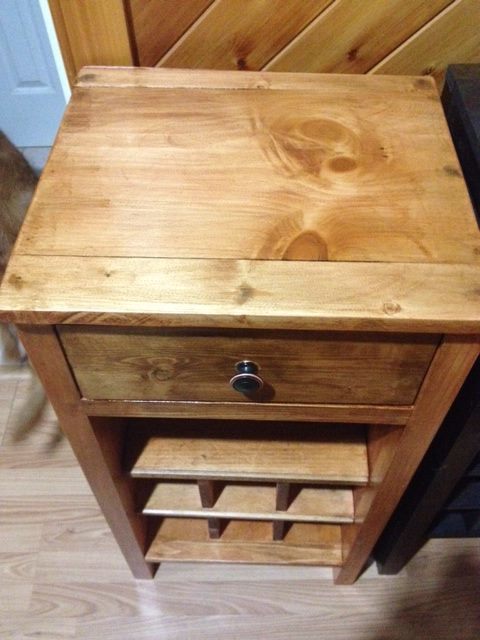
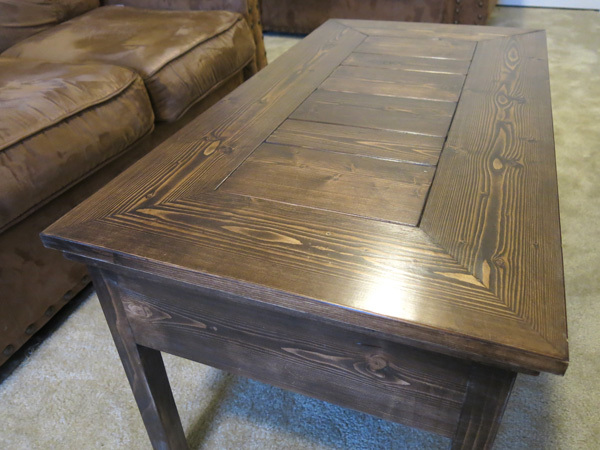
Fancy X Farmhouse bench with pine base and poplar seat. Minwax Honey stain.
This was my first ever project! I decided to build myself this for mother's day. I'm very proud of my work and can't wait to build more.
Rule number 1...buy good boards
Rule number 2... store flat
I had a lot of fun putting this table together with my husband. This personally was my second woodworking project but the first where I actually used the compound miter saw and it was nice to work along side the man I love.
We shortened the table to fit our space.
Applied wood conditioner, gel stain in mahogany, and 2 coat of poly. This, to me, was the hardest, longest part. We aren't too skilled with this :)
I am so happy with this table!
Loved this project! Bench made from old barn wood to put at the foot of your bed for extra storaage.
I built this to hold my son's toys, which seem to multiply by the day. It's very sturdy and has lots of storage room. I printed out the lettering on paper, put the paper on top of the wood, and traced over it hard to create an impression on the wood. I then used the feight lines as a guide to paint the name.
Used 3/4 plywood cut to nominal size instead of stock lumber. I'm a newbie so I thought it turned out great!
This was my first attempt at building furniture, and I could not be any happier with it. Definitely a learning experience for me and my husband, but totally worth it.
It has it's imperfections (some of the shelves are a little lopsided) but I built it!
We desperately needed a new bookcase, and I have the hardest time picking things out.
We are very happy with the results. I saw a similar concept shelving unit in a store for over $100, and it was smaller!
I made it to hold 6 large or small bottles. Glasses can be set on the shelf.
Made this for my granddaughter and worked on it 40+ hours. I borrowed the removable window boxes and shutters off another plan to girlie it up. If I were to make it again, then I would add an extra 2 inches on the sides, front and back to make it easier to make up the bed. It's so adorable and I can't wait for her to see it.
I took the idea of the "small cedar shed" and decided to upsize it for a new chicken coop. Our old one was small enough that we had to let our six hens out to roam the yard. Chickens. Poop. Everywhere. I wanted one big enough to have them live in it. The nesting box is about 24 sf. The whole coop is 18' long, about 6-1/2' at the back with a 15° slope to the roof, and about 4' deep. I built the ladder up to their nesting box and made a mitre-cut panel under the nesting box for cleaning out, feeding, and watering. Total materials cost was about $1000, but a couple of local homebuilders helped by letting me scavenge the lumber for the nesting box from around houses that they were finished framing.
Bench was an experiment. Wanted to see how the style looks in the kitchen. The wife loved it, so onto the farmhouse table.
Small coffee table. Have to admit it and say messed up on this one as cut the sides wrong length and didn't realize until all glued up!!!
Ended up 3 inches wider than was supposed to be which then messed up my plans for the top.
Had to redesign the top and decided to use some 1 by 6 and 1 by 4 offcuts to fill in the middle part which was supposed to be one long 1 by 6 piece. Pretty pleased with how it turned out in the end.
Finished with Varathane Kona and three coats of Varathane Satin Poly.
Drawers were finished in Minwax Special Walnut.
I just want to thank Anna for inspiring me! I would've never thought that I could actually build my daughter a loft bed from scratch if it hadn't been for this website! This loft bed took about 3 weeks to build but the reason why it took me that long is because I did it in my spare time which was a couple of hours each alsmost everyday excluding the weekends, also this was my first time using my husbands table saw and drilling pilot holes but once I got the hang of it everything went smoothly. I wanted to save money so I purchased the Mini Kreg Jig which is about $20 from HD and let me tell you it is a must when your drilling pilot holes. I purchased my lumber from HD as well. It took me about an hour to pick out the wood. I decided to paint the loft bed with DecoArt Enamel craft paint because it's non-toxic, the paint cures into a hard finish, no primer, I didn't have to sand in between coats, or put a protective finish. It also dries fast. I put 3 coats. This paint can get pricey if you pay full price but I just used a coupon everytime I went to Hobby Lobby. I used a tea, vinegar and steel wool mixture for the stairs, again because it's non toxic. I also raised the height of the 2x4 posts 6 inches so my 7 yr old daughter could walk under there without hitting her head. I'm so glad I decided go for it! Thanks again ANNA!
Added a shelf for plants at the top, coat hooks.
I mounted the back panel to the wall so I could remove the supports between the bench and the back panel.
My very first project using the Compound Miter Saw. Easy Cuts. Easy assembly. Cost was about $1.50. I think I am going to make kits (as suggested in the sister plan) for a couple of birthdays coming up!
I didn't really follow any specific plan from Ana to build this project (I've become better at creating my own plans after putting together several of Ana's project plans--I owe Ana big time for getting me started in building!), but I did study her kitchen cabinet plans in order to put this together. Up until now I've done mostly stand-alone projects and this was more like a small kitchen plan than anything I've done before. This took a LOT of time to complete, but it has been a fantastic addition to our home for organization and aesthetic appeal.
It is constructed of plywood and pine faceframes. I used a Kreg Jig to construct most of it, including the drawer and door fronts. The desktop has a 3/4" plywood base with a pine edge-glued panel on top of that with a pine edging.
The estimated time investment was way more than 20 hours! It took every minute of free time for 2.5 months to complete this. But I was working alone, so you can cut that down significantly with help ;)
The link to my blog about this project contains links to all the posts I wrote up during this build.
Used the $10 ledge plans, to build 2 10' long and 2 5' long 6" deep shelves. Cost $39 each 10' 1x6 red oak; used 6 boards. Stained mission oak satin.
We built these chairs (and foot stools/tables) using Ana’s modern Adirondack chairs plan. Since we used pallet wood (heat treated oak pallets) and not 2x4’s, we did make modifications but her plan was great! The angle is very comfortable! Thank you Ana for the plans!
When we moved to our 3 bedroom apartment from our 4 bedroom townhome we knew having a place for all my daughter's stuff was going to be an issue. Finding this plan was the answer!! We extended the "porch" so we could put her bookcase up there and her tv. It's her pretty purple princess bed. = )
Wed, 07/03/2013 - 12:10
I'm getting ready to build this bed (in a modified taller & for a full size mattress) for my 9 yr old, I've also been considering letting her have a tv in her room but wasn't sure where to place it. This looks like a perfect idea!
Wed, 03/05/2014 - 14:49
I'm thinking about making this for my daughter but I'm curious how much longer the platform is than the original. We have an extra 14 inches from where the bed would bed and the wall so we figured we would extend the platform like you have done. Thanks for the great idea!
We recently moved into our new house and had an empty dining room. Instead of buying tons of furniture, I bought a compound miter saw, a drill, & a Kreg jig. I'm the heavy lifting & my wife is the cosmetics. We couldn't be happier with how the table and bench turned out. We get complements constantly on the set.
Wed, 02/25/2015 - 10:18
Everything looks great ... what grade of wood did you use? My fear is if I use the cheap stuff from Lowes or HD that it will shrink up on me. I know the Kreg Jig will work to alleviate gaps, but I didn't know if you upgraded wood to help as well.
My wife wanted an 8 foot long table, but wanted it to be a little narrower that as standard table. This one ended up being 97.5" x 29" I used a torch to scorch the wood then apply poly finish.