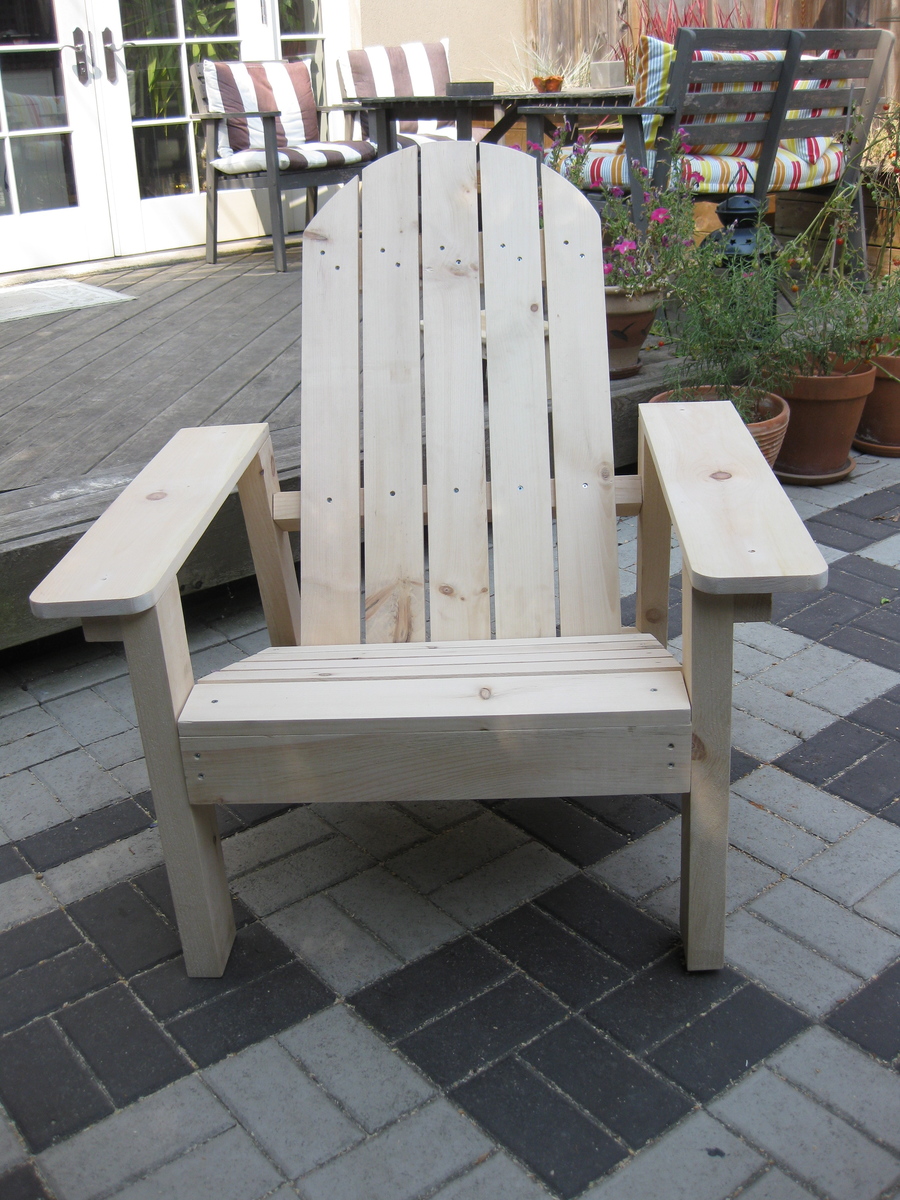
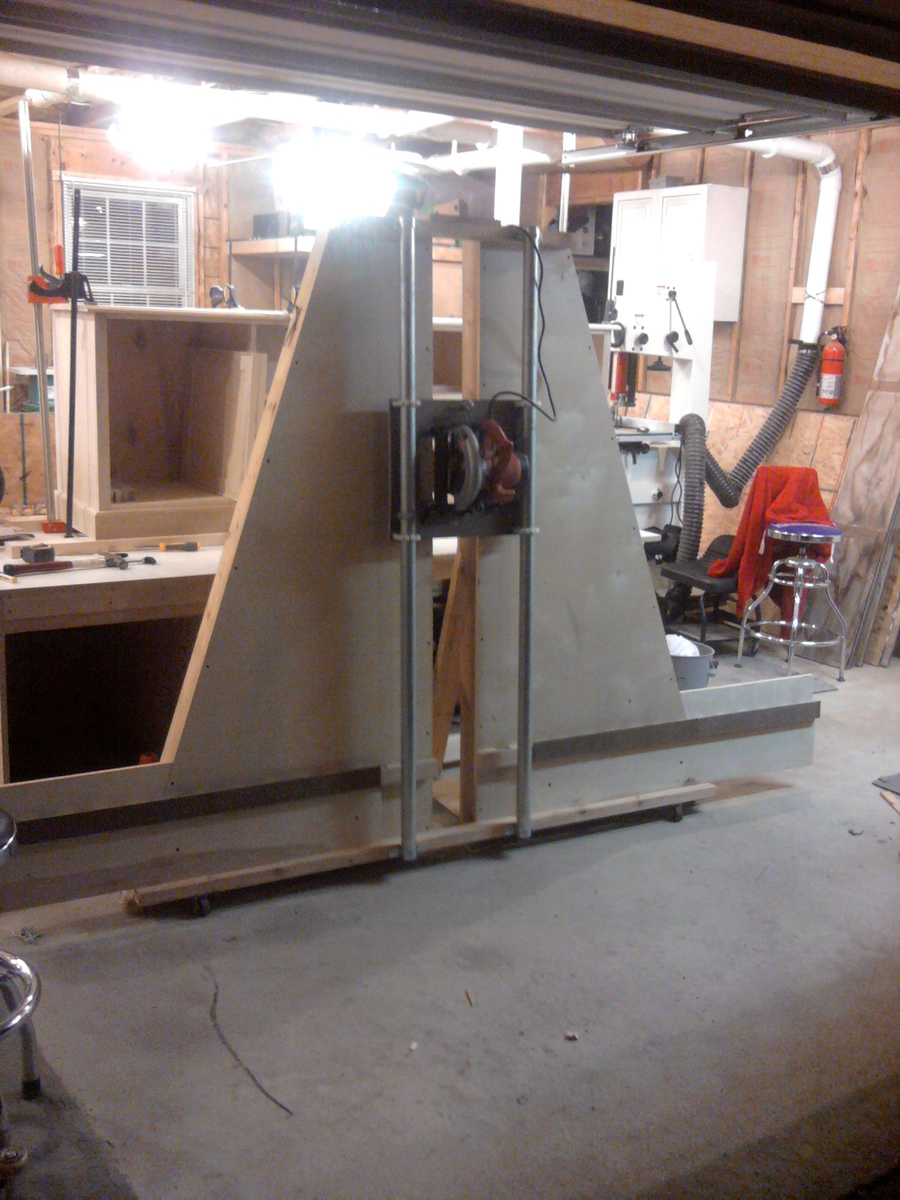
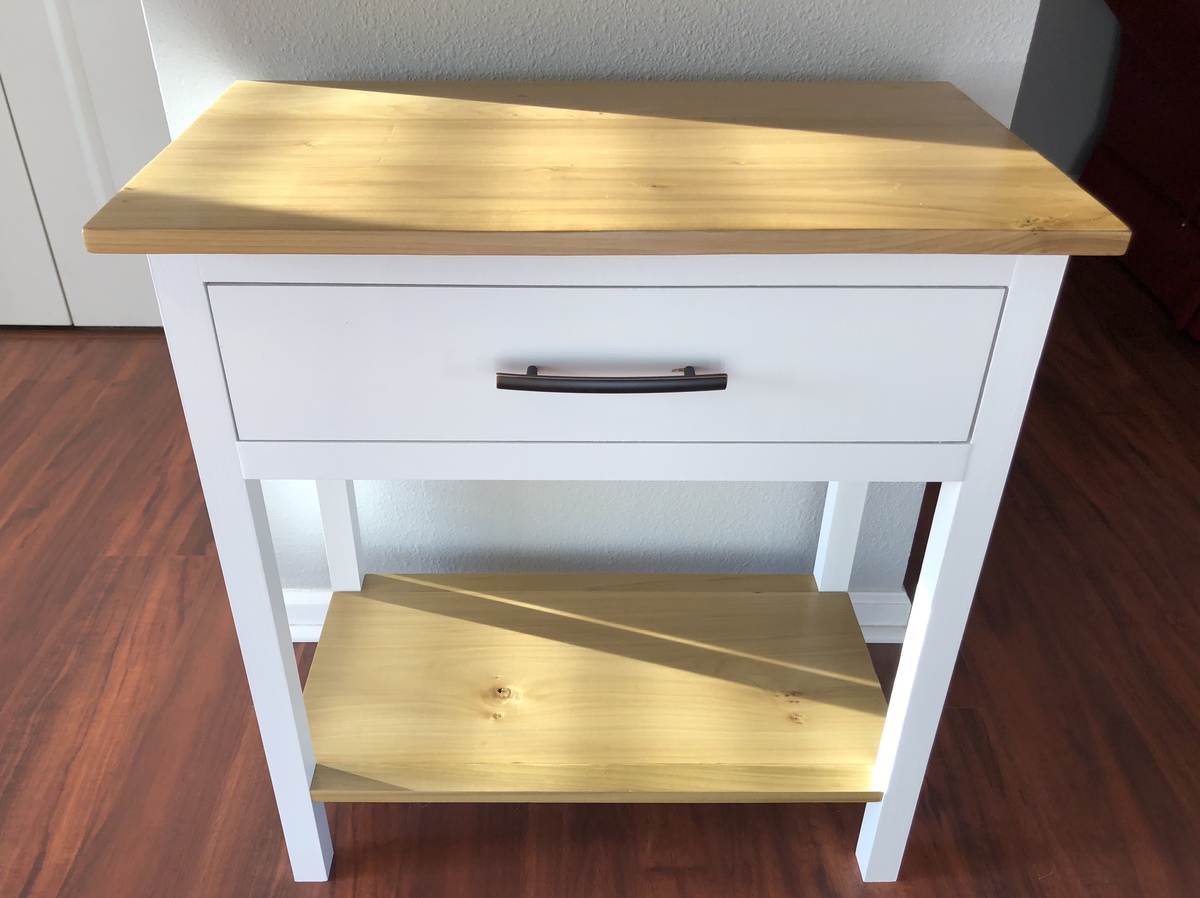
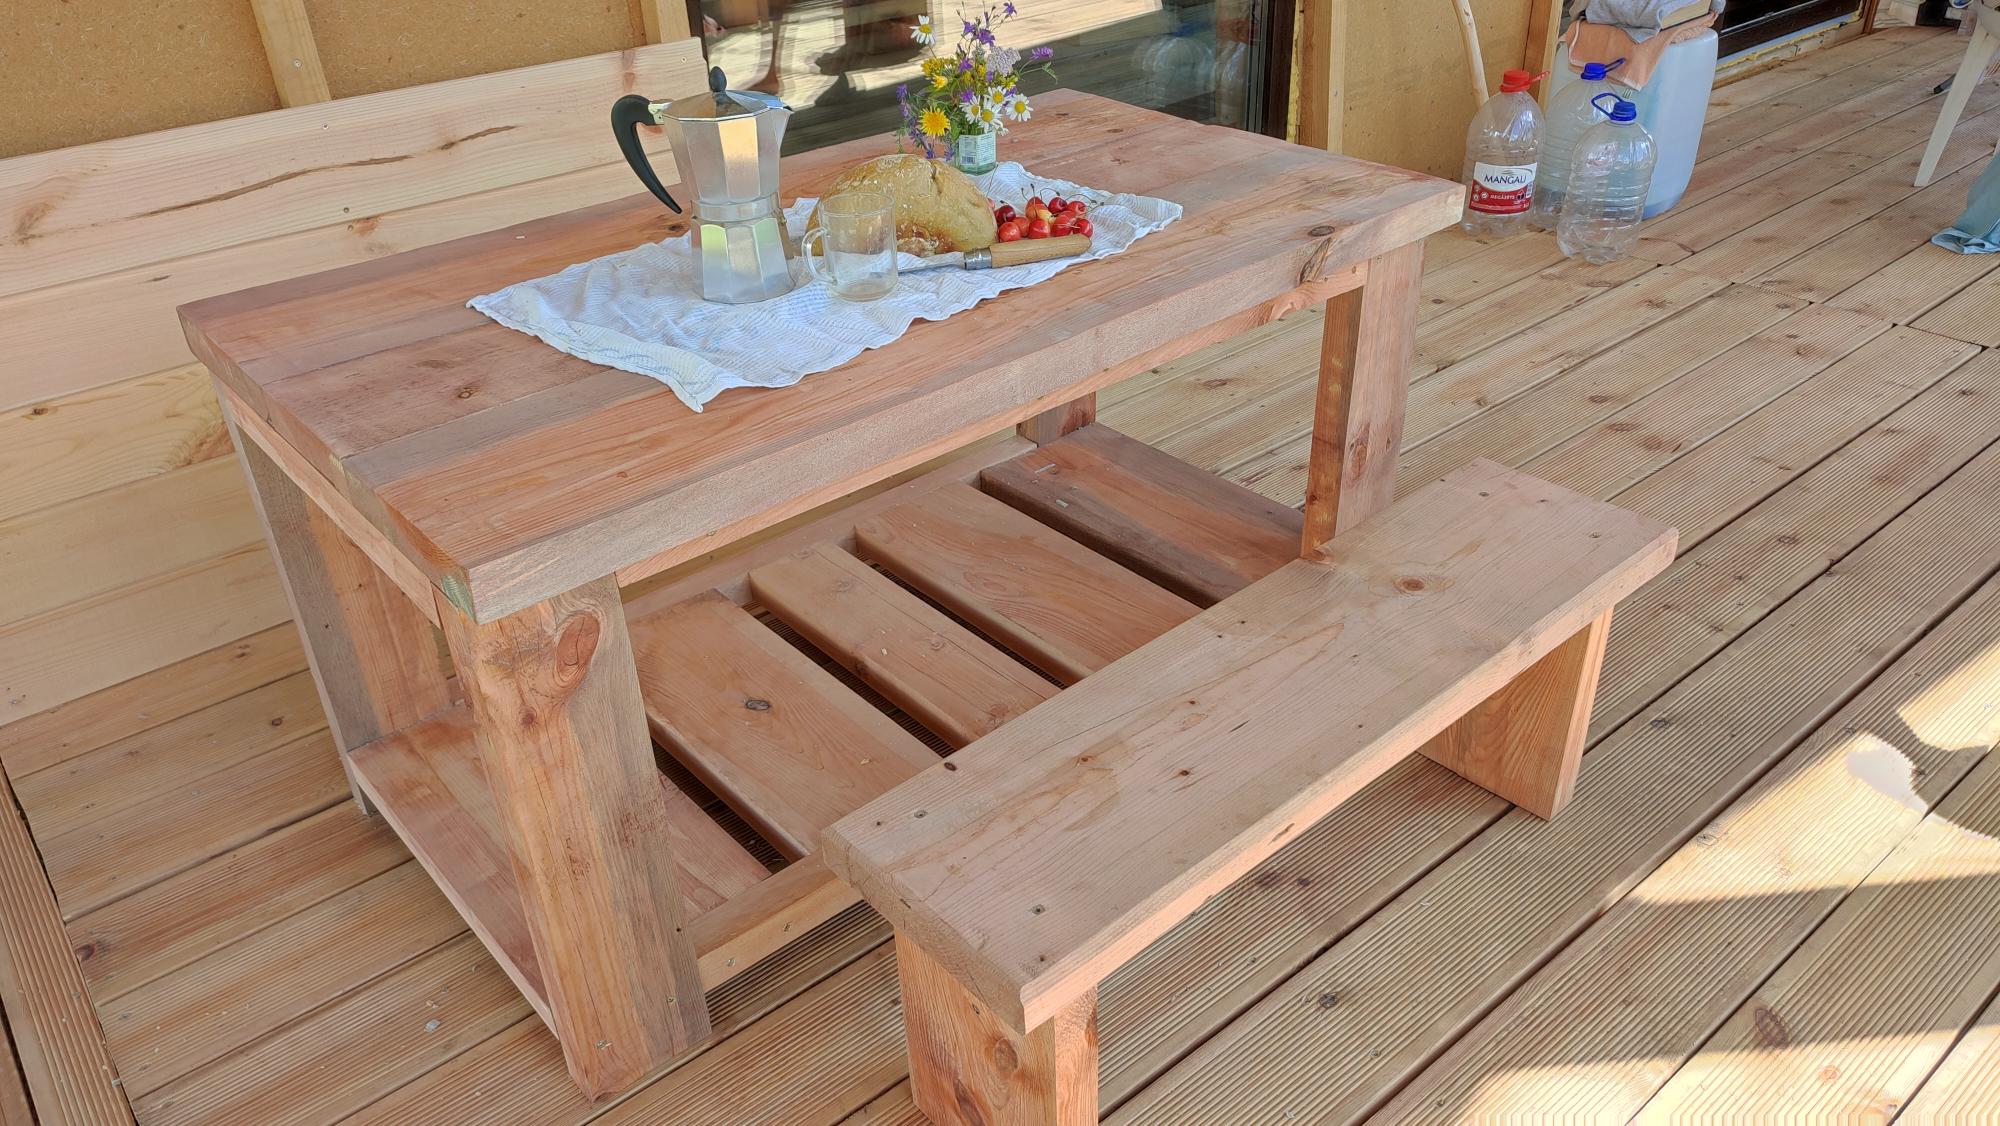
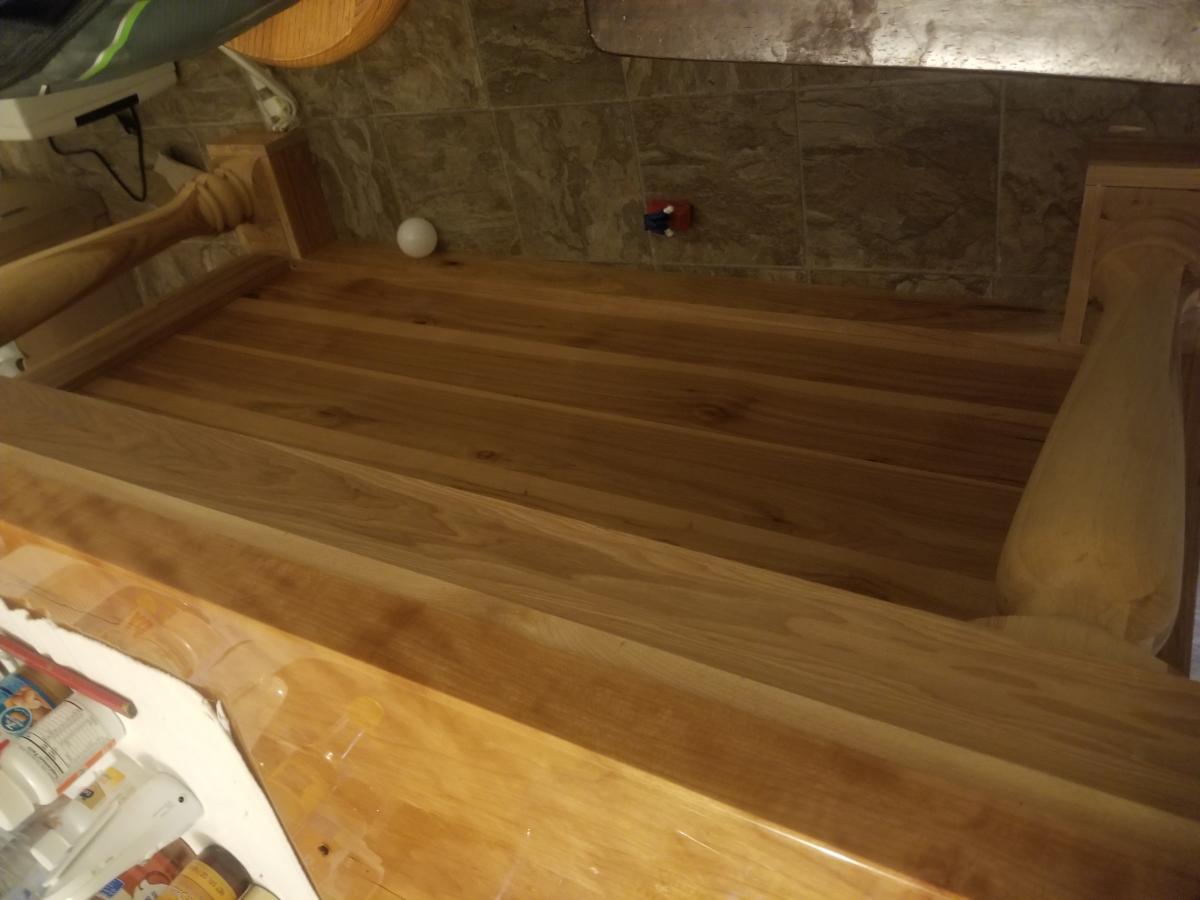
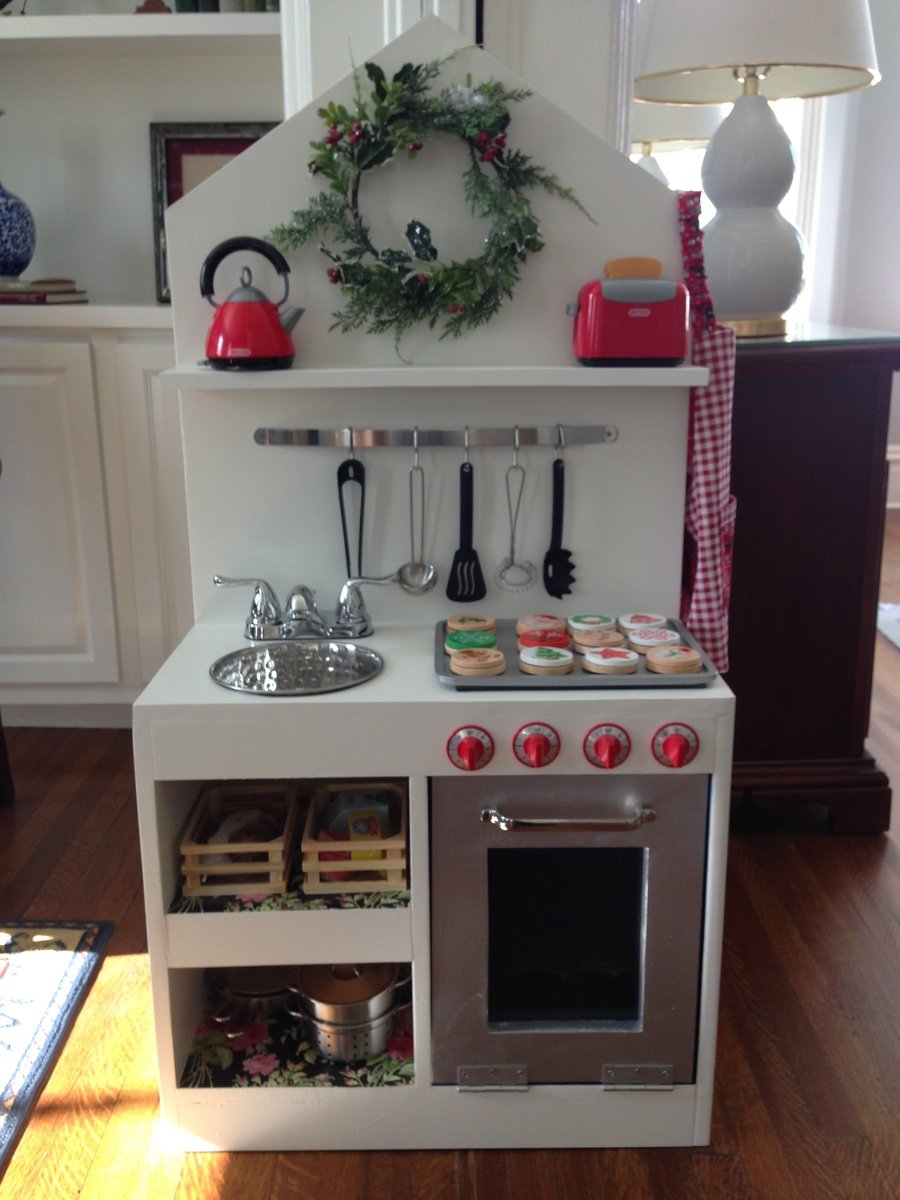
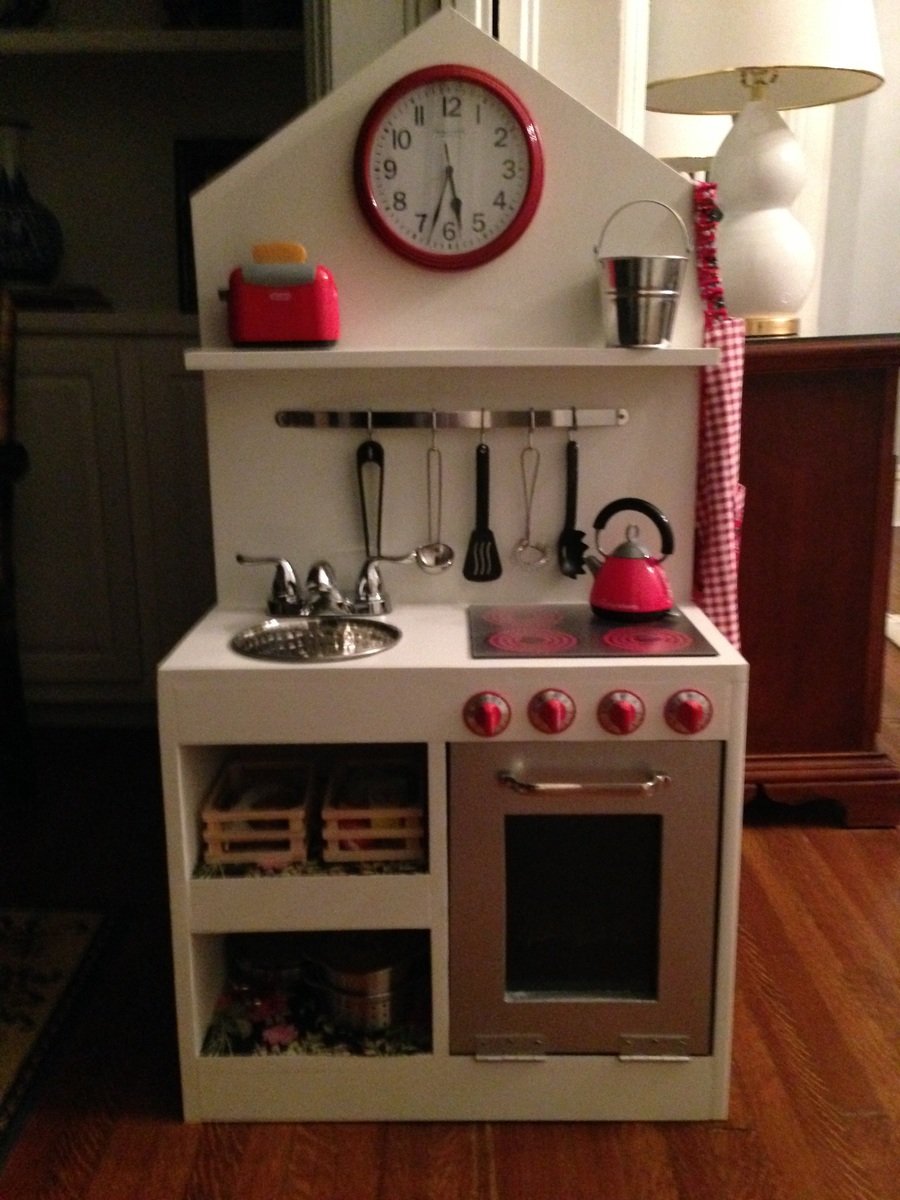
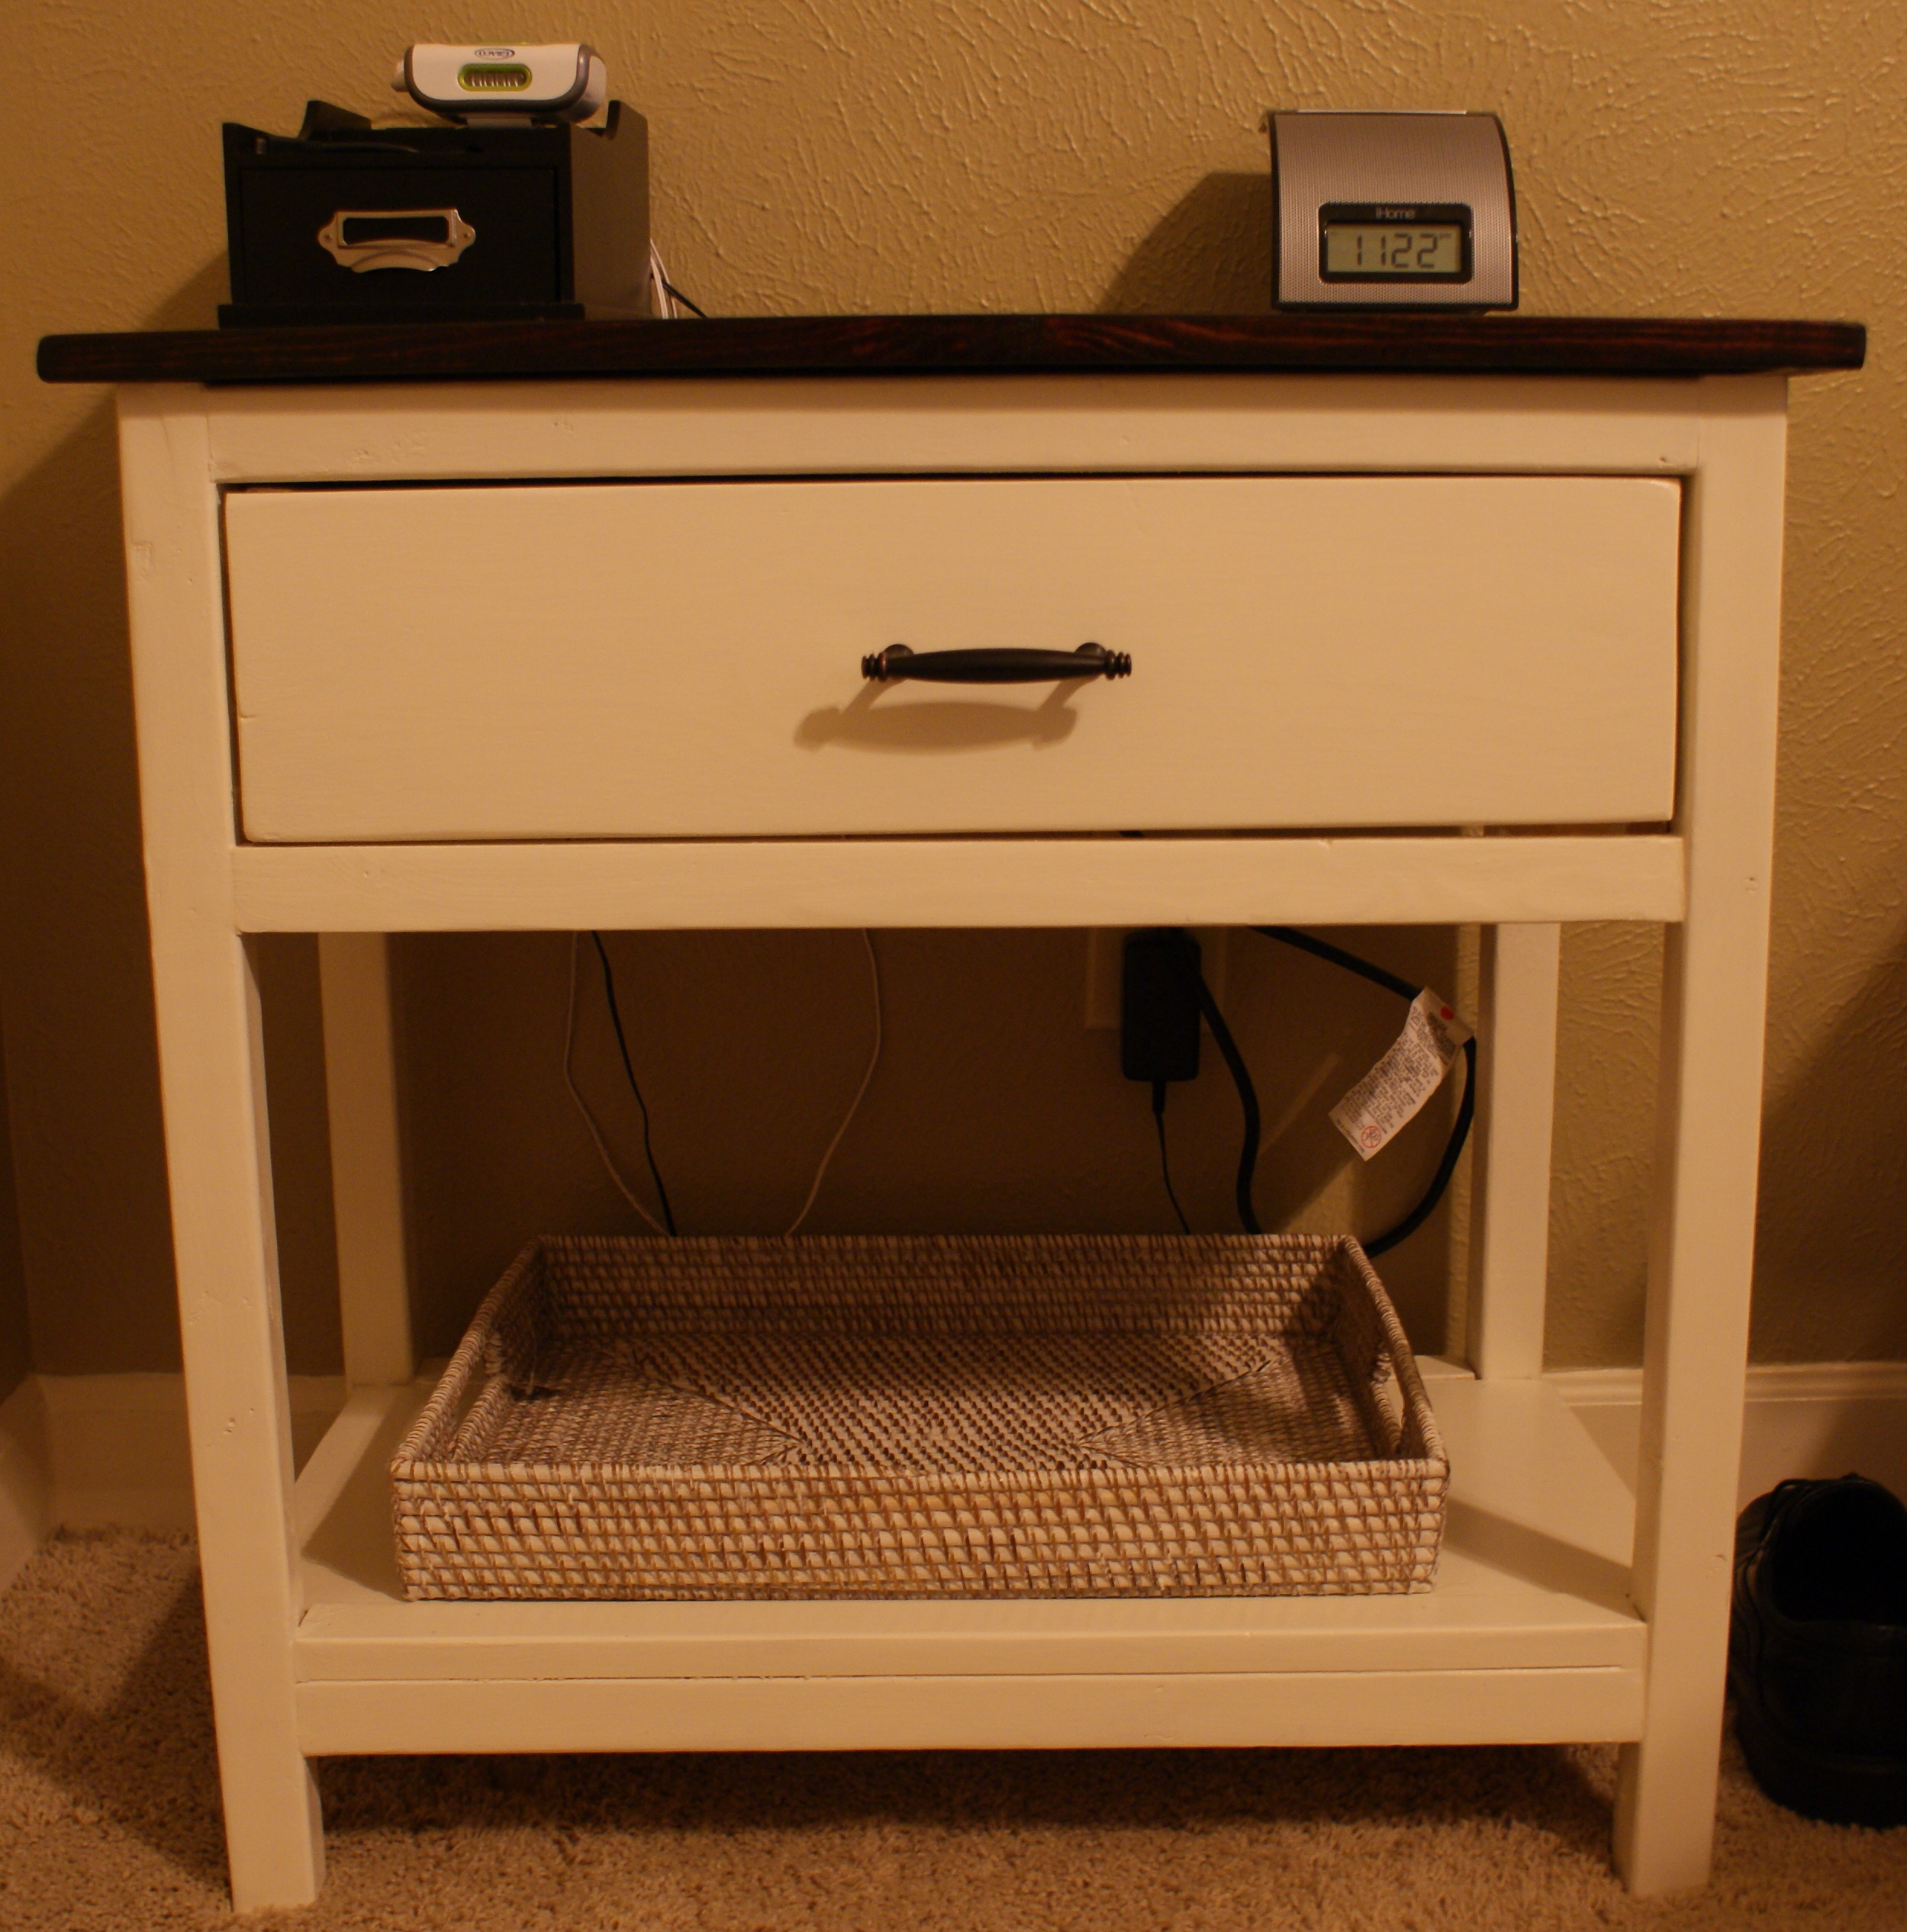
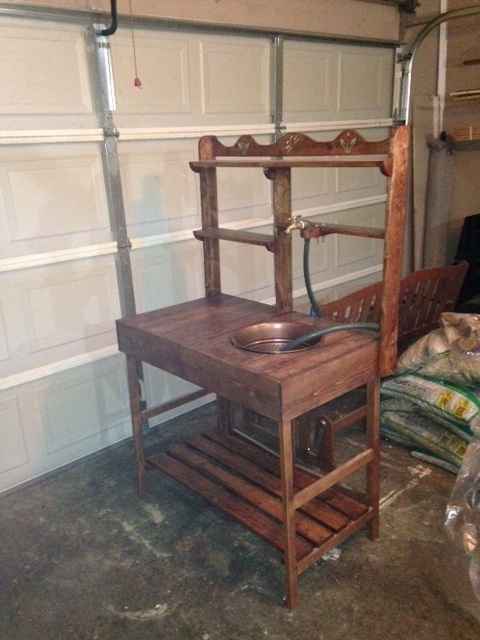
Potting Bench

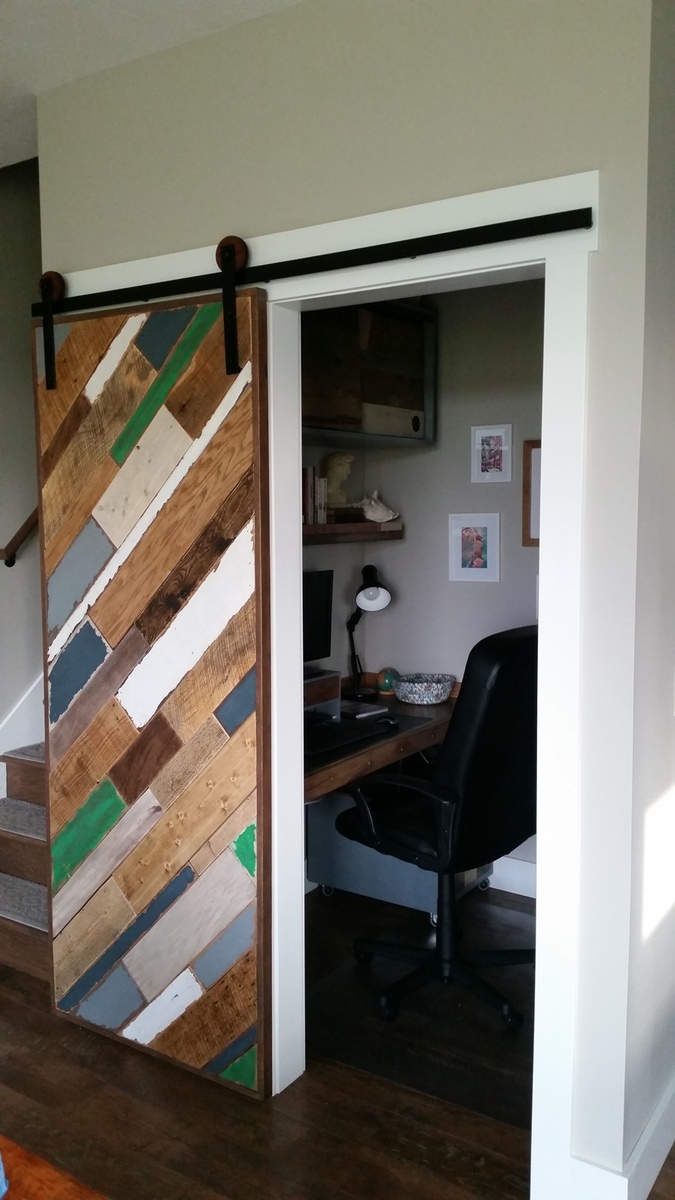
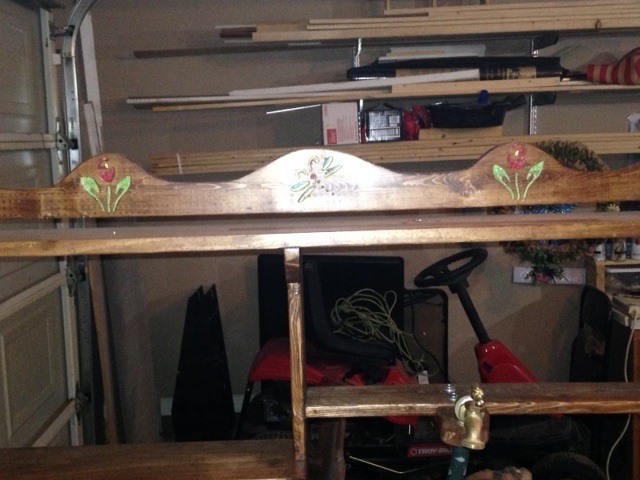
This was our first build project! We spent the most amount of time picking the color than we did on the actual assembly. We extended the back 2 legs 36 inches to accommodate the window frame and shelf.
Built from Plan(s)
Estimated Cost
$40
Estimated Time Investment
Afternoon Project (3-6 Hours)
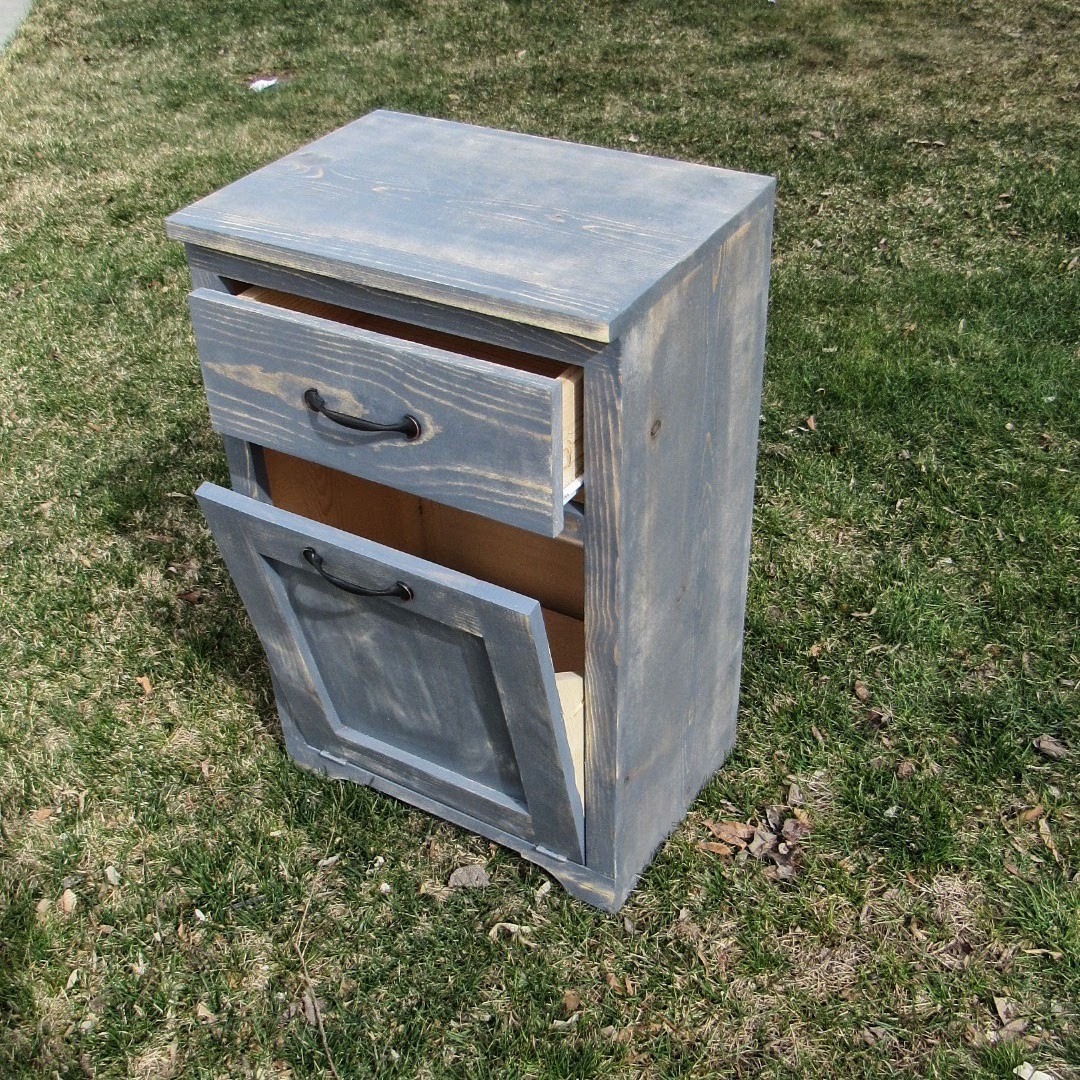
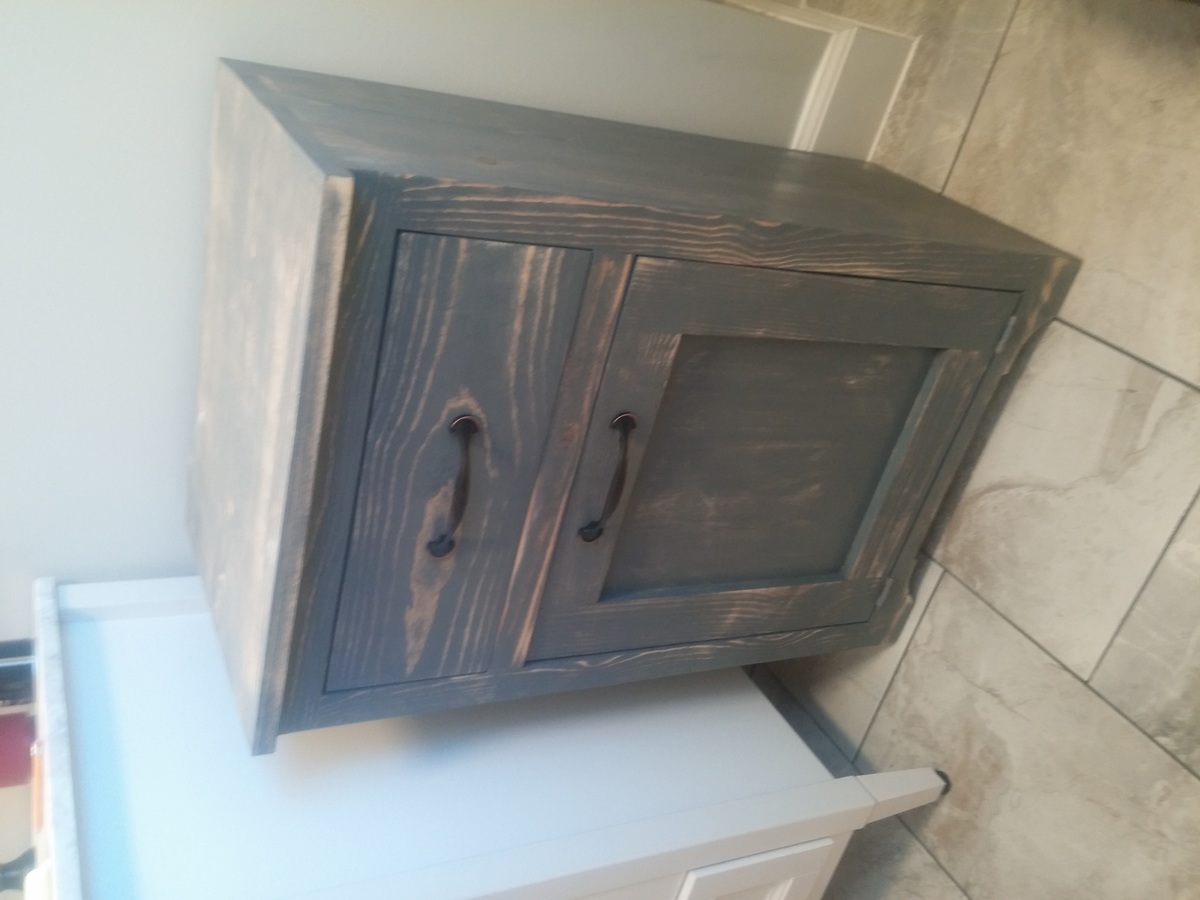
Finish Used
Benjamin Moore Grey Wisp
Recommended Skill Level
Starter Project


Comments
kylihoot
Sun, 07/24/2011 - 19:12
I really like the window
I really like the window part! Cute!
Spring
Mon, 07/25/2011 - 09:02
Oh my gosh!
This is beautiful! I have a garage full of these windows and I have been trying to figure out things to do with them before my husband decides to throw them out.
bhoppy
Mon, 07/25/2011 - 12:05
Awesome!!
Love the window too! DId you paint hte wood right away or wait a while?
Emma AND Sarah
Wed, 07/27/2011 - 19:21
paint
We painted it right away. We were so excited to finish our first project. We didn't paint the window though. Thanks for the comments