Community Brag Posts

Doll Crib

Submitted by Mandi on Wed, 03/28/2012 - 21:00

Made this for Christmas for our 2-year old last year. The plans were easy to follow, and it turned out great. She loves it!

Built from Plan(s)
Recommended Skill Level
Beginner

My Rustic X Coffee Table

Submitted by jager456 on Thu, 01/16/2014 - 04:41

I chose the Southern Yellow Pine because of its strength for furniture. Also I have used the pour on finish before with good results. The wood was a special order thru Menards and took about a week to get.

Built from Plan(s)
Estimated Cost
$200.00
Estimated Time Investment
Week Long Project (20 Hours or More)
Finish Used
Minwax Pre-Stain
Rust-oleum Varathane Kona Stain
Minwax Semi-Gloss Poly-Urethane on sides and bottom
EnviroTex Pour-On High Gloss Finish on top
Recommended Skill Level
Intermediate

Comments

Roof terrace sofa London

Submitted by Anonymous (not verified) on Fri, 04/08/2016 - 08:07

Cedar frame with iroko seat slats. 3"and 2"screws only

Estimated Cost
£450
300 for wood and 150 for ikea cushions
Estimated Time Investment
Weekend Project (10-20 Hours)
Finish Used
None
Recommended Skill Level
Beginner

Toy Car

Instead of pine and paint, I used Walnut, finished with foodsafe Osmo Top Oil for a durable finish. I also made the truck out of Padauk for an orange color. 

Estimated Cost
$4
Estimated Time Investment
An Hour or Two (0-2 Hours)
Finish Used
Osmo Top Oil
Recommended Skill Level
Beginner

Wood Adirondack Chair

Submitted by Anonymous (not verified) on Mon, 08/21/2023 - 09:41

My young friend Carter used his own twist to your adiraondack chair with this herringbone pattern. He made six chairs from your pattern with three different design. These look so amazing around my firepit.

Susan Morris/Carter Tillman
 

simple bed

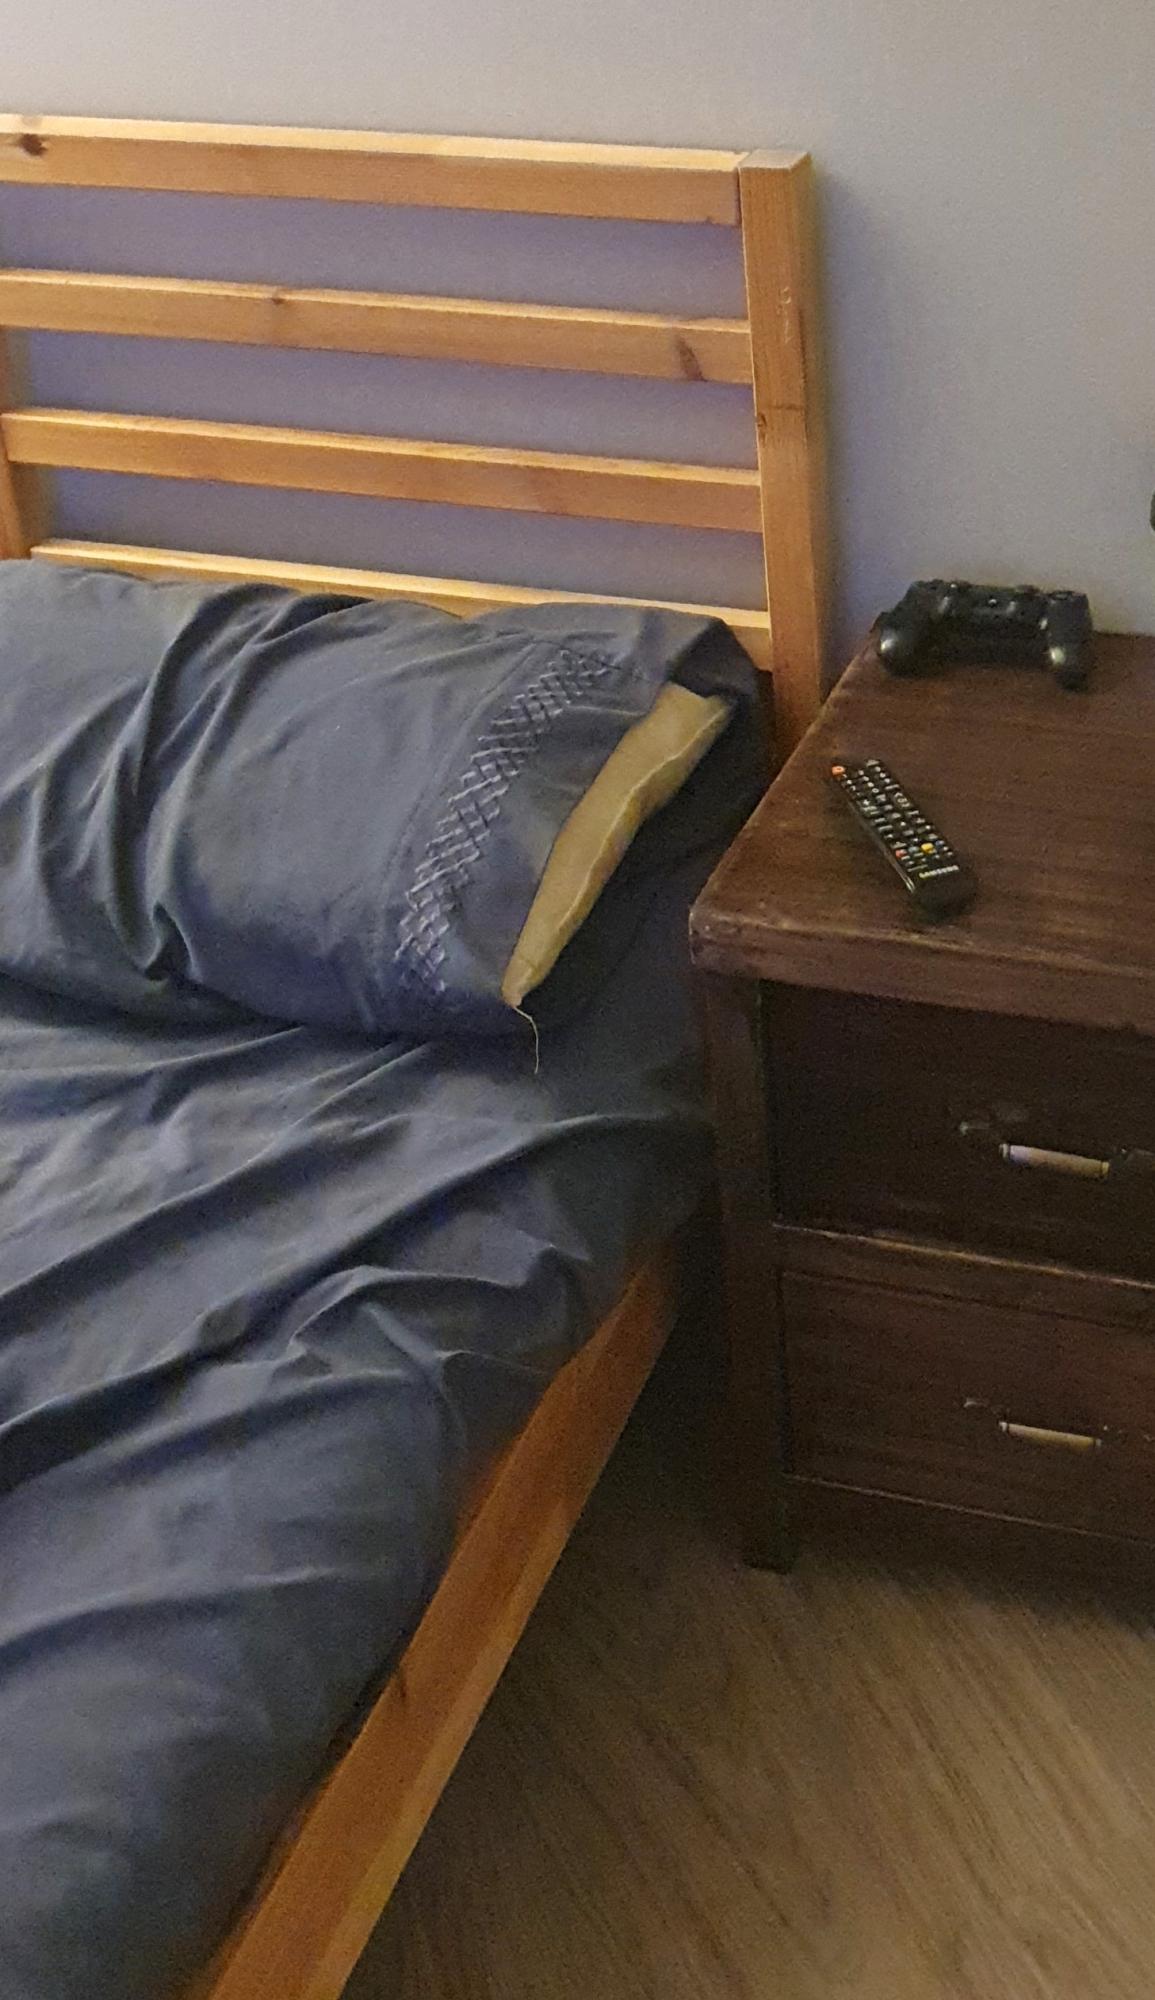
This project took me about 10 hours. I enjoyed every minute of it! I built this bed for my son. I looked at other plans but you had to pay for them and they weren't as good as these. It's good to no that there is people like Ana that is still willing to help people. Thanks for the plans

Estimated Cost
88.37
Estimated Time Investment
Weekend Project (10-20 Hours)
Finish Used
I mixed two stains together, jacobbean and English chestnut
Recommended Skill Level
Beginner

Comments

dashoequeen

Tue, 07/05/2016 - 10:59

Hello,

I've been on this website trying to find the plans for the Simple Bed Plan.  I have seen many beds made; however, I don't see the cutting list (supply list) of the materials needed.  Can you please help me with the supply list?  My hubby and I are going to attempt to make this over the winter for a 3rd birthday present for my son.  I would really appreciate the list so that we know what materials to purchase.  Thank you in advance for your help with this issue.

Sincere thanks,

The Maynors

ripvanwinkel12

Sat, 01/19/2019 - 12:38

I am trying to build the Twin over the full bunk beds that stack.  When looking at the site it says to use the Simple Bed Plans.  When I look at the simple bed plans I get 3 pictures and that is it.  I don't get a supply list or any kind of dimensions for the bed.  Could you please point me in the right direction.  I need to build the twin over the full bunk bed for family coming  to my home in early March.

Thanks 

Gary Dalton

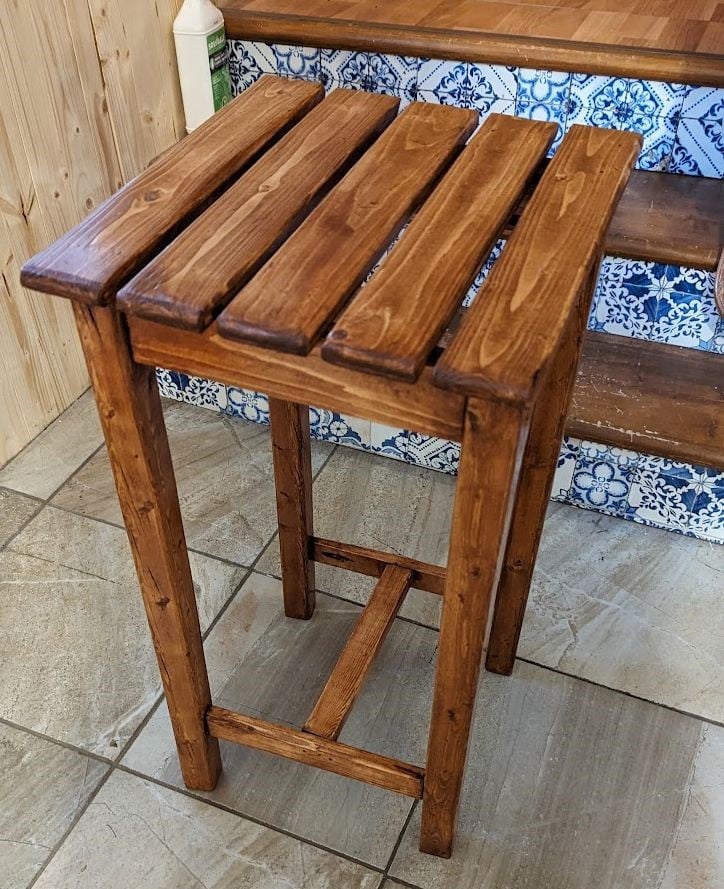
Simplest Stool (as a water dispenser stand)

I needed a quick project that could easily be modified for my height needs and would make a good temporary base for my new water dispenser. This was perfect!

Built from Plan(s)
Estimated Time Investment
Afternoon Project (3-6 Hours)
Finish Used
Slightly distressed (quick raw umber acrylic undercoat), finished with Benjamin Moore Natura paint (leftover 'perennial' color from a few years back) and gently sanded on edges/corners to allow the deeper color to show through.
Recommended Skill Level
Beginner

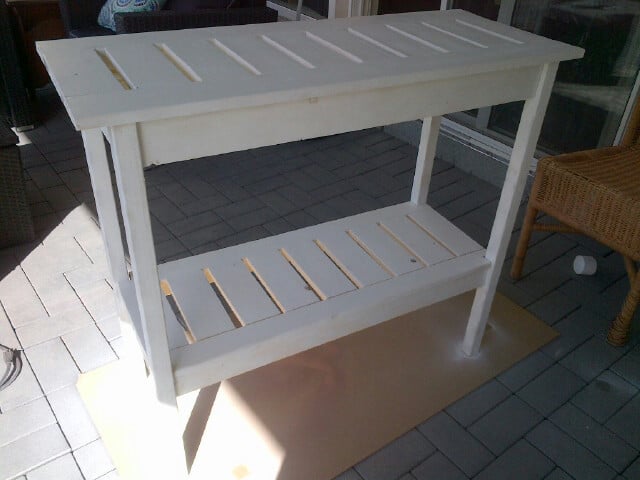
DIY Slim Truss Console Table

Submitted by Lefty0971 on Sun, 12/22/2019 - 07:38

Just completed my version of the “DIY Slim Truss Console Table”.  The base is made from 2” Rough Pine and the top from a nice Piece of Live Edge Maple.

Had a great time building this and just in time for Christmas.

Built from Plan(s)
Estimated Cost
$350
Estimated Time Investment
Week Long Project (20 Hours or More)
Finish Used
Minwax Classic Black -Satin

Varathane English Chestnut

Varathane 3X Clear Finish
Recommended Skill Level
Intermediate

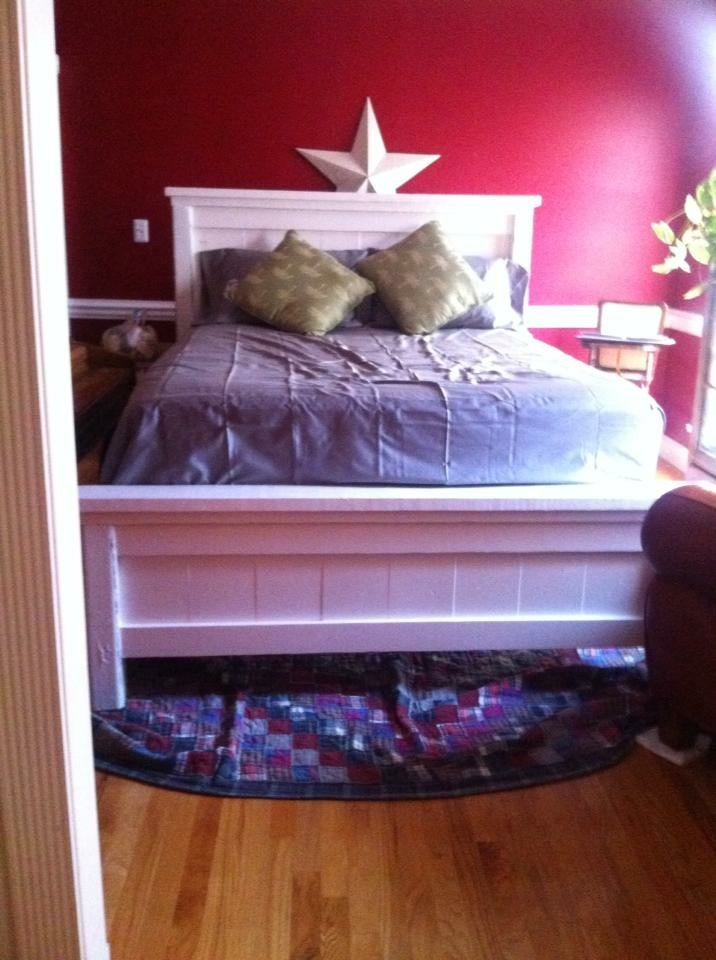
Platform bed

Submitted by joja on Thu, 04/05/2012 - 07:02

Inspired by Ana!

Estimated Time Investment
Day Project (6-9 Hours)
Finish Used
Paint.
Recommended Skill Level
Beginner

Comments

Ally (not verified)

Tue, 04/17/2012 - 11:21

Now this is my kind of project! Looks easy but polished. Do you have plans for this?

joja

Tue, 04/17/2012 - 12:03

Platform bed measures:

- Deck: 18x120 mm, width = matress width + 10 cm, length = matress length + 5 cm.
- Headboard: Height 80 cm, width = matress width + 10 cm.
- Beams bed: 36x150 mm, length = matress length - 5 cm.
- Beams headboard: 36x150 mm, height = headboard height - 5 cm.

joja

Wed, 04/18/2012 - 14:00

Sorry, forgot to write that the headboard "deck" is made from 18x120 mm.

PS) We used fir, but pine or cedar or the like is fine.

Sdash

Thu, 04/11/2013 - 23:04

I would love to make this but I would require plans in order to build it. So if there is any way I could get plans you would make me quite happy.

Dog Bed Window Seat

Submitted by shellyward on Mon, 01/20/2014 - 16:53

I wanted a place for our dog beds, without just having them all over the floor (we have 2 big dogs and 2 little ones. I decided to build a window seat in front of the large window in our dining room which could double as dog beds/kennels. While the base plan was off the large wood pet kennel end table, it had to be modified significantly to be wider, shorter, and sturdy enough to sit on. I am also still trying to decide if/how i want doors on here. This is actually 2 kennels next to each other (not 4) Next will be to build 2 actual kennels for the big dogs to place on either side of this.

Estimated Cost
$150-$200 (high because of the foam and fabric for the seat cushion)
Estimated Time Investment
Weekend Project (10-20 Hours)
Finish Used
black paint/ poly
Recommended Skill Level
Beginner

Comments

Sliding X Door Console

Submitted by Anonymous (not verified) on Wed, 04/13/2016 - 13:49

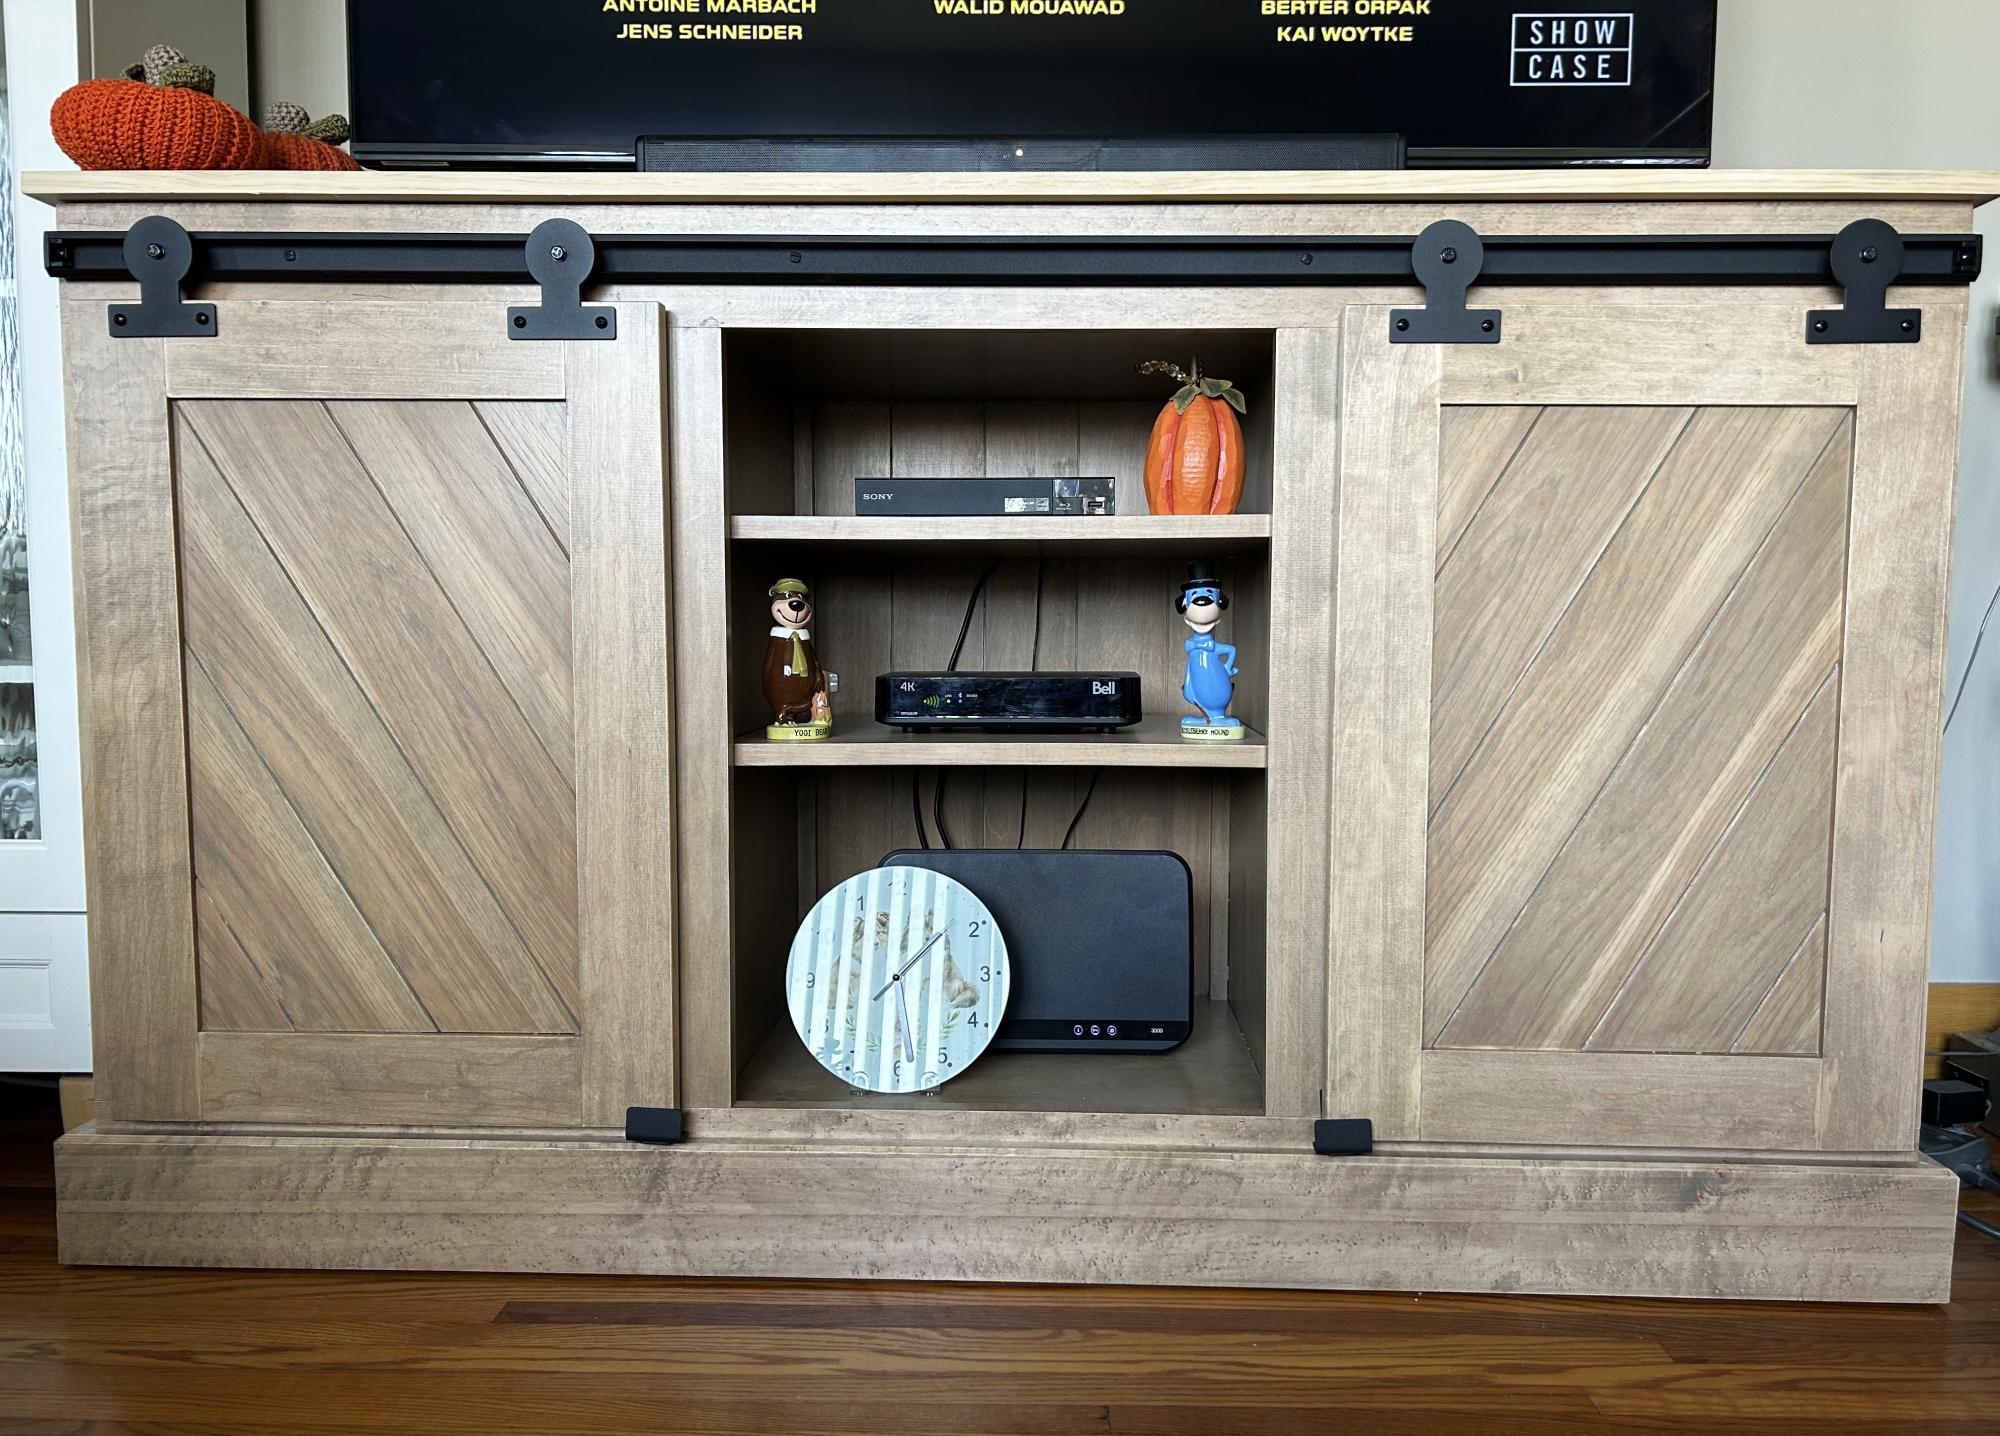
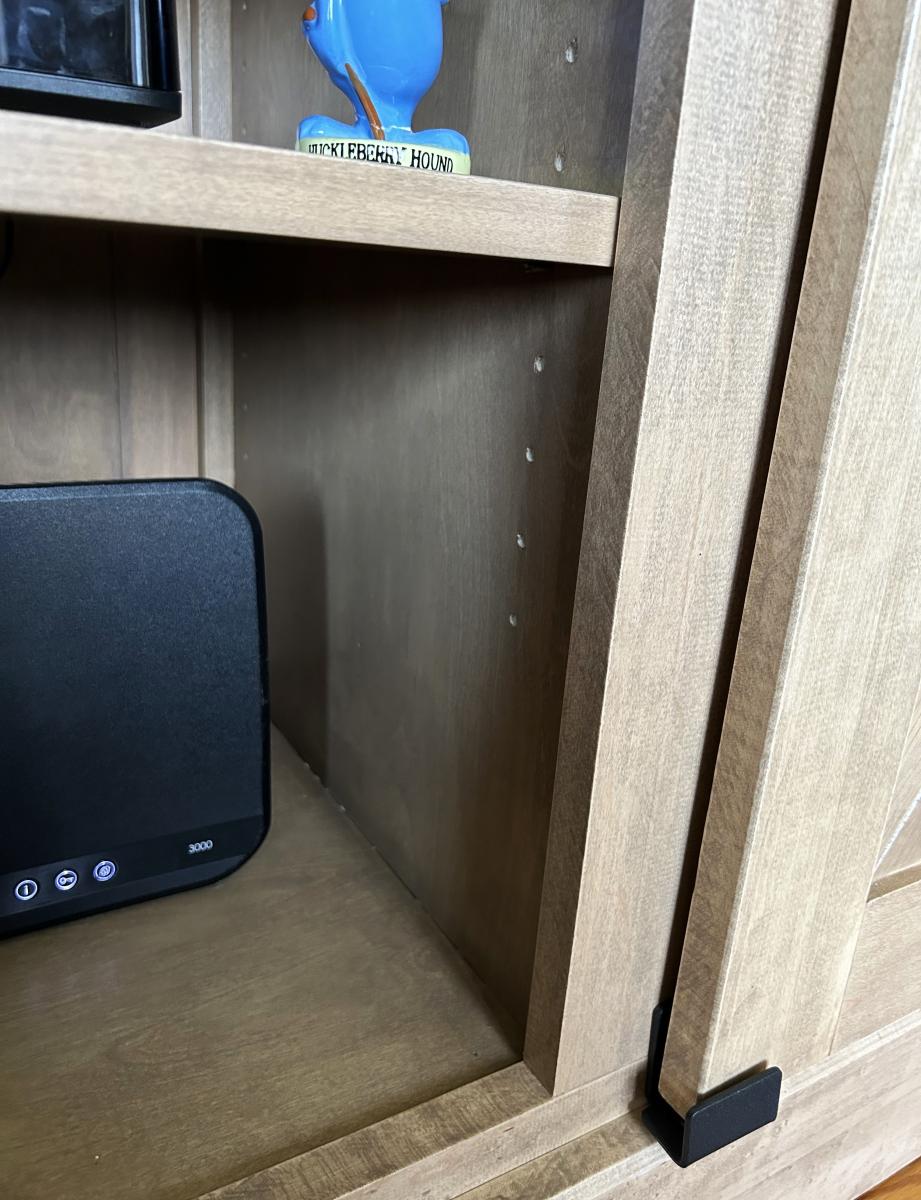
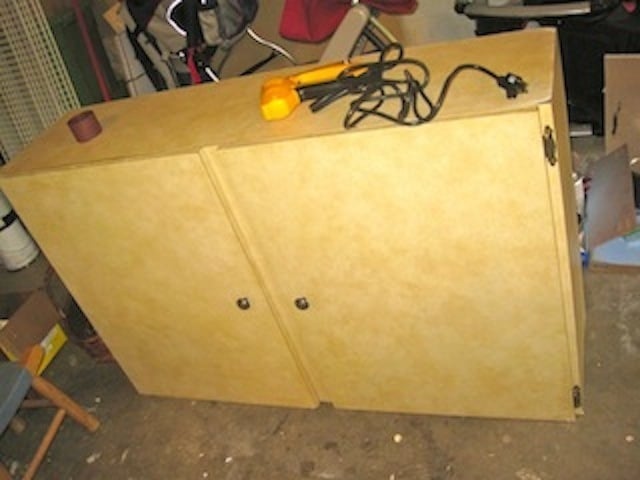
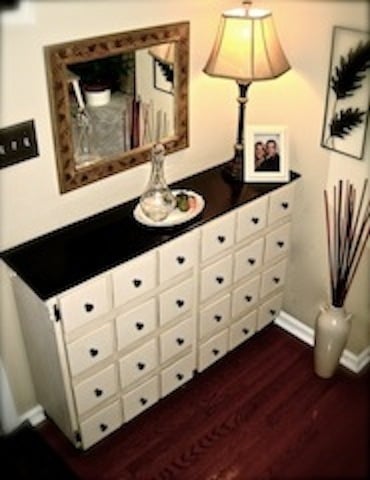
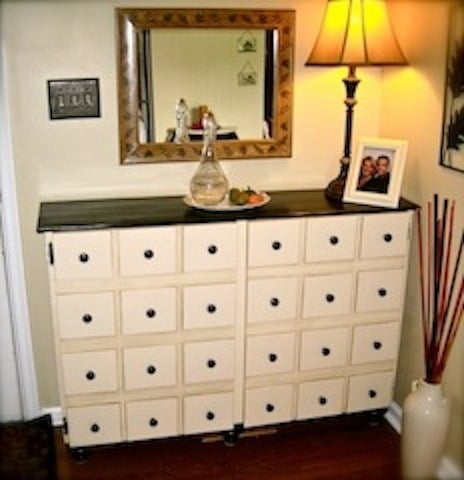
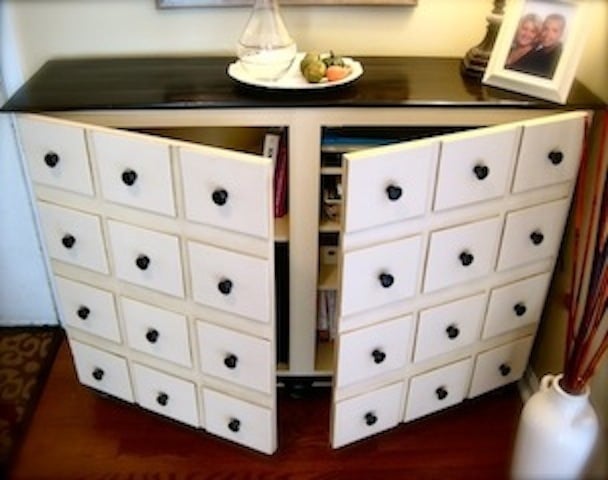
I created this based off the Grandy Style Console. However I used an actual cabinet style with adjustable shelves. Loved making it!

Follow me on Facebook or instagram!
www.facebook.com/four8zero
www.instagram.com/four_8_zero

Built from Plan(s)
Estimated Cost
$225
Estimated Time Investment
Weekend Project (10-20 Hours)
Finish Used
Sherwin Williams SnowBound Pre-Cat Lacquer for the base and Minwax Ebony for the top.
Recommended Skill Level
Beginner

Comments

Simple Beds

Submitted by sophie on Sun, 04/08/2012 - 09:32

I used the basic design for this bed but altered it quite a lot to make the joins stronger, the edges smoother and the whole thing generally easier to take apart and put back together.
I used beech wood and completed the project at a woodworking club, so it's quite hard to estimate the time taken, as I only did it one evening a week and spent most of the time bringing the wood out, putting it away and clearing up each time I was there!
I am still undecided whether to give it an oil finish or to paint it white with chestnut wood stain on the headboard and footboard tops.

Built from Plan(s)
Finish Used
Possibly oil or maybe white and chestnut wood stain - haven't decided yet!
Recommended Skill Level
Intermediate

Island cart

Submitted by dreamworx on Wed, 01/22/2014 - 10:53

Just copied the plans from ana, we built it for an auction to support a group home. it was easy and quick. the project panel was big enough to also use as a shelf when cut down for the top, we loved how the top and shelf matched. we built a bigger drawer to have a more chunky look.

Estimated Cost
under 70.00
Estimated Time Investment
Day Project (6-9 Hours)
Recommended Skill Level
Beginner

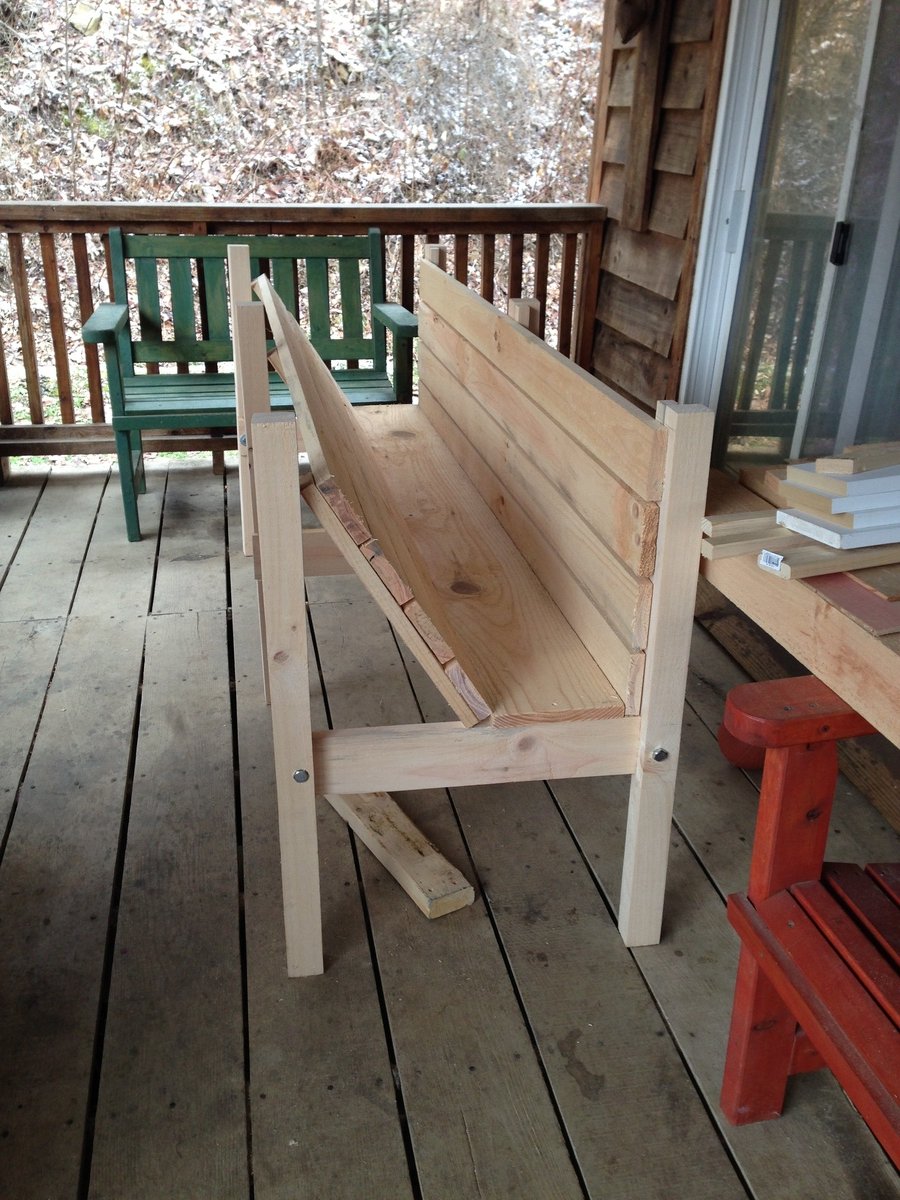
Beach Bench

Submitted by Anonymous (not verified) on Sat, 04/16/2016 - 14:26

Thanks for the plans, Ana!

Built from Plan(s)
Estimated Time Investment
Afternoon Project (3-6 Hours)
Finish Used
Weather Gray stain with a white paint finish for the bottom.
Recommended Skill Level
Intermediate

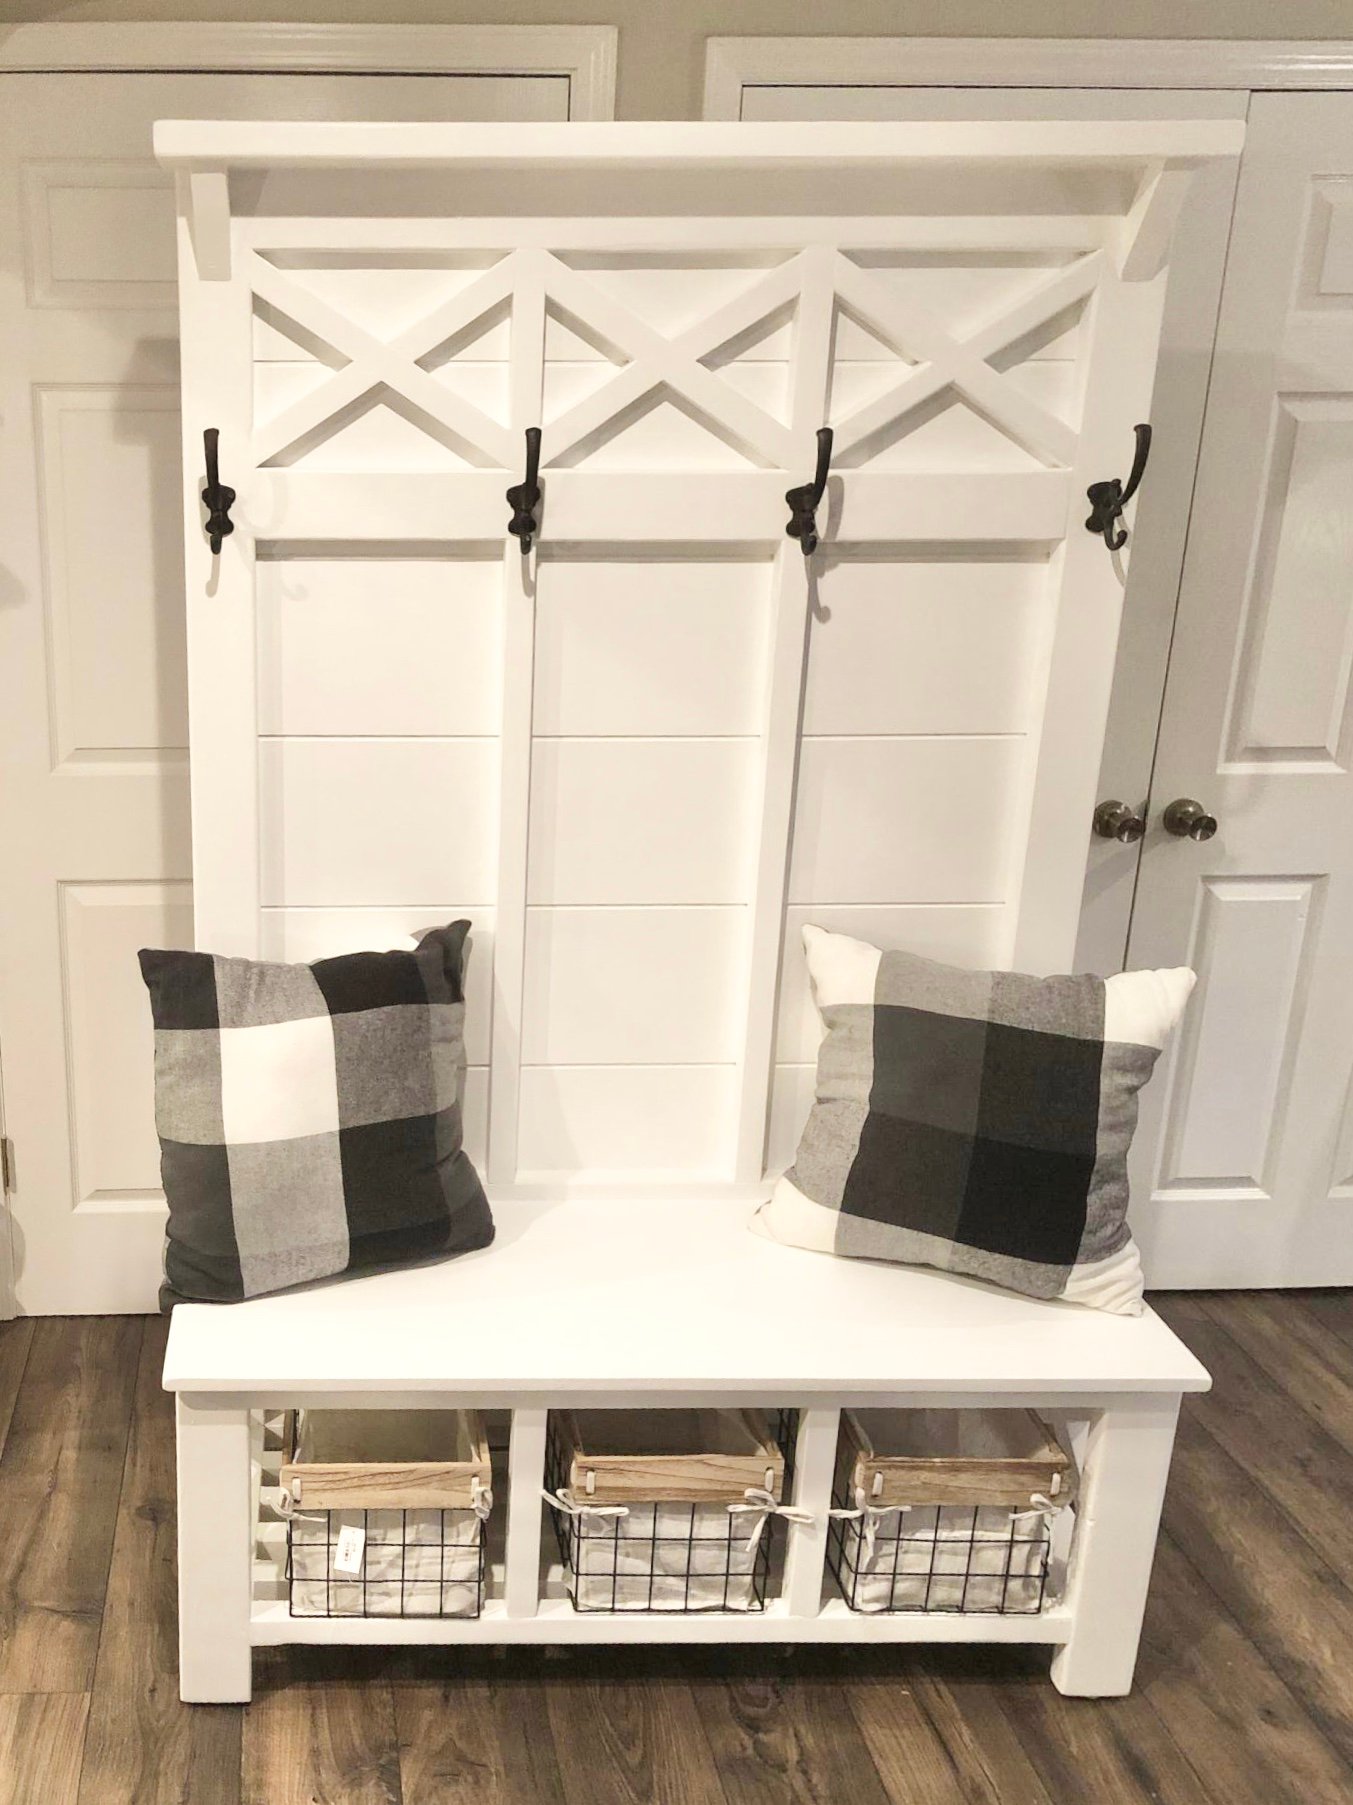
Rustic X Hall Tree

Submitted by Anonymous (not verified) on Mon, 12/30/2019 - 12:23

Completed this about a week ago. As usual, I went with the "--" instead of the "X", but it still turns out great.

Built from Plan(s)

Little Helper Tower

Submitted by h.abbott on Tue, 04/10/2012 - 05:55

We decided to make a helping tower for my little guy for Christmas after I saw it on Pinterest. The curves were not the easiest, but I think they turned out fine. He's just finally starting to use it more as a helping tool rather than a playing platform. Definitely happy that it keeps him from standing on the chairs.

Thank you so much for this plan. I love this site!

Estimated Time Investment
Weekend Project (10-20 Hours)
Finish Used
green spray paint to match kitchen.
Recommended Skill Level
Beginner

Comments

Craft Room Build

This project was one that I've been planning for about 18 months- I had to wait until we moved back into our home to start the build, so I had plenty of time to think about how to maximize my storage space in this small room with a slanted ceiling. My husband had some time off from work and offered to watch our toddler during the day time- so that was all the motivation I needed to start this big build!

Overall, it took about a week from beginning to end. The cost was between $400-$500 for everything- including hardware, paint, supplies etc. Still a huge savings over what it would have cost us to purchase desk and storage units to work in this room (I priced them out at about $2000-$2500 - WAAAAY out of our price range).

For the main desk unit I used the plans for the reclaimed look wood bedside table. I modified the height of the legs to 28" tall so that the sewing desk height was correct for when I'm sitting at my machine for hours on end. I also modified one of the units to be an open shelving unit, so that I could store my patterns and misc. sewing notions in baskets on the shelves.

The desk top was created by using six 1 x 4 whitewood boards joined with pocket holes. The corner joint is "woven" in a sense to give a unique look to the unit. I used 4 brackets in the corner (secured to the studs) to support the weight of the corner of the desk. I used Dark Walnut stain and then followed up with 3 coats of Poly (sanding in between each coat).

The two fabric/machine storage bins were made using the cubby bookcase plans as a base. Both plans were modified to maximize fabric storage with the small space- hence no face frame on each unit. The middle storage unit is one that was my first build a few years back, before I'd even heard of knock off wood- oh how it would have been so much easier if I'd known about this site back then. I added a plywood top with a piano hinge to fold out for a stand up cutting unit. For the legs, I simply went to the table/baluster aisle at my local hardware store and purchase some hardware to secure two balusters to the plywood top. Screwed them in on the outside of the window frame so I don't have to unscrew the legs every time I fold it up and away, cut the balusters down to the proper height and that was done!

The ribbon/wrapping paper storage was super easy- just used some of my left over 2 x 2 furring strips, along with 14 dowel rods and 1 /14 screw in hooks. I pre-drilled the holes for the screw in hooks as well as the 3" screws I used to mount it to the wall.

The thread holder was a previous build of mine as well- just cut out LOTS of dowels that fit into the peg board and glued them in place. Added a little decorative trim to finish it, and painted it white.

Overall I could not be more excited about how this build turned out...aside from wood working, sewing is my next favorite thing (I have a small Etsy shop and do local craft fairs for fun). Having the stand up cutting station is a HUGE relief, as after 10 or so years in the Army, my knees and back are shot (who would have ever thought that jumping out of airplanes wasn't good for you!) The fabric storage is great and allows me to see all of my different fabrics so I eliminate over-buying (which I obviously have a problem with) and purchasing doubles.

I can't thank Ana enough for her website- I grew up with a dad that builds everything, but was always a bit intimidated when it came to building stuff for myself. Her plans really break everything down to the simplest level of instruction and make the building process stress free. This was my first time building a cabinet unit and I was very worried about the drawers not working, but I just followed along on the instructions and they came out perfect.

Estimated Time Investment
Week Long Project (20 Hours or More)
Finish Used
Valspar semi-gloss white
Minwax dark walnut with Rustoleum POLY top
Recommended Skill Level
Beginner

Comments

Ana White

Fri, 01/24/2014 - 10:05

I love this space, you did an amazing job with all of the builds! Thanks for sharing!

DecorSanity

Fri, 01/24/2014 - 17:11

You did an amazing job, way to go! I love to sew too, and I think building is a lot like sewing...but with saws and hardware instead of scissors and a sewing machine!

dgwheeler24

Fri, 02/07/2014 - 13:09

I would also like to see your corners up close.

Was your decision to not use a leg(s) for the support (and instead used the brackets) for a reason? Was it just easier?

I love the desk that size, but since we are military we move every couple years...I want to use legs for easier breakdown for transportation instead of something as permanent as the brackets. Not sure how far apart to space the legs for the support...

Fire Truck Loft

Submitted by Turk1479 on Mon, 04/18/2016 - 17:21

I built this for my son using the fire truck loft and playhouse loft plans combined. I put tread on the stairs to add safety and enhance the realism. I was pleased with the instructions. The hardest part was painting it red. I hate painting anything red. Make sure you get a primer tinted to gray that works with the red you choose.

Estimated Cost
$600
Estimated Time Investment
Weekend Project (10-20 Hours)
Finish Used
Latex paint, chrome spray paint for the mirrored bumpers.
Recommended Skill Level
Intermediate

Kids table

Submitted by Anonymous (not verified) on Mon, 01/06/2020 - 00:19

This little table and chairs were so simple to build. My little granddaughter just loved her Christmas present.

Estimated Cost
$50
Estimated Time Investment
Day Project (6-9 Hours)
Finish Used
Unicorn SPiT, pixie punk pink, zia teal and purple mountain majesty. 2 coats of wipe on polycrylic, and 2 coats of furniture wax.
Recommended Skill Level
Beginner