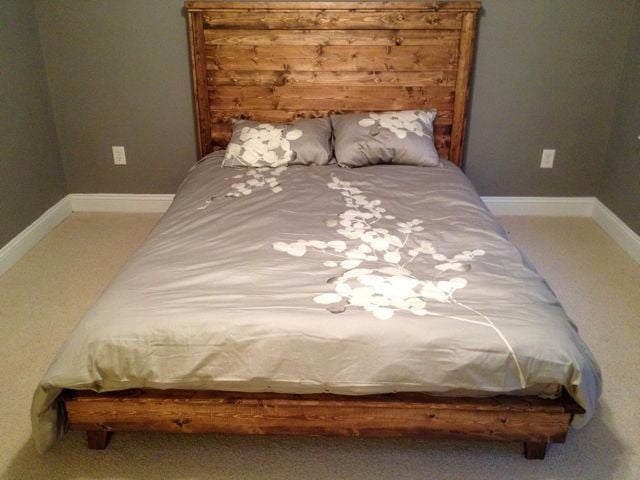
Hailey Platform bed
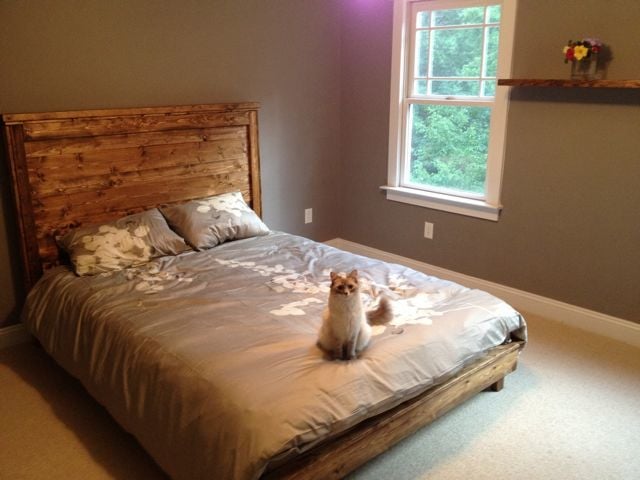
We needed a guest bed in a hurry and this fit the bill.
Built from Plan(s)
Estimated Cost
100 total
Estimated Time Investment
Weekend Project (10-20 Hours)
Finish Used
Minwax provincial 211 and satin poly
Recommended Skill Level
Beginner


Comments
merryhannah
Sun, 05/27/2012 - 12:08
So beautiful and simple!
So beautiful and simple! Gorgeous kitty too (:
norge79 (not verified)
Thu, 12/20/2012 - 06:32
Platform bed
Thank you so much for posting this platform bed. I am building my first home. I am doing the finish work myself. Needing a box springs for a mattress I decided to build my own out of the scrap 2x4's and 1x4's. This bed style will fit perfectly in my new home!
esirois
Thu, 05/22/2014 - 09:37
Headboard
how did you attach the headboard to the frame?
I cant seem to find those instructions anywhere.
esirois
Thu, 05/22/2014 - 09:37
Headboard
how did you attach the headboard to the frame?
I cant seem to find those instructions anywhere.