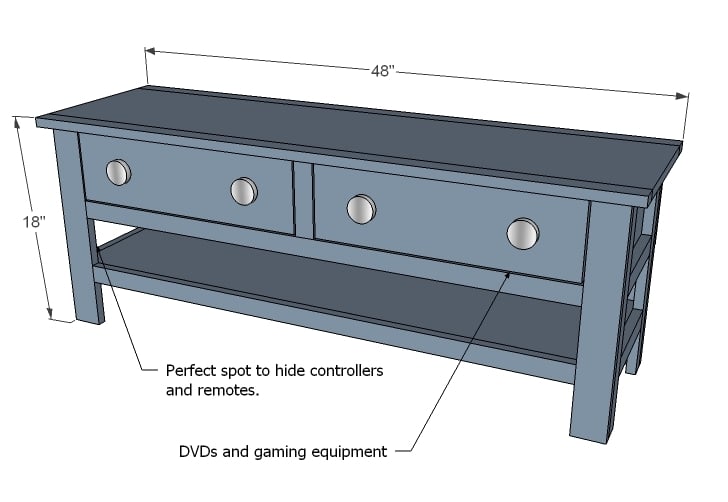
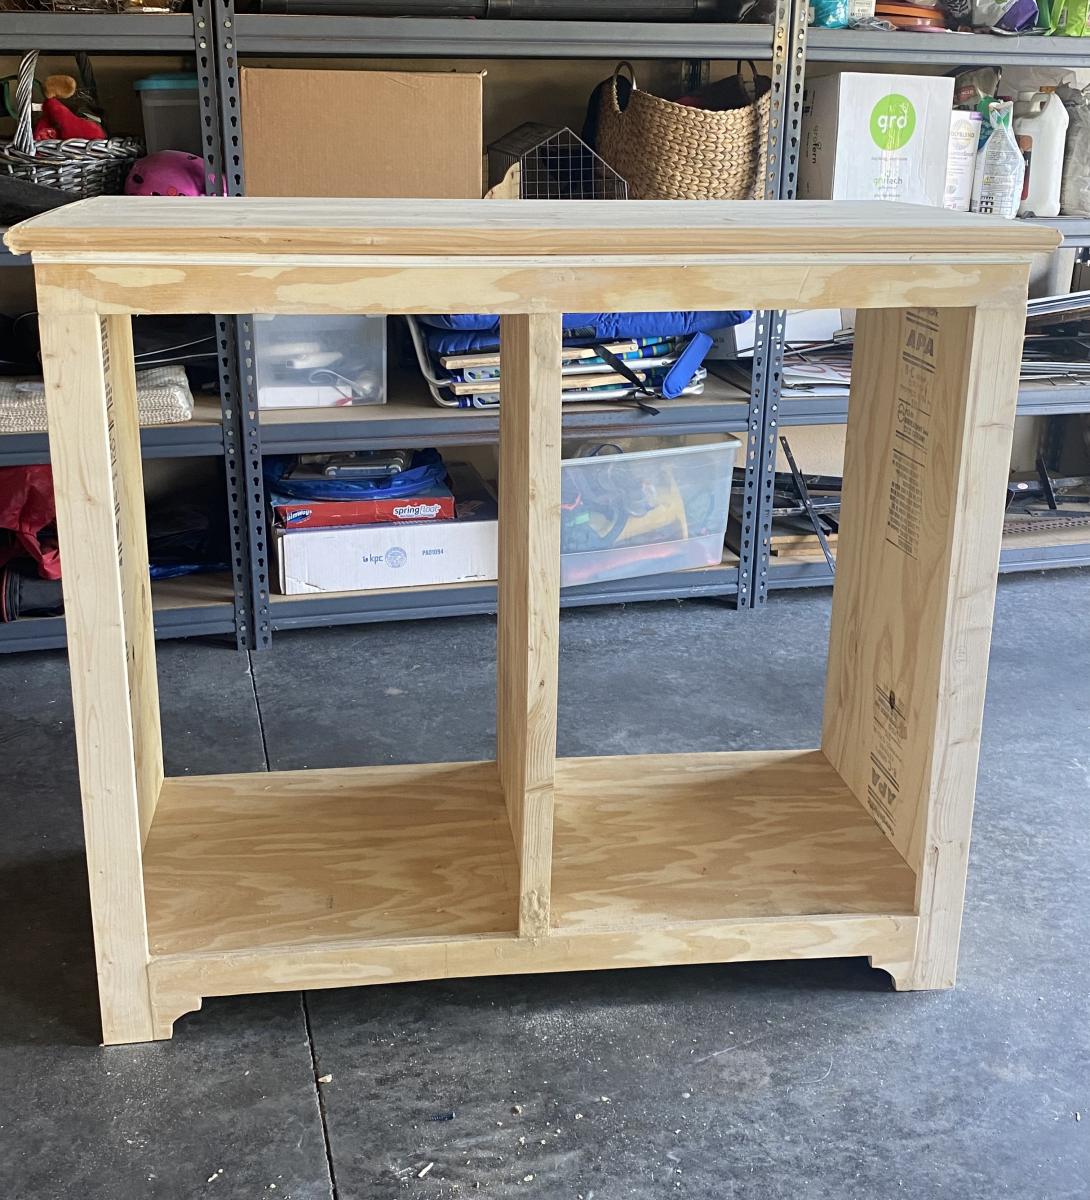
Simple, Cheap and Easy Console Table
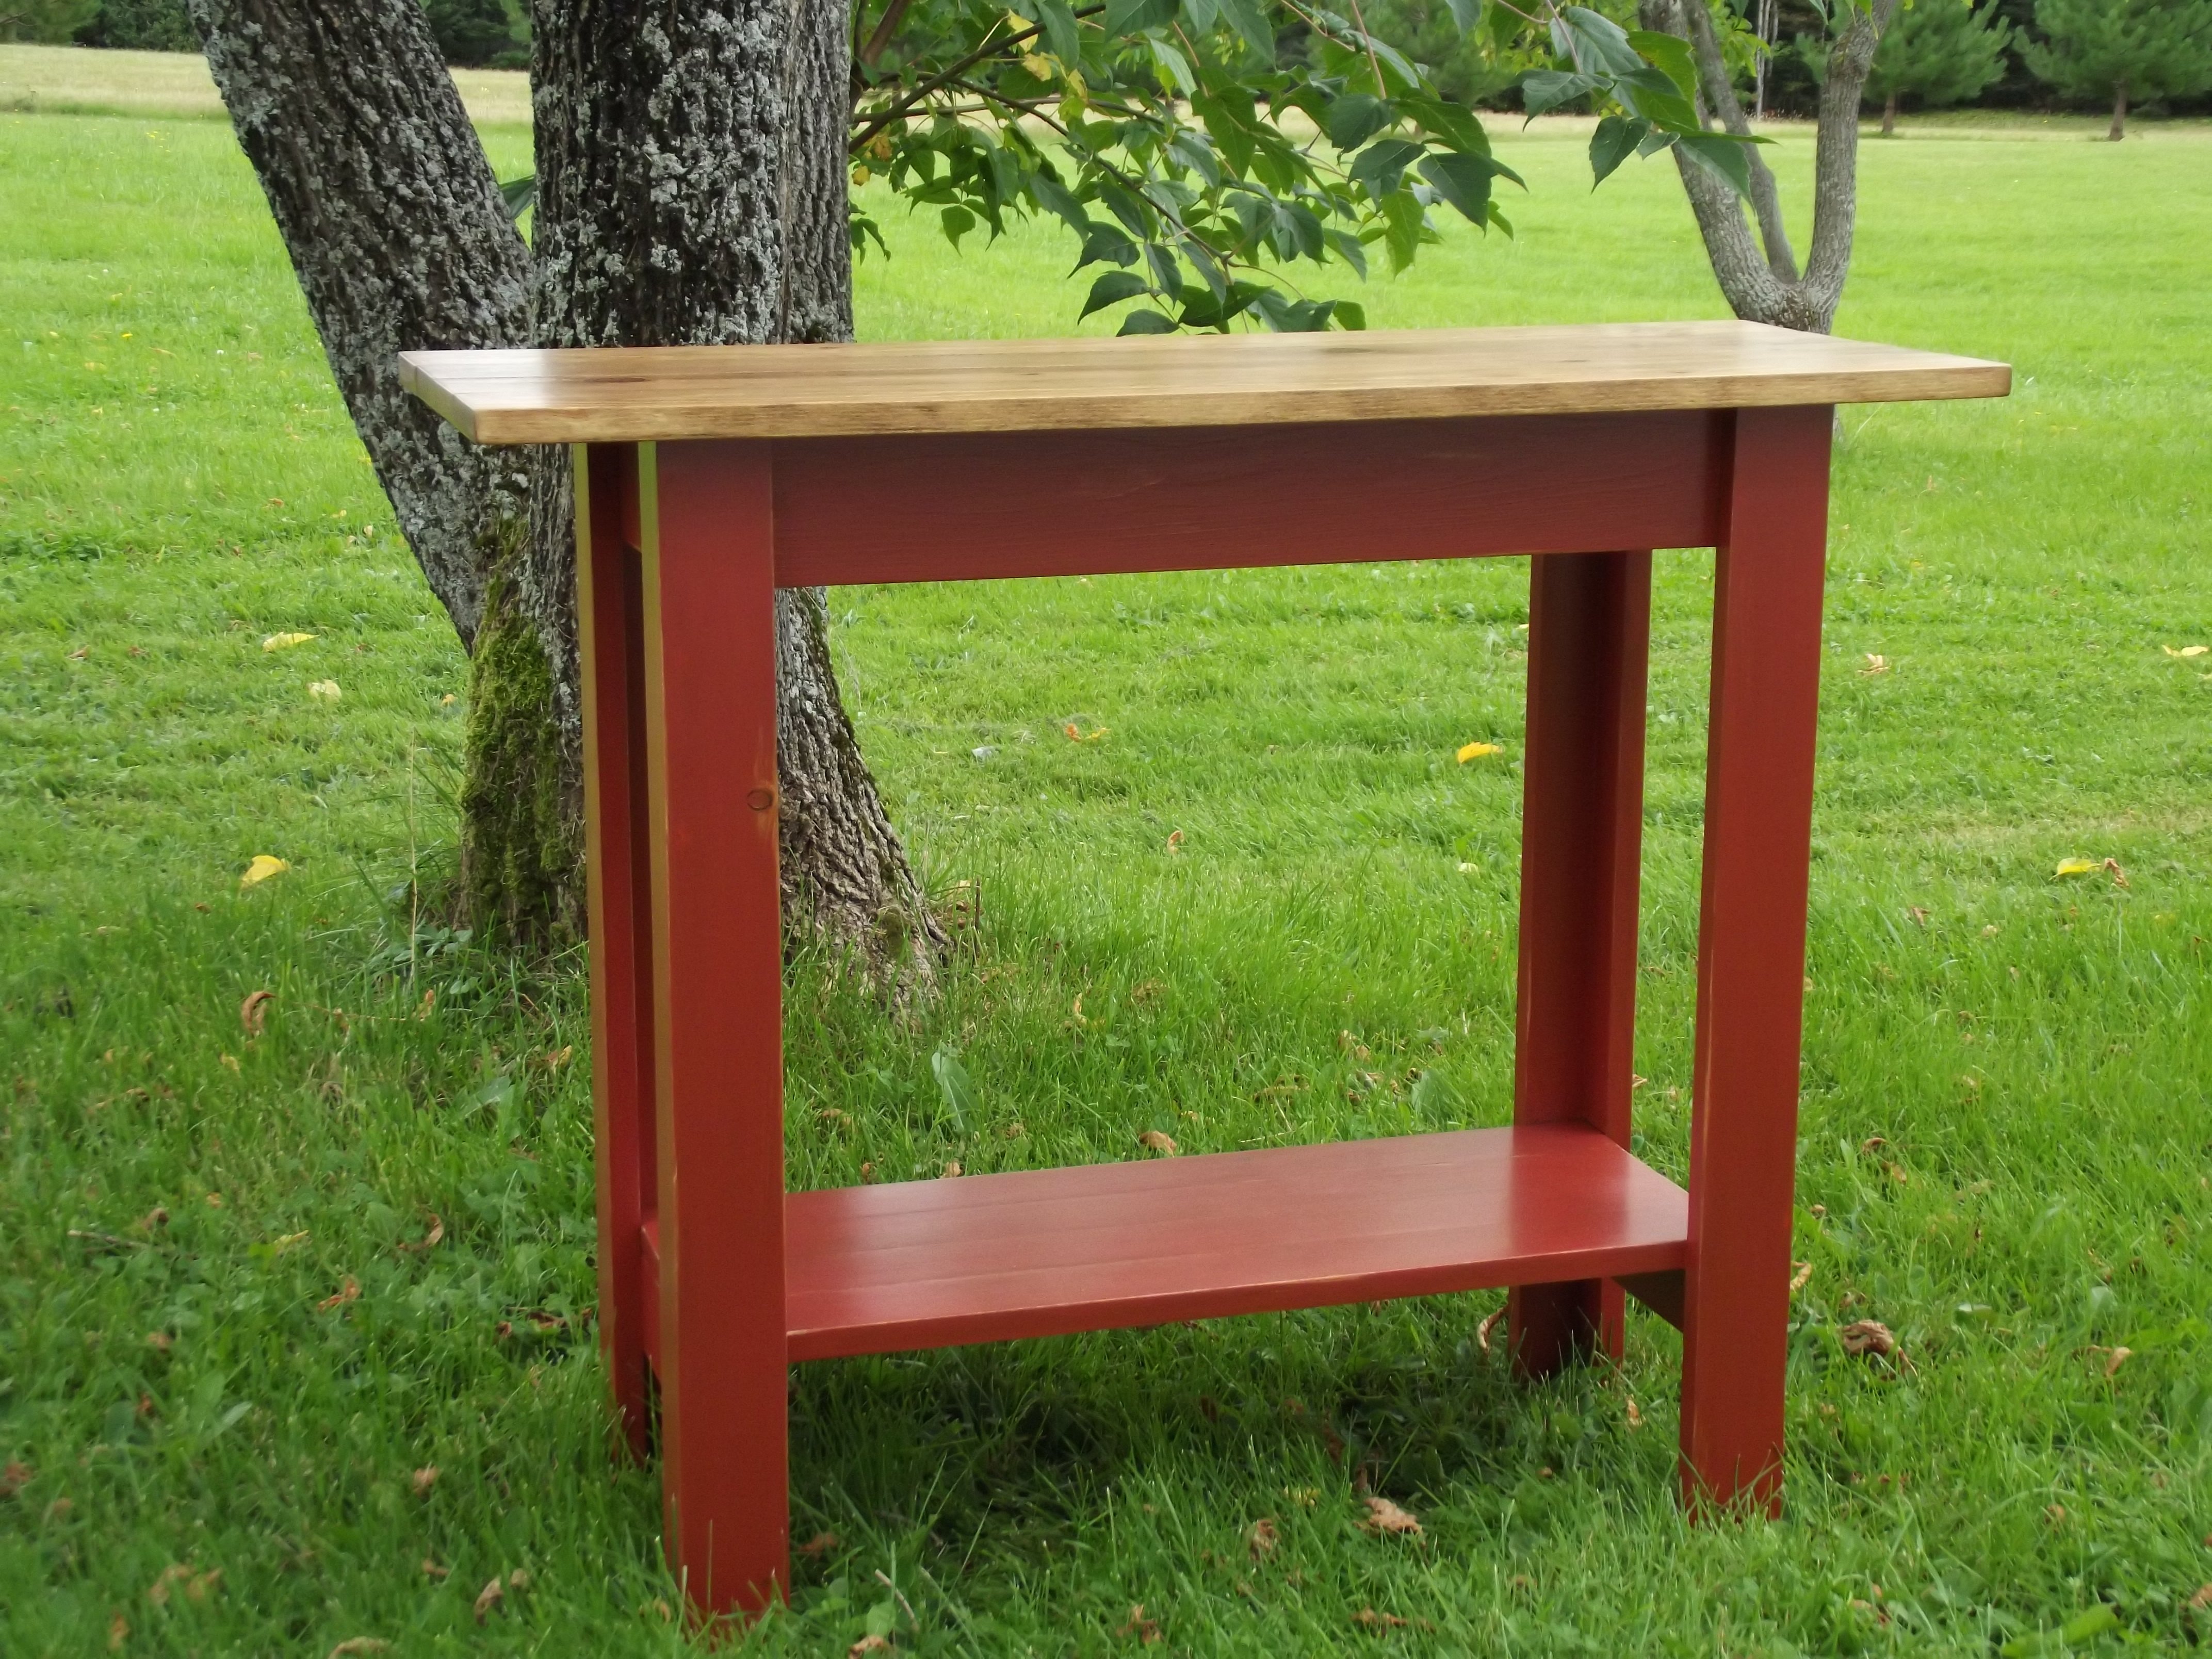
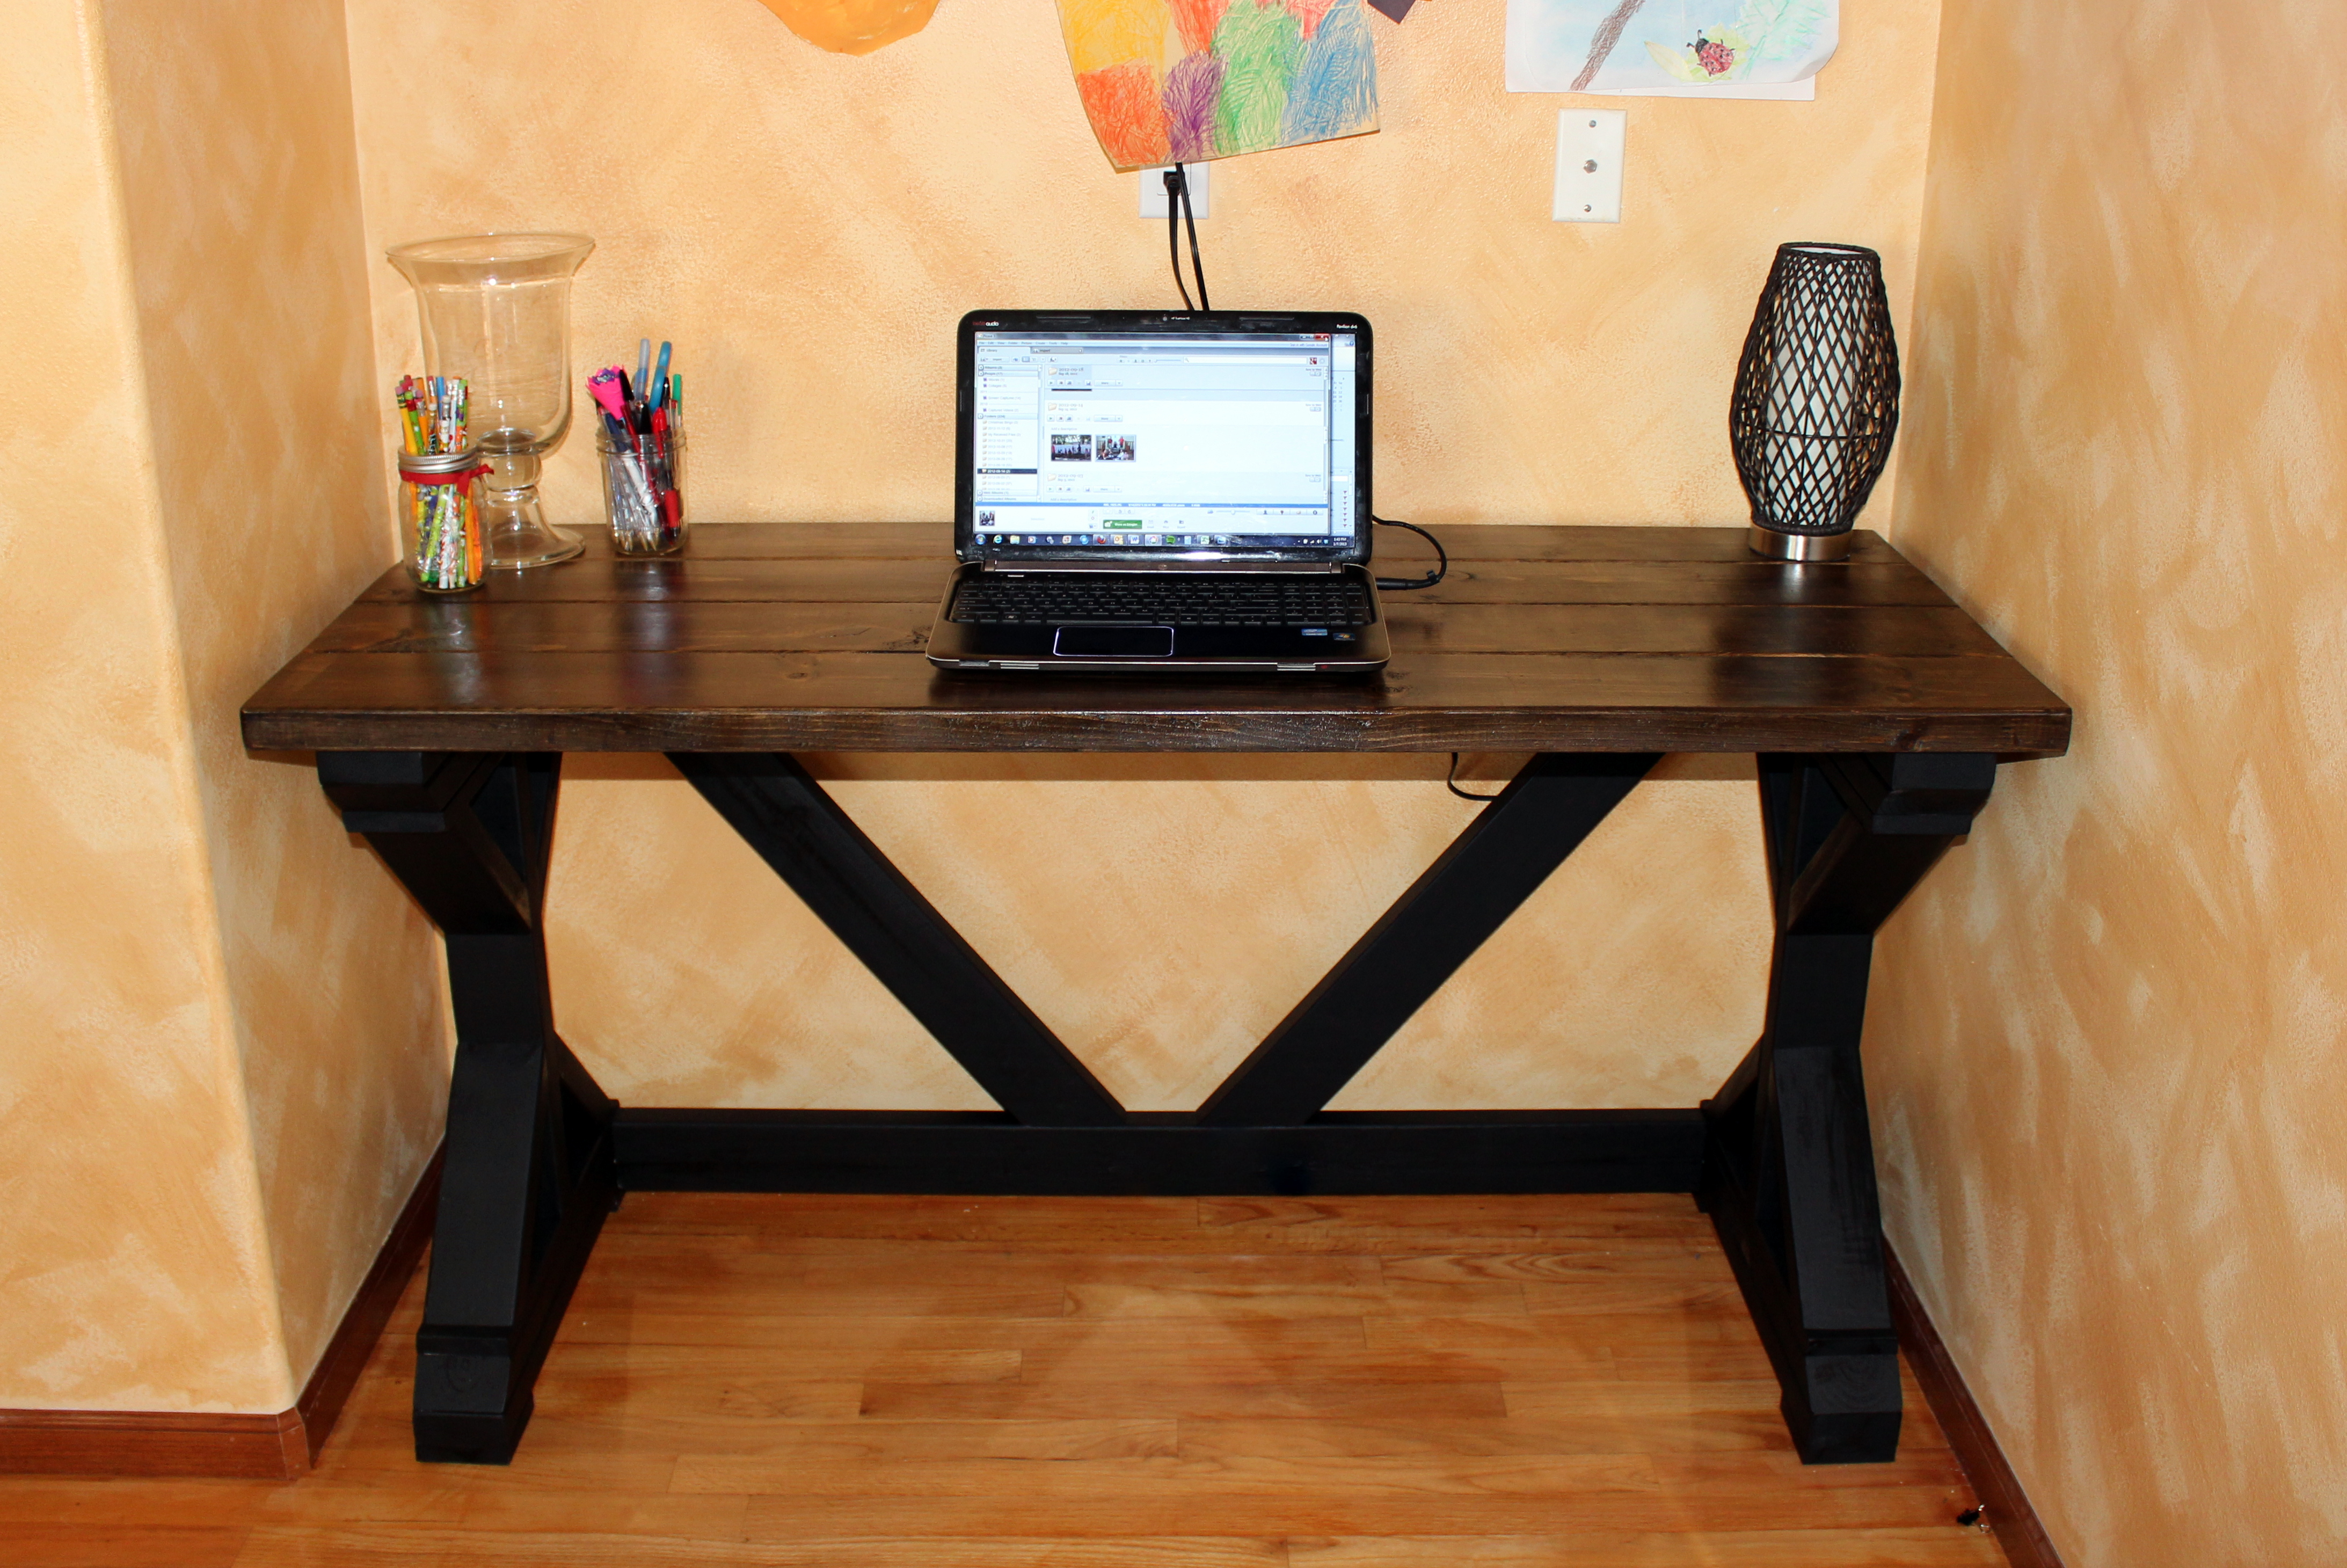
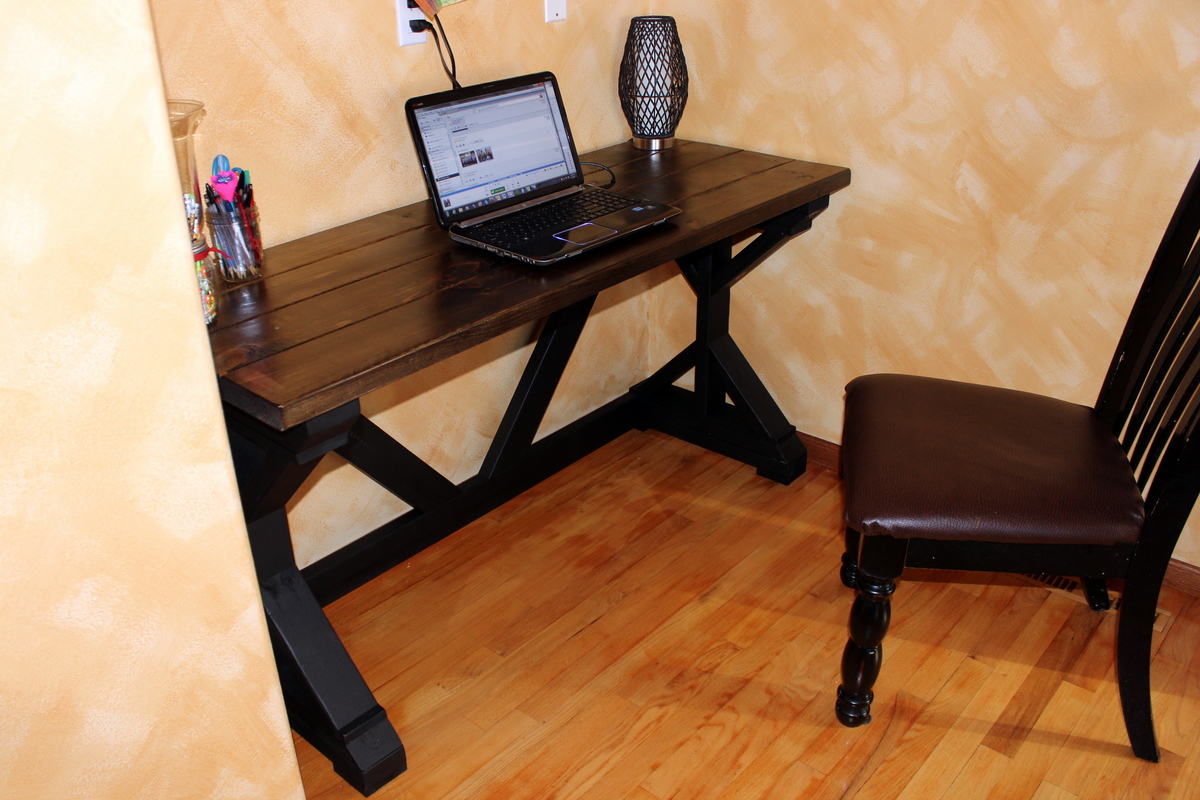
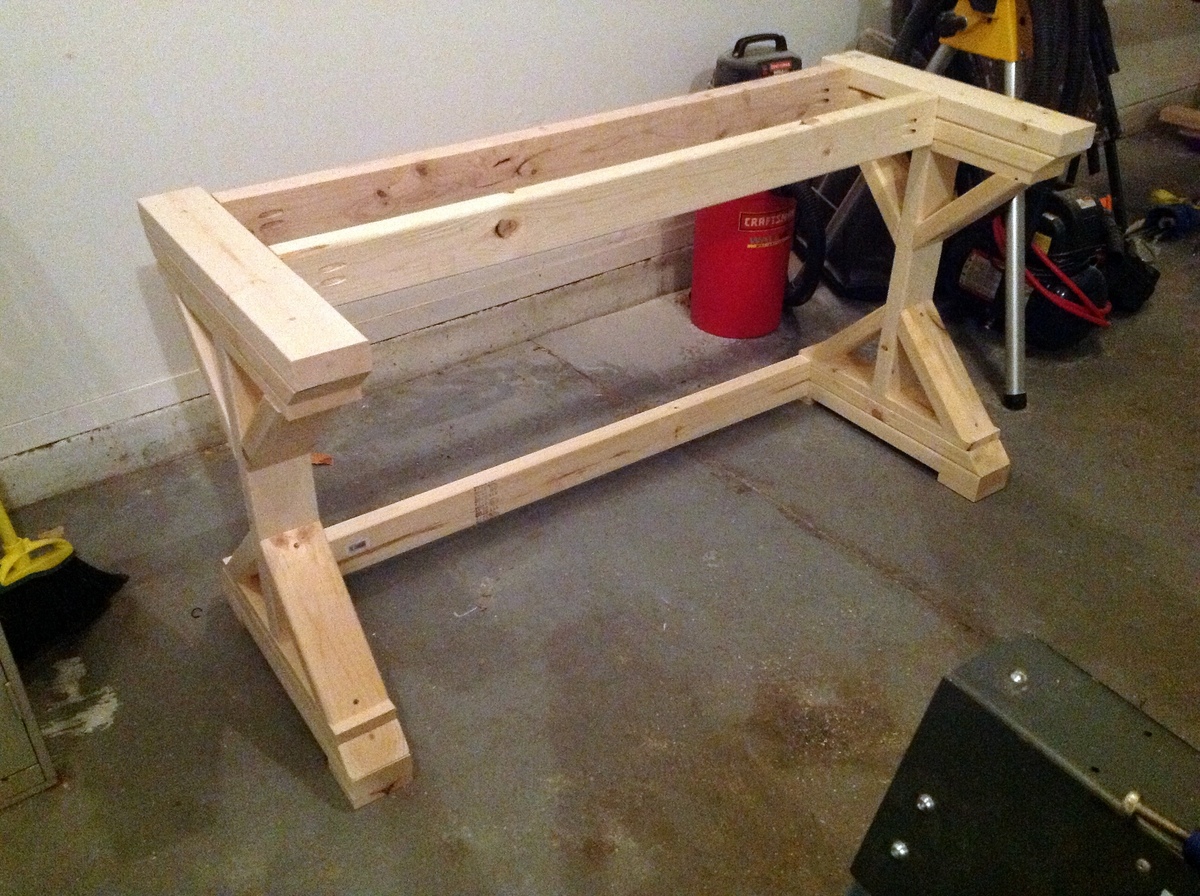
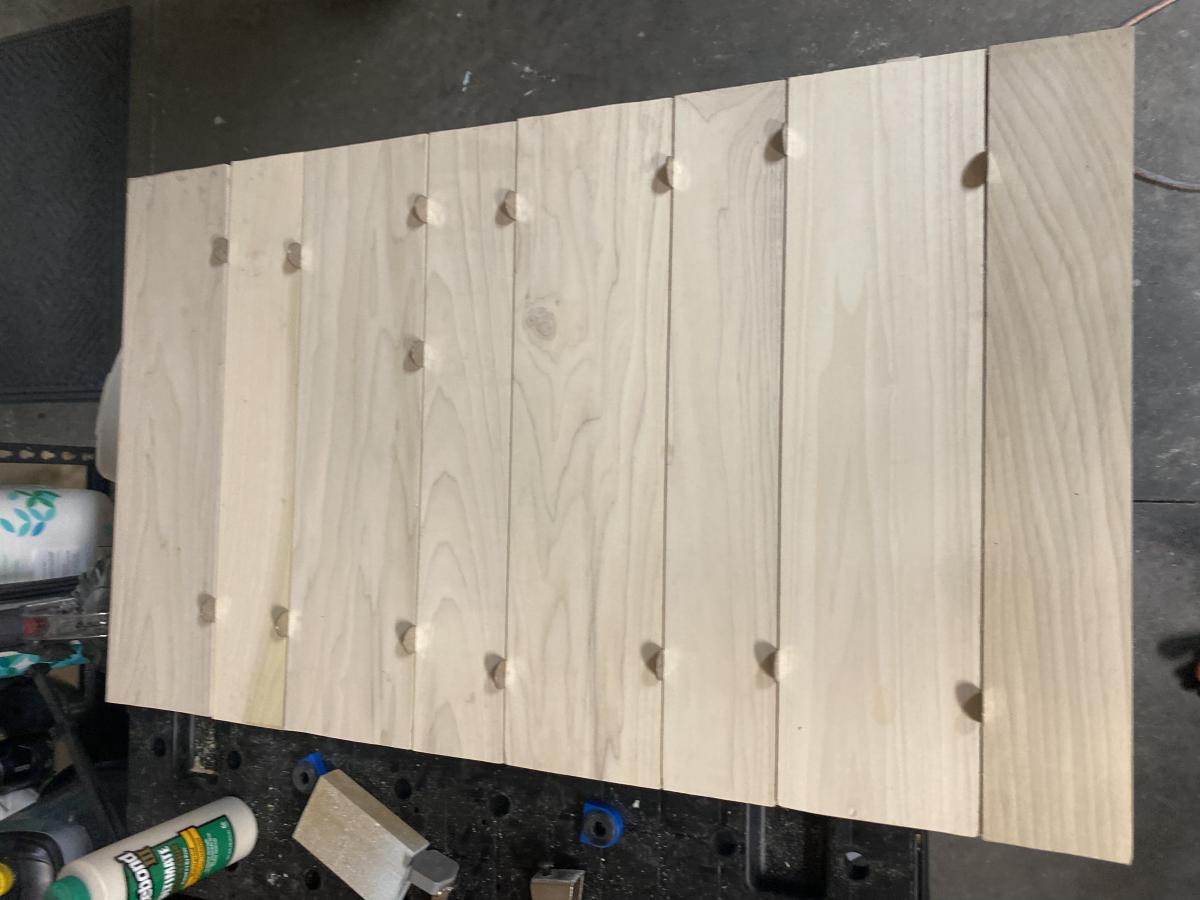
I used Ana's plans for the Simple, Cheap and Easy Console Table and modified it. I used 1x4 boards for the top of my table and added a bottom shelf using 1x3s. The top is stained with Minwax Early American and the bottom of the table has 2 coats of red paint and a chocolate glaze. I lightly sanded some areas of the table (it was my first time distressing a piece of furniture so I didn't want to overdo it) and then I used a chocolate glaze to get a distressed look. I finished it with 3 coats of Polyurethane.

Built from Plan(s)
Estimated Time Investment
Afternoon Project (3-6 Hours)
Recommended Skill Level
Beginner