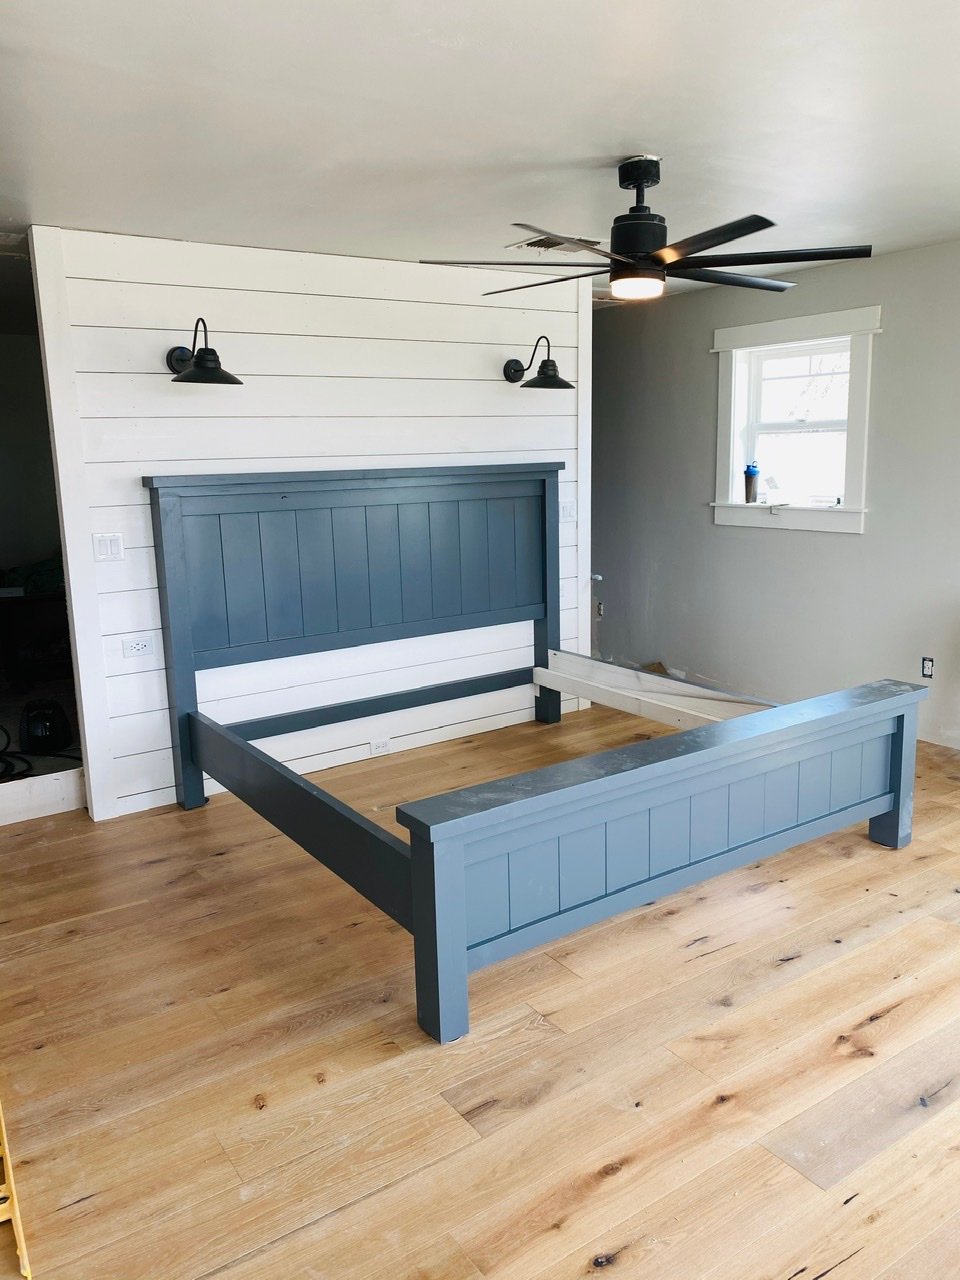
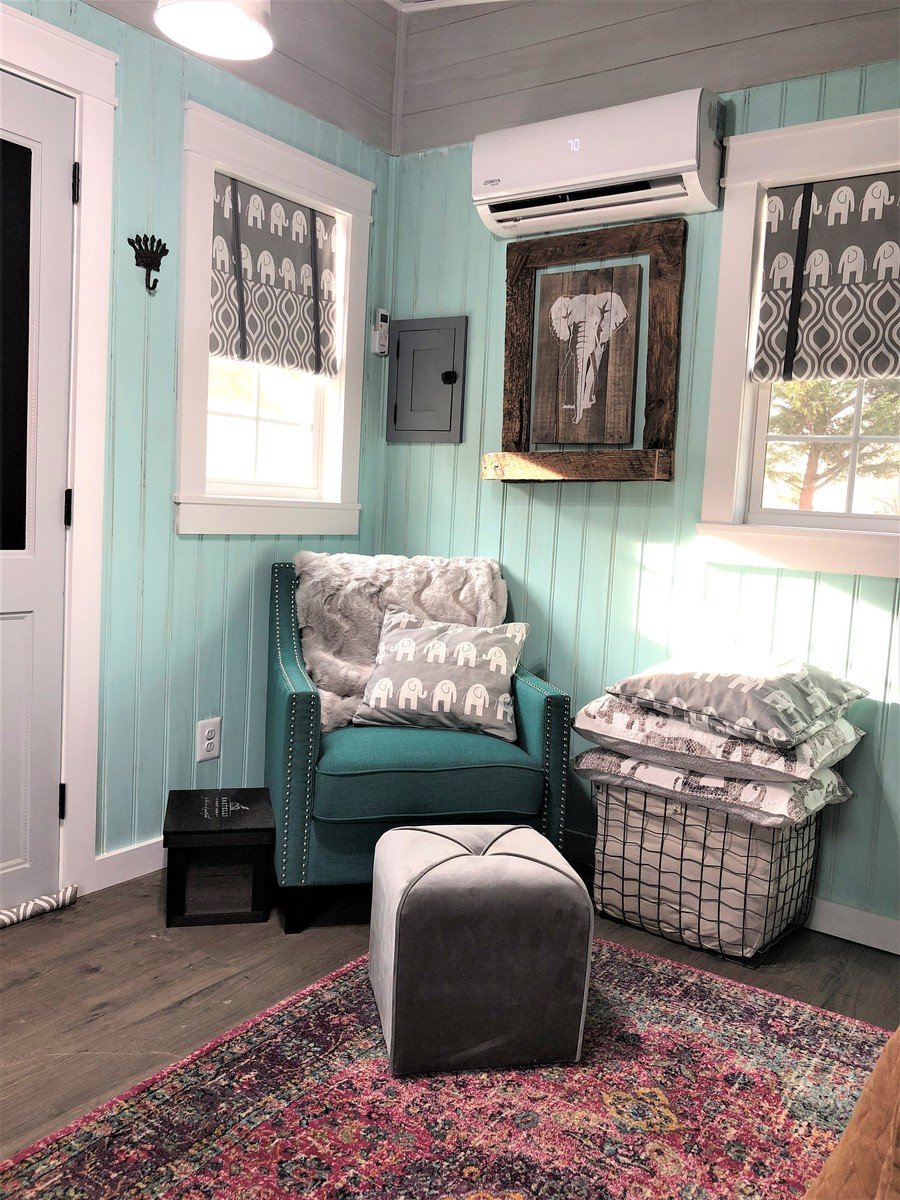
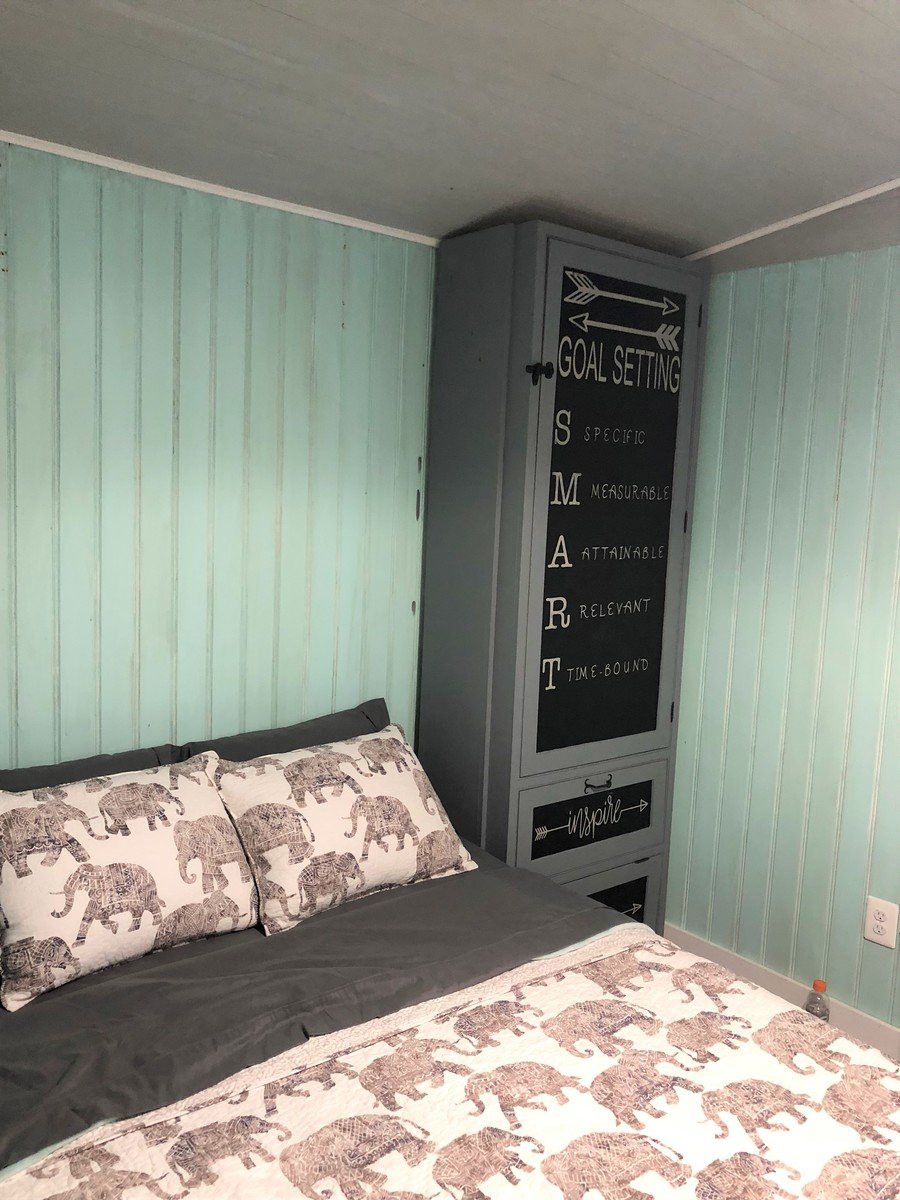
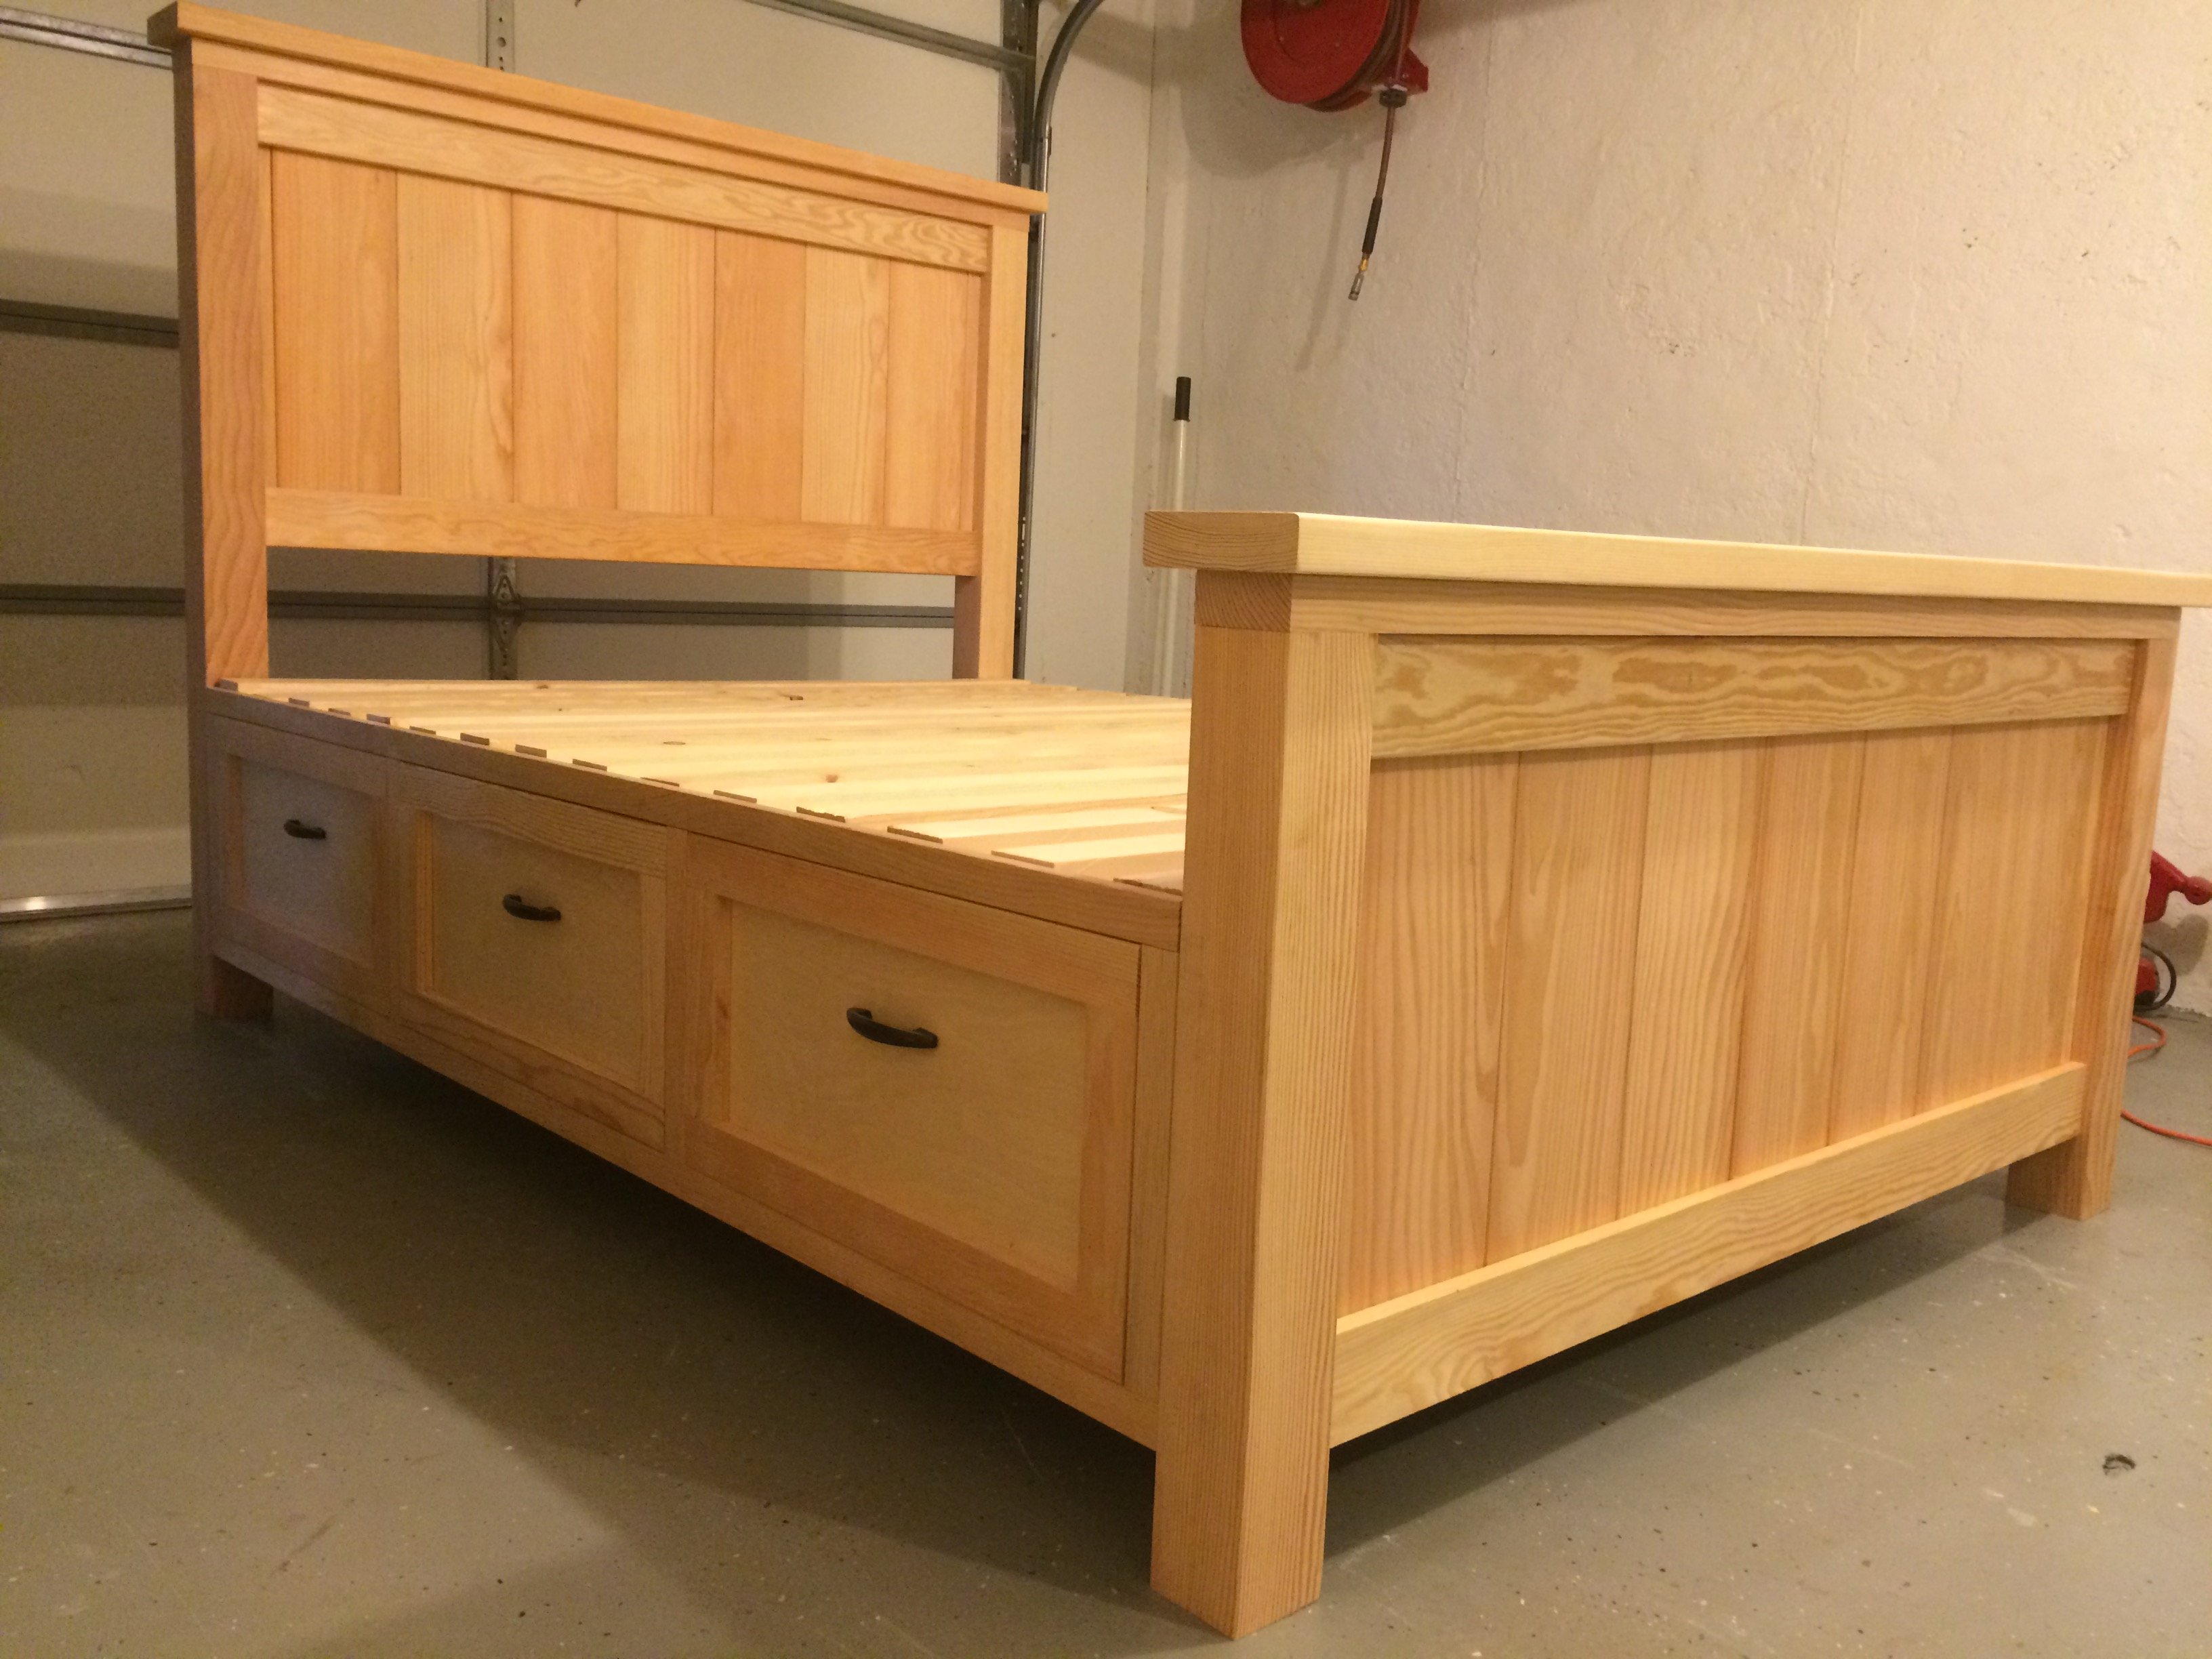
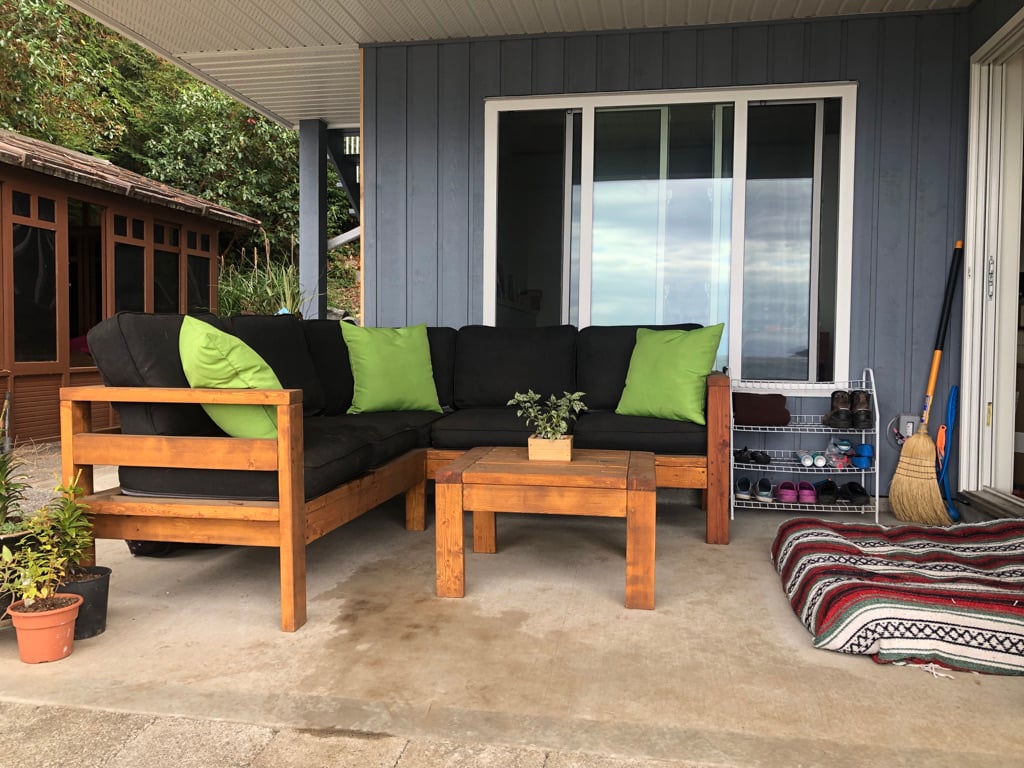
King size Farmhouse Bed
This is a plan that My 16 year old son chose to do for a project to fulfill a goal to learn some woodworking skills during our unexpected downtime from School.
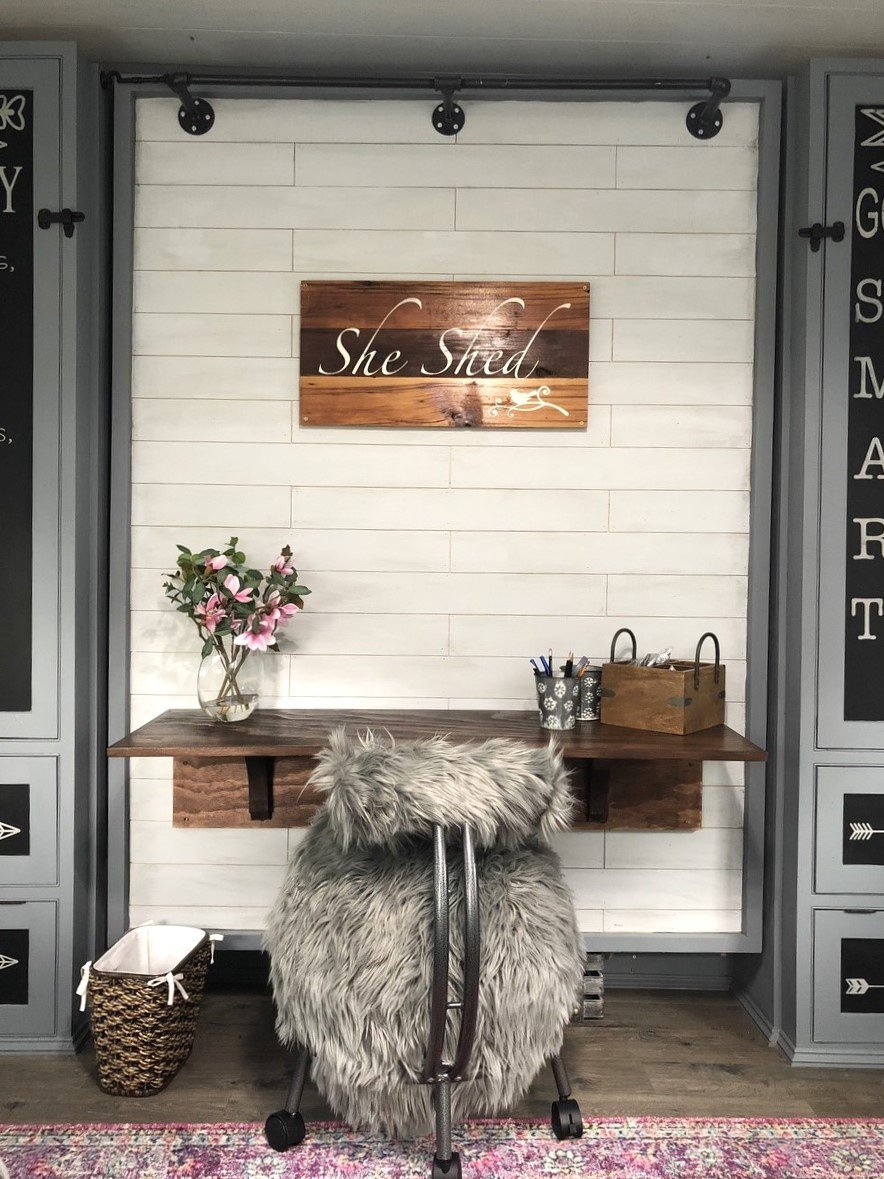
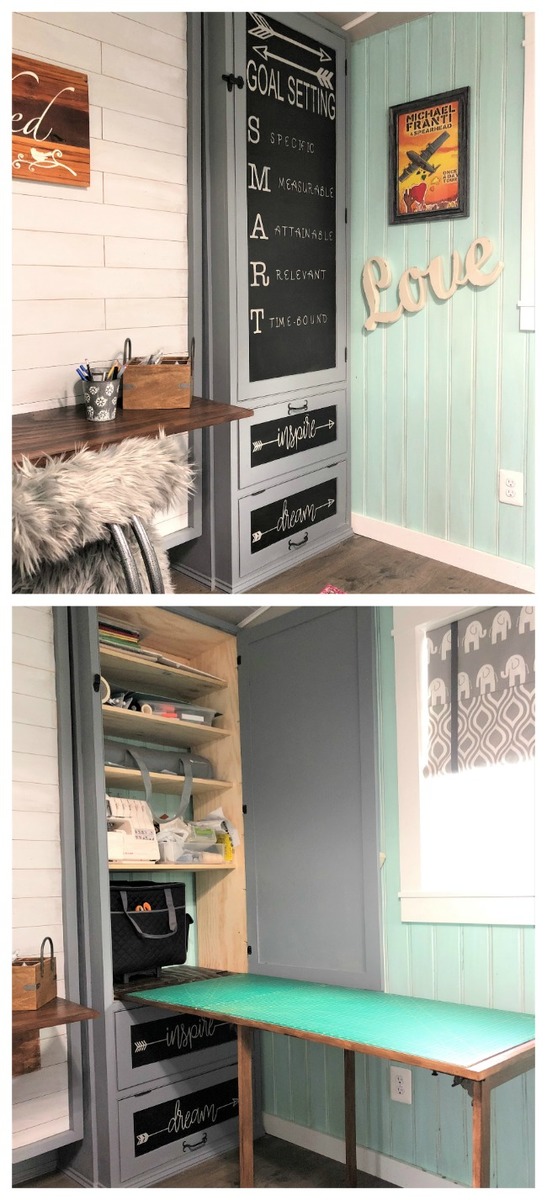
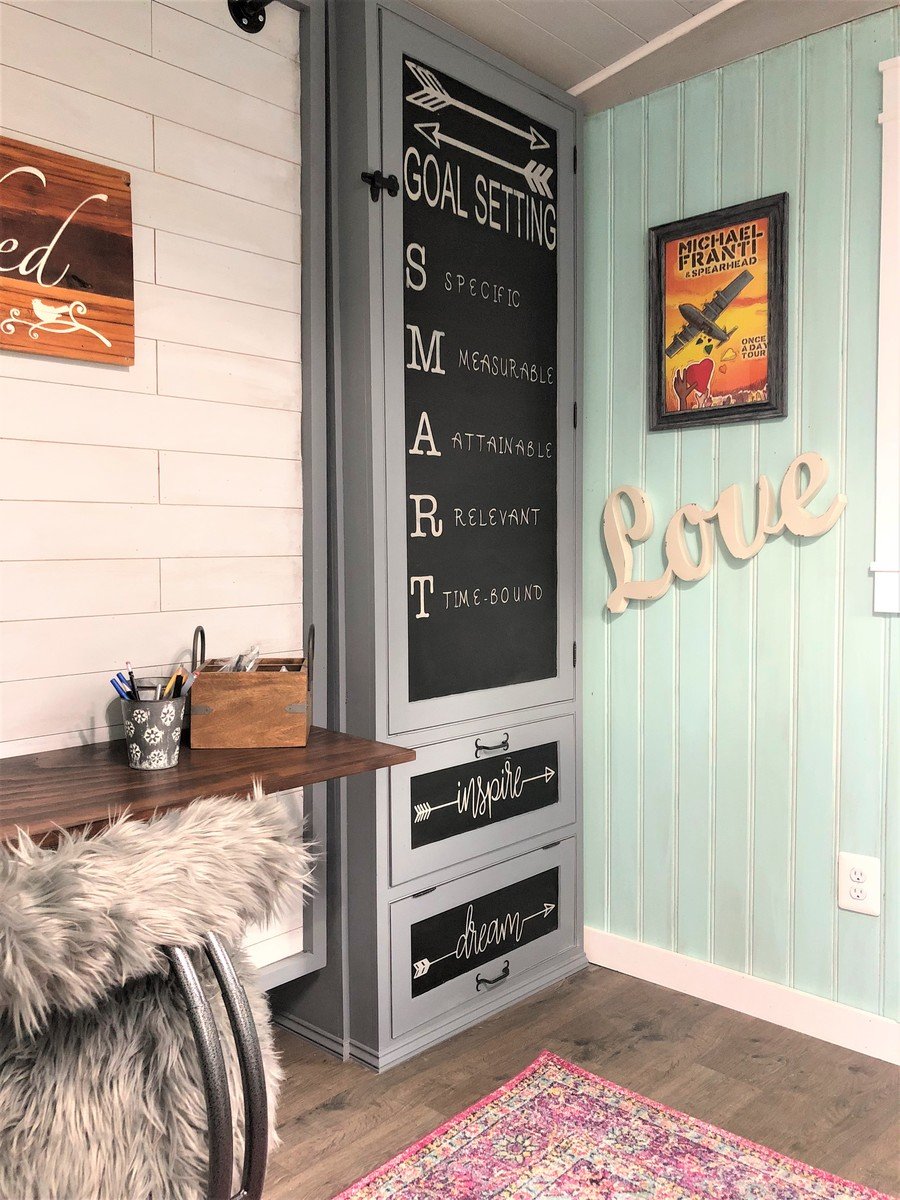
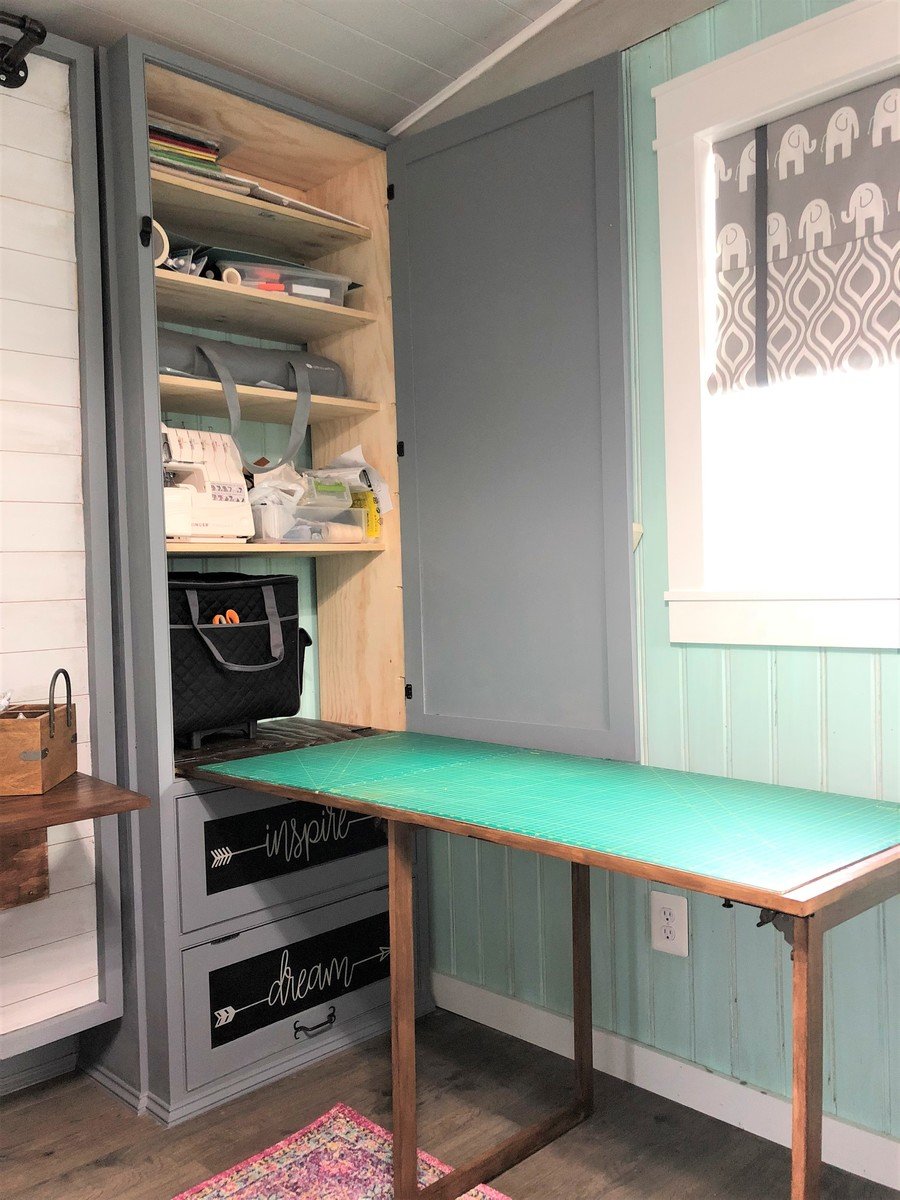
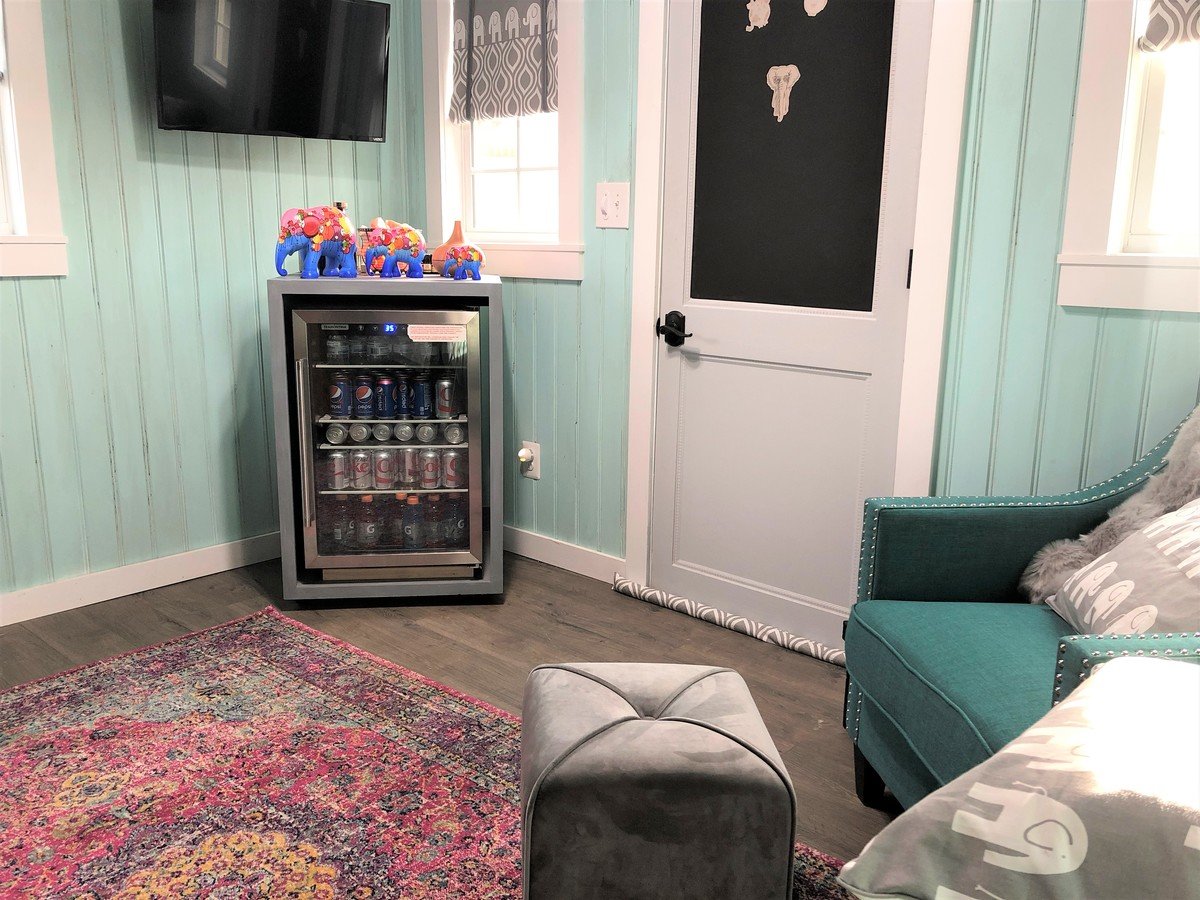
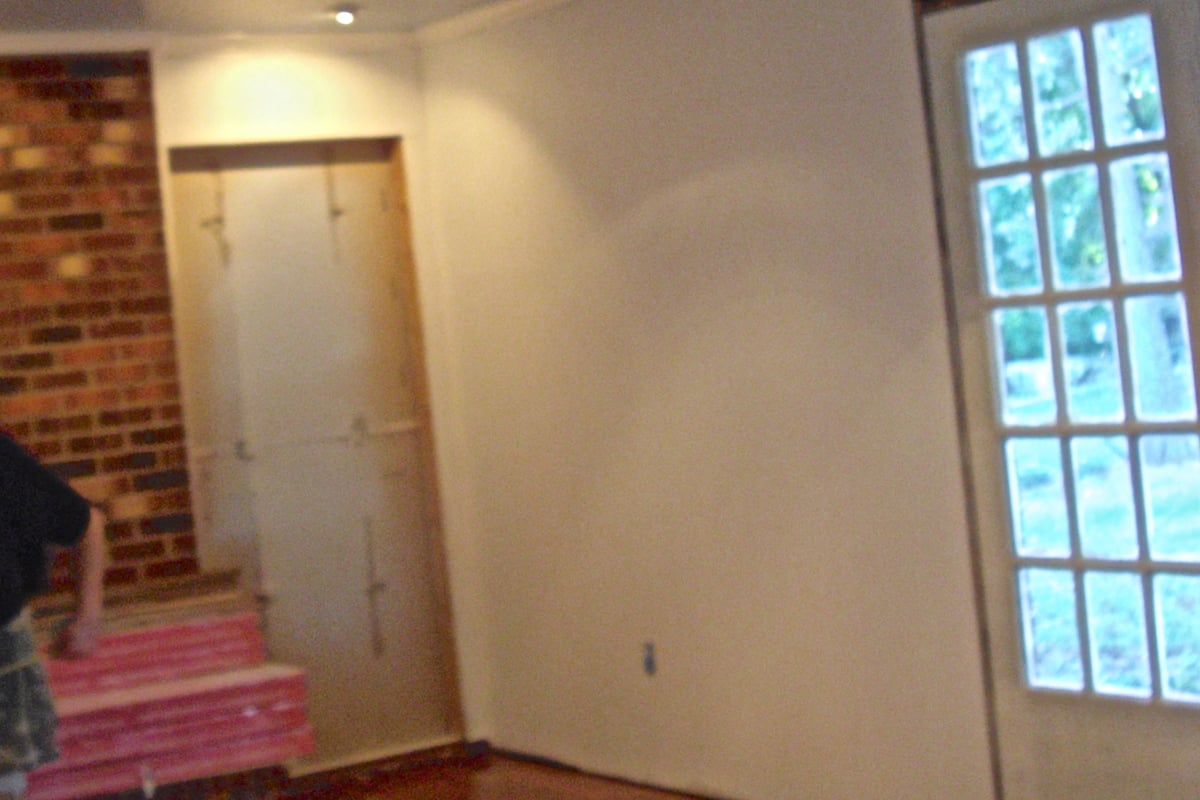
Mom is thrilled with the new space.
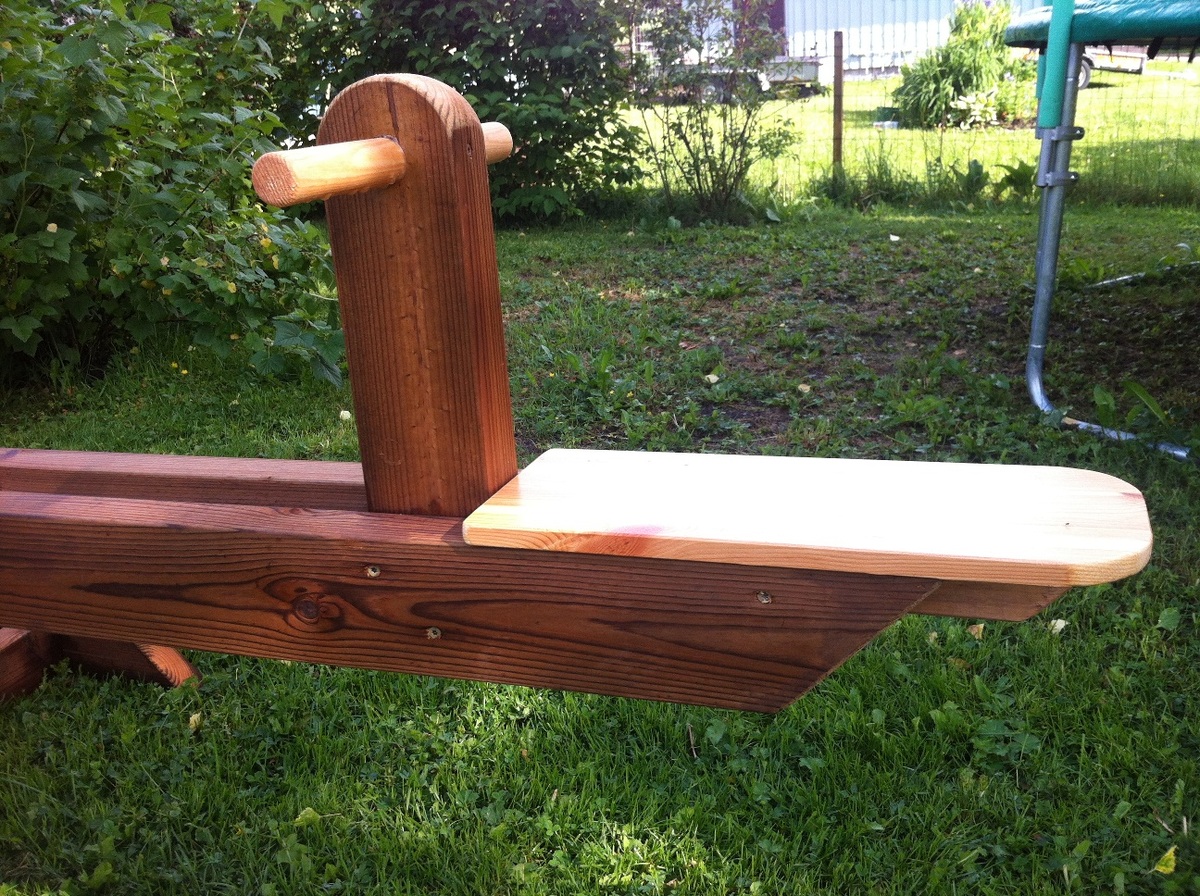
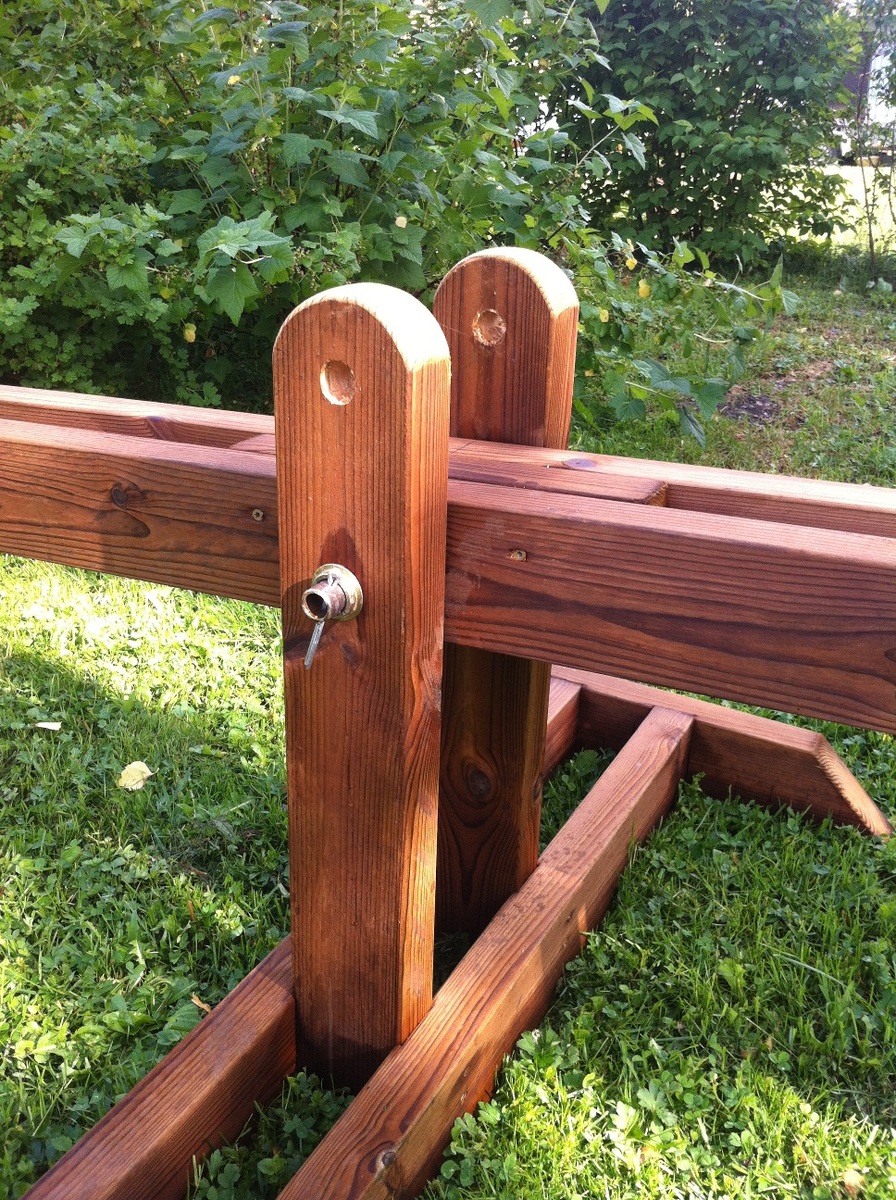
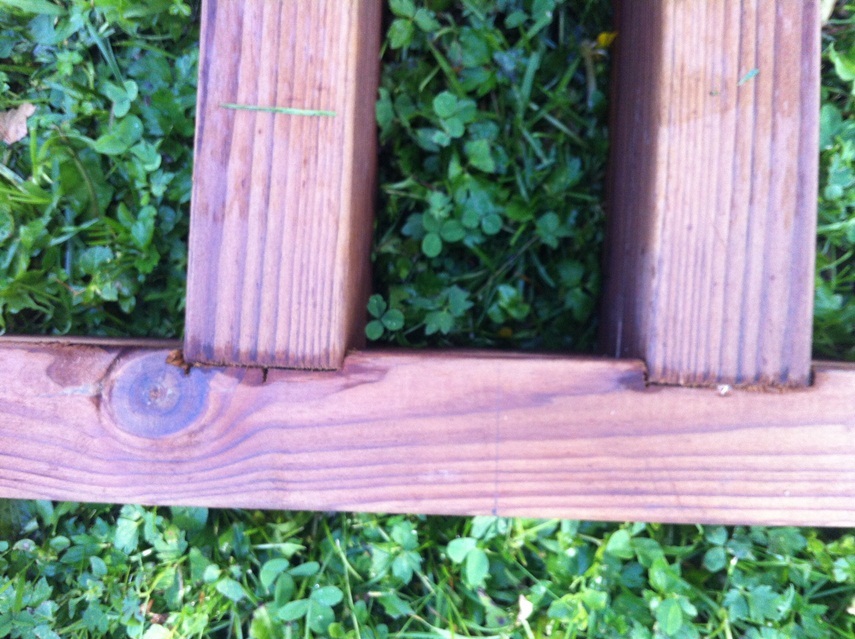
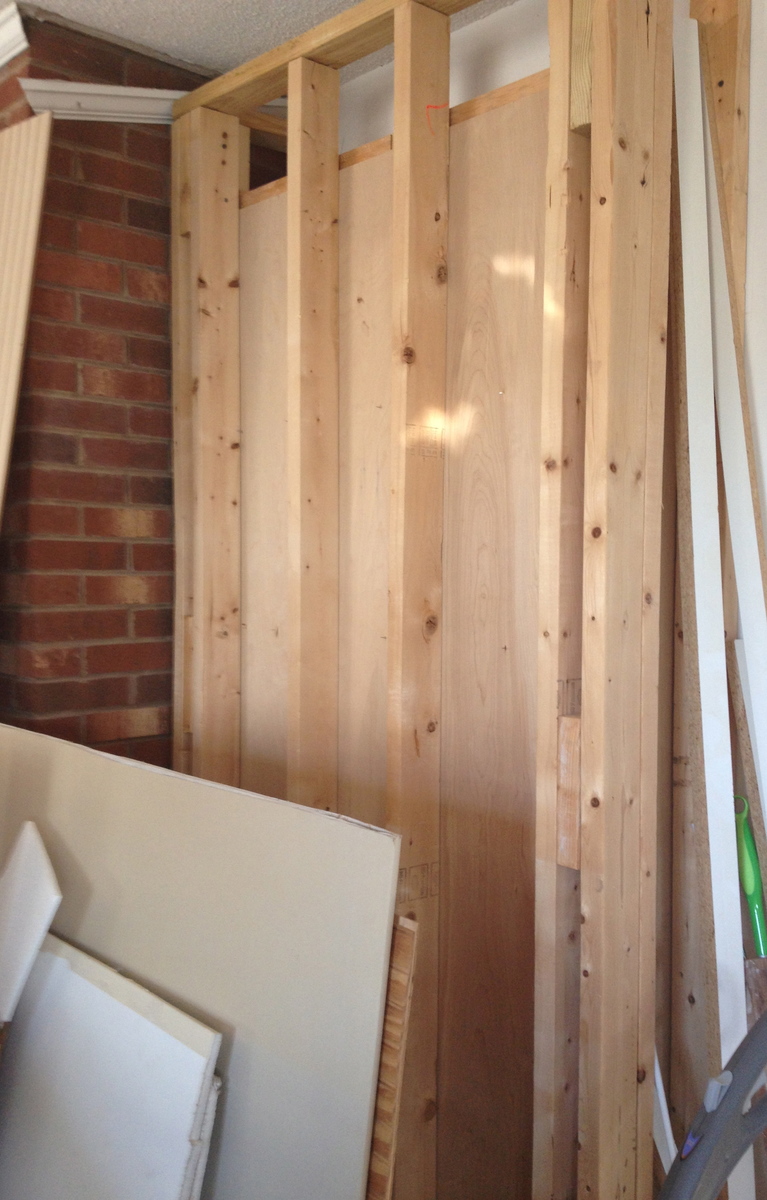
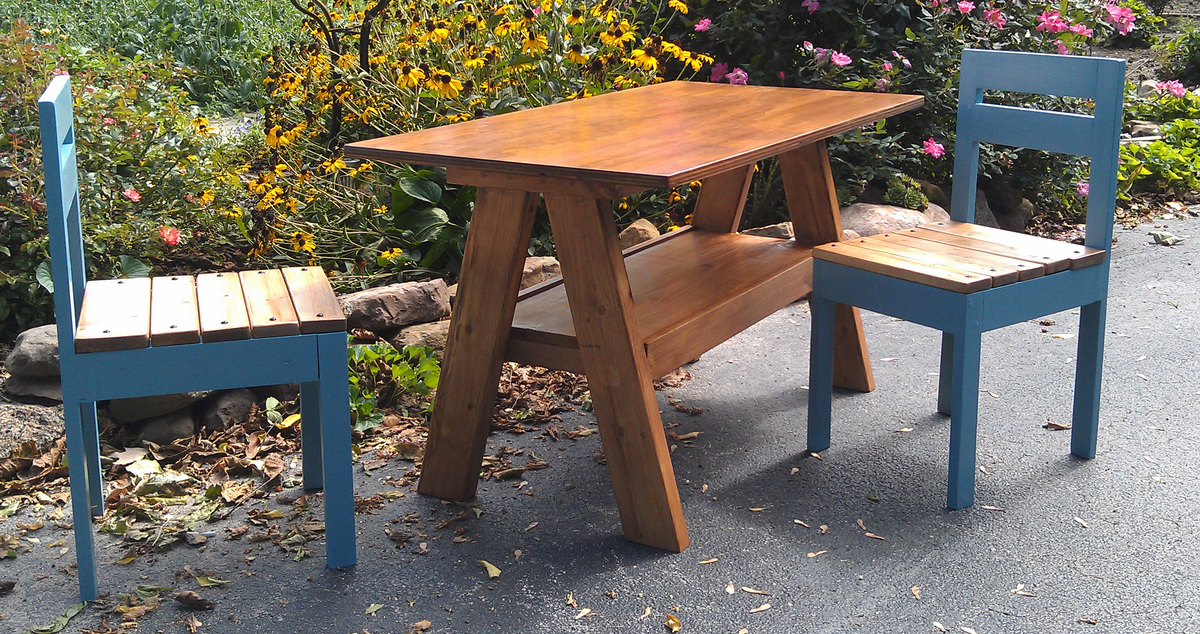
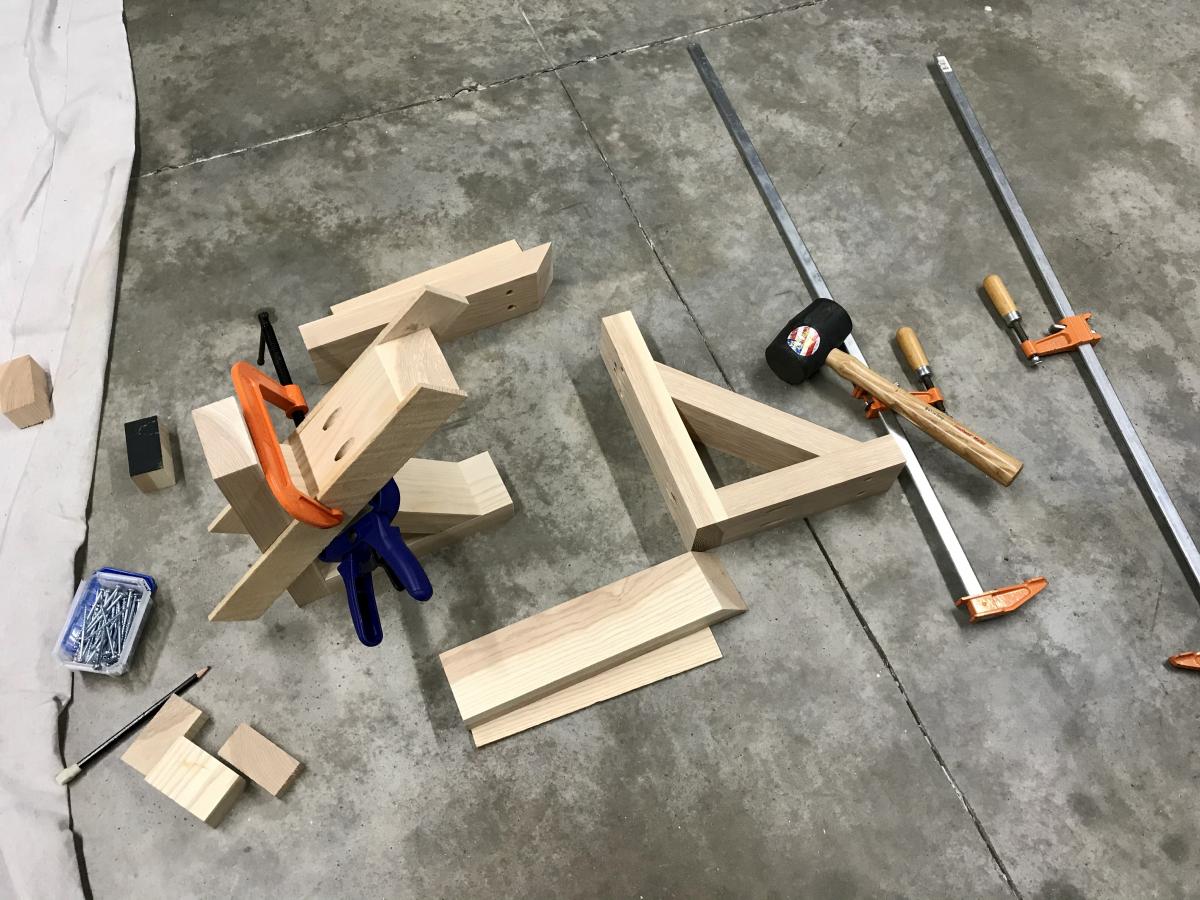
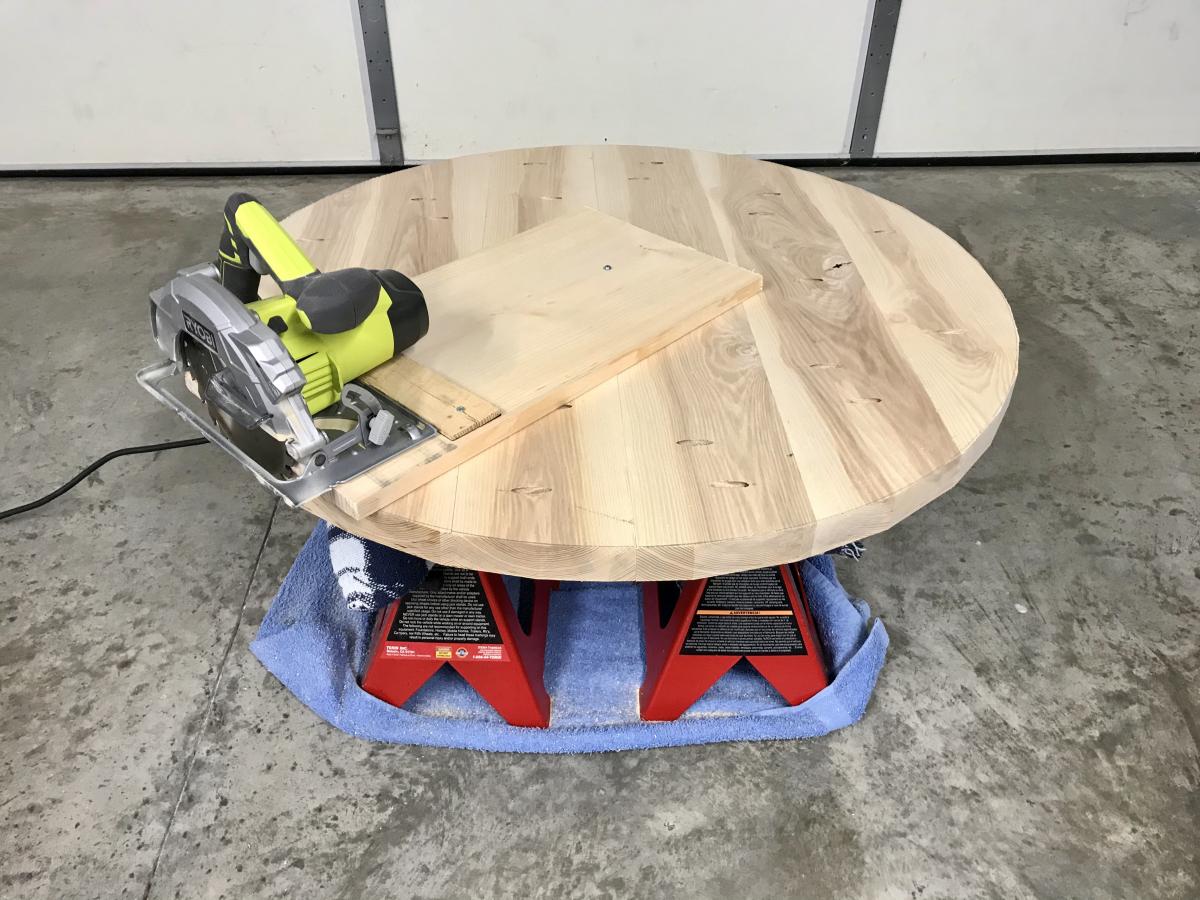
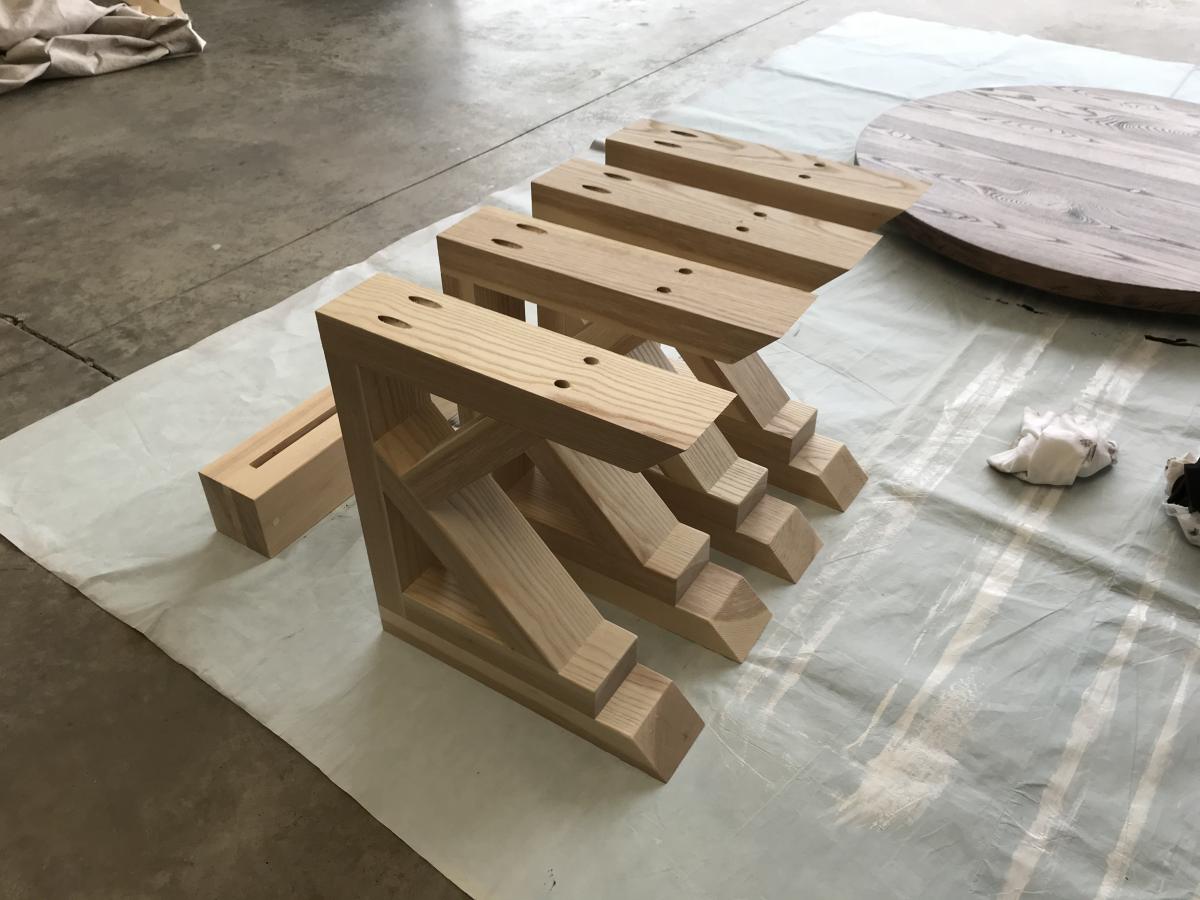
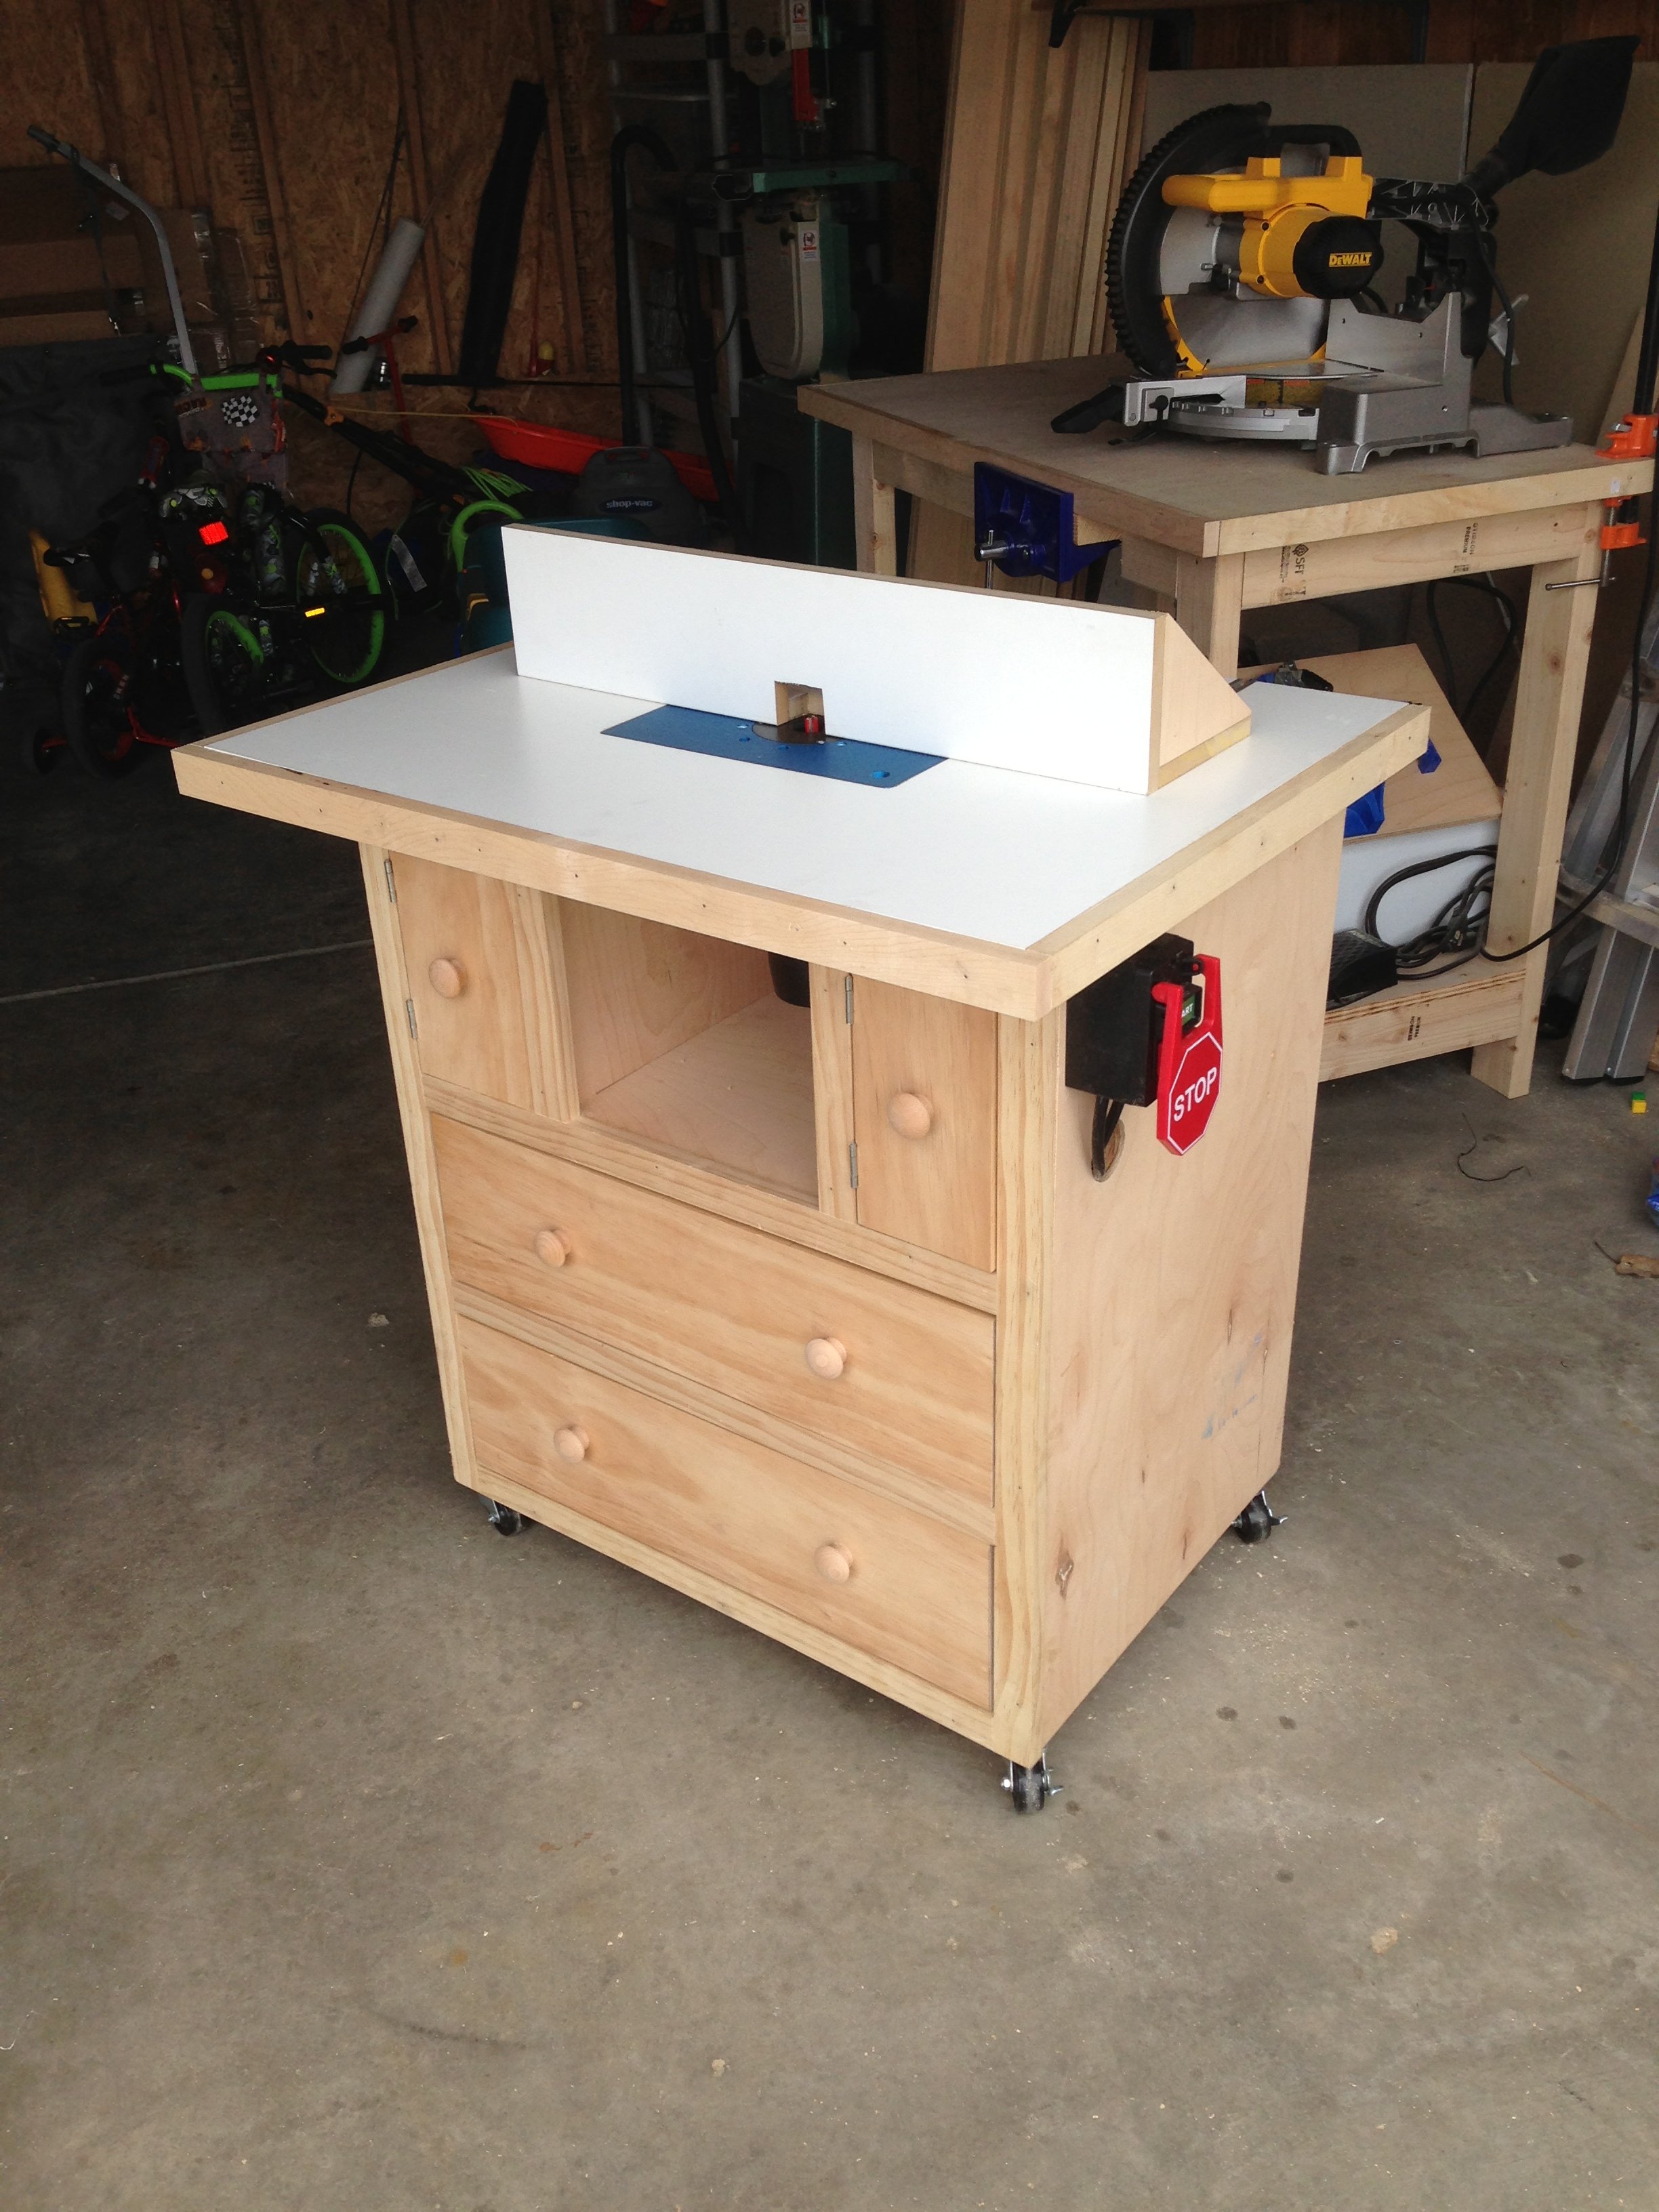
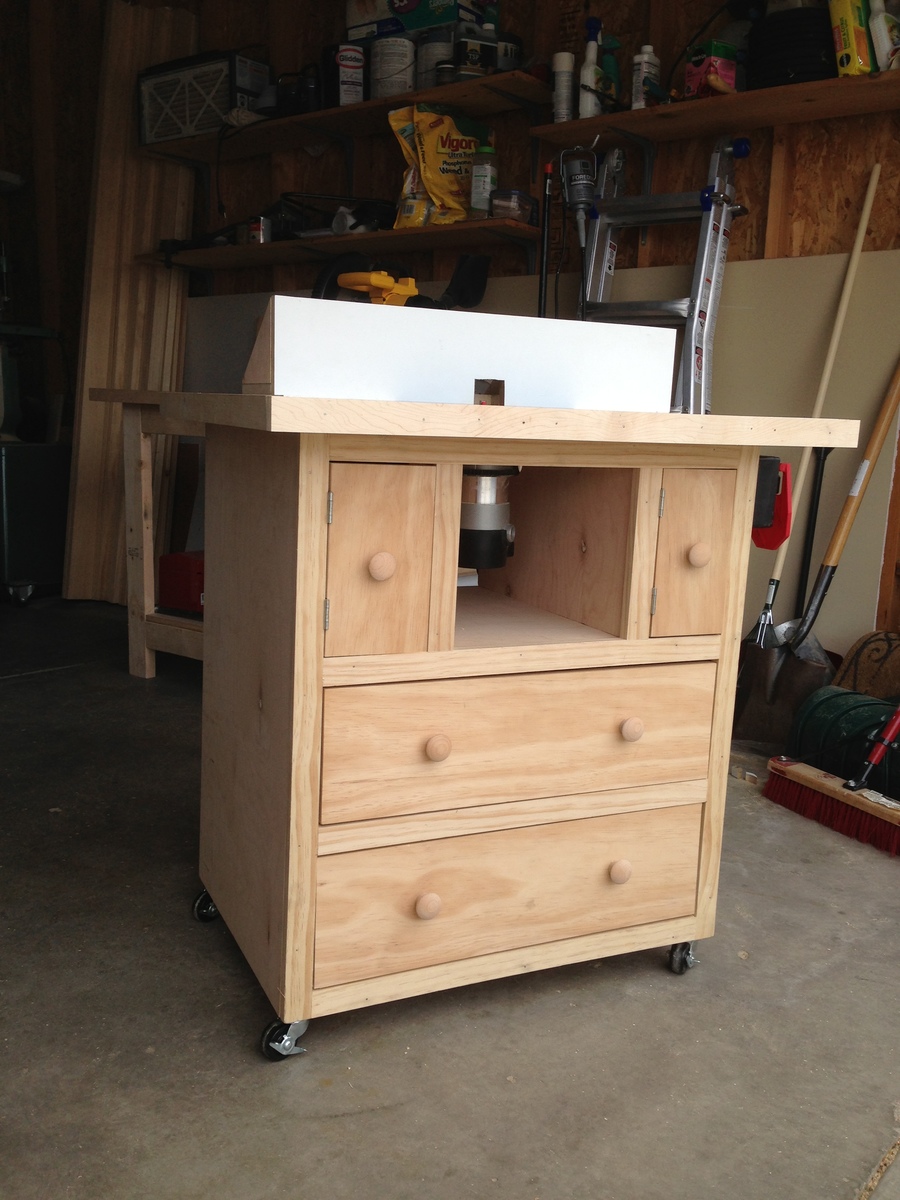
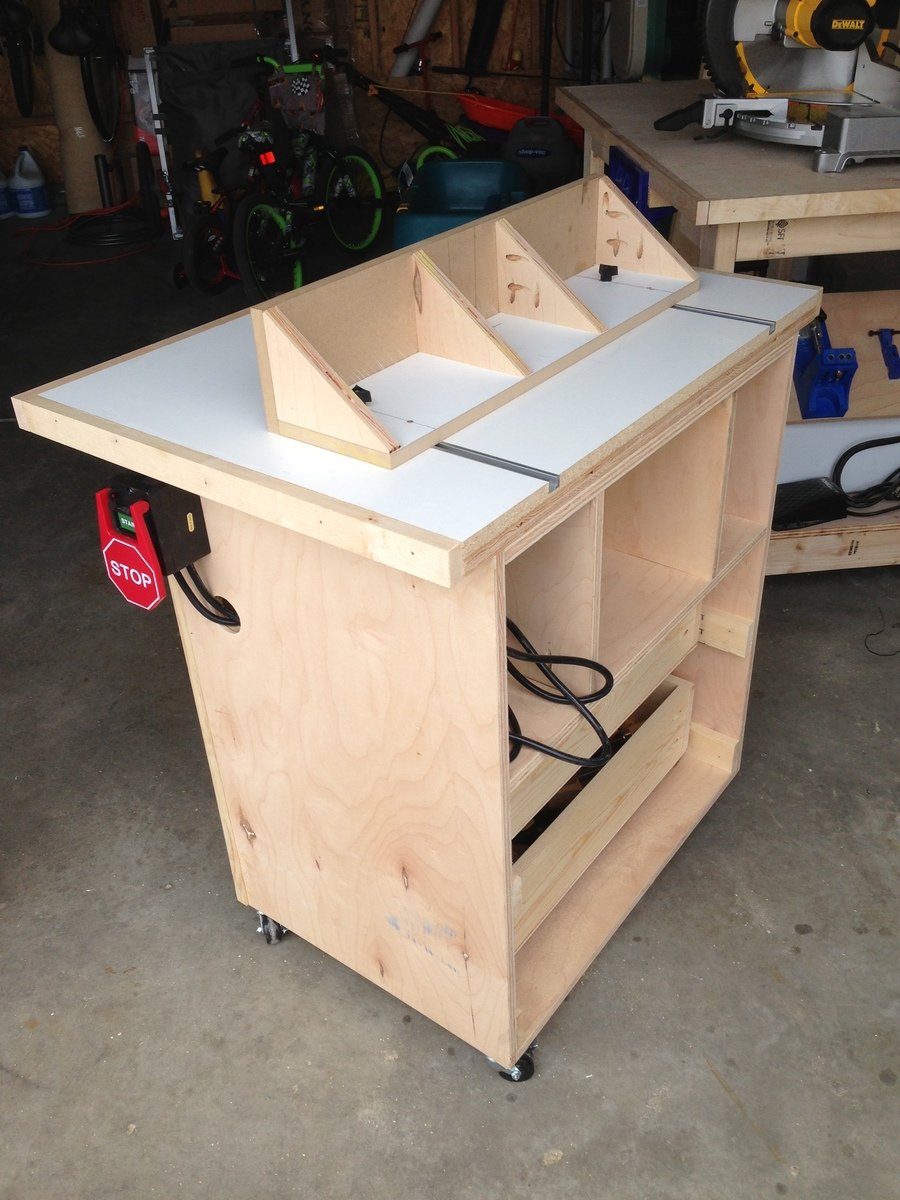
He adjusted different sizes based on what lumber we already had. He used 1x7’s and routed a 45deg on the edges to give the tongue and groove look. Posts are 4x5 and top railing is 2x7.
Built from Plan(s)
Estimated Cost
$40 in paint and supplies. Wood was free from a friend.
Estimated Time Investment
Weekend Project (10-20 Hours)
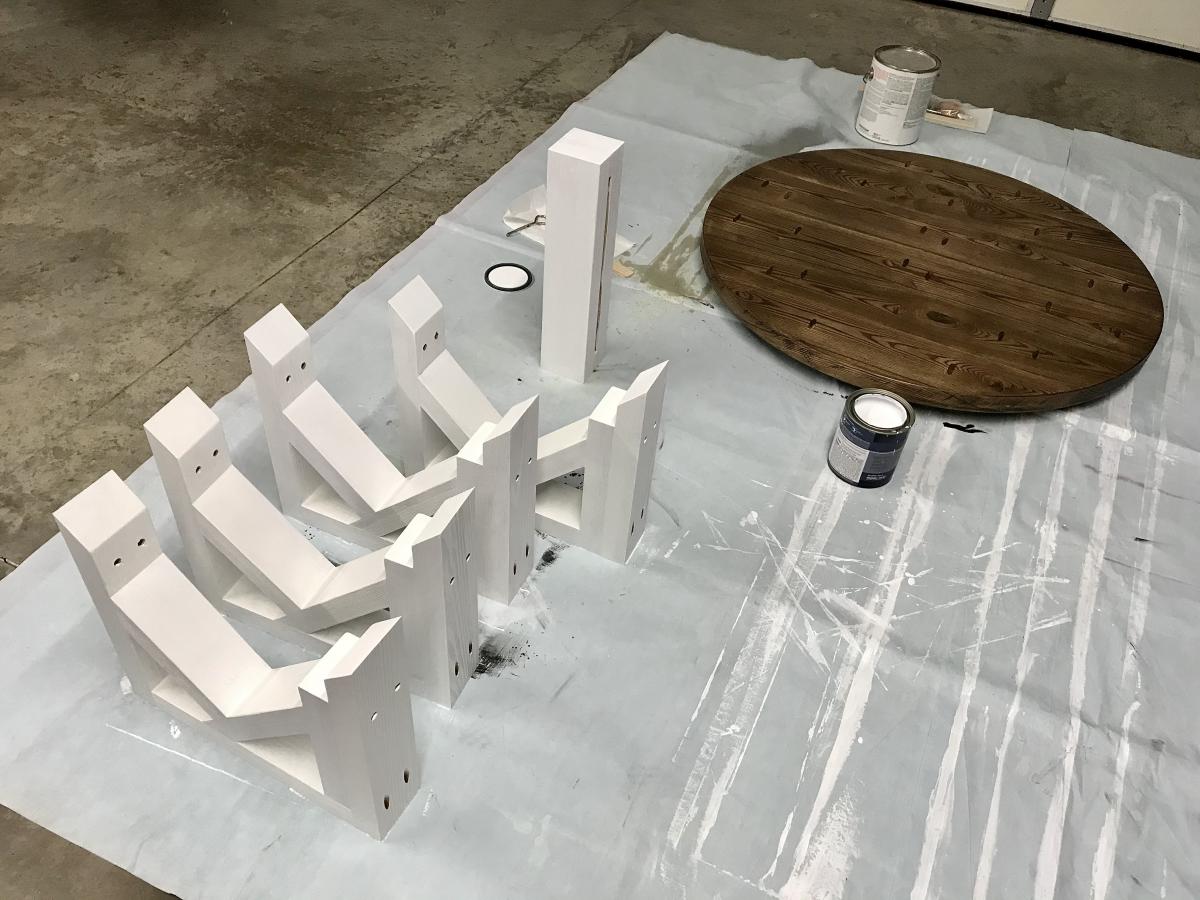
Finish Used
Valspar Furniture Enamel.
Color - Web Grey
Color - Web Grey
Recommended Skill Level
Beginner


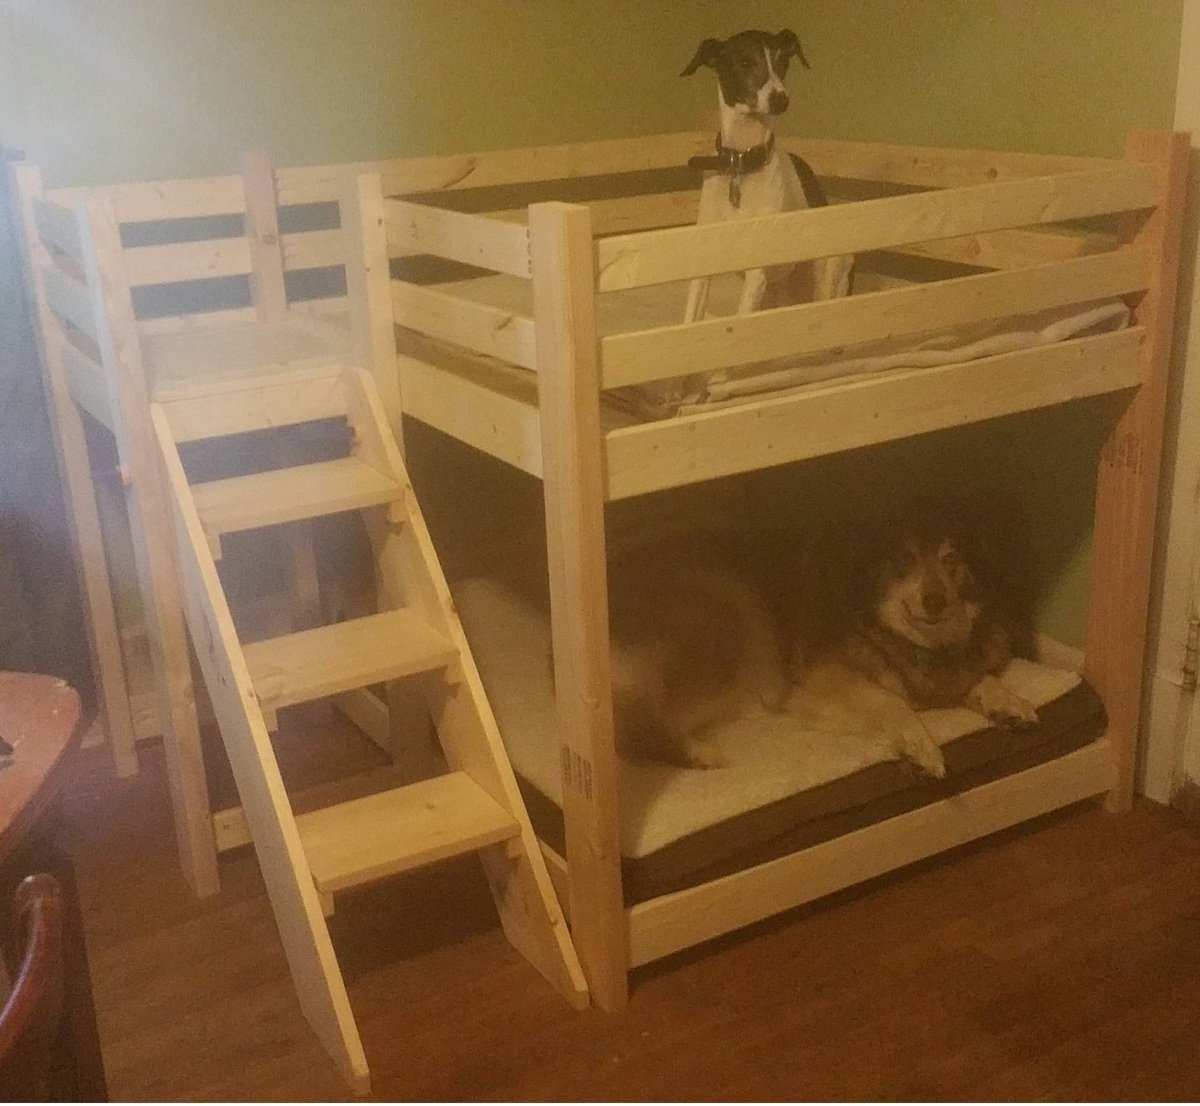


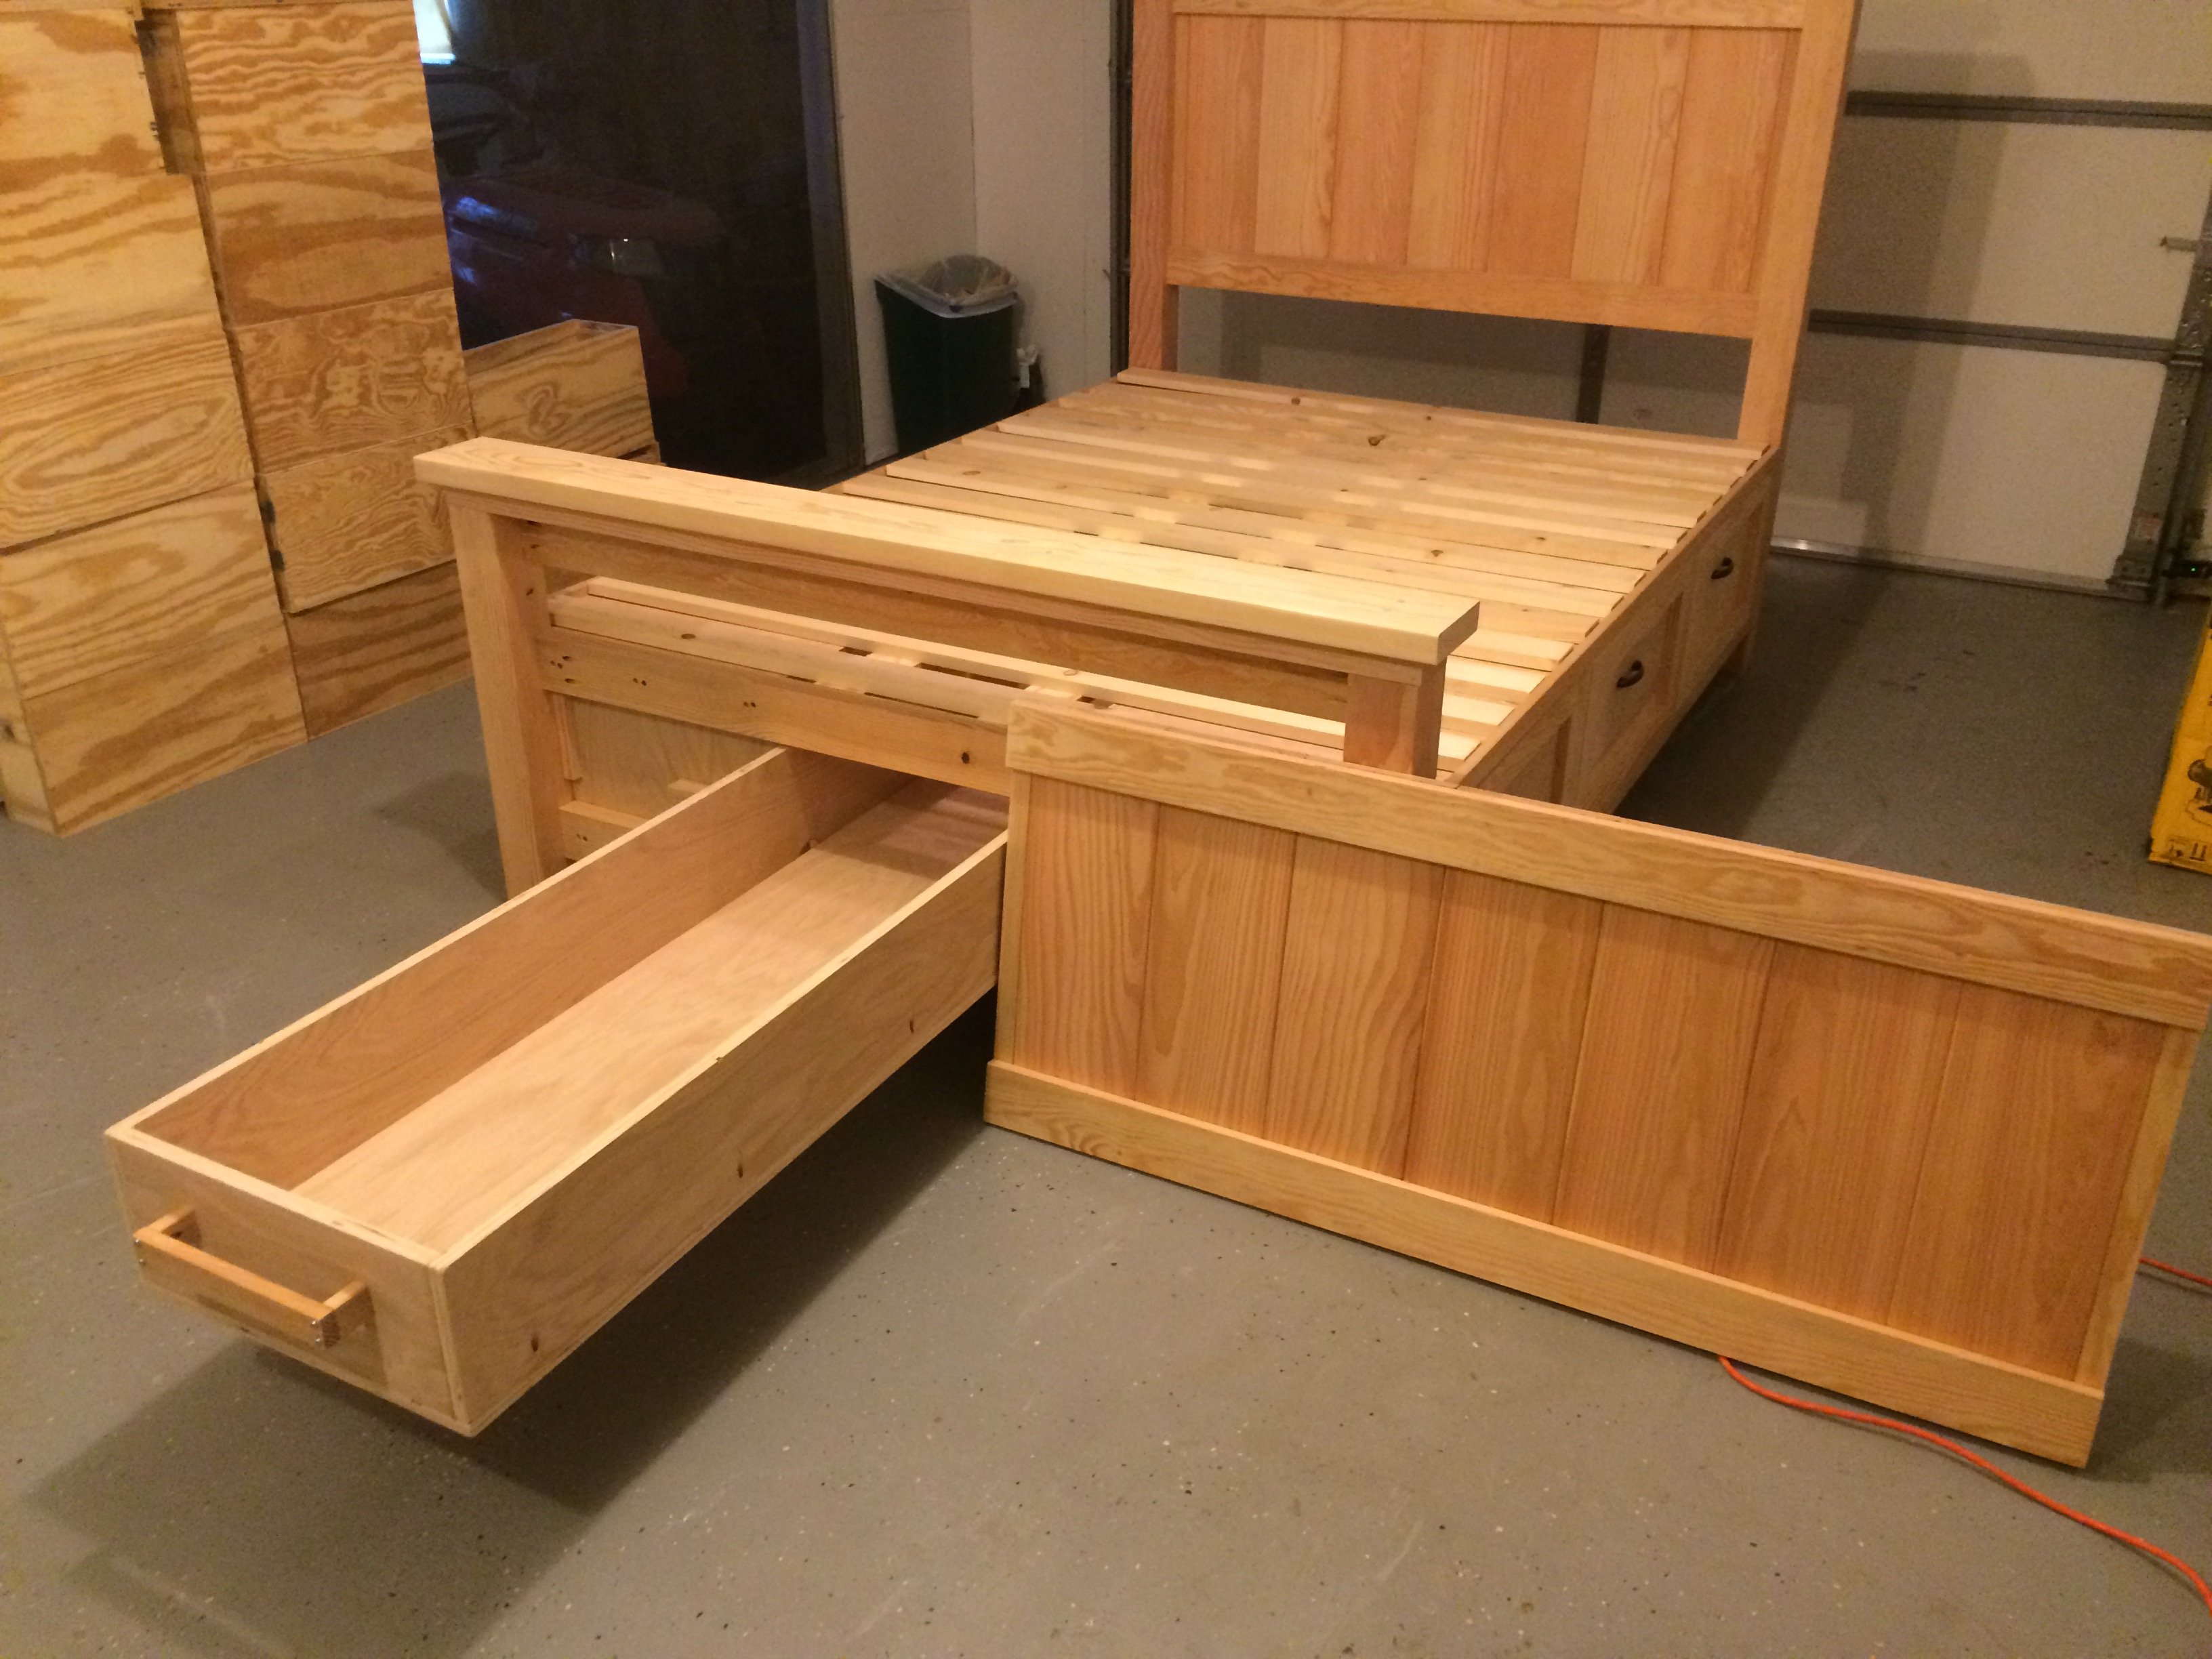
 ). Because I added the hidden drawer, I changed the opptional center support to 4X4 blockes that were pocket screwed under the center of the boxes. I ended up using birch plywood and fir for this build. For my first bed build I'm fairly happy with how it came out. Thanks again!
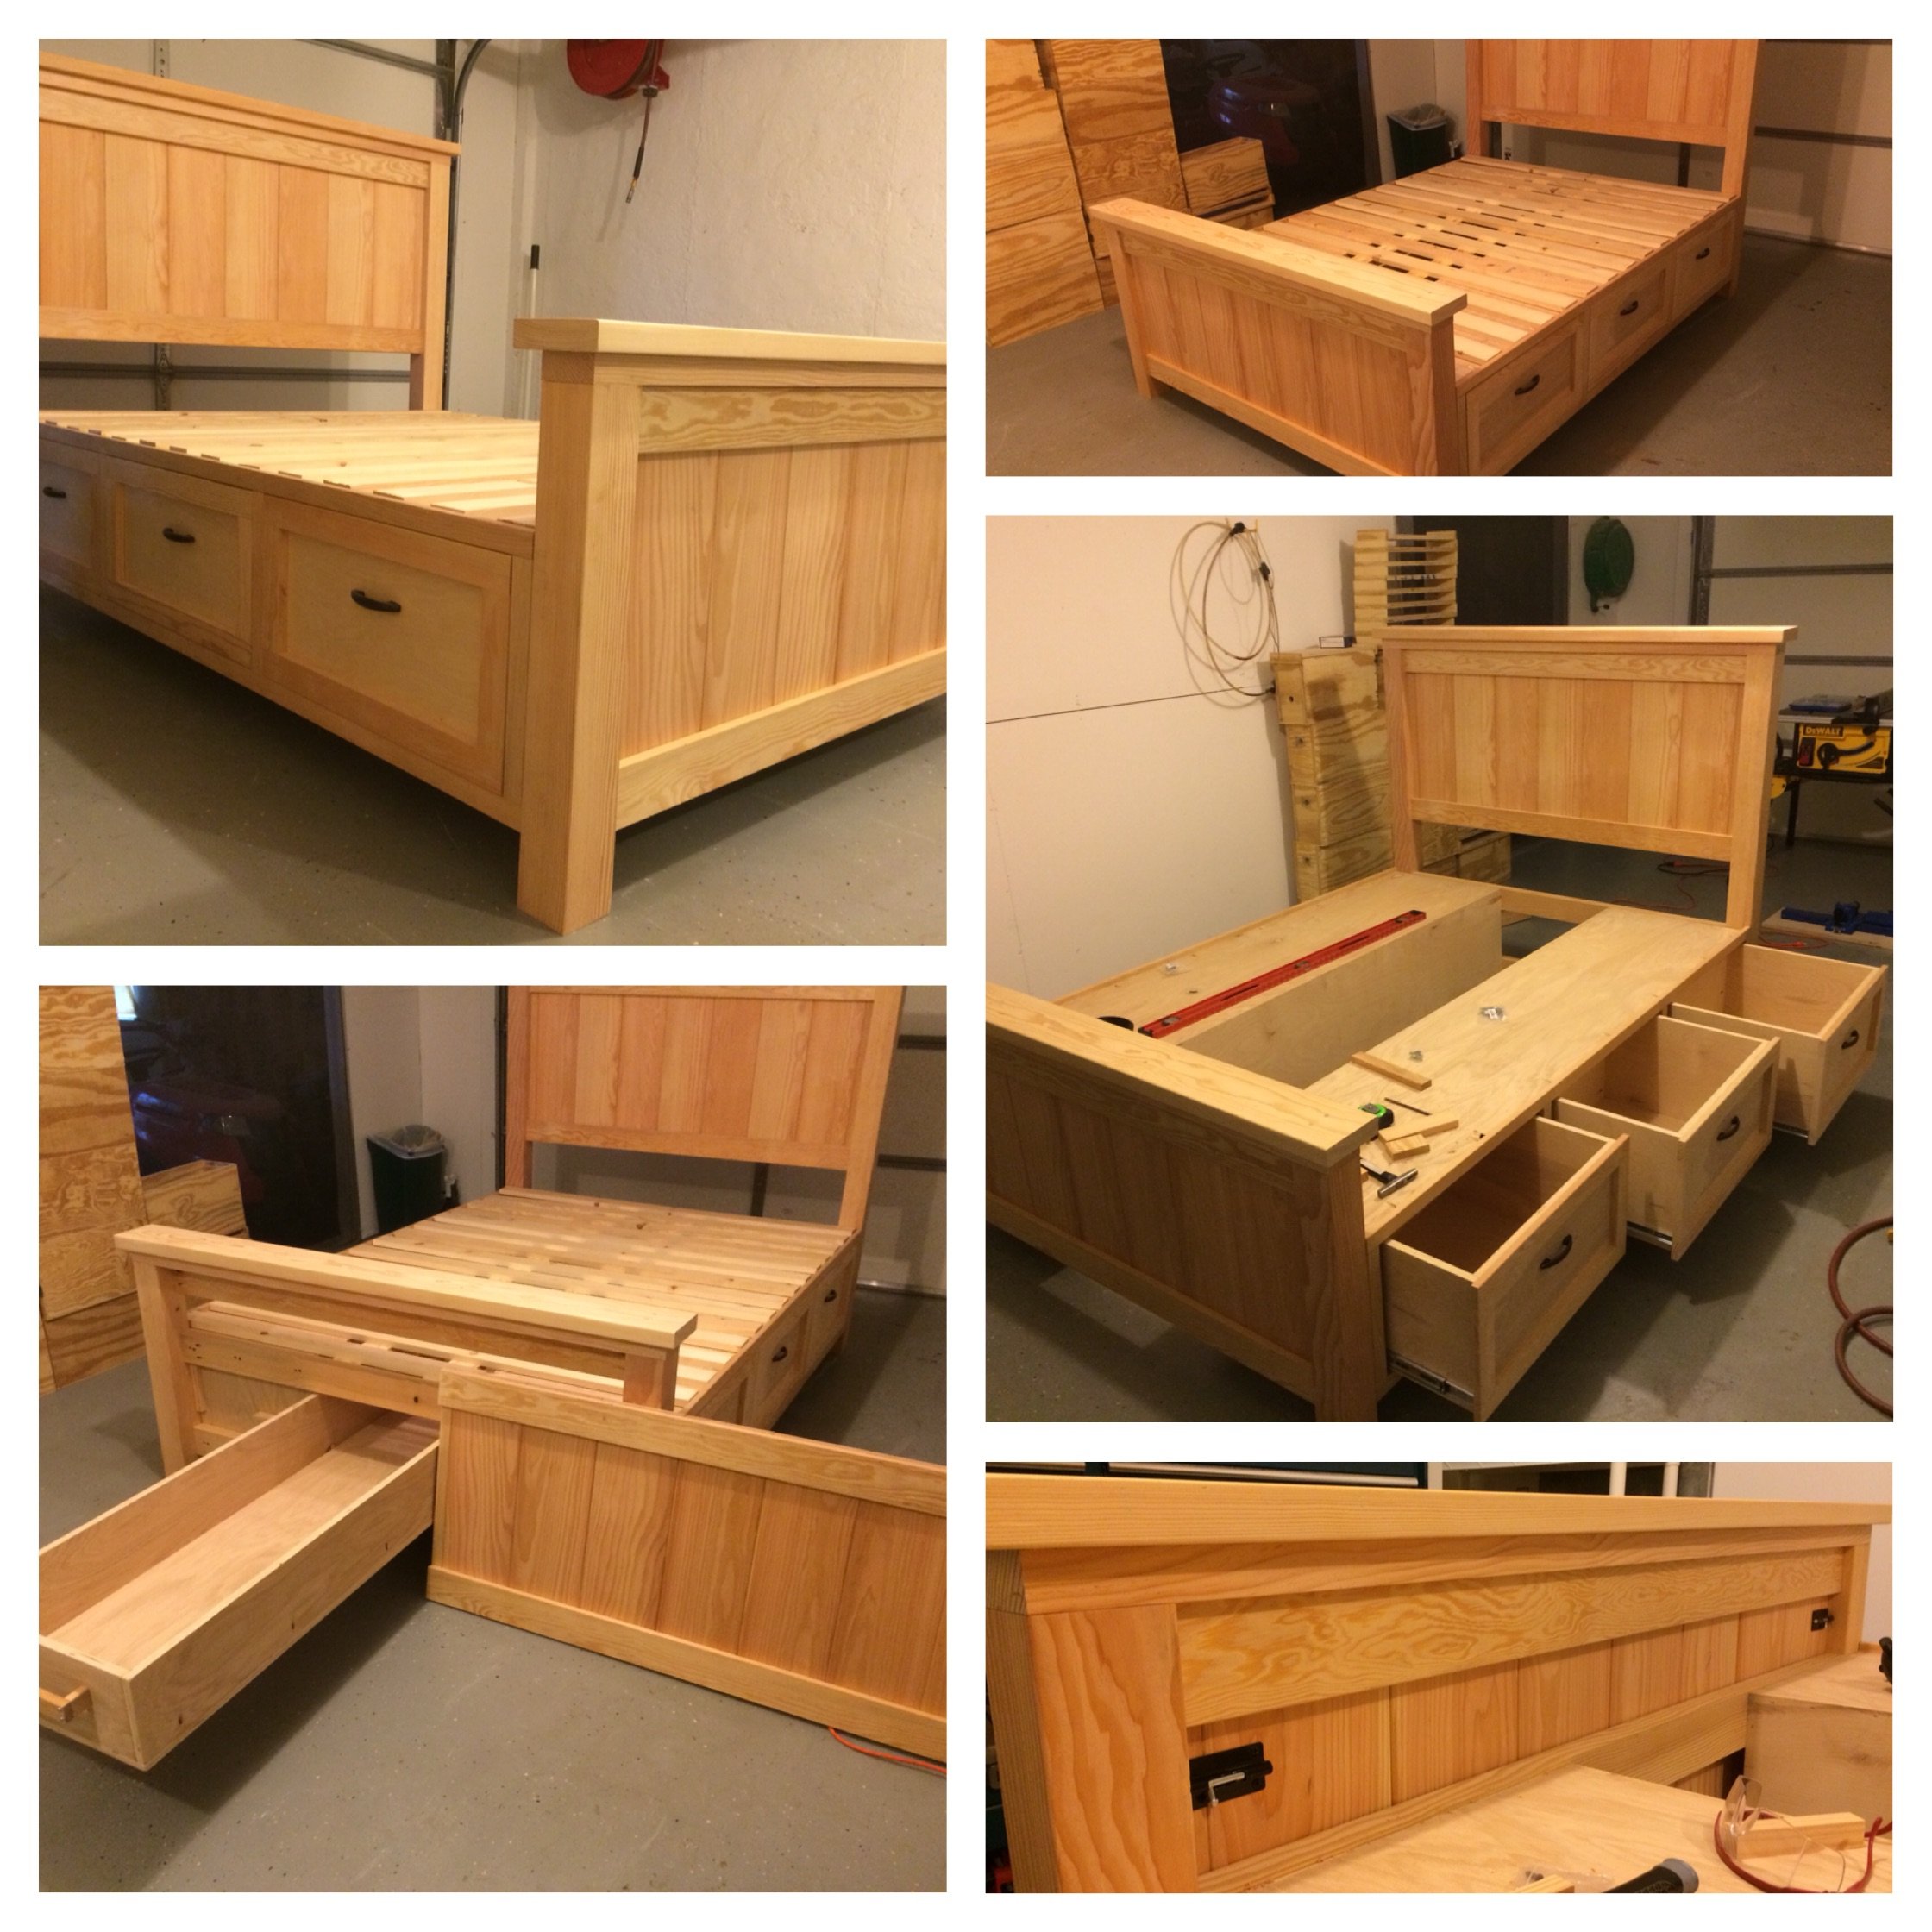


Comments
Ana White
Sun, 04/19/2020 - 17:42
Amazing, what a fine young…
Amazing, what a fine young man you are raising!!
chazpmath
Mon, 04/20/2020 - 12:33
Thanks , We are quite fond…
Thanks , We are quite fond of him : )