Front porch planters

Followed your plan but added extra 1 x 2 trim to the sides, feet made from 1 × 3 and 1x 3 trim around the top
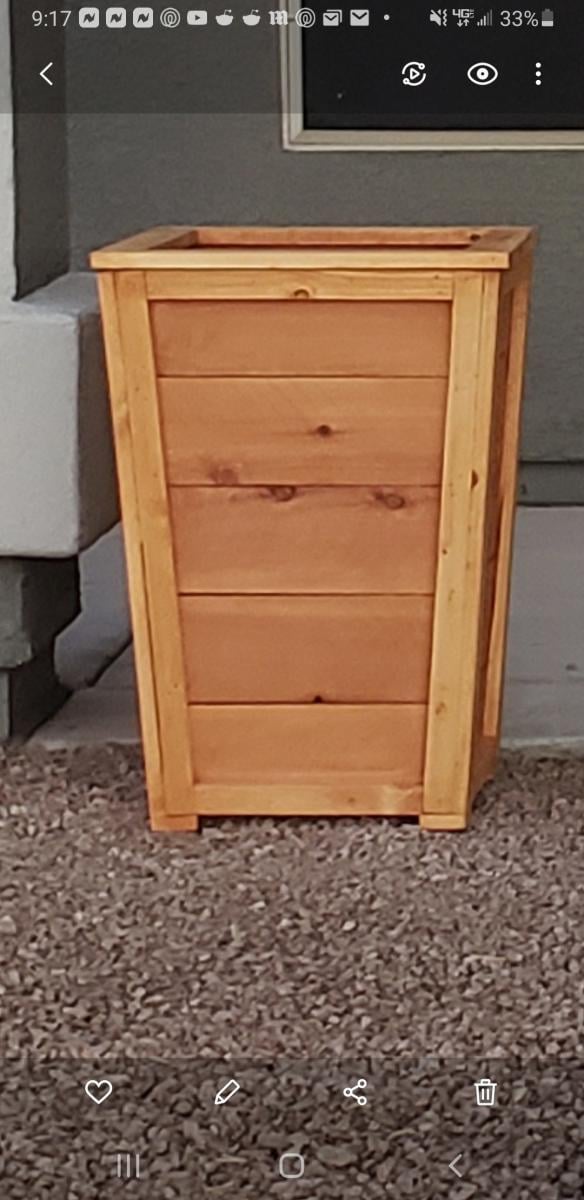


Followed your plan but added extra 1 x 2 trim to the sides, feet made from 1 × 3 and 1x 3 trim around the top


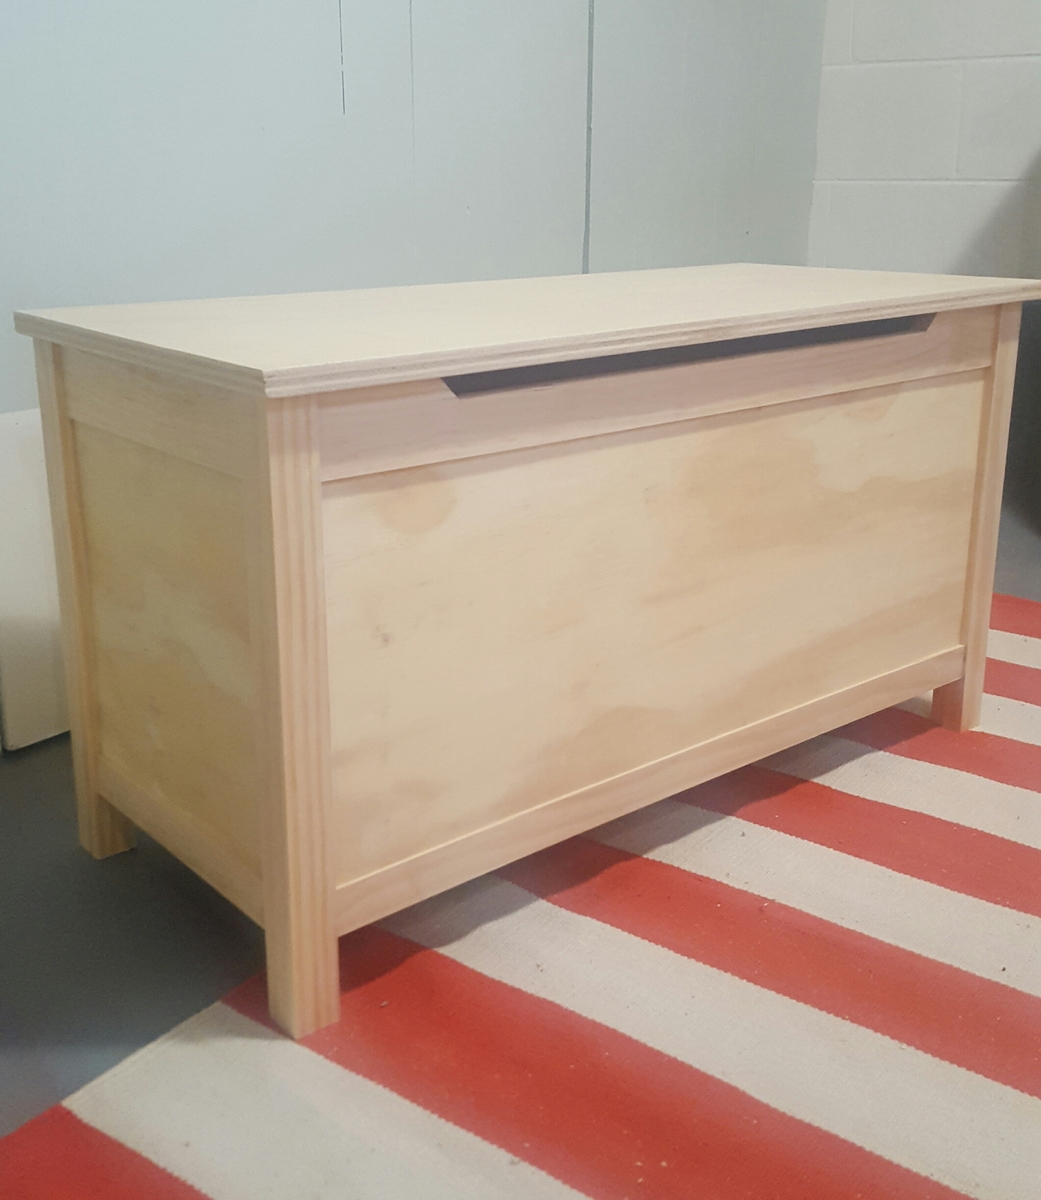
I had a wonderful time making this toy box and learning new techniques. Having access to a table saw really made this project turn out awesome. I was able to get 1/4" shims made that allowed for easy, precise offsets. The family just loved it!
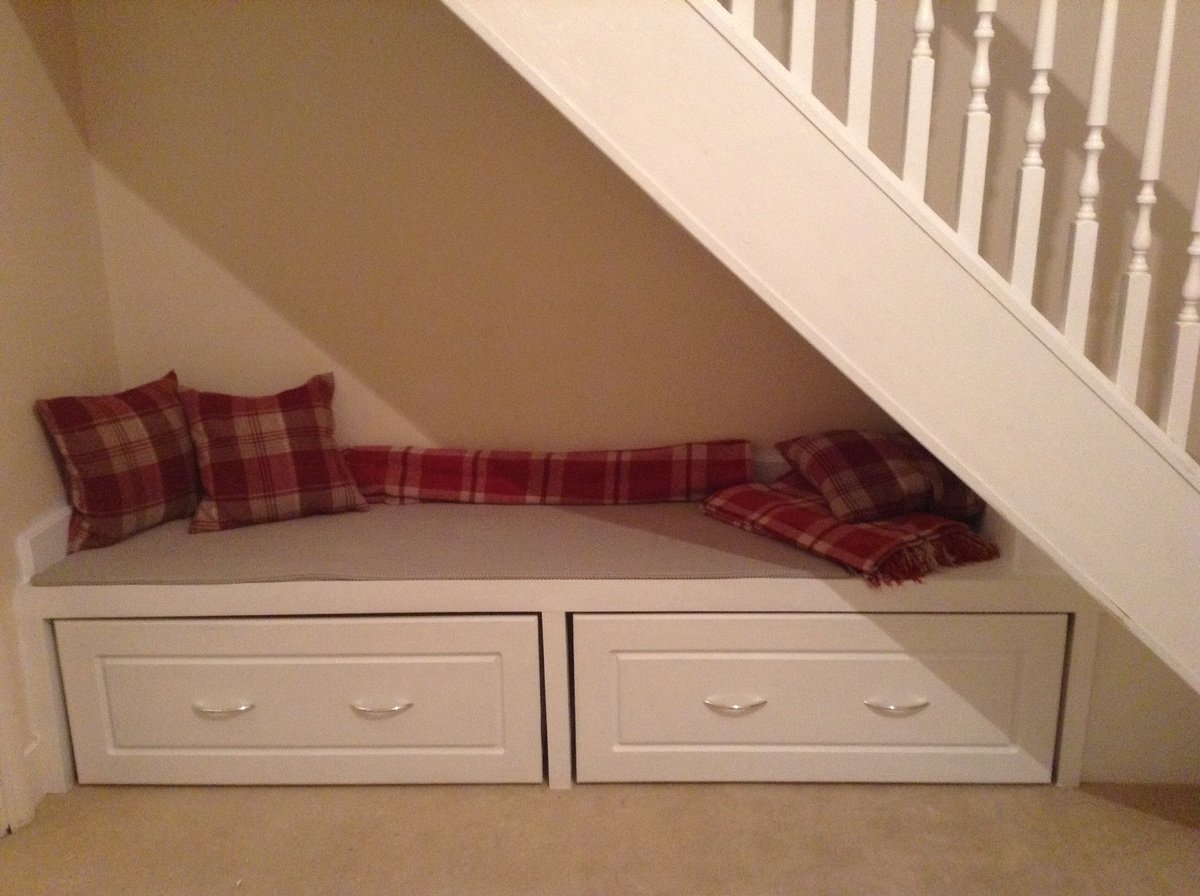
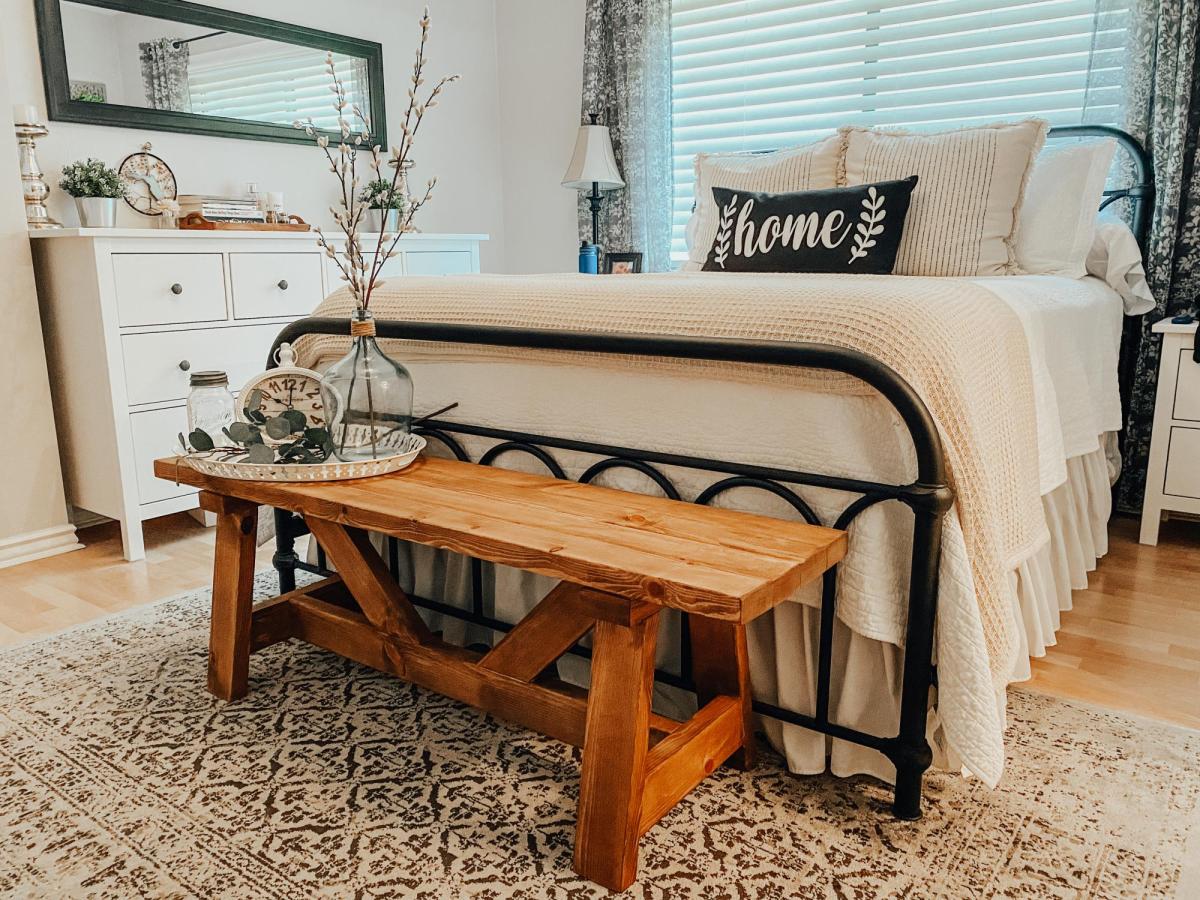
We are in the unique position of having stairs in our bedroom and they take up quite a lot of room. We considered putting a chair and set of drawers under the stairs but they would have looked cramped.
Having done some research we found some photos where people had built benches under the stairs. It was around this time that we found Ana White's plan for framing up a mud room bench in a nook (which for some reason I can't add to the 'built from' section). We had to adapt it as the original plan was framed by 3 walls and due to the angle of the stairs we could only use 2 and added legs. We also had to add triangular panels to give it that built-in look.
We were able to complete the build for relatively cheap as we kept a ton of 2x2 from when we removed a 60s built in wardrobe and was able to rebuild it. If you look behind the drawers you can even see that the wood is notched from the wardrobe hinges but in a nice way it keeps the old owners work in the house.
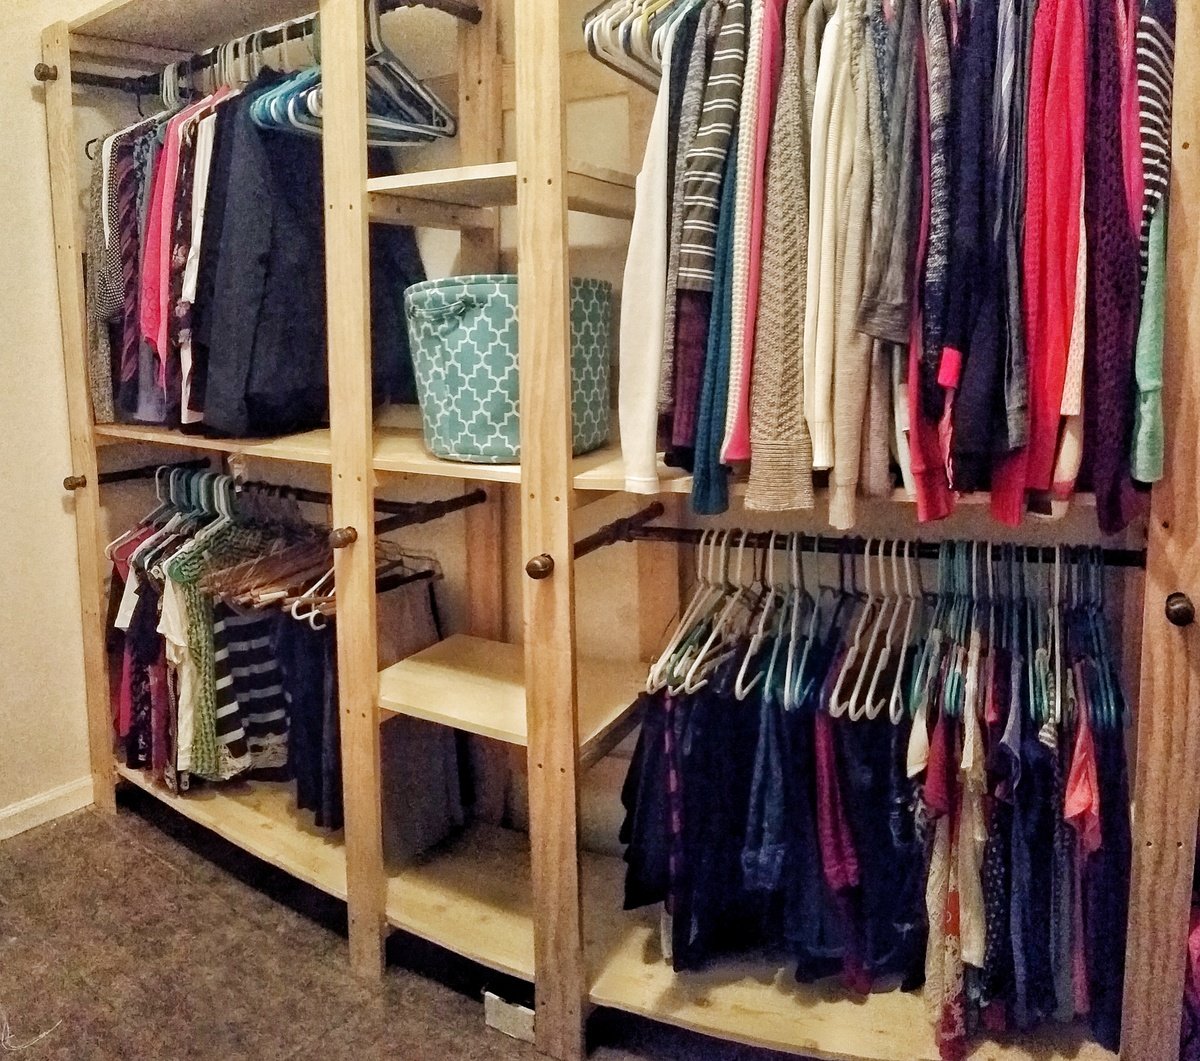
I used 8 ft precut boards for shelves and modified the design so there was enough room for two racks on each side. In addition I screwed 1x4 to the studs to secure the shelving to the wall. I have a 5 year old climber so it was best to be proactive and secure it. It was easy project took about 4 hours to complete. I plan to paint the vertical boards a medium gray and stain the shelves a dark coffee color.
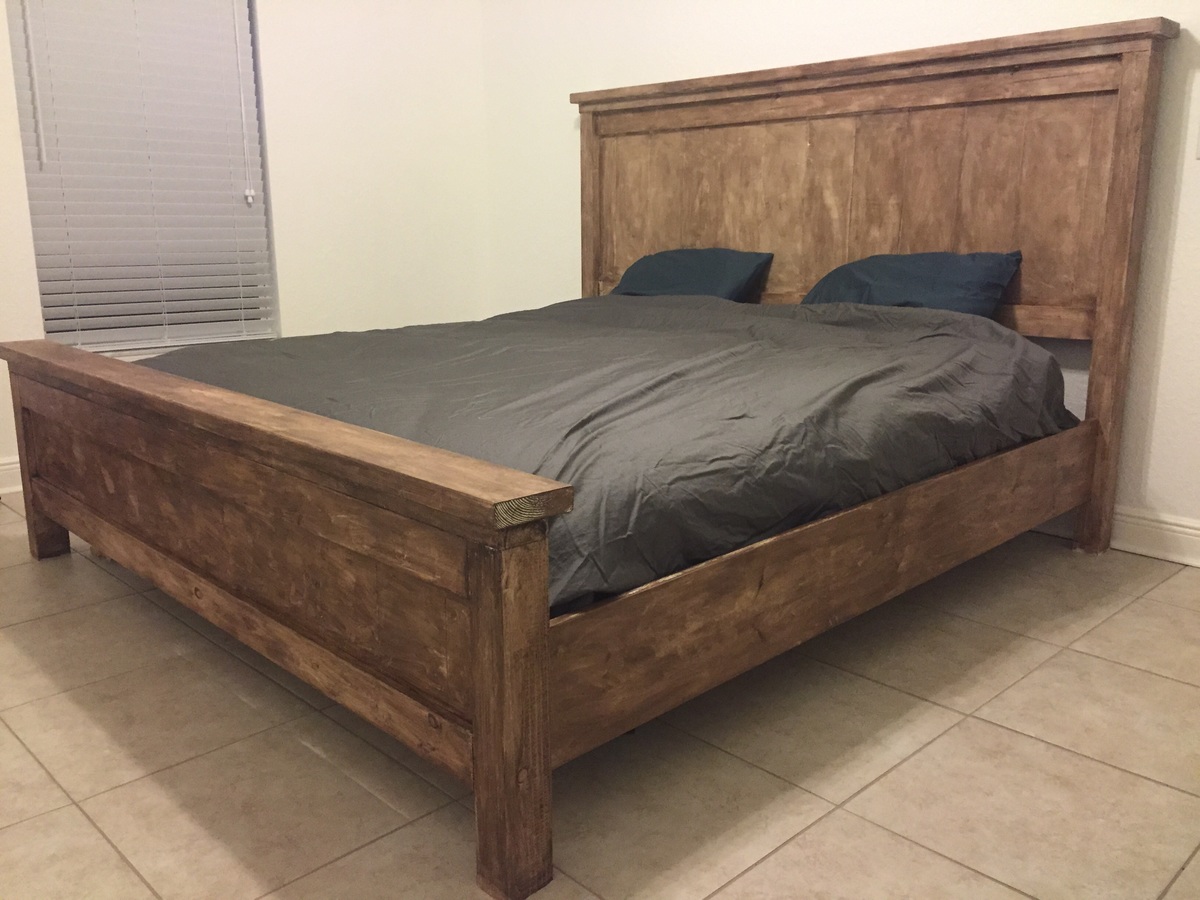
This was my first project and I had a ton of fun working on it. My grandpa has a professional wood shop, but as he has gotten older it hasn't been used as frequently. Most of my time was spent fixing broken equipment. I made a couple wrong cuts and had to go back to the store. All in all I love my new bed, I spent quality time with my grandpa, and it is a solid piece of furniture built for a fraction of what a bed should cost.
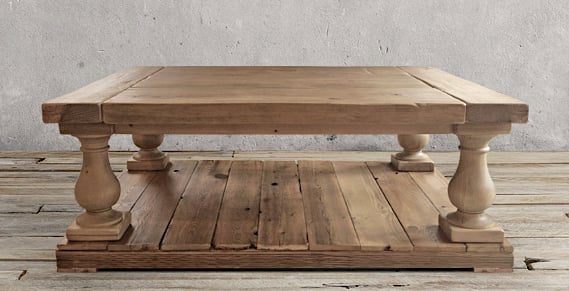
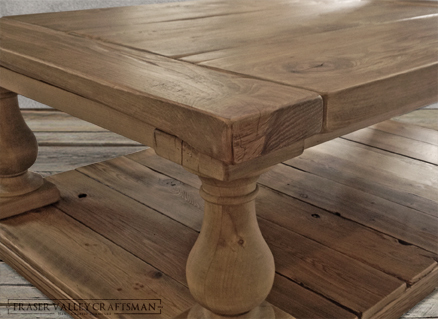
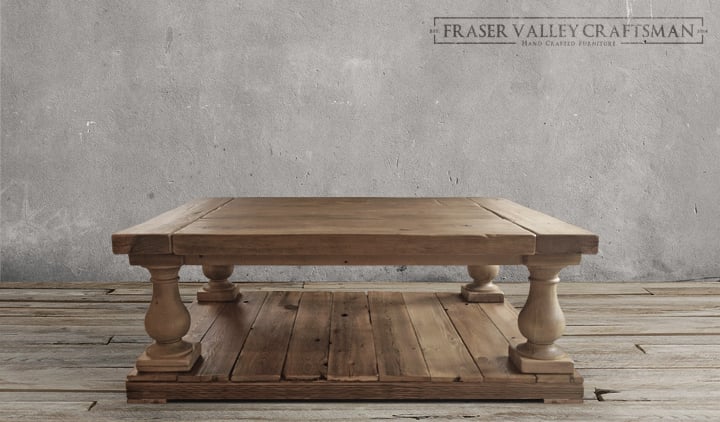
Here is the latest Table I have made. I cant get enough of this table design, the rustic bold feel blending with curved lines is awesome.
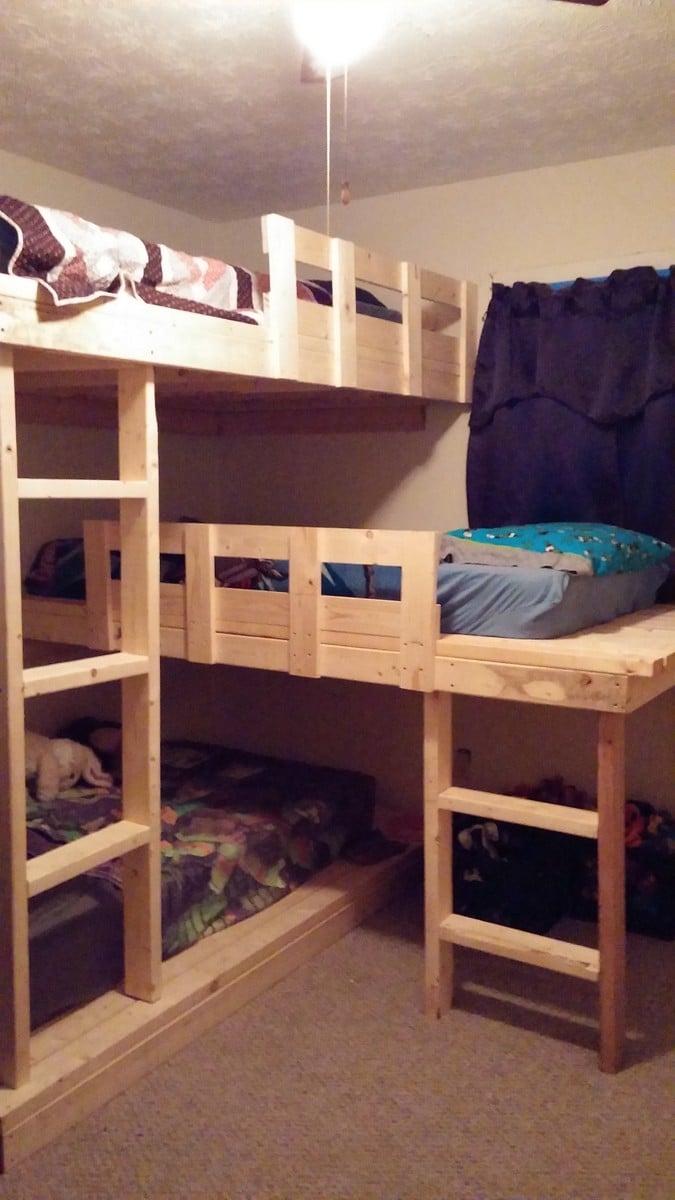
We needed a space saving alternative to individual twin beds...these were very simple to make. Our boys love them! We kept the same deminsions as the original plans and ended up having a little extra room on each bed for storage as well as toy storage under the second bed. Worked out very nicely and left space for the next project...a study station :)
Loving this tall entertainment center to fit under my wall-mounted television!
The dogs cant knock over my photos anymore!!!!
Added some fancy trim pieces in the middle to match the trim on the bottom. So sturdy and hides all my junk!
http://www.ana-white.com/2012/06/plans/tall-corner-media-console
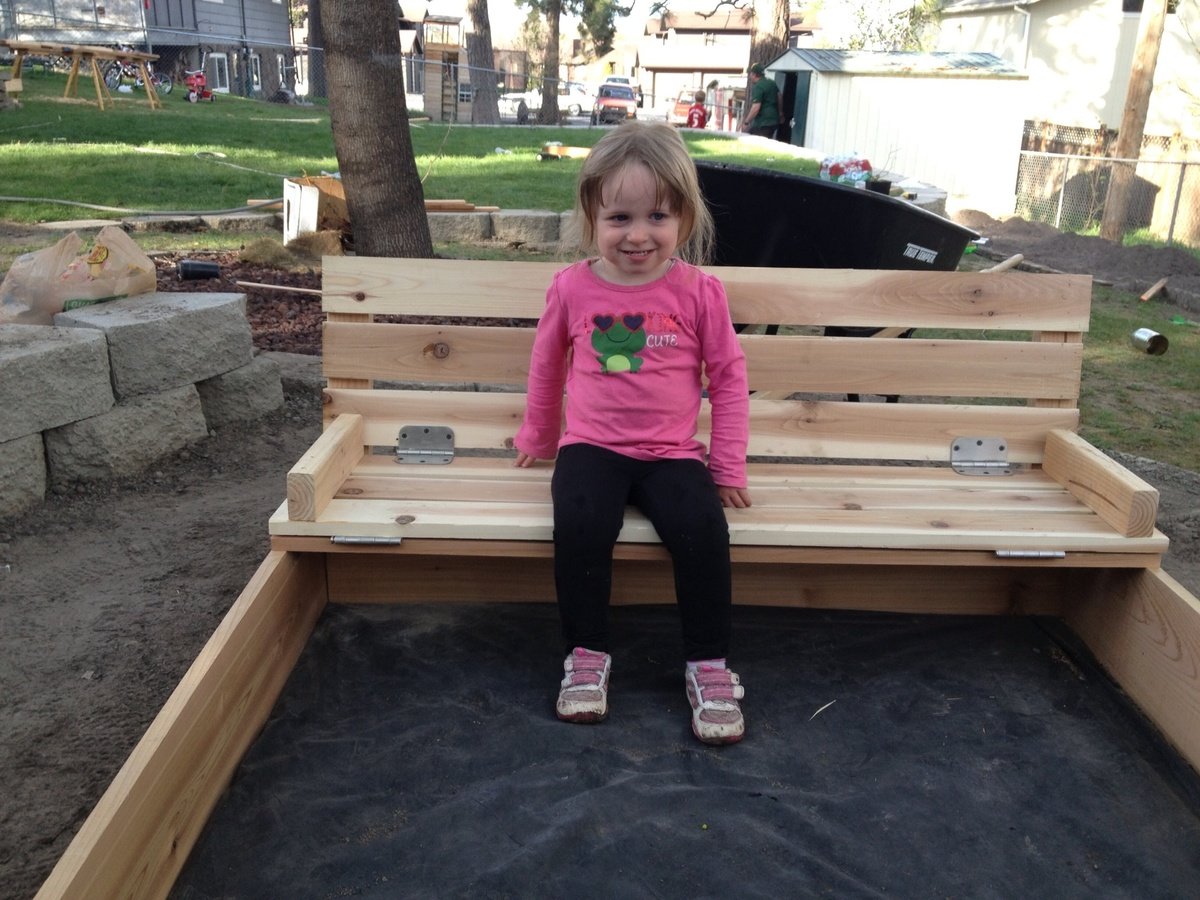
This was my first EVER wood working project.
With that being said, it took me more than just an afternoon.
I used cedar, and all the materials on the cut list had to be sanded , since I didn't like the roughness of the cedar.
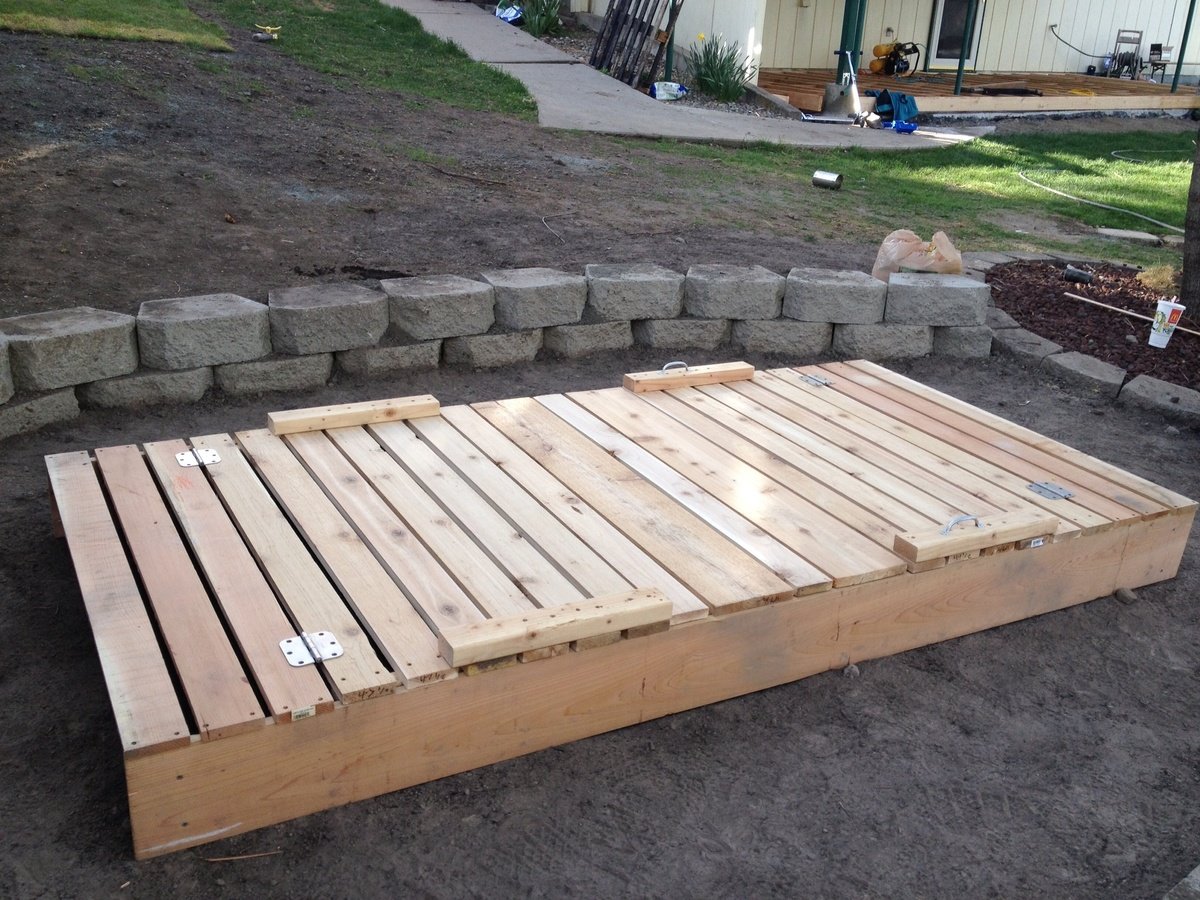
I also made the box 4x8. I didn't take into account that that would require a minimum of 48 inches for the top planks. So, some of my top planks are shorter.
I also wished I had a little more instruction from which side to screw the screws in. May sound a little needy for some of you, but I never did anything with wood before. The instructions simply read attach top planks to arm rests (or something int that manner) and I wish it would have told me from which side to screw in (or give me a picture). Looking at some of the brag posts helped a lot.
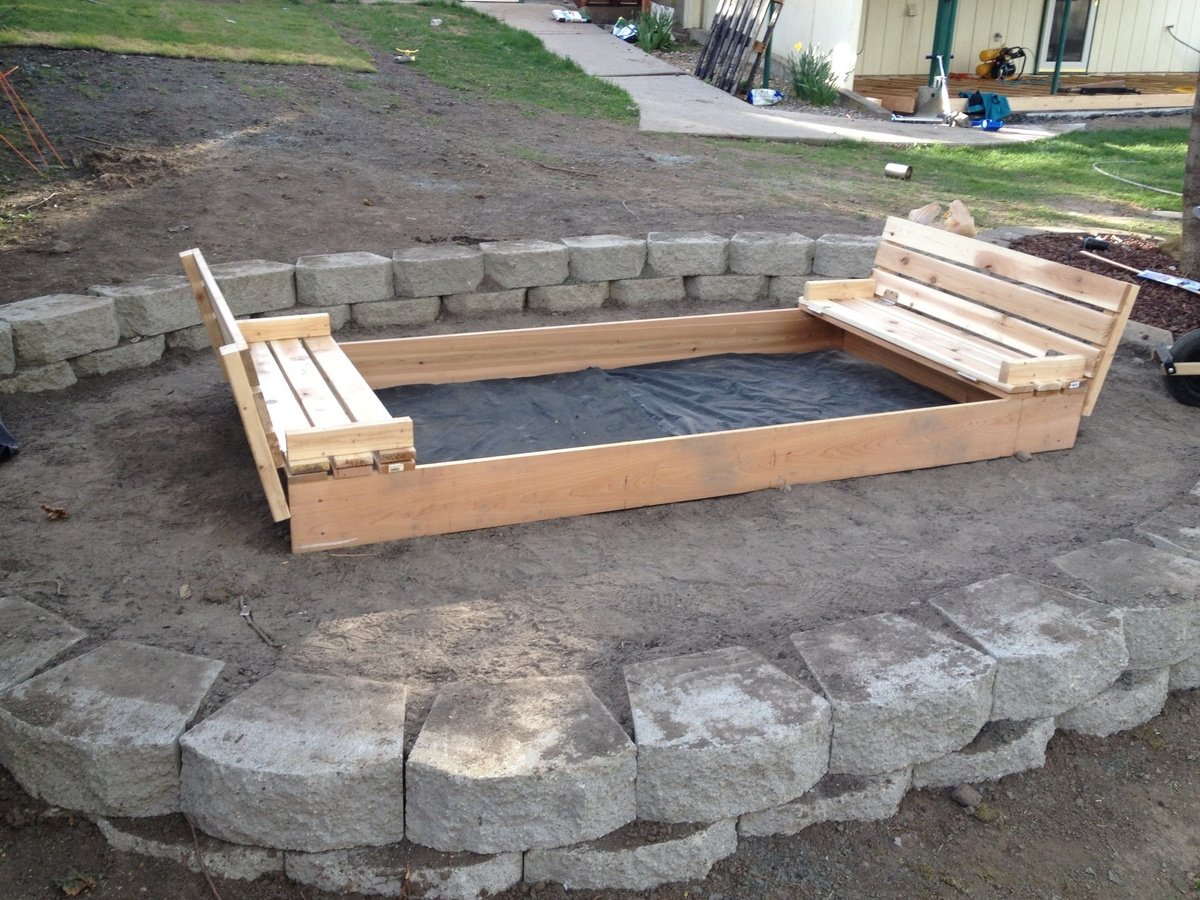
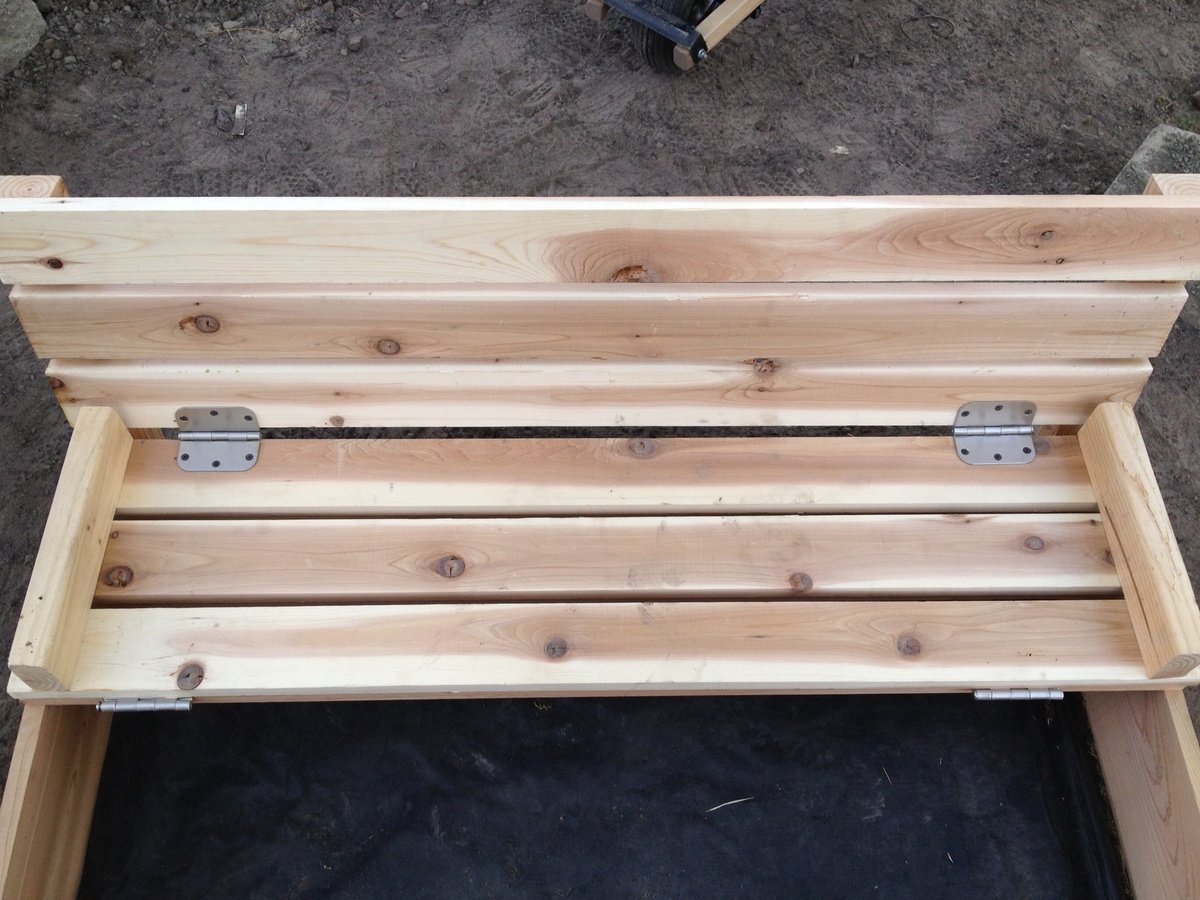
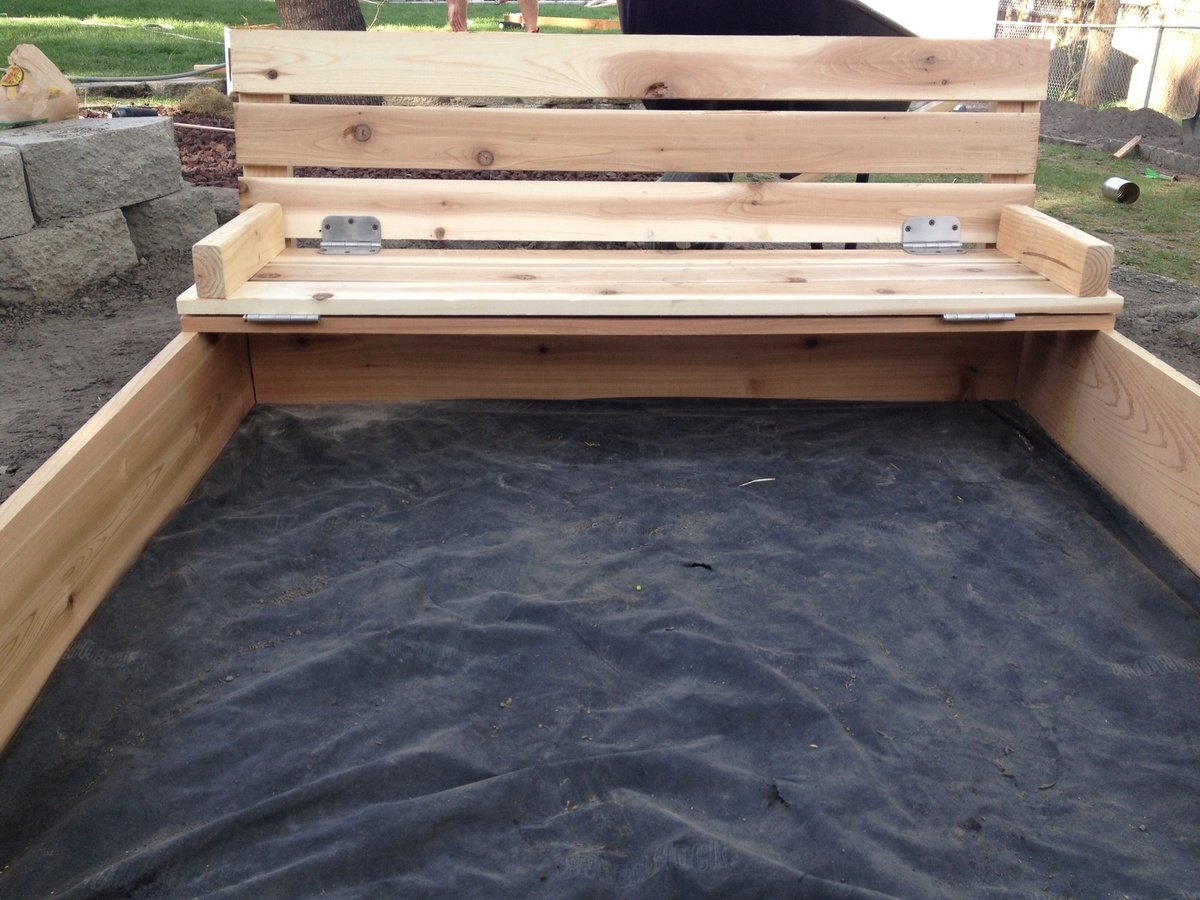
Because its larger size, I decided to make the seats 3 top planks wide (and also the back rest) and made another middle cover piece to bridge the additional gap when both seats are folded down.
Also, the cedar was VERY expensive, and all the screws, hinges, and handles almost cost me as much as the wood.
The sand to fill the box ran us another $80 (for good plays and), but that was because we made it so big.
All in all, a rather pricey sandbox, but worth it because of the large custom sizes, and the cute little seats.
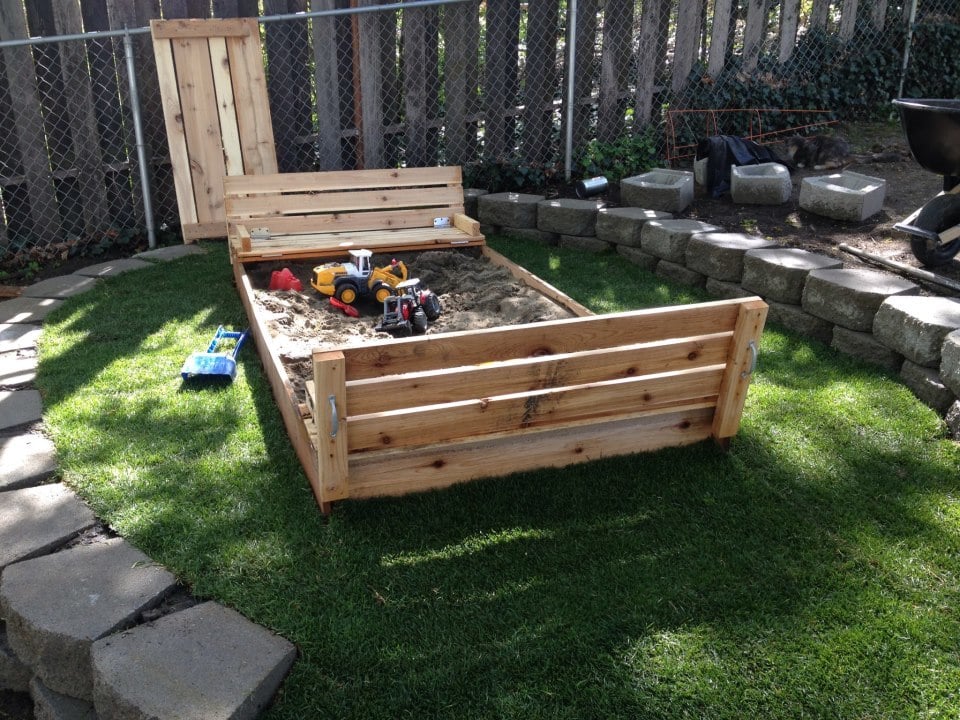
Pictures show the sandbox without sand, and with some of the handles still missing. I also still need to fill the holes.
Will add a picture of finished box filled with sand when it is available.
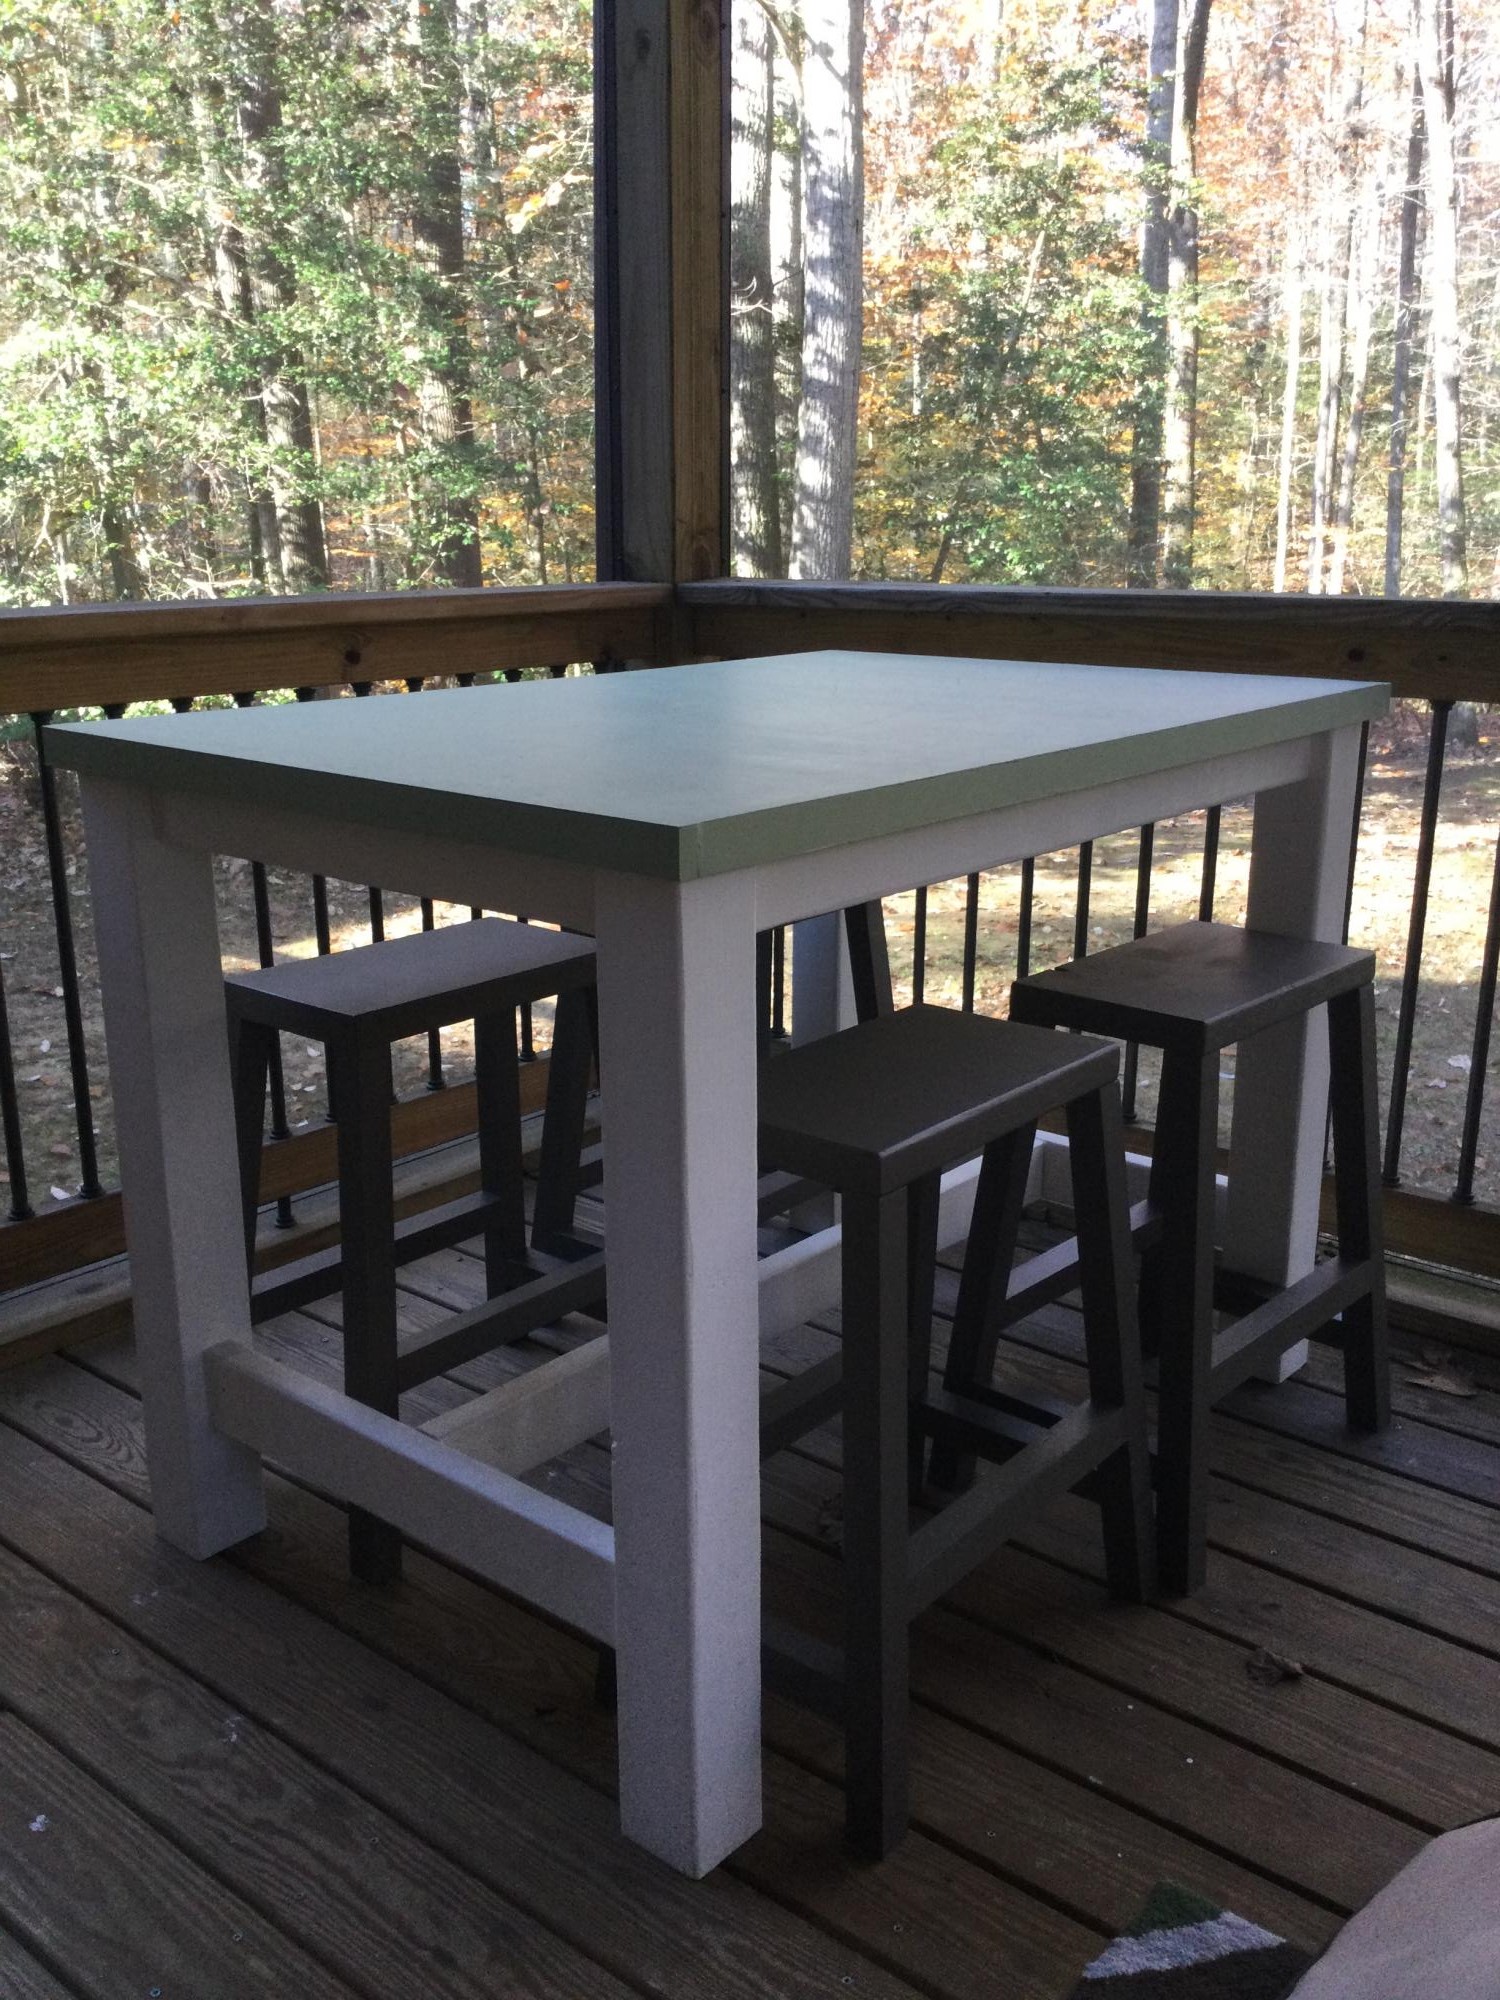
My husband and I made the table and chairs for our screened porch. We really like how the project turned out. Many more Ana White projects on the our list!
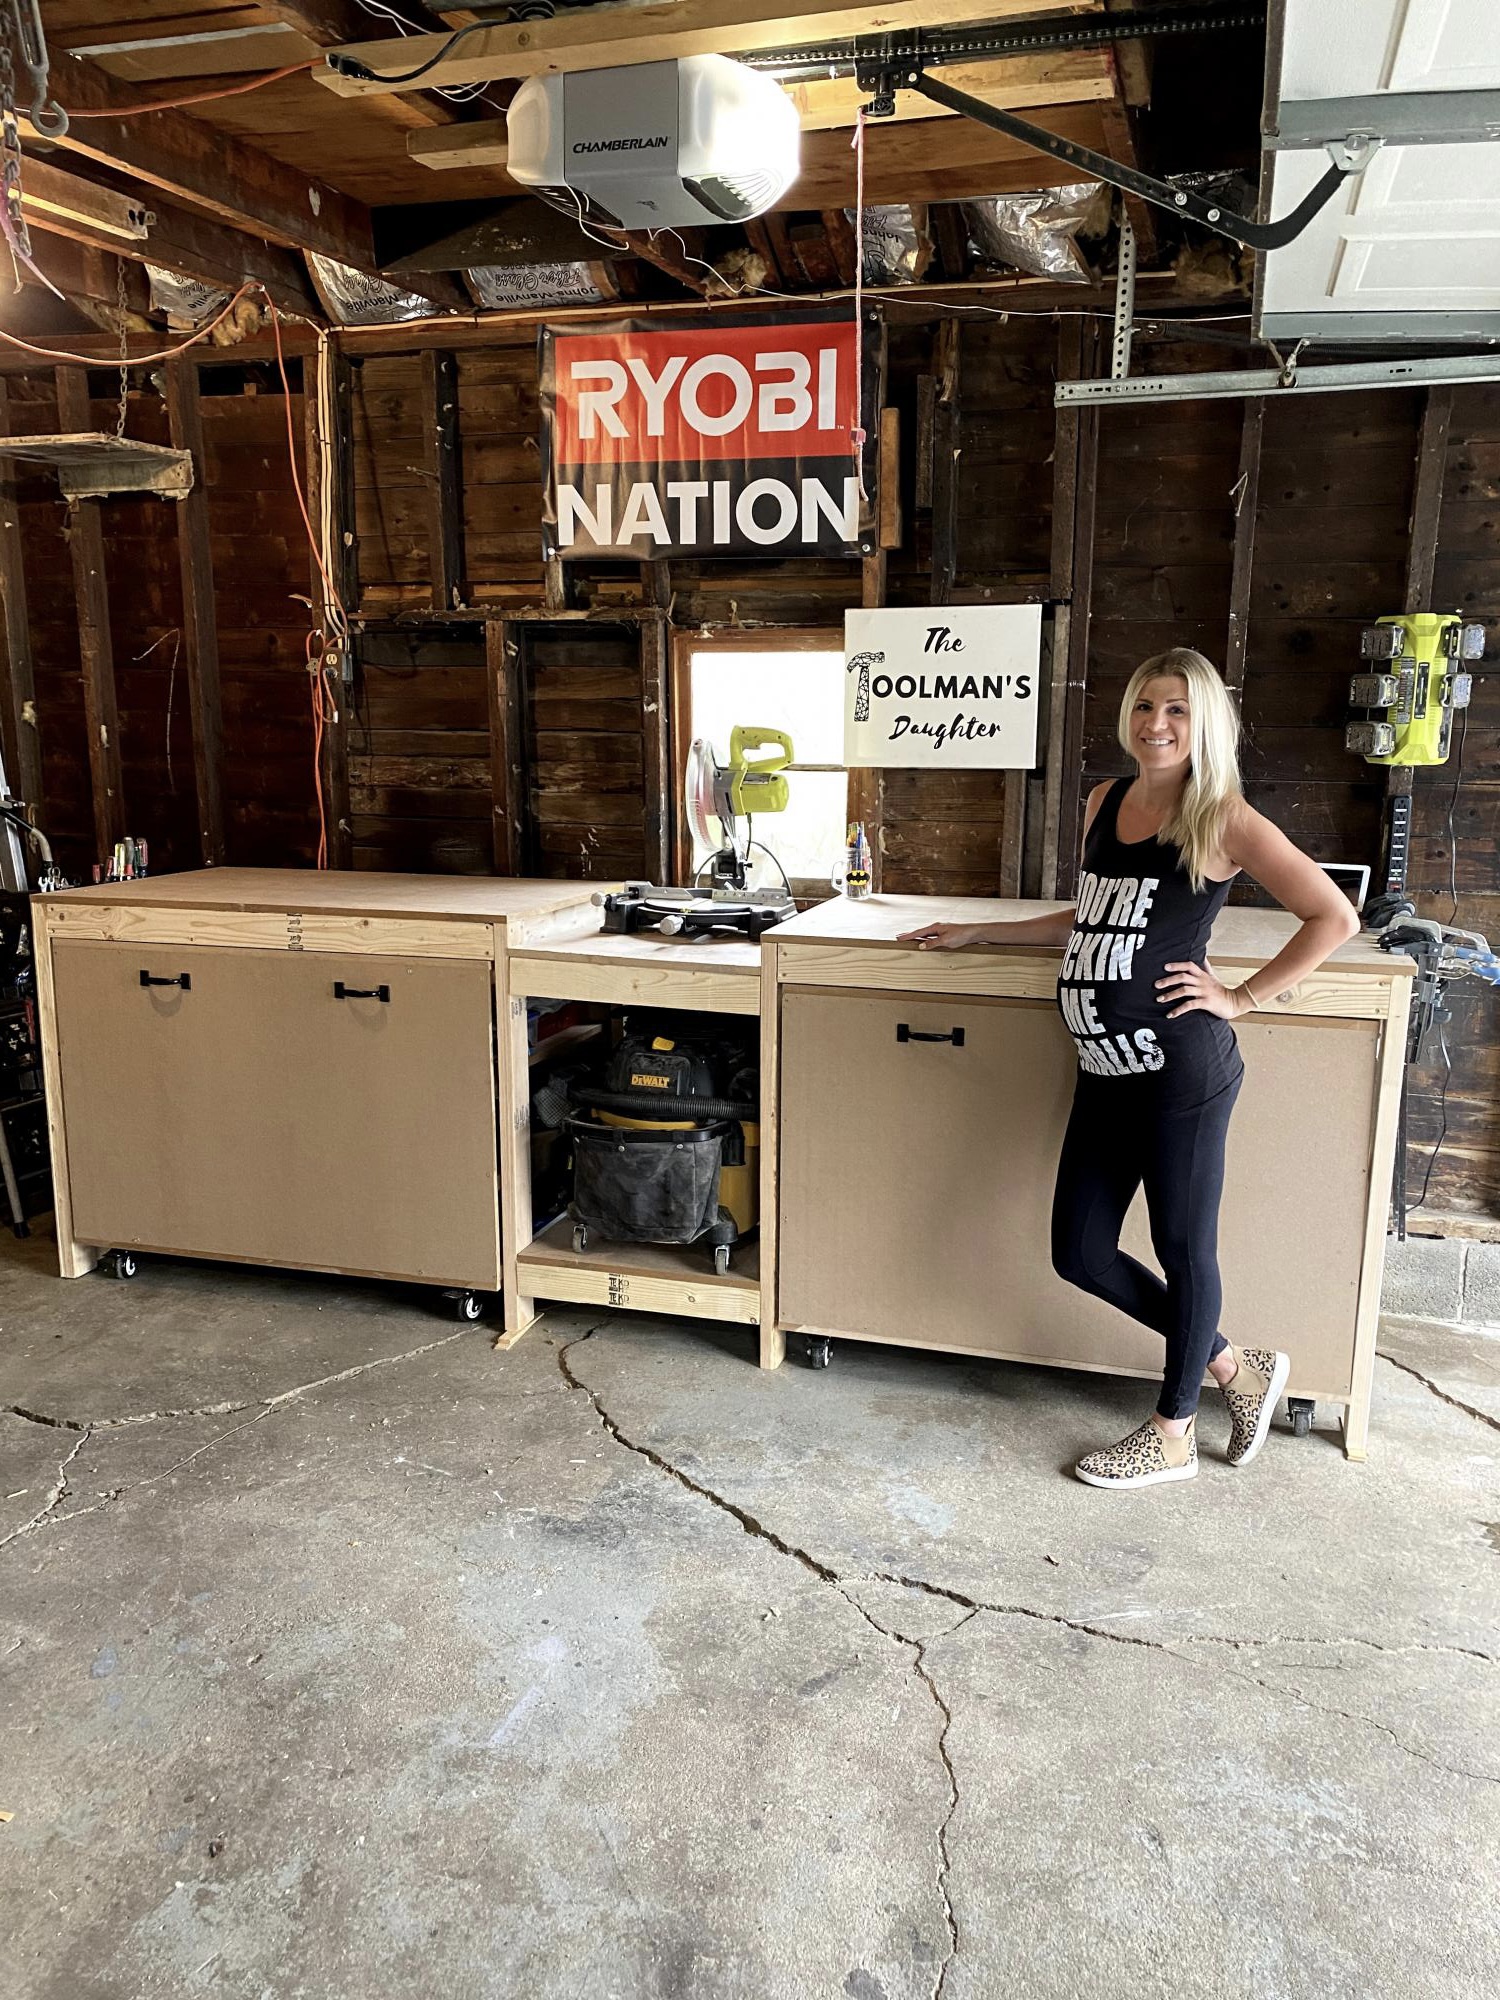
When I was 8 months pregnant and going through my “nesting phase” I knew I needed to get my garage organized. Prior to building this, my tools were all over the place. To try to get it done before the baby came, I called my dad to help me out, and we built it together in just a couple days. It was a weekend I will never forget and I smile every time I walk into my shop knowing we did it together.
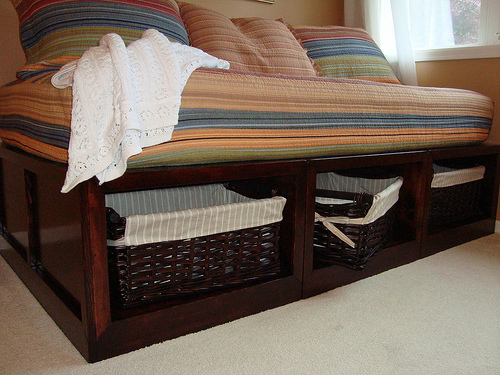
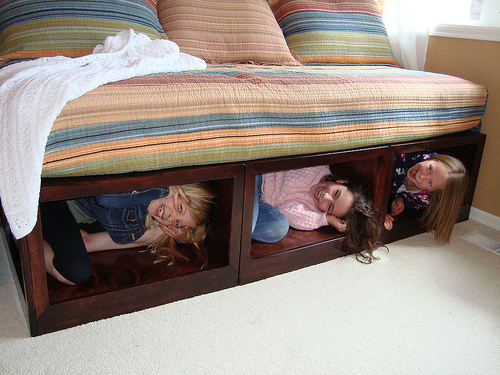
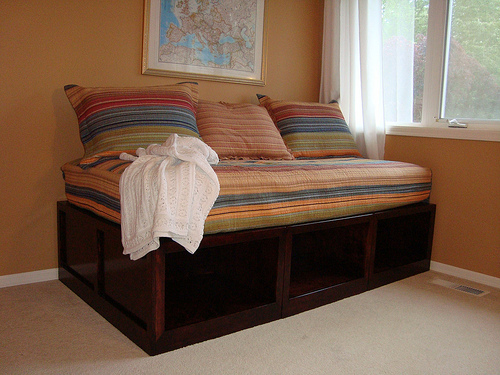
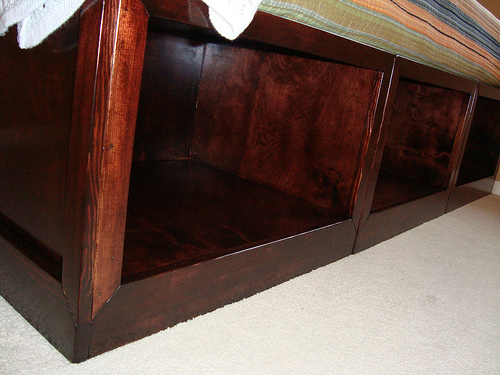
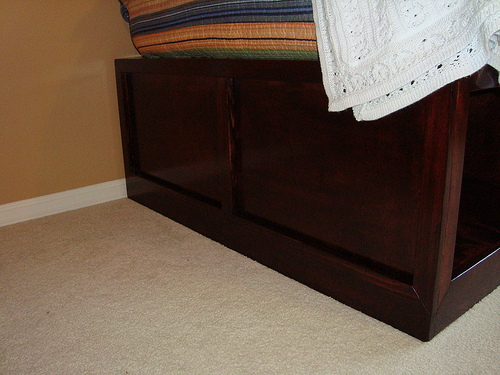
Ana White storage daybed with baskets! Of all the projects I've done based on Ana's plans, this is my favorite. It was my first staining project EVER so I was terrified. I am so in love with how this turned out. The boxes were made using birch plywood and the trim was all pine. Lots of gorilla wood glue (I think it's the least drippy) and a mix of nails (using our new nail gun) and countersunk screws. I used screws for the plywood and nails for the trim. After sanding... and sanding... and sanding... :) Finish is two coats of Minwax Red Mahogony stain (conditioned it first) and then three coats of Minwax Fast Drying Polyurethane in semi-gloss. Did I mention how much I love this color????? I did my best to get all of the glue sanded out, but I did miss in a few spots (end of this cubby...) But I am still thrilled because you can hardly notice. I've used a miter saw before, but never MITERED corners like this and I am so proud of my self with how they came out! :) I used longer, narrow felt pads along the bottom of each bench (for on each). On the bed is the Katy 5-Piece Daybed Set from Amazon. I got the sweater-like throw on Overstock.com. Baskets from World Market! :)
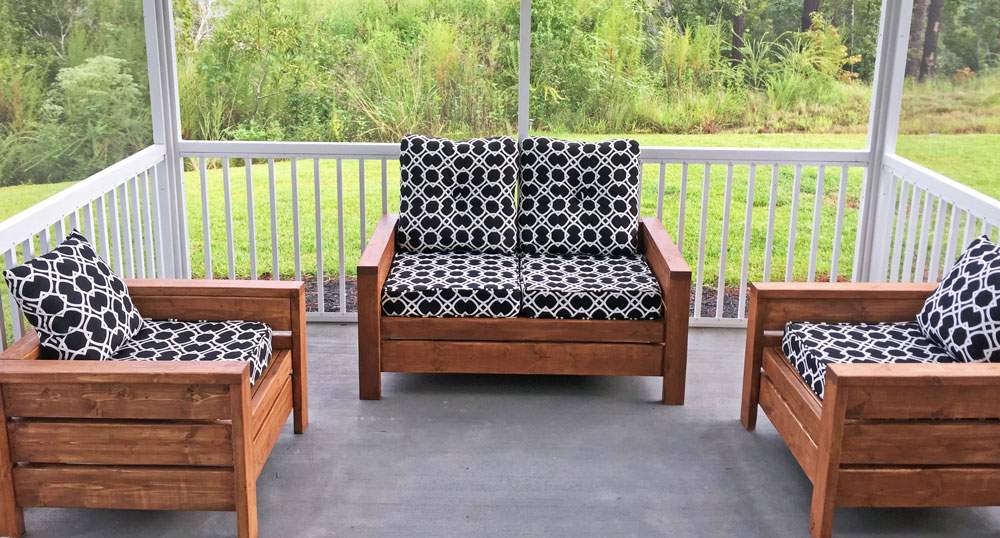
Built the 2 chairs according to the plans, and then modified it for a bench that's 48" (our cushions are 23.5 x 23.5). Worked really well!
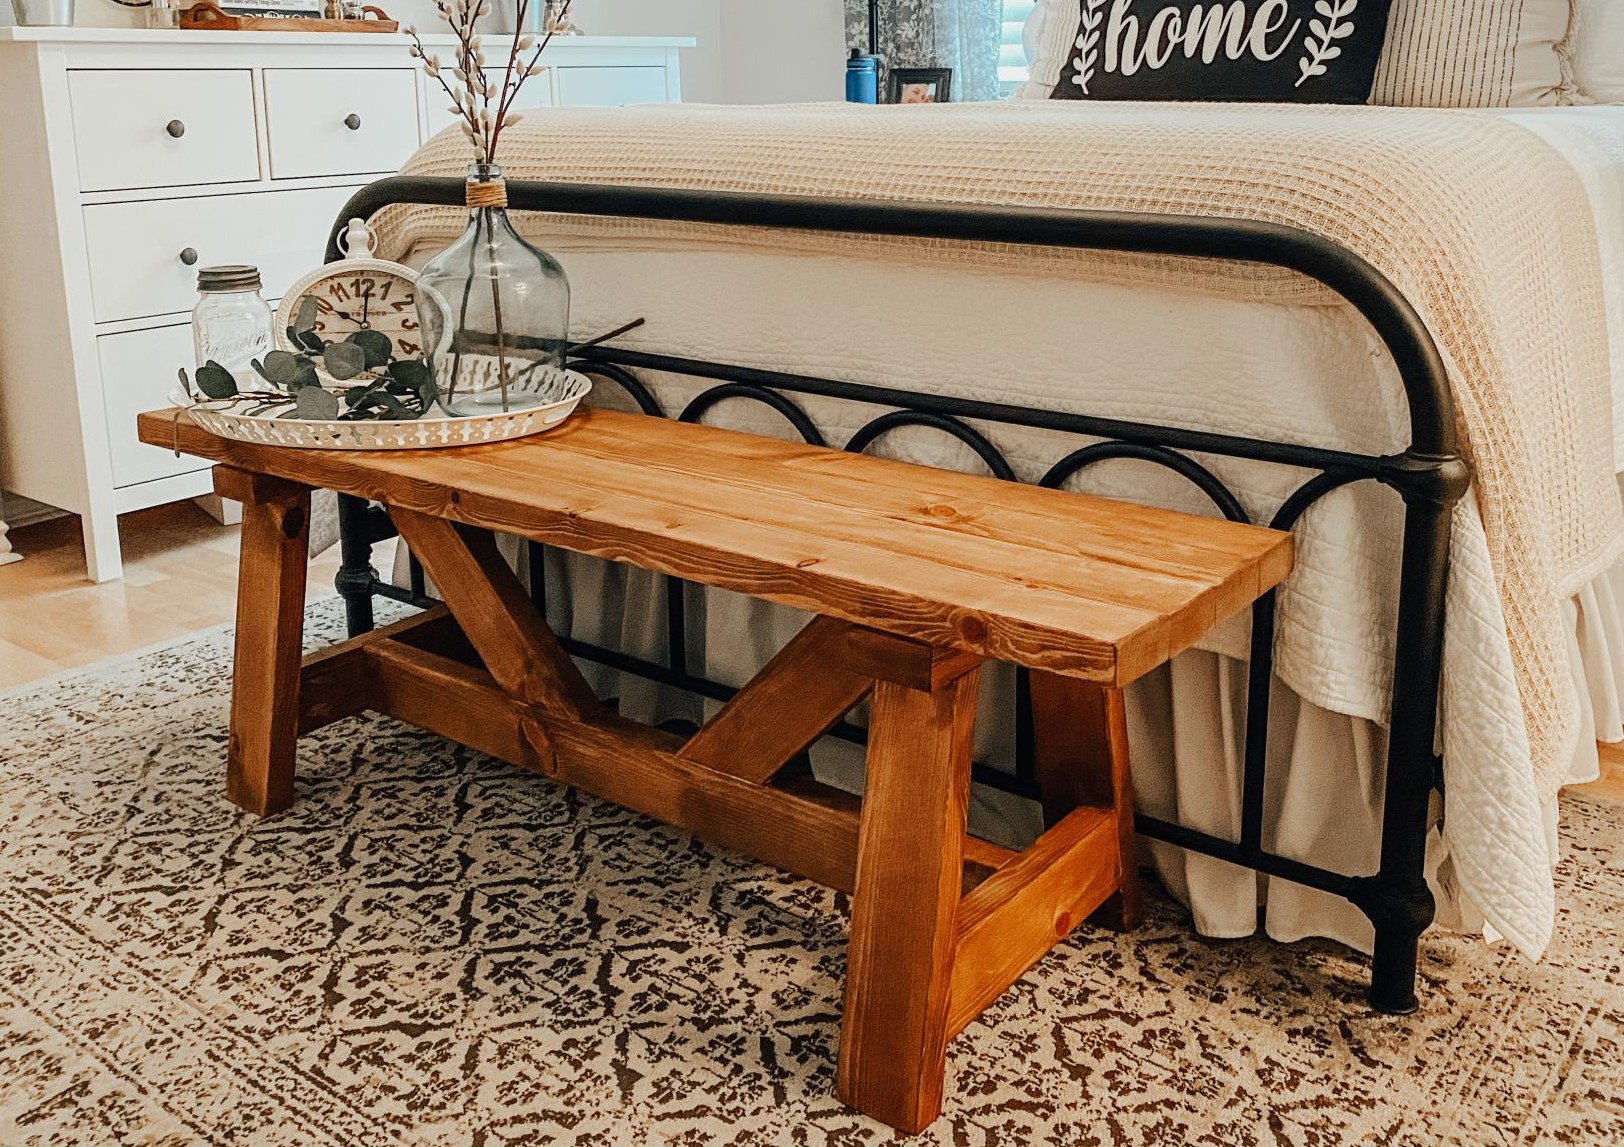
I used the plans from the site and it came out perfectly! Didn’t even make a wrong cut-pretty good for a super beginner.
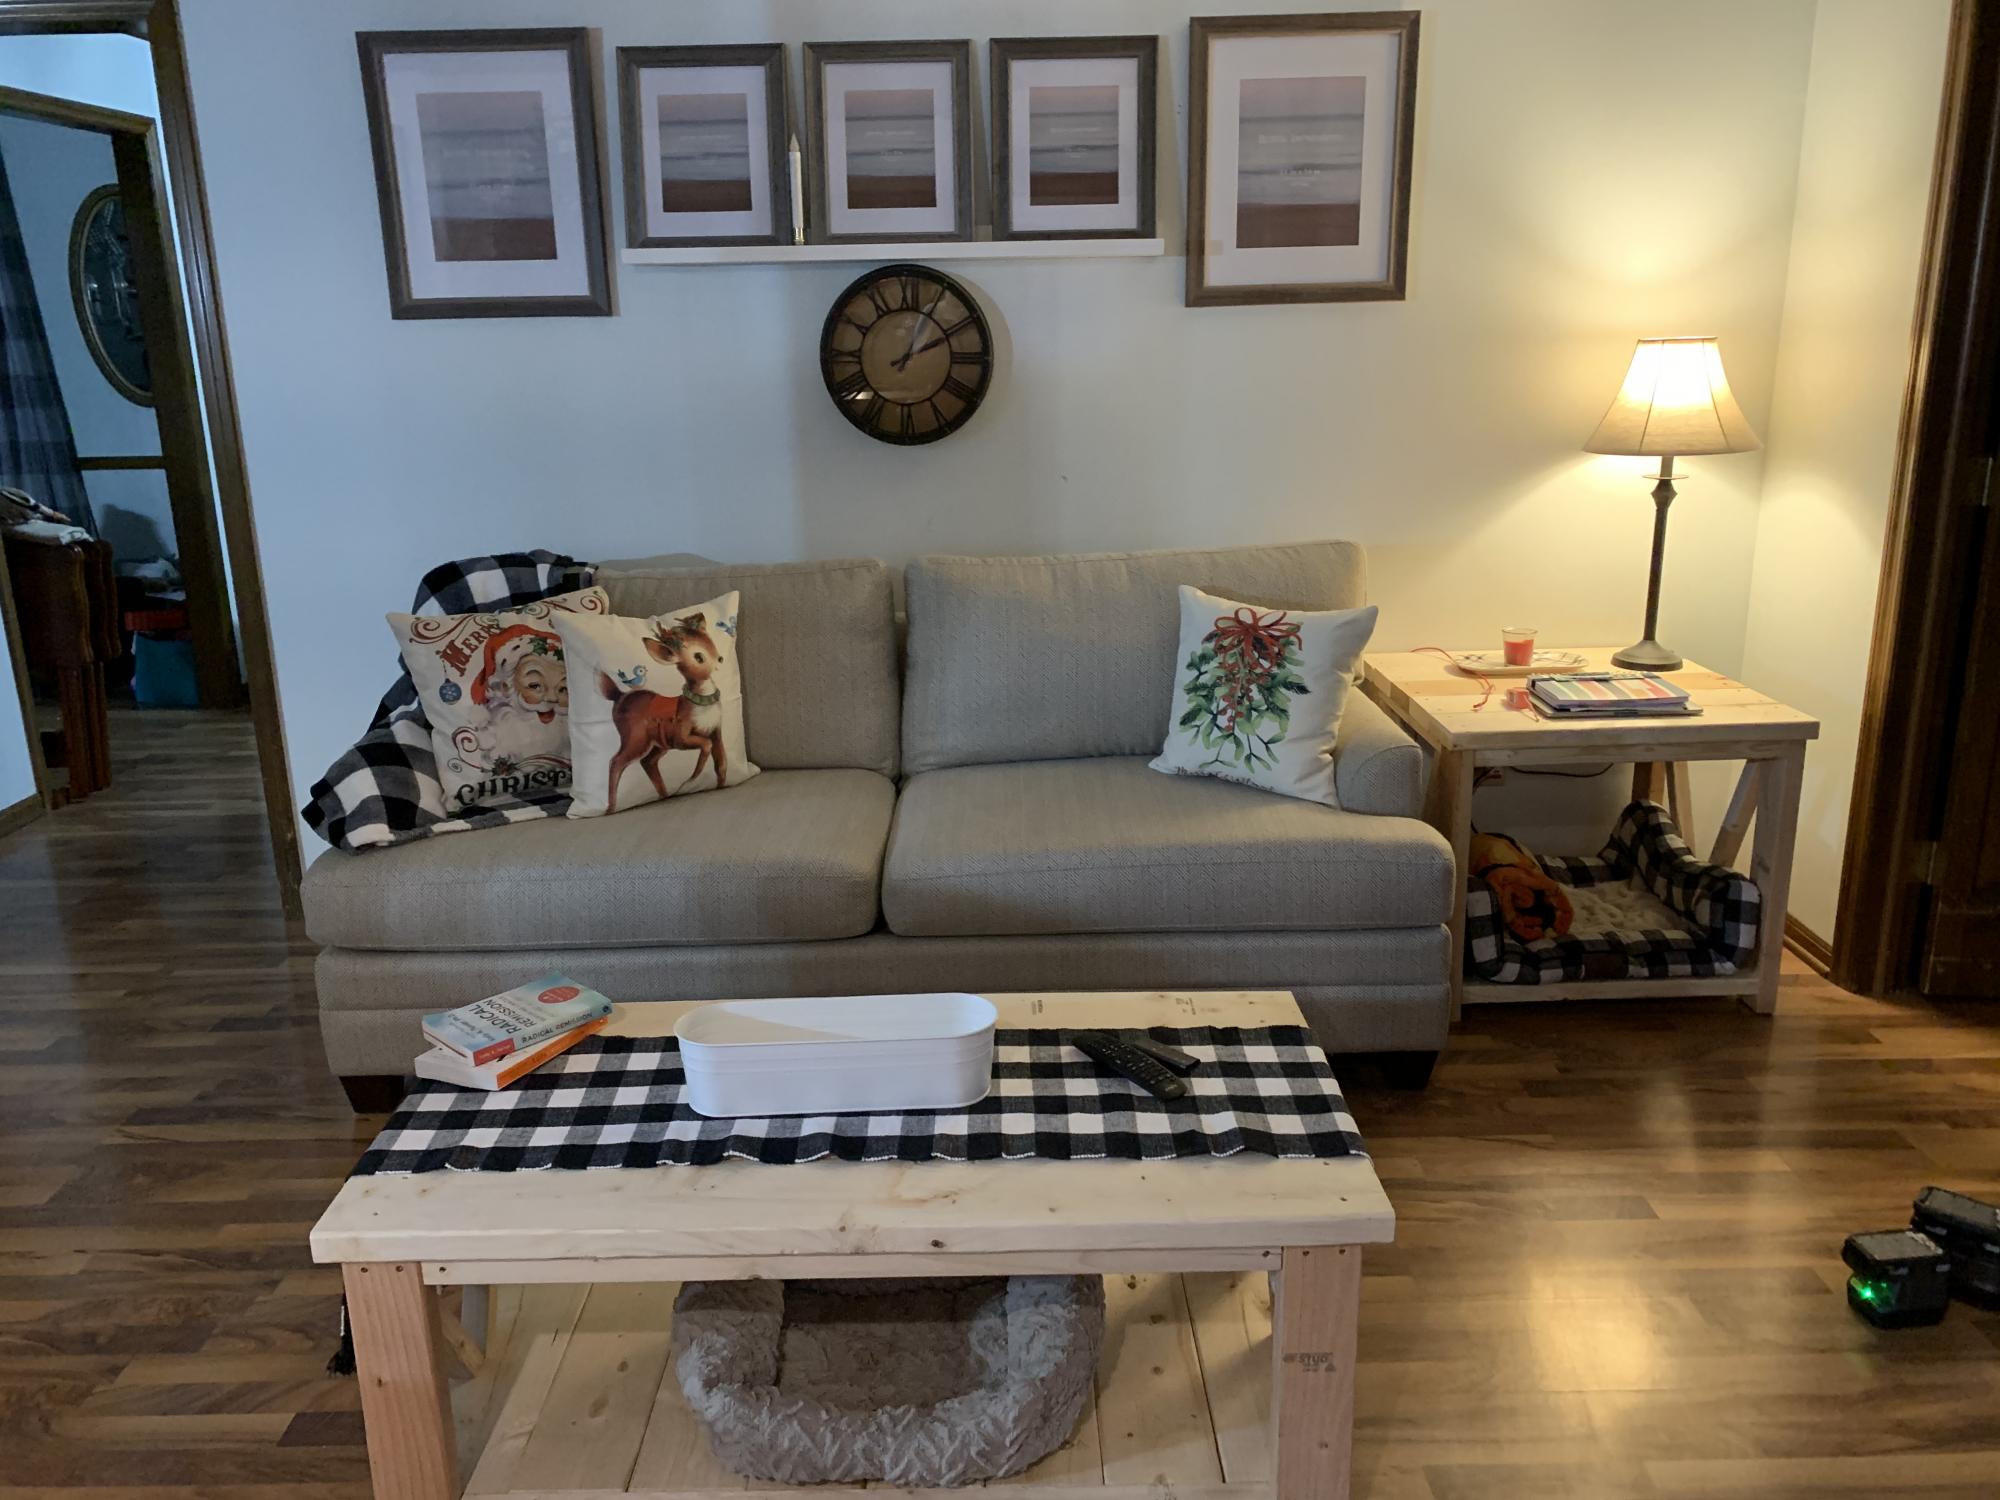
My dad and I built these amazing coffee and end tables during a Christmas last year. We modified the ends to for a “M” instead of the traditional farmhouse “X”. Our last name is Mayberry-so the M was fitting. Sadly, my father lost his battle to cancer and this was the last project we did-one that will forever hold precious memories! Thank you for the fabulous plans!
Fri, 10/08/2021 - 10:41
Thank you for sharing, a wonderful memory was made and to see this reminder everyday is very sweet. We are very sorry for your loss~
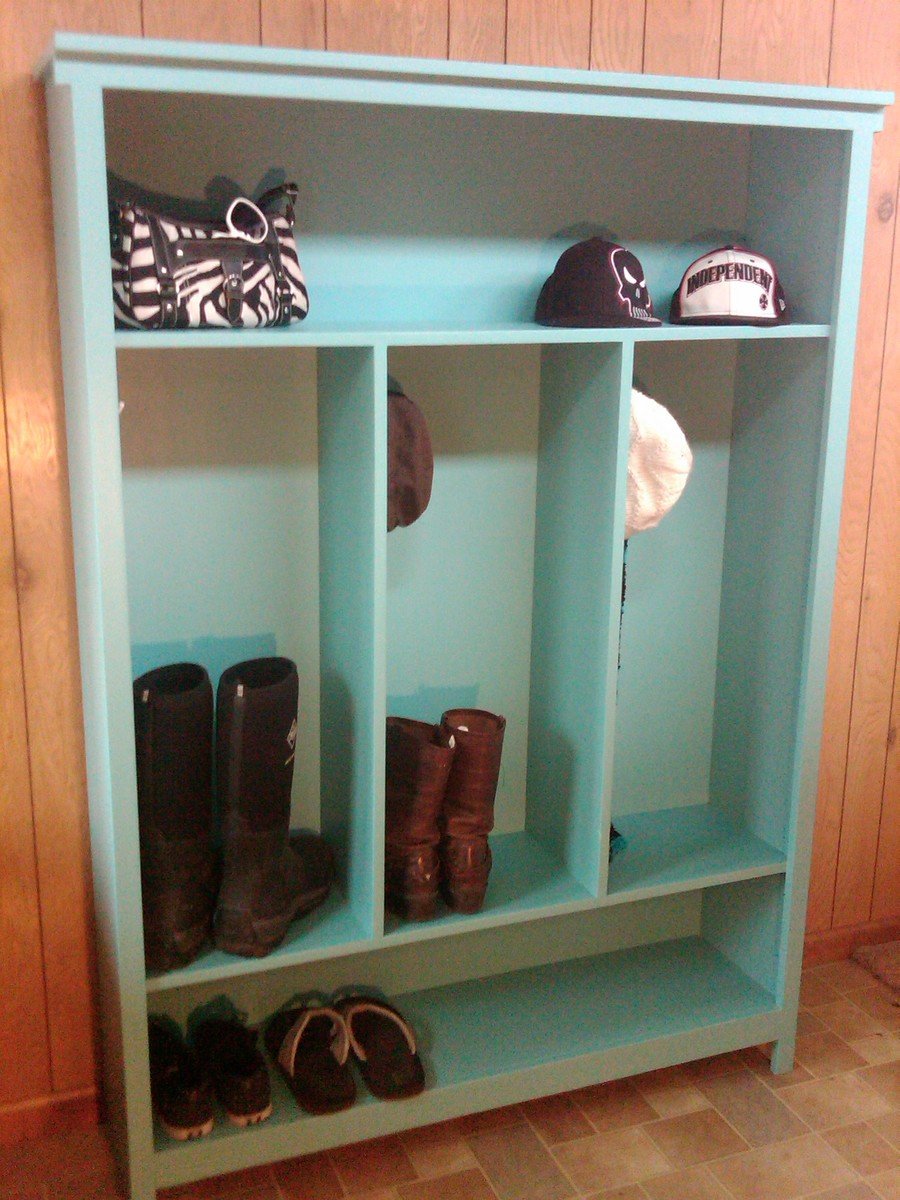
This was such a fun and easy build! I love, love, love it! I work at a lumber yard, so I was able to have my awesome lumber guy get me some good straight boards. Straight boards are a must! I had my husband help get the first peices screwed together, but after that, it was easy enough to do myself.I don't have a cool nail gun, but I do have a rockin' hammer drill that did the job. I also don't have a kreg jig (birthday wish!) but using stainable/paintable wood putty, the finish came out great.I used the screws I had on hand, 2 1/2 drywall screws, and 1 1/2 finish nails for the frame.I used 1/4 Lauan for the backing, I painted it before nailing it on.
Super fun easy build. It feels nice to build my own stuff, and my husband it totally diggin' me using the power tools:)
Kyli
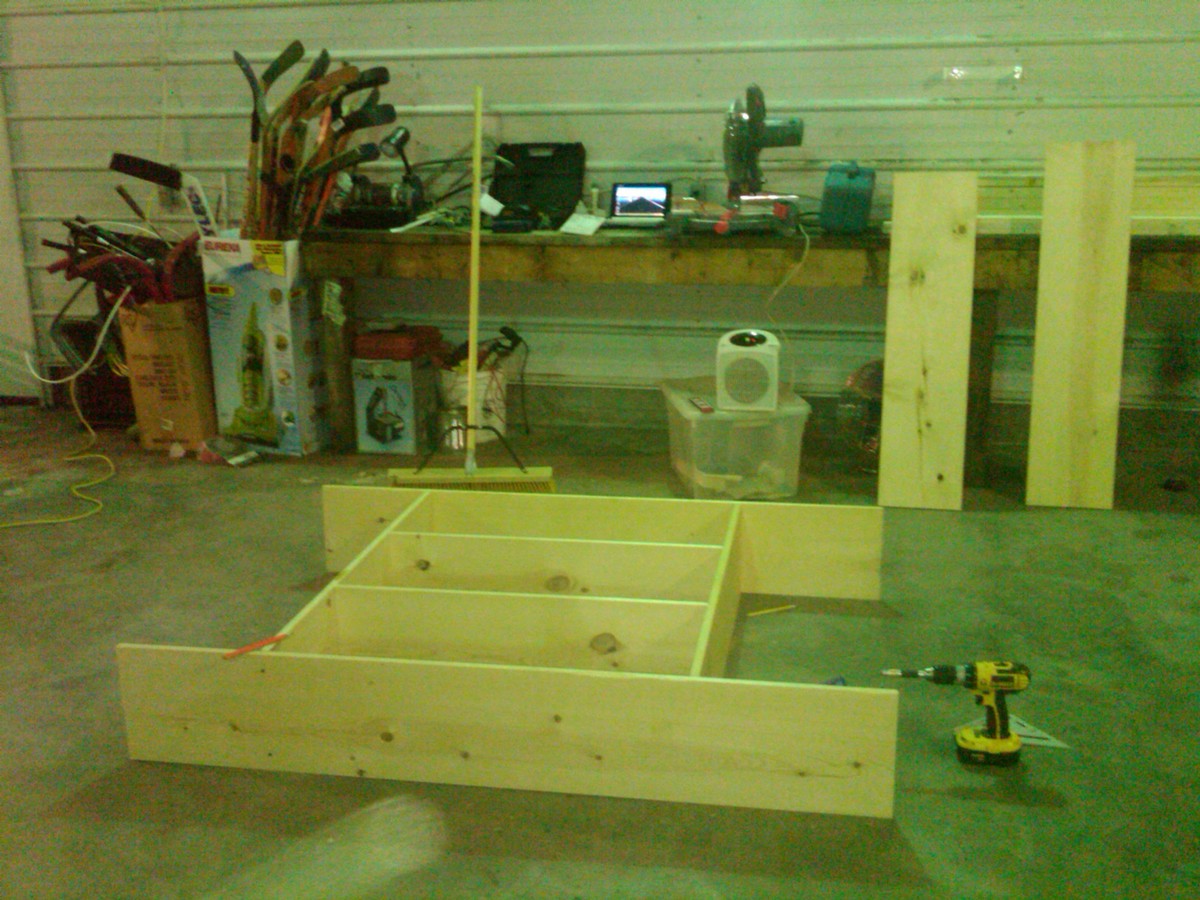
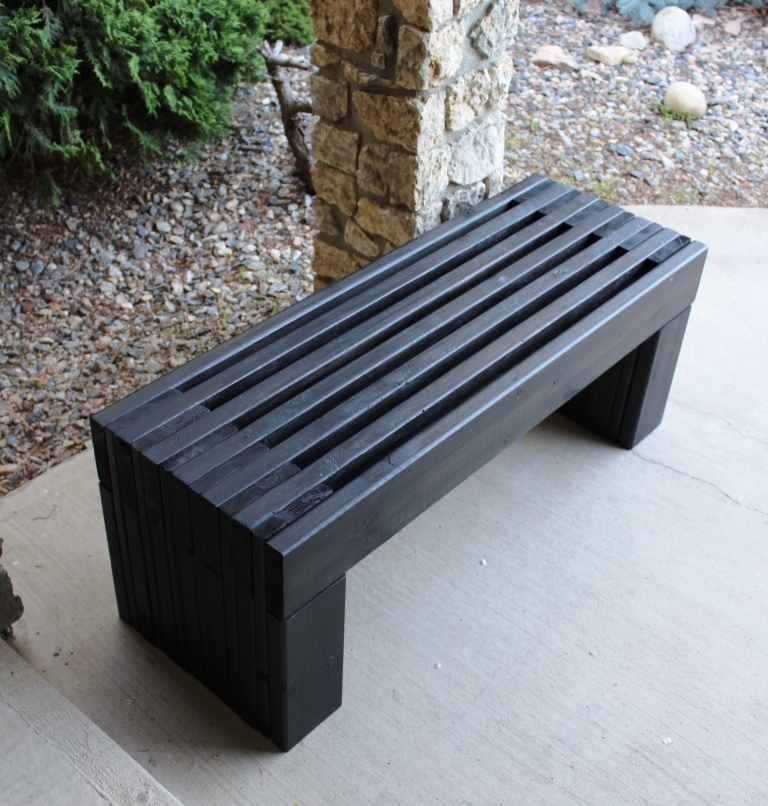
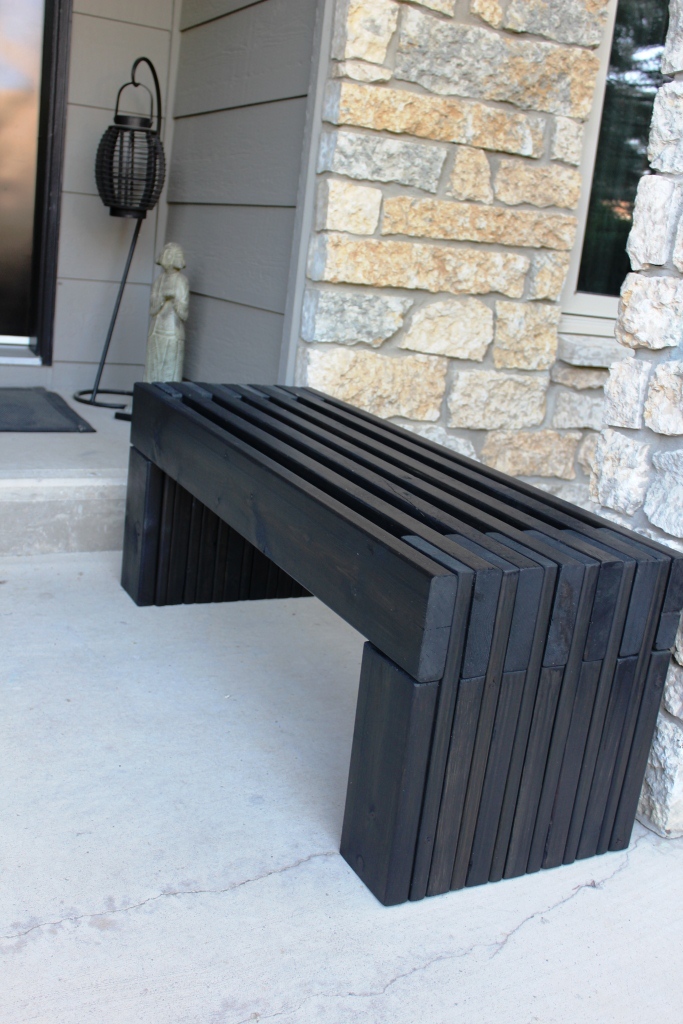
We wanted an outdoor bench for our front entrance way, this one is just what we were looking for! Thank you for the plans.
Wed, 05/04/2016 - 10:01
I am really a novice. The plans say that the 1x4's should be 18-1/2" high? But the measurement of the vertical legs are 14", and the horizontal piece is 4" high, which adds to 18". It all looks flush in the photo. Could you explain what I am missing? Thank you so much!
Wed, 05/04/2016 - 10:01
I am really a novice. The plans say that the 1x4's should be 18-1/2" high? But the measurement of the vertical legs are 14", and the horizontal piece is 4" high, which adds to 18". It all looks flush in the photo. Could you explain what I am missing? Thank you so much!
In reply to quesion by beardjulie
Wed, 05/04/2016 - 11:30
So from what i see in the plans Each 1x4 board is to be cut at 18" and the 2x4 is to be cut at 14-1/2". Cutting the 2x4 at 14-1/2" will insure the 1x4 and 2x4 are fluish for the end product. It doesnt seem to add up given the demensional names of the lumber hahaha however the actual width of a 2x4 (the one the will be going horizontal) is acutally 3-1/2". so then you cut you 2x4 leg piece at 14-1/2" and then lay the horizontal 2x4 on top the total height will be 18" and should be flush with your 1x4 that is cut at 18"
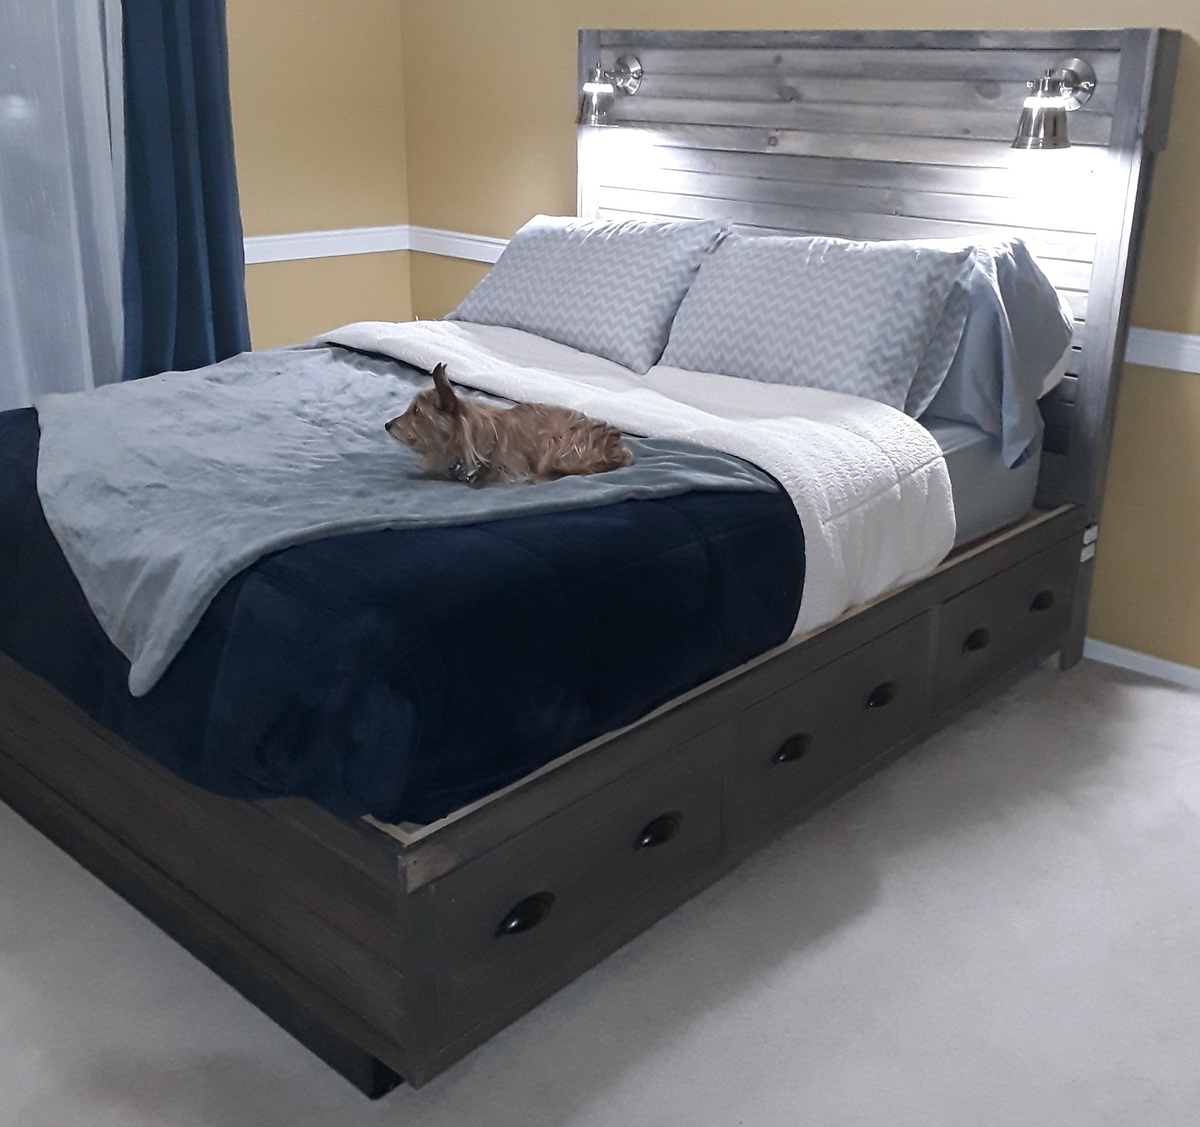
There was some deviation from the original plans.. We made the storage boxes a bit taller and the headboard has several new features.
First off, the under-bed storage takes up the whole size of the bed. So the drawers (six of them) are nice and deep. One of the drawers is actually the dog's bed now.
The picture doesn't show it but behind the headboard there are cubbies for storing books, tablets, phones, glasses, etc.
On both sides of the headboard there are four electrical outlets plus two USB charging outlets for charging tablets, phones, etc.
There are two reading lamps on the headboard as well.
I did the construction portion while my talented wife did the amazing paint job.
Saw the other project and based everything off of that. I made some adjustments on the shelf side to ensure I could lay down 3 layers of 2x6's without it hanging off too far. At first I wasn't going to go with the rail shelf system, but I couldn't find anything that I liked at the store to make actually shelves. I did cut a 2* angle on the bottom and top of the shelf framing. I figured if I put enough weight on those shelves, I woudln't want it messing with the frame of the cart too much. On the bin side, I decided to just do different heights instead of angled because I know I'll have plenty of 3' plus. I chose to put a scrap bin on the end for anything smaller than a foot. Many of those joints were done with my Kreg setup, but not all of them. The last fix I did was add a 2x4 to the insde of the shelf frame. This was to move the shelf hangers in so that an 8' board wasn't just edge to edge (I found that to be a problem when I put some of the 1x4's on there...they would be on 2, but not always all 3). So moving each side in around 1.5" gives you about 3" to play with as far as 8' lumber goes. This enabled me to turn my old storage into bench and shelves and I'm ready to get moving on projects!
Thanks for the plans Ana!
I stuck to the design but changed the dimensions to suit the space and the boxes we intend to store. This made the shelves 7.5 feet high by 8.5 feet wide. The timber was supplied in 17’ lengths so this also meant very little wastage. The frame is composed of 2x4’s, the shelves are 4.5 x 1.5’s - as I wanted the shelves slightly shallower this meant I could get away with three boards for each shelf instead of 4 as on the plans.
For the short cross pieces I used woodglue and screws – to attach the long shelf pieces I just used screws. I predrilled holes in the first piece for each of the screws, but I didn’t drill a pilot hole in the next piece, the screws were self-tapping and didn’t need one.
The back wall is concrete block and I screwed each upright to the wall using wall plugs and screws. I’ve 2 young children and as the shelves are quite high I was afraid they might climb on them and tip them over otherwise. The attachment to the wall definitely makes the whole thing feel much sturdier – the structure is completely rigid.
The only real issue I encountered was that some of the boards were slightly twisted or warped – and I had to apply some force to keep everything square when I was gluing up. Overall I’m very happy with the end product, and found it reasonably easy to put together. Now its time to put the shelves to good use and start tidying up the garage!

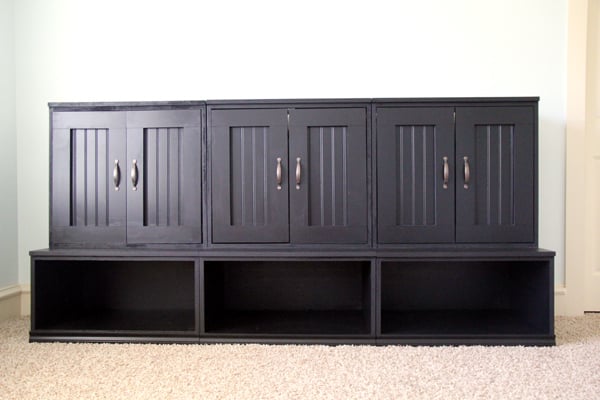
I used Ana's plans to build a Cameron Wall unit for my new nursery. I used 3/4" MDF and 1 1/4" brad nails with lots of Gorilla Wood Glue to assemble. I also used bead board on the doors. Great storage! You can read more at http://www.shanty-2-chic.com/2011/07/furniture-for-the-new-nursery.html


Wed, 07/20/2011 - 04:57
Very nice! I really like the beadboard on the doors.
Comments
Ana White Admin
Fri, 01/08/2021 - 12:21
So Pretty!
Great job on this build, thanks for sharing!