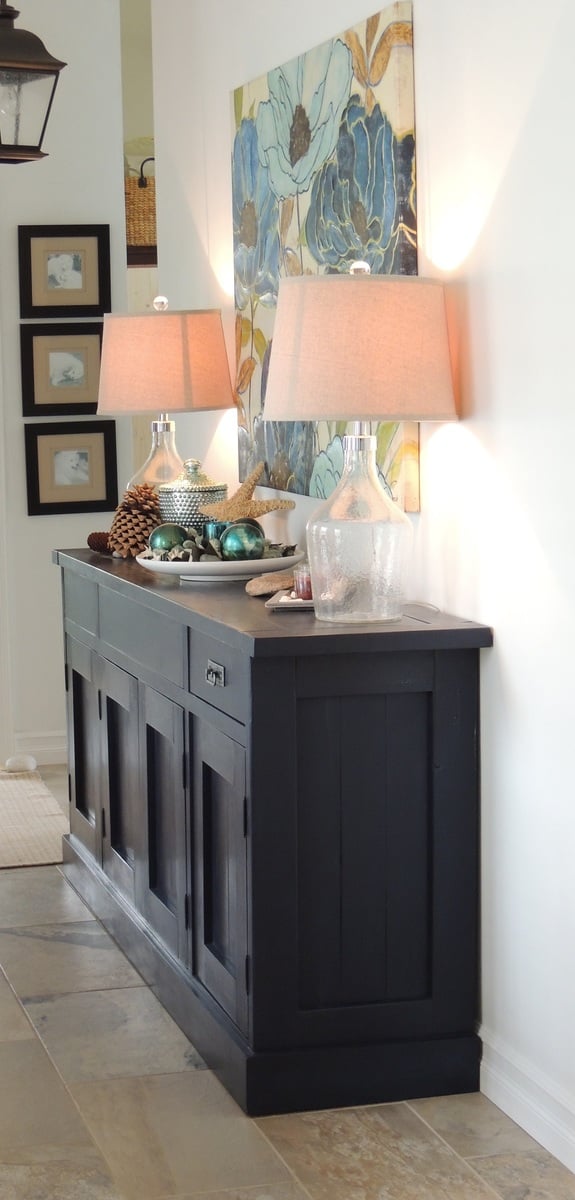
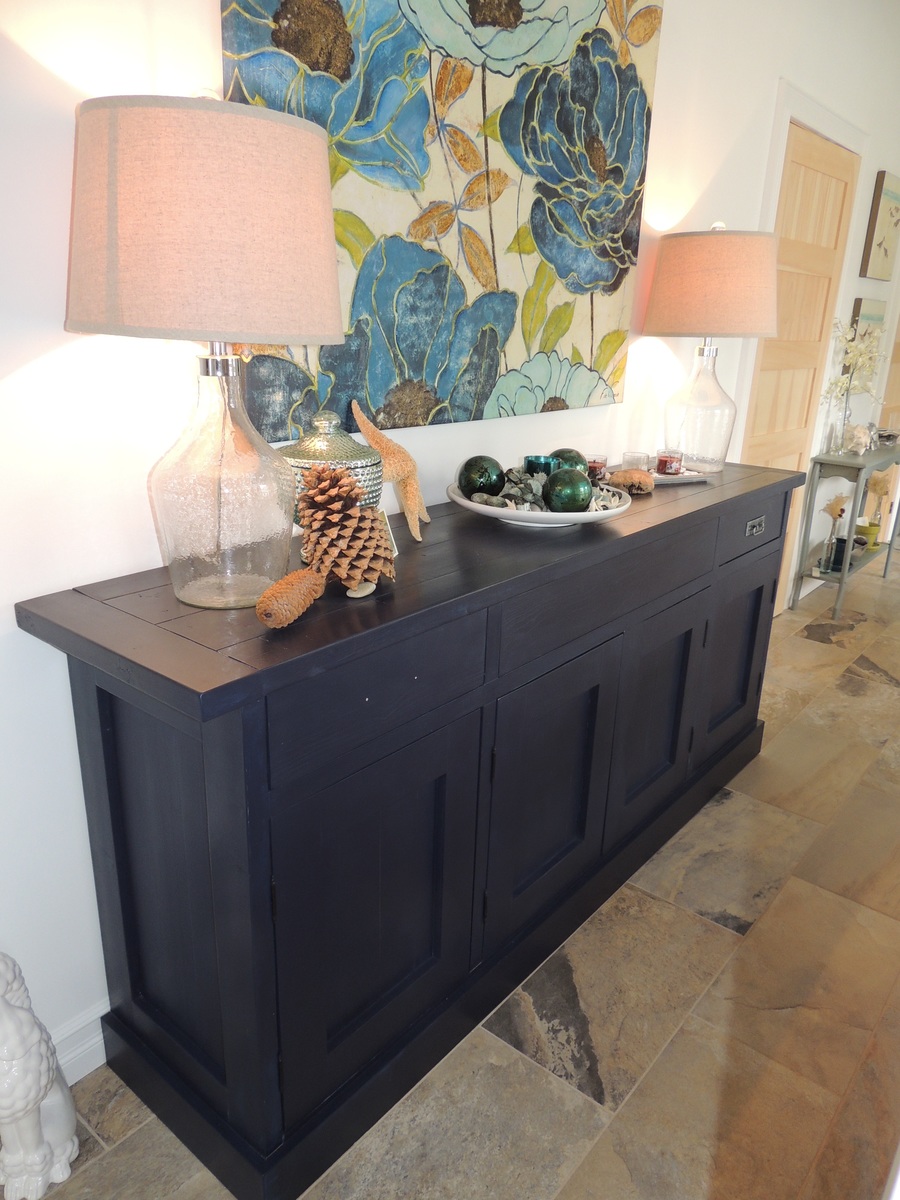
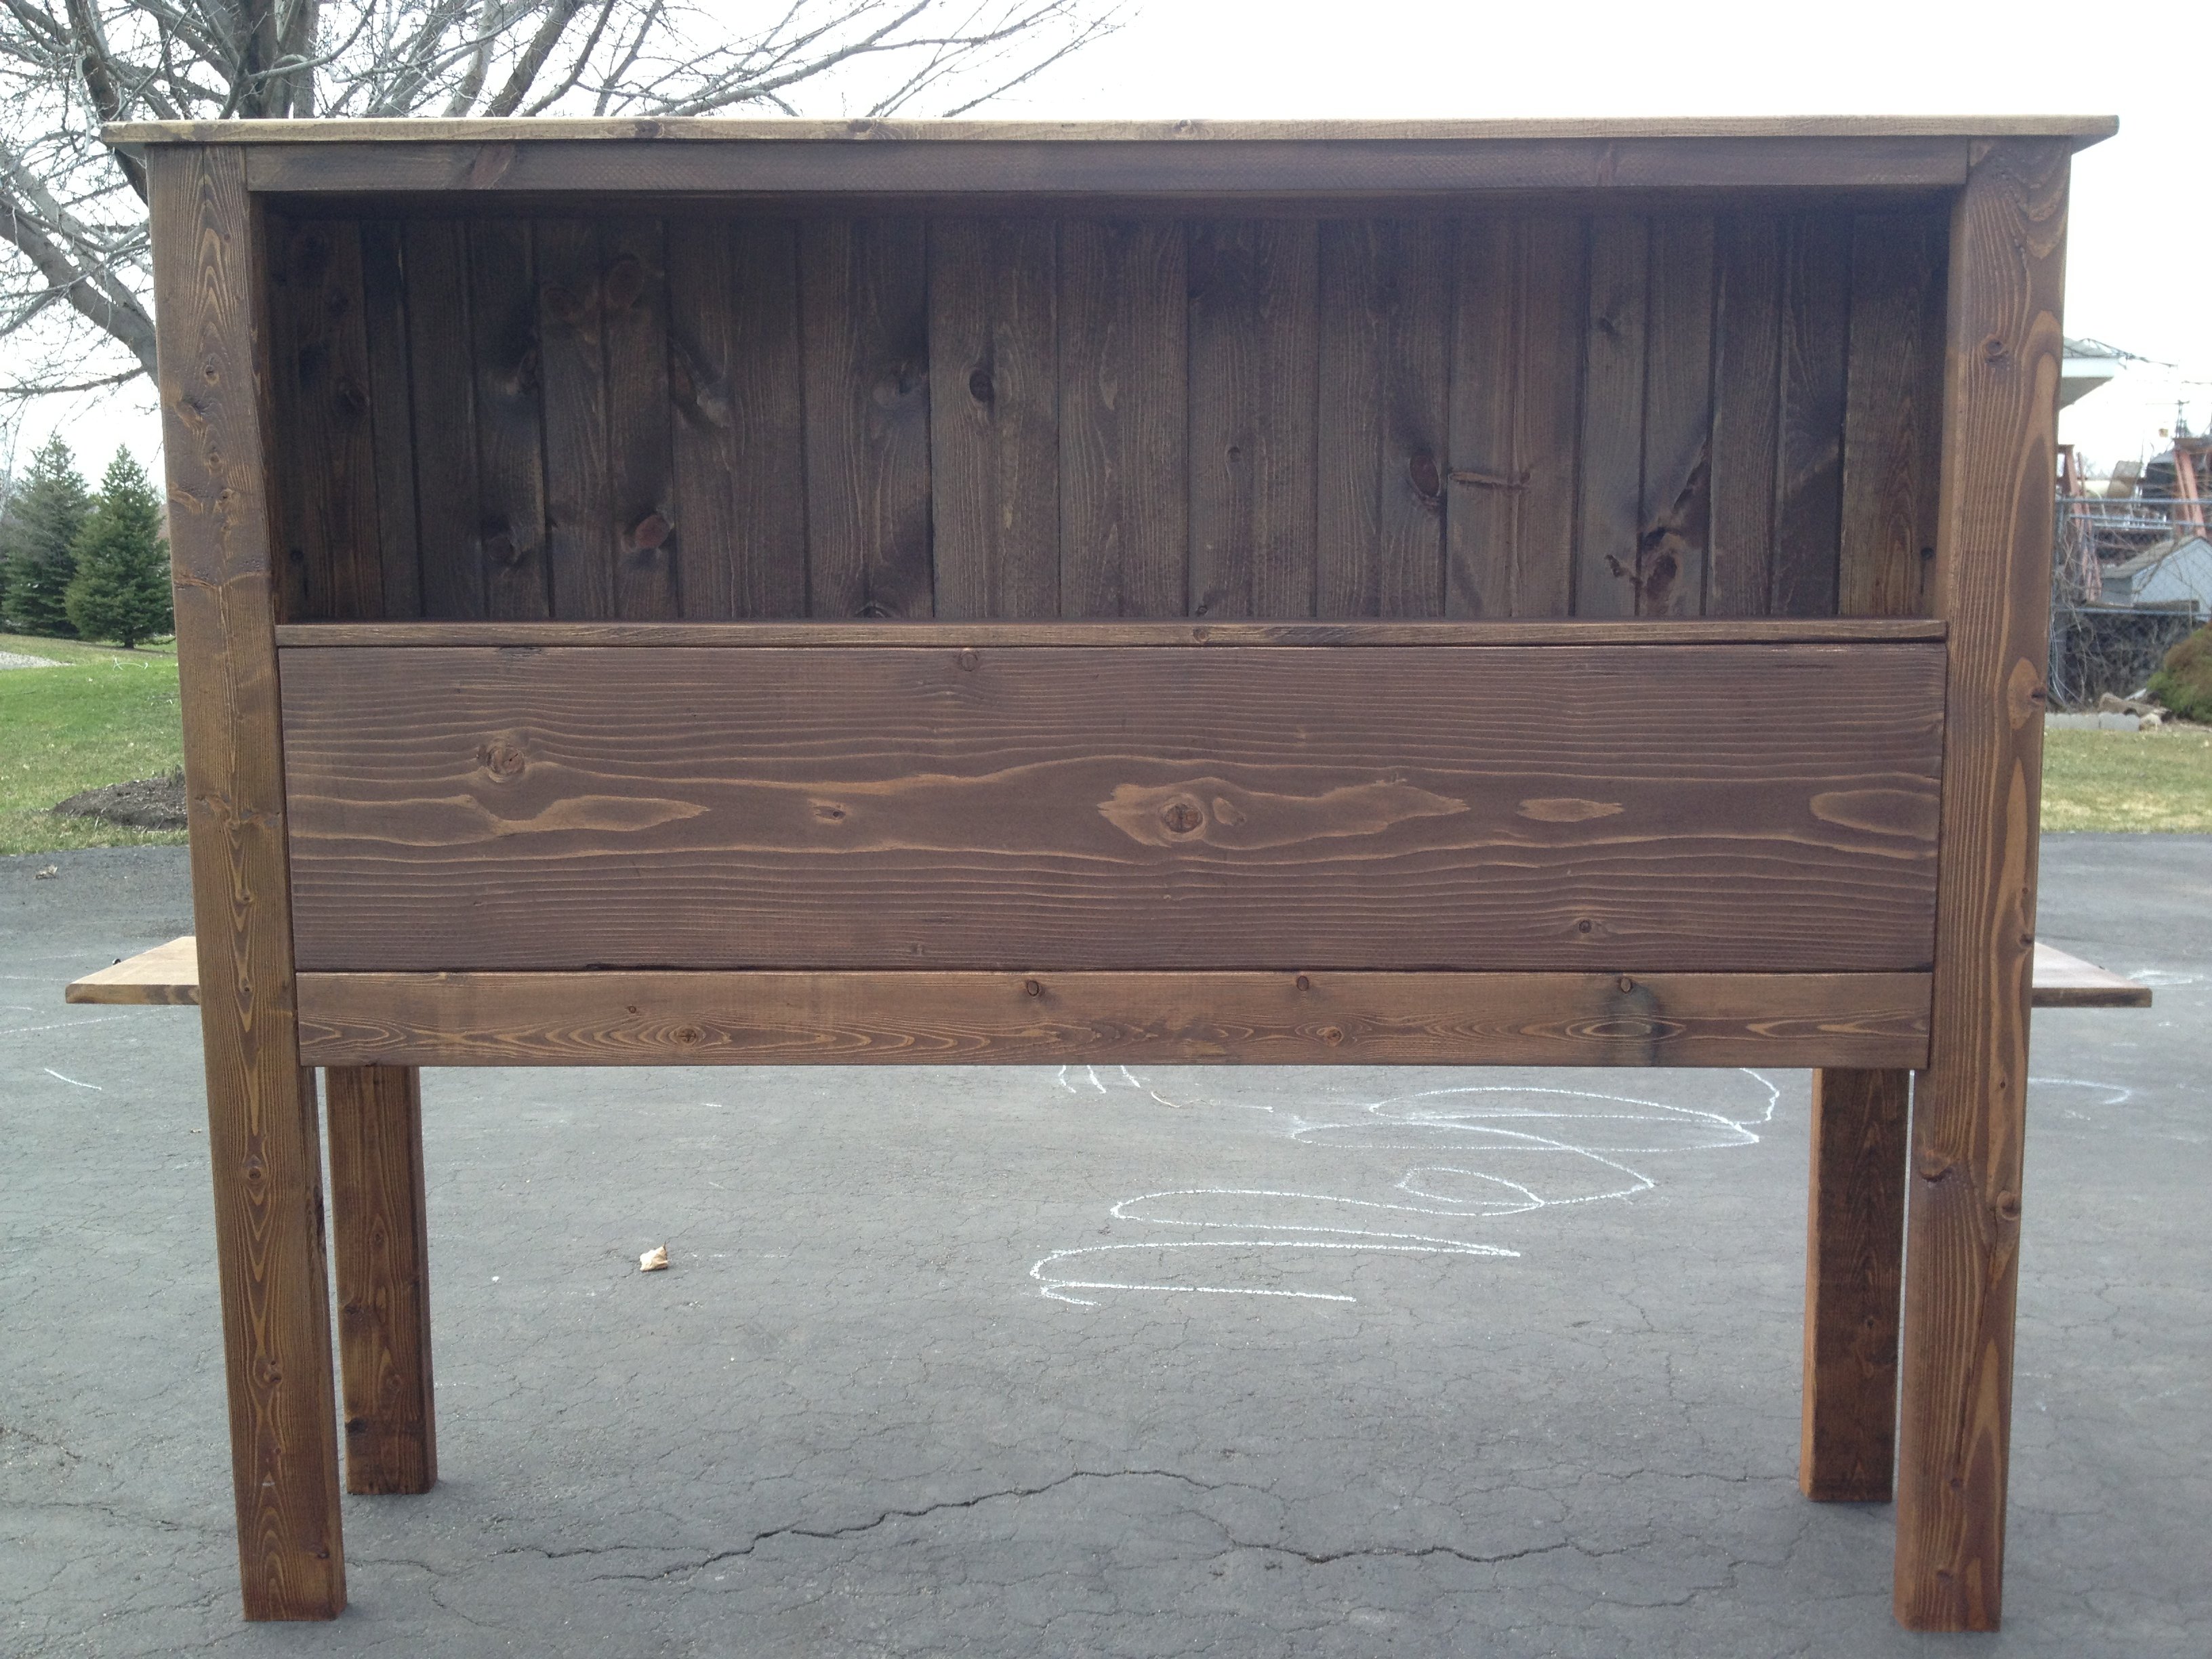
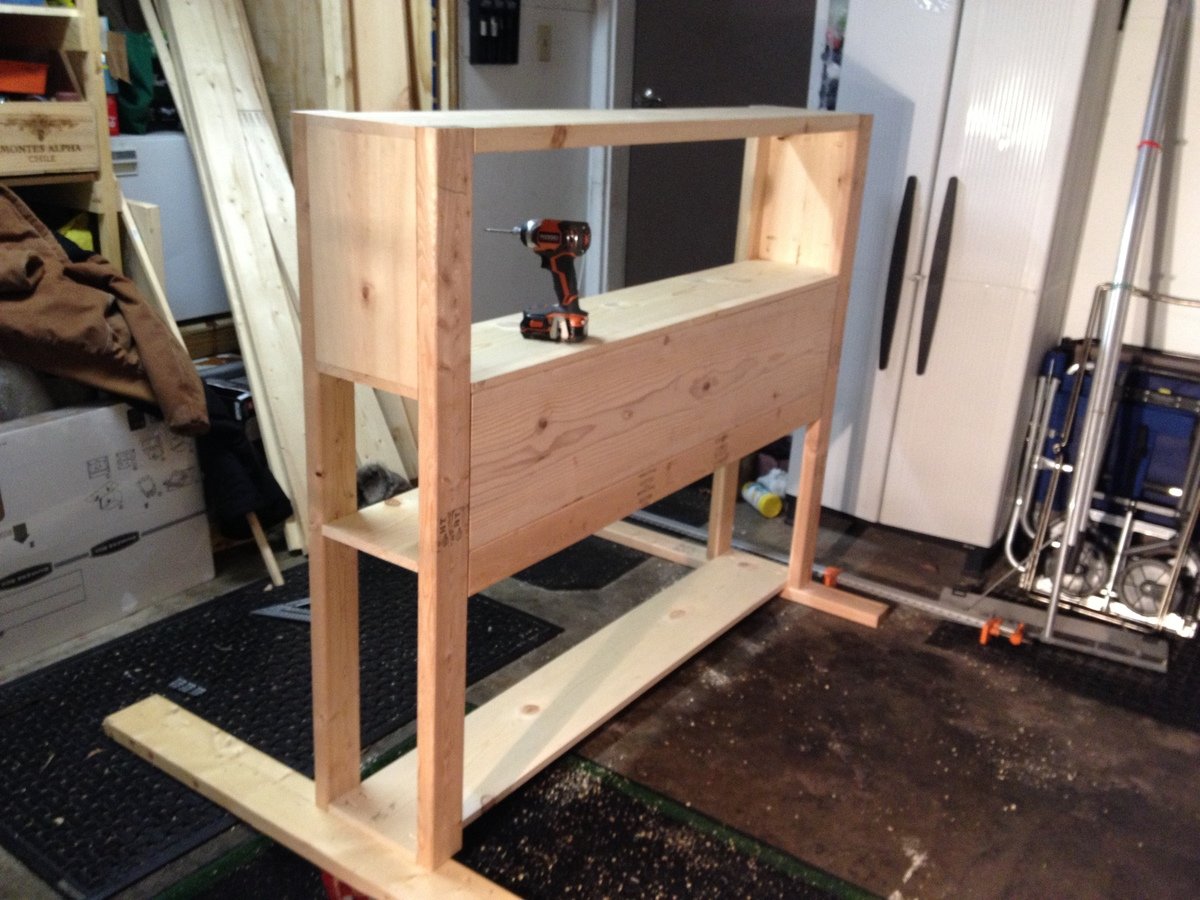
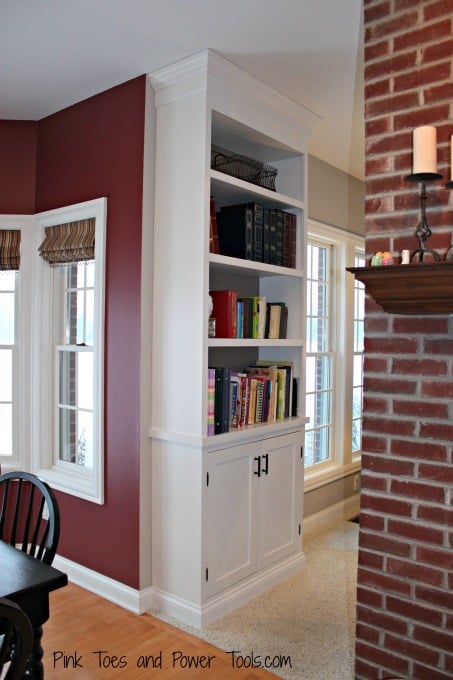
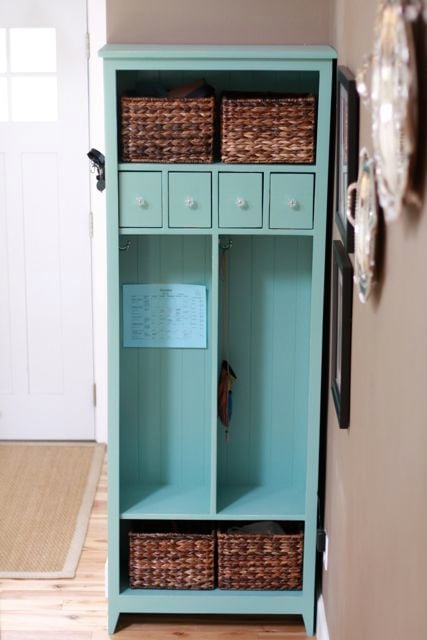
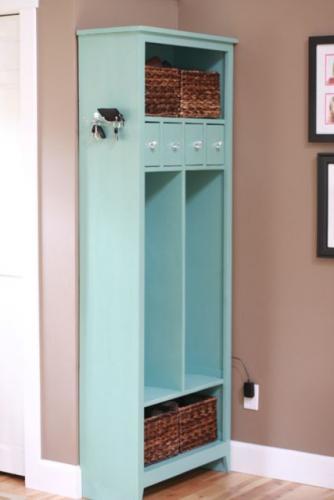
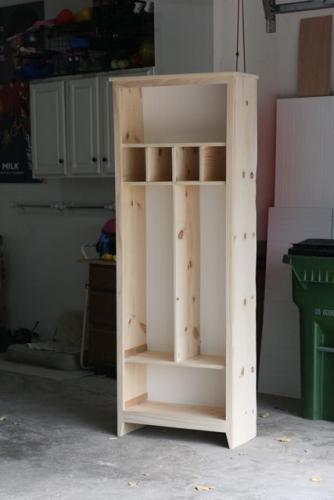
This locker cabinet was my first build and I learned a ton. For example:
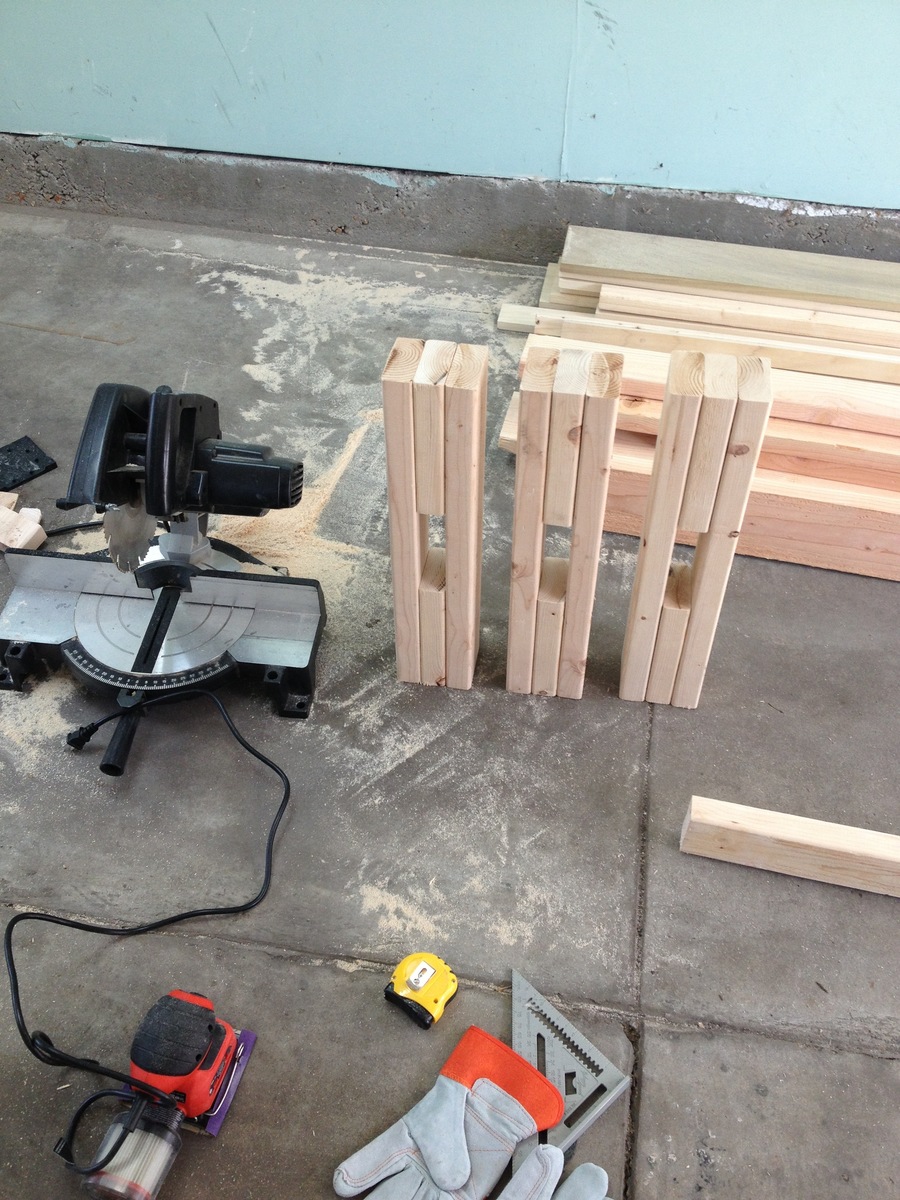
1. Use the Kreg face clamps while drilling into the Kreg Jr.
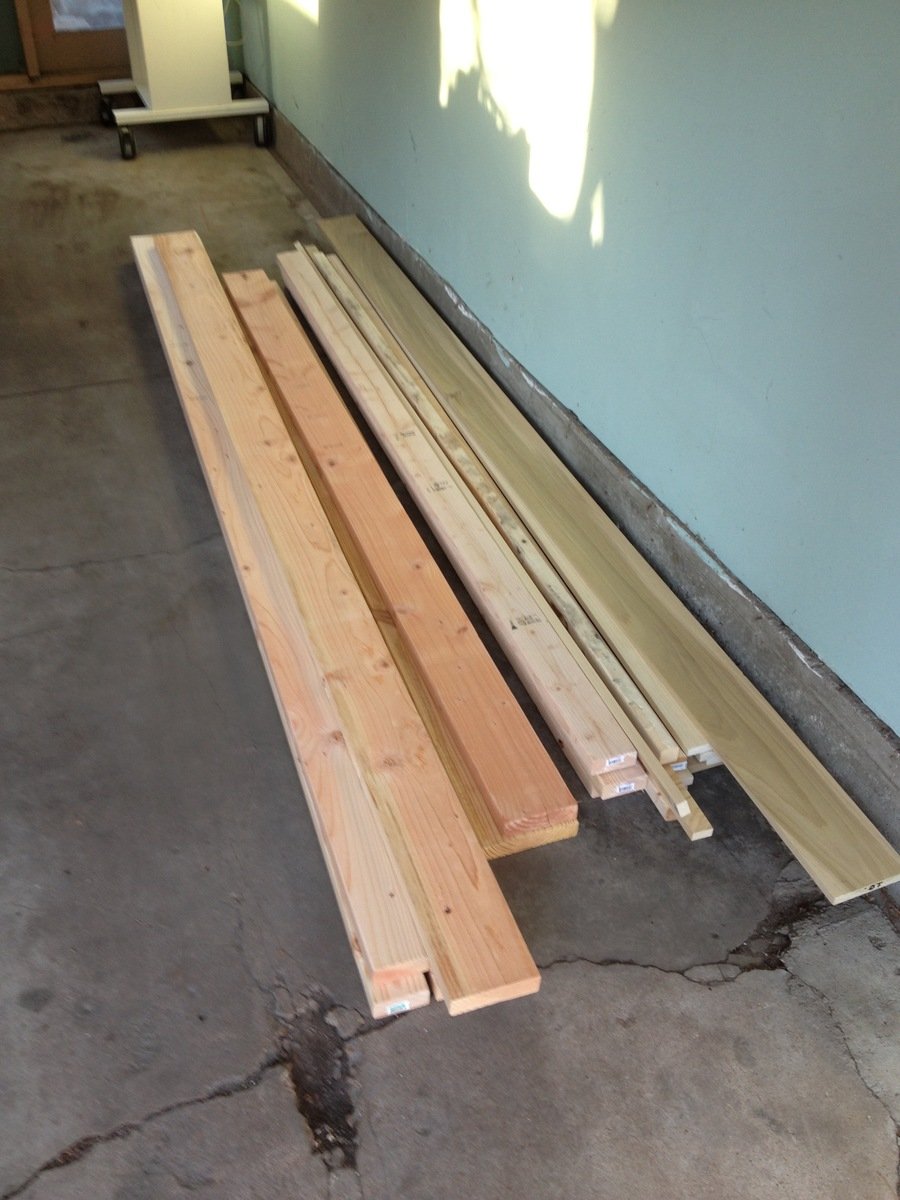
2. Buy straight wood.
3. Buy wood that is not warped.
4. Do not try to buy wood with grouchy kids in tow.
Are you seeing a theme? Yep, your project will only be as square and perfect as the wood you buy.
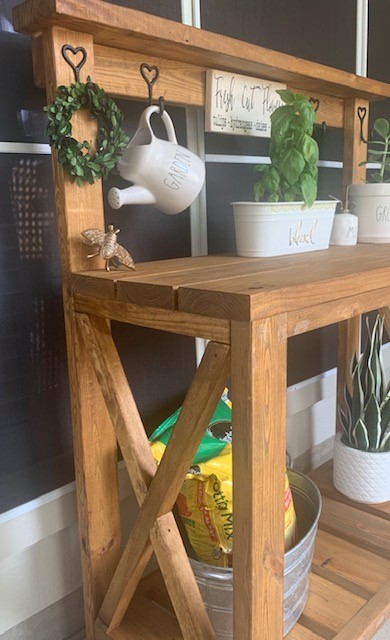
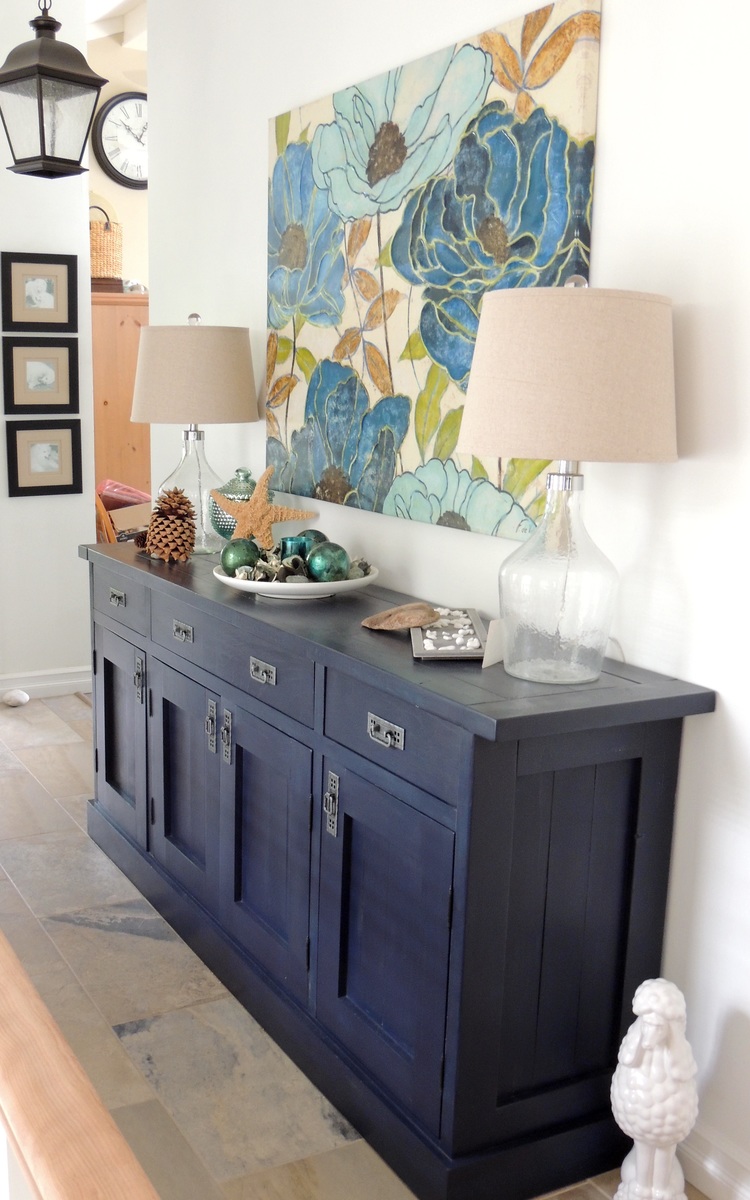
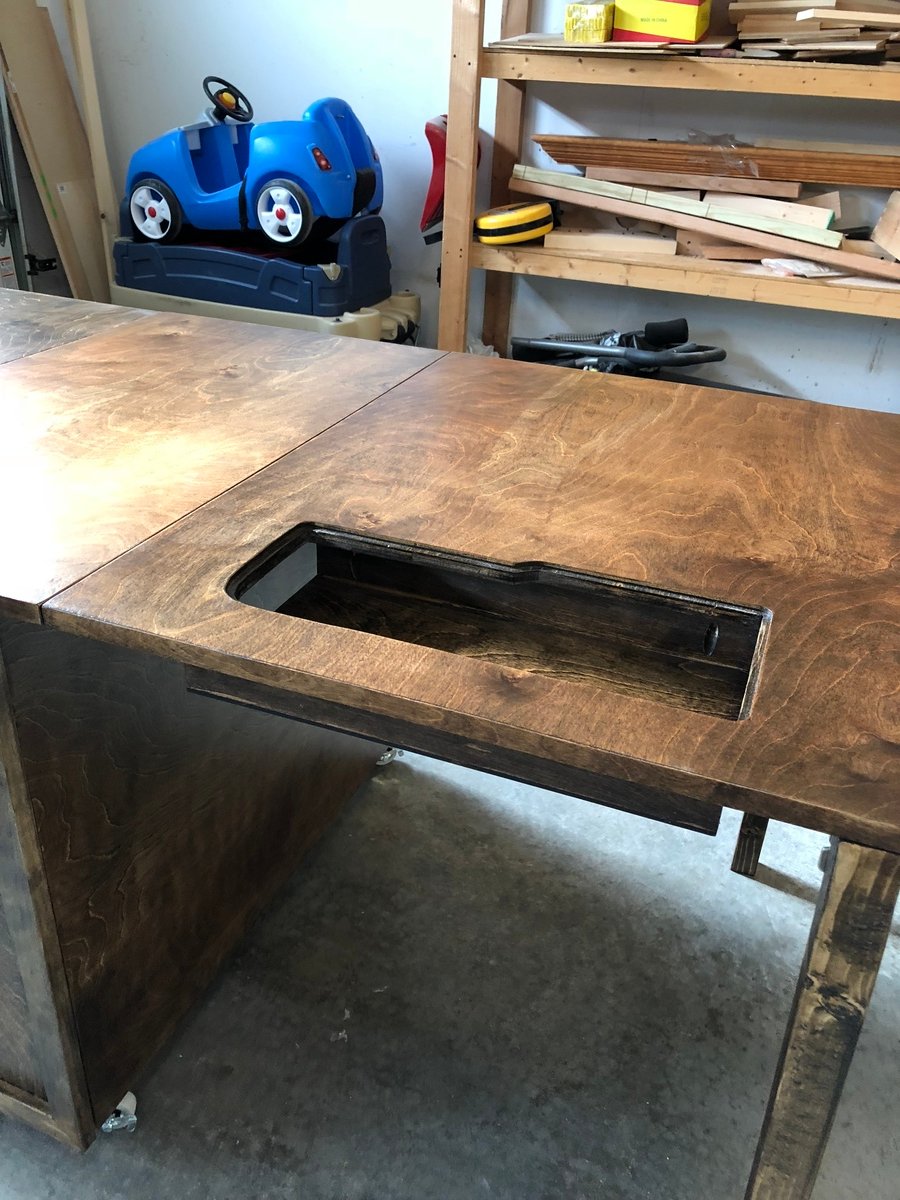
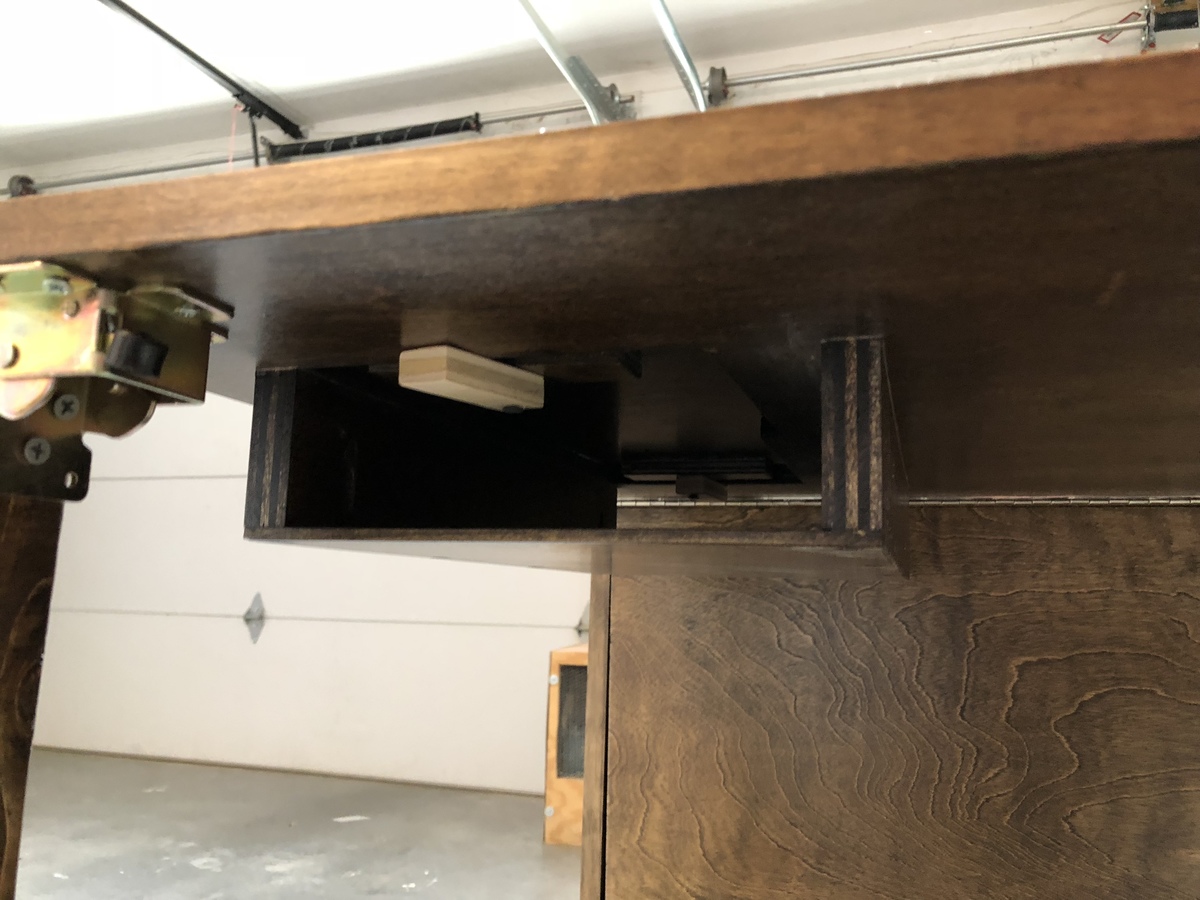
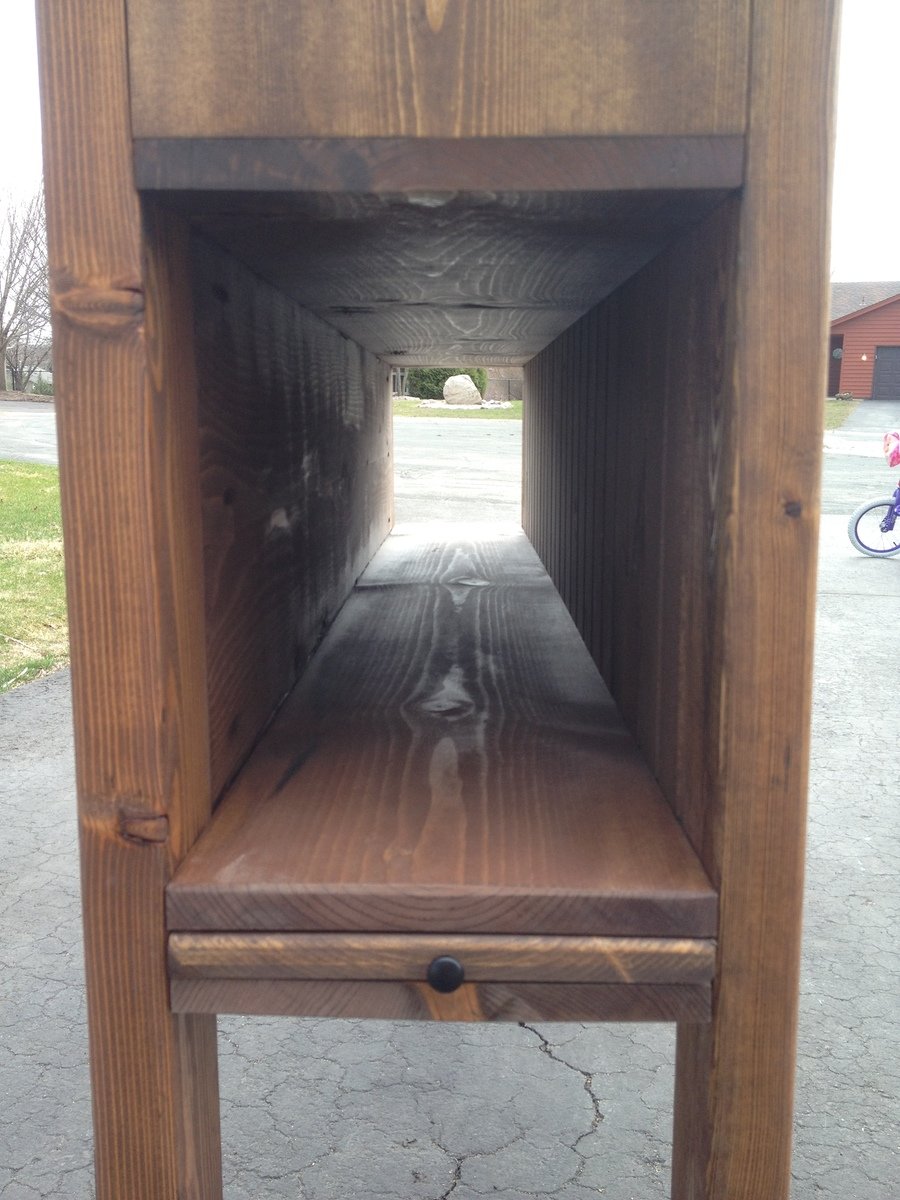
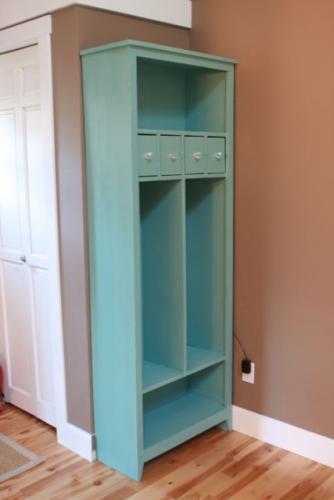
I modified the locker plan to include apothecary-style drawers for our cell phones, sunglasses and chapstick. I also drilled through the back of one of the drawers to turn it into a charging station for our cell phones.
The locker has been super useful so far and is such a great way to keep my kids' backpacks and lunchboxes organized. The baskets are designated for my purse, stuff I need to return to stores, the dog's leashes, and library books. It's so nice to have all this stuff near the front door and never wonder where any of it is!


Comments
Ana White Admin
Sun, 10/18/2020 - 14:55
Great mods!
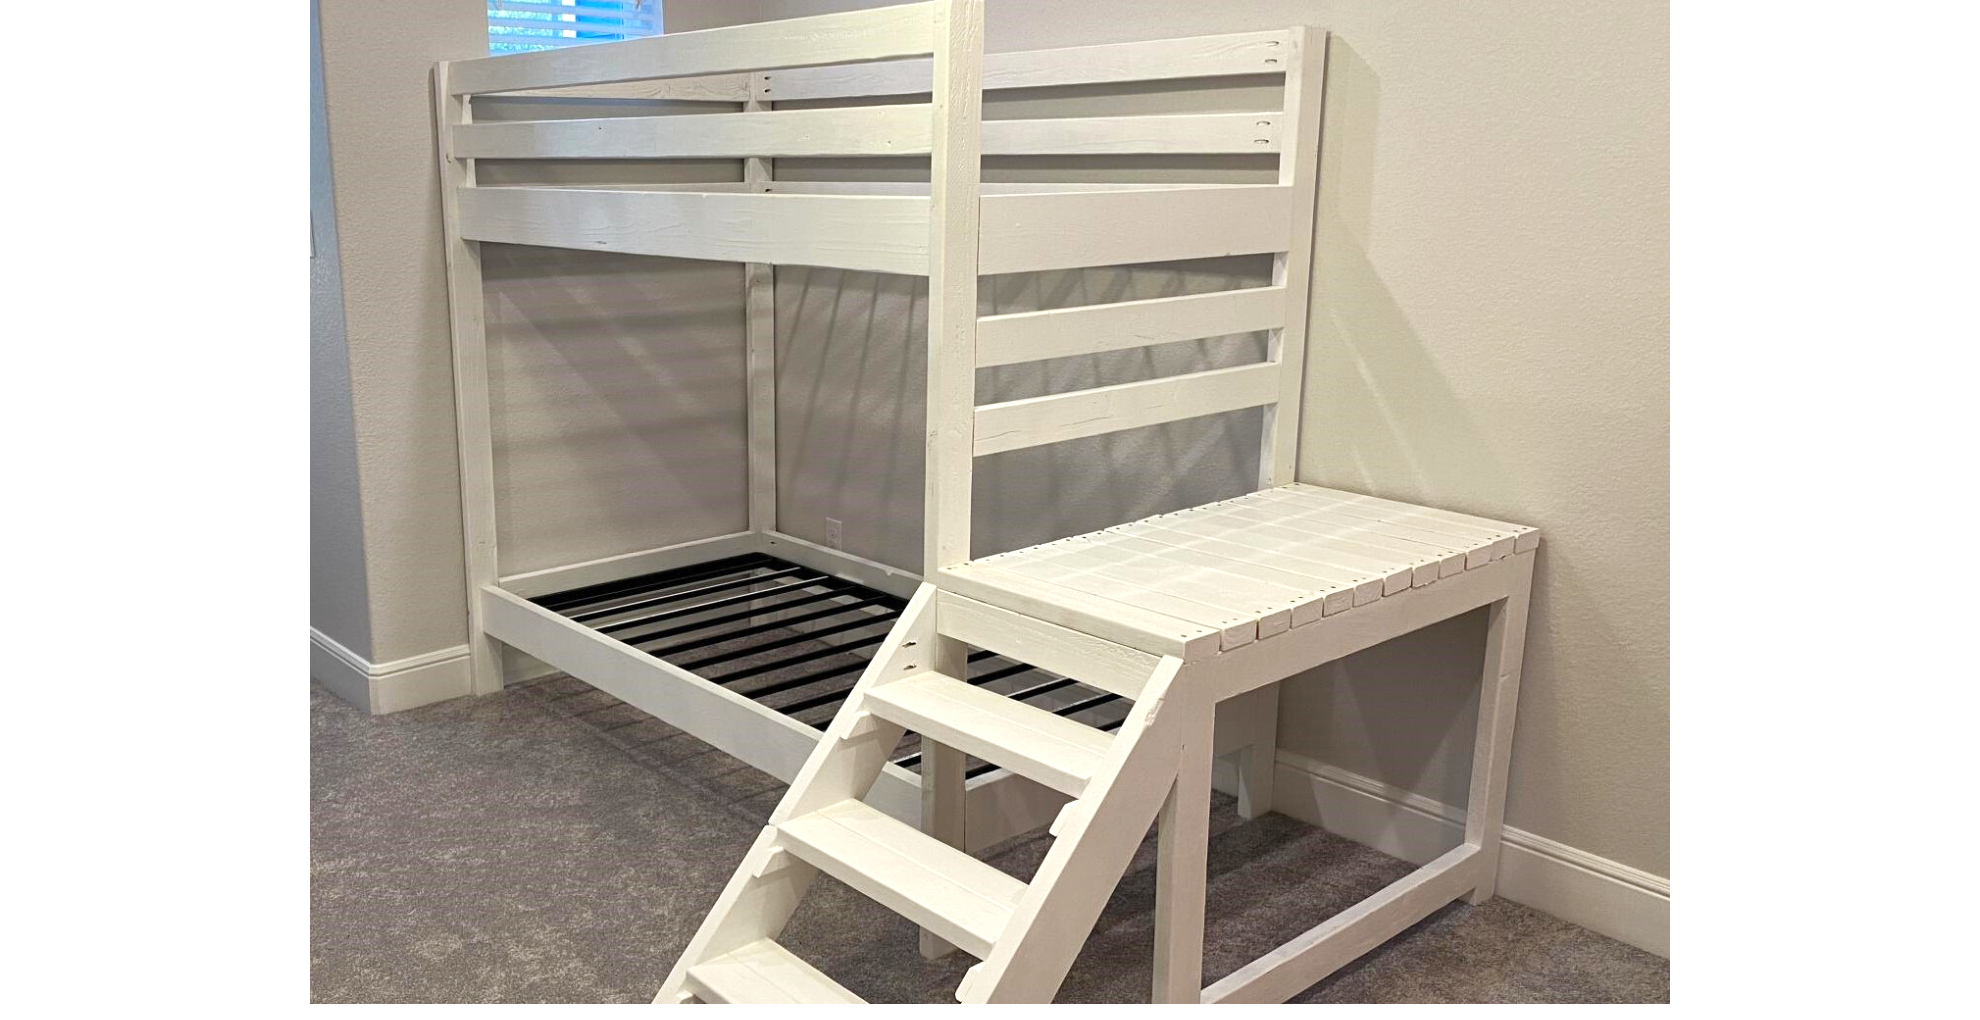
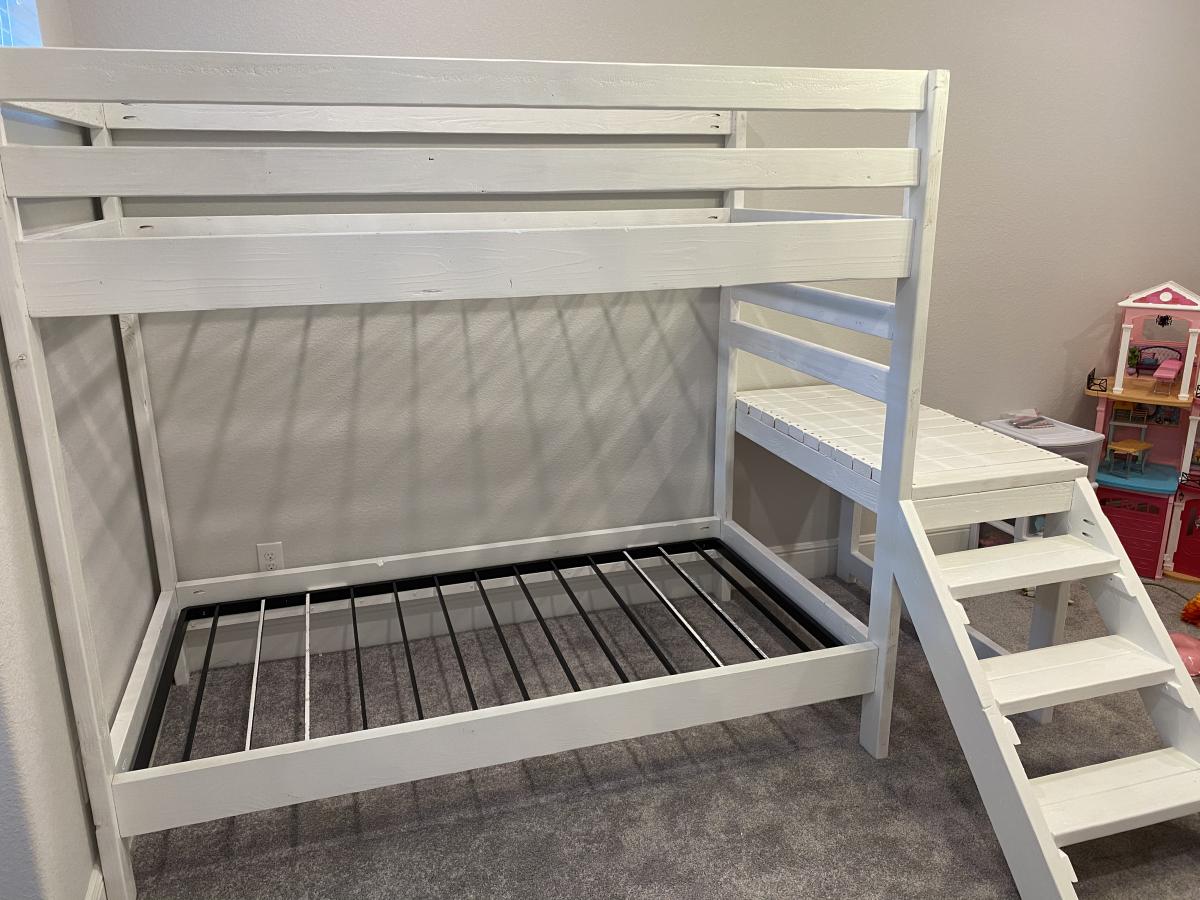
Love how you turned the loft into a bunk, looks great!