Community Brag Posts

Plant Stand

Submitted by Farmer Kim on Tue, 12/09/2014 - 14:46

I loved this plan when I first saw it.  I did make mine with metal that was 36 inches for the legs, it was the length available at my local hardware store and it also allows me to have plants on two levels and still be high enough for sunlight (unplanned bonus).

Estimated Time Investment
Afternoon Project (3-6 Hours)
Finish Used
Weathered Gray Stain
Recommended Skill Level
Starter Project

Greenhouse

Submitted by Anonymous (not verified) on Tue, 01/05/2021 - 08:08

We made some modifications to the greenhouse to include a bench with three levels, a working bench and a square foot garden. We also put it on concrete to keep all the weeds out from the bottom as well.

Built from Plan(s)
Estimated Cost
2500.00
Finish Used
We start our own seeds and plan to grow 15 different varieties of vegetables inside this greenhouse all year long.
Recommended Skill Level
Intermediate

Comments

Dress up isn't just for girls :)

Submitted by Laranda on Fri, 02/08/2013 - 13:23

MY boys have tons of dress up stuff so when I saw the dress up center plans I just had to make one! My husband and I decided to make it a little taller and add a shelf since the play room is small and they could use any extra shelves/storage we can squeeze in. This was our first DIY furniture project and we can't wait to try another. :)

Finish Used
Bin and white semigloss paint
Recommended Skill Level
Starter Project

Comments

Sliding barn door

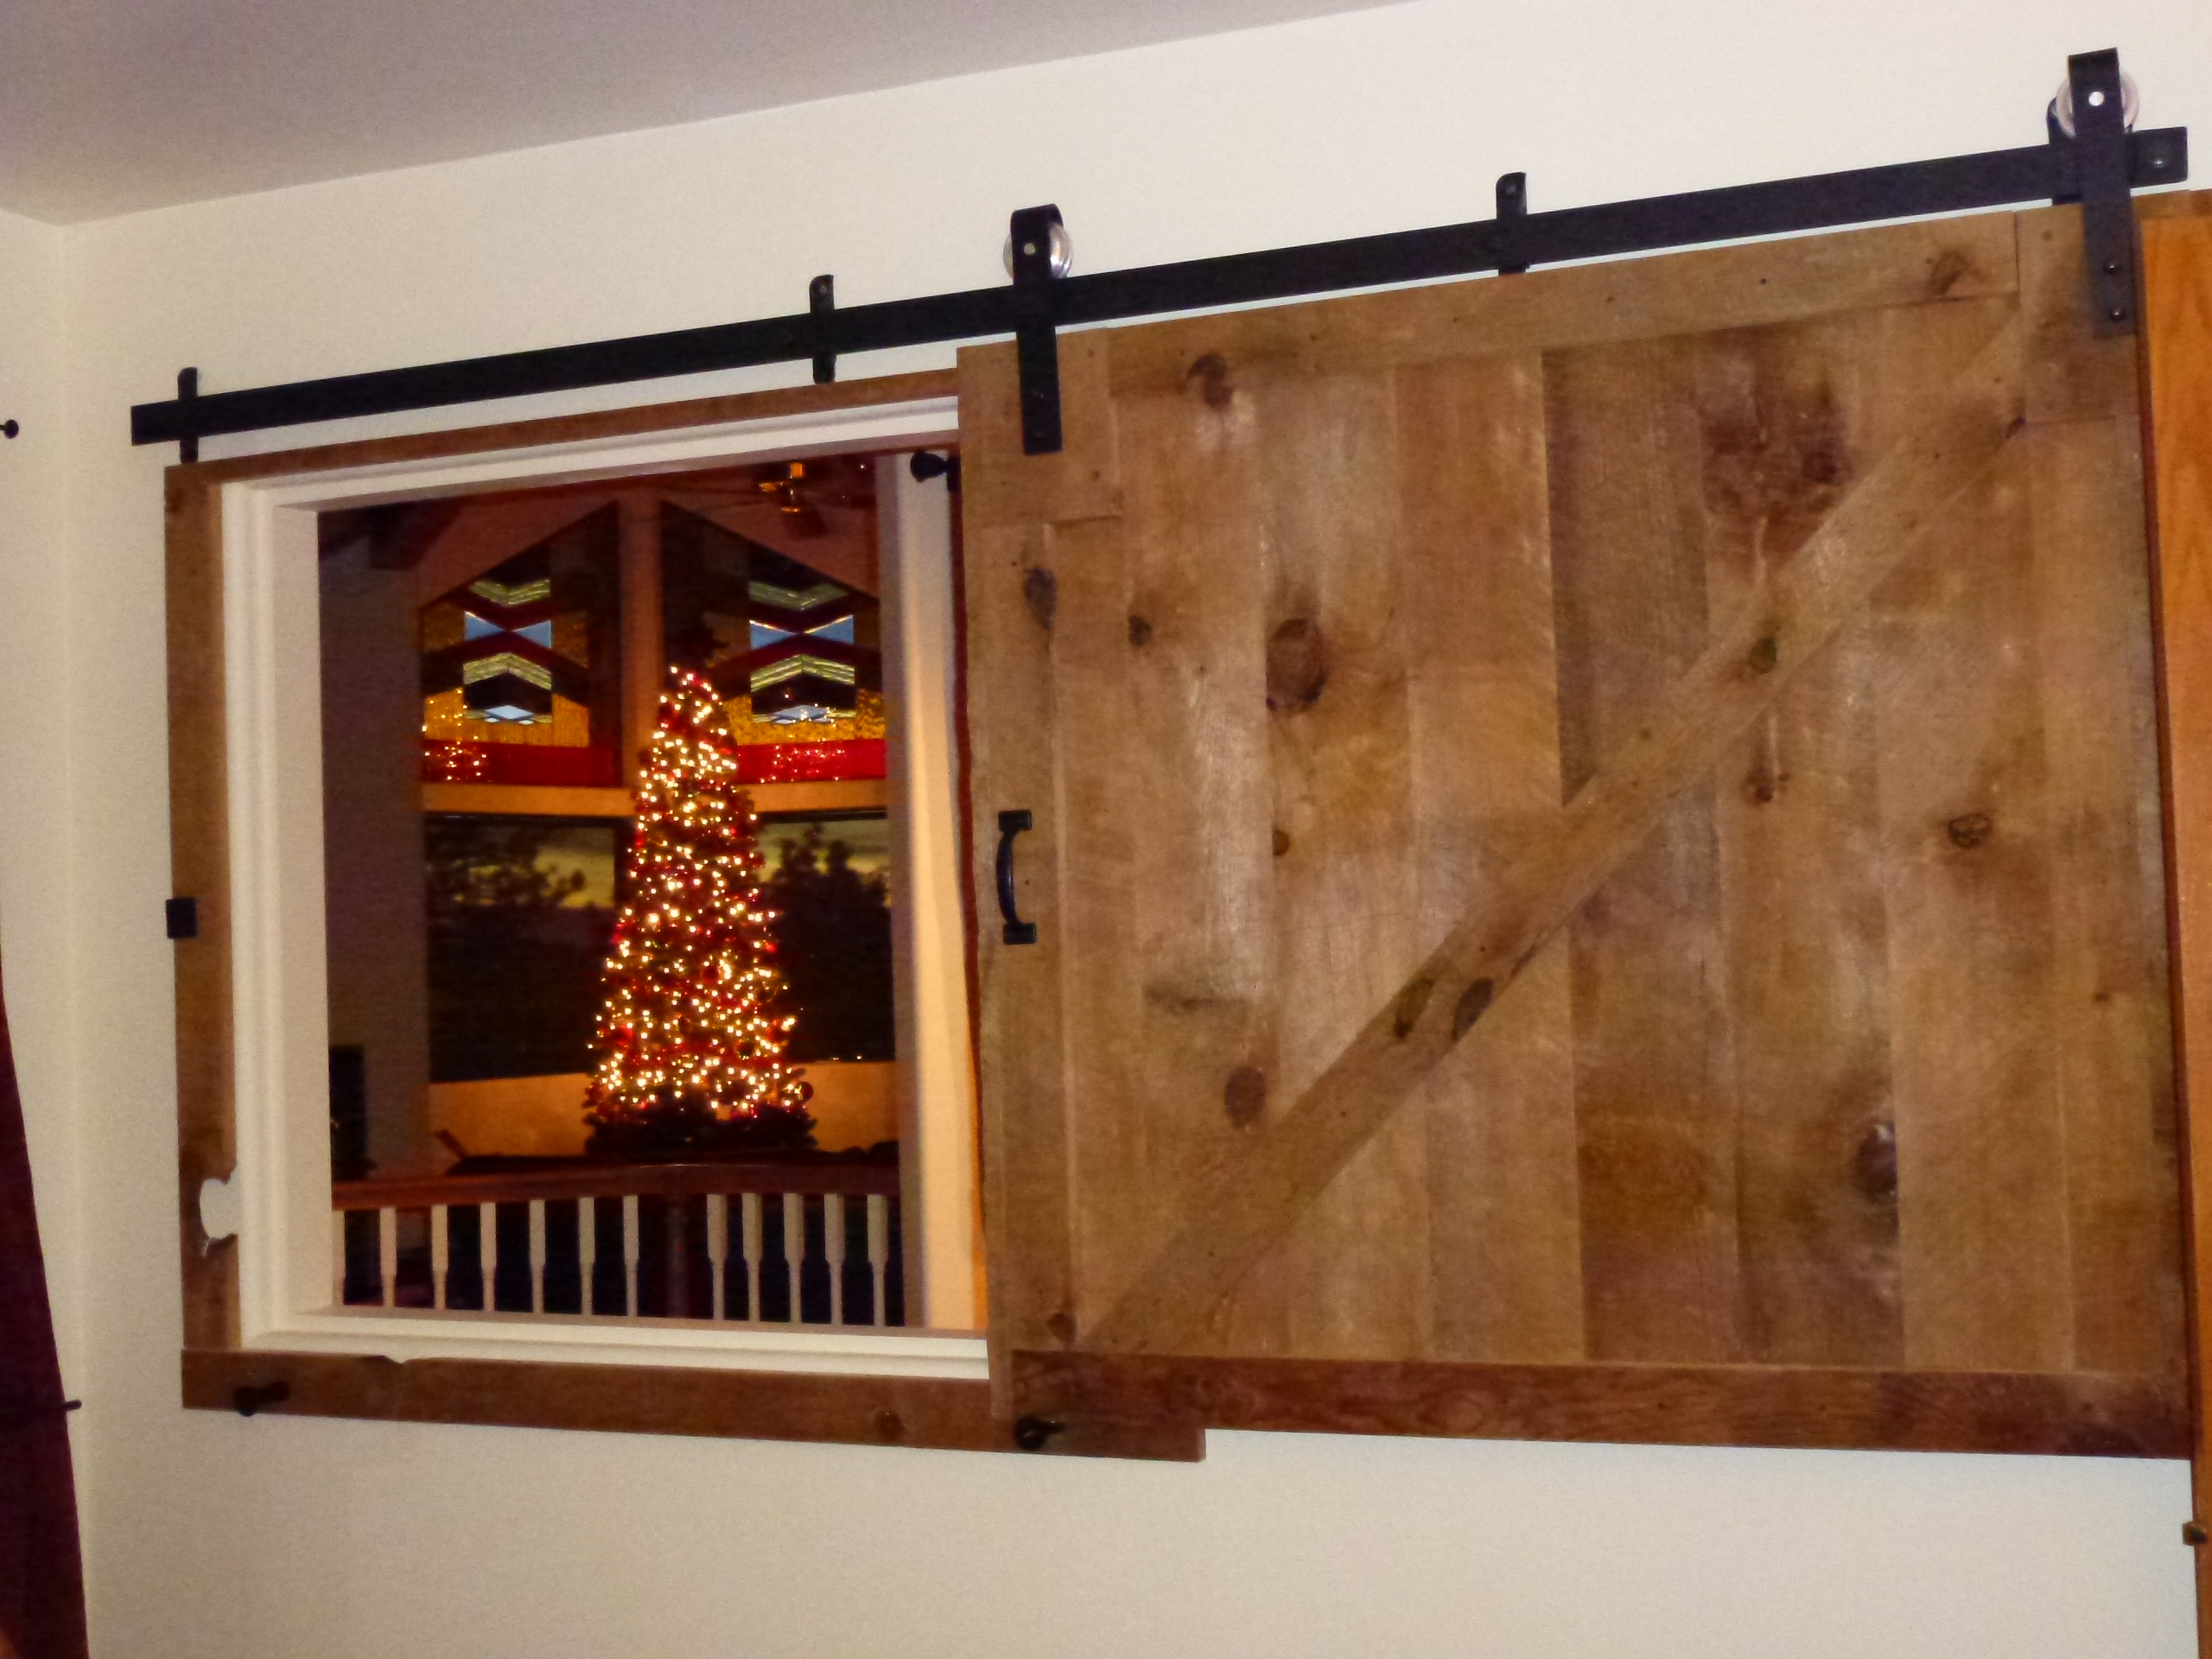
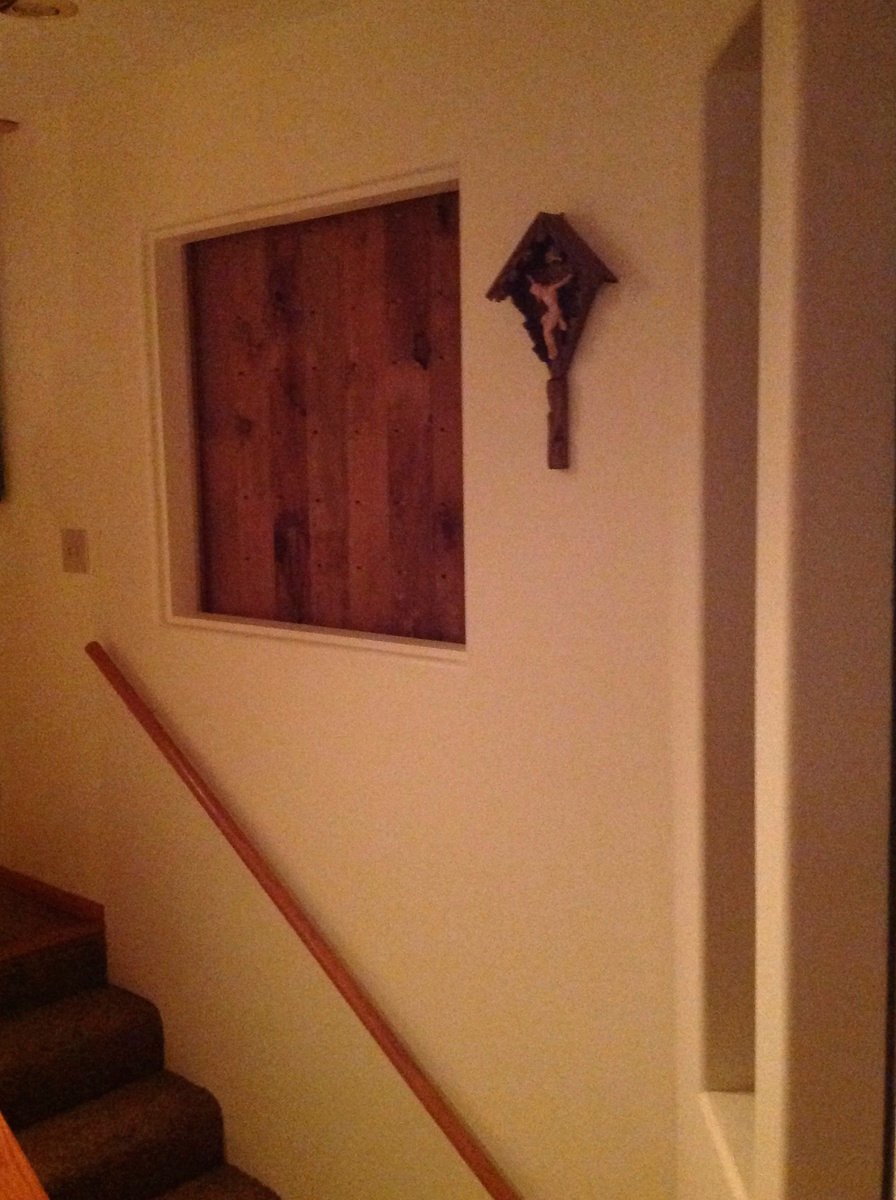
The decision to replace the shutters between our Guest Bedroom and our Great Room with a sliding barn door was simple.  The implementation thereof was considerably more complex.

We selected reclaimed barn wood purchased at a local hardwood store.  The wood was, presumably, some type of cedar and was very user friendly; no cracking from KREG screws and cut / glued very well.  We did have to run the stock through the joiner first, however, as the edges were weathered, warped & gouged.  We didn’t sand or finish the wood in any manner and it looks exactly as it did when it was part of a standing barn. 

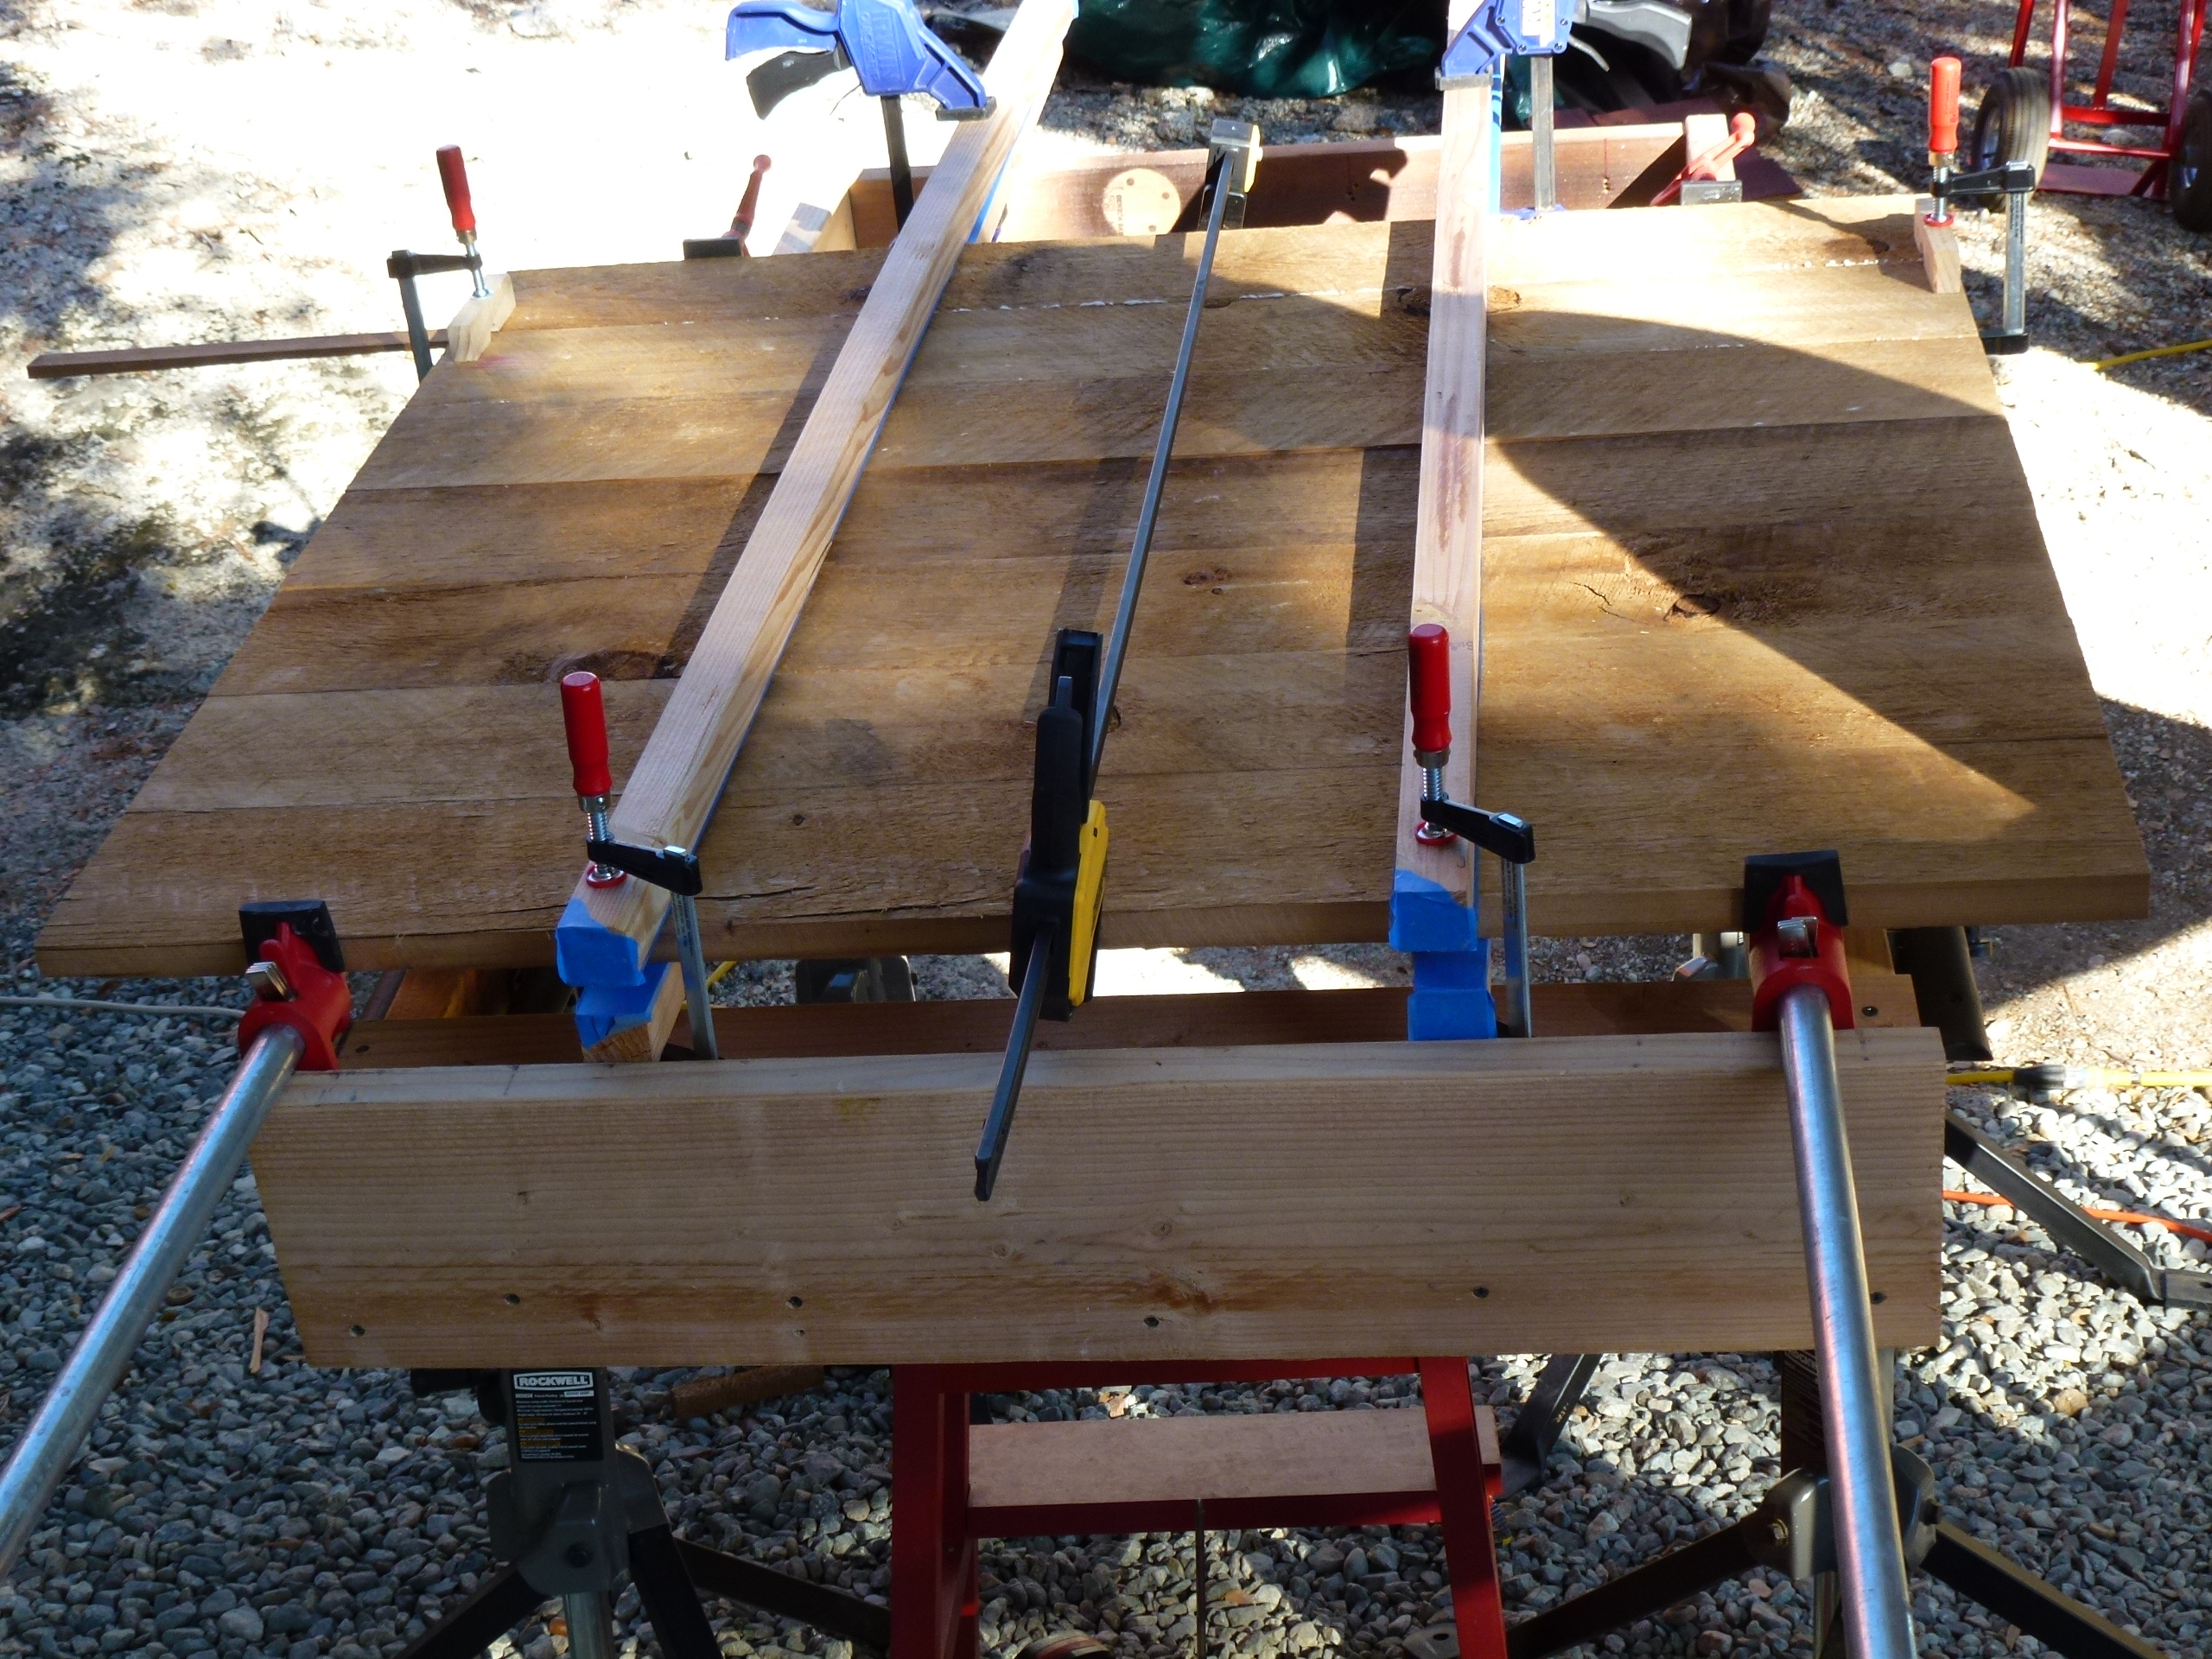
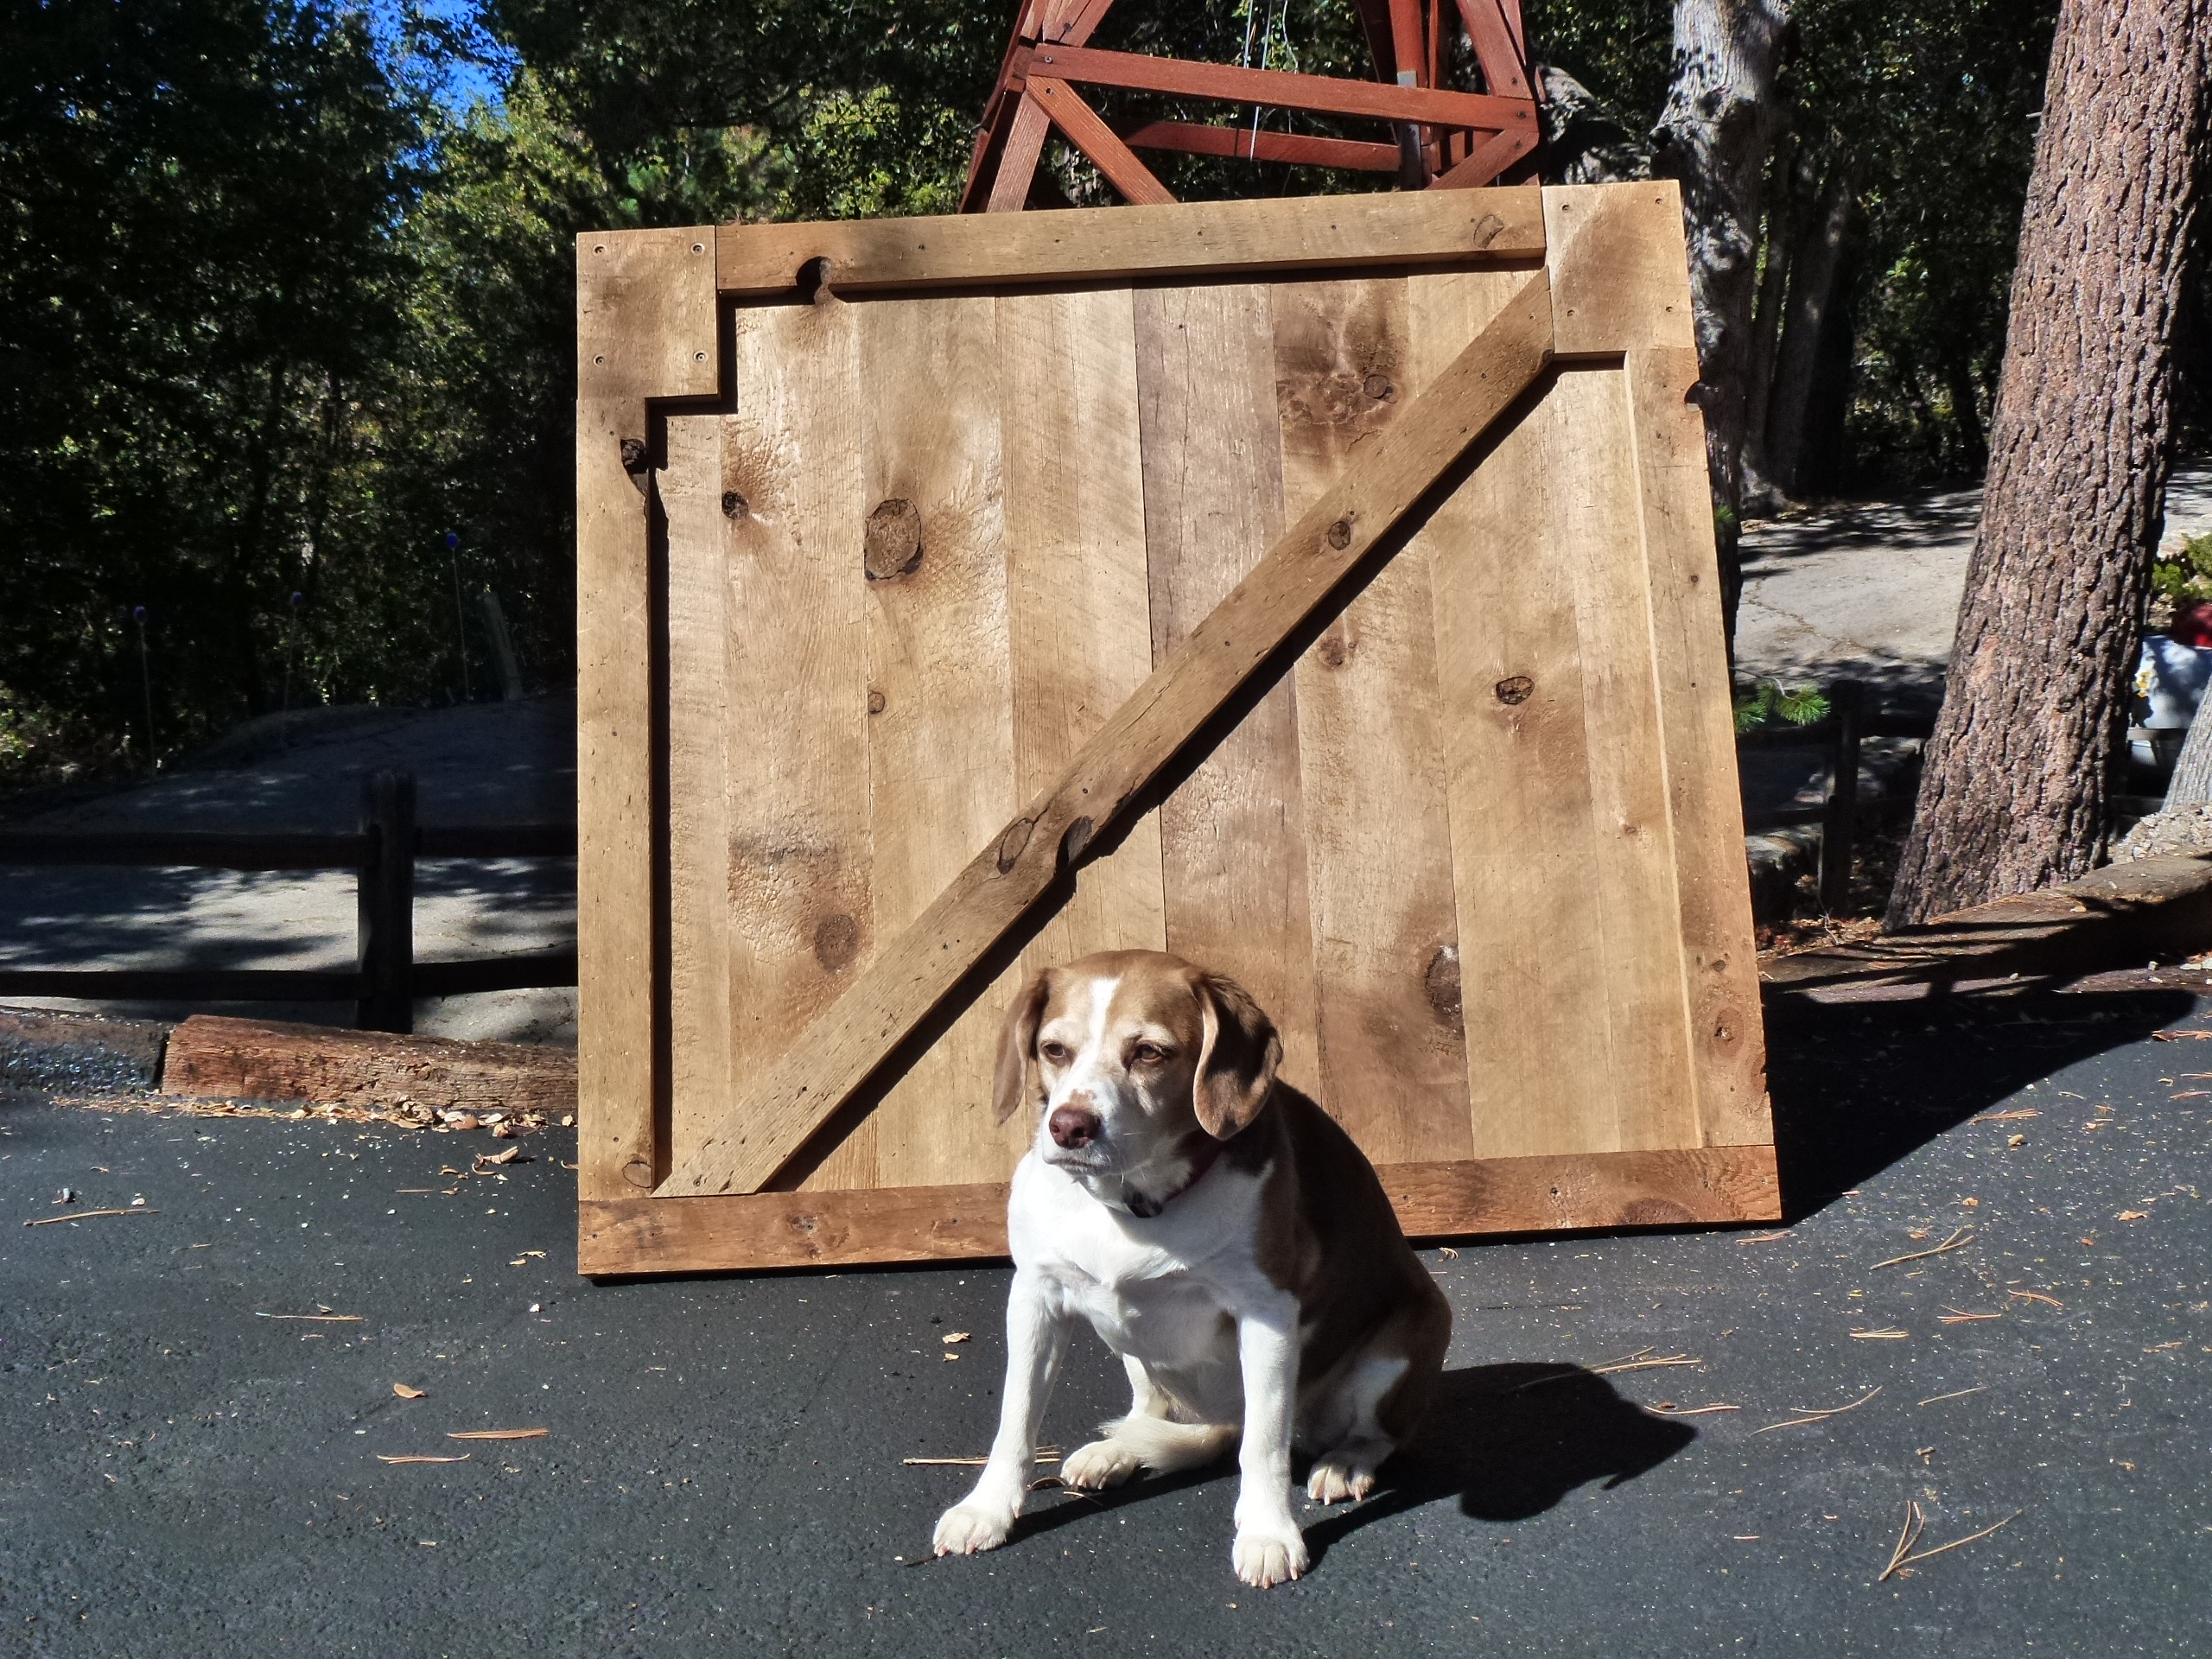
The significant challenge for this project was joining the planks together.  Many of the boards were cupped and of varying thicknesses.   Rather than use a surface planer, we decided to go for the “very rustic” look.  We selected planks and their respective locations based on color and the pattern of how the knots were placed.

We used TITEBOND No-Drip glue, which is typically used for molding.  While it is stronger than TITEBOND II but not as strong as TITEBOND III, it is much easier to work with.  Since we didn’t intend on sanding / finishing the wood, we didn’t want to use a glue that was too runny.  Reclaimed barn wood is very porous and excess glue would quickly inter-digitate with the wood.  Excess TITEBOND No-Drip glue was easily removed, once in a doughy state, with the gentle scrape from a sharp wood chisel.

It took us over 6 hours to join the 8 planks as we were very careful in plank positioning so as not to shoot KREG screws through the front.  Since plank placement was so crucial, we used pipe clamps and each board was individually clamped and screwed as opposed to trying to do several at one time.  Much to our delight, 1 ½” course thread KREG screws had impressive purchase.  The frame was glued and secured w/ ROCKLER 1 ½” finishing screws that have a 3/16th fine thread which countersink easily as the thread is wider than the head.

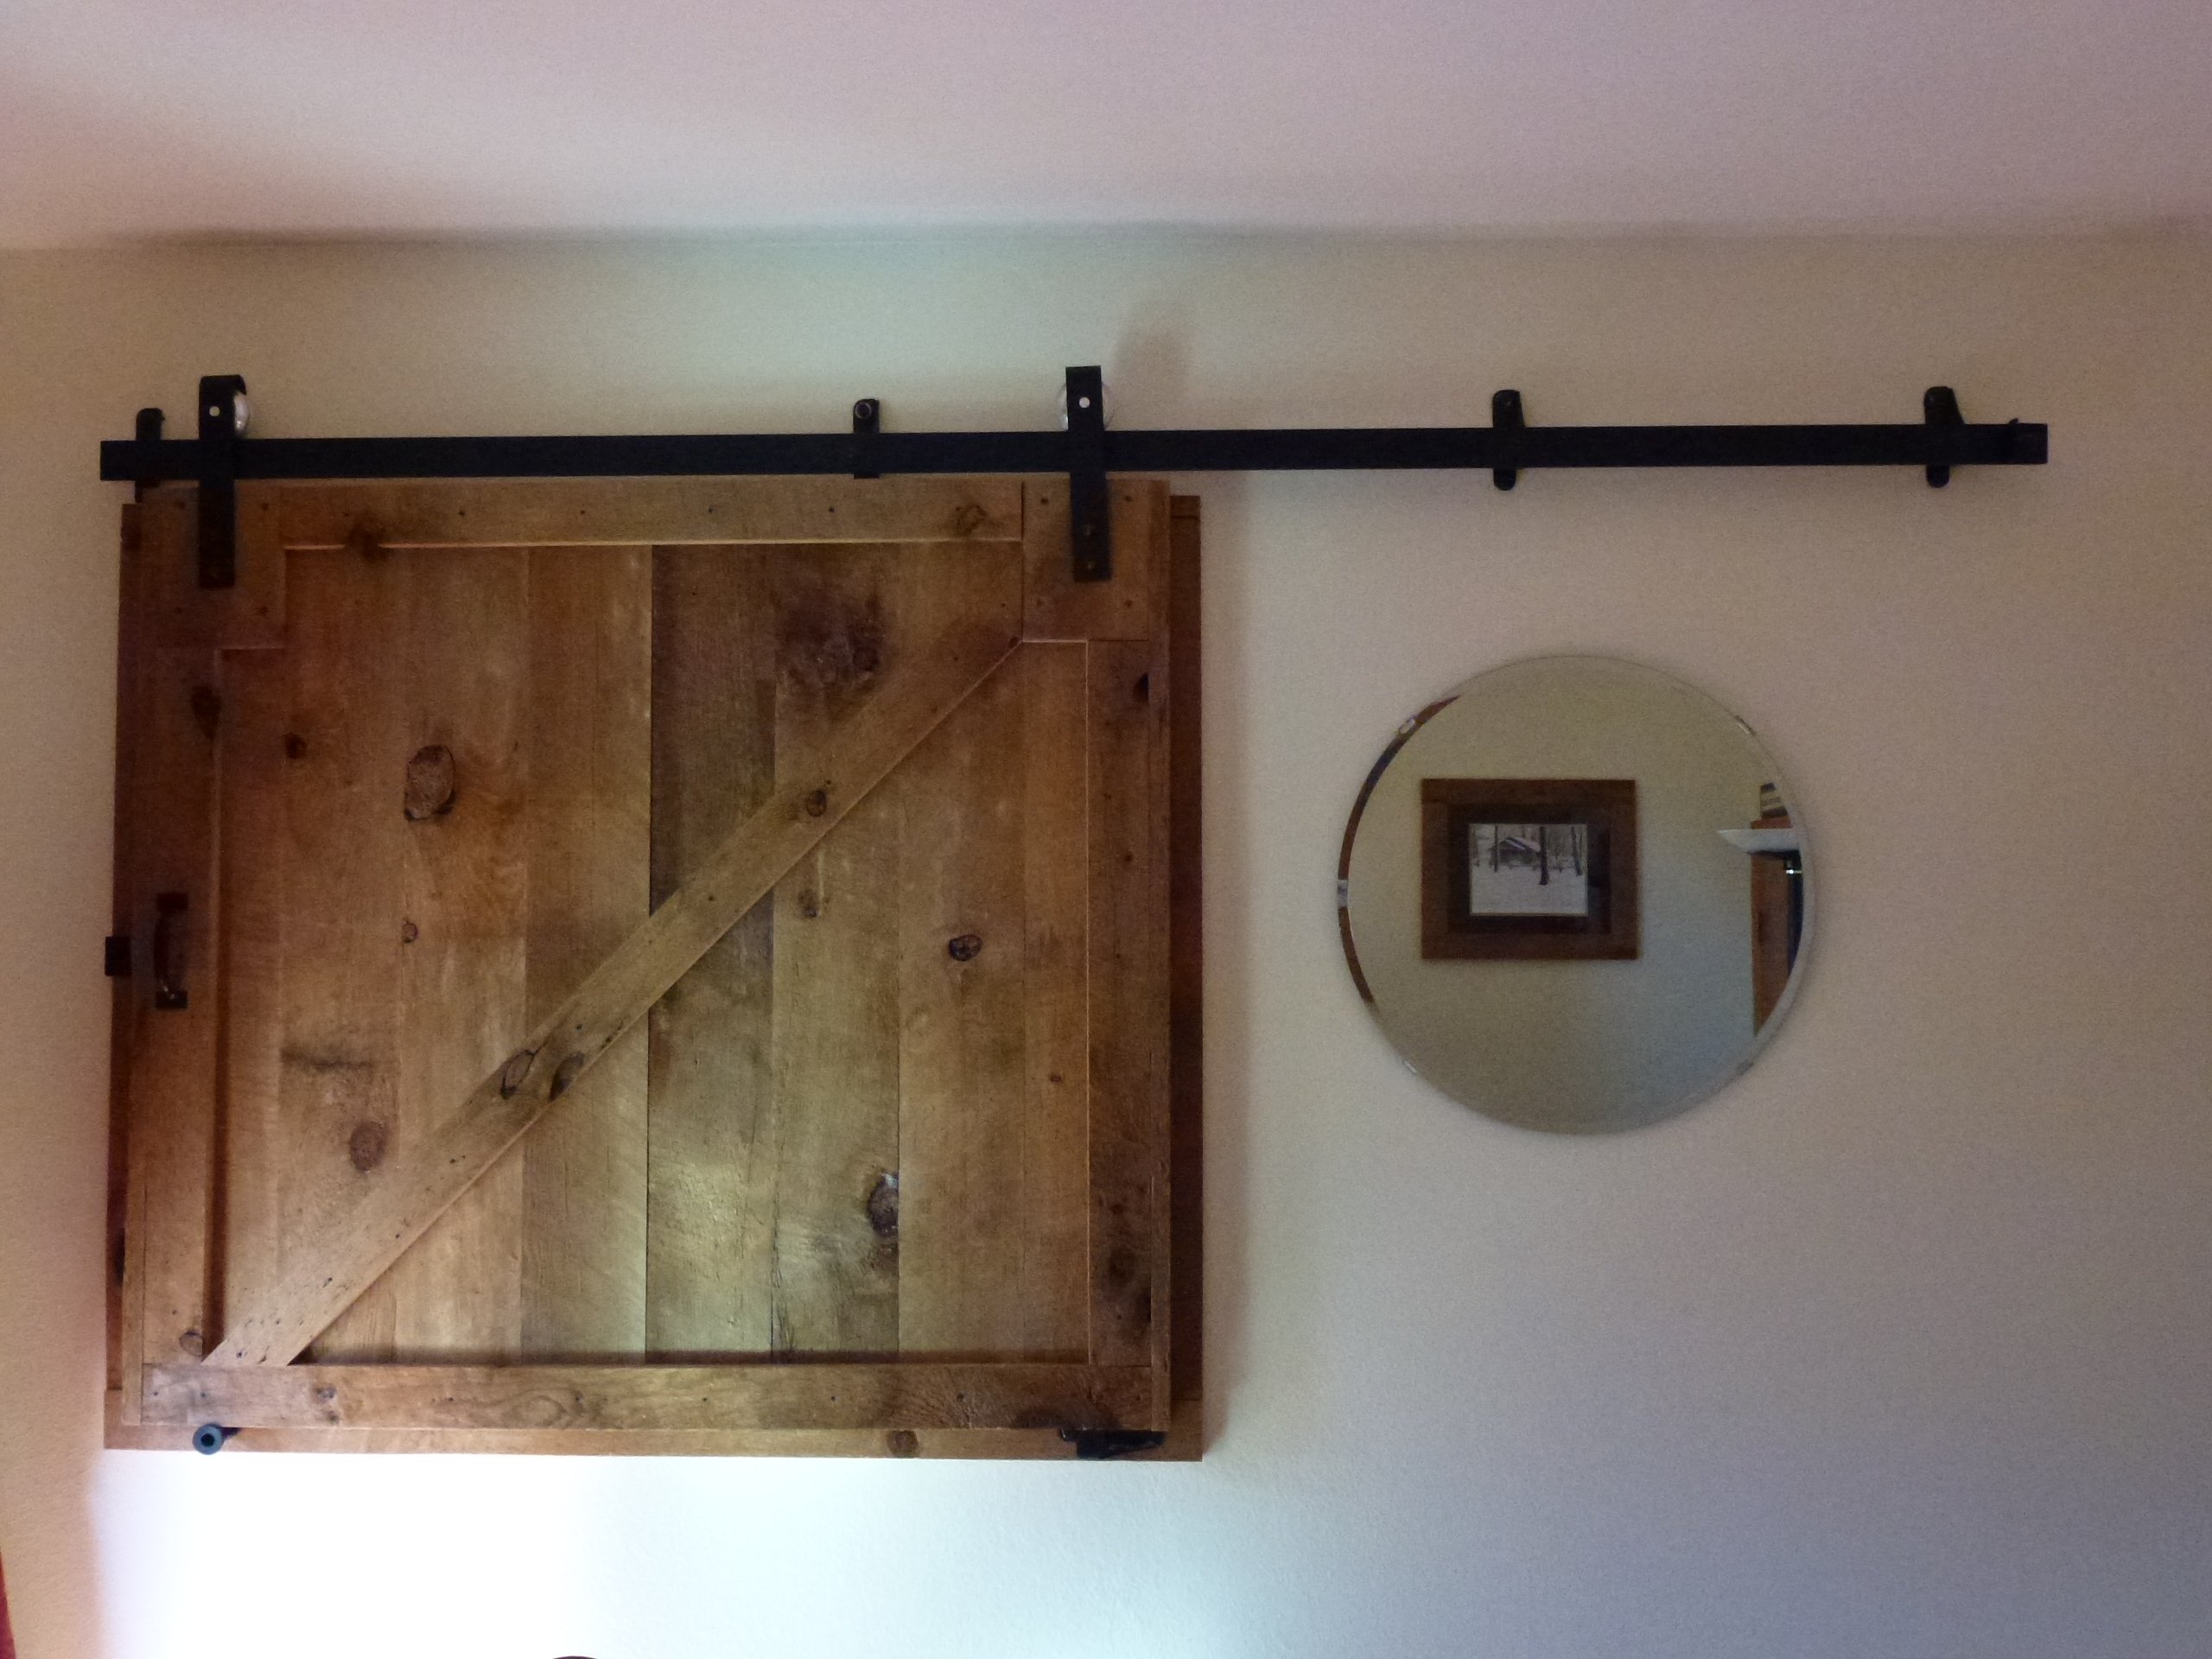
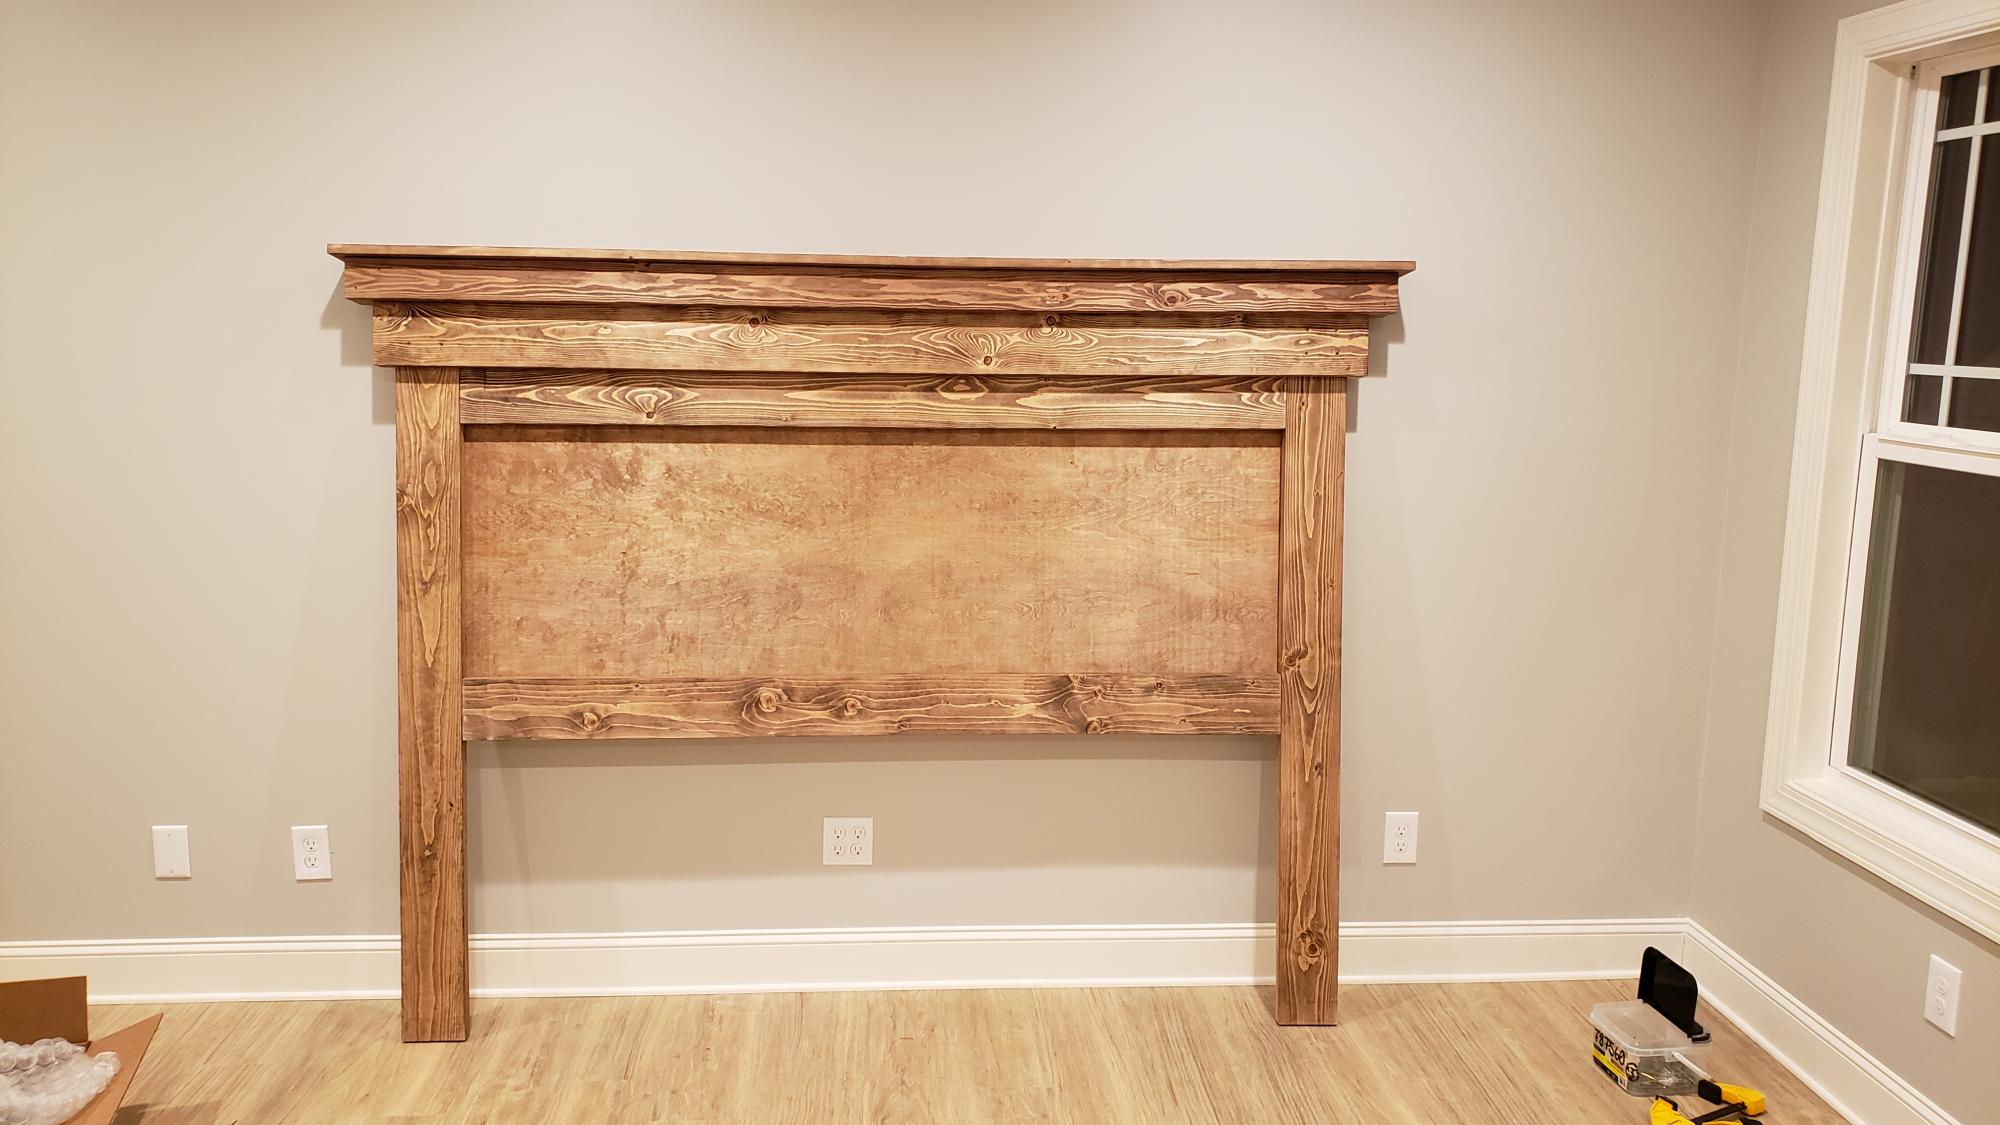
The dimensions are 51” (x) 46.5” and 2” thick at the frame.  It took us  30 hours to build and hang.  The final cost was about $550 ($300 – wood / $250 - hardware) which is much less expensive than the $1500 - $4000 price range seen on the internet.

This was not a particularly difficult project, but did require patience and some luck along the way.  If a barn door is of interest to you, the savings in cost is well worth the effort. 

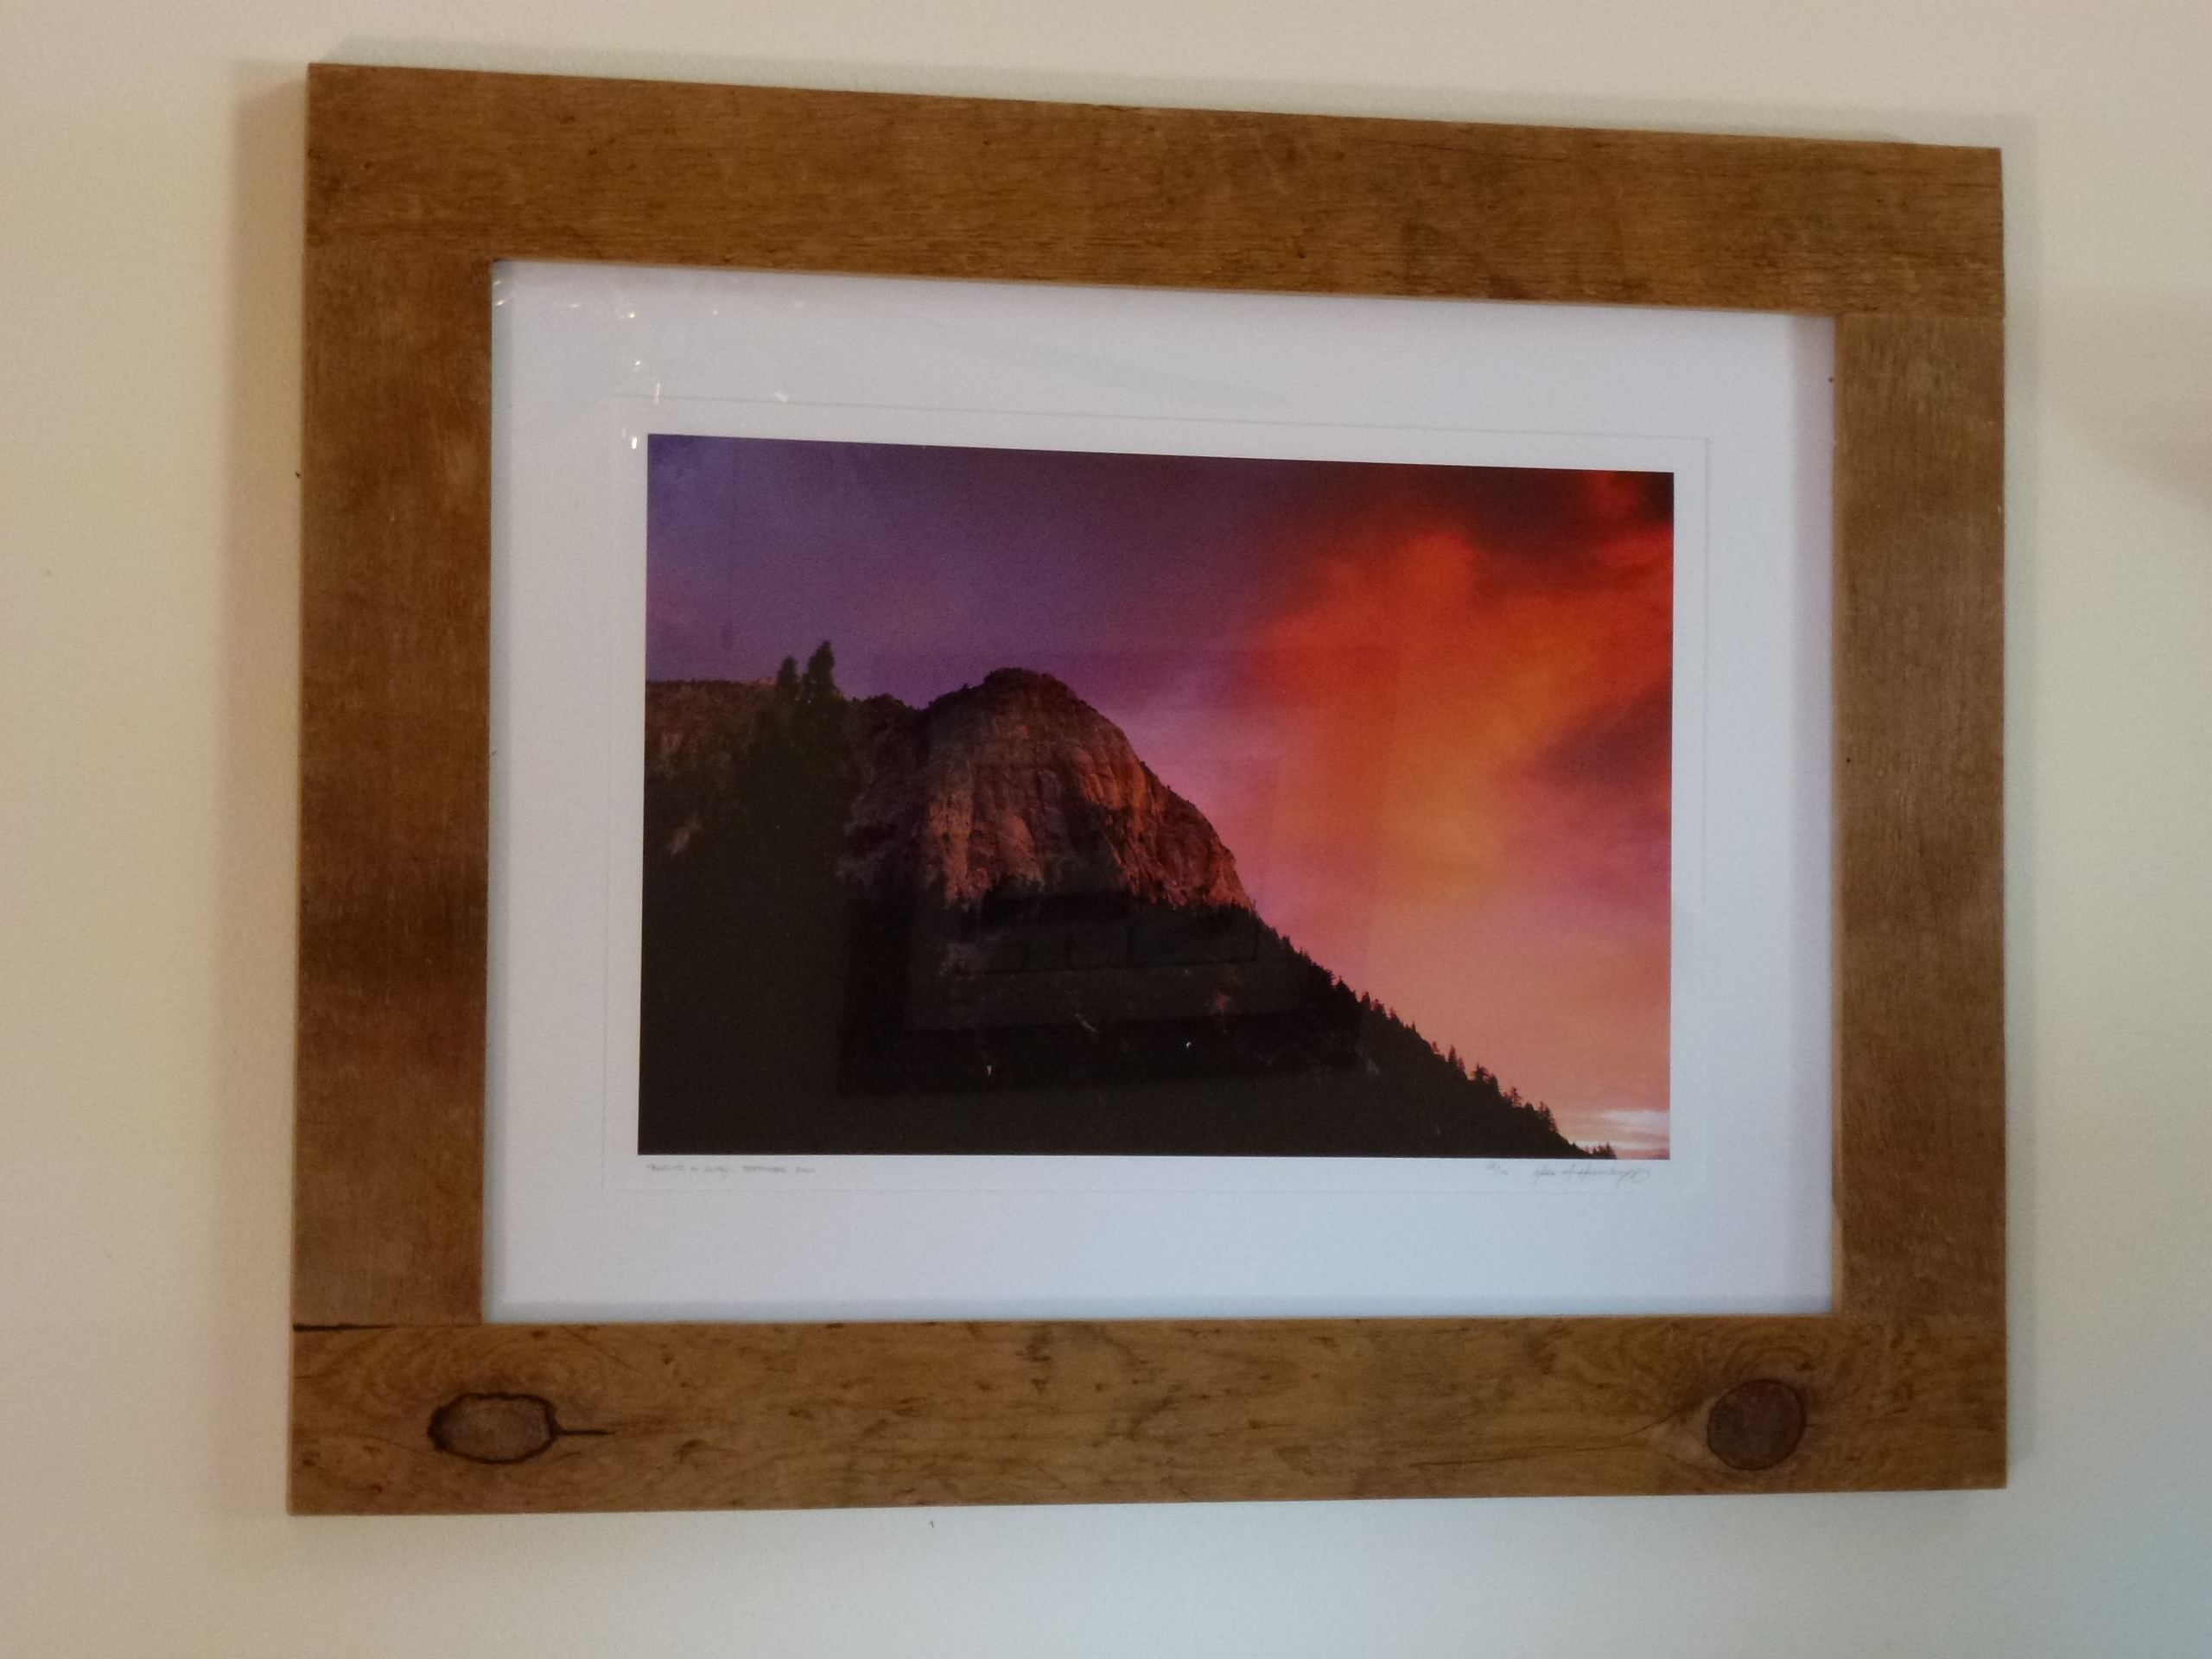
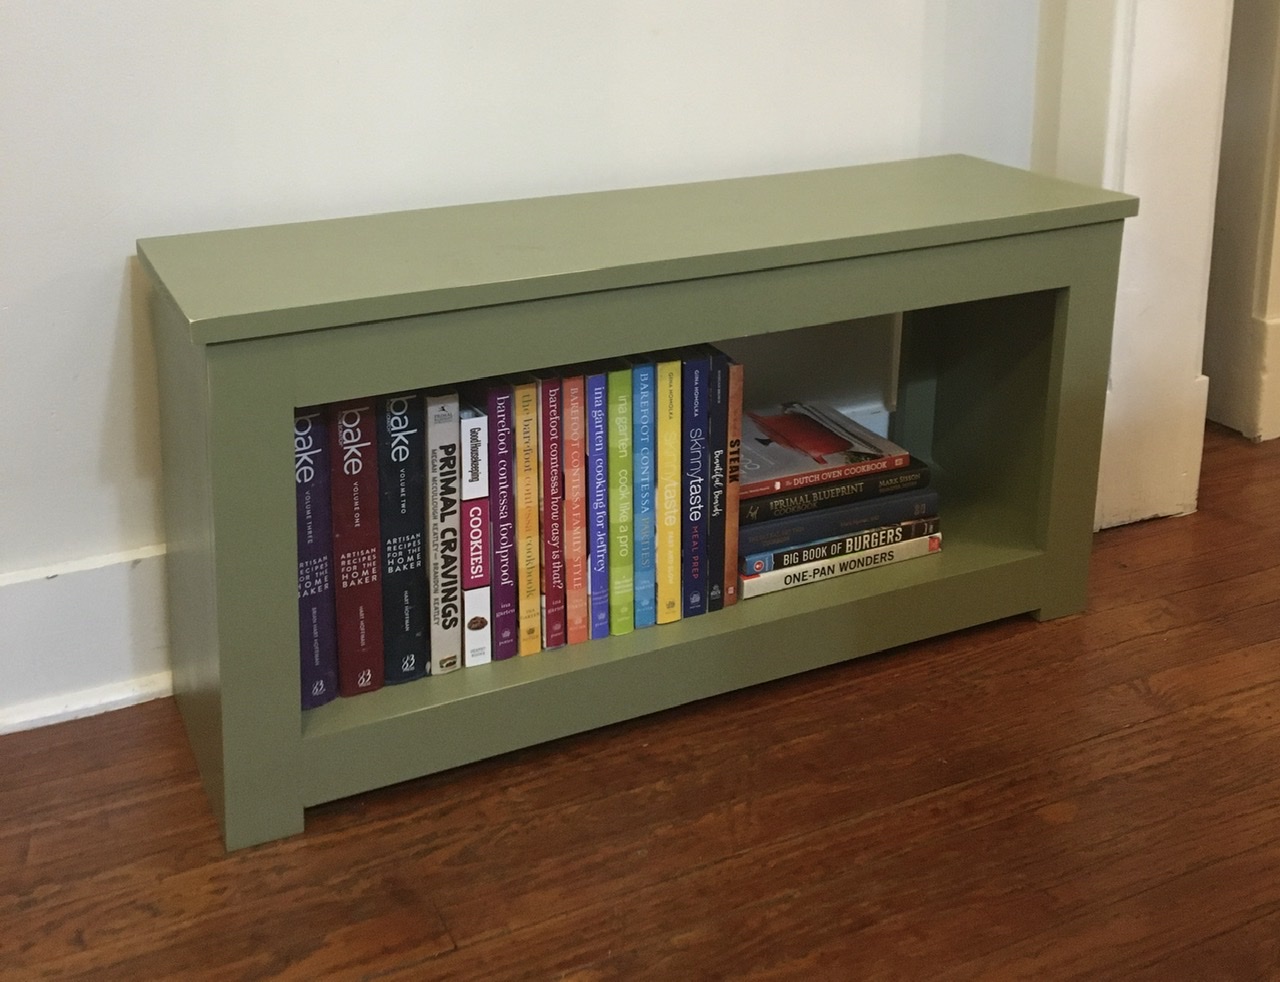
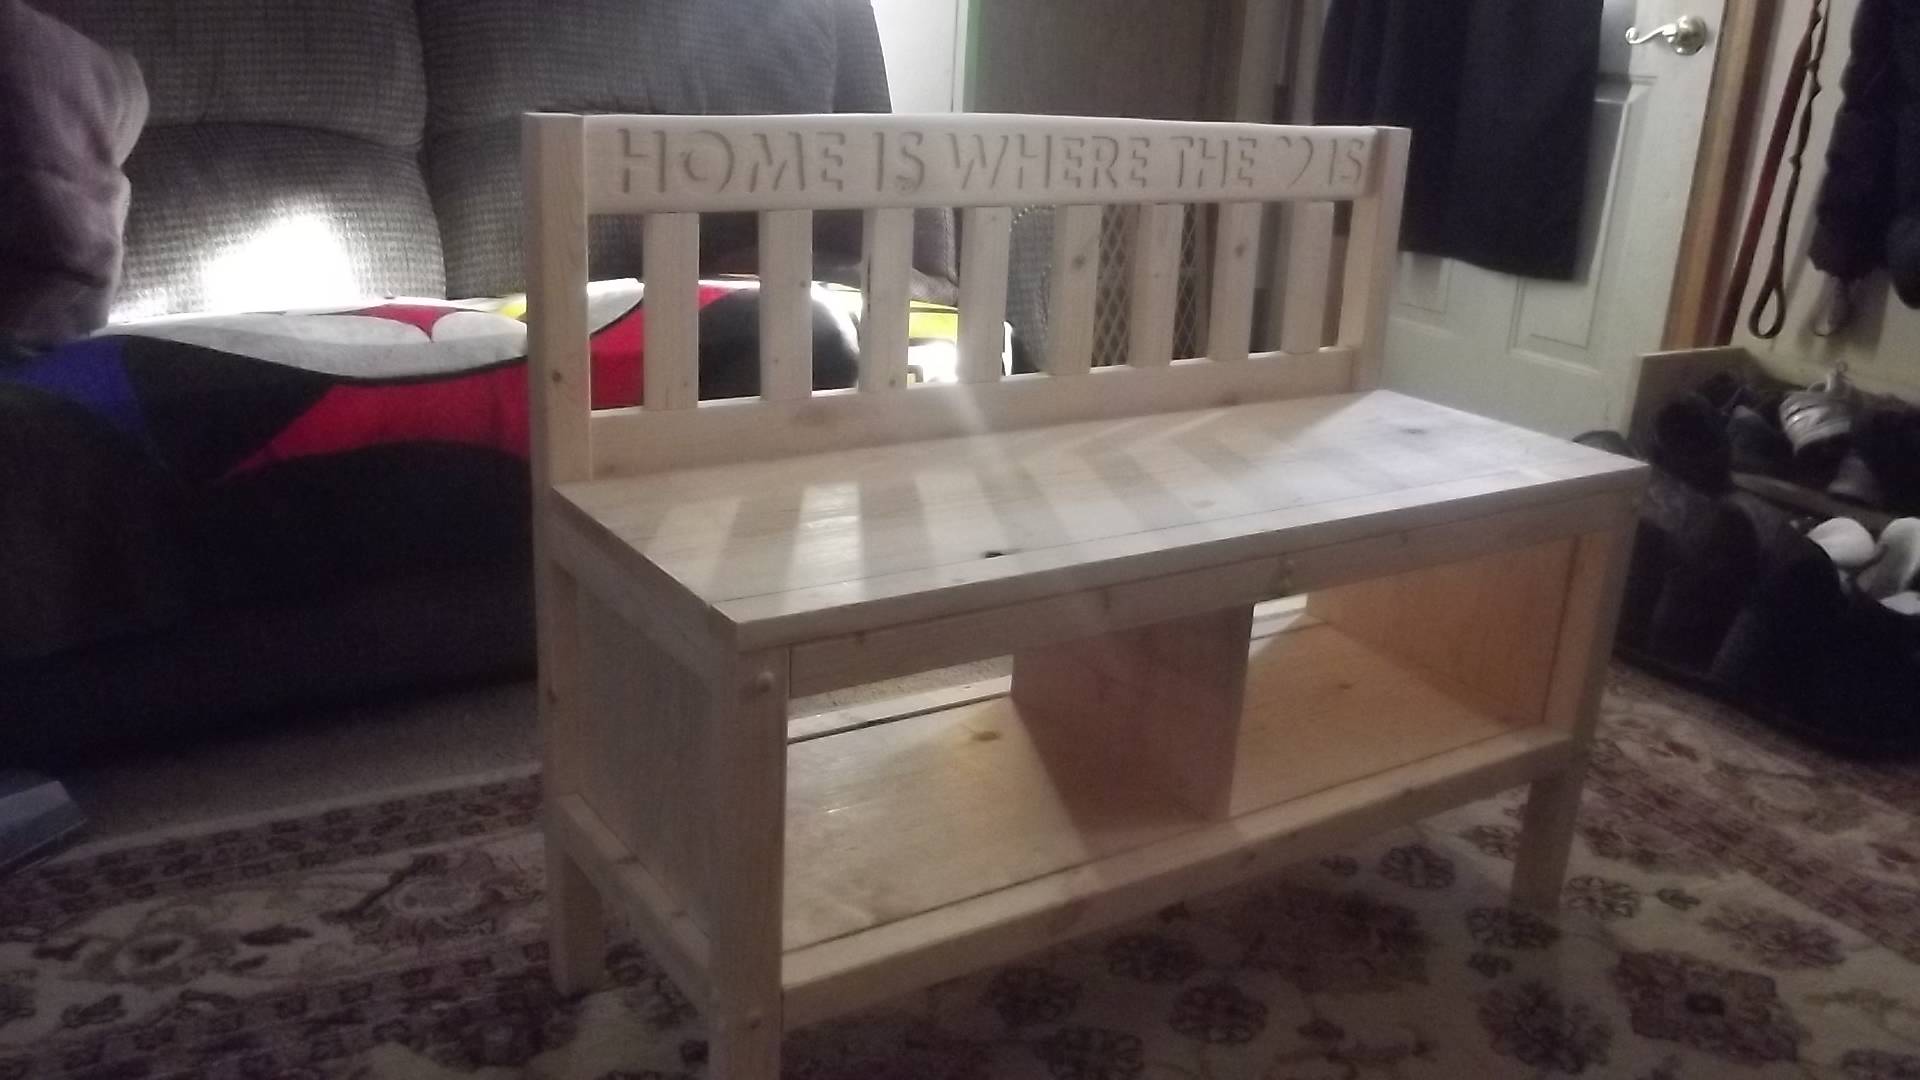
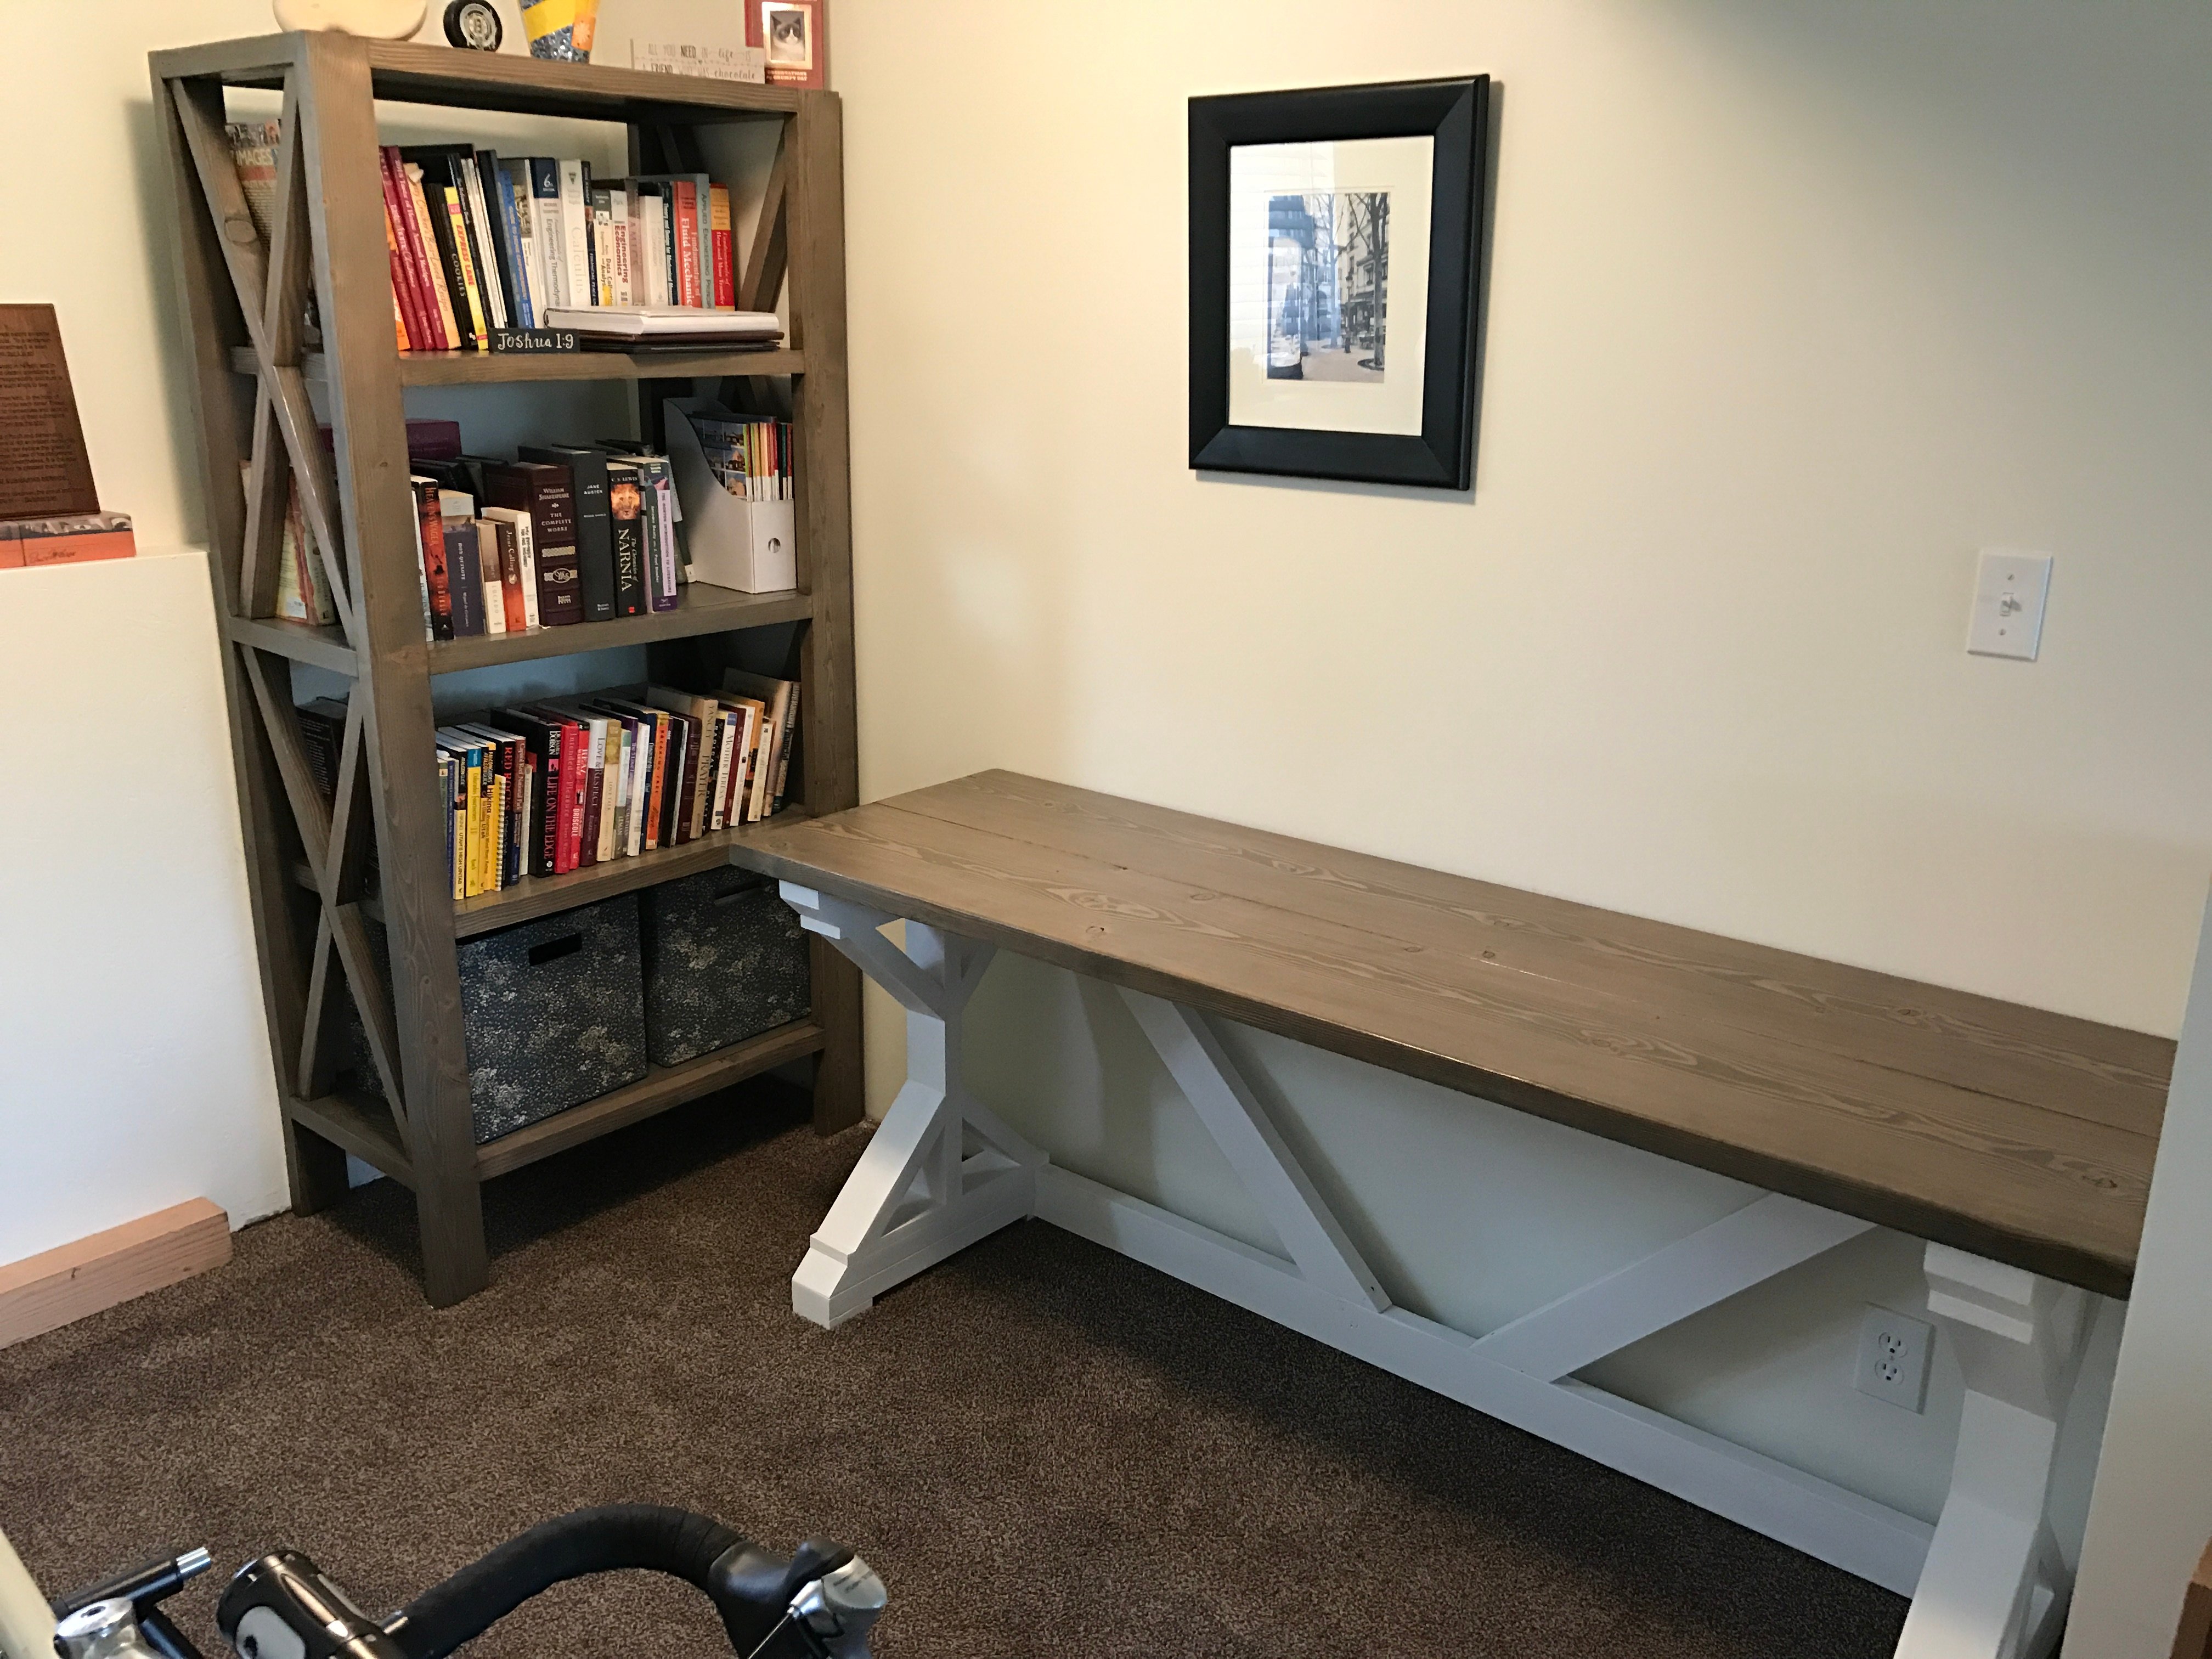
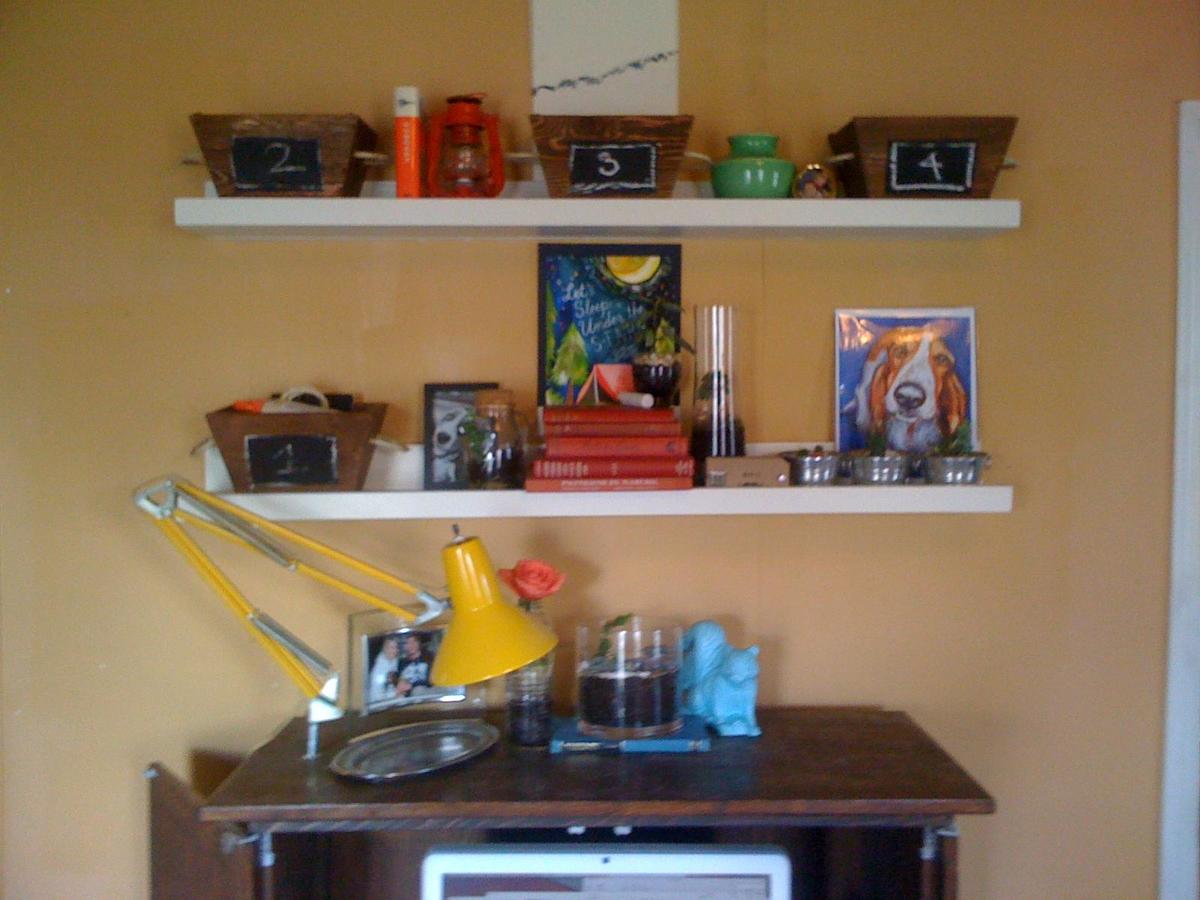
We finished off the room using scrap wood for picture frames.    

Estimated Cost
$550.00
Estimated Time Investment
Week Long Project (20 Hours or More)
Finish Used
None.
Recommended Skill Level
Intermediate

Comments

Veronica P

Sat, 12/13/2014 - 17:54

What a beautiful job you've done on this project! I love your towel racks and bathroom accessories even more. Stunning work!

Kitchen Spa Bench

There is no seating in our small kitchen and this spa bench was the perfect solution. Adds just the right amount of space for someone to keep a chef company while cooking or baking.

Estimated Time Investment
Afternoon Project (3-6 Hours)
Finish Used
I used Sherwin Williams’ “Sheraton Sage” in a semi-gloss. Also sanded the edges a bit to create a distressed look.
Recommended Skill Level
Beginner

Comments

my first project

Submitted by joker16417 on Sun, 02/10/2013 - 05:28

This is the first project I have created from a plan from this website . It is not perfect but I love how it turned out. The only modification I made is the words on the back board and some assembly modifications as far as the joining the front and back to the storage box, I have not added stain or paint yet because I have this up for sale

Estimated Time Investment
Afternoon Project (3-6 Hours)
Recommended Skill Level
Beginner

Comments

Bander

Mon, 02/11/2013 - 06:40

I like how it turned out!
How do you sell your stuff, on Craigslist?

Distressed Faux Fireplace

Submitted by kaufmanj90 on Tue, 12/16/2014 - 05:01

My wife always wanted a mantle to hang our stockings on for the holidays and when this plan was posted I showed it to her. She immediately said she loved it and asked me to build it. It fits perfectly in our house along with all of the other projects I have build from Ana's plans. The center part was done with vinyl tiles cut to look like rocks and then grouted to fill in the gaps. We are both very happy with how this project turned out. Definitely one of our favorites.

Estimated Cost
$200.00
Estimated Time Investment
Weekend Project (10-20 Hours)
Finish Used
First stained using Minwax's Hickory gel stain. Then painted using an antique white from HD. Sanded to distress the paint and show the stain through. Glazed the top with a mixure of clear glaze medium and Minwax's Dark Walnut stain.
Recommended Skill Level
Intermediate

Comments

Platform bed with 11in 2x6 legs added

Submitted by Anonymous (not verified) on Fri, 03/17/2017 - 09:32

We based this bed on plans we found on the Ana White website, but after final assembly we decided it was just a tad too low. Eventually we got around to adding the legs, which were made with left over pieces (from the bed project) of 2x6, cut to 11in.  We've been very pleased with the appearance, stability, and height of the bed this way. Now to wait for some nice weather to take out to the garage and stain/finish! If we would build it again, we would increase the width by an inch or two because the plans we followed "as-is" ended up being the exact dimensions of our mattress. Thankfully a foam mattress will squish into it and we won't have to rebuild for the extra inch. Overall pleased with our new bed. 


Estimated Cost
150
Estimated Time Investment
Weekend Project (10-20 Hours)
Finish Used
Unfinished. Sanded to 120 grit
Recommended Skill Level
Beginner

Comments

2x4 Modern Adirondack

Submitted by blondewolf on Thu, 01/14/2021 - 06:51

This is my second chair I’ve built. The first was proof of concept. This chair (and the subsequent 7 that will follow) are for the rental cabin in the Red River Gorge. Loving this chair! I have no idea why pic is turned sideways, it’s not that way on my phone.

Estimated Time Investment
Afternoon Project (3-6 Hours)
Finish Used
Aged bourbon and blue with a poly to protect it.
Recommended Skill Level
Beginner

Comments

Simple Modern Outdoor Sectional

I started to build my outdoor seating with plans from Simple Modern Outdoor Sectional but realized after two chairs I wanted the bench to match the prior storage/table bench i made..

Estimated Cost
10.
Estimated Time Investment
An Hour or Two (0-2 Hours)
Finish Used
never got to the finish, would have been stain
Recommended Skill Level
Starter Project

Team G Fancy X Desk

Submitted by Anonymous (not verified) on Sun, 03/19/2017 - 19:21

This is a great desk and will be large enough for my two monitors as well as a small sewing section. I'm really excited to pair this with the X bookshelf we also made. This desk is very sturdy and will last for years with the classic style.

Built from Plan(s)
Estimated Cost
Almost exactly $55.
Estimated Time Investment
Week Long Project (20 Hours or More)
Finish Used
Verathane Gray and Rustoleum glaze in Java Brown for the top and a diy chalk paint using pure white for the bottom.
Recommended Skill Level
Beginner

Coffee table

Submitted by Anonymous (not verified) on Tue, 01/19/2021 - 13:51

Used coffee table plan from Ana...turned out great. Used the stain/poly combo again, but this time opted to wipe it off. Turned out lighter than I wanted. But still looks great. Chose to do a different pattern for the top.

Built from Plan(s)
Estimated Cost
$50
Finish Used
Kona stain/poly combo.
Recommended Skill Level
Beginner

King Farmhouse Bed

Submitted by Trnenergy1 on Fri, 02/15/2013 - 16:00

This is the Farmhouse King Bed. I modified this from the plans on this website to accomidate a King mattress in the normal dimensions. I used 2 X 4's 12in on center and then used masonite set on top and screwed on each end. I used joist hangers and the 2 X 4's just sit in the hanger no screws needed. I used 2 X 10's for the rails and got bed brackets from woodcraft.com. Used Minwax wood conditioner, Minwax English Chestnut Oil based stain, and 3 total coats of Poly satin.

Estimated Time Investment
Week Long Project (20 Hours or More)
Finish Used
Used Minwax wood conditioner, Minwax English Chestnut Oil based stain, and 3 total coats of Poly satin.
Recommended Skill Level
Intermediate

Faux Fireplace

Submitted by Hayley842 on Sun, 12/21/2014 - 19:29

We used pine boards for the carcass, a solid aspen panel 15" deep from lowes that we had lowes cut to fit. The doors are select pine simply because there were no suitable 1x12 boards. Hinges were from Home Depot- the lowes ones didn't come with a template. We tiled the inside with 7 boxes of "aspect" stainless steel self stick tiles from Home Depot.  We drilled a hole in thr back piece (which is MDF, also cut to fit from lowes) to accommodate a cord, and I carved the hole through the tiles with a utility knife. It wasn't ideal, but it's hidden by my lights.  No crown molding, and no trim because 1. We couldn't decide on any and 2. We like it this way for now. We had lowes cut every single board for this so we only had to screw and glue. The hinges were a challenge since we are newbs, but we figured it out in the end. In the future we are going to be more careful to check for square. The plan doesn't include shelves, which we have yet to install and we aren't entirely sure how we will. If you had the Kreg shelf hole driller rig thing that would be ideal..

Crucial detail: we shortened this project by slicing inches off the center section in the plan. Maybe took 5" off total. 

Estimated Cost
$110 for wood alone. We had screws, stain, poly, brushes, glue, etc.
$70 for the tiles. Don't bother with home depot's tile trim- it won't fit, and it's not really suited for this application.
Estimated Time Investment
Weekend Project (10-20 Hours)
Finish Used
minwax special walnut and polycrylic
Recommended Skill Level
Intermediate
Seasonal And Holiday

DIY Entertainment Center

Submitted by Anonymous (not verified) on Thu, 01/21/2021 - 09:58

Largest Build I have done up to date. It took a bit longer but it was so worth it. Wanted something different than all the entertainment centers I saw so I created a herringbone back. I love how it turned out.

-@theorthhome/instagram

Estimated Cost
$800
Estimated Time Investment
Week Long Project (20 Hours or More)
Finish Used
Pure White from Sherwin Williams
Recommended Skill Level
Intermediate

Comments

$1 Small cedar planters & $10 ledges

We have been stalking ana-white.com for awhile and making a few projects here and there. we made the $10 ledges to fit over our entertainment center. When we found the plan for the cedar planters we thought they would be a great little storage area for all of the little junk around the house. We made 6 of these planters out of 3 cedar planks and modified them to fit on the $10 ledges (which are actually made with a 1x6 to allow for more things to be able to fit) so they wound up more rectangular than square.

Sorry for the crappy I-phone pics!

Estimated Cost
$15 for ledges $6 dollars for 6 crates
Estimated Time Investment
An Hour or Two (0-2 Hours)
Finish Used
Miniwax in early american + chalkboard paint for crates

Antique white paint for ledges
Recommended Skill Level
Starter Project

Corner Cupboard

Built from your corner cupboard plans. Added a few of my touch and ready for staining. Thank you Ana.

Built from Plan(s)
Estimated Cost
Total cost was about $90
Estimated Time Investment
Afternoon Project (3-6 Hours)
Recommended Skill Level
Intermediate

Comments

Rustic modern bunkbed

Submitted by Anonymous (not verified) on Sun, 03/26/2017 - 06:17

Restoration hardware Callum bunk plan. Stylish and sturdy bunk for our daughter. 

Built from Plan(s)
Estimated Cost
350
Estimated Time Investment
Weekend Project (10-20 Hours)
Finish Used
Amy Howard paint in Bauhaus Buff and gloss sealer
Recommended Skill Level
Intermediate

Mantel Moulding Headboard - King Size Here!

Submitted by lydiamatt on Mon, 01/25/2021 - 13:23

Hello,
I have a PDF with material, cut list, and assembly steps for anyone interested. I also used Type 2 wood glue and all screws with this build, substituting for nails in the original plan!
Please email me at [email protected] with any questions!
Thanks
Matt

Built from Plan(s)
Estimated Time Investment
Afternoon Project (3-6 Hours)
Finish Used
I have painted this Extra White, and stained with Special Walnut from Minwax.
Recommended Skill Level
Beginner

Comments

My corner console

Submitted by smatcher on Tue, 02/19/2013 - 07:05

Needed a less massive entertainment center for my itsy bitsy living room.This plan was perfect we shrunk it down a bit width wise. Easy to build only took us a day to build and me a couple of weekends to paint! LOVE

Estimated Time Investment
Day Project (6-9 Hours)
Finish Used
White paint with brown glaze
Recommended Skill Level
Beginner