Community Brag Posts
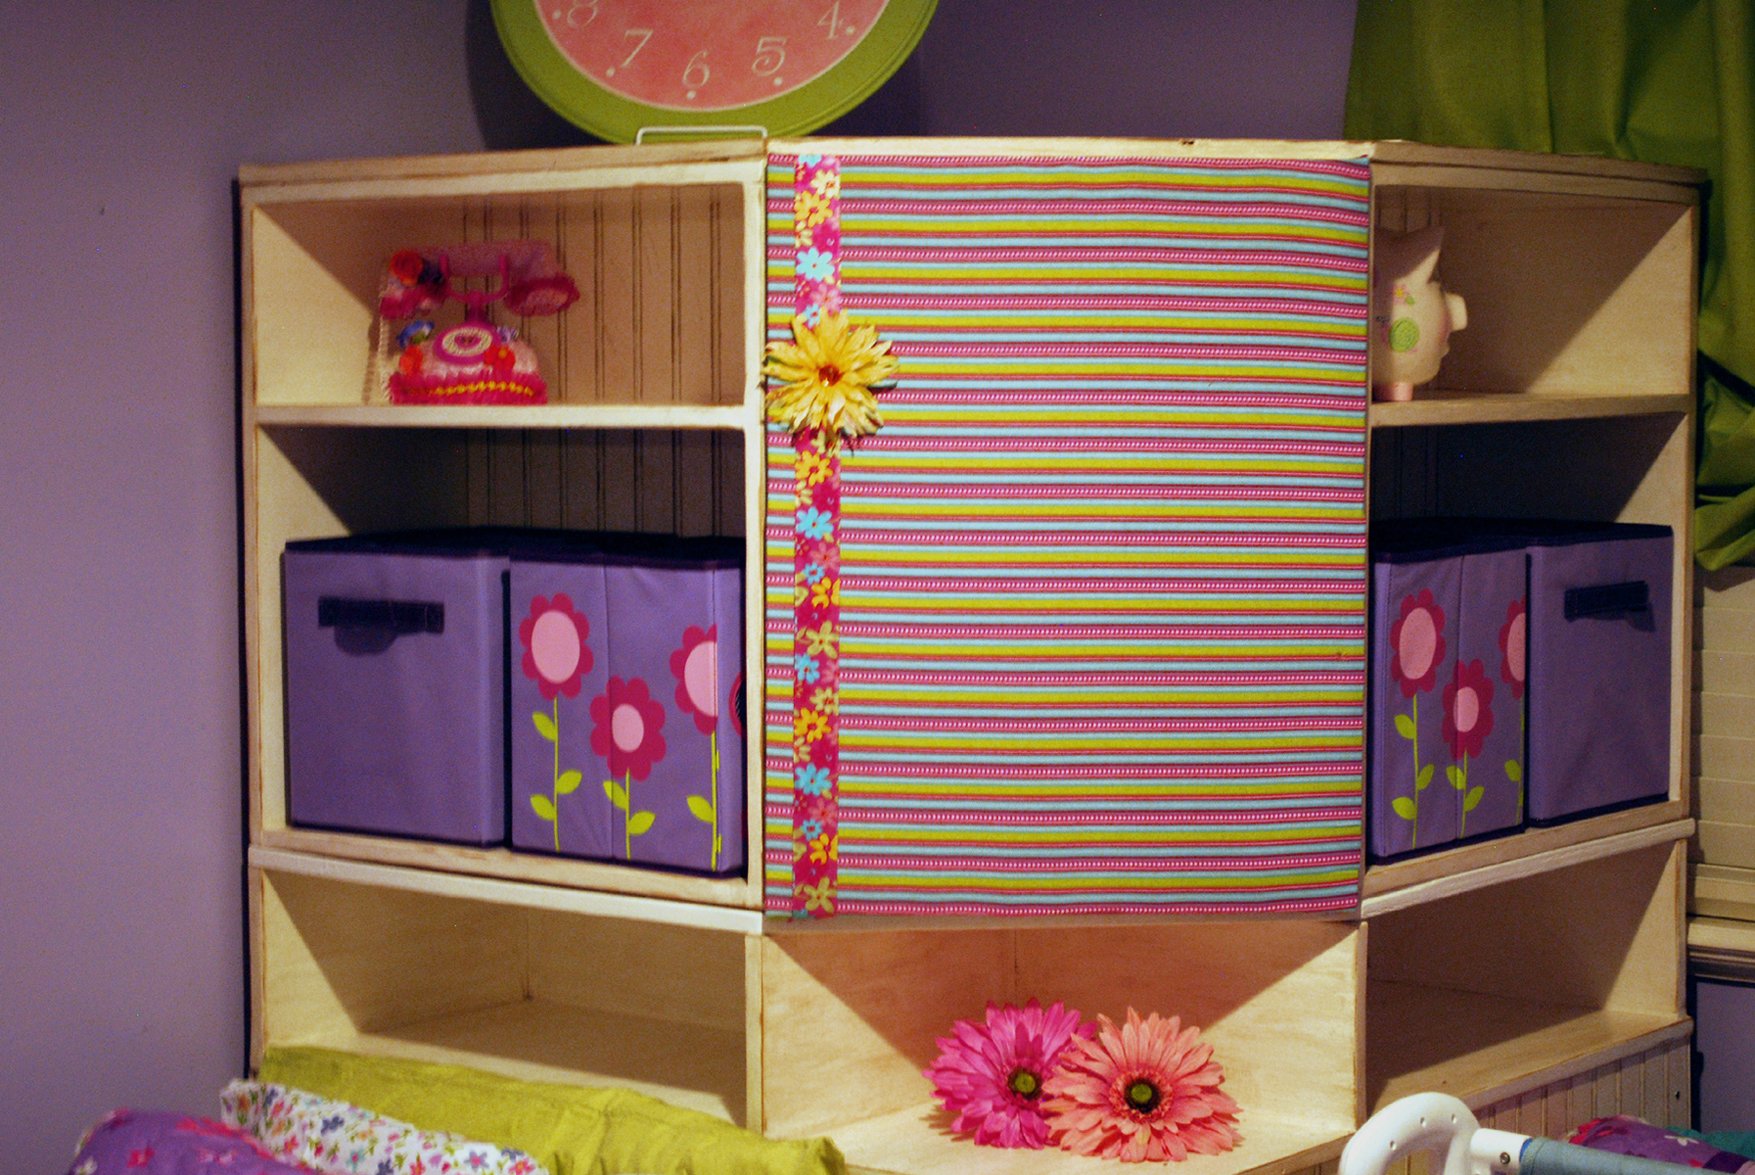
Twin Storage Beds With Corner Hutch
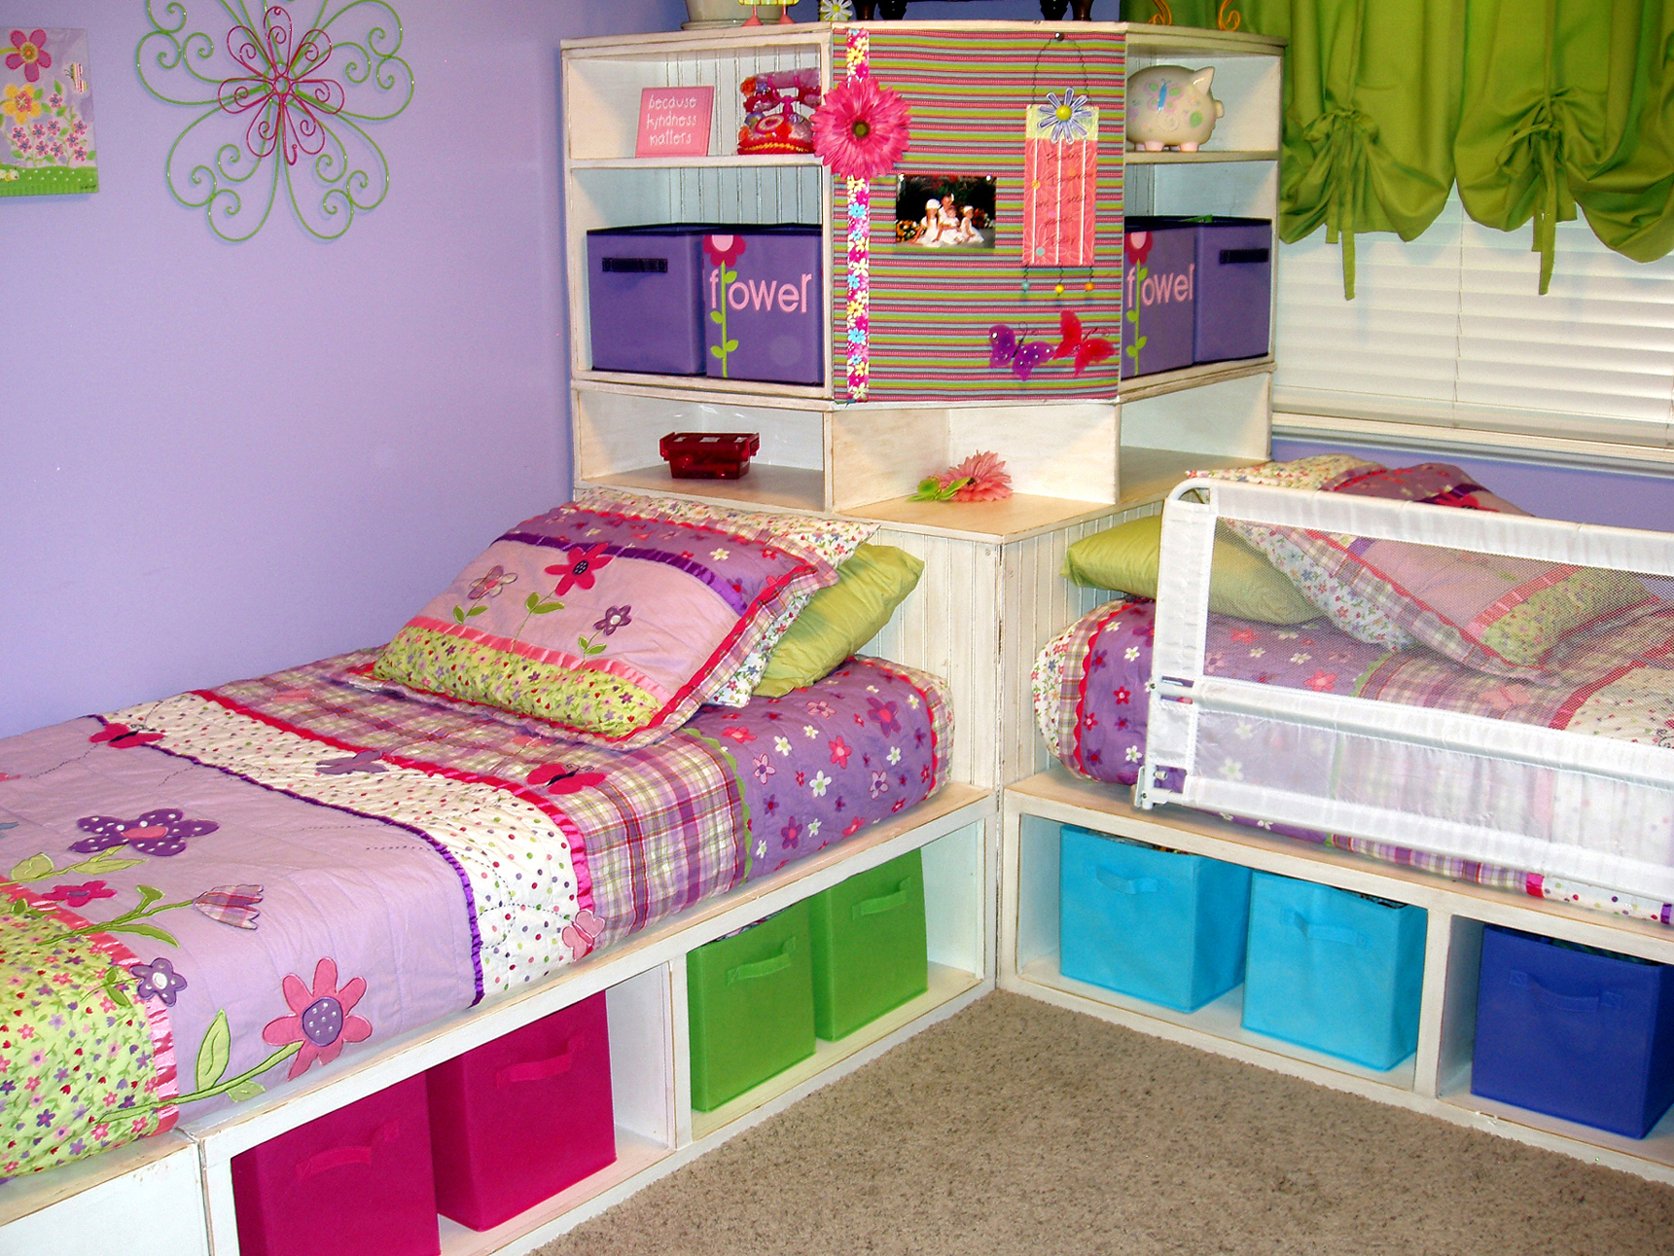
These beds were the very first thing my hubby and I ever built! We had an old hand saw with a dull blade and a hammer and nails! It took us 7 full Saturdays to complete these beds and that includes all of the finish work. We had a great time and a not so great time building these beds but the memories we built together are priceless! We are so proud of the blood, sweat and tears that went into these beds! We love you Ana, well, mostly I love you! You changed my life and I am officially addicted to building! If you have time, check out my very long but very entertaining post about building these beds!
http://isteppedoutofmycomfortzone.blogspot.com/2010/09/and-built-bed.ht…
Estimated Cost
I'm going to guess we spent $300 to $400. We wasted a lot of wood because we had never built anything before and we just didn't know what we were doing! Lots of human error on this bed!
Estimated Time Investment
Week Long Project (20 Hours or More)
Finish Used
My blog has all of the *painful* and funny details!
Recommended Skill Level
Beginner
Comments
Sun, 07/17/2011 - 09:15
storage hutch
I love what you have done! What a great way to use that space! Good work!
Fri, 03/23/2012 - 17:25
Do you have instructions on
Do you have instructions on the corner unit? We like this one better than the others on the site.
Sat, 11/29/2014 - 08:03
Plans for Twin Storage Beds With Corner Hutch
These are so cute! Where is the link for the plans on these beds? They would be perfect for my daughters' room!
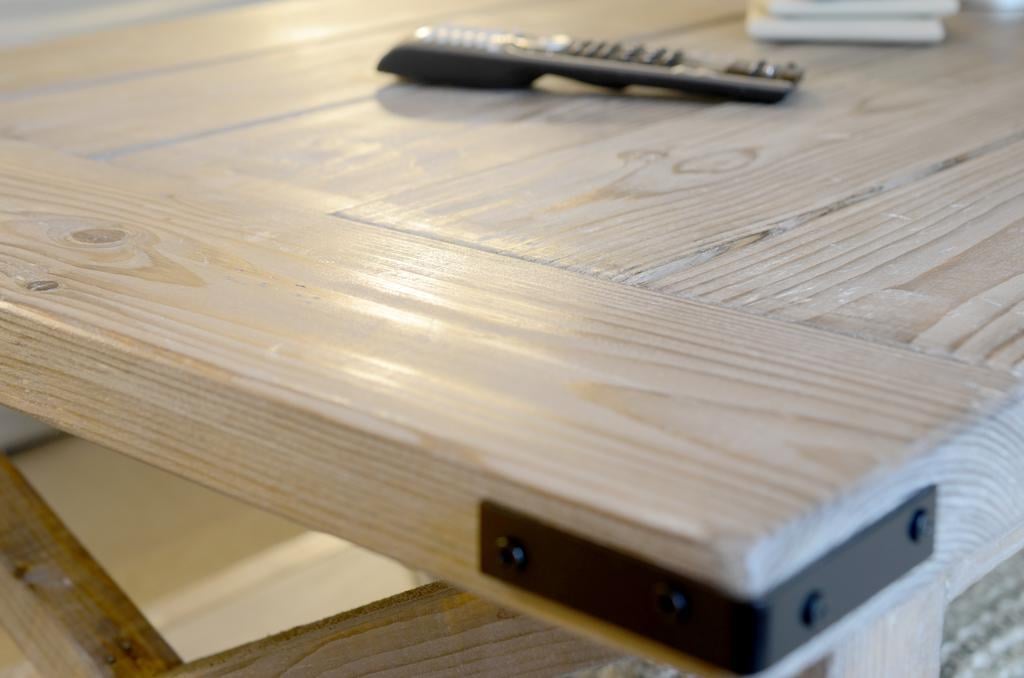
Rustic X Coffee Table with Bread Boards
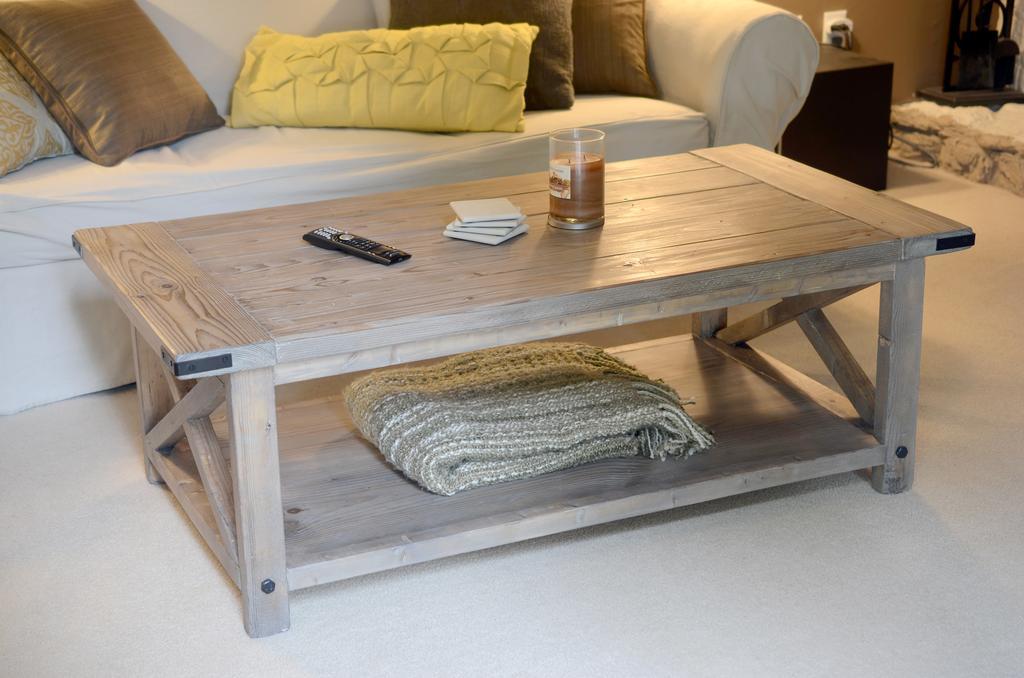
In need of a new coffee table and having a budget lower than what would allow for similar looking store bought tables, I decided to build a variation of the Rustic X coffee table. I used the modified plans by Pete Sveen which included the bread boards on the table top. We used a solution of white vinegar and steel wool to age the wood and used a clear furniture wax to finish it.
Estimated Time Investment
Weekend Project (10-20 Hours)
Finish Used
Vinegar/Steel Wool for Age. Clear furniture wax for finish.
Recommended Skill Level
Beginner
Comments
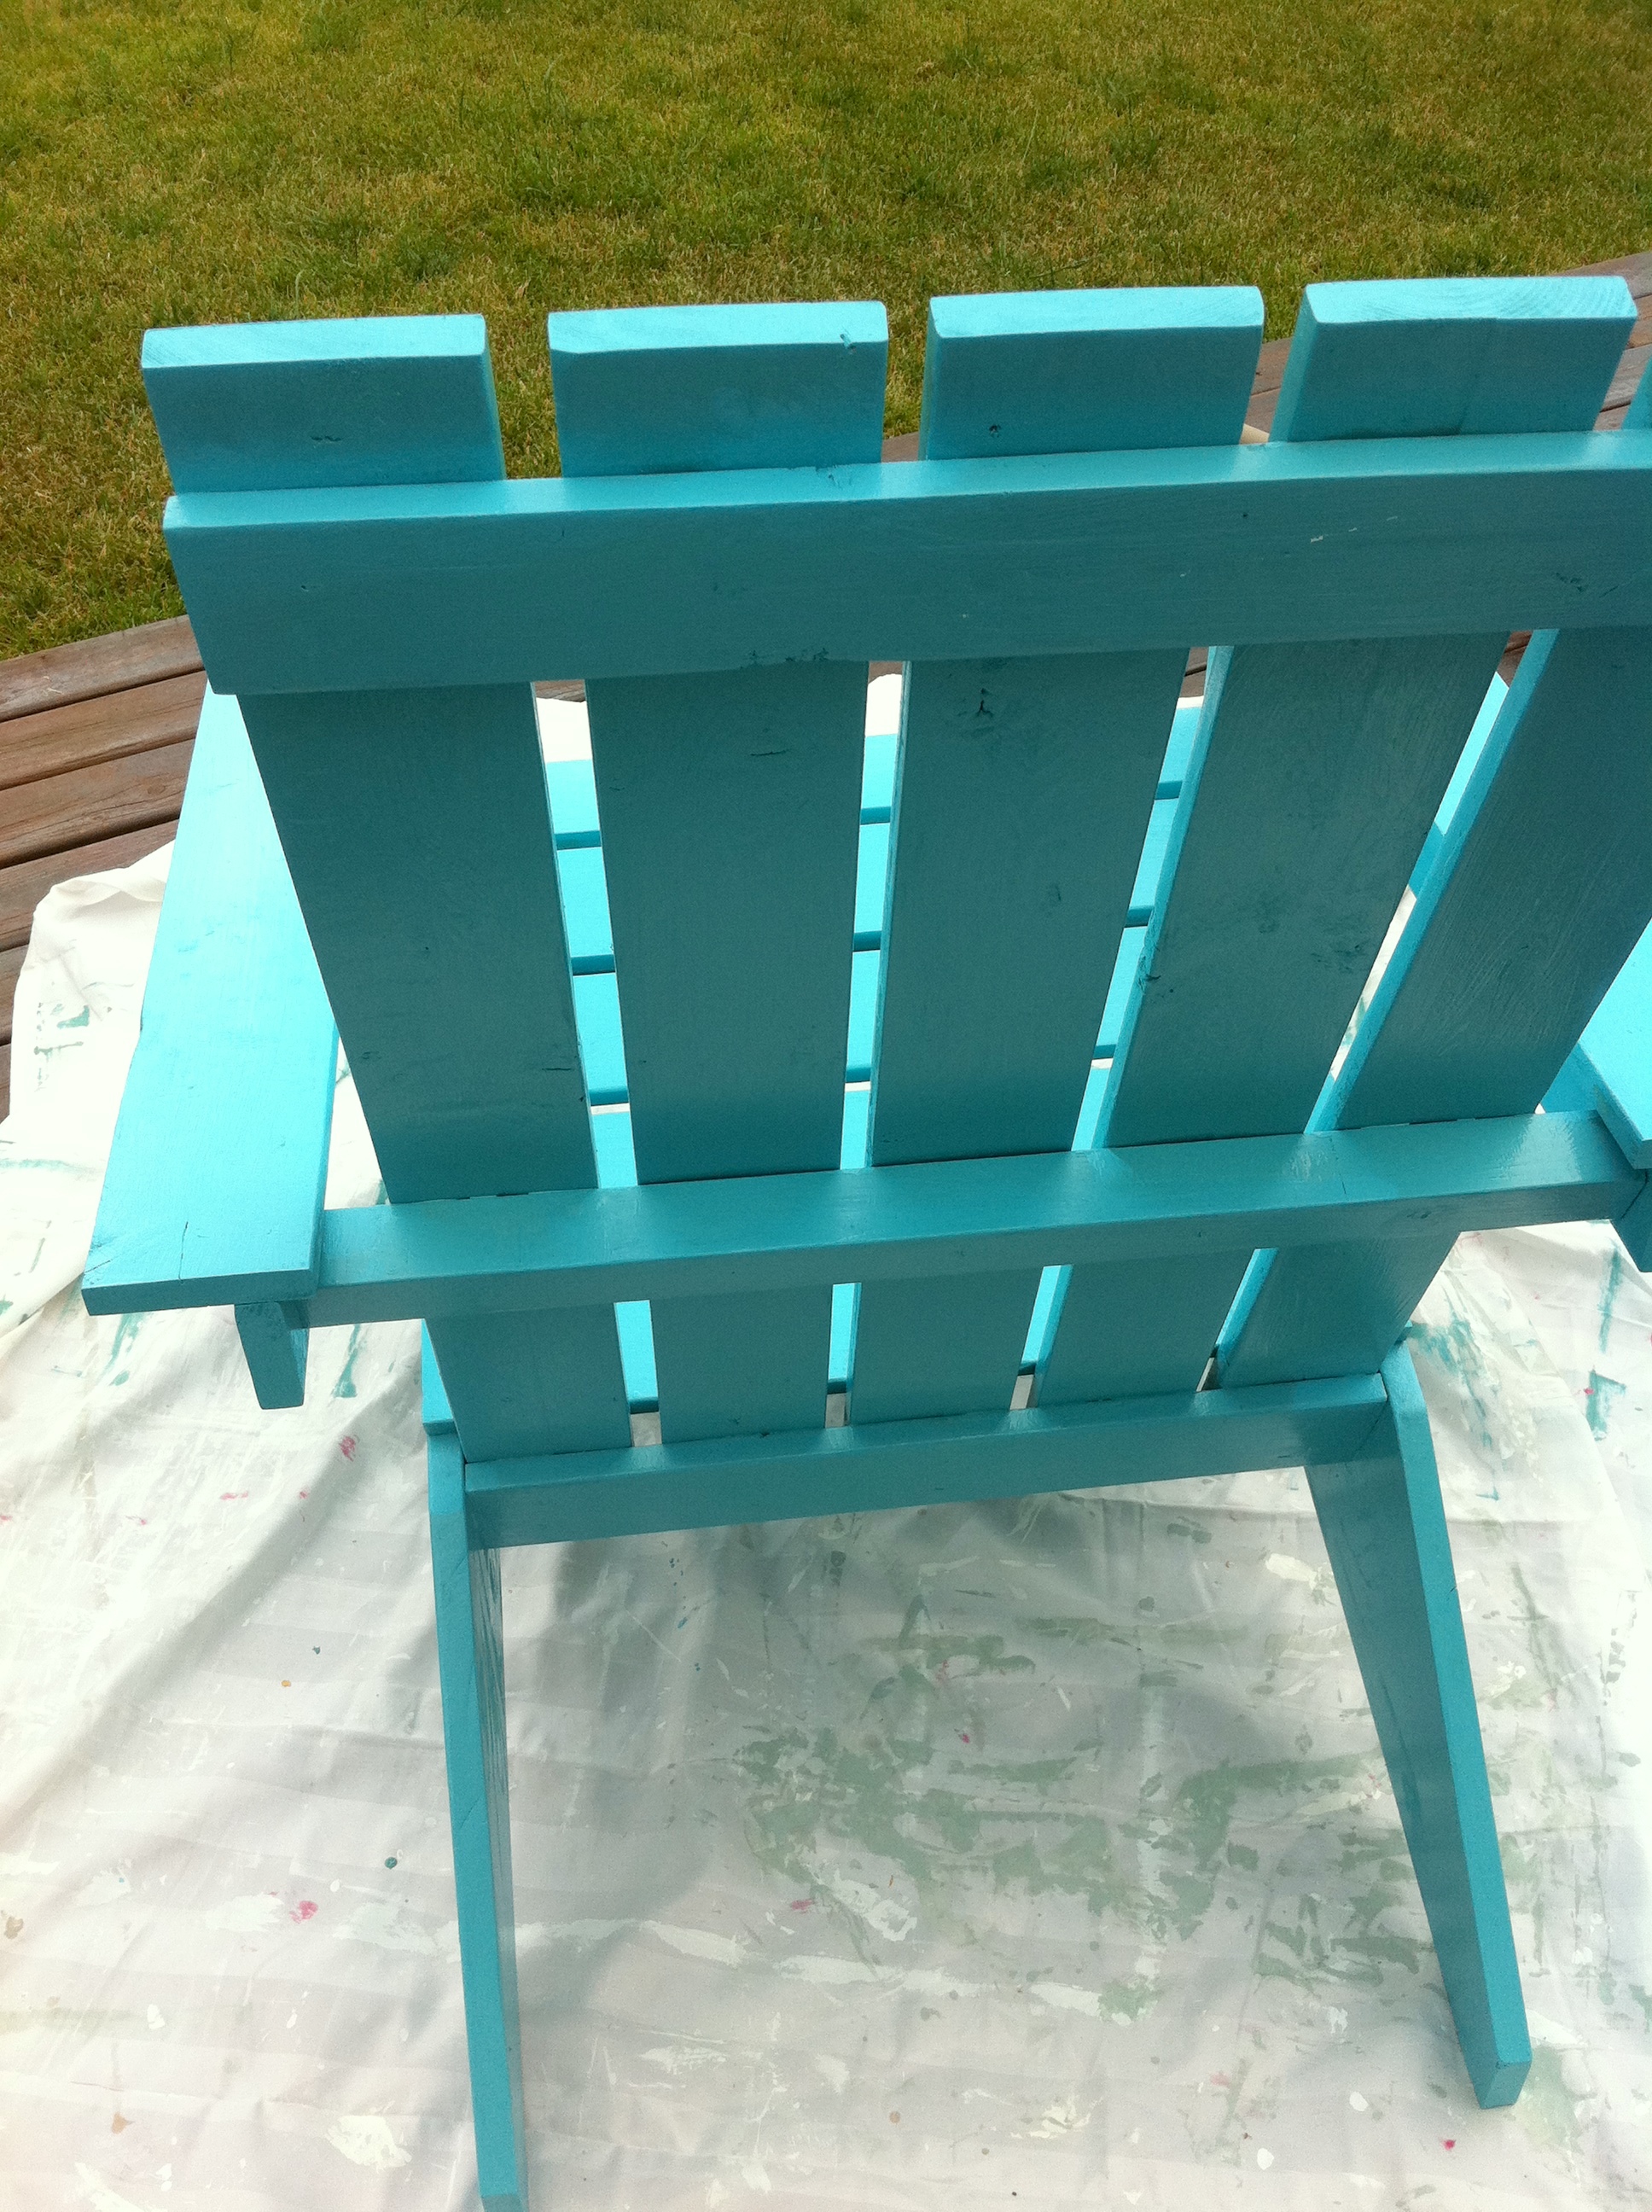
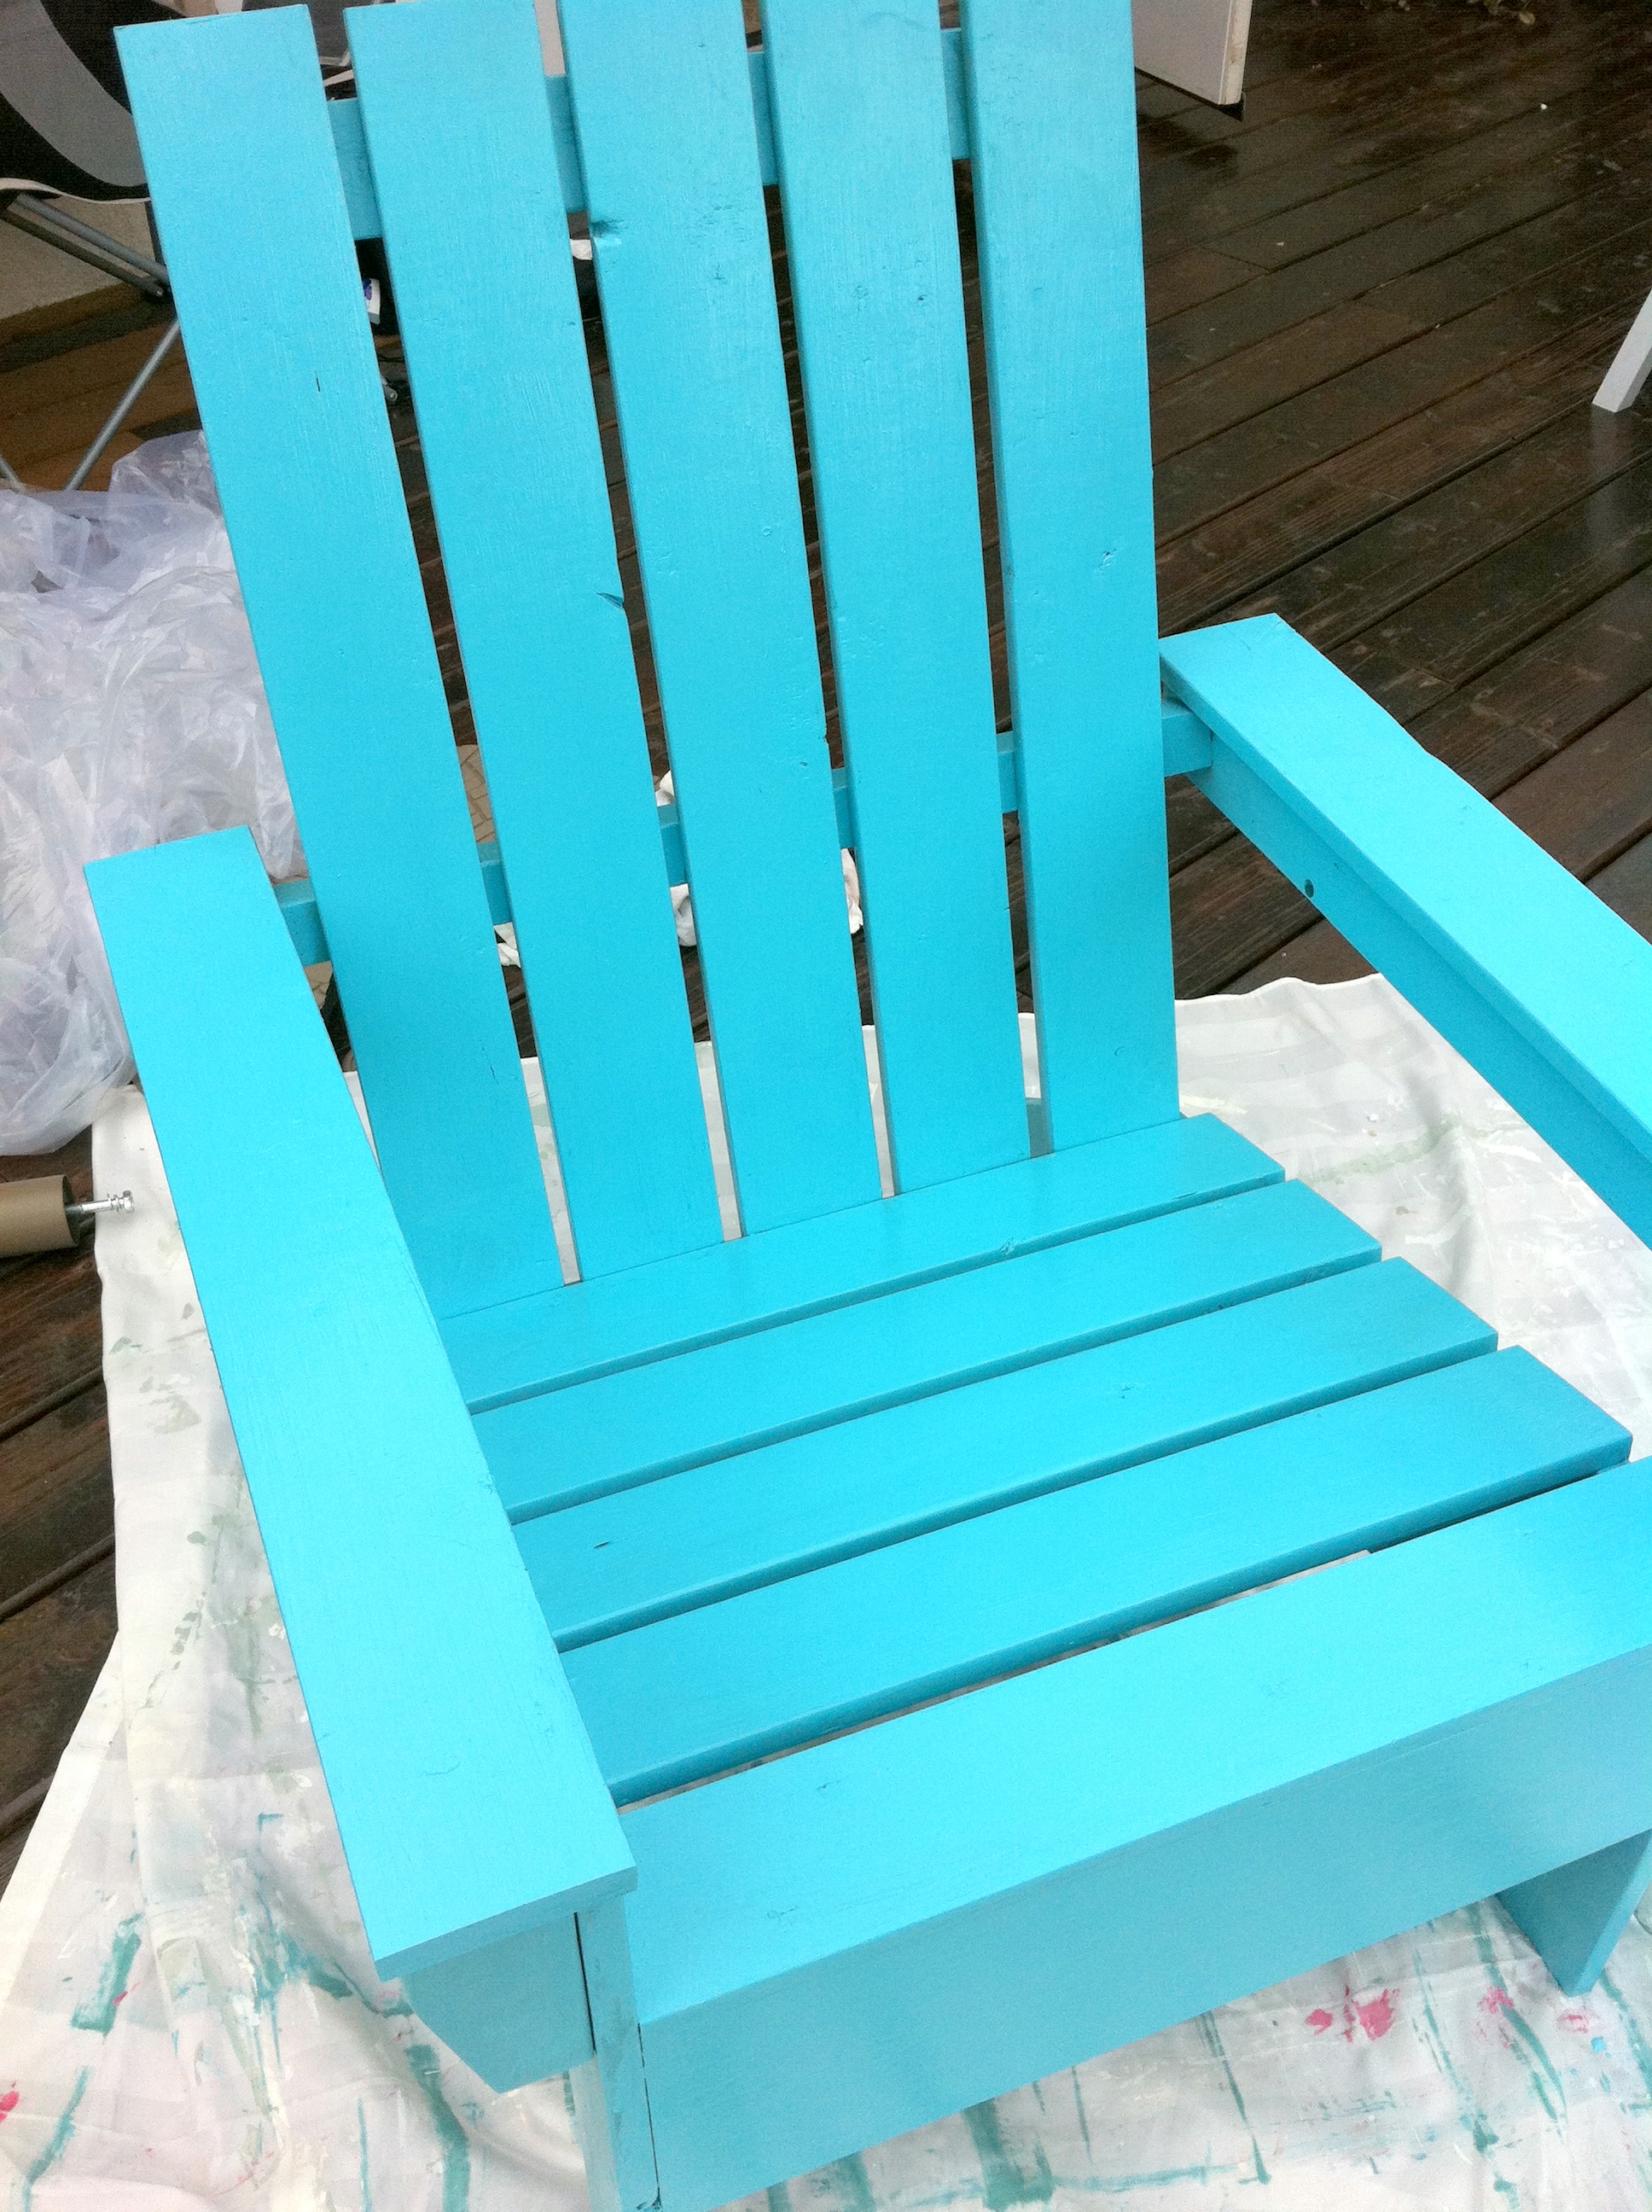
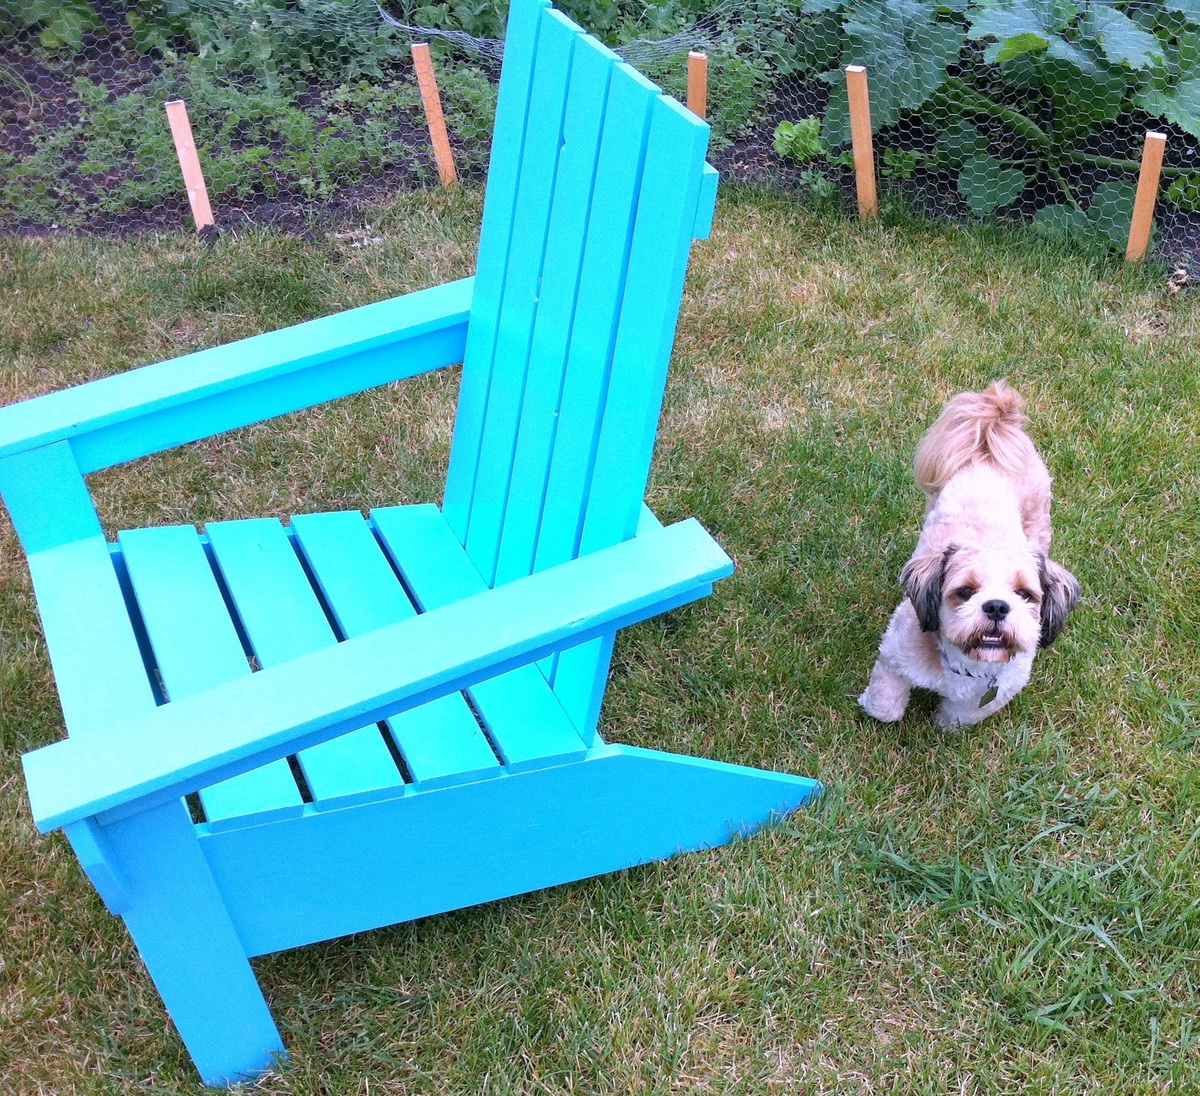
Ana's Adirondack Chair
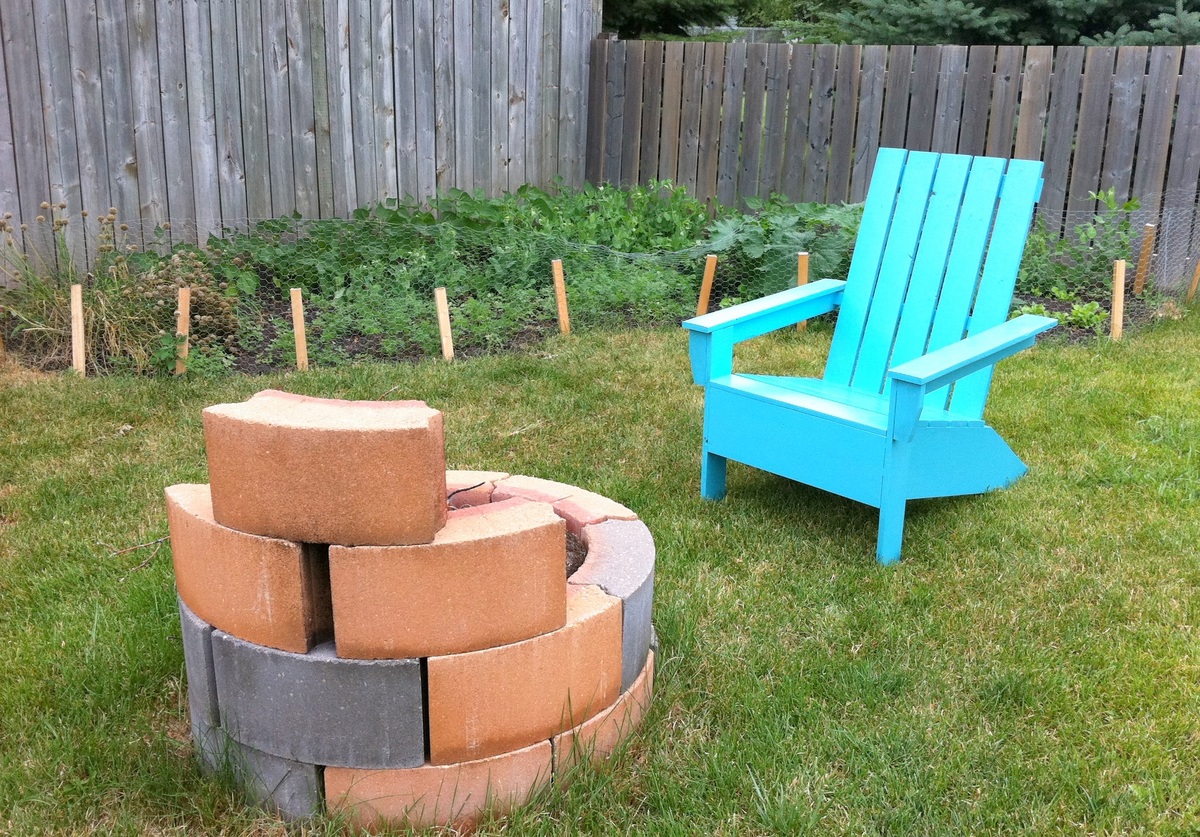
I still need to build a matching chair so we have a pair of adirondack chairs for around the fire pit. More pics of the build at my blog.
Built from Plan(s)
Estimated Cost
$40
Estimated Time Investment
Day Project (6-9 Hours)
Finish Used
Sico Exterior Alkyd Paint - Mis-Tint colour
Recommended Skill Level
Beginner
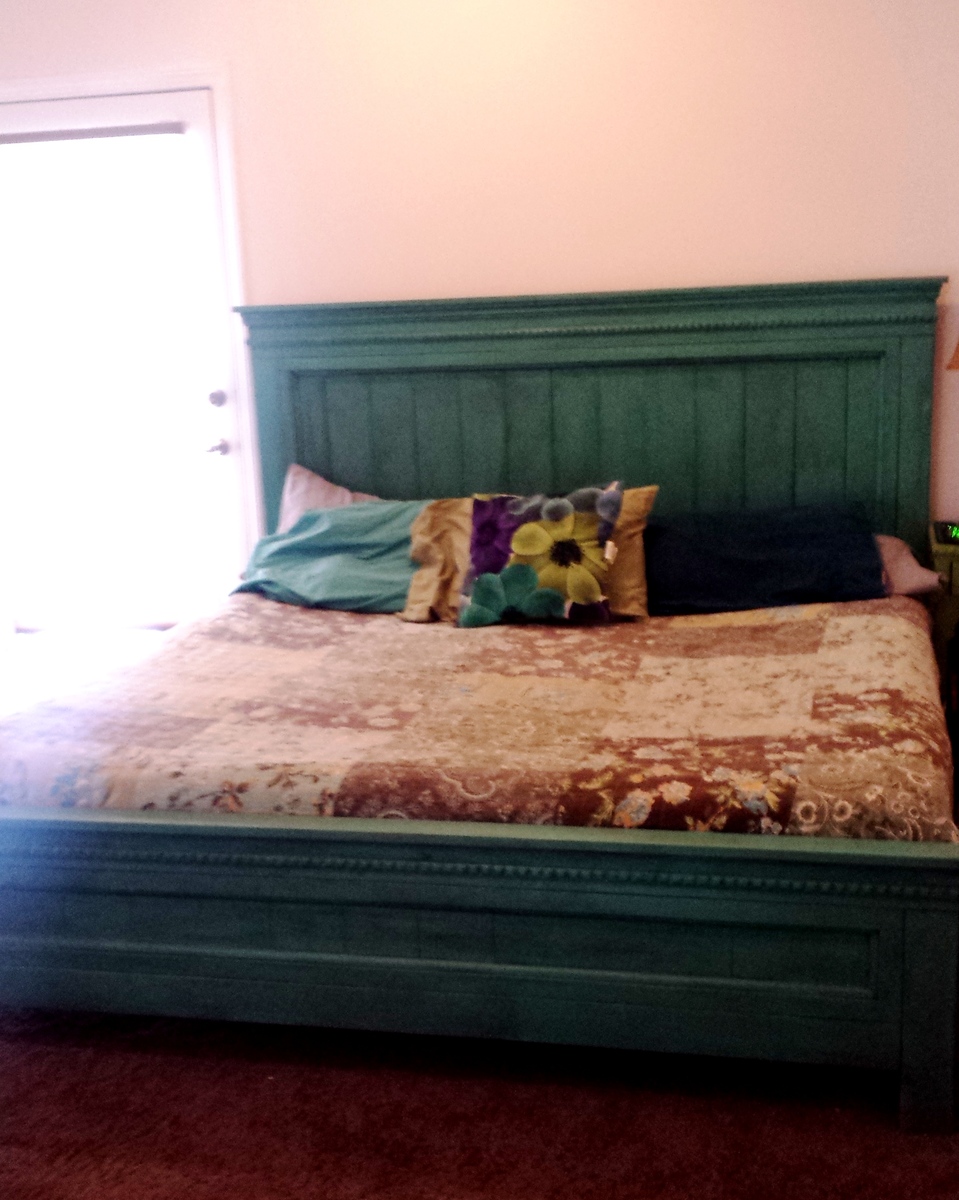
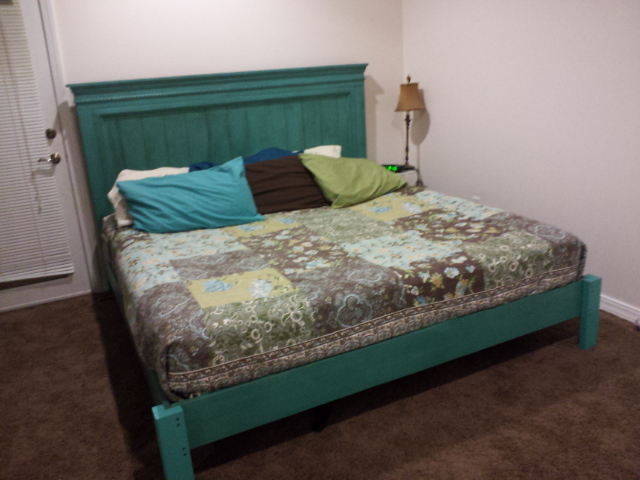
King Size Farmhouse Bed

This bed was made as a Christmas present for my parents. At the time, there were no plans for a king-sized bed so I modified the queen plans to fit their mattress. I added a 5th leg to support the center of the bed and also added some plywood sheets underneath to better support the mattress.
Estimated Cost
$150
Estimated Time Investment
Weekend Project (10-20 Hours)
Finish Used
"A Day at the Jeweller" by Valspar with a red mahogany stain over (used almost as a glaze)
Recommended Skill Level
Intermediate
Counter Height Craft Desk
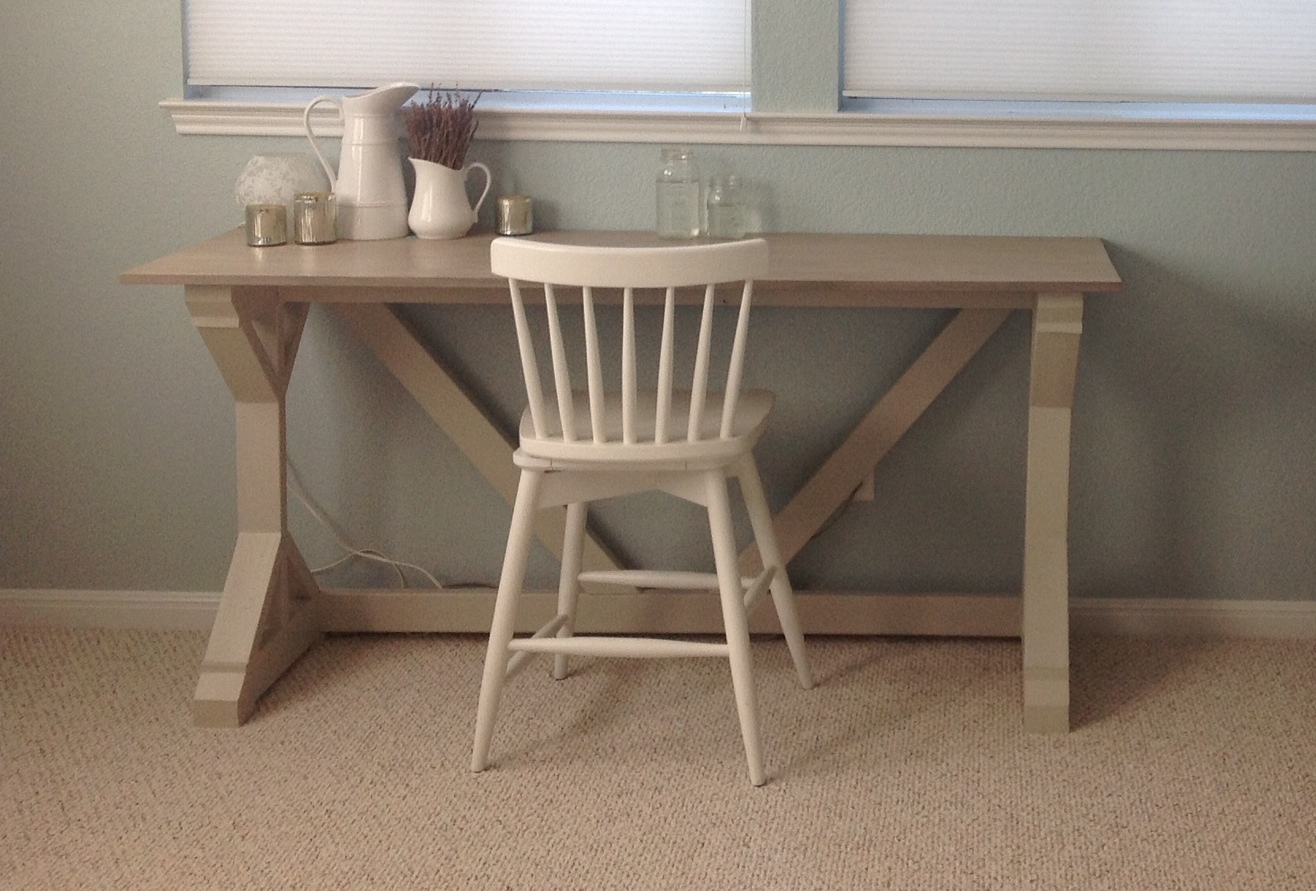
This was pretty easy for my first build! Don't look too closely though.... I raised thedesk to counter height to adjust for working while standing and add a bar stool. The hardest part was adjusting the angle of the diagonal braces. For the desktop I found a 2' X 6' piece of aspen at the blue big box store. Sanded well, grey "whitewashed" it and sealed with paste wax.
Built from Plan(s)
Finish Used
Base painted with satin interior in revere pewter. Made my own grey wash for the desktop and sealed with paste wax.
Recommended Skill Level
Starter Project
Comments
In reply to This is Gorgeous! by Ana White Admin
Wed, 10/14/2015 - 13:00
Thanks!
Thanks Ana! I'm working on a dining table and ironing out the kinks....
DIY outdoor chairs for our firepit
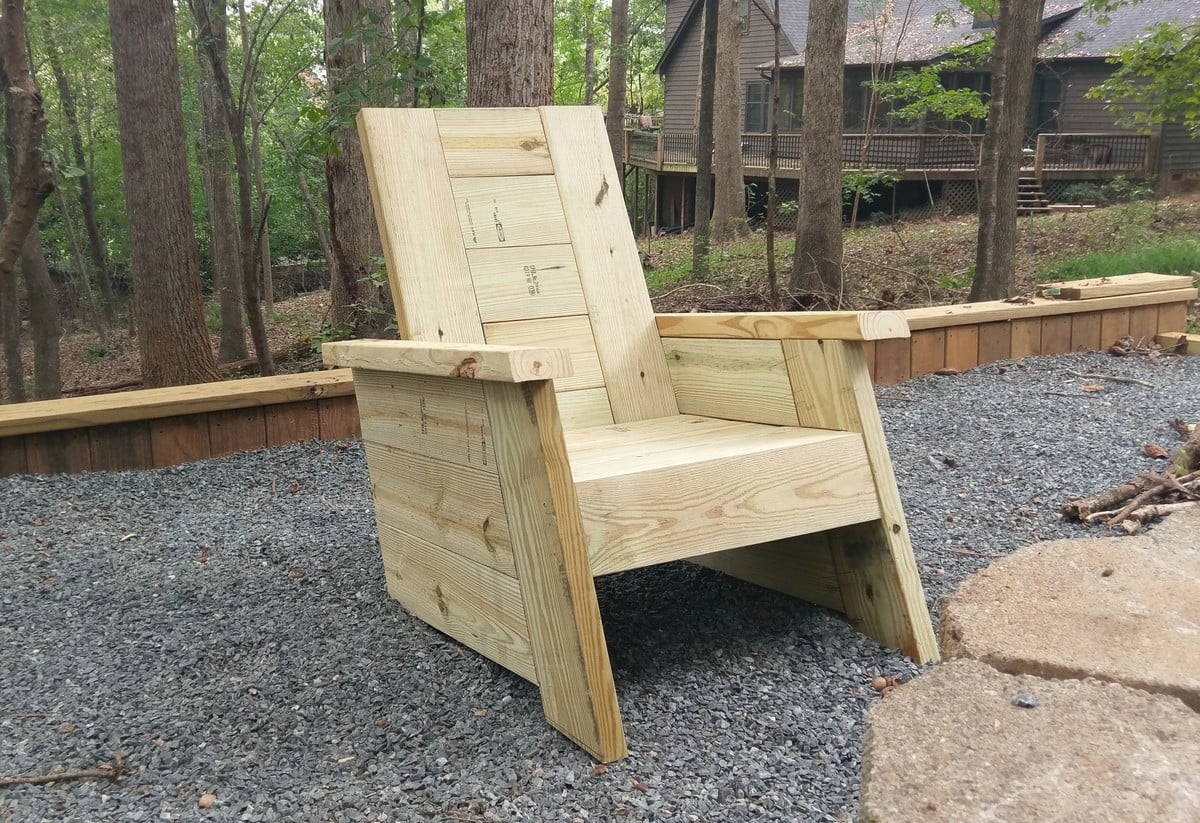
Here is one of the new chairs I'm building for our new fire pit. They are made out of four pressure treated 2x6s (and one 2x4), and have a comfortable 18" seat depth, 19" seat width, and 110 degree angle for the backrest.
More information, and a link to our plans are located on our blog, FamousArtisan.com
Estimated Cost
$50
Estimated Time Investment
Day Project (6-9 Hours)
Finish Used
None yet.
Recommended Skill Level
Intermediate
Comments
Patio chairs
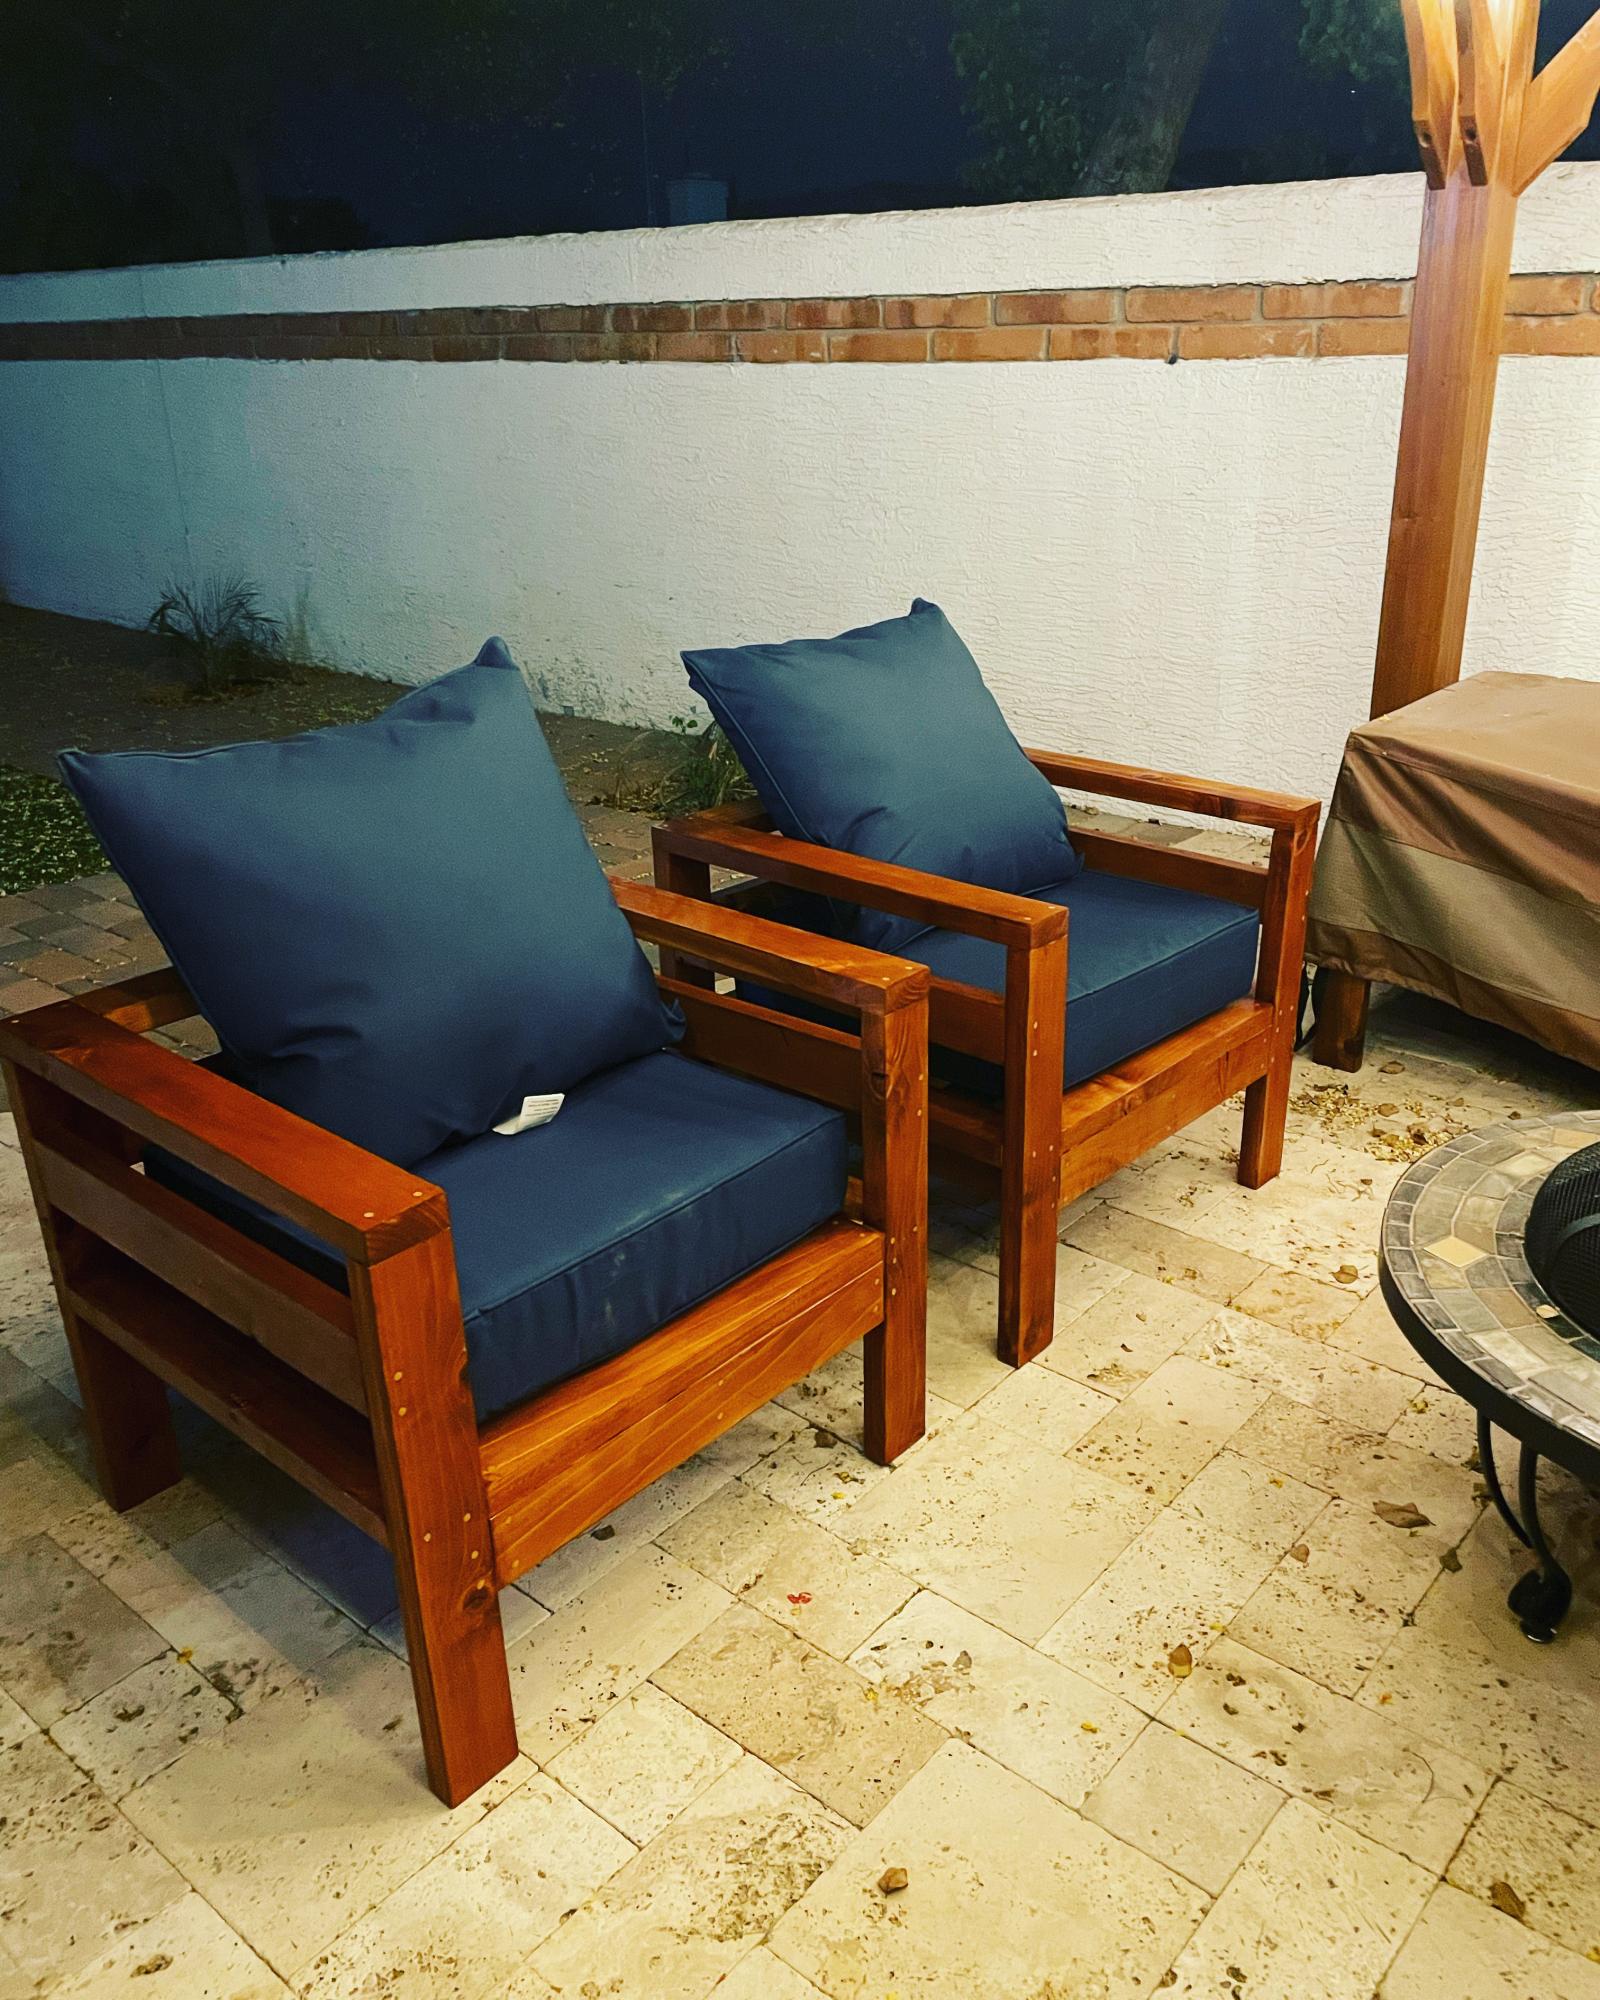
Made 2 couches and 2 chairs out of red wood using your plans
Comments
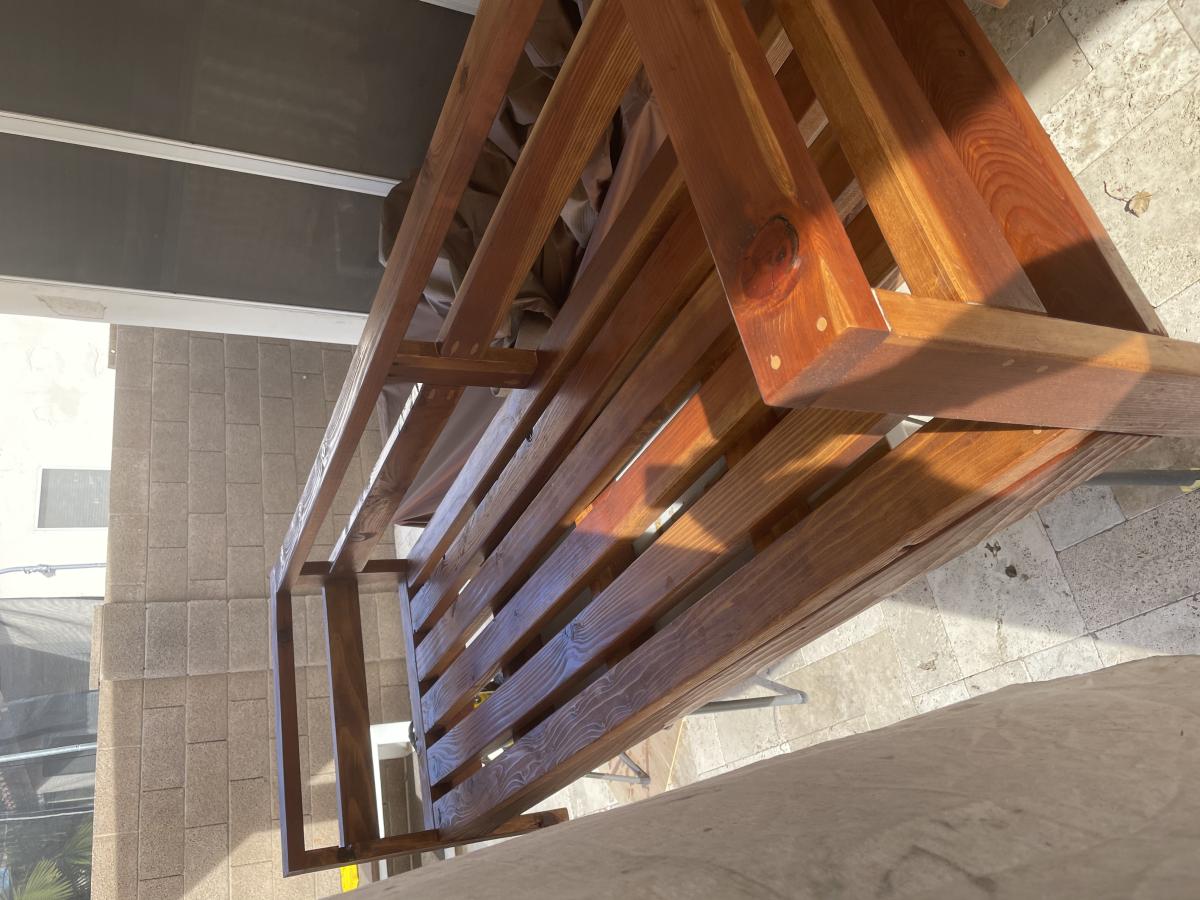
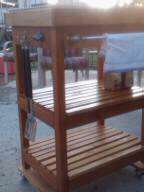
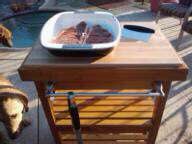
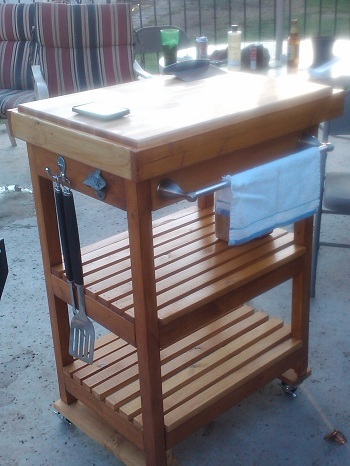
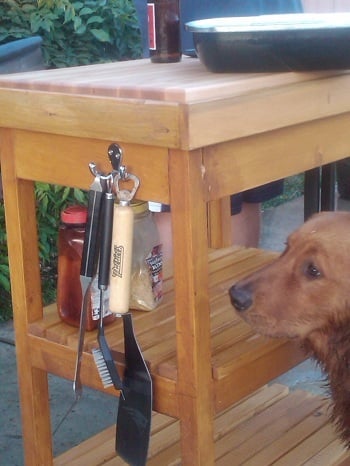
Outdoor Grill Trolley
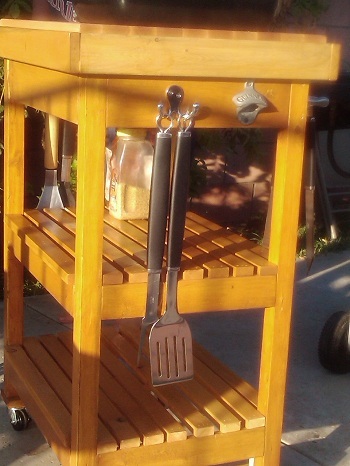
This started out as the Outdoor Multipurpose Cart....and after my hubbies evergrowing wishlist, it quickly become THE GRILL TROLLEY EXTRAVAGANZA!!!! I added the bulk and the height which he wanted, a John Boos butcher block 24x18, which is removable. Funny thing is, I also sampled Ana's Farmhouse frame to cradle the butcher block! I didn't want to put any holes in the 100 clam butcher block so it has it's own little bedframe. It's totally waterproofed and stained since it's new home will be beside the pool. I used all Kreg joints, so you could sit on this it's so sturdy. I also added 2.5 inch locking casters for the bottom. There's a stainless steel bathroom towel rack which doubles as a handle, lots of hooks for his BBQ paraphenelia, and the most important addition...The Guinness bottle opener. Totally hubby customized. And the best thing> I did it myself, setting it aside whenever a problem arose, but always coming back to it. This was originally a Papa's day present

Built from Plan(s)
Estimated Cost
150. (100 of it was just for the upgraded John Boos outdoor reversible butcher block! well worth it!)
Estimated Time Investment
Week Long Project (20 Hours or More)
Finish Used
Thompson's Waterseal, Minwax Puritan Pine, 2 coats, but wiped it off very quickly, didn't want it too dark. I didn't want a uniform appearance, so I wet it down, heavier in some areas than others, with water, wiped the stain on, and was taking it off with the other hand.
Recommended Skill Level
Intermediate
Comments

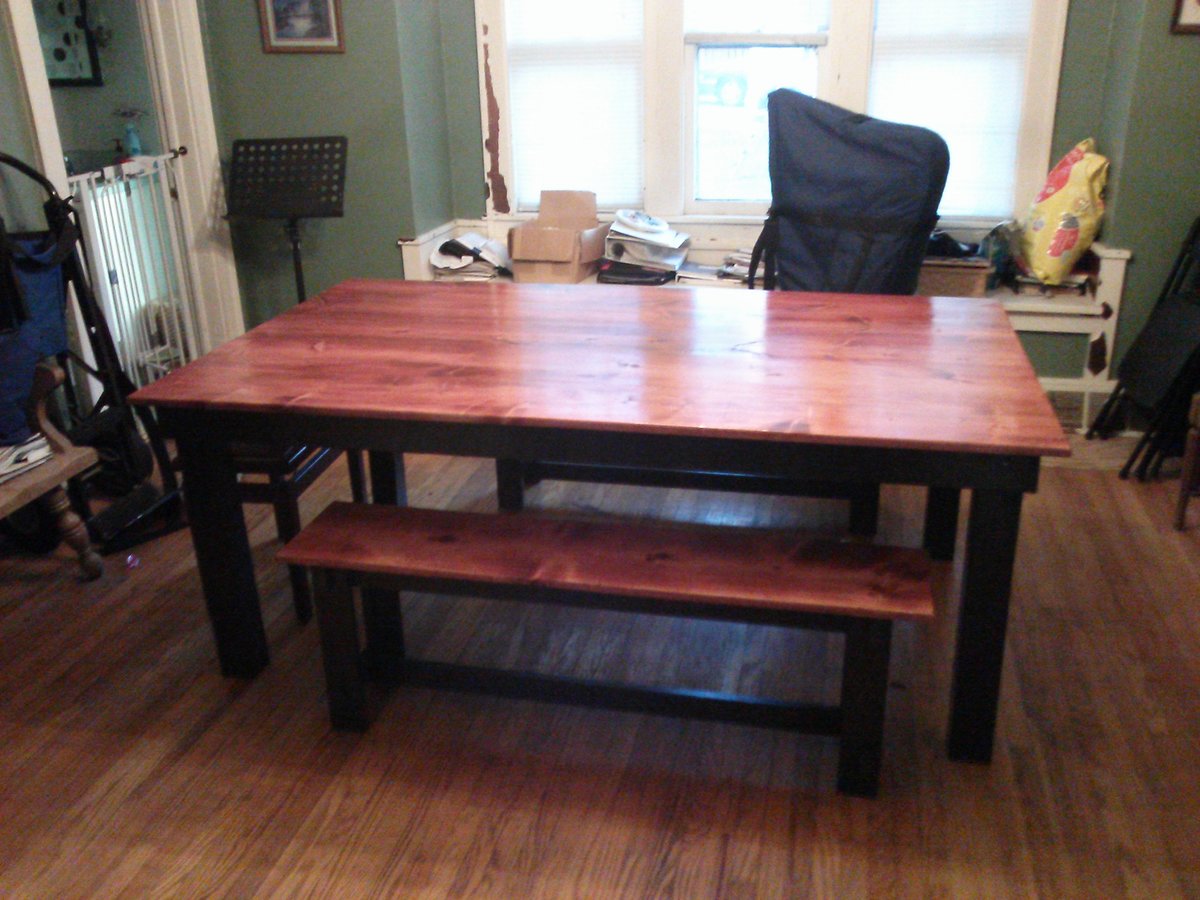
Rustic Table w/ two tone finish

This was totally my first real build. Like most others I modified the plans to fit in my mother-in-law's dining room. I used 4x4s for the legs and built two benches to go with it.
Built from Plan(s)
Estimated Time Investment
Week Long Project (20 Hours or More)
Finish Used
Varathane Cabernet stain with polyurethane top coat.
Recommended Skill Level
Beginner
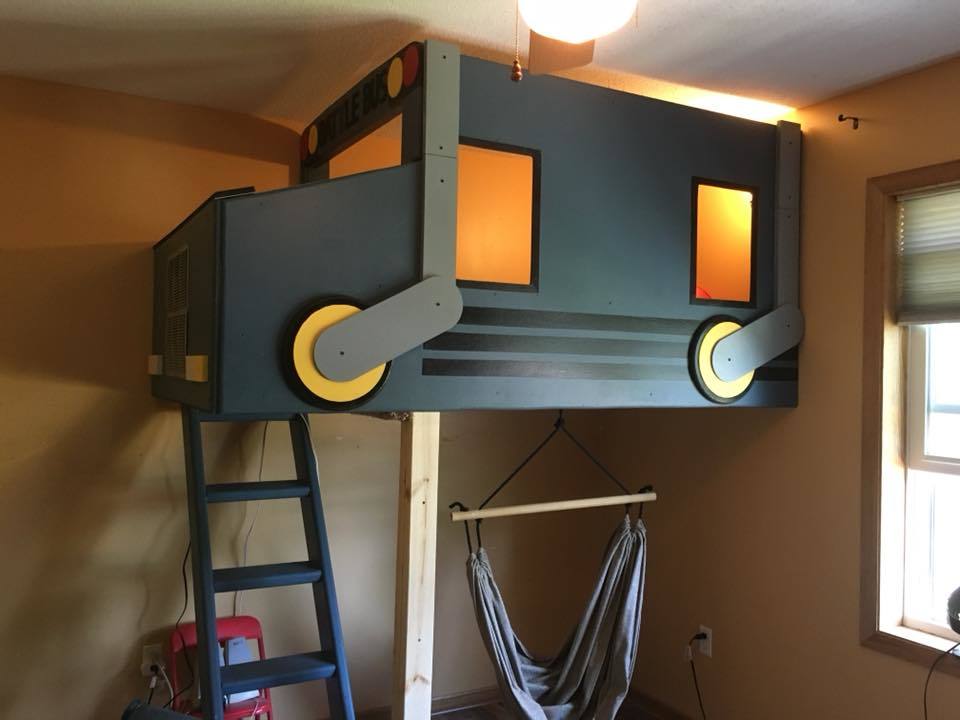
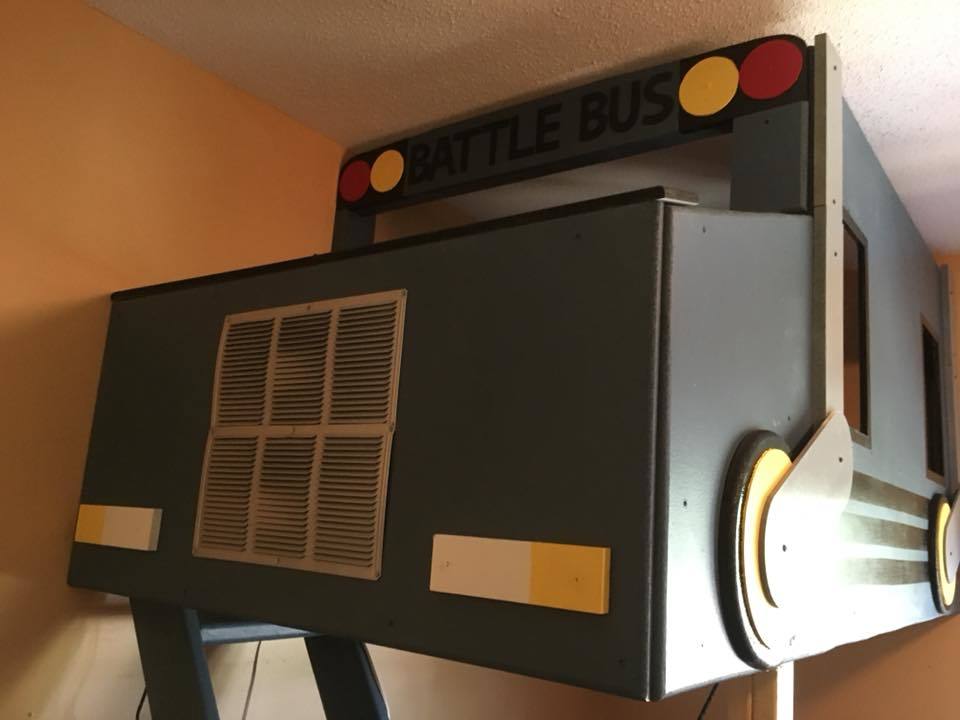
Grandy Console with Barn Doors
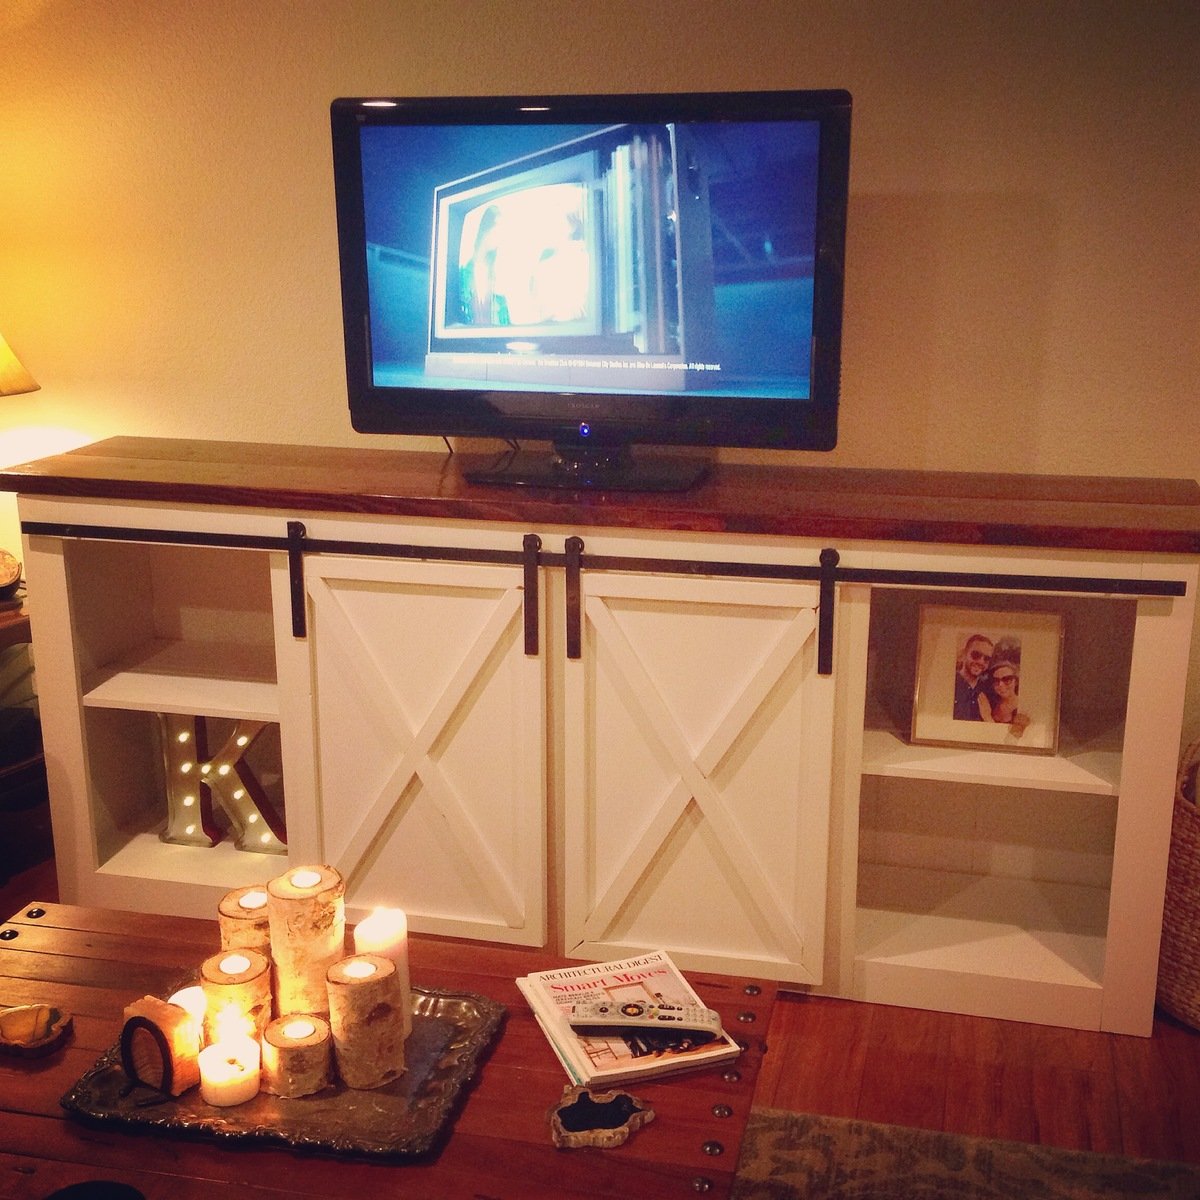
Built in about 2 days. Hardest part was definitely the hardware. Looks great!
Built from Plan(s)
Estimated Time Investment
Weekend Project (10-20 Hours)
Recommended Skill Level
Intermediate
Comments

Sun, 10/04/2015 - 07:34
this looks really great! I
this looks really great! I really want to bulid this but I don't have anywhere to put it :(
Fri, 12/11/2015 - 19:49
Looks great - hardware scares me!
Looks awesome...we've got ours built...now to make the doors and the hardware? Any tips would be appreciated!!!! Thanks!
Thu, 02/11/2016 - 08:32
Hardware Tips.
The hardware was a pain in the butt. The metal bar was easy to cut actually. I just put one of my old blades back on my mitre saw and it worked great. Extracting the wheels from their casing was the most challenging. I ended up putting the entire thing in a vise and drilling through it. It is totally worth it though. Everyone who comes over is obsessed with it. Also, I did not attach the boards on top. It's much easier to move if you take those boards and the doors off and carry it. Good luck guys!
Thu, 02/11/2016 - 08:29
Replies
I used the same dimensions as the plan. That TV is a 42". We have since upgraded to a 60" and it now looks more proportionally correct. The hardware was a pain in the butt. The metal bar was easy to cut actually. I just put one of my old blades back on my mitre saw and it worked great. Extracting the wheels from their casing was the most challenging. I ended up putting the entire thing in a vise and drilling through it. It is totally worth it though. Everyone who comes over is obsessed with it. Also, I did not attach the boards on top. It's much easier to move if you take those boards and the doors off and carry it. Good luck everyone!
Sat, 03/26/2016 - 08:41
Barn Door Hardware
Hey, love how this turned out! Was wondering where you purchased the barn door hardware? Been stuck with trying to find some that won't break the bank!

Tue, 01/03/2017 - 00:47
Those are 6 foot decorative sliding door hardware
By the pic of that hardware, they are interior decorative sliding door hardware. Home Depot, Lowe's and other big box stores carry them are can be bought online
Rustic x console table
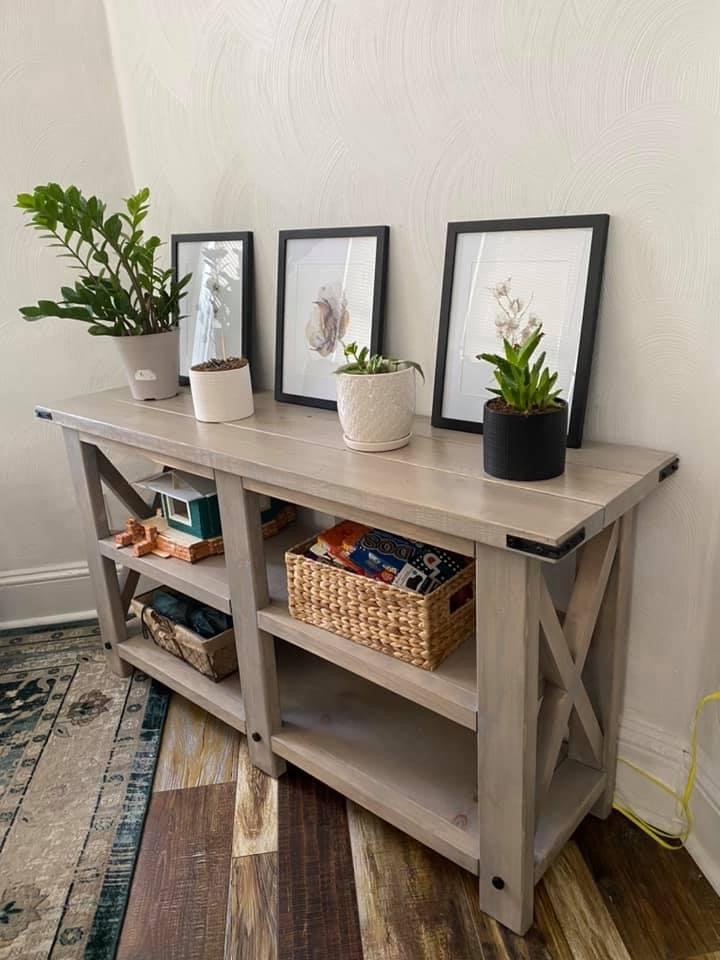
Built this for a friend of mine, but didn’t need it quite as long…I absolutely love this table!!!
Built from Plan(s)
Comments
Tue, 06/28/2022 - 11:36
Wonderful gift!
This looks gorgeous, thank you for sharing, I'm sure your friend is thrilled!
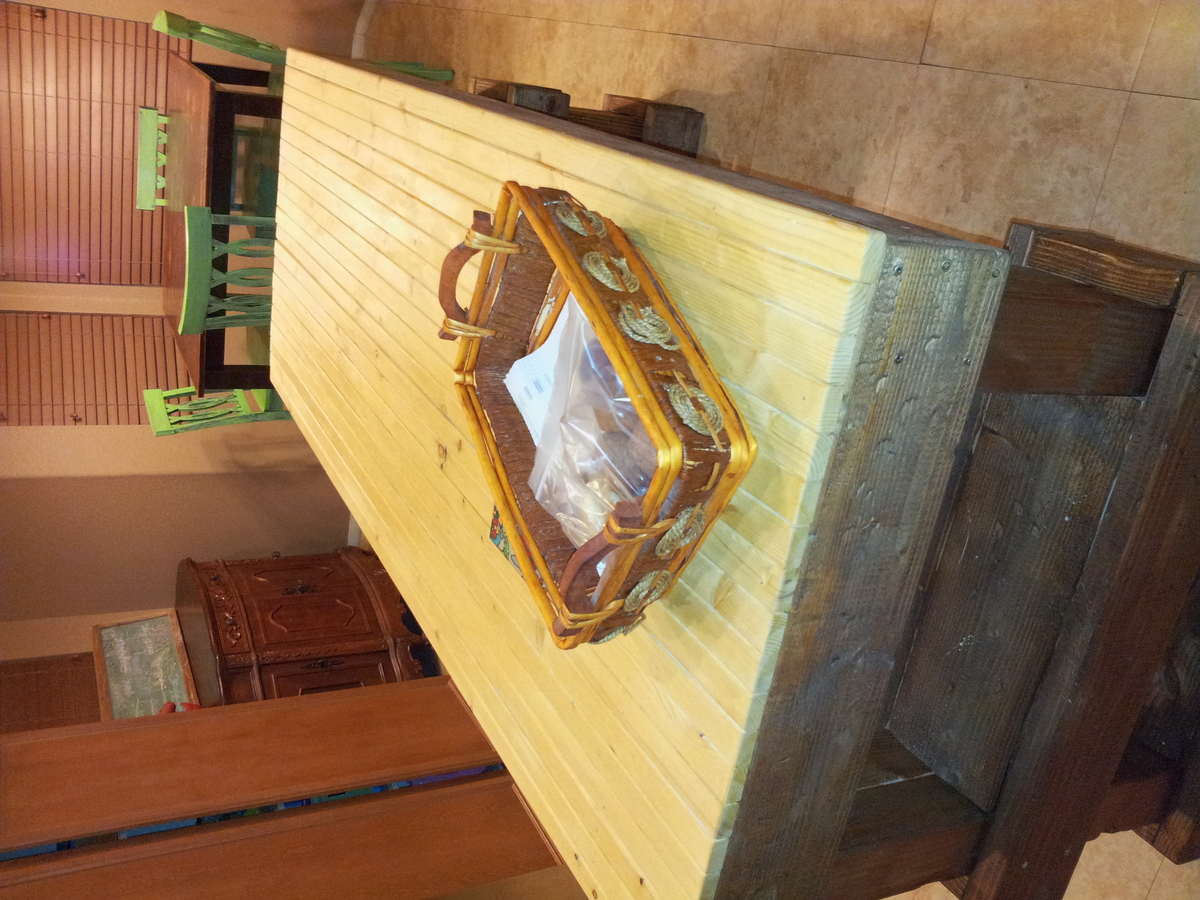
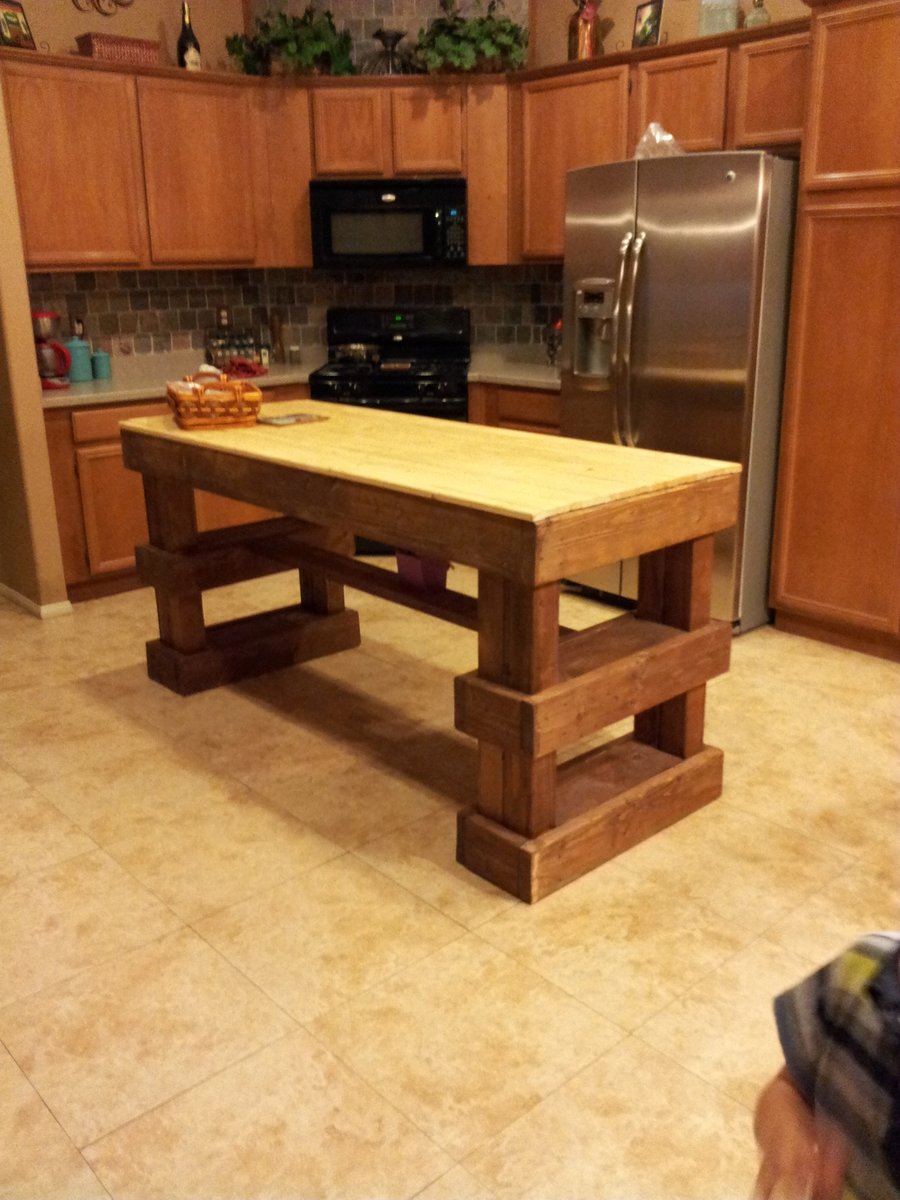
Chunky Rustic Kitchen Island
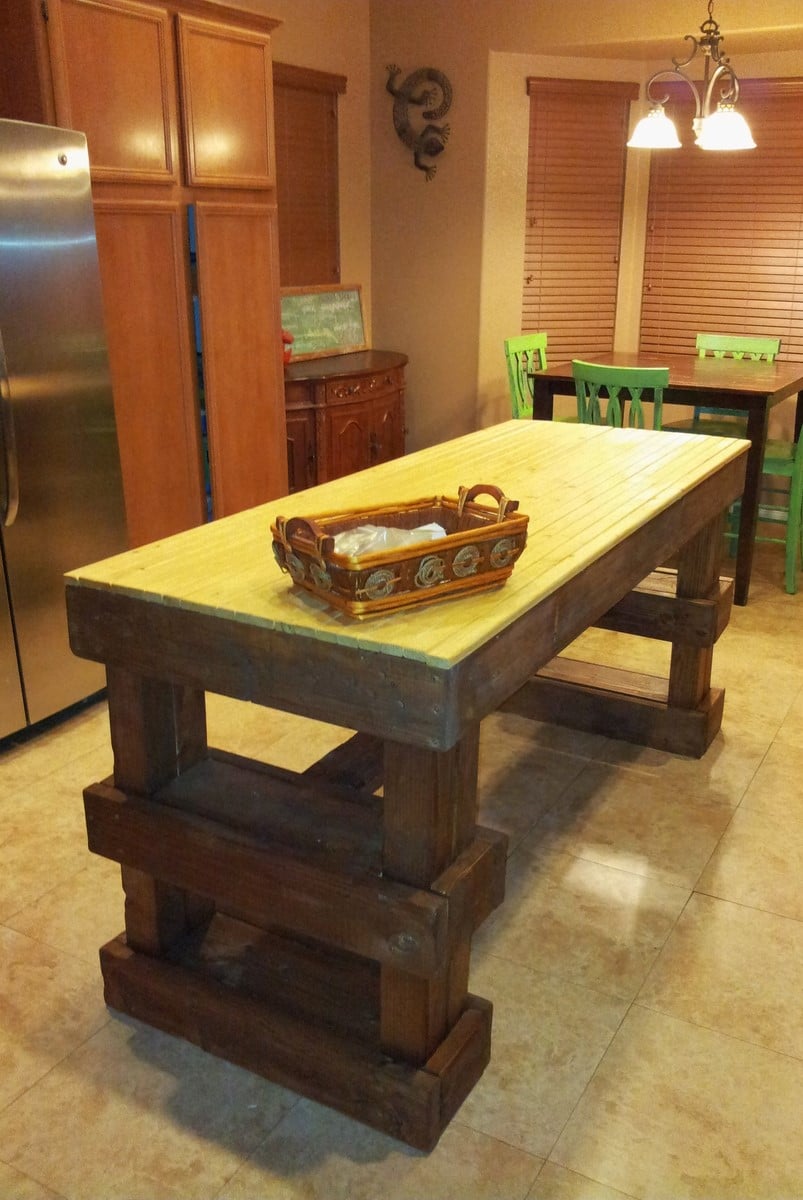
I wanted a Super Rustic and Super Chunky Island with out the Super High price tag. So I turned to pintrest for inspiration. I switched up a few things , but the end result was EXACTLY what I was looking for. Score!!!!
Estimated Time Investment
Weekend Project (10-20 Hours)
Finish Used
Early American stain from Minwax.
Recommended Skill Level
Beginner
Memorial flag case
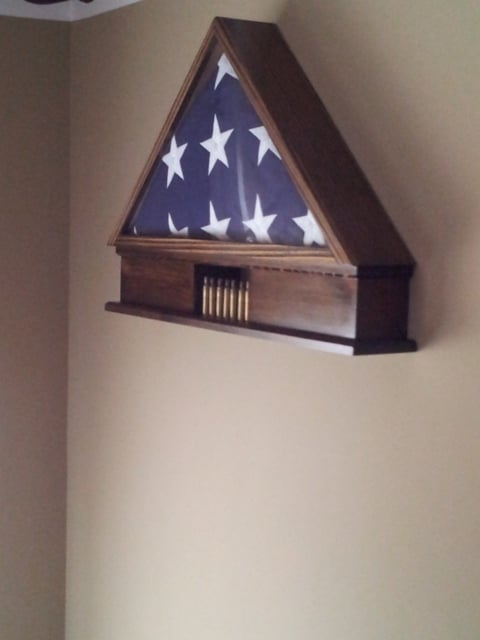
I built this case for my Grandma when my Grampa died. I wanted to be able to display the shells as well. The design is a combination of a few I saw and like different aspects of.
Estimated Cost
$30
Estimated Time Investment
Afternoon Project (3-6 Hours)
Finish Used
shellac
Recommended Skill Level
Beginner
Comments
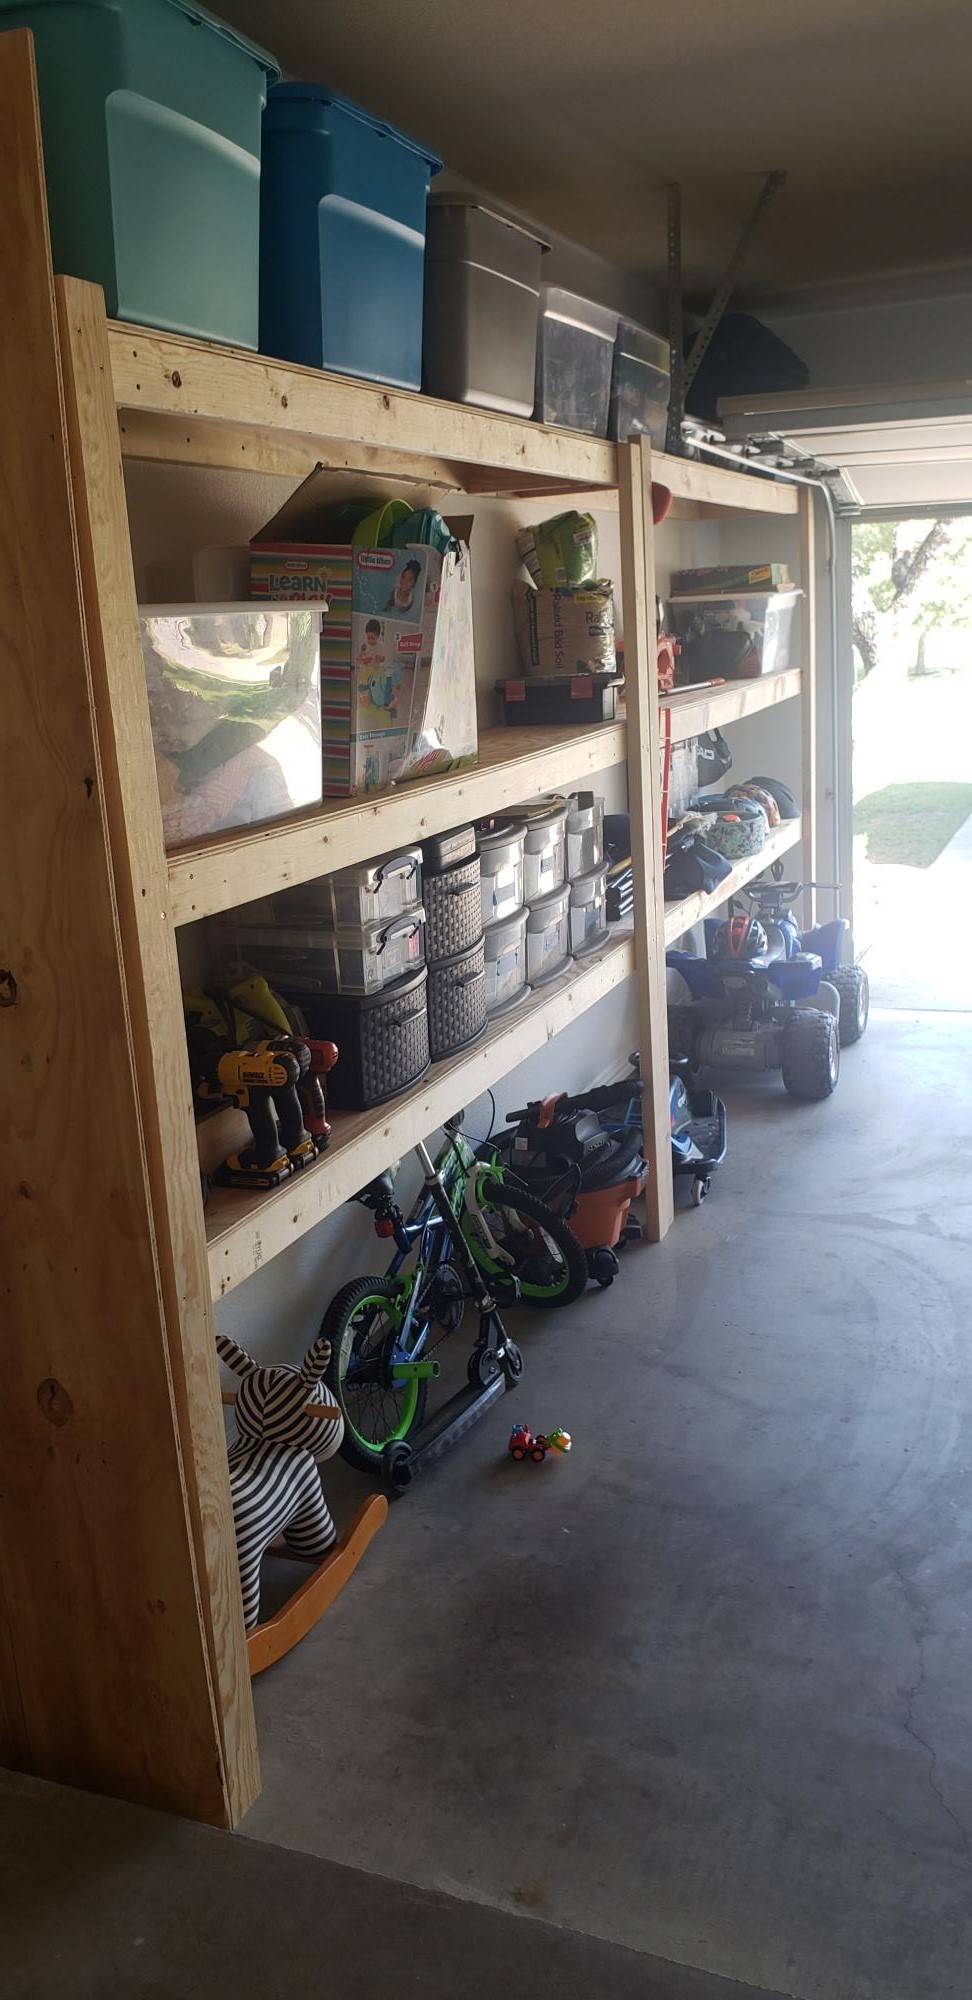
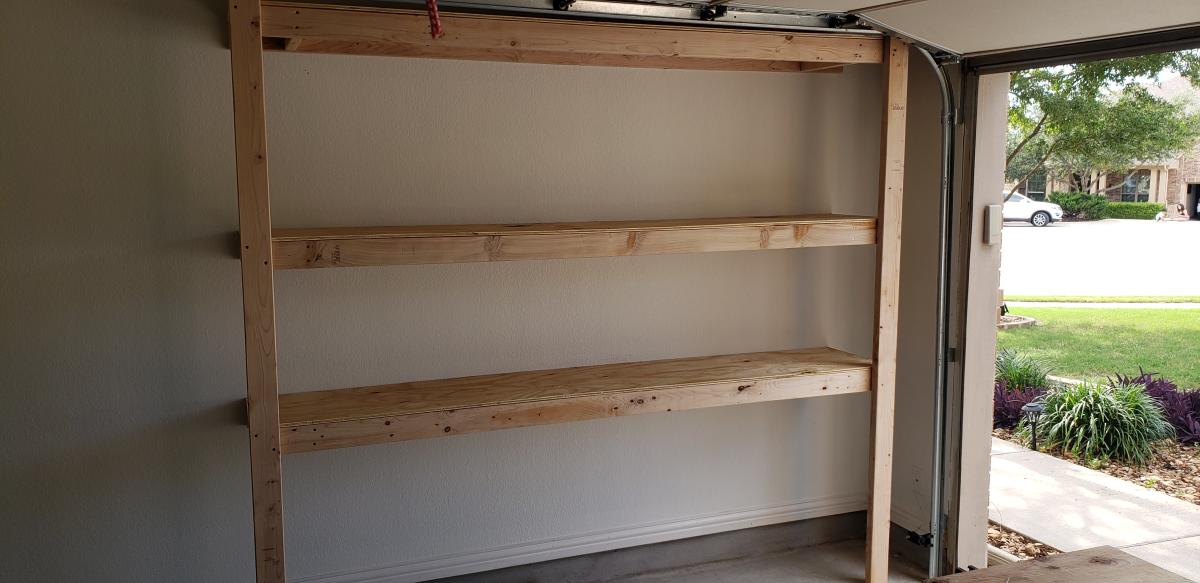
Garage shelv
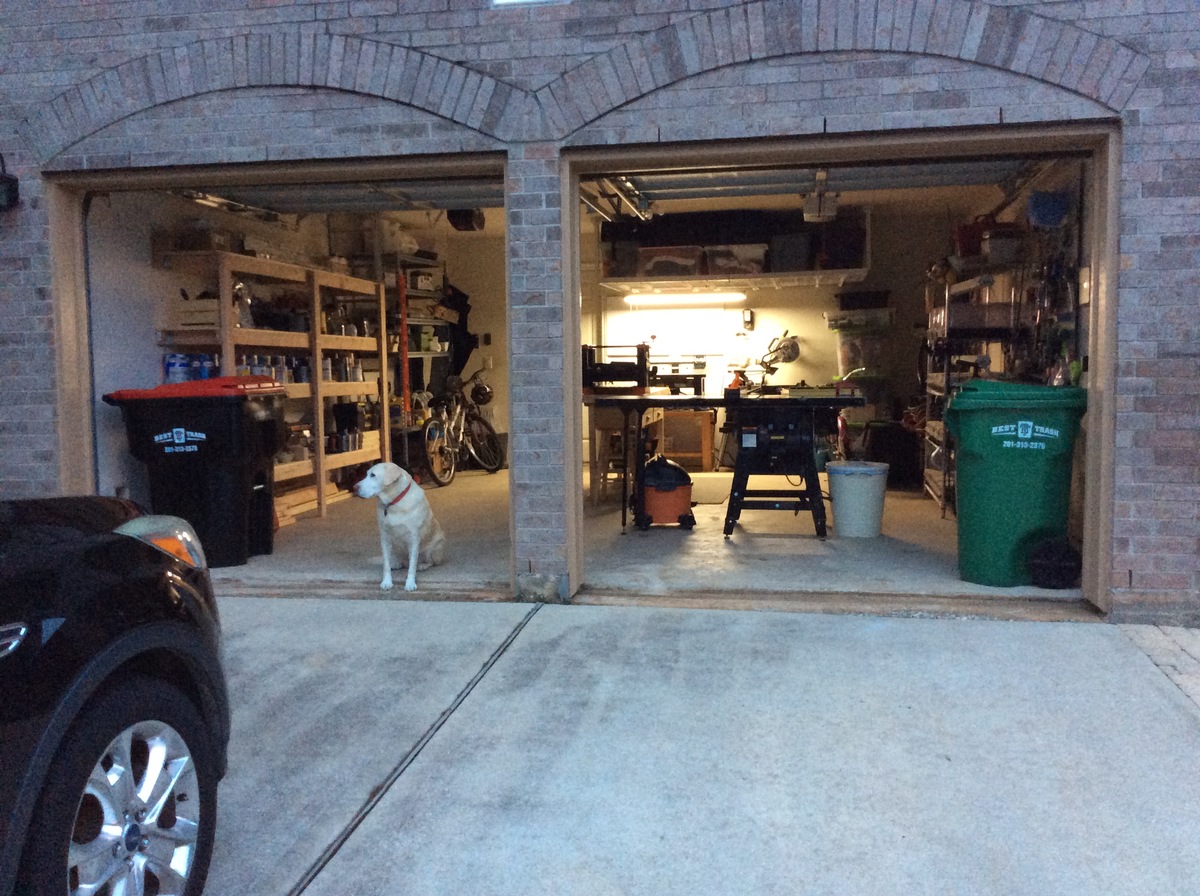
104.5” long, 17 1/2” wide. Heughan varies but on average is 72”. My garage slopes downward, so each front leg is a different length which made the unit level. I used joist hangers instead of pocket holes.
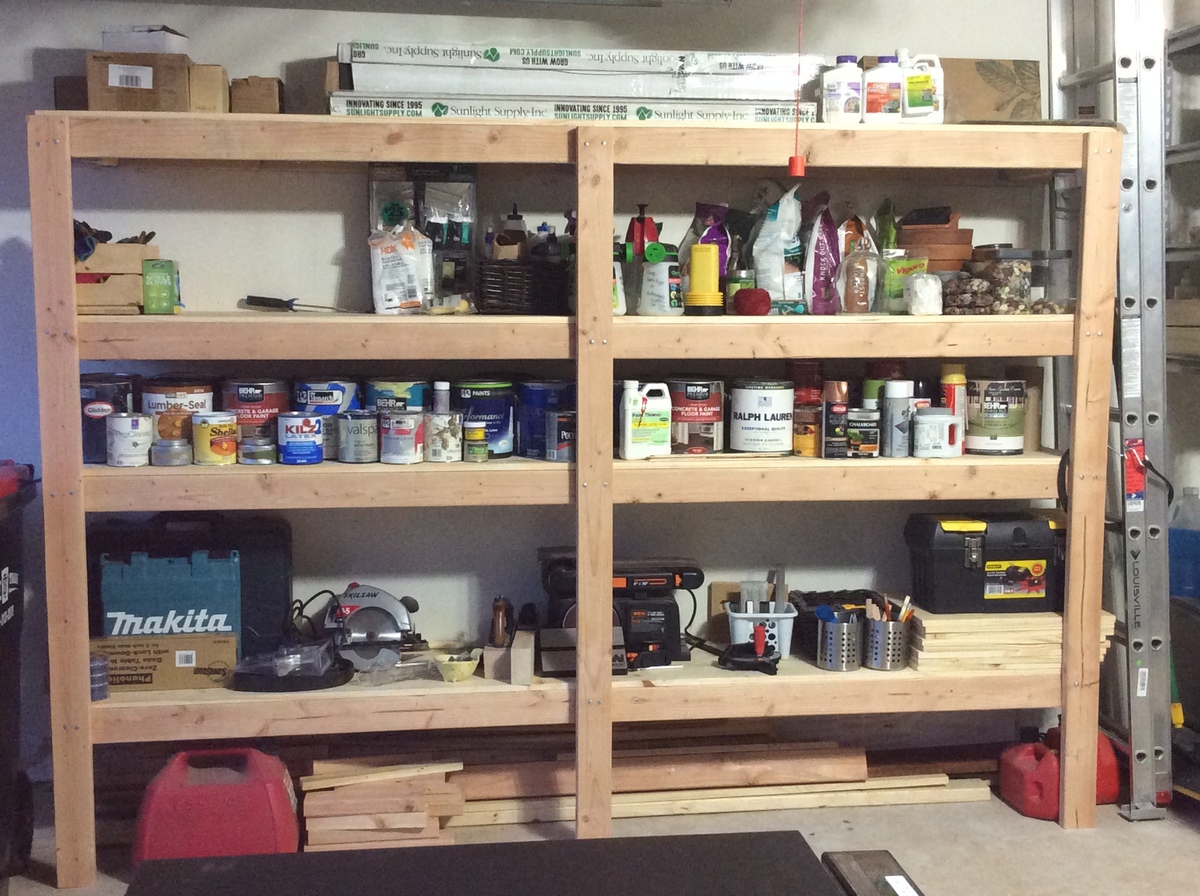
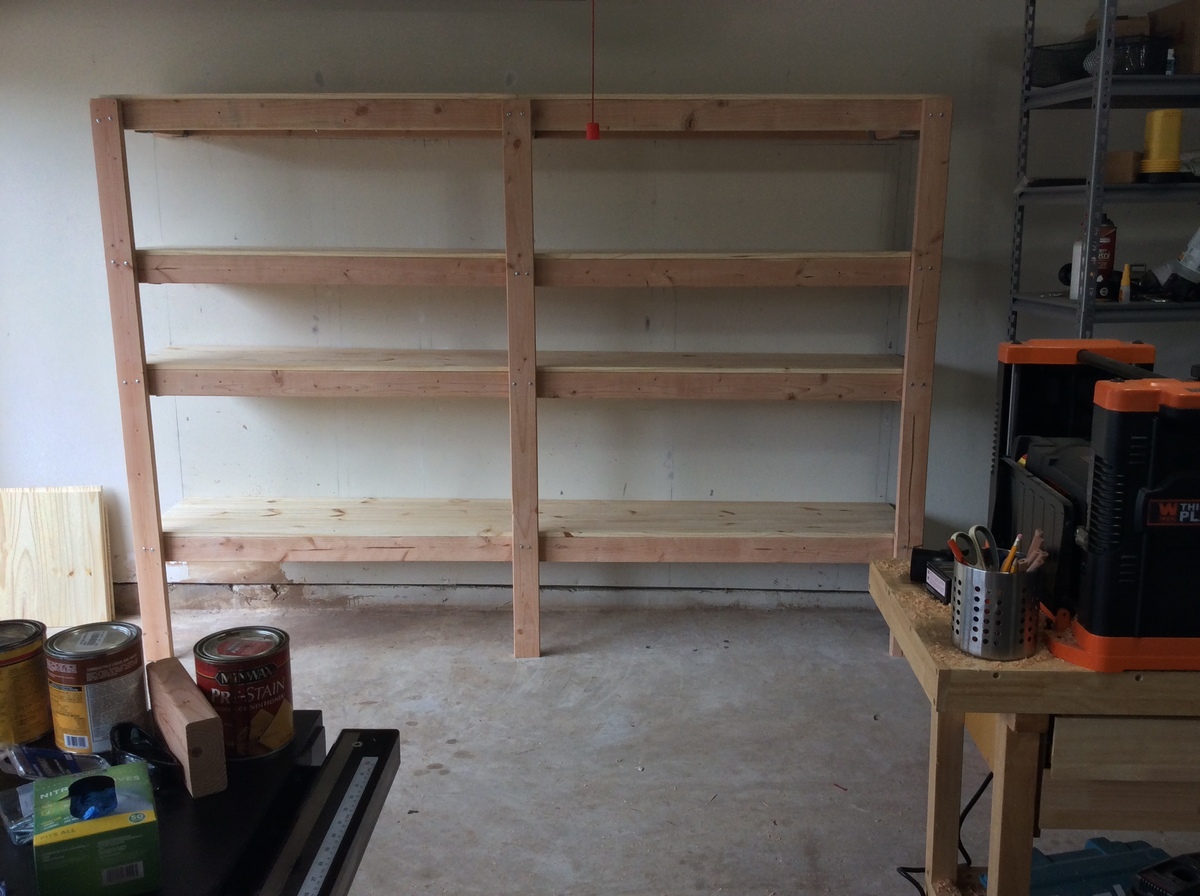
Estimated Cost
$300
Estimated Time Investment
Week Long Project (20 Hours or More)
Recommended Skill Level
Intermediate
Outdoor chair
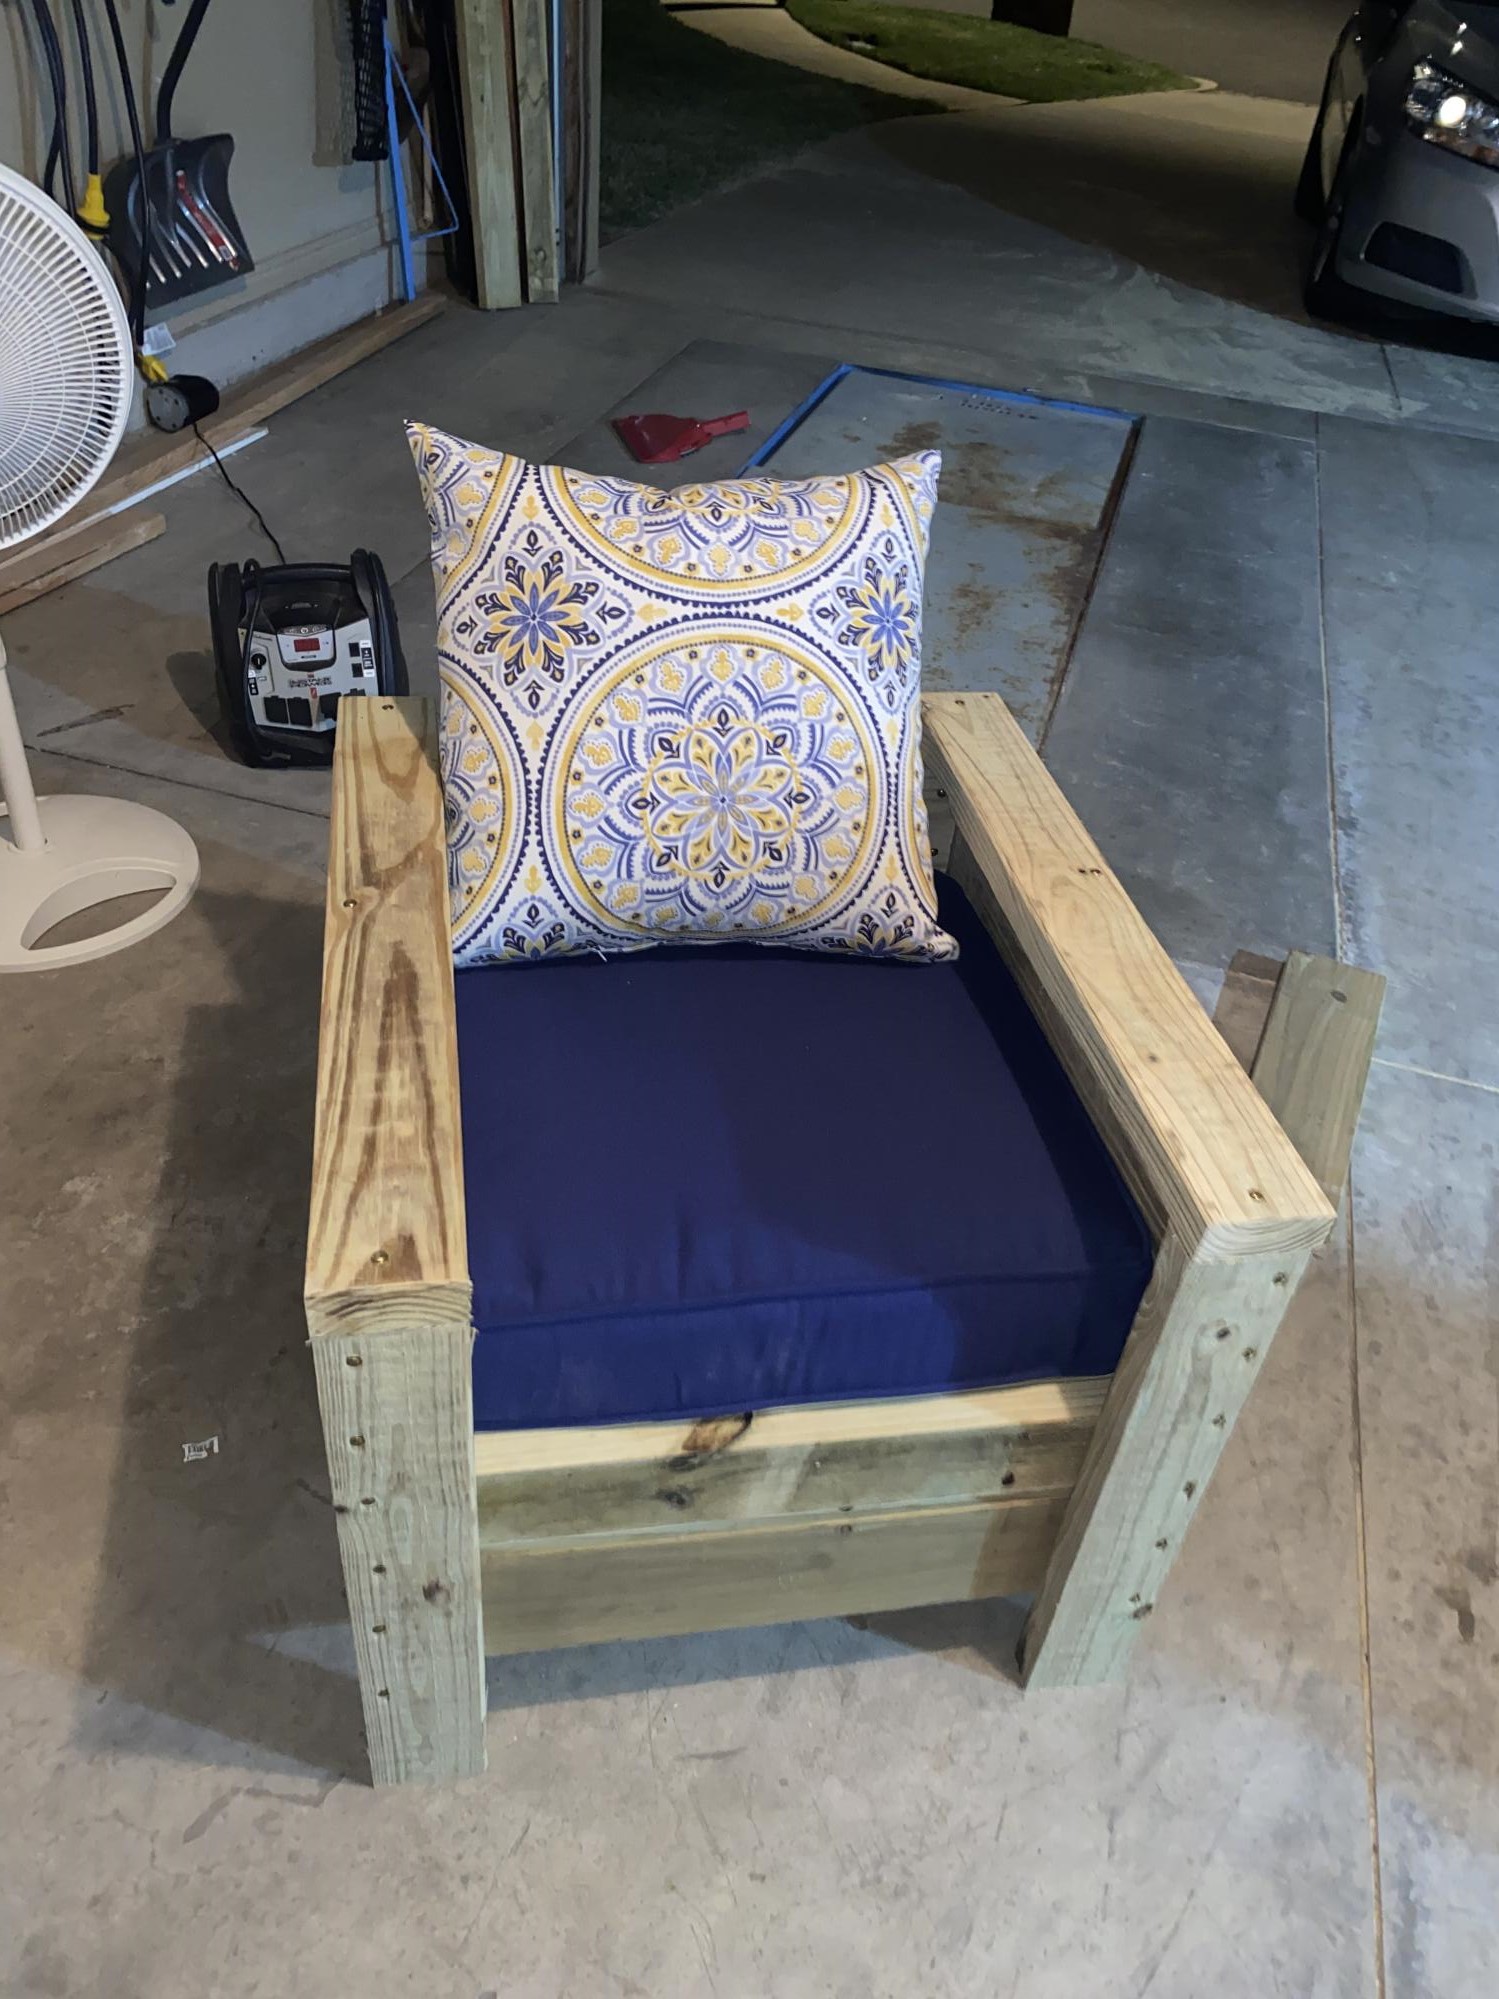
I have not yet sanded or sealed the chairs. I made two in 5 hours because I ran out of screws and had to go and get some more but I made these for my husband and my 15 year wedding anniversary to be able to spend more time outside after the kids go to bed. It cost me $130 plus the cushions to build
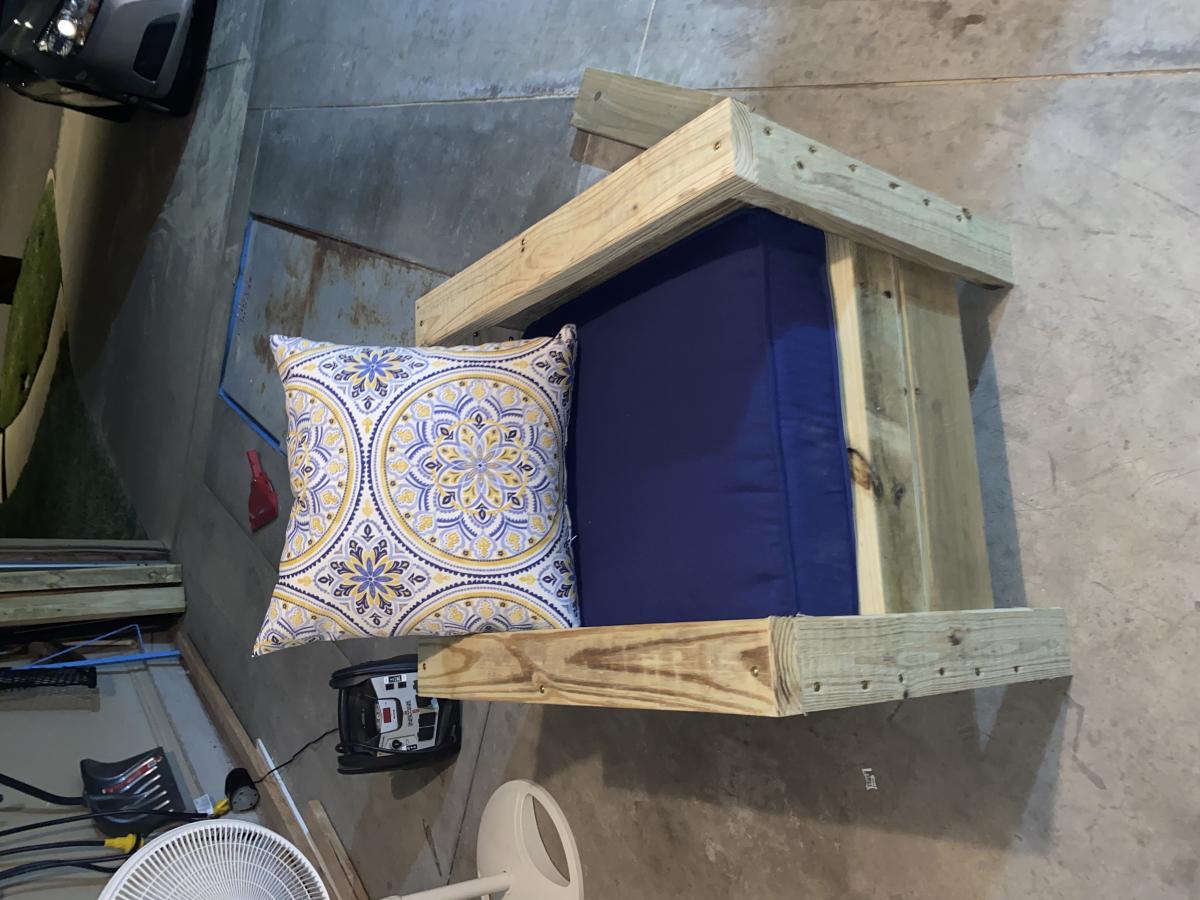
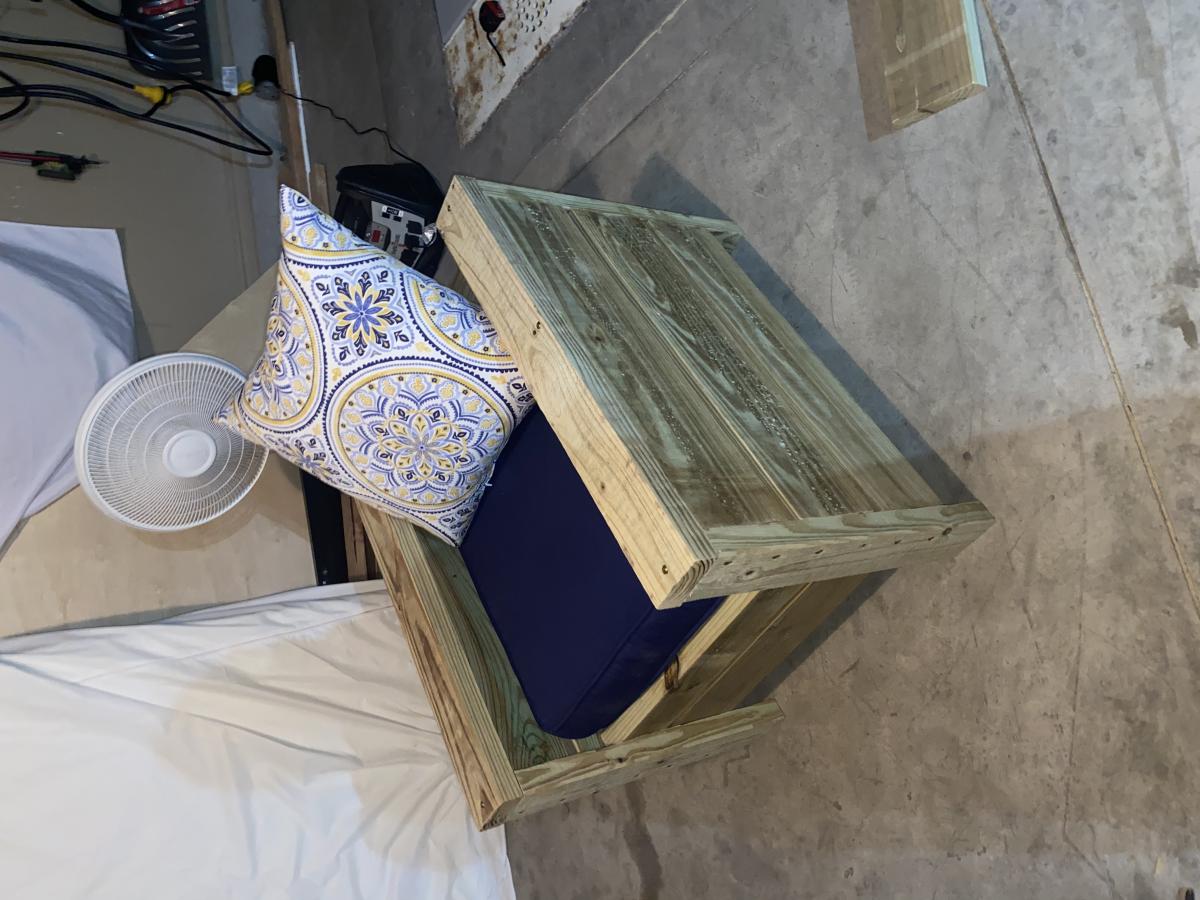

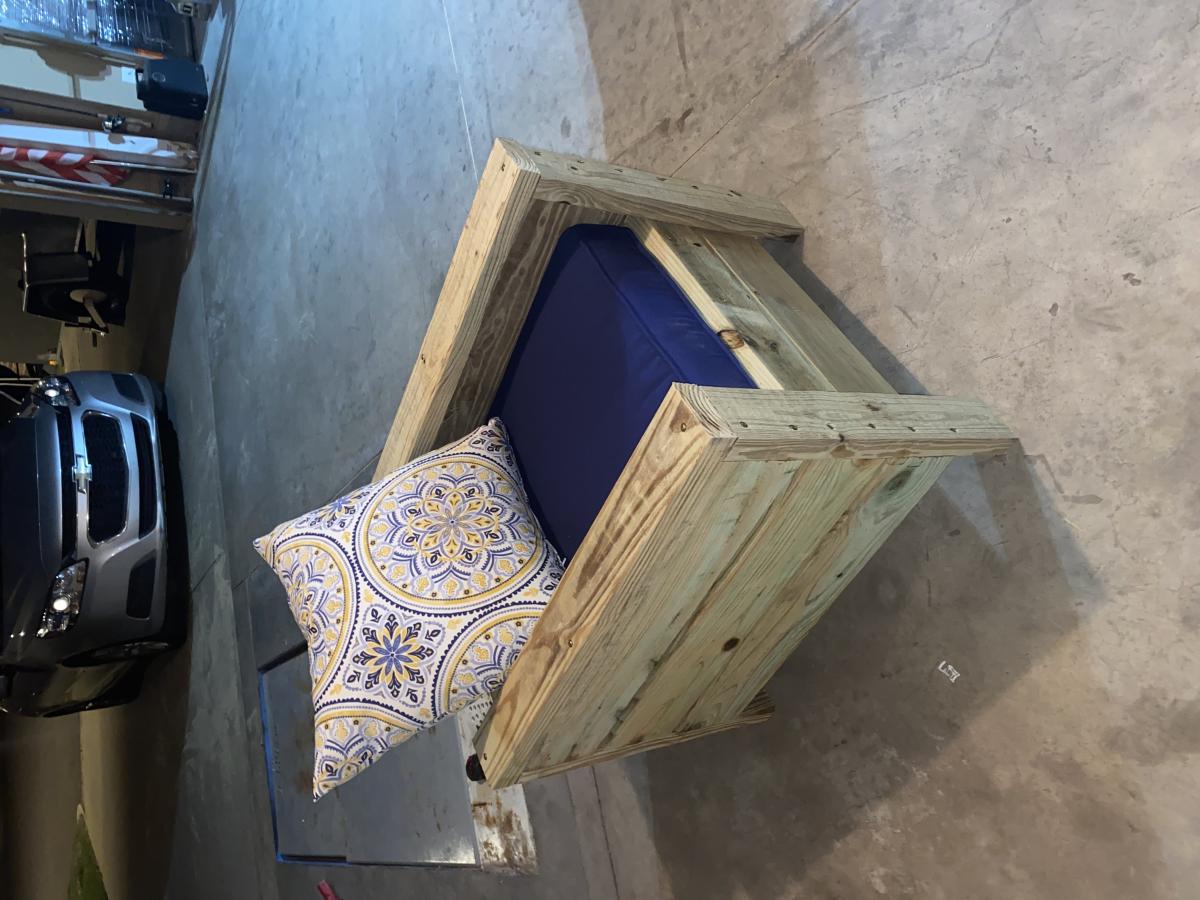

Built from Plan(s)
Comments
"Sweet Dreams" - CUSTOM KING-SIZE HEADBOARD
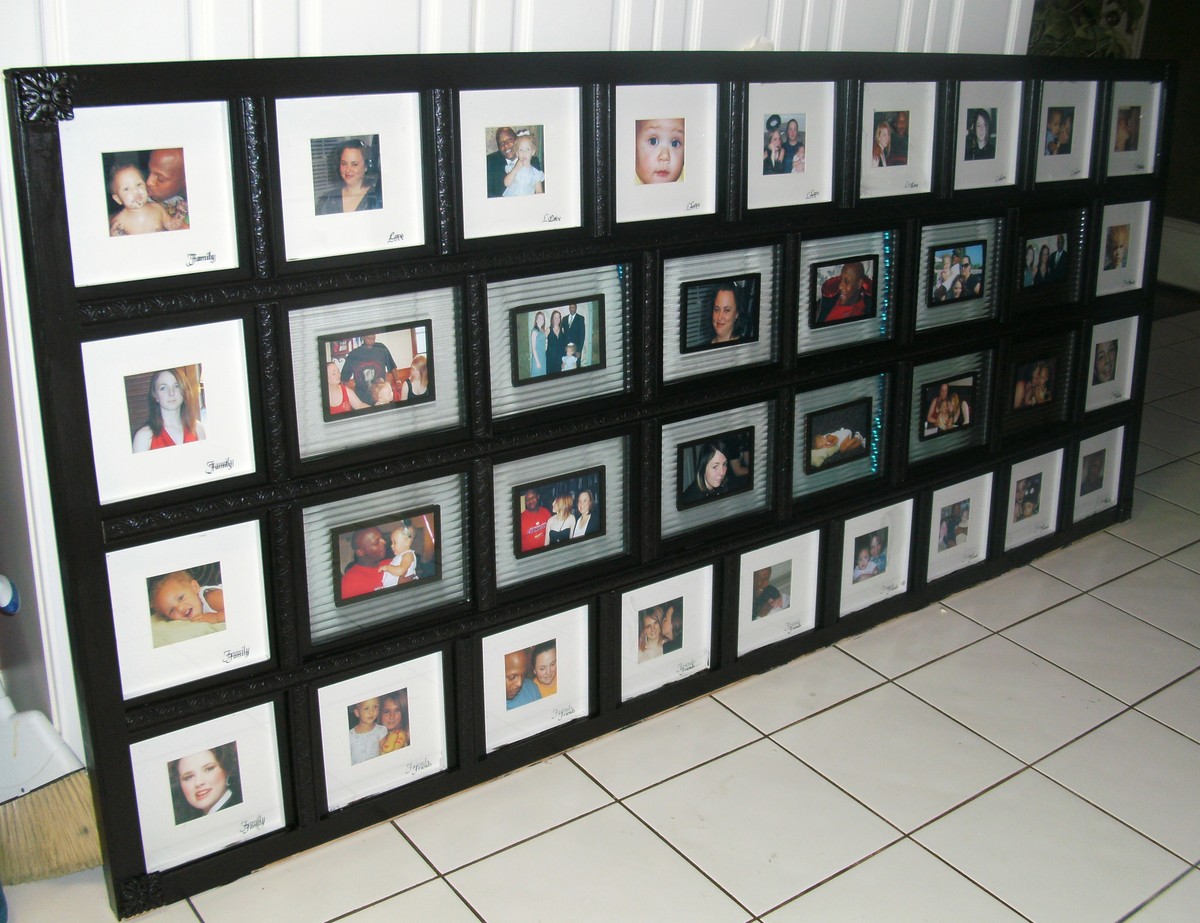
I constructed this generous sized king-size headboard (tagged "Sweet Dreams") from a large number of beautiful deep discounted photo frames (pretty matting, exotic glass, all black purchased from Kroger for $1 each on a clearance rack) and featuring favorite photos of my daughter (for whom the headboard gift was intended) and her husband and children. For little more cost in wood for the framing and rope lighting to provide a soft glow through the channeled glass that surrounded each photo in the center frames made this the perfect gift. When it was hung on the wall with legs for support and mounted on a "french cleat". I coupled the headboard with two beautiful black nightstands I bought from a yardsale and painted to match the headboard. Then we placed wrought iron candlelabras over each nightstand and VOILA! It is a beautiful beadroom! Total cost: approximately $60 Best footnote, the photos can be changed out to keep the headboard fresh and current. (Do know...this is VERY heavy and must be handled with great care because of all the glass in the frames.)
Estimated Cost
60
Estimated Time Investment
Week Long Project (20 Hours or More)
Finish Used
Black semi-gloss enamel.
Recommended Skill Level
Intermediate
Comments

Mon, 08/01/2011 - 08:36
Resourceful!
What a great idea. Would love to see a photo of all the projects combined for the full effect!
Tue, 08/02/2011 - 16:12
Could you add some close ups
could you add some close ups and different angles please i really would like to see how this was done.
Wed, 10/17/2012 - 14:35
Sweet Dreams King Size Headboard
Unfortunately Luis, I do not have other photos of the headboard...none of the "construction process" nor other angles of the finished piece. The basic process was first knowing the average width of a king sized headbard, then acquiring the inexpensive photo frames and laying out the configuration you like best. Then I took 1"x1" 8 or 10 ft long pieces of unfinished wood and built a "frame" of horizontal pieces..first laying the wood on the floor, then putting the frames in their planned final arrangement by using cut pieces of 1x1 to put vertically between the individual frames to get the spacing correct. Then I put the end 1x1 pieces on to complete the 4 sided "frame". NOTE: I worked with the framing wood "face down" so that once the entire configuration was determined and all wood pieces were cut and in place, they could be joined together. I used glue and small metal plates that spanned the tiny joints and screws that made the joints more "permanent". Once all joints were finished, I used tiny wood screen moulding and glued it in place on two of the four sides of each opening (toward the back, precisely placed so that each photo frame fit flush with the face of the front of the frame). Then I painted the wood frame black (front, back, sides, top, bottom, etc). Once dry, I glued each frame in place in each opening. NOTE: Each frame, accessible from the back,allows for photos to be inserted and changed out. Finally I glued tiny wood medallion wood embellishments in each of the four corners and applied narrow wood trim that appears "carved" and three dimentional (using glue and tiny finishing nails) to the primary vertical and horizontal frame pieces. Then I carefully applied a final 2 coats of black paint. Lastly, on the back side, I took rope lighting "holders" that screw in place and mapped the hidden rope lighting and installed the rope lighting...out of view of the front view but where the soft light could illuminate the headboard. The final puzzle was how to put the headboard in place. First I built a wood rectangle the width of the headboard and the heigth I wanted the overall headboard to be and glued and screwed the base together...and painted it too. Then I made a "french cleat" that is simply a 2x4 cut at an angle so that when one piece is permanently attached to the back of the headboard with screws. Attach the other half to the wall, screwing it into the wall. Then 2 people can lift the heavy headboard onto the wall cleat. The base should rest on the floor and the cleat holds it to the wall. NOTE: You can google "french cleat" an look at photos and note instructions to see how to do this part. Hope all this helps. I will be glad to answer any other questions. Good luck.
Cedar loungers
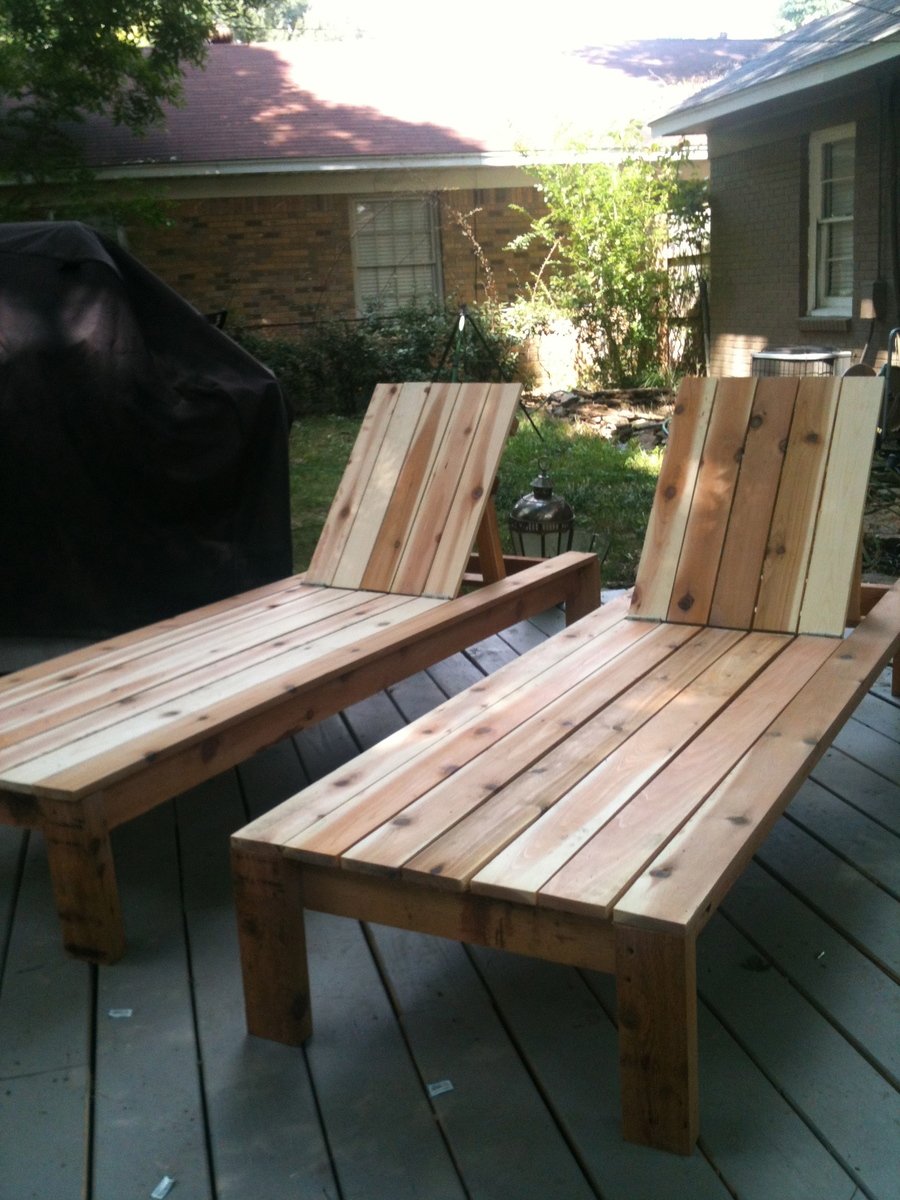
I used 2 x4 x8 cedar instead of the the 1x4x8
Built from Plan(s)
Estimated Time Investment
Afternoon Project (3-6 Hours)
Finish Used
I sealed them with the Rust o -leum Never Wet
Recommended Skill Level
Intermediate
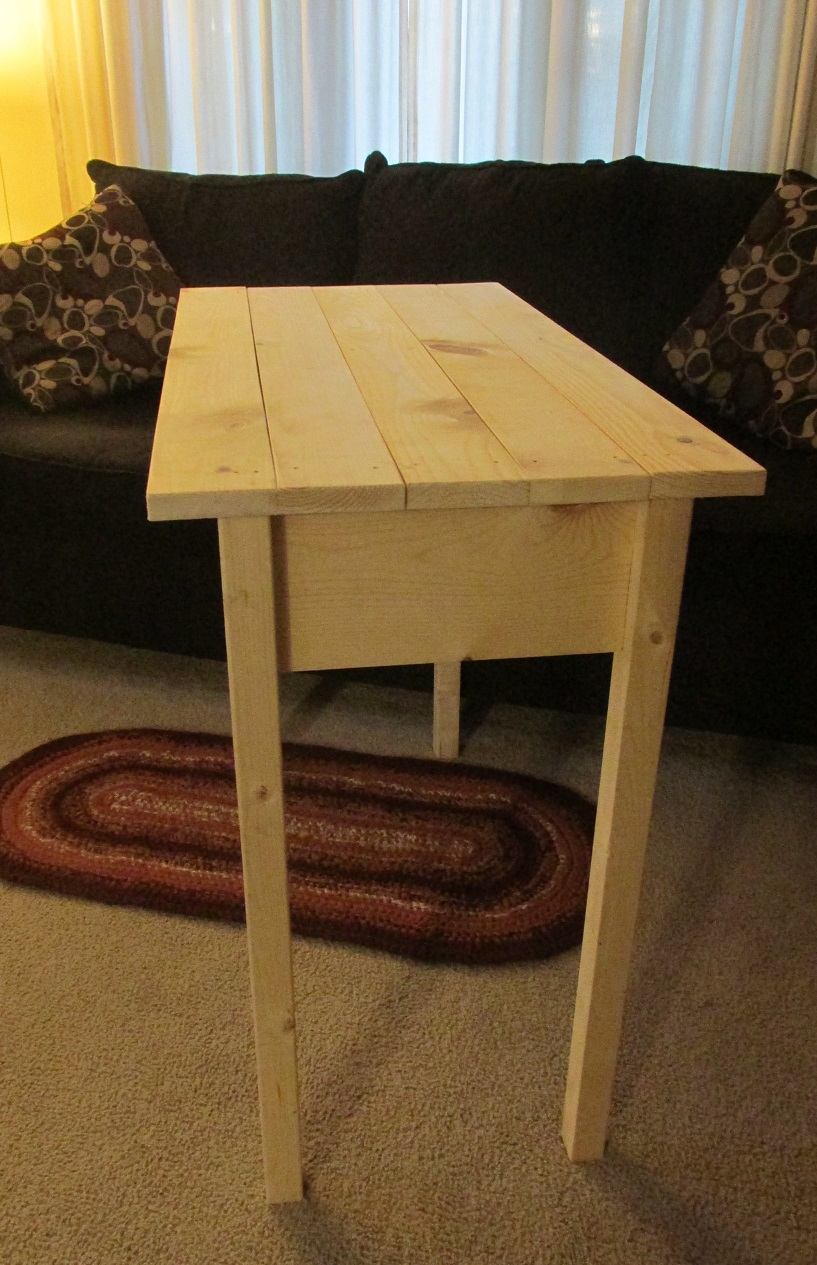
Mini Farmhouse Bedside Table

I'm just learning to make things with wood, I made two of these for the bedropom update last year.
Built from Plan(s)
Estimated Time Investment
Weekend Project (10-20 Hours)
Recommended Skill Level
Beginner
Comments

Tue, 10/30/2018 - 11:03
Thanks for sharing all these
Thanks for sharing all these brags!!! Love them all!
Comments
Ana White Admin
Sun, 05/29/2022 - 14:00
Awesome storage shelves!
Thanks for sharing, these look great!