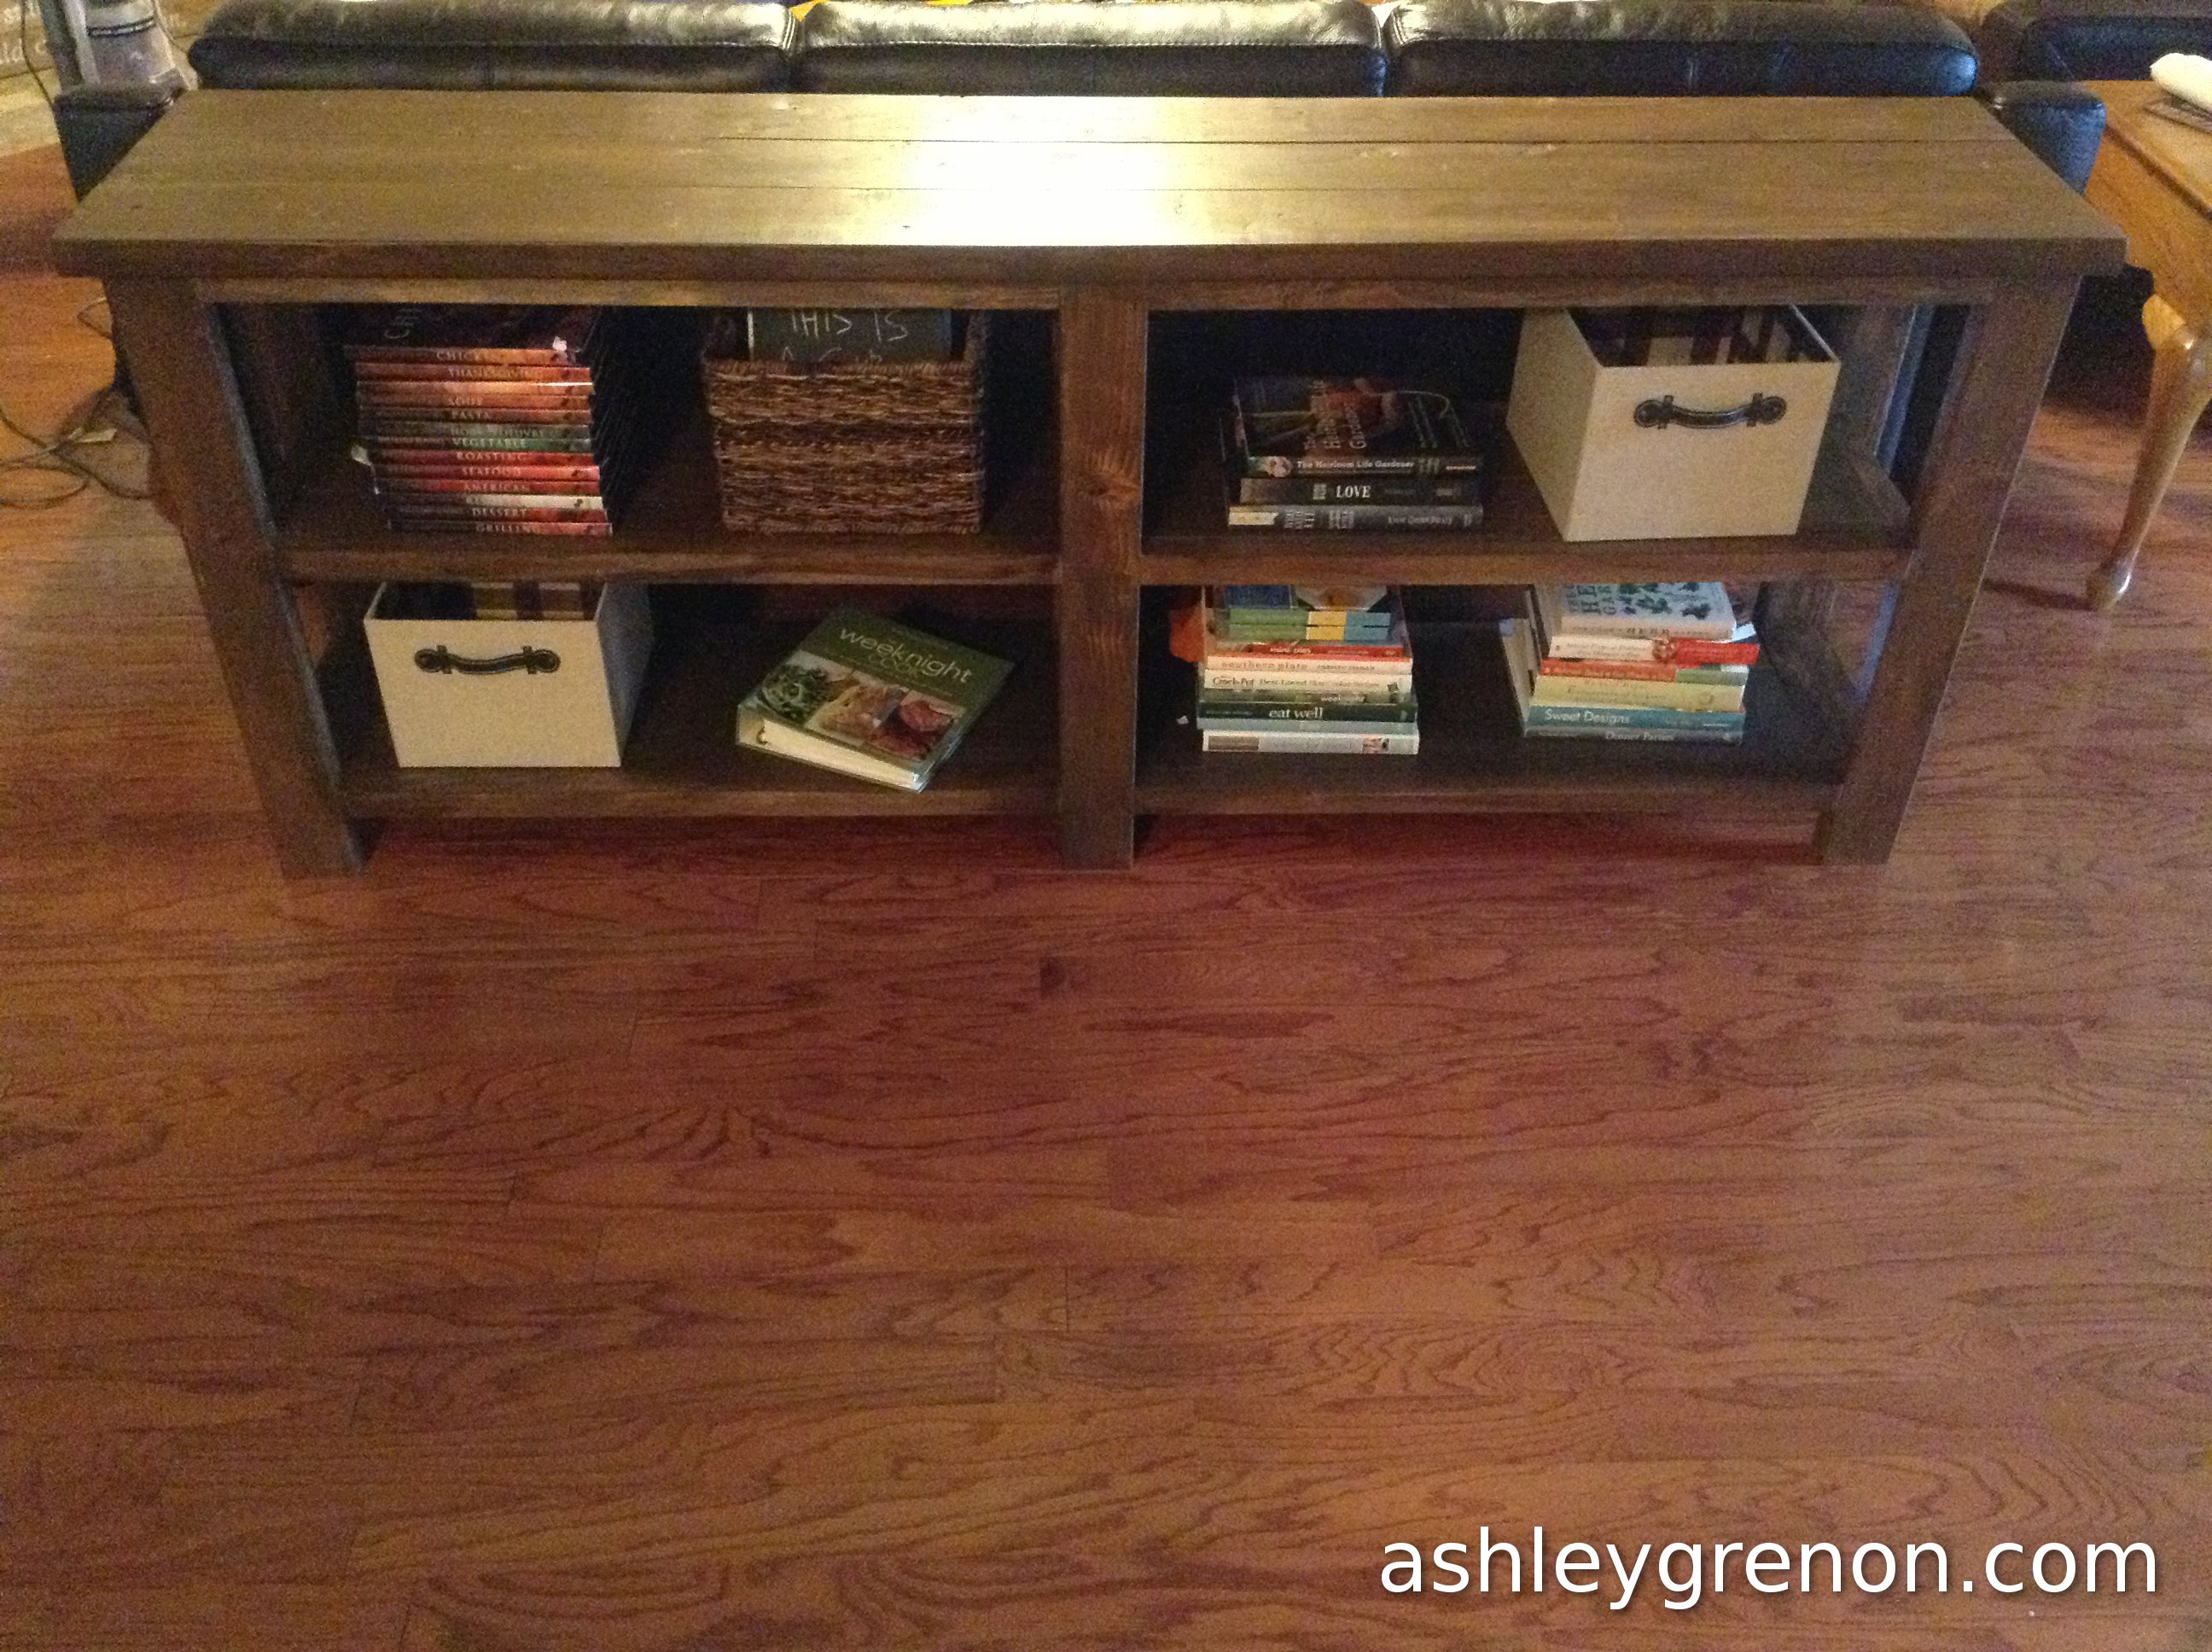
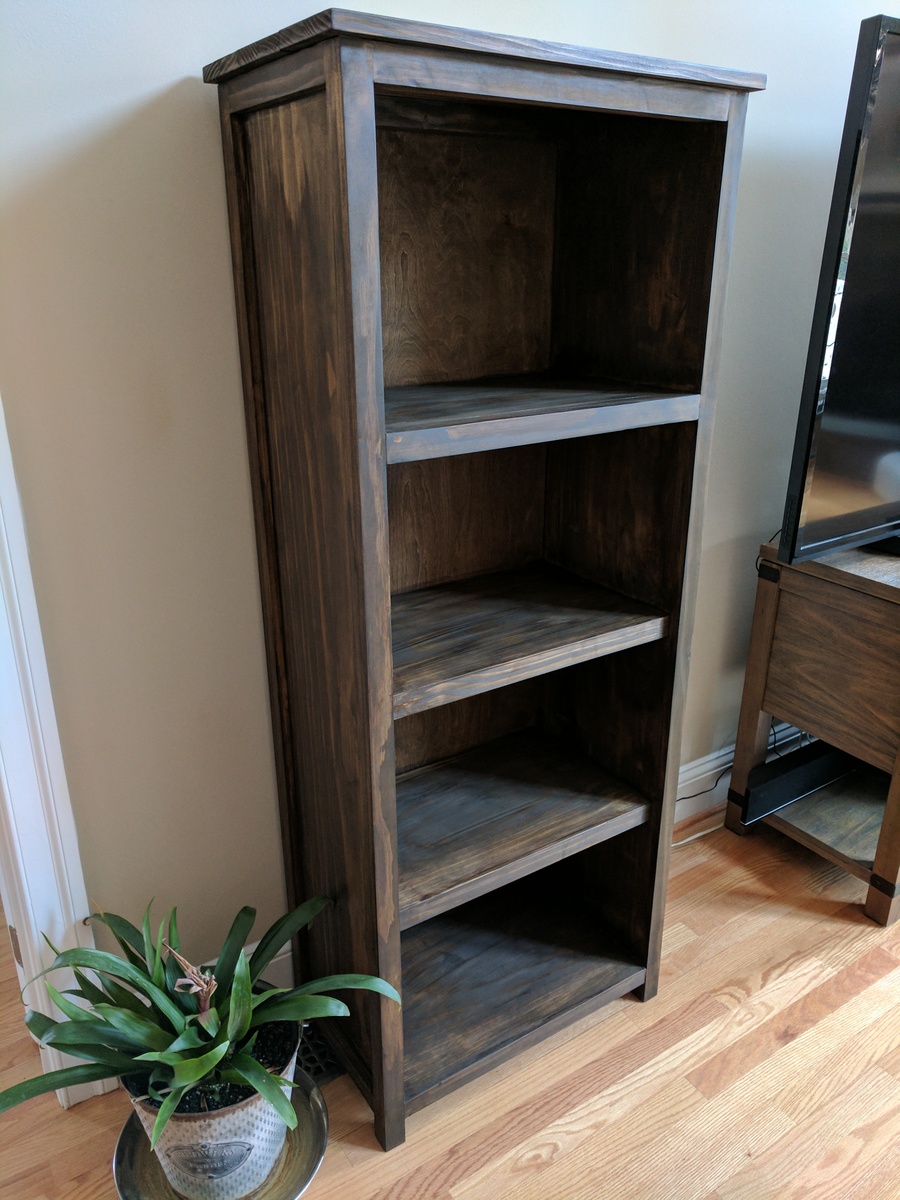
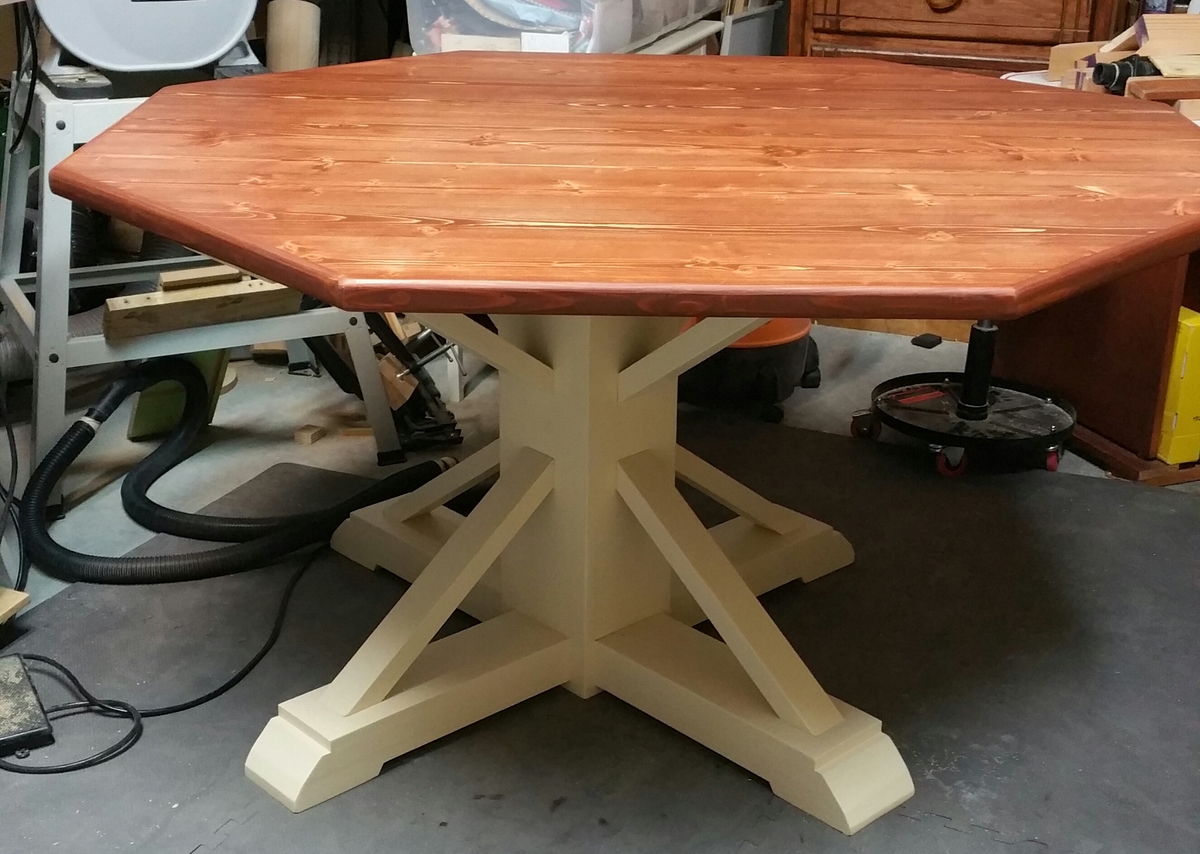
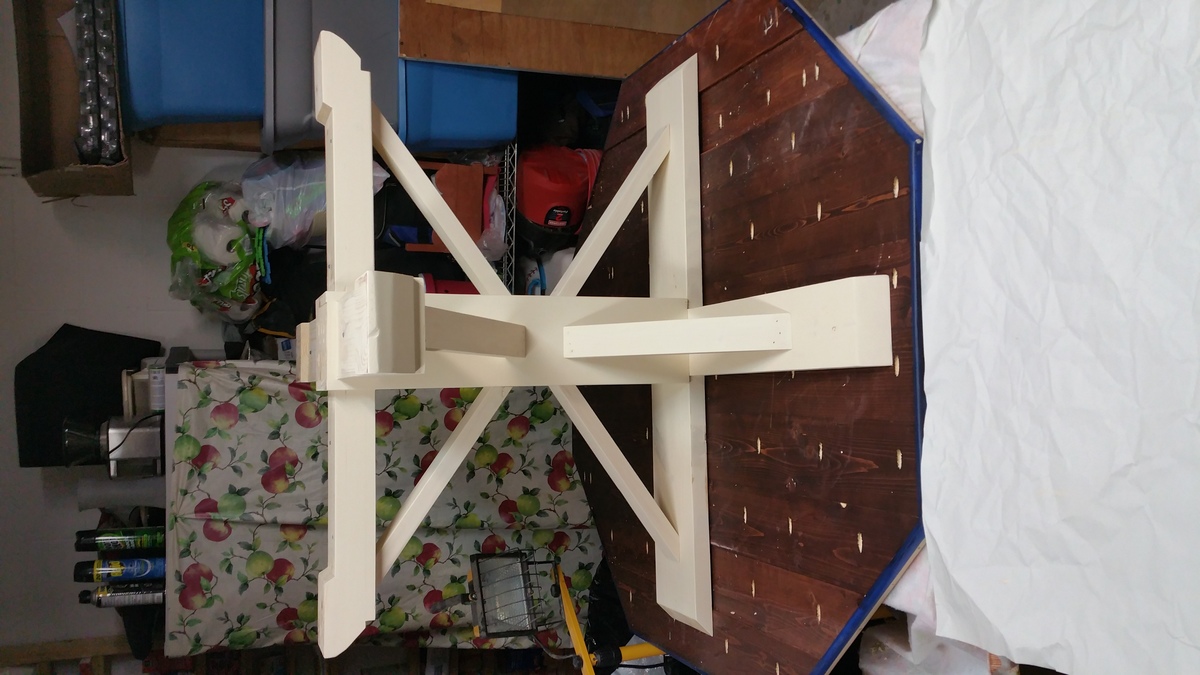
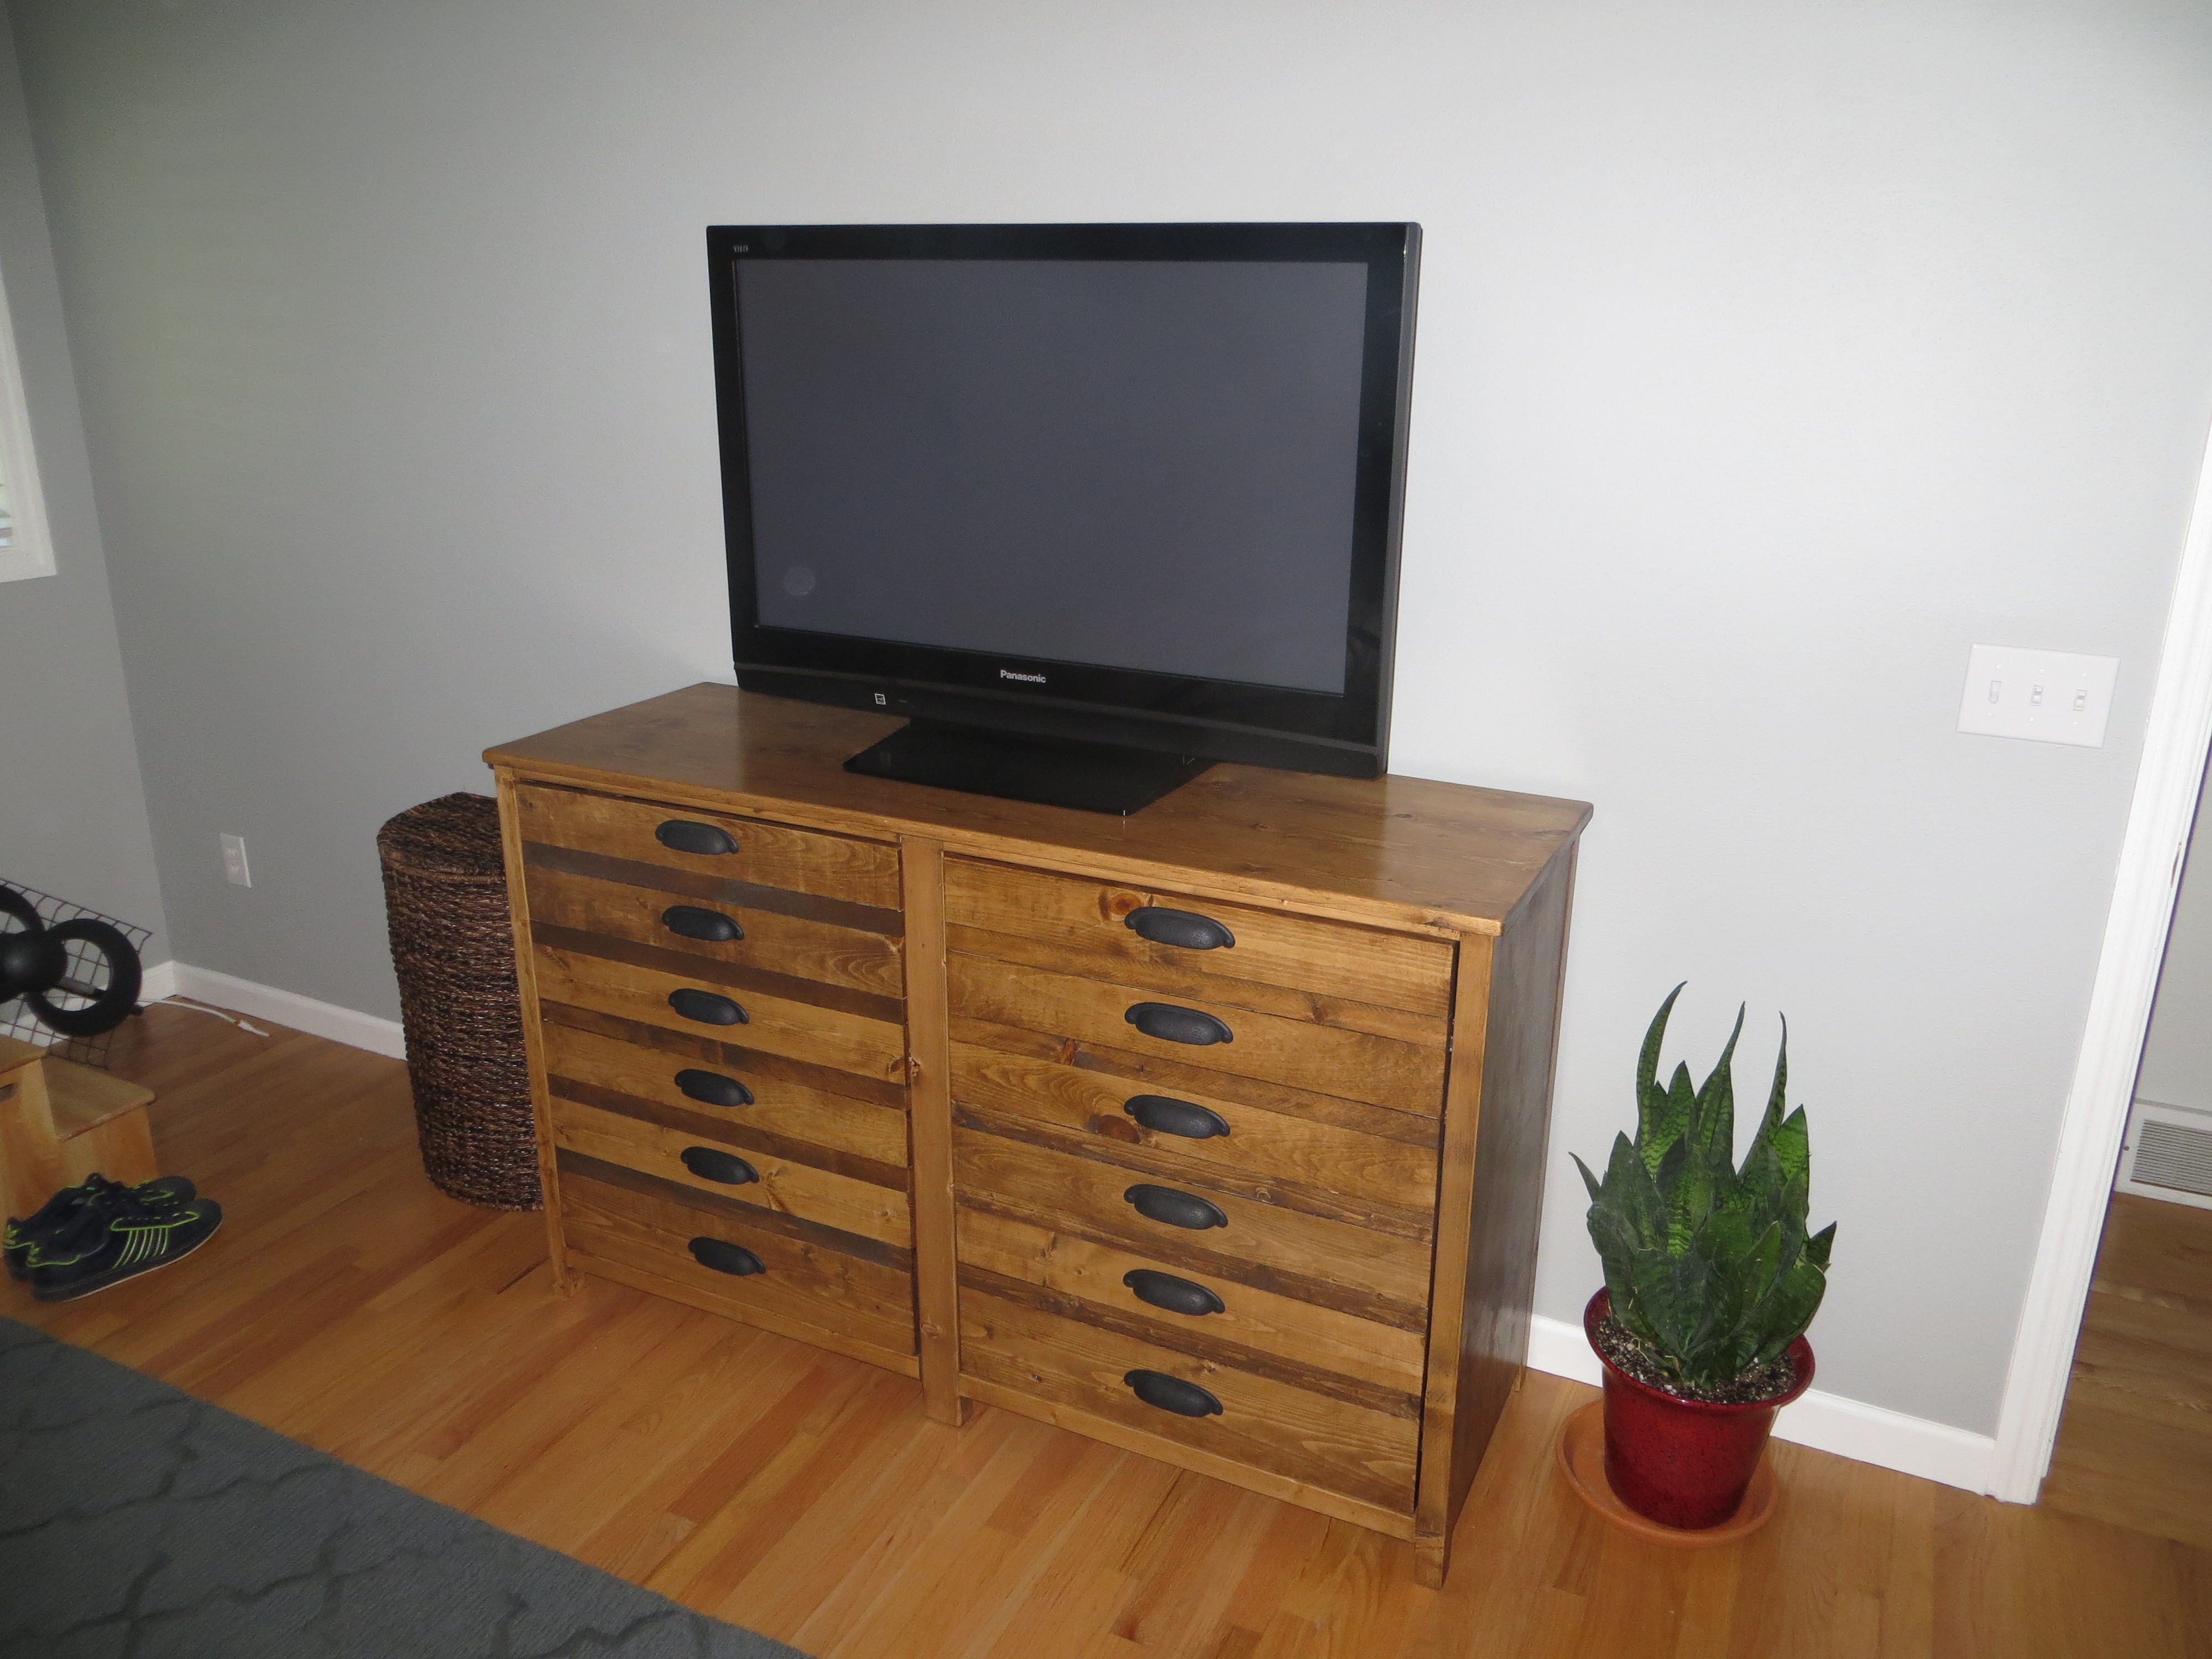
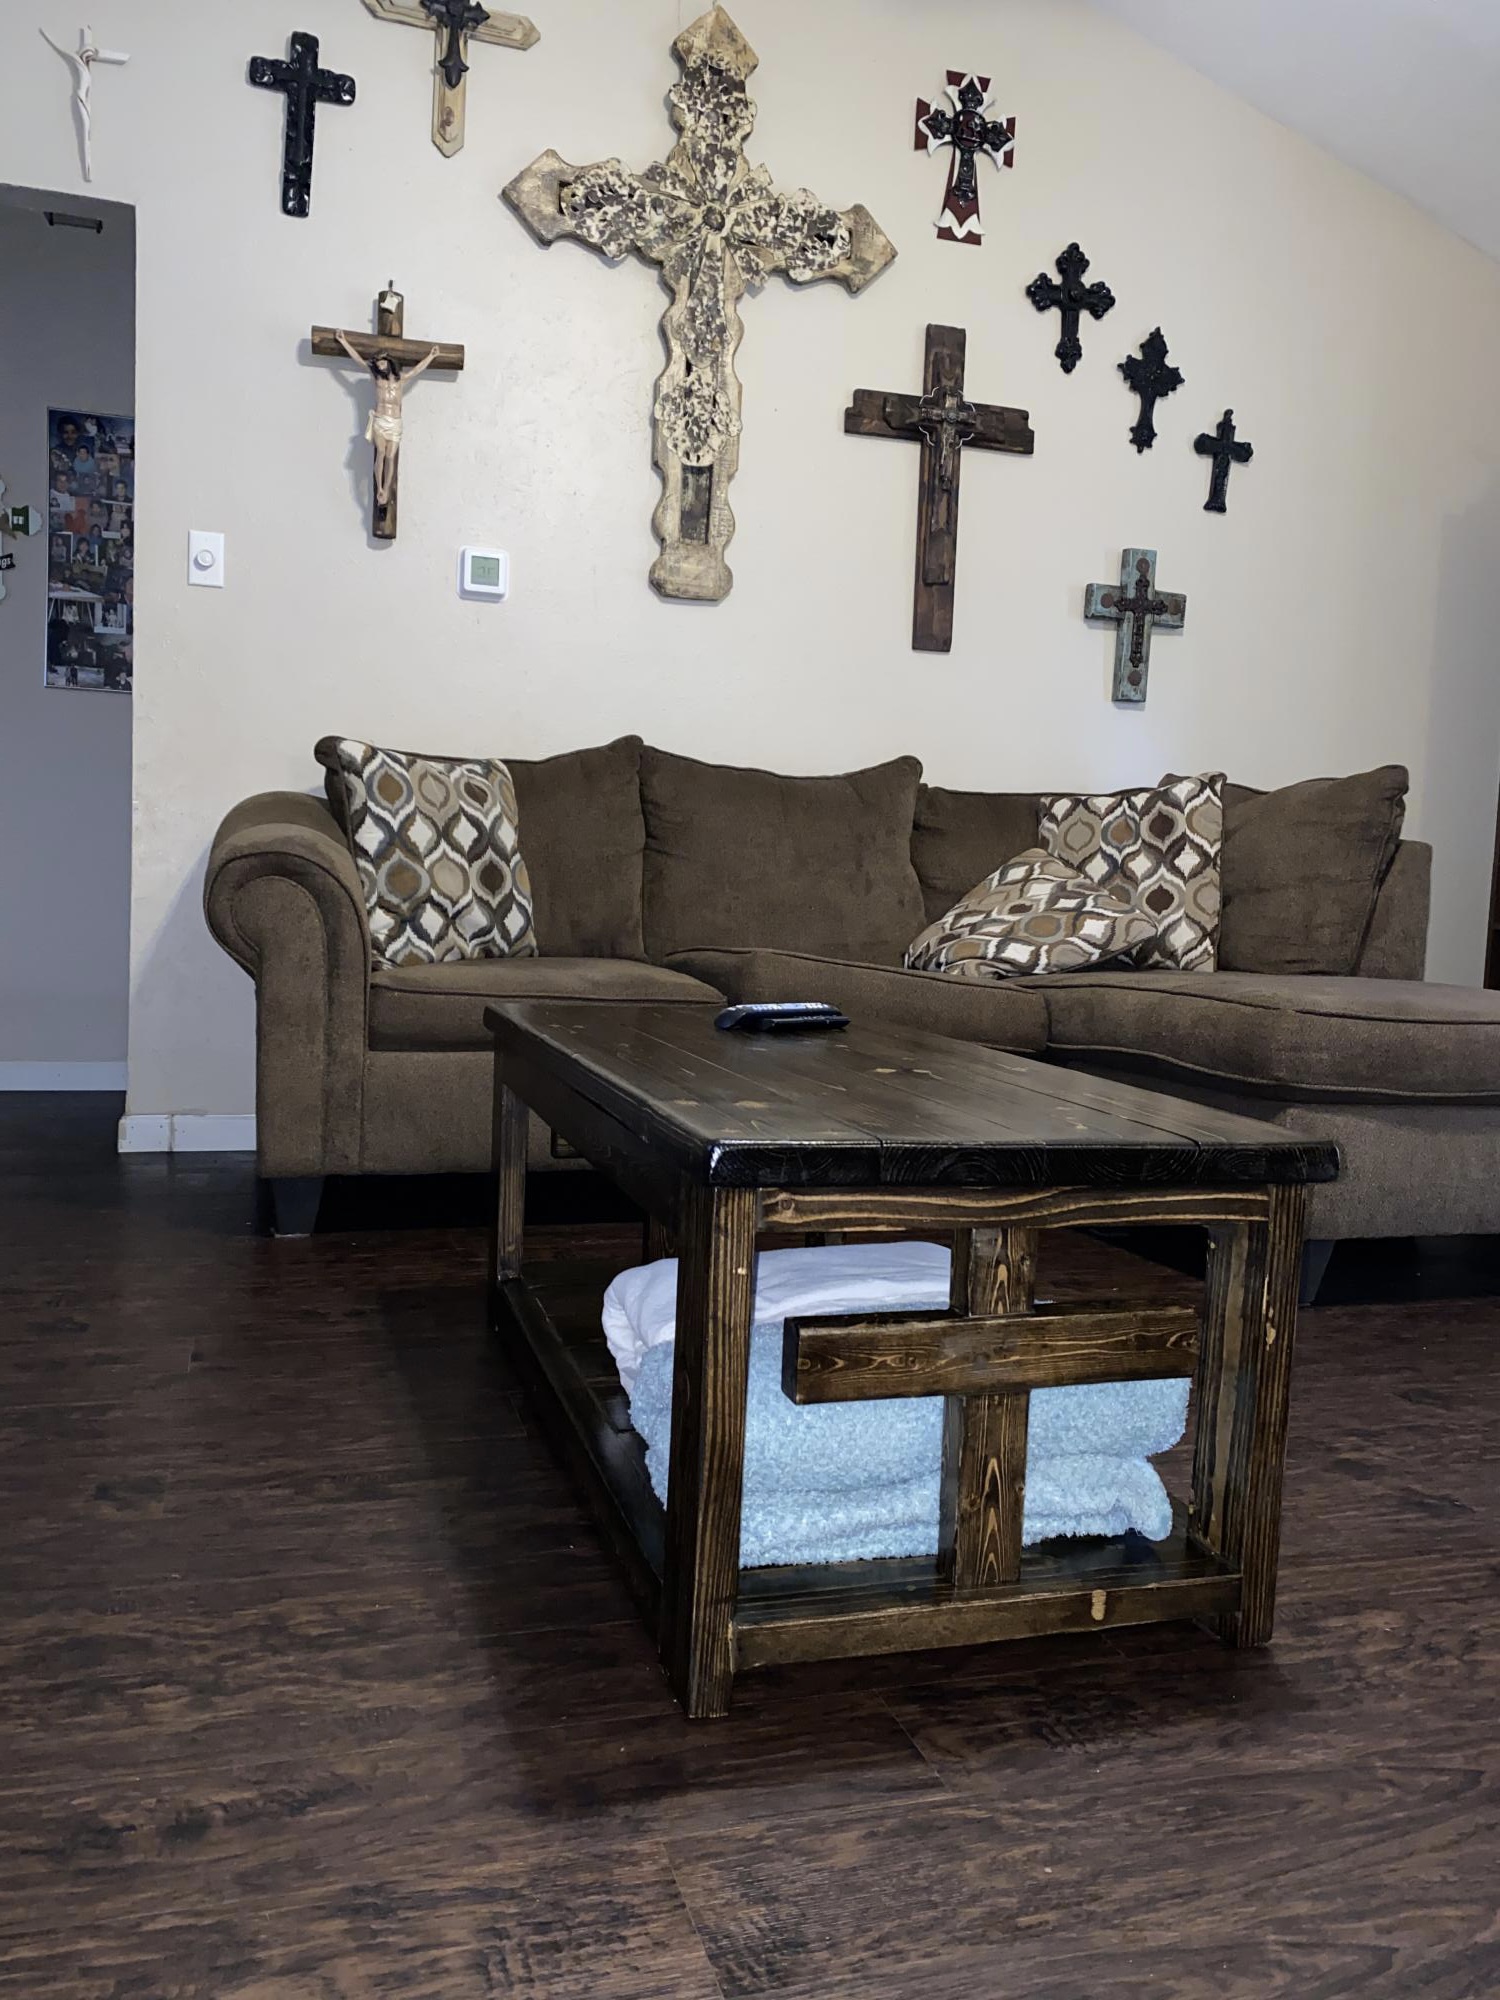
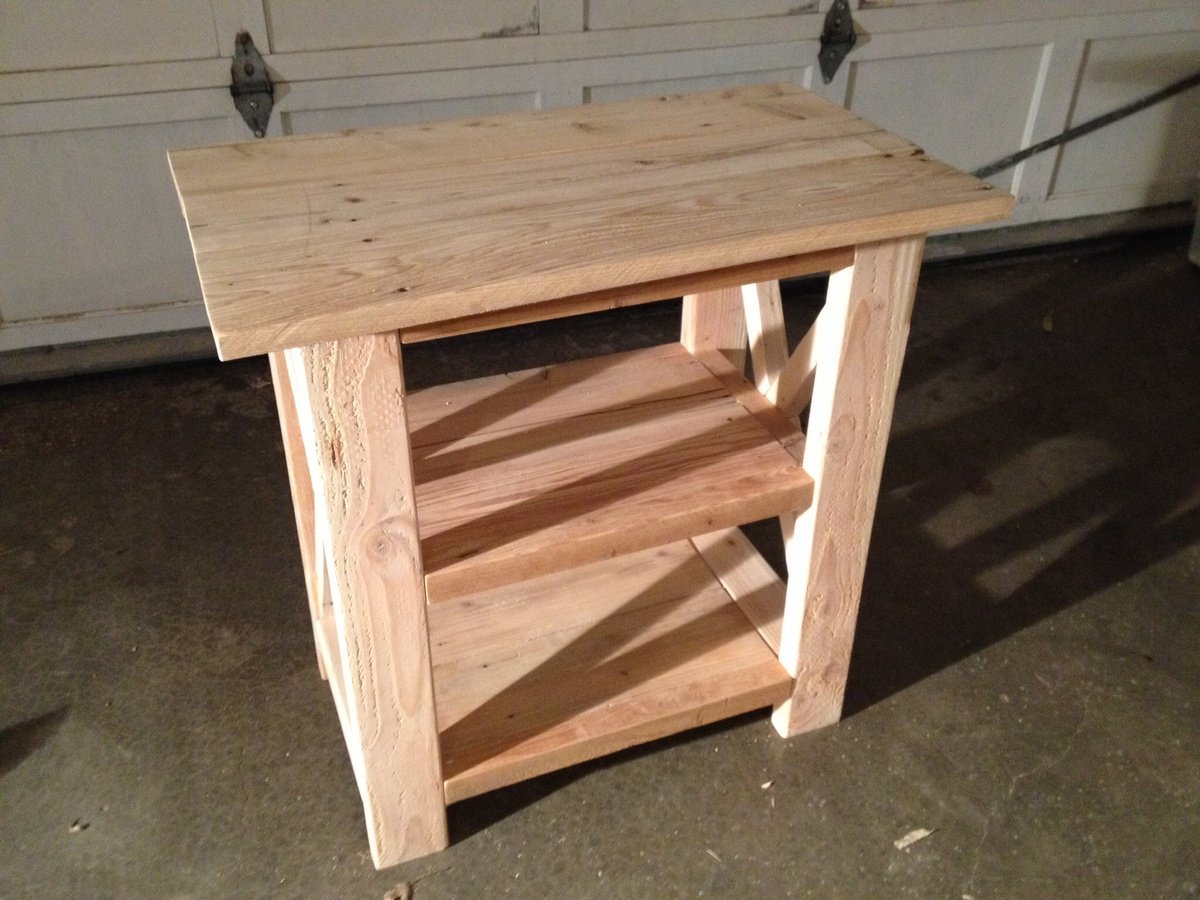
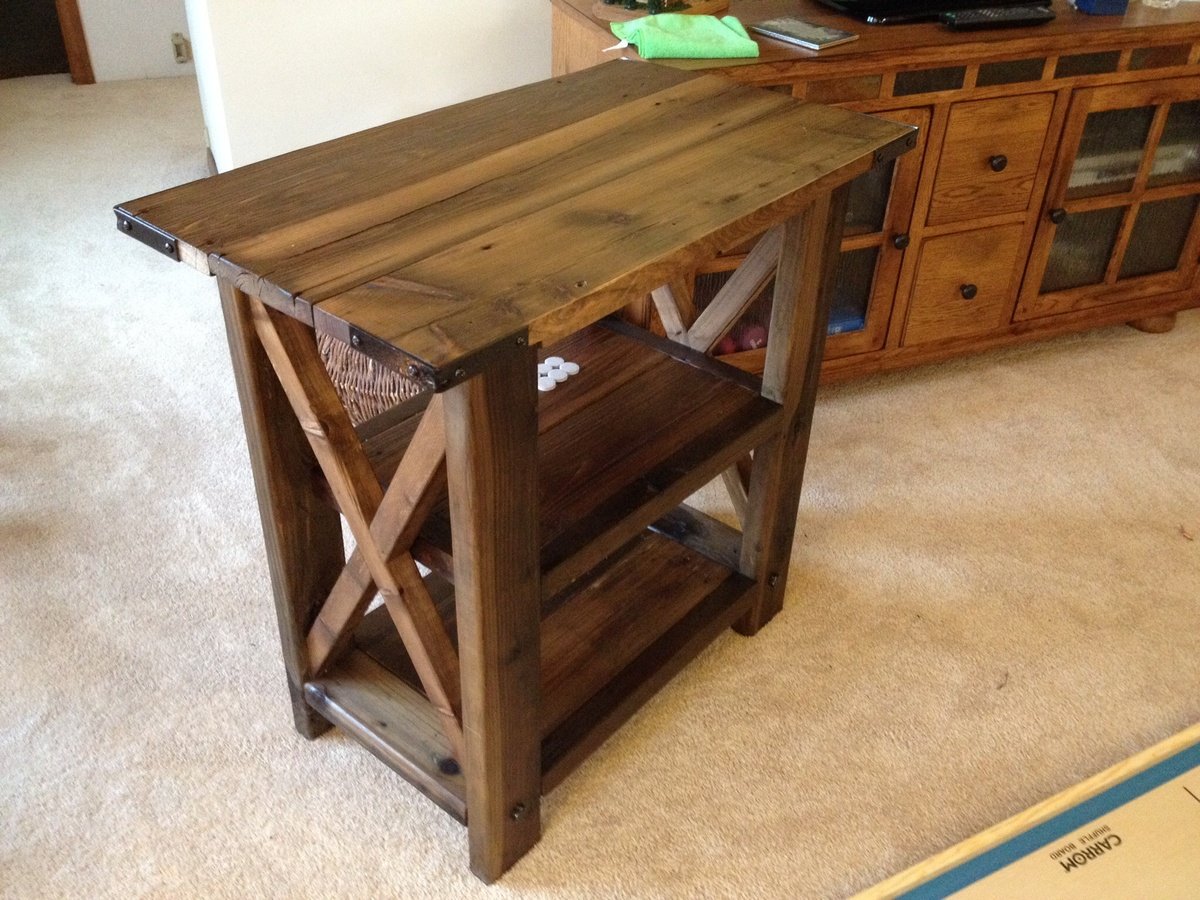
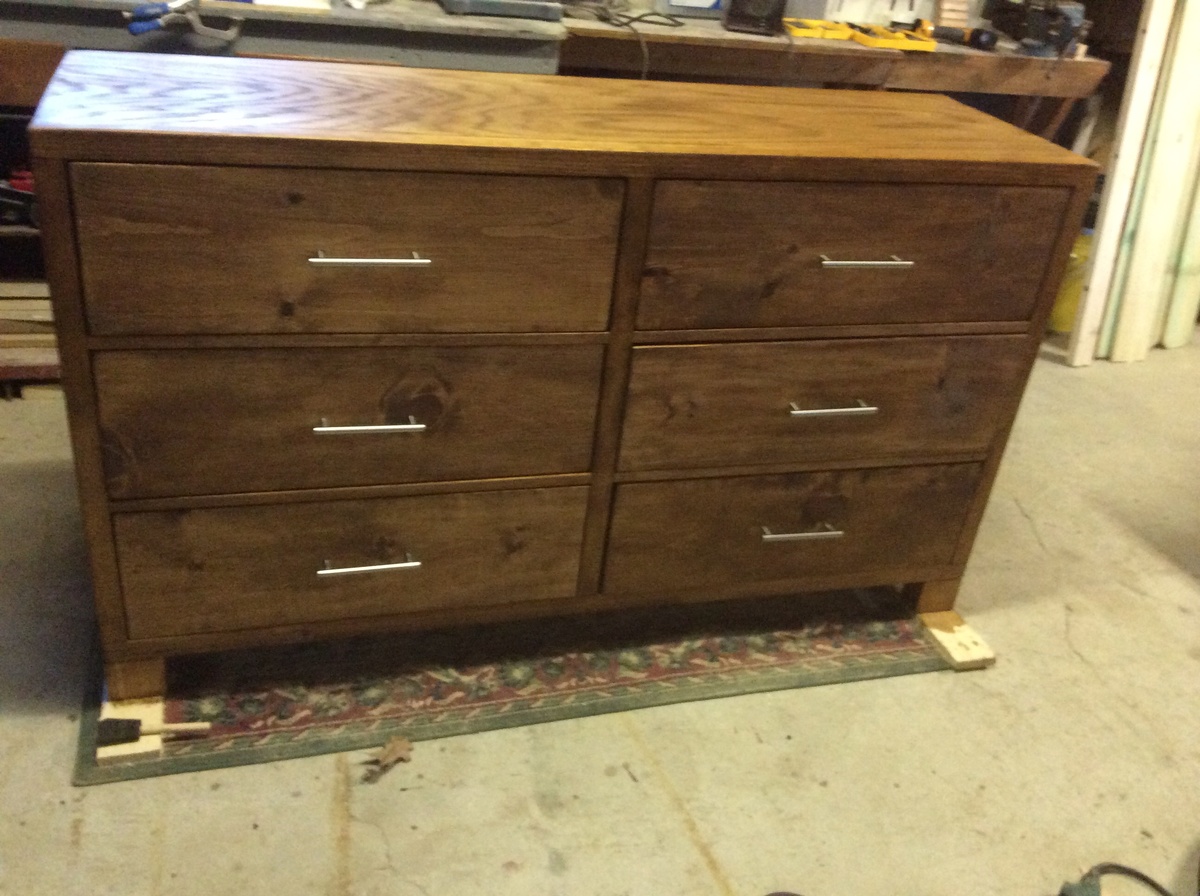
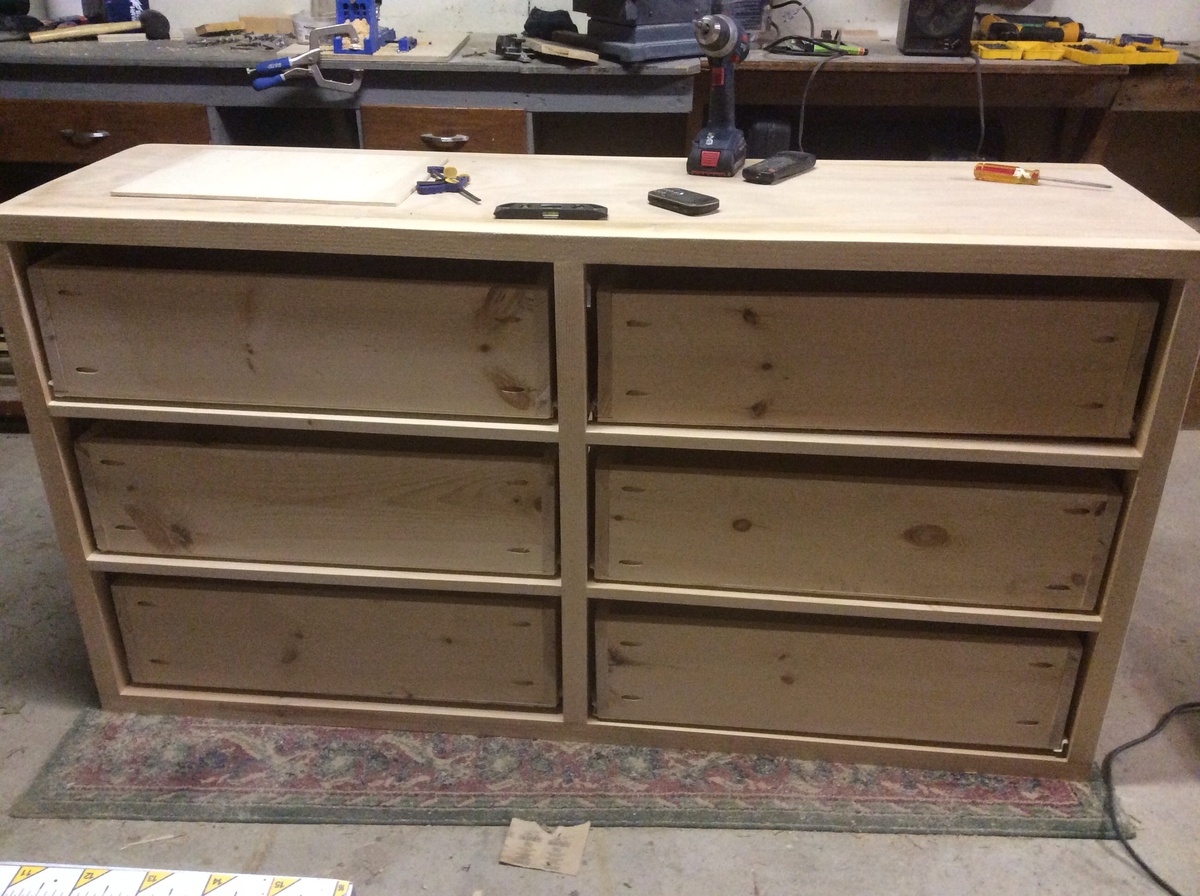
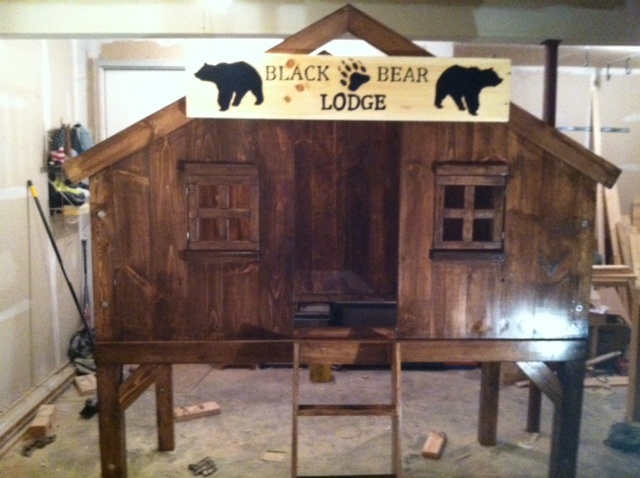
Rustic X Counsel table/ entertainment stand
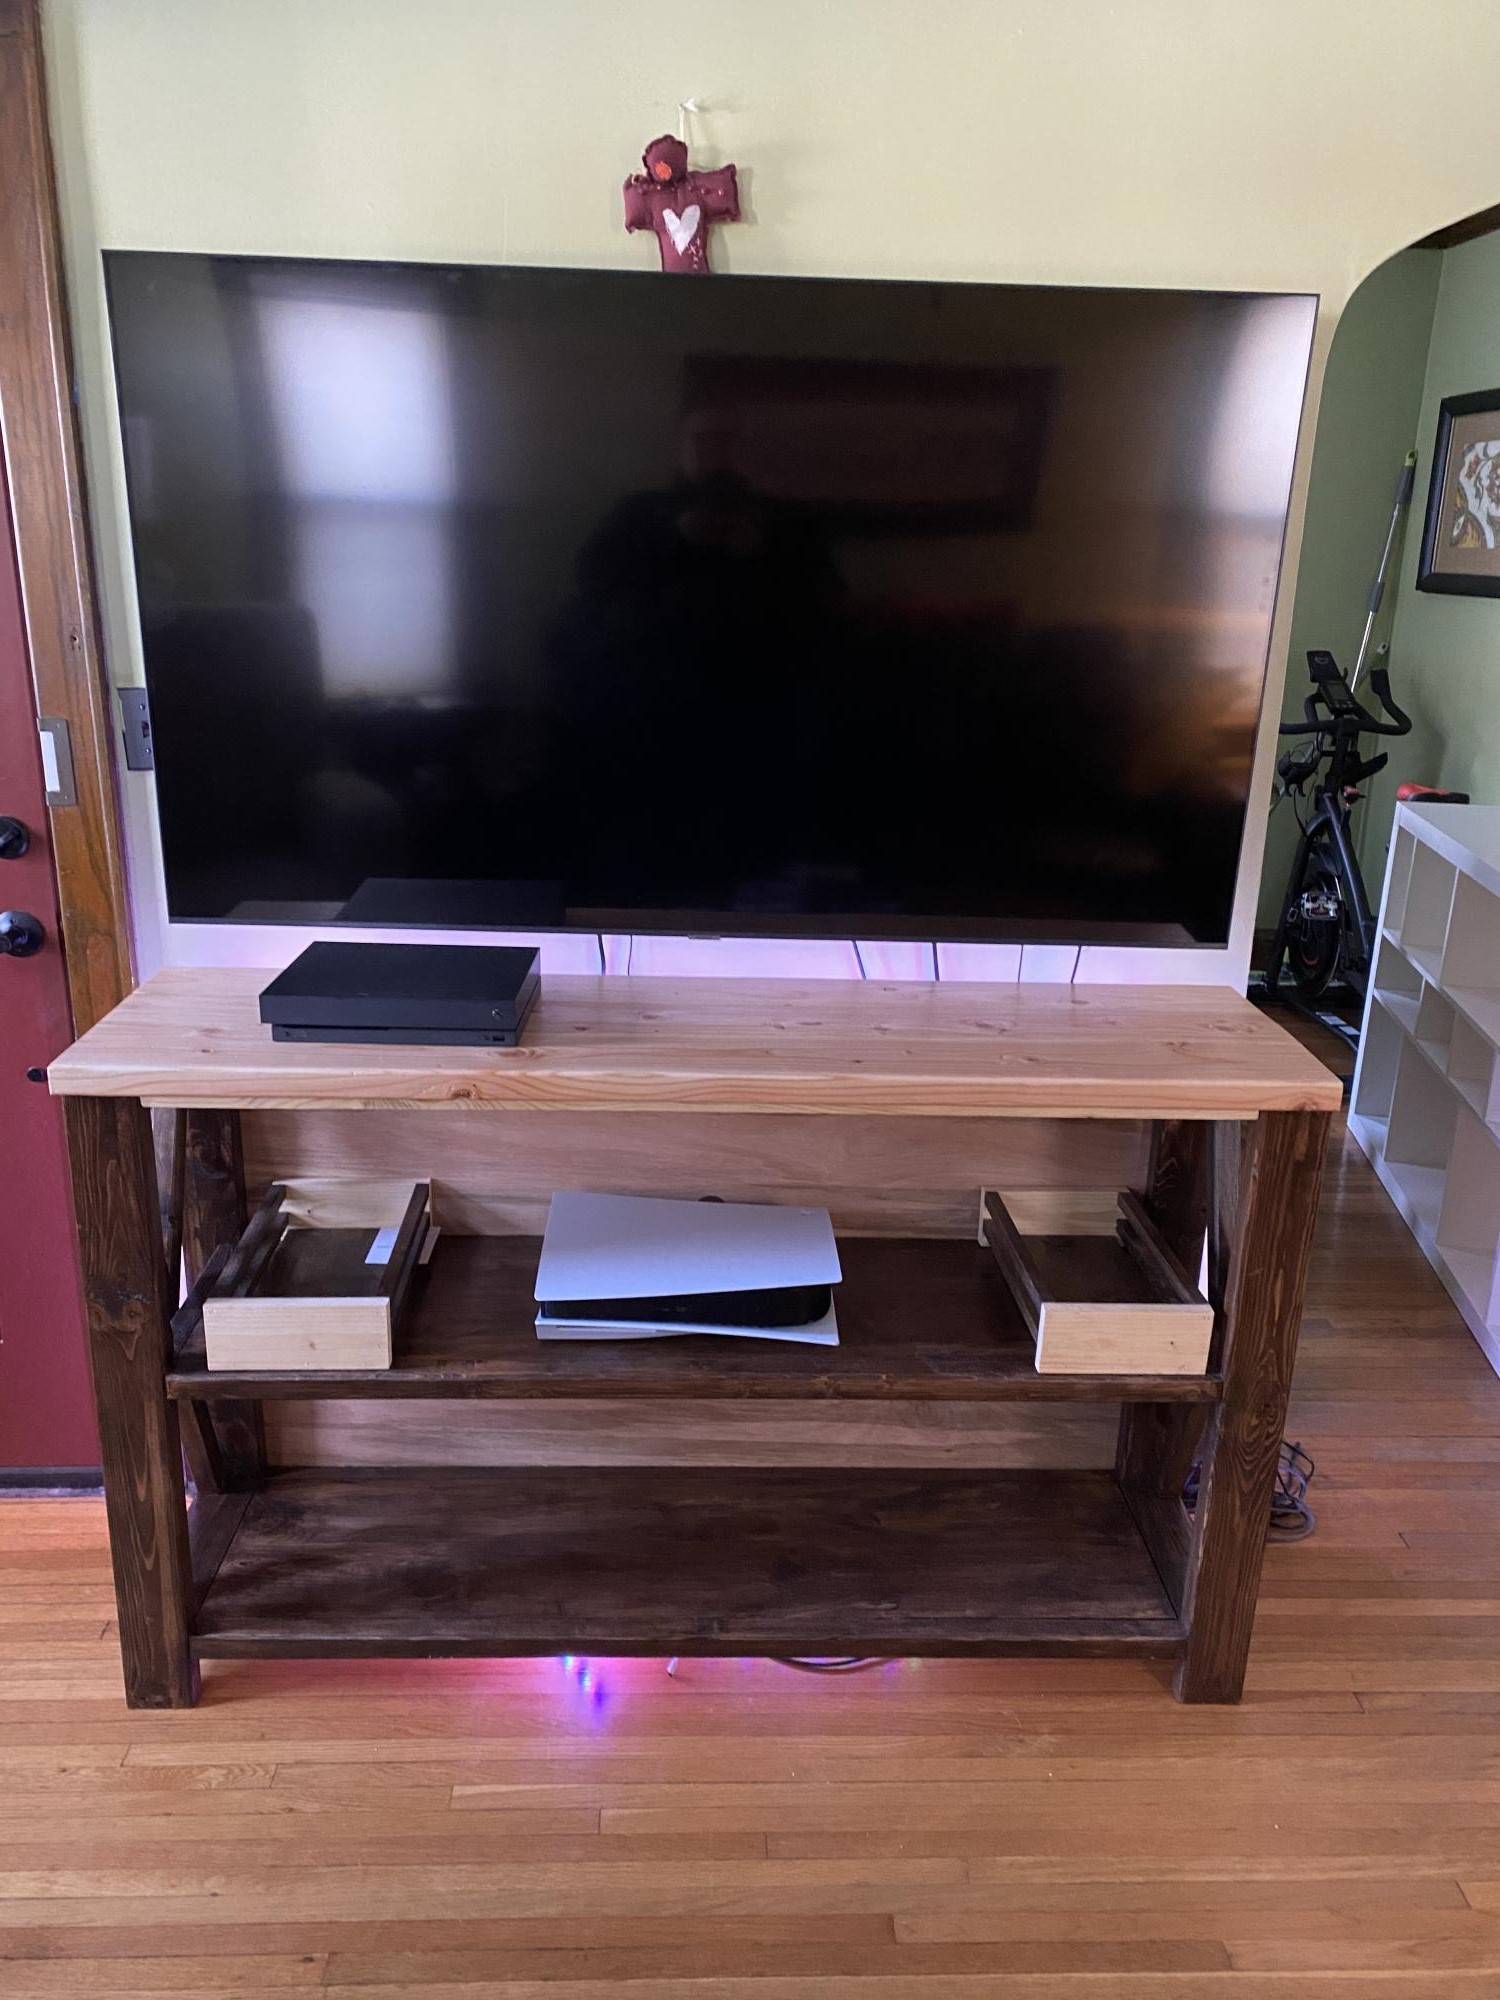
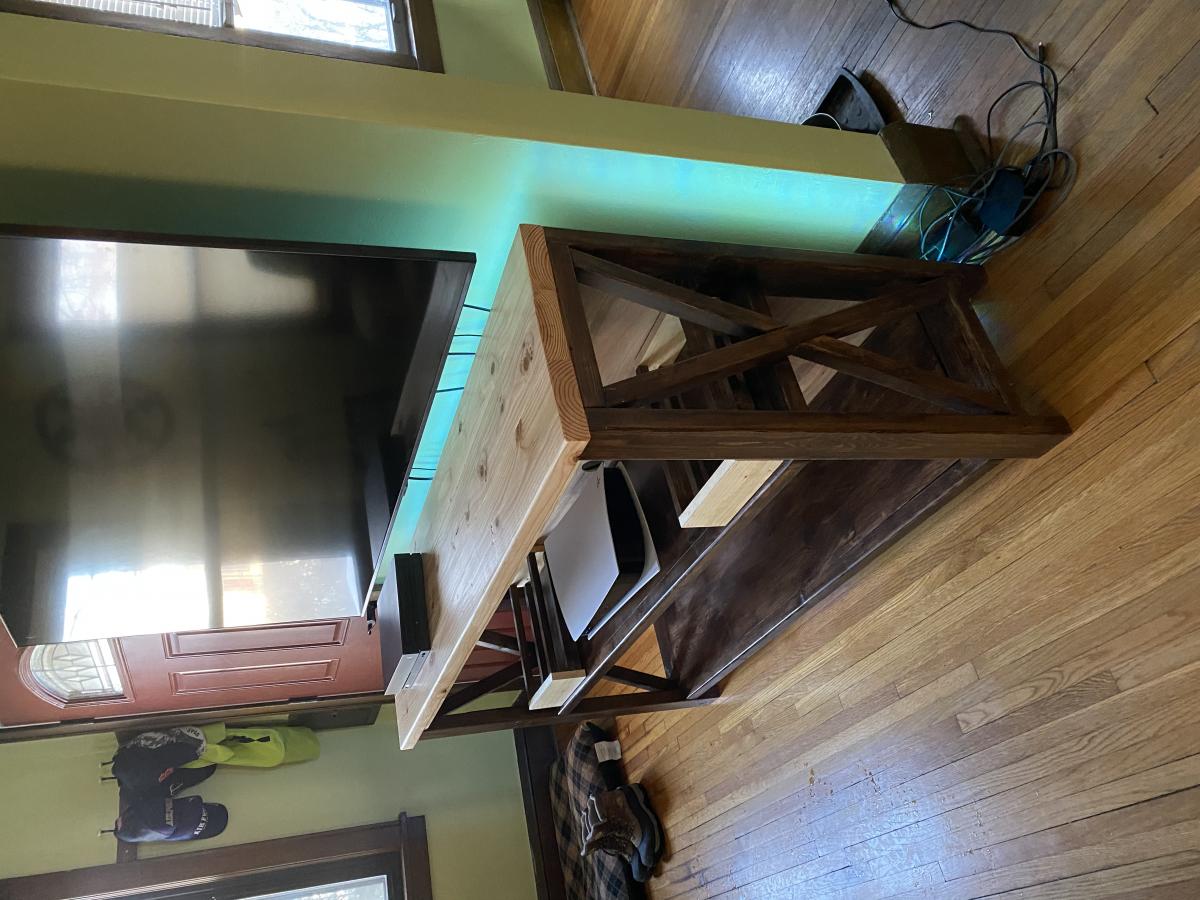
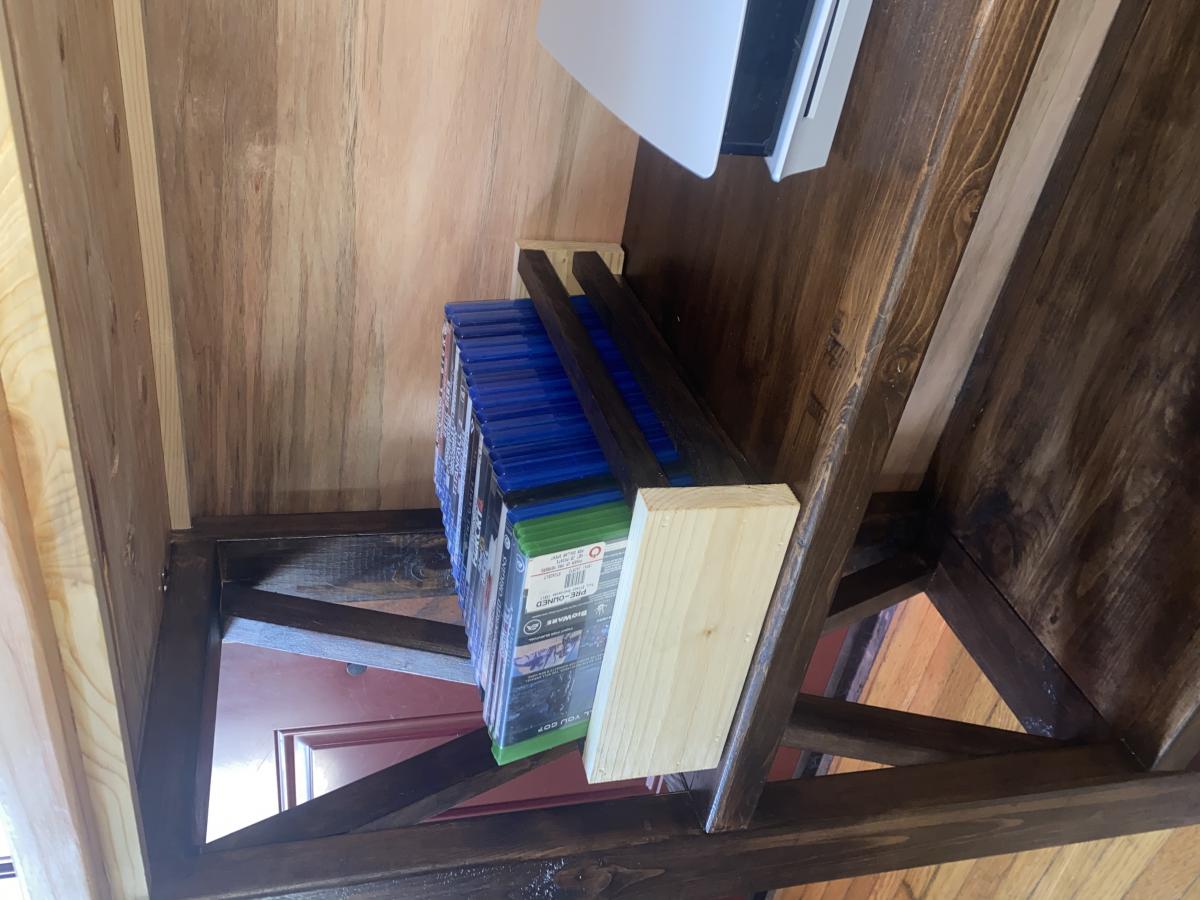
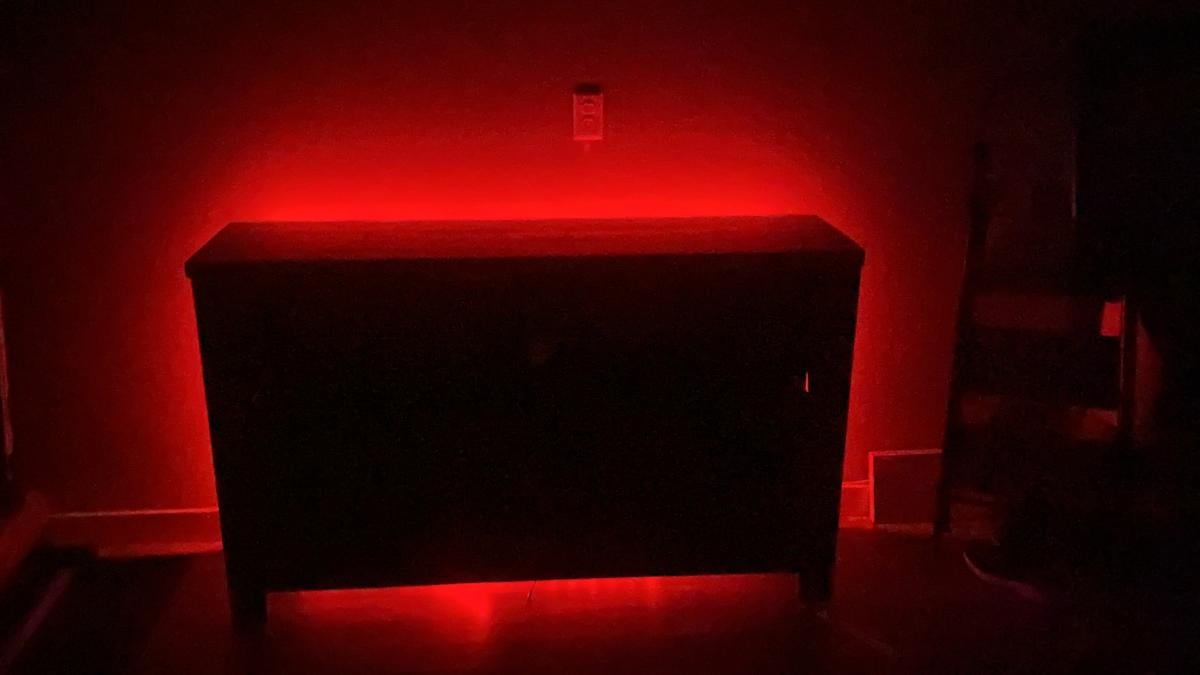
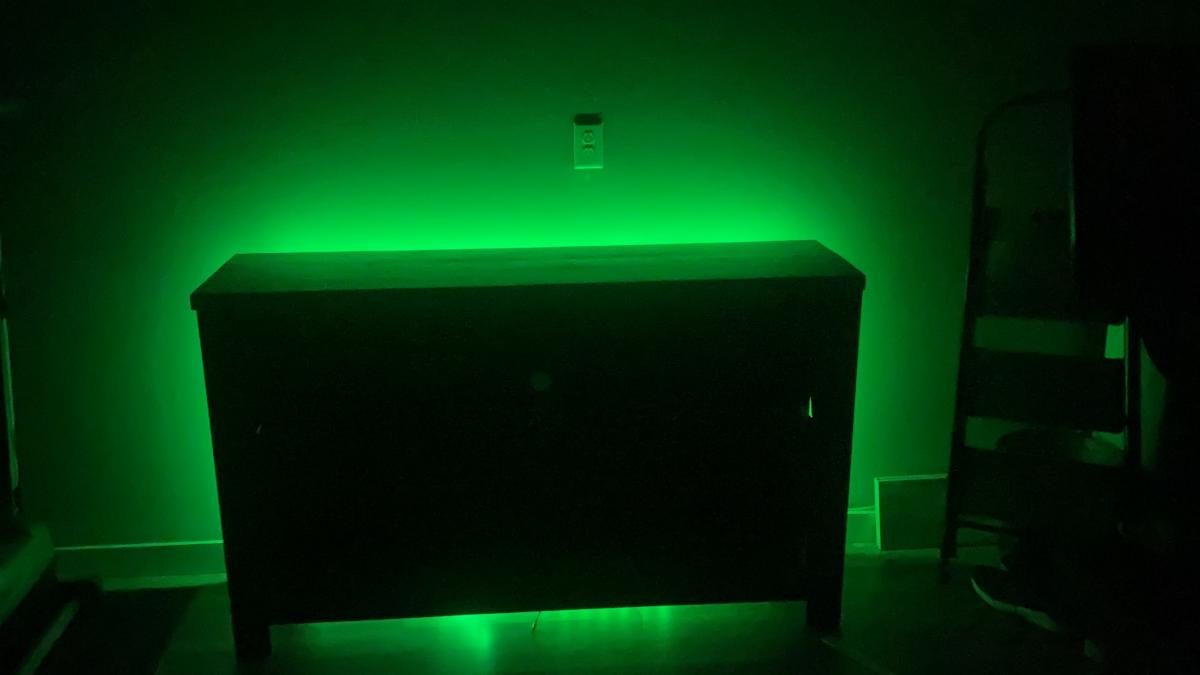
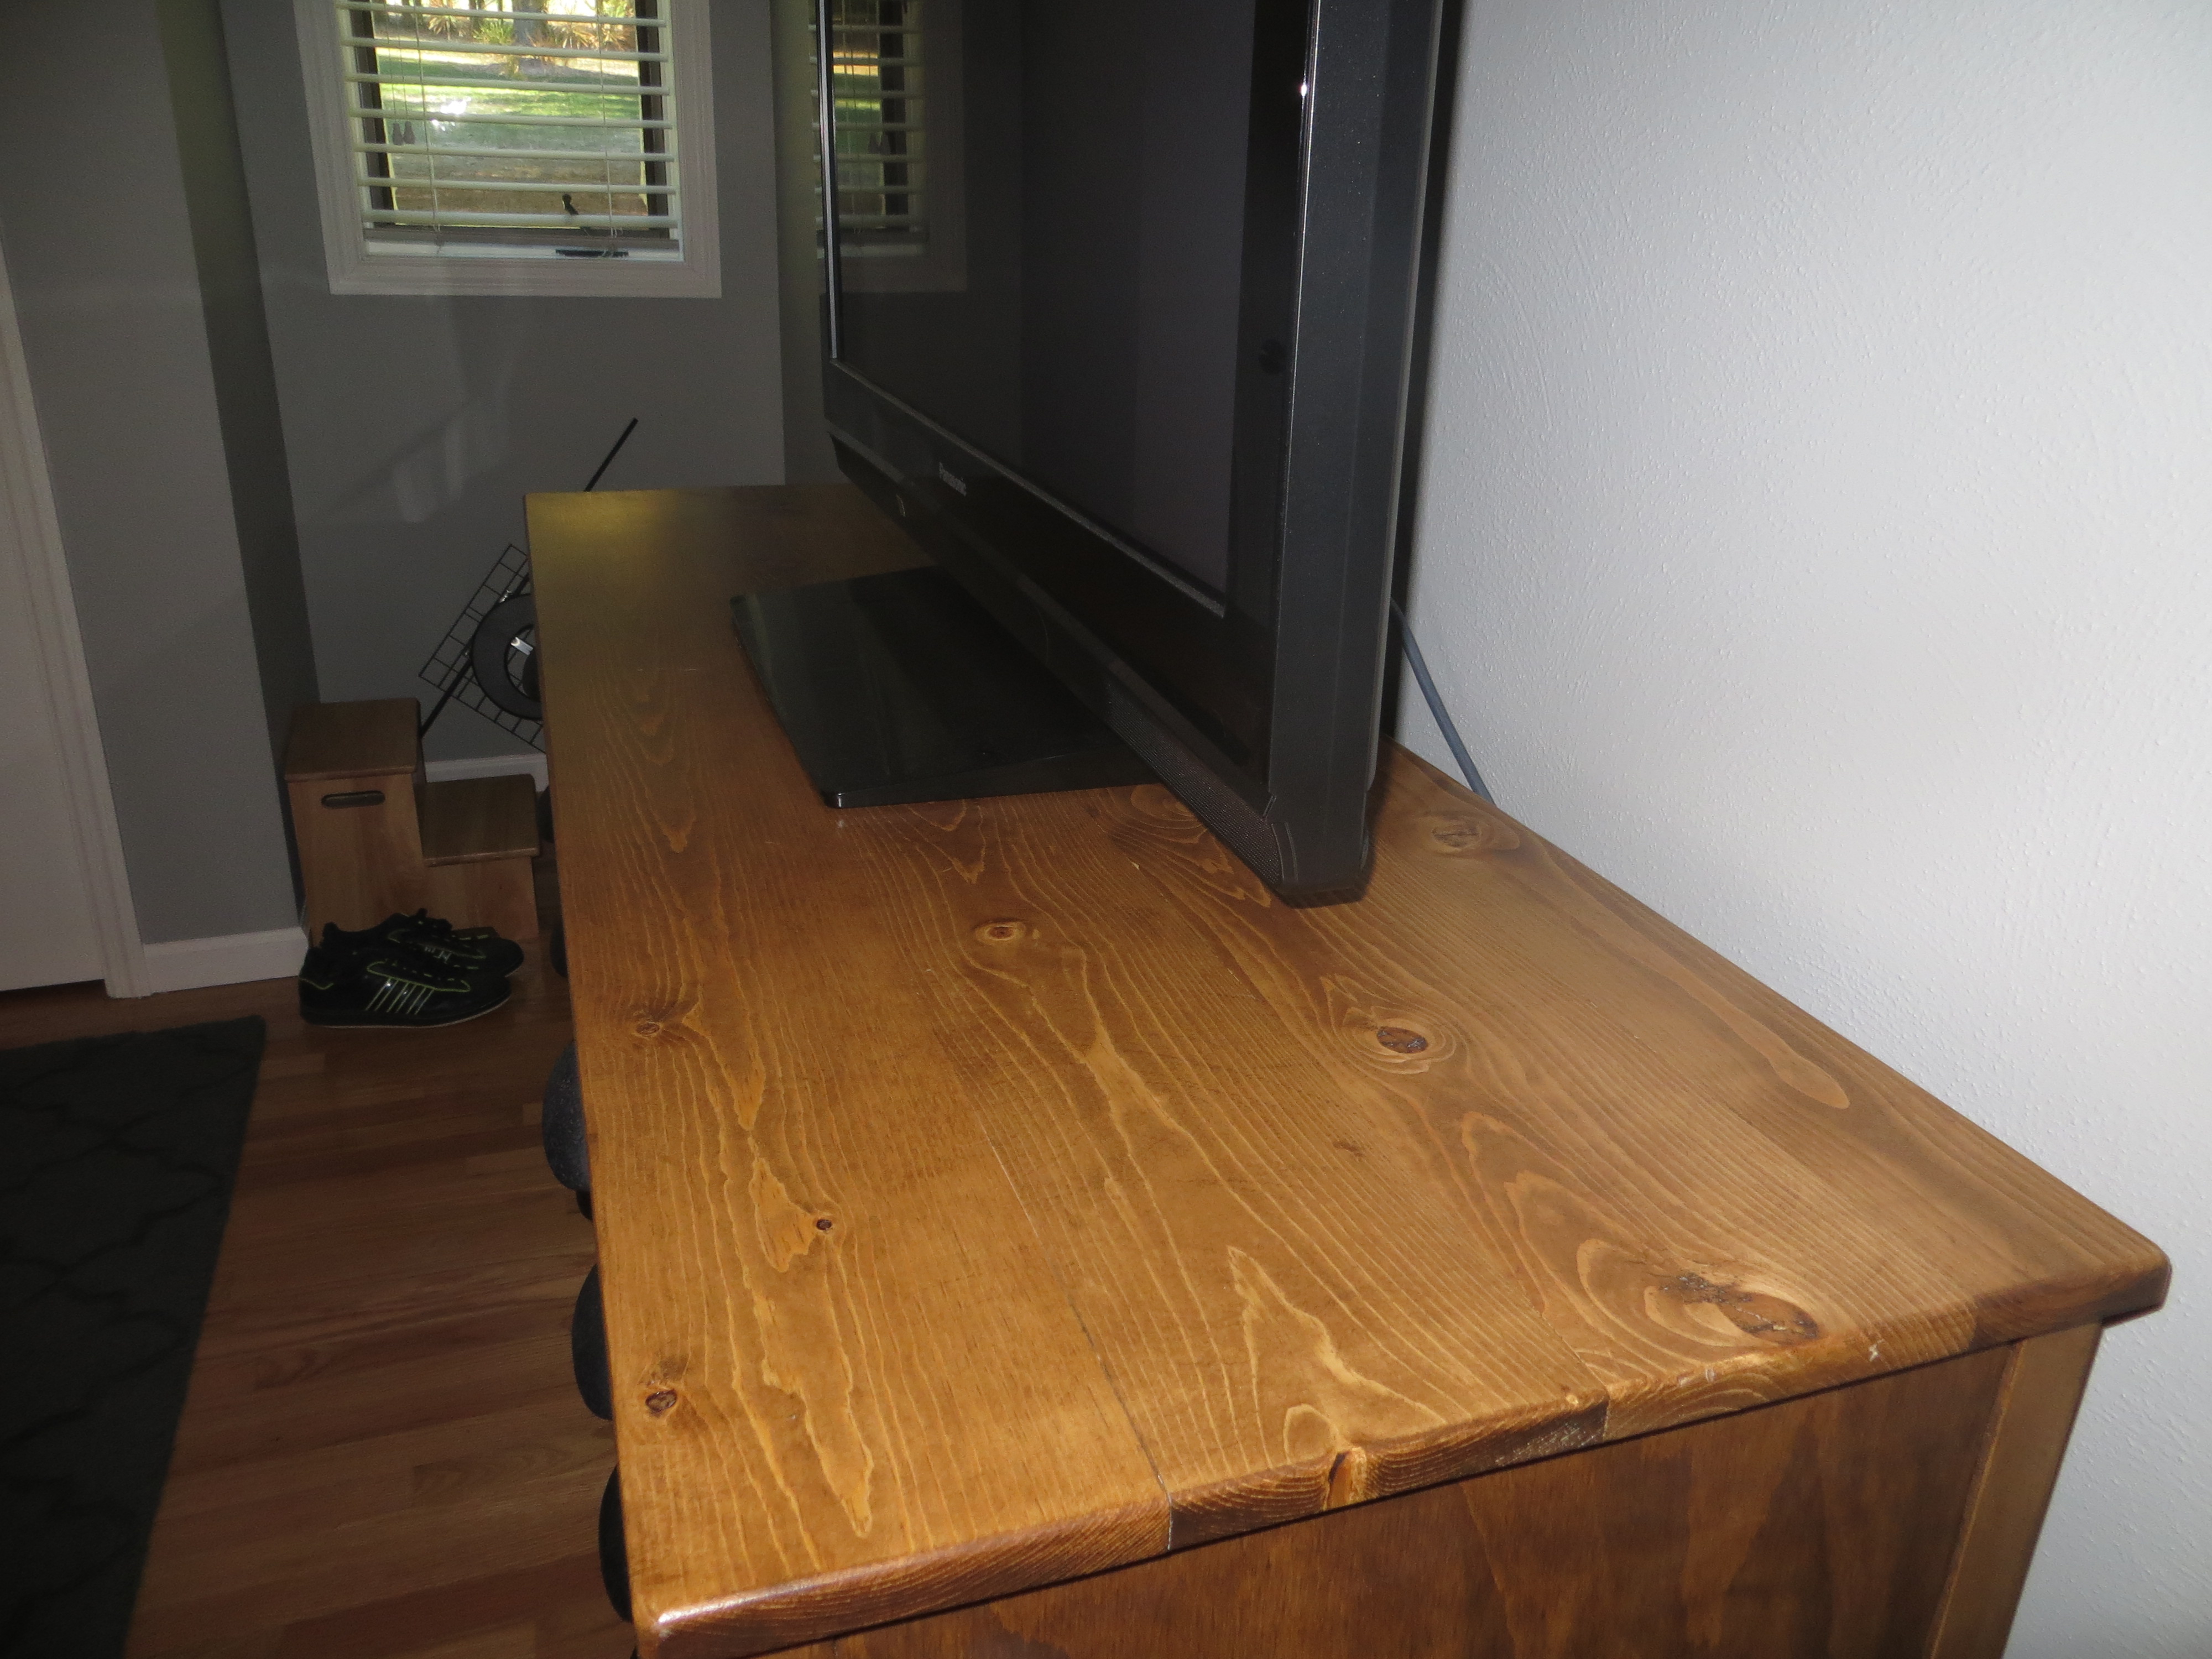
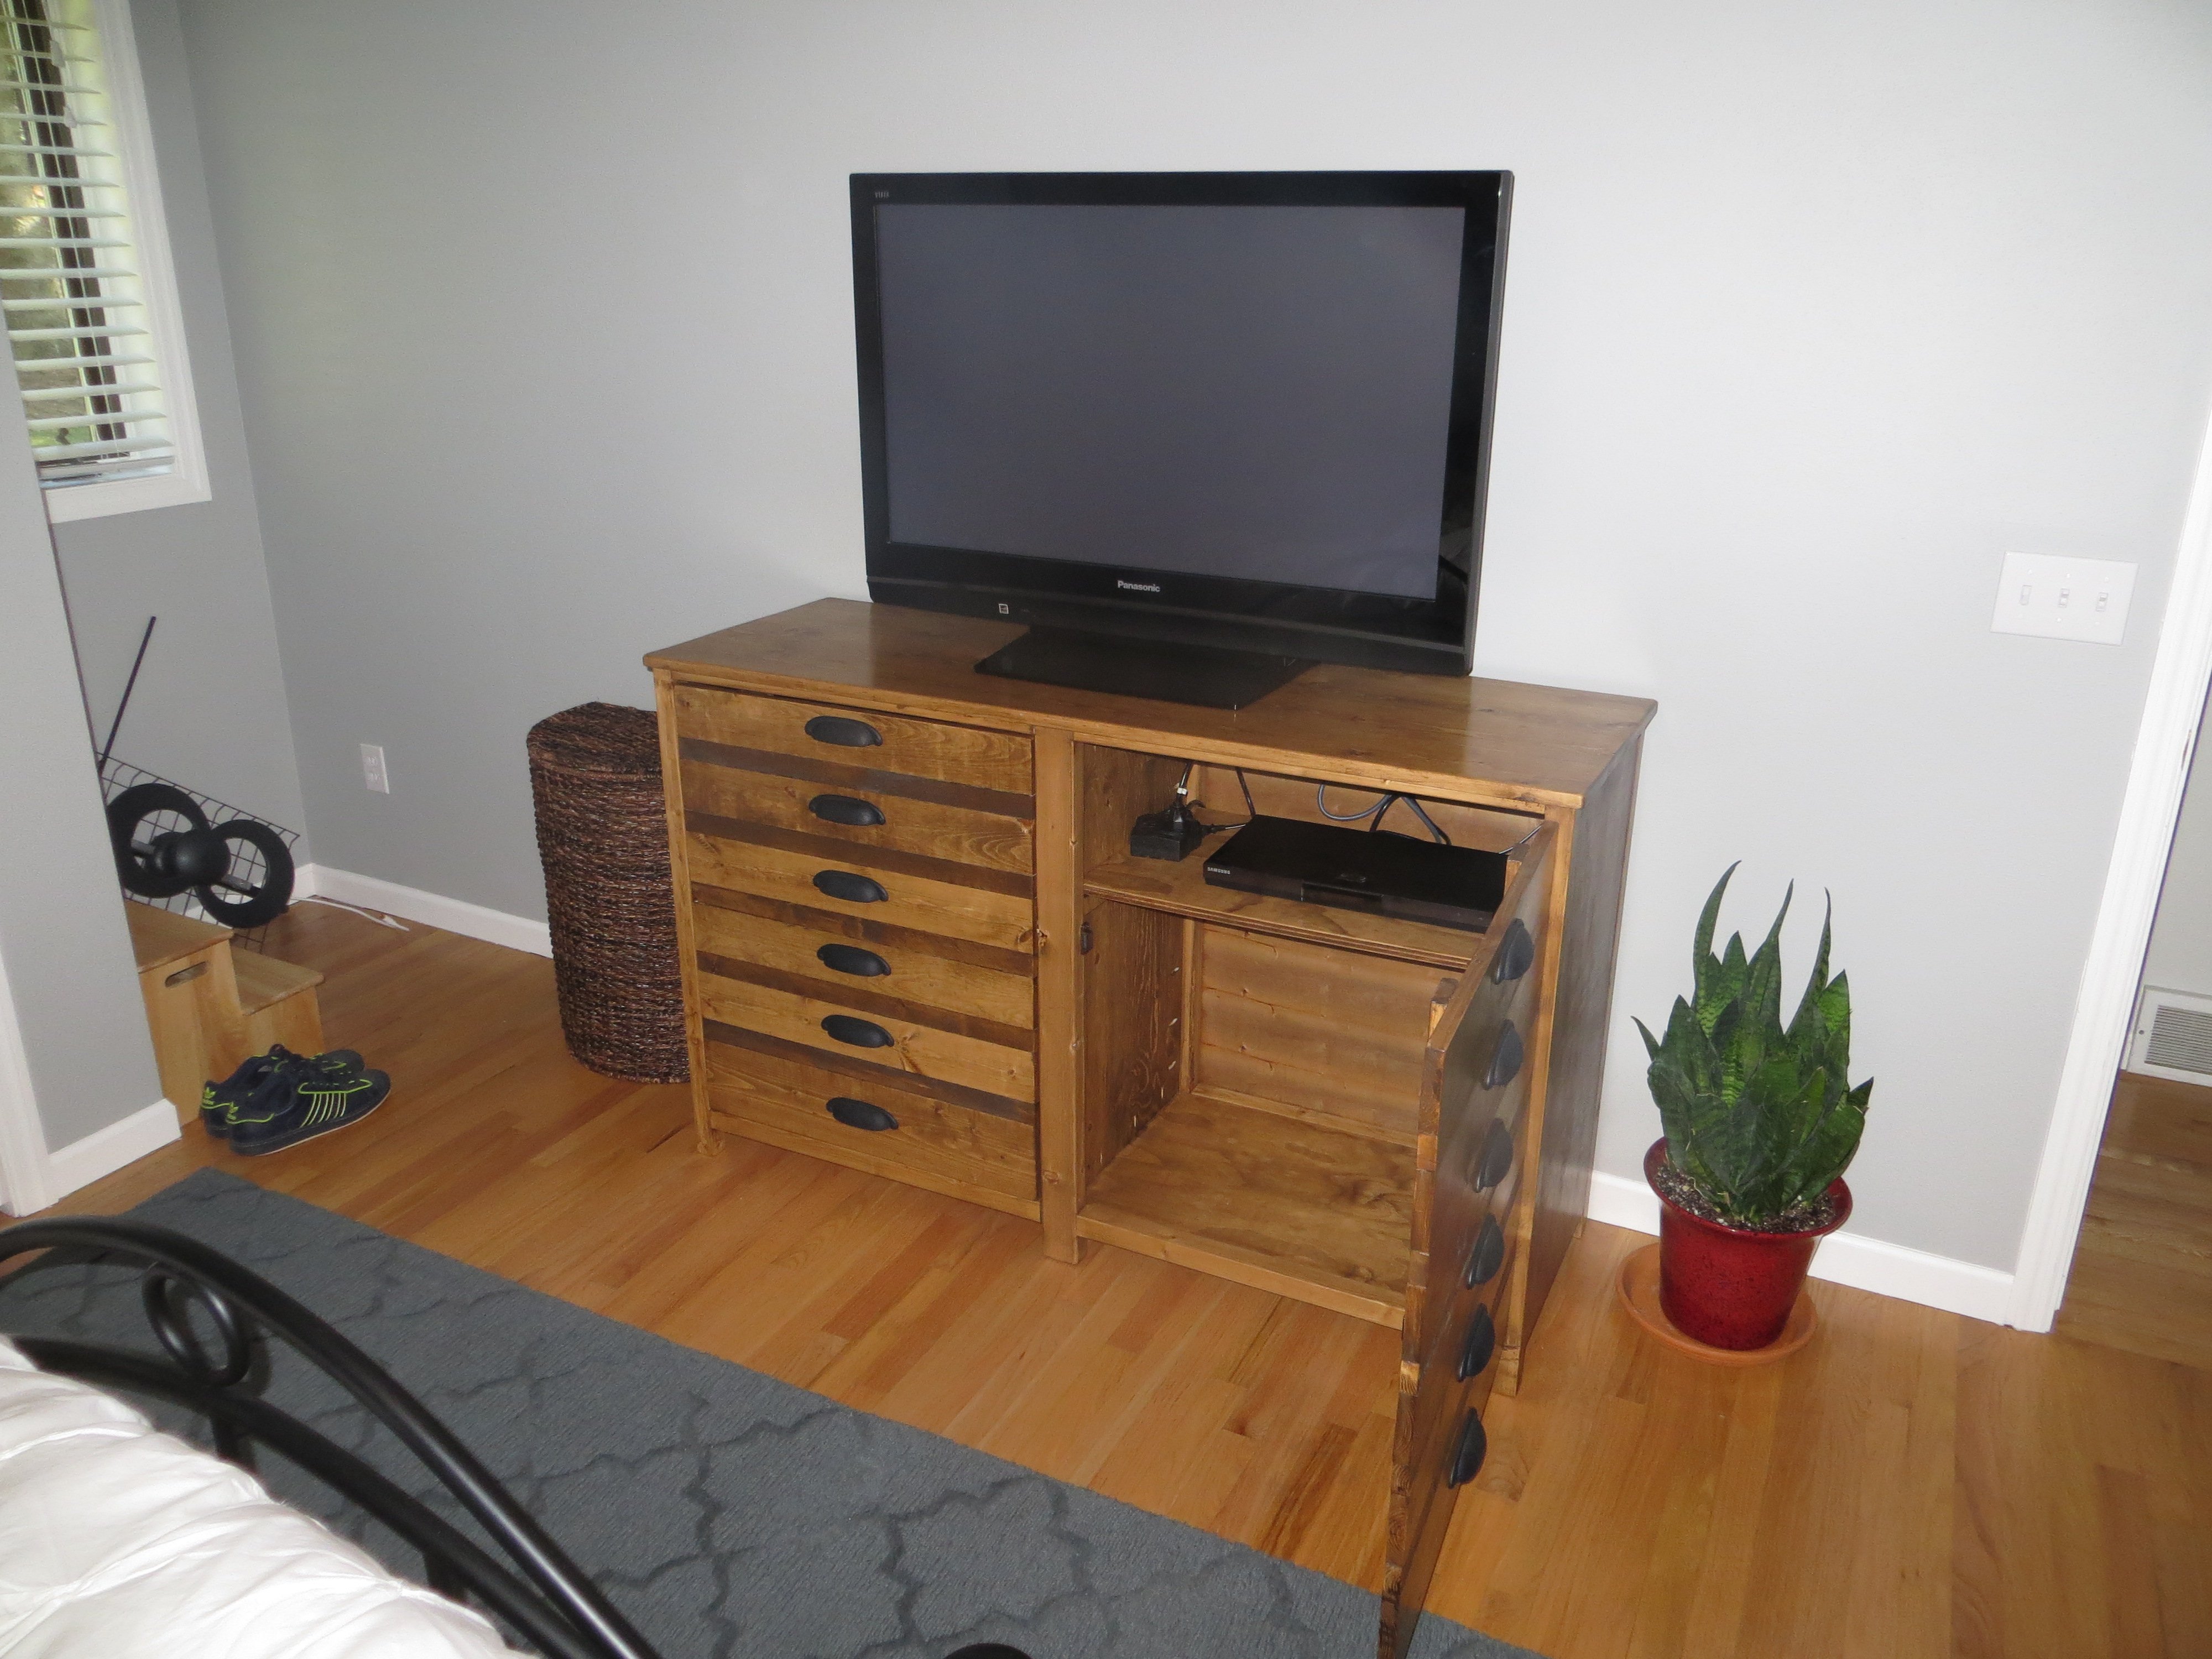
Rustic X Entertainment Stand. 55” long x 36” tall. 3 shelves. Natural top with dark walnut bottom. Custom made game crates and LED back lights to finish the look.
Built from Plan(s)
Estimated Cost
$135
Estimated Time Investment
Weekend Project (10-20 Hours)
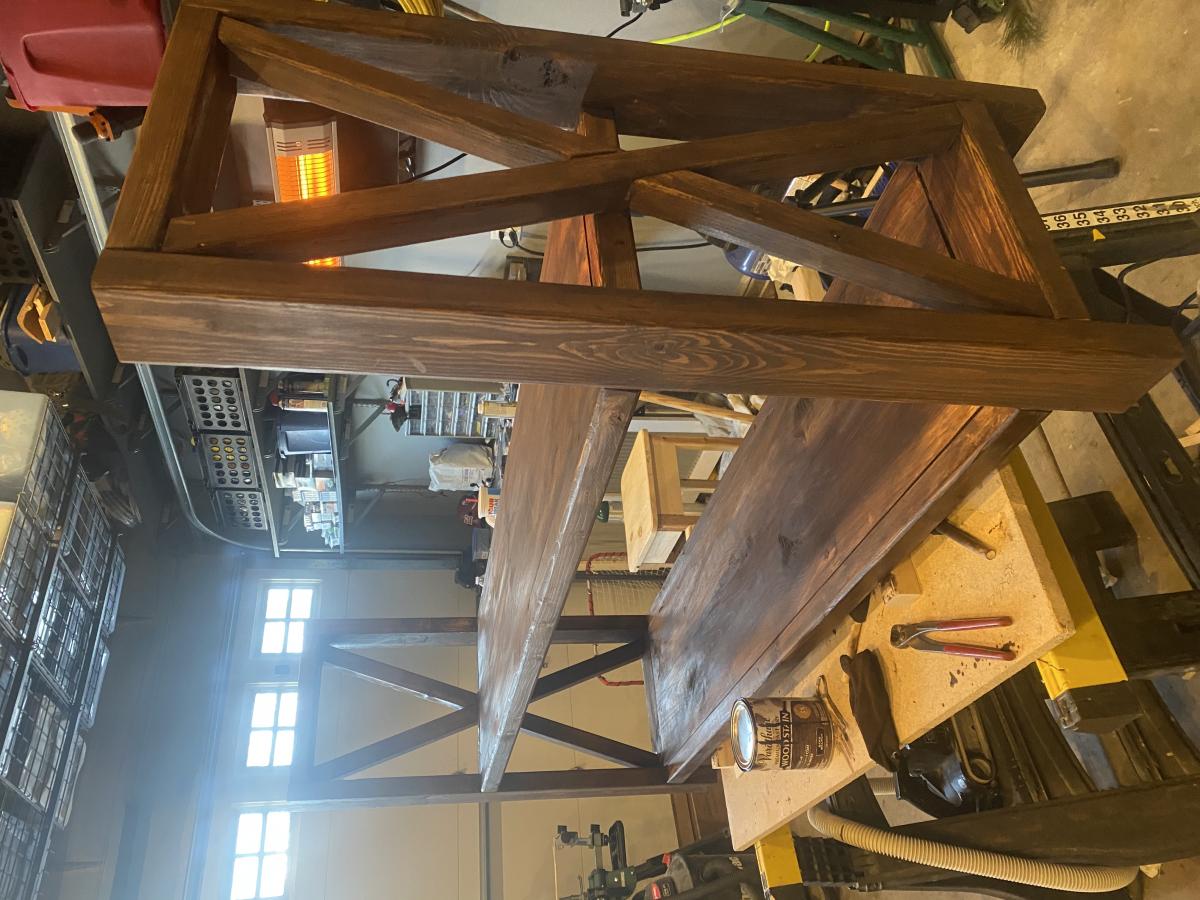
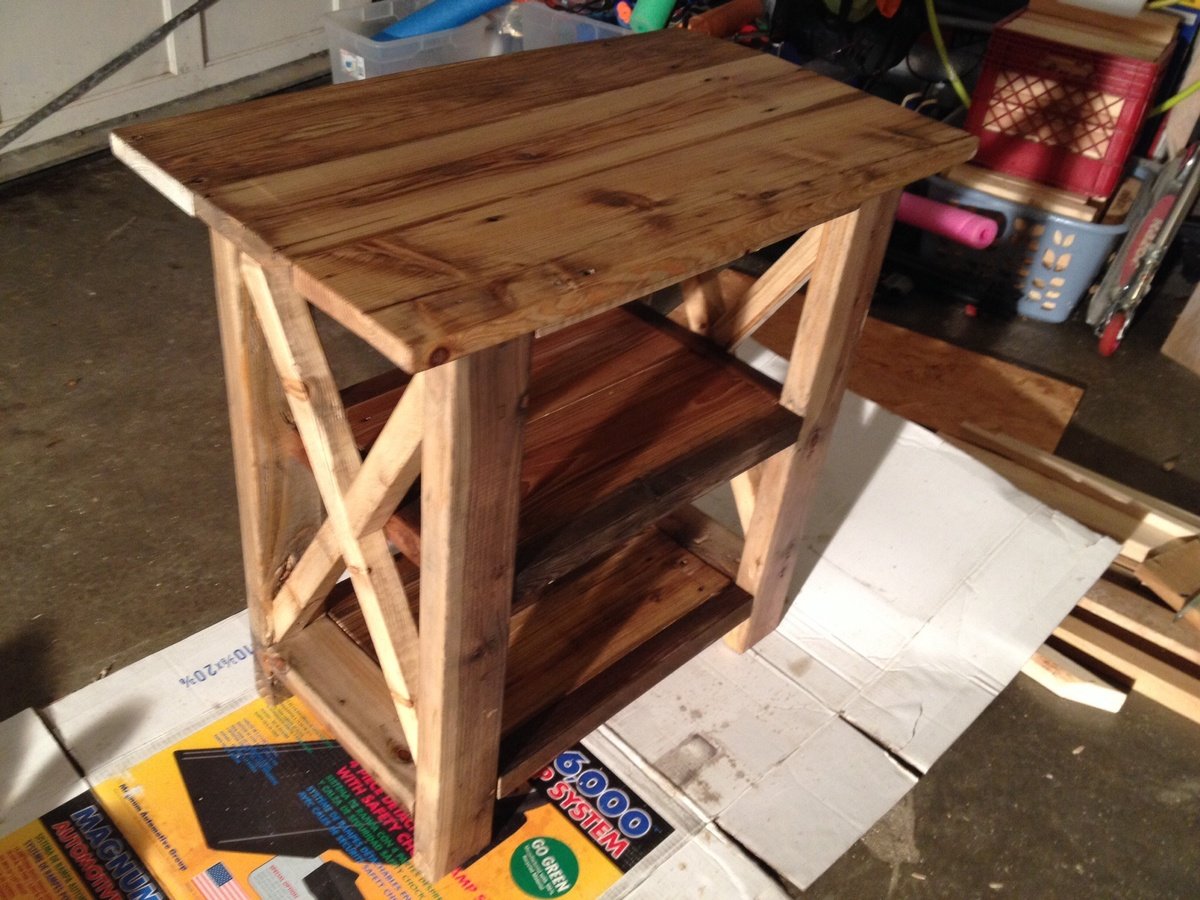
Finish Used
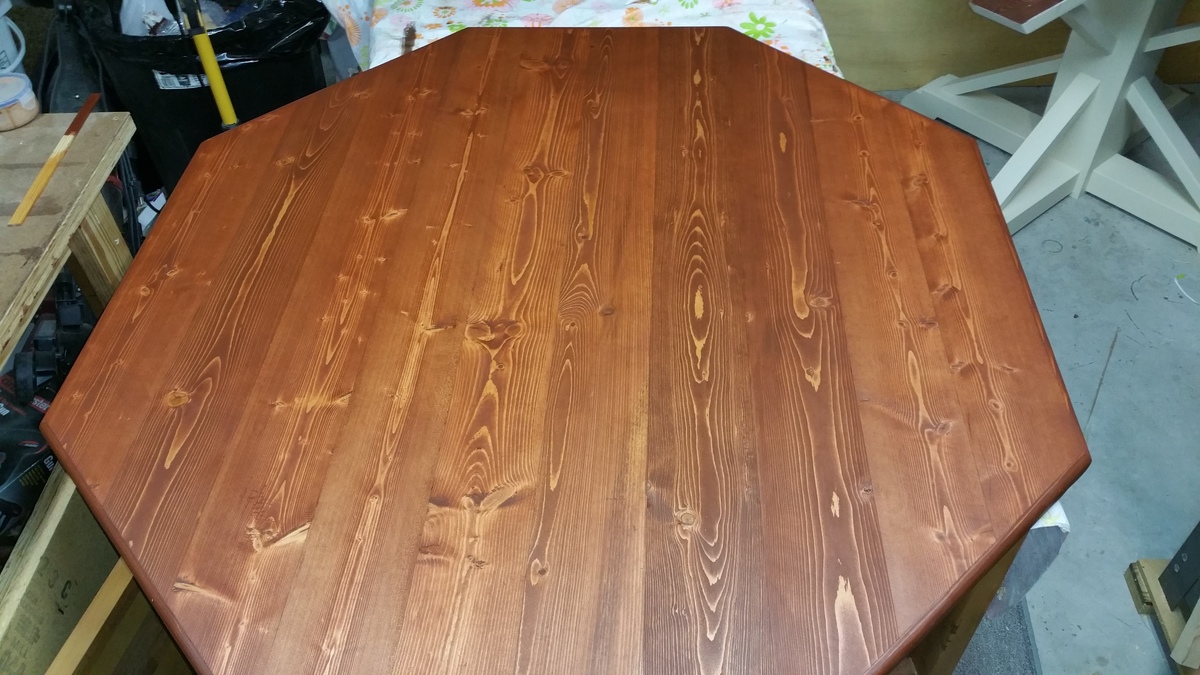
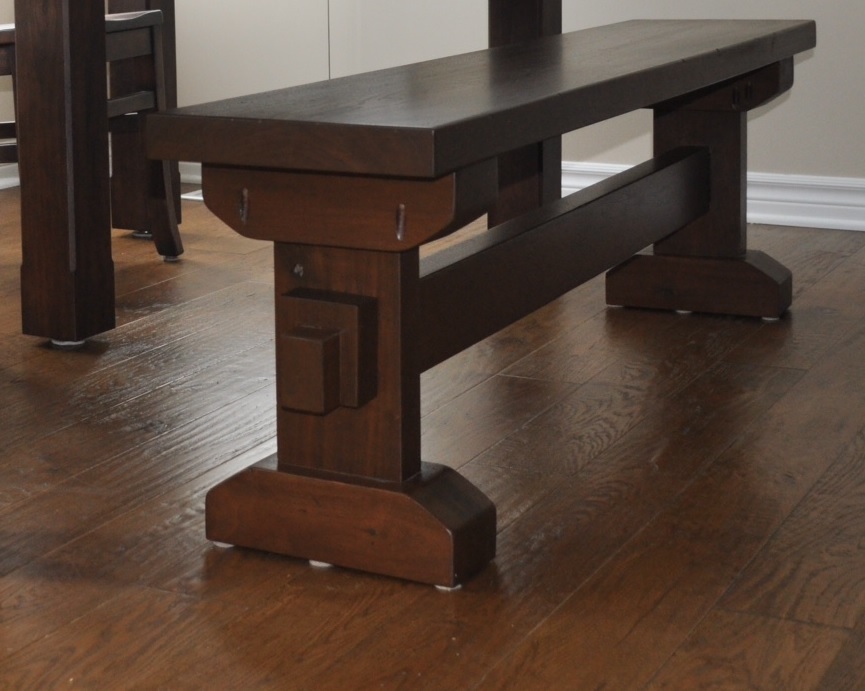
Varathane dark walnut.
Minwax Natural
Minwax 3x polyurethane
Minwax Natural
Minwax 3x polyurethane
Recommended Skill Level
Intermediate


Comments
tnhundley
Fri, 04/23/2021 - 06:27
Build
Build