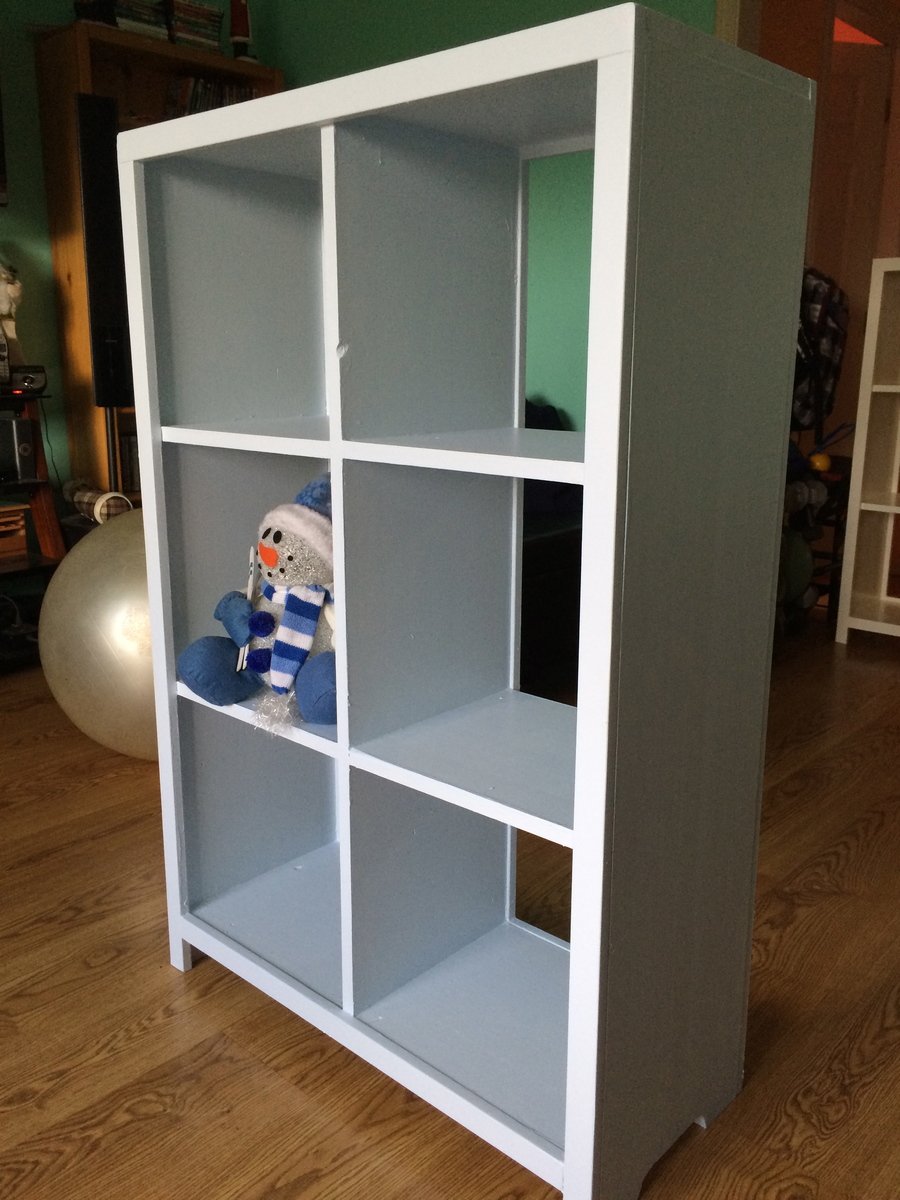
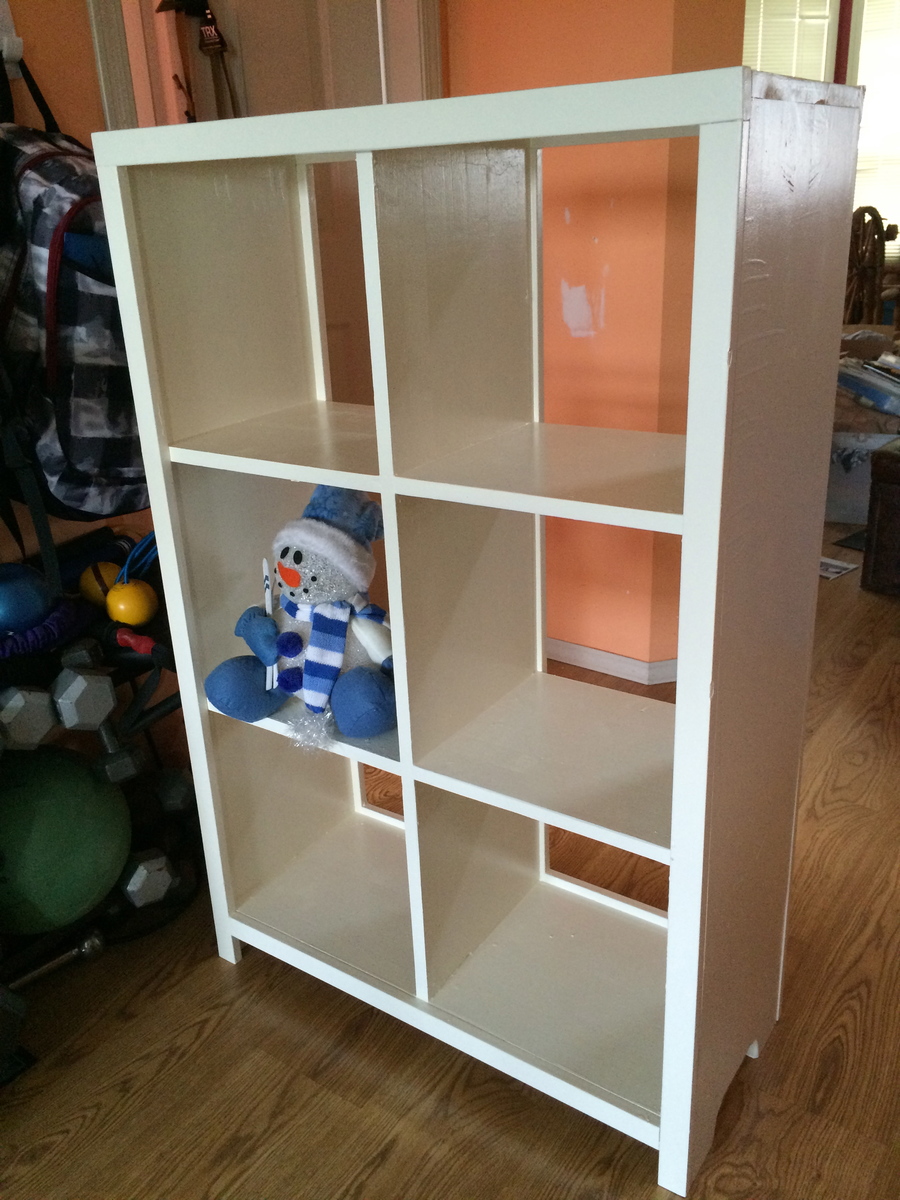
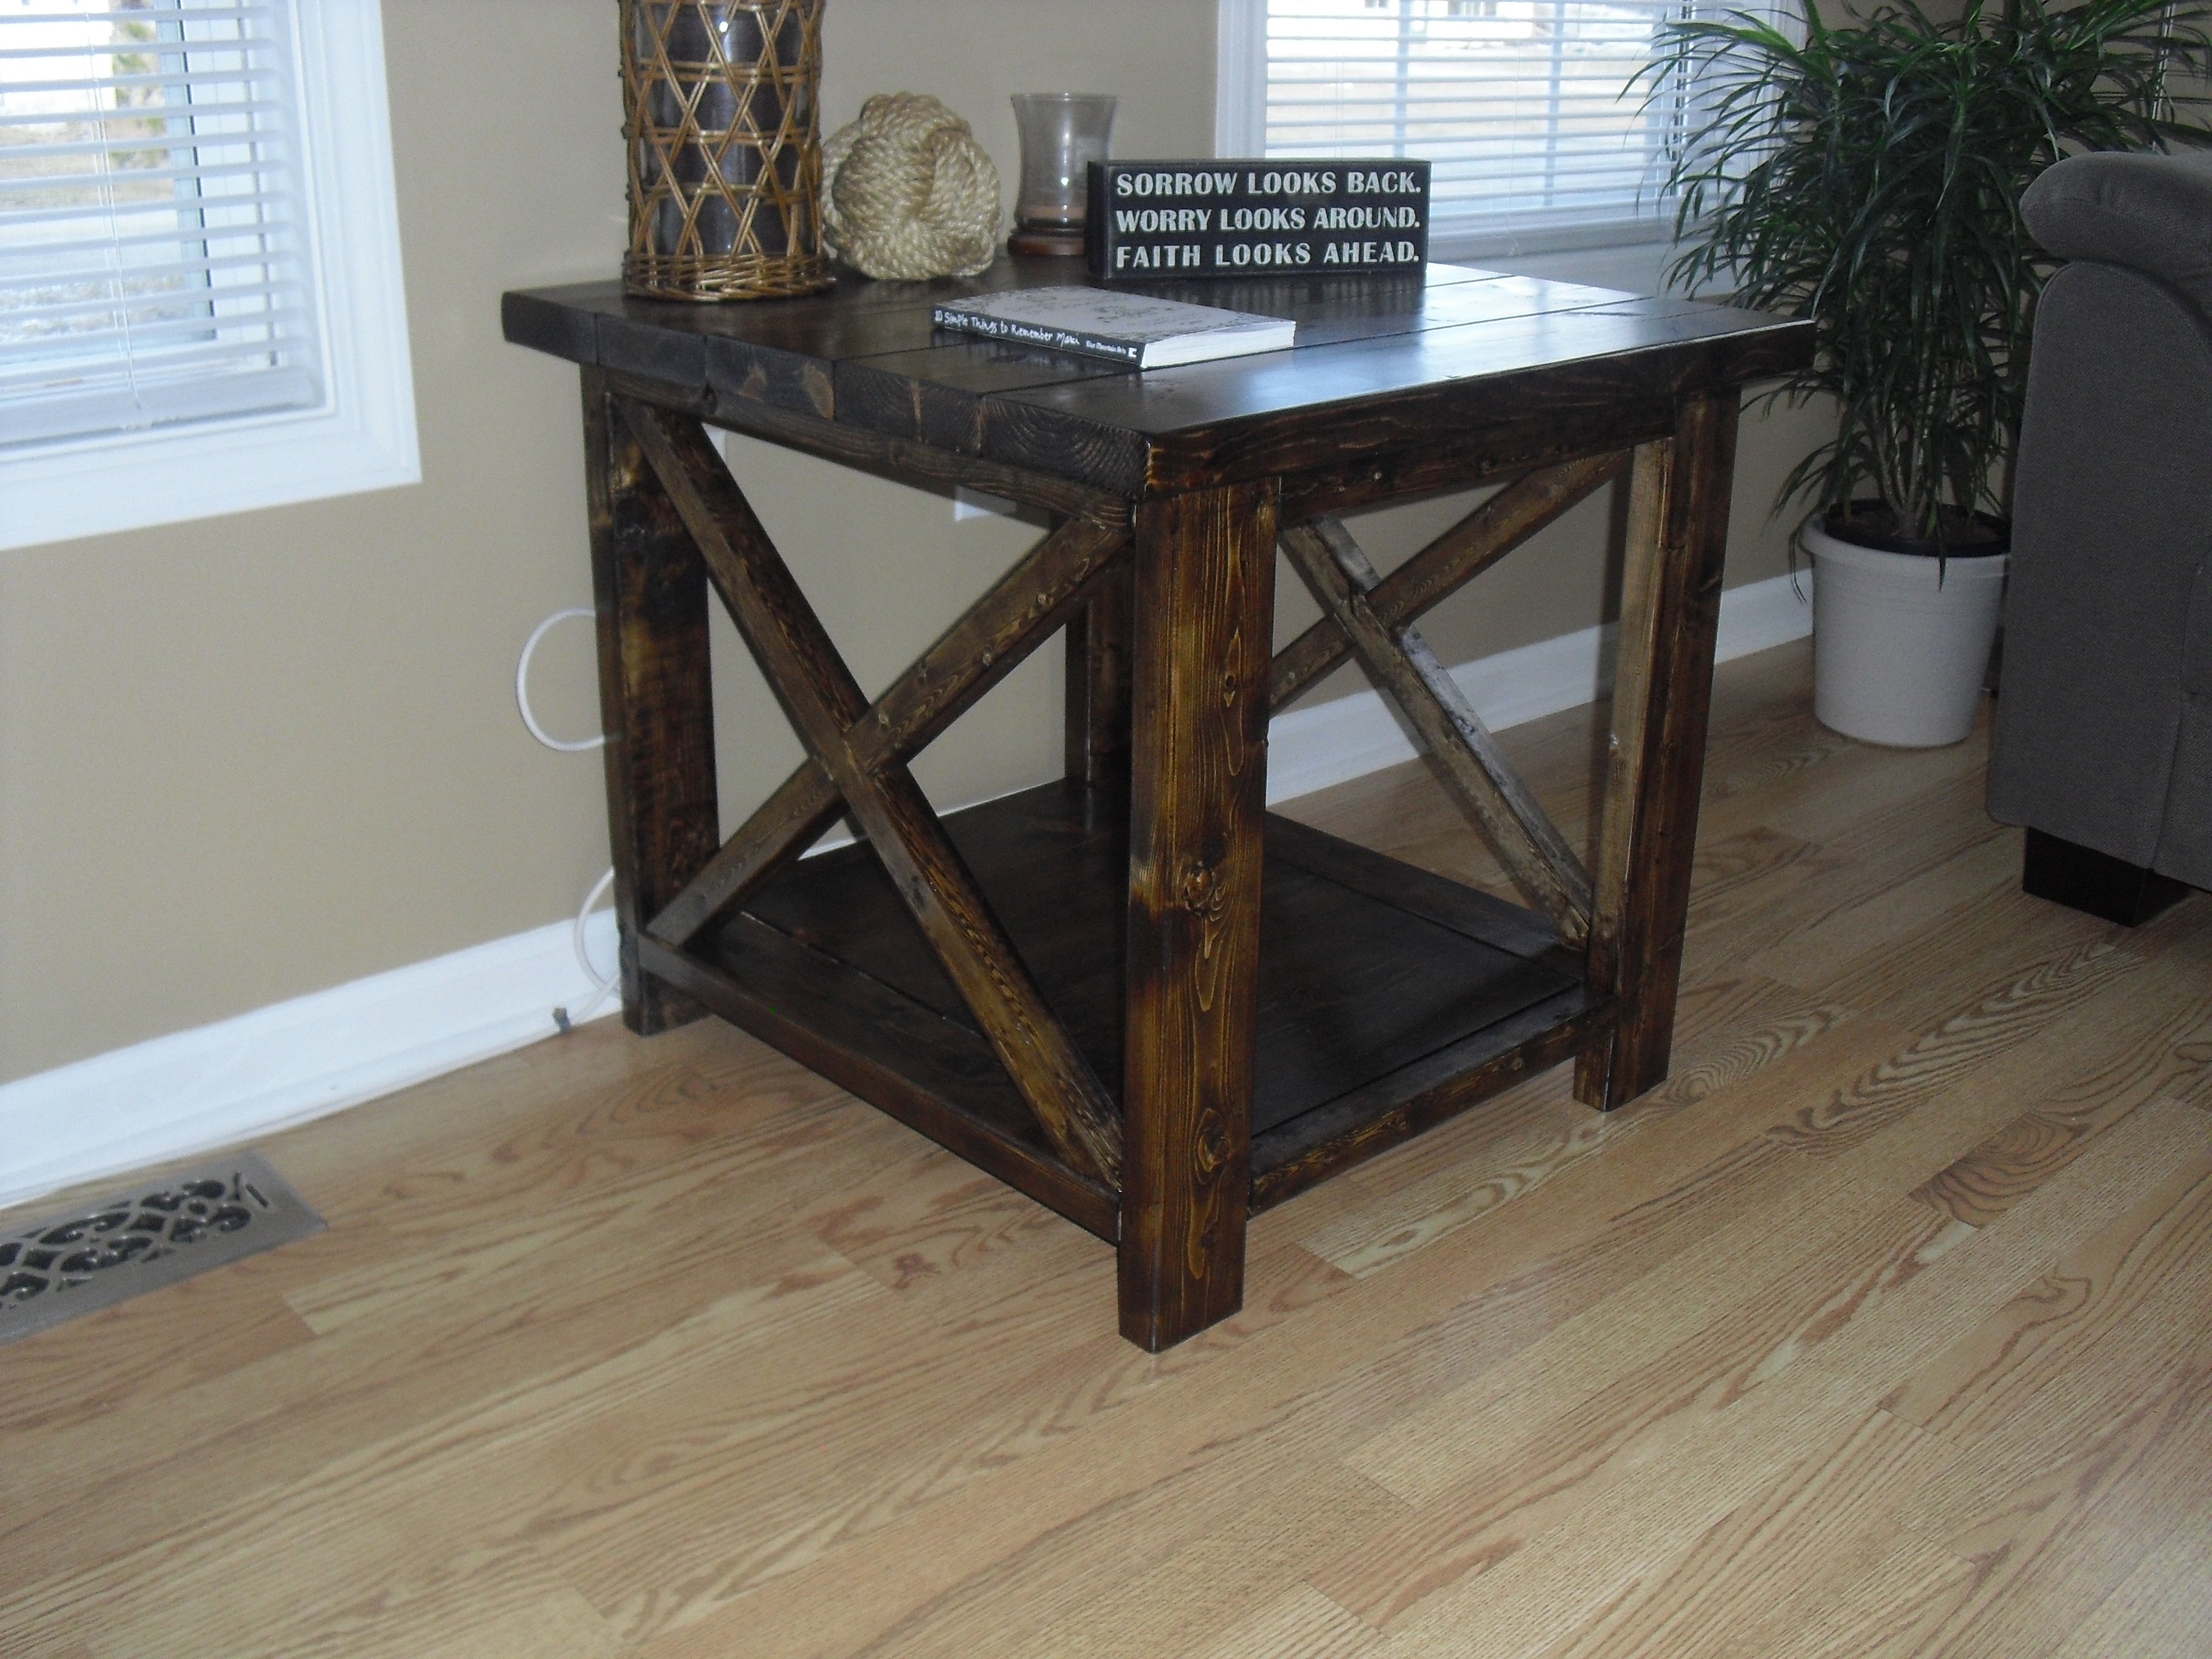
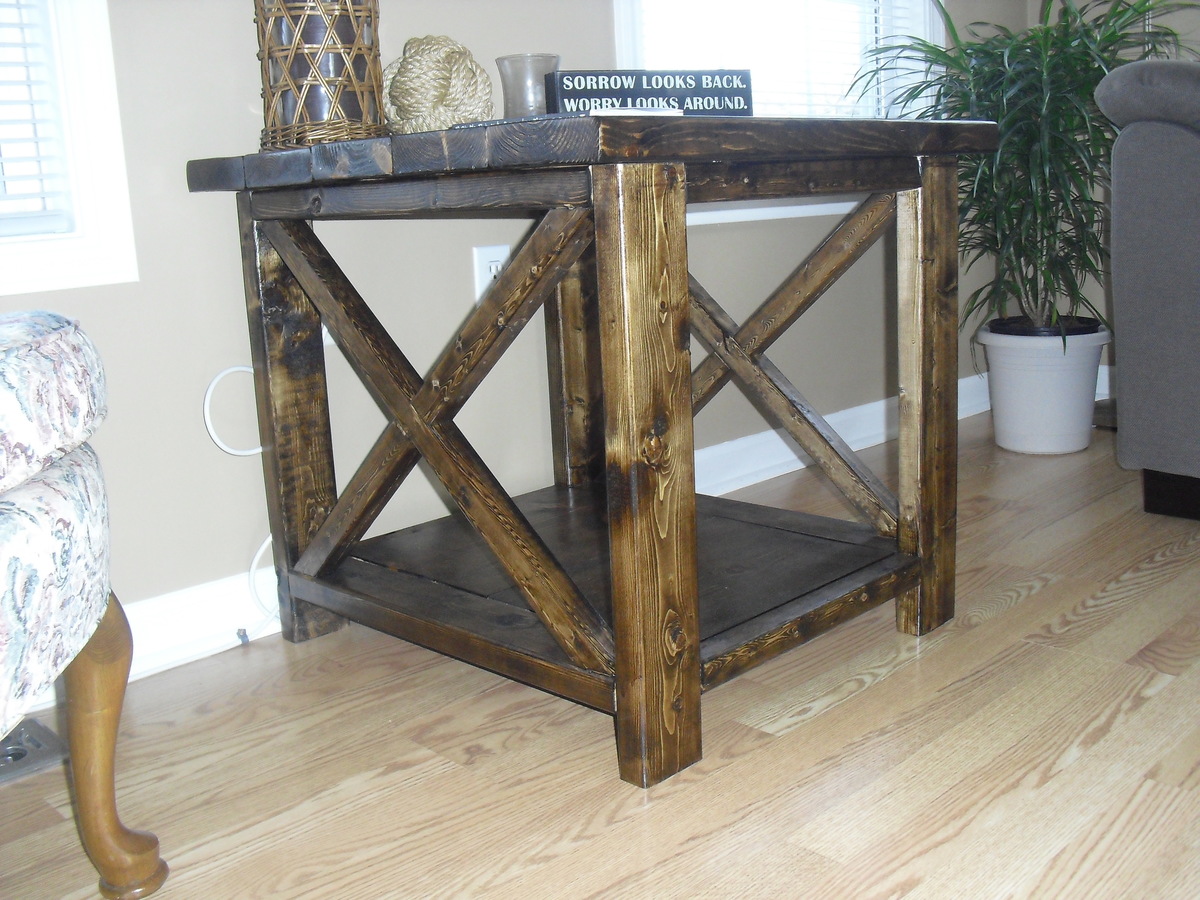
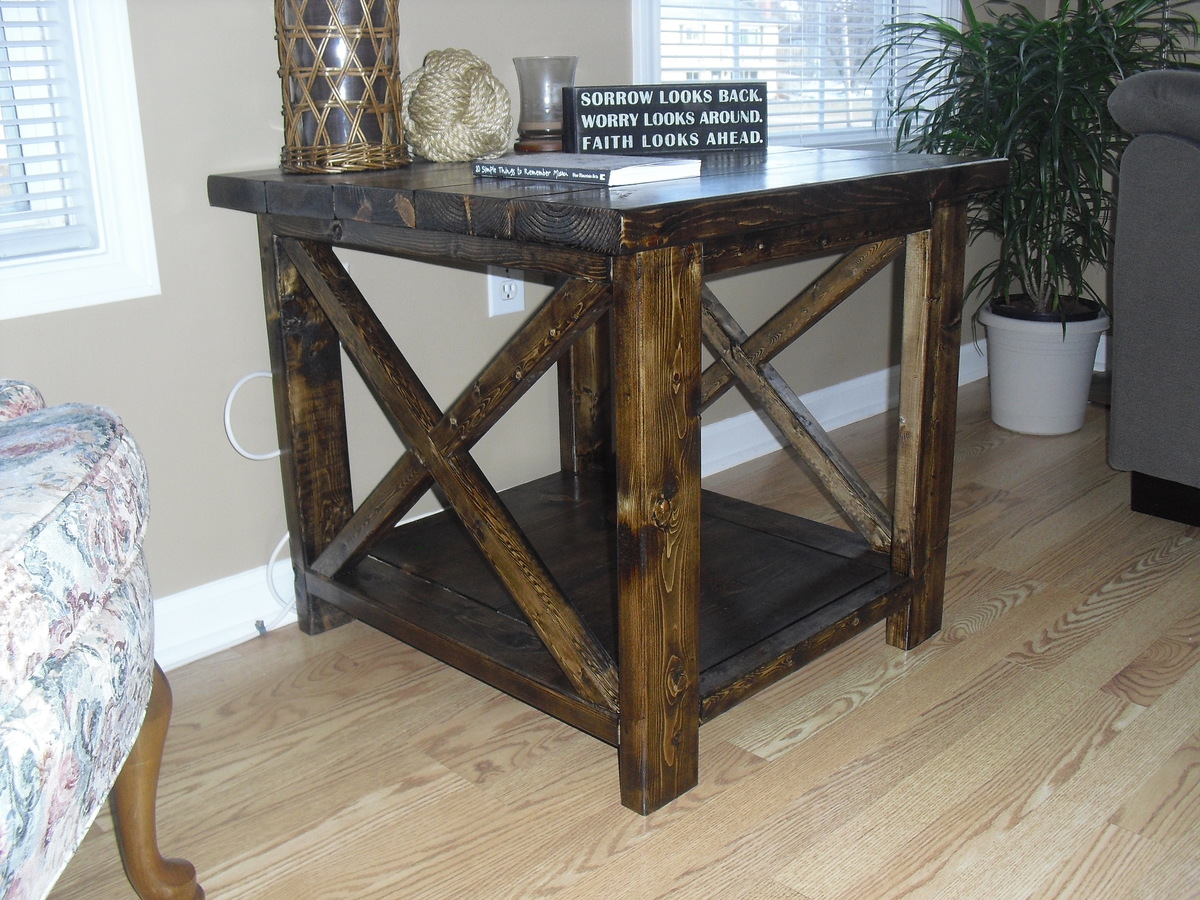
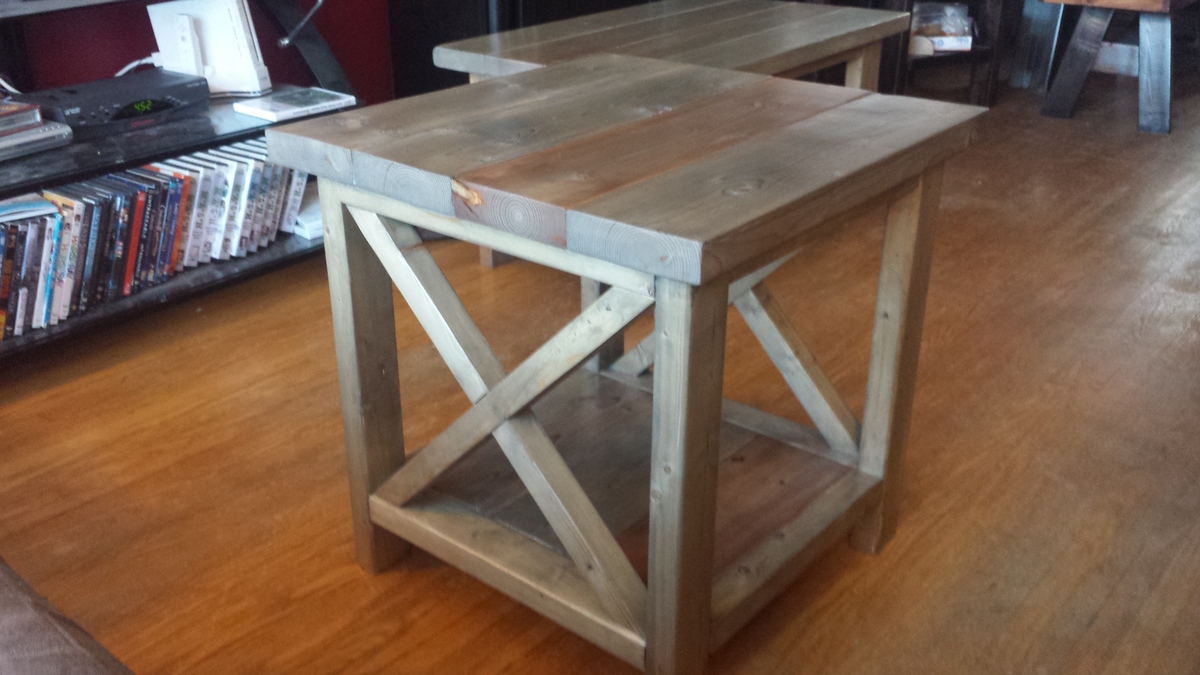
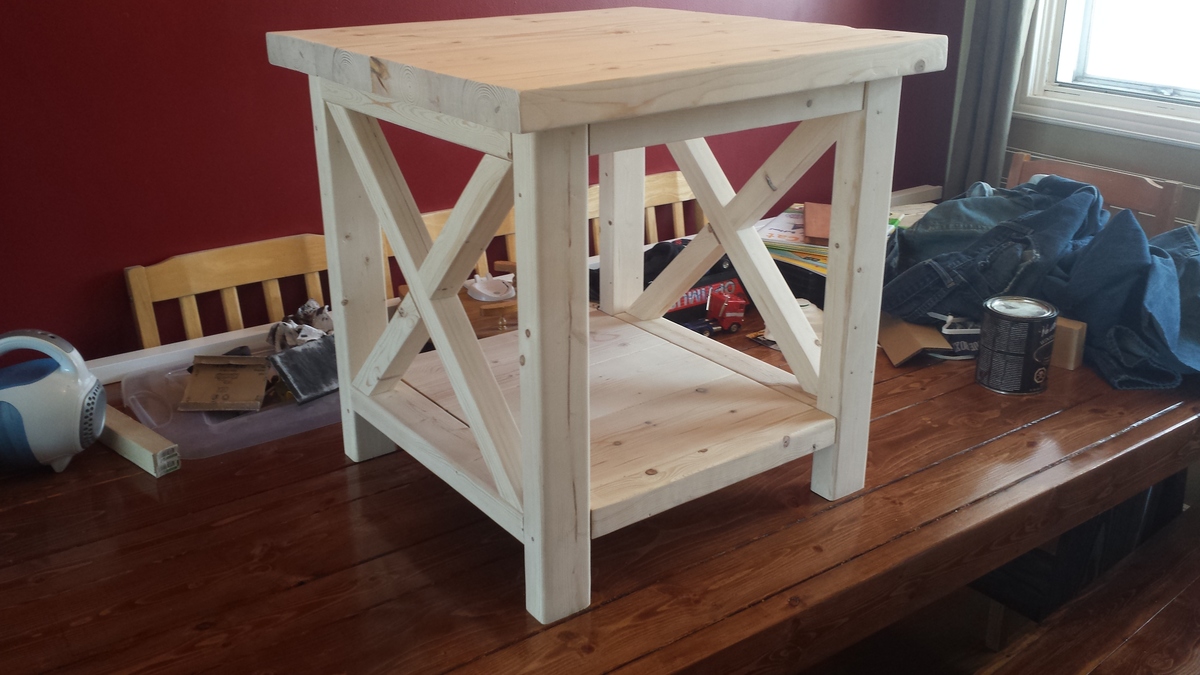
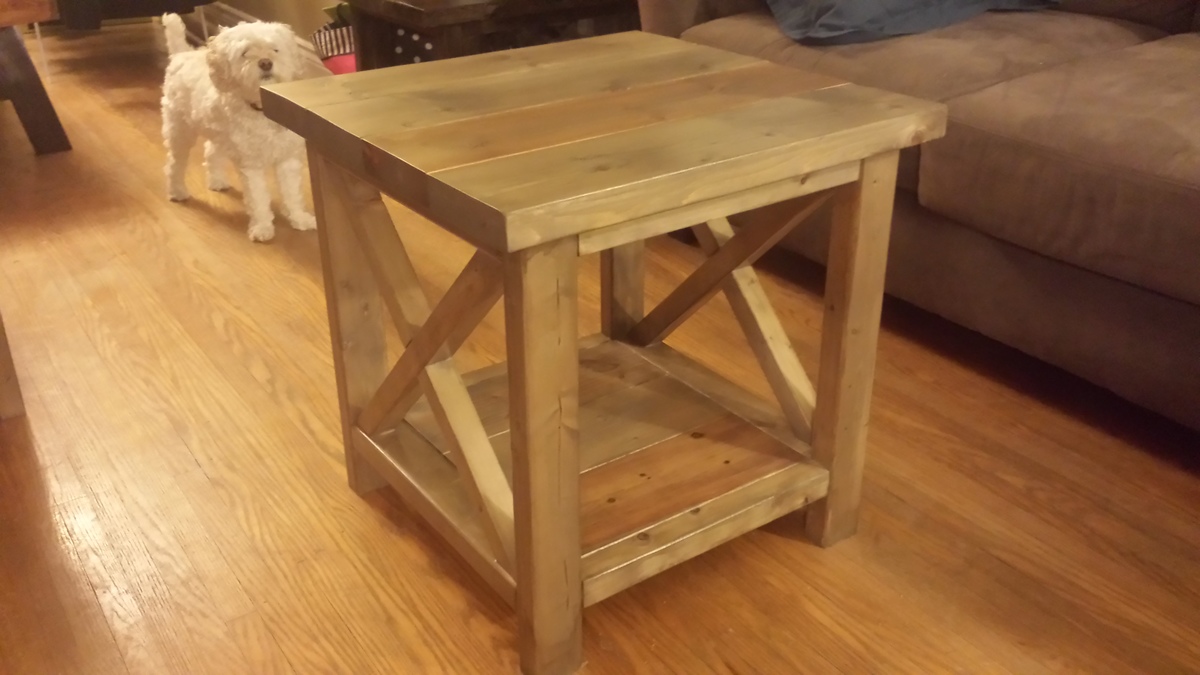
2 Cubbies
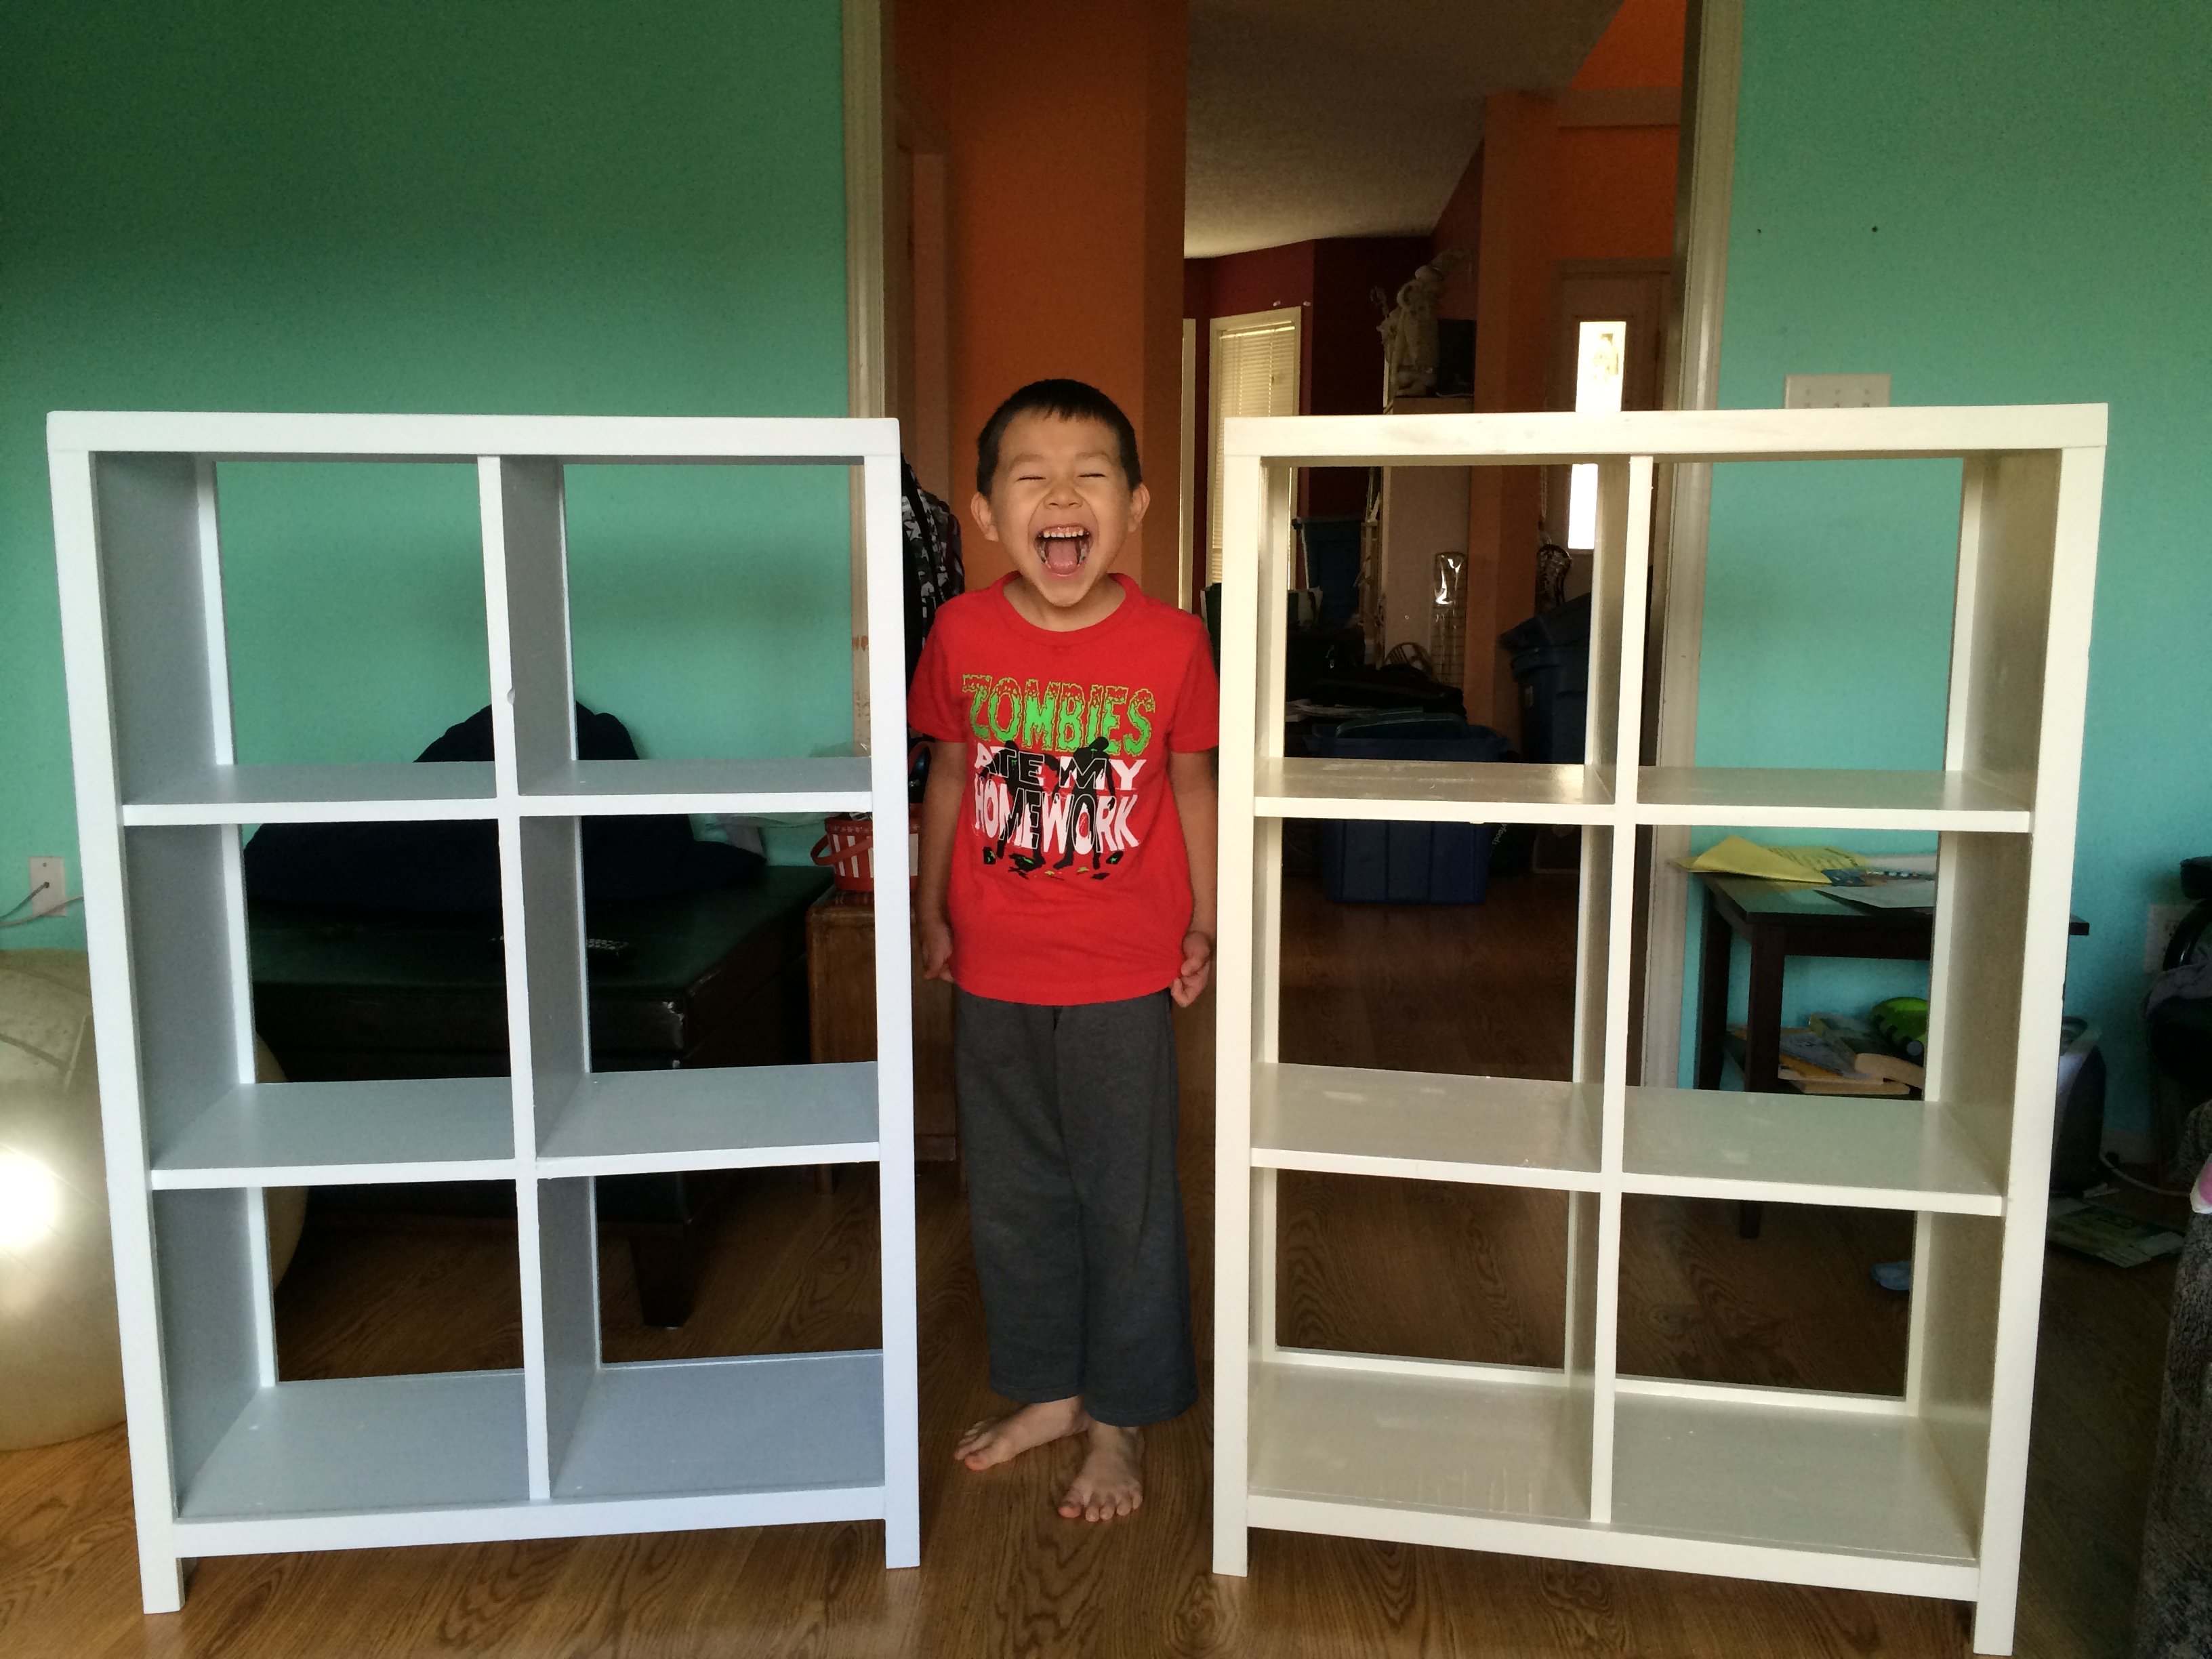
Did so many "firsts" with this project. My daughter/grandsons moved in just before Christmas. They needed space for their toys in their bedroom. Soooo, without tools, or paintbrushes, or..... anything, I opened my mouth and out came the words - I can make them some cubbies!
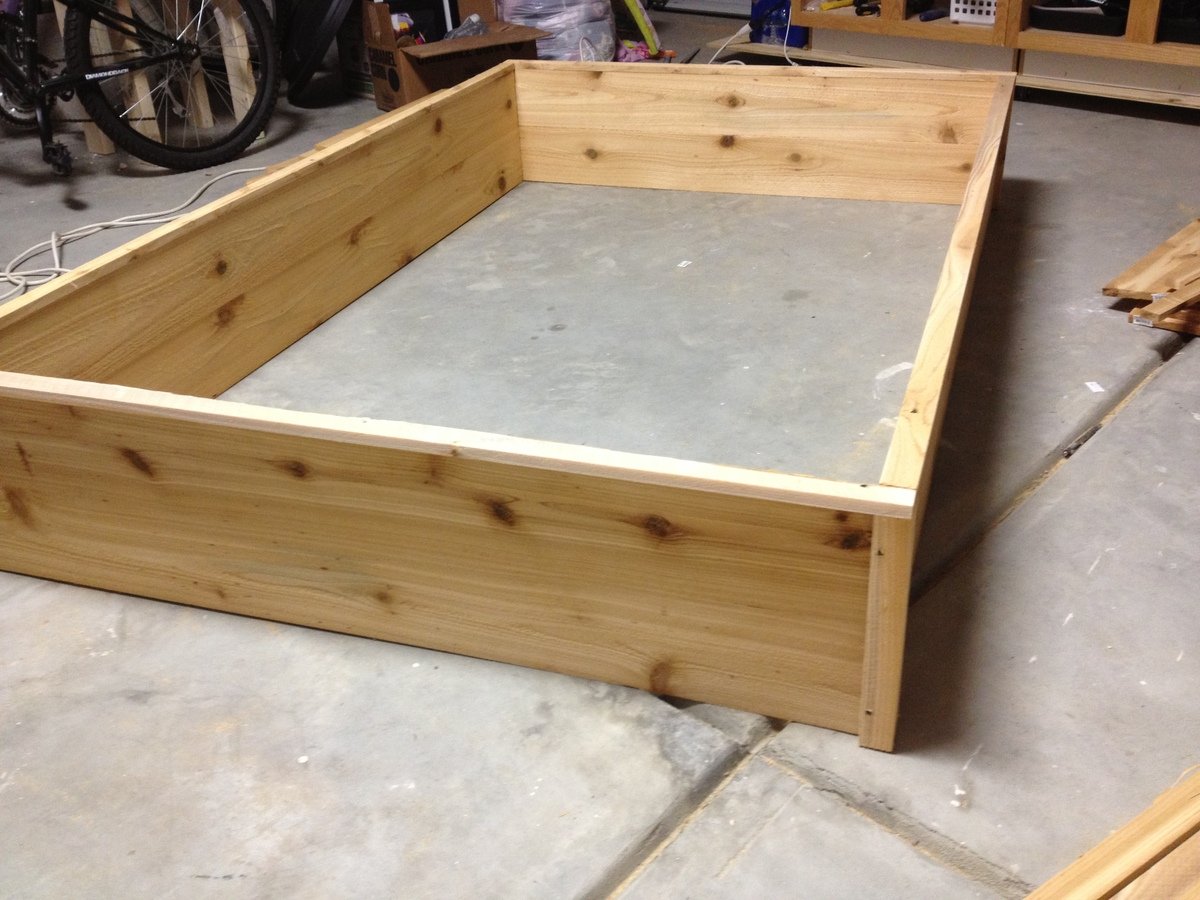
These took me 10 days to build, because I had to keep running to the store to get tools, paint, screws, circular saw.....
Then I decided to make a cut out at the bottom, tried to use a hand tool, chucked it, went to the store and purchased a jig saw. Completely happy with how little time it took!
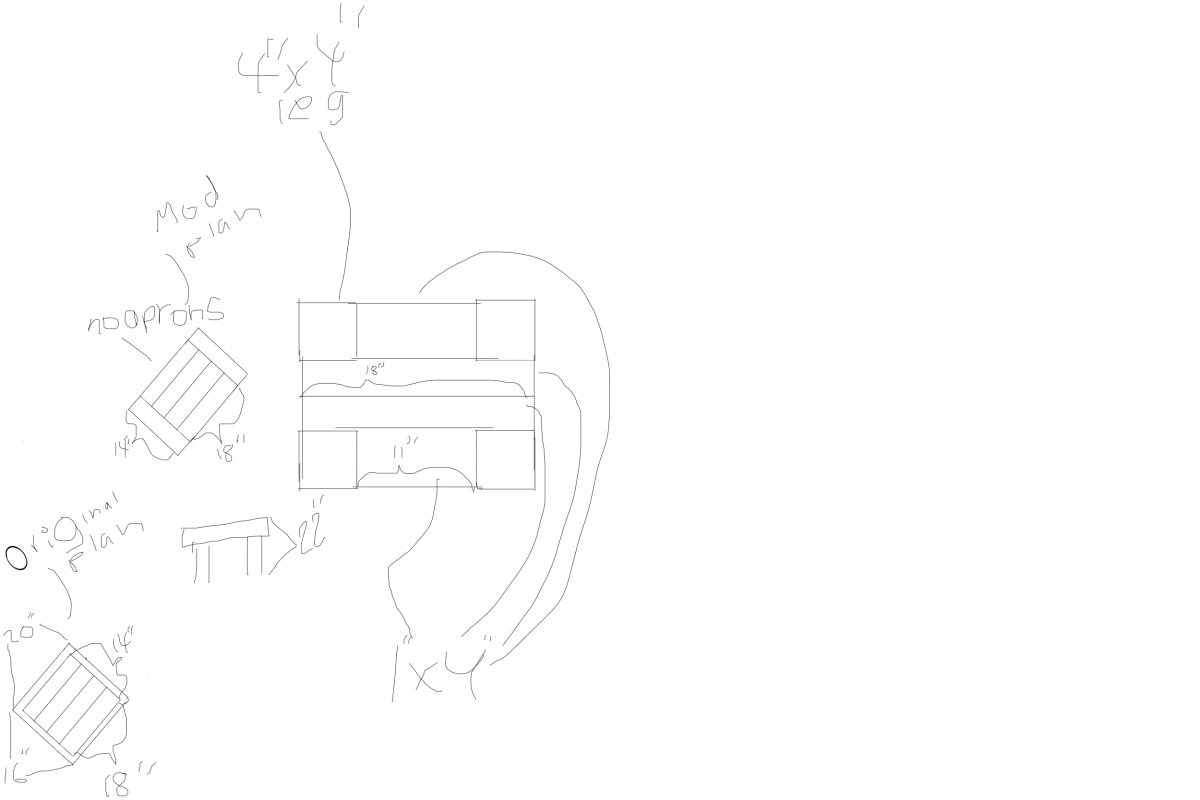
I figured out the bottom shelf was missing from the cut list/shopping list. I made a ton of mistakes, figured out how to fix them, and am pleased with my first project.
Built from Plan(s)
Estimated Time Investment
Week Long Project (20 Hours or More)
Finish Used
Acrylic Paint
Recommended Skill Level
Intermediate


Comments
Ana White Admin
Fri, 01/23/2015 - 11:04
You Persevered!
Great job, look at that happy face!
DorothyJean
Fri, 01/23/2015 - 20:15
Thanks! I had so much fun, I
Thanks! I had so much fun, I am looking around the house and figuring out what I want to build next :)