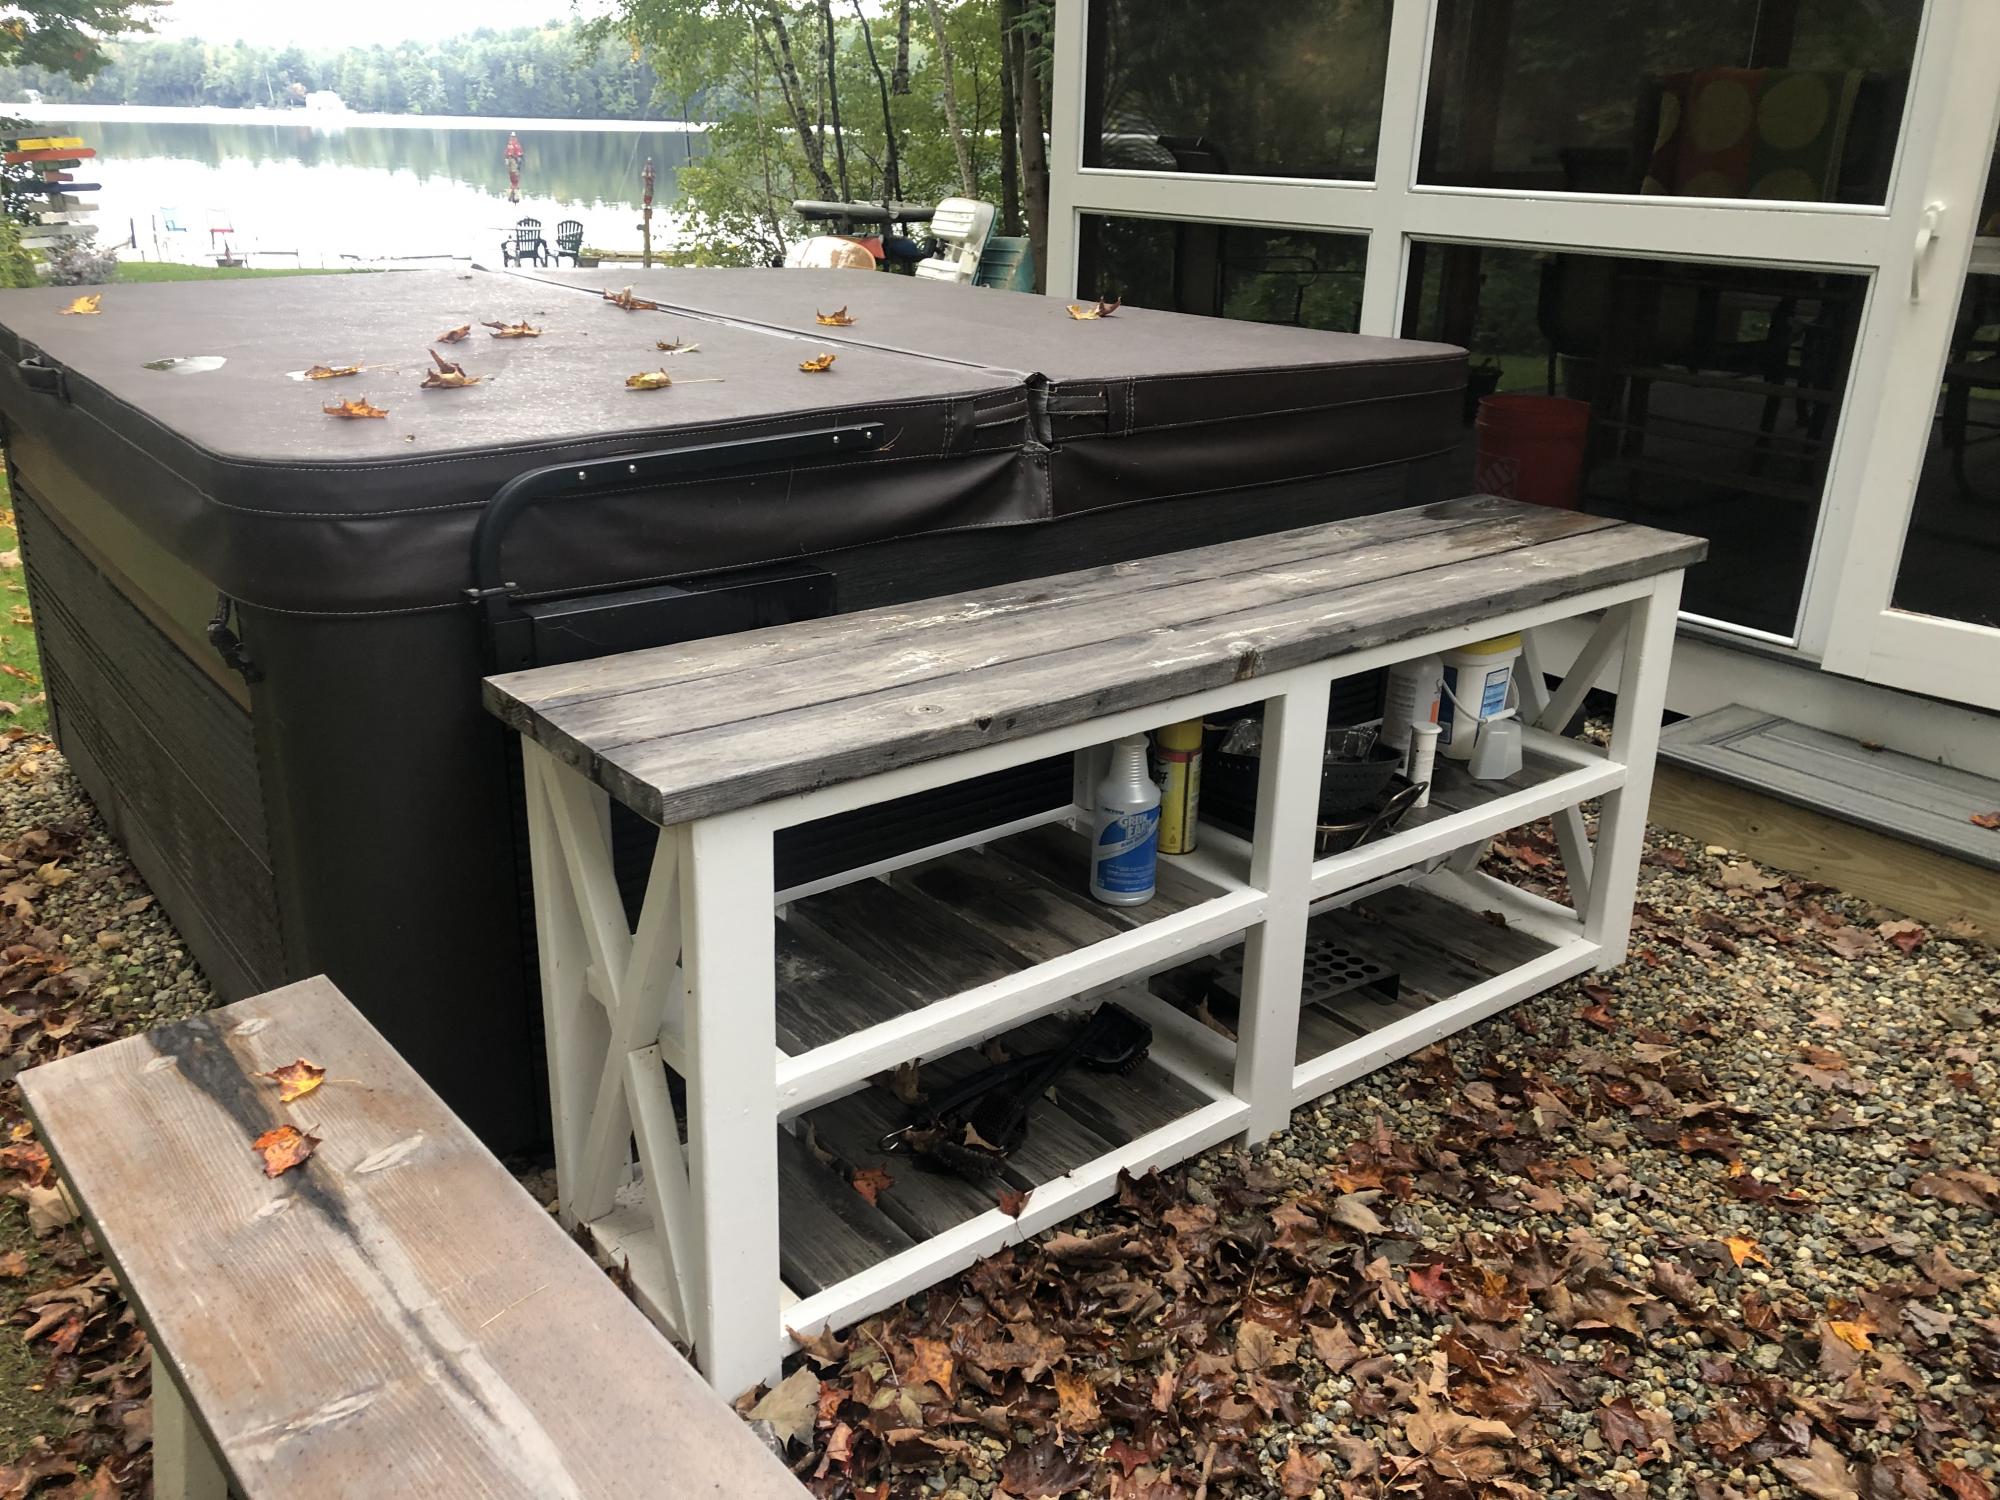
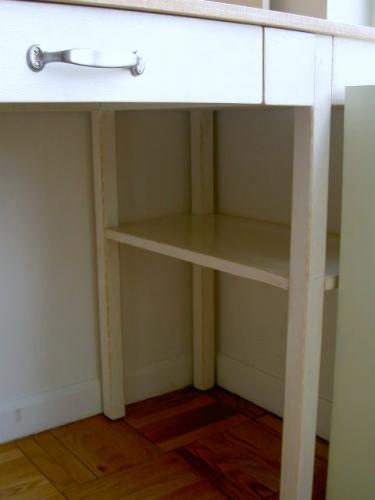
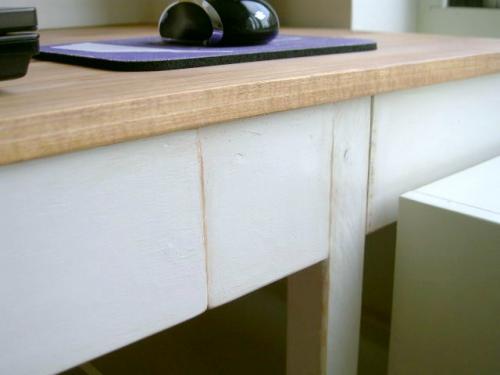
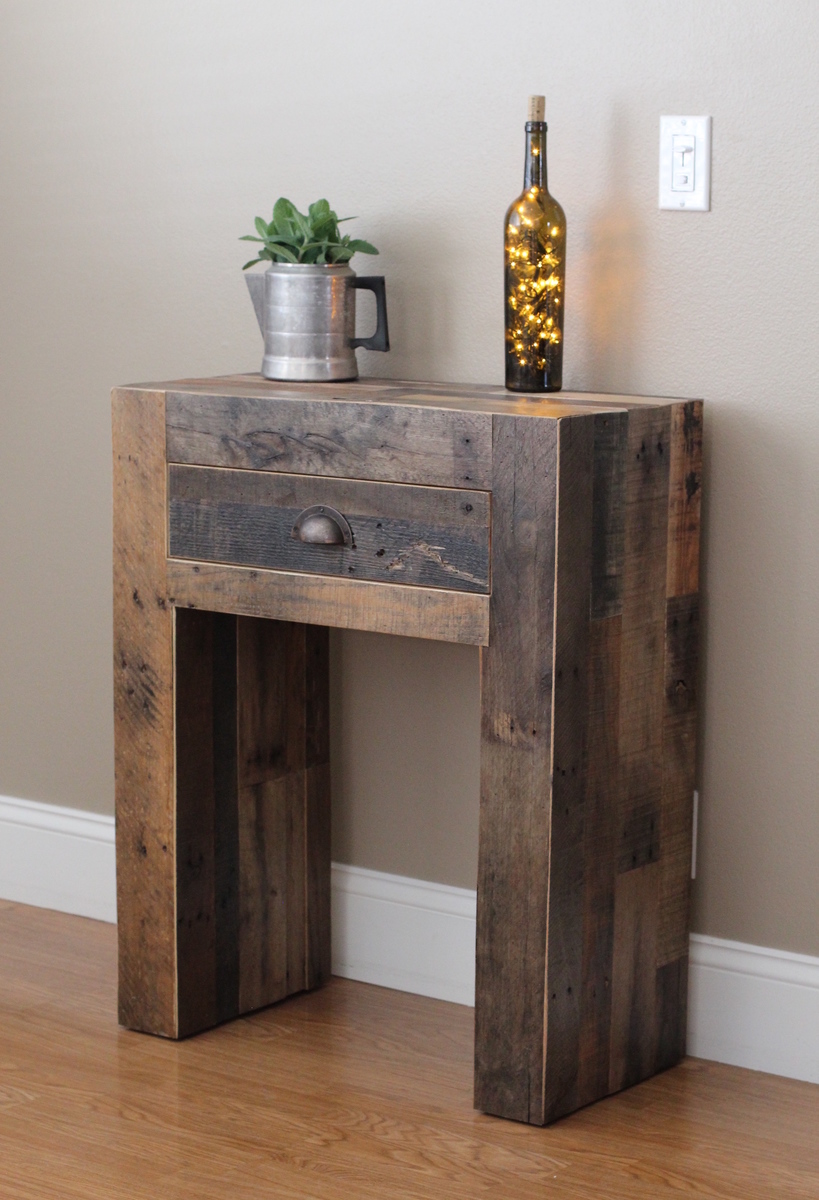
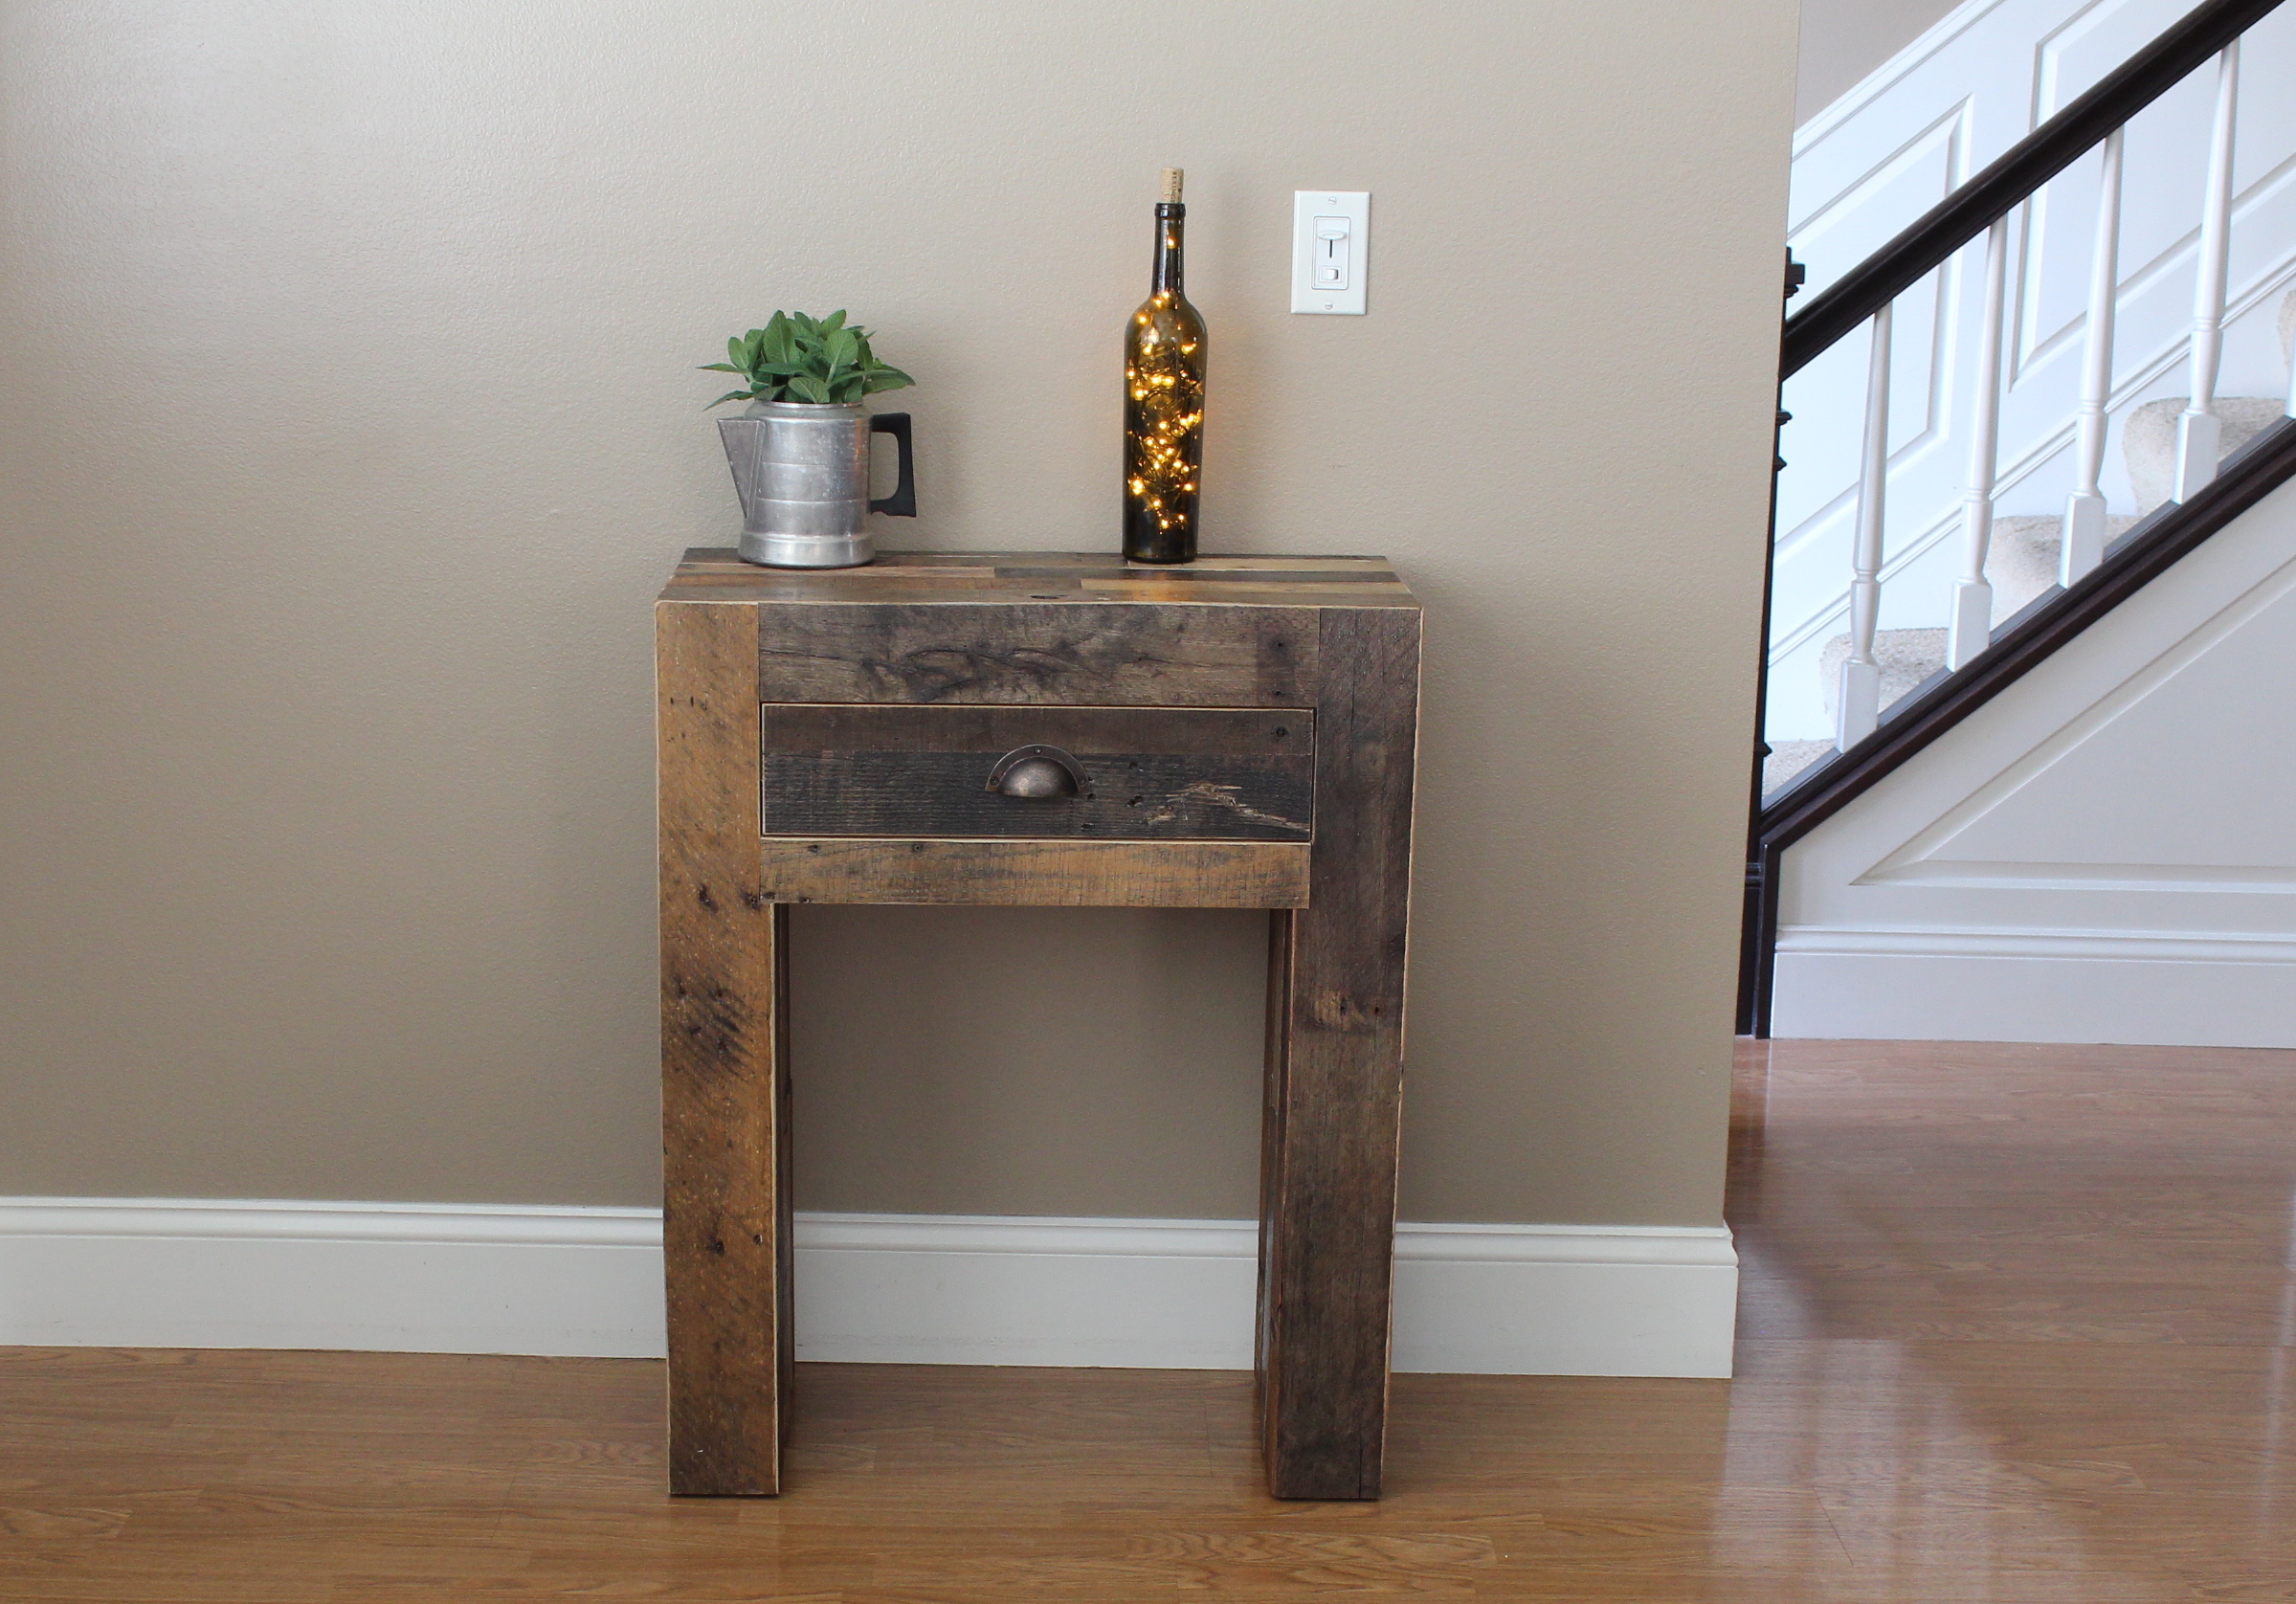
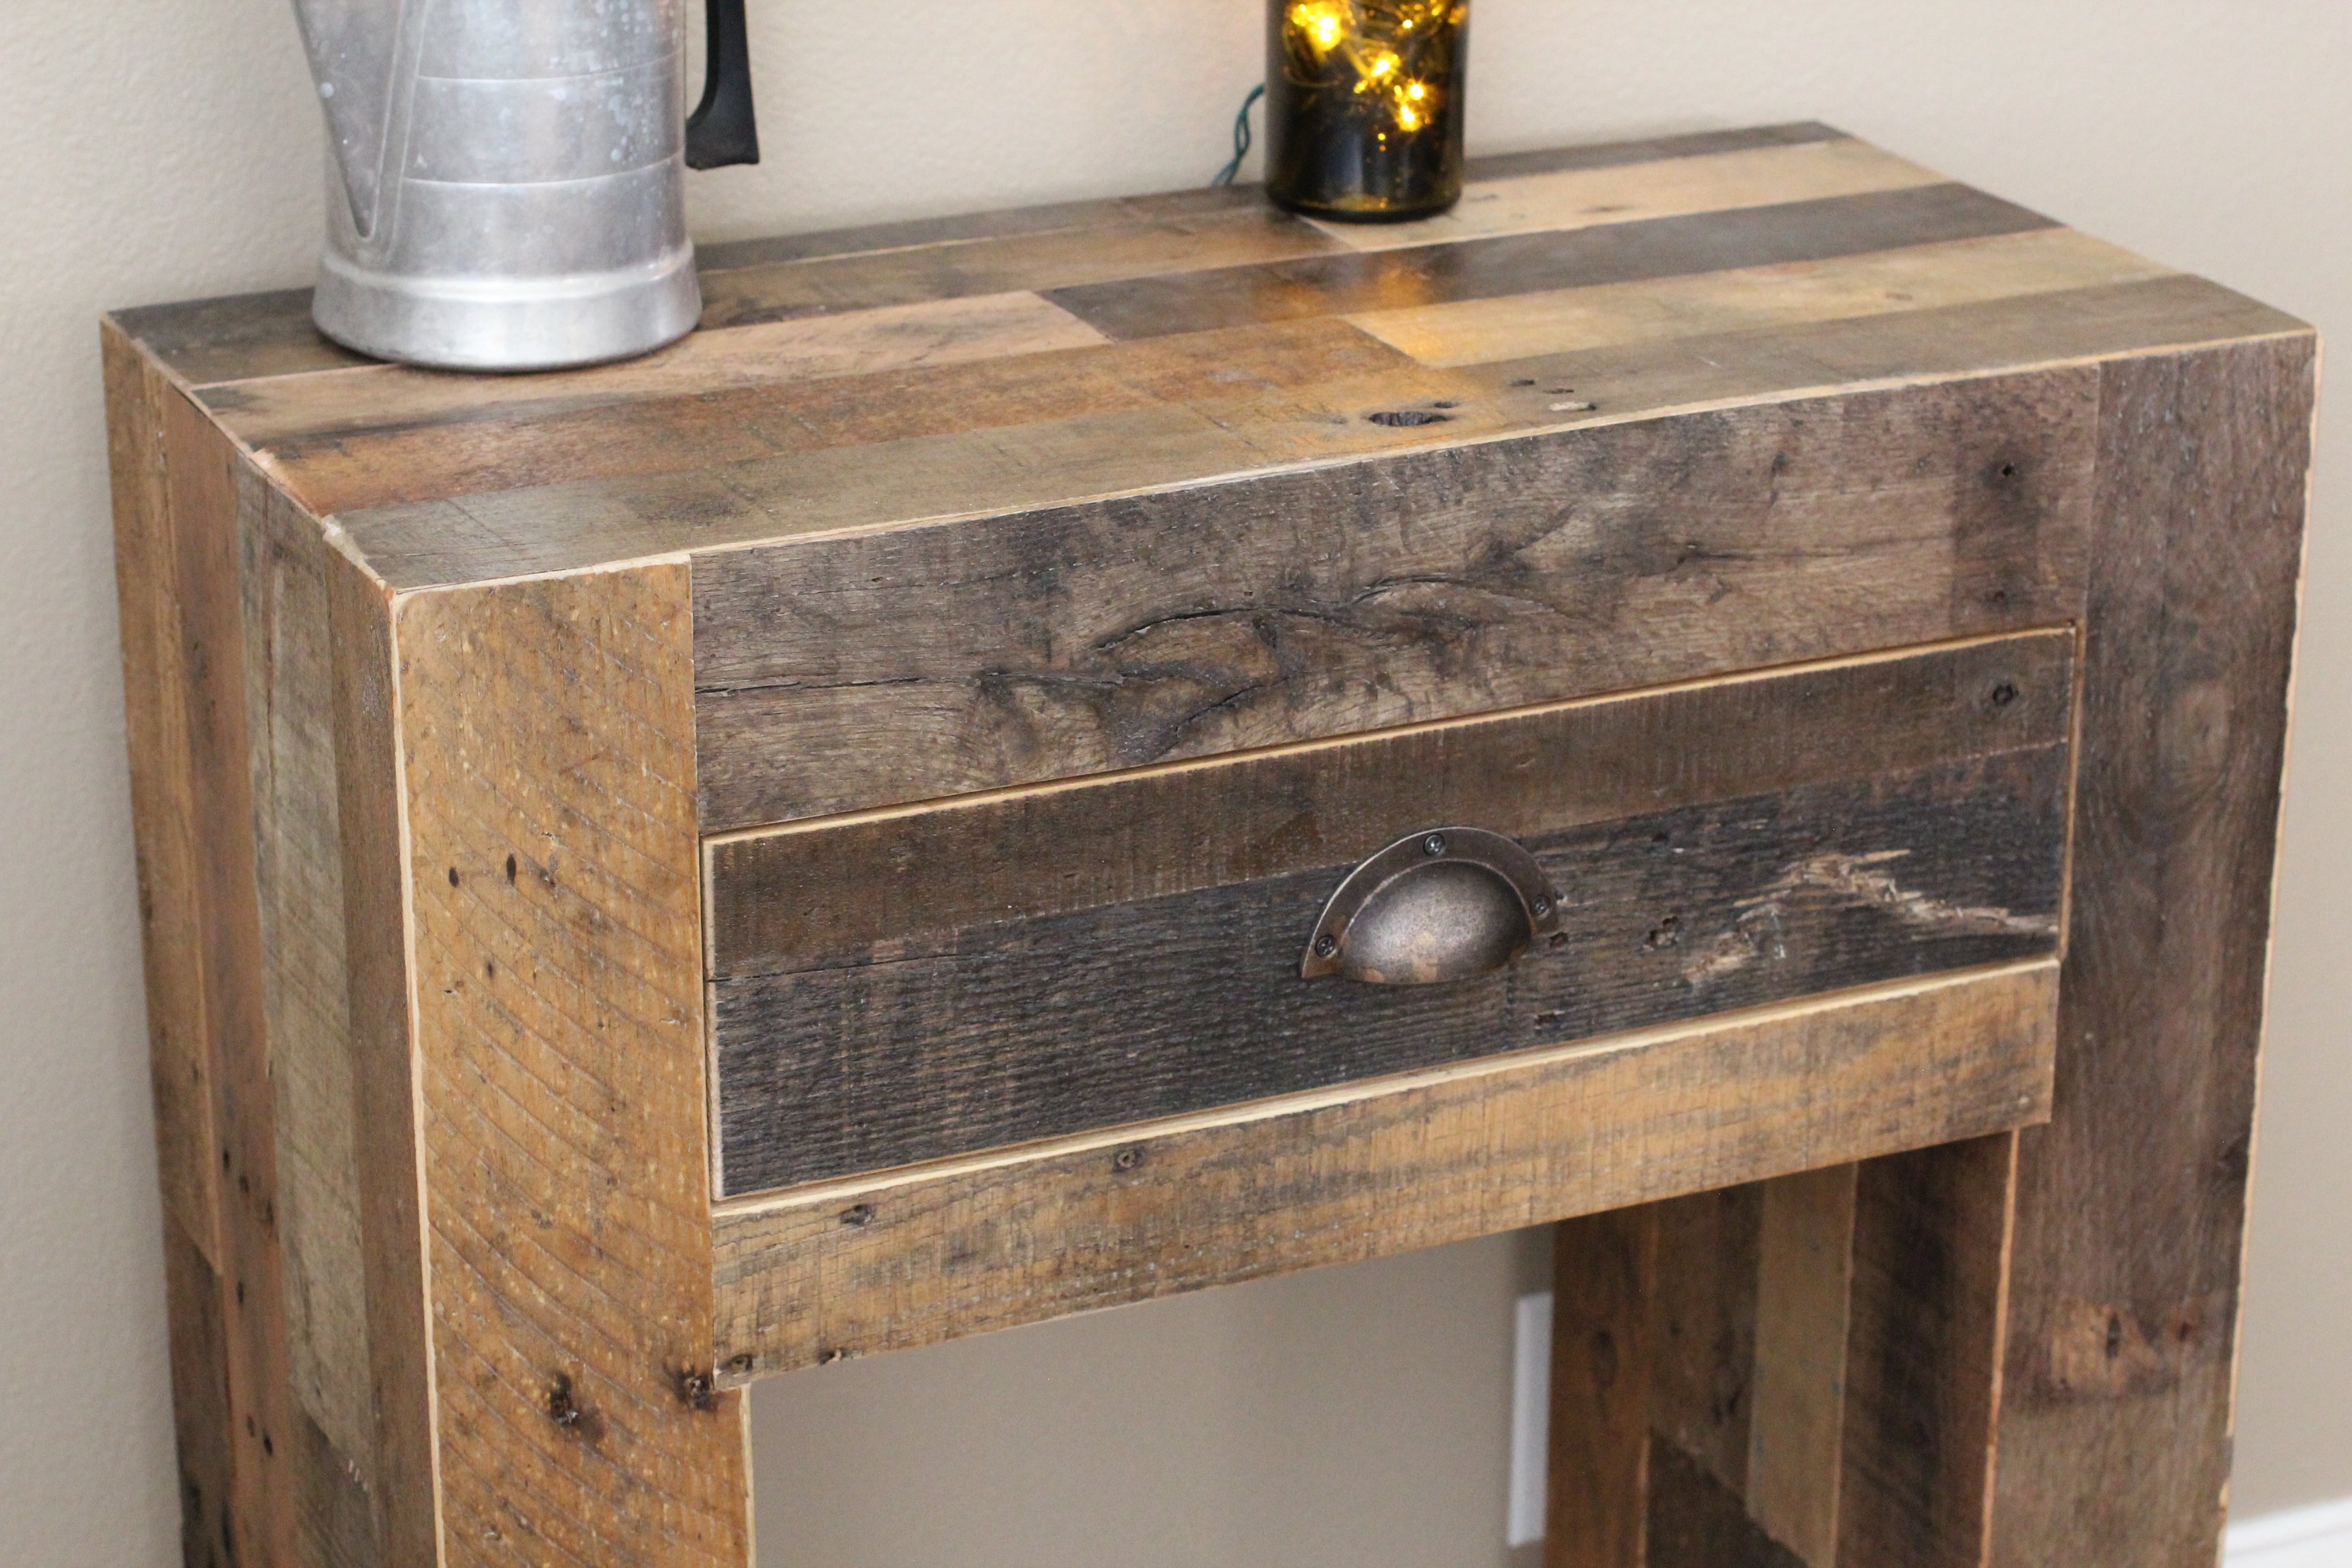
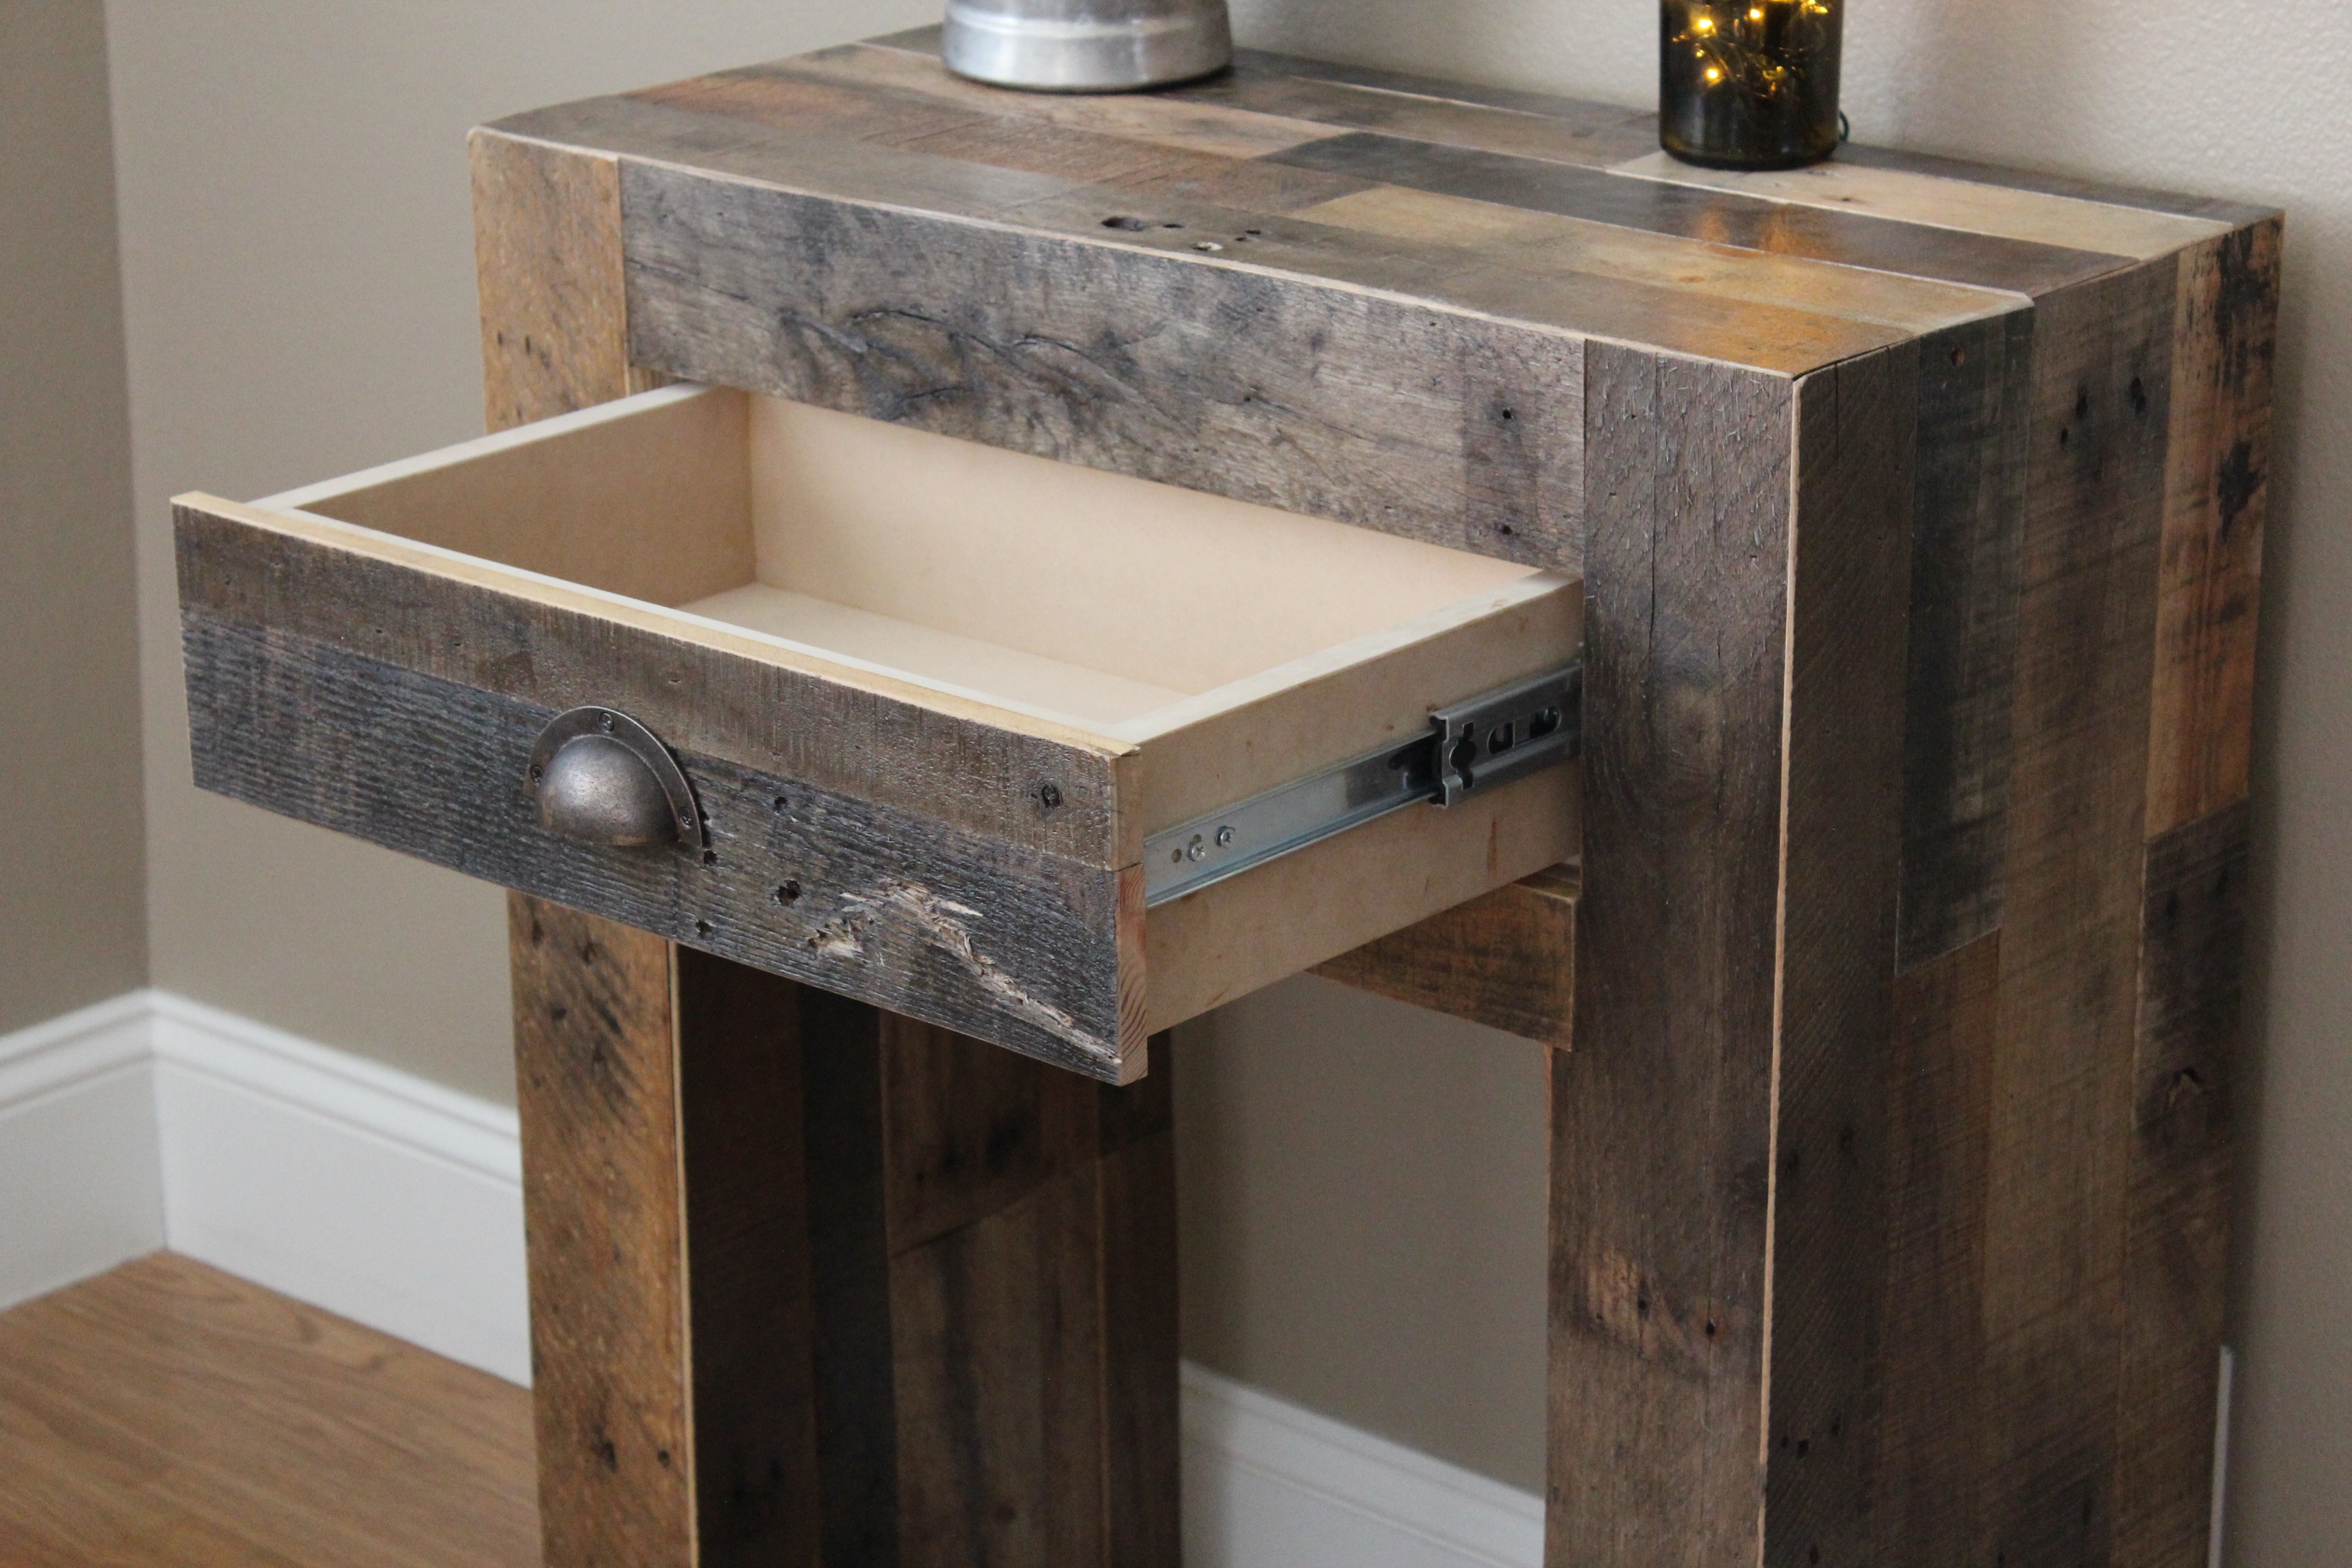
Knotty Alder Console Table
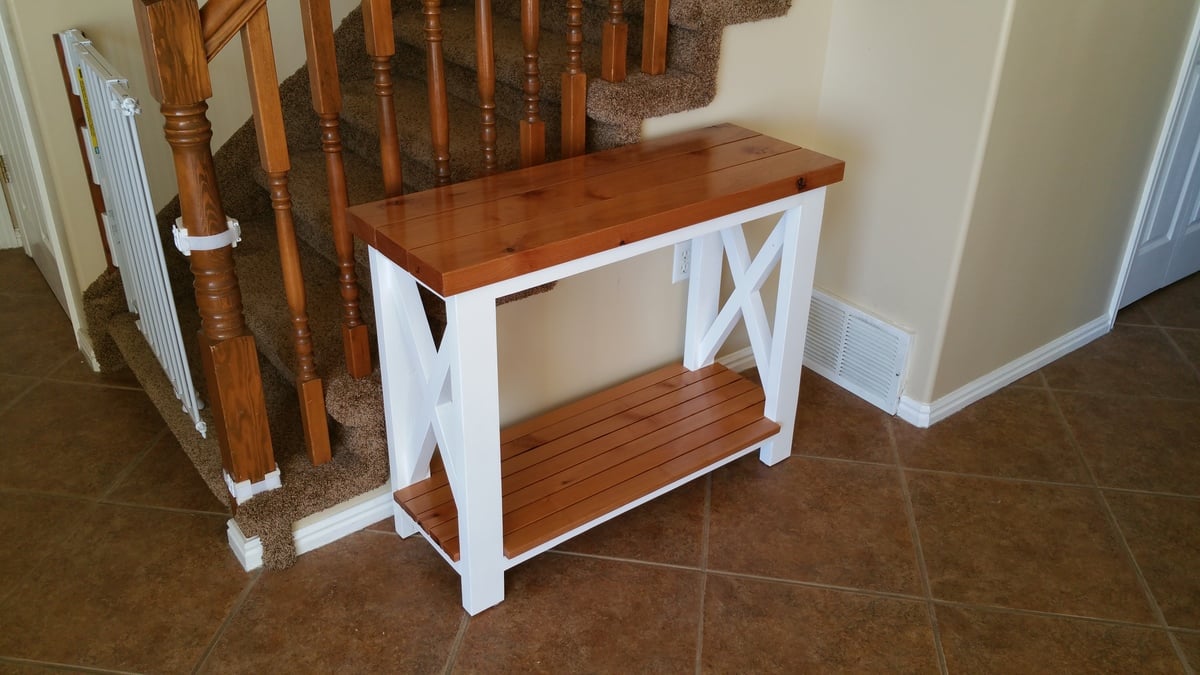
Built from reclaimed knotty alder
Built from Plan(s)
Estimated Time Investment
Weekend Project (10-20 Hours)
Finish Used
Minwax poly
Recommended Skill Level
Intermediate


Comments
Ana White
Mon, 03/30/2015 - 15:15
This is beautiful!
This is beautiful!