Community Brag Posts

Sliding Door Console

Submitted by carriesty on Mon, 05/02/2016 - 09:05

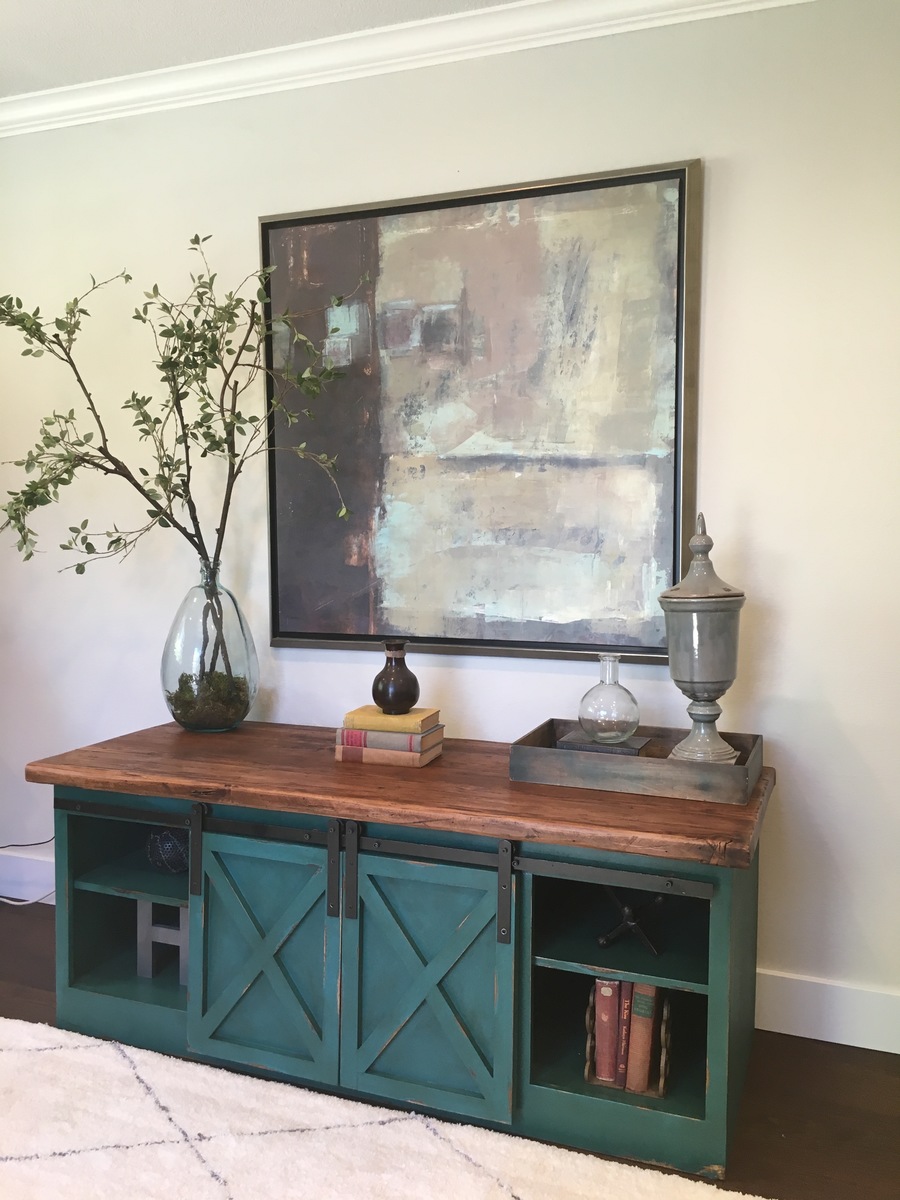
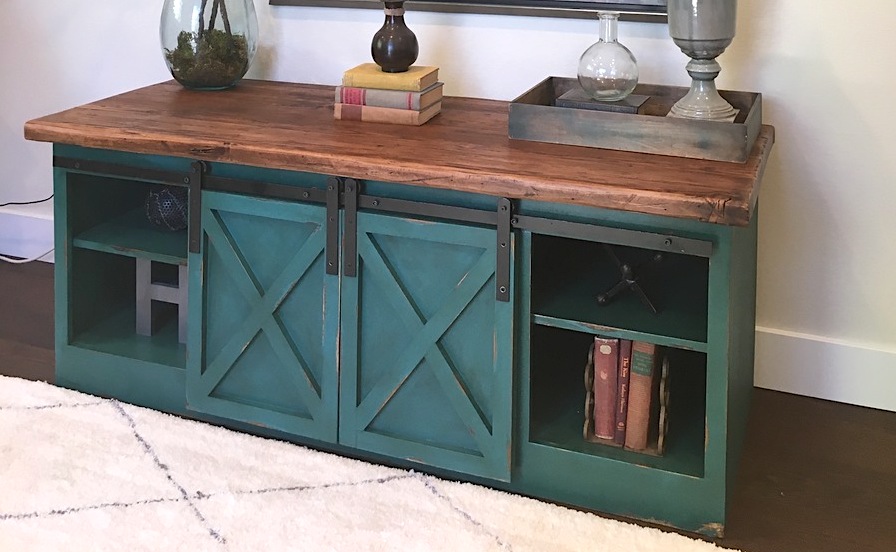
Distressed Sliding Door Console.

I absolutely enjoyed making this console. It's different and a conversation starter in our home. After figuring out how to make the hardware (pulling my hair out for a moment), I was off and running. I wanted to make my piece look old with character and charm. I searched for reclaimed wood and finally  found thick pieces of wood that were perfect for my top. After sanding for hours (literally hours!!), it was smooth and ready for a stain. I distressed the cabinet base after applying a teal paint. 

Built from Plan(s)
Estimated Cost
$300 - mainly because of the wood top.
Estimated Time Investment
Week Long Project (20 Hours or More)
Finish Used
Benjamin Moore - Teal ~
Stain - Dark Walnut
Recommended Skill Level
Intermediate

King Headboard w/ Charger and Lighting

Submitted by Malka on Sat, 02/01/2020 - 15:21

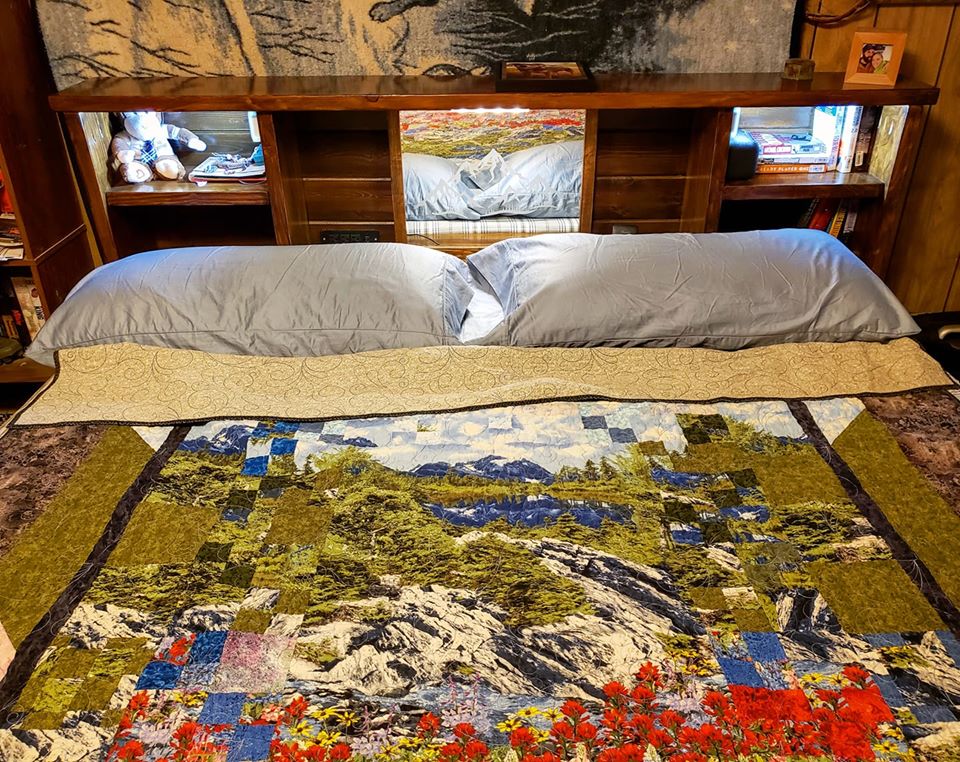
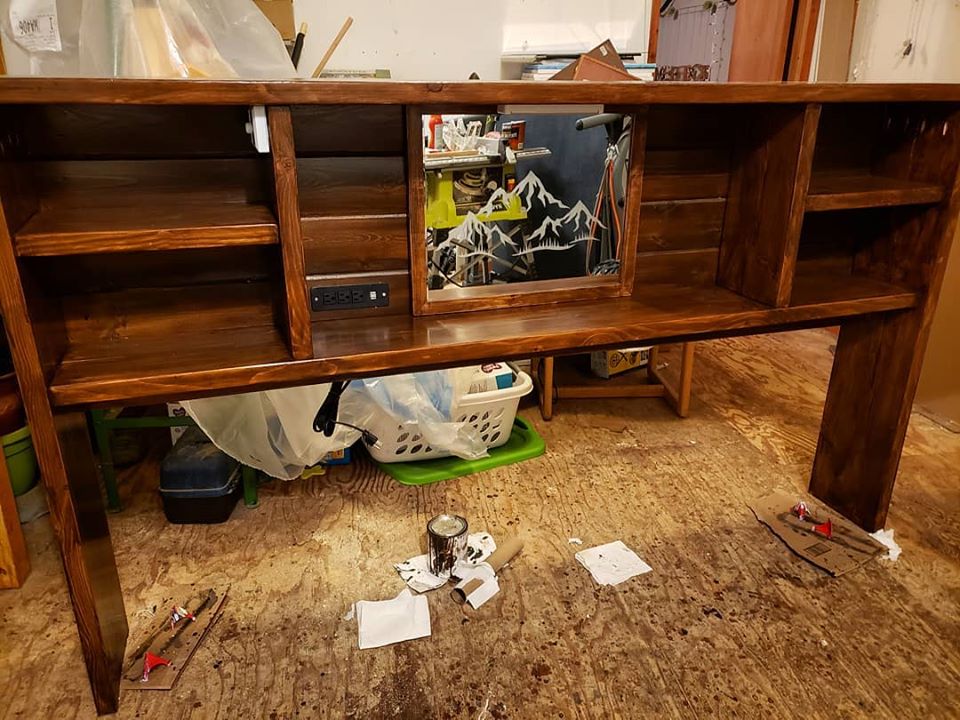
I designed this headboard on the back of a napkin, after we couldn't find one at a box store that met our needs. I used Douglas fir 2x10 for the headboard/shelves and Pine T&G for the backing. My fiance etched a mountain range into an unframed mirror, which I then framed from the scrap fir wood, and stained to match. Also attached an LED Lightbar above the mirror, Dimmer switch LEDs on each bookshelf, and a recessed USB/Plug port. This wasn't the cheapest project with the electrical accessories added, but we now have a custom wooden headboard with bookshelves, lighting and chargers that will last us years and be far beyond anything we could have bought at a big box store for the same cost. 

Estimated Cost
250
Estimated Time Investment
Weekend Project (10-20 Hours)
Finish Used
Varathane Honey
Minwax Semi-Gloss
Recommended Skill Level
Intermediate

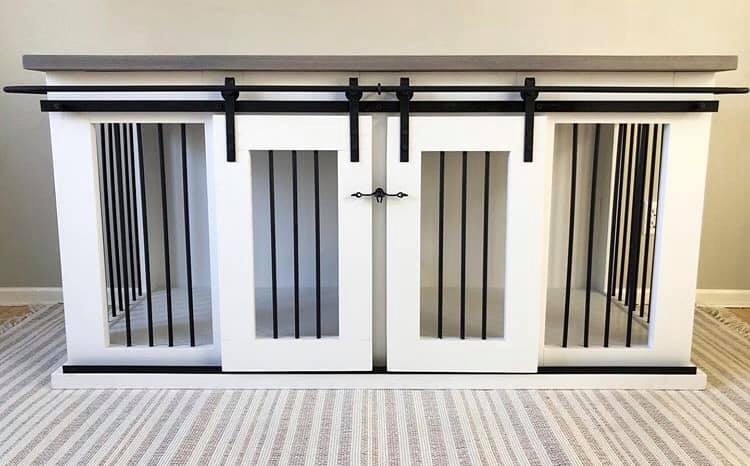
Barn Door Pet Kennel

Submitted by Ana White on Wed, 02/19/2020 - 14:19

Built by Holli Peterson

Built from Plan(s)

Comments

hodnett1984

Thu, 08/31/2023 - 21:23

I’m looking to make one similar to this but looking to make it a little bigger for two Great Danes. Do you still have the plans and or cut list for this project to help me out. I’d greatly appreciate it if so.

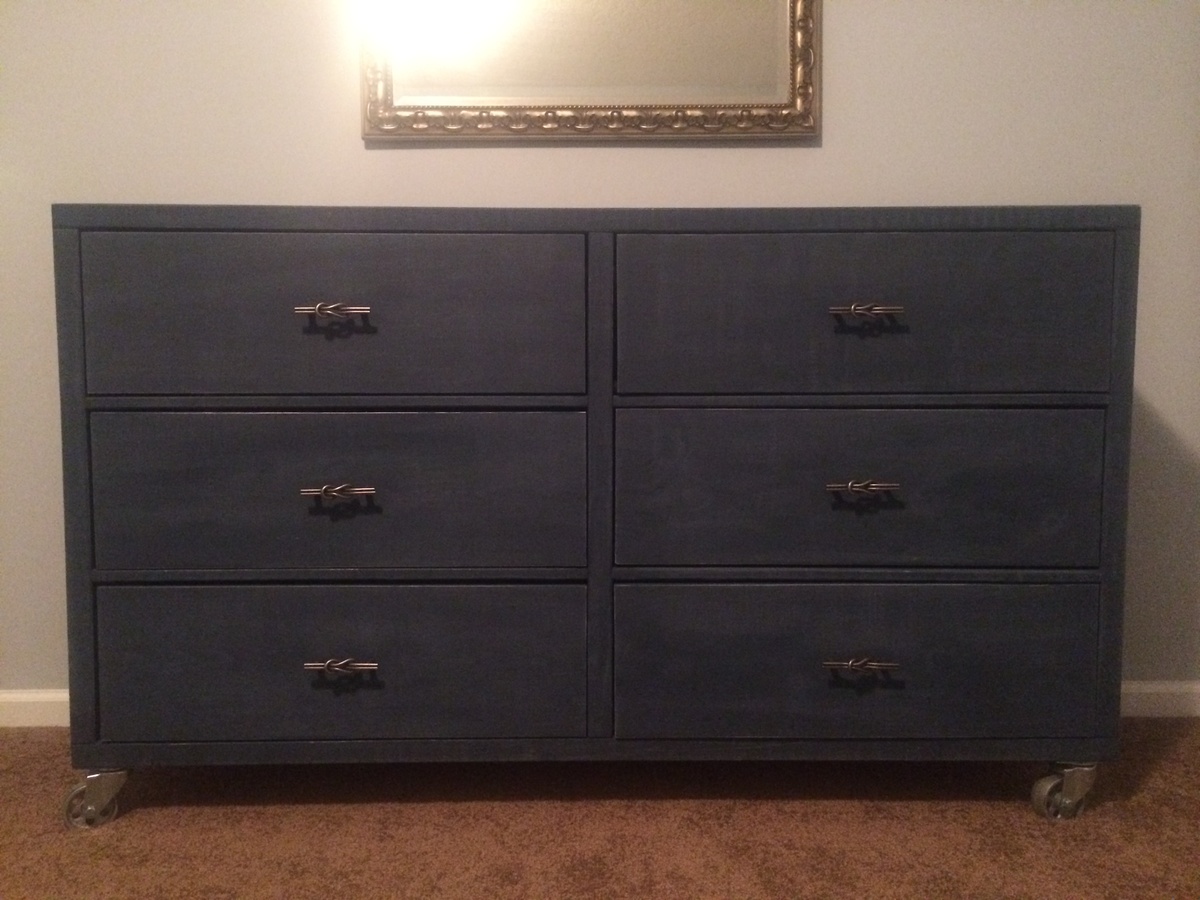
Rolling Rustic Wood Dresser

Submitted by AmJoy37 on Tue, 02/25/2014 - 20:50

We need bedroom furniture desperately! So, I decided, for my second build I would start in our bedroom! The dresser first, because I was going crazy without a place to put my clothes!

Built from Plan(s)
Estimated Cost
$220
Estimated Time Investment
Weekend Project (10-20 Hours)
Finish Used
Homemade chalk paint
Recommended Skill Level
Beginner

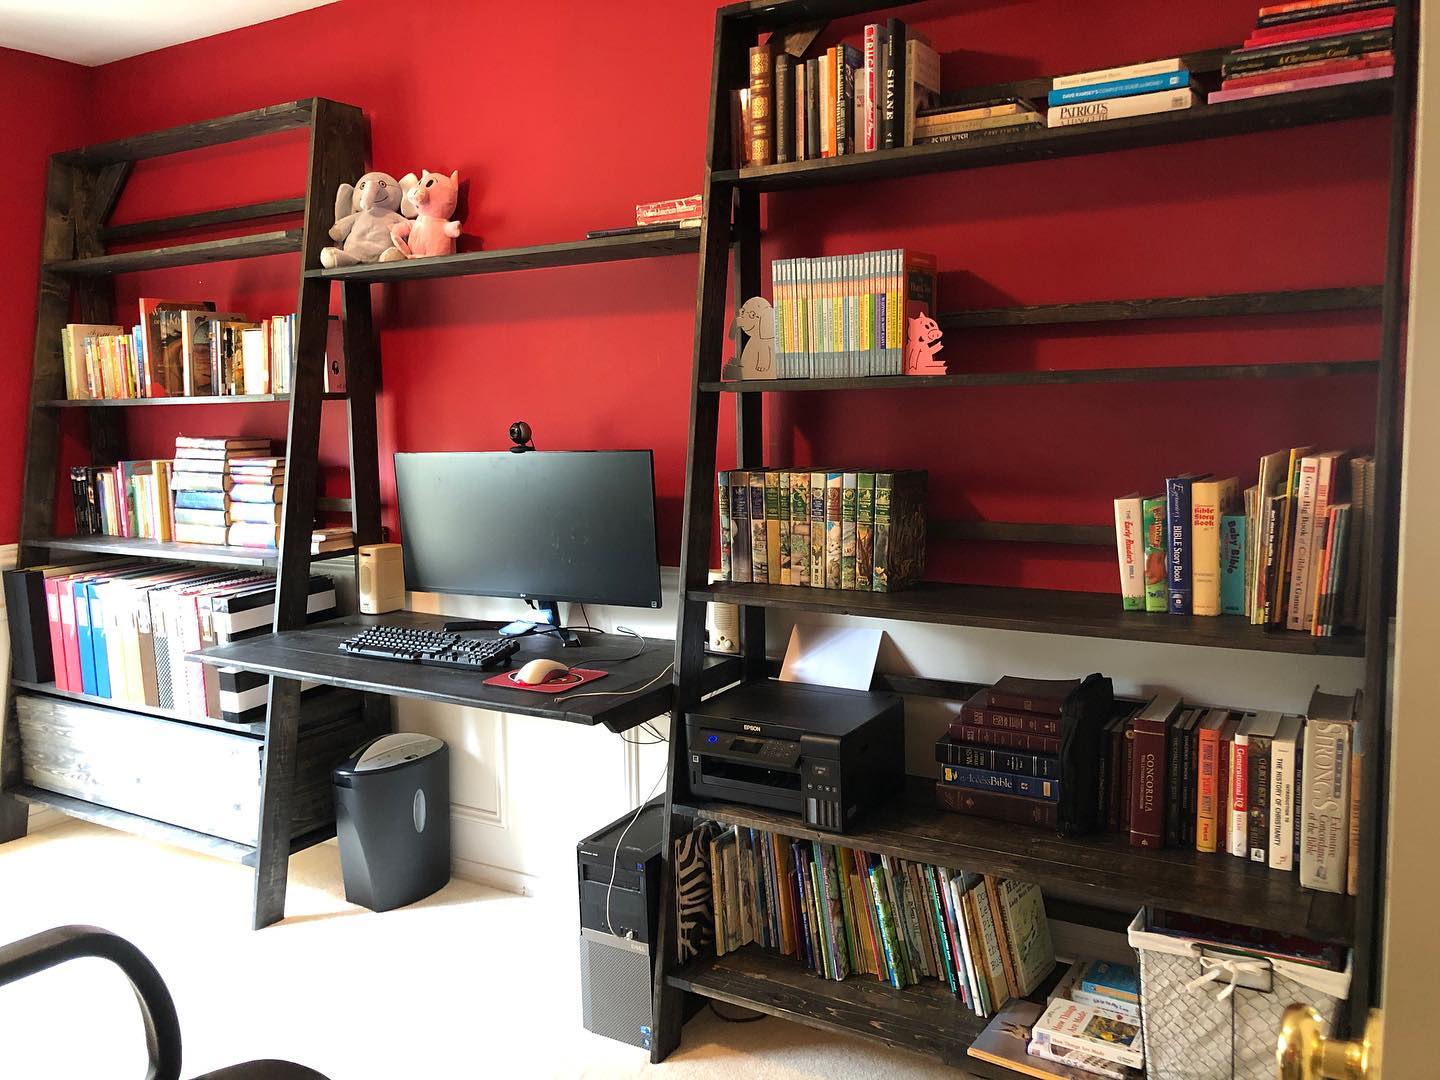
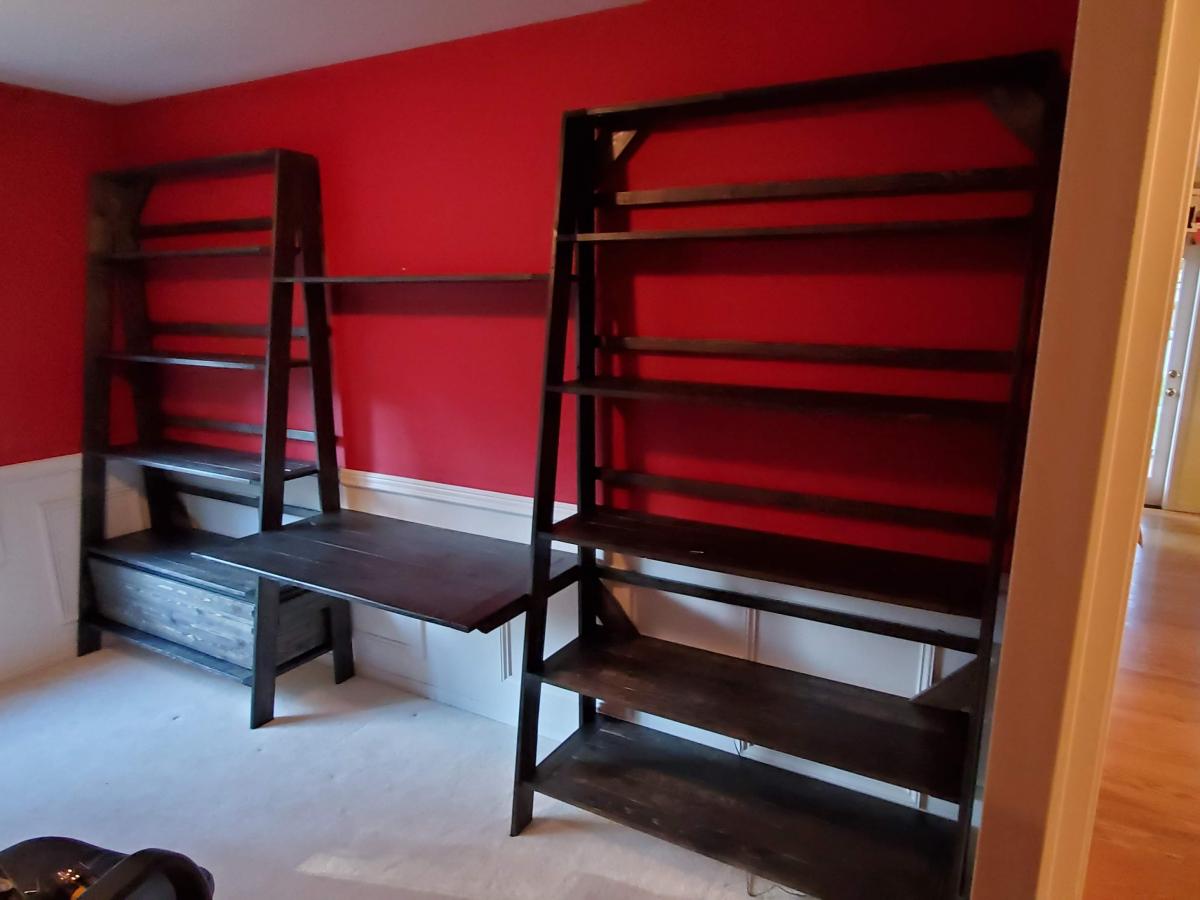
Ladder shelf wall unit with desk and file drawer

Submitted by hummbaby on Sun, 03/22/2020 - 20:38

Been in need of shelving and new desk space for the family for a while. Used this post (https://www.ana-white.com/community-projects/ladder-filing-cabinet) as inspiration and then used Autocad to lay it out to fit its space. Took way longer than planned after hurting my back shortly after starting(unrelated) and then just having a busy life with work, family, church, etc. Very proud of the outcome.

I wanted to do the under drawer cabinet slides, but the width and weight of the drawer put too much stress on the slides, so I created pieces to hold the hardware on the sides.

It is just under 12' wide from end to end and 7' tall.

Built from Plan(s)
Estimated Cost
$300
Estimated Time Investment
Week Long Project (20 Hours or More)
Finish Used
Minwax Ebony stain and Varathane polyurethane
Recommended Skill Level
Intermediate

Toddler Dresser

I had built the "Traditional Toddler Bed" for our first daughter a while back. Since then we have had our second daughter and a house of 3 girls (and not knowing how many more were coming) we needed another dresser. So i designed and built this dresser to match the toddler bed. It was made from 2x4 studs, b grade pine plywood, b grade pine and wainscoting. Though it required extra sanding and finishing work it was well worth the savings.

Built from Plan(s)
Estimated Cost
< $150
Estimated Time Investment
Week Long Project (20 Hours or More)
Finish Used
Glidden High Edurance Semi-Gloss White Paint (4-5 coats)
Rustoleum Clear Coat Semi-Gloss (4 coats)

Gradually sand to 400 grit sandpaper before painting. In between coats use 800 grit sandpaper or higher to create a glassy smooth surface.

I used a Wagner Control Max HVLP Sprayer, which I had to thin the paint down before use. For the clear coat I simply purchased 3 aerosol cans. Always use chemical grade respirator when spraying finish!!
Recommended Skill Level
Intermediate

Comments

kristen

Mon, 04/07/2014 - 15:03

Your dresser turned out fantastic! I love the finish you can get with a spray gun, but I always get a fine mist overspray on everything in the garage when I use mine, even with a make shift spray booth. I'd use it more often if it weren't for that!

Storage ladder

Submitted by Anonymous (not verified) on Fri, 08/12/2016 - 13:07

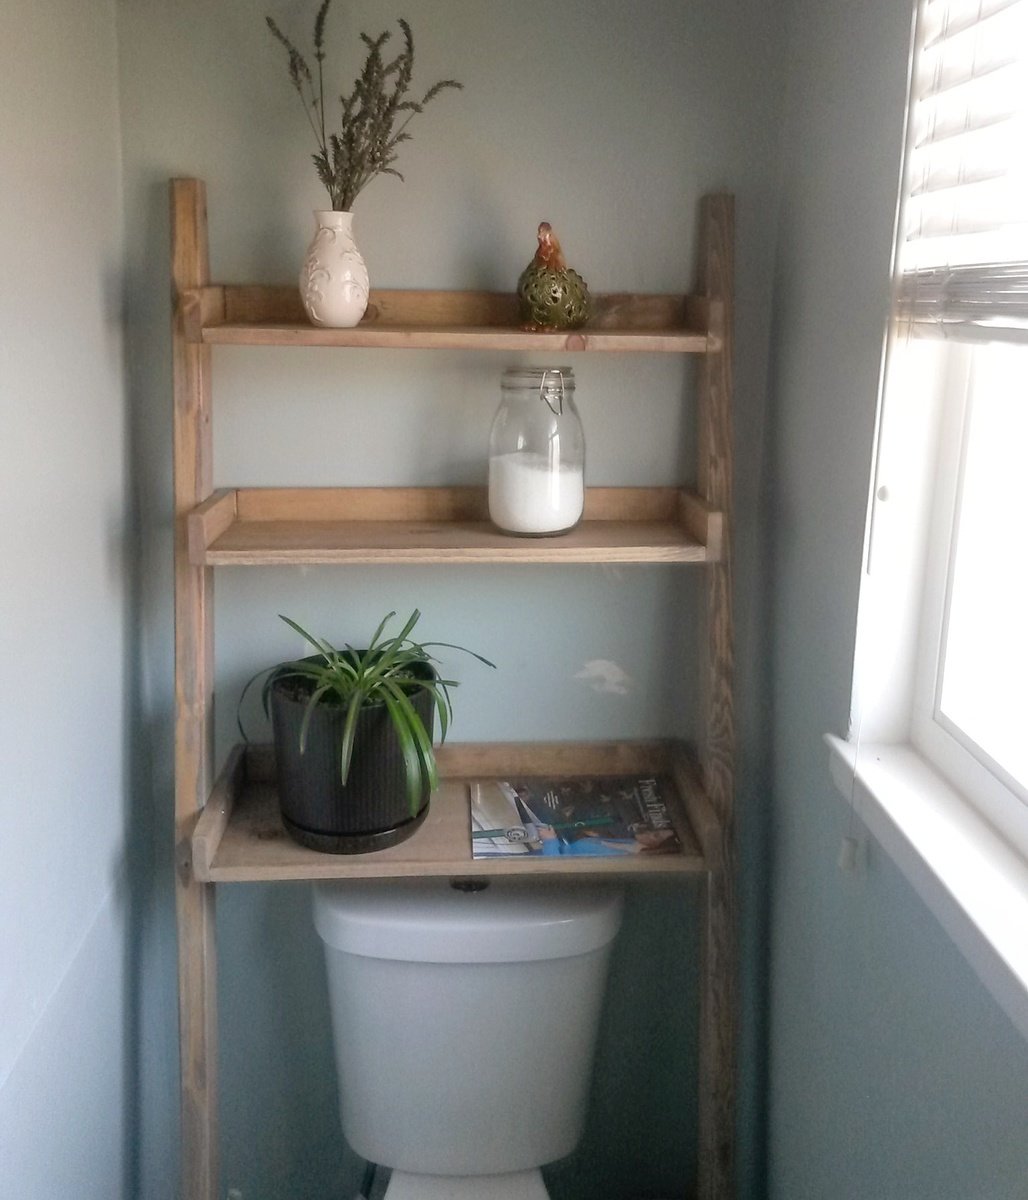
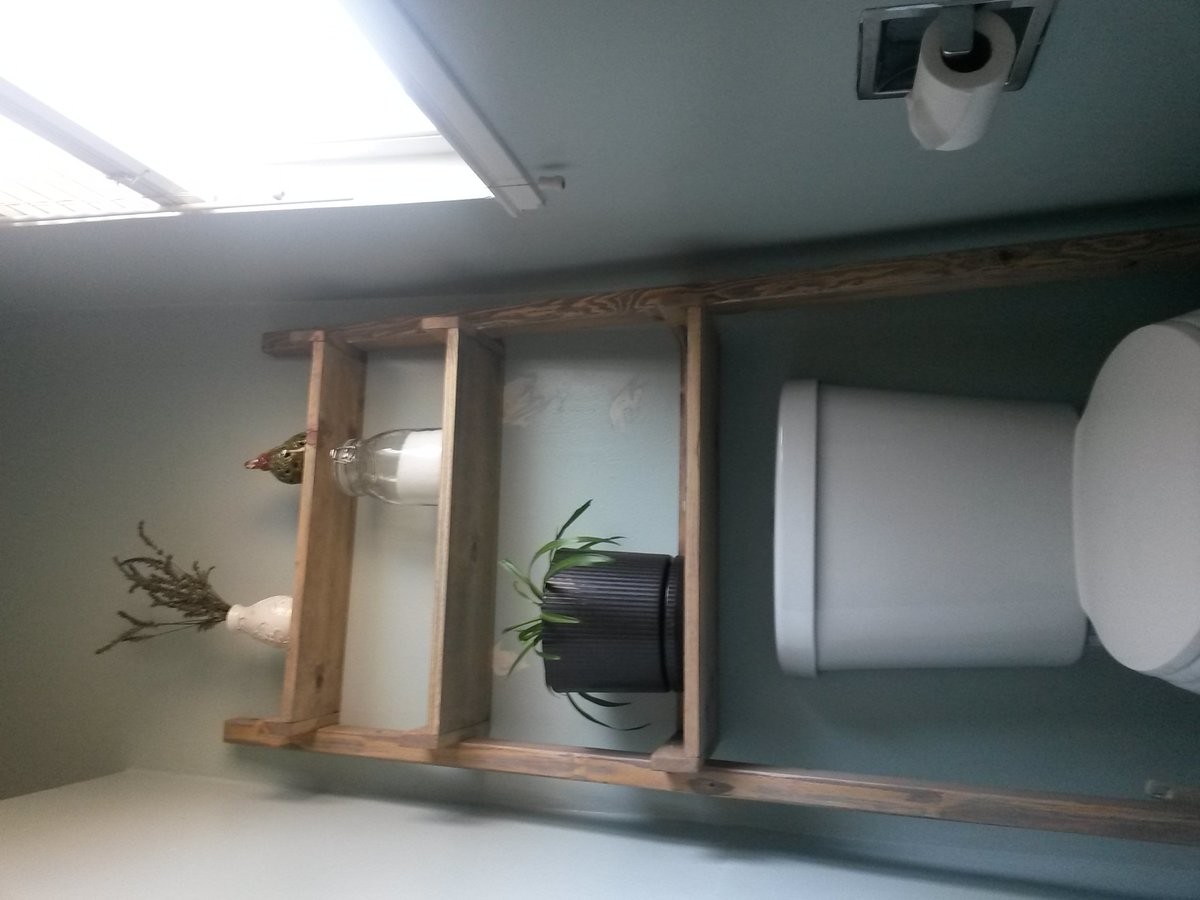
This was a very simple build. I was able to finish in a few hours by myself with 2 young children hanging around my ankles! 

The supply list allows enough extra to make 2 or 3, making it fairly inexpensive! 

Estimated Cost
20-30
Estimated Time Investment
Afternoon Project (3-6 Hours)
Finish Used
Weathered Oak and Special Walnut
Recommended Skill Level
Starter Project

Farmhouse Storage Bed

Submitted by Jack-1961 on Wed, 06/17/2020 - 06:29

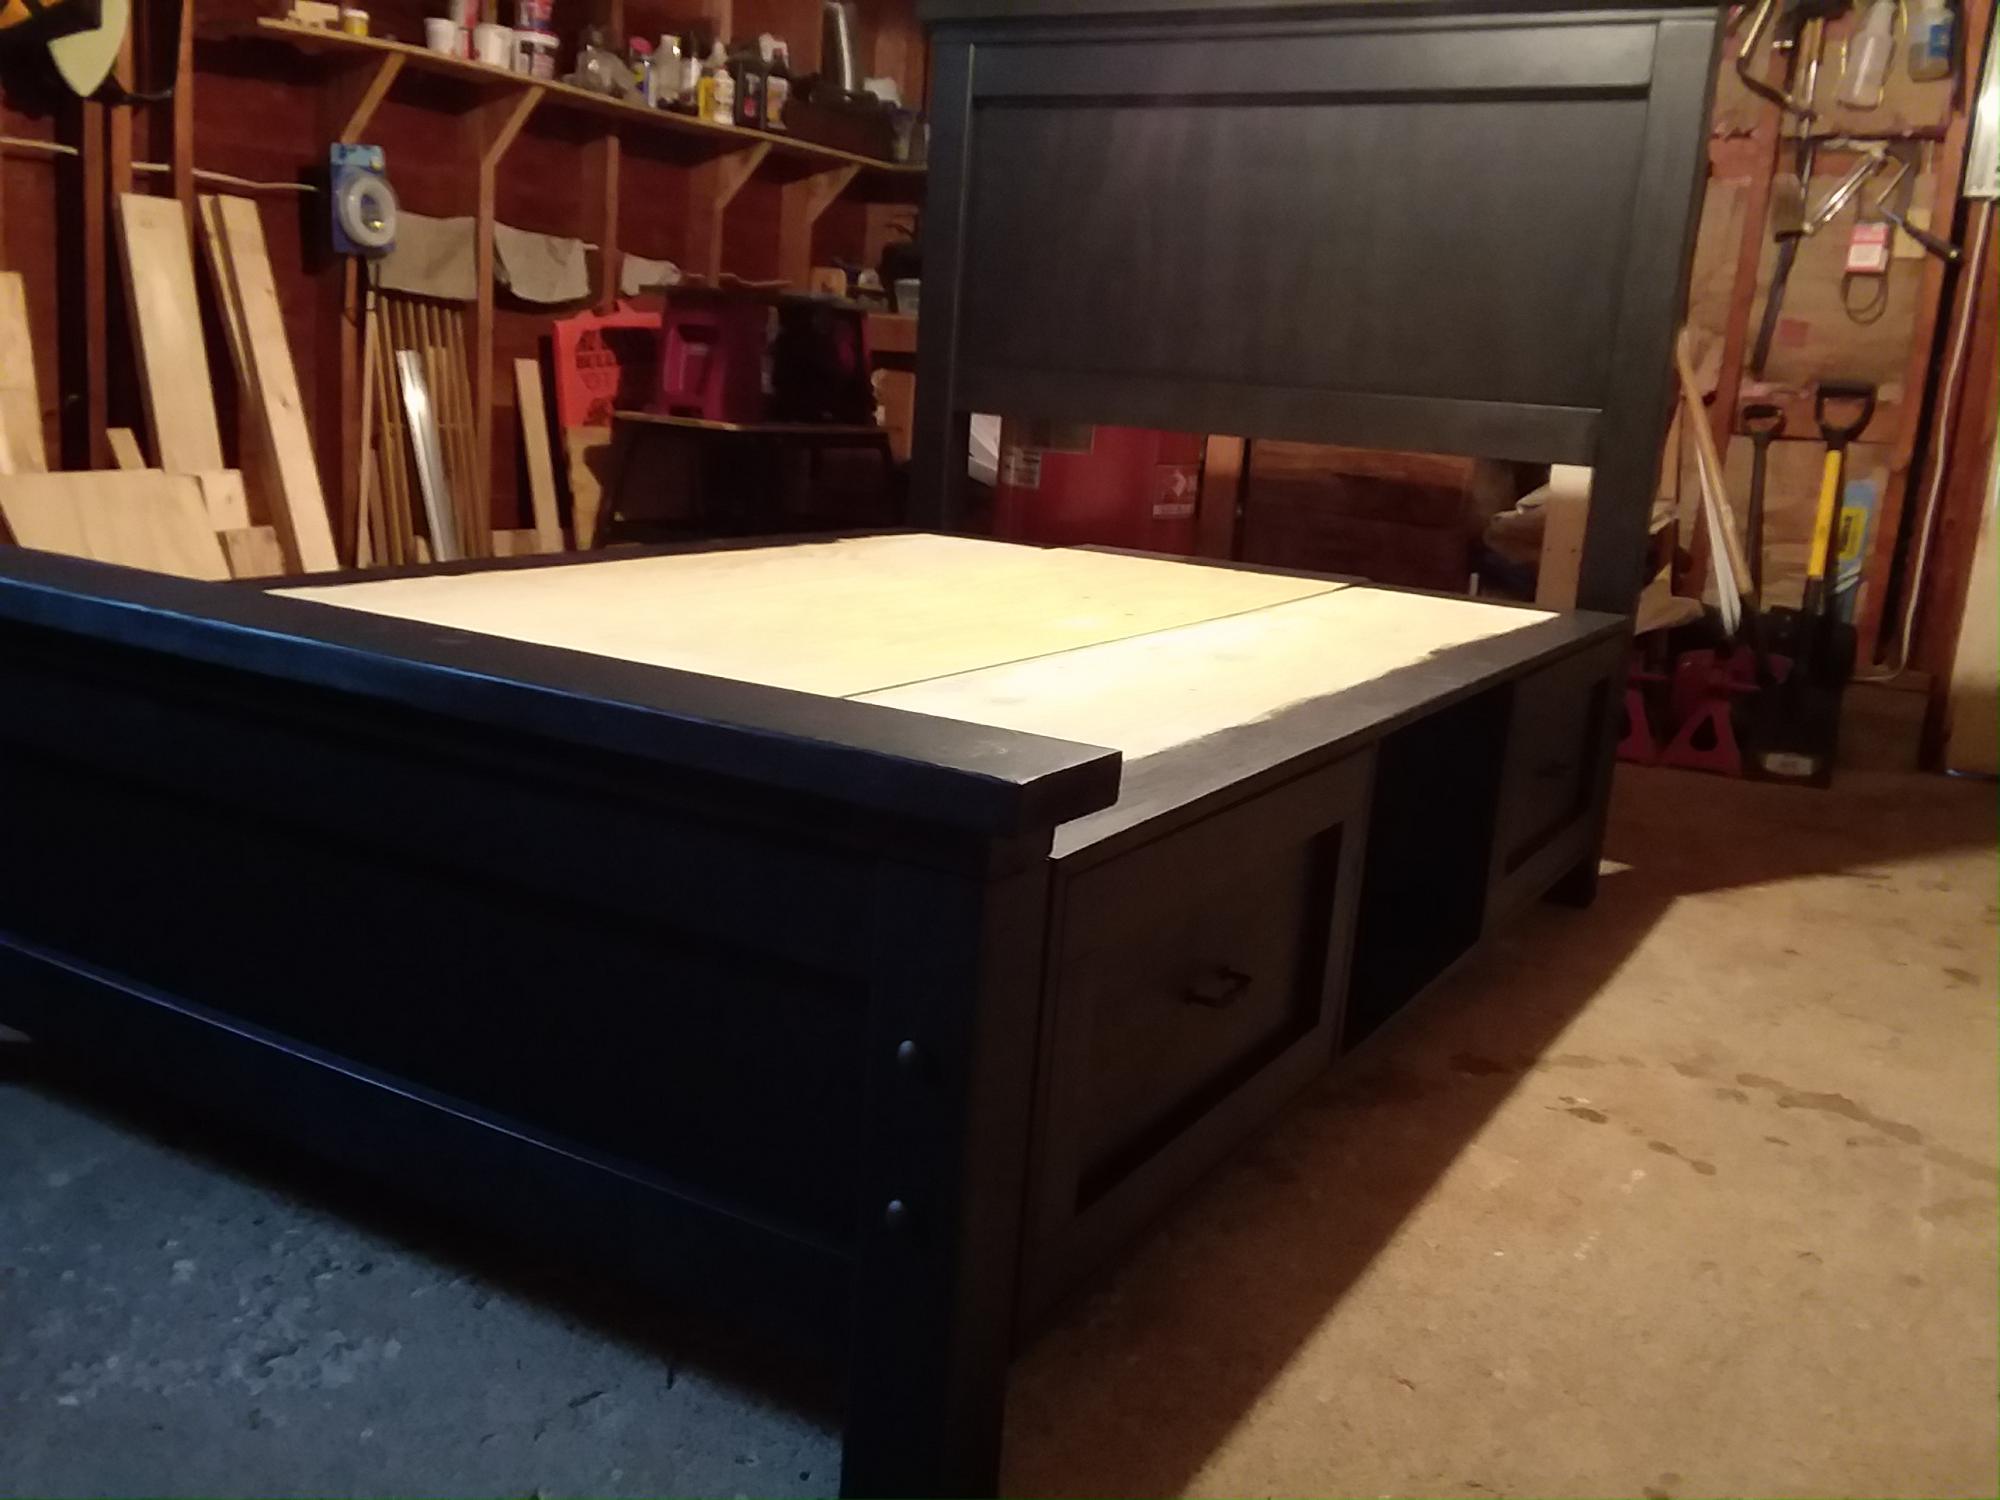
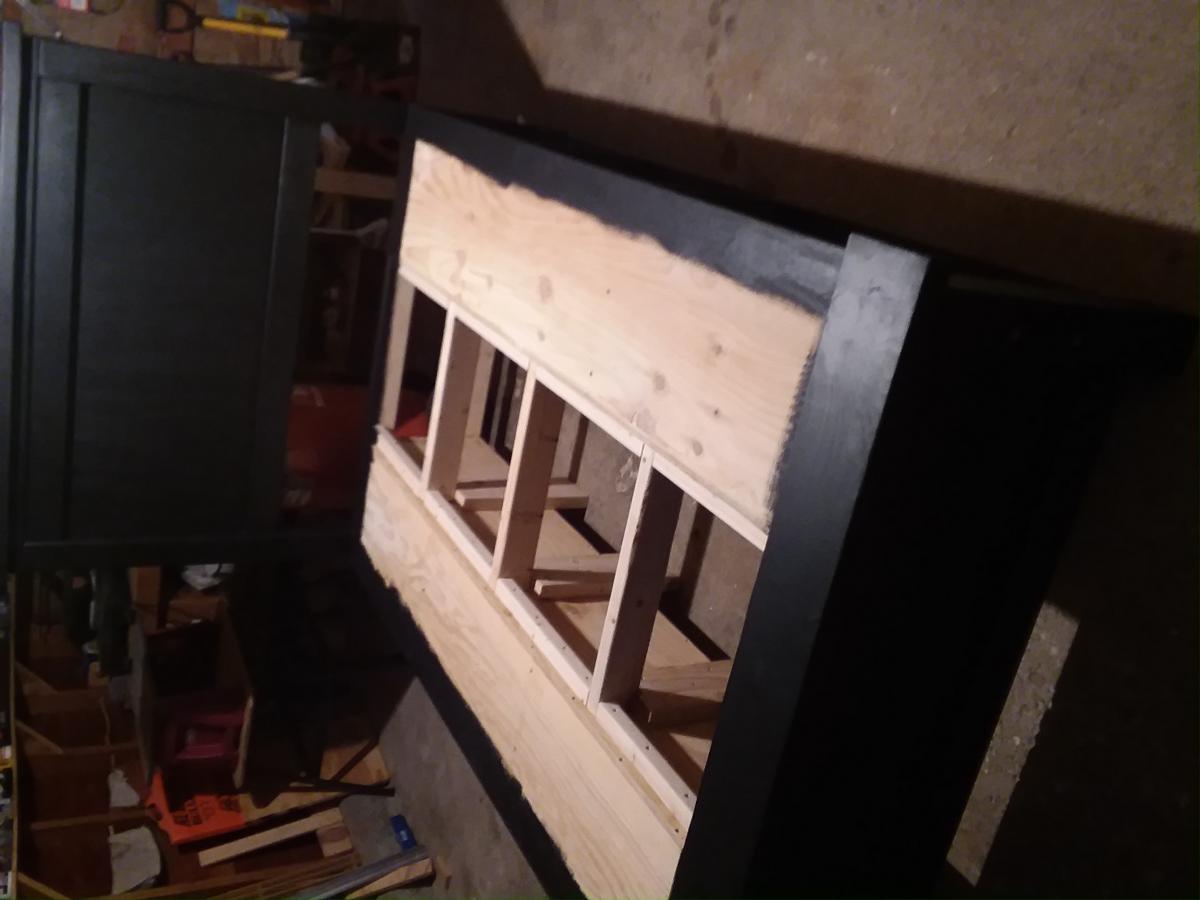
The plans for this bed were great! I made 2 queens and one double bed using these plans with minor modification to add extra durability. Instead of using screws to attach the head and footboards, I used carriage bolts. I added 2X6s for additional bed feet (3 per side) as well as 2X4s (unattached-for ease of being able to move the bed). I also used 3/4" ply instead of slats in the middle section of the bed, this also allows for additional hiding/storage space in the middle of the bed. I could have chose to go another step forward and added hinges and an inset door handle to that middle ply for ease of using that space.

Estimated Time Investment
Week Long Project (20 Hours or More)
Recommended Skill Level
Beginner

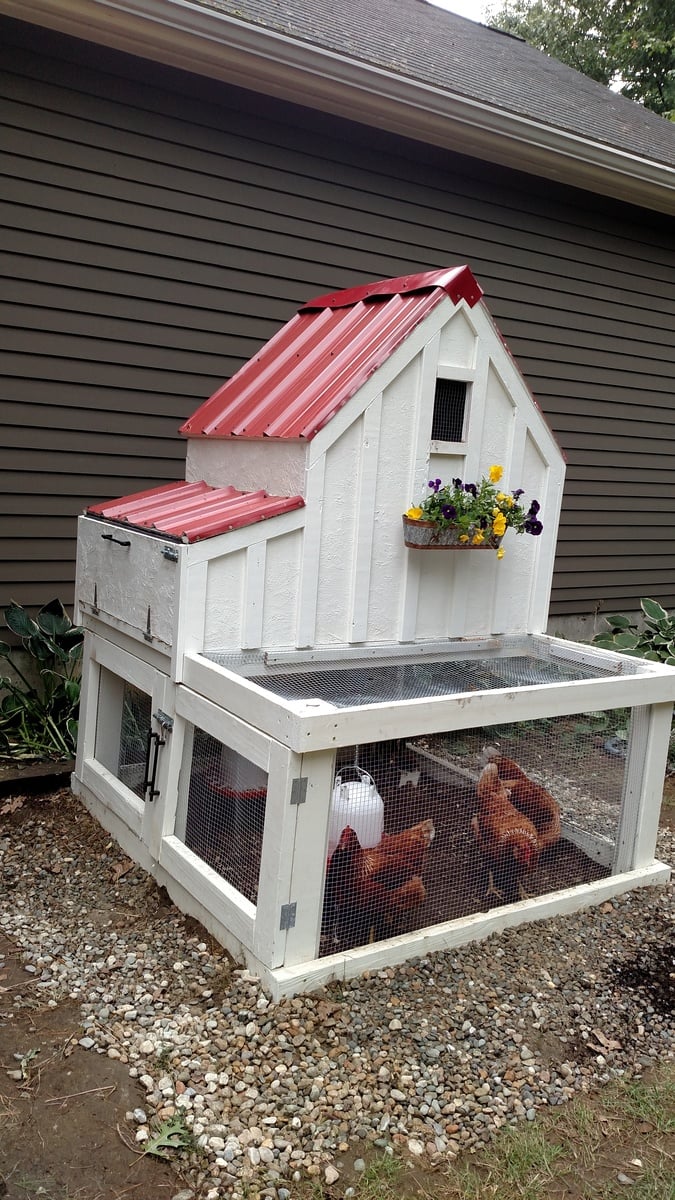
My version of the small chicken coop

Submitted by Anonymous (not verified) on Wed, 09/07/2016 - 12:58

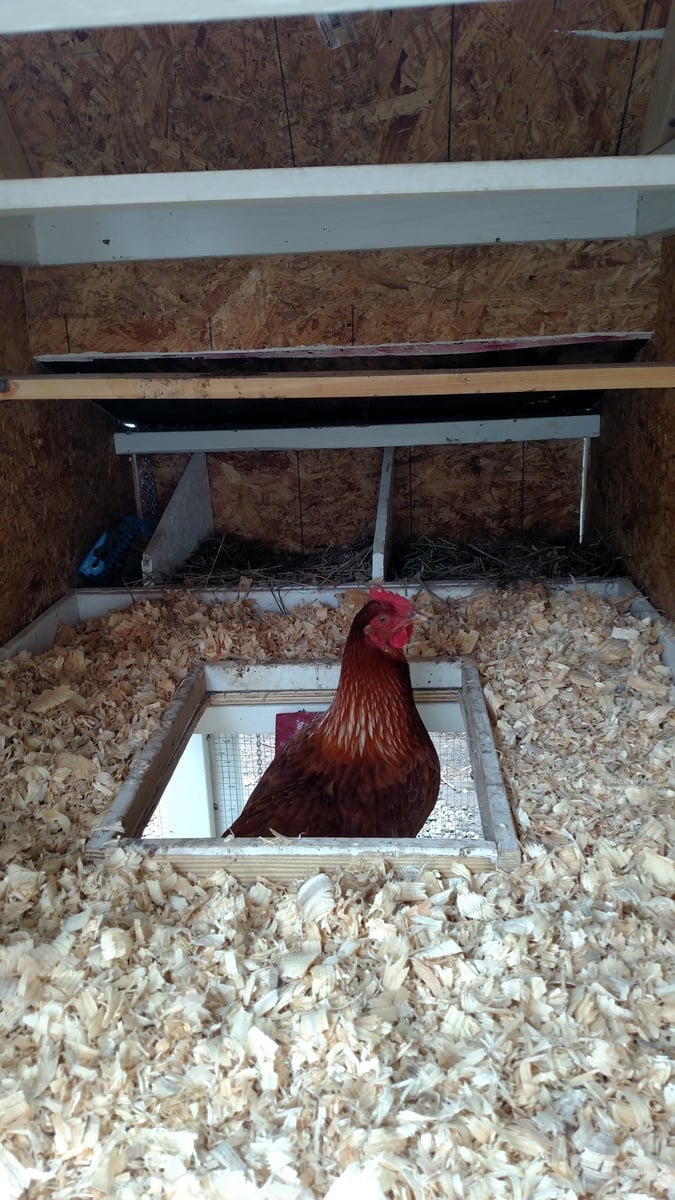
Plans for this coop were fantastic. It was a lot of work, but really fun to build.  As hard as I tried to keep the cost down, it cost probably close to $300 in materials, but it is well worth it compared to the quality of similar priced premade coops.  I did not want the garden bed, so I enclosed the run fully with hardware cloth. I also added a 2" lip around the cutout in the floor so they wouldn't push all of the bedding down the hole. 

Estimated Cost
~$300
Estimated Time Investment
Weekend Project (10-20 Hours)
Recommended Skill Level
Intermediate

Comments

Lady Goats

Wed, 09/07/2016 - 13:17

I just got your email and had to run over to check it out. Looks great!! That was a great idea to add the lip to the opening (am I weird for not using bedding in the coop? We just have the painted floor that we scoop out every day). 

The red roof and the flower box are making me swoon <3

John Deere Tractor Bunk Bed

Submitted by Veronica P on Sun, 07/06/2014 - 16:43

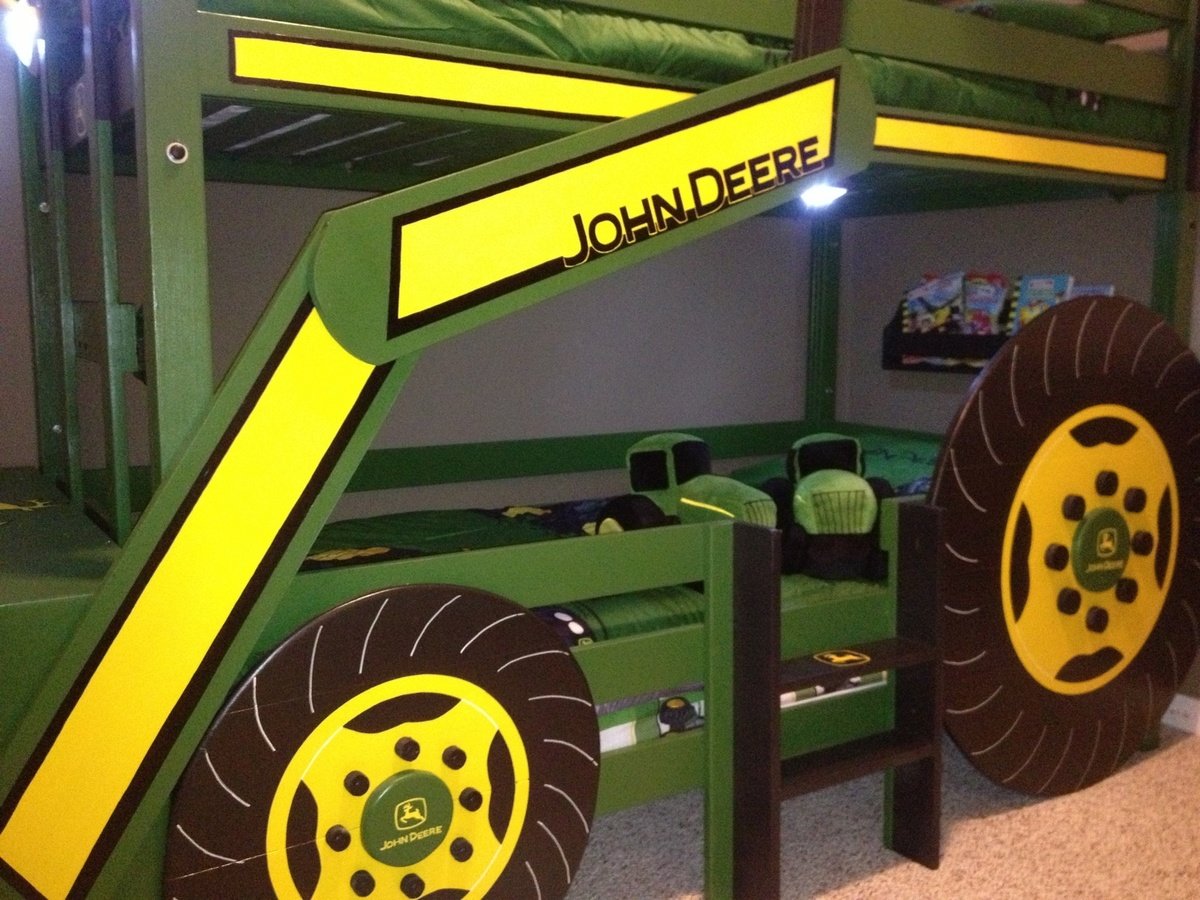
With another baby boy arriving in August, my one and three year olds are moving to a "big boy" room. My oldest decided he wanted a bunk bed and as they both are obsessed with tractors, when I saw the "John Deere Tractor Bunk Bed" plan, I was sold.

We would be needing a twin sized bunk bed though not a toddler. I used the classic bunk bed plans and simply modified them to suit our needs. I moved the ladder to the front, added a rail on the bottom bunk and added a small ladder to the side for my one year old to climb into the bottom bunk.

Once the the frame of the bed was complete, I added the tractor accessories. A couple of storage cubby shelves with fabric baskets for toy tractors which act as stairs up to the ladder and make the tractor bucket at the front. Also, the wheels which are made from joined 1x6s as I find plywood hard to sand and paint to the quality of finish I like. A cab & roof from 1x4s framed together. A side mirror that I decoupaged a picture of another tractor on. I used push lights for the headlights as well as a reading light above each bed (they're on timers so they'll turn themselves off). A steering wheel (play equipment access from toys r us). Also, I built and mounted by the head of both beds a "flat wall book holder" so they would have somewhere to store a few books.

My boys and I are fairly new to building so I spent a lot of time planning and measuring to ensure it would all come together in the end. It paid off because it all went smoothly (even with "help" from my boys). It's not perfect but they're very happy with the result. We also built a John Deere themed "Just my size closet" and even finished with over a month to spare before the new baby arrives! :)

Just want to say a quick thank you to Ana both for the amazing plans and also the inspiration to take on these projects. The time spent with my boys building as well as the resulting treasures are priceless and I would have never realized what we were capable of had I not stumbled upon your website and been so inspired by you and everything you've accomplished. Thank you!
Estimated Cost
$550.00
Estimated Time Investment
Week Long Project (20 Hours or More)
Finish Used
John Deere Green paint (home depot was able to color match a toy tractor), marigold yellow and black and polyurethane.
Recommended Skill Level
Beginner

Comments

Ana White Admin

Mon, 07/07/2014 - 12:13

I love this, such a great build and eveything came together perfectly! Thanks for sharing!
spiceylg

Thu, 07/10/2014 - 19:12

What an incredible build! I agree with Thriftygirl, I love all of the details!

carongirls

Tue, 09/30/2014 - 05:35

I am in the process of copying your bed right now. Just mine will be a toddler loft bed. Thank you for the ideas!

busymomof3

Thu, 10/09/2014 - 14:12

I am new to this and I was wondering were to find the measurements for the twin size bed?  I would love to make this for my boys!!

Veronica P

Mon, 11/03/2014 - 07:48

Sorry for the slow response to those requesting plans. For main structure of the bunk bed, I used Ana's "Classic Bunk Bed" plans. For all of the add-ons, I made up my own plans. I'm pretty low tech so unfortunately they're just pencil & paper plans but I'd be happy to scan and email them to you if you're interested. Just message me and I'll send them your way. :)

MartyC

Wed, 01/28/2015 - 14:08

Hi Veronica, Well done fantastic job! Two little men who want to move in together because of a new addition on the way. Their request though is a John Deere Bunk Bed! would be grateful if you could forward on your plans if you have time, Kindest regards.

tkdiver1

Tue, 05/26/2015 - 18:13

These are just what my grandsons need. I would love your plans.

Thank you

tkdiver1

Tue, 05/26/2015 - 18:14

These are just what my grandsons need. I would love your plans.

Thank you

Mimi64

Sun, 09/06/2015 - 10:06

Dear Veronica,

Our grandson, 6 years old, will absolutely adore this bed.  He loved riding on Grandpa's real JD tractor.  Please send me your plans for the attachments.  They are just darling and I could not do any better.  Thanks for your generosity!

bmeche

Fri, 09/13/2019 - 21:11

Hi Veronica. My 3 year old just loves the tractor bunk bed. I was wondering if you would mind sending me the plans you have. It would be greatly appreciated. My email is [email protected]   

Thanks in advance 

MyMaw

Wed, 10/16/2019 - 17:56

If you're still sharing, we would love a copy of your add-ons plans. 

Thanks,

MyMaw and PawPaw

Veronica P

Tue, 12/16/2014 - 07:21

I just emailed those plans. There should be nine attachments. Please let me know if you don't receive any of them.

cnejones

Thu, 12/18/2014 - 21:51

Could you please email me the plans for this project my son would love this

Veronica P

Tue, 01/06/2015 - 08:21

Hello all. I've tried emailing plans to all those who've requested them. I had some trouble attaching the files as they were large so if you didn't receive them, please let me know and I can resend. Thanks

Alwardt2708

Tue, 01/06/2015 - 11:53

Hi Veronica. I did not receive an email. Woul you have time to try again? If you email me your address I can send you my fax number if that's easier too. Thank you so much! I can not tell you how much I appreciate your dedication to this! [email protected]

Shelby Storage Bench

Submitted by Anonymous (not verified) on Sat, 10/15/2016 - 00:34

Built this from the Jen Woodhouse plan. 

Estimated Cost
$75
Estimated Time Investment
Weekend Project (10-20 Hours)
Finish Used
Chalk paint
Recommended Skill Level
Beginner

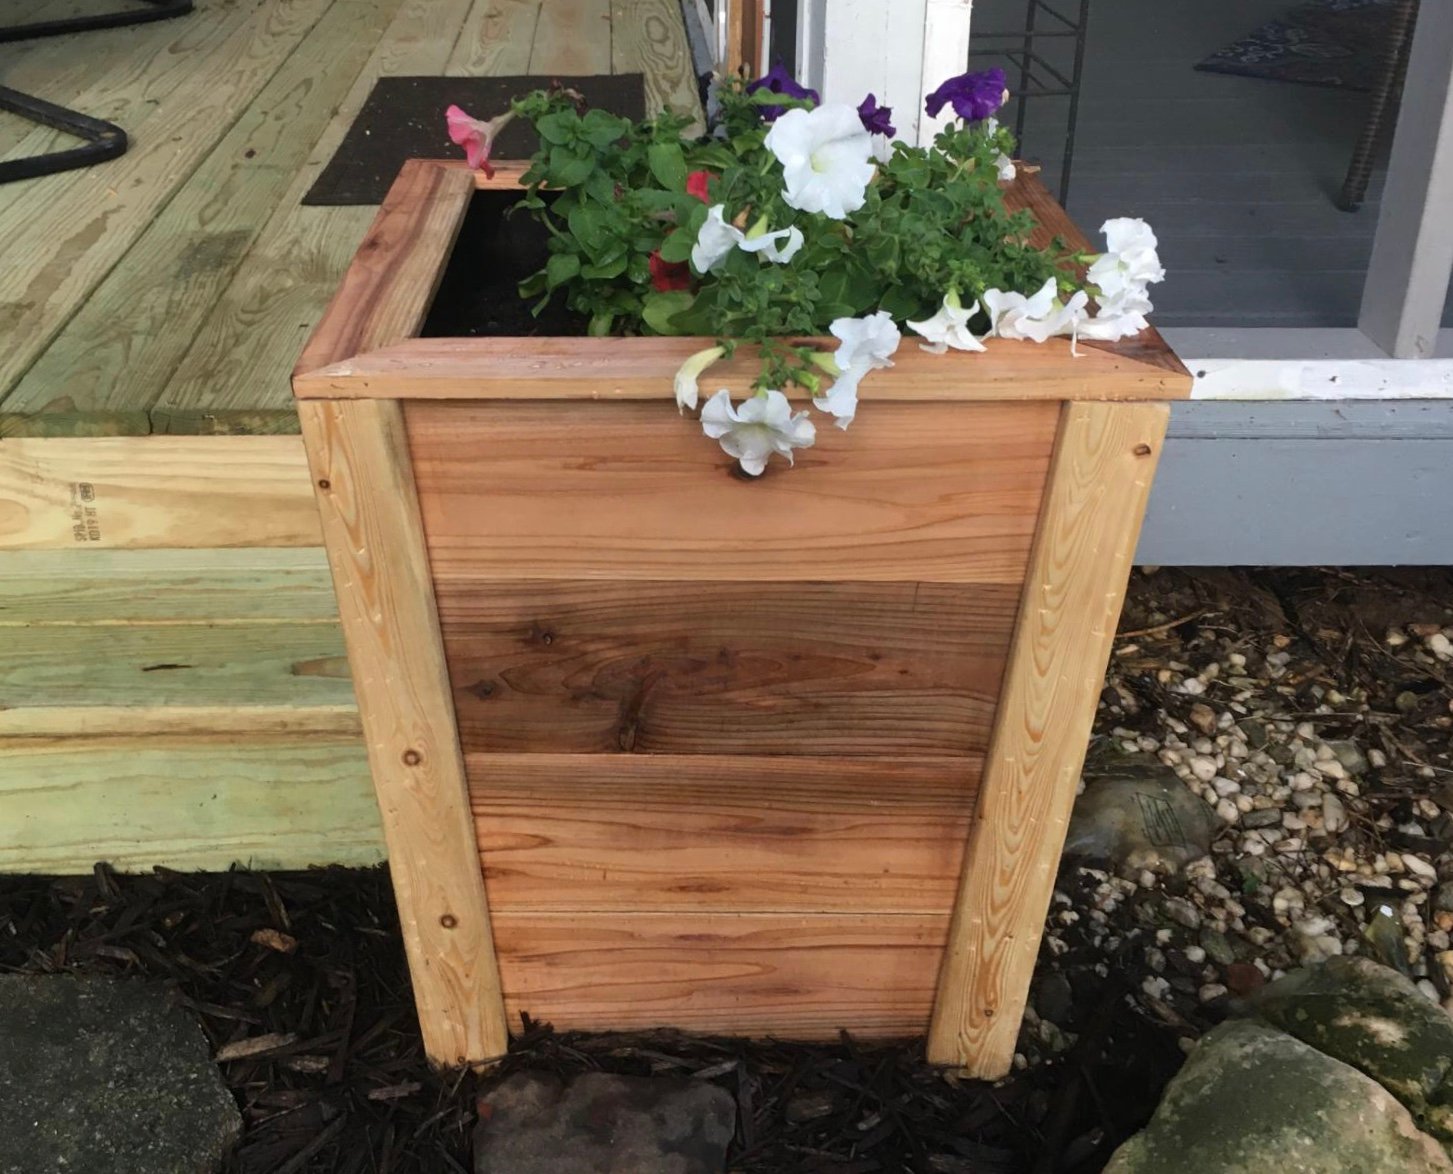
Tapered planter

Submitted by Anonymous (not verified) on Mon, 07/13/2020 - 07:40

Next time, I will cut the 1x2 and 1x3 at the 5 degree angle to match the top and bottom planes...
Thanks for the idea! It is great

Built from Plan(s)
Estimated Cost
30.00
Estimated Time Investment
An Hour or Two (0-2 Hours)
Finish Used
Sanded with 80 grit and clear polyurethane
Recommended Skill Level
Beginner

Live Edge Coffee Table

Submitted by canuckiwi on Tue, 09/18/2012 - 22:58

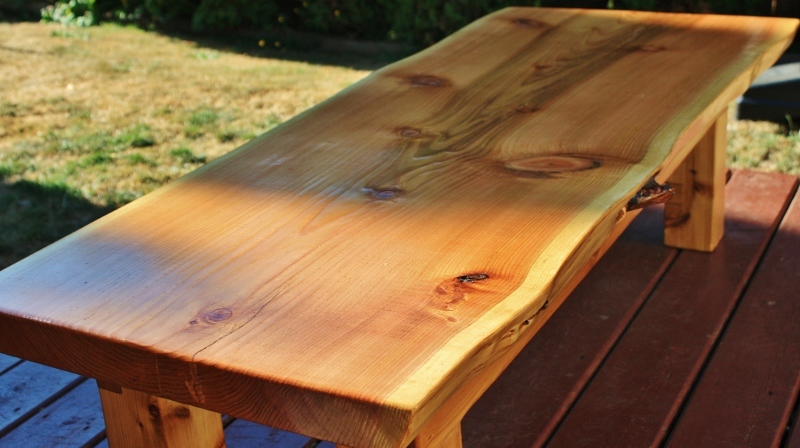
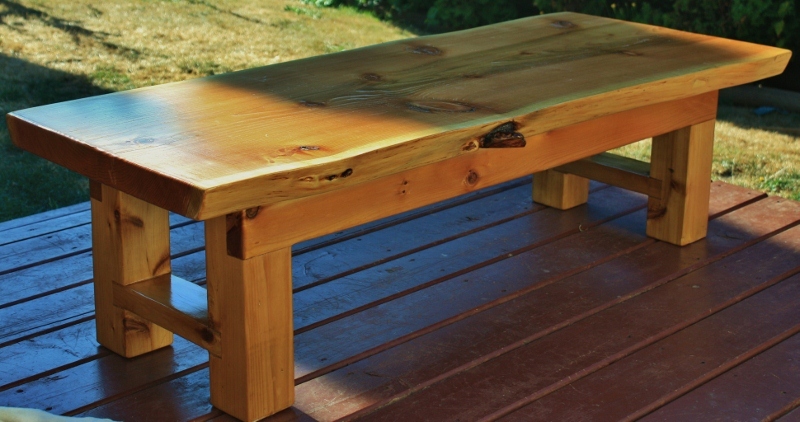
I located an 11ft piece of cedar 5 inches thick and 21 inches wide. The first thing I thought was to splice it and make an outdoor dining table....but realised i could get some distance out of this and decided to start with a coffee table. The tryde coffee table was the inspiration to get this made. It was a weekend project that was done while my 2 year old took his afternoon naps. My wife loves it, so managed to score some brownie points with this one. It didn't take too much to sand, a quick skim with 60 grit to get rid of the major splinters and saw scars, then an hour or so of 120 grit. The legs are s4s cedar 4x4 posts with s4s cedar 2x4 supports. I don't have too many tools so used a band saw at my neighbours workshop to quickly rough out the joints. once all pieces were cut and sanded, it was assembled with glue and held in place with multiple bar clamps and cured overnight. The top was assembled the next day with glue, sanded in place and stained / urethaned on day 2. A fun project for a novice like me.

Built from Plan(s)
Estimated Time Investment
Day Project (6-9 Hours)
Finish Used
Minwax Honey Pine Stain, Minwax Urethane
Recommended Skill Level
Intermediate

Comments

Ging (not verified)

Wed, 09/19/2012 - 04:16

That's beautiful. Nothing compares to a beautiful piece of furniture made from eye catching wood..and cedar is just that. Great job!

Joni

Fri, 02/01/2013 - 17:21

Wow! This is so nice! With the 2x4s inset into the 4x4s -- it really changed the design into something unique. The top is fantastic. The finish looks very professional too.

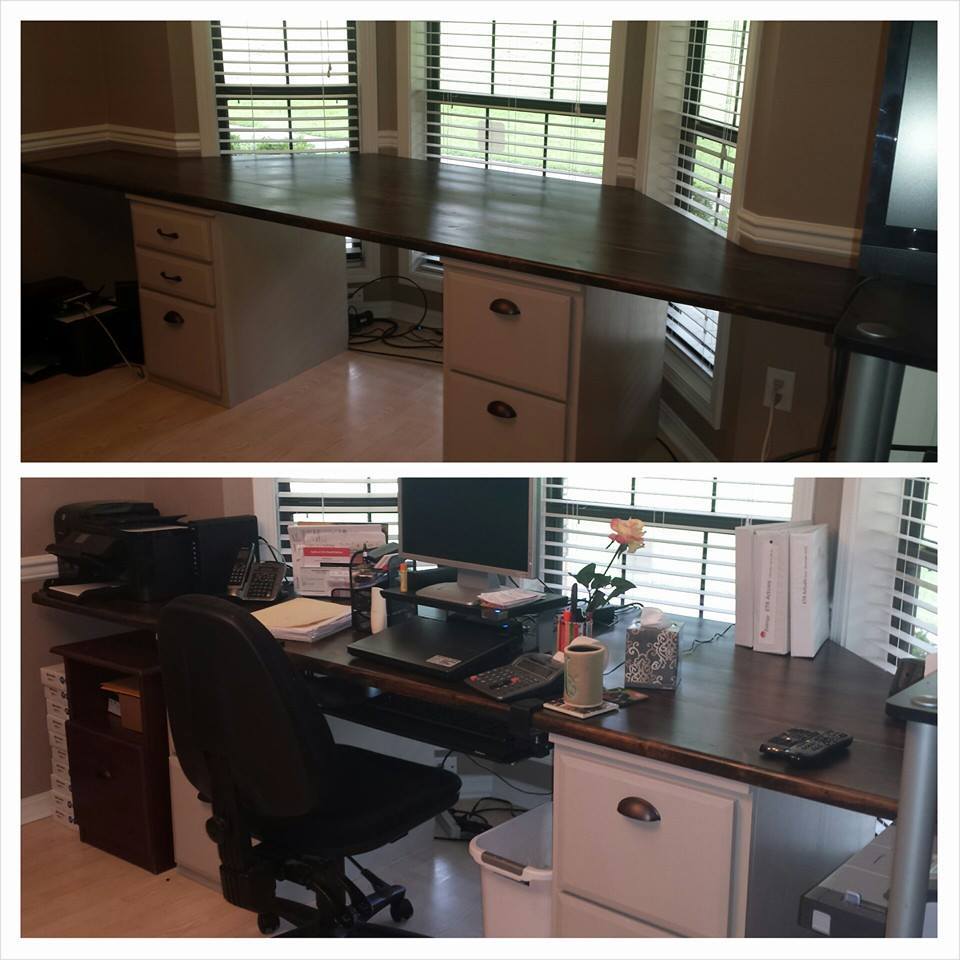
Bay Window Standalone Desk

Submitted by jonnymac on Sat, 07/19/2014 - 16:16

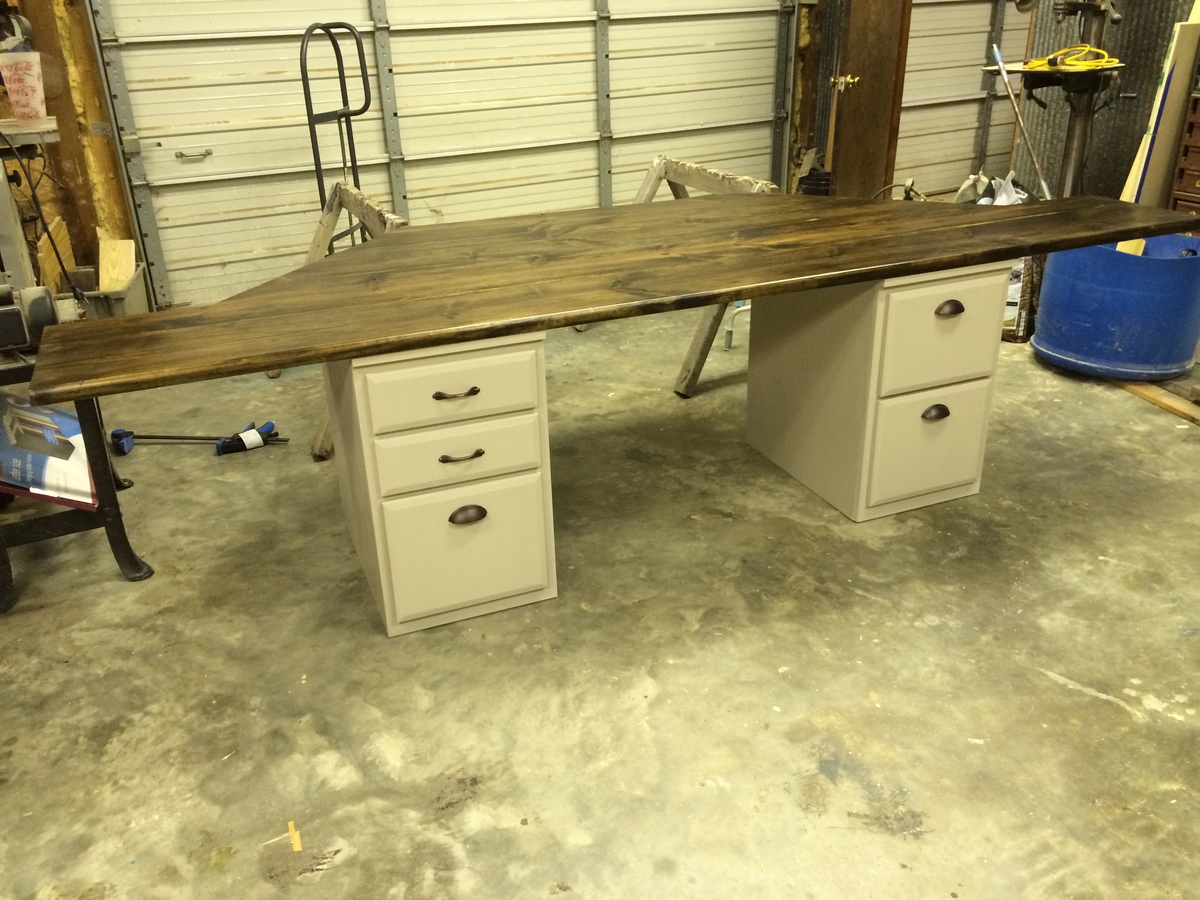
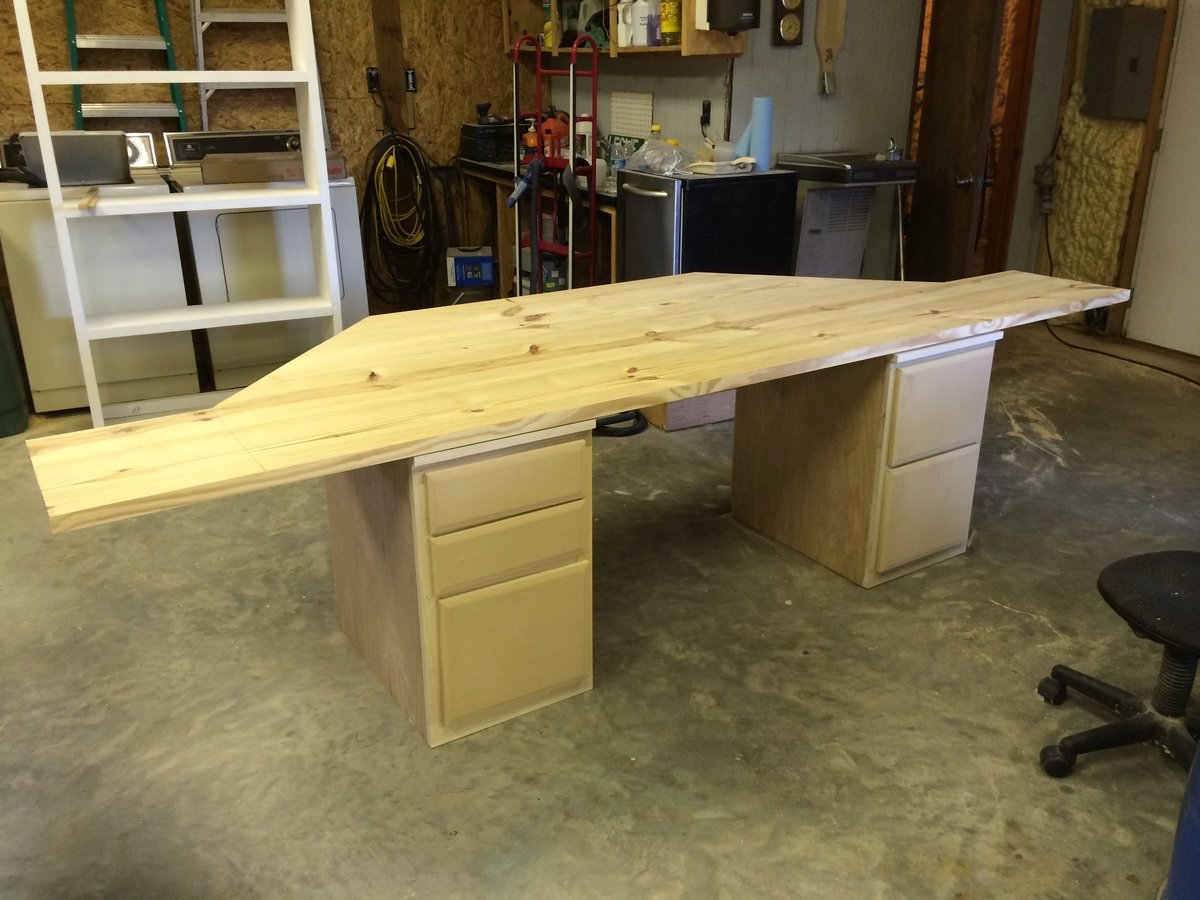
This is a bay window standalone desk. The desk has an enormous top and fits snugly into the bay window. It did not have to be attached to the wall. There are four pieces in total: the top, 2 base units and a support that spaces the desks at 36" and further secures the top.

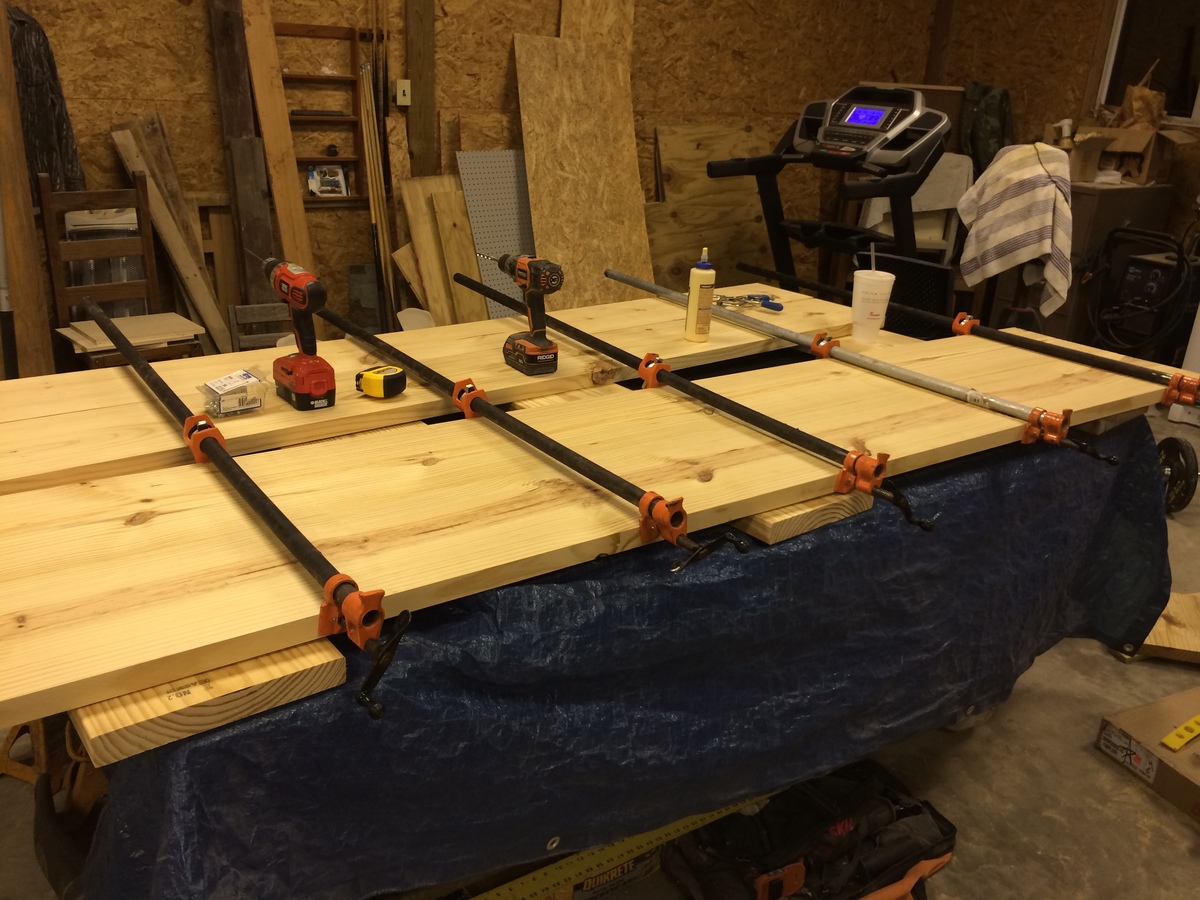
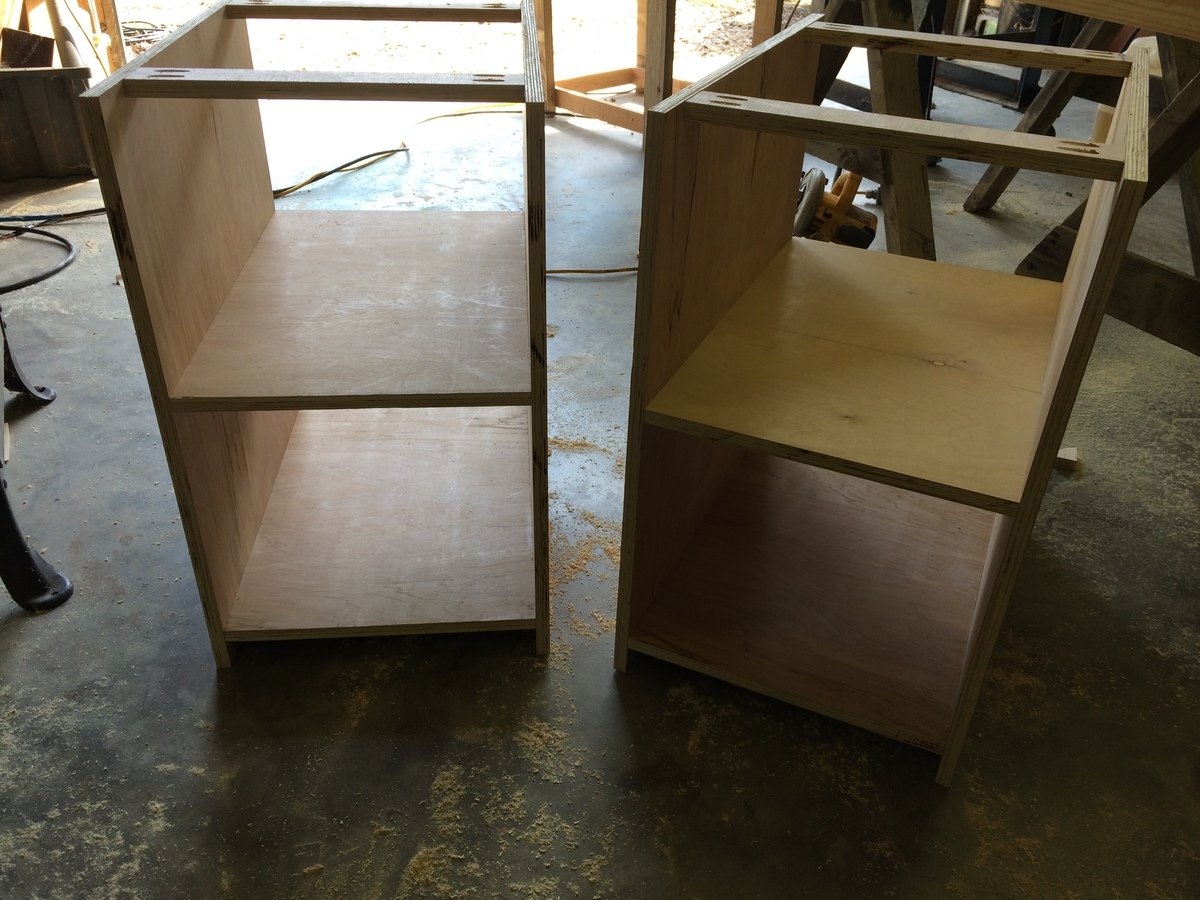
The base unites are built from the File Base Classic Wall Storage System and the top is glued up 2x12s that were planed down and straight edged.

Estimated Cost
$175.00
Estimated Time Investment
Weekend Project (10-20 Hours)
Finish Used
The bottom was painted with Chalk paint from Lowes and the top is stained with one coat of Jacobean. Both top and bottom were sealed with a Minwax Protective top coat.

This was my first desk to build and learned a great deal. Looking forward to my next project!
Recommended Skill Level
Intermediate

Outdoor Sectional

Submitted by Anonymous (not verified) on Mon, 07/27/2020 - 12:15

Modified the plans of the outdoor sofa and sectional piece to create this set, then added cushions from IKEA.

Finish Used
SuperDeck Cedar Tone Natural

Comments

Seasonal And Holiday

Under Fort Sandbox Cover

Submitted by millerhero on Tue, 07/29/2014 - 06:47

Thanks to inspiration from Ana's post on the Sand Box with Built-in seats, I've retrofit our Jungle Fort (http://www.detailedplay.com/Jungle-Fort-Swingset.htm) with the sandbox cover/bench system. I've upgraded the lumber dimensions to 2x4s and 2x6 to accommodate the increased 67.5" span.

Built from Plan(s)
Estimated Time Investment
Day Project (6-9 Hours)
Recommended Skill Level
Beginner

Henry bookshelf - modified

Submitted by Anonymous (not verified) on Mon, 10/19/2020 - 04:47

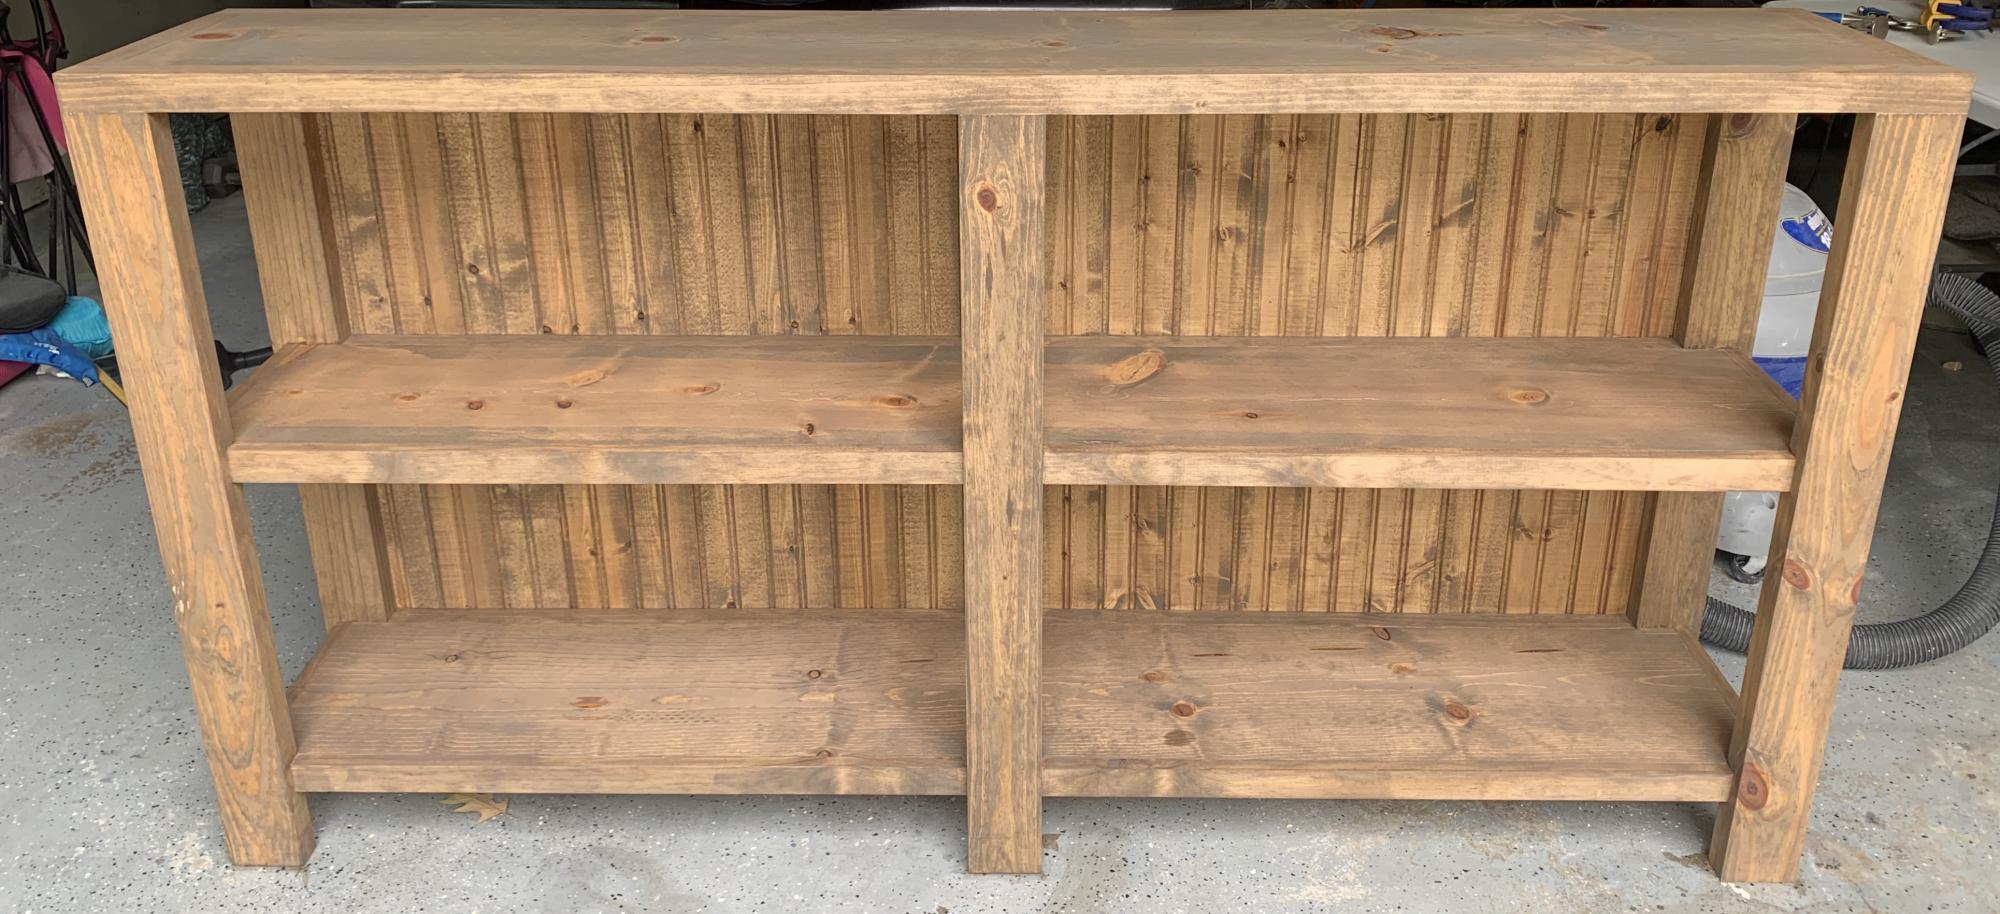
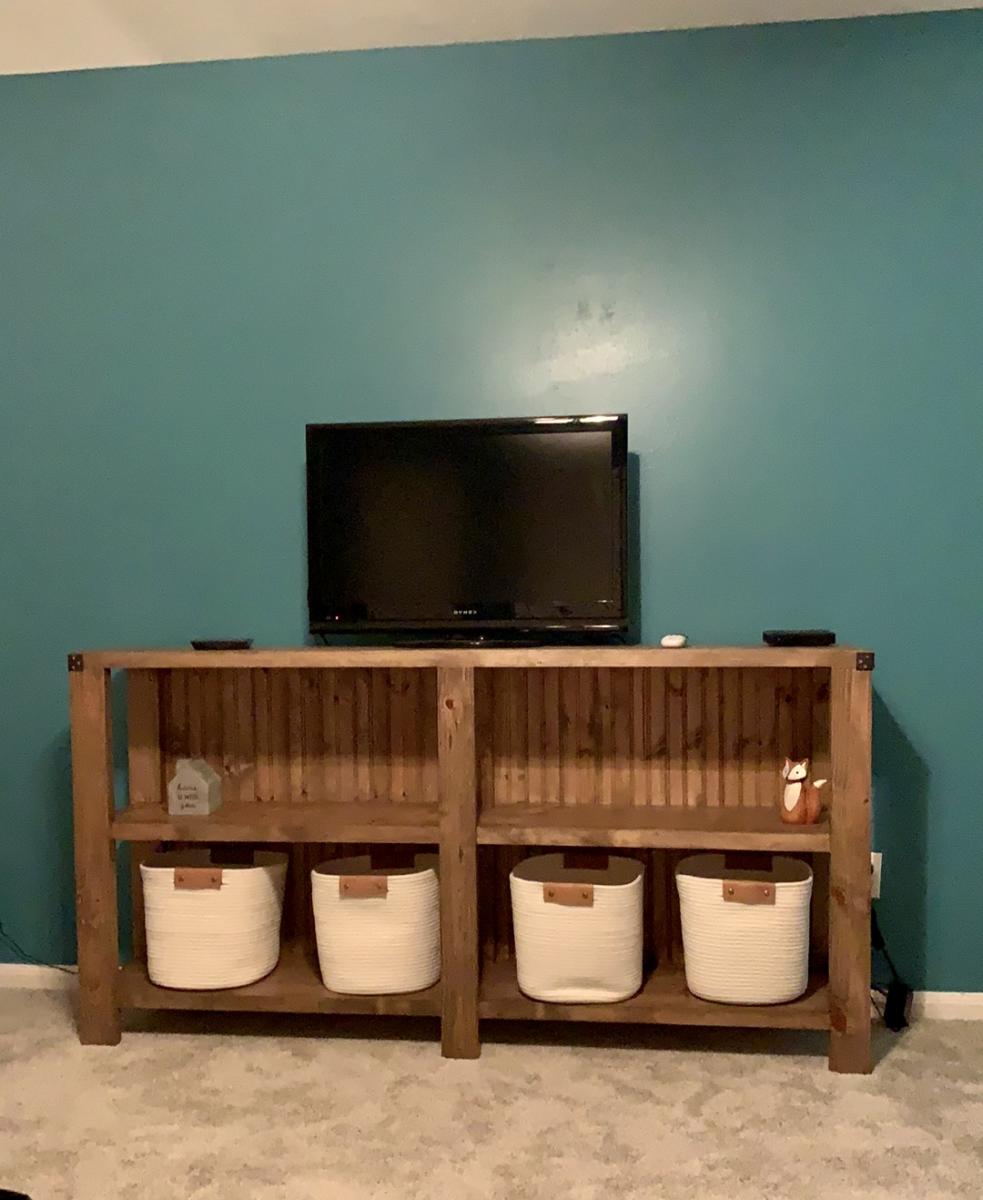
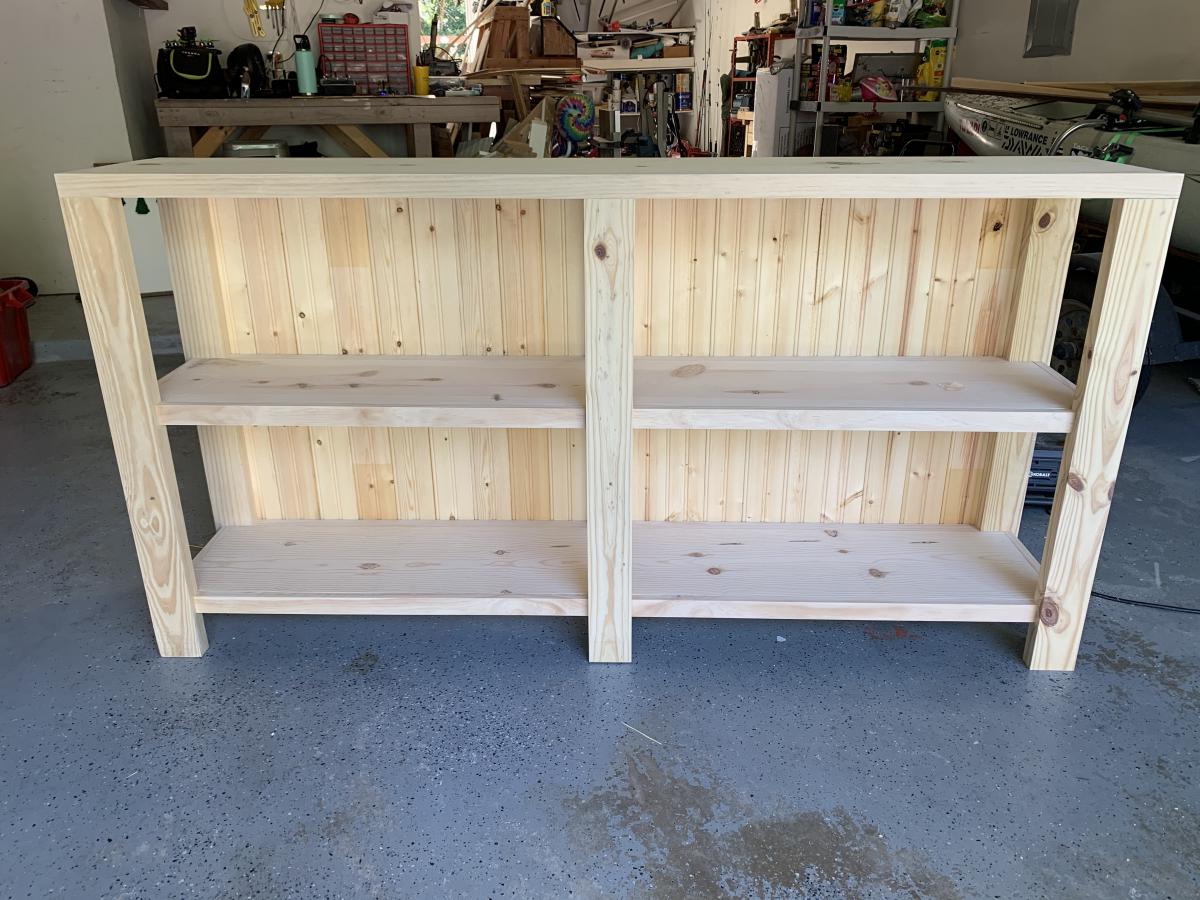
I loved the look of the Henry bookshelf, but I was looking for a longer, shorter bookshelf — so I modified the plans and created this version. It stands a little over 3ft tall and is 6ft long. I chose tongue and groove bead board for the backing and mixed two different stains to achieve the hint of gray. Finished it off with a satin poly.
-Whitney R. , Houston, TX

Built from Plan(s)
Estimated Time Investment
Weekend Project (10-20 Hours)
Finish Used
3 parts miniwax early american to 1 part miniwax gray and finished with miniwax satin polyurethane.

Comments

Modern Outdoor Chairs (modified for 24in cushions)

Submitted by Anonymous (not verified) on Wed, 11/25/2020 - 18:25

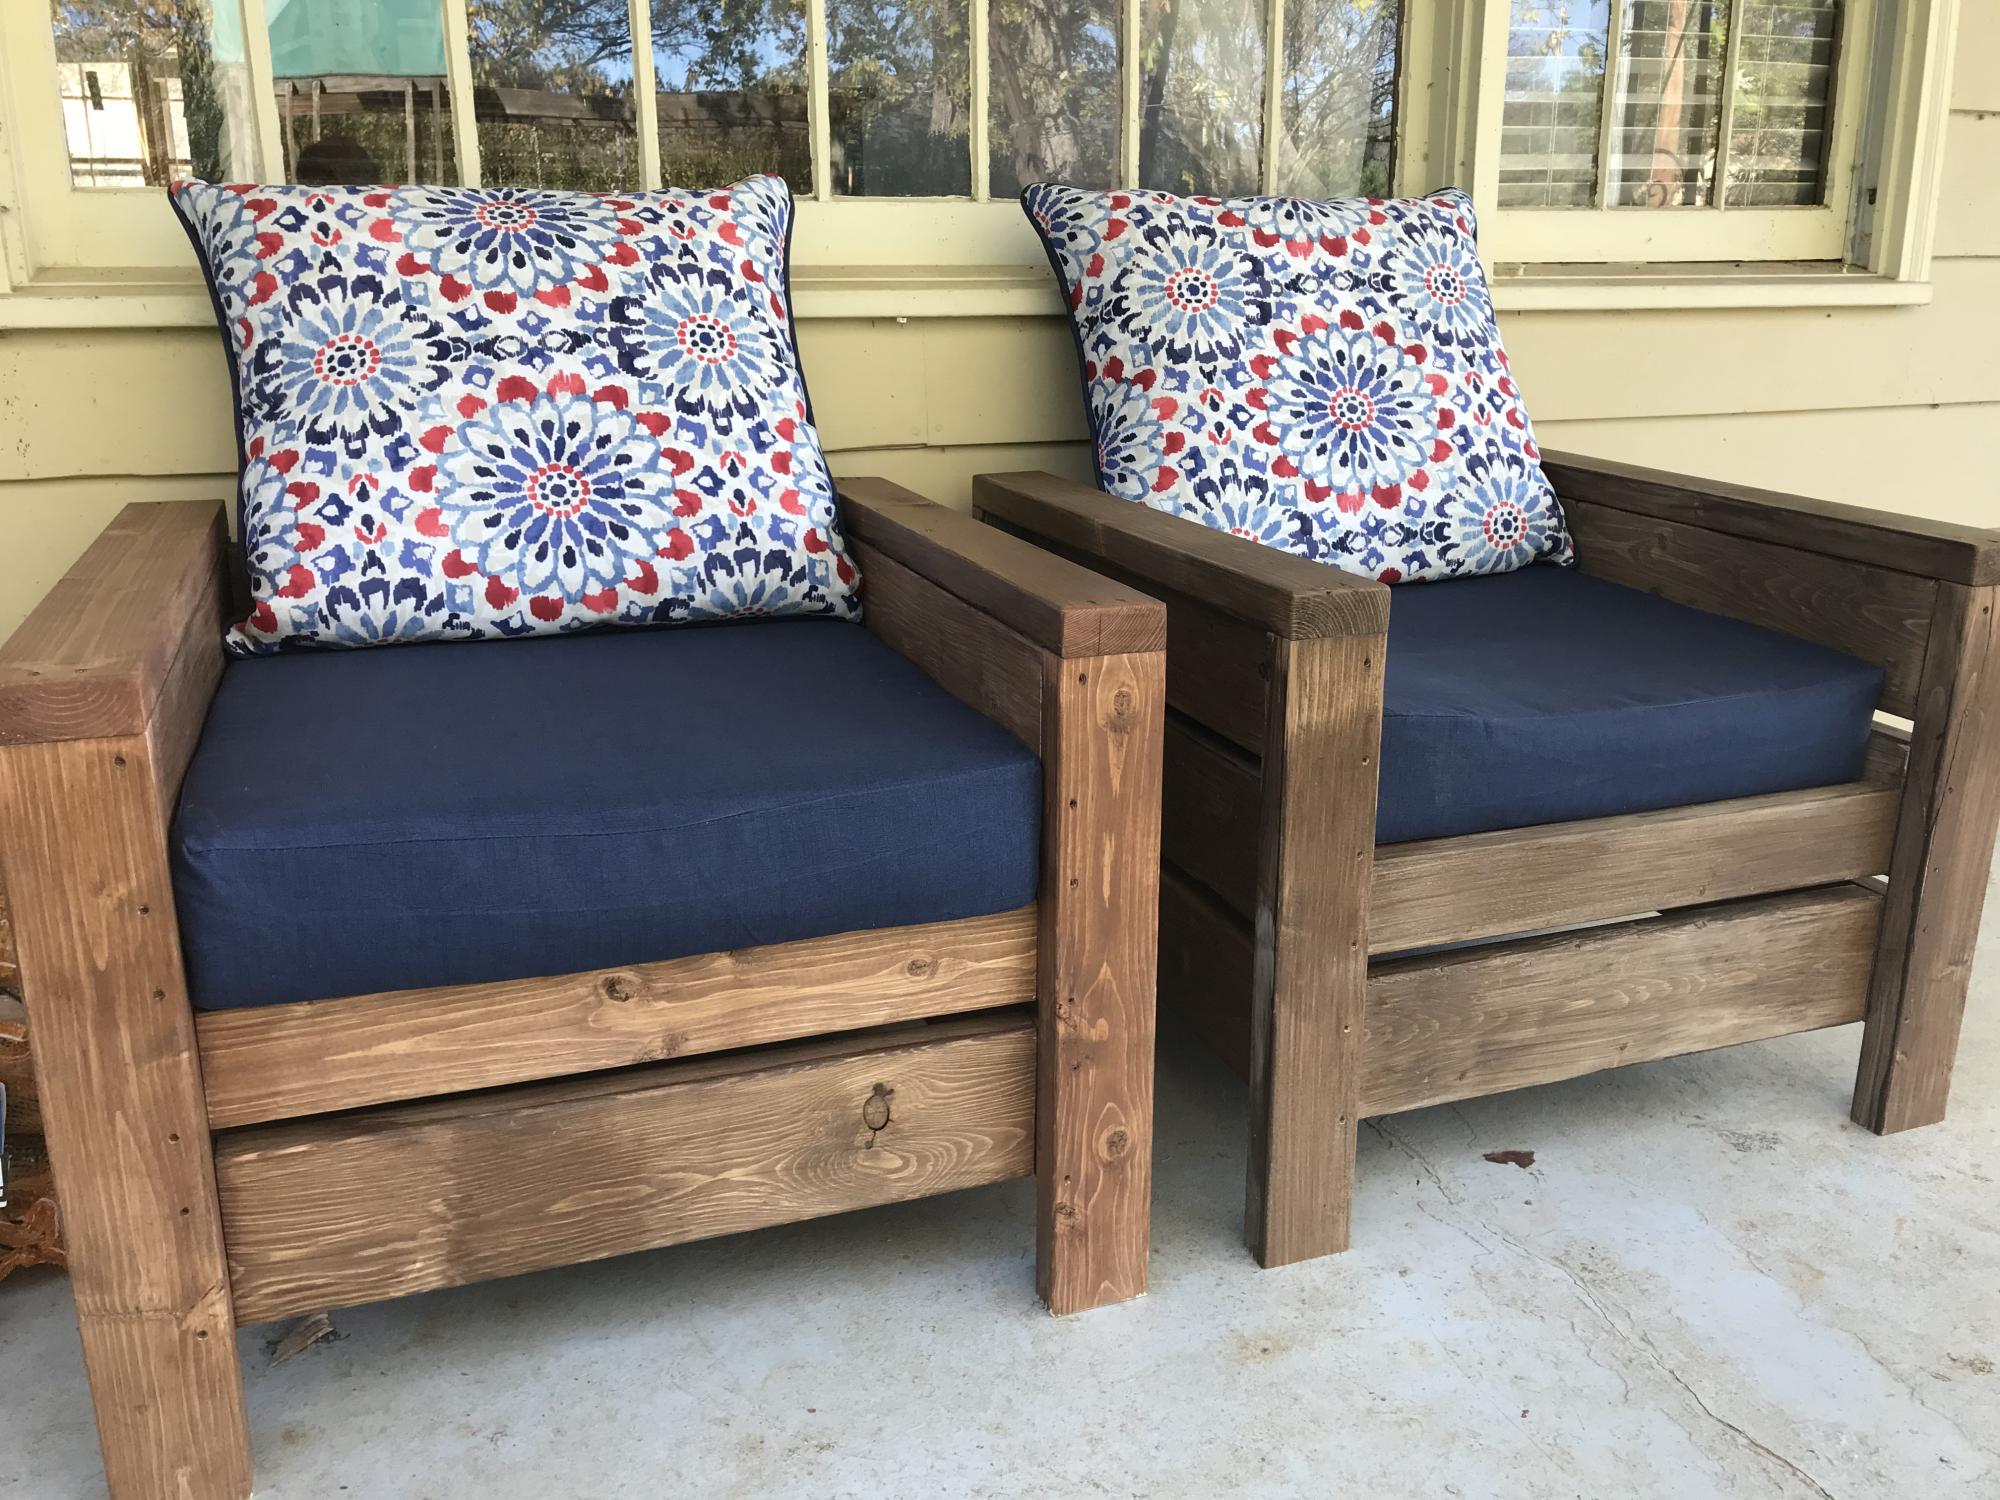
I built two of Ana's "Modern Outdoor Chairs" and adjusted the plans to accommodate 24" in cushions. We're pleased with how they turned out and have gotten great use out of them. Thanks for the plans, Ana!

Estimated Cost
~$60 per chair (not including the cushions)
Estimated Time Investment
Weekend Project (10-20 Hours)
Finish Used
I used the exact finish that Ana recommended.
Recommended Skill Level
Starter Project
Seasonal And Holiday