Outdoor Chair
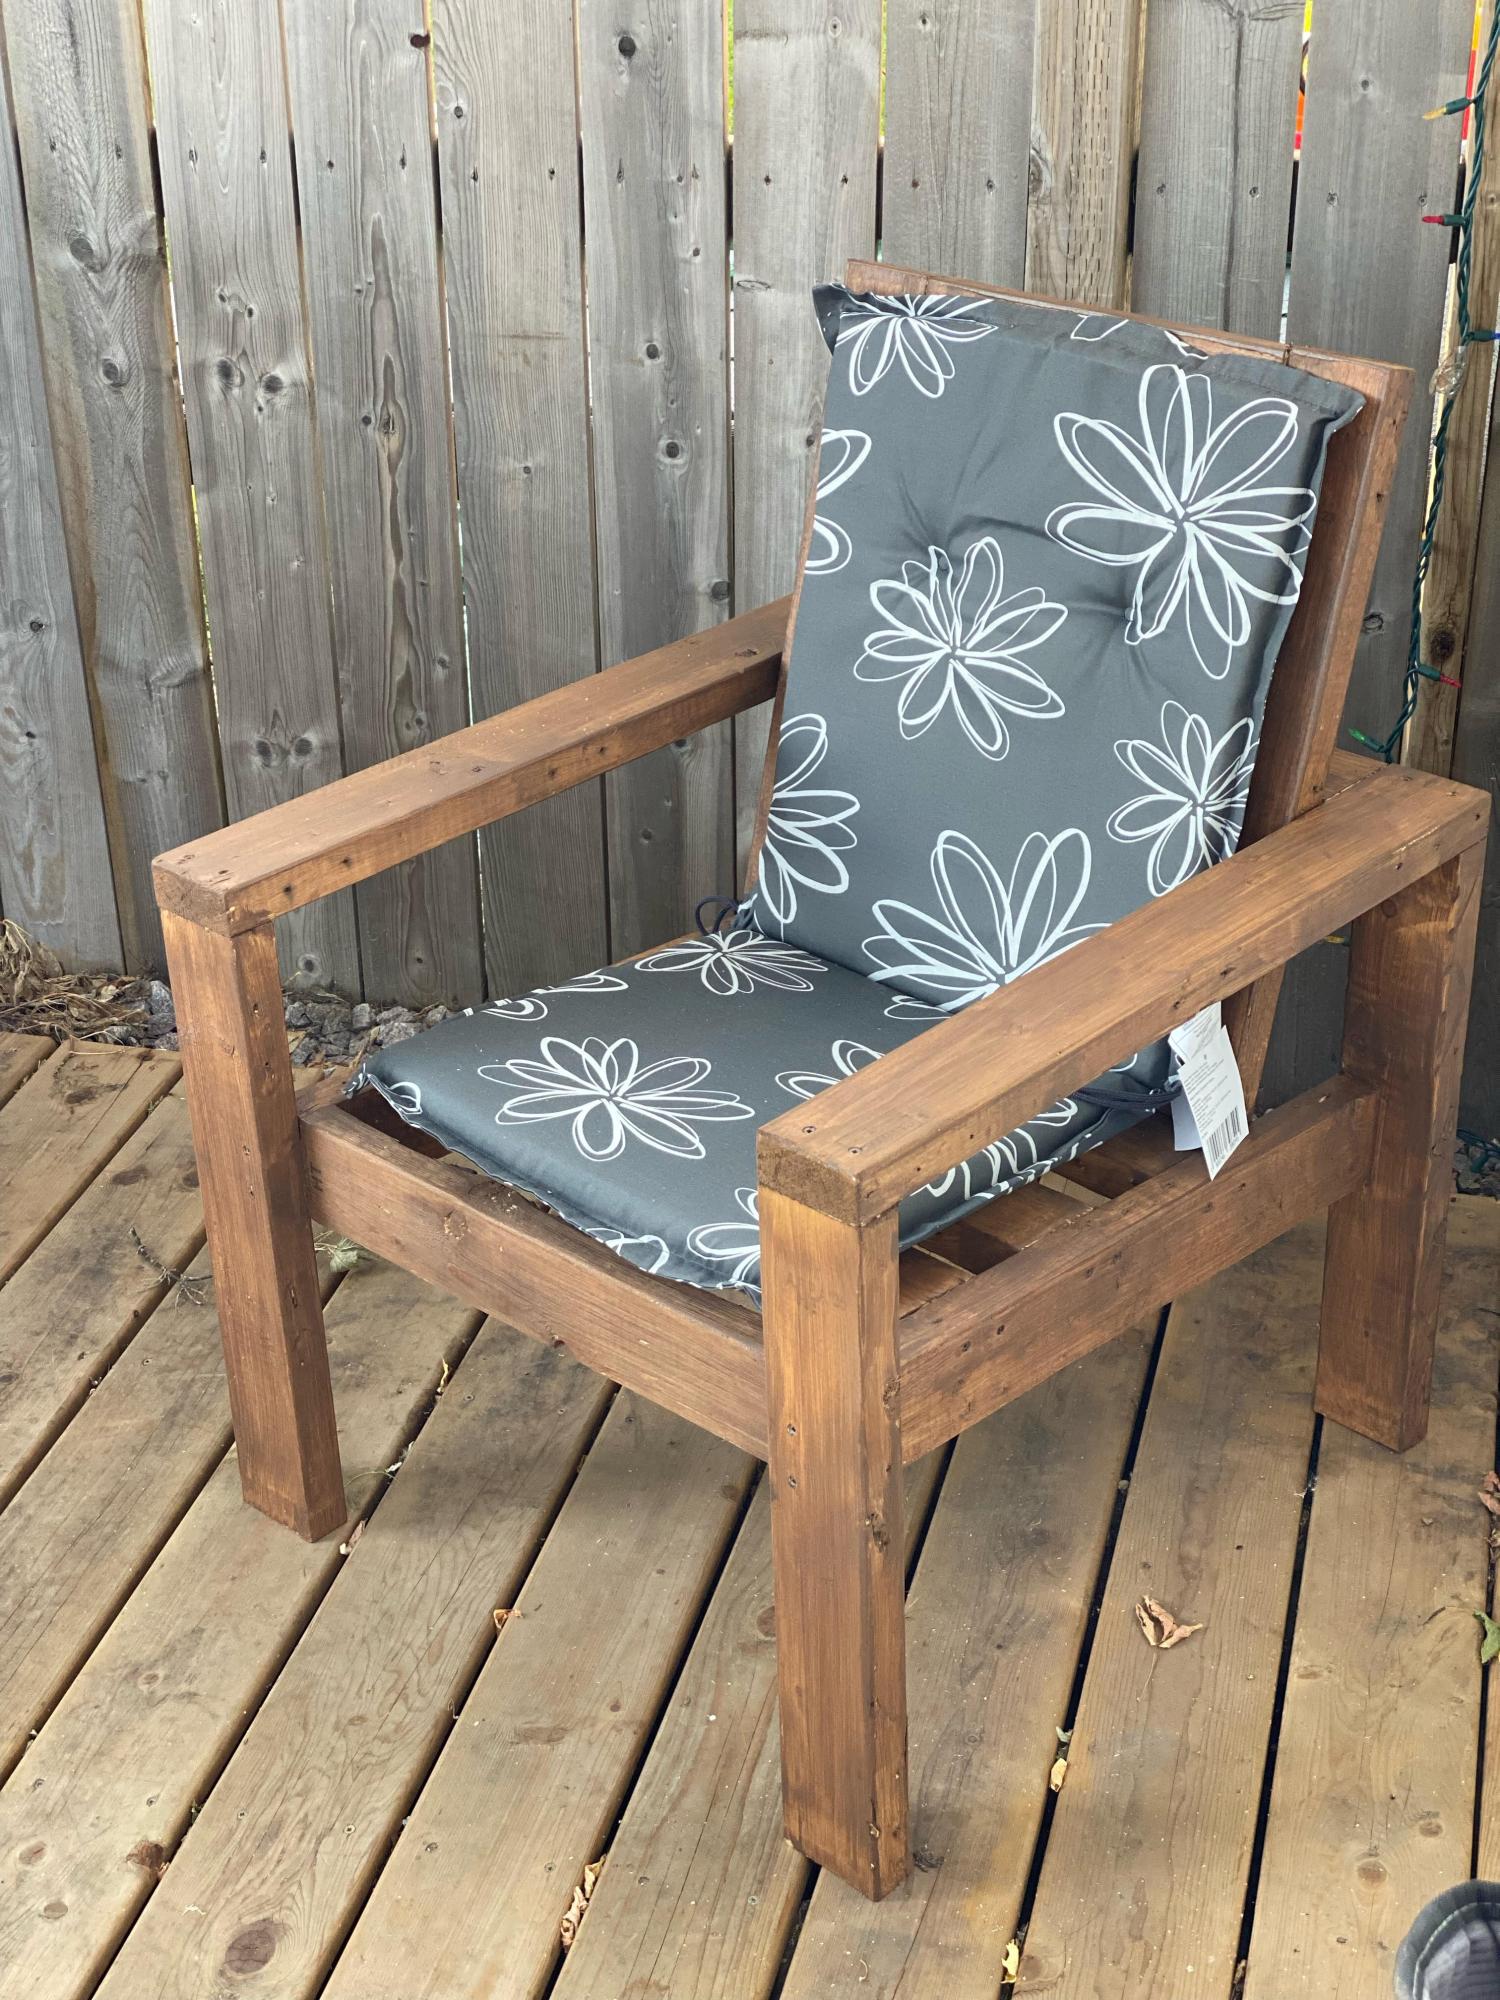
Essential outdoor chair, by Al.
Built from Plan(s)
Essential outdoor chair, by Al.
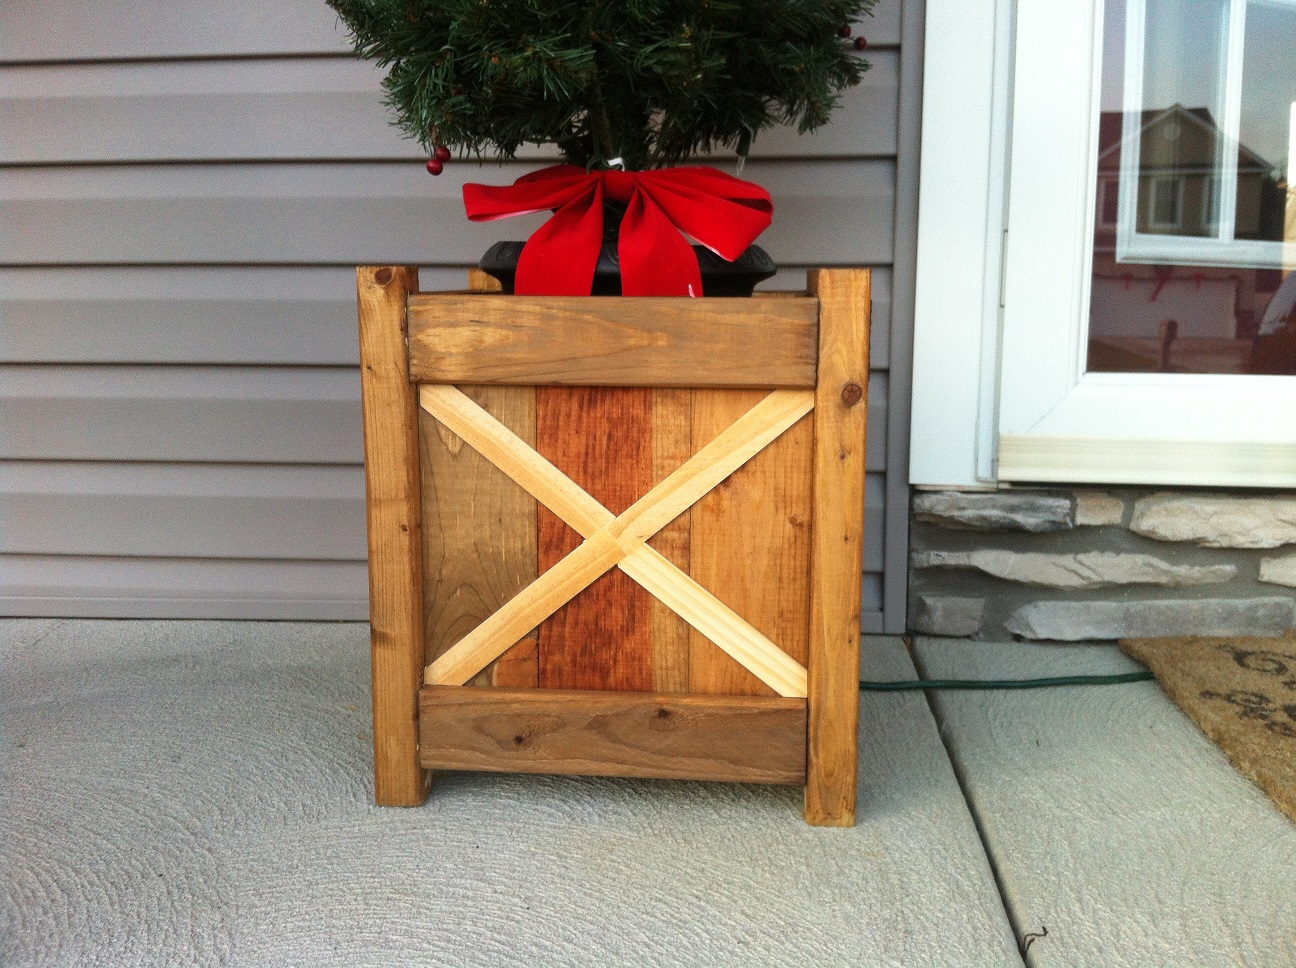
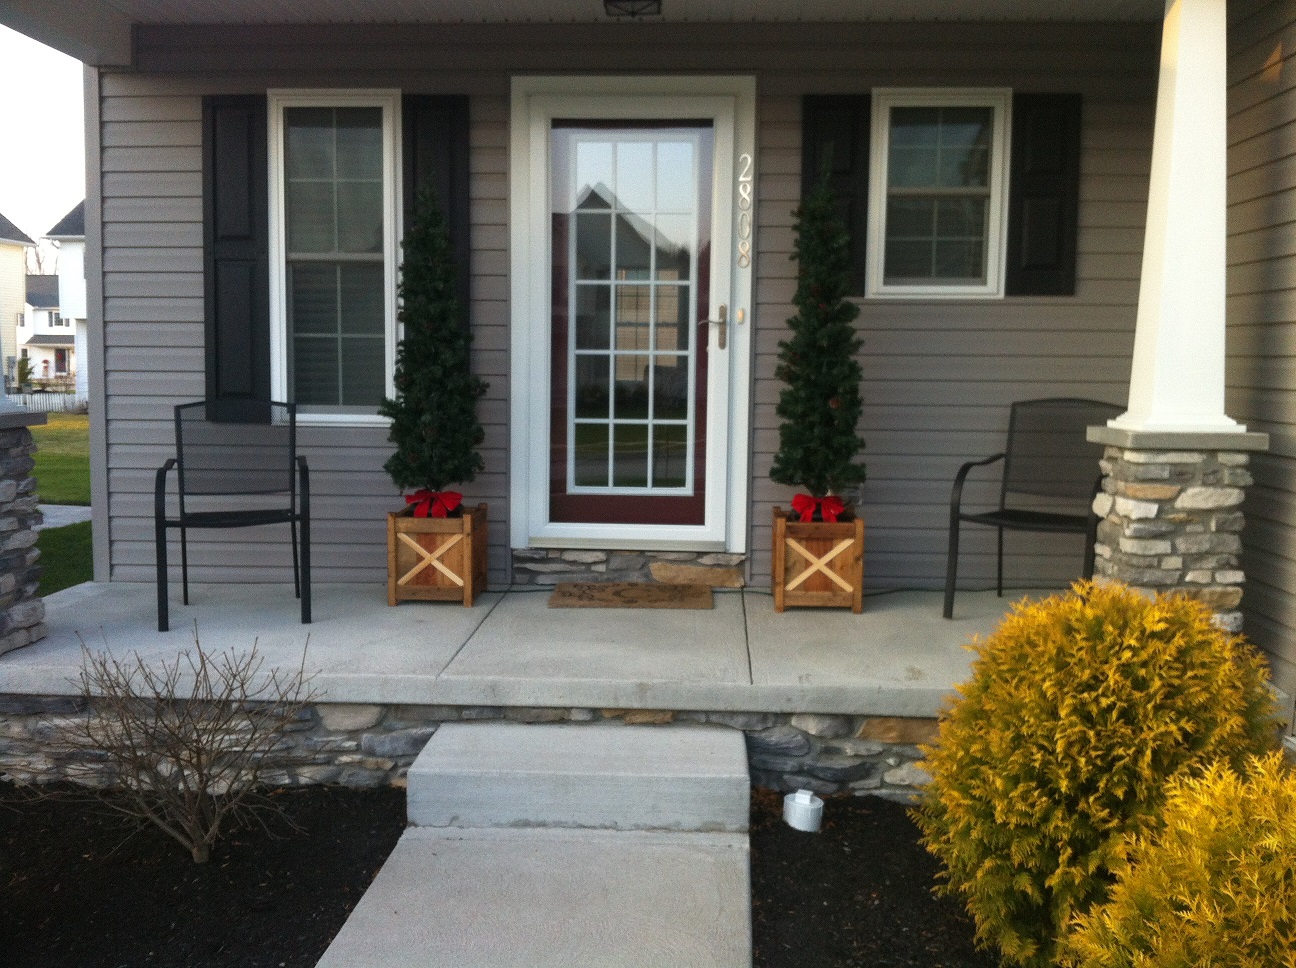
I built these out of necessity to keep my tipsy Christmas decorations from blowing over. The last couple years I spent a lot of time picking these trees up off the ground. I like how they turned out and were relatively easy to build.
I was excited I got to use my Kreg Jig for the first time, which looked more difficult to use than it actually was. Although these are cedar planters I used all pine from big box orange. Some leftover from the farmhouse queen bed I built and the rest I purchased.
The finish didn't turn out as grey as I would have hoped using the steel wool and vinegar, but I still like the aged look. I added the "x" detail in the front afterward and instead of staining my wife thought it looked better natural. Either way I would have been happy. I will be able to use these year round in some capacity.
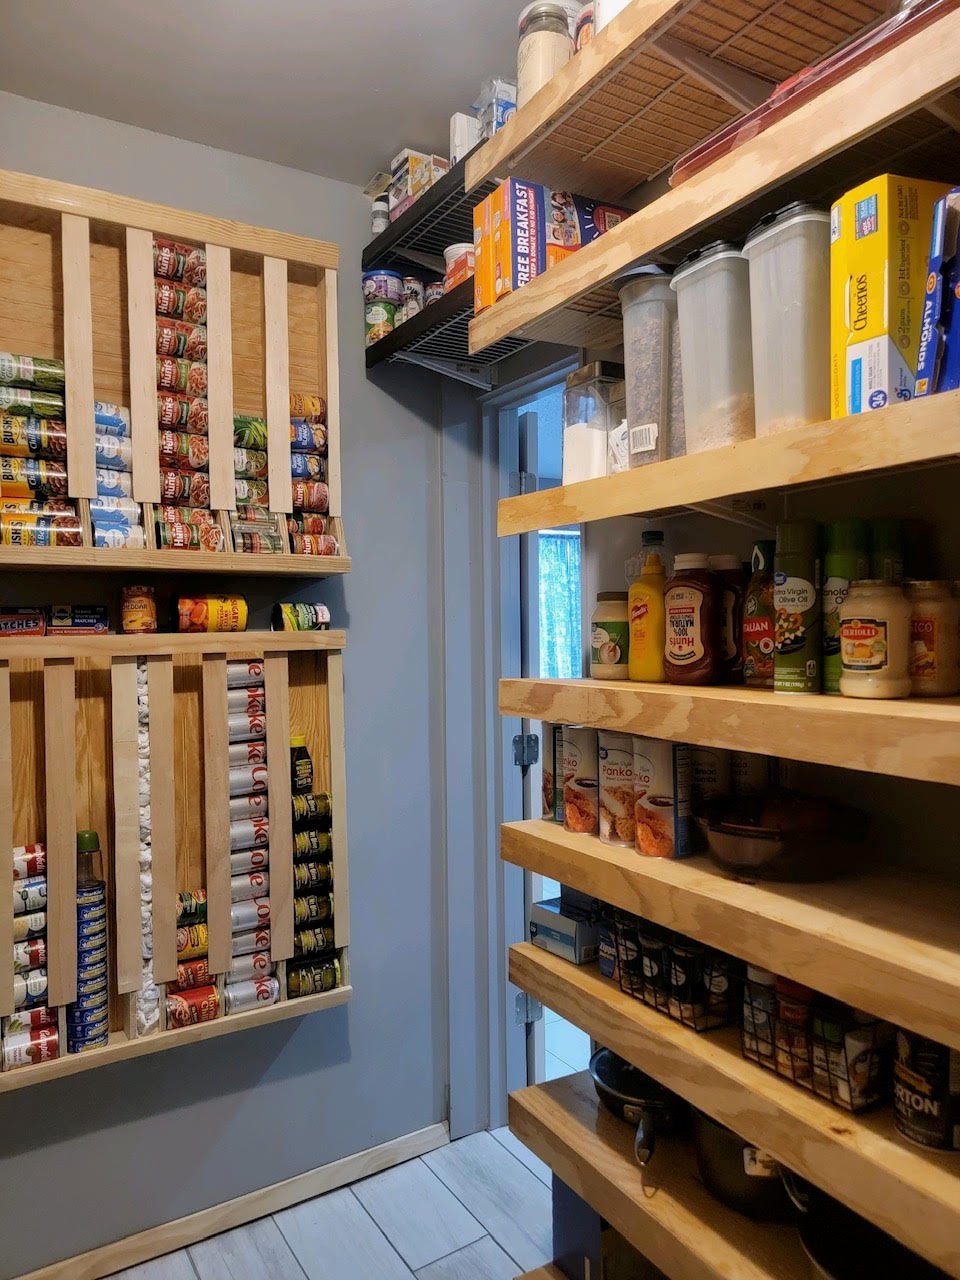
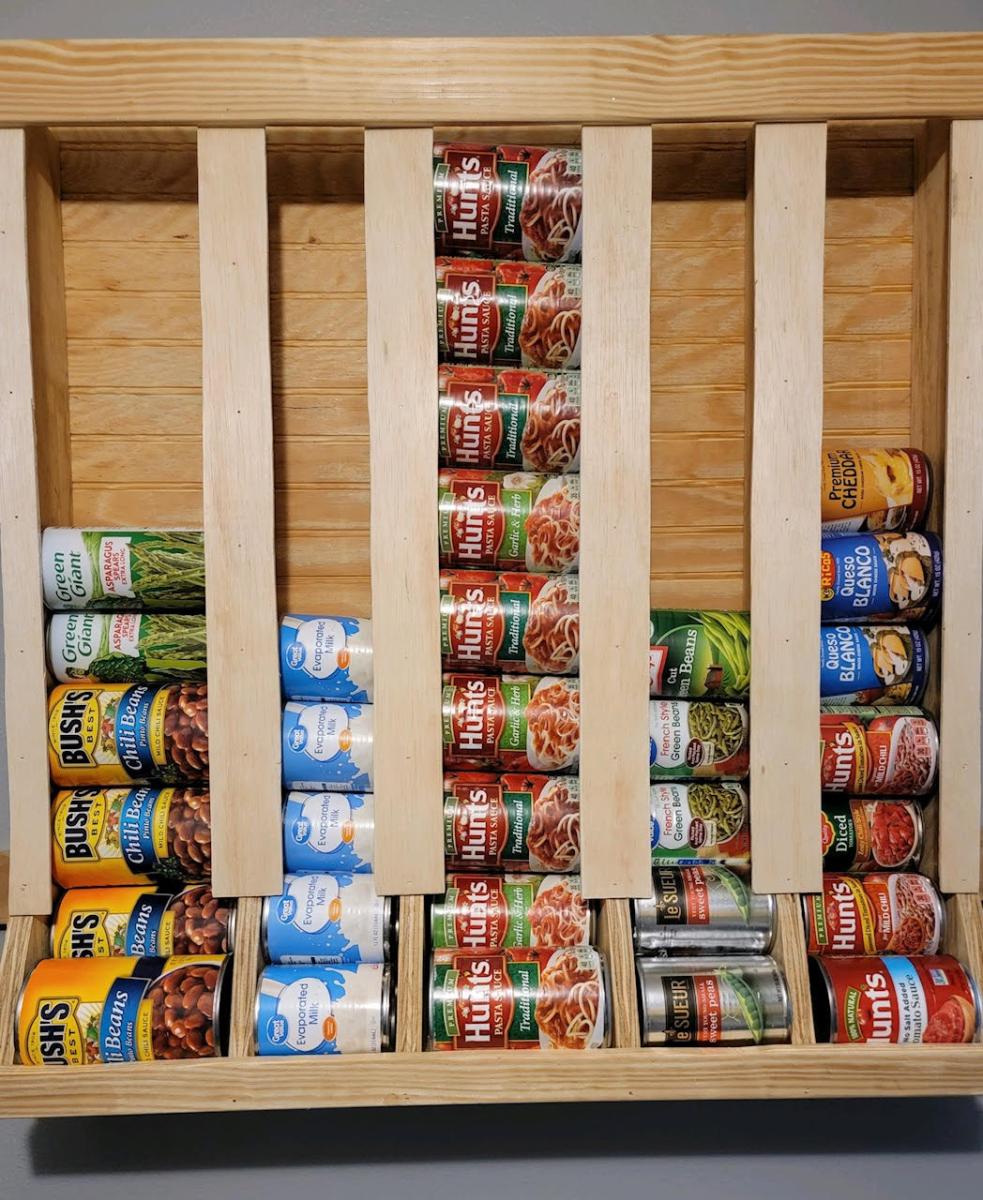
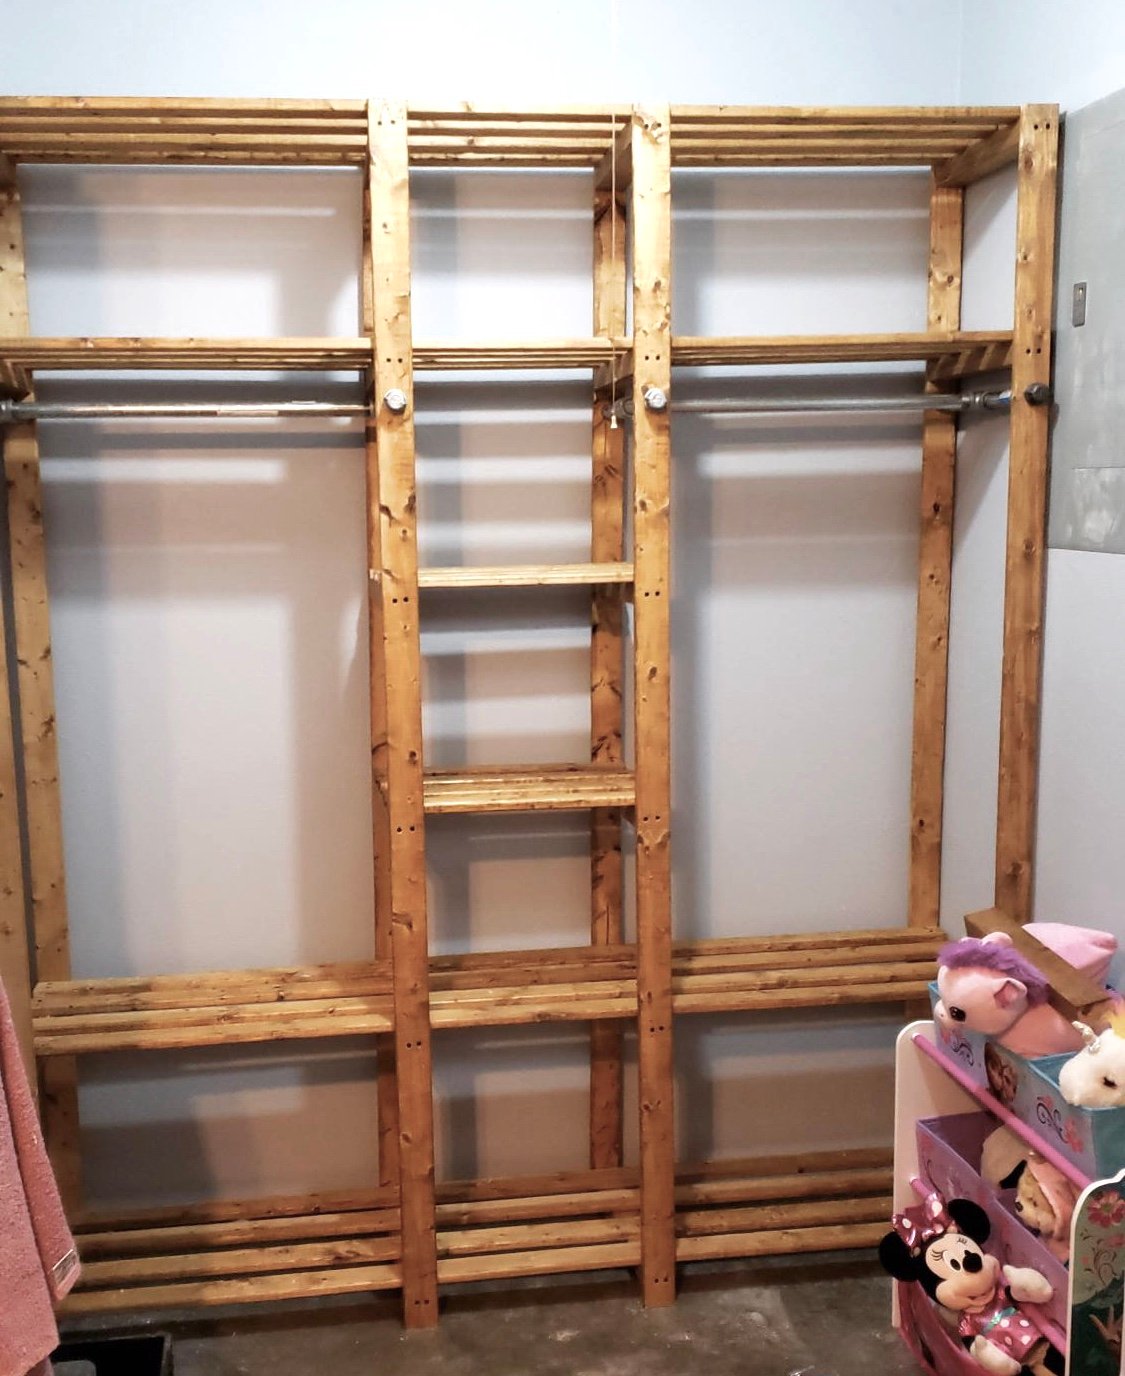
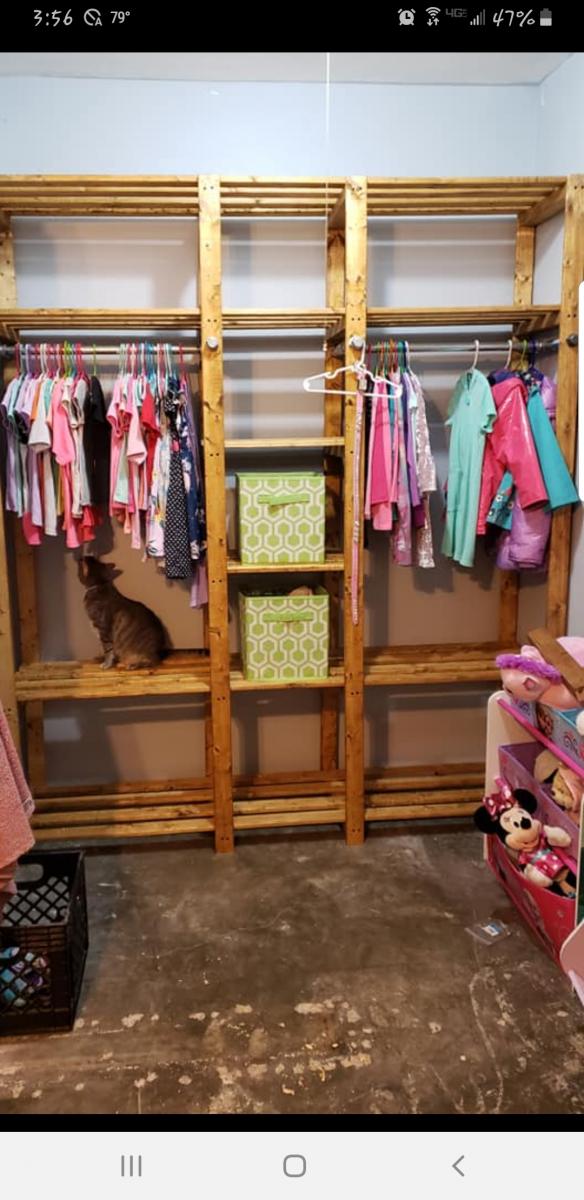
"Here are some pictures of a pantry organizer that my friend Belinda built."
-Bubba
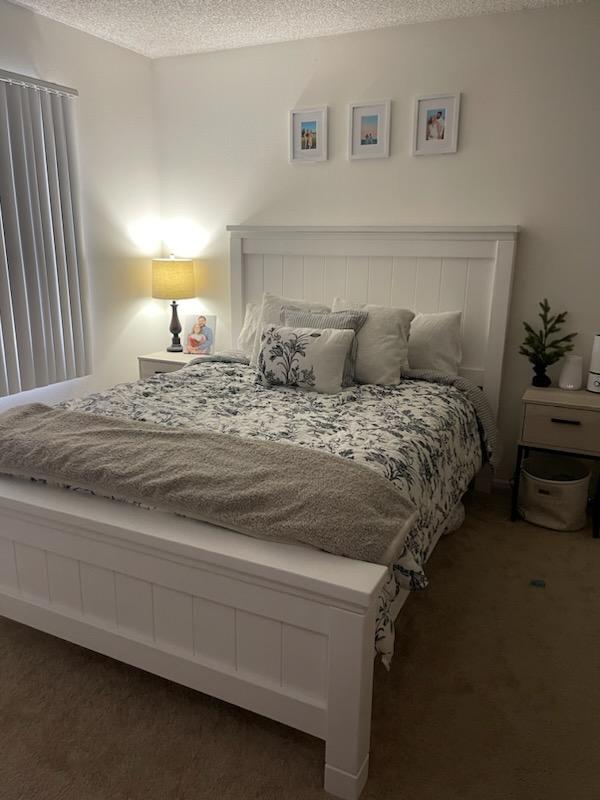
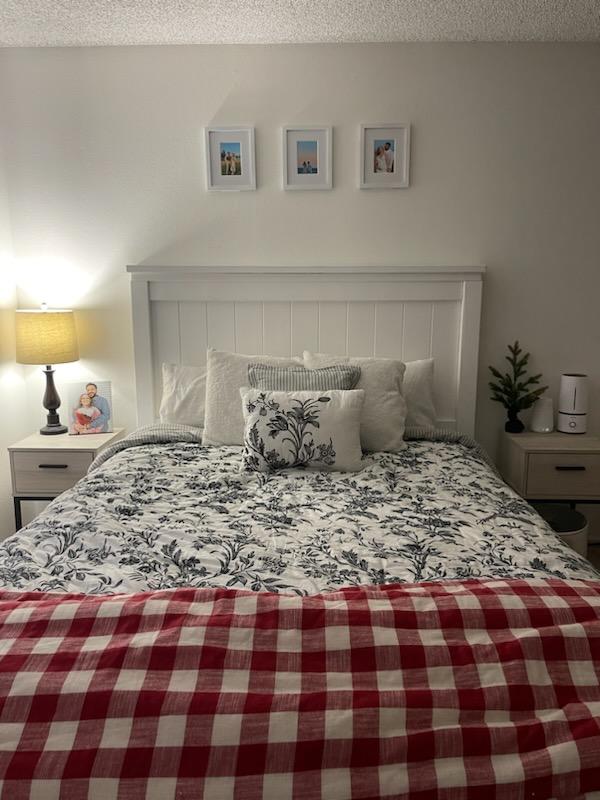
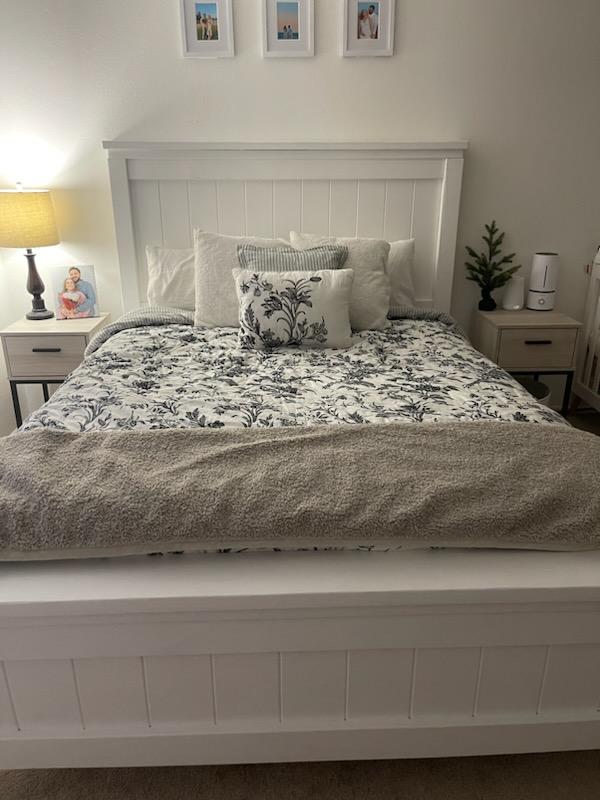
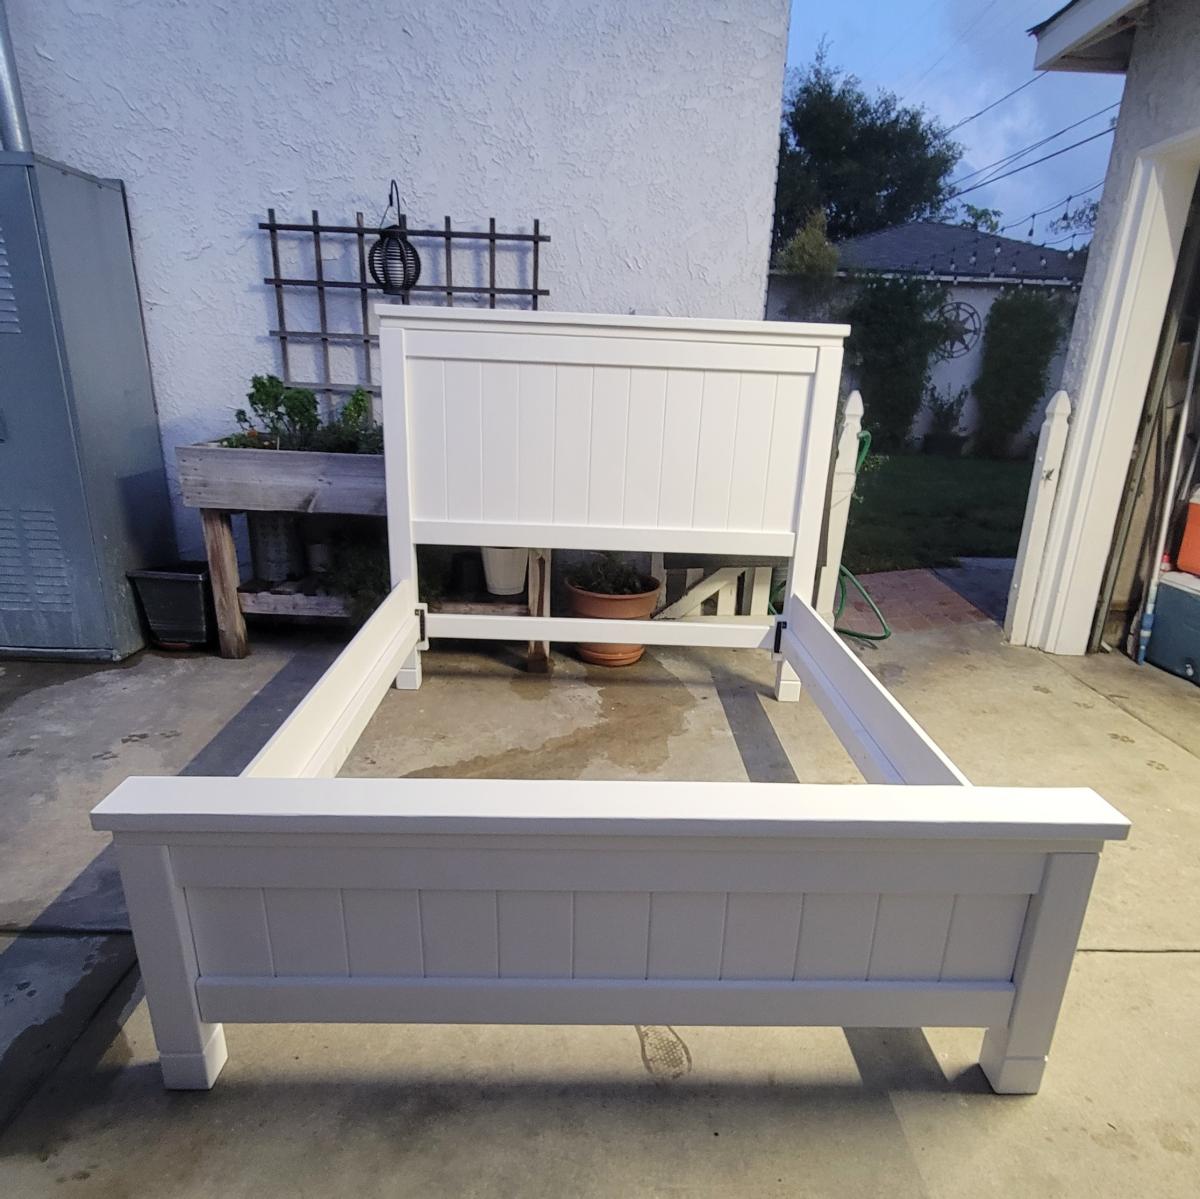
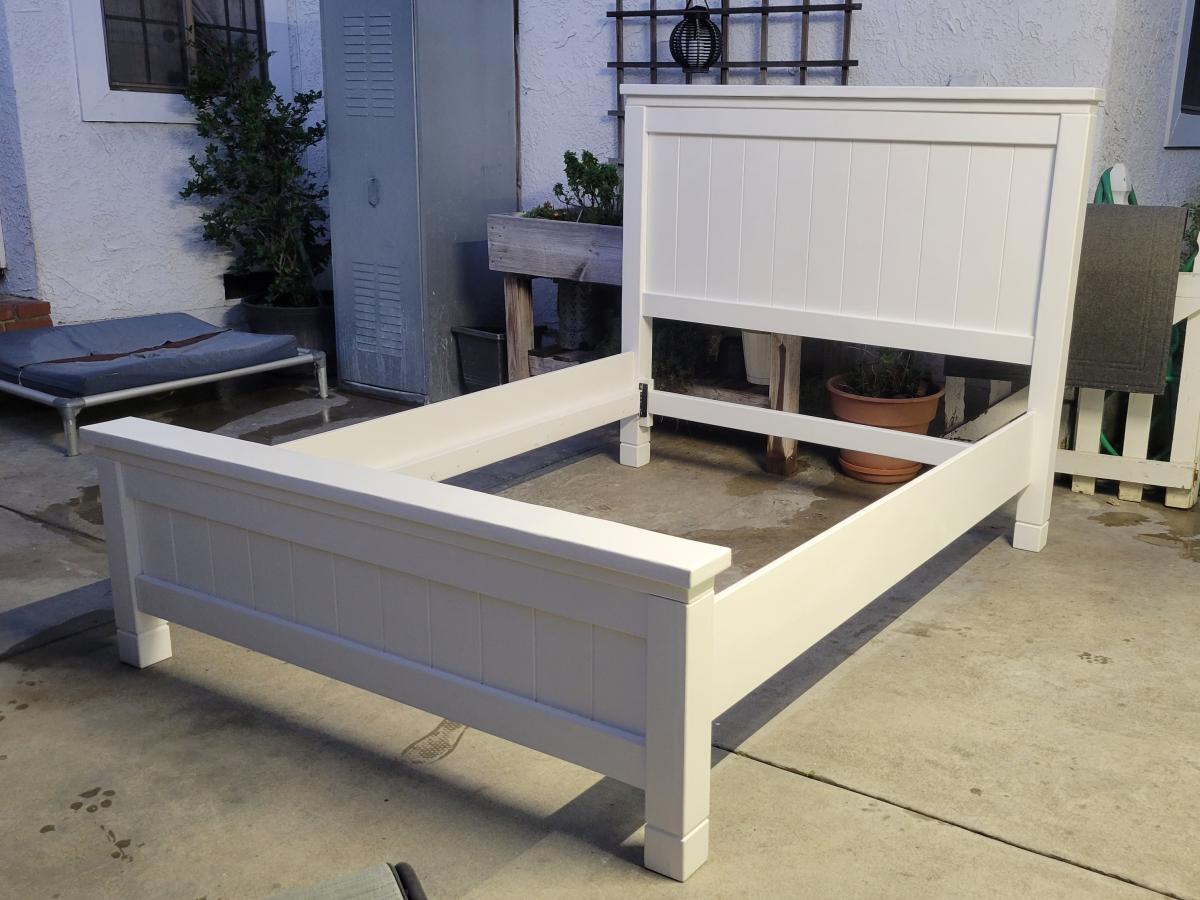
I am a newbie to wood working and was inspired by Ana's Farmhouse bed frame. I built this for my newly married daughter and she is so happy with it. It's very sturdy and has plenty of storage underneath. The instructions, buy & cut lists were super easy to follow. I can't wait to build the Extra Wide Dresser next.
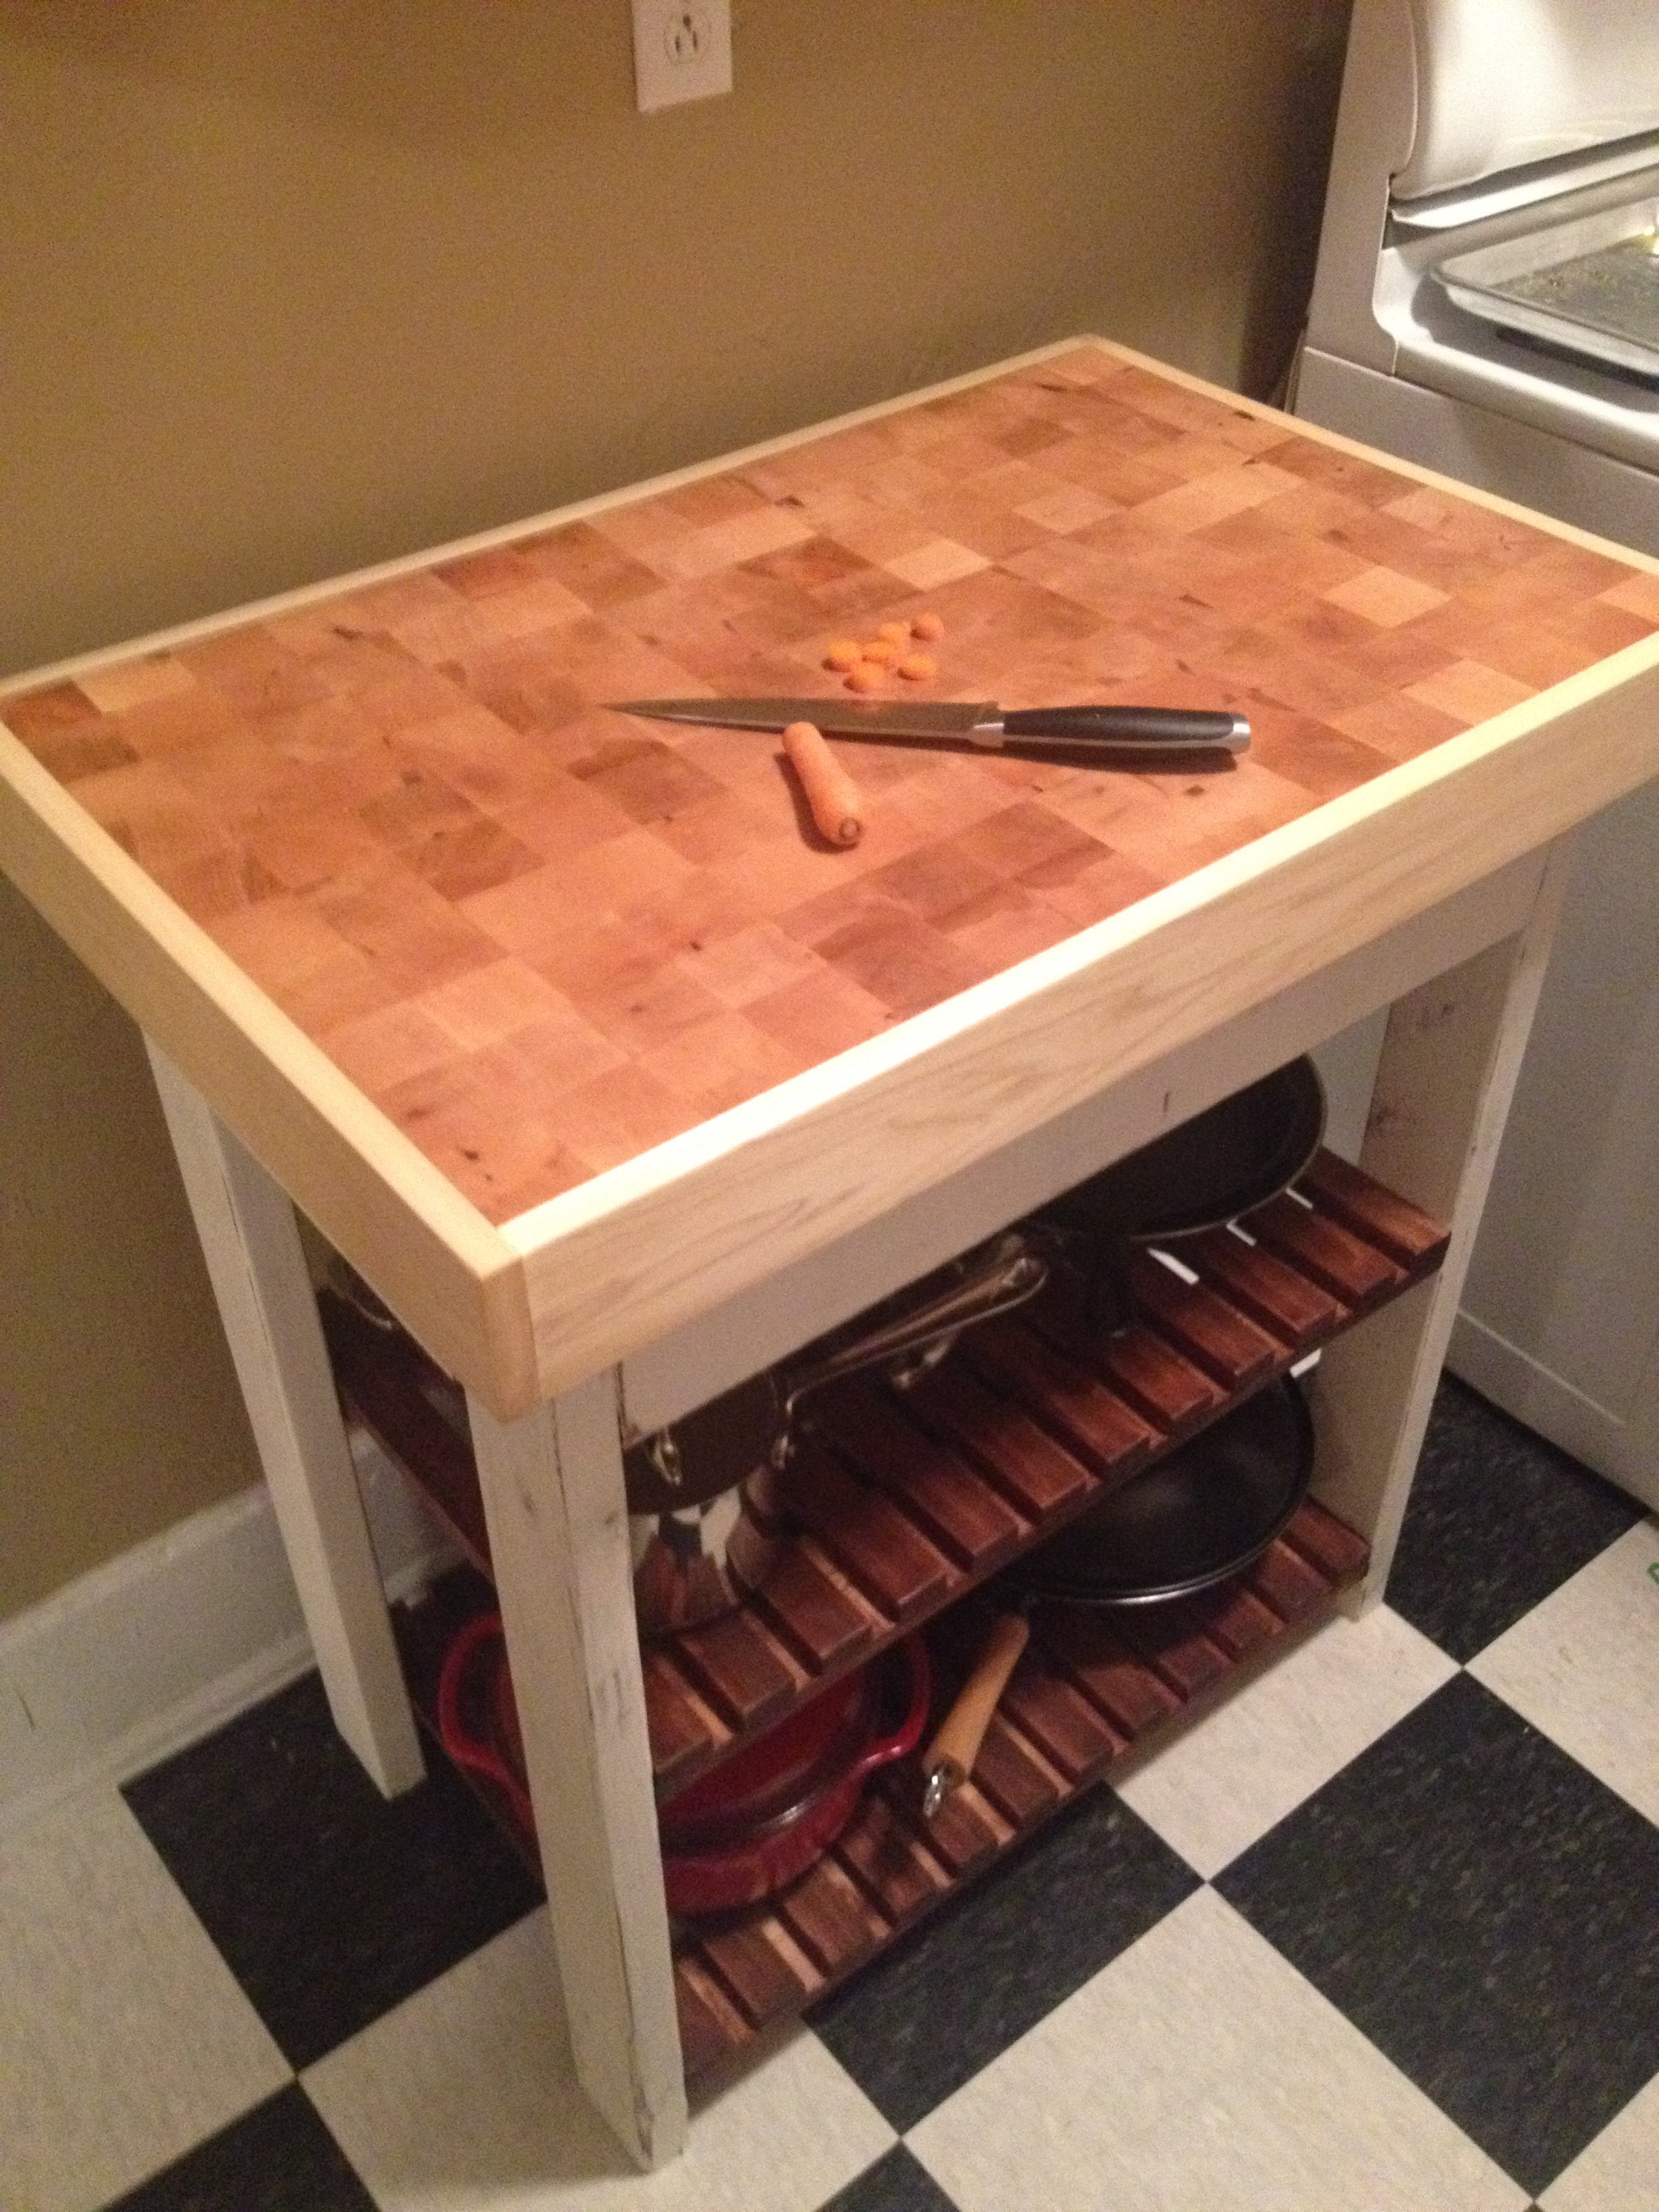
This "island" was inspired by the plans for the Easy Kitchen Island, with a bit of a twist. My roommate is really into cooking, and had a little butcher block that he wanted to upgrade. Our kitchen is fairly narrow, but there was a huge bare spot underneath some cabinets that was begging to be used. Our cabinets were overflowing and we needed more storage space. The kitchen island-butcher block combo solved both problems and fit nicely under our cabinet.
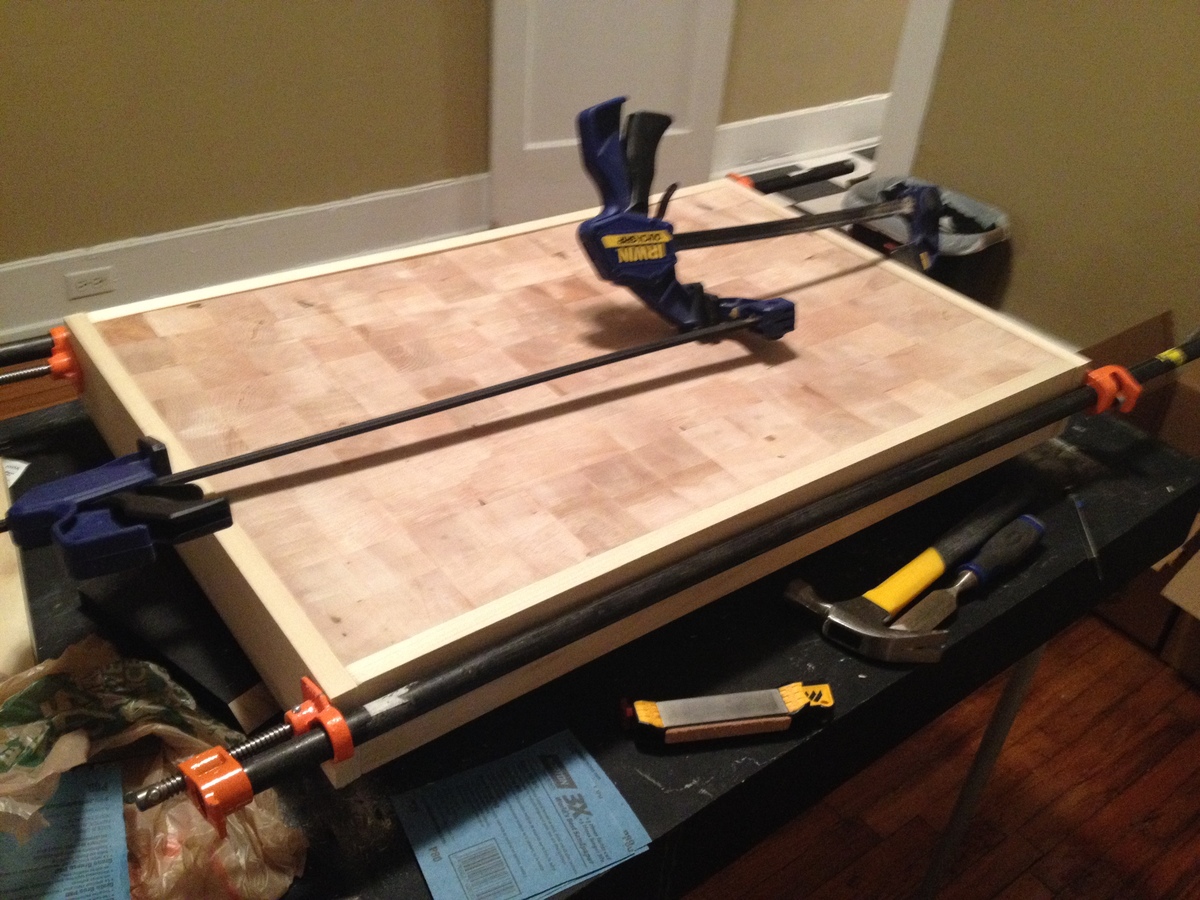
After a little research, we decided to go with an end-grain board made with maple. We looked around and ended up getting a bunch of wood off of eBay for about 65 bucks. The butcher block turned out to be a bear of a project. Without access to a table saw (not going to happen in this apartment) it took some sanding, then more sanding, then a trip to my dad's to use a table saw after all, then more sanding, then more...well, you get the picture. Once all the pieces were assembled, we glued a 1"x4" poplar border onto the sides to give it a more uniform appearance from the sides, as well as to hide the connection to the structure.
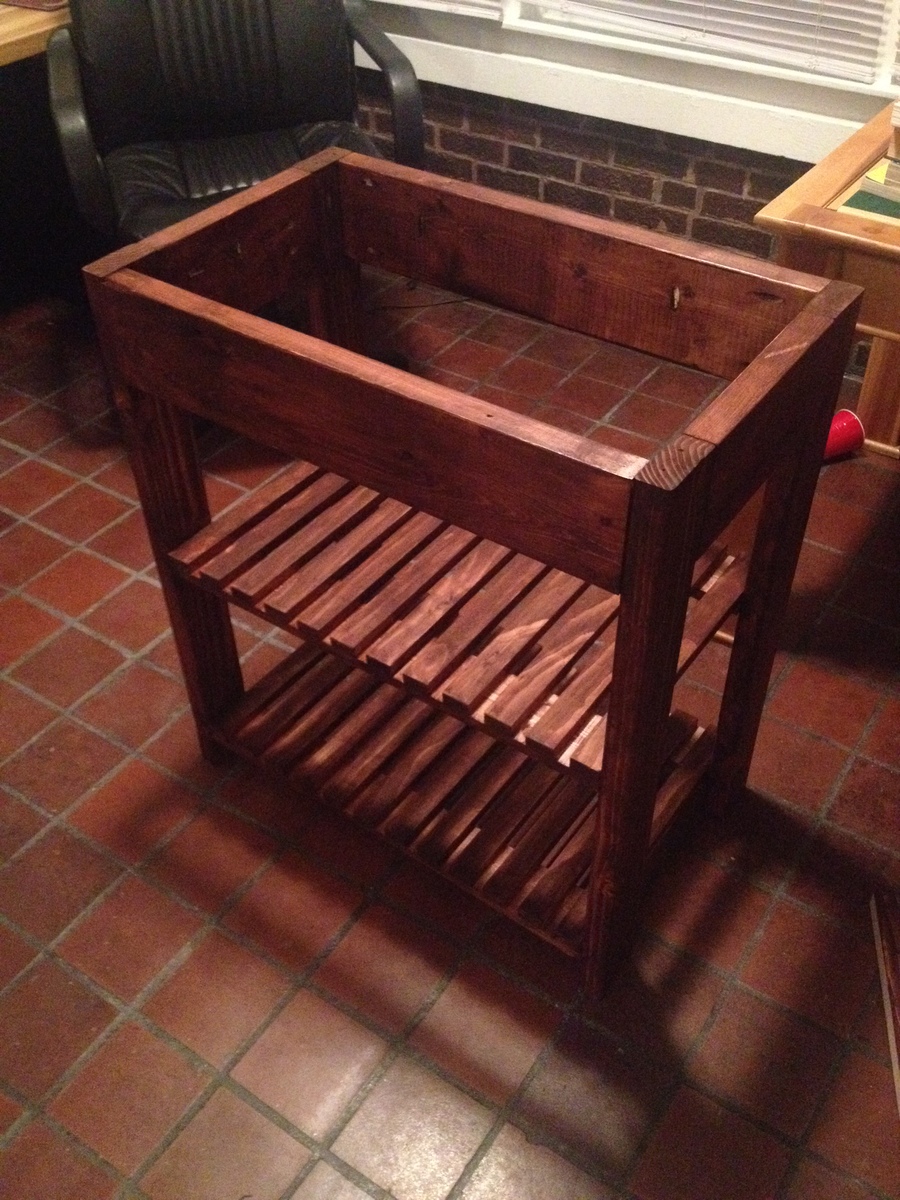
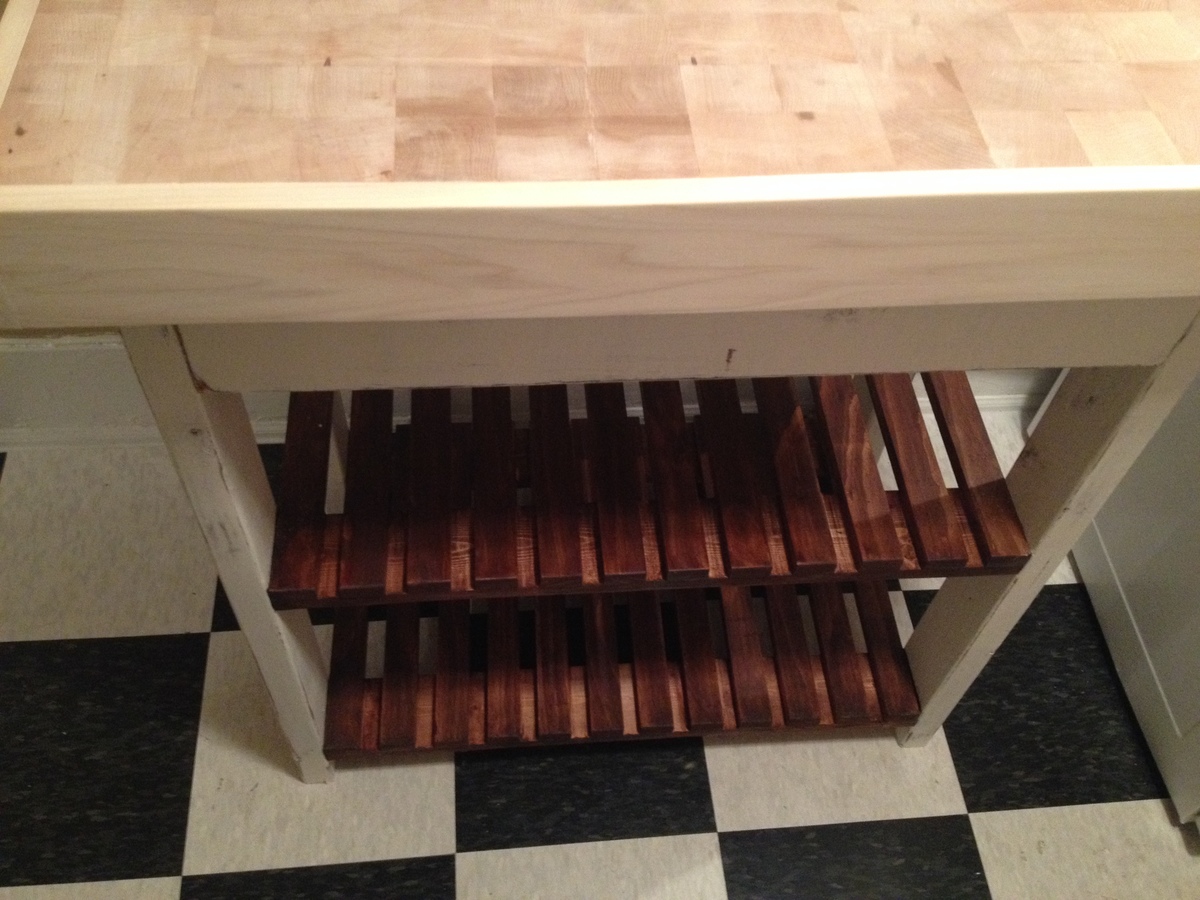
Finally the block was complete and it was time to build the structure of the island. The cuts and the assembly of the main pieces took a grand total of an hour and a half - a great relief after spending weeks on the butcher block. We decided to glue the slats onto the supports to make life easier. Once we got done with that it was time to finish the structure.
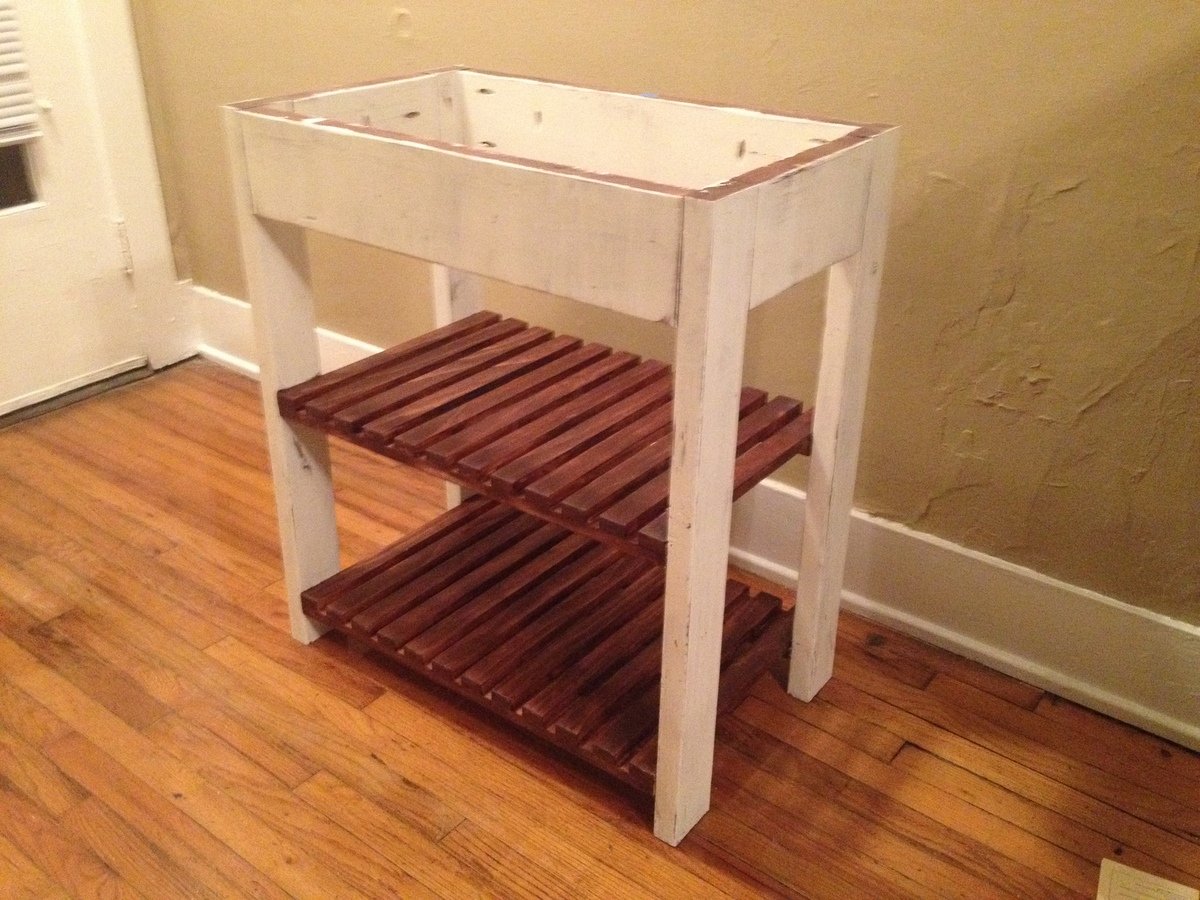
We decided to follow Ana's directions on crackled milk paint. We tried to follow them exactly, but weren't able to get the same amount of crackling on ours. No worries, though, we just sanded down some edges and gave the whole thing a good coat of Polycrylic.
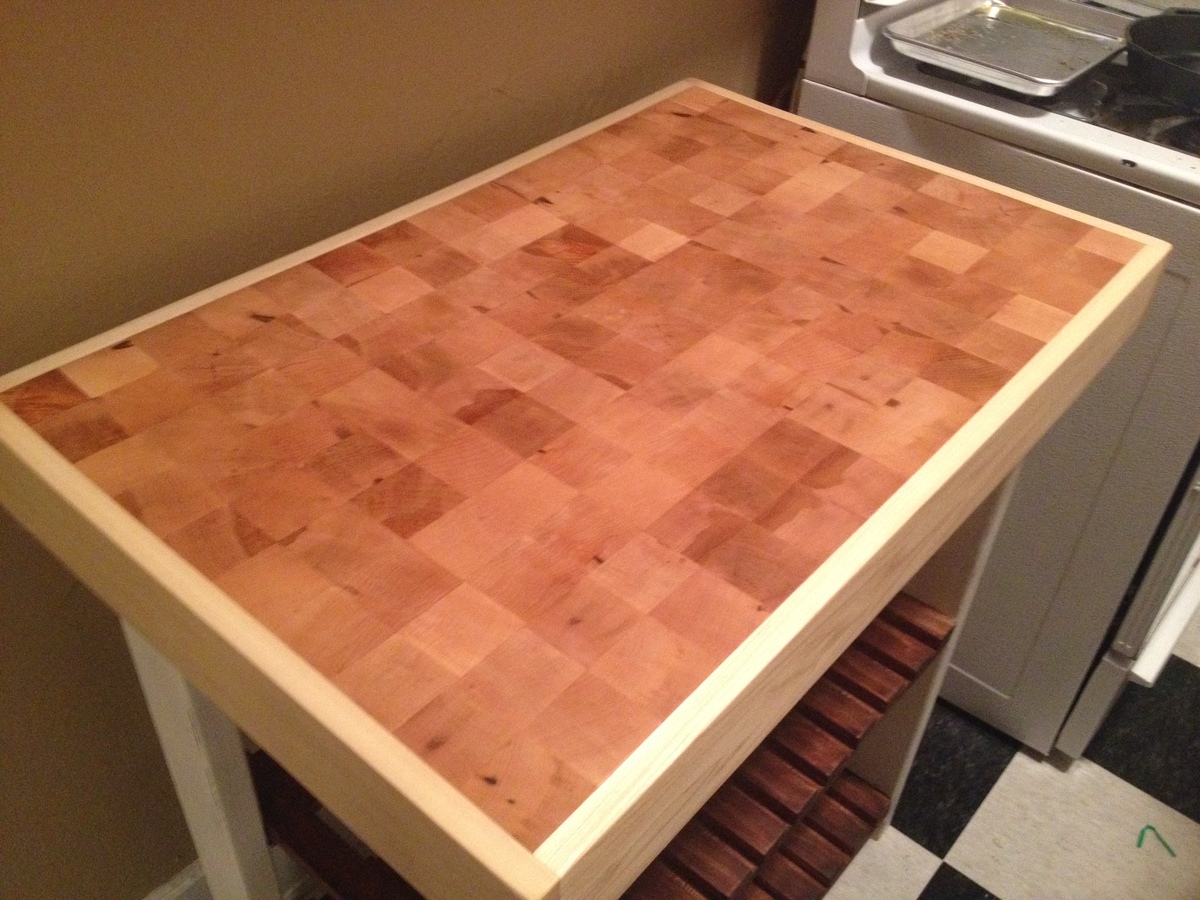
Once all that was done, we screwed the block on and construction was complete! We gave the block and the poplar several coats of Boos Block Mystery Oil as the conditioner and we were done. The oil really brought out the color and the body of the wood, and we couldn't be happier with the results. Can't wait to chop a turkey on it!

Fri, 11/22/2013 - 15:38
This looks super! I'm intrigued by your butcher block top. The squares look so perfect and even. It looks like a tremendous amount of work went into it, and it's absolutely beautiful! Love the paint and stain used on the island structure too!
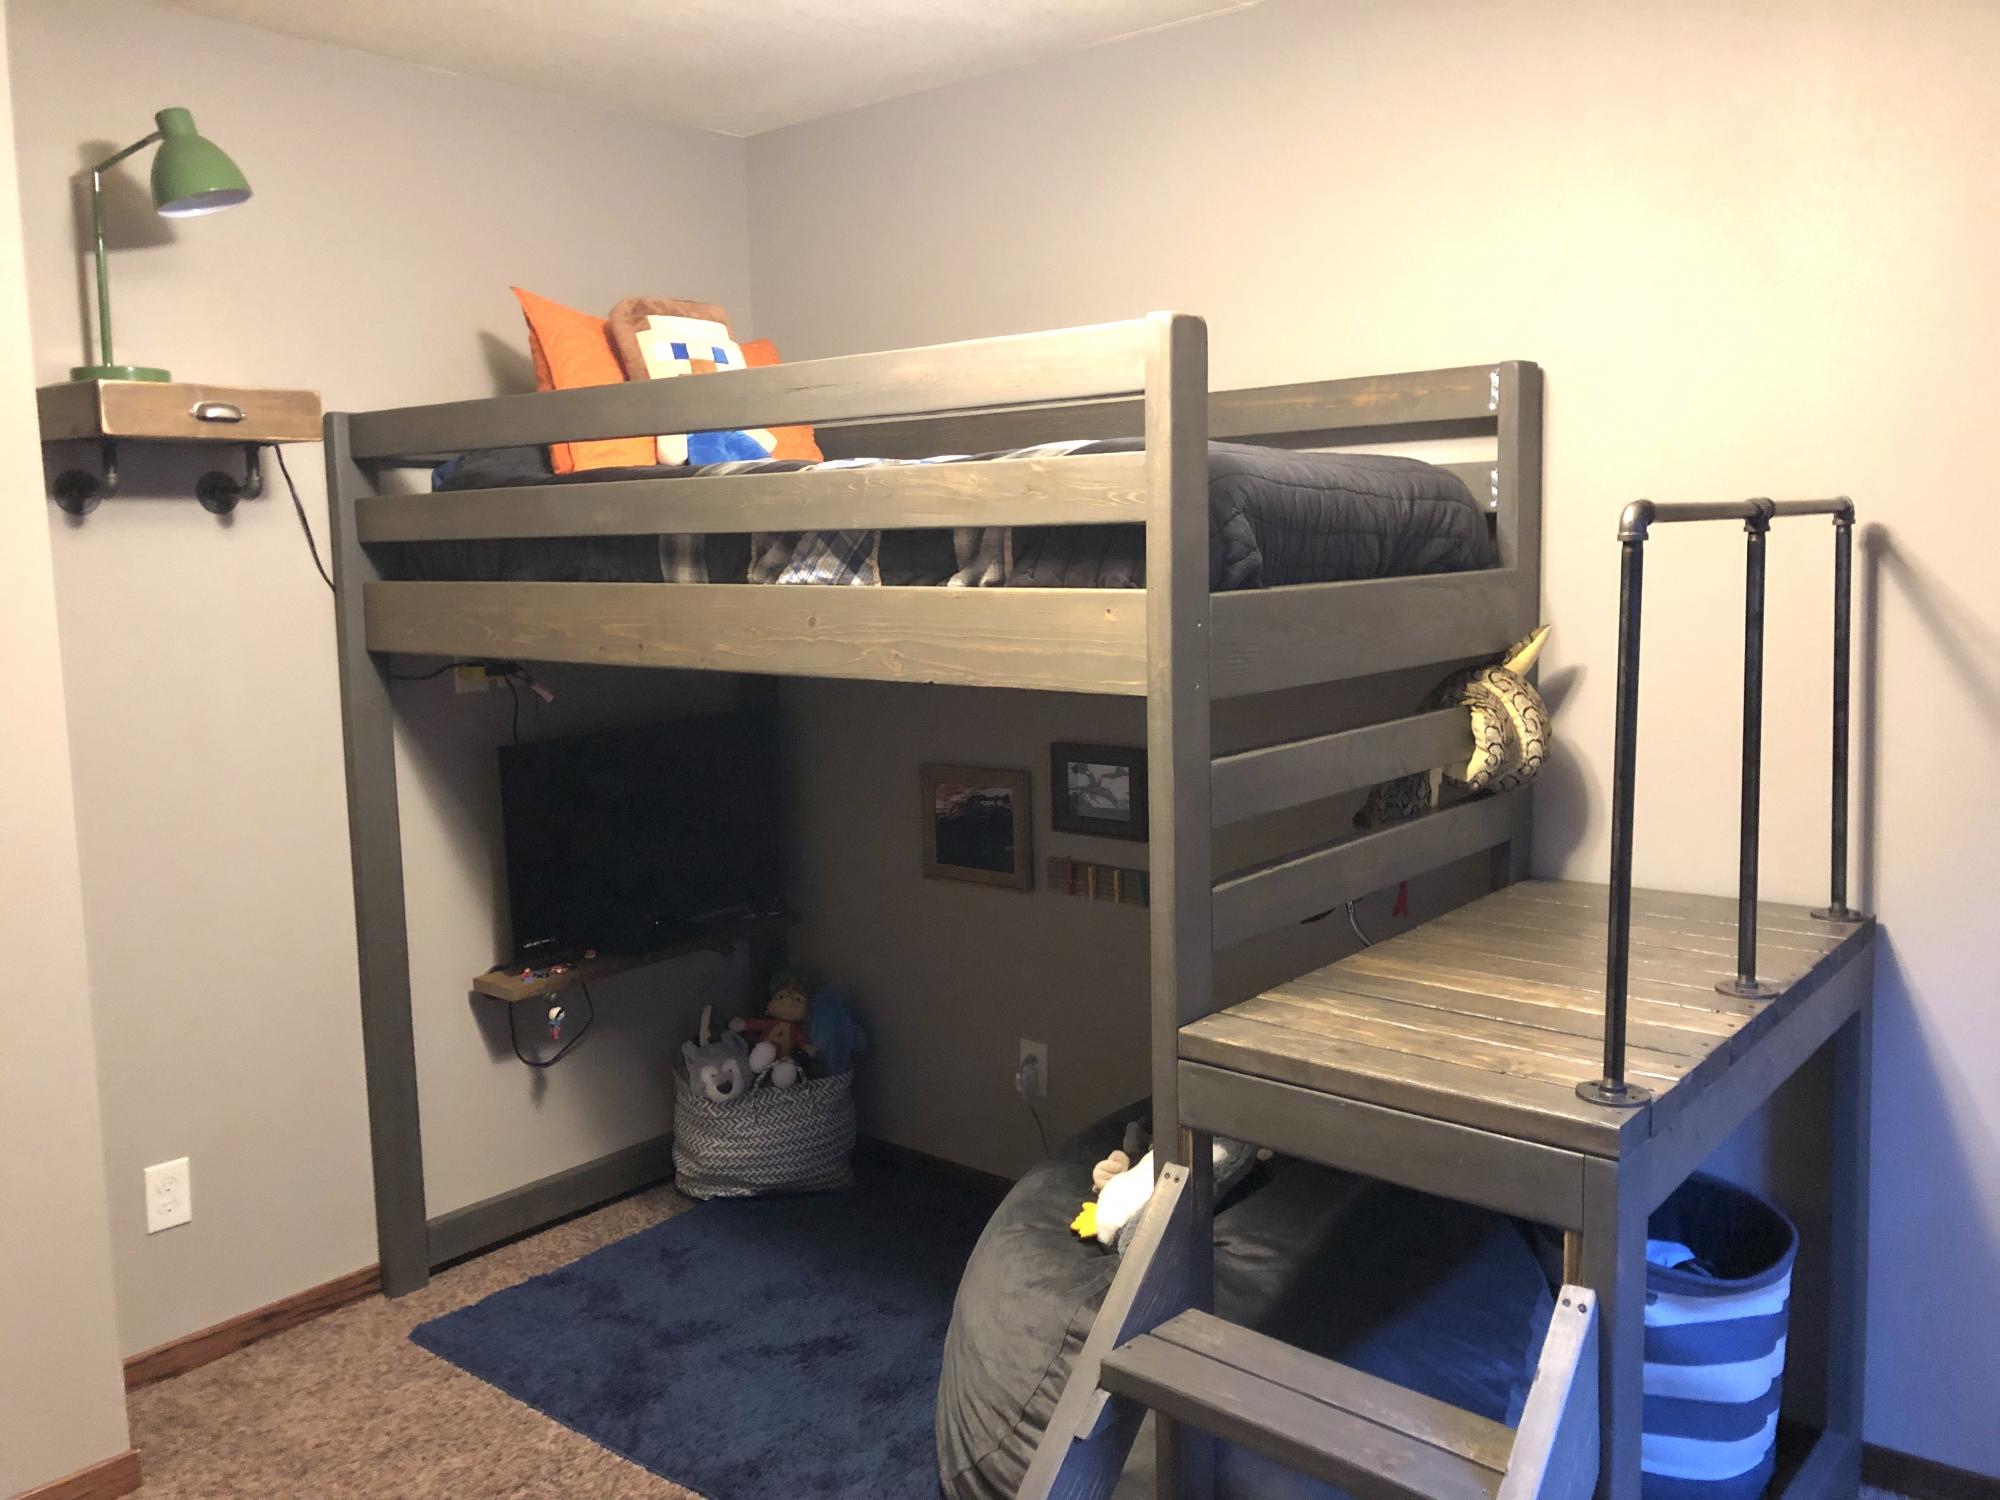
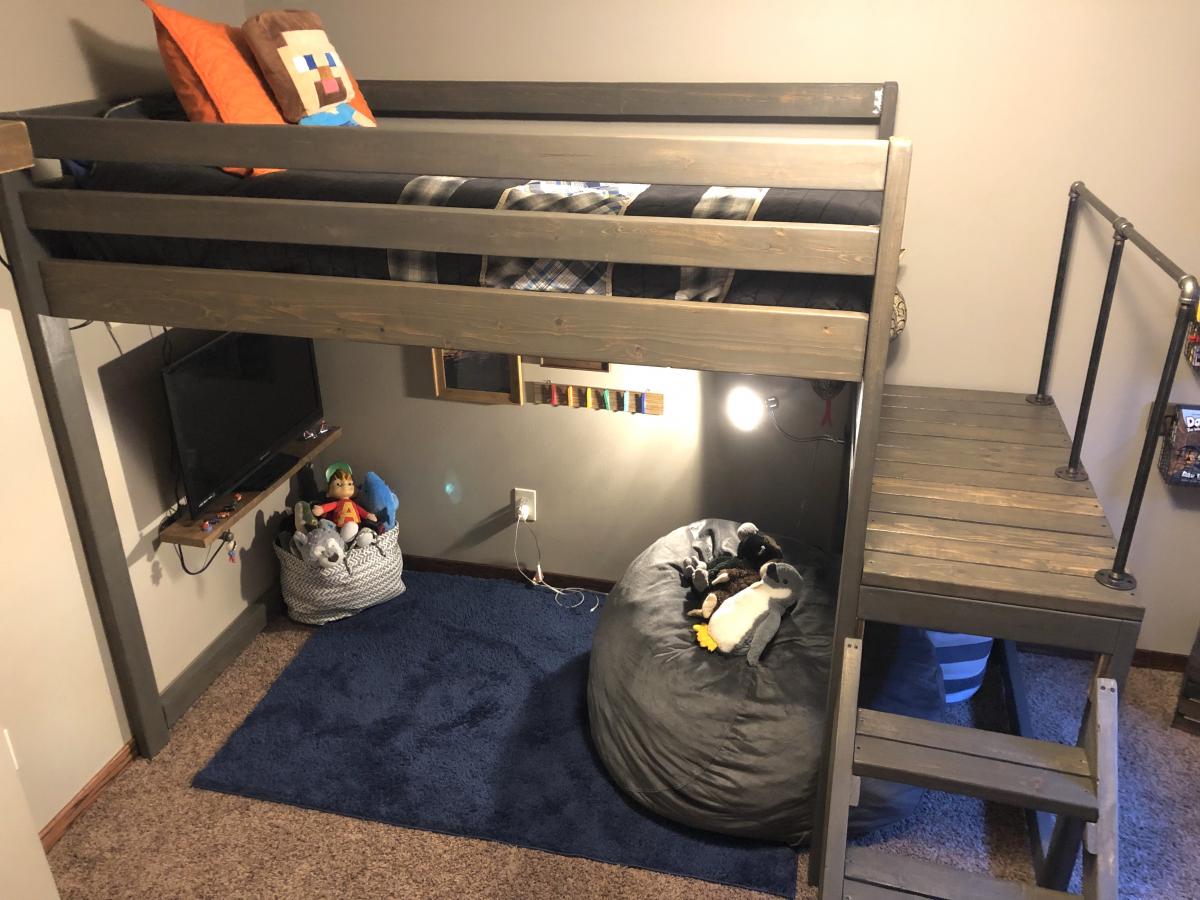
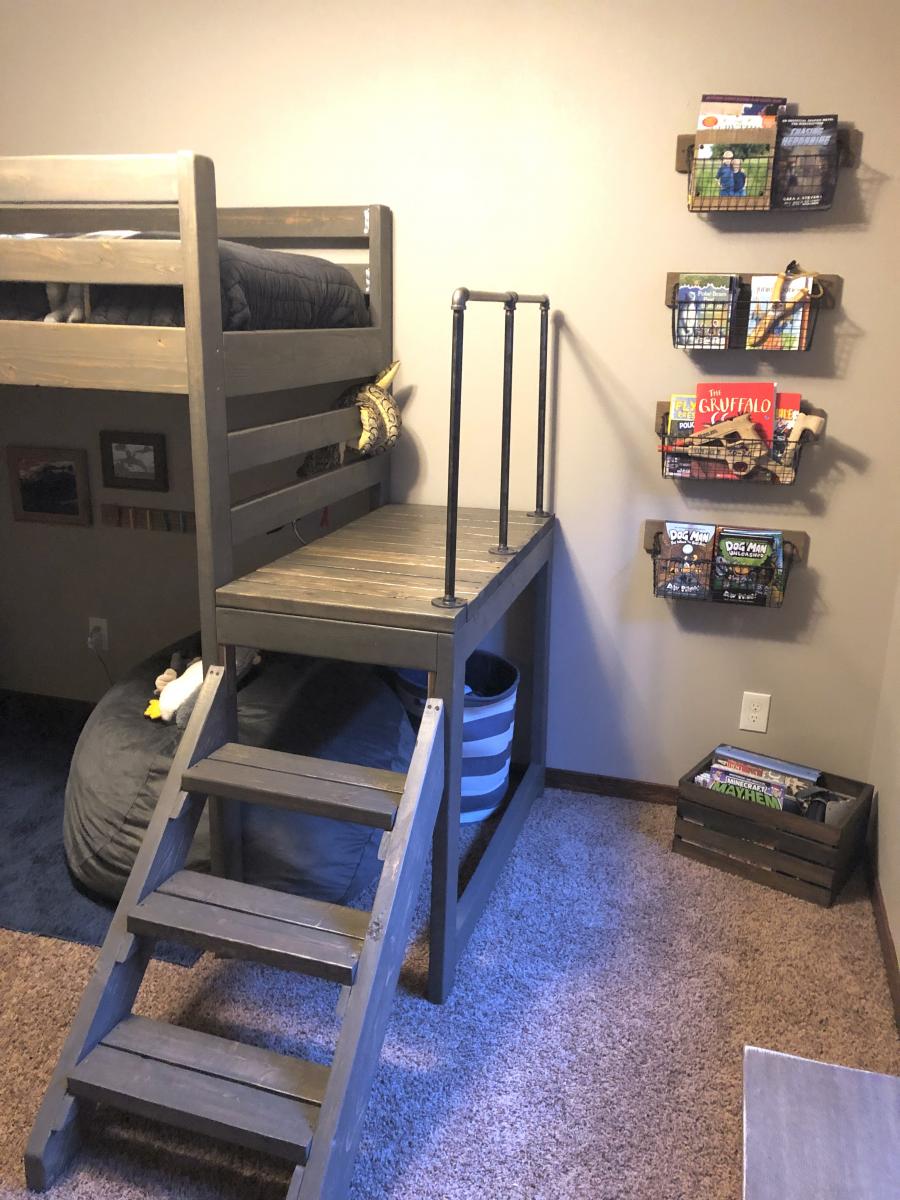
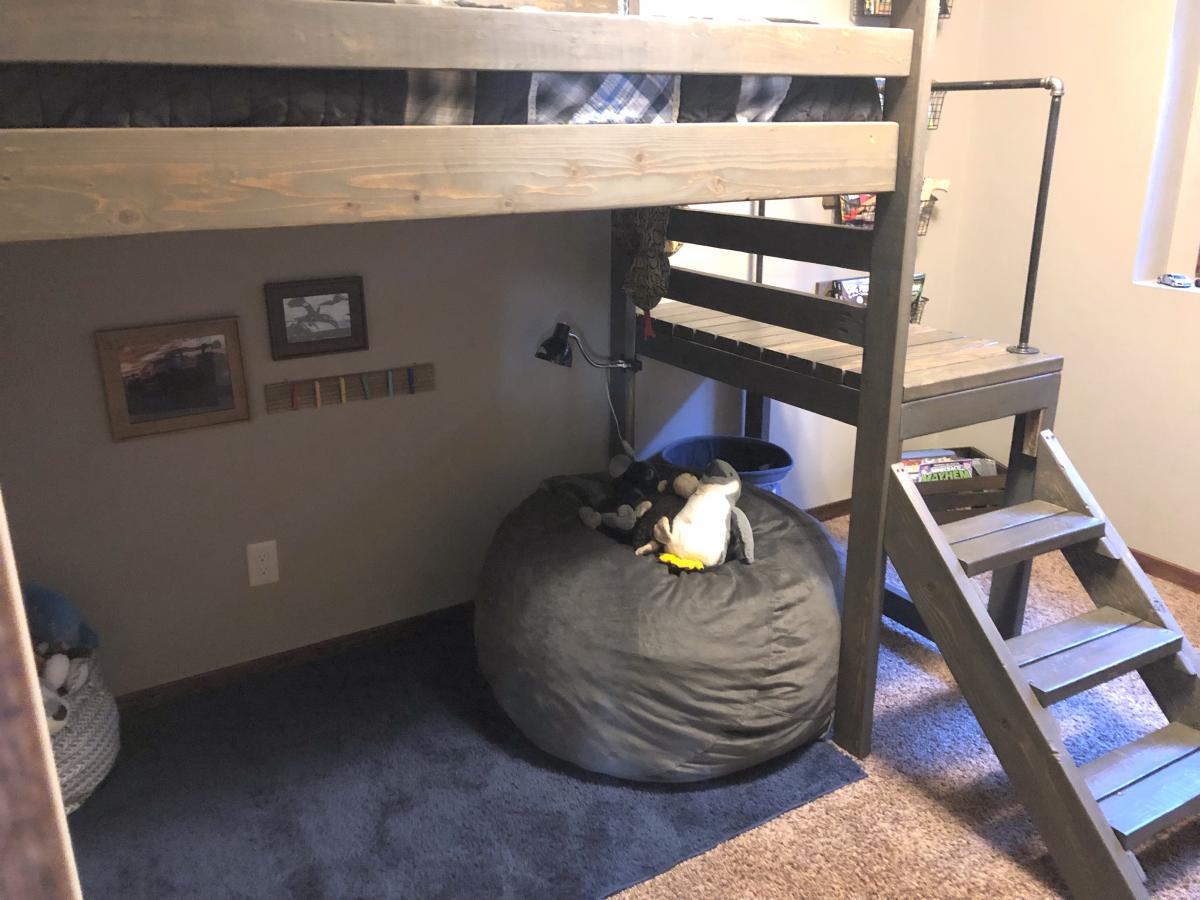
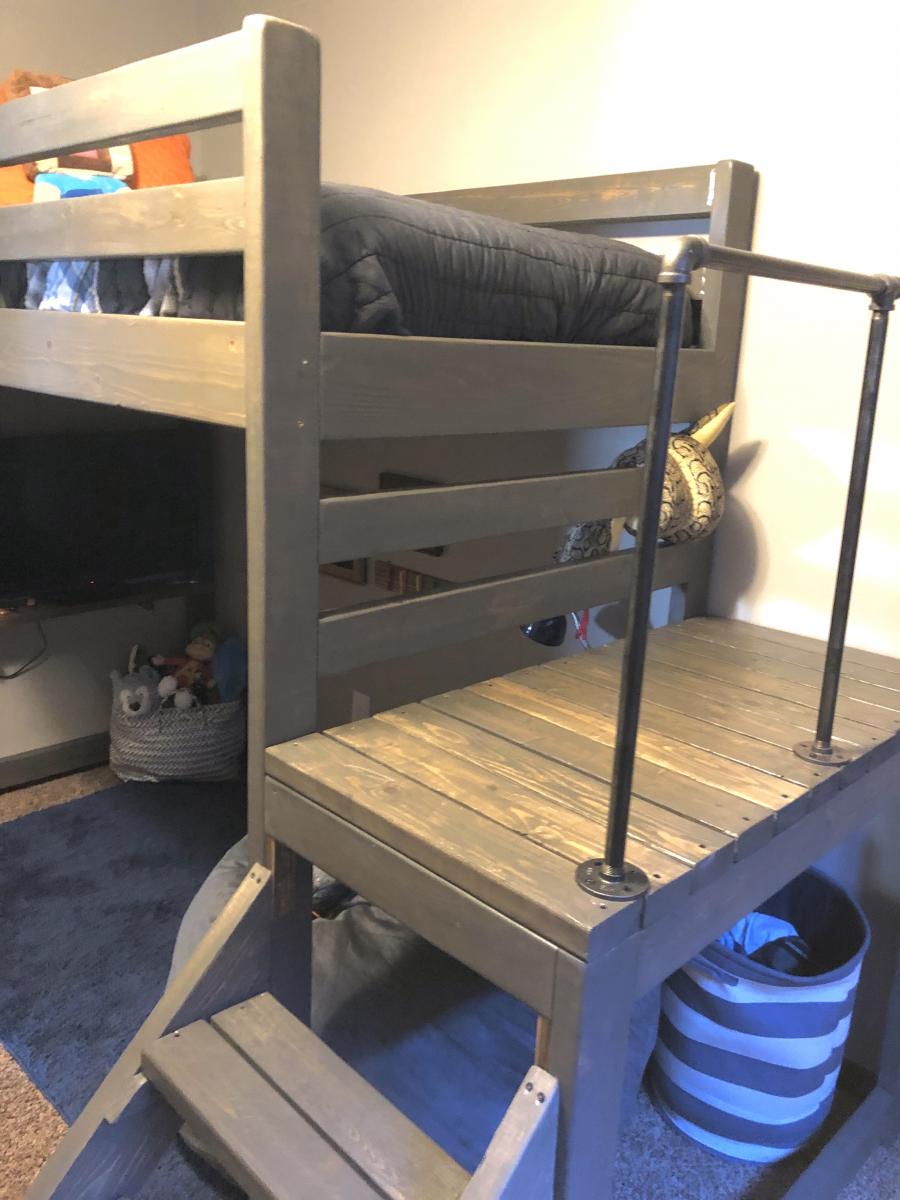
I built this bed for my 8 year old son's room "face lift." His only request was to have a place to hang out, but being his room was so small, that was a struggle! The loft bed allowed us to make a cozy little hangout - the poor guy can't get rid of his siblings now!
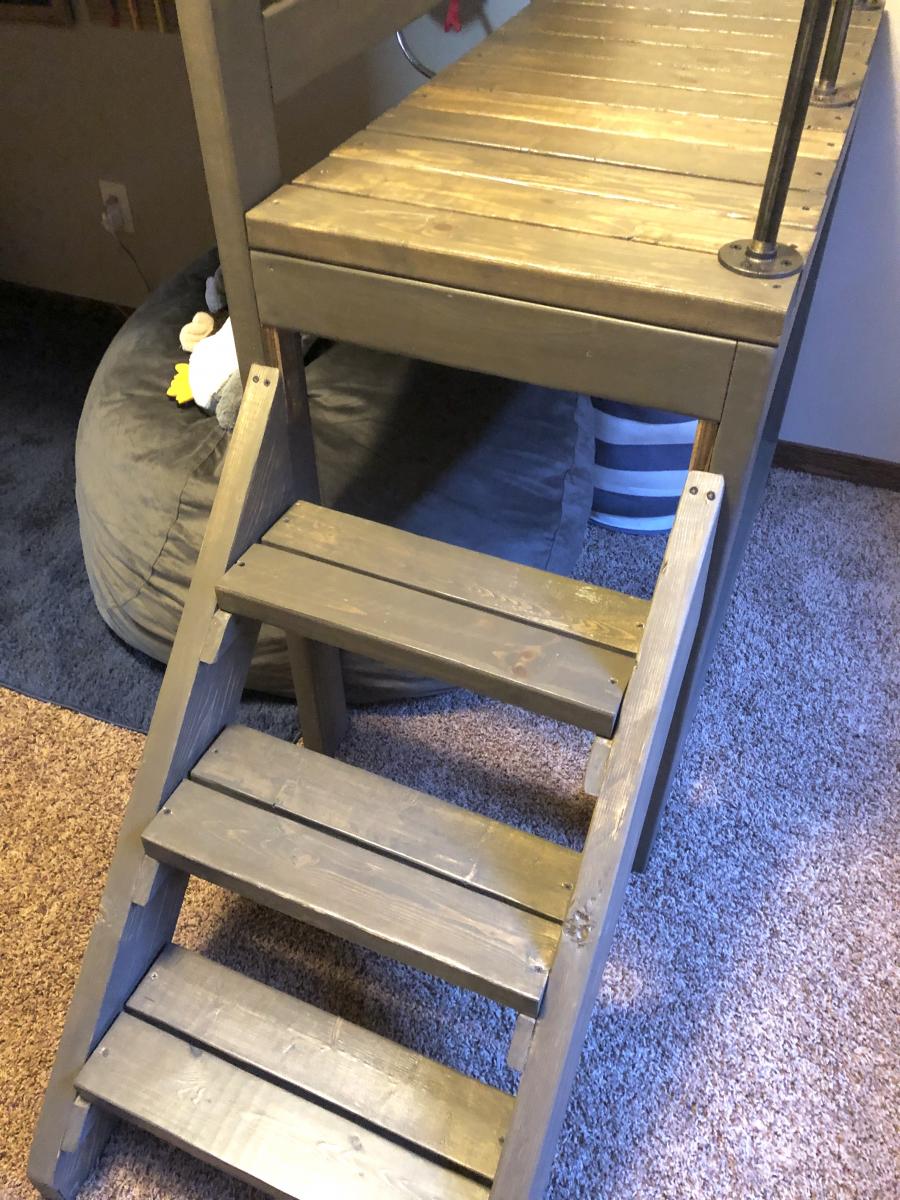
I added a few extra inches to the height of the Camp Loft plan, I also added the pipe hand rail for additional safety and give his room a little older boy vibe! It was a very easy build, the staining/sealing took the longest. The stairs make it much easier to change sheets and getting up and down for those of us who aren't 8 year olds :).
This was a great build and easy to do.
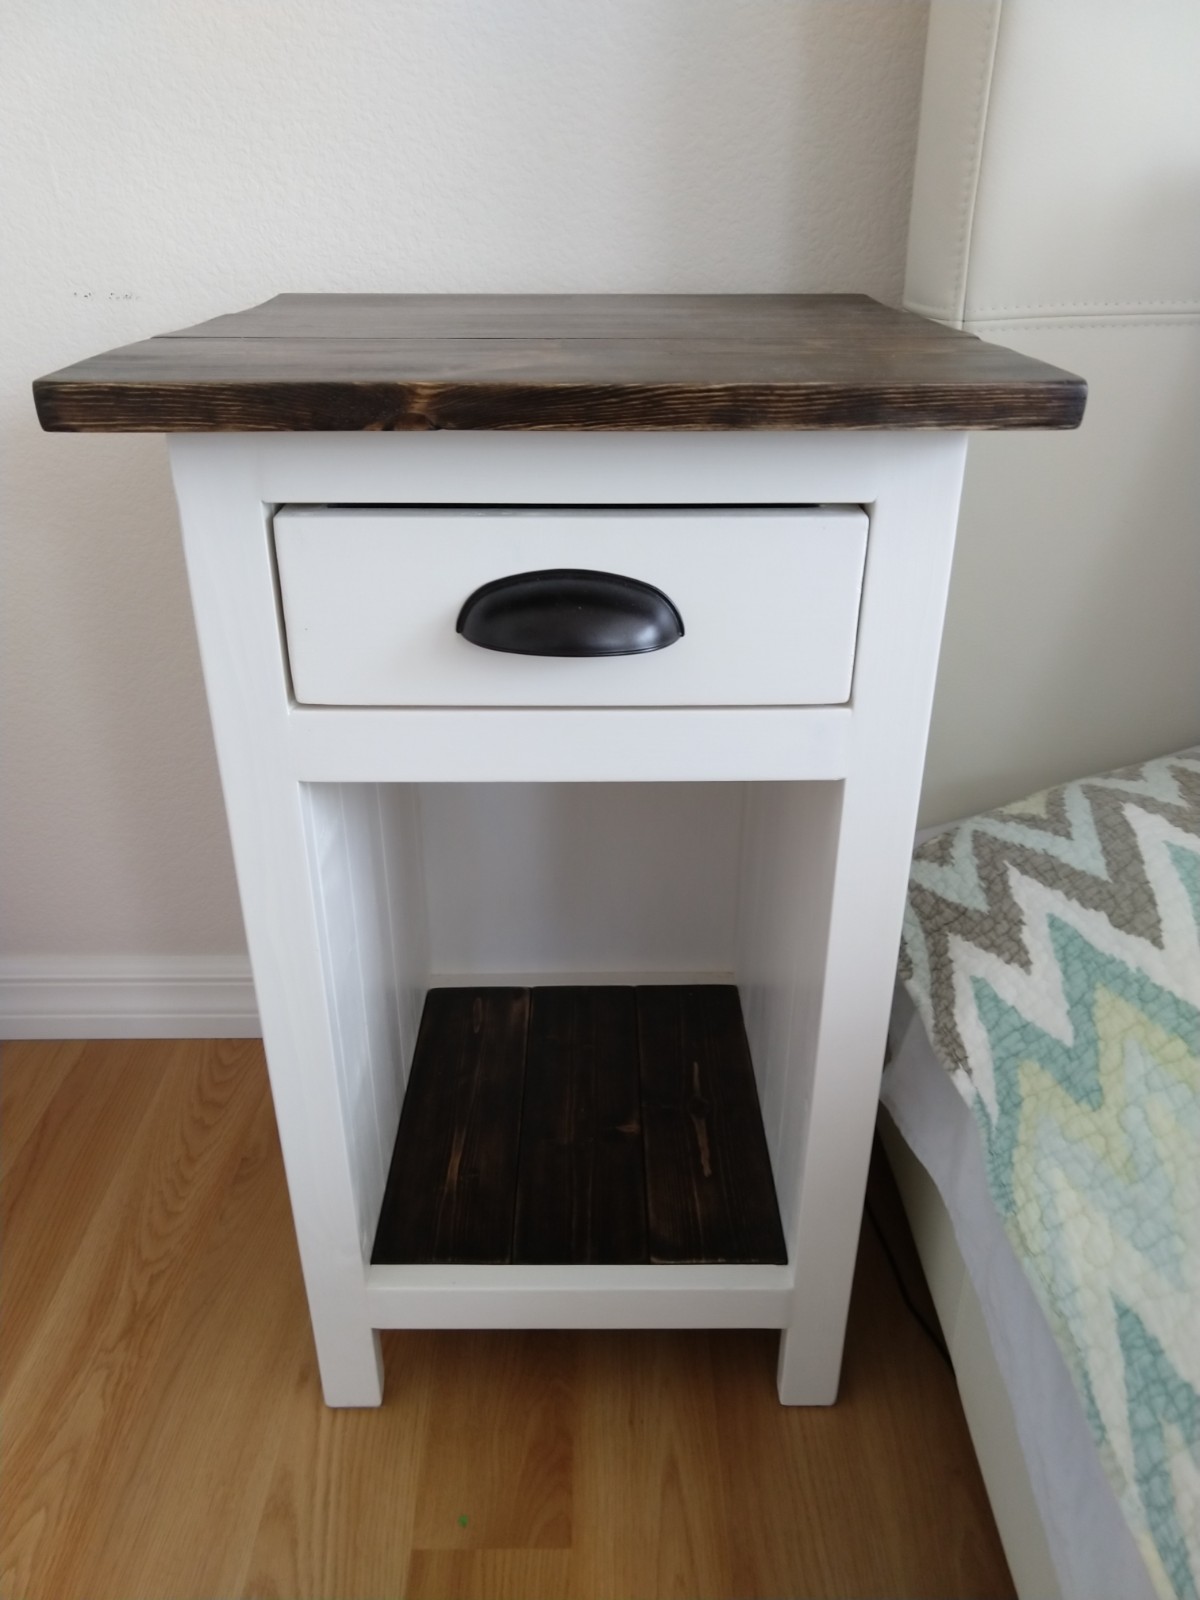
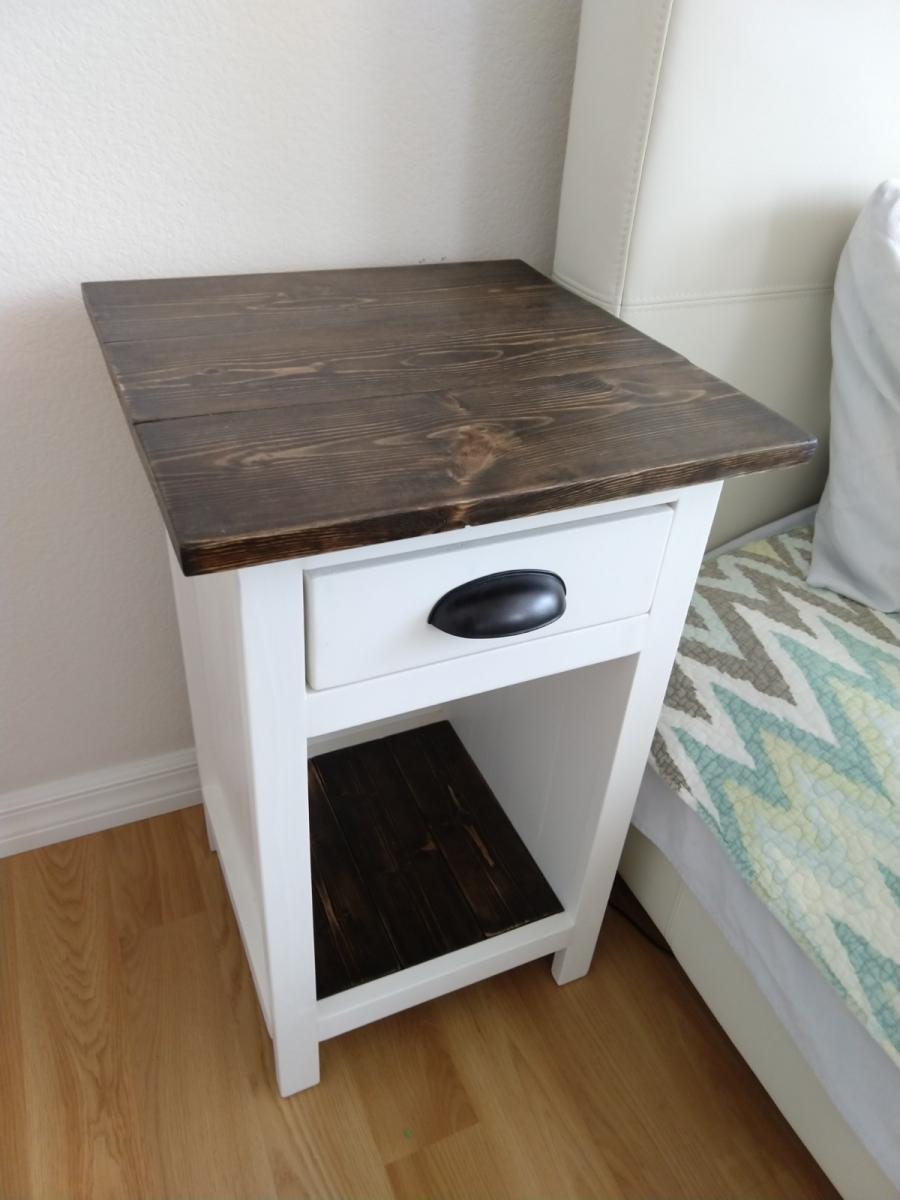
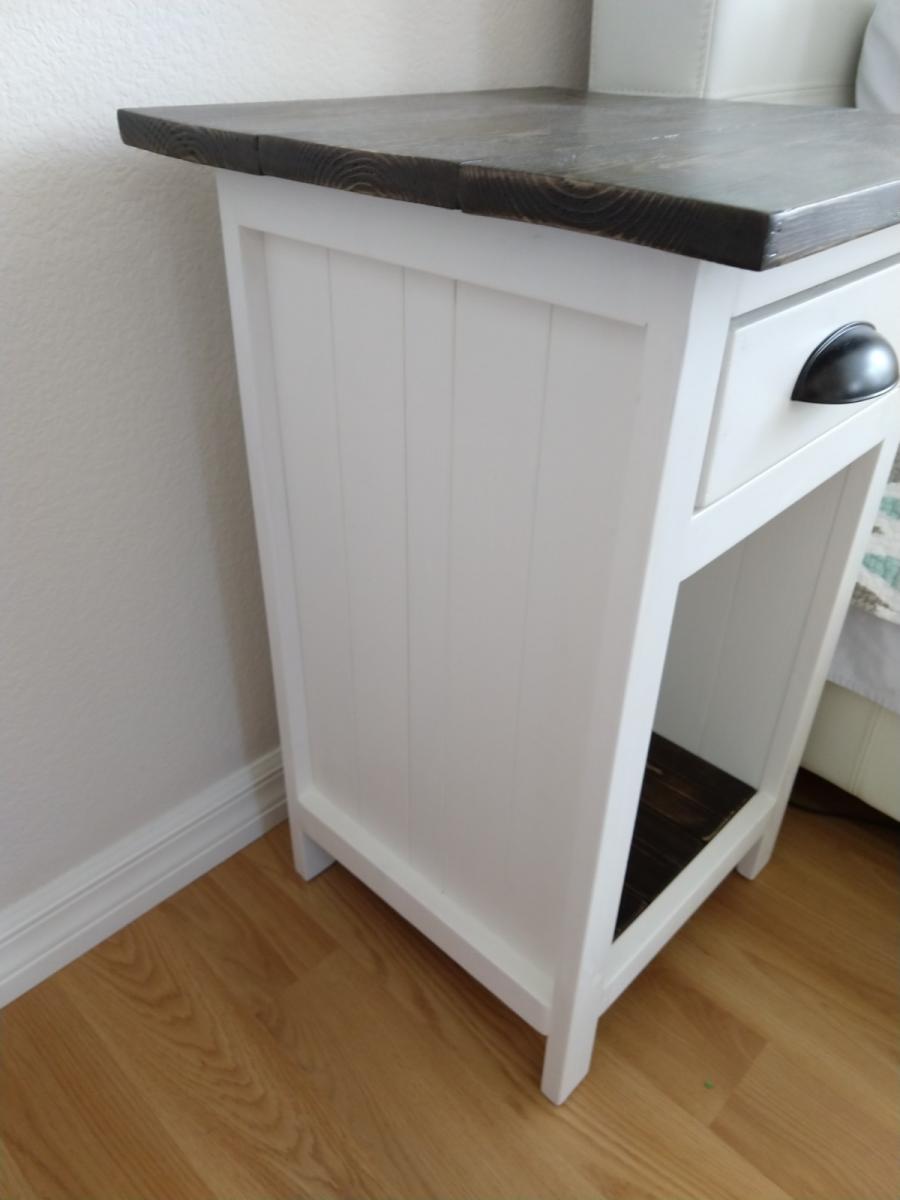
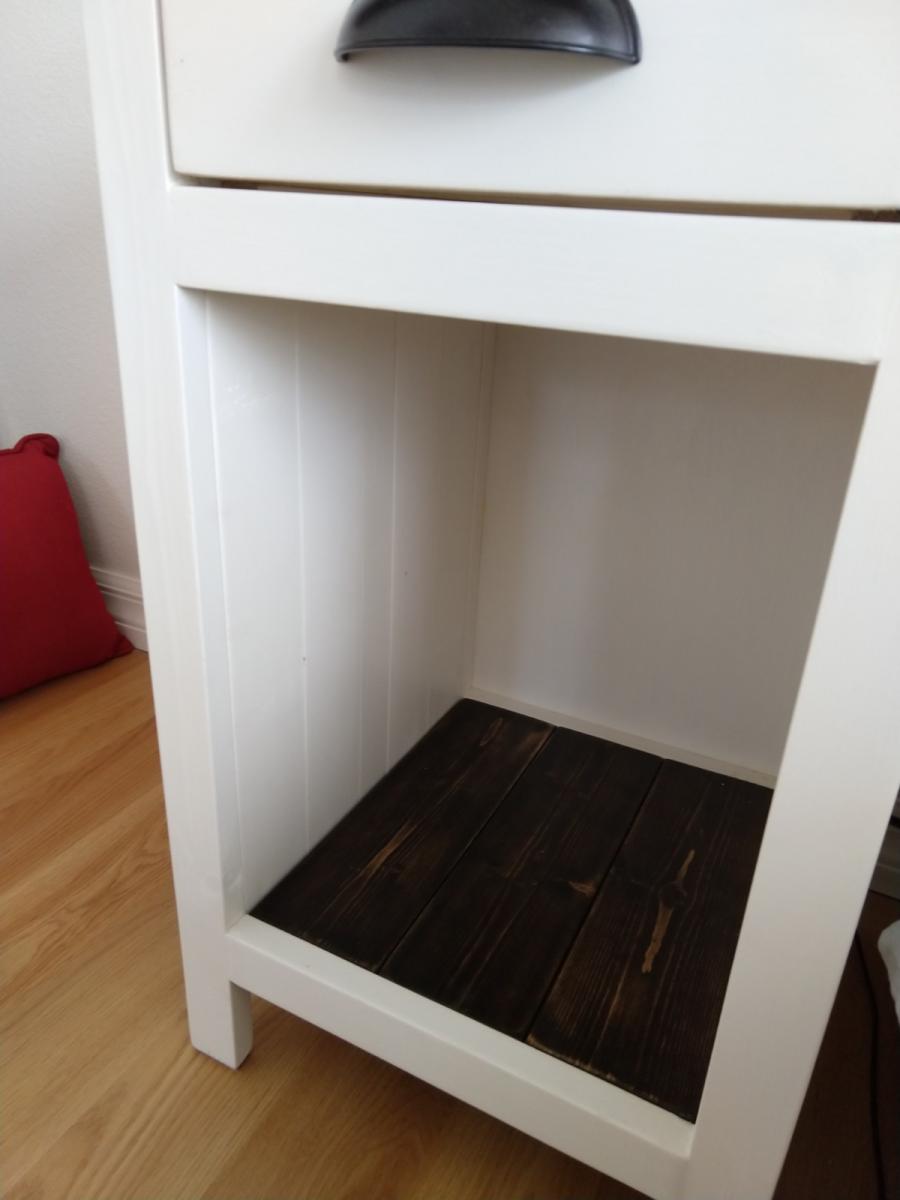
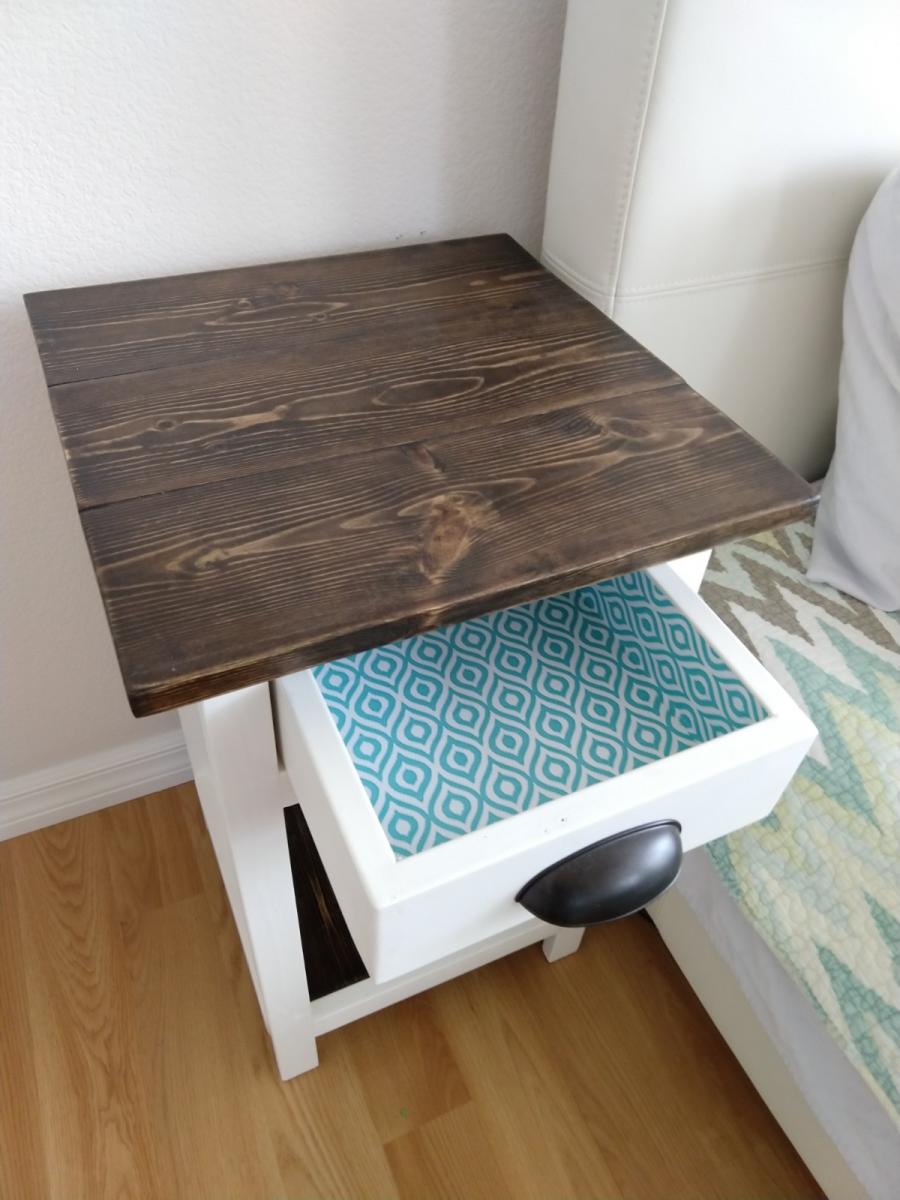
By far my favorite project! It was challenging combining two sets of plans, changing dimensions, and learning new skills all at the same time yet so, so, rewarding.
I loved the look of the Mini Farmhouse Bedside Tables but wanted to create a bookshelf as well so, I used the planks idea from the Planked Wood Bedside table plans to create solid sides, and a plywood backing for support and to hide lamp and phone cables.
I have a very low bed, so I shortened the height and made the top proportionate in size.
I used 1x6s for the top, 1x4s for the bottom shelf, 1x3s and a 1x2 for the side panels, 1x4s for the drawer, and 1x2s for the trim and a piece of 1/4" plywood for the backing.
I found that the drawer fell out when you pulled it too far so I added piece of wood between the drawer and the top to keep it from dropping as you pulled it out.
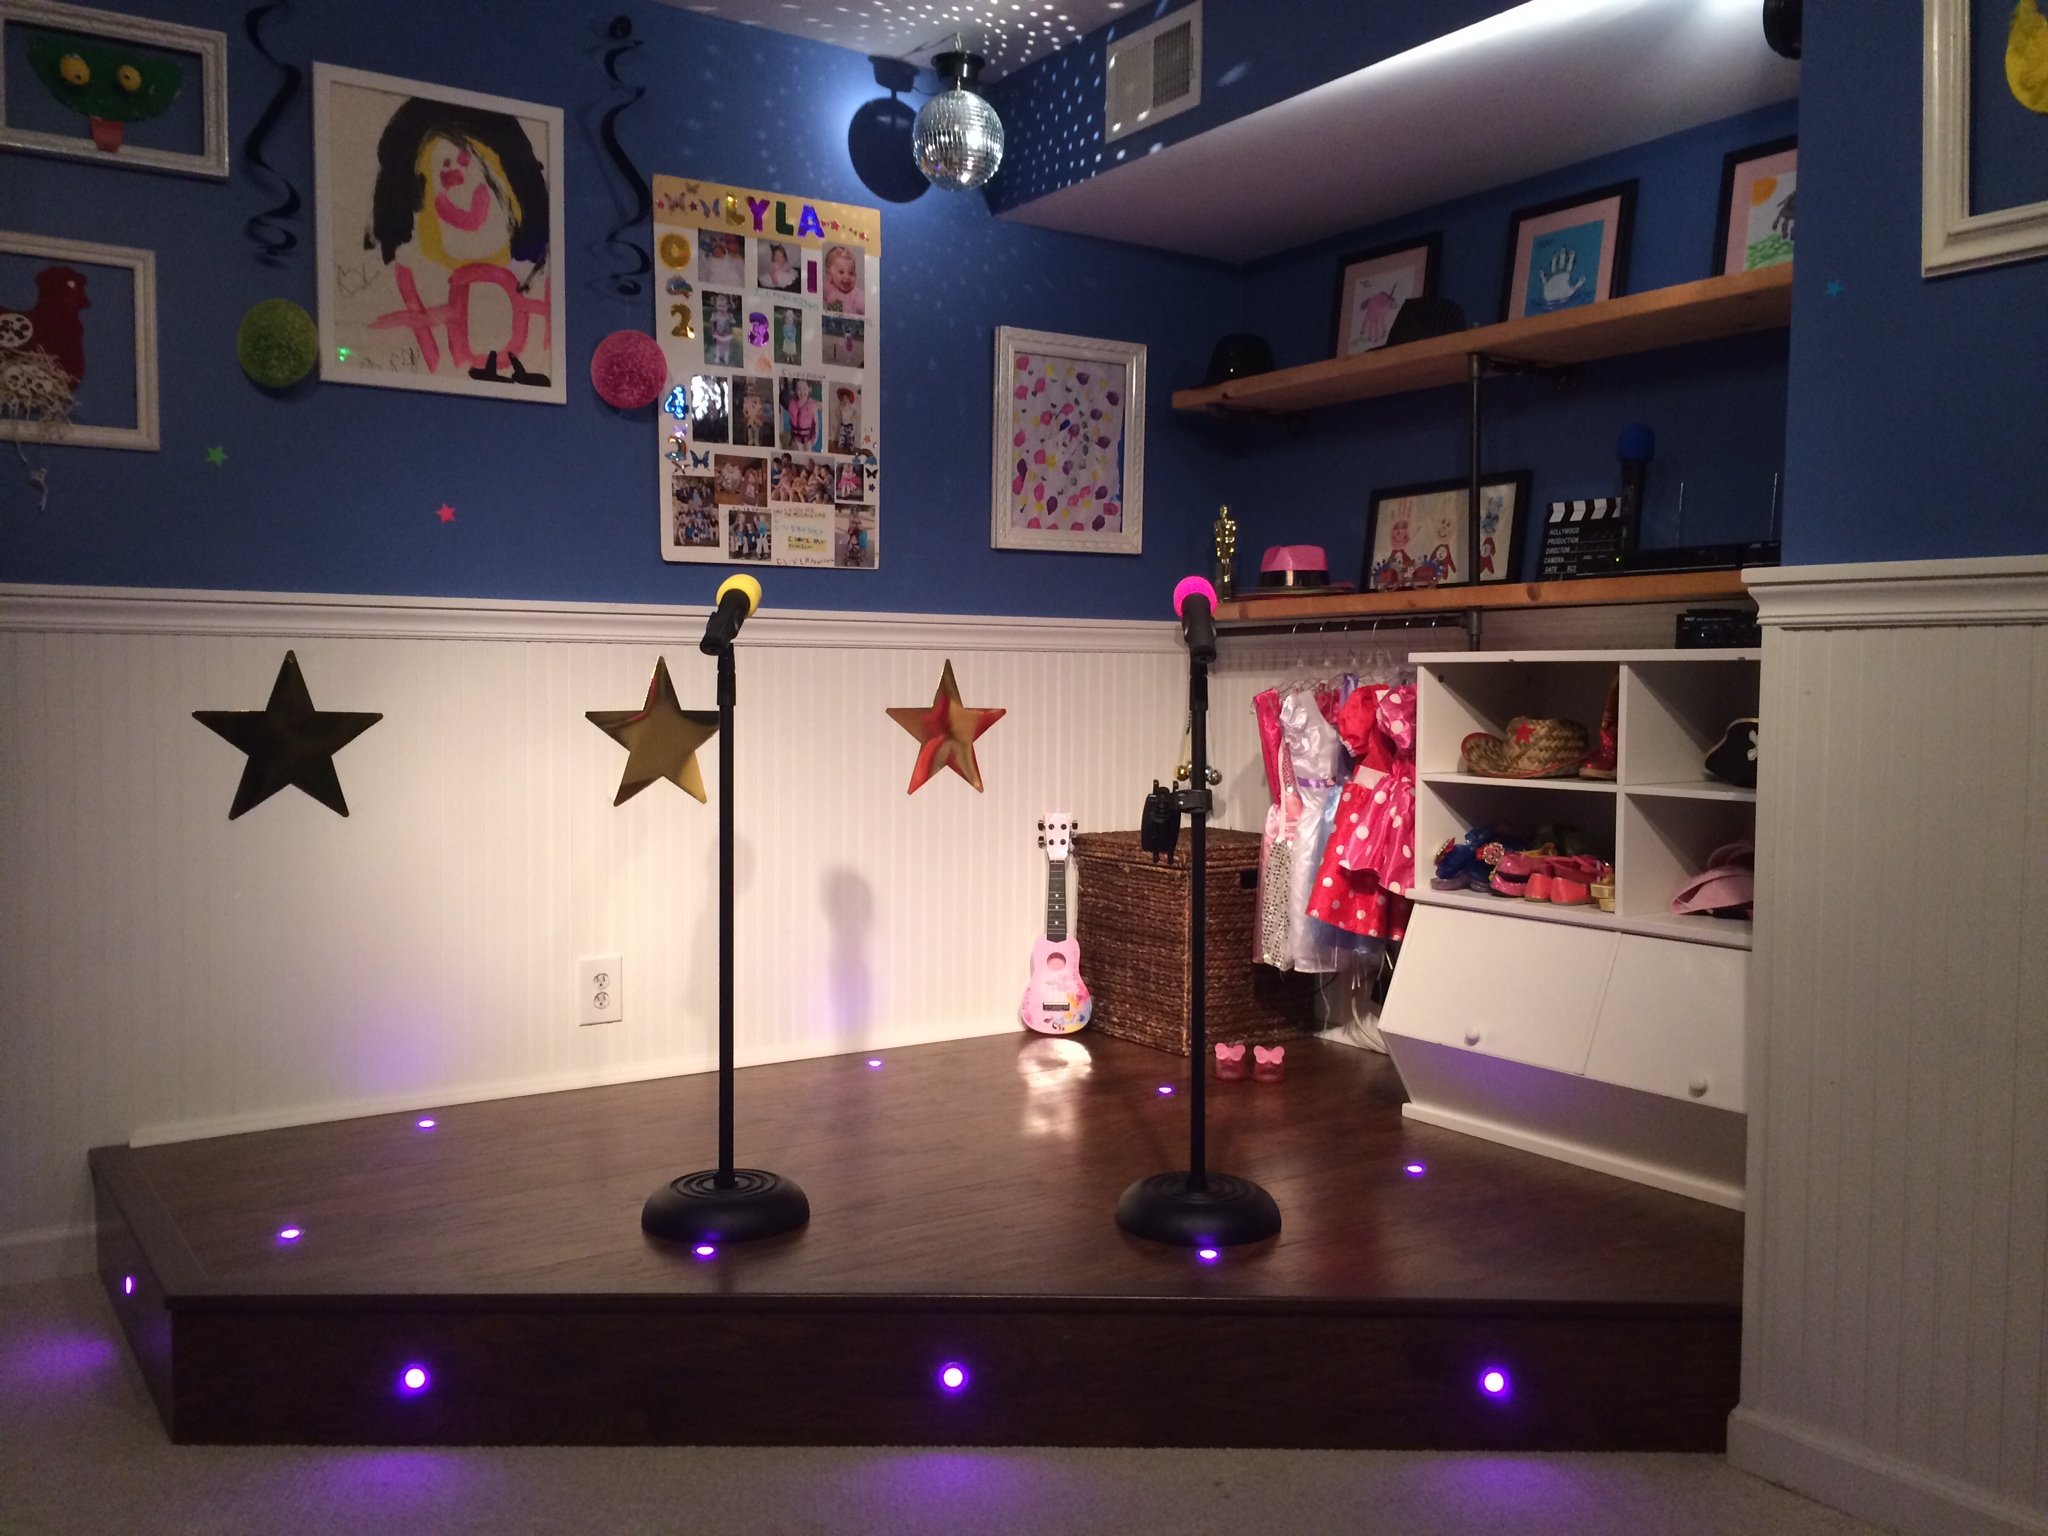
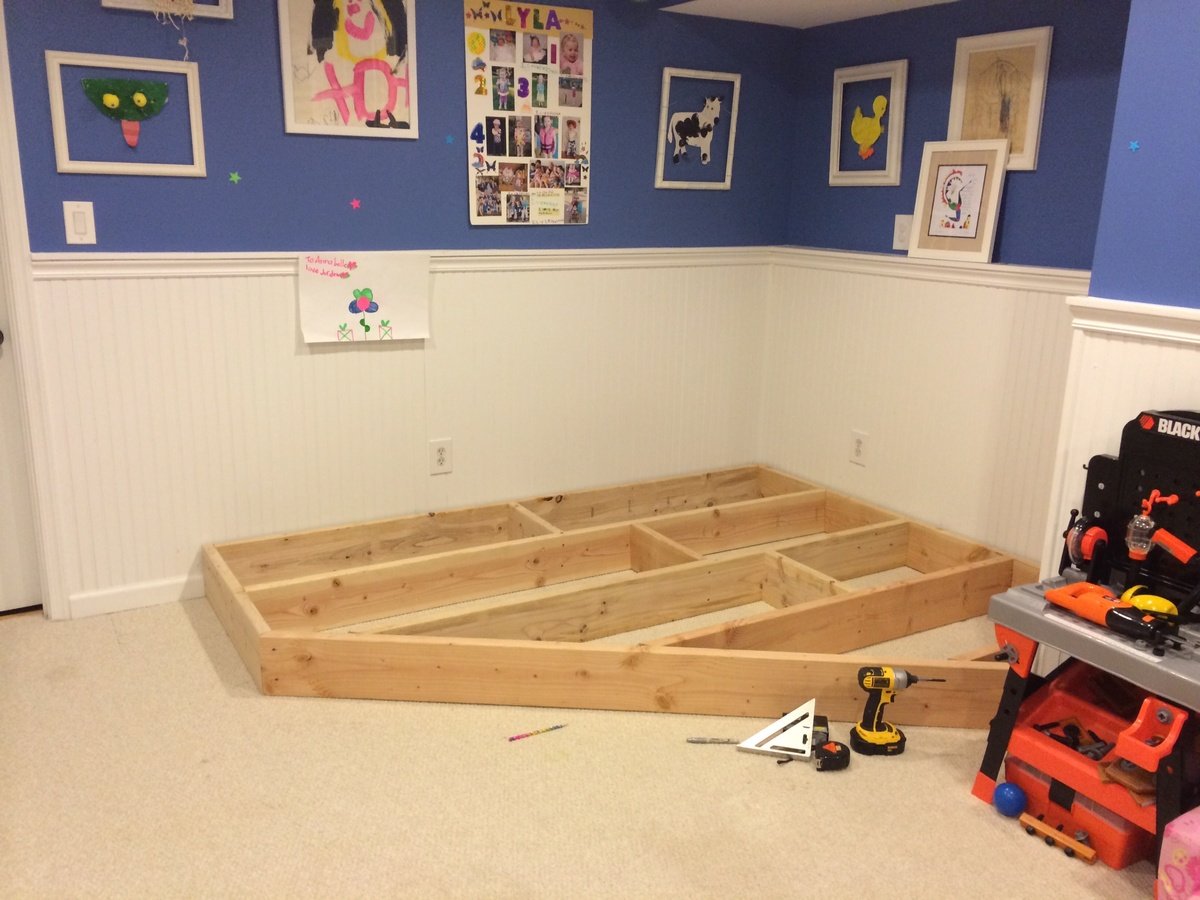
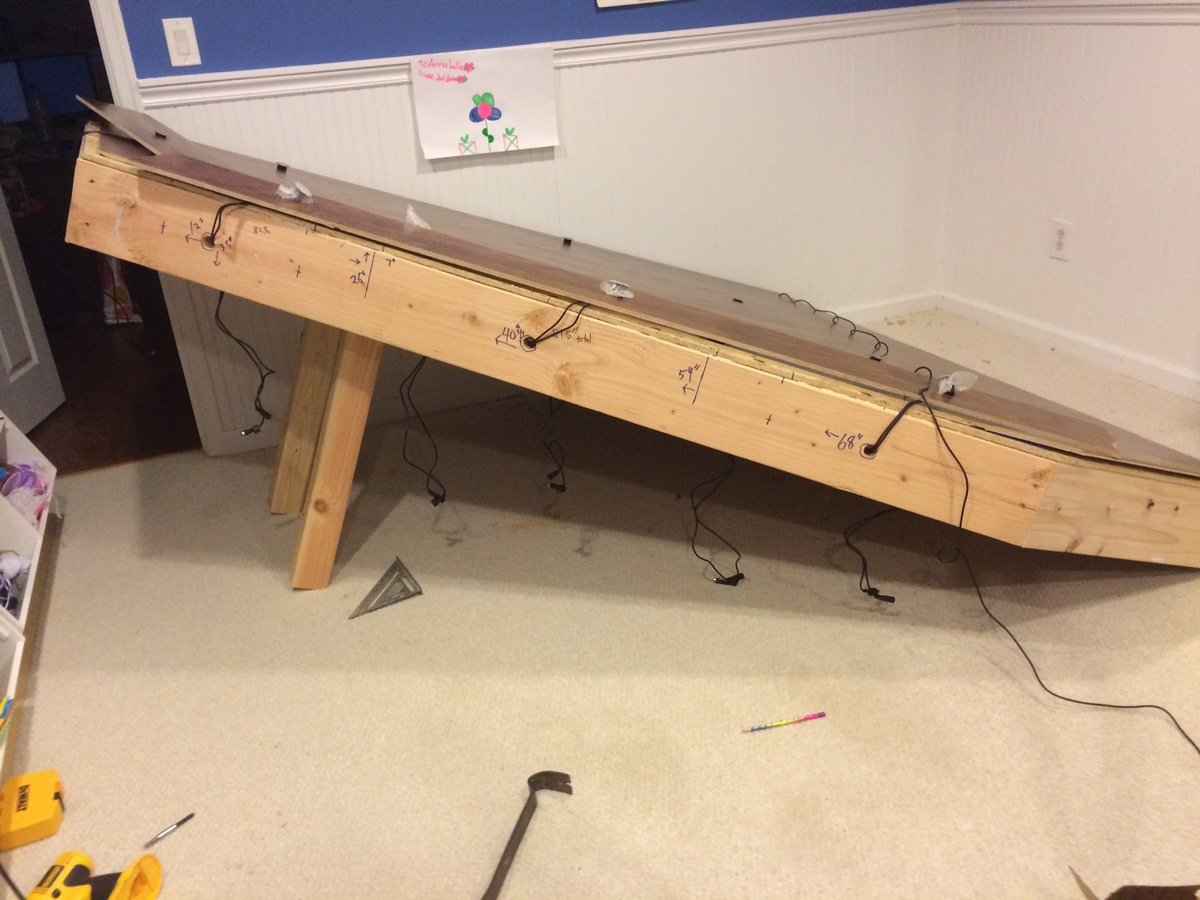
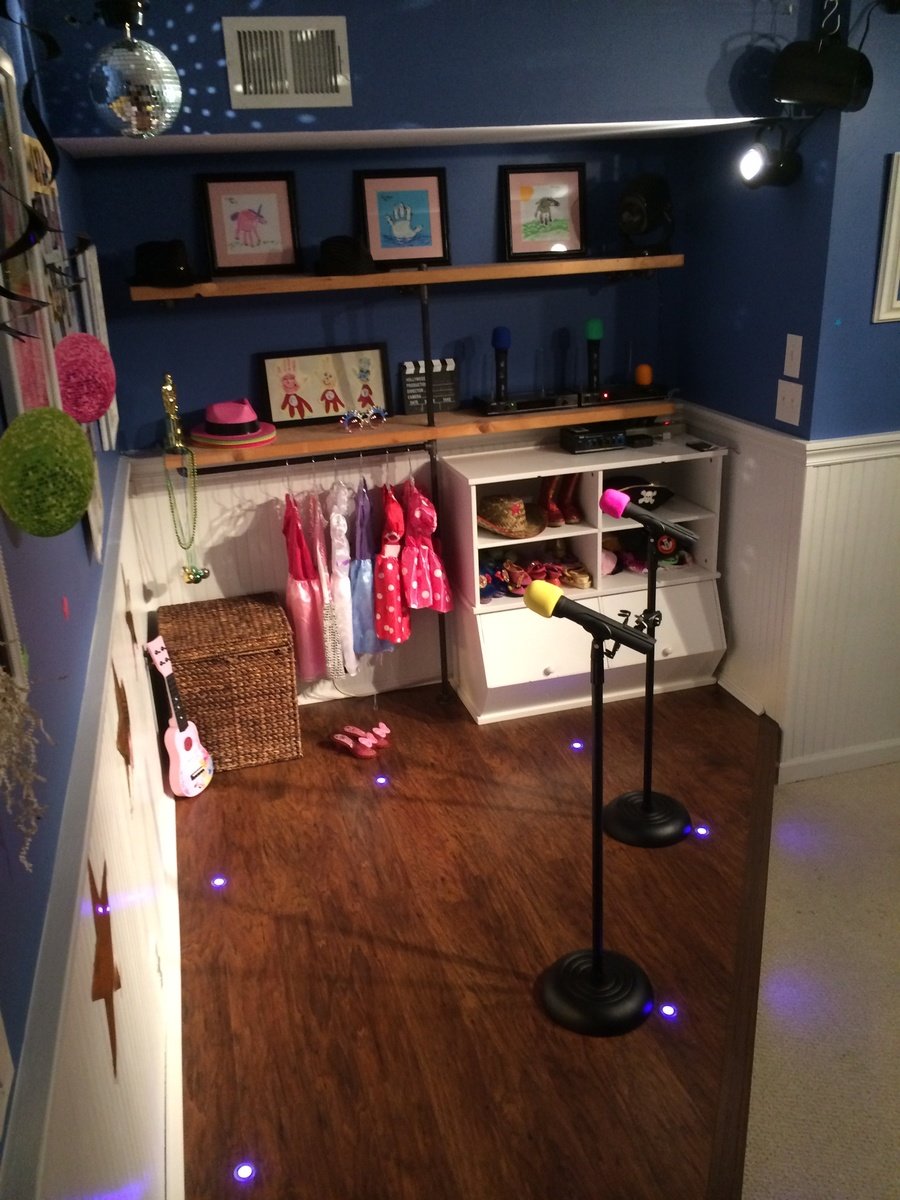
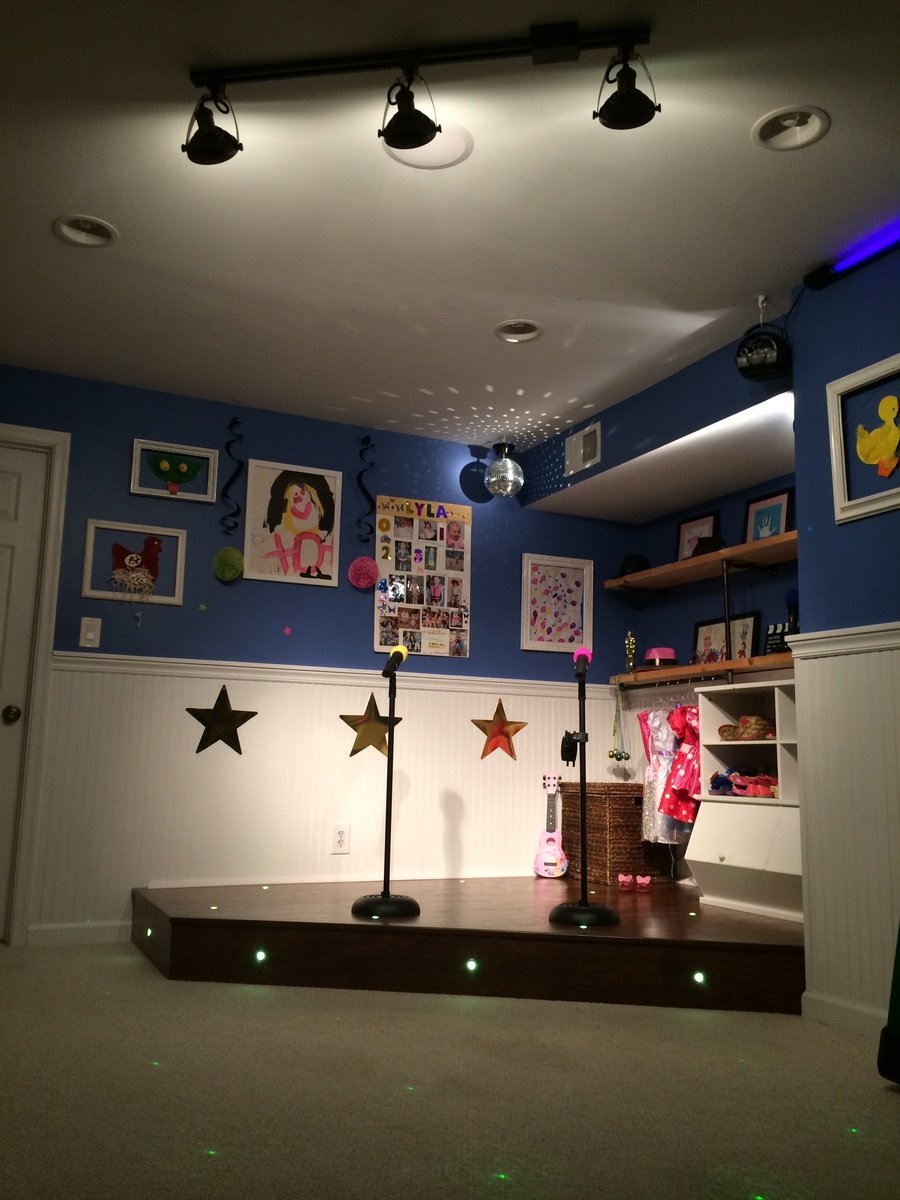
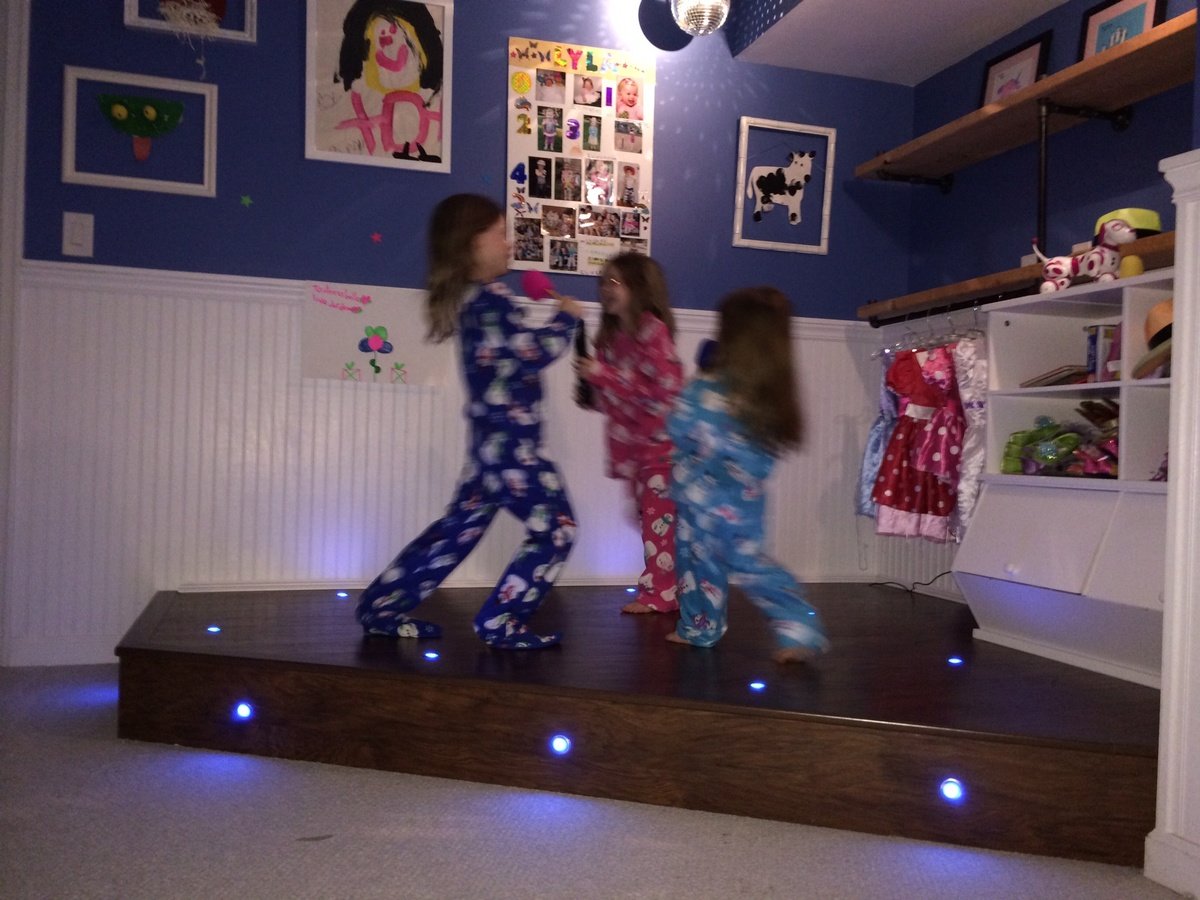
I had a perfect corner in our playroom that was reserved mostly for clutter and always wanted to do something fun with it. The base is made with 2x8"s topped with Handscraped Hickory laminate flooring. Bored holes into the floor and installed 1" diameter color-changing LED decklights. Added theatre-style tracklights, disco ball and other dance floor lighting for extra effect. Of course the stage wouldn't be complete without wireless microphones for karaoke and mic stands hooked up to a small amp and speakers in the ceiling. I made the shelving on the right side with 1/2" black pipe and used leftover 2x12" shelves from an old garage shelving install from 7 years ago! The kids were ecstatic on Christmas morning for the reveal!
Sun, 07/27/2014 - 15:52
This is great! I was just wondering what your dimensions were? I've been looking for something like this to do for my niece but have been struggling to find a plan and figure it out myself LOL.
Tue, 08/05/2014 - 05:58
Hello, the back wall is 8' and side wall is 6.5'. The stage comes out about 2.5' on each side then the front is around 7'.
Hope that helps, good luck!
Sun, 04/10/2016 - 14:44
Actually, I was wondering ,what lights did you use? I'm working on a very similar project and was curious to the lights your used please.
Sun, 12/08/2019 - 17:11
Can I ask about the lights you used or would recommend? Getting started tomorrow. A stage from Santa. Please help! 😬
Sat, 12/18/2021 - 14:09
Hello! Also wondering which lights you used. Thank you!

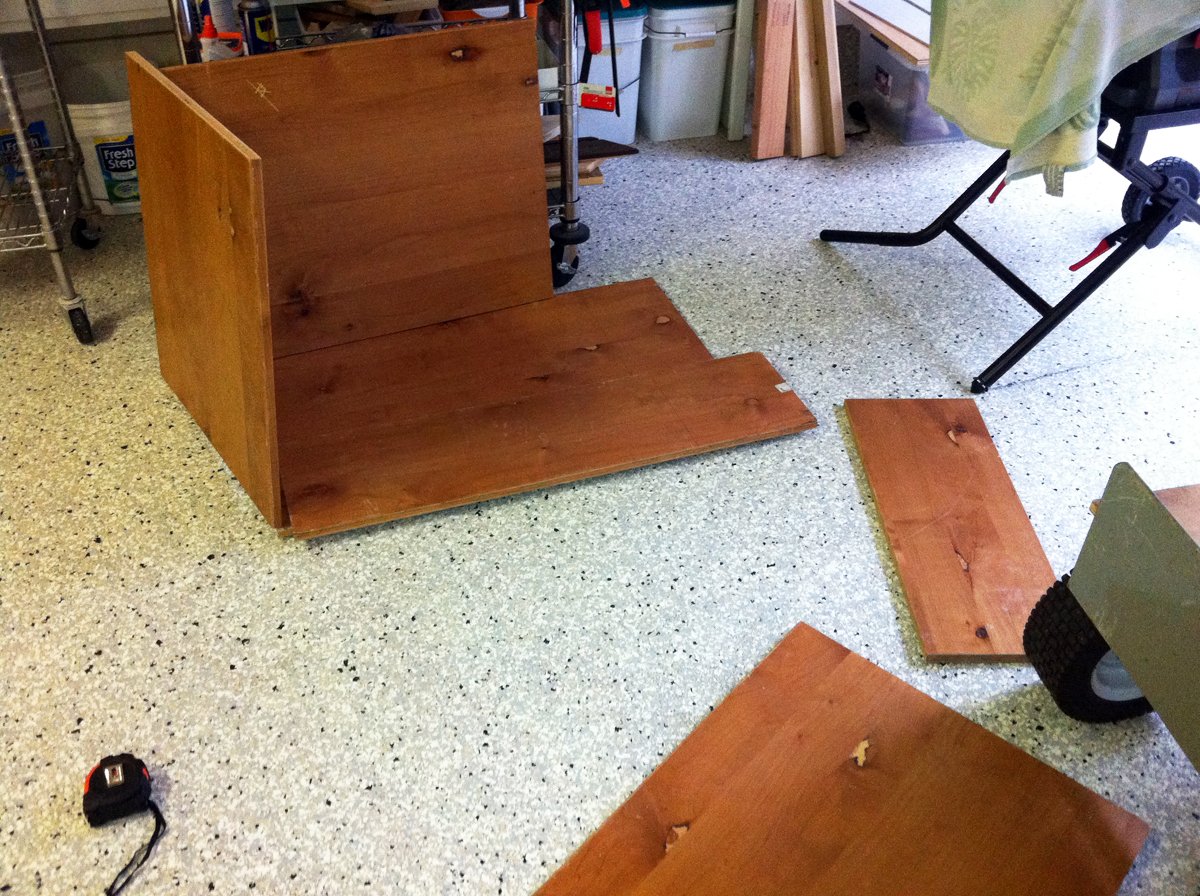
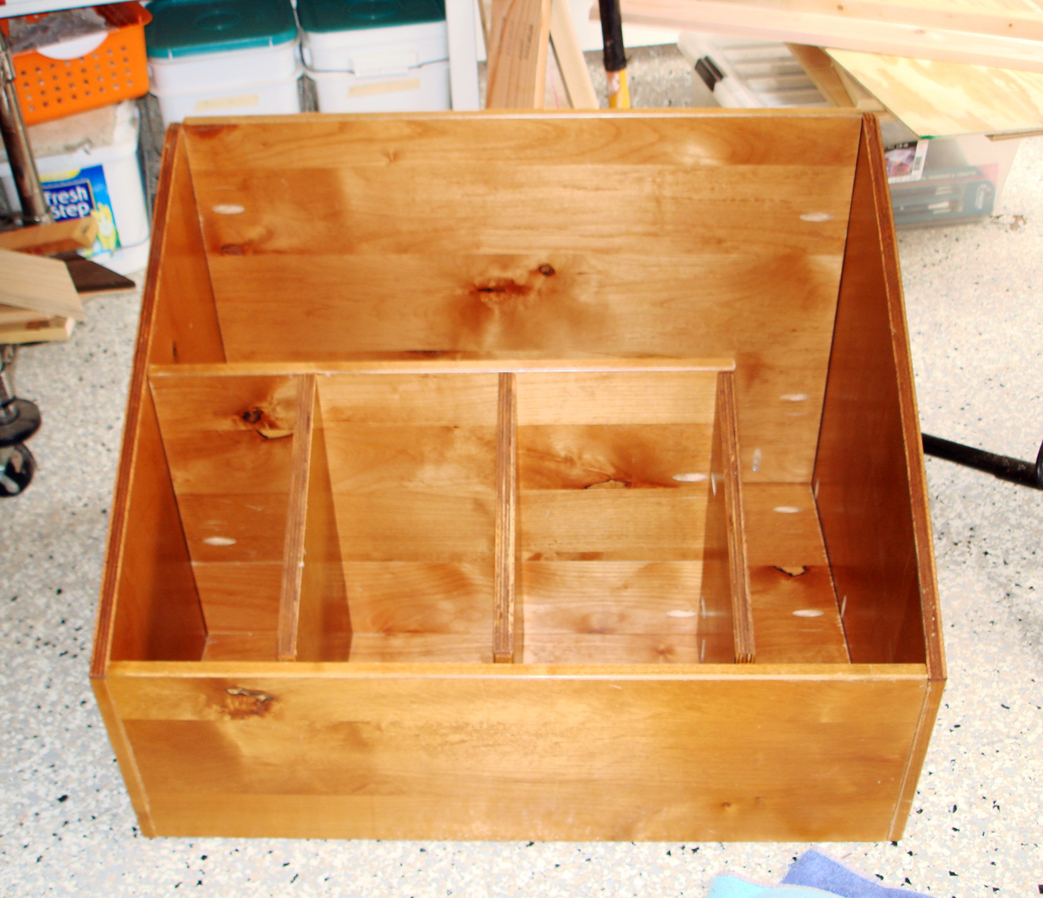
My wood scraps were definitely getting out of control, and I needed something to store the wood vertically. I had some spare wood (free from Craigslist), so I put together a wood storage bin. All in all, the project cost me the price of some Kreg screws.


Mon, 03/19/2012 - 20:13
Love it! I'm building some crates from pallet wood to store my scraps in. Your box turned out very nice.

Wed, 06/06/2012 - 13:21
I have been struggling to organize my space because my lumber is on one of my work spaces. I have the perfect space for that, thanks for the great post!
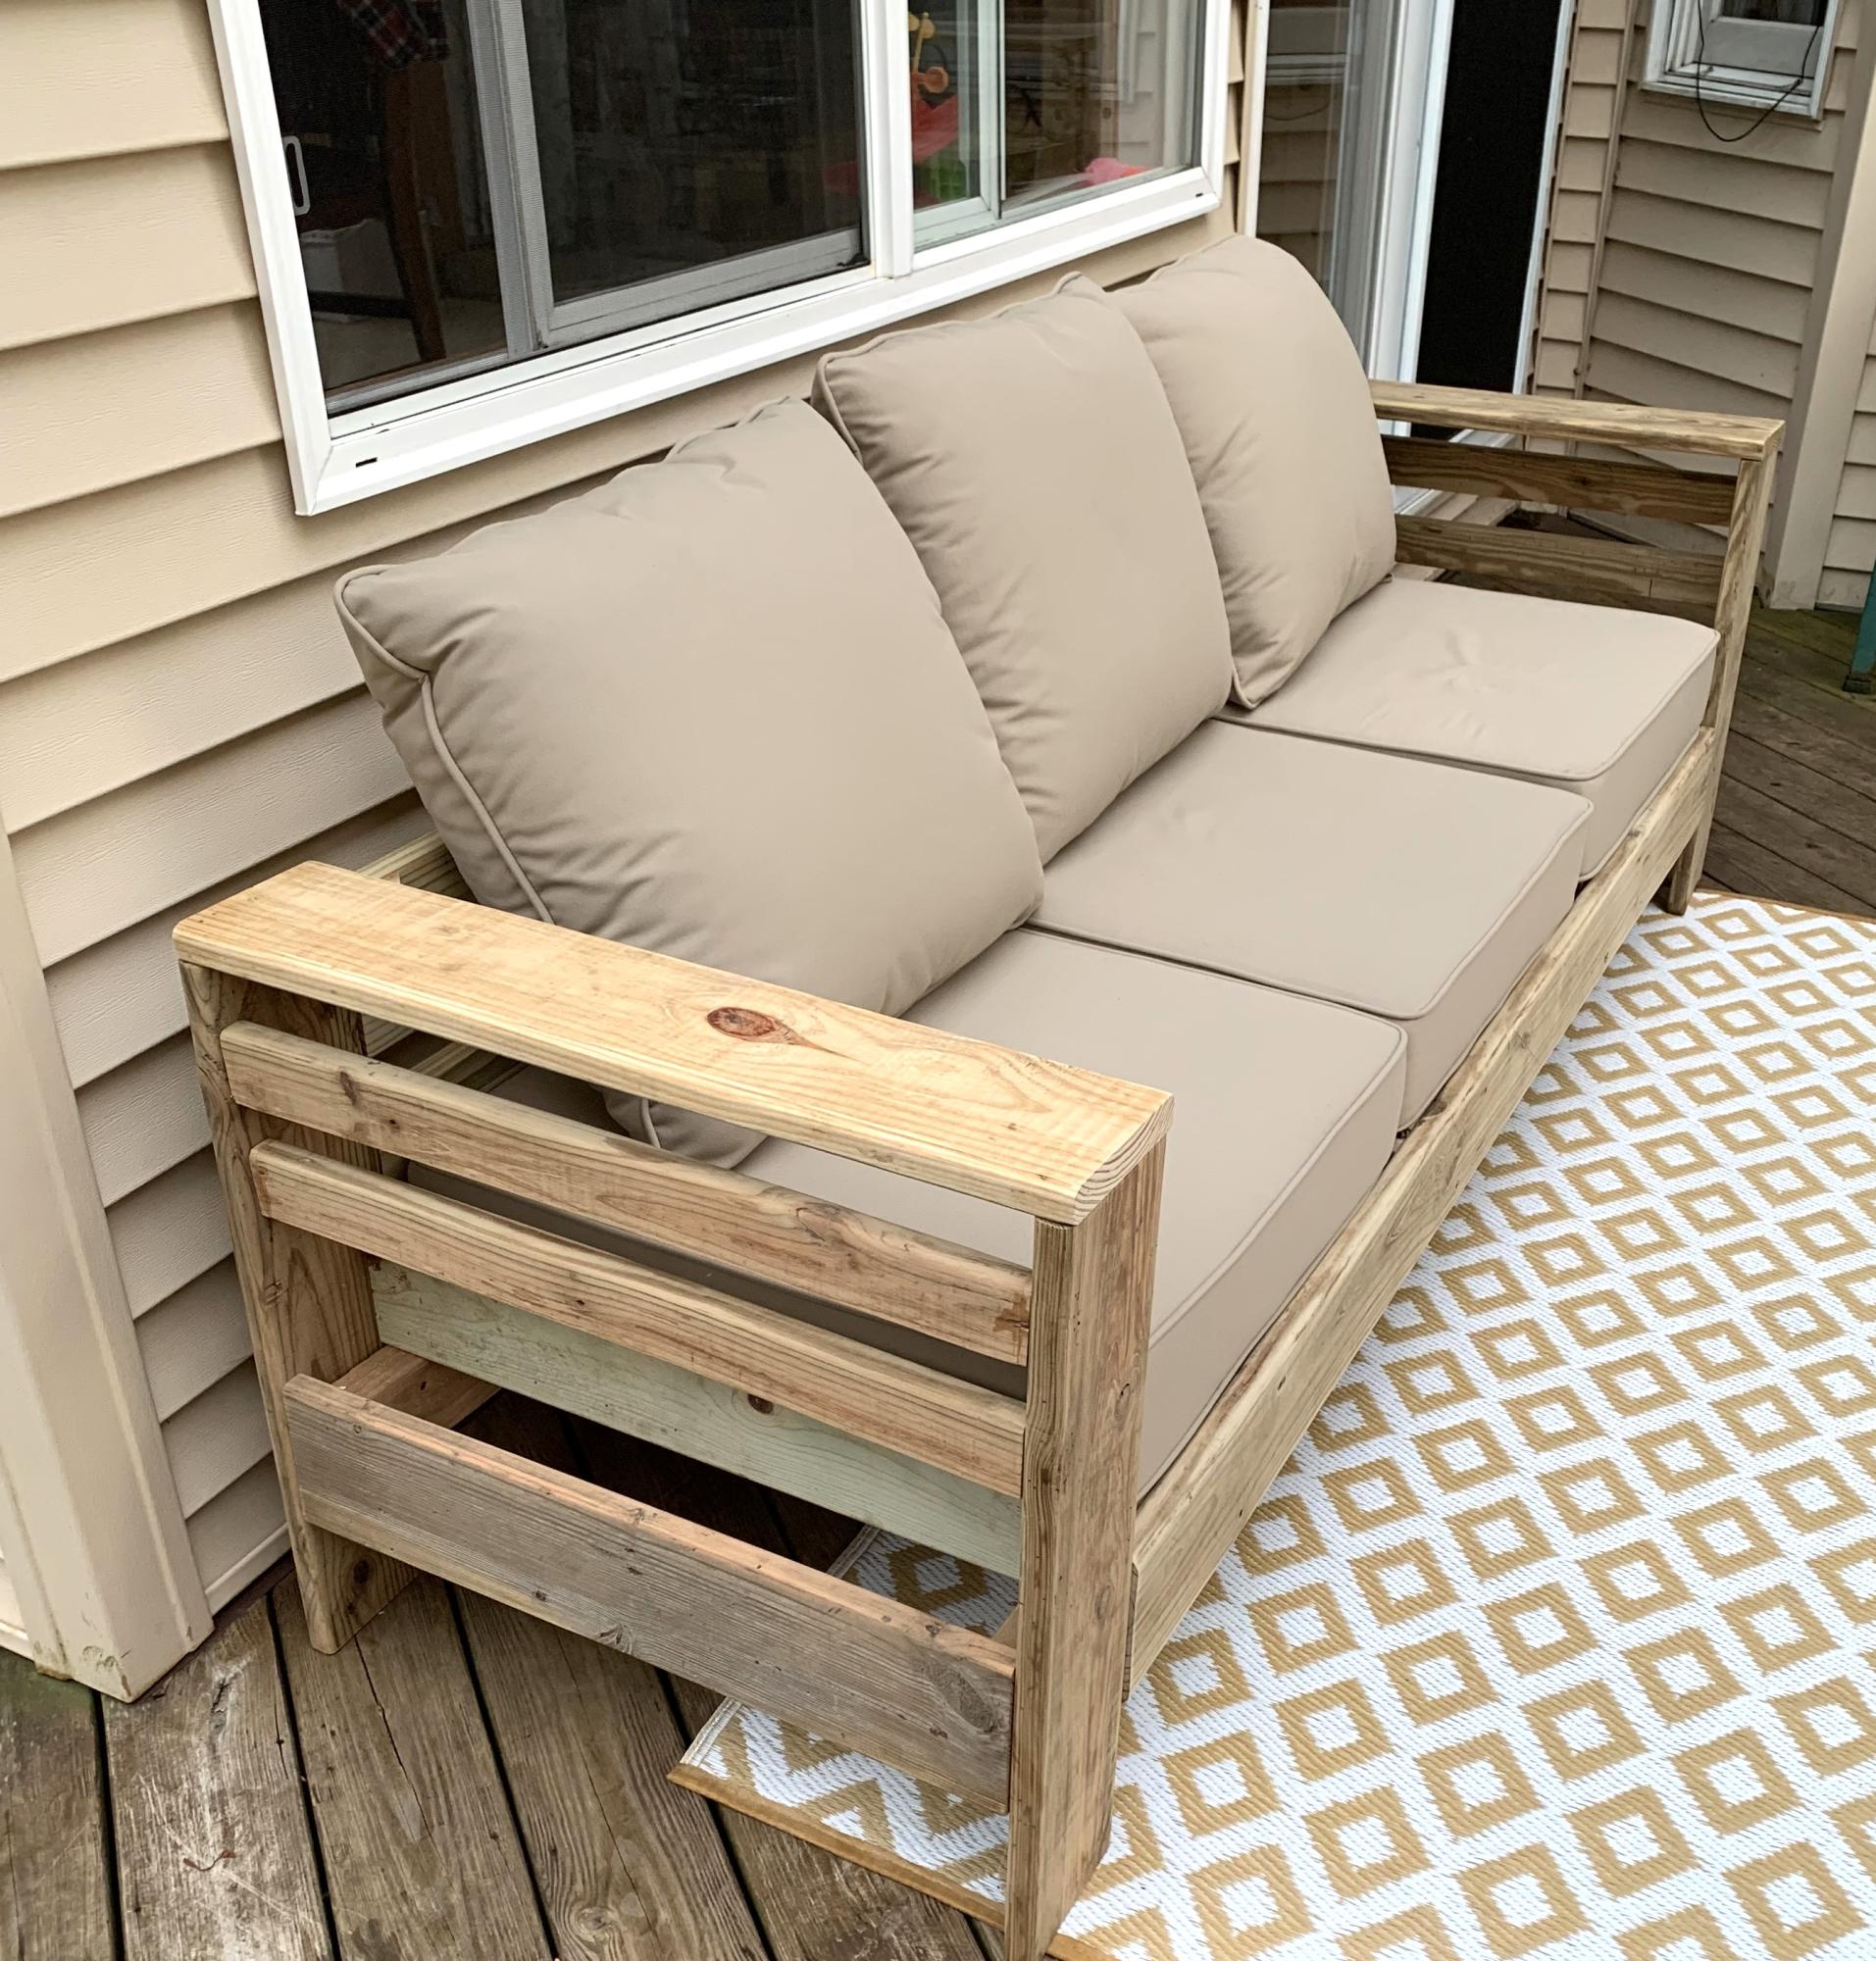
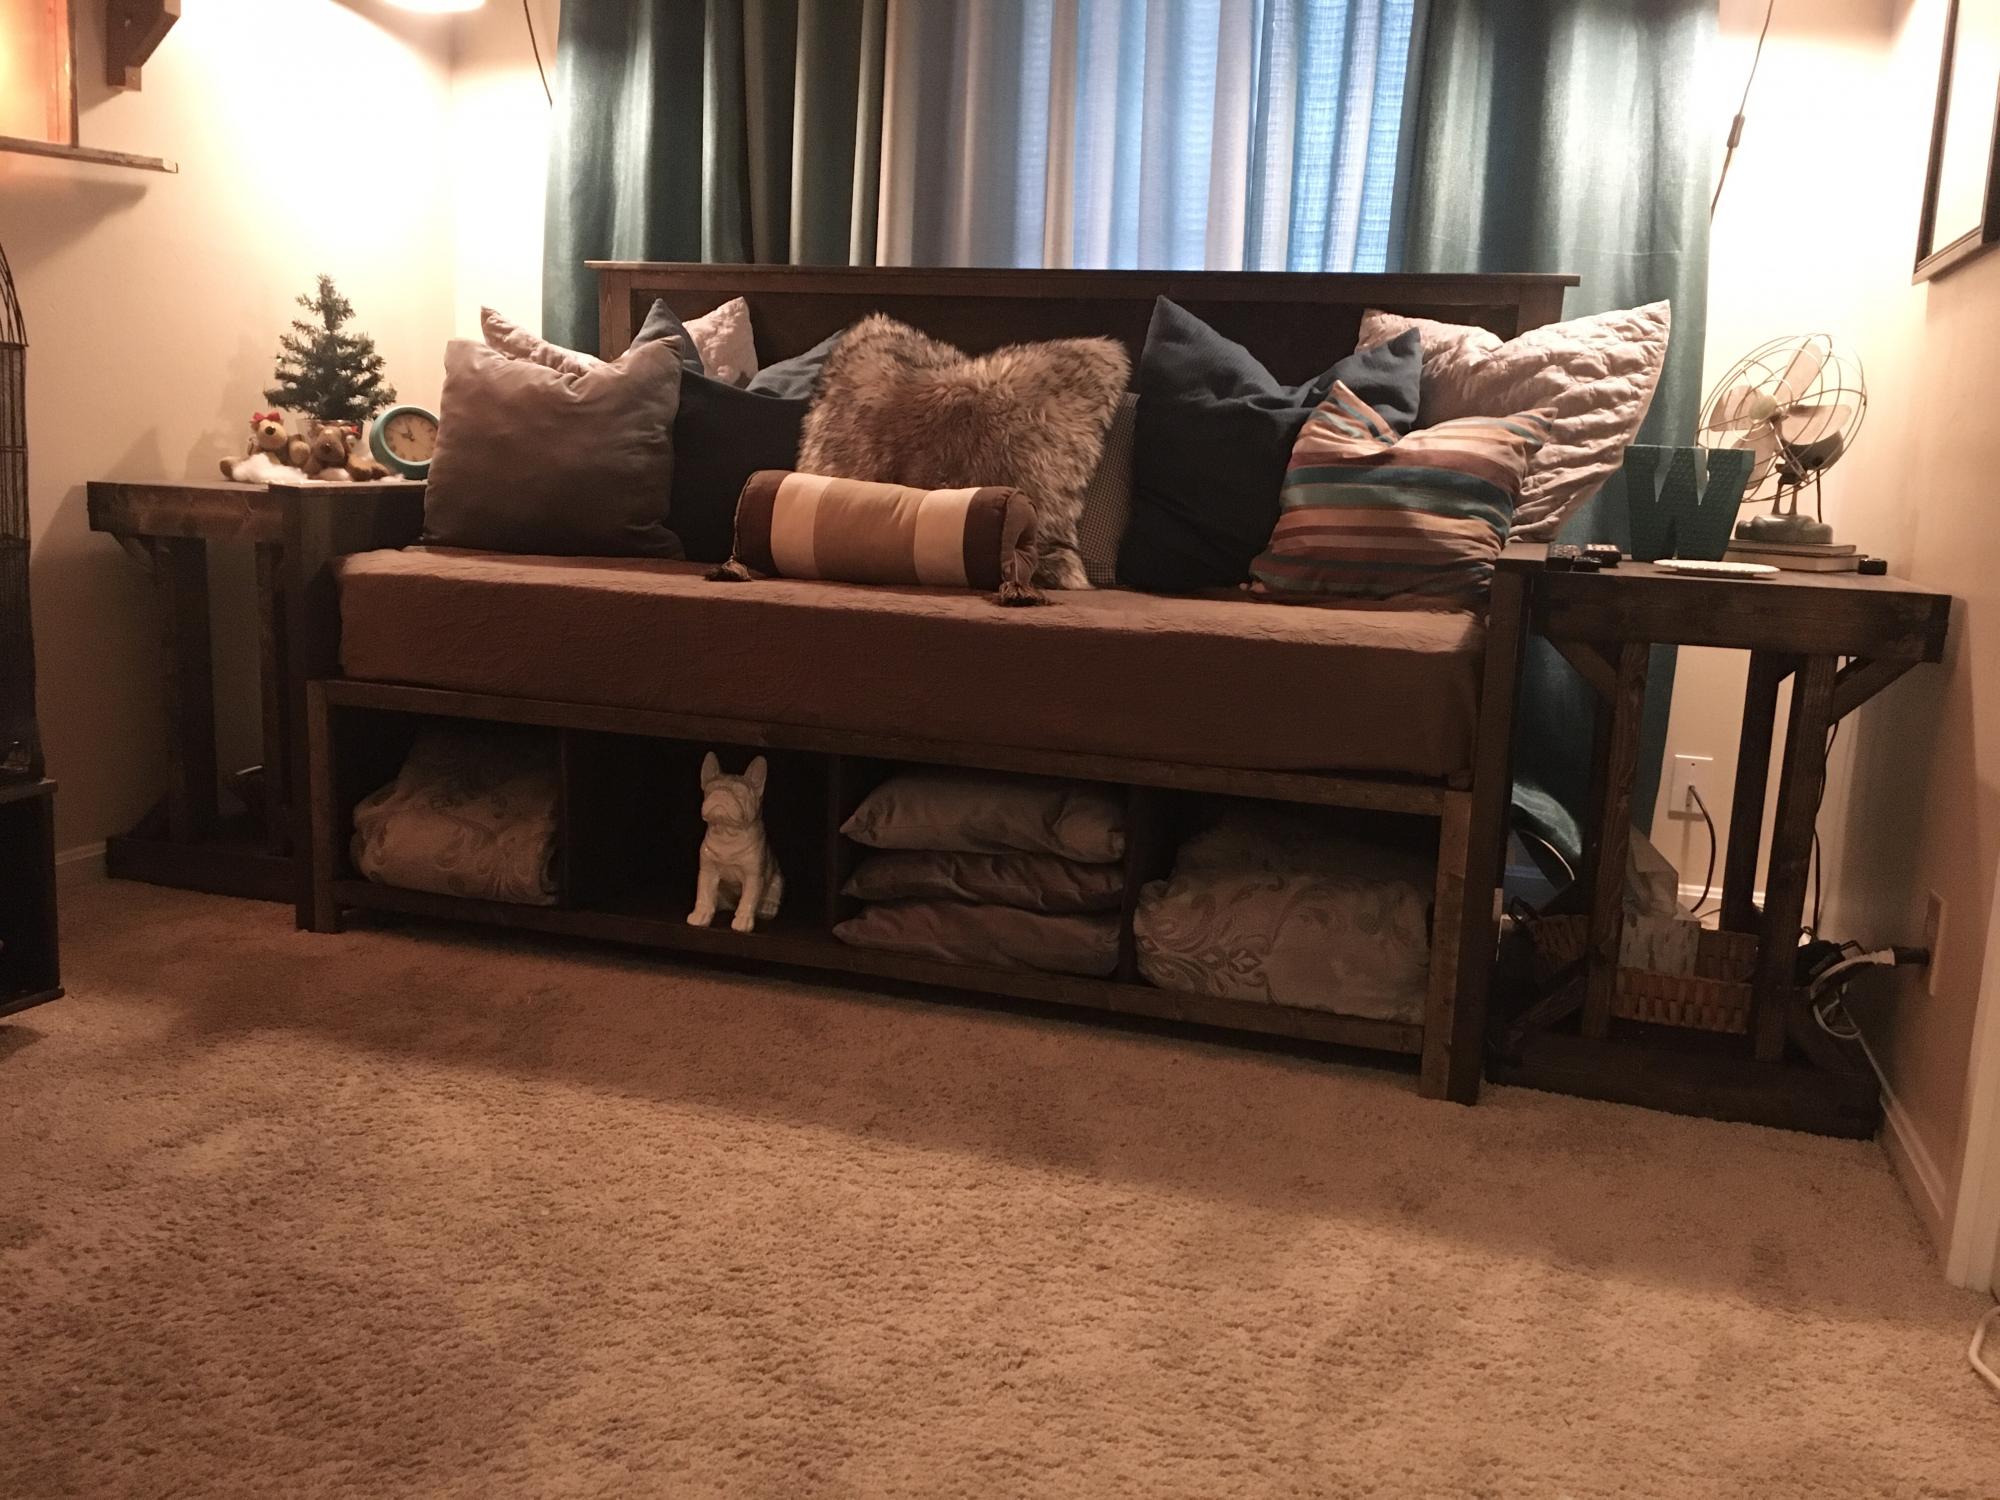
We had a small deck with many rotted boards. The contractor who demoed it, knowing my interest in diy projects, sorted out any usable boards. I loved the idea of an outdoor sofa, so altered your beautiful pattern to accommodate decking boards - I literally only had to purchase 2 boards for the entire project! I’m so thrilled with how it turned out! Thank you!!
Camey Brown

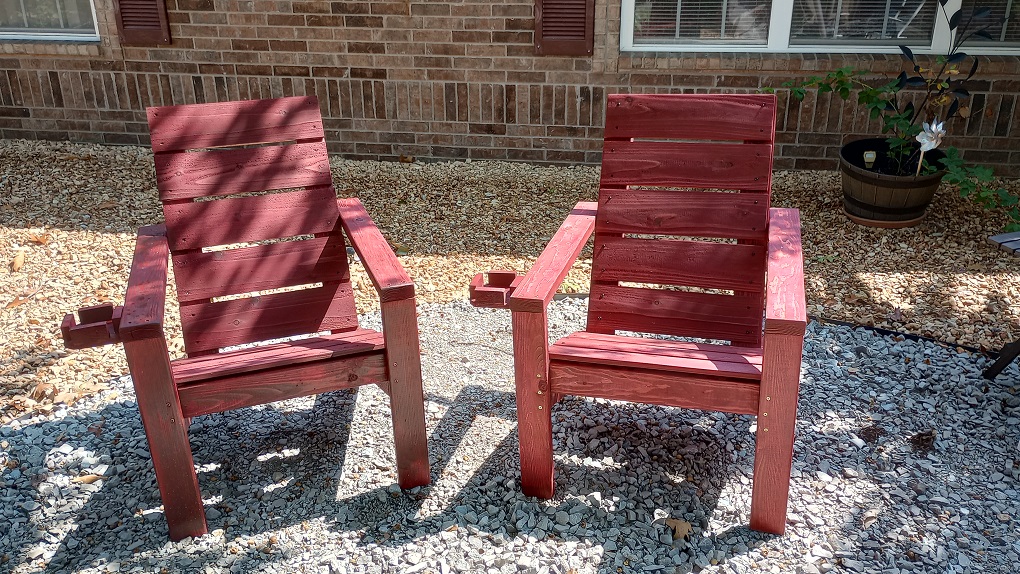
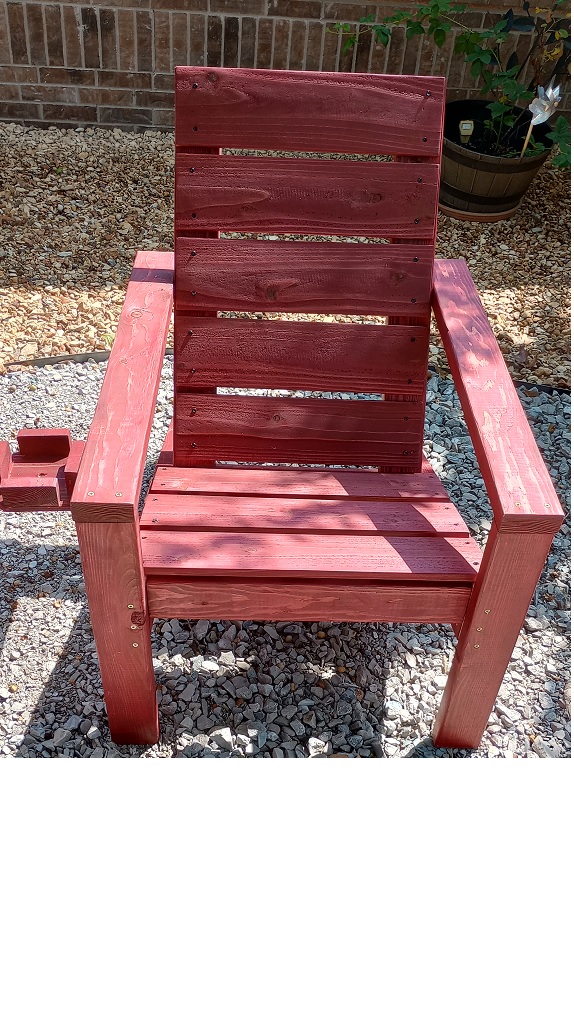
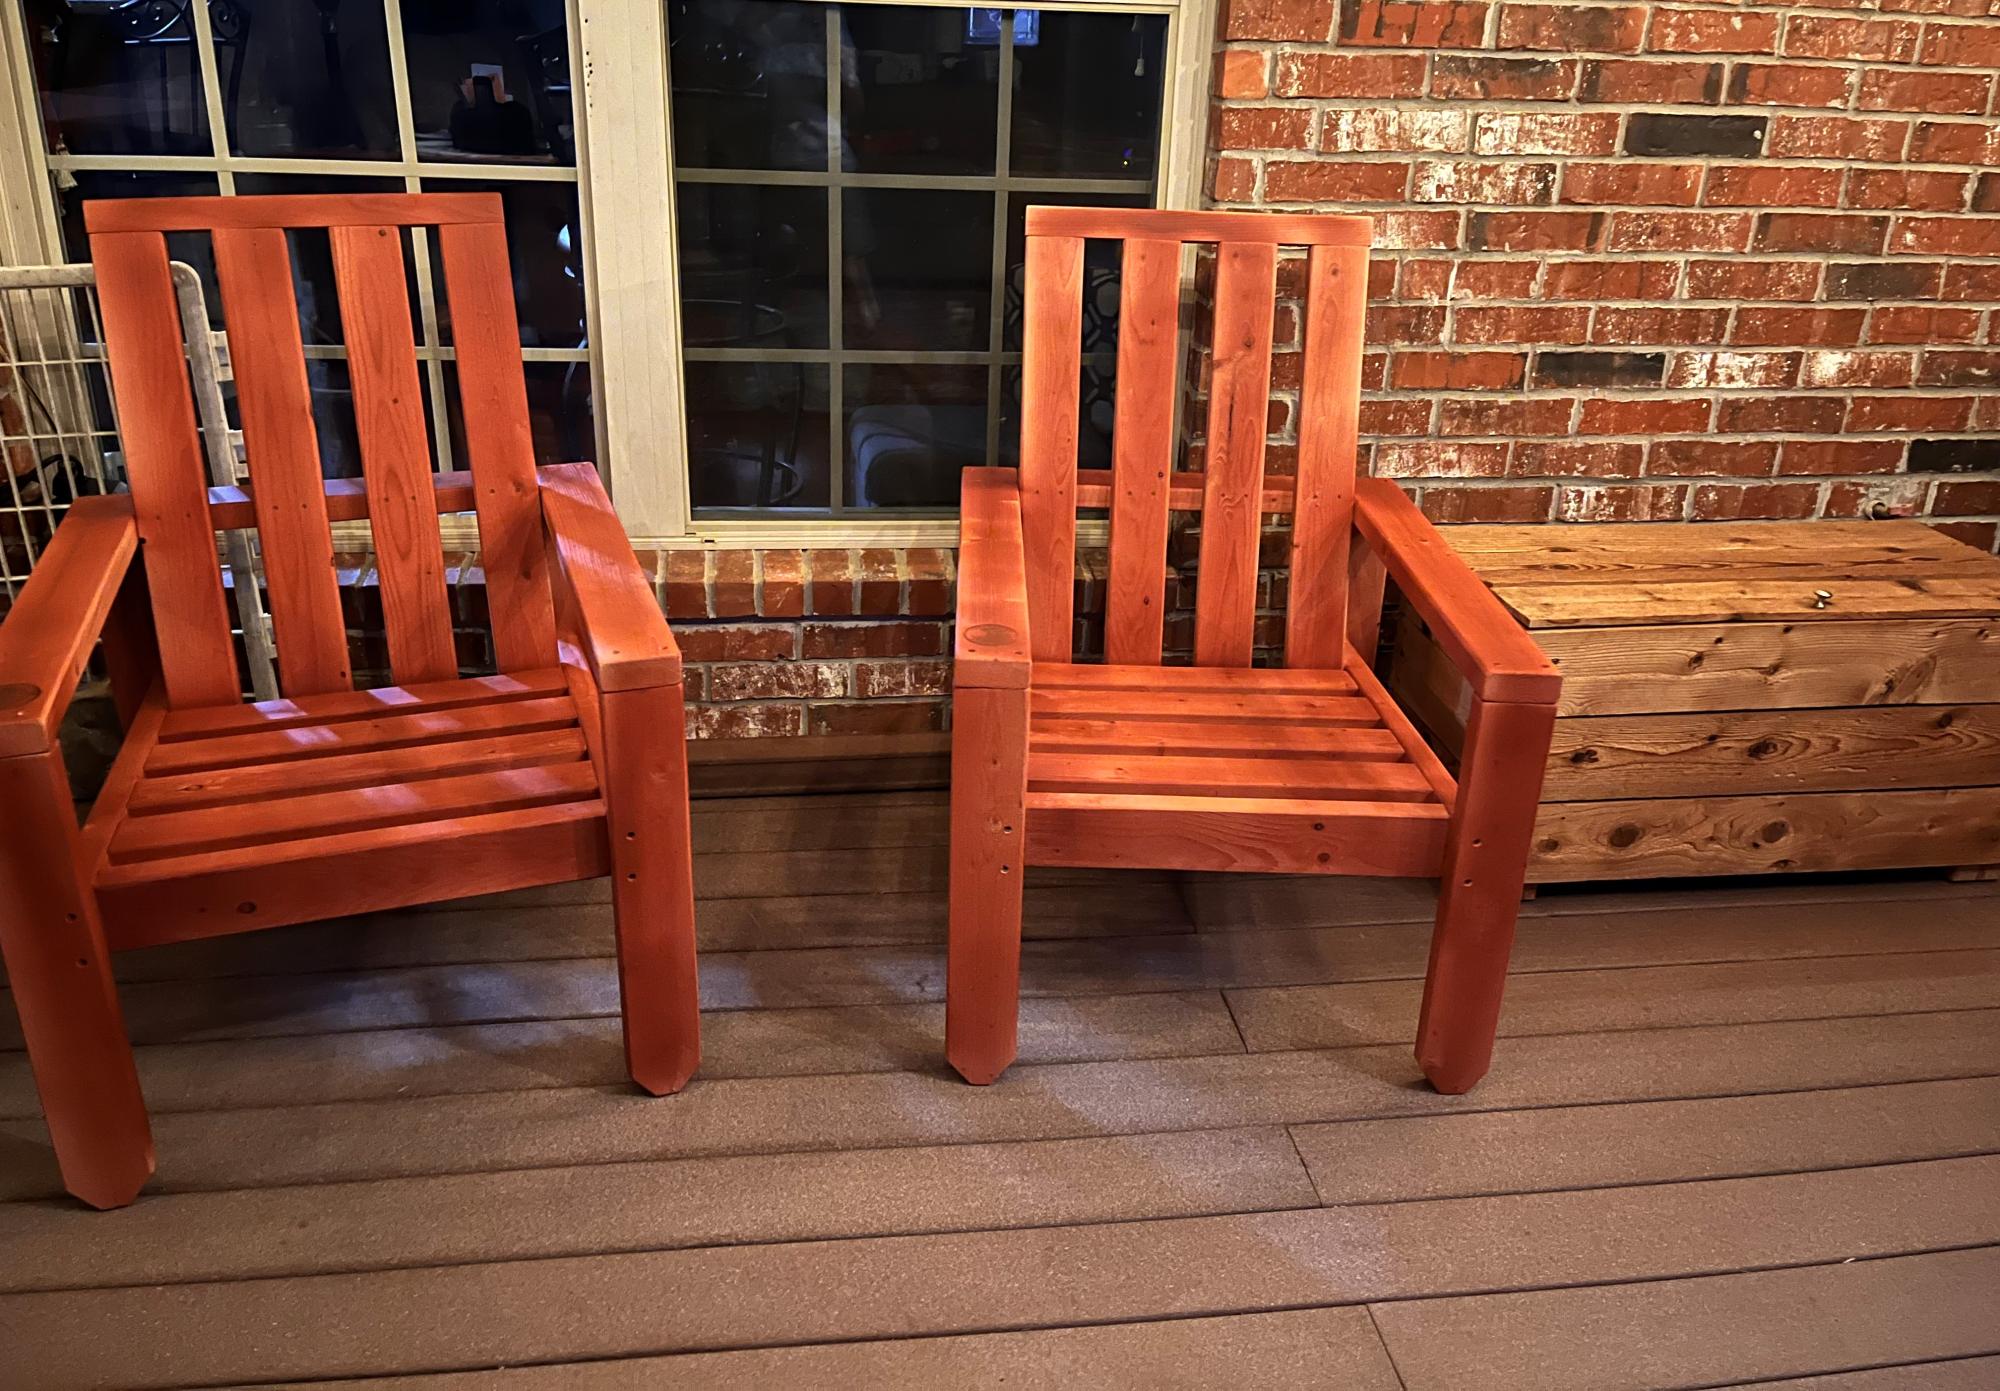
I modified the design to better suit my senior body.
I added 3 inches to the seat height by using 2x6s, made it 1 inch wider, and added clunky drink holders.
I also used cedar fence boards for the seats and backs because I like the look.
I went with Barn Red Stain and Thompson's Water Seal for the finish.
Thank you for this design. They are quite comfortable.
The cost was less than $40 each.
So excited for my new living room space thank you for your great tips!
Kandis white DeCarlo
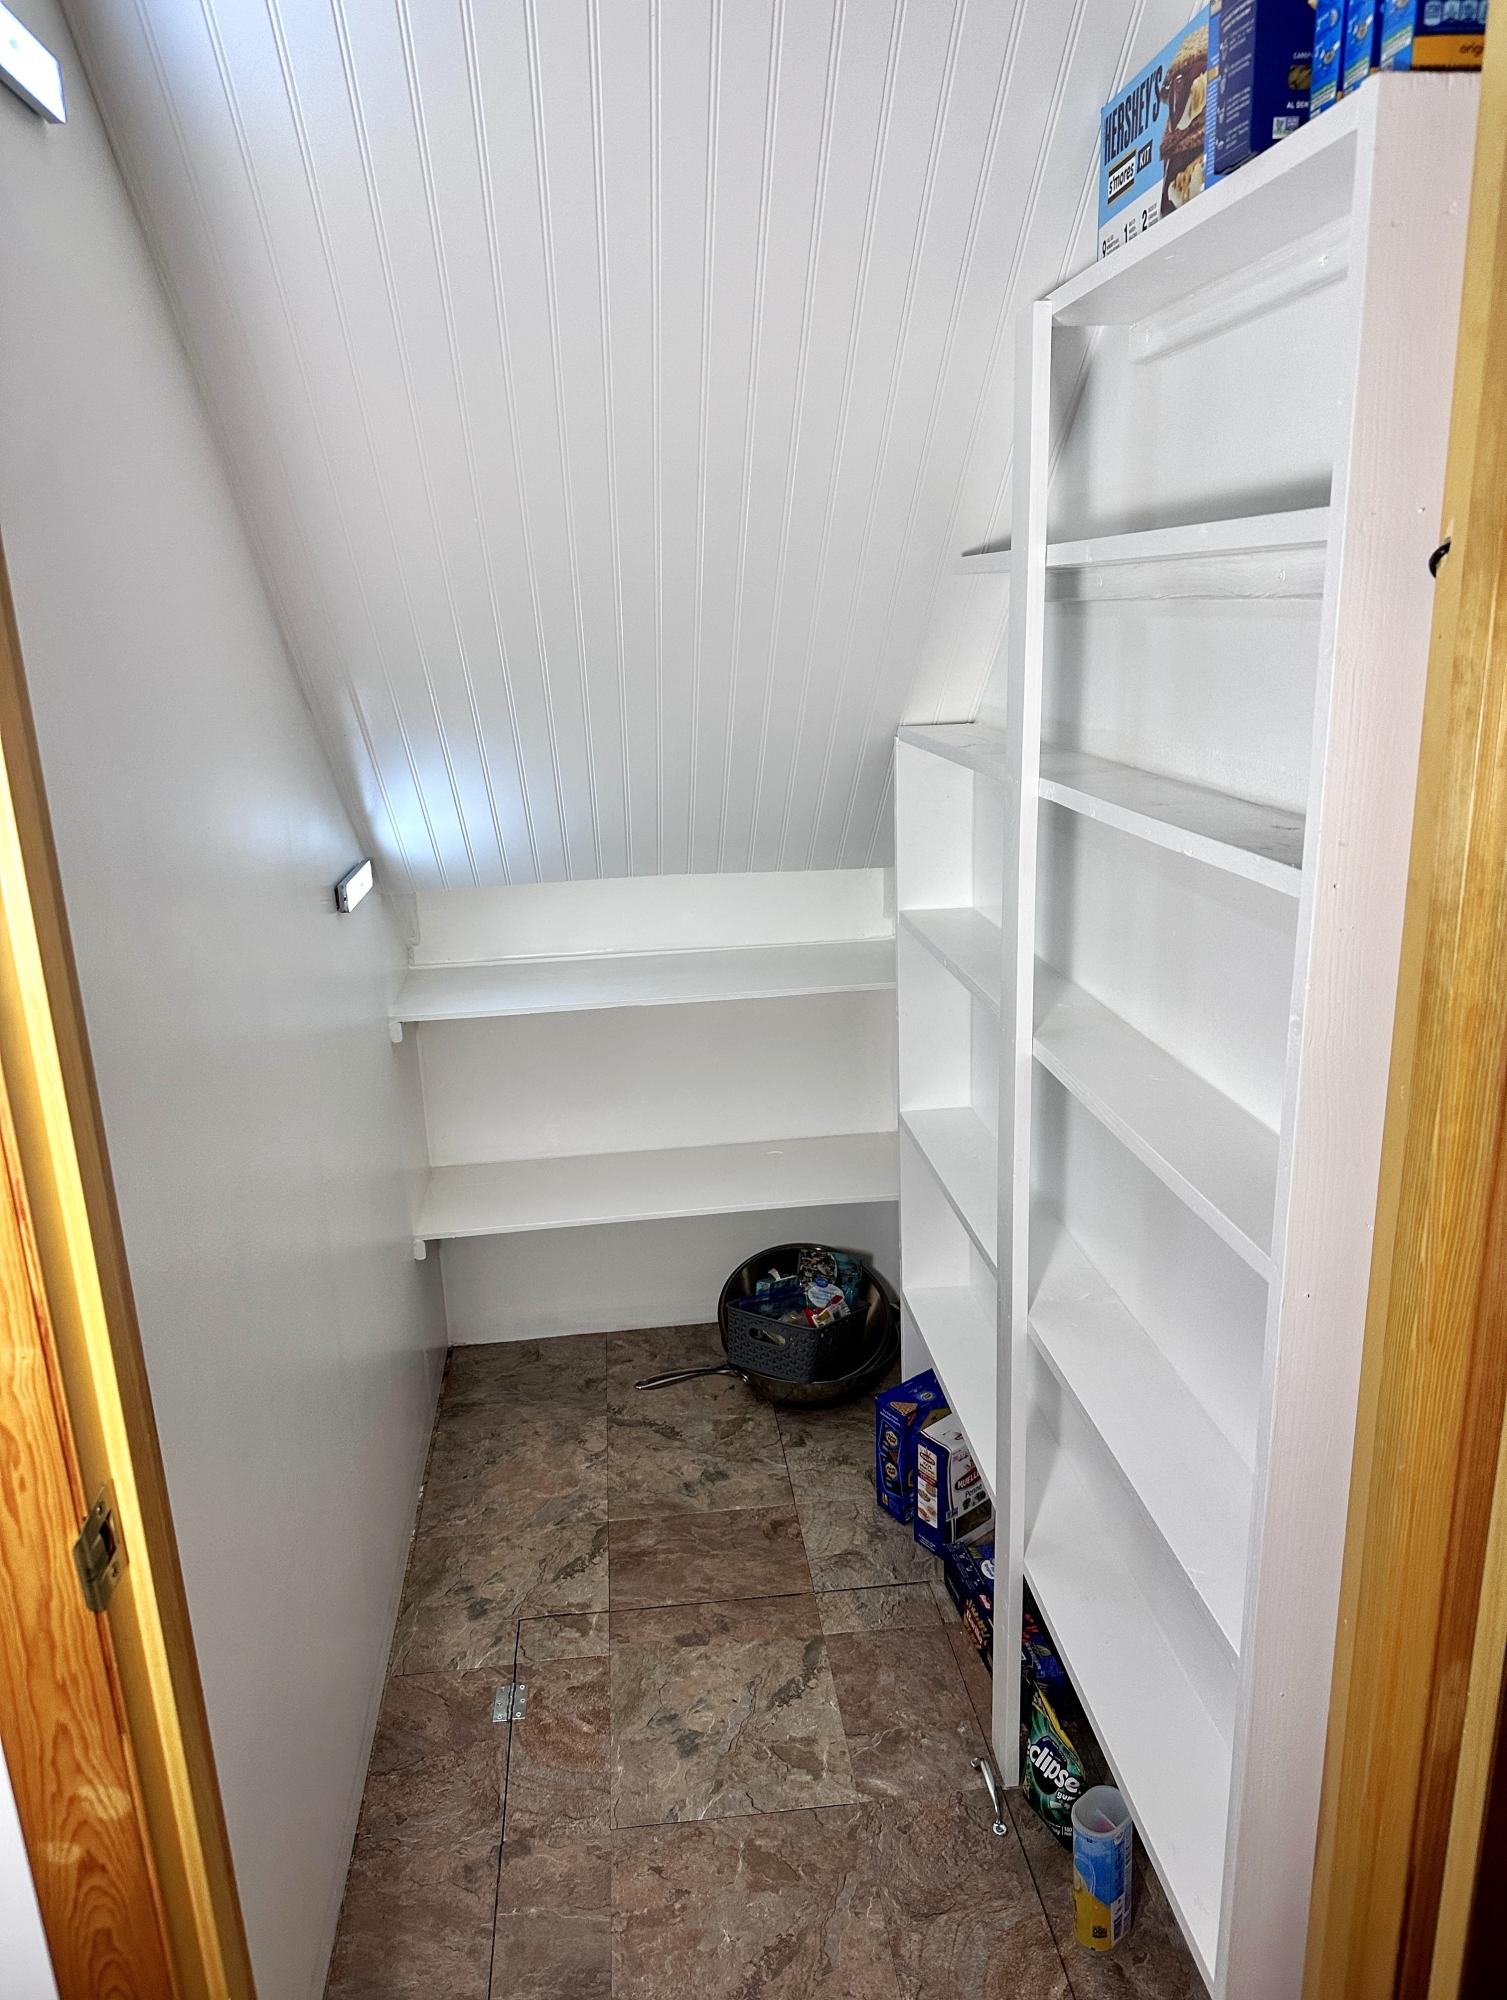
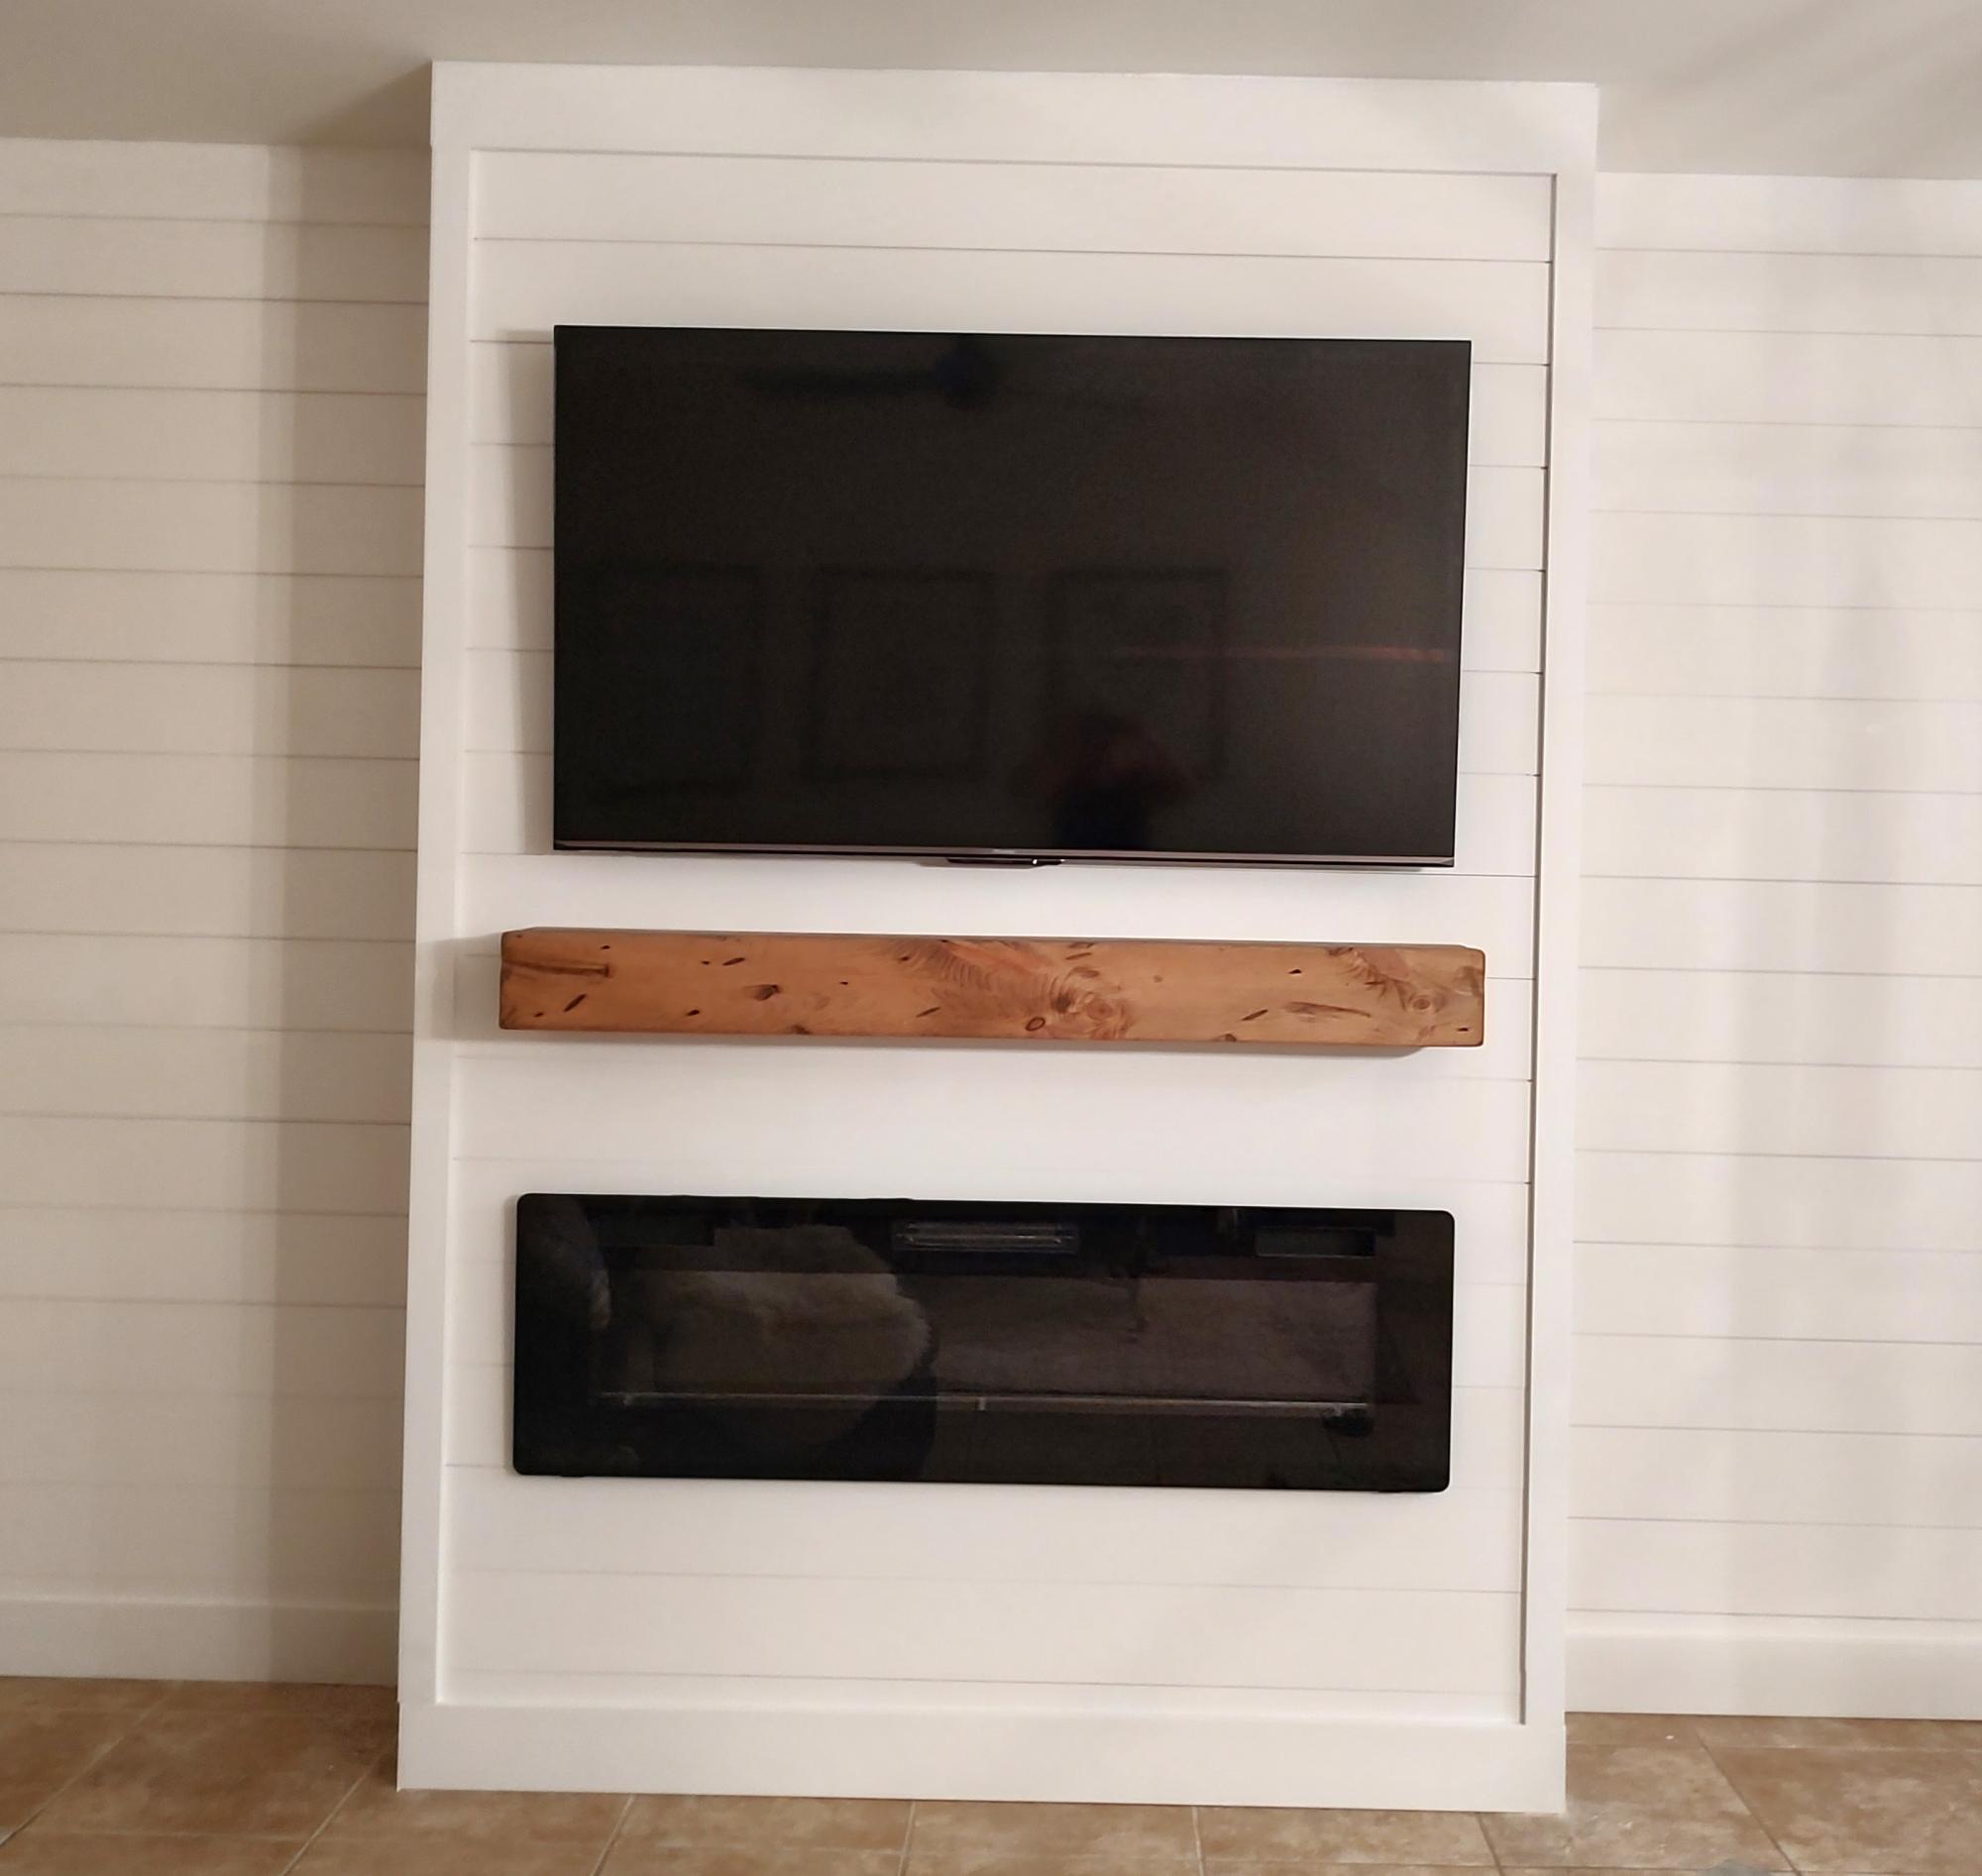
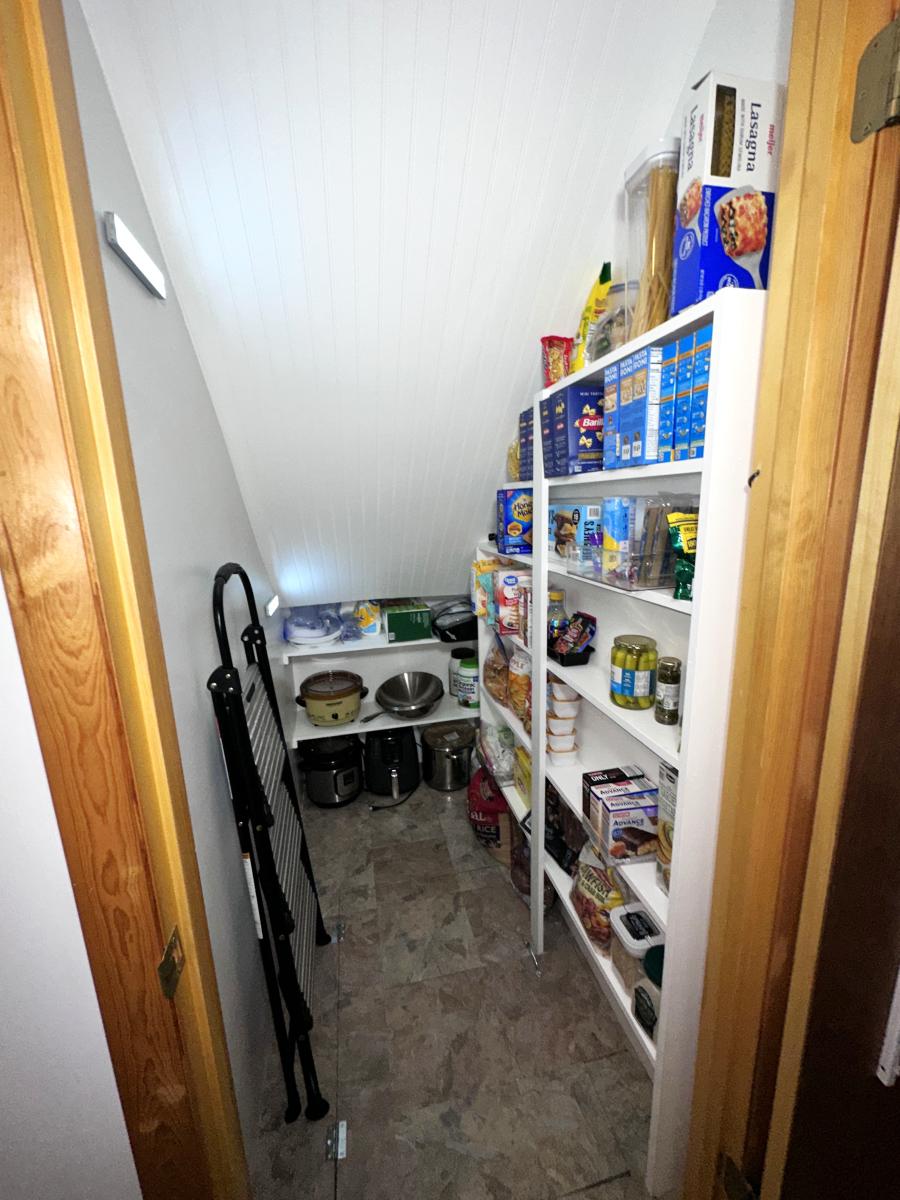
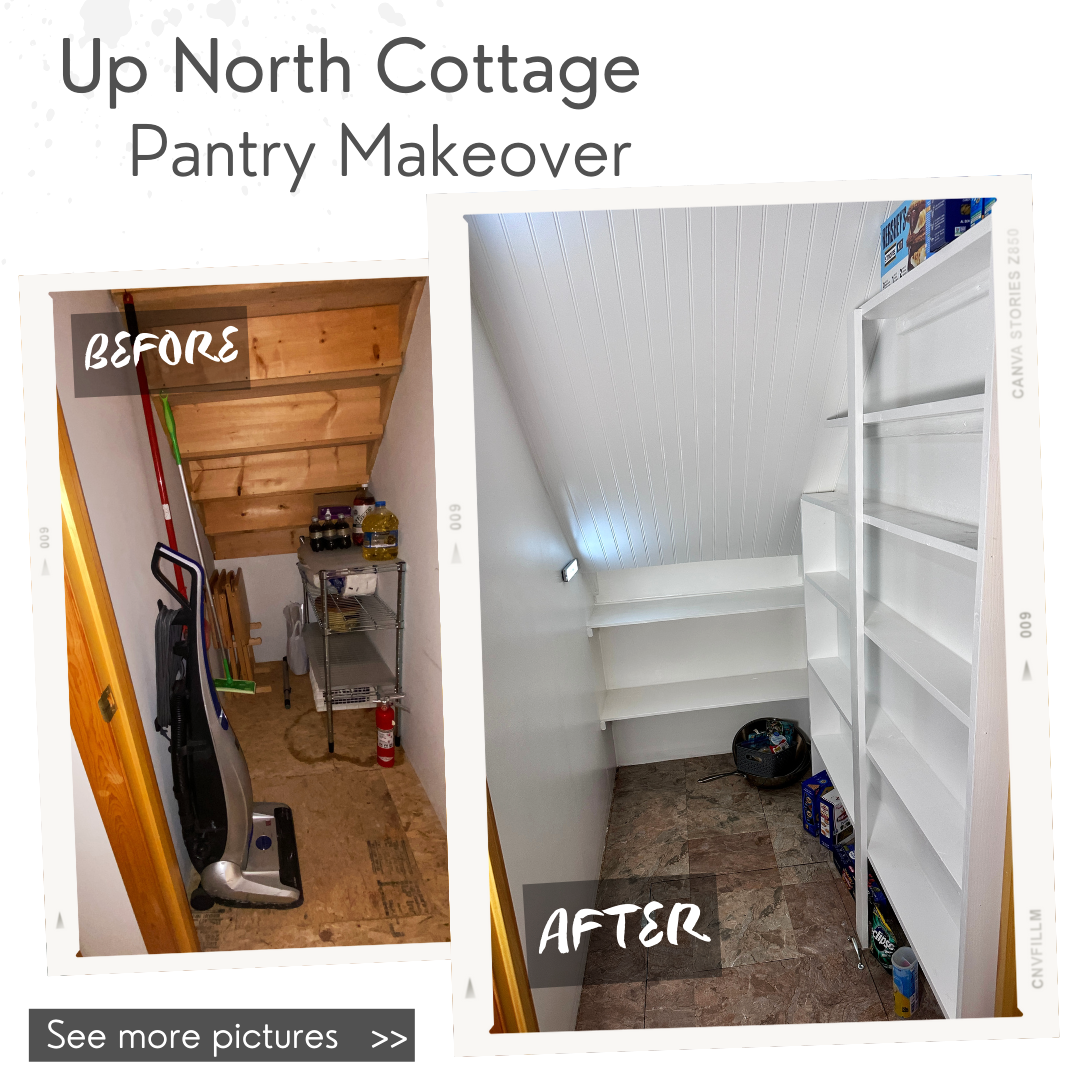
Our tiny cottage pantry is complete! We followed Ana-White's 2x4 Storage Shelving modified to fit.
Materials:
Paint: Behr Whisper White
Vinyl tile: Armstrong Terracotta Clay
Ceiling: Beadboard
Plans: Ana-White 2x4 Storage Shelving (modified)
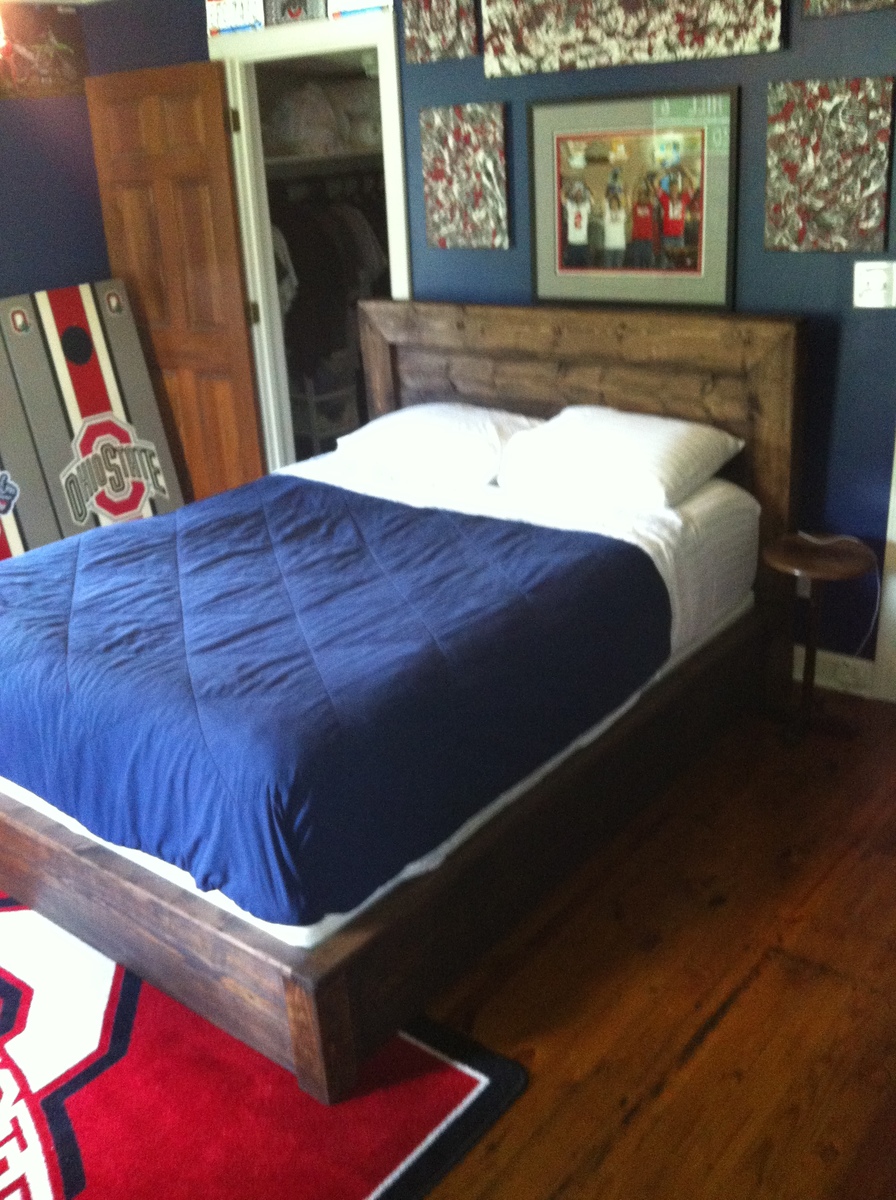
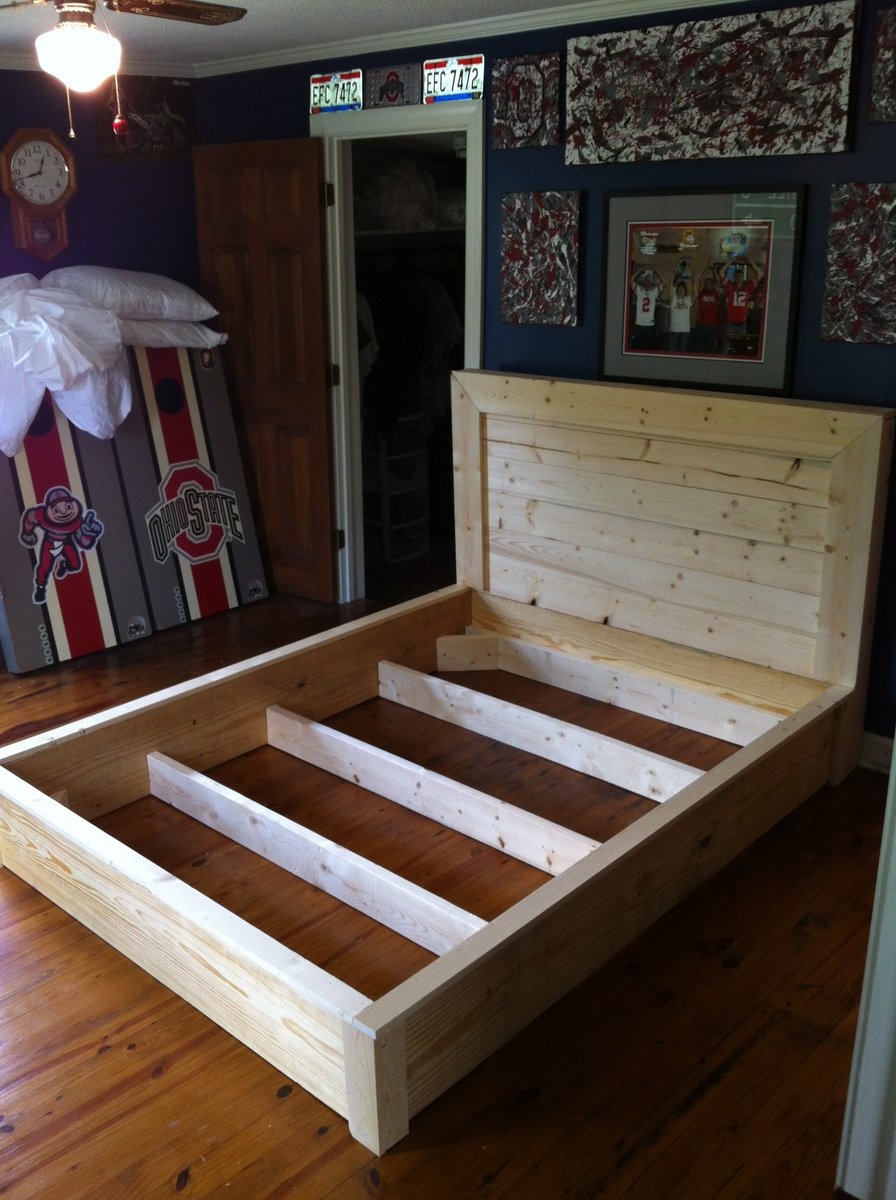
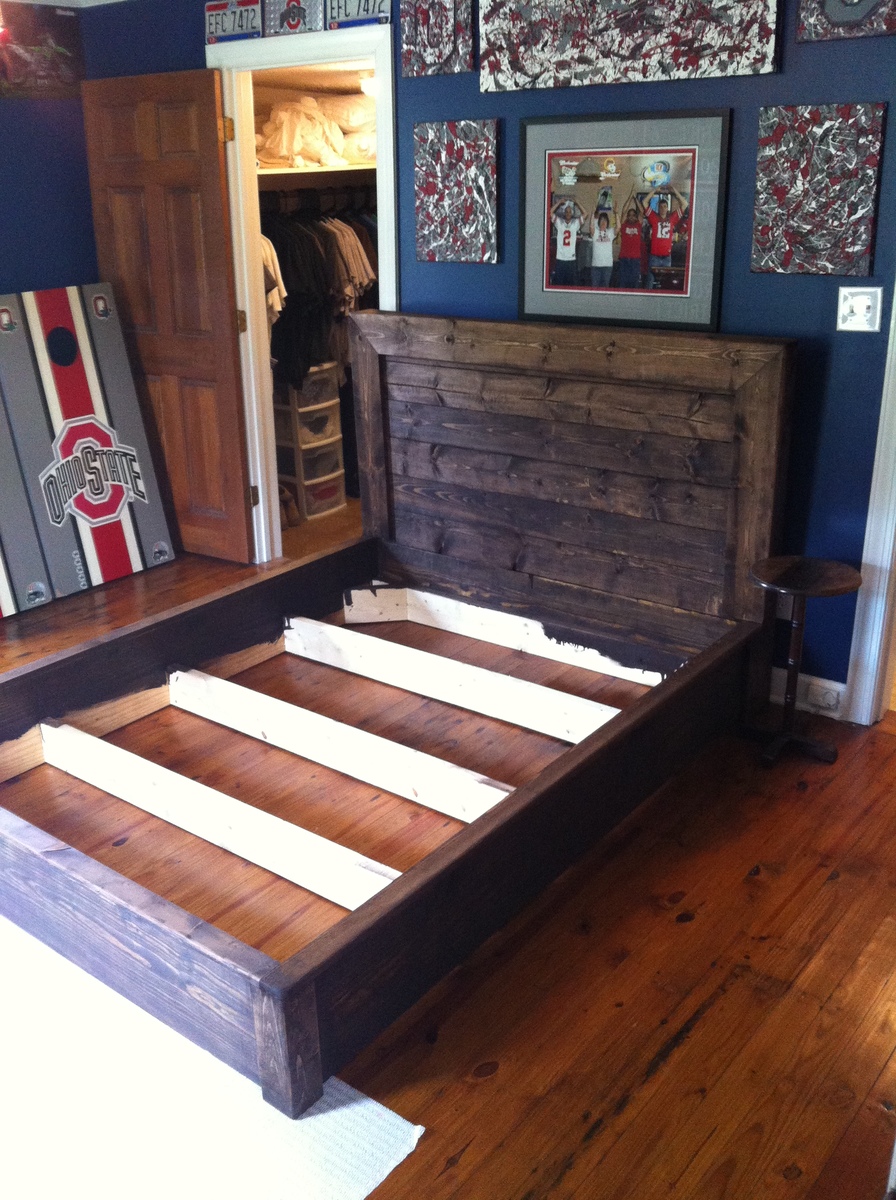
I had searched for a nice bed frame for the longest time. I wanted something that would last and the prices in furniture stores or antique shops were crazy. I found the plans for the platform bed/headboard and modified them a little. I used 2x12's for the frame and set my 2x6's down inside for my box spring. 2x6's for the headboard and trimmed it the same way as in the plans. I love it. Thanks for the plans Ana.
Fri, 05/30/2014 - 18:40
Love your inspired bed! What size mattress is your frame for? I am looking to make a frame just like yours for a queen size bed. Do you have your measurements or are they pretty similar to the original post? Complete beginner here, any help is much appreciated!!
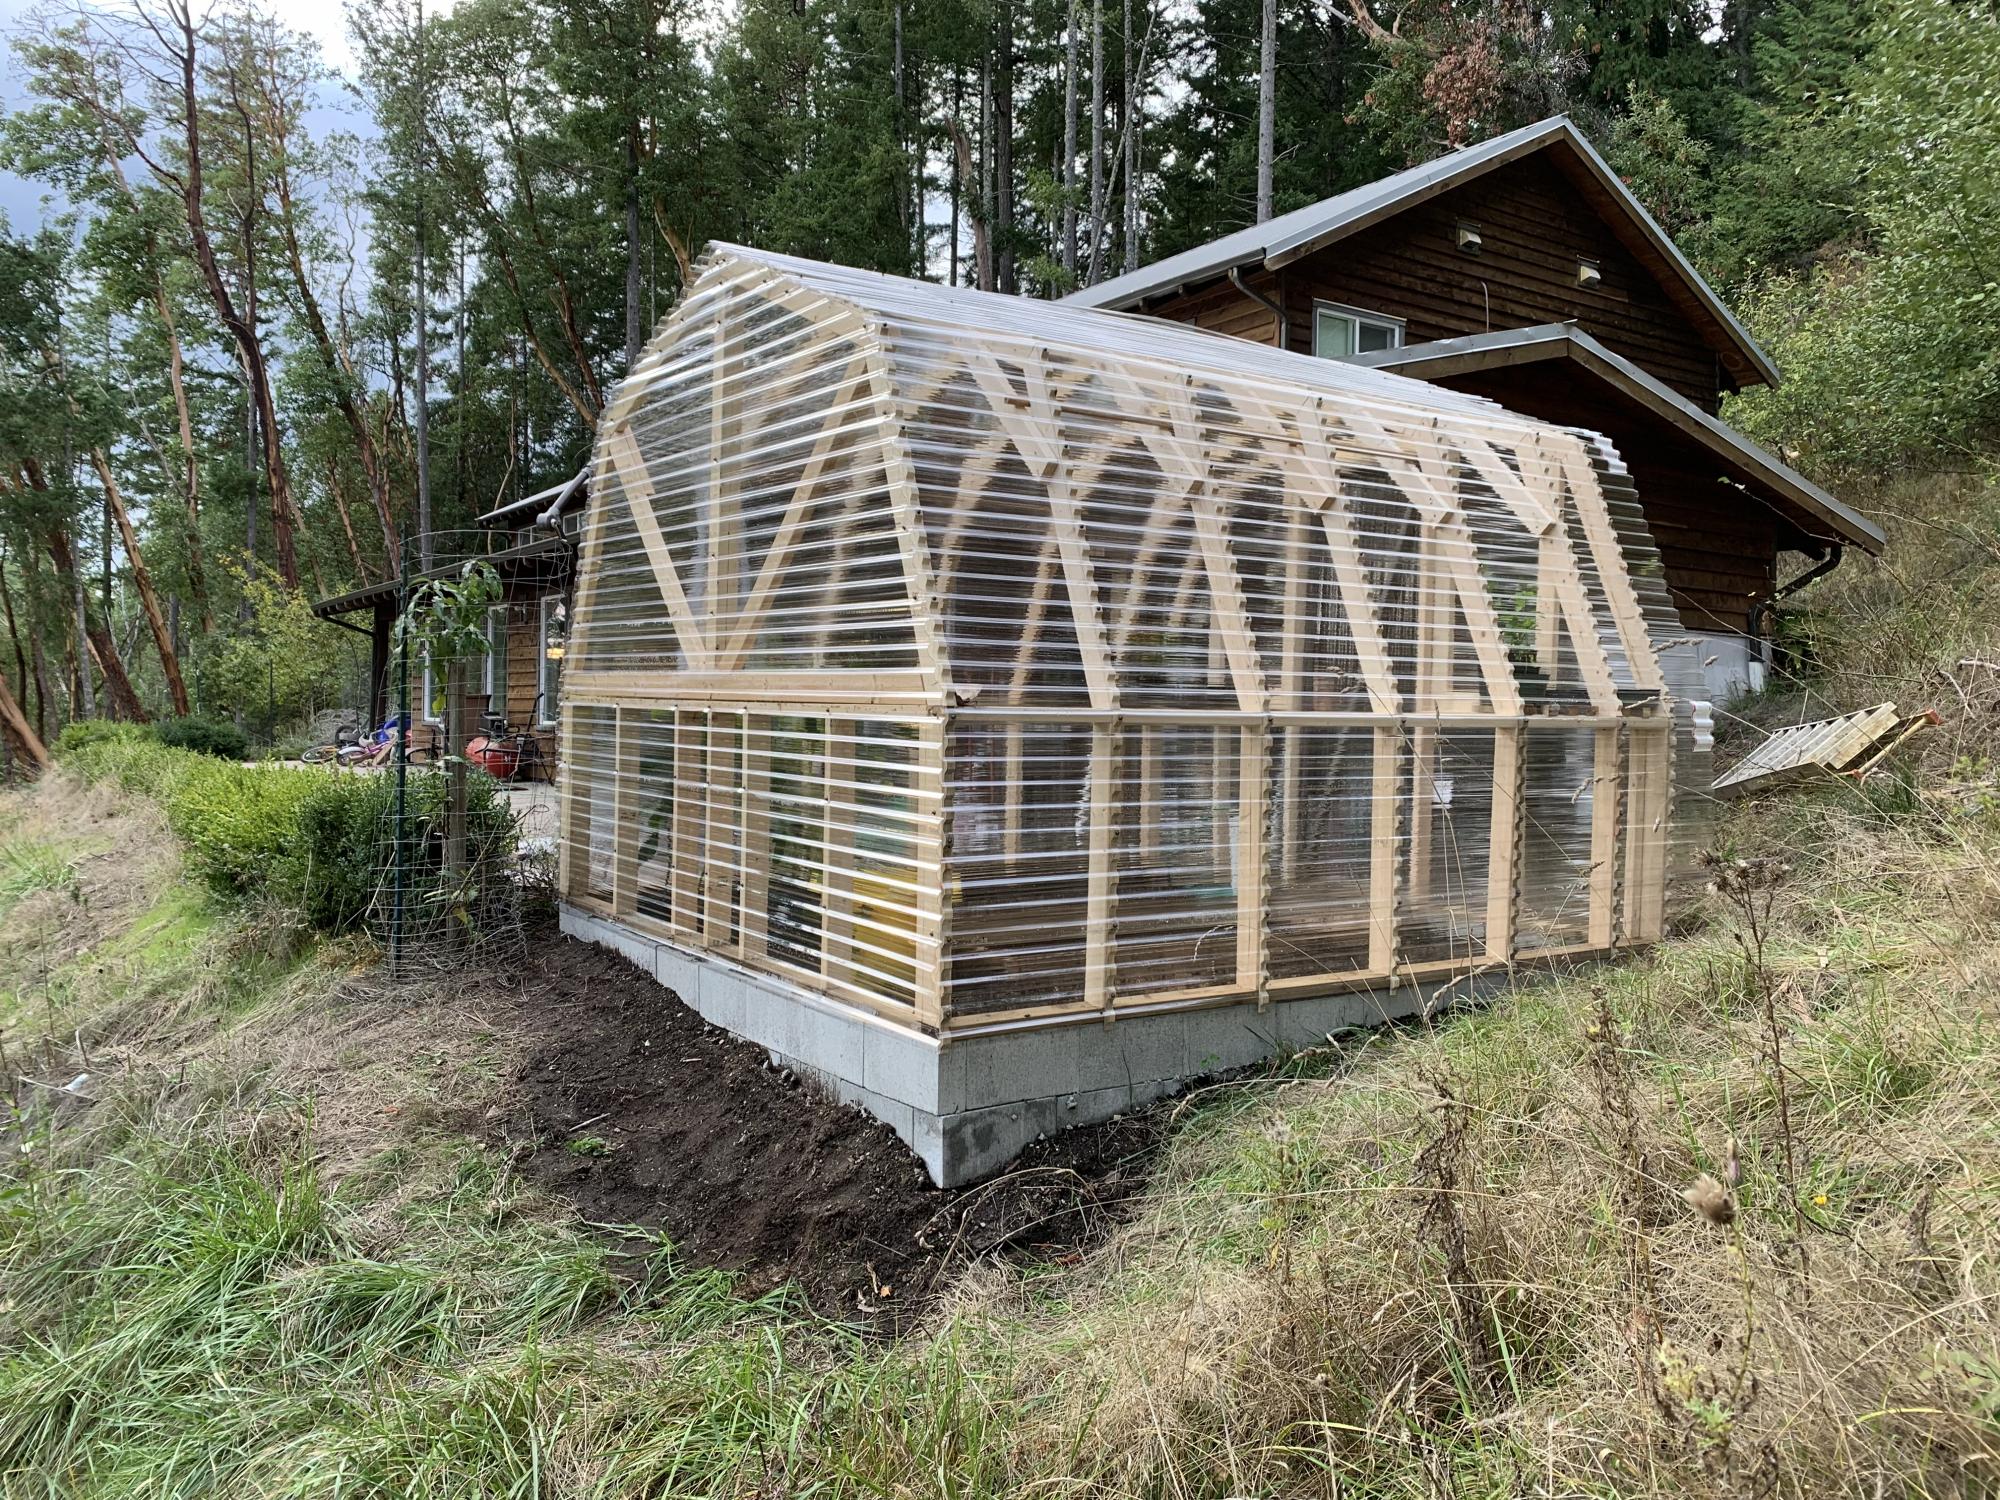
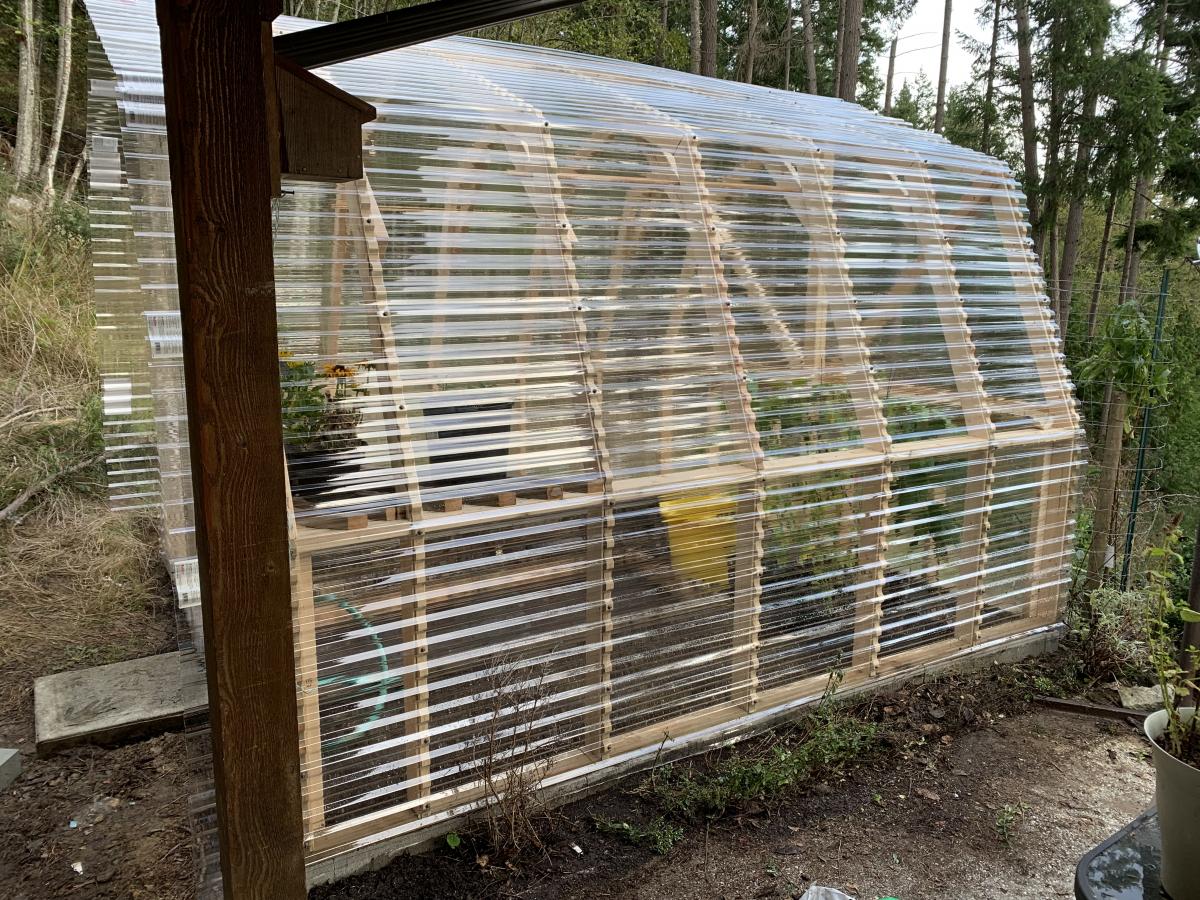
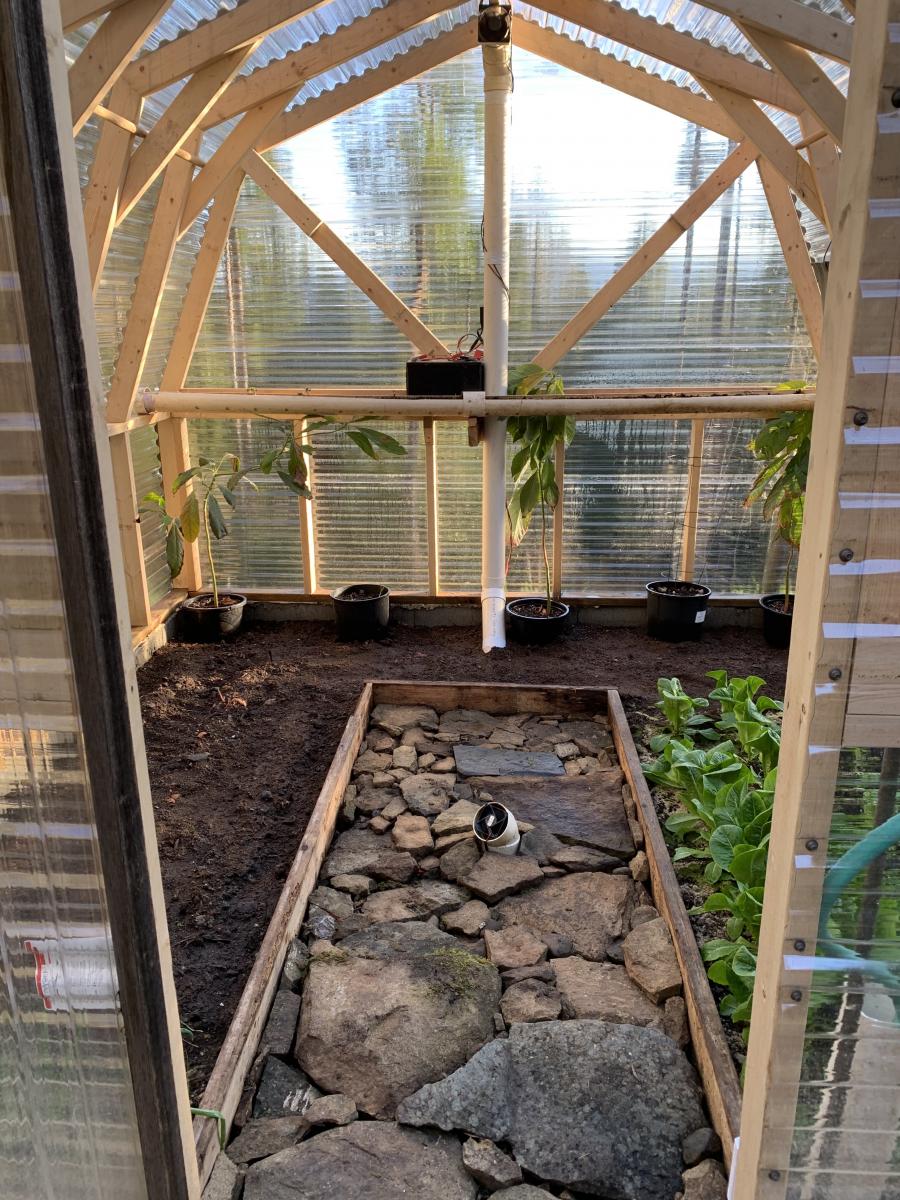
Great little project from your site!
I put PVC to the ground vs the metal siding and added a heat sink in the middle with some old computer fans.
Sat, 05/23/2020 - 17:23
That PVC heat pipe intrigues me. Can you share a little more about it? I'm assuming it pulls hot air from the upper vent, and cools it down via the section of pipe below ground, sort of like a natural A/C. Keeps things from gettting too hot during the summer months?
Kinda looks like you'd frequently trip over it though. I'd probably have run the lower exhaust right up by the edge of the door frame, or a corner.
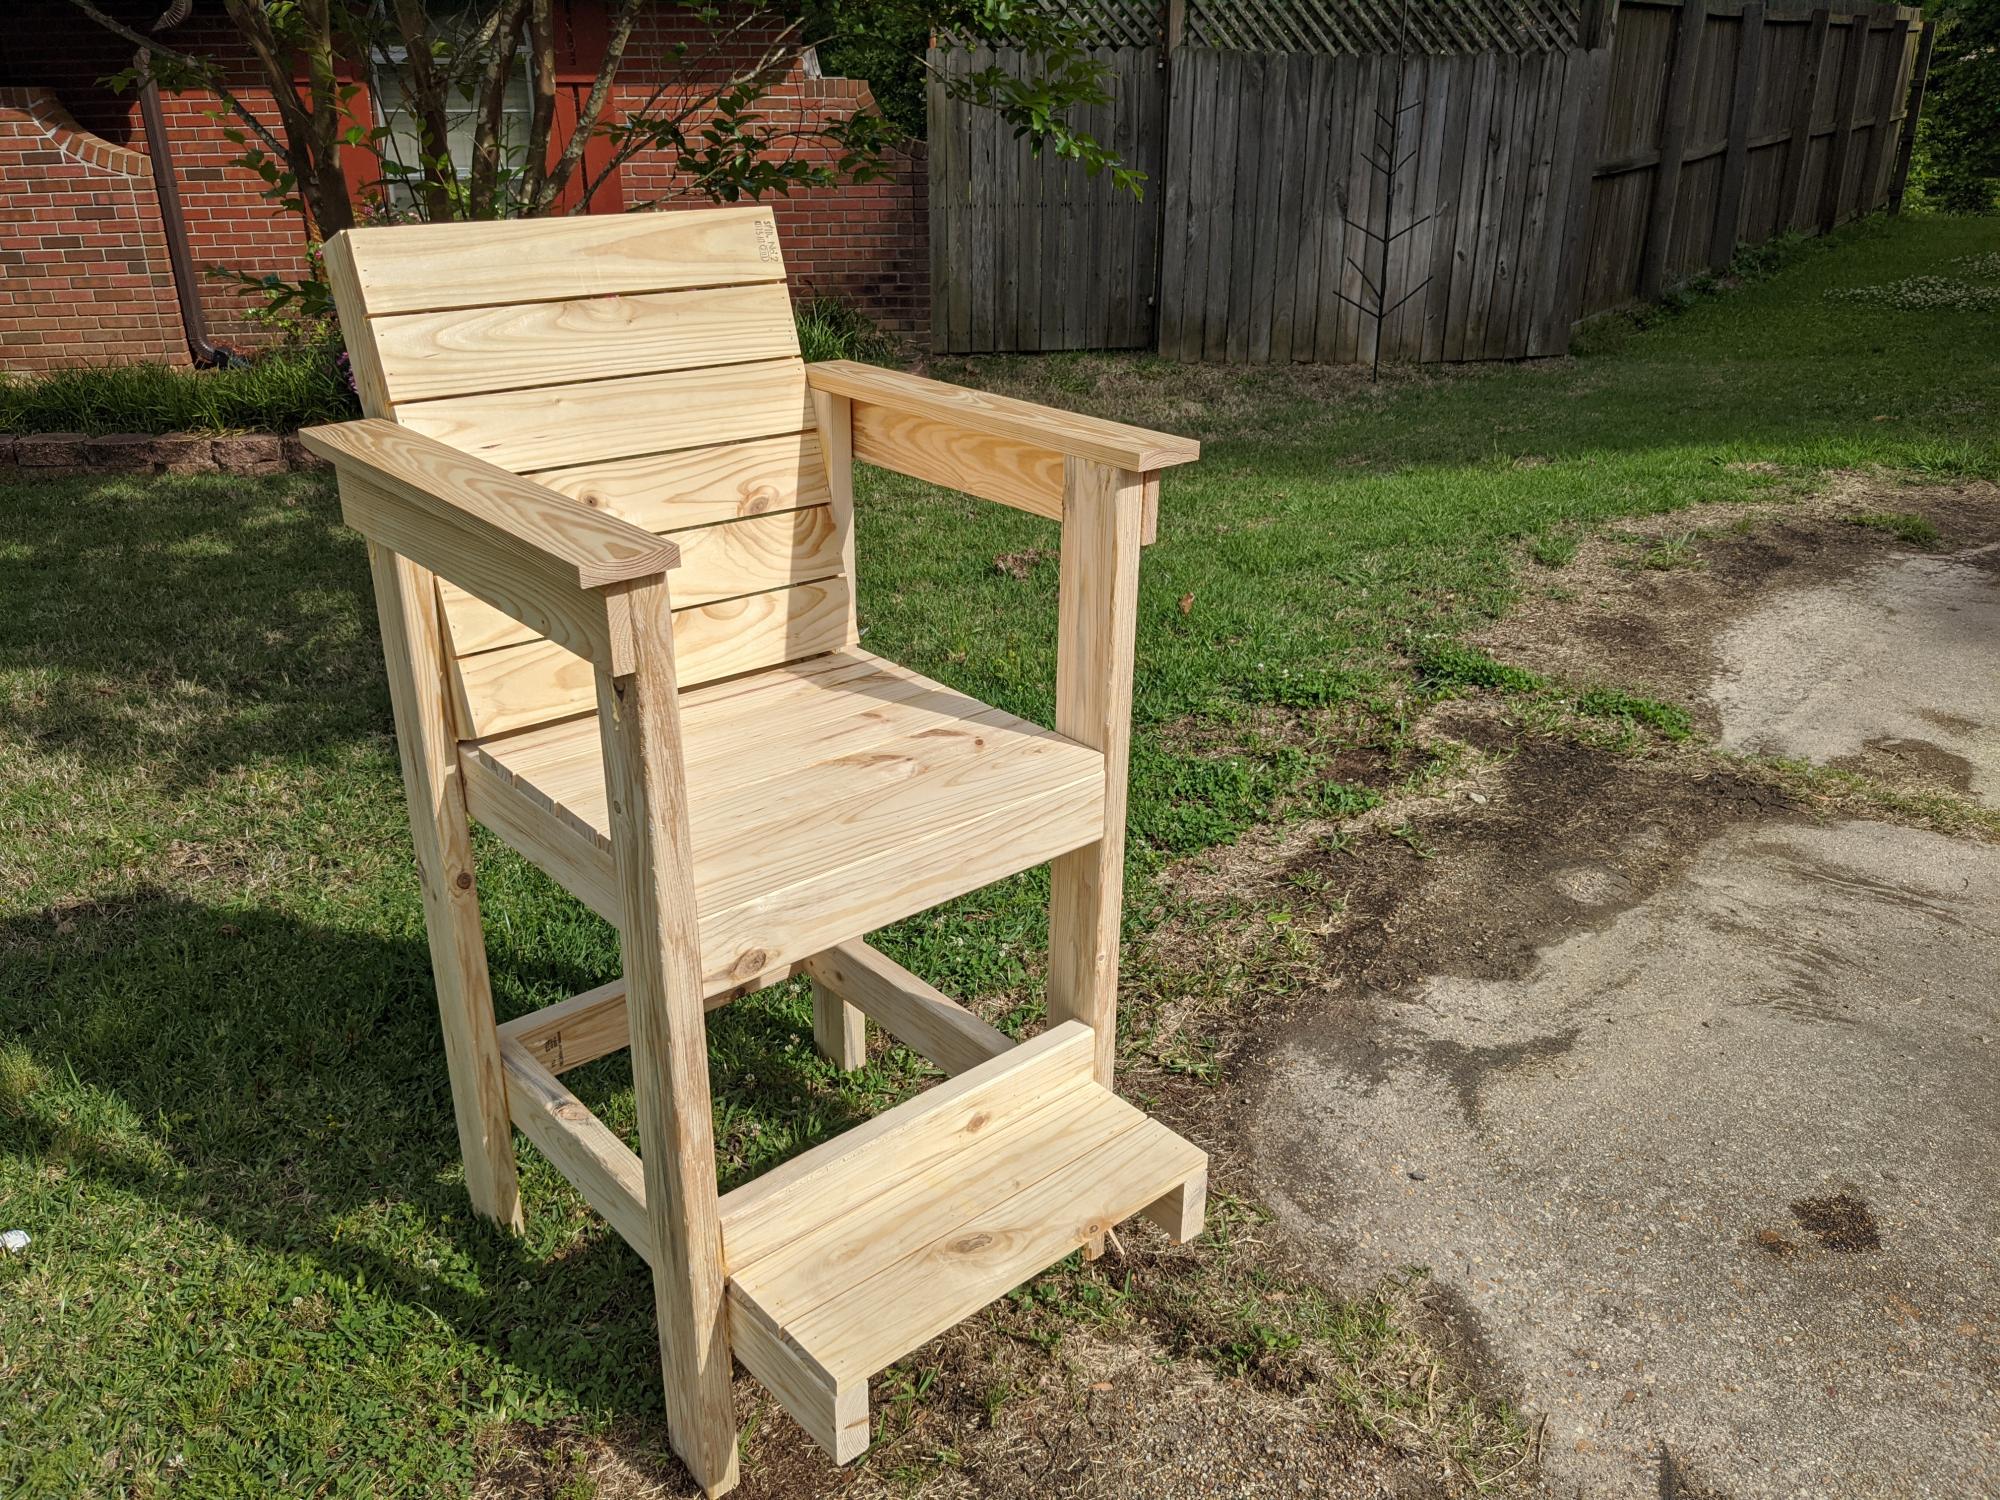
I have used so many of Ana's plans, I decided to design my own chair! I wanted a high top patio style chair that the back was angled and had a footrest. This is perfect for my outdoor patio. I think I need to update the plan already to include a cup holder! Appreciate any feedback or comments.
Ana White chairs along side my Ana White cedar storage chest (one of my 1st builds). Ana, thank you for the plans & for inspiring us to build!
Keith from Springdale, AR
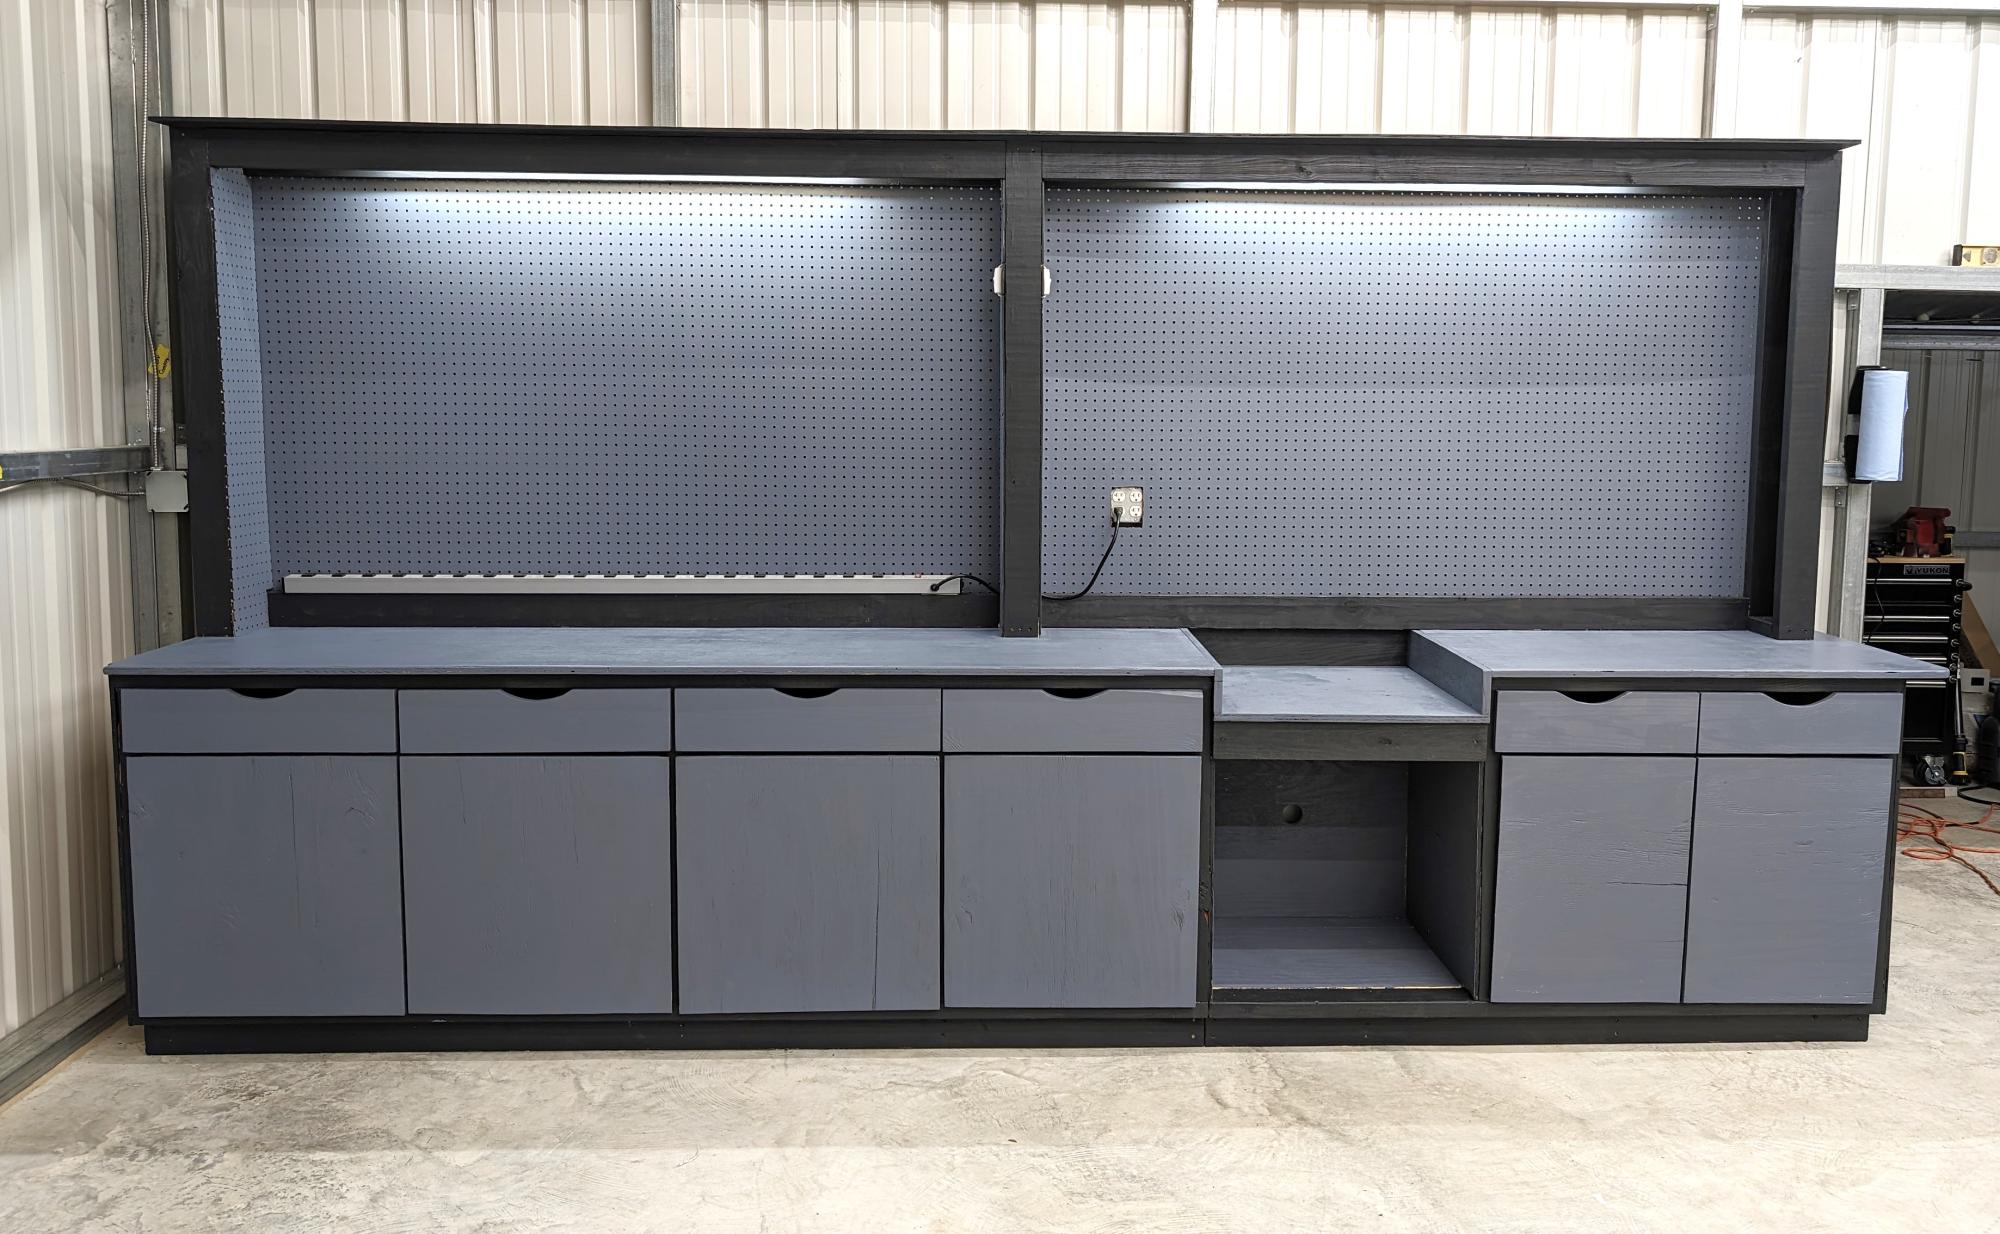
I took the pony wall idea and went with it.
Mazda Mitch
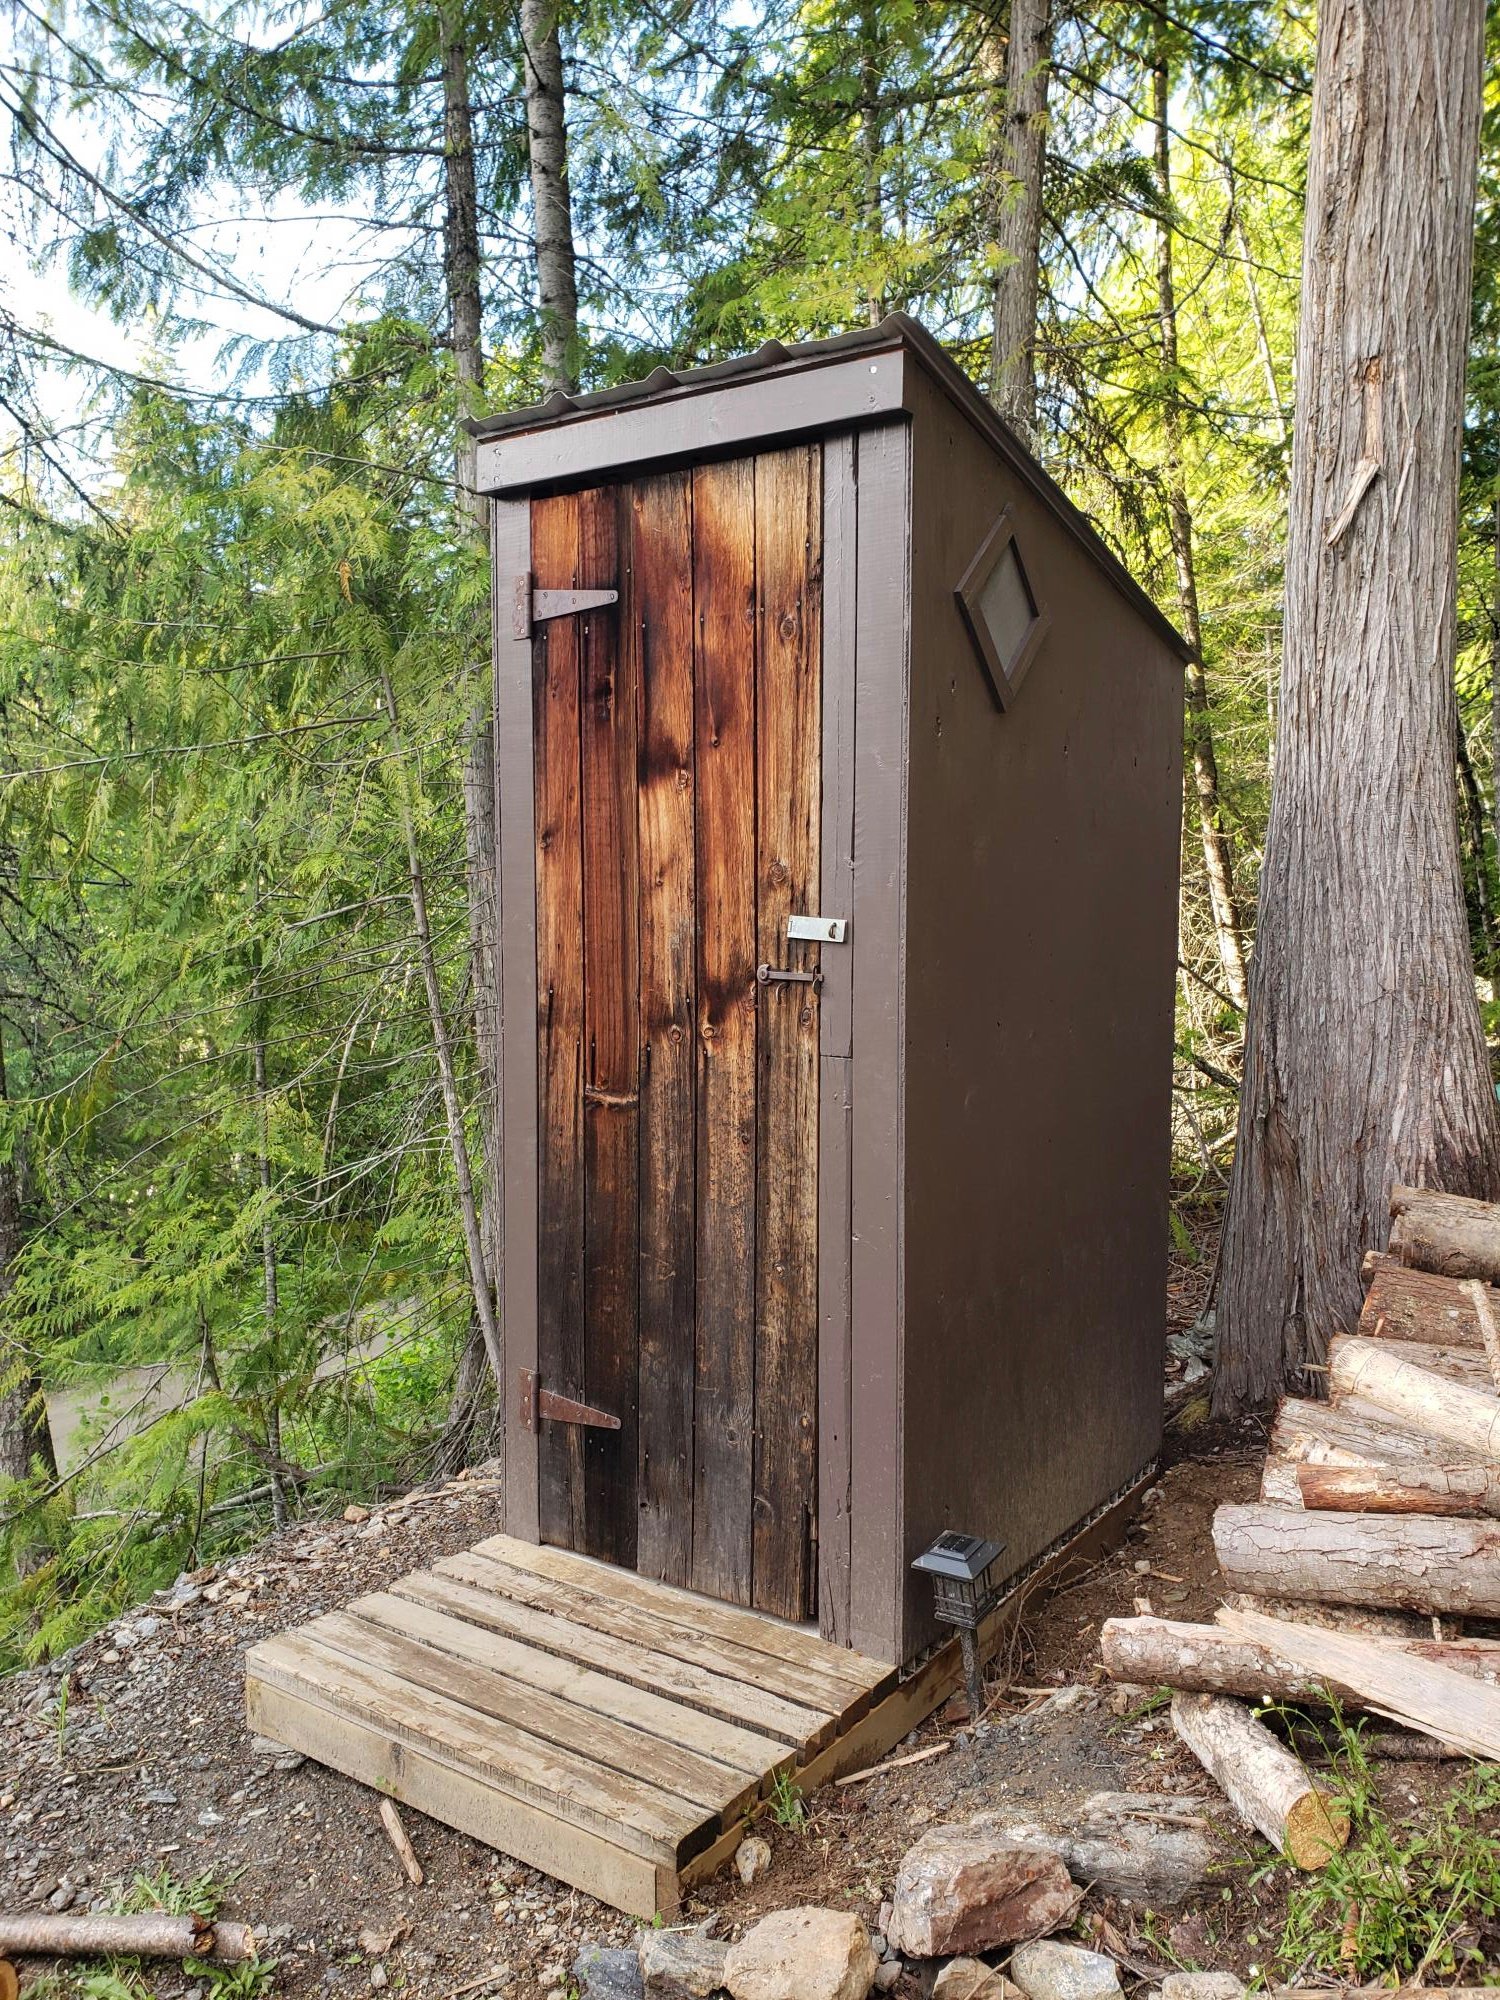
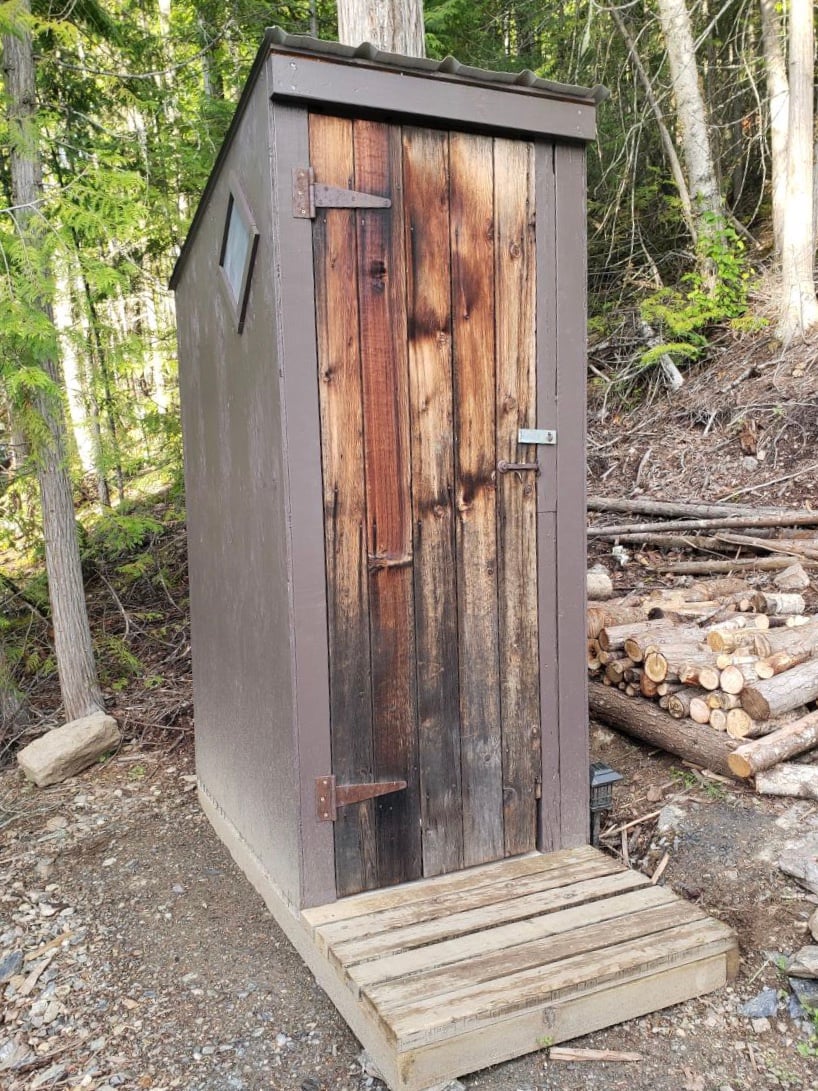
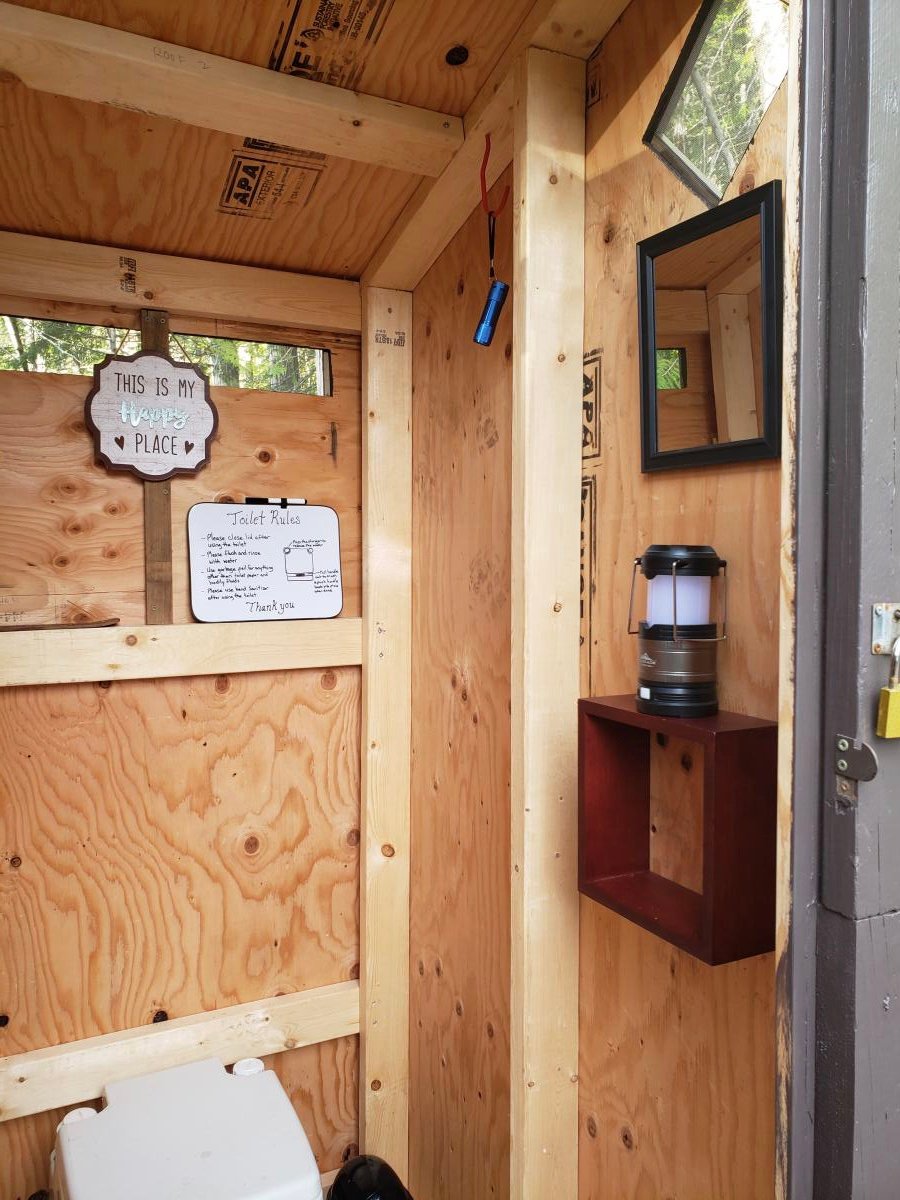
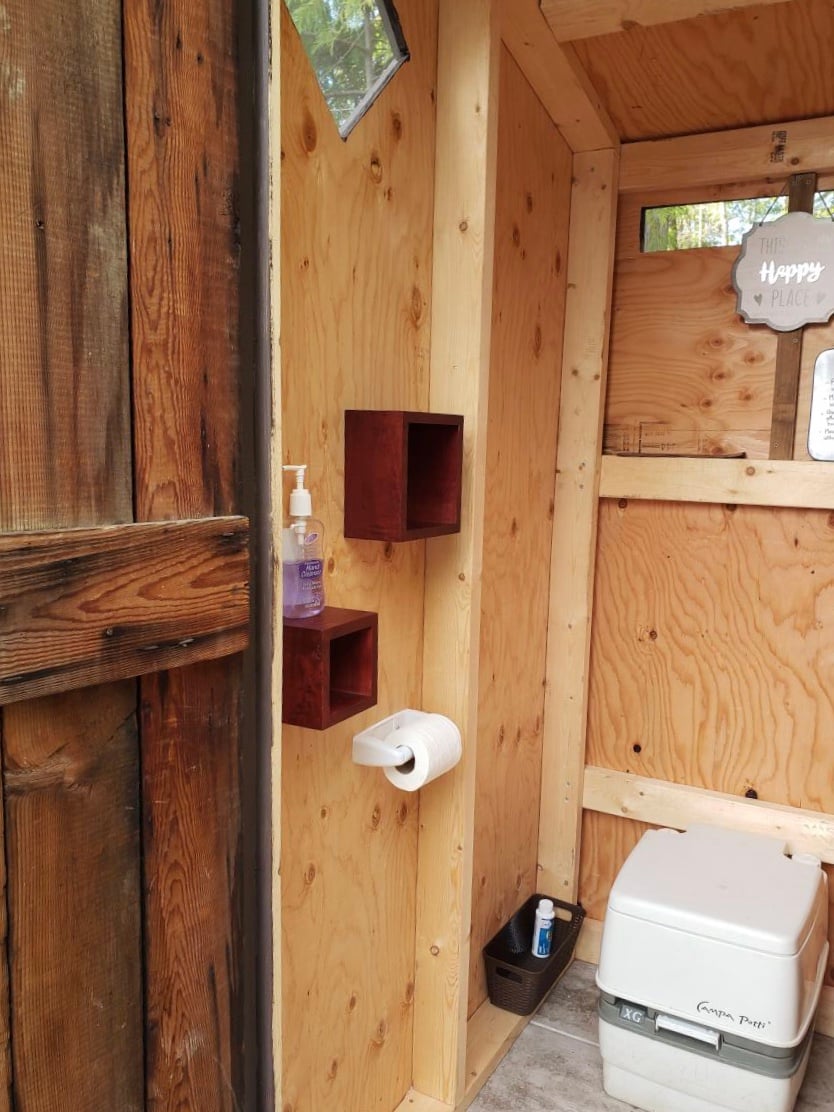
We used the plans from the Simple Outhouse to make a space to hold our porta potty. The door is a repurposed barn door and I think it looks amazing! These plans were perfect for us as we were able to build it in panels and reassemble on our property by the lake. Some screened windows to allow for ventilation and light were the finishing touches. Thanks Anna for the simple to follow plans!