Community Brag Posts

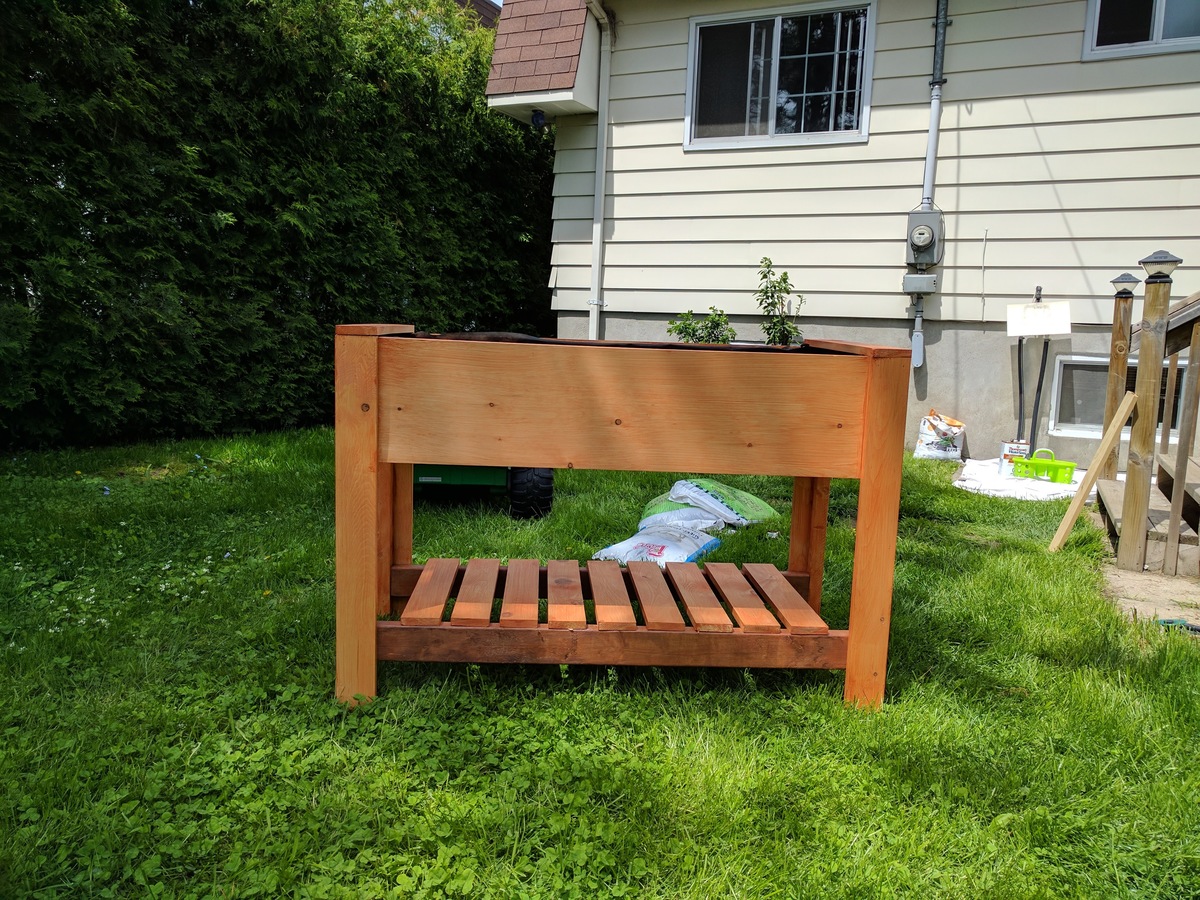
Raised planter box (modified)
Submitted by Anonymous (not verified) on Sat, 06/10/2017 - 07:50

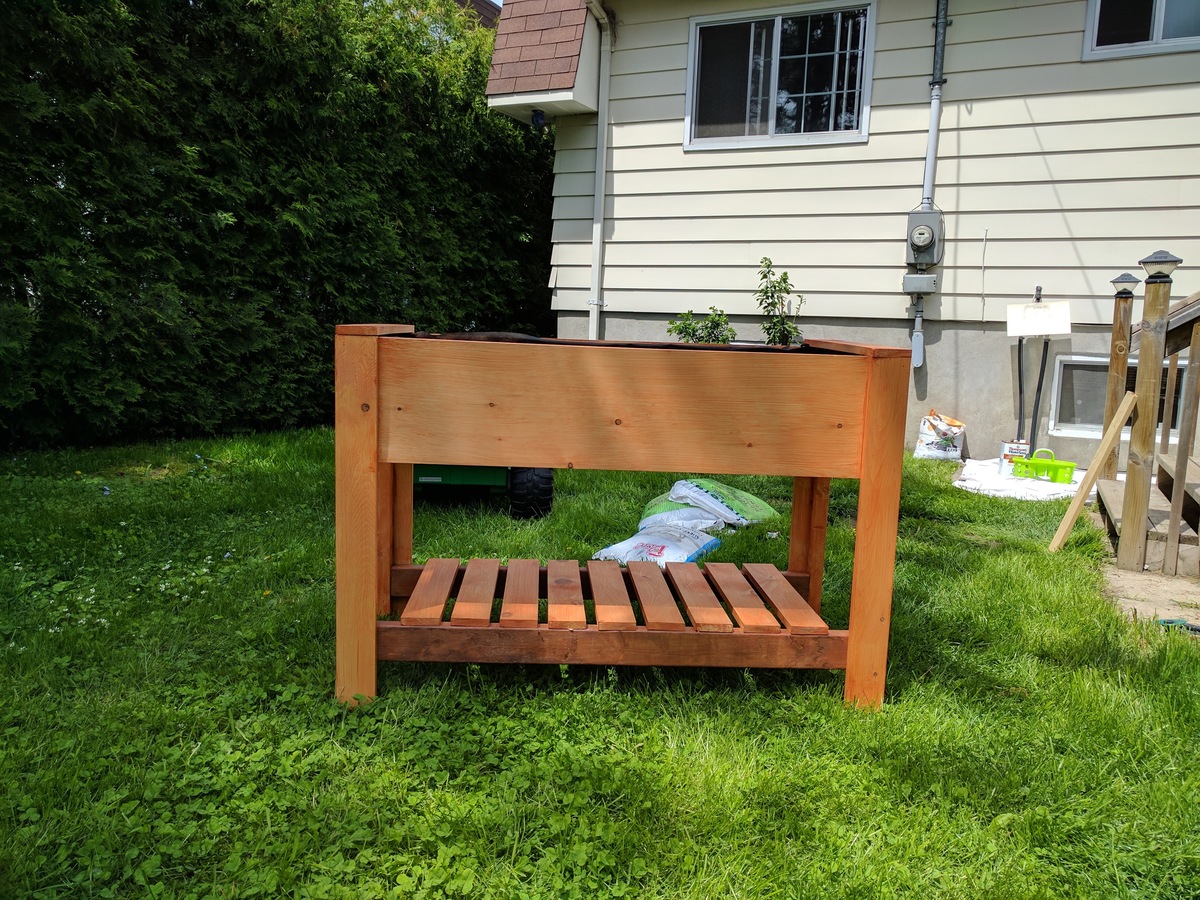
Completed the project in about 4 hours including pre-staining the cut lumber (Thompson's water seal). I made a few changes on the fly. 

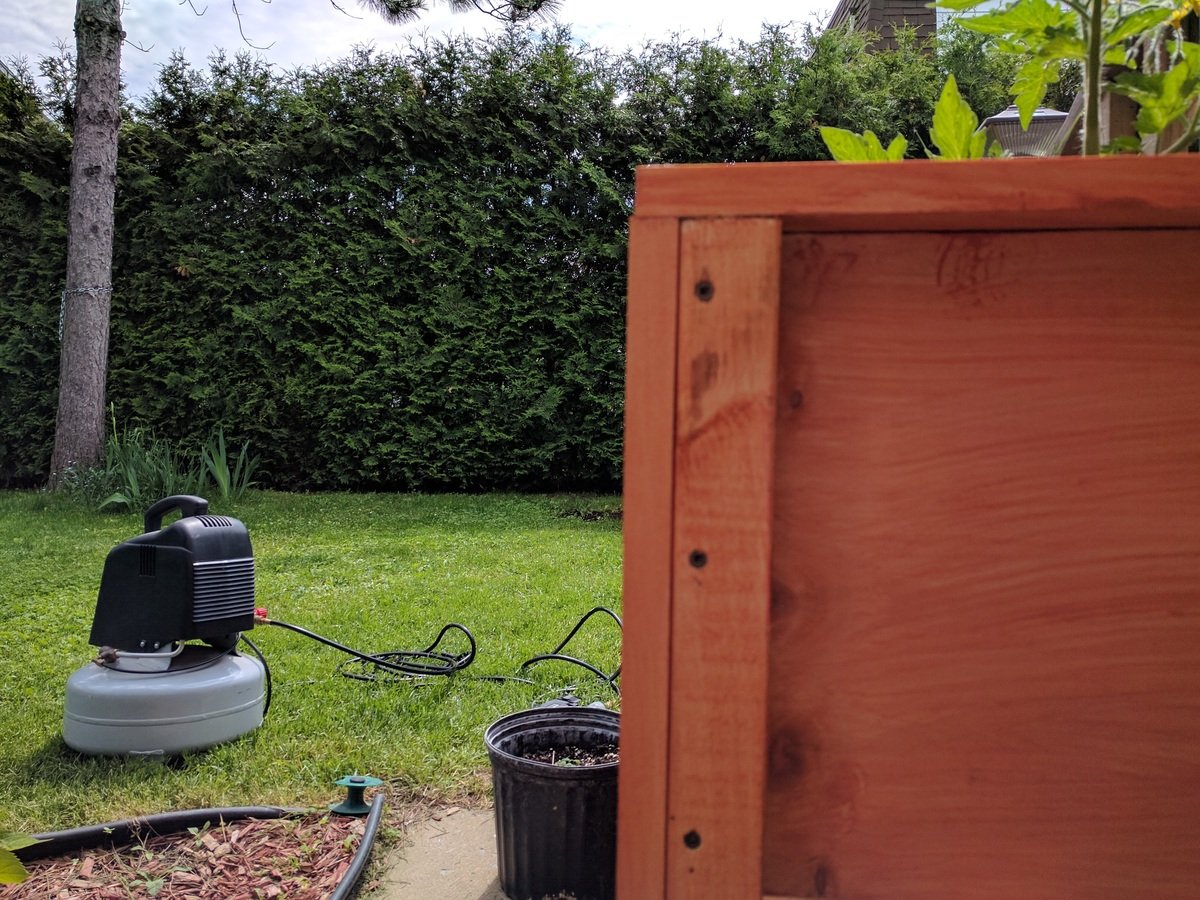
1: I assembled the front and back panels by tacking them together with a nail gun using 2 1/4 inch finishing nails. This allowed me to forego the drilling of pocket screw holes and instead drill pilot holes through the 2x2's and into the 1x12 panels then securing them with 2 1/2 inch deck screws (see the second picture).

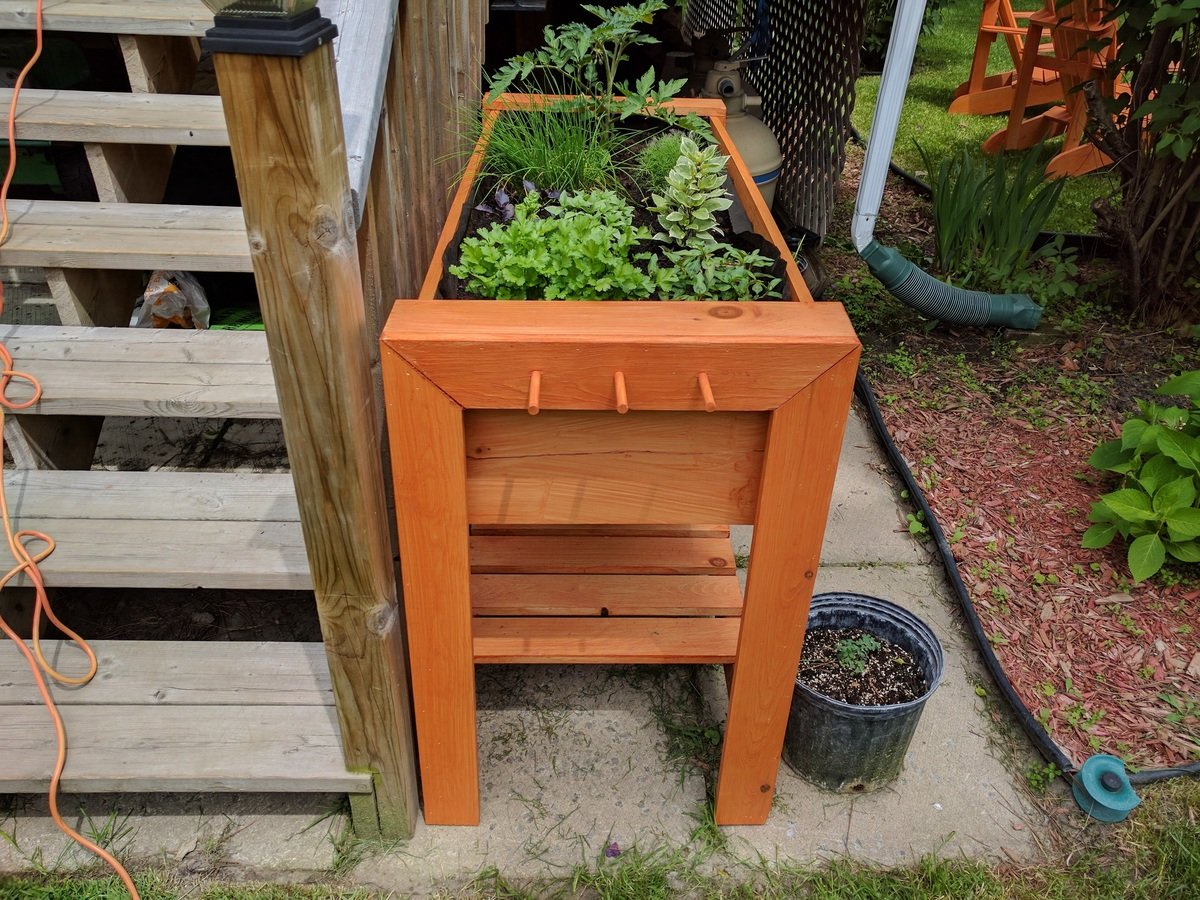
2: after completing assembly I found that I did not like seeing the 2x2 legs from the side. I cut some more 1x4's at 45 degree angles and nailed them to the sides in order to conceal the legs (see third picture).

3: I decided to add some pegs to one of the sides to hang garden implements (third picture). I used 7/16 round dowel stock, drilled holes for them using 3/8 bit with some tape wrapped around it at 1/2 inch mark in order to avoid drilling completely through the board. I slightly whittled the first 1/8 inch at one end of the pegs which I had cut to 3 inch lenghts. Applied some wood glue to the holes and gently hammered the pegs into the holes.

All in all a good looking planter.
Estimated Cost
$100.00 Usd
Estimated Time Investment
Afternoon Project (3-6 Hours)
Finish Used
Thompson's water seal (cedar colored). Sand boards before applying 2 coats 1 hour between coats.
Recommended Skill Level
Intermediate

Comments

2x4 Outdoor Sofa & Sectional Piece

Submitted by Anonymous (not verified) on Wed, 08/11/2021 - 05:36

These plan were fantastic! Sorry for the messy picture!

As I live in Sweden I had to convert all measurements to metric. I also couldn't get hold of cedar boards easily so I went with regular treated construction pine. The pine boards are 45 mm by 95 mm, so I adjusted acording to that as well. The downside with using fresh treated pine is the extreme weight of the wood. It's also probably going to shrink a fair bit.

We live in a chain house, so it wasn't possible for me to build the sofa in place. Instead I hade to build it at my parents place. So I modified the plans a little to be able to build the sofa in pieces and transport the whole thing in my car. The sides are bolted to the base with carriage bolts and the back rest is bolted to the sides using hex wood screws.
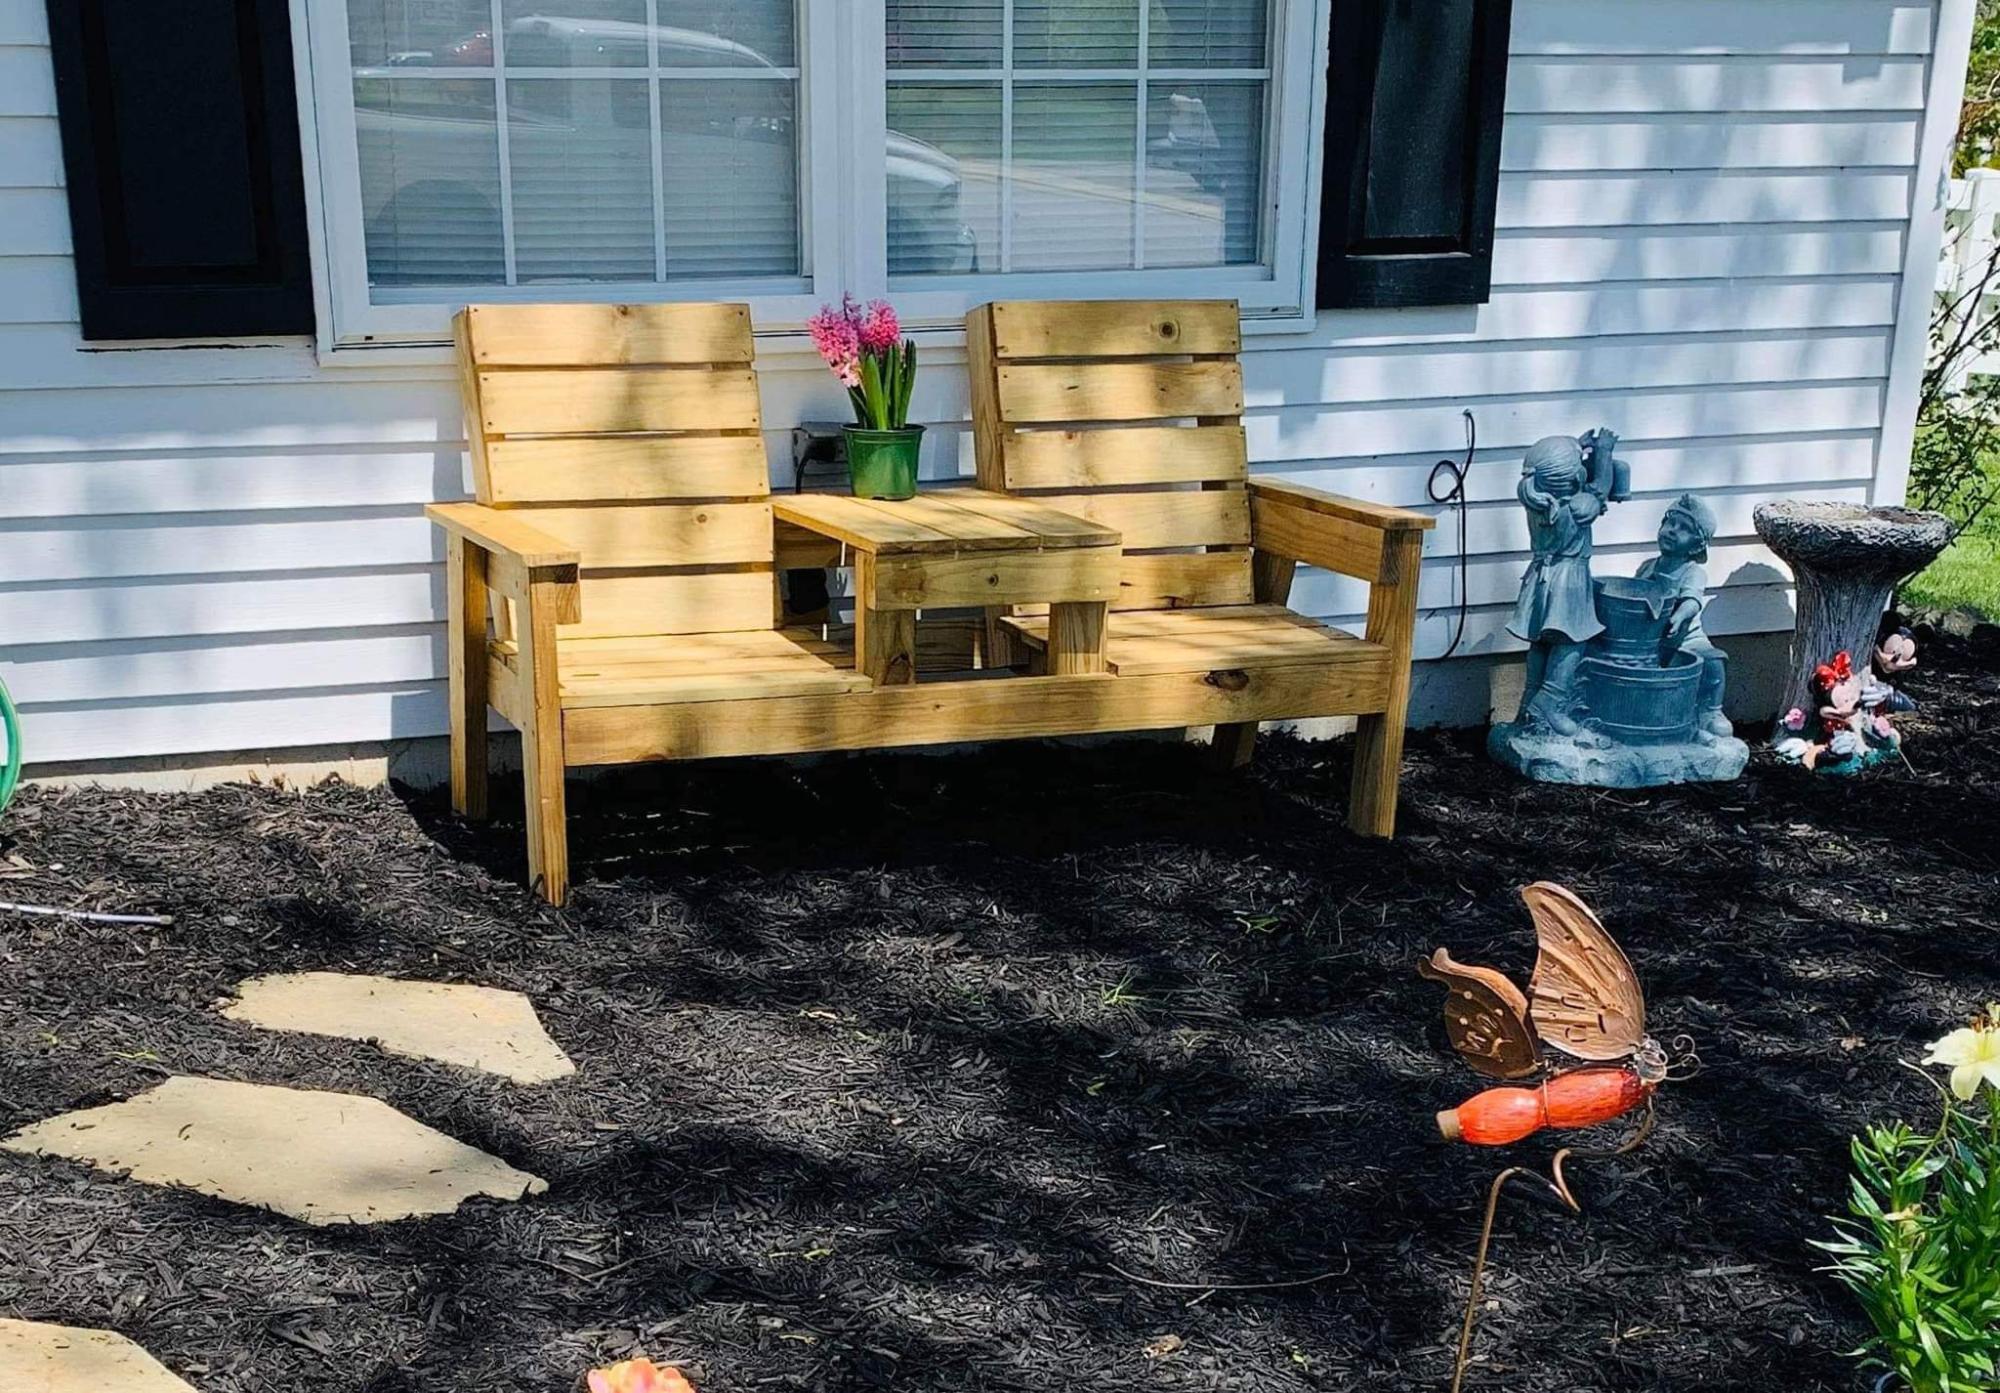
To make the joints a bit sturdier I opted to use two 10mm wooden dowels and glue in every joint. I also didn't want any screw heads showing. So I used decking screws and screwed them in at an angle as hidden as possible.

Will probably sand all the rough edges in a few days and will be making a matching table later on.

As it's late in the store season (Ikea didn't have any good cushions in the store) we opted to go with rugs instead of cushions.

Estimated Cost
Roughly 200 $
Estimated Time Investment
Day Project (6-9 Hours)
Finish Used
No finish
Recommended Skill Level
Beginner

Comments

Adirondack Chair

Watts Built on Wolfe Way

Estimated Cost
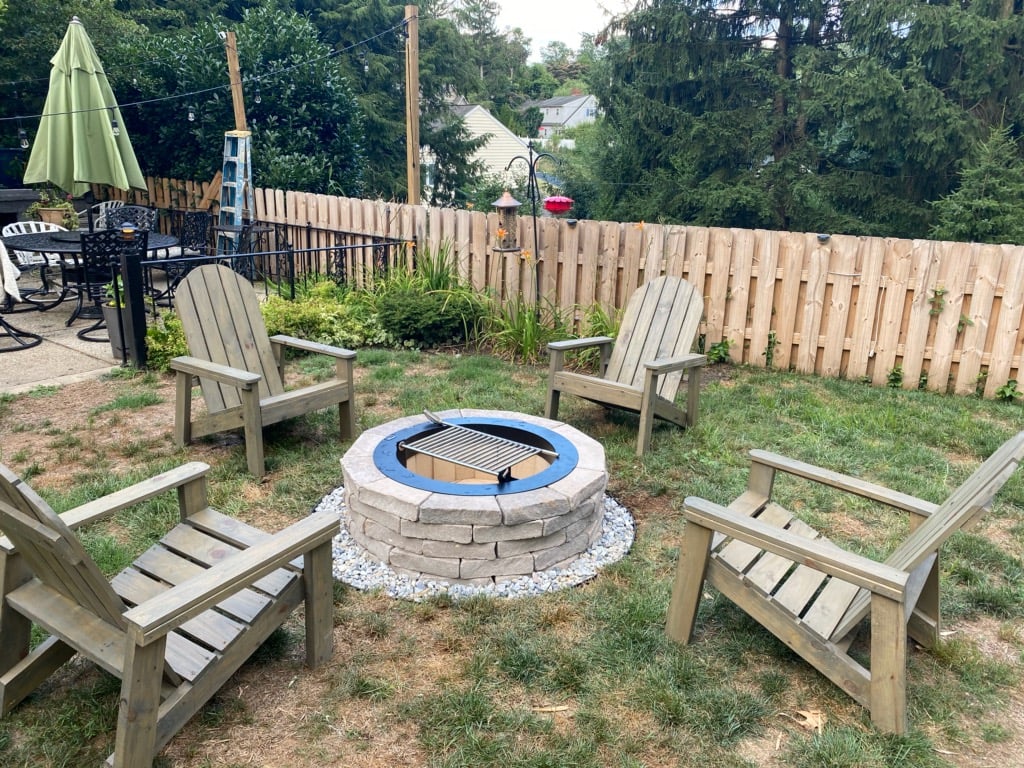
$150 for all 4
Finish Used
Behr Transparent Weather Proofing all-in-one Cedar Naturaltone No 501
Recommended Skill Level
Intermediate

Comments

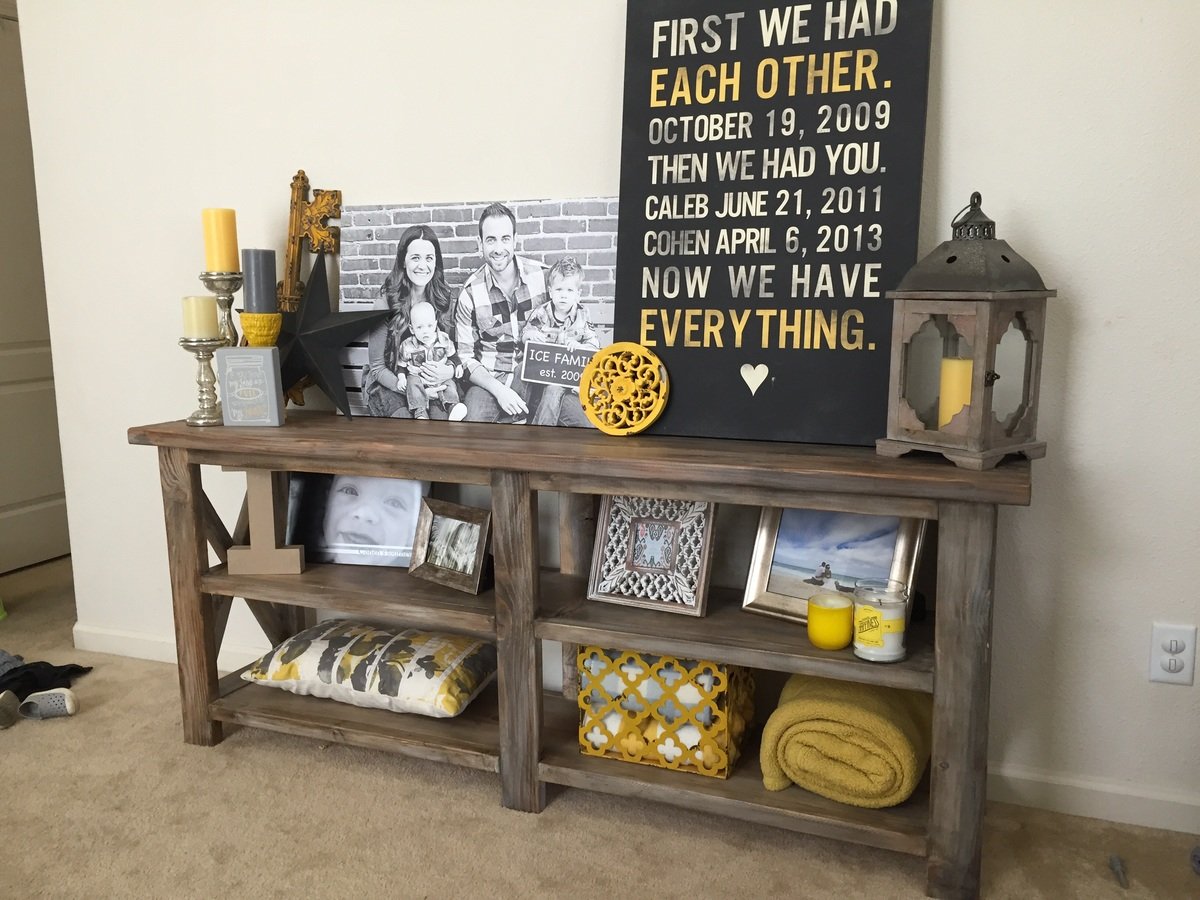
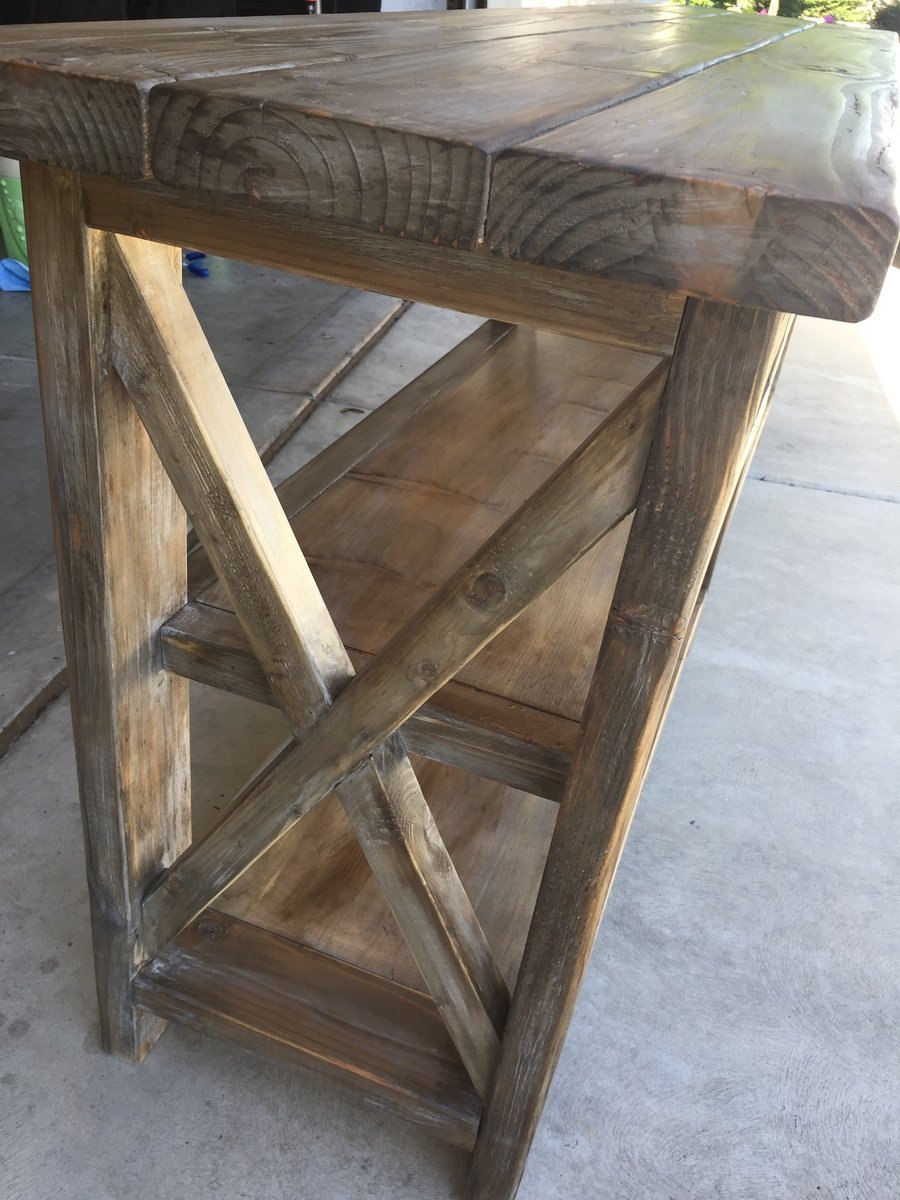
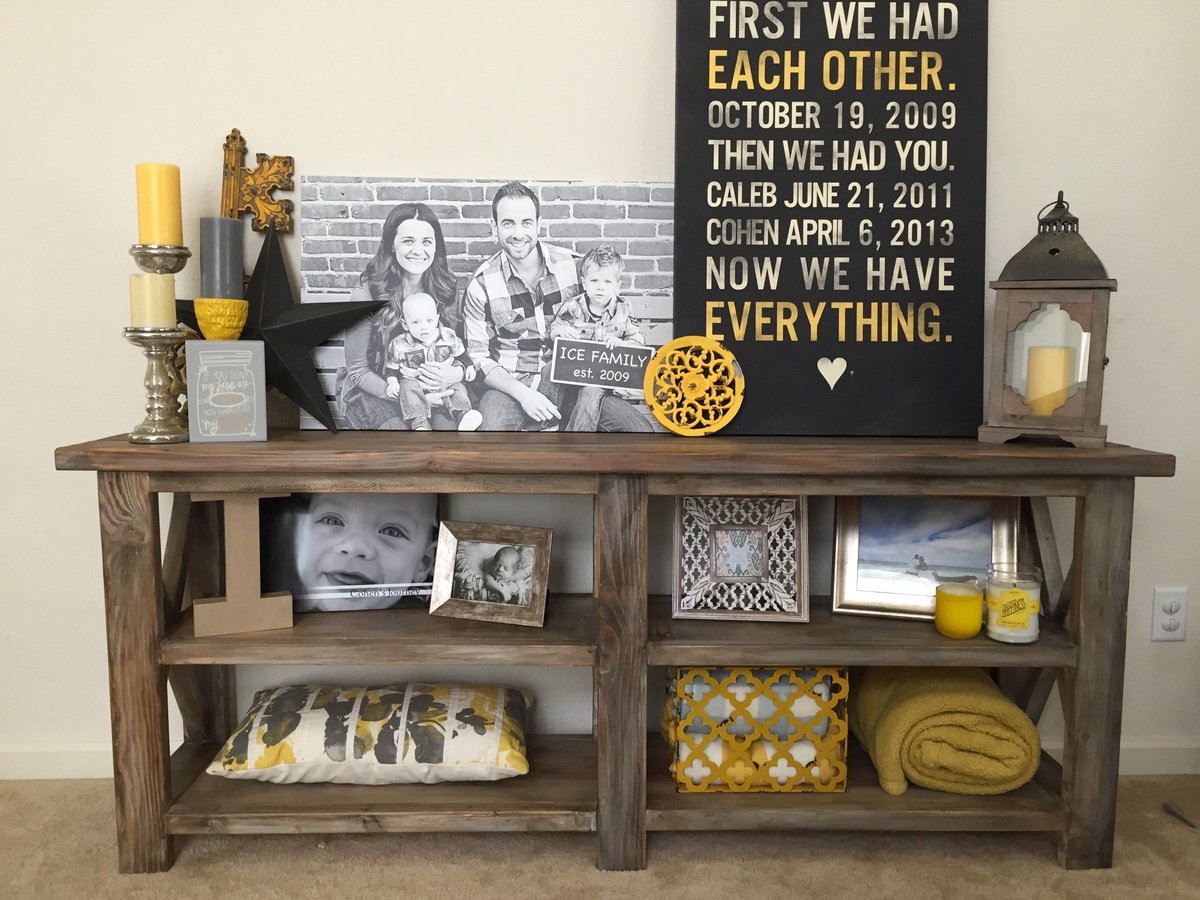
Rustic X Table

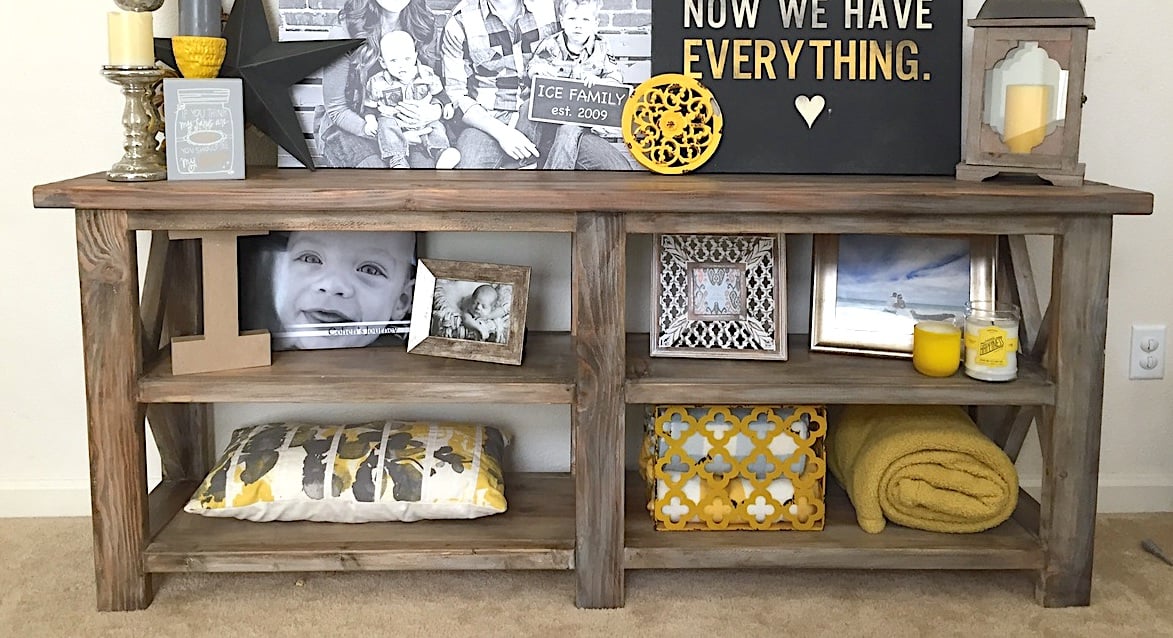
Submitted by IceFamily on Thu, 02/20/2020 - 11:05

Enjoyed this project

Built from Plan(s)
Estimated Time Investment
Day Project (6-9 Hours)
Finish Used
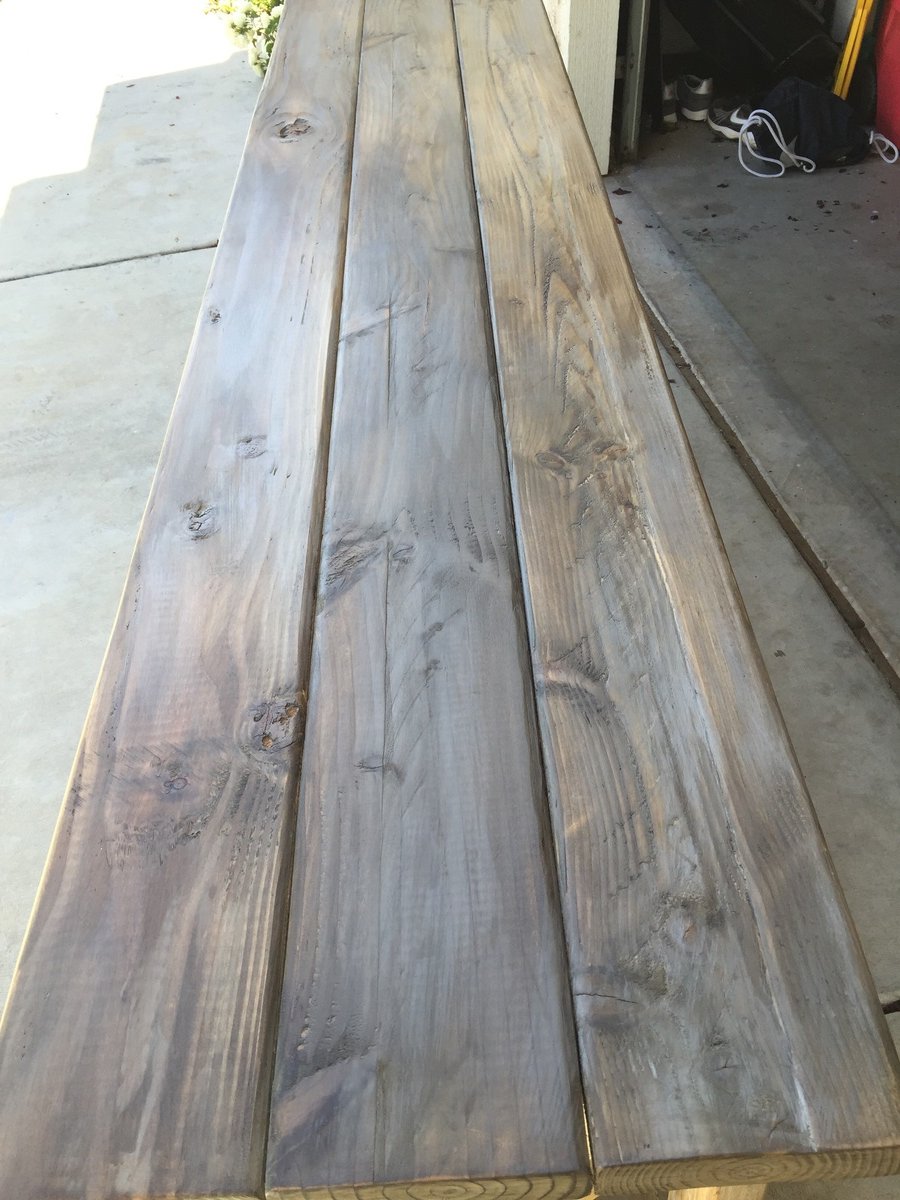
Tea, Steel Wool, White Wash, Dark Wax and Clear Wax
Recommended Skill Level
Beginner

Comments

Seasonal And Holiday

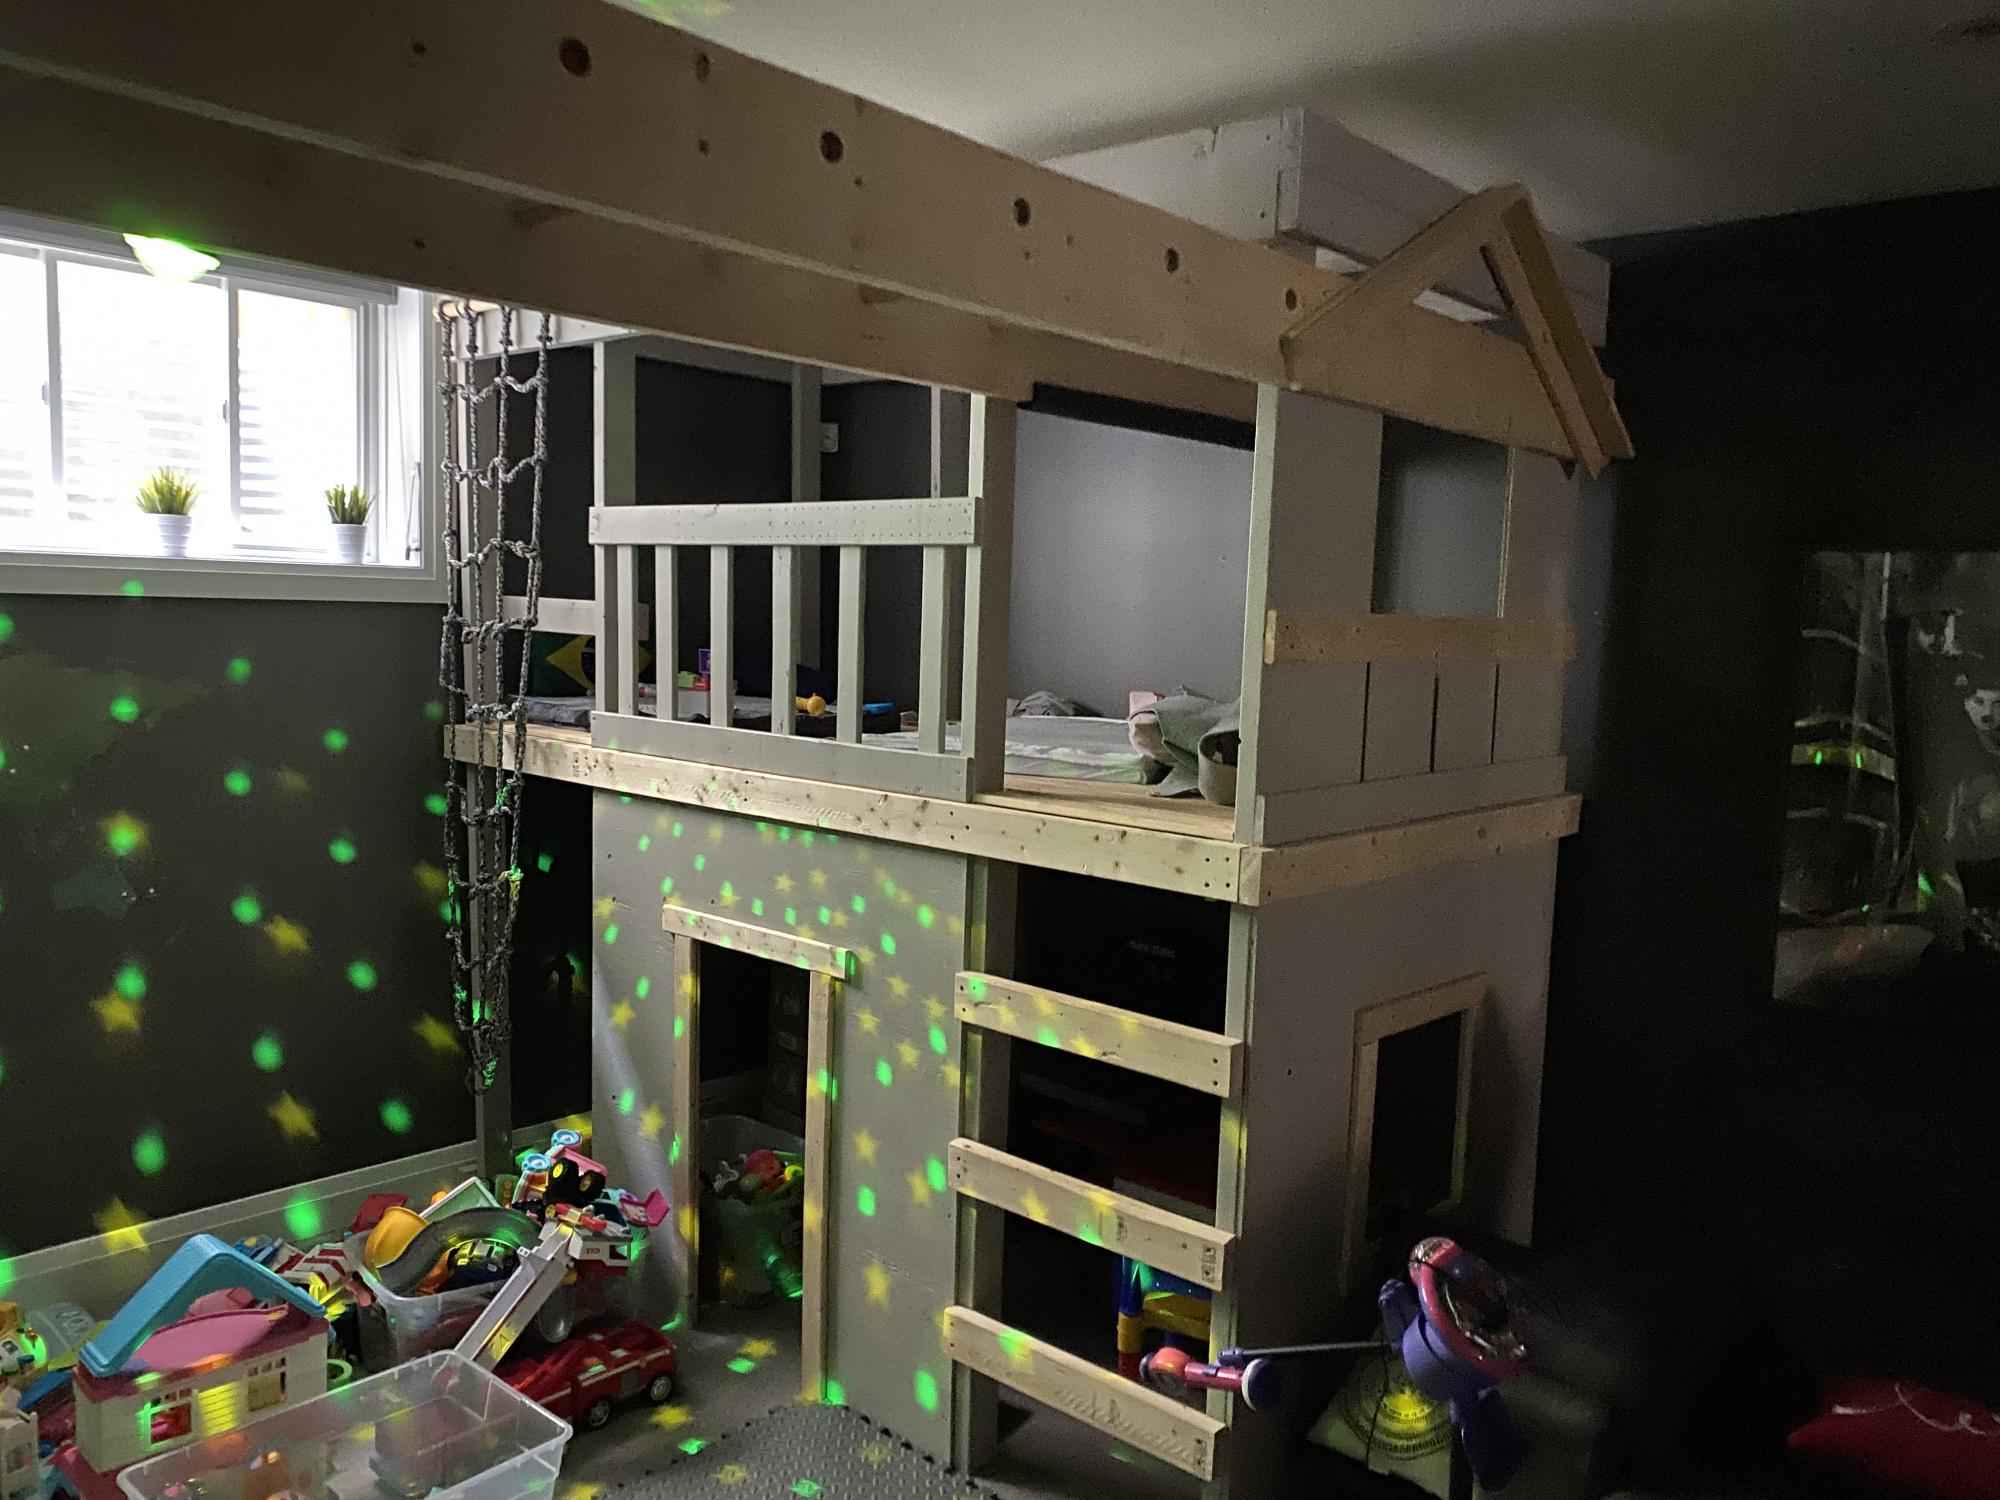
Monkey bar and play house

Submitted by Anonymous (not verified) on Sat, 10/09/2021 - 06:21

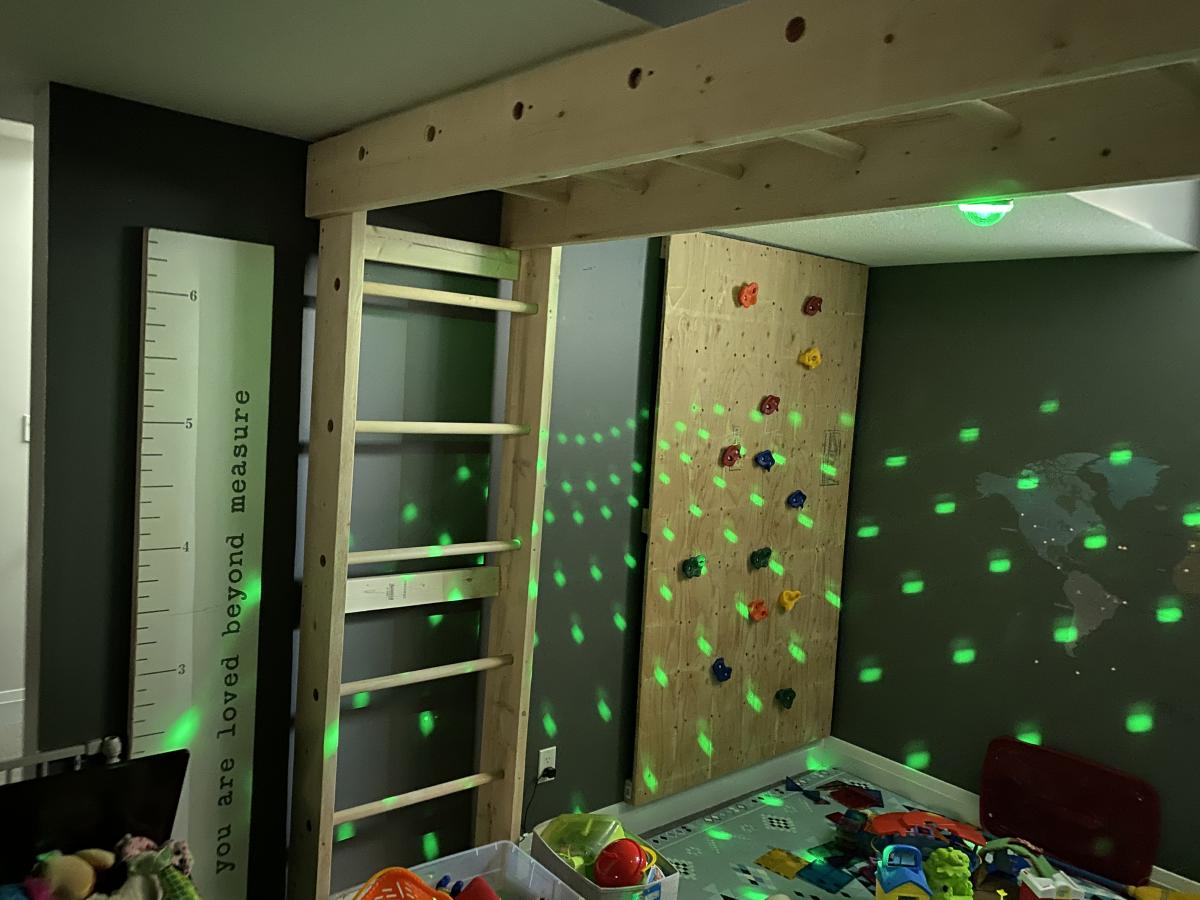
Inspired in one of your projects this was my first project with wood and turned out a go to place for the kids and guests to play all the time.
Thank you for the plan. Kids appreciate it too.

Comments

Bike Storage

Submitted by vendo on Wed, 10/13/2021 - 10:10

I live in a smaller rental with limited garage space, so I needed a place for my kids bikes. This is what I came up with. It required minimal screw holes in the treated fence posts and I attached a rail system(rubbermaid fasttrak) for the bikes to hang from. I used Ana's easy shelves plan for the upright supports and then just added some corrugated roofing and cedar fence pickets (which I had on hand) to finish off the top.

Garage Pegboard Storage Wall

Thecreativityexchange.com did such a great job with the original project, so of course I had to give it a try! I had only a few minor adjustments in size. I made this one 8ft X 8ft and only using one sheet of pegboard. My amazing wife stained it too with English Walnut!

Estimated Time Investment
Afternoon Project (3-6 Hours)
Finish Used
English Walnut Stain
Recommended Skill Level
Beginner

Modern Farmhouse Bed

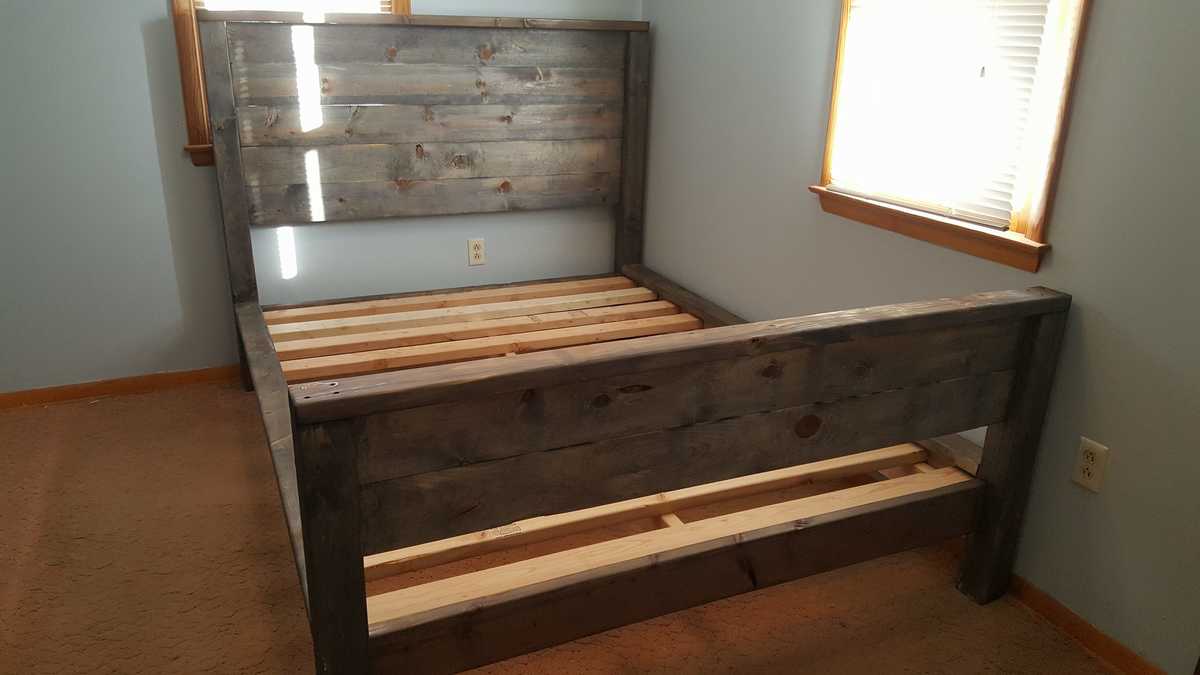
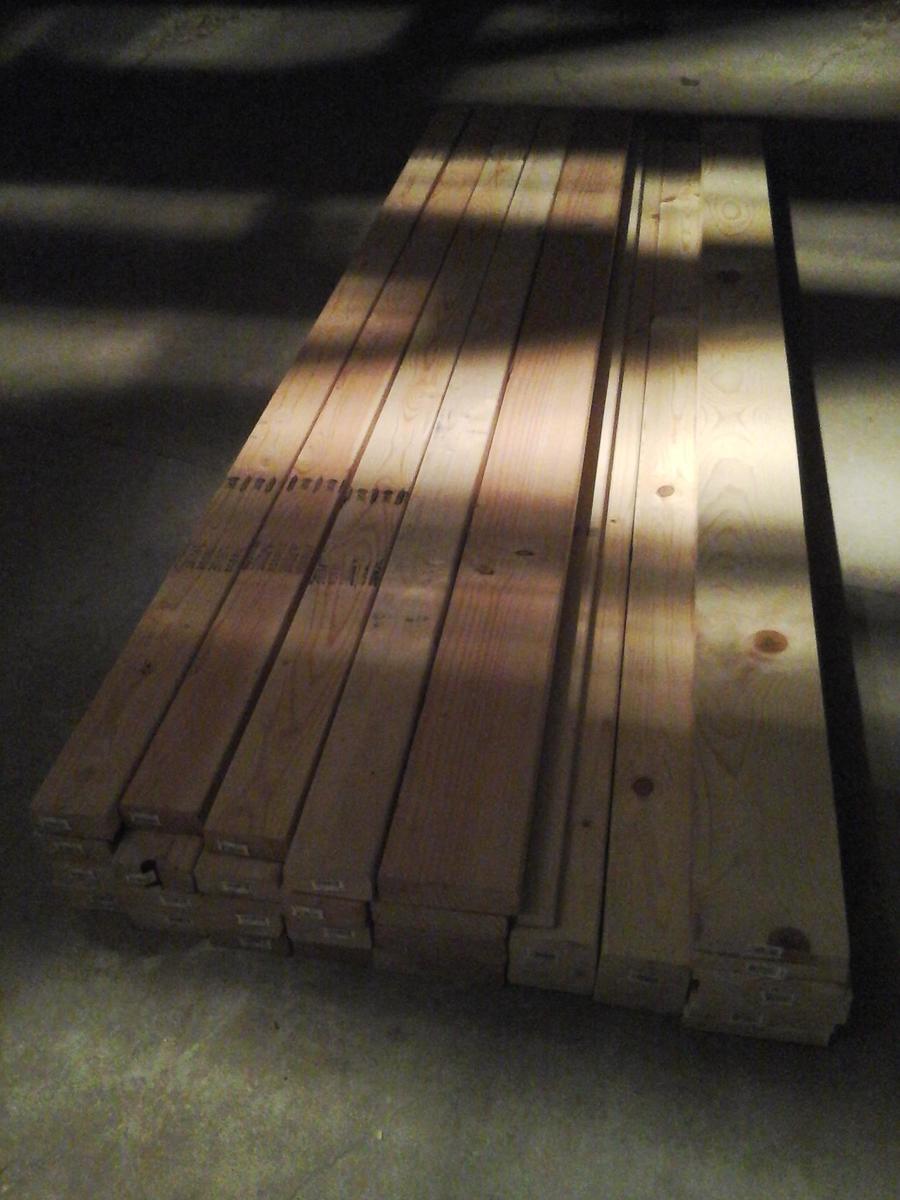
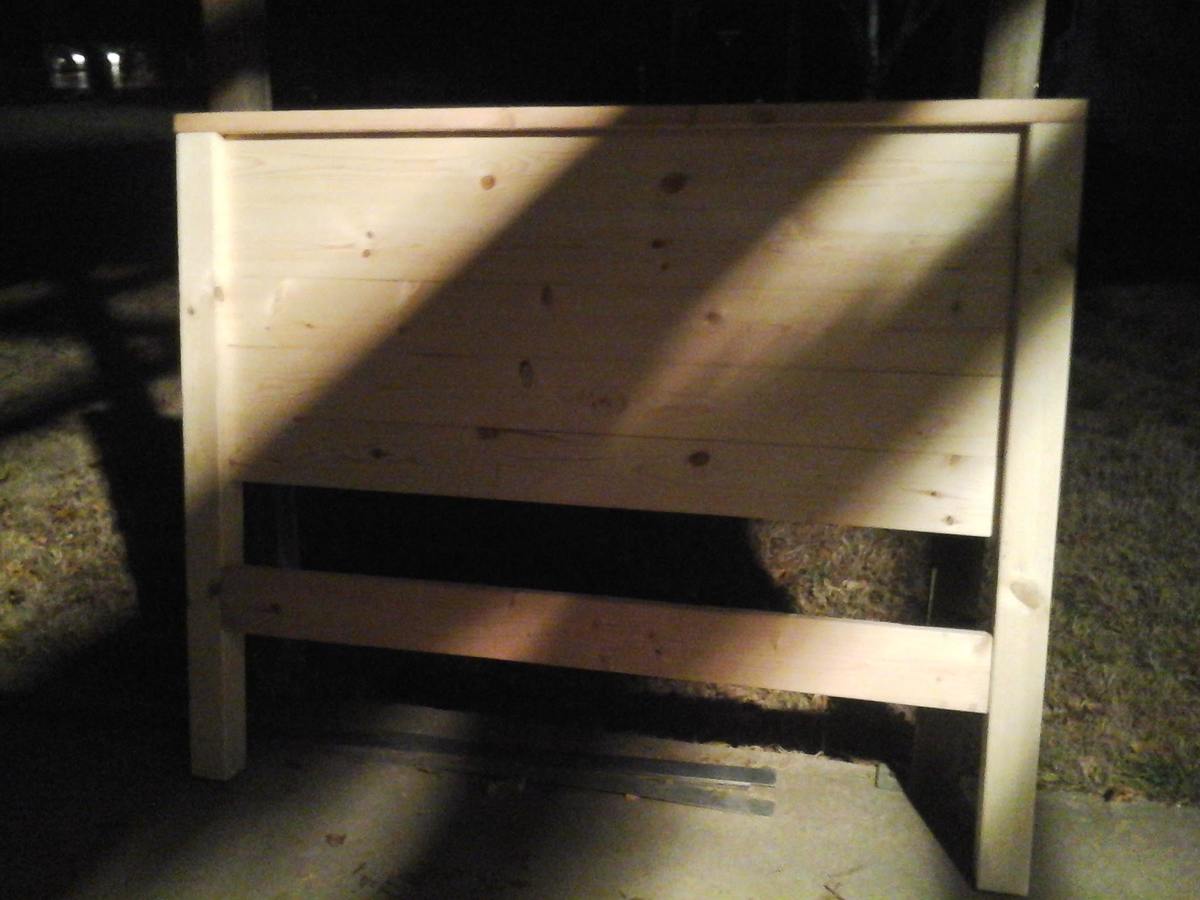
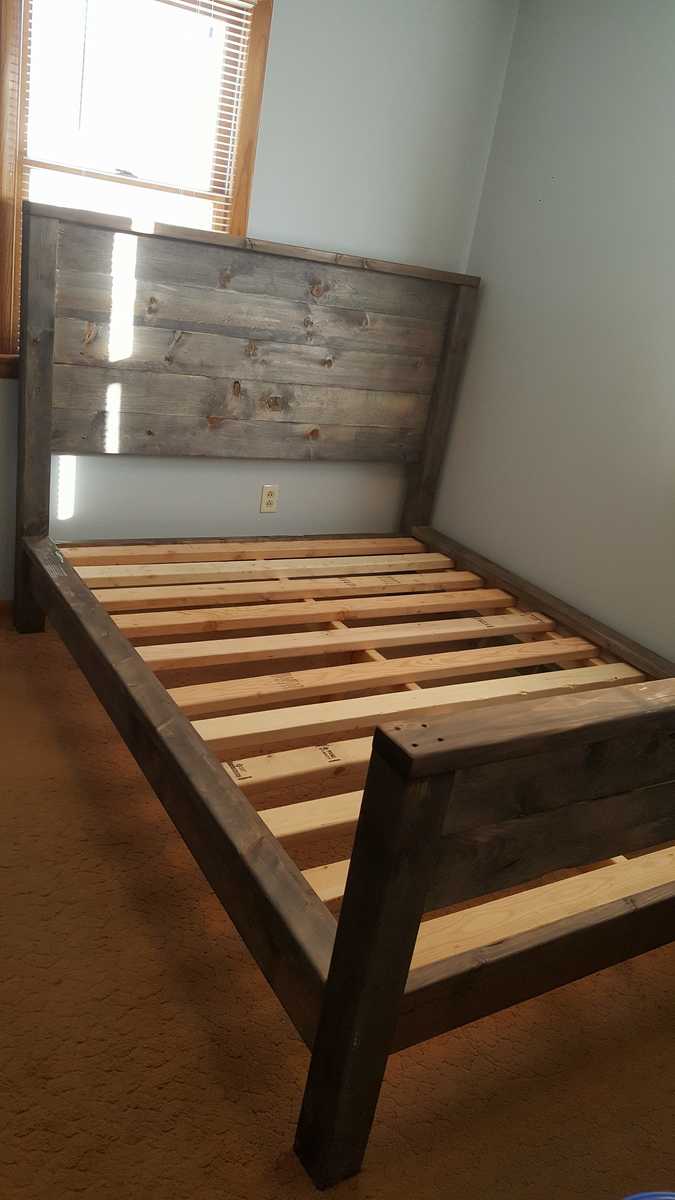
I had so much fun building this bed. I was able to bring home the wood and have it all built in one evening. It took the most time sanding. Once the entire bed was sanded smooth and stamp marks from the mill removed, I started the weathering process. I tried a spray bottle and wasted so much of the material. It ran and streaked. Once I figured it out, I took a foam brush and applied the aging liquid. It worked beautifully and came out perfectly even with the rough start.

Built from Plan(s)
Estimated Cost
$150-$200
Estimated Time Investment
Day Project (6-9 Hours)
Finish Used
Rust-Oleum Weathered Wood Accelerator with Rust-Oleum Lacquer
Recommended Skill Level
Beginner

Comments

Fireplace Wall Remodel

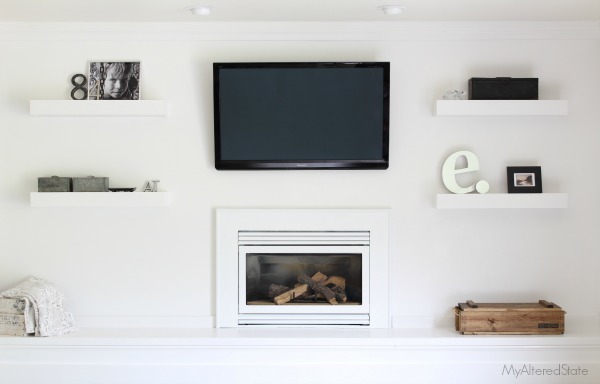
I needed a solution to my shelving problem. I wanted something clean looking, modern, and white to flank both sides of my fireplace. Count on Ana White to come up with a plan. Within seconds of sitting down to surf her site, I found that perfect plan to build four floating shelves.

Built from Plan(s)
Estimated Time Investment
Day Project (6-9 Hours)
Recommended Skill Level
Intermediate

Farmhouse Bedside Table

Submitted by GoDawgs on Sat, 12/23/2017 - 12:12

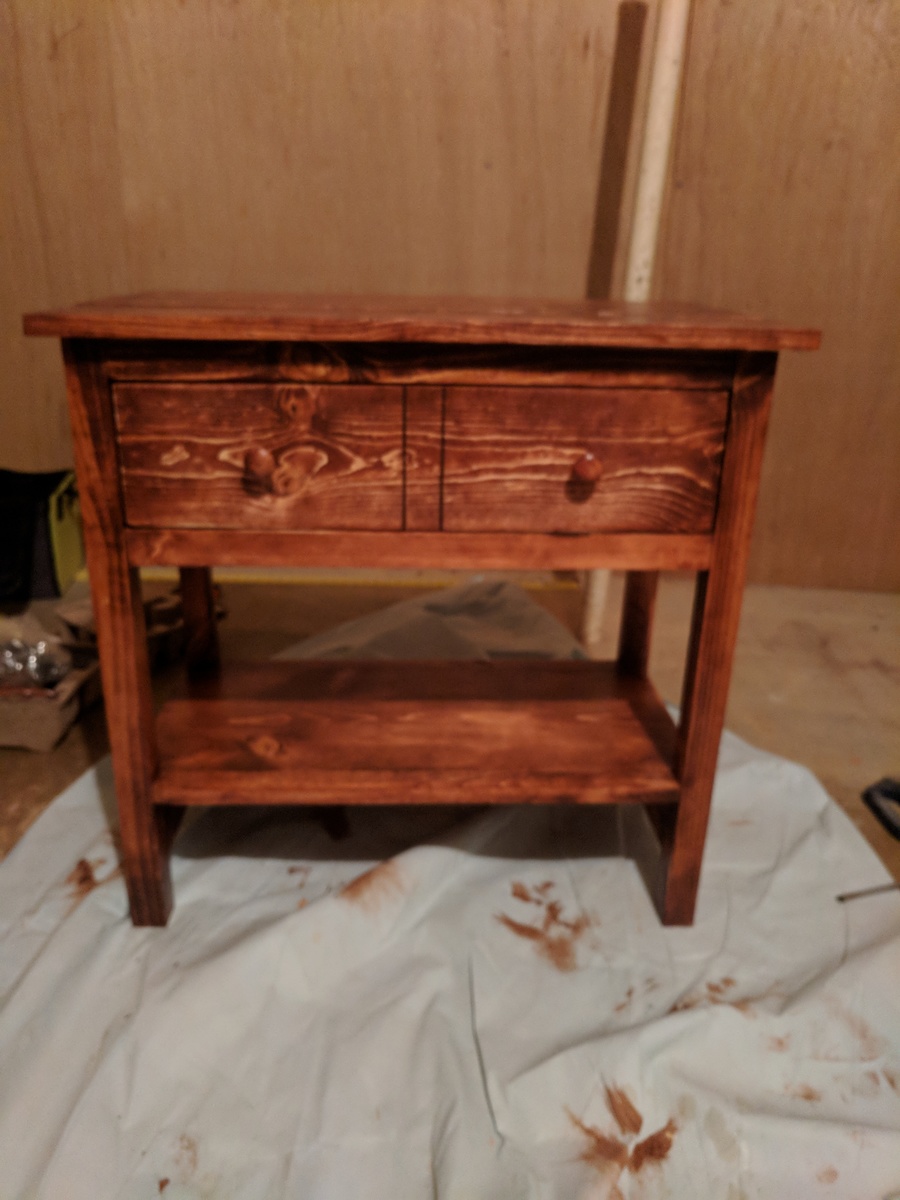
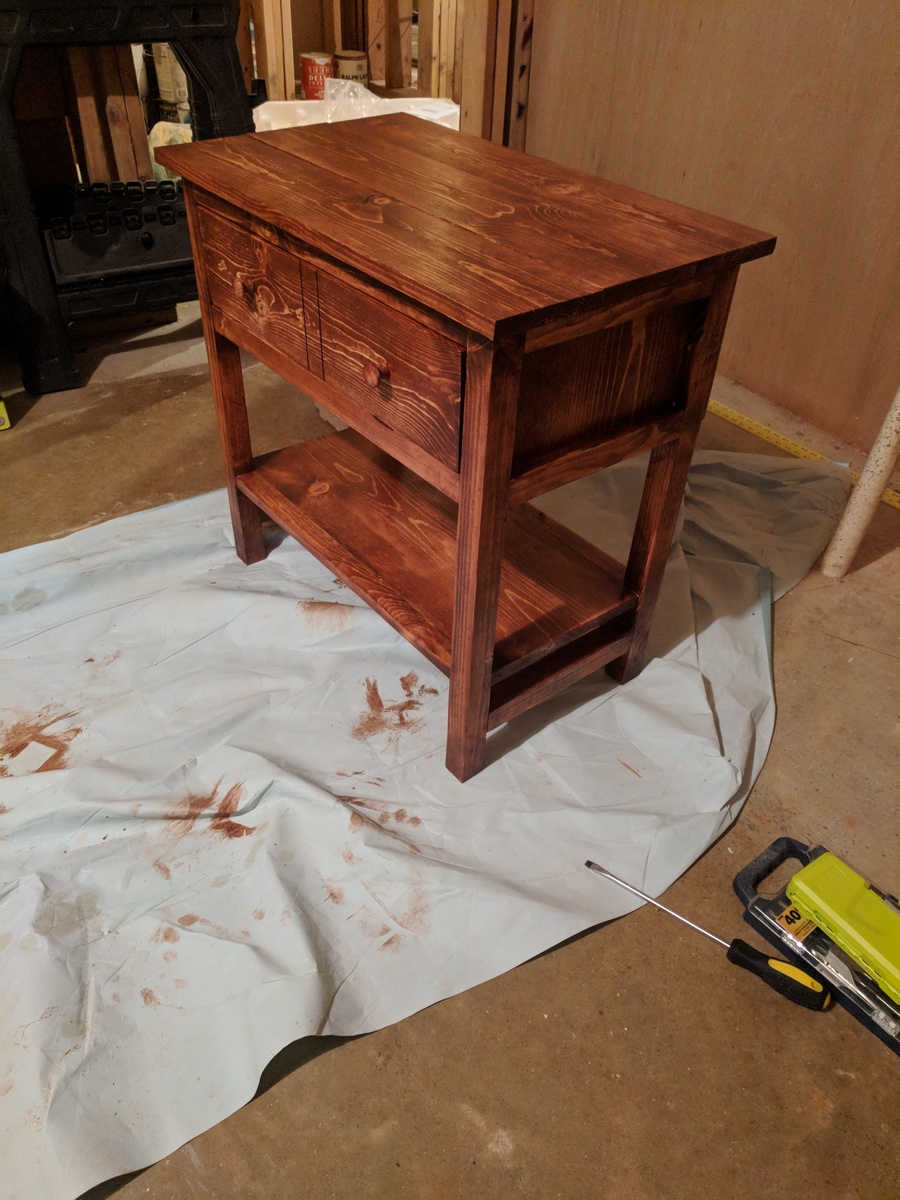
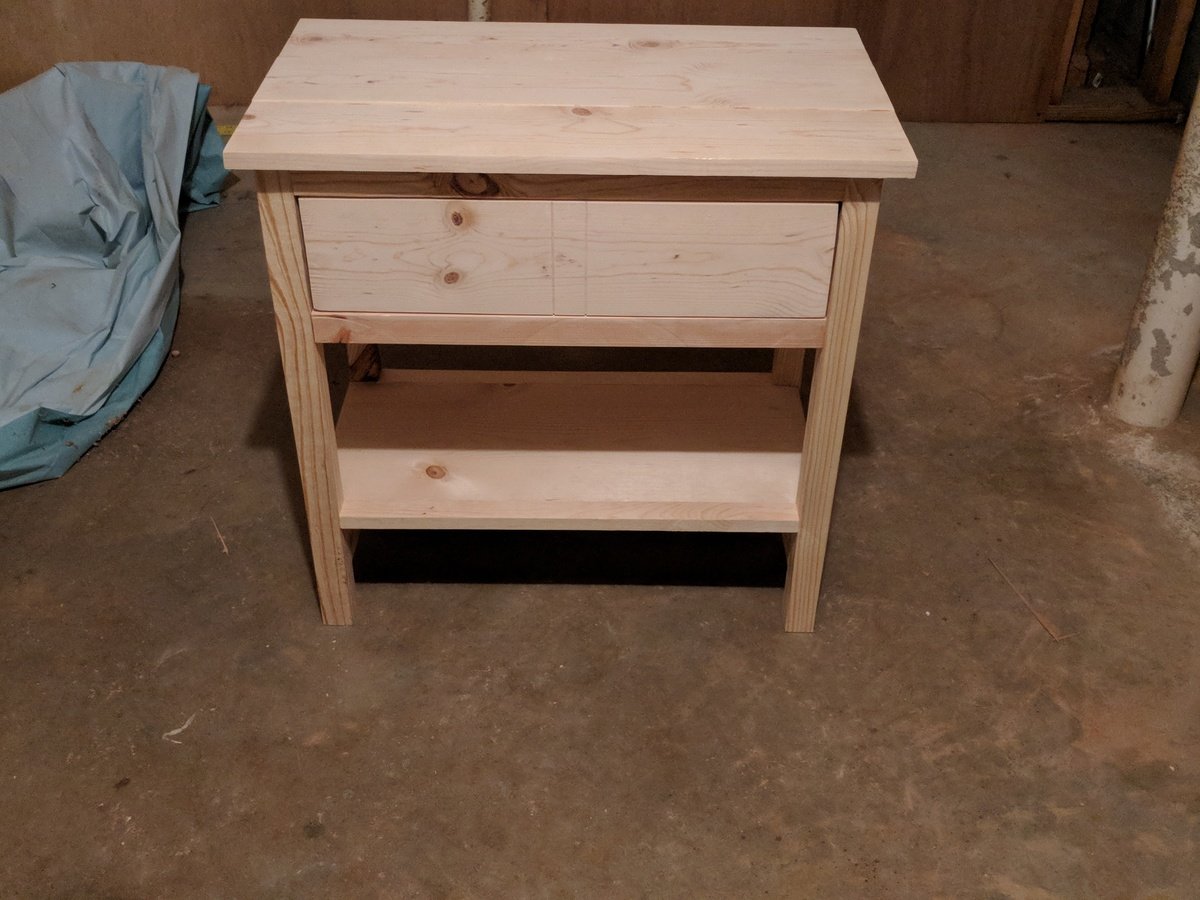
Building a pair with this one first for my wife. First time using the table saw to rip the 2x2s and 1x2s and I'll never use.anything without a square edge again! Arm-R-Seal from General Finishes is the best!

Built from Plan(s)
Estimated Cost
$50
Estimated Time Investment
Day Project (6-9 Hours)
Finish Used
Varathane American Walnut and General Finishes Arm r Seal in satin
Recommended Skill Level
Beginner

Farmhouse Bedside Table

Submitted by pkniland on Tue, 06/25/2013 - 13:37

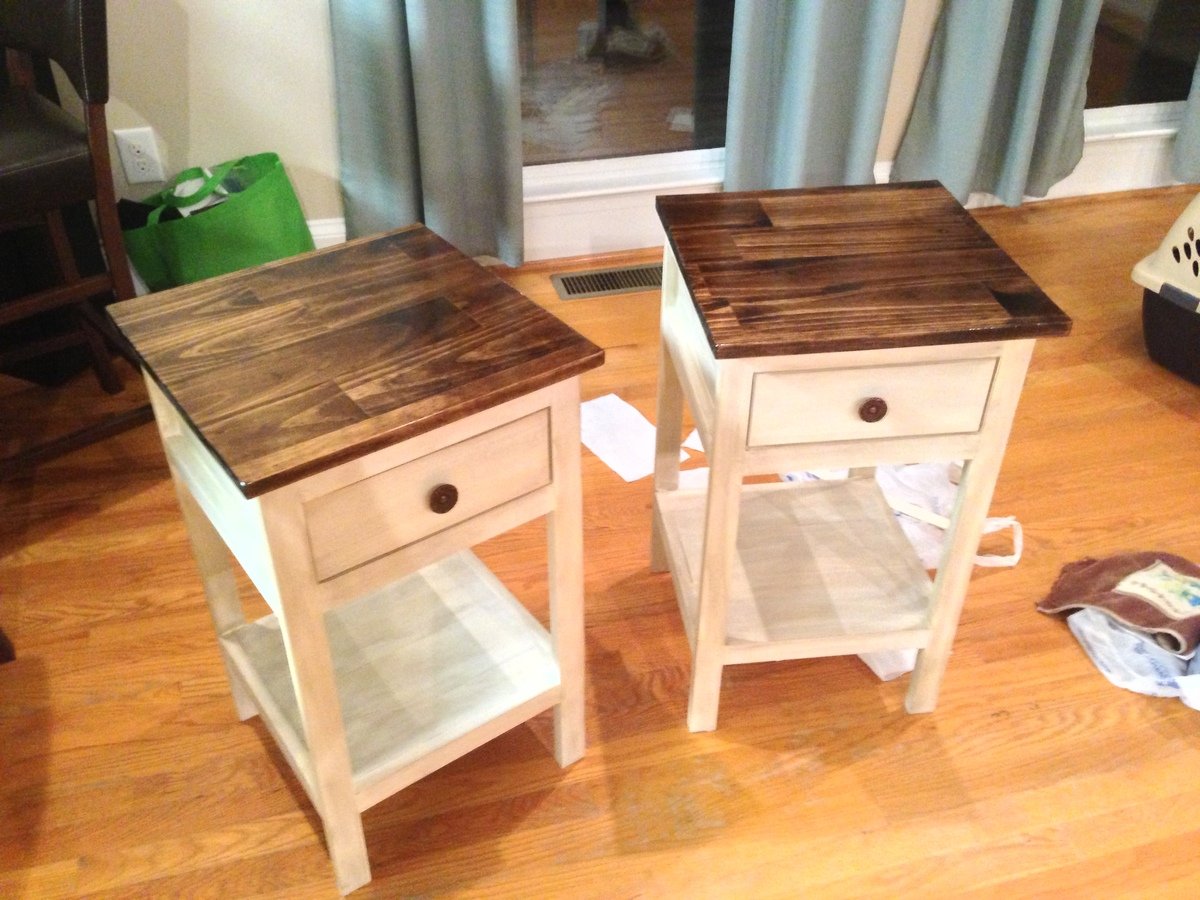
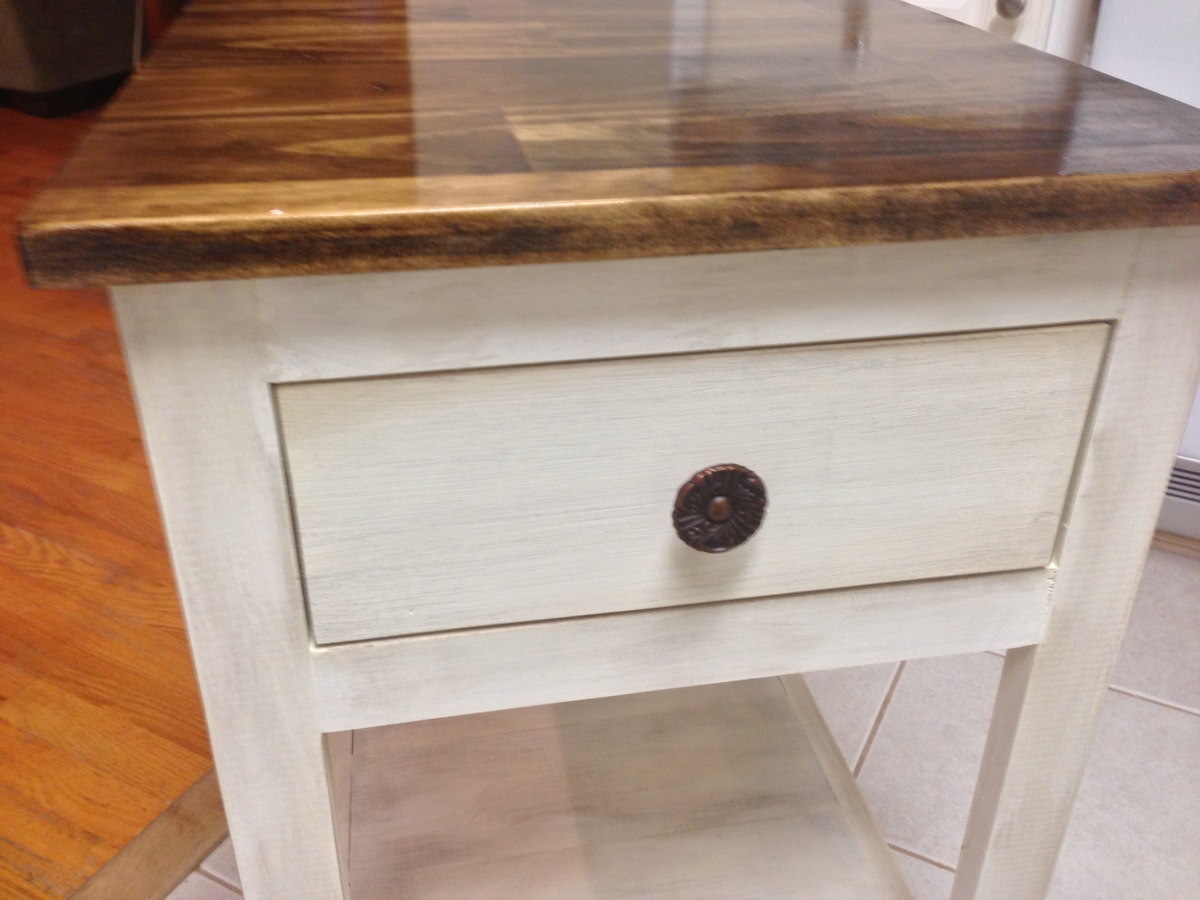
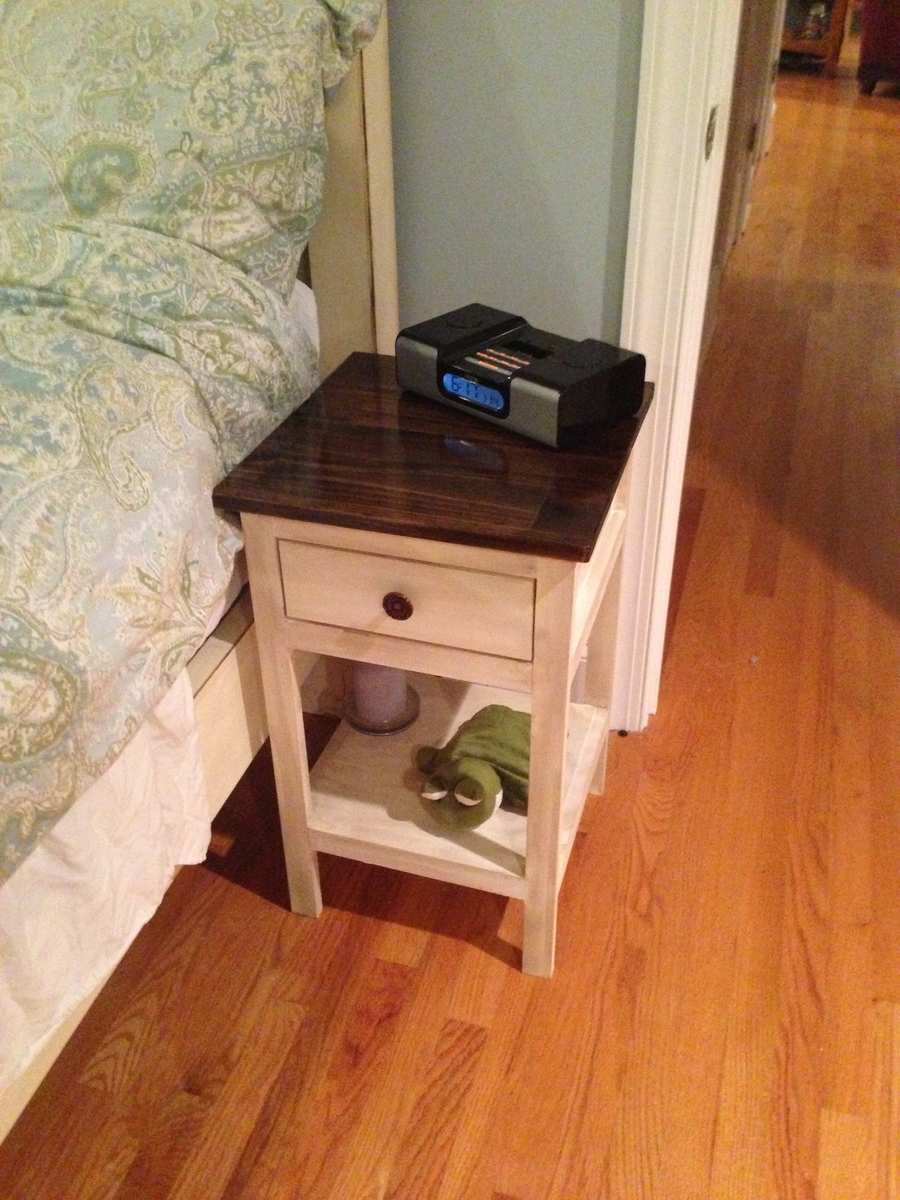
Use poplar because it takes paint so well. Ended up using a preambled worktop for the top. Pocket screws and glue.

Built from Plan(s)
Estimated Cost
$100
Estimated Time Investment
Weekend Project (10-20 Hours)
Finish Used
White base with a mahogany stain.
Recommended Skill Level
Beginner

Comments

jshock

Tue, 09/22/2015 - 09:21

How do I find the plans for these two bed side night stands?

Farmhouse Table~squared.

Submitted by Dinabu on Wed, 05/04/2011 - 09:24

I really really wanted a farmhouse table...but...we had a space that needed a square table AND I needed to fit 8-12 people (or more!) so we modified Ana's farmhouse table plans to not only be square, but really big as well. This table is 6 ft on each side. Since the table itself was so big, we reversed the breadboard ends and used a 2x4 on 2 ends just to even out the size a bit since is not rectangular...and the area is quite small but needed a big table. I didnt want it to be completely out of proportion. We did not use a stretcher because of the square factor, but each leg is a 4x4 post and reinforced underneath. It's HEAVY. It won't be moved anytime soon! I'm loving it:)

Estimated Cost
$250
Estimated Time Investment
Weekend Project (10-20 Hours)
Finish Used
Black semi-gloss with 2 coats of clear gloss poly for legs and table skirting, dark walnut for top with 5 coats clear gloss poly.
Recommended Skill Level
Beginner

Comments

Modified Weatherly Pergola

Submitted by ColleenM on Tue, 05/10/2011 - 09:15

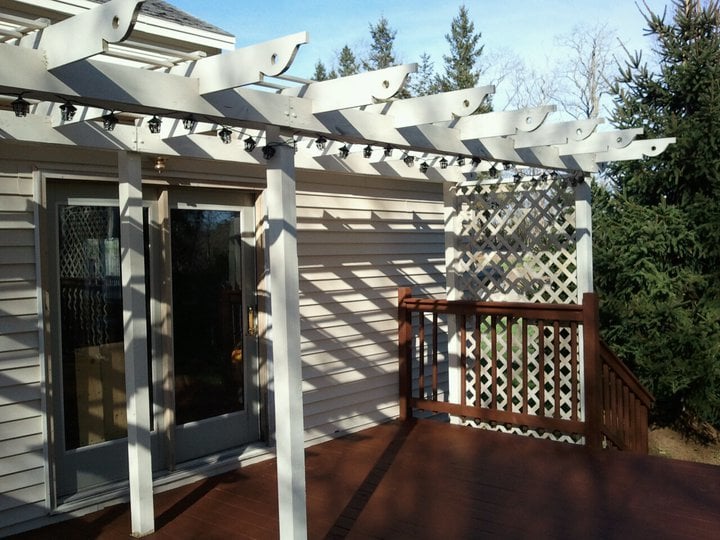
I've wanted a pergola for a long time. I liked some parts of the Weatherly Pergola, but needed some different aspects because of my deck, property and locale. I did some research, laid out a modified design and plan - and voila! Easy as pie - you just need 2 people (or more) because of the weight of the cross beams support. I did it myself using clamps, but I don't recommend it.
My current project is designing cabinets and a bar for an outdoor kitchen to go under the pergola! :D

Built from Plan(s)
Estimated Cost
$500
Estimated Time Investment
Weekend Project (10-20 Hours)
Finish Used
I used the same exterior paint that I used on the house, so it would not appear as this large dark looming thing on an already dark deck. It's a Valspar exterior satin paint, watered down to be more like a stain and sprayed on (2 coats).
Recommended Skill Level
Beginner

Herb Garden

Submitted by frog428 on Wed, 07/17/2013 - 12:24

Herb Garden Planter Project - Such a simple project that costs less than $5.00

I added L brackets to the corners for a different look. I spray painted the brackets with a copper finish. I did not need to use wood filler because I covered the nails with the L Brackets.

Estimated Cost
$5.00
Estimated Time Investment
An Hour or Two (0-2 Hours)
Finish Used
Minwax Wood Finish and Minwax Quart Helmsman Semi-Gloss Spar Varnish
Recommended Skill Level
Beginner

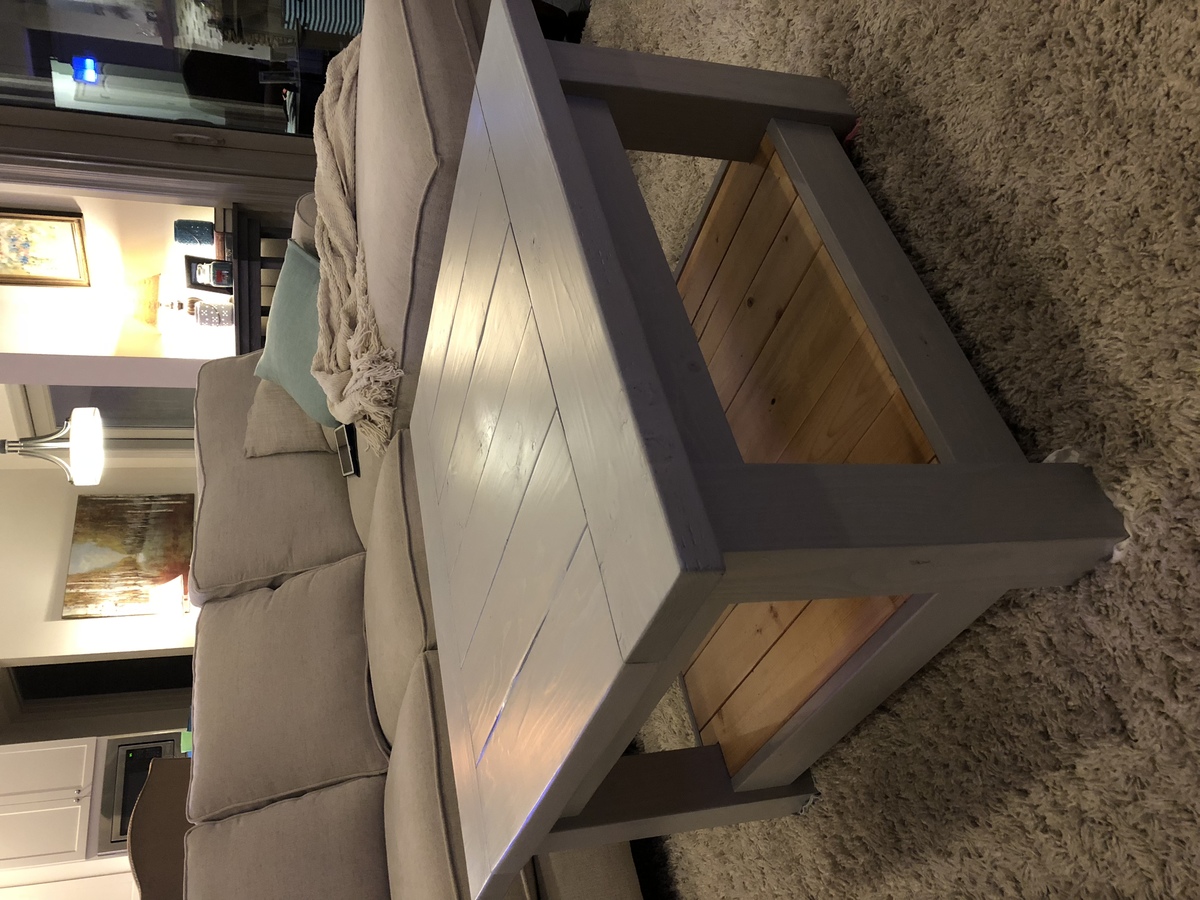
Coffee table

Submitted by aderosa on Tue, 02/13/2018 - 05:42

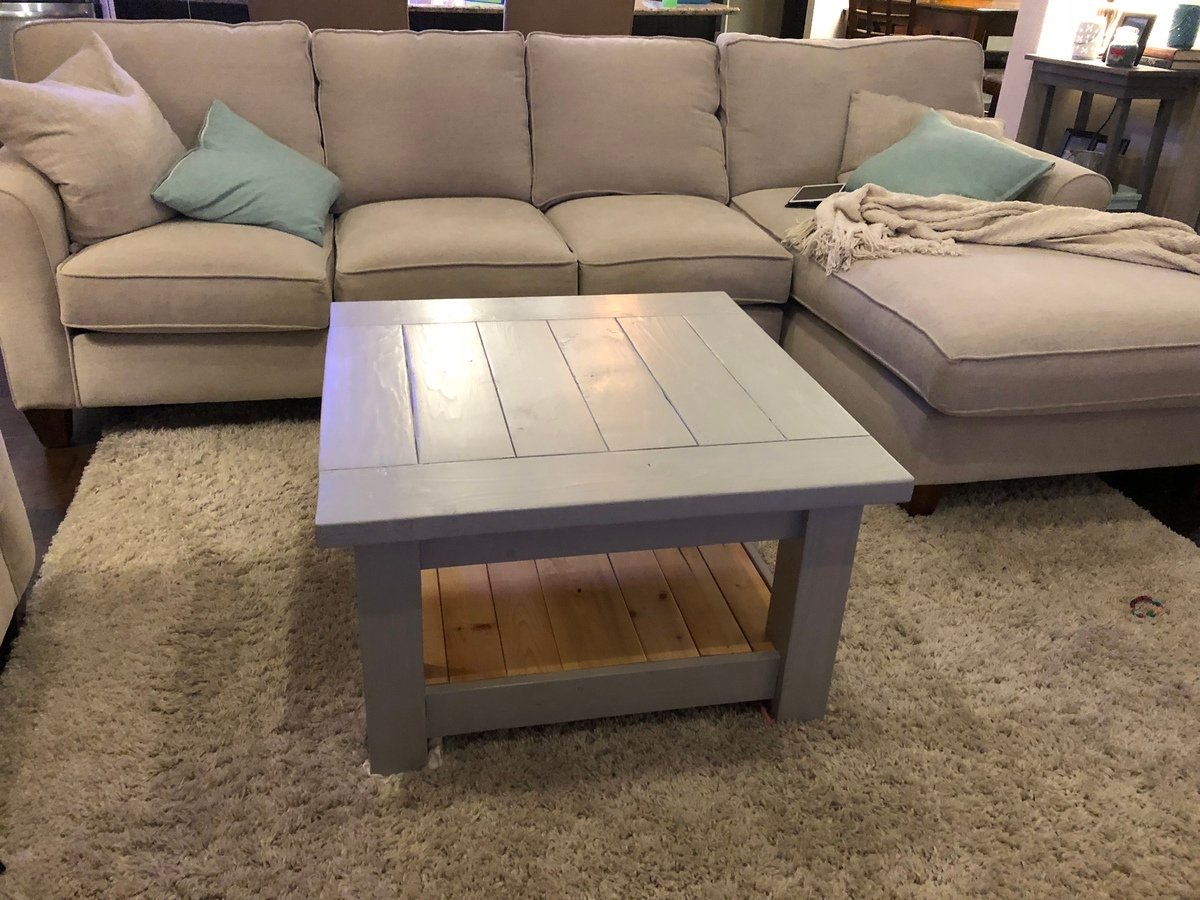
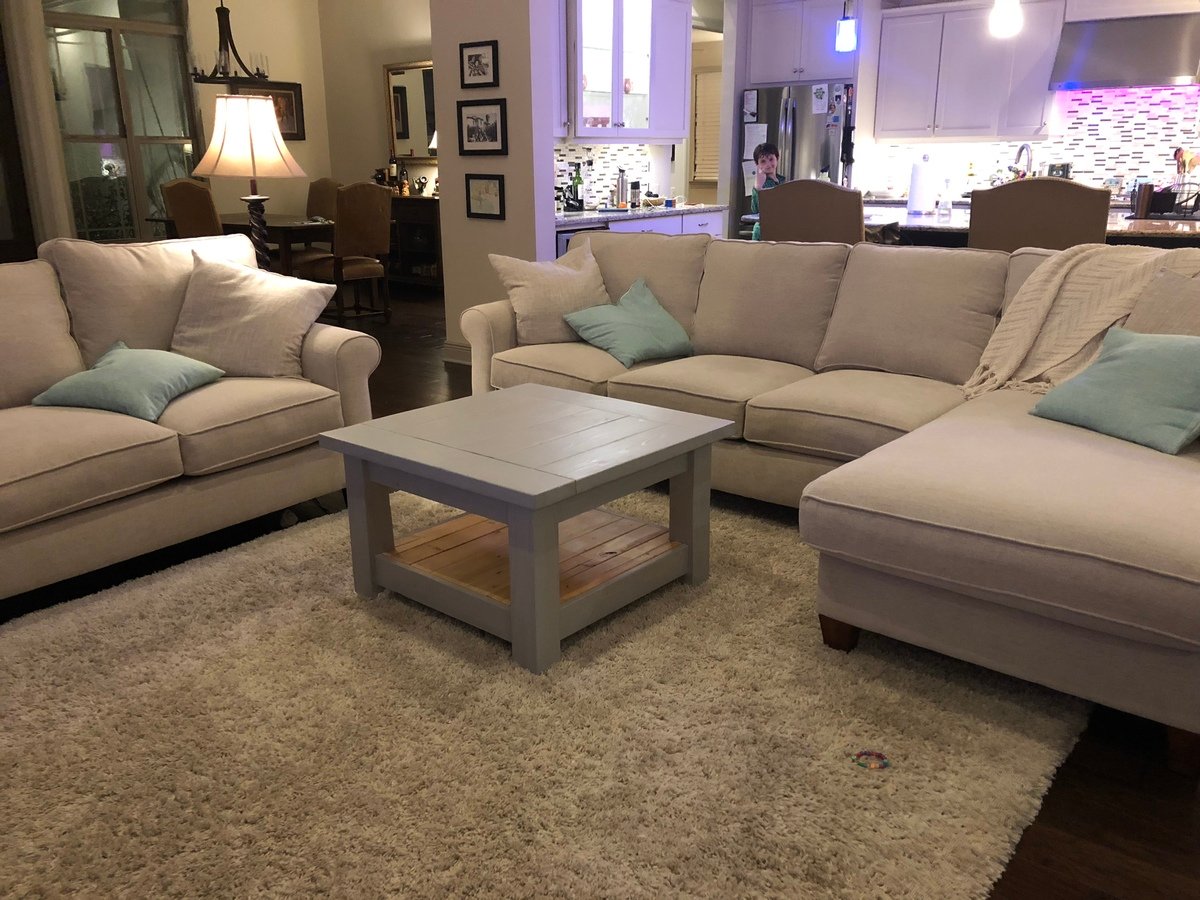
It was time to replace our 12 year old rectangular coffee table. I used the corona coffee table plans with a few modifications.

Built from Plan(s)
Estimated Cost
Only cost me $30 because I had some scrap wood from another project.
Estimated Time Investment
Day Project (6-9 Hours)
Finish Used
Valspar cabinet paint (white) mixed with coastal gray minwax stain. Bottom shelf is stained with natural stain by minwax. Finished off with two coats of satin polyurethane.
Recommended Skill Level
Beginner

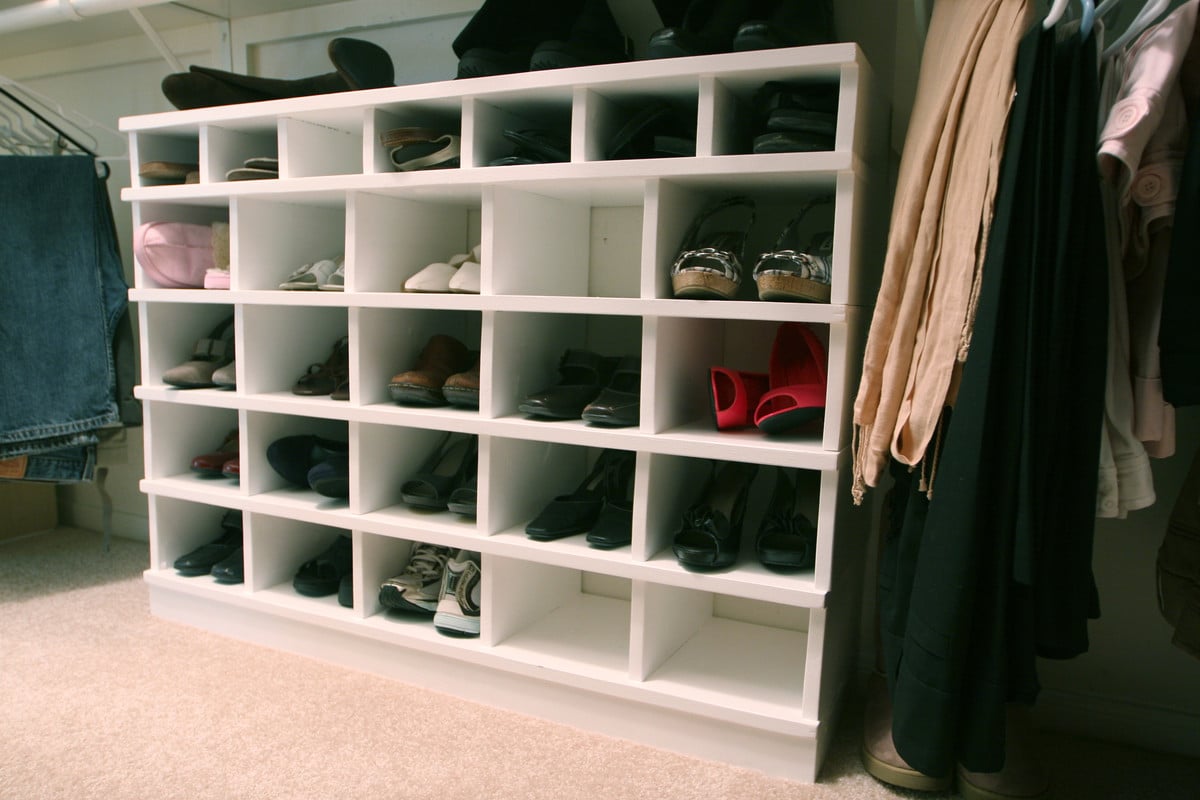
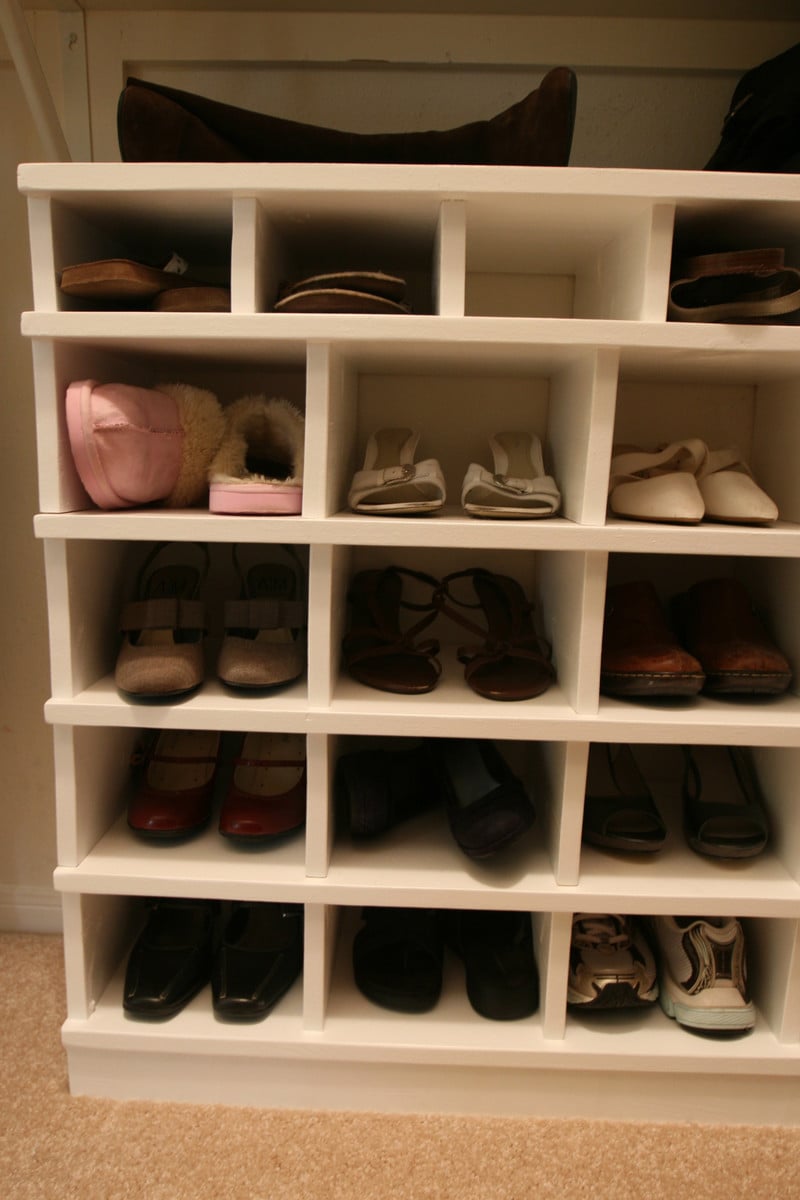
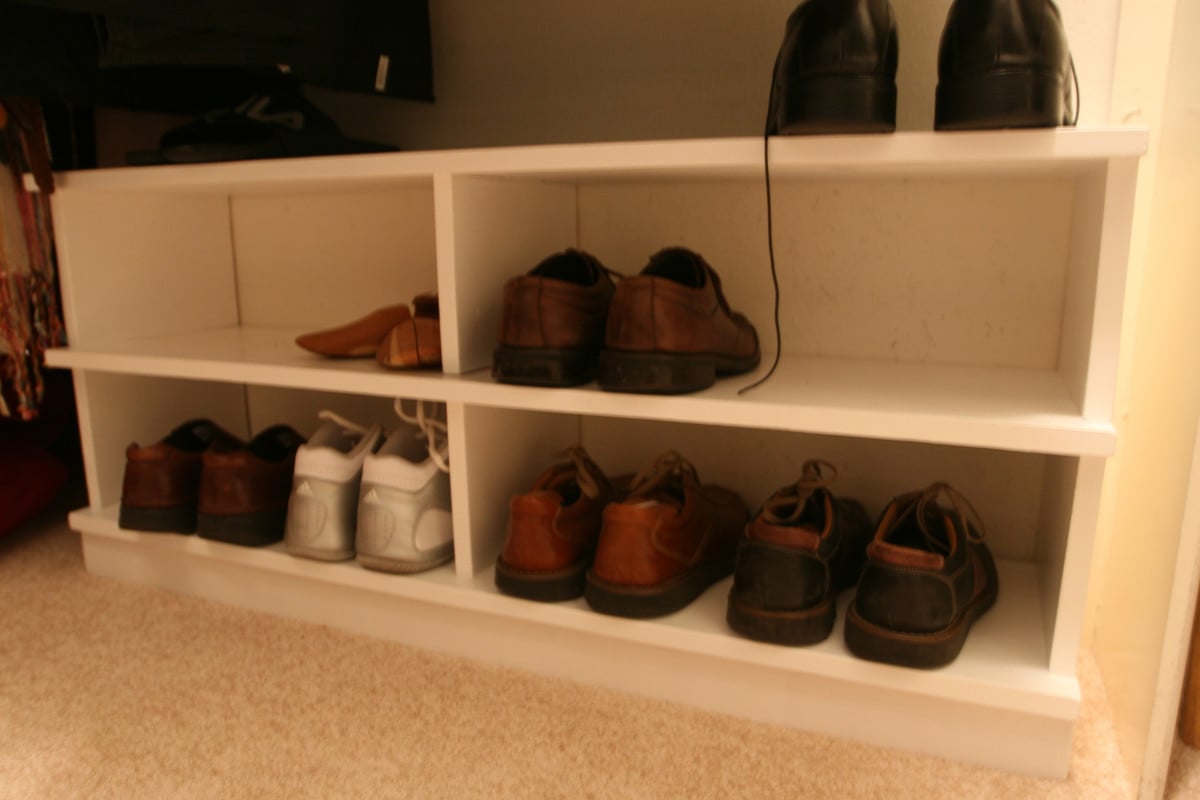
Shoe organizer

Submitted by Liz H. on Wed, 06/01/2011 - 21:26

I took the 25 cubbies plan and changed the dimensions to fit shoes. I made a simpler version for my husband too. This project went together quickly and was so fun to build.

Estimated Cost
$10
Estimated Time Investment
An Hour or Two (0-2 Hours)
Finish Used
White paint
Recommended Skill Level
Starter Project

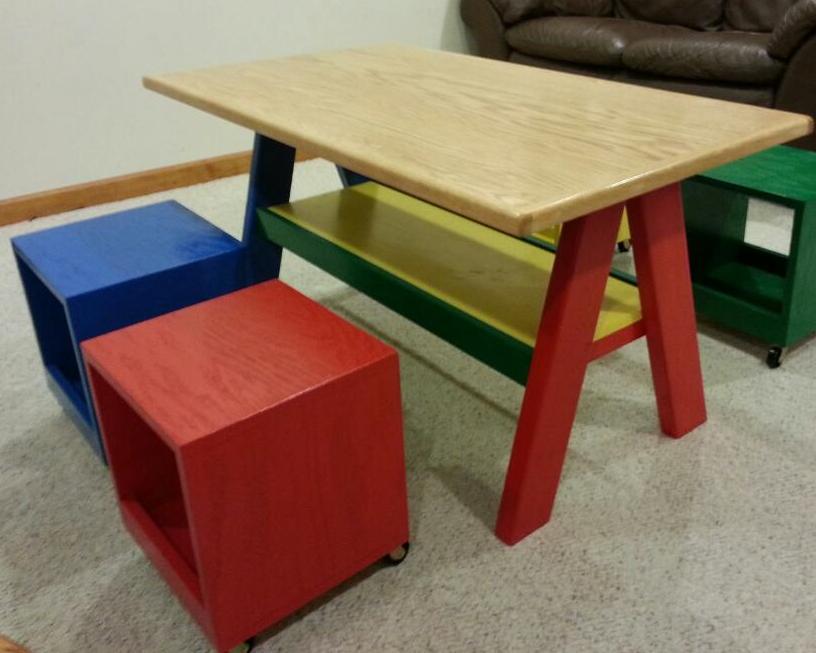
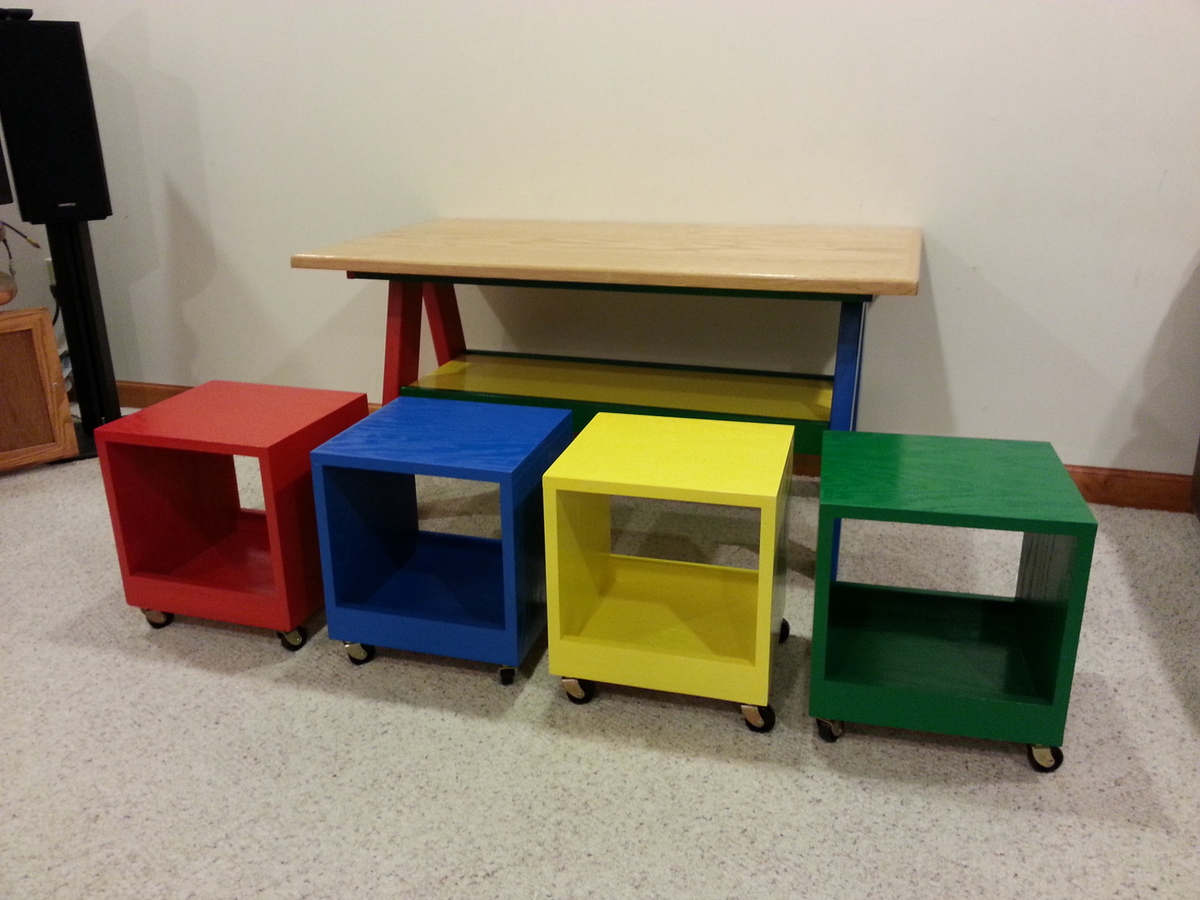
Kids Trestle Table

Submitted by gcolegrove on Tue, 07/23/2013 - 02:57

Table made for friends grand-kids using left over oak plywood. Storage cube seats from Shanty2chic plans. http://www.shanty-2-chic.com/2012/07/rolling-storage-cube-stools.html

Built from Plan(s)
Estimated Cost
< $70
Estimated Time Investment
Weekend Project (10-20 Hours)
Finish Used
Rustoleum paints - gloss finish.
Recommended Skill Level
Beginner

Comments

YankeeBelle

Tue, 07/23/2013 - 19:01

I built this as one of my first projects...it was a great confidence builder!! I love the way yours turned out and your colors are so cheerful and fun! Great job!!

Wife's Kindergarten Classroom

Been a while since I had time to actually build anything worth posting about! My wife wanted some items for her Kindergarten classroom this year, so built several items, most inspired by the Farmhouse family.

Estimated Time Investment
Day Project (6-9 Hours)
Recommended Skill Level
Beginner