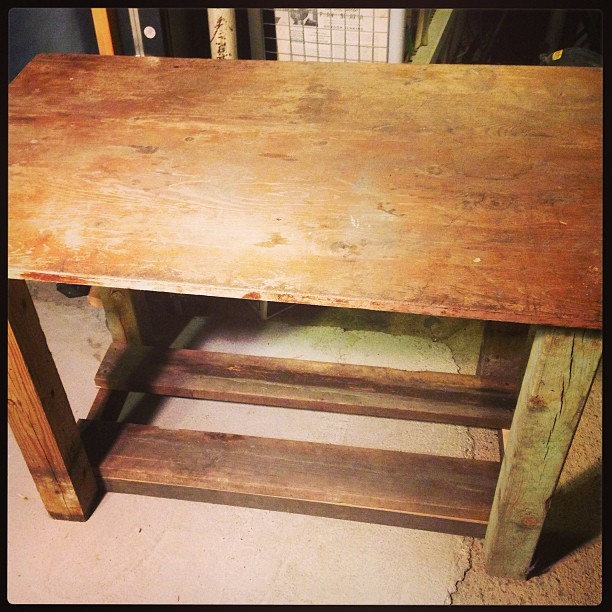
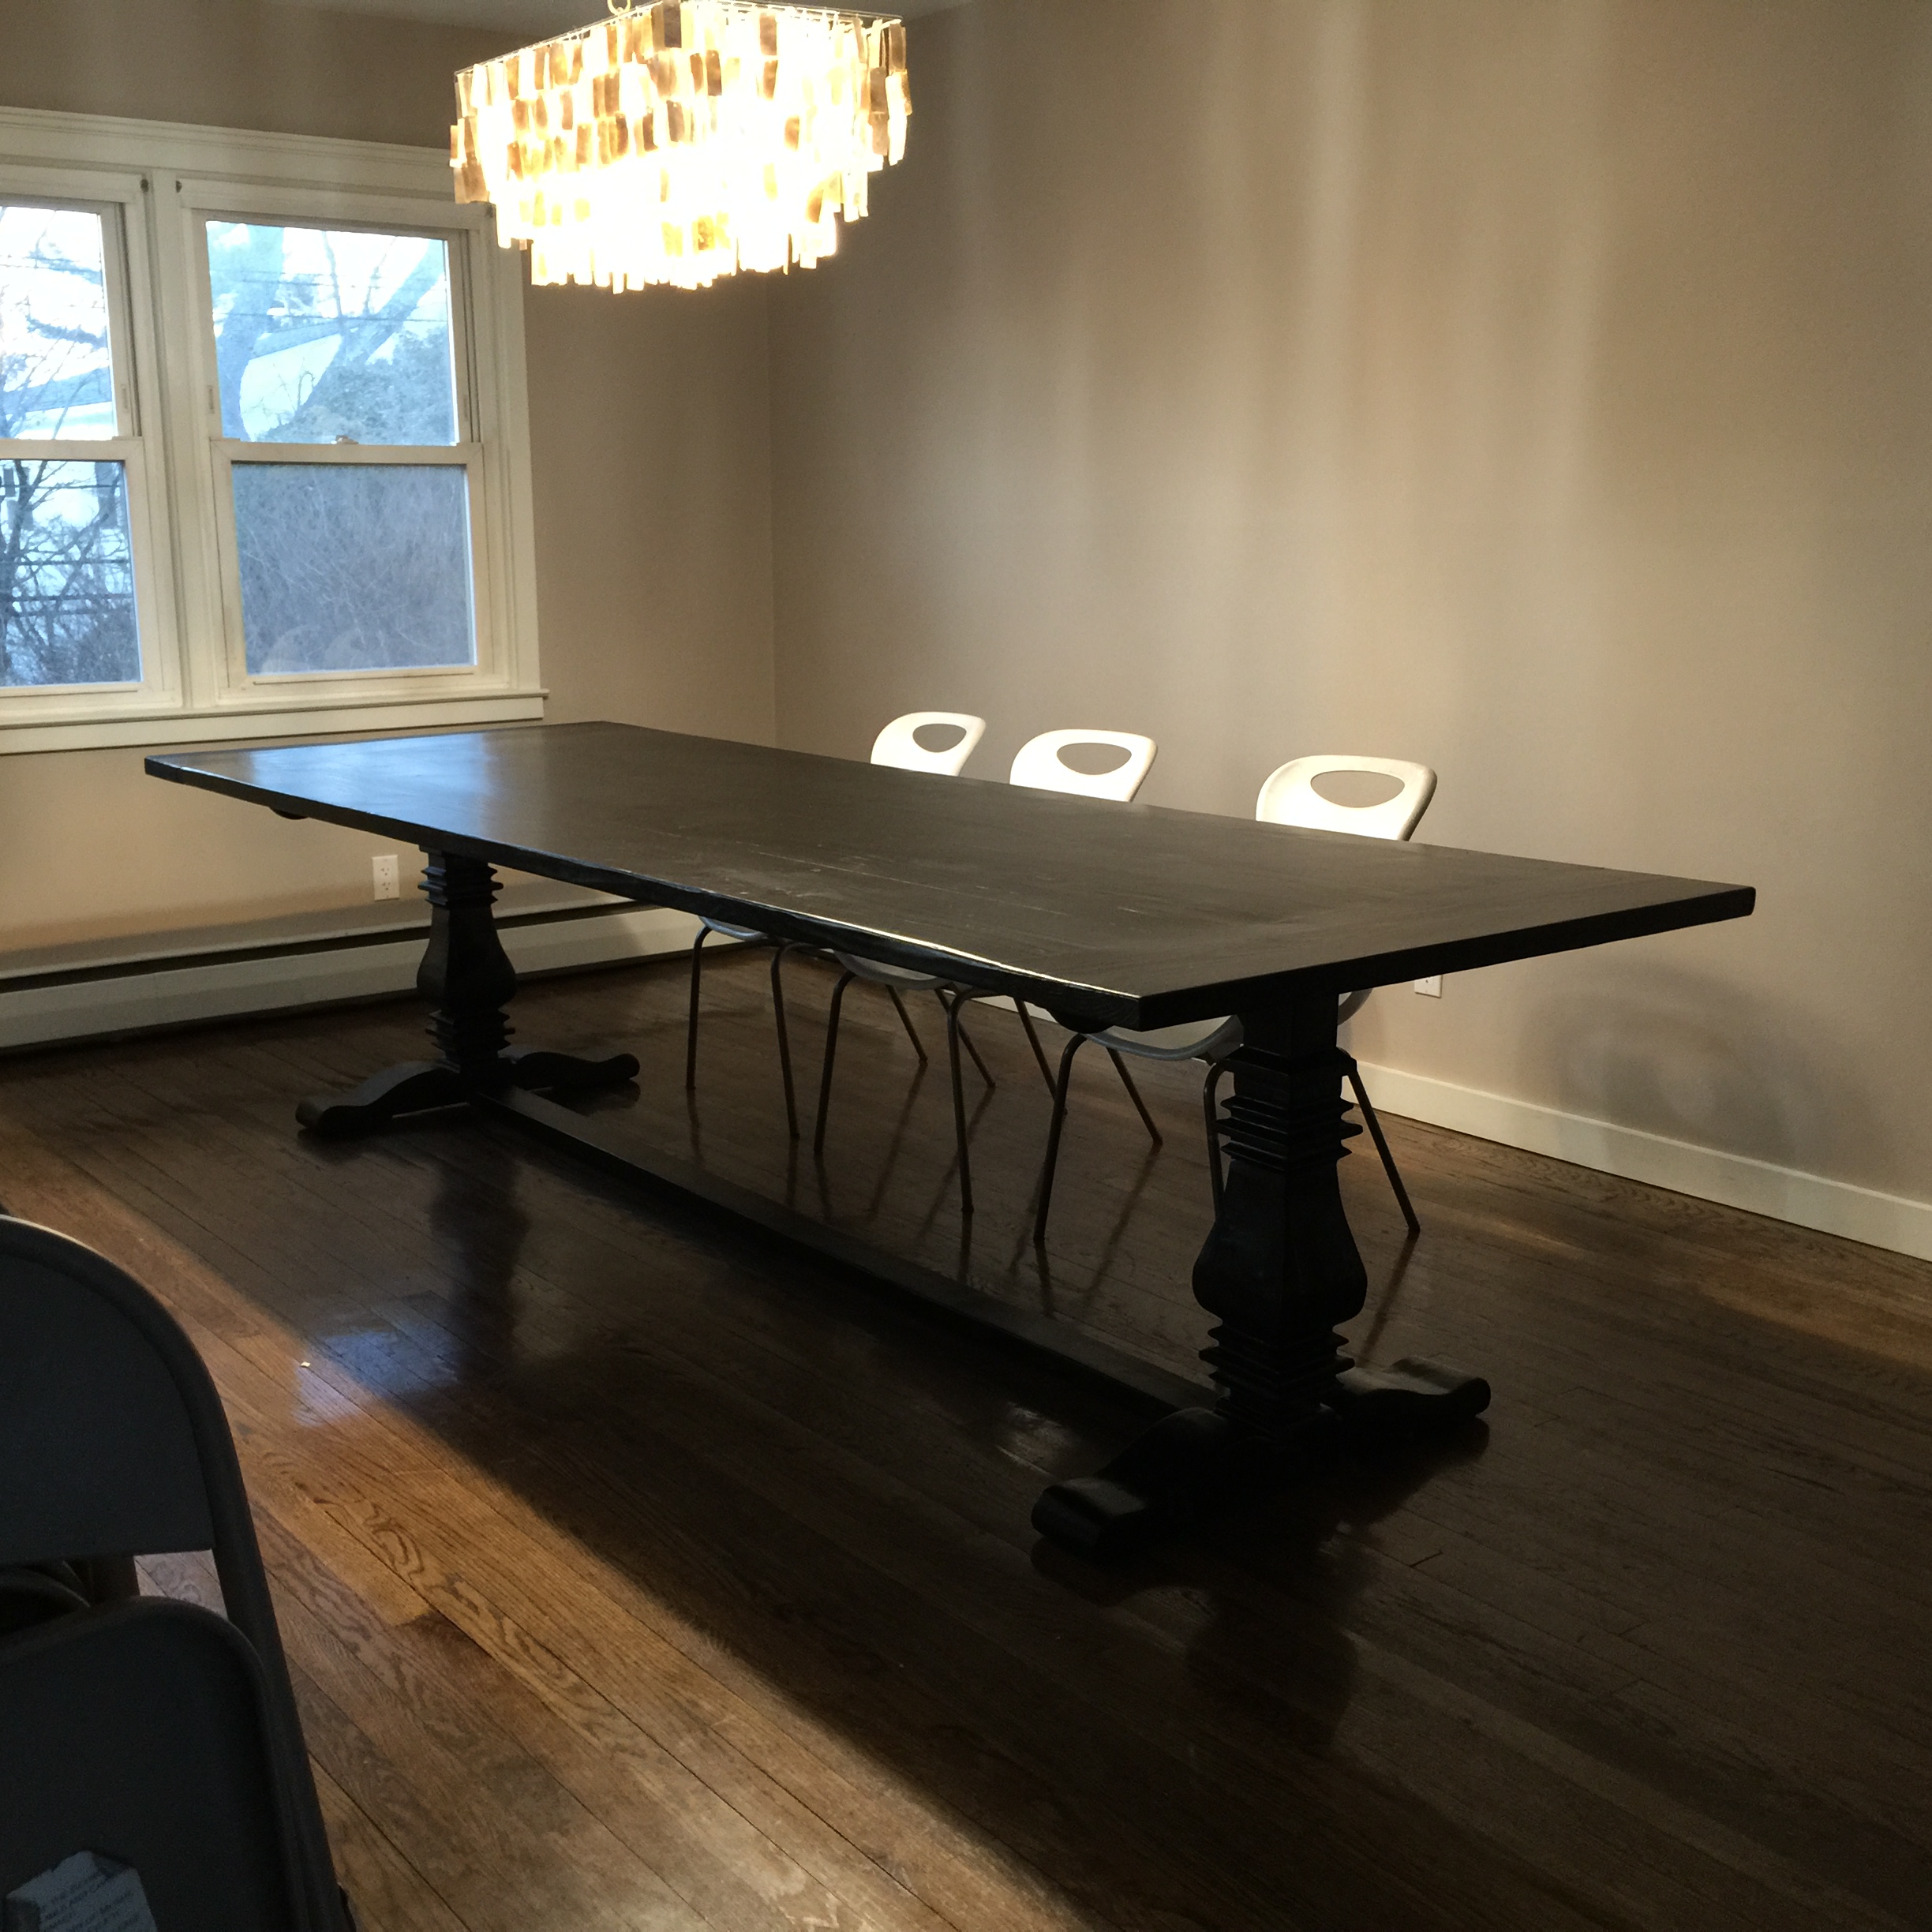
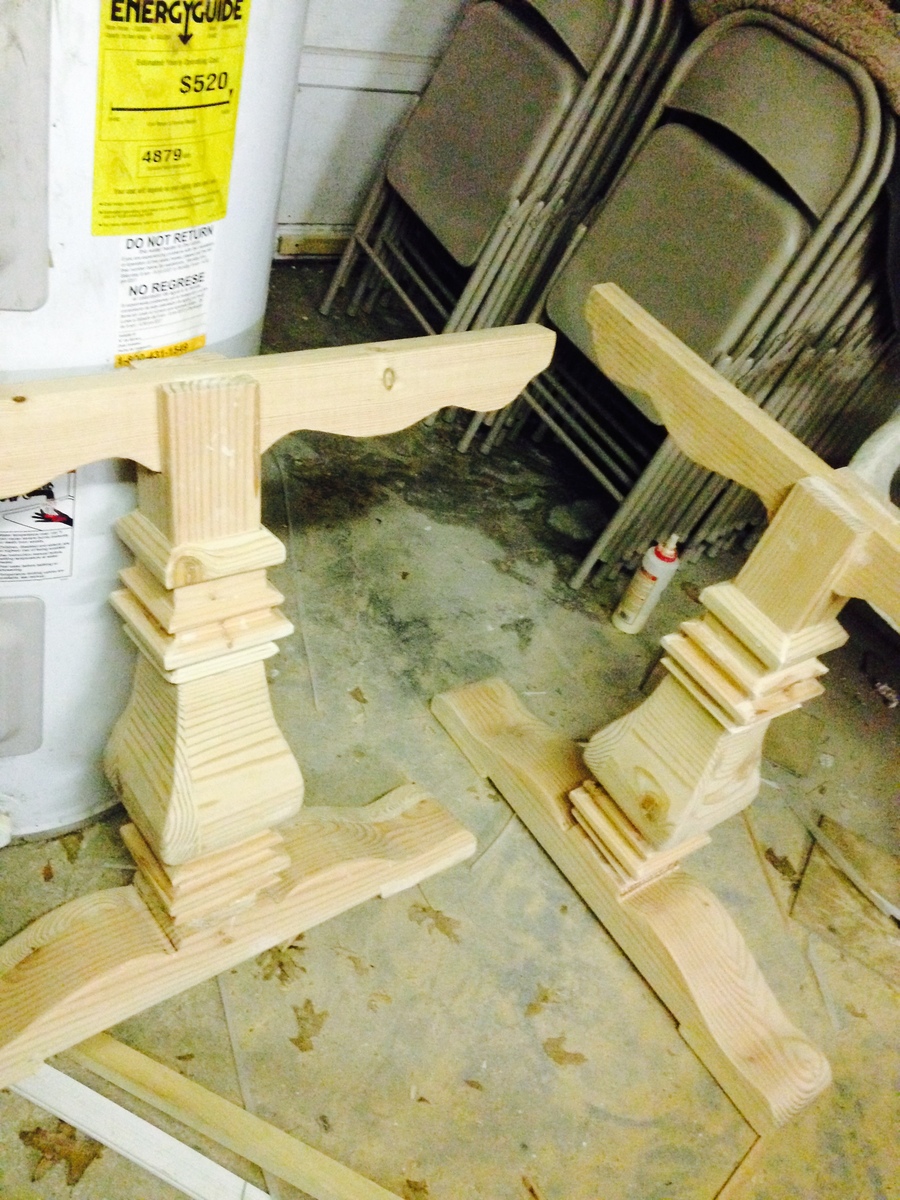
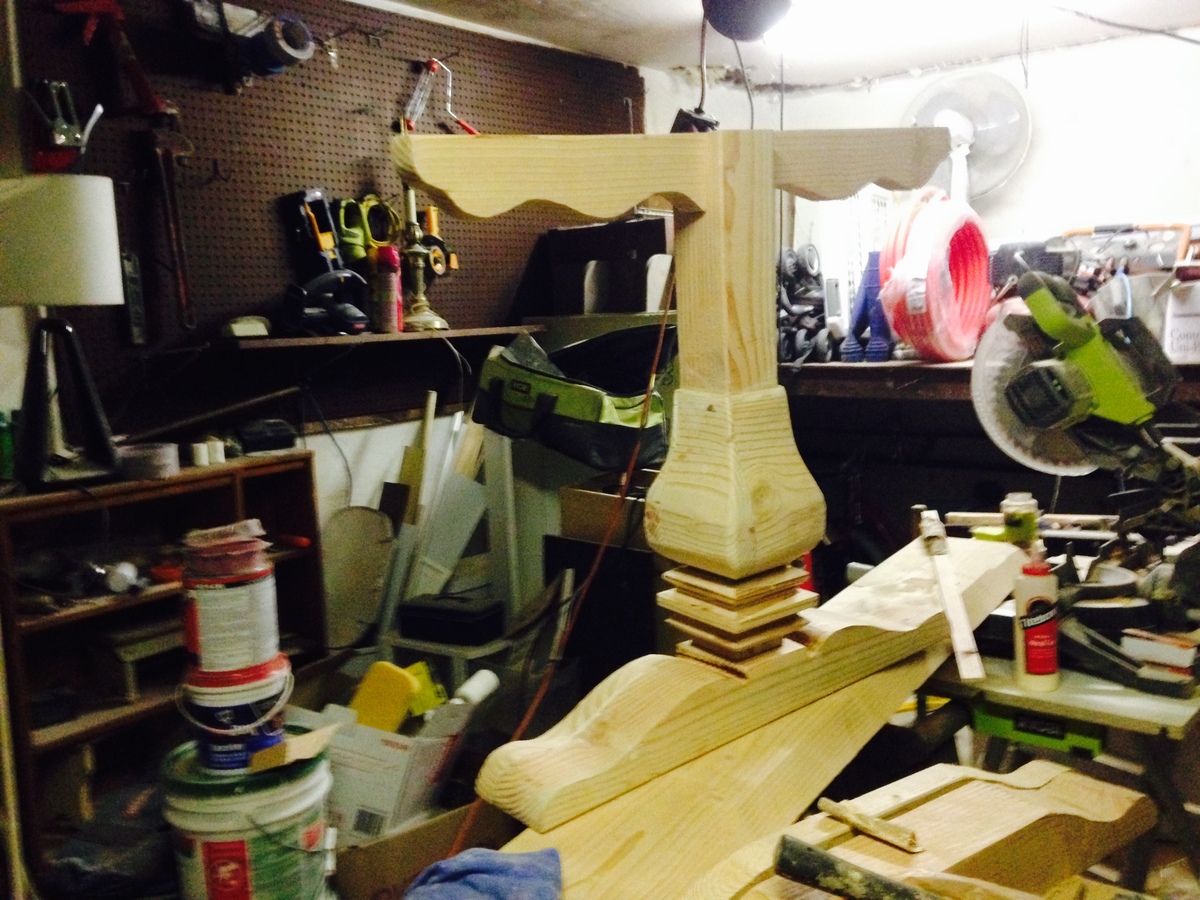
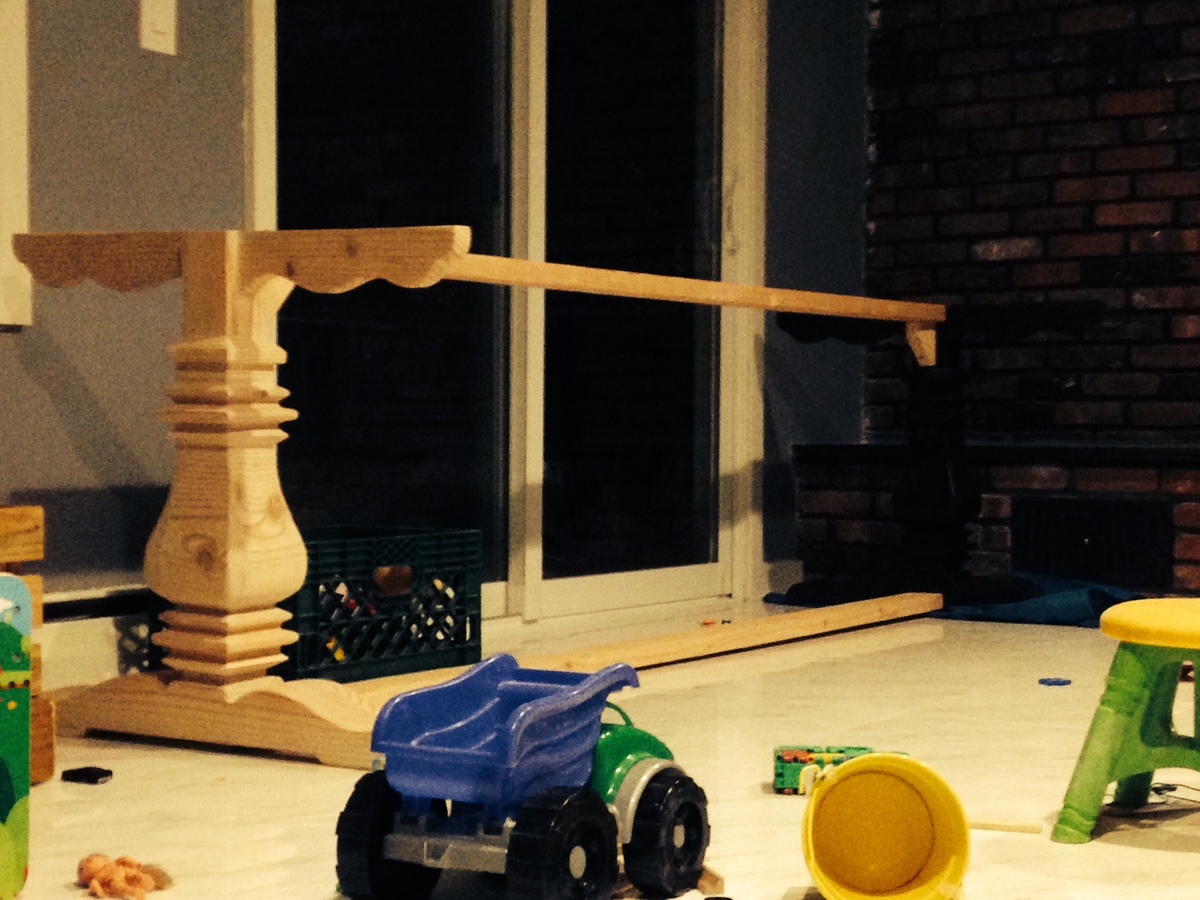
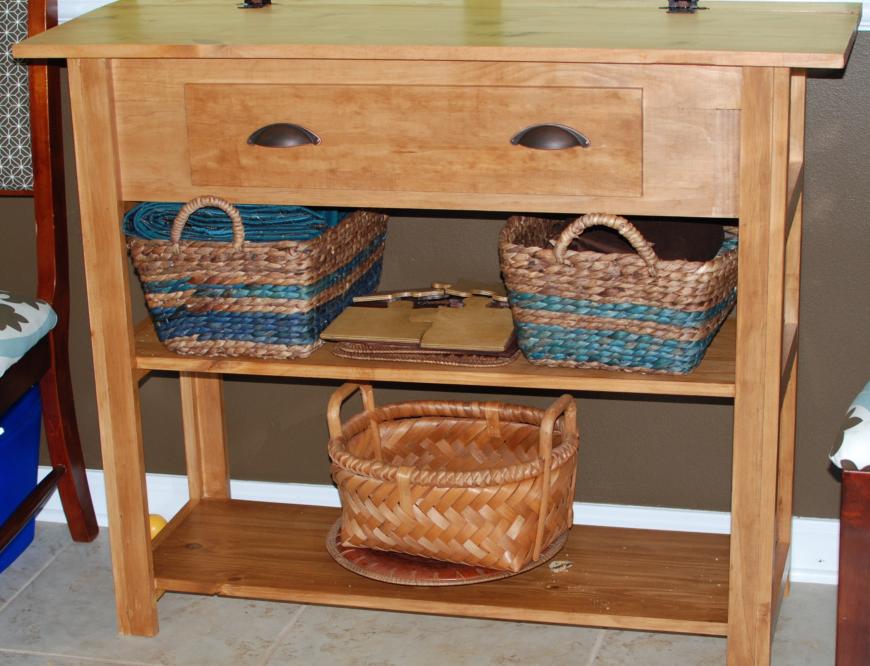
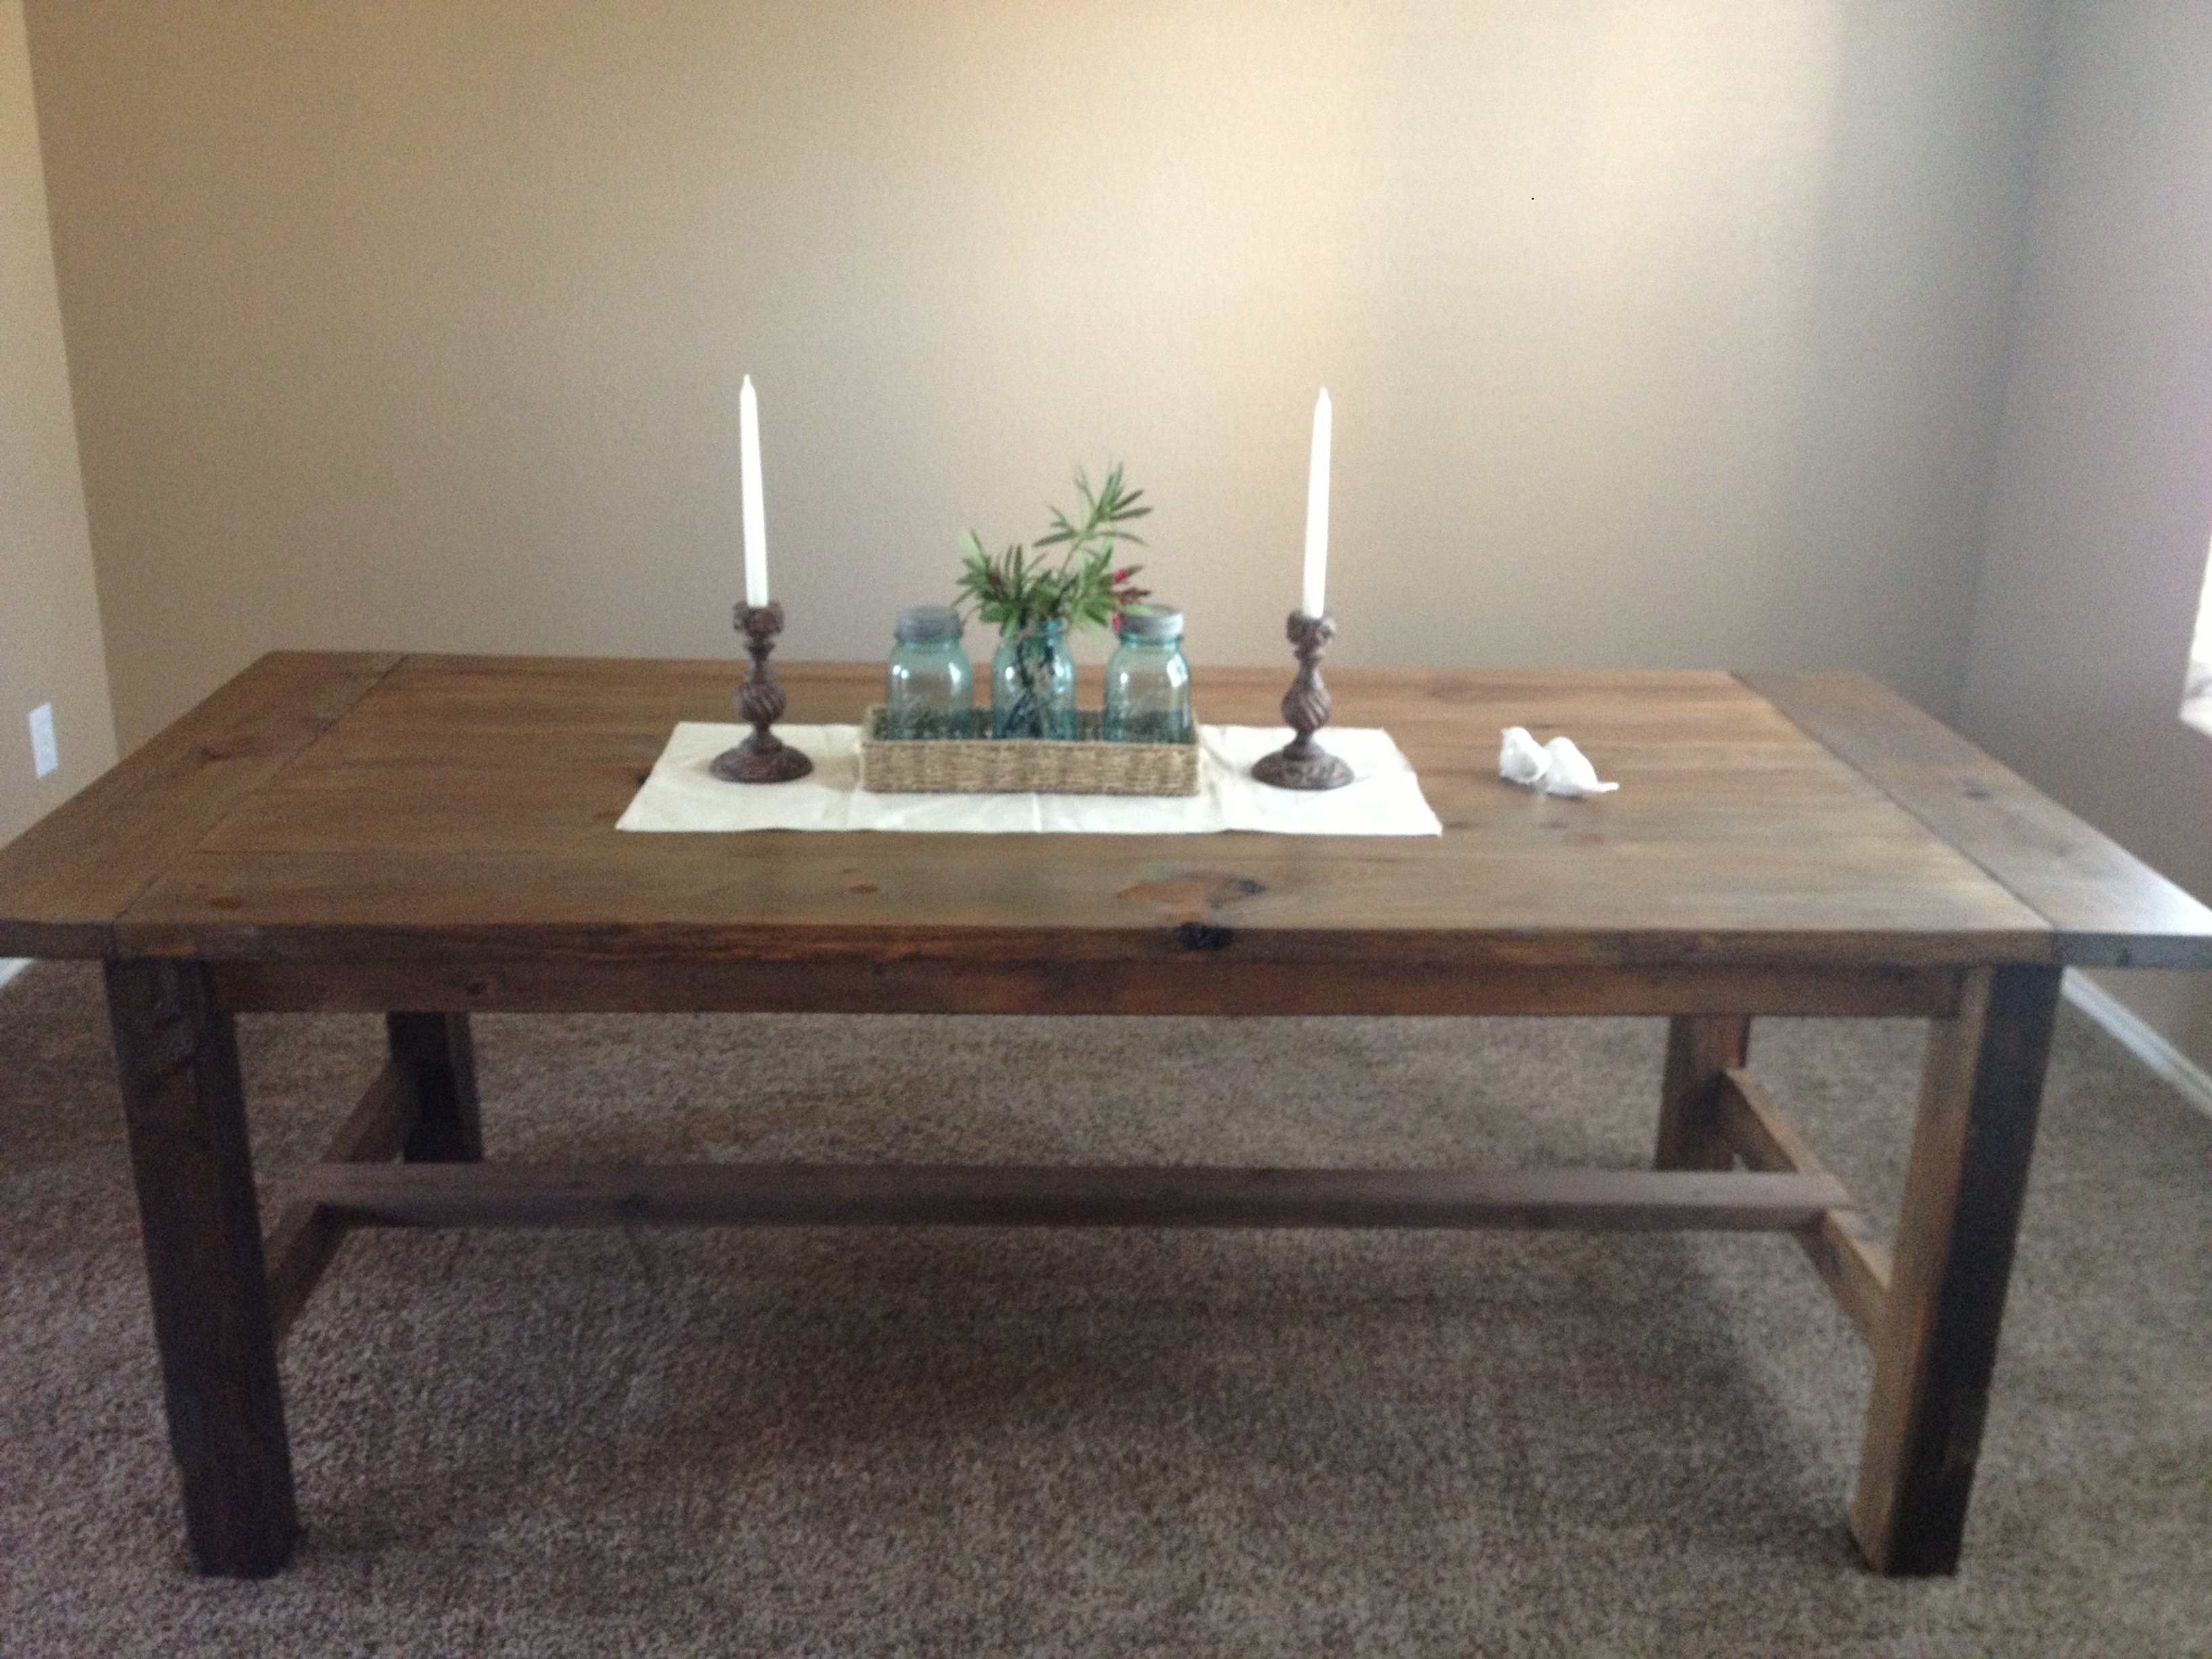
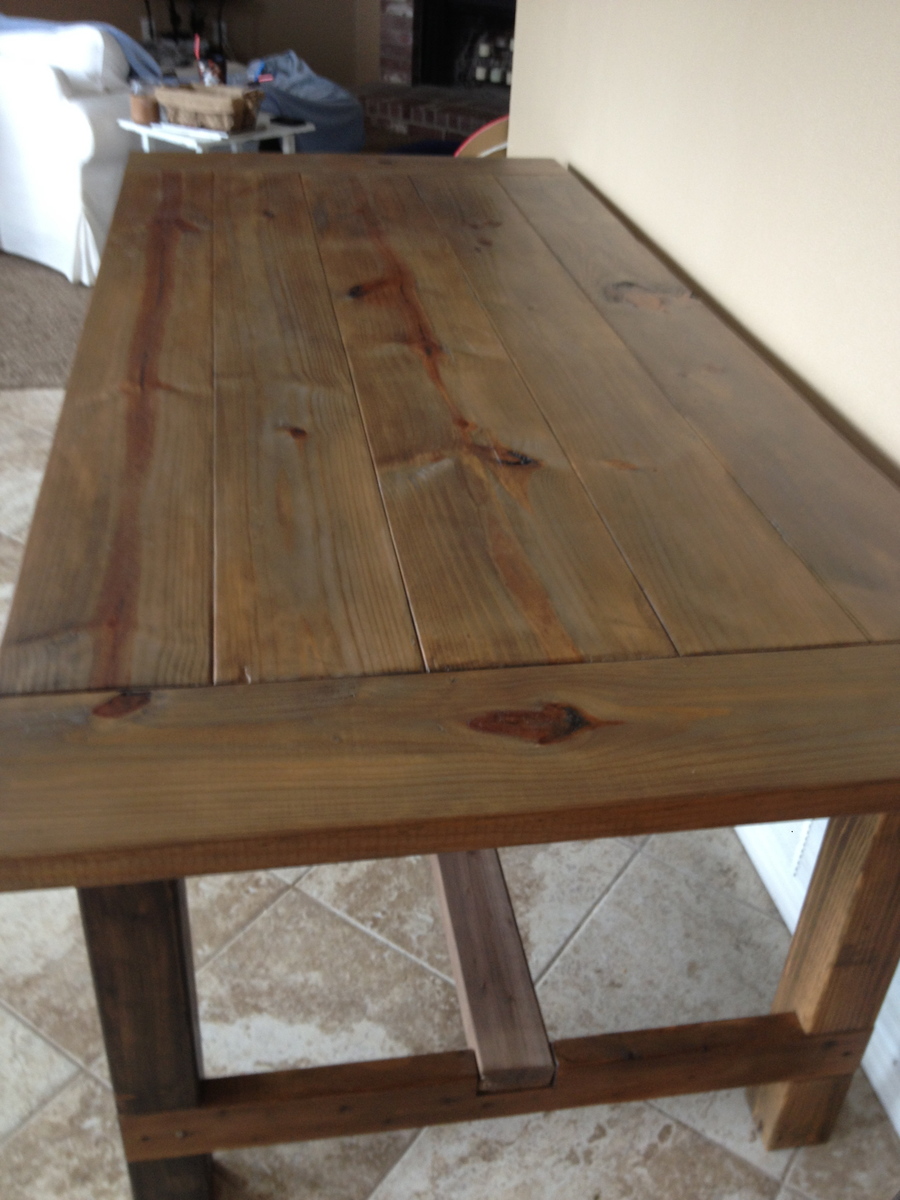
Narrow Farmhouse Table
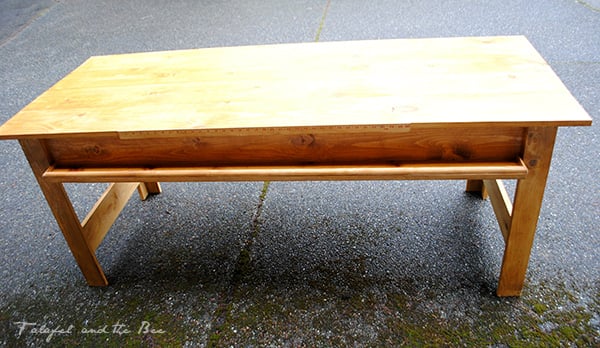
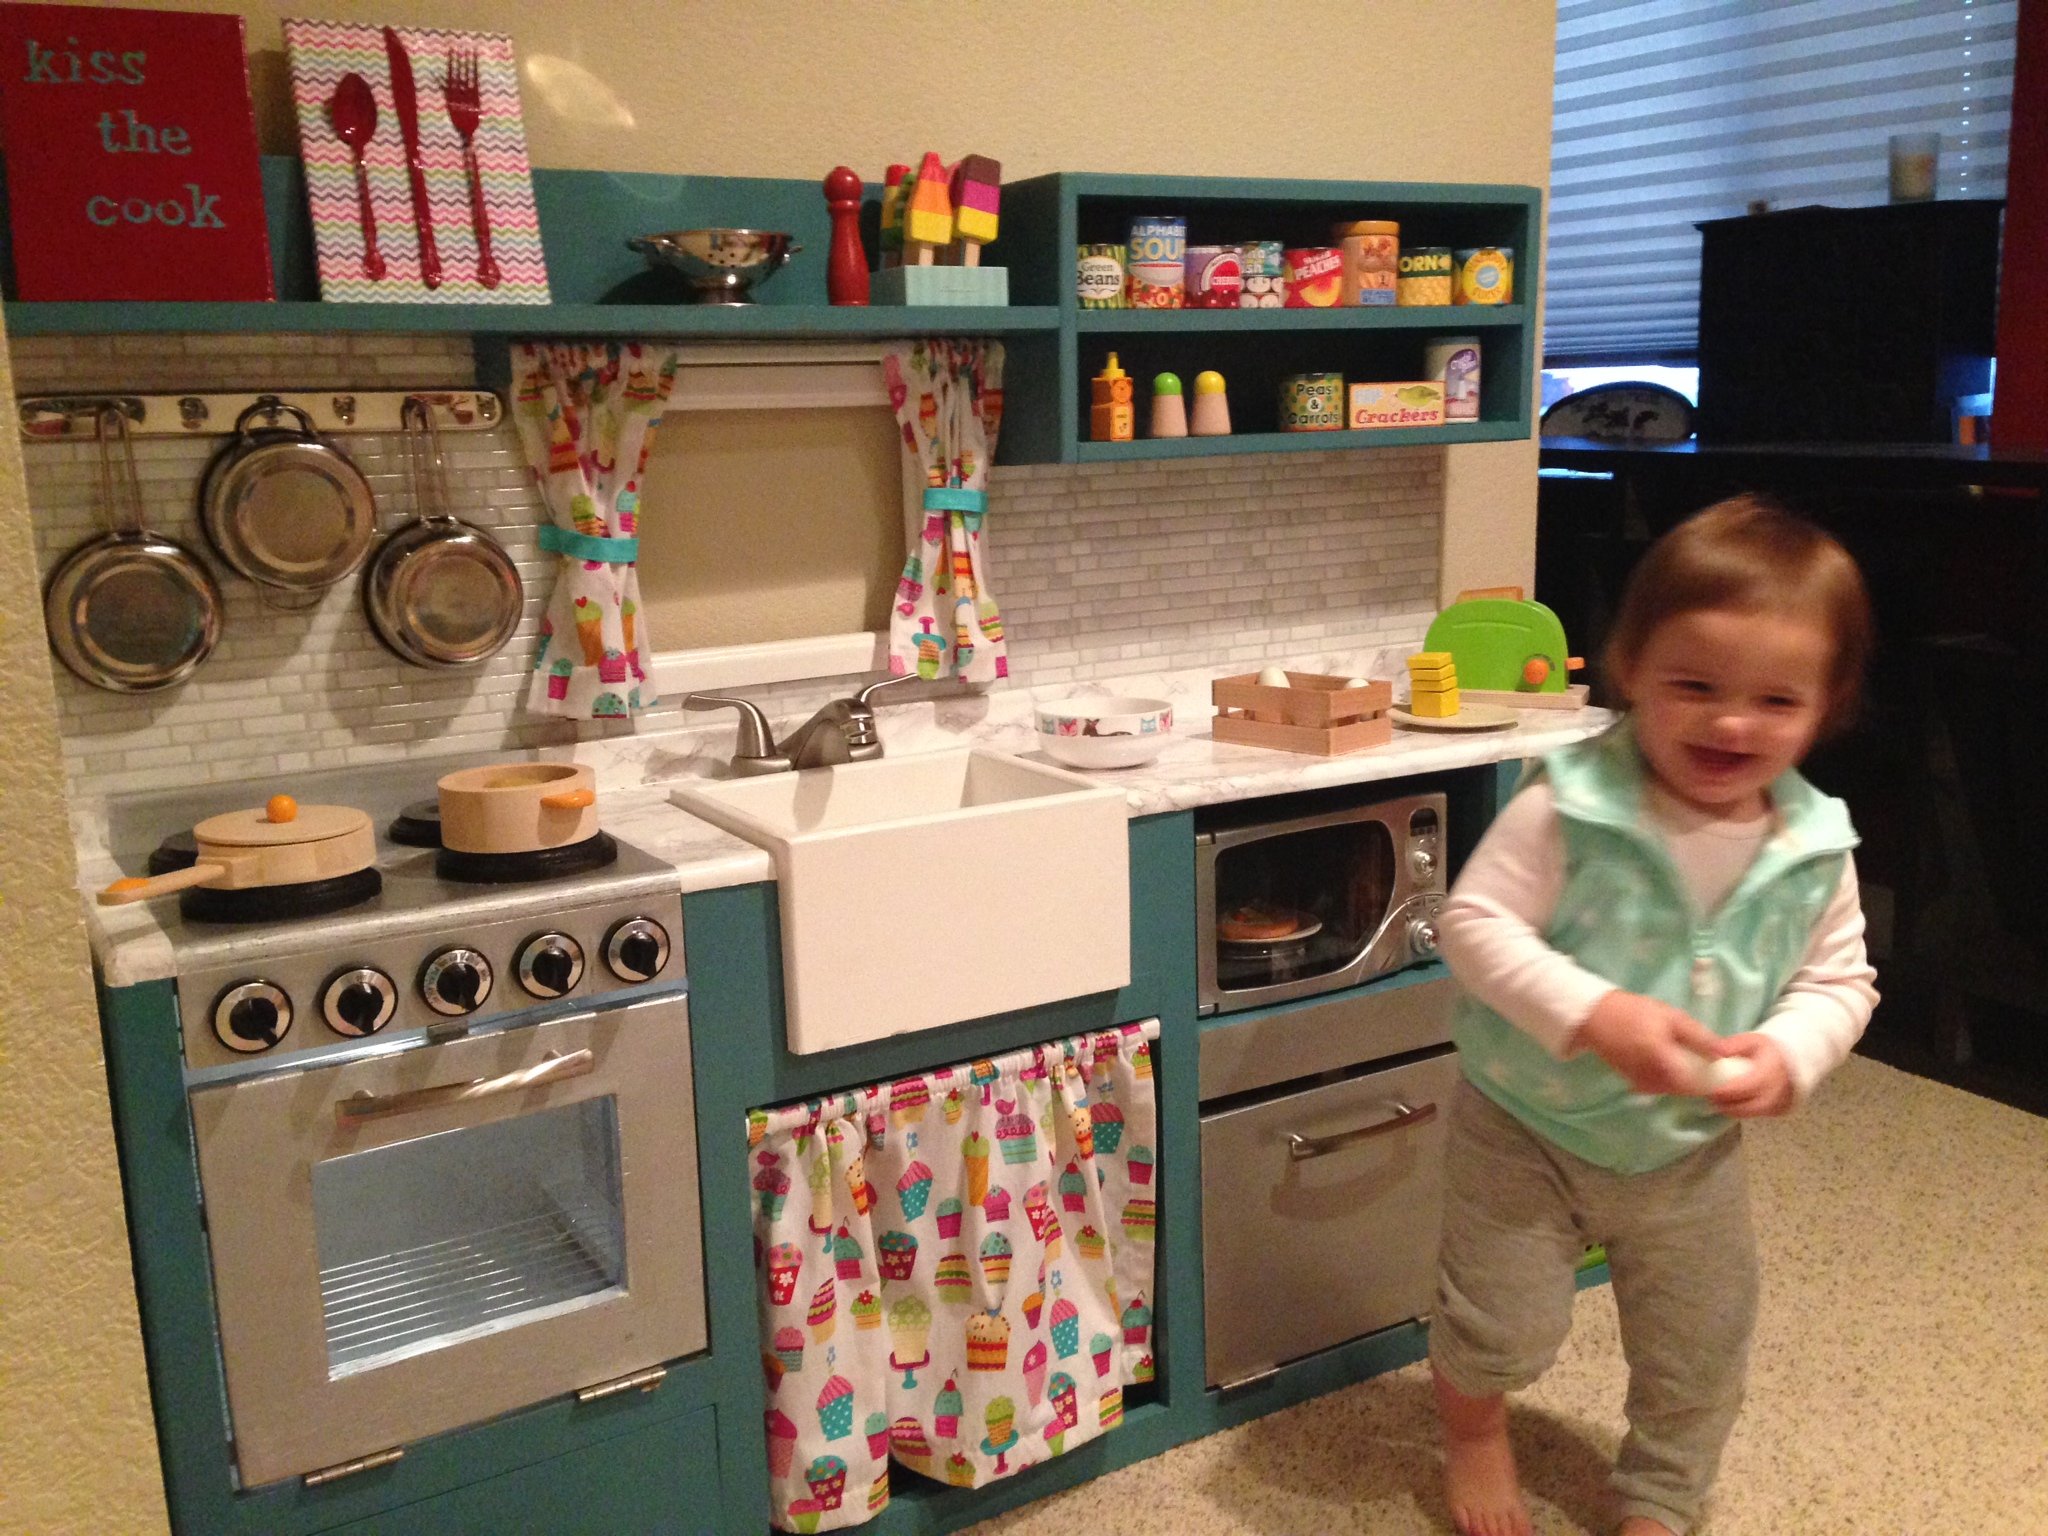
Another fantastic project built! We used the Narrow Farmhouse Table plans to create a Sewing table.
Built from Plan(s)
Estimated Time Investment
Afternoon Project (3-6 Hours)
Finish Used
Saman Sesame stain and clear varnish
Recommended Skill Level
Beginner