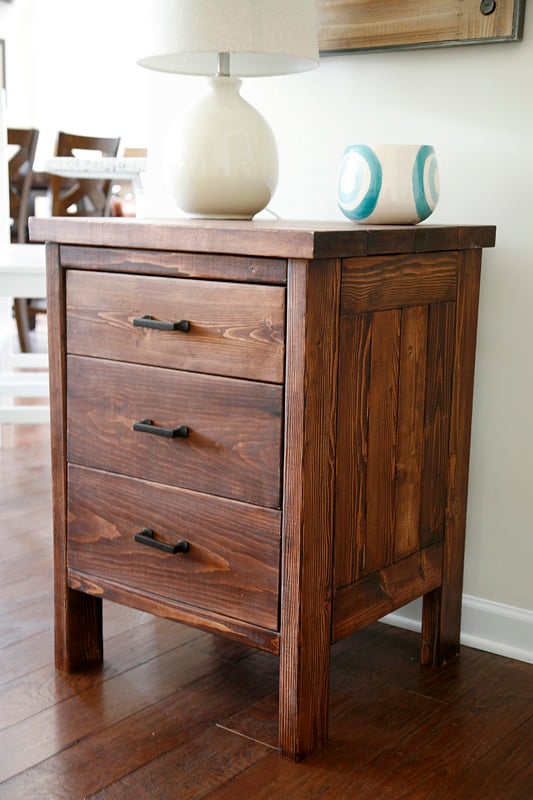
Farmhouse Table
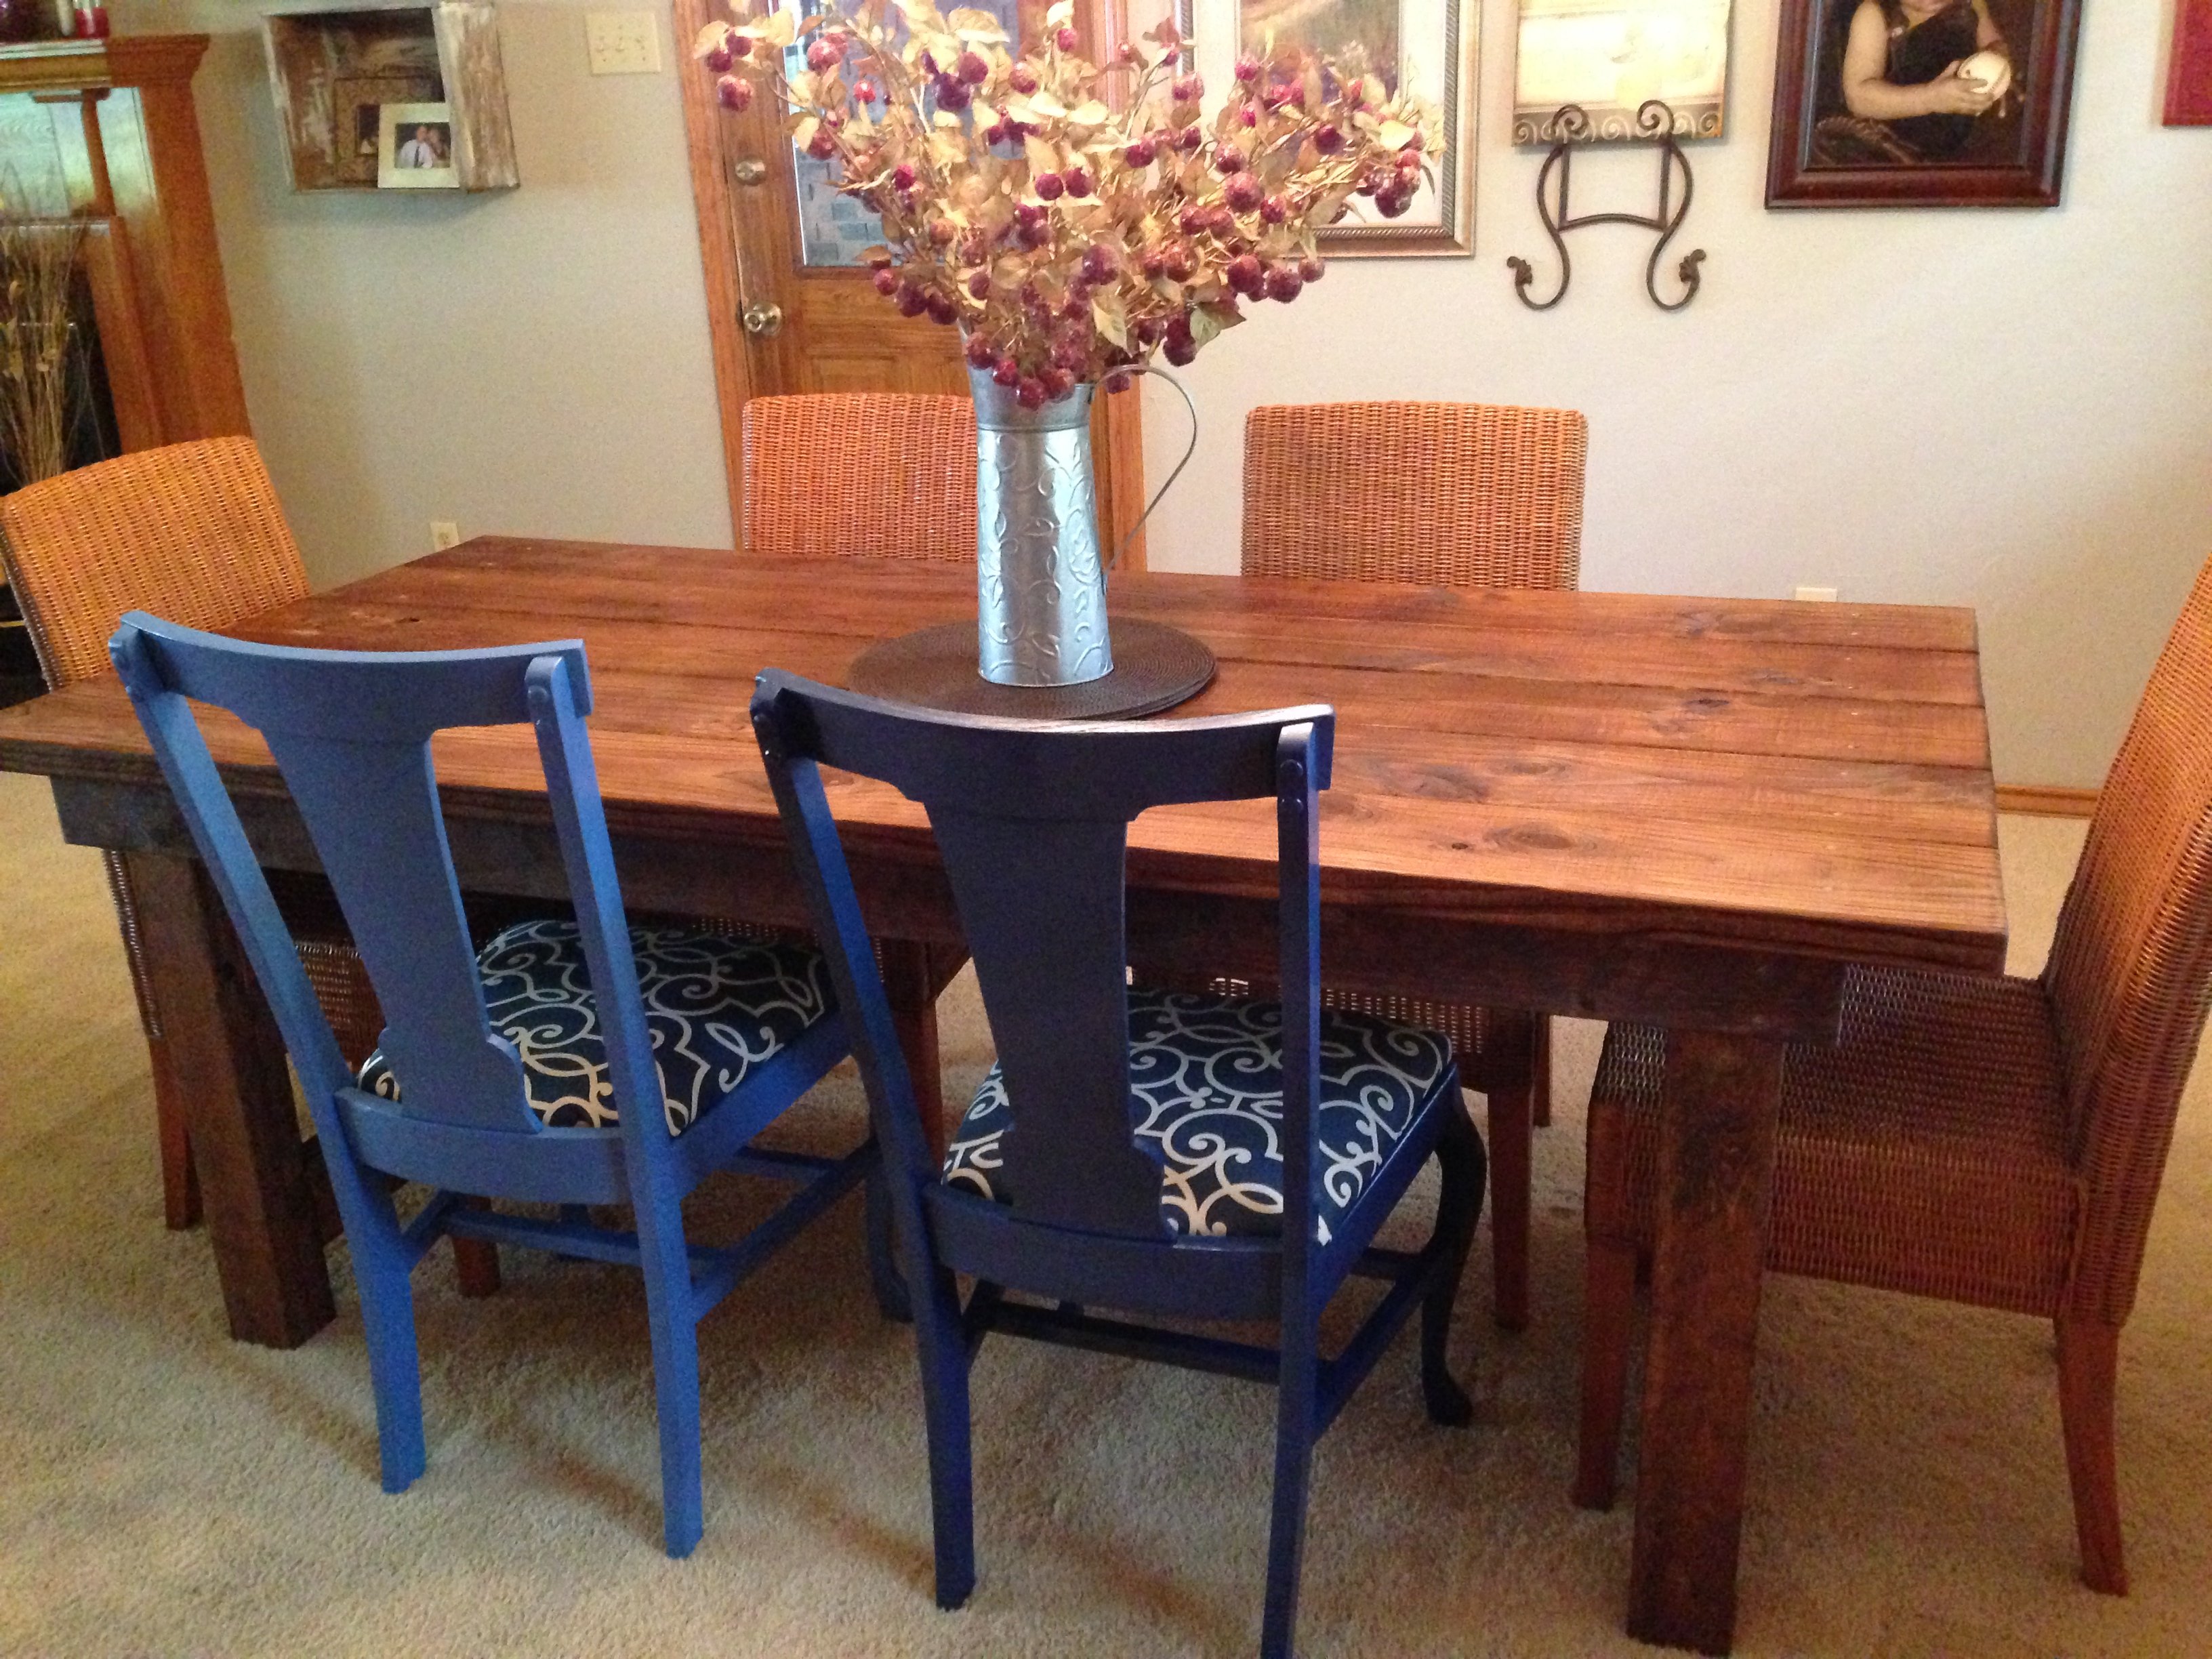
My wife and I really love the farmhouse look and feel. We saw one of these tables at a furniture store for $2000 with no chairs. I had already bought the Kreg Tool, something that I cannot believe I have done without for so long, when I went to build some $10 Shelves that Ana has on her site. My wife asked me how hard it would be to build the table and I told her I have never done anything like it. I also told her if she didn't like the end project, we could use it as a picnic table outside. It was fantastically easy with the plans and Kreg Jig. Thanks to Ana for all the helpful tips!
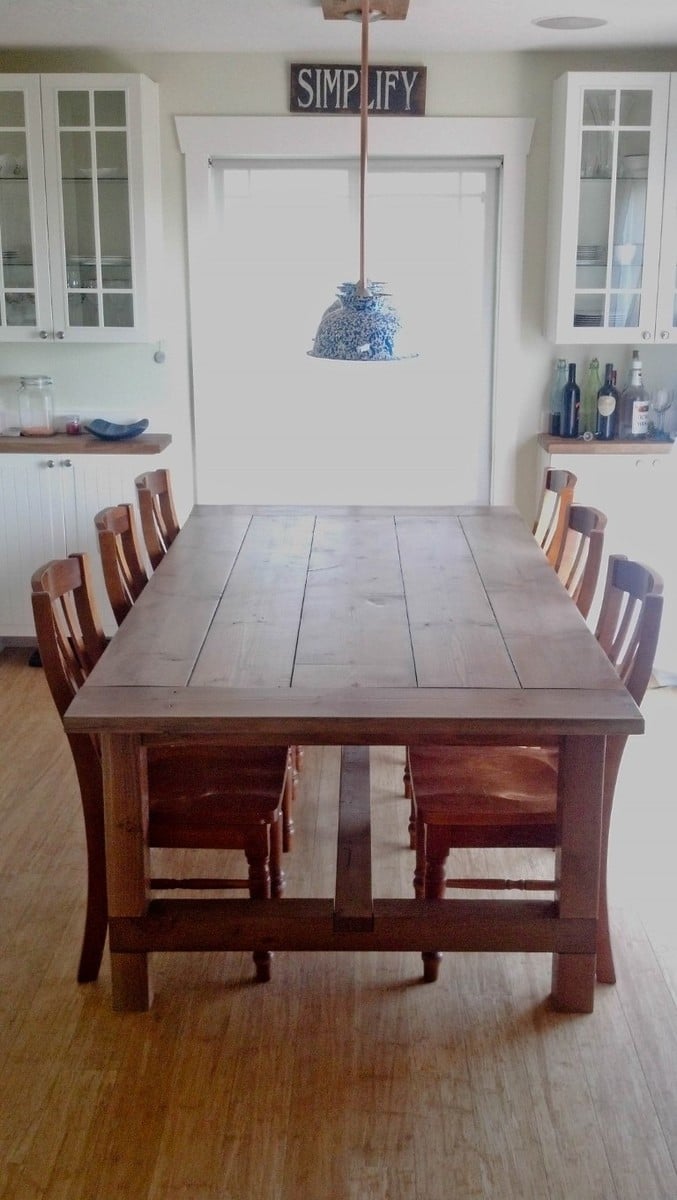
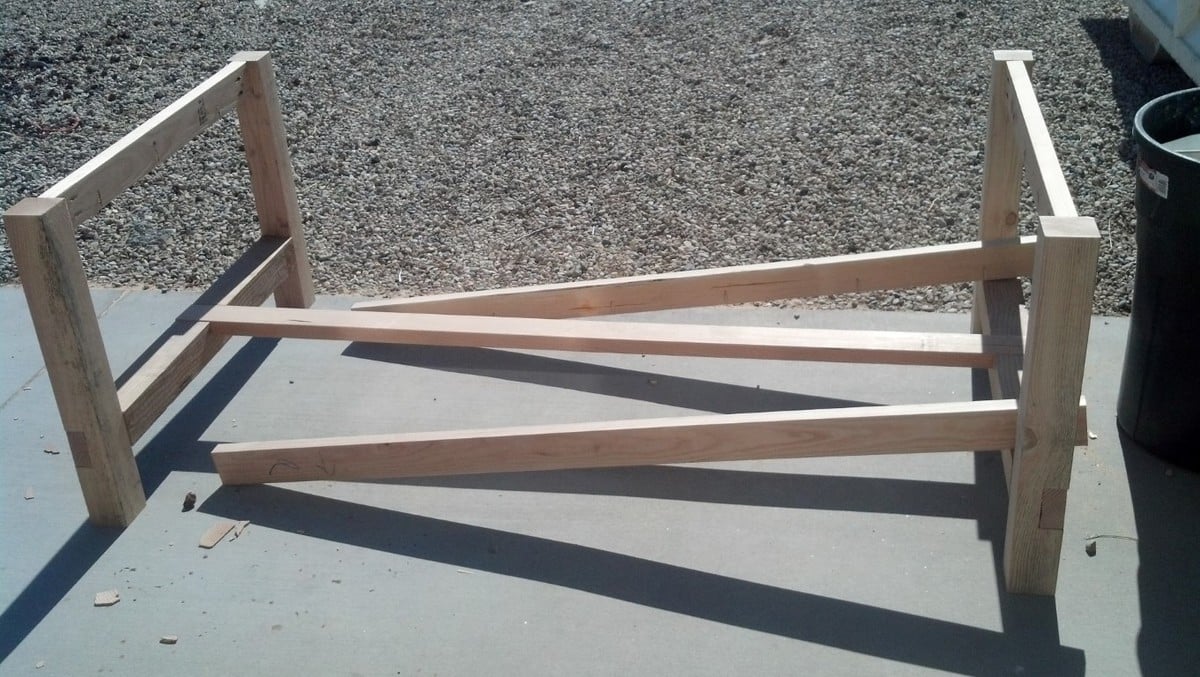
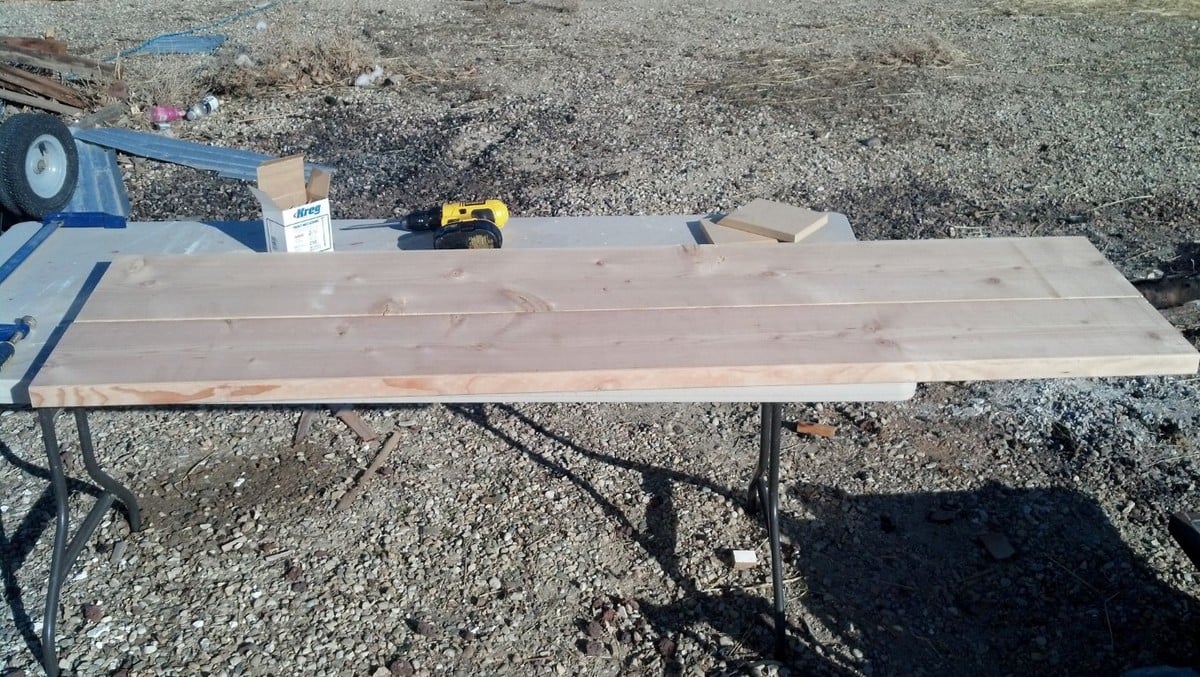
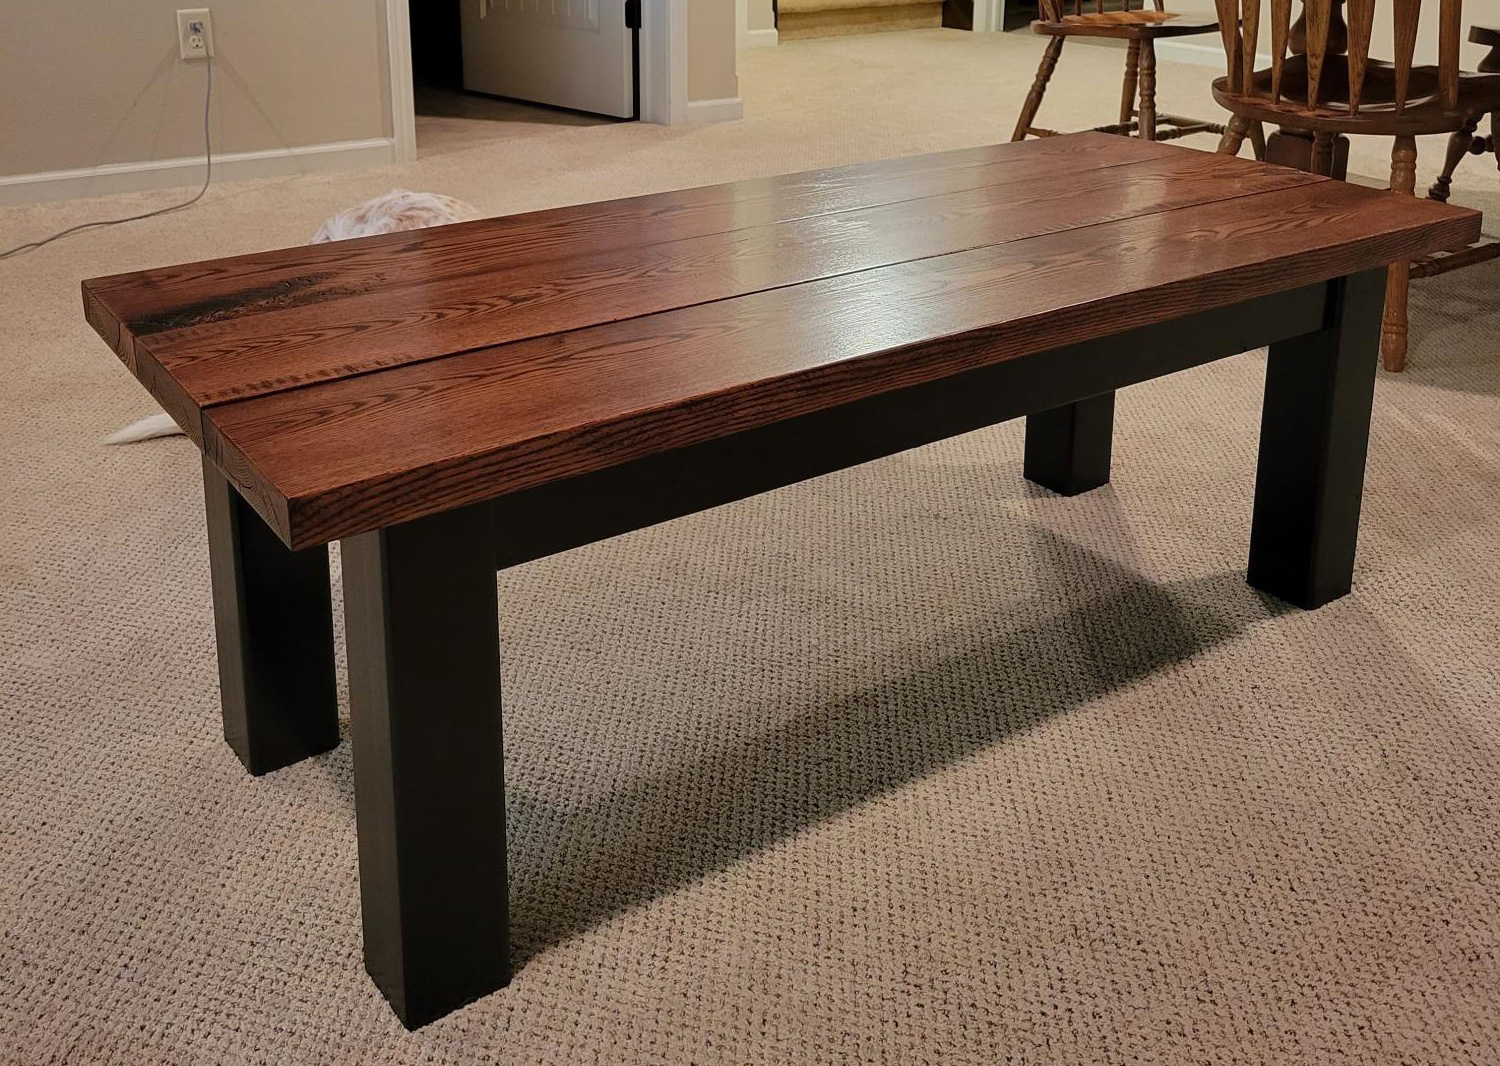
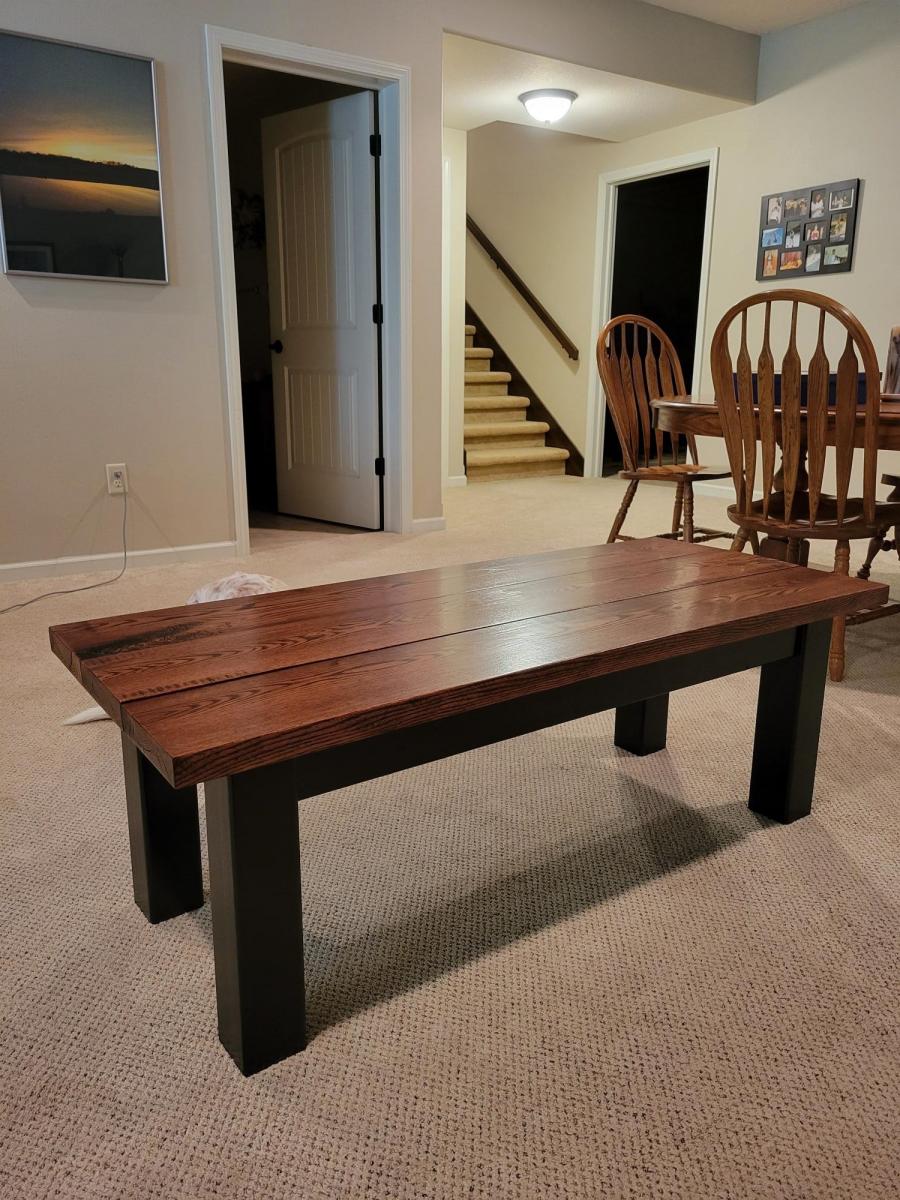
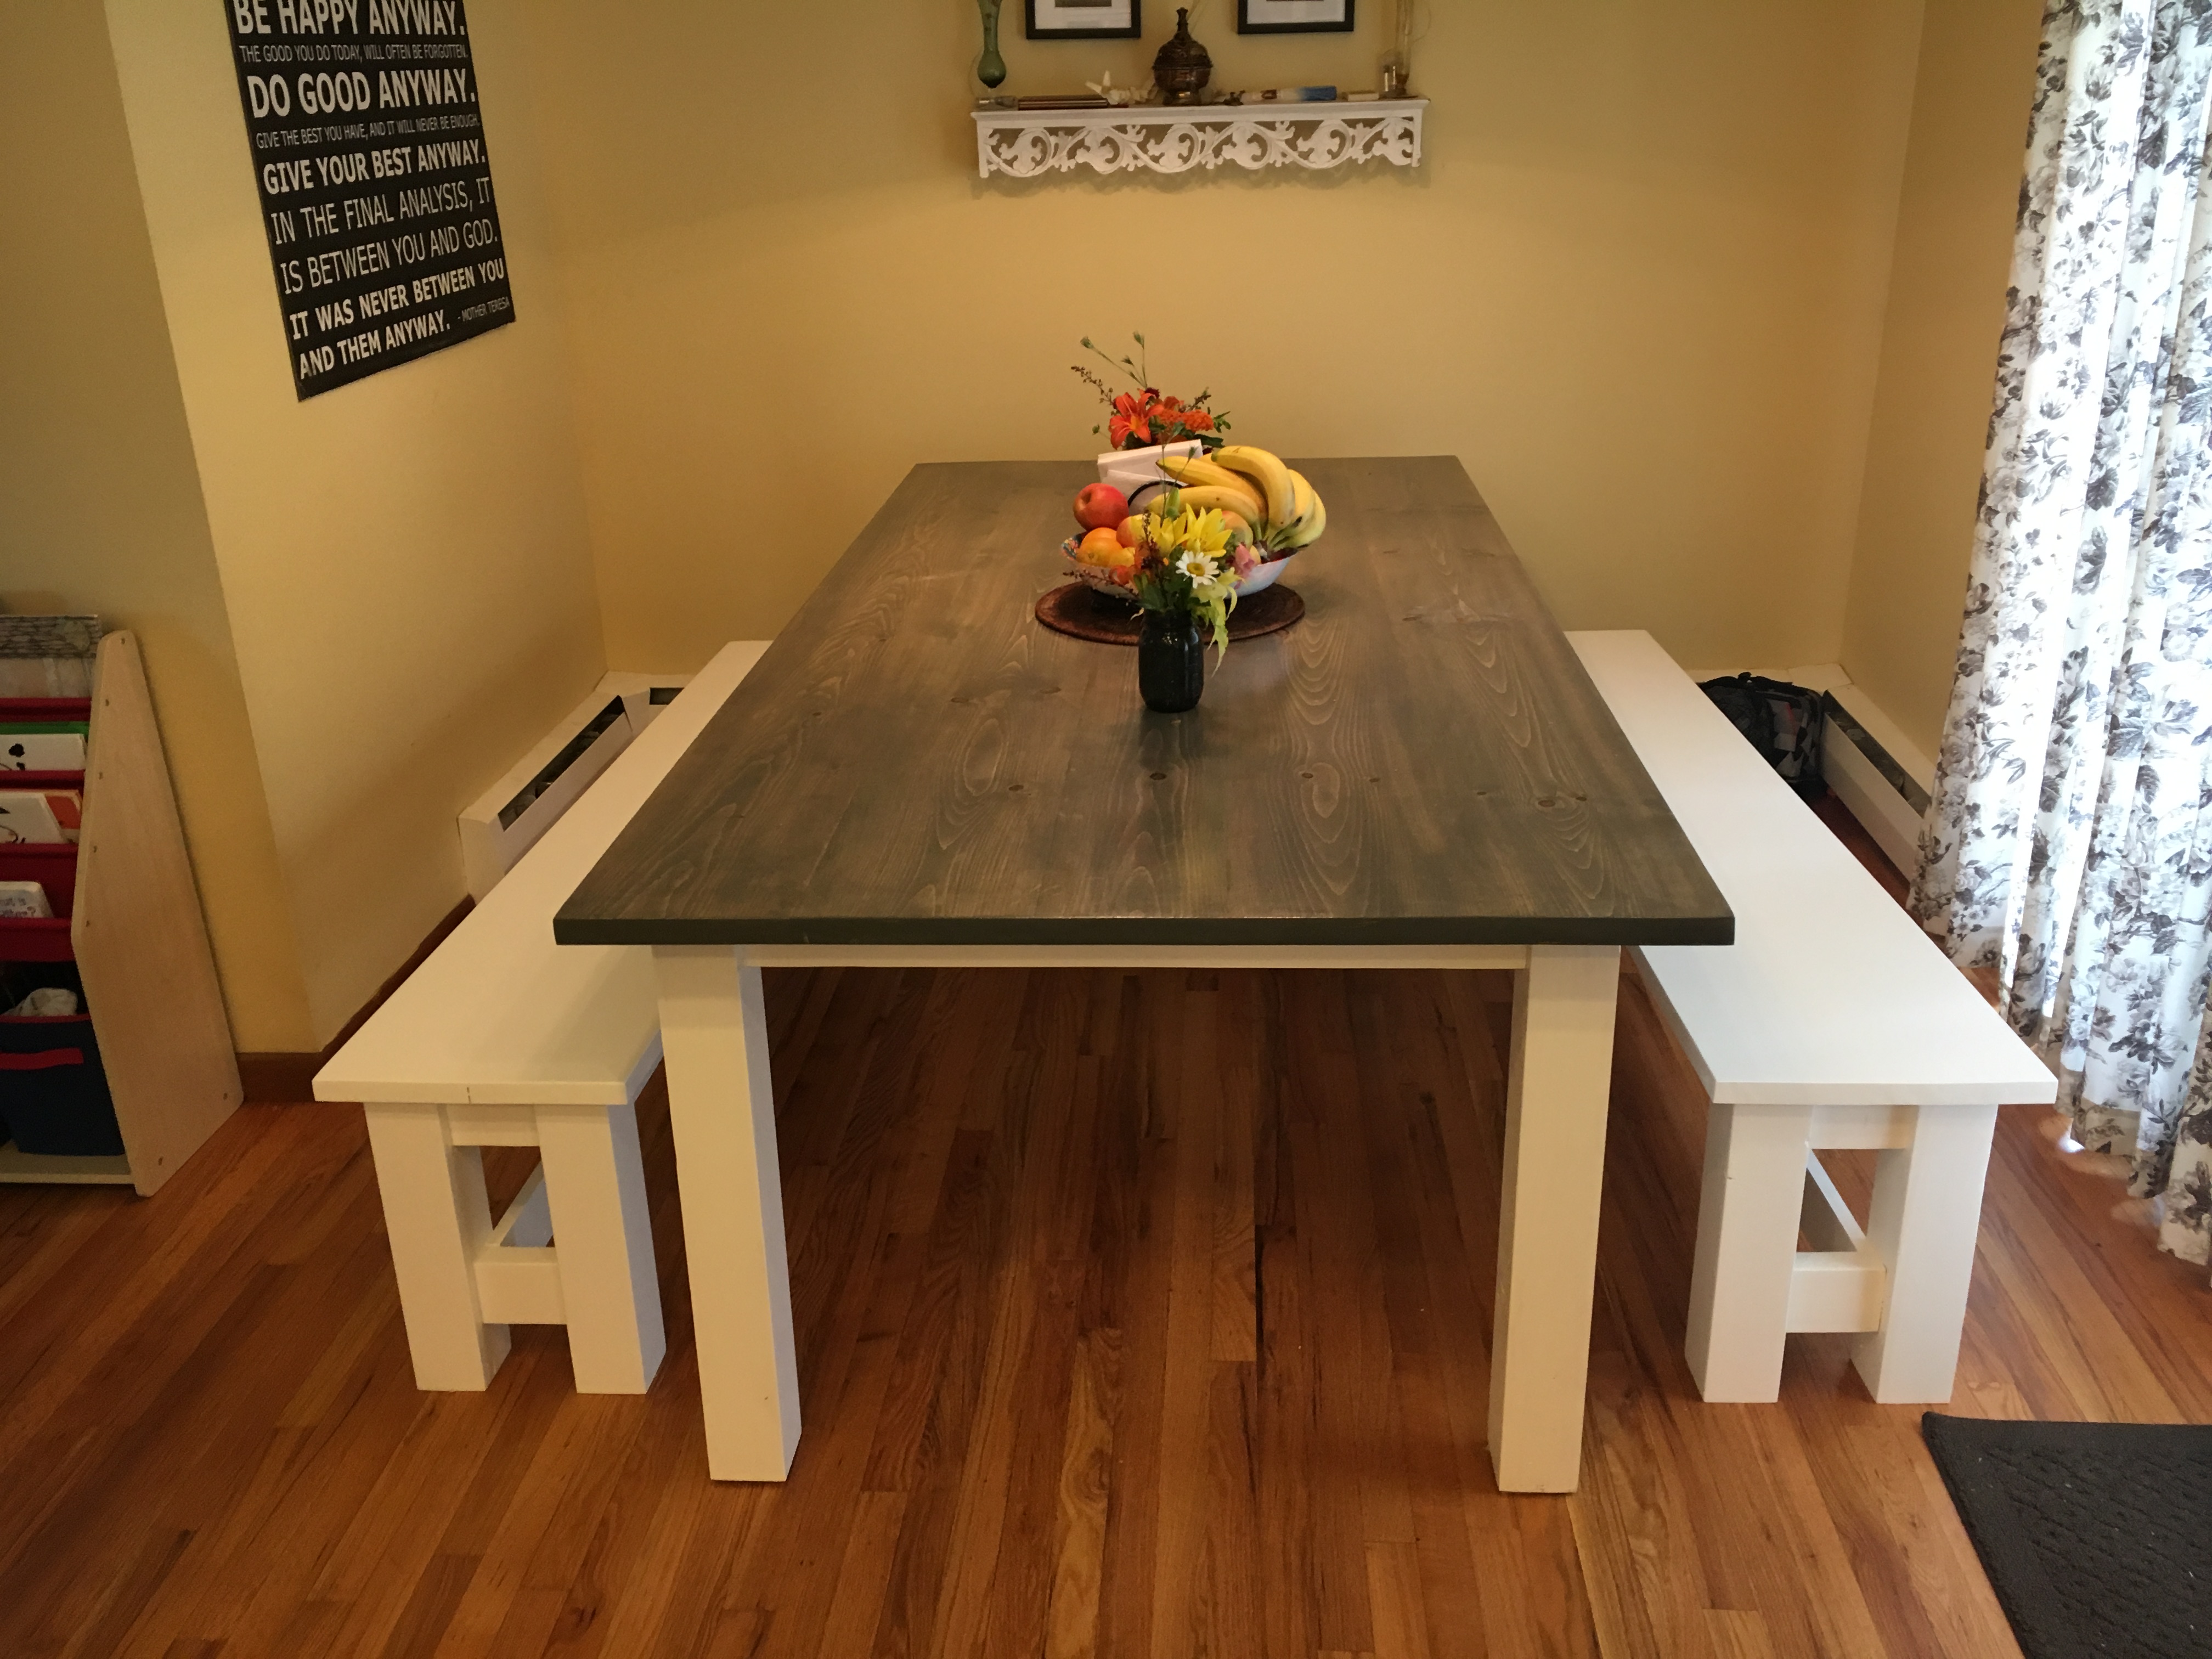
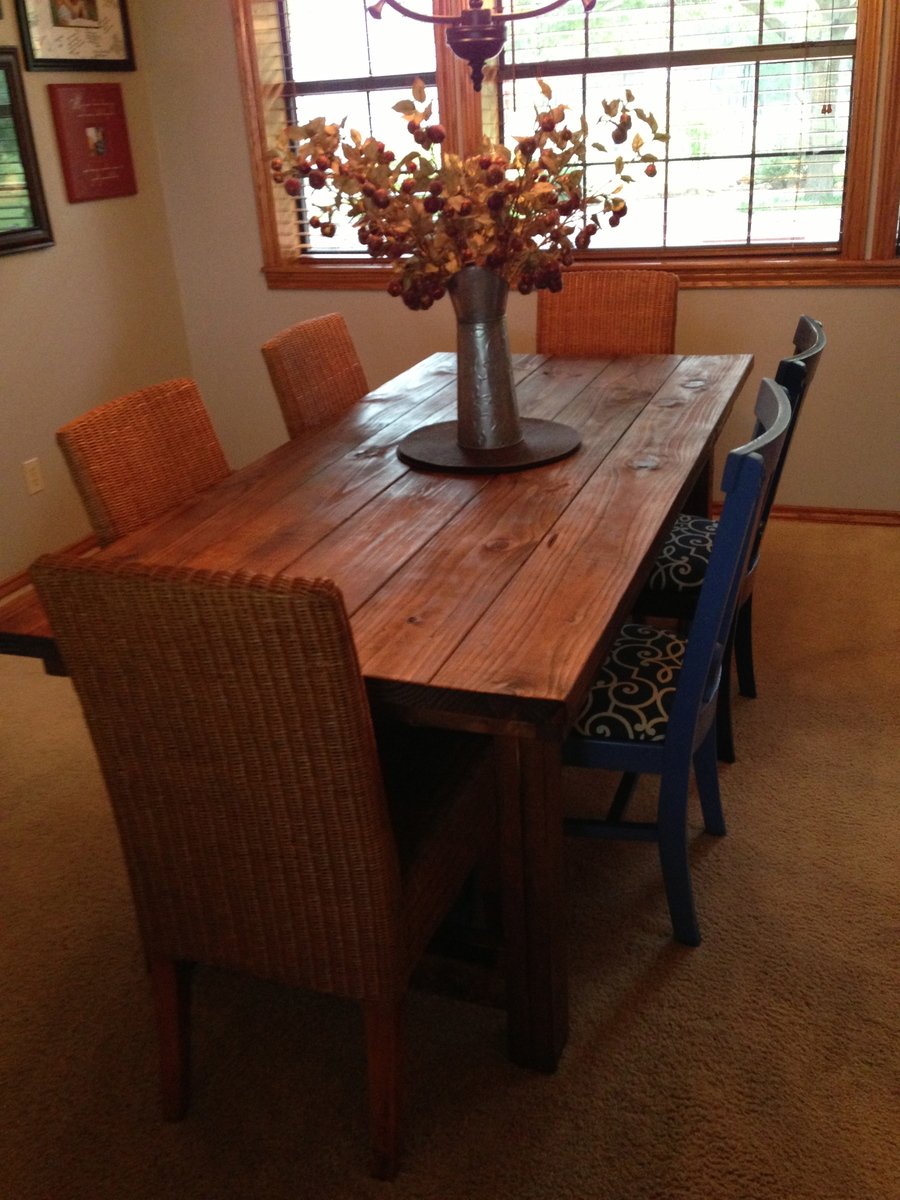
Now to the build. We decided that the table needed to be a bit wider and longer for our needs, so I adjusted the plans. It came out to 90"x48". The center board is a 2x12 with the other 4 being 2x10s. The end pieces are 2x8s that I had from building garden boxes. The benches that I also built were from scrap lumber, they are not pictured here as they need one more coat of stain and then three coats of polycrylic. They are 52" long and go on the ends where the kids can use the cross beam as a foot support.
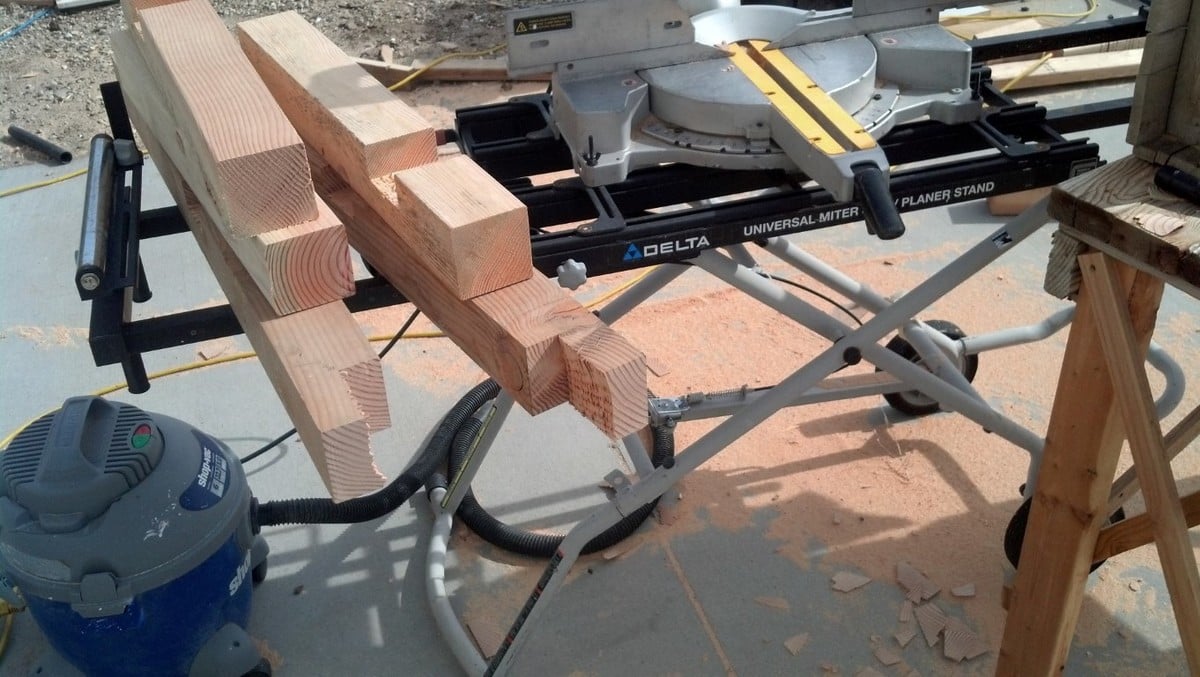
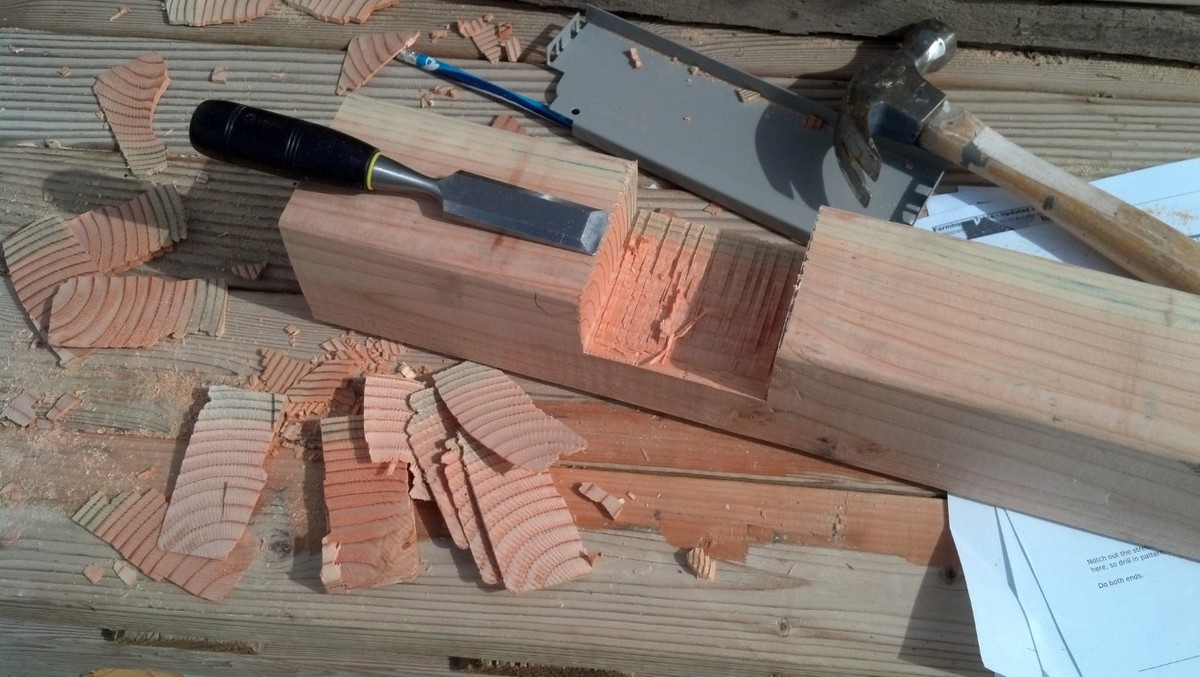
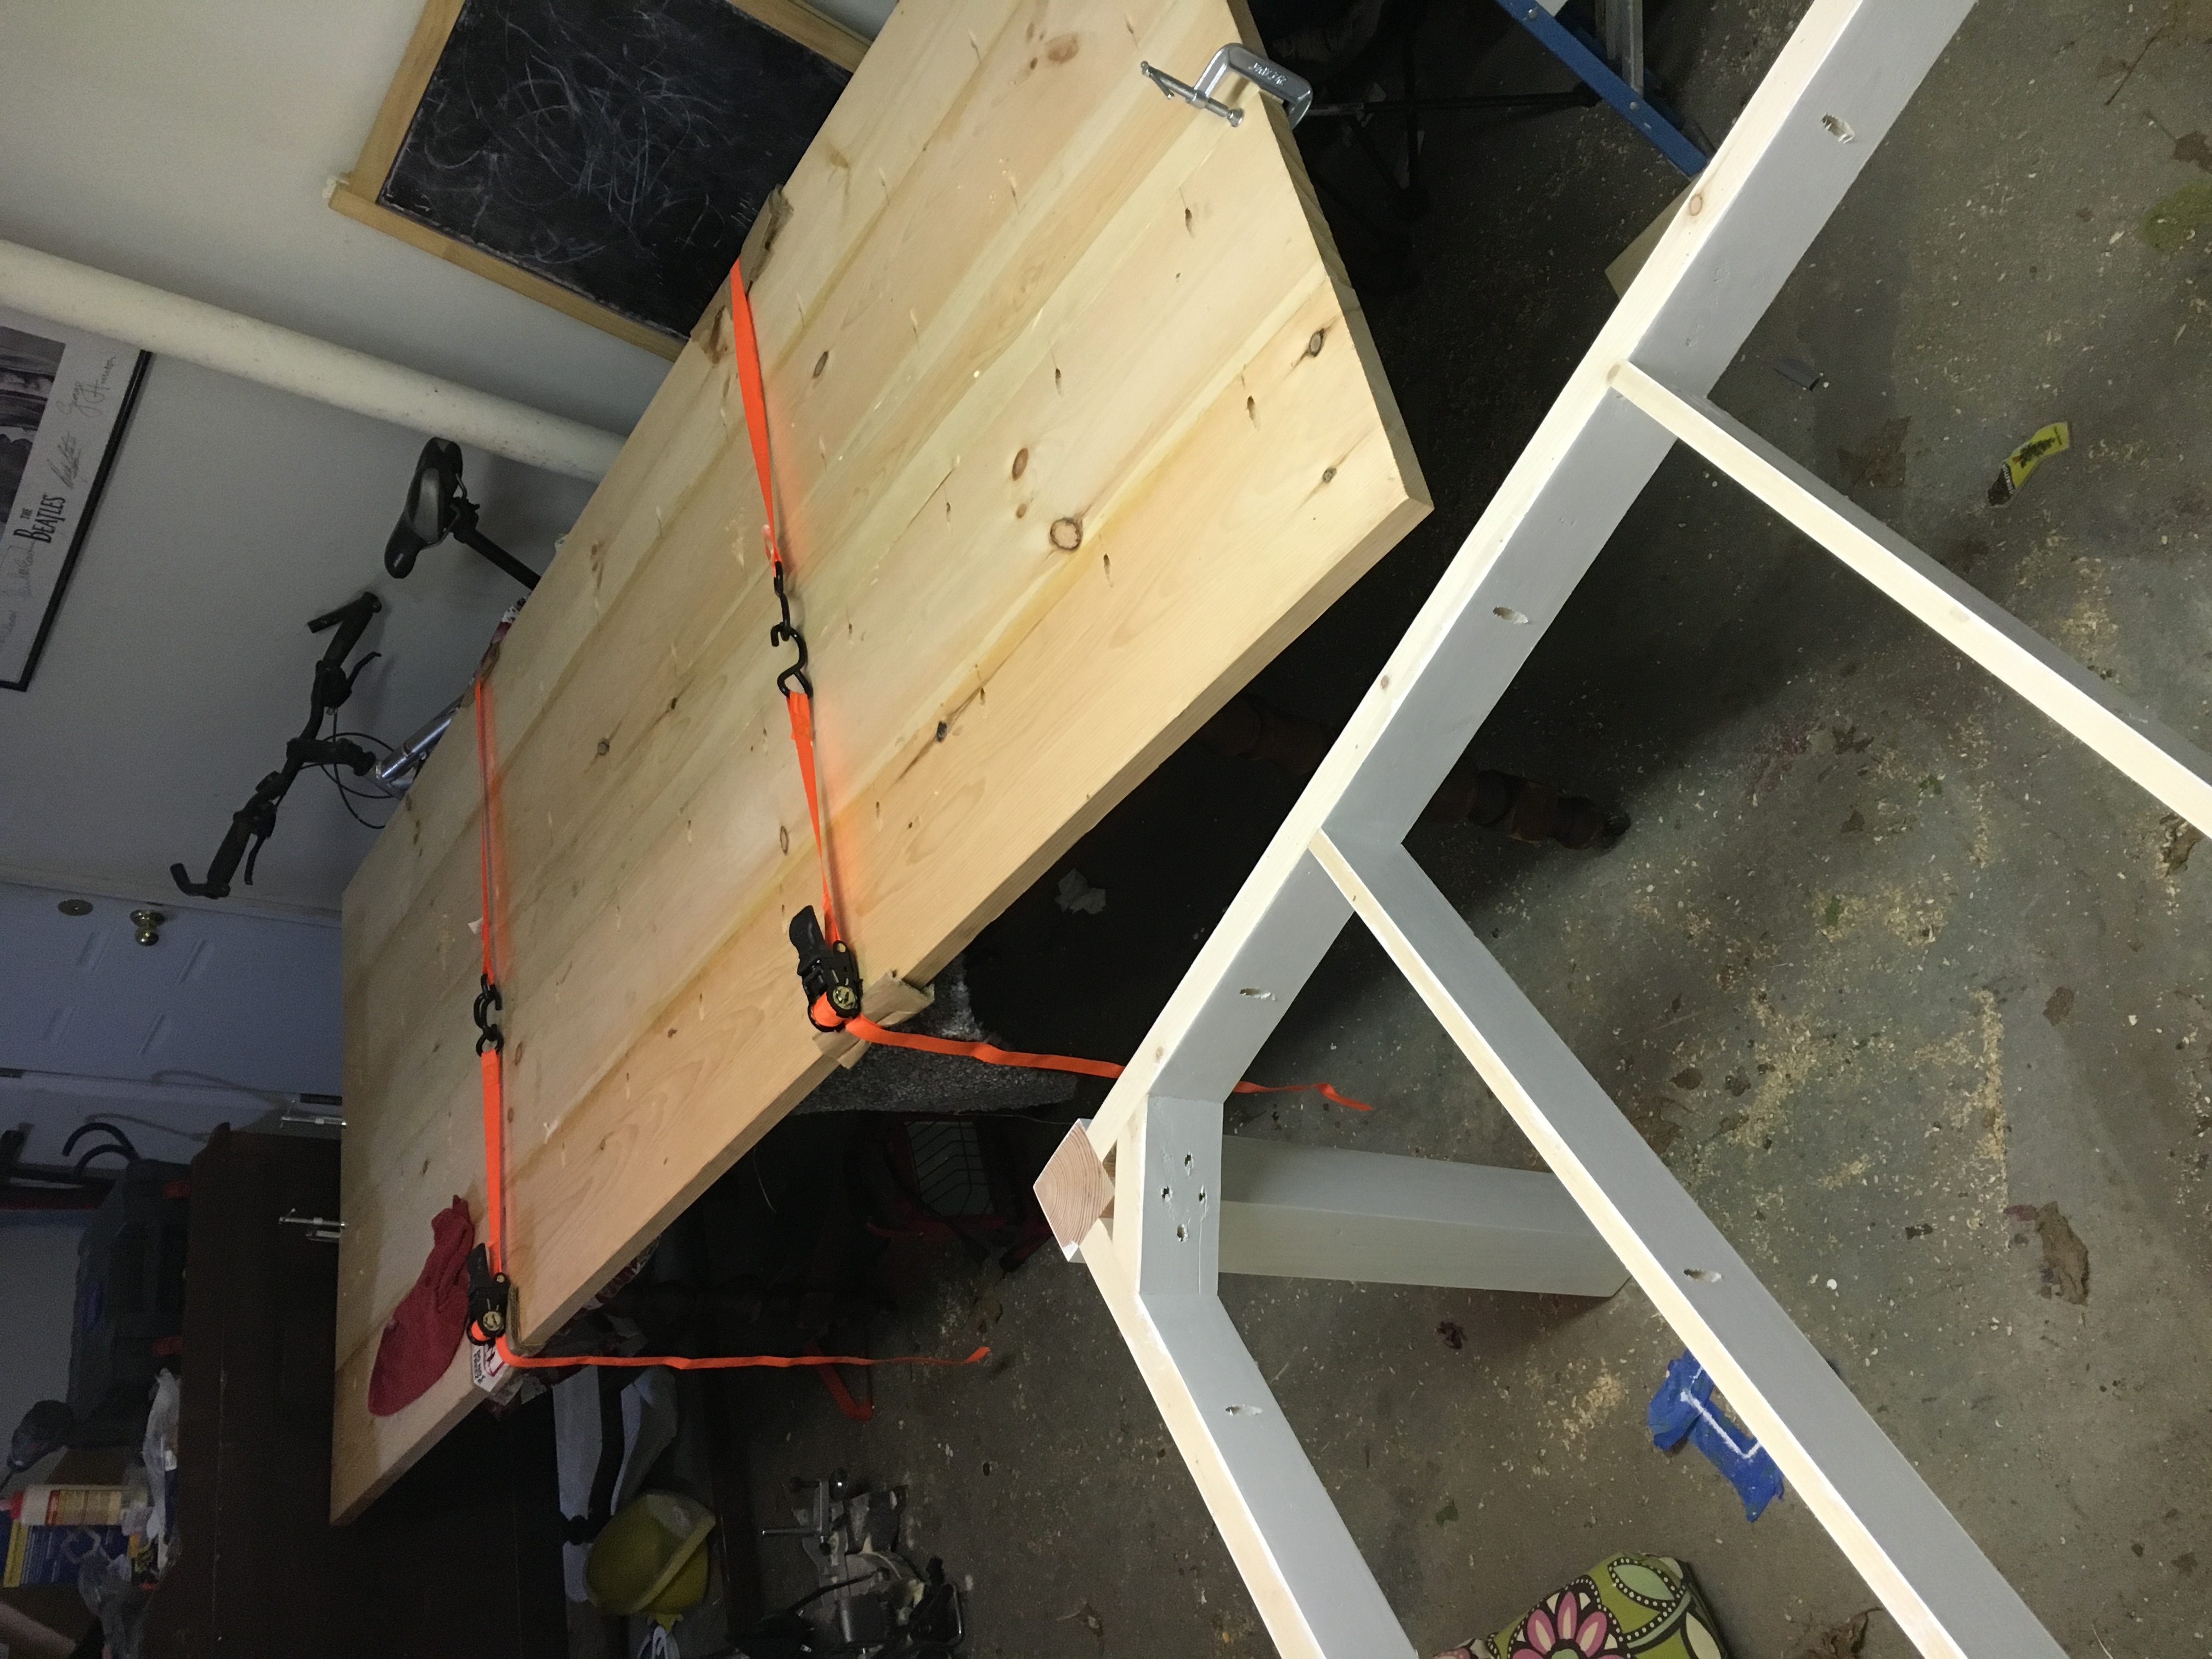
Building this project was rather quicker than I thought. Of course, borrowing a radial arm saw helped out a bunch with the legs. Once it was all together, I sanded the table three times. I used 80, 150 then 220 grit. The palm sander got a real workout over the space of about a week and a half.
Finishing the project, I decided to follow the plans and went with Minwax Weathered Oak and topped that with Minwax Polycrylic. The legs and underside of the table received 2 coats of each, but the top I gave 3 coats of stain and 2 coats of the Poly with a very light sanding in between each coat.
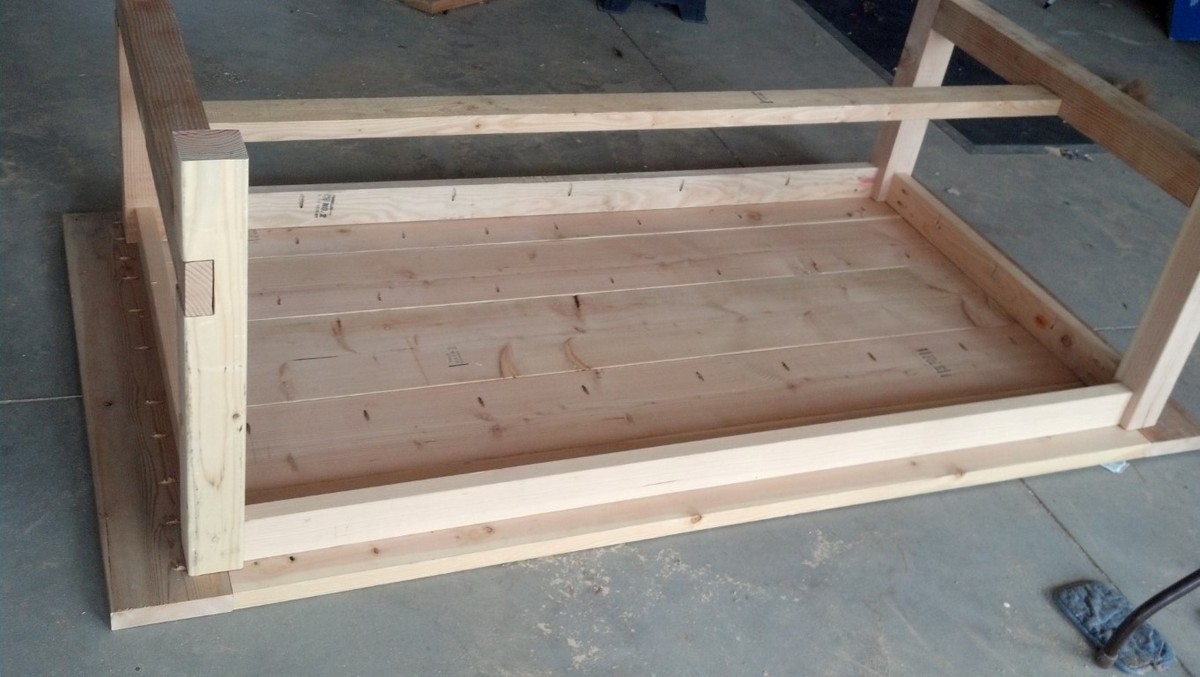
The table then sat completed in the garage for 3 weeks as I had to find enough help to get it into the house. This is one heavy bugger. If we ever sell the place, it stays! There are ~150 screws and all but 12 of those had pocket holes.
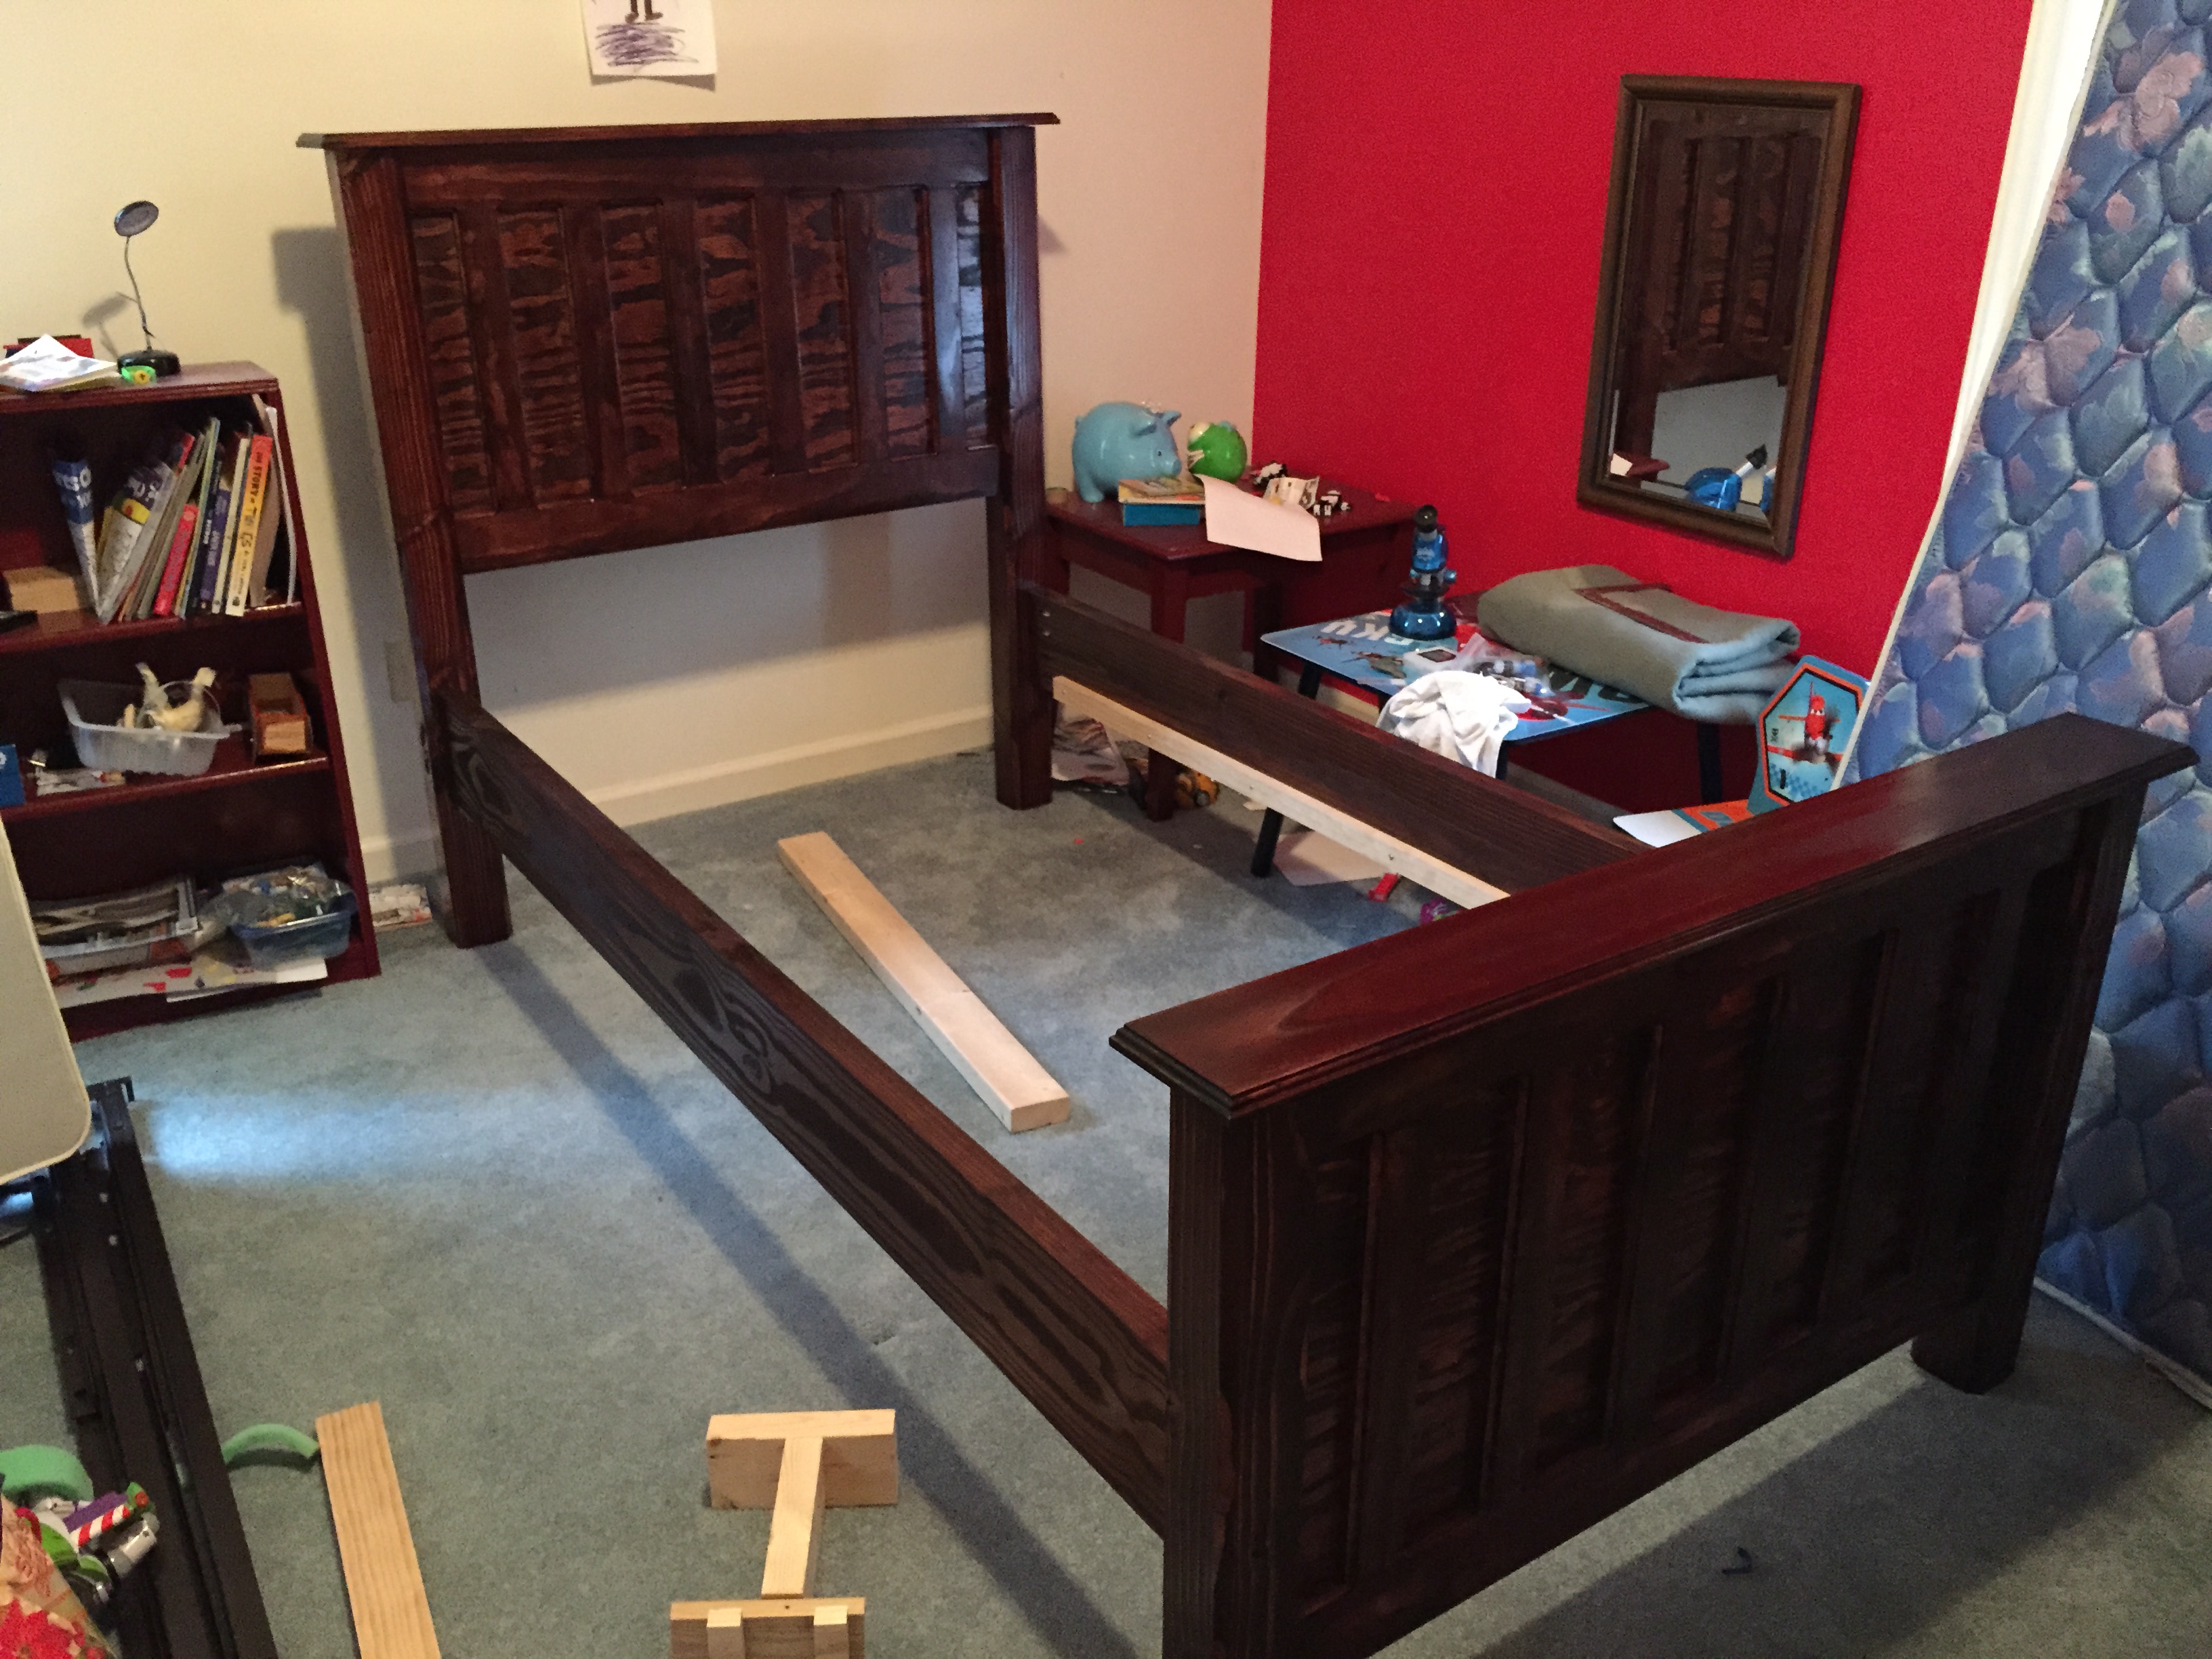
Fantastic build and now I am going to build the farmhouse king size bed. And a murphy bed. And more shelves. And a shoe cubby with coat rack. And a wine rack. And a greenhouse... the list goes on and on...


Comments
kelleer
Fri, 04/26/2013 - 12:32
AWESOME
Love love love it! great work
mybartmart
Fri, 04/26/2013 - 12:50
great step by step pictures
thanks for posting some step by step pictures they were really helpful. Great table. Really suites your space.!
Steph S.
Fri, 04/26/2013 - 14:06
Beautiful!
The table turned out beautiful!!
Junker Dic
Fri, 04/26/2013 - 14:09
Just love this!
Could you have used heavy duty steel leg braces? These could slipped into saw kerfs on adjacent sides of the apron. Then used hanger bolts to fasten the legs. This would allow the legs to be removed if needed.
deckroid
Fri, 04/26/2013 - 15:09
Thanks everyone!
I thought about making the legs removable, but really, it was much easier this way and very sturdy. I had a lot of fun building this.
Juanita_r
Fri, 04/26/2013 - 18:17
So detailed...Thanku
I looks amazing and you have been so detailed with your finishes, it is amazing ... Your wife is one lucky girl!!!
Tsu Dho Nimh
Sat, 04/27/2013 - 09:42
Excellent Table
I like the subtle detail of a wider center board.
Jake
Sat, 04/27/2013 - 18:55
Great Build and Now Addiction
You have just joined the league of addict builders. You really did a great job on this table. Did you get the lumber from big orange or blue and have it jointed? The boards look really good and the fit is tight. Anyway I am sure we will see more of you in the future.
deckroid
Wed, 05/01/2013 - 07:19
Chairs and boards
Hey everyone!
Thanks for your kind words. The chairs were from our previous table we bought some years ago. I was astounded to find that Ana's plans were the same height as our previous table. Great fit for the chairs.
As for the lumber, I got it from a local building supply company (one of the last, sad to say) and they were only a bit straighter. I got them tight by using clamps. Clamps and LOTS of pocket holes.
George
wjc129
Thu, 05/02/2013 - 18:45
Very Nice
Great Job! Thanks for the extra pictures. I am working up the courage to build the farmhouse queen bed myself. If it works out I might tackle this table, as I like your plans.
goalist
Thu, 08/08/2013 - 11:08
Pocket Holes and Minwax Polycrylic
This table looks great and I've decided that its going to be my first project, I just have two questions.
1. What version of the Kreg Jig did you use for the pocket holes?
2. Did you use satin or semi-gloss for the Minwax Polycrylic?
Thanks
amytrz
Wed, 08/26/2015 - 10:53
Type of wood?
Hi! You did a wonderful job on this table. I would like to attempt it but am having trouble figuring out what type of wood to use. The only wood I could find in the 2x8 and 2x10 dimensions was contruction lumber fir. Is that right?
Thank you!
deckroid
Fri, 01/01/2016 - 11:03
Sorry about not answering...
Sorry about not answering... my wife told me this has been pinned over 17k times on pintrist and that there are still some questions...
I used pine, but fir would be great too. The lumber dimentions for the top were 2x10s and a single 2x12 for the center piece. 2x8s for the ends. Really, though, any dimemtion works. Just keep going until you get the size you want.
George