Community Brag Posts


Floor to Ceiling Canned Food Storage
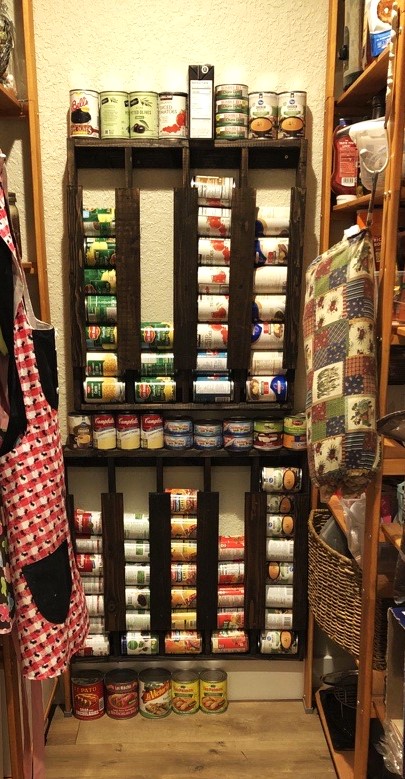
Loved these plans. Top unit was built exactly to specs. Bottom unit was built to accommodate one column of cans. I have also built one for my sis-in-law and will be building one more for this pantry. Love this project!
Leah
Built from Plan(s)
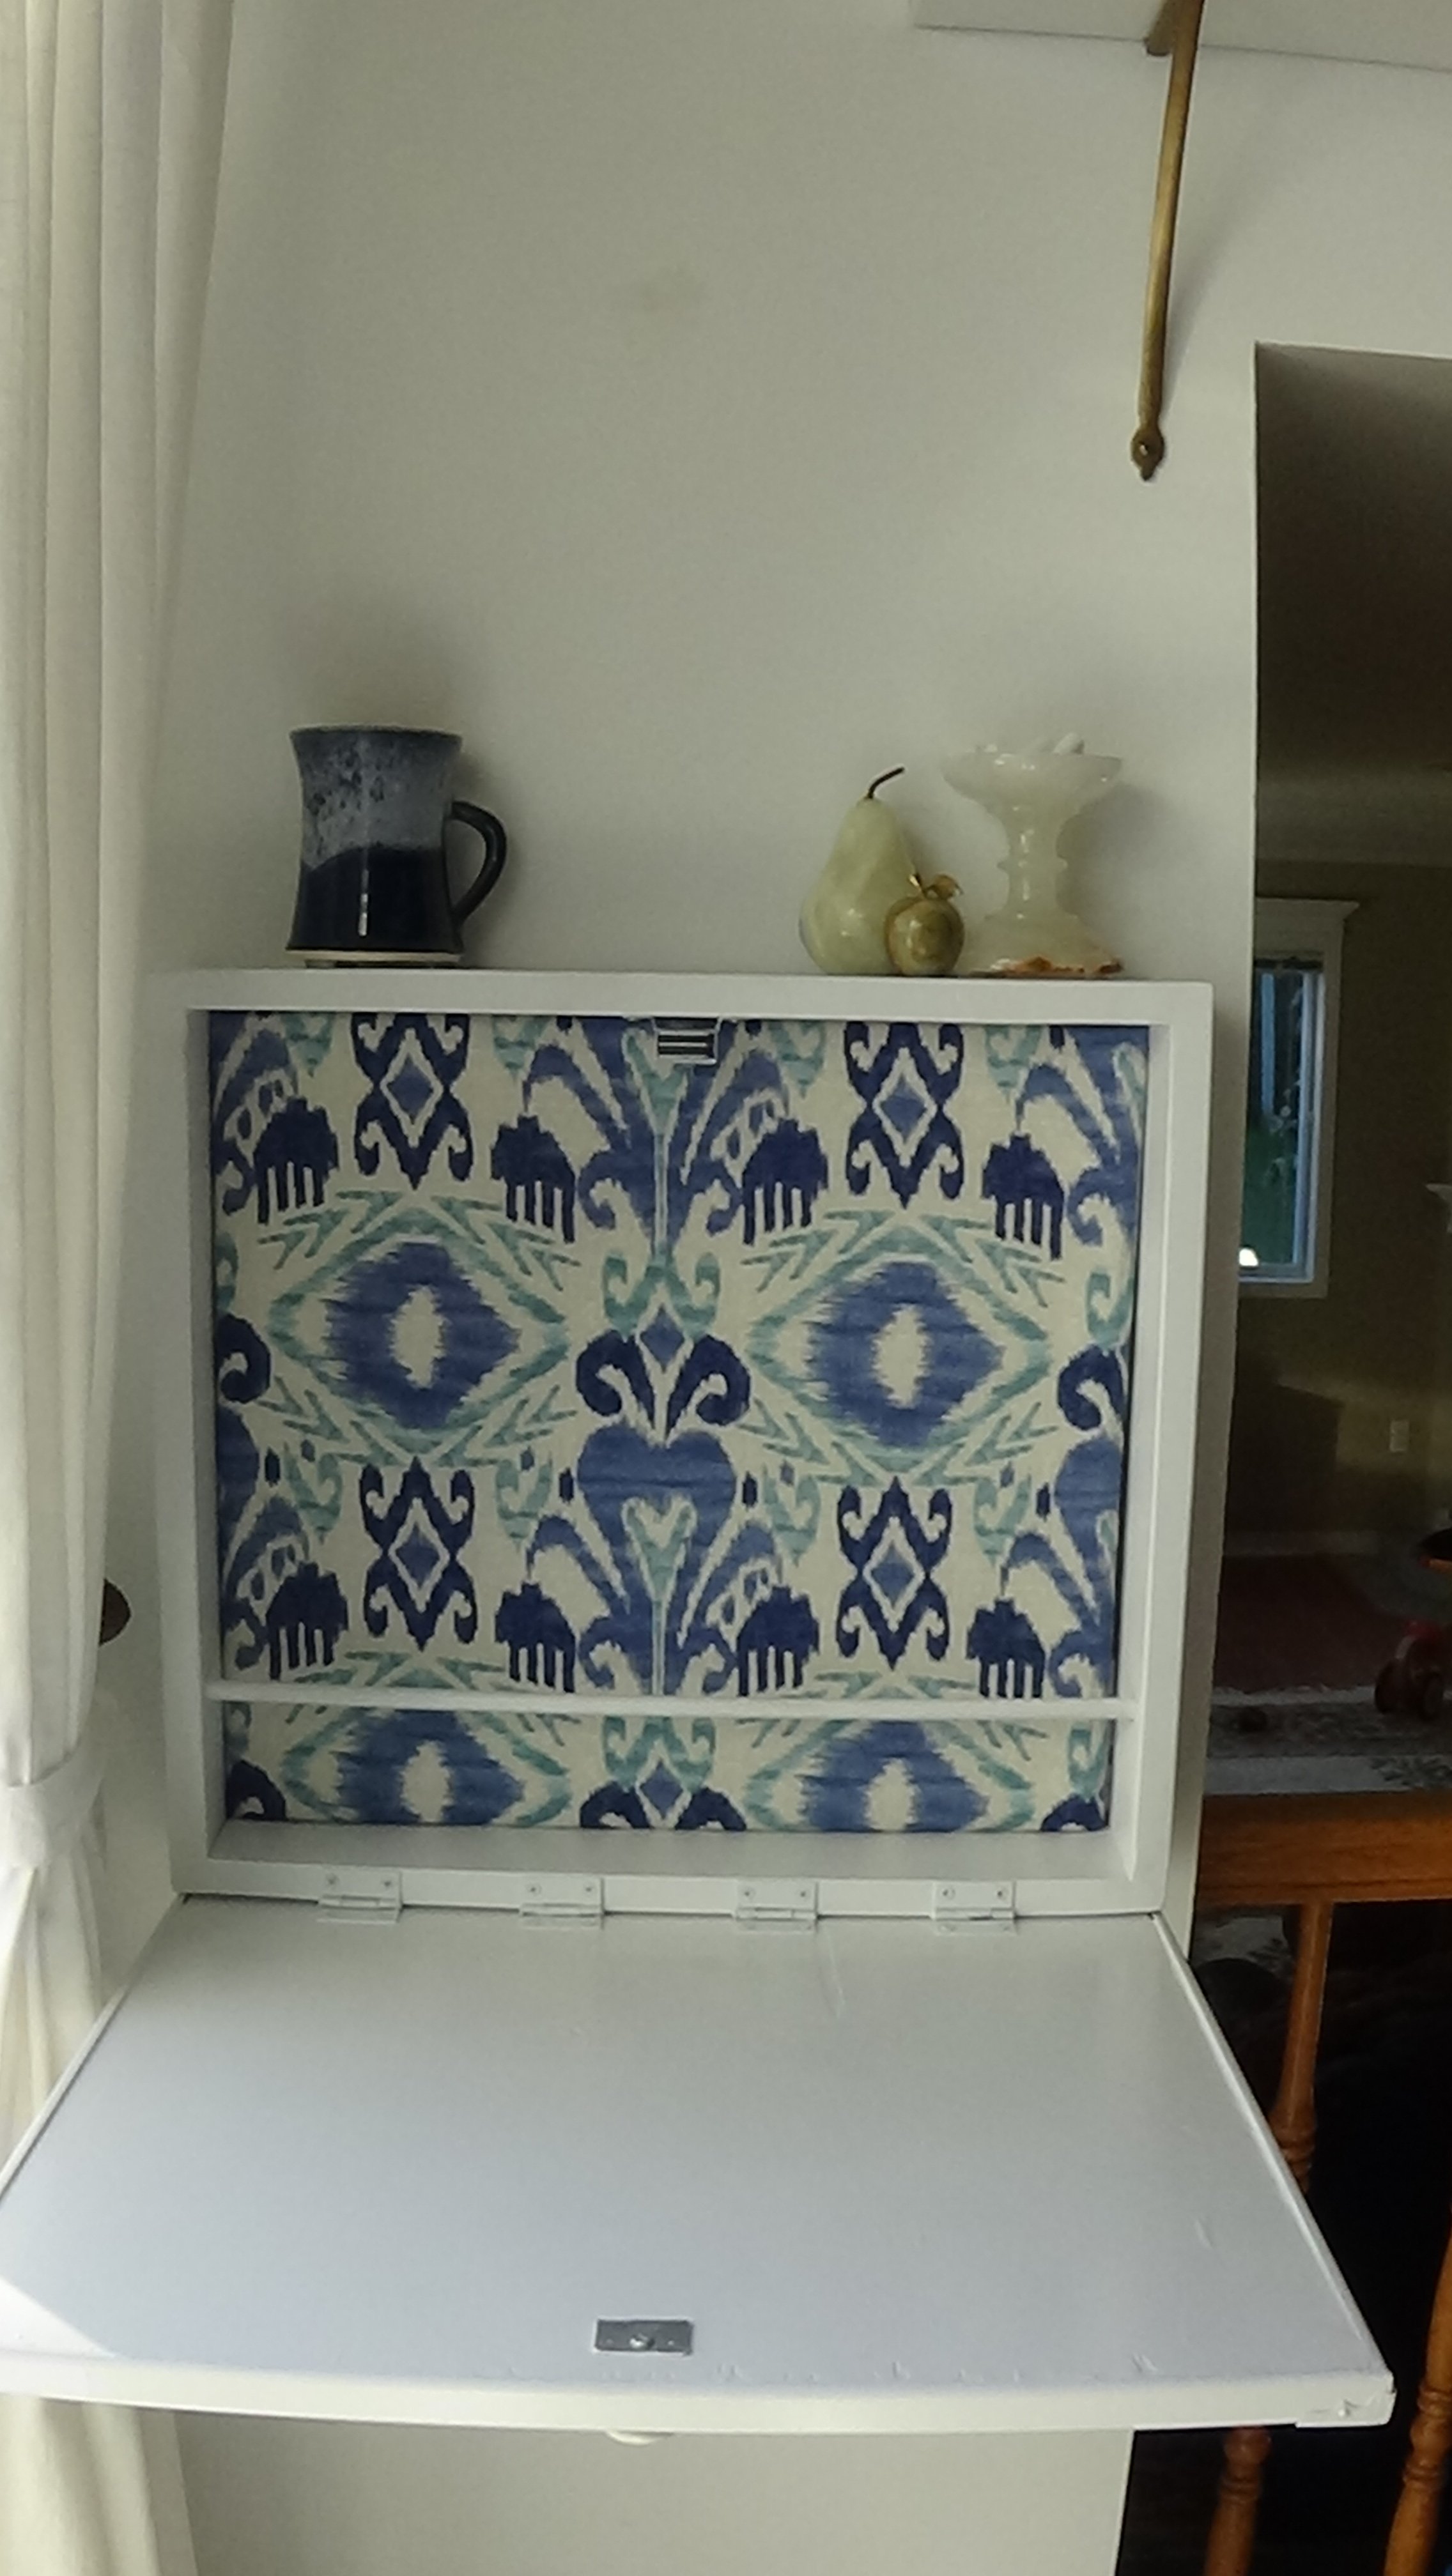
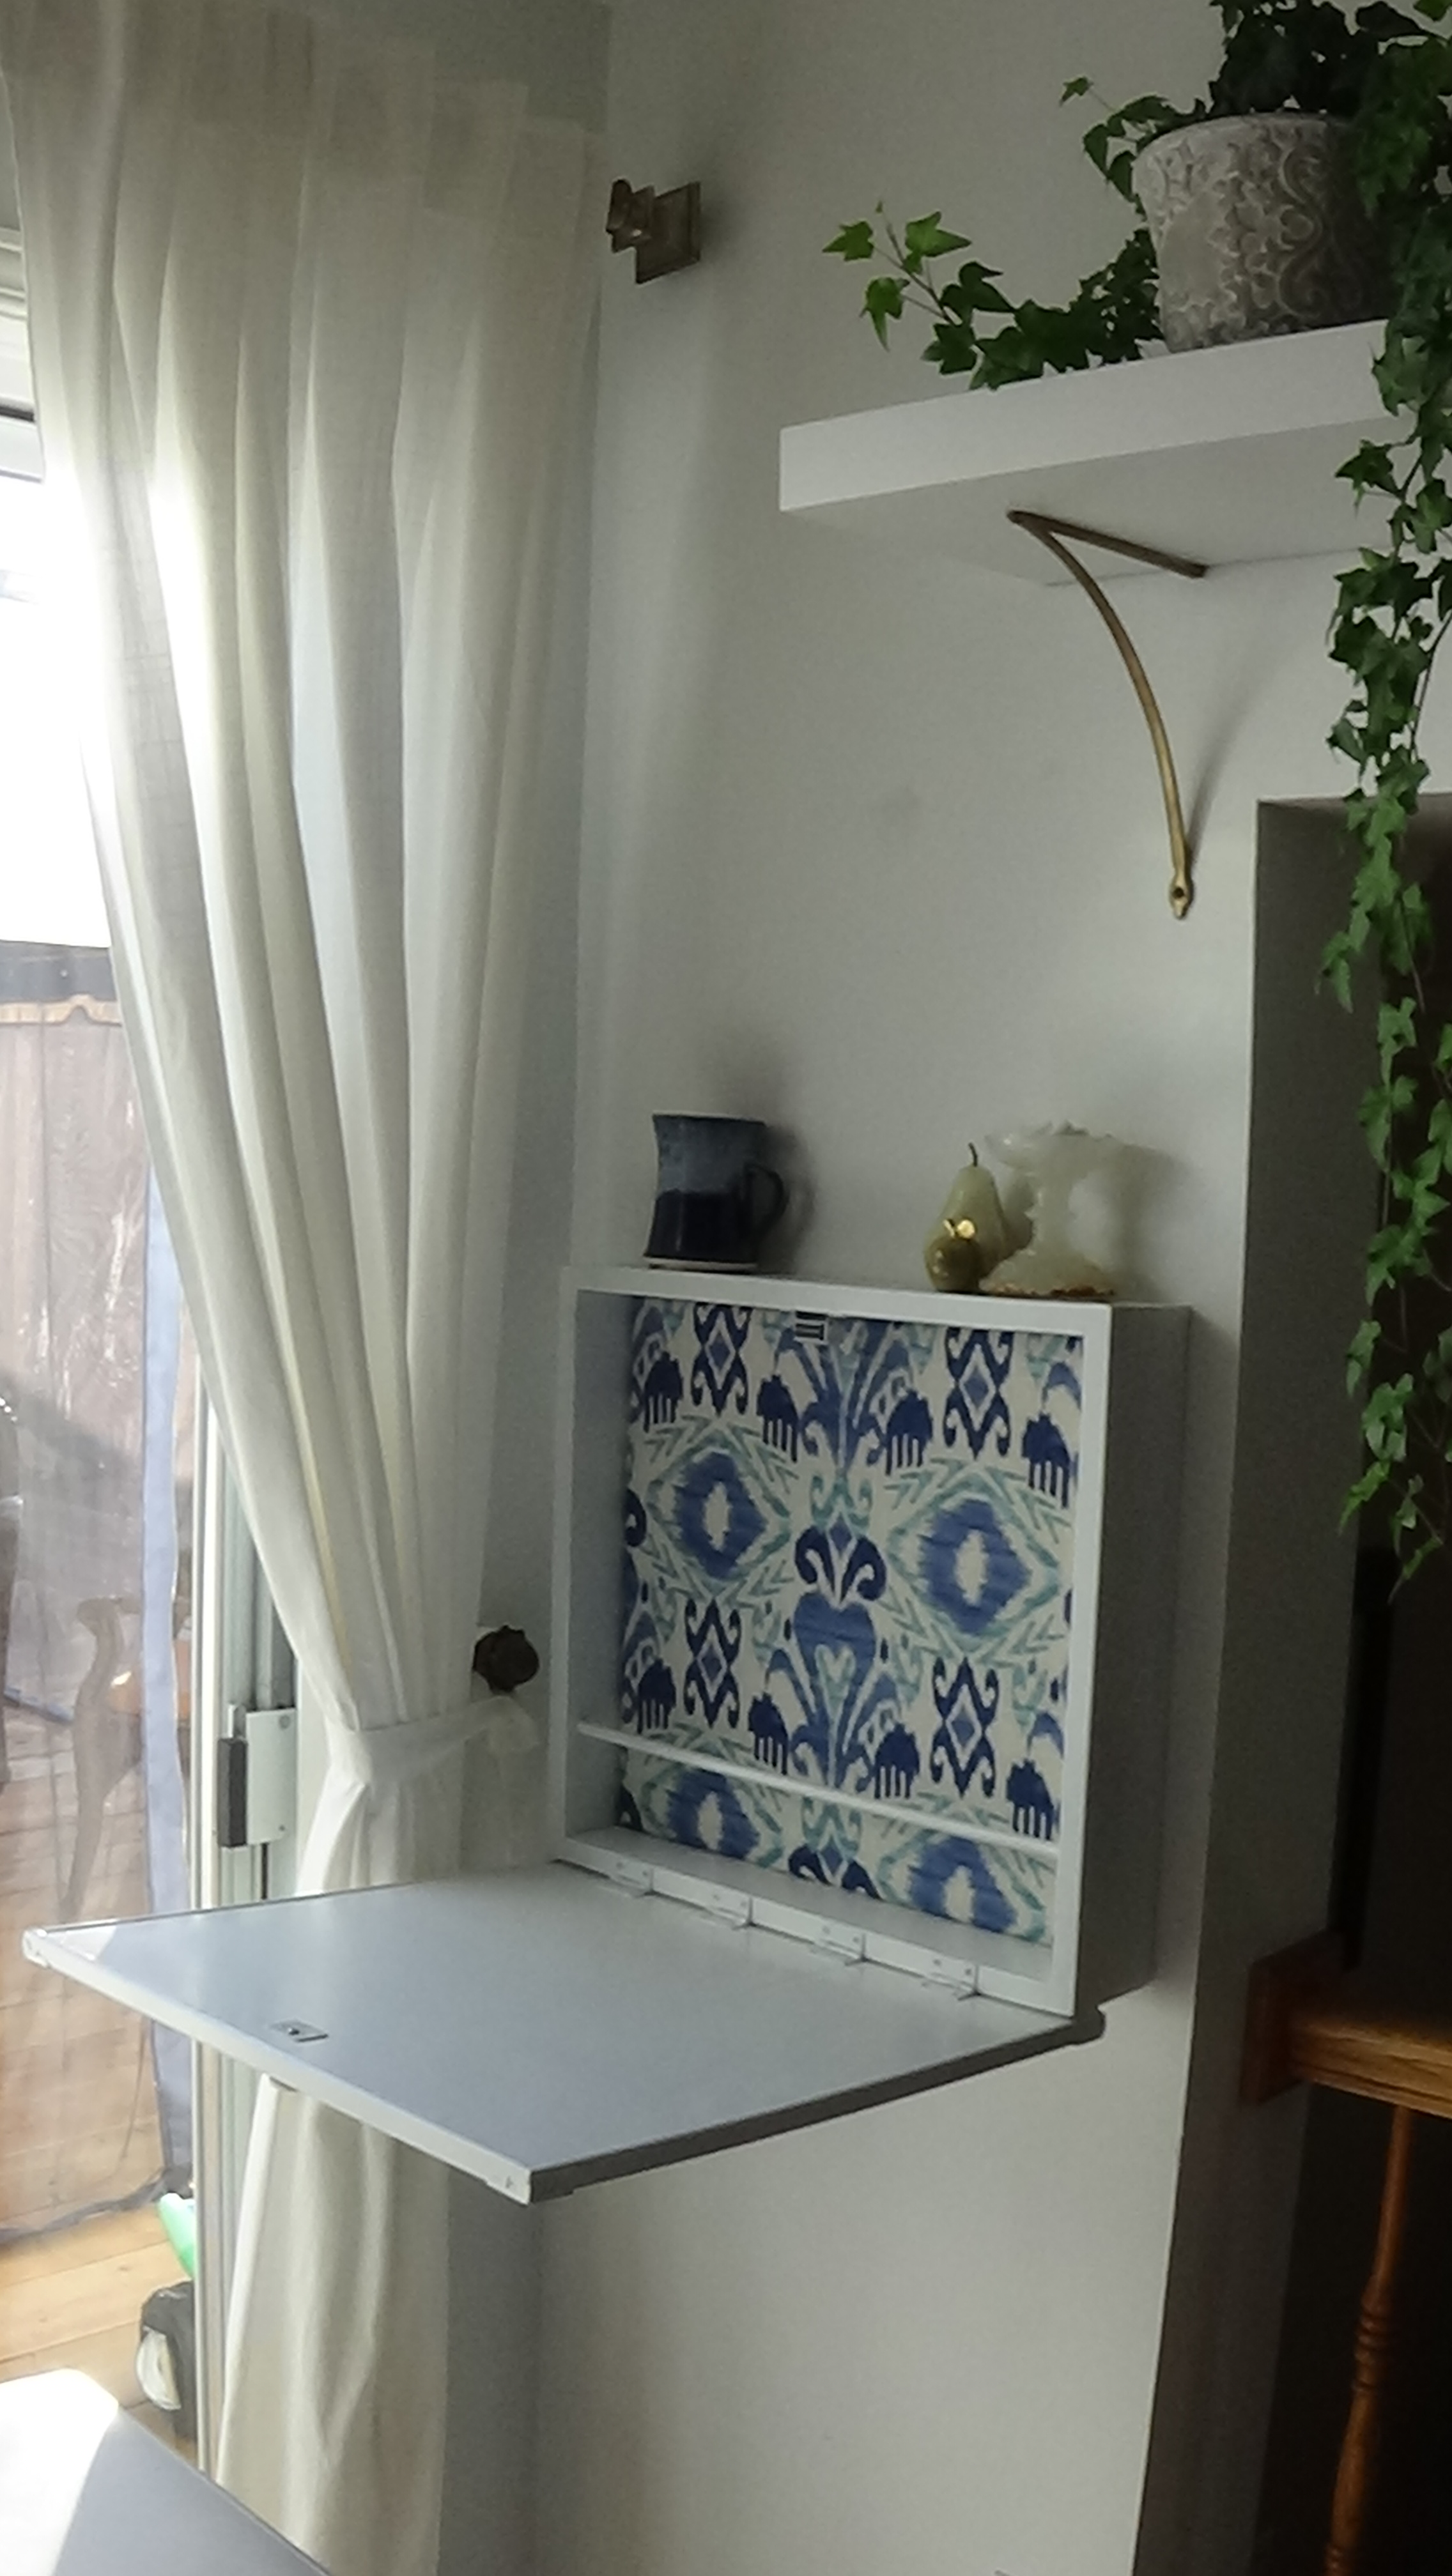
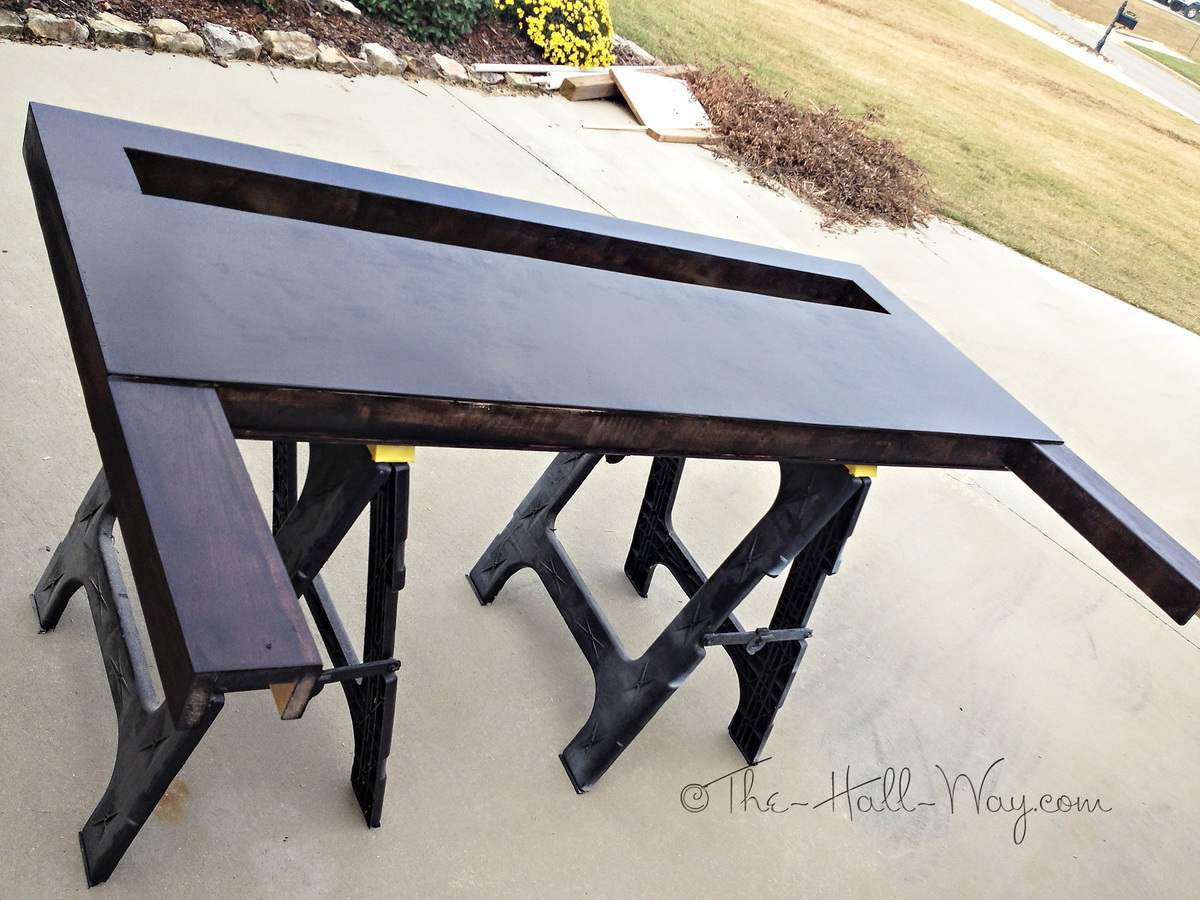
Fold down laptop desk
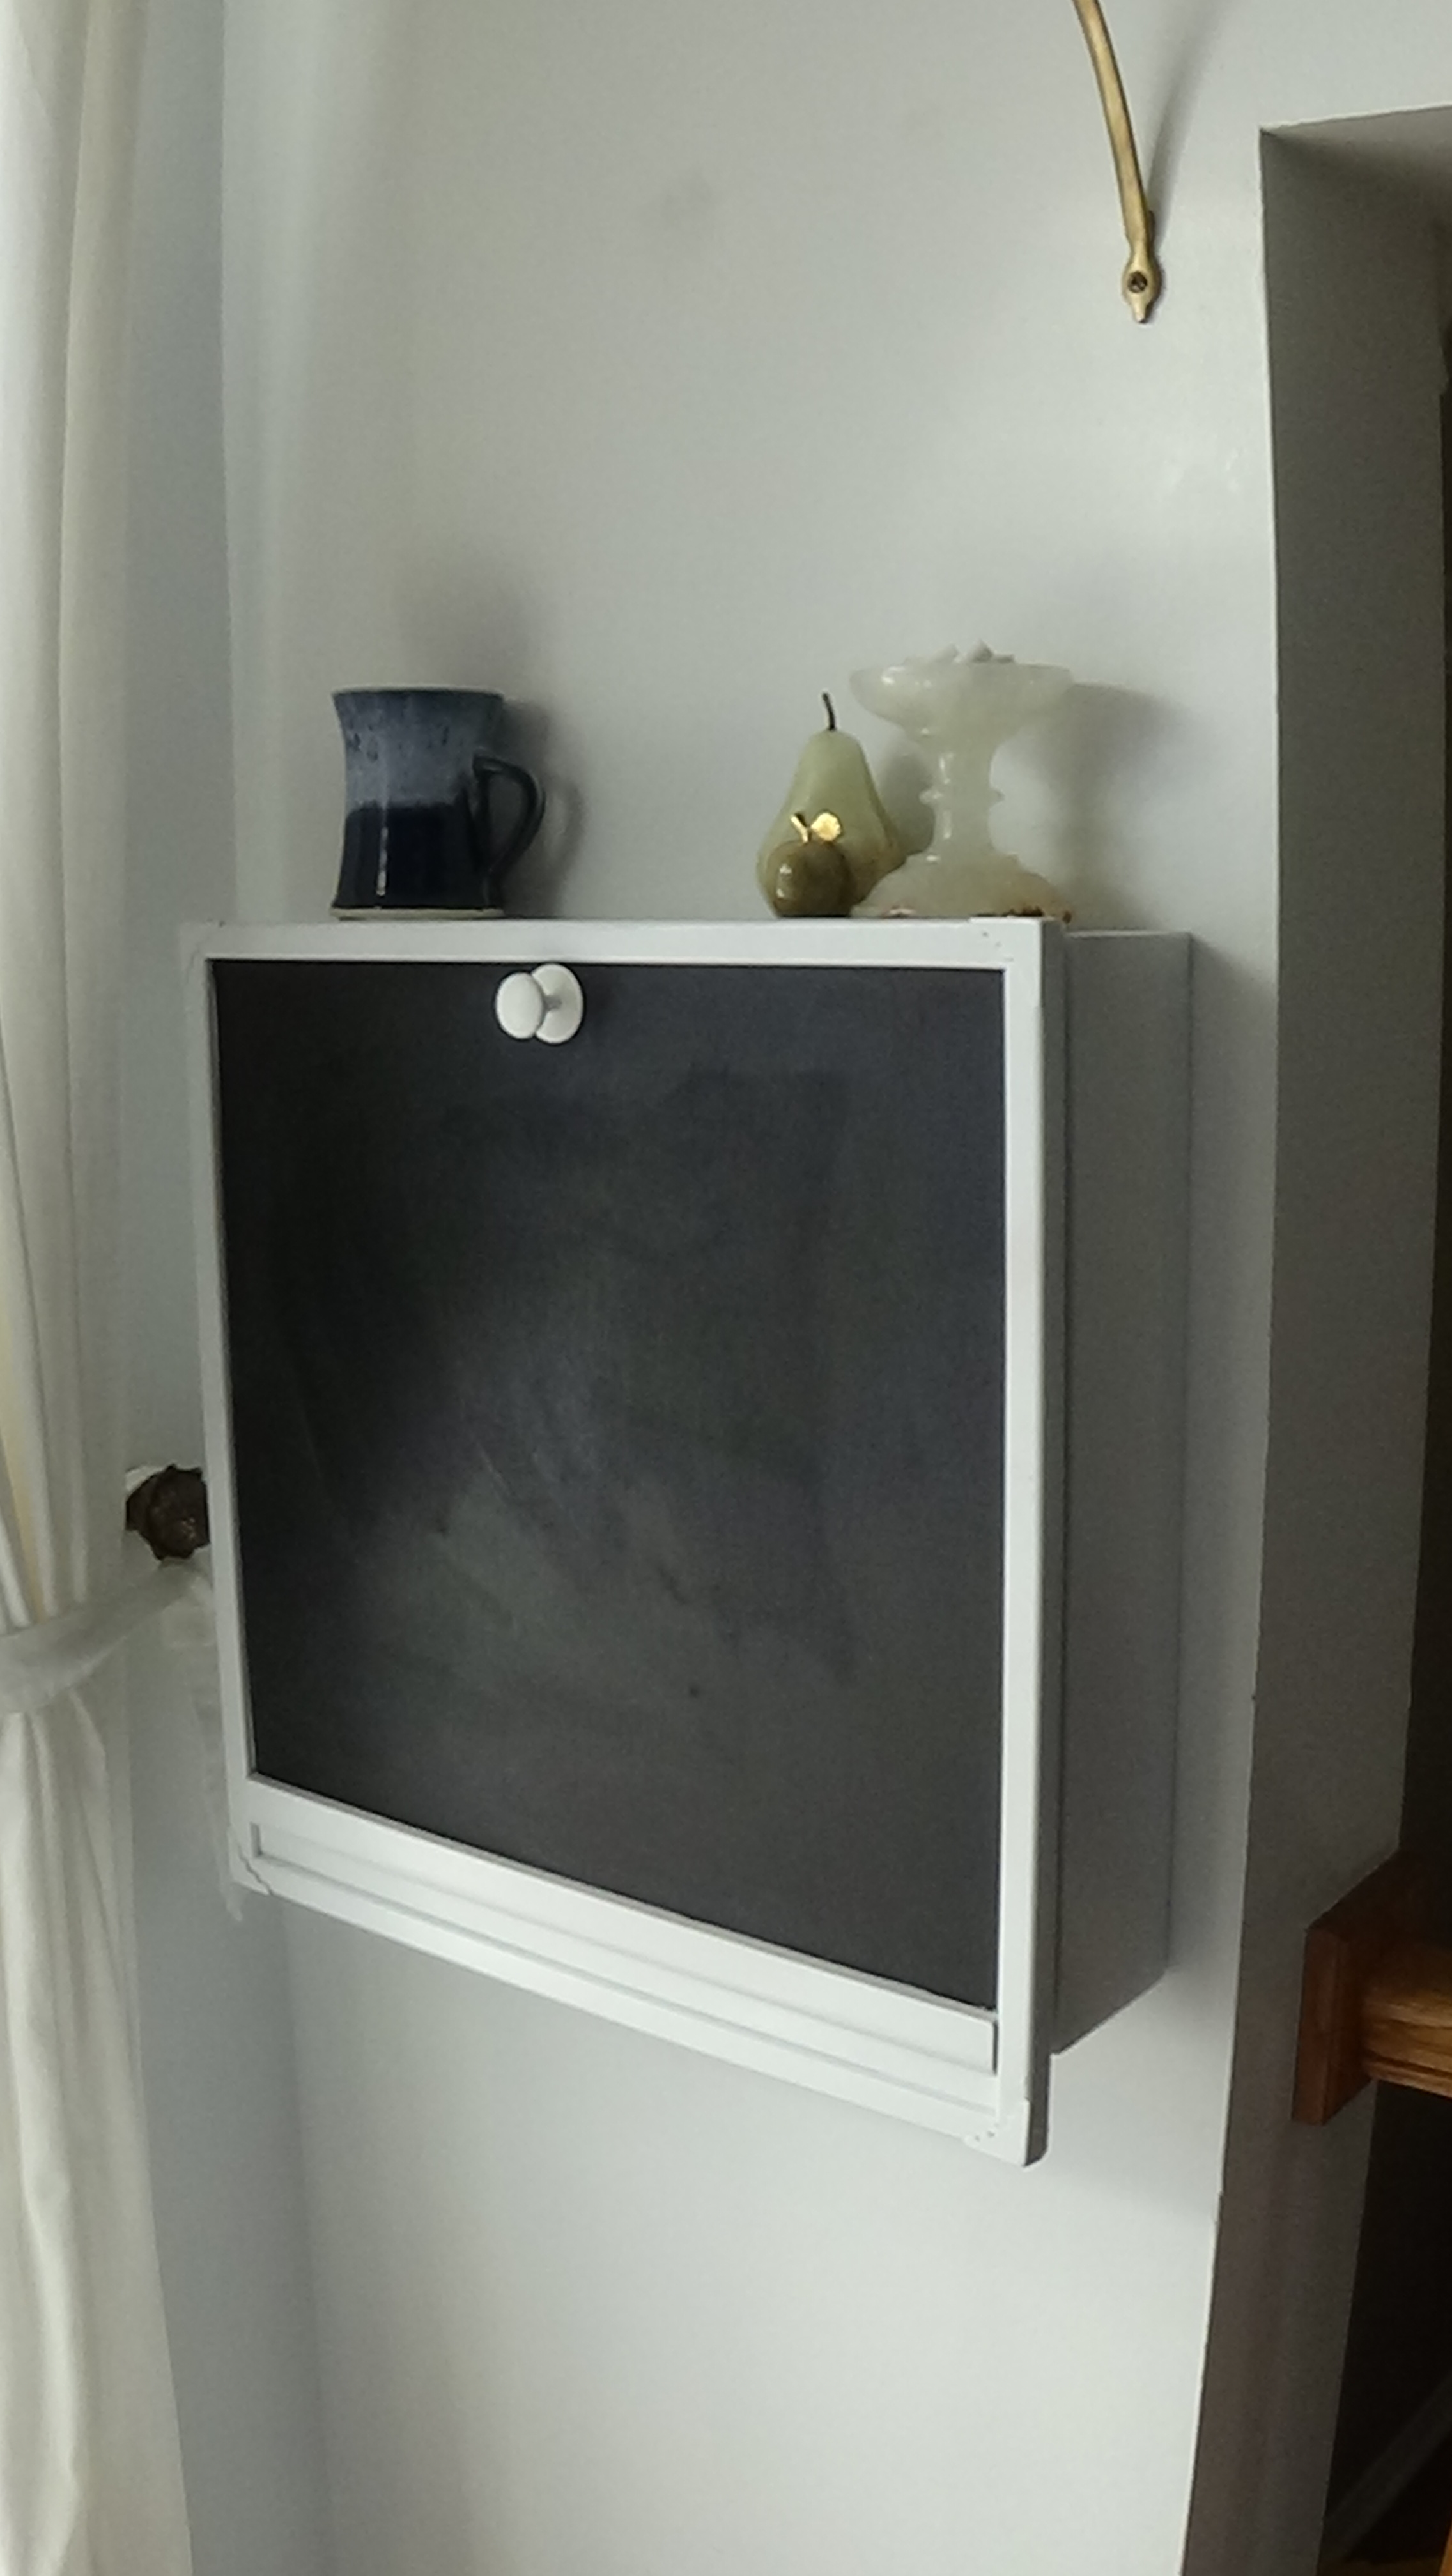
Inspired by Ana's Flip down wall art desk. It has different dimentions since wall space was limited. I used a magnet as a lock, added upholstered back, dowel for storage and extended the bottom part to add some strength. It is very handy!
Built from Plan(s)
Estimated Cost
30$
Estimated Time Investment
Afternoon Project (3-6 Hours)
Finish Used
spray paint and home made chalk paint
Recommended Skill Level
Beginner
Comments

Thu, 09/22/2016 - 09:06
Awesomeness!
Very cool, love the upholstered back! Thanks for bragging your project!
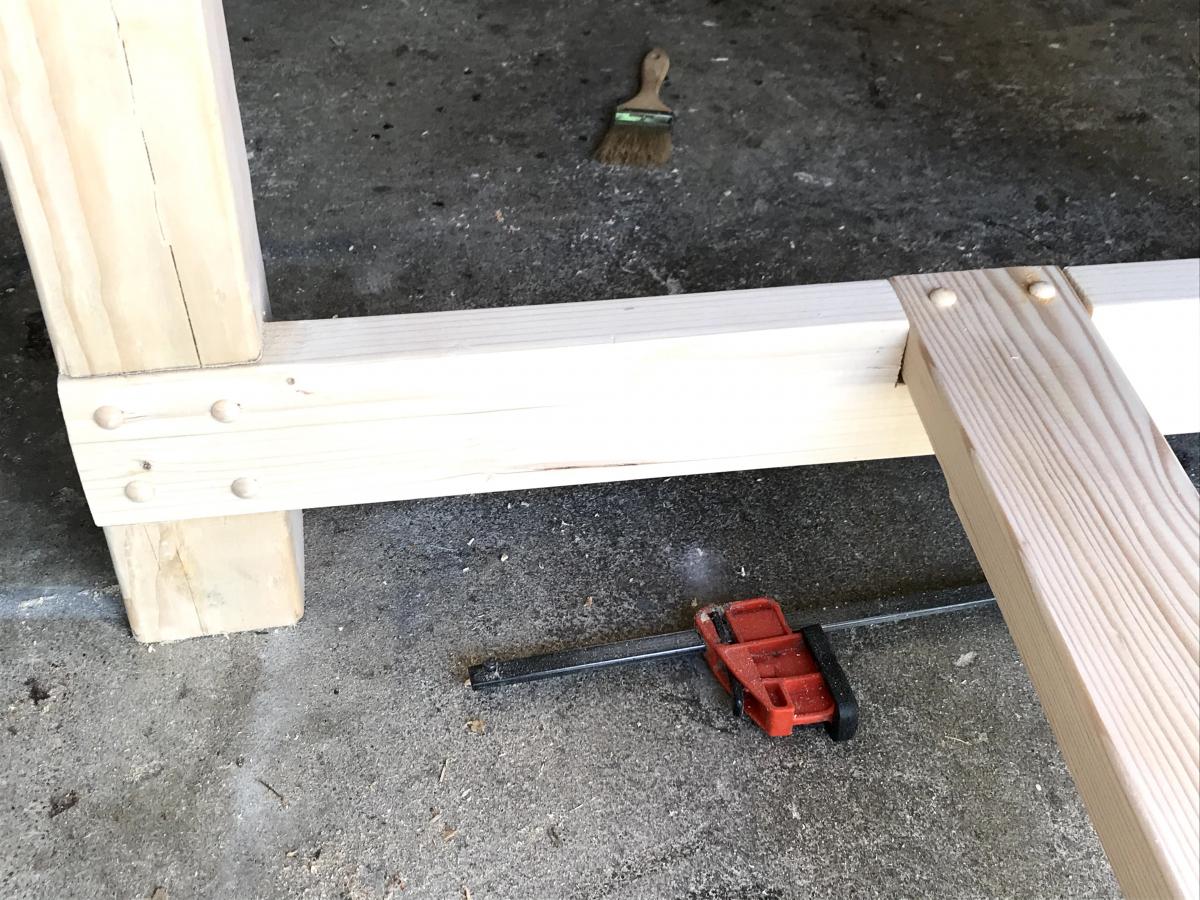
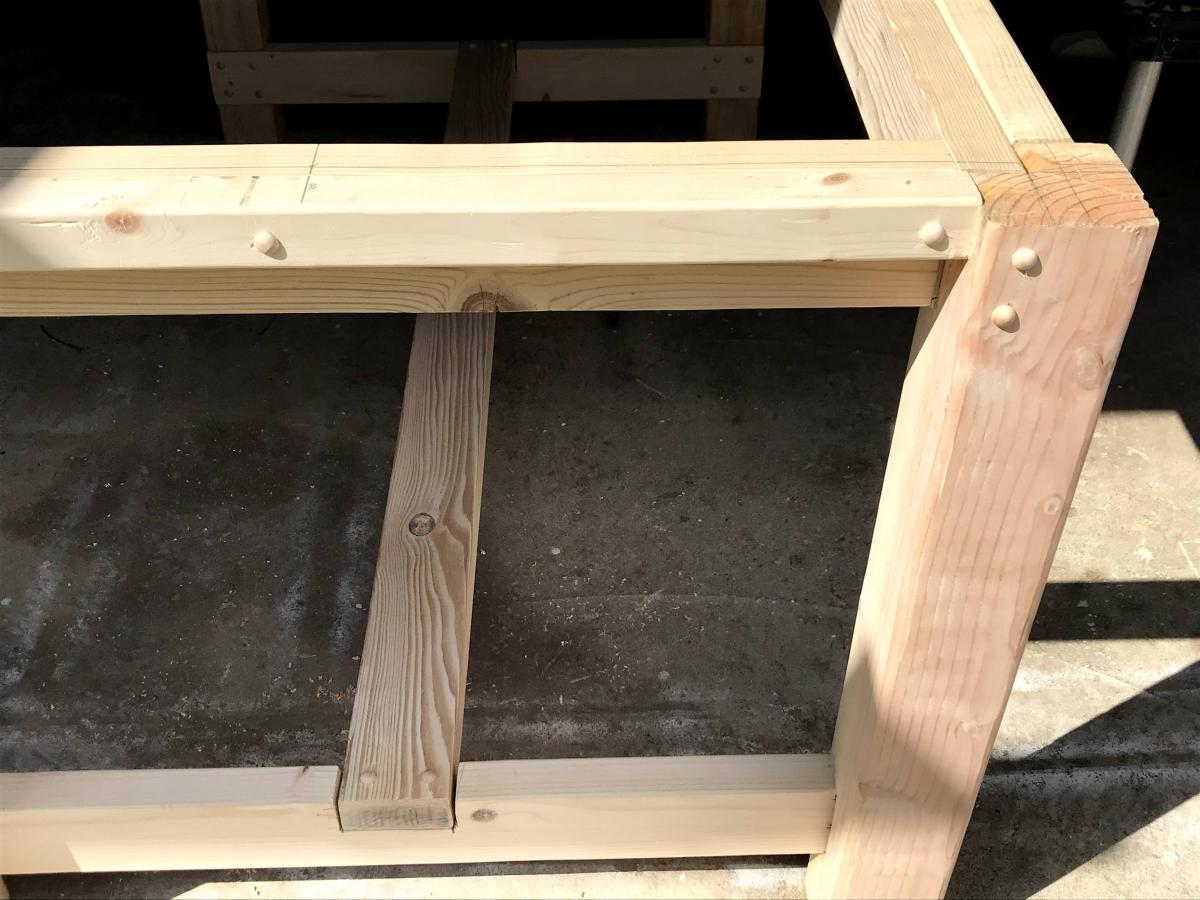
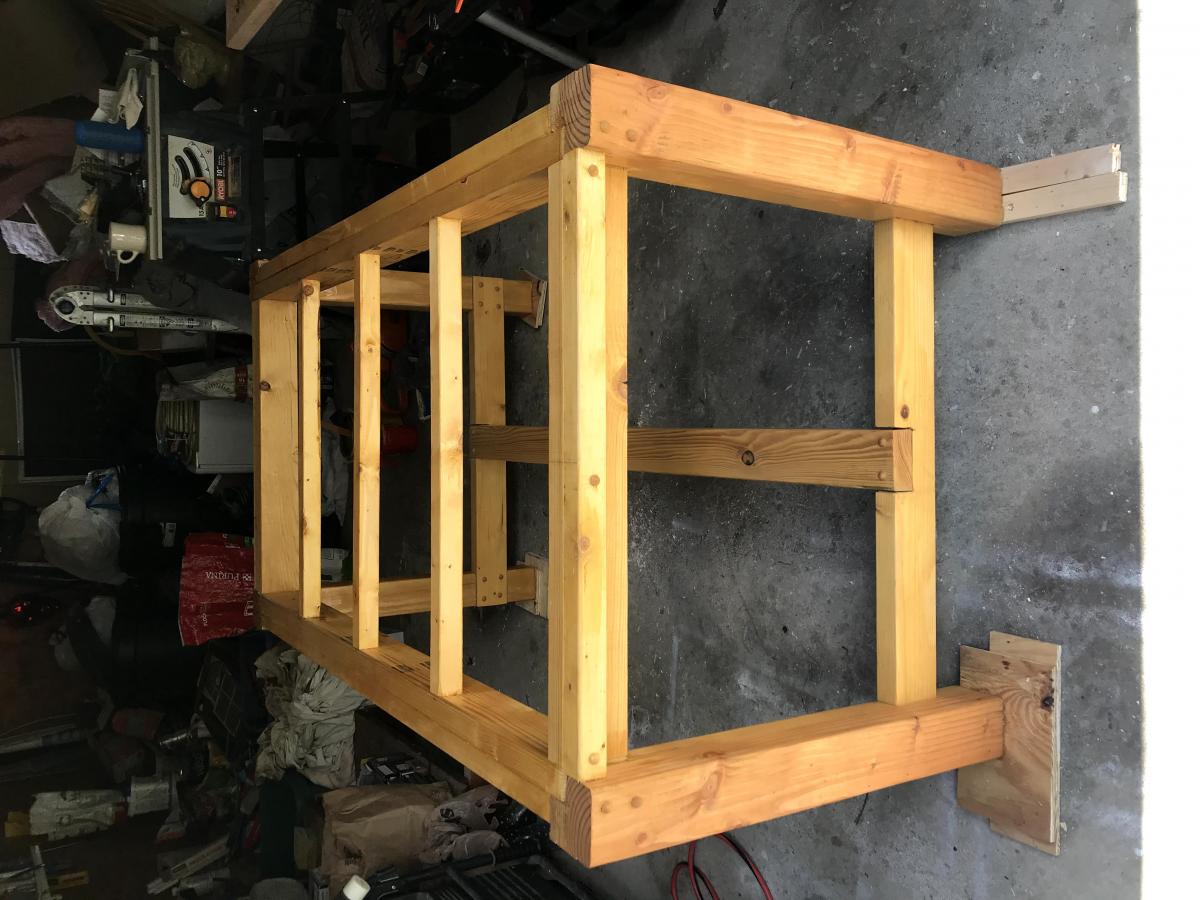
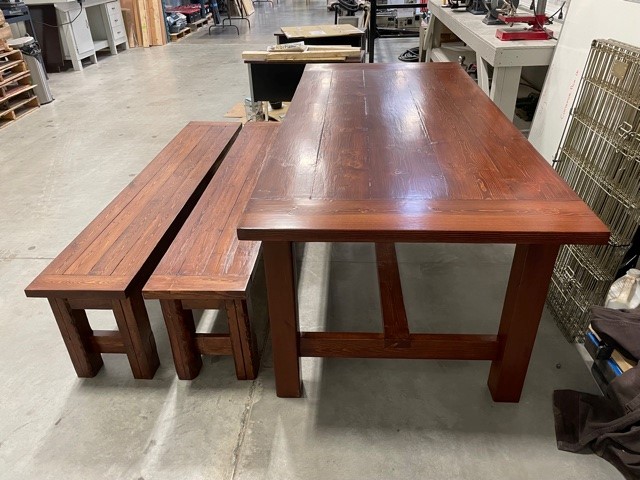
Farmhouse Table - No Pocket Holes Plan
The published plans for this were great. This was my first attempt at a project like this. I have always liked the idea of dining at a large table outdoors and the farmer's style is appealing to me. I adjusted the length to fit my deck, but also made a few changes for aesthetic purposes. I notched 4x4s rather than join a pair of 2x4s for the legs. Added caps to the screw holes rather than filler and used pegs to secure the top planks in addition to screws from the bottom. The frame and top were stained/sealed with Cabot Australian Timber Oil.
Built from Plan(s)
Estimated Cost
$200.00
Estimated Time Investment
Week Long Project (20 Hours or More)
Finish Used
Cabot Australian Timber Oil, Natural
Recommended Skill Level
Intermediate
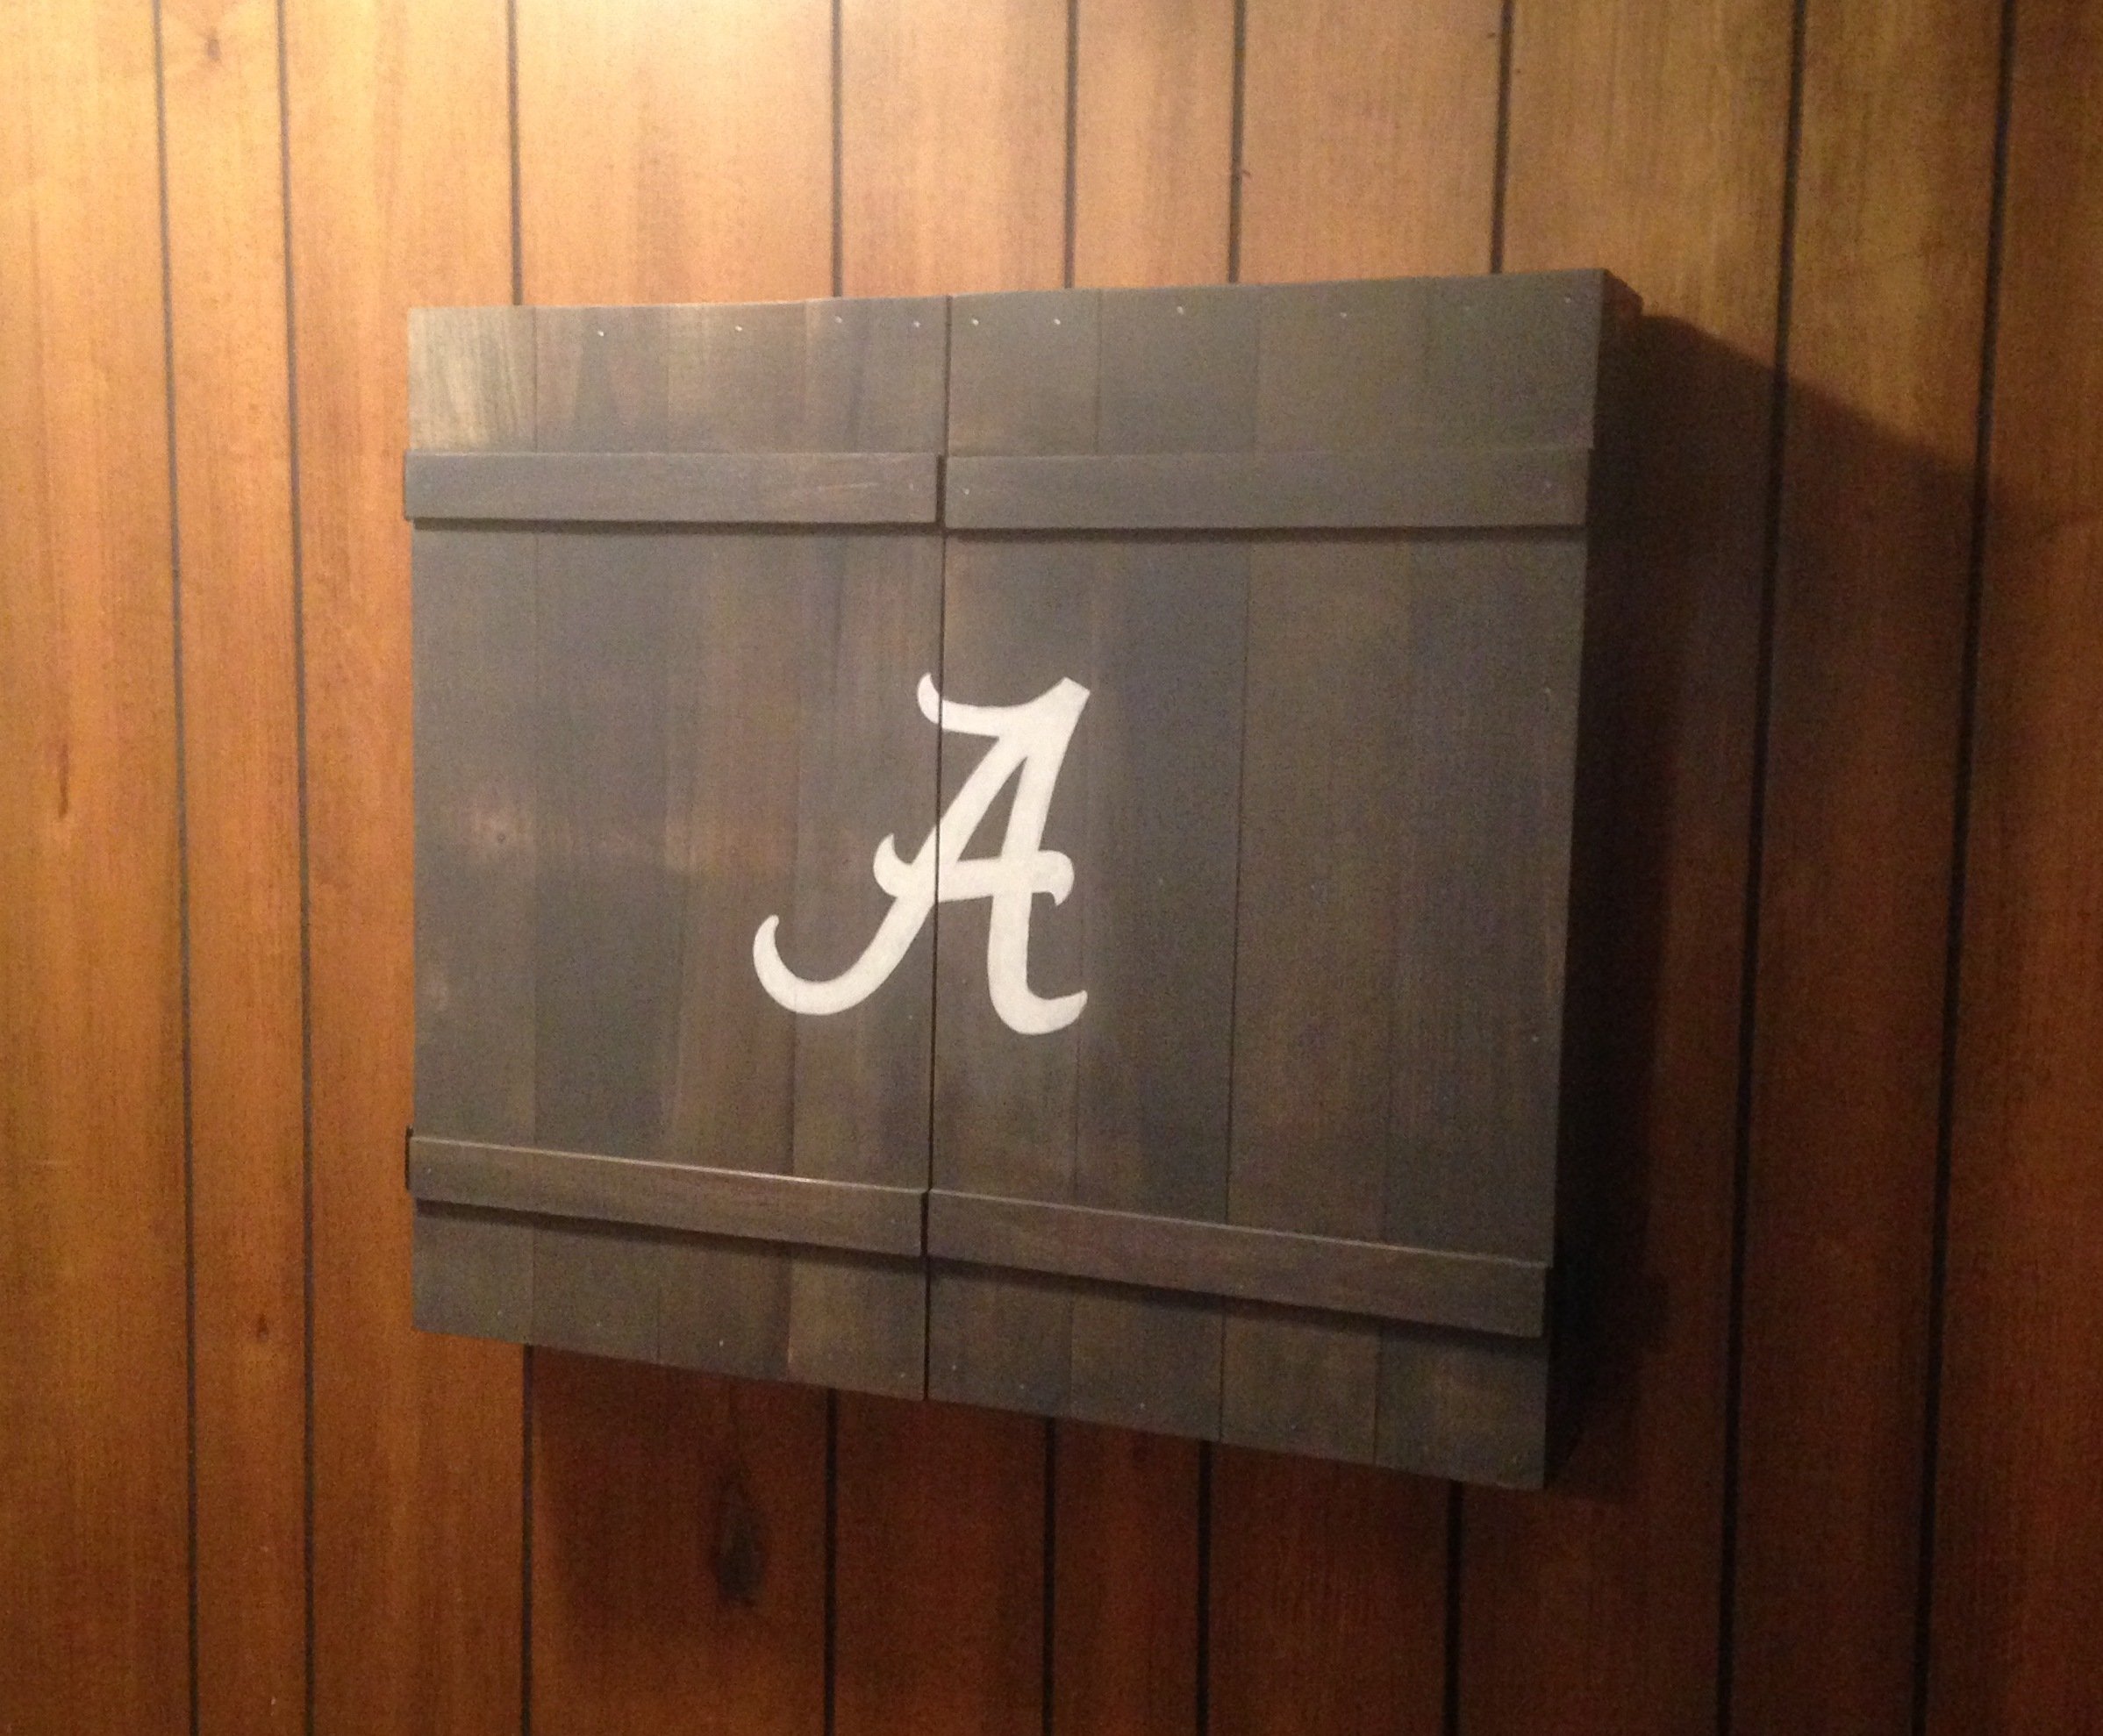
Dartboard Cabinet
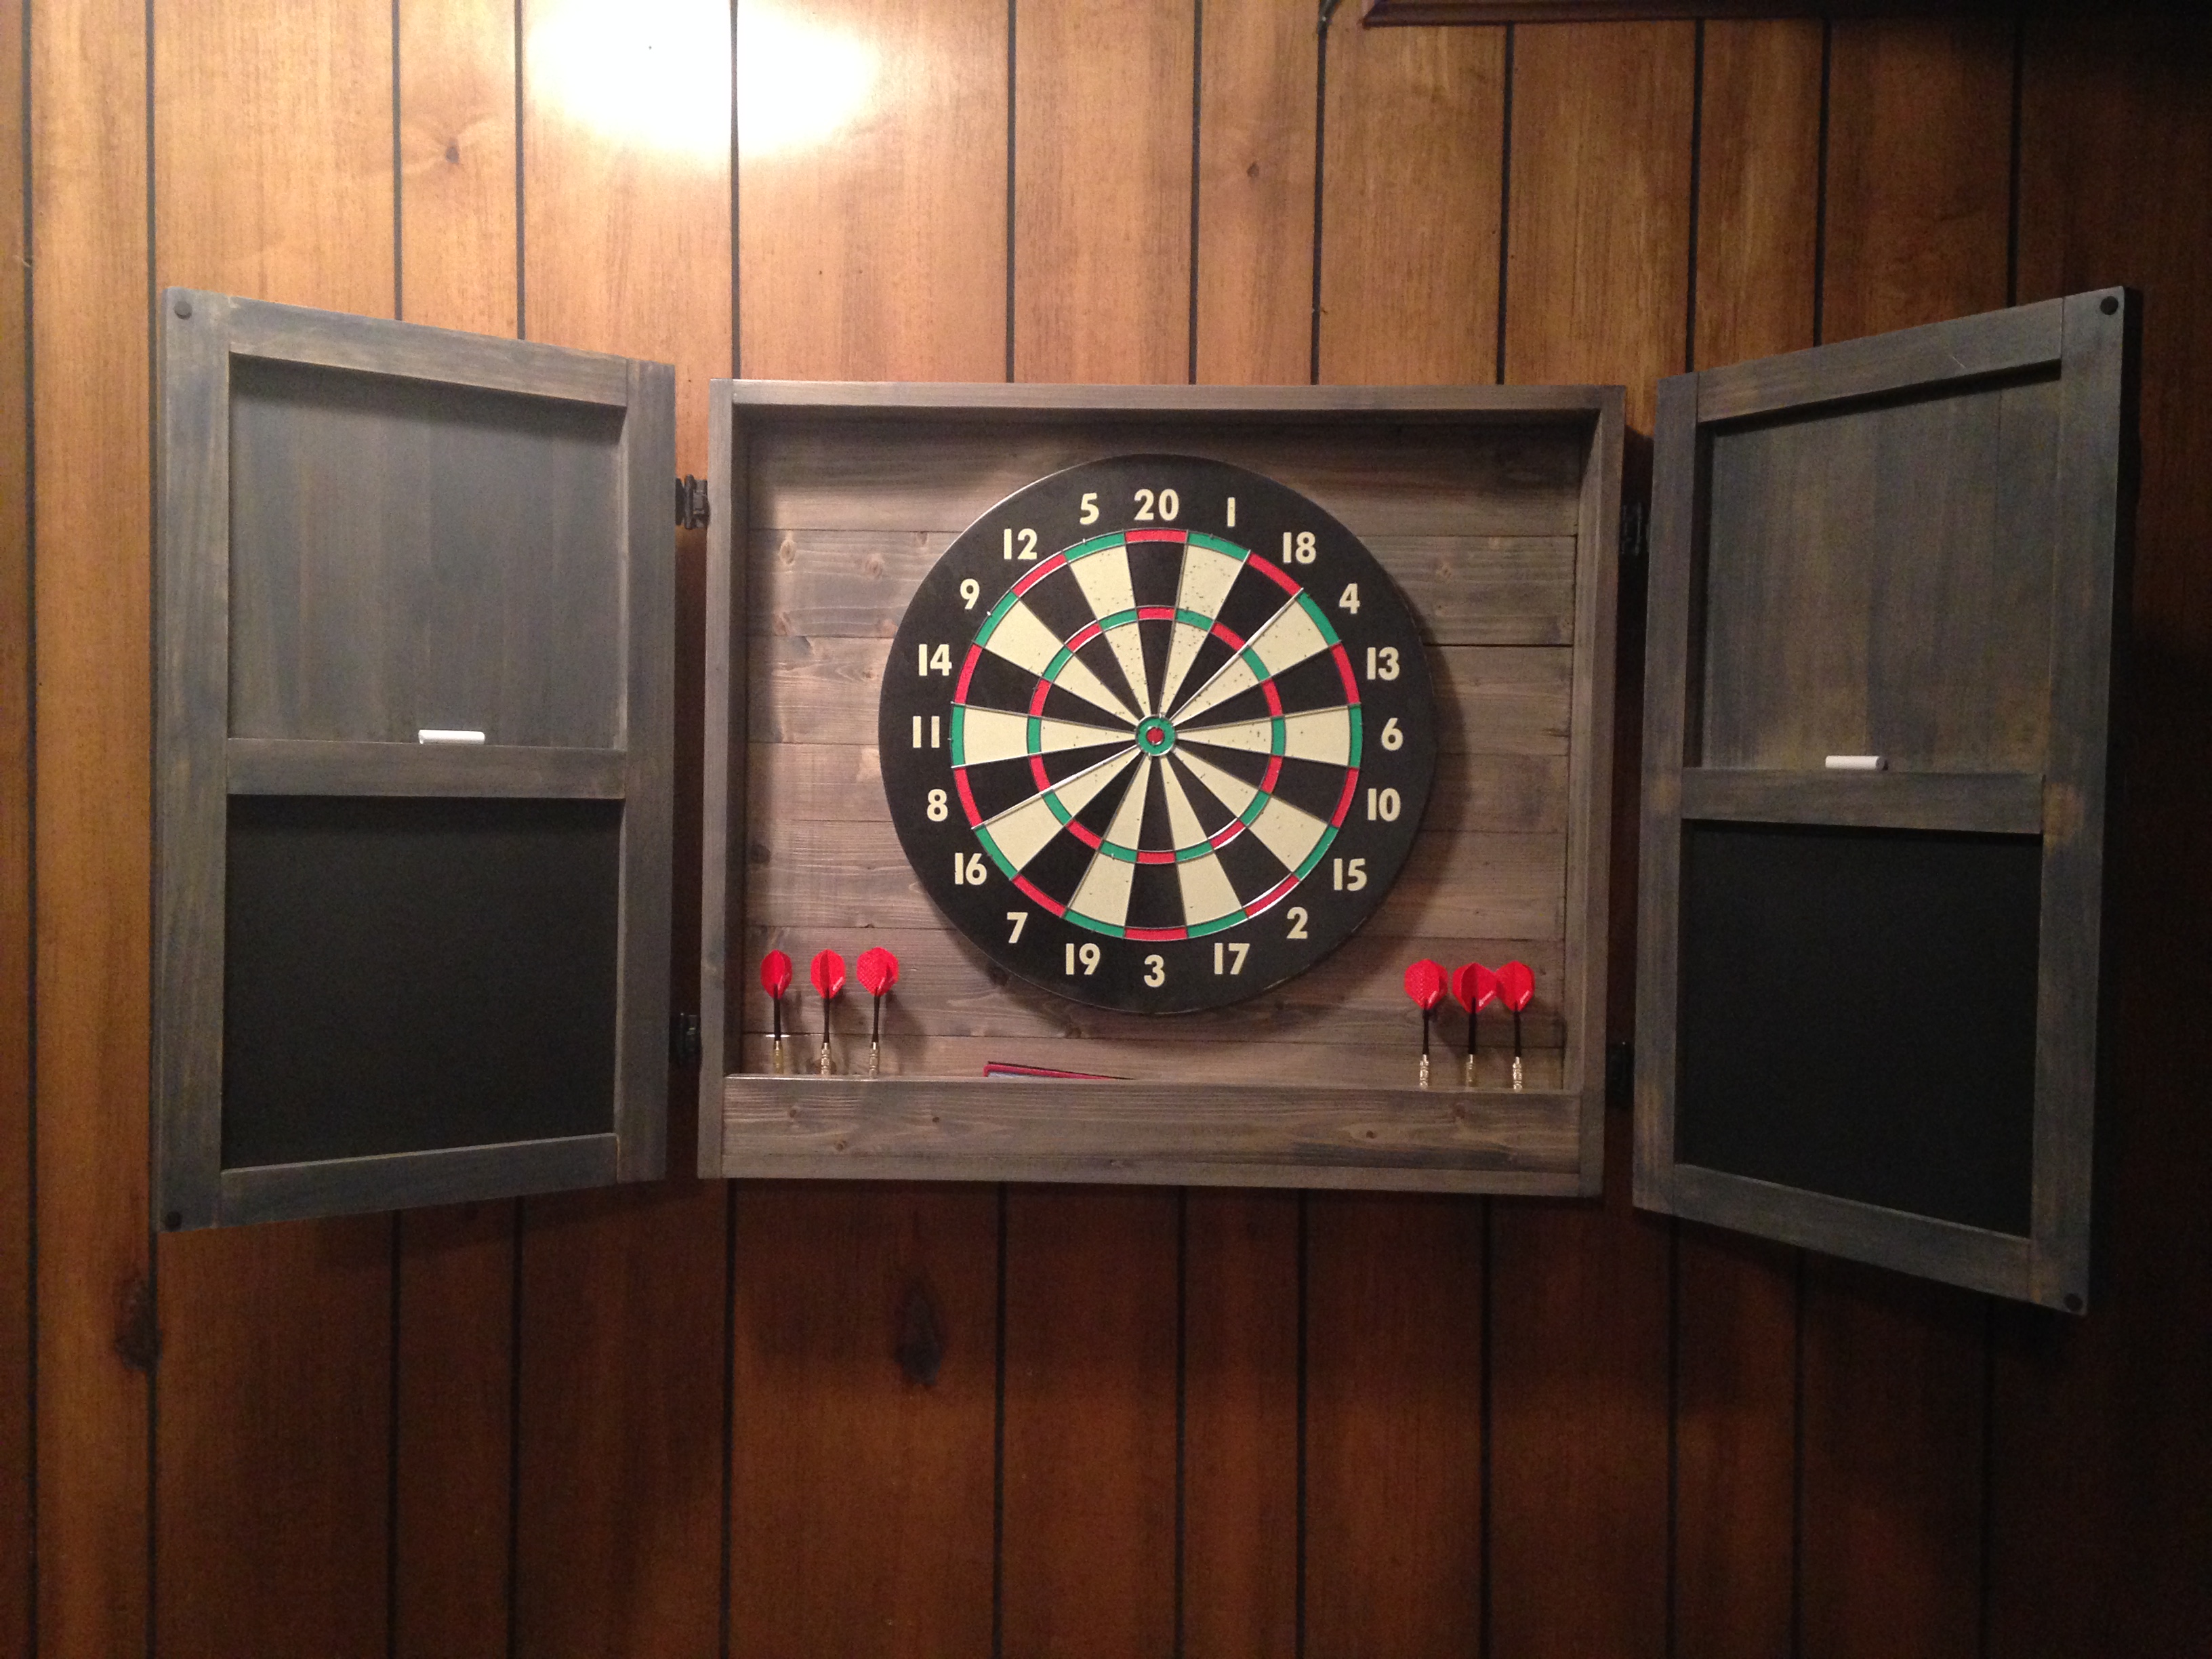
I had a big empty wall in my den/man cave, so I decided to build a dartboard cabinet instead of just hanging a dartboard on the wall. No plans for this, I just made it up as I went. Measured twice, sketched it out and cut as I went.
I use pine 1x4's for the frame and back. 1x3's for the accessory box, 1x2's for the door frame, and poplar strips for the doors and door braces. The darts are held by 6" long 2x2's with holes drilled.
Wood screws, finish nails, and small brads were used to hold everything together.
The chalkboards are simple MDF's cut and sprayed with chalkboard paint. Overlay hinges are used for the doors, and the dartbord is held on with screws from the back so it can be replaced when needed.
The Alabama A is hand-painted.
Estimated Time Investment
Day Project (6-9 Hours)
Finish Used
Minwax Classic Gray with light coats of spray glosscoat.
Recommended Skill Level
Beginner
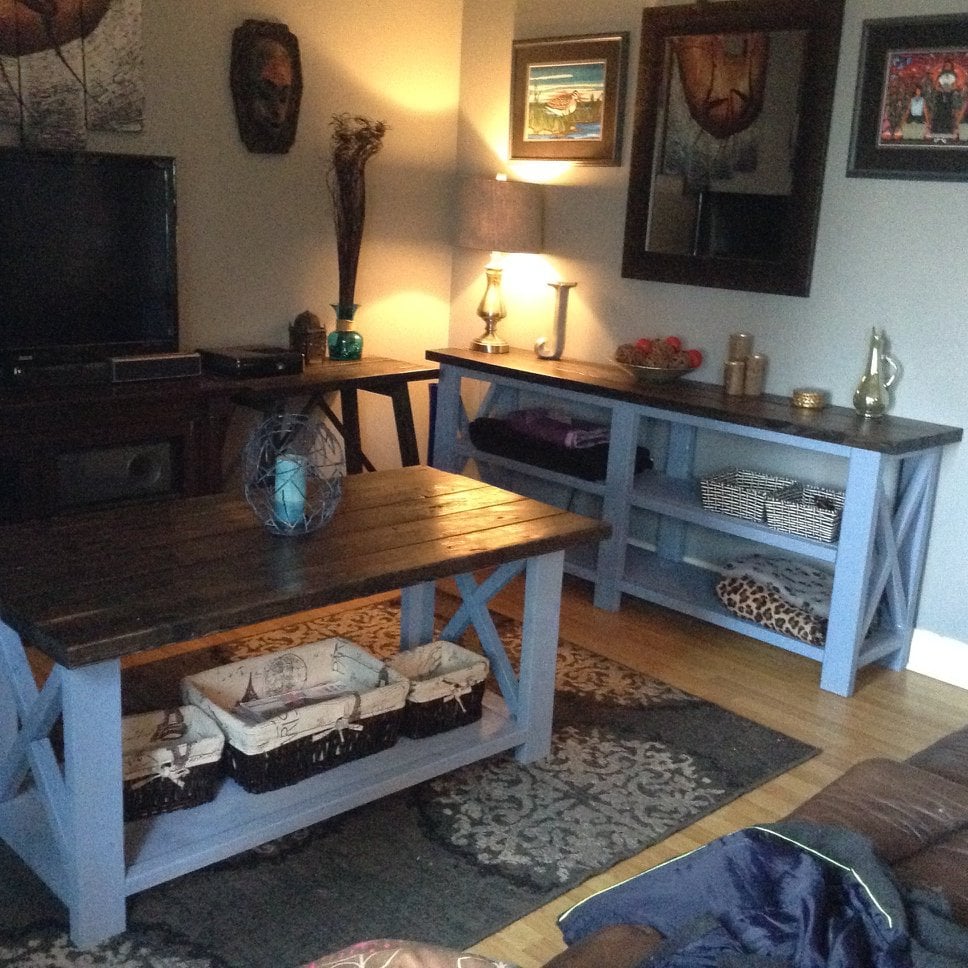
Rustic x coffee table and rustic x console table
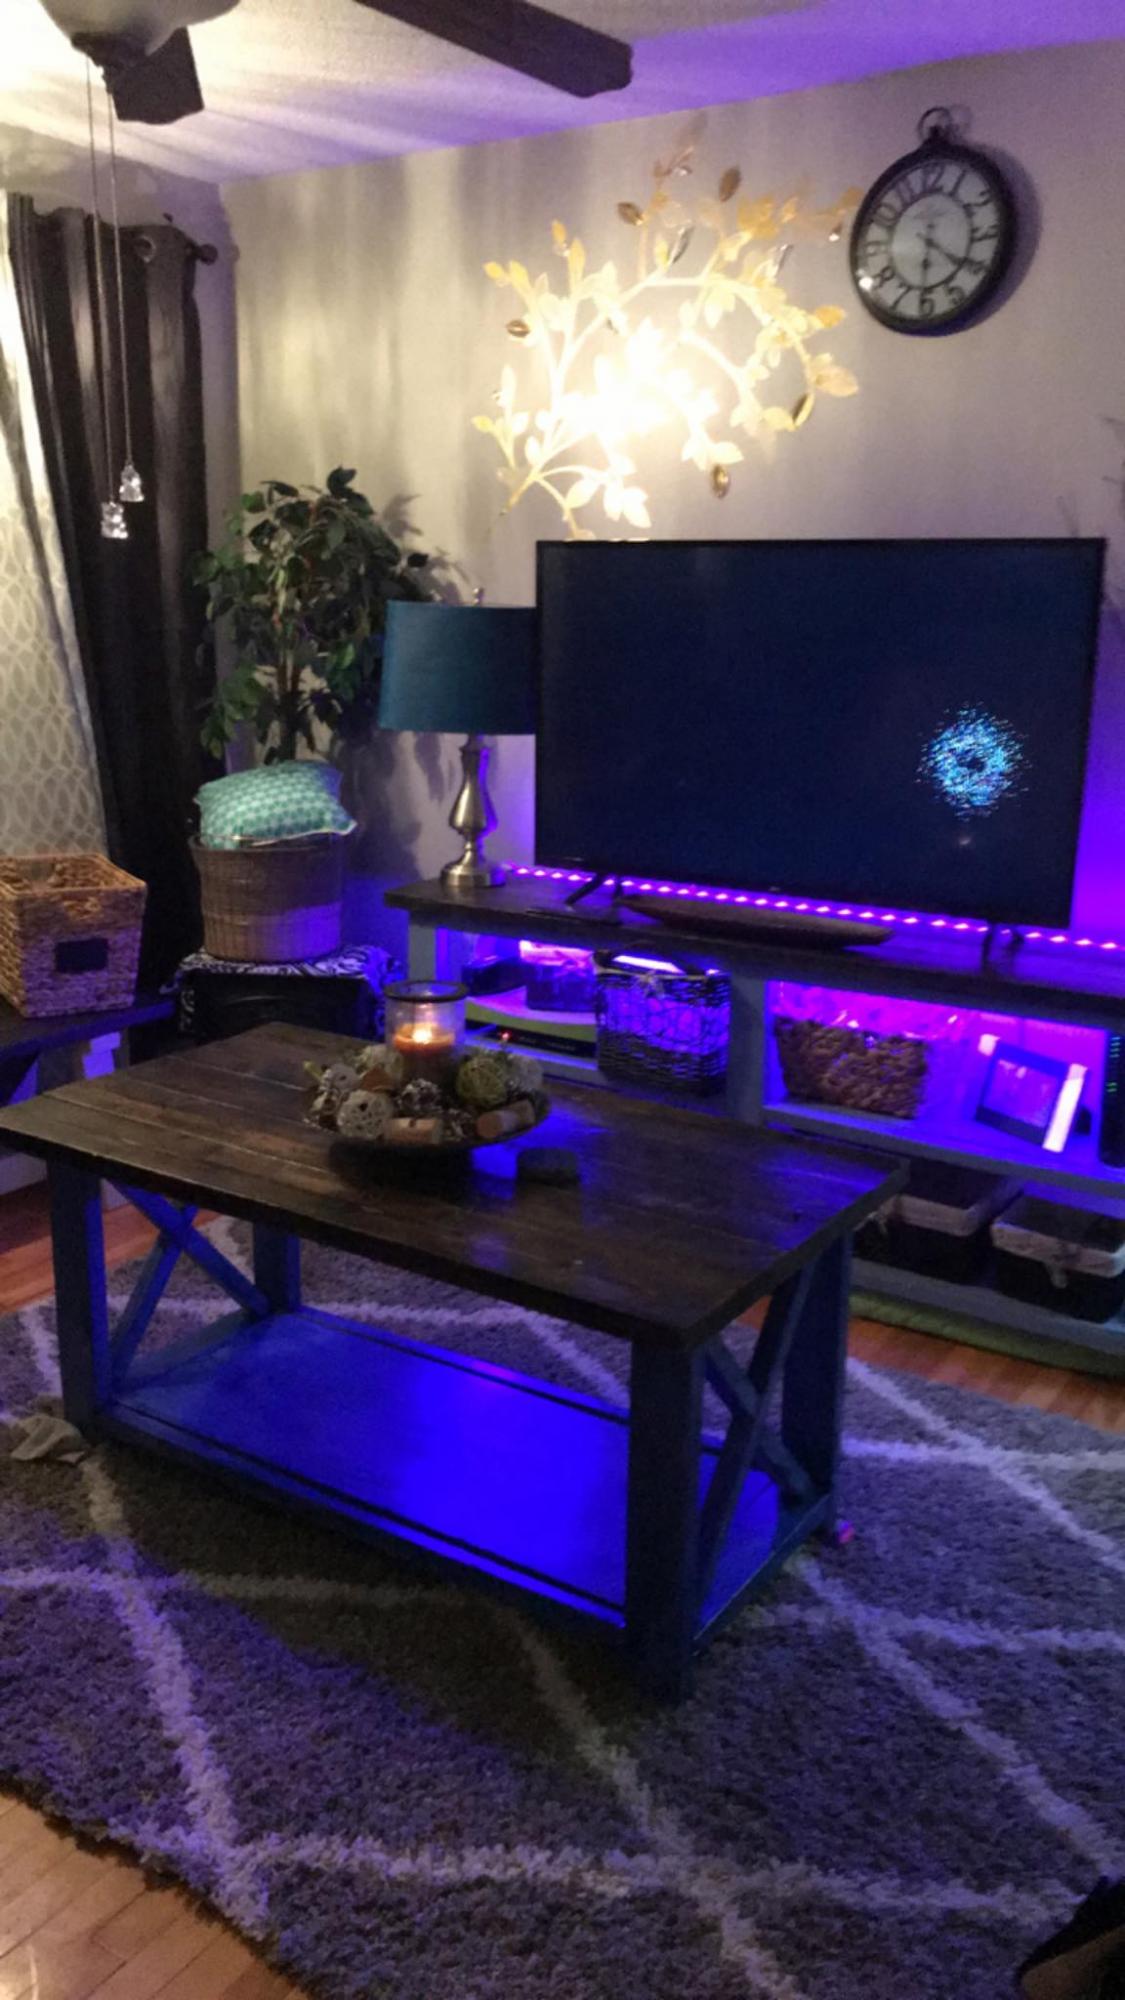
Made exactly as according to Ana Whites plans. Easy to build and very pretty once completed
Built from Plan(s)
Estimated Cost
180
Estimated Time Investment
Weekend Project (10-20 Hours)
Finish Used
Espresso with varathane and lacquer on top and base is a light blue stain
Recommended Skill Level
Beginner
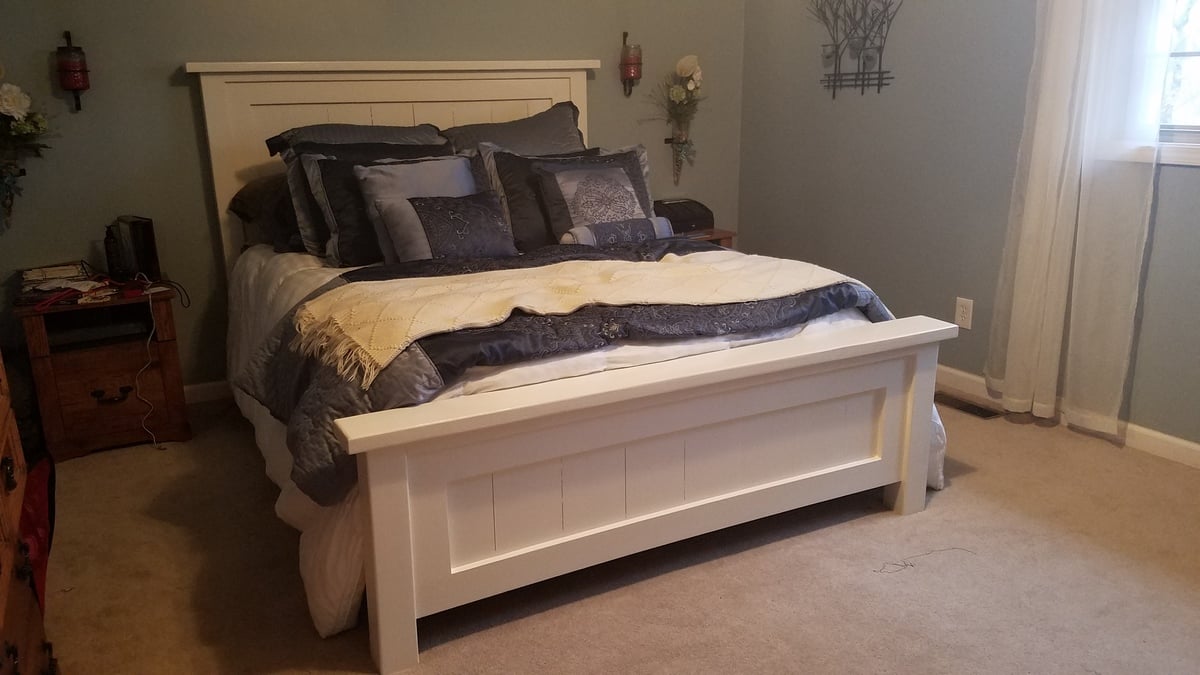
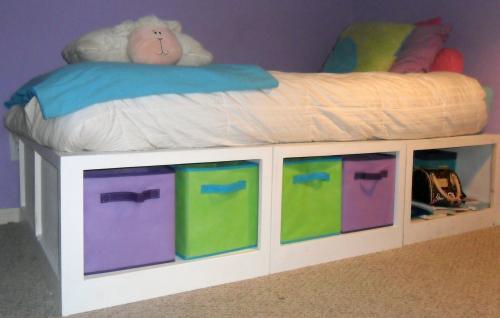
Chunky Leg Bed

I built this bed for my sister's new house. I used aspen for the visible boards and furring strips and regular lumber for the rest. The only change from the original plan is that I used 1x6s for the legs so it would sit higher off the floor.
I painted it with Rustoleum Painter's Touch Metallic in Oil Rubbed Bronze and I really like how it turned out. I didn't use any primer, so you can almost see the wood grain which gives it the illusion of being stained. It also has a metallic sheen in the right light, but it's very subtle. The only downside is the metallic gives it a rough texture. I contemplated putting a couple coats of poly over it, which I may do later.
*Picture was taken with her old full size mattress
Built from Plan(s)
Estimated Cost
~$200 including headboard
Estimated Time Investment
Day Project (6-9 Hours)
Finish Used
Rustoleum Painter's Touch Metallic in Oil Rubbed Bronze
Recommended Skill Level
Intermediate
Comments

Pull-out Shelves
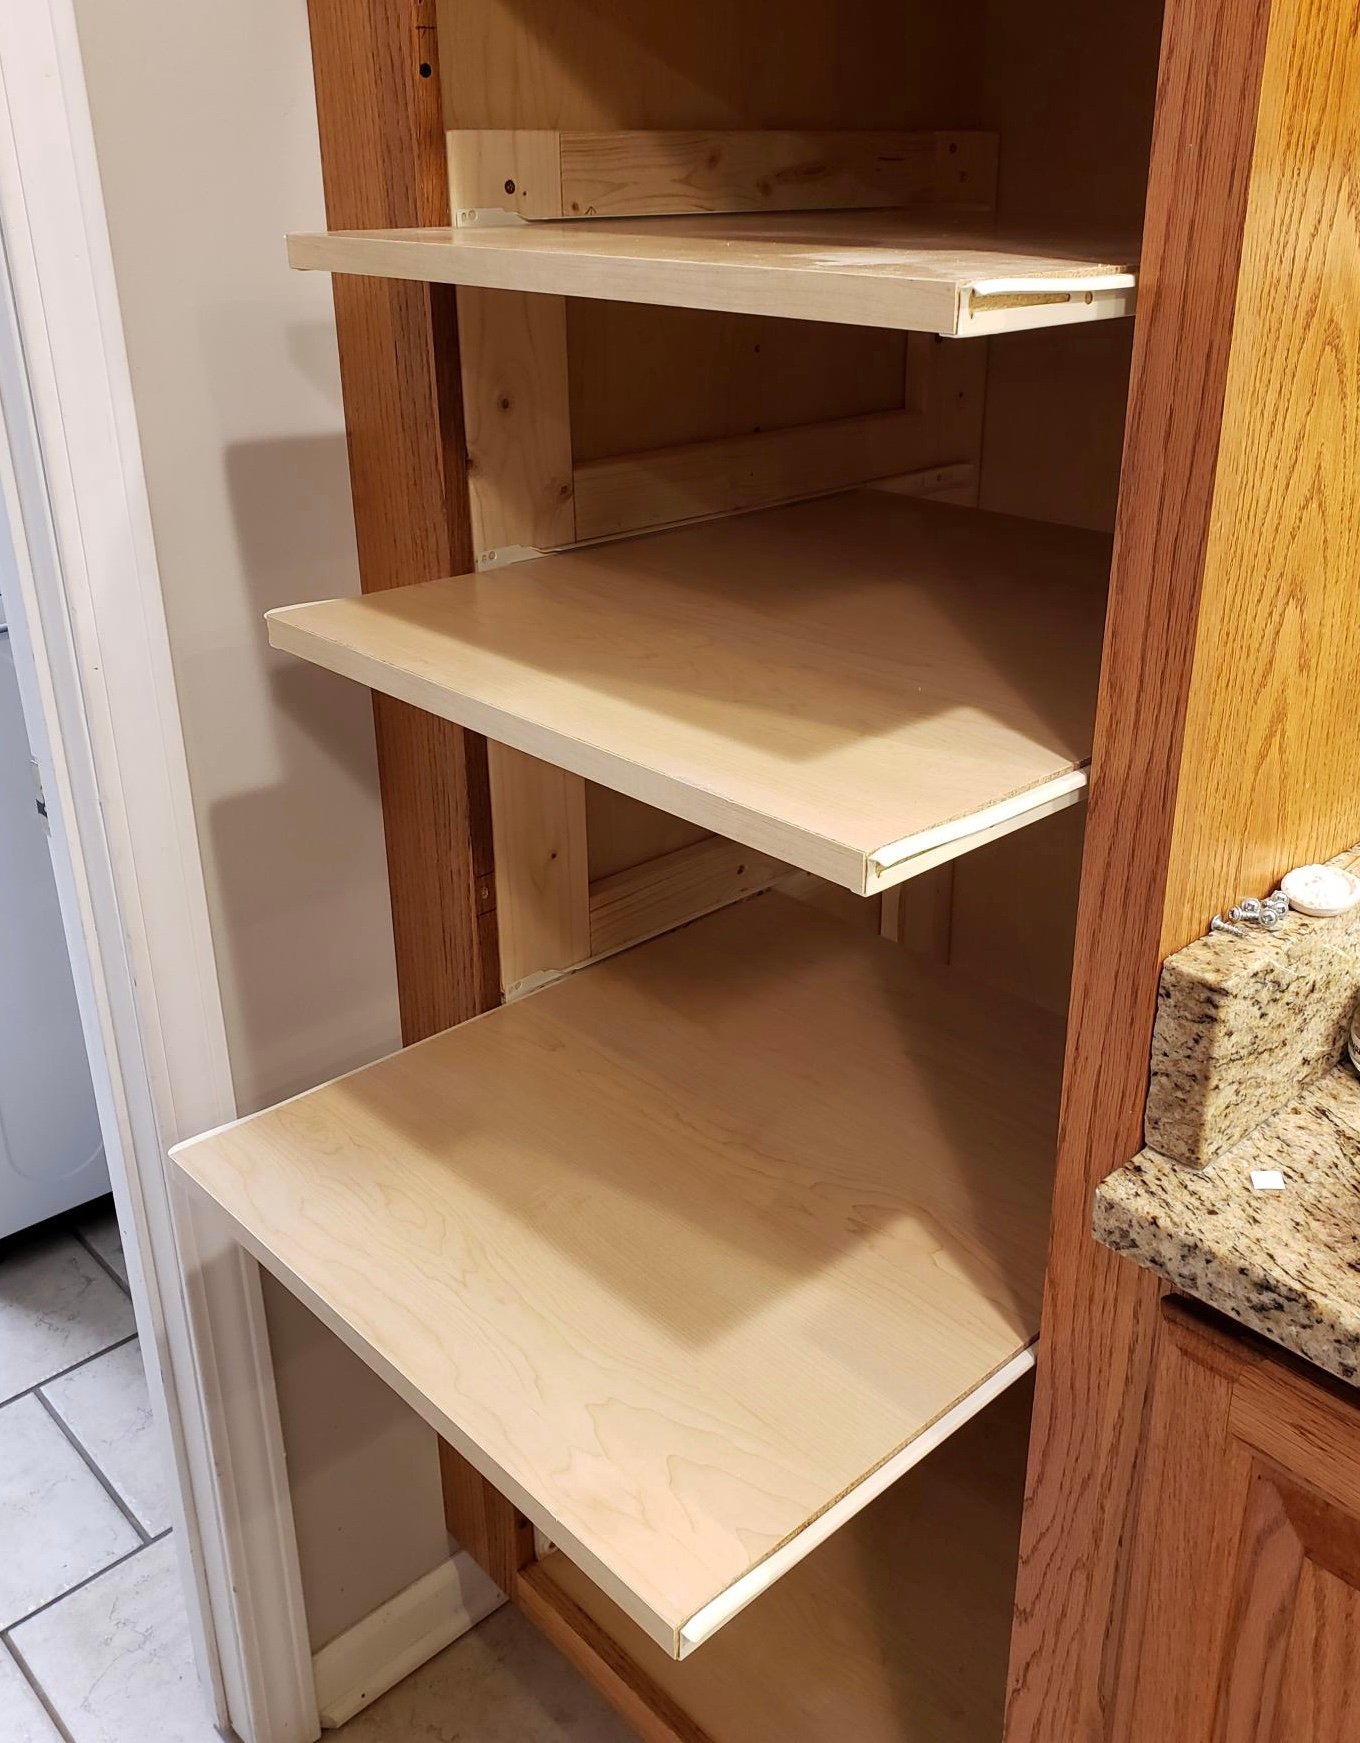
Stationary shelves are such a hassle, especially in a deep pantry cabinet! Now I can actually SEE the contents of my pantry cabinet. Thanks for the inspiration and tutorial to get it done!
Built from Plan(s)
Estimated Cost
$50 for 5 shelves & framing, new hinges.
Estimated Time Investment
Day Project (6-9 Hours)
Comments
Our.family.morgans
Thanks ANA for the plans!!
Built from Plan(s)
Estimated Time Investment
Week Long Project (20 Hours or More)
Finish Used
Primer & paint
Recommended Skill Level
Beginner
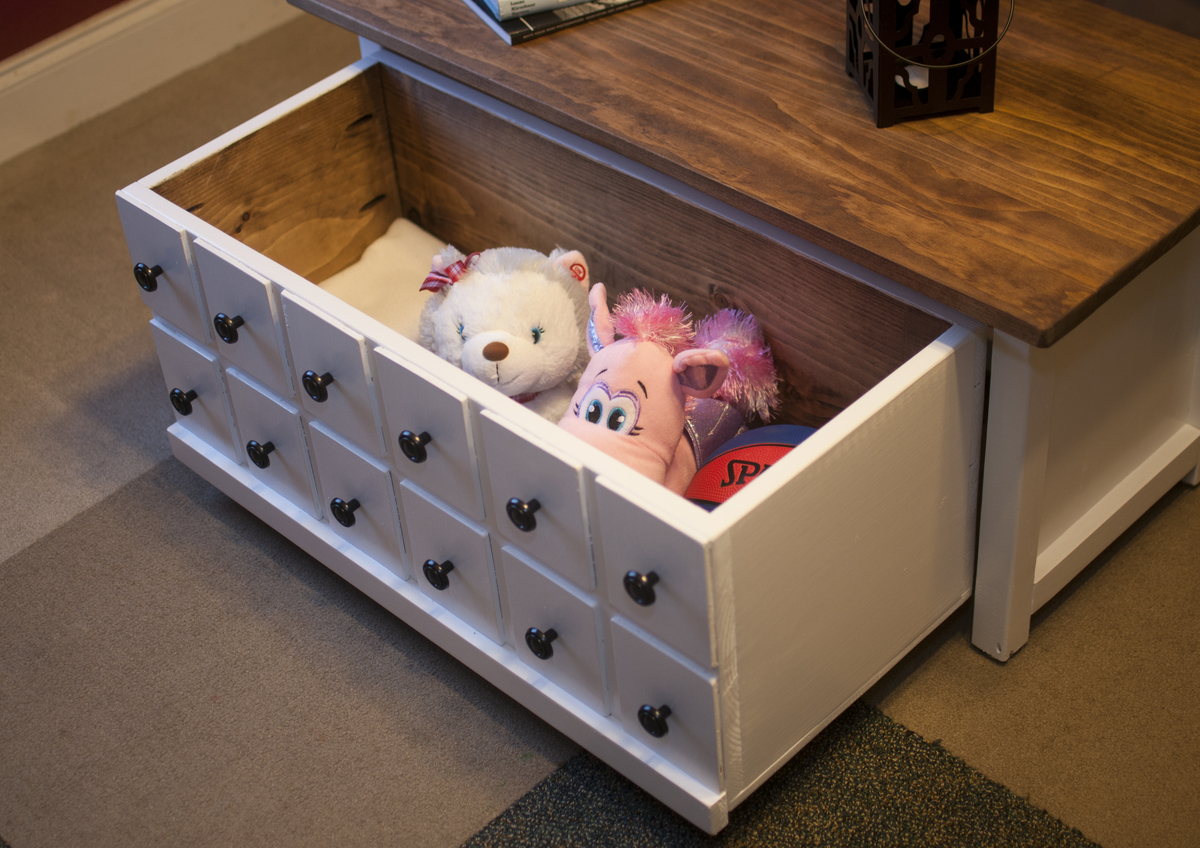
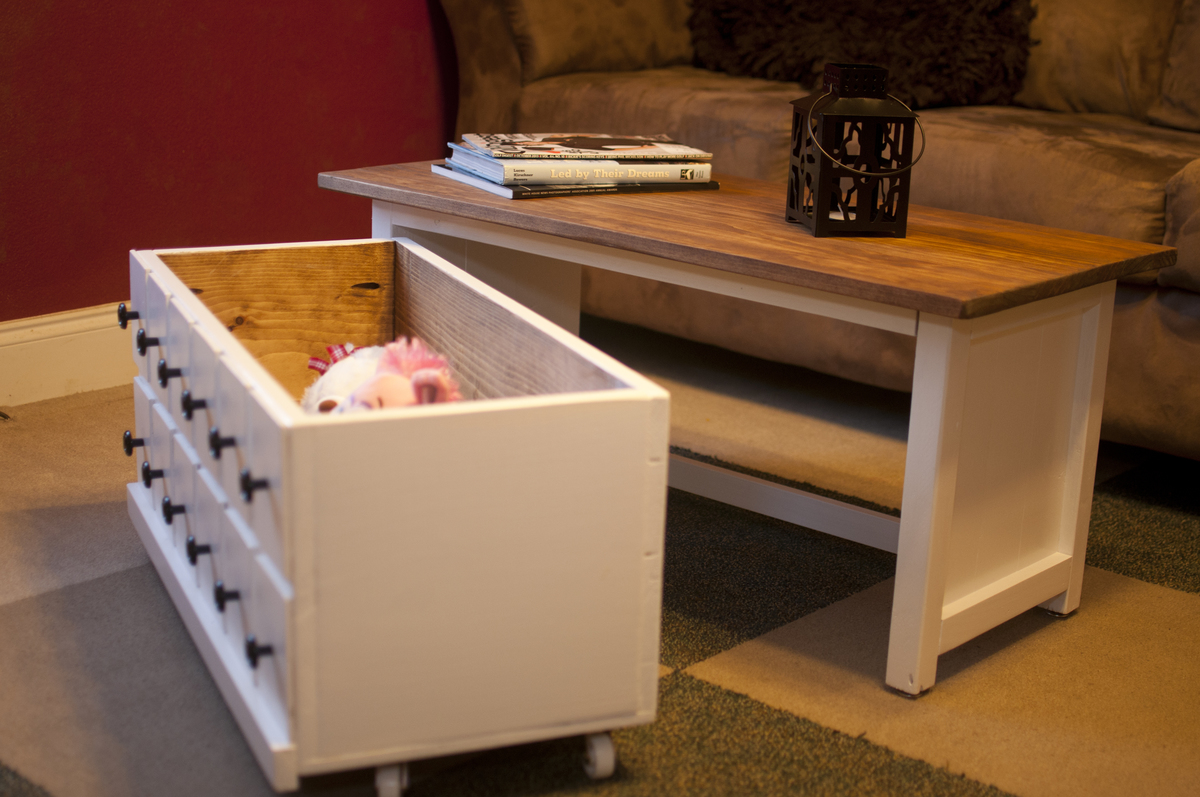
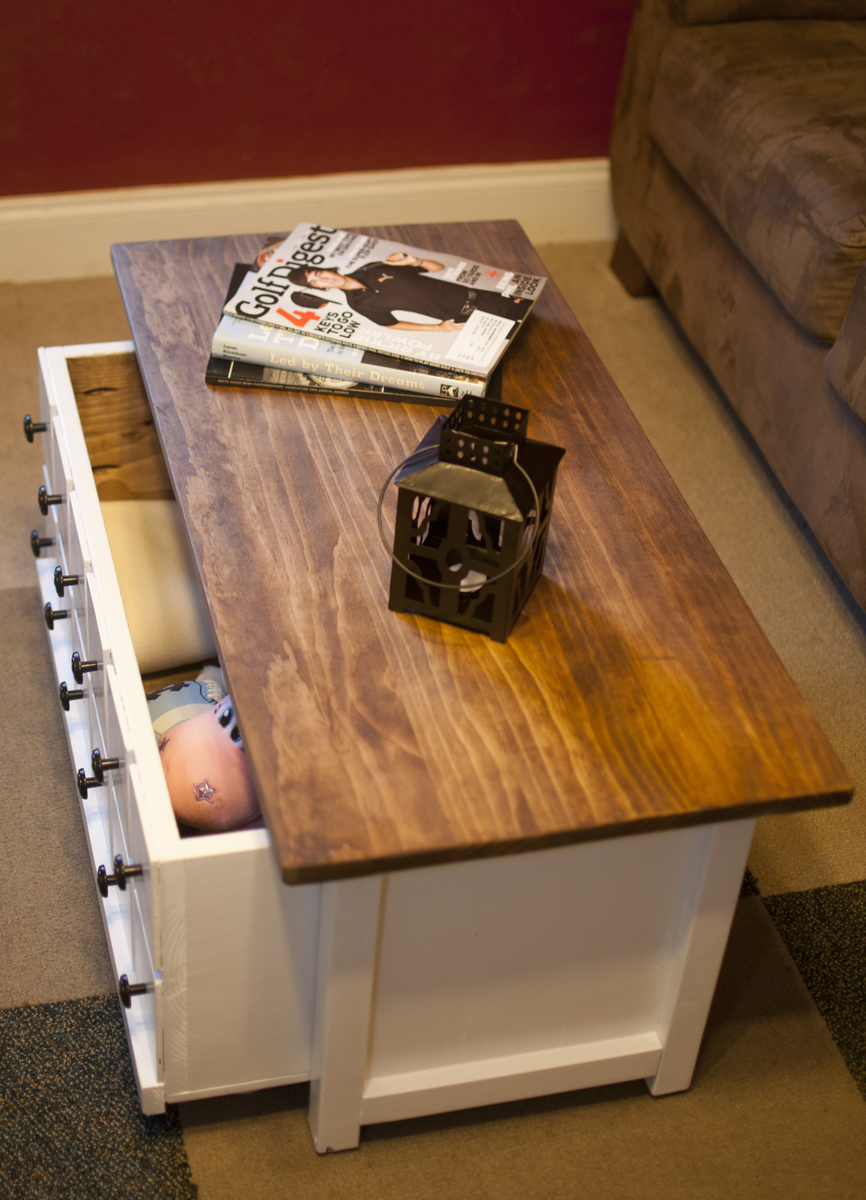
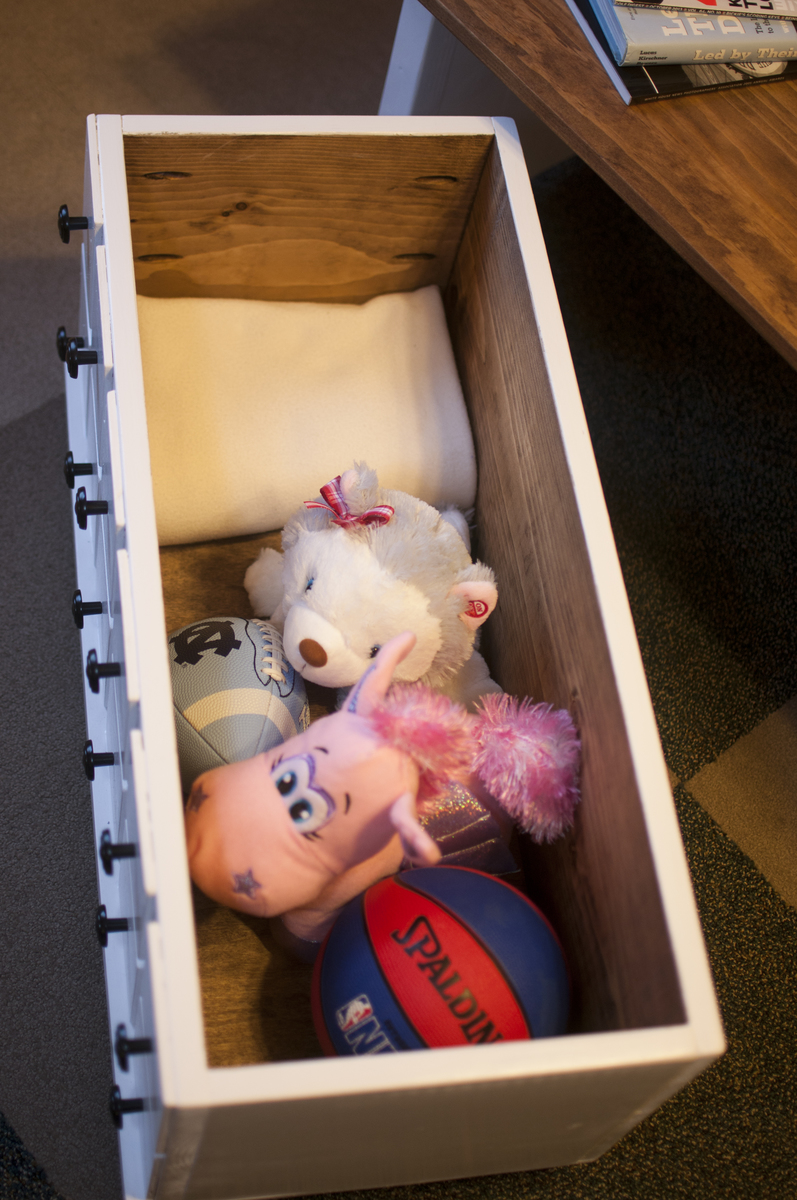
Apothecary coffee table with toy trundle
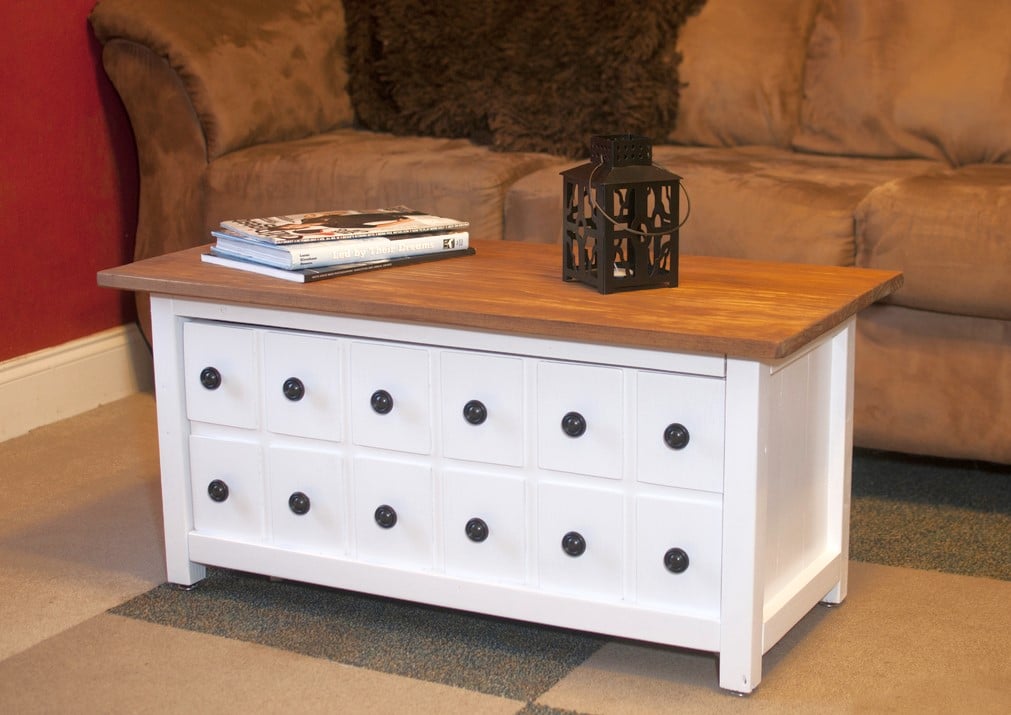
I found the original plans and LOVED them, but my house is tiny, so I was forced to re-work the plans to fit my space! This is a good bit smaller, but every bit as awesome! ;) I decided not to distress it, but I may down the road if it starts to scuff up! ;) Project took about a week long including finishing time. Actual build time was 9-10 hours over two days.

Built from Plan(s)
Estimated Cost
Total cost was $60-75
Estimated Time Investment
Week Long Project (20 Hours or More)
Finish Used
Finished the top and inside of the box with Minwax stain and the outside with Kilz primer and latex paint.
Recommended Skill Level
Beginner
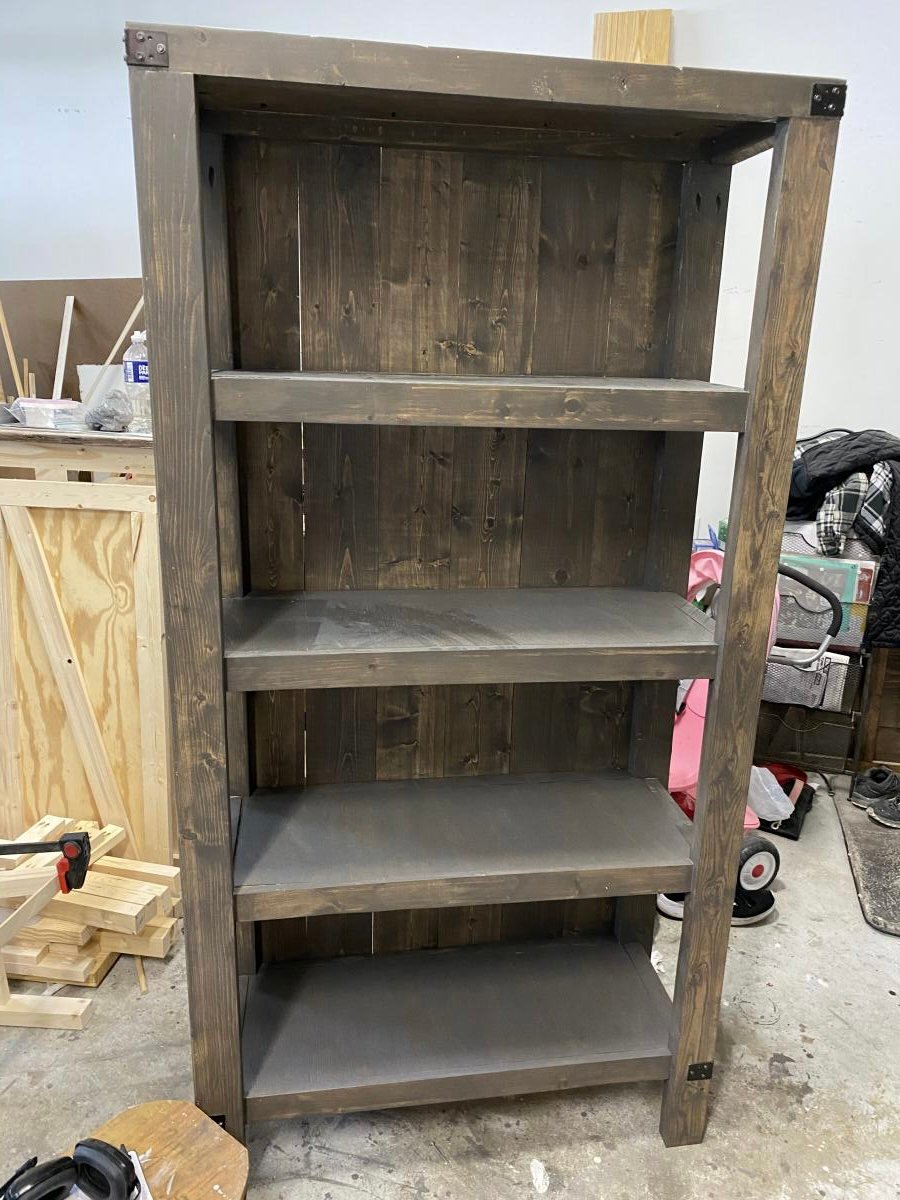
Henry bookshelf

My husband has been hounding me to build him a bookshelf for his office. I actually used wood that I already had in my garage. The next time I build it, I will follow it exactly... I used plywood on the shelves and planks on the back... next time, I will do the opposite, but I really love it!!

Built from Plan(s)
Estimated Cost
Less than 100
Estimated Time Investment
Afternoon Project (3-6 Hours)
Recommended Skill Level
Beginner
Comments
Fri, 03/19/2021 - 09:31
Great finish and details!
The brackets add that farmhouse industrial feel, great job!
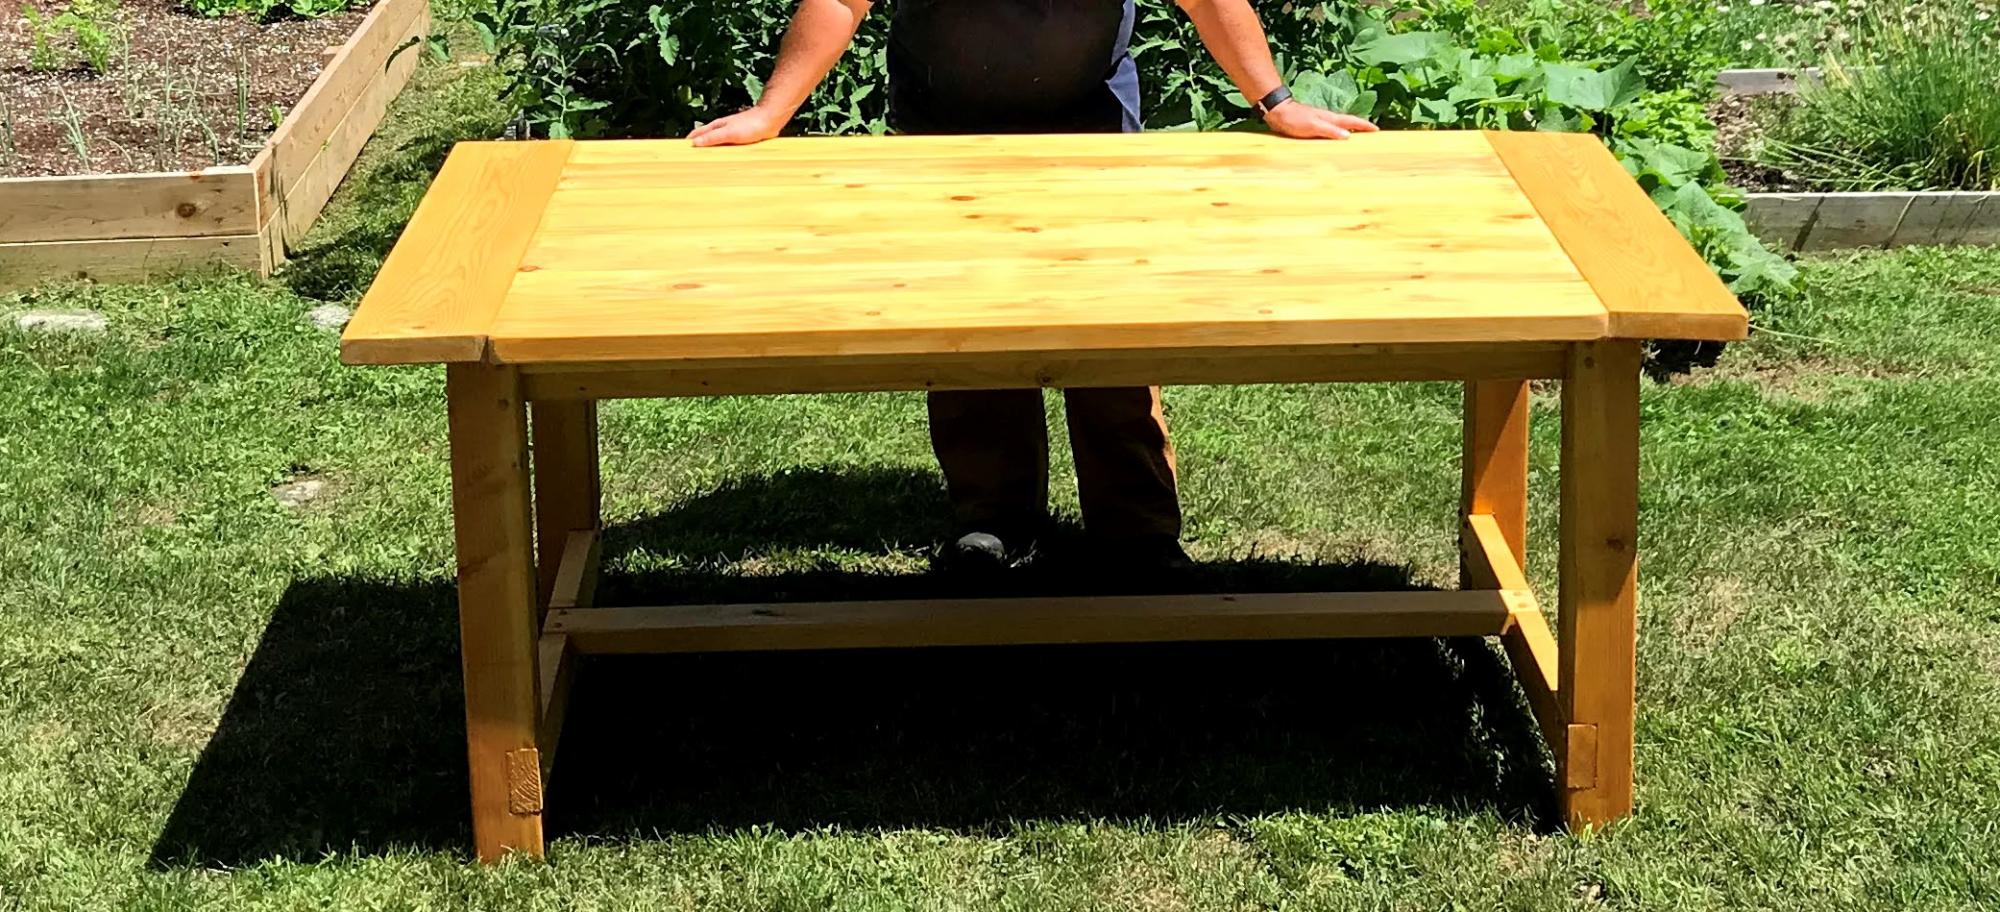
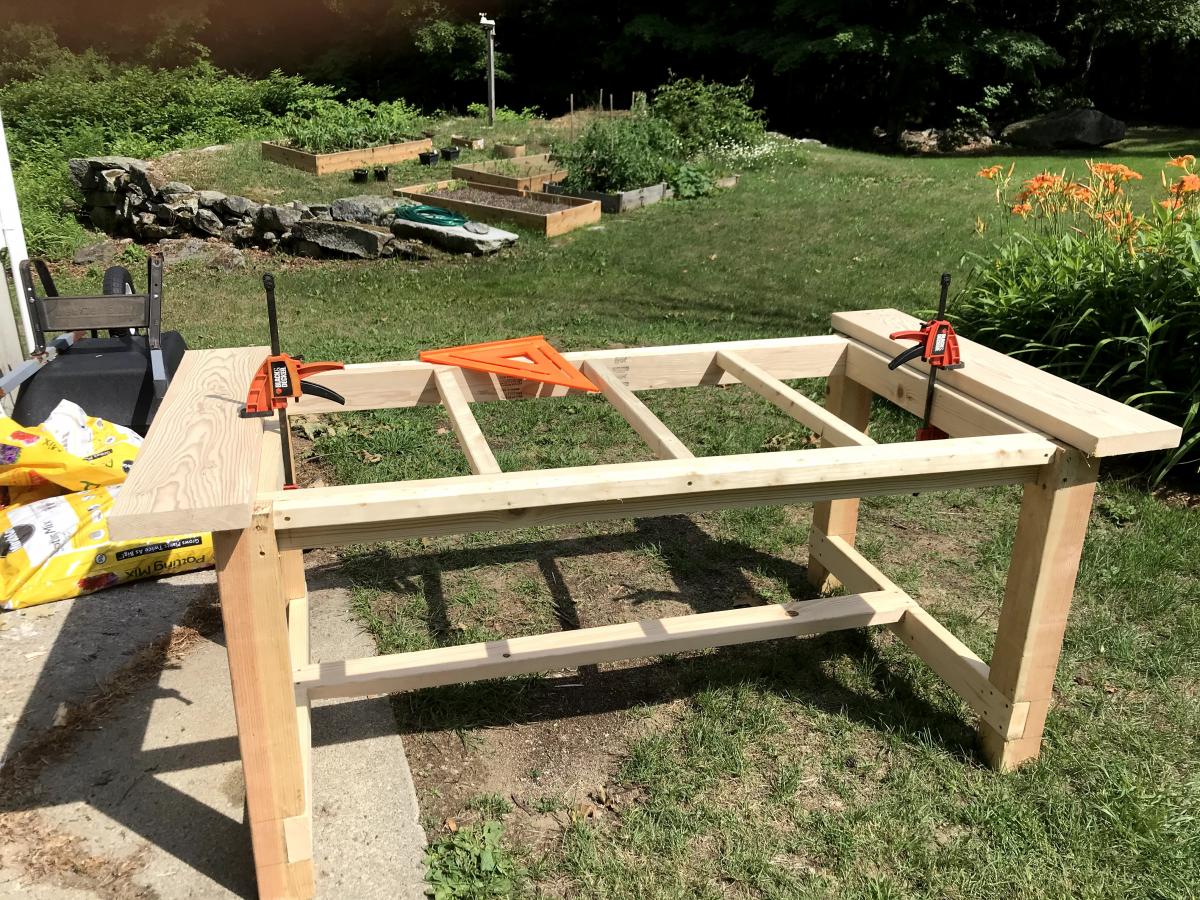
My first big woodworking project - a farmhouse table!
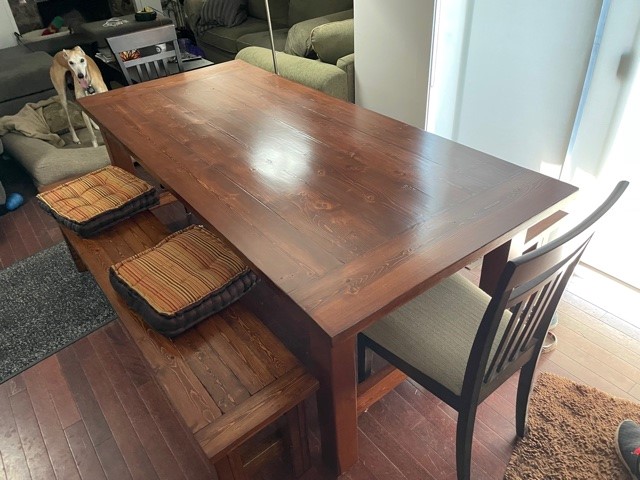
I used the no pocket hole plans and as per someone's great recommendation - I moved the stretcher supports to the inside of the legs to give a little more room when the chair is pulled out and someone is sitting on an end. I also made a planer tool for my table saw so I could square off the edges of the table top boards and the bench seat boards. The boards then sat closer to each other so I don't have places for crumbs to fall down between the boards. I did have a couple of sections that didn't quite match up and used resin to fill those areas after staining the boards. I then used a lacquer finish (Watco clear satin lacquer). The stain is Minwax English Chestnut but I did use the Minwax wood conditioner prior to the stain for a more even uptake of the stain. All great recommendations from folks on this site!

Comments
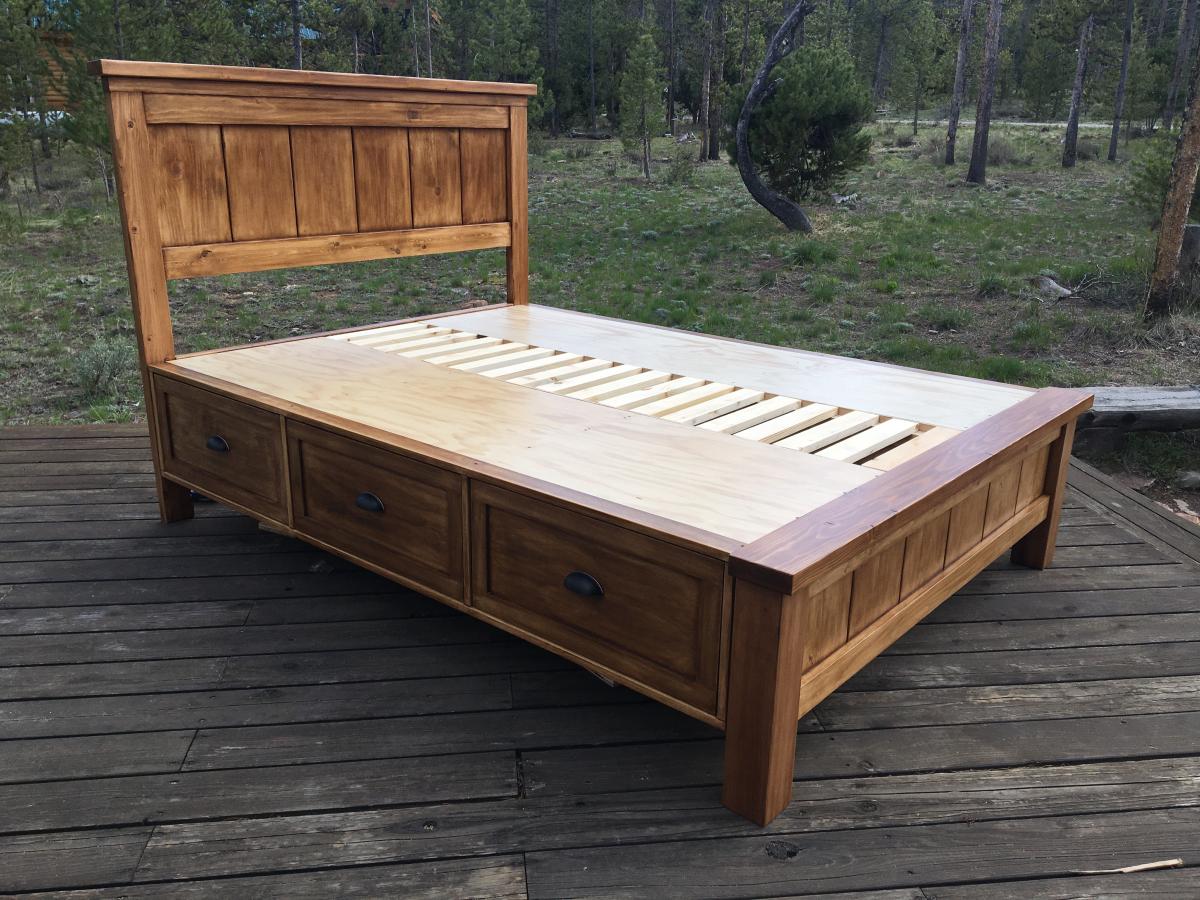
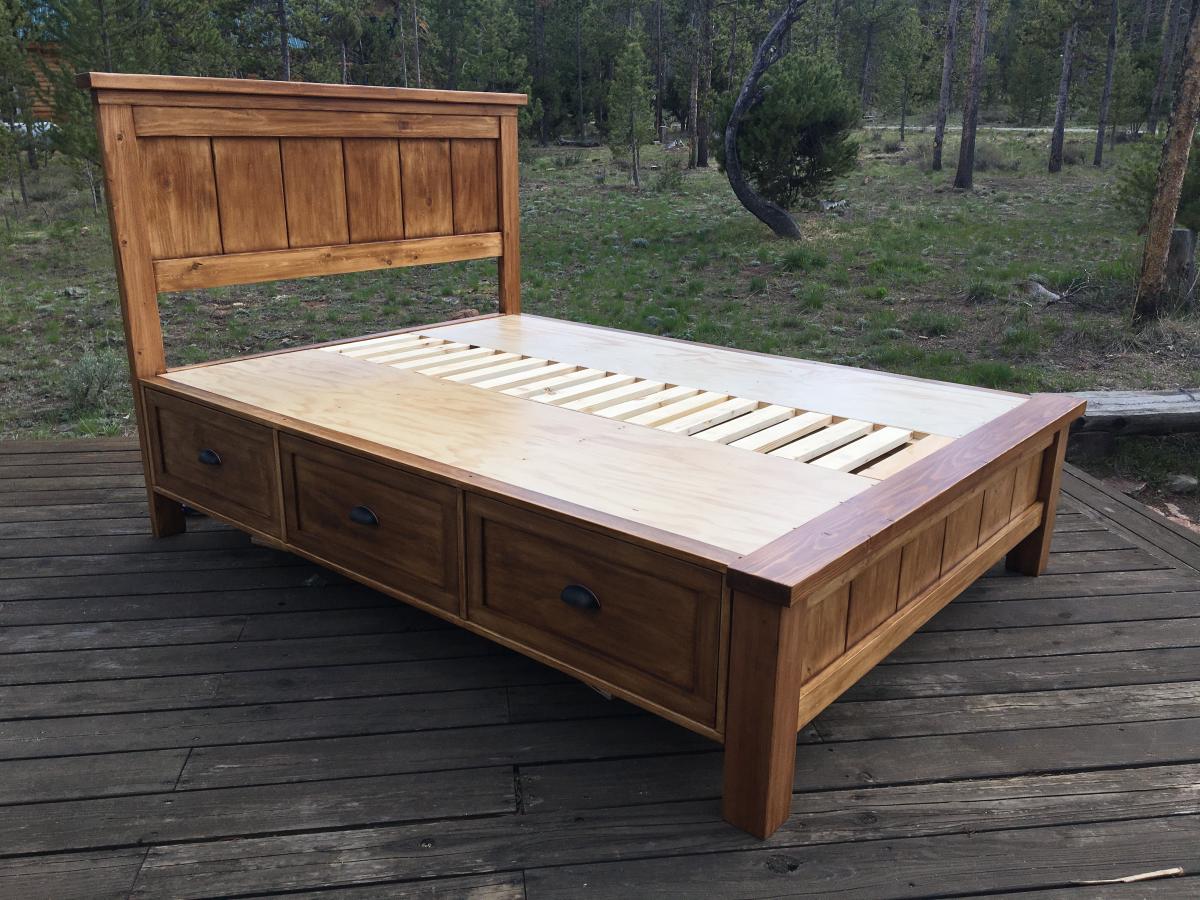
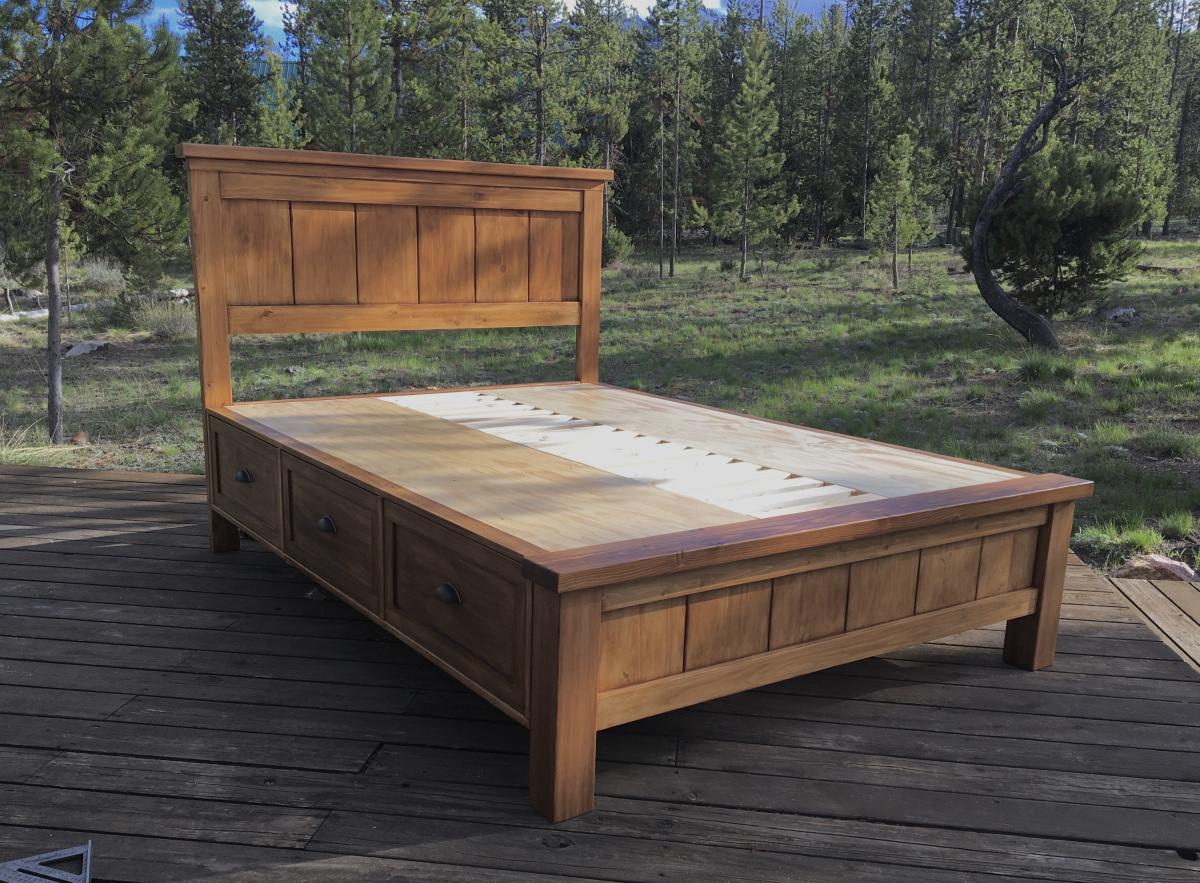
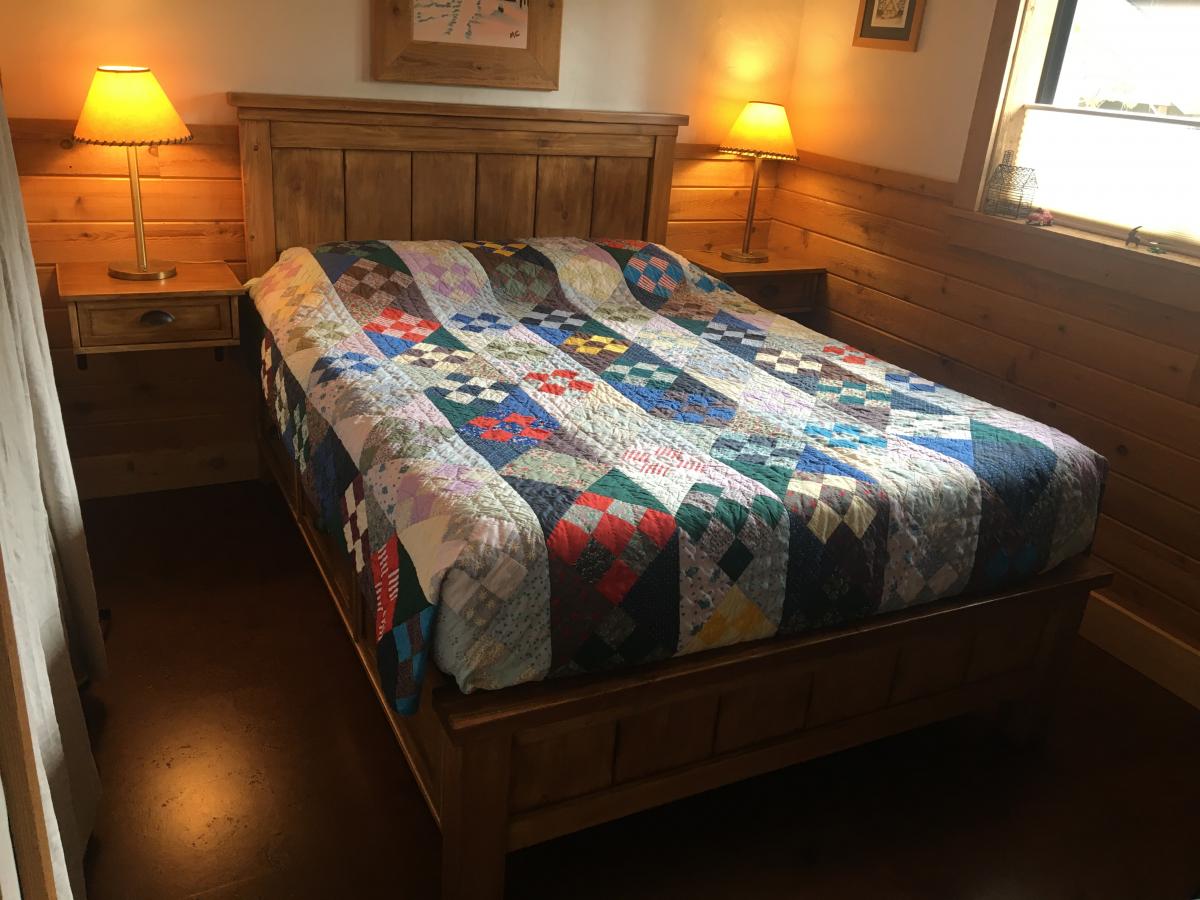
Farmhouse Storage bed with platform modification
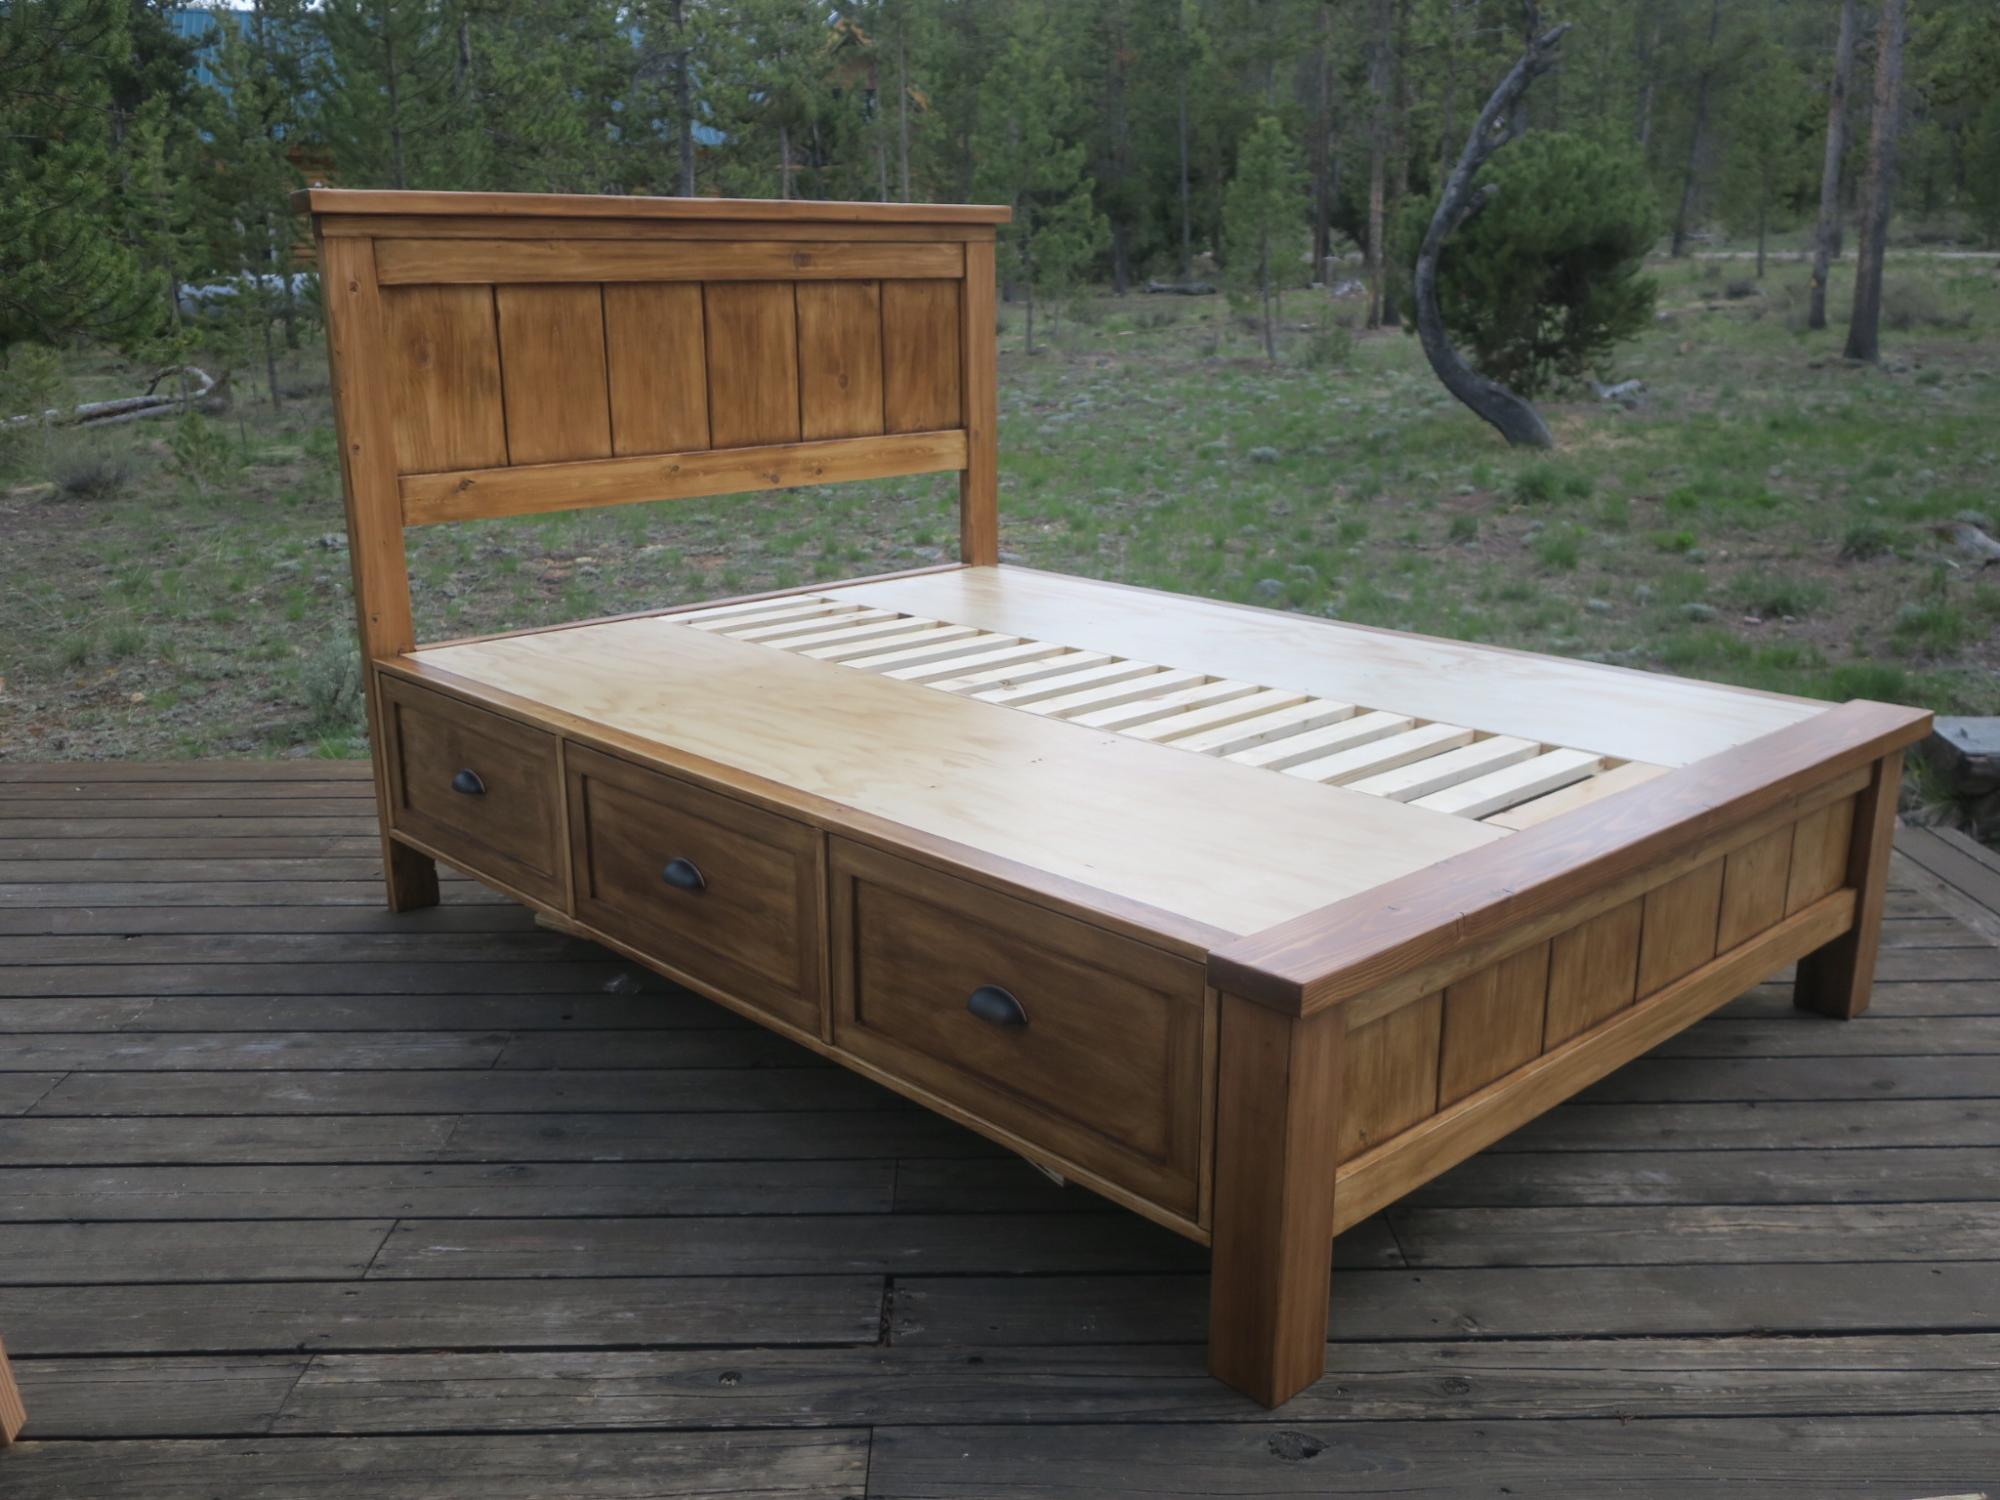
Hi, I’m Joe and love working on my cabin in Stanley Idaho. I needed a queen size bed on the ground floor but the room is small so I incorporated the footboard into into the platform to gain 6 inches of space in the room. It took a couple months working off and on but all fun. I also made the drawers deeper front to back to maximize storage. I did this at the peak of lumber prices and spent like $900 on lumber. It came out great, my Airbnb guests love it!

Built from Plan(s)
Comments
Wed, 10/06/2021 - 14:28
I could not get logged in to…
I could not get logged in to Ana-white.com on my phone where my pictures were, but now an logged in on my laptop. Is there any way to register this brag post on my account? This is Fitzanthony, [email protected]
Joe
Patio Chairs
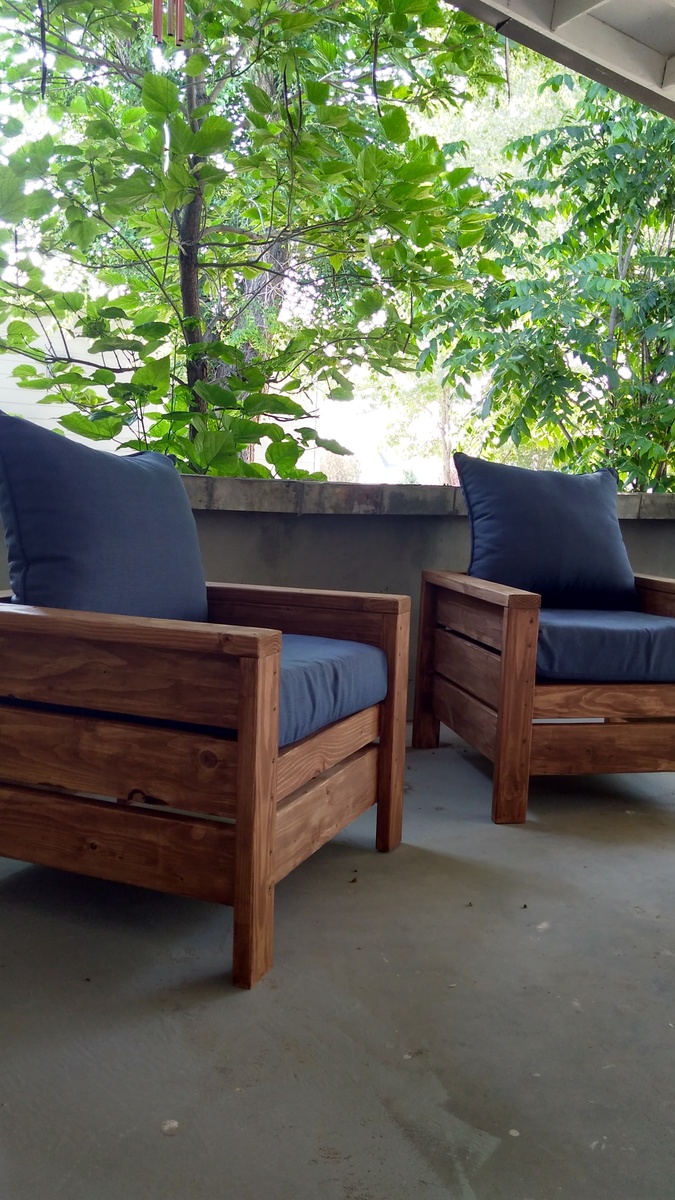
Chairs turned out nicely! Adjusted for cushions from home Depot (24x24)
Will also make a little table to set between soon. Thanks for the plans.
Built from Plan(s)
Estimated Time Investment
Day Project (6-9 Hours)
Finish Used
Behr semi transparent. Chocolate color.
Recommended Skill Level
Beginner
Comments
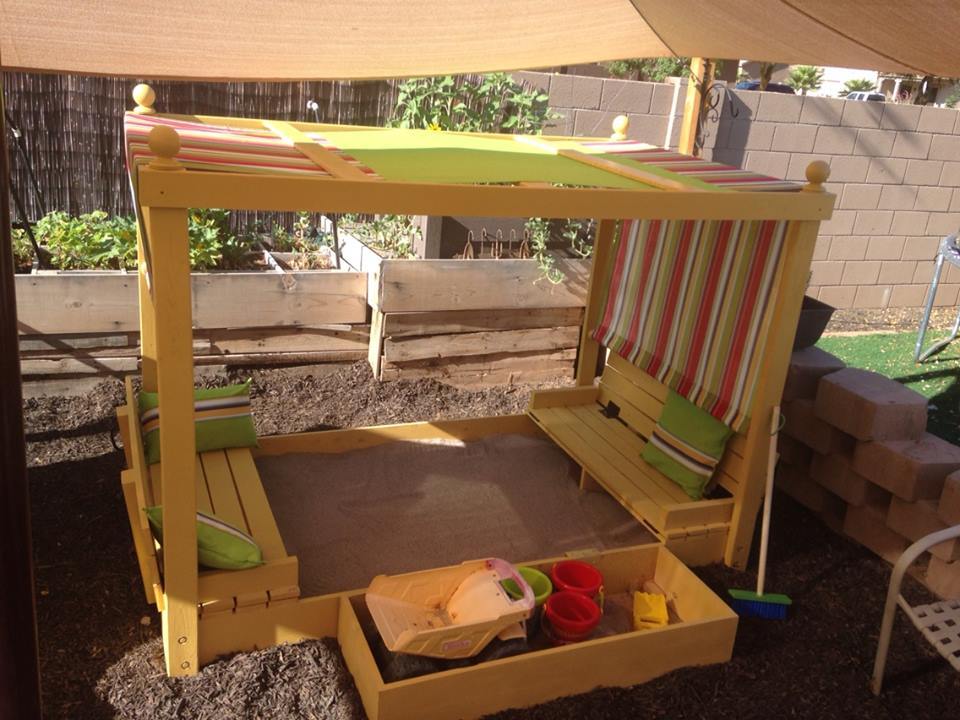
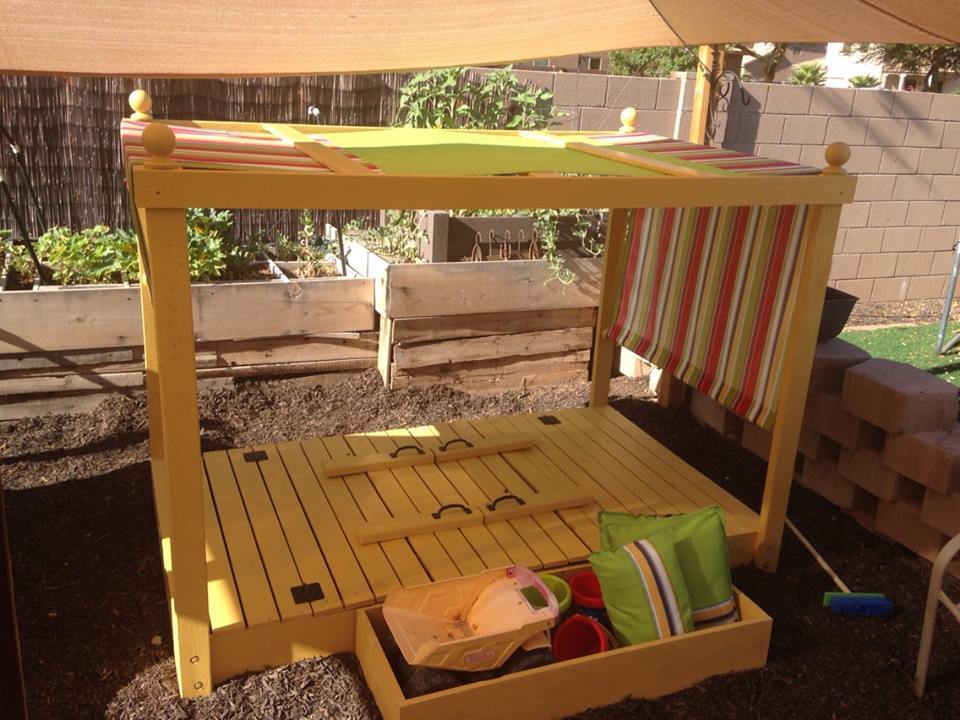
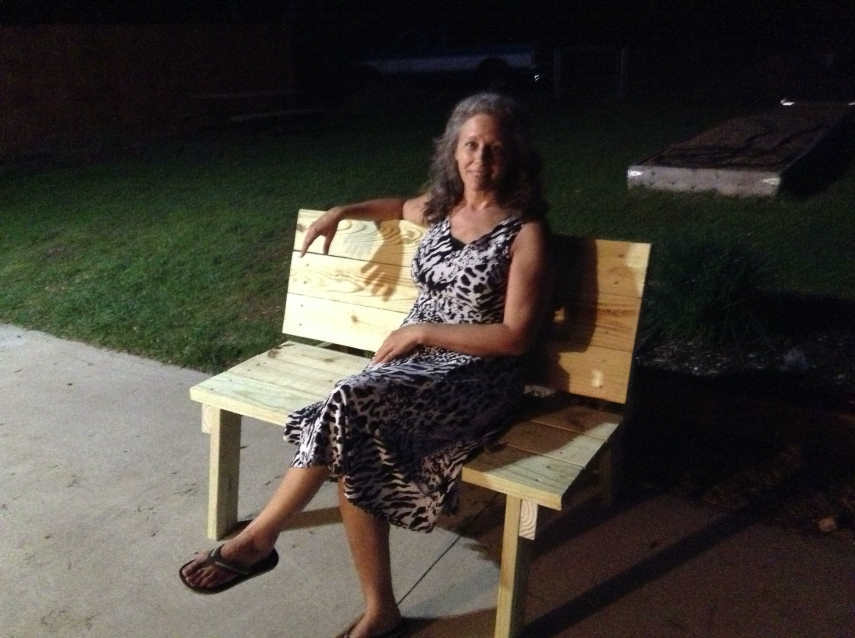
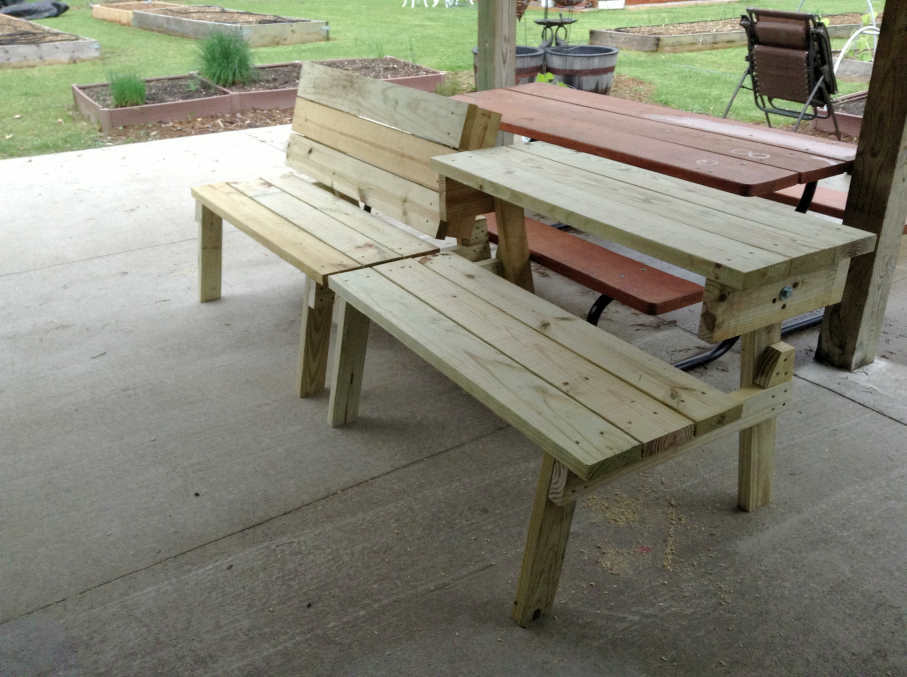
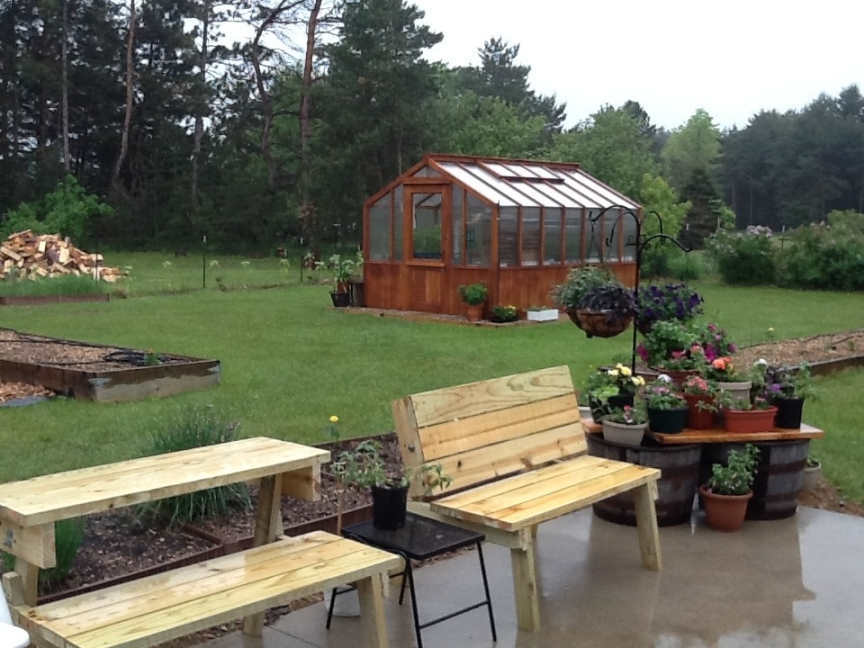
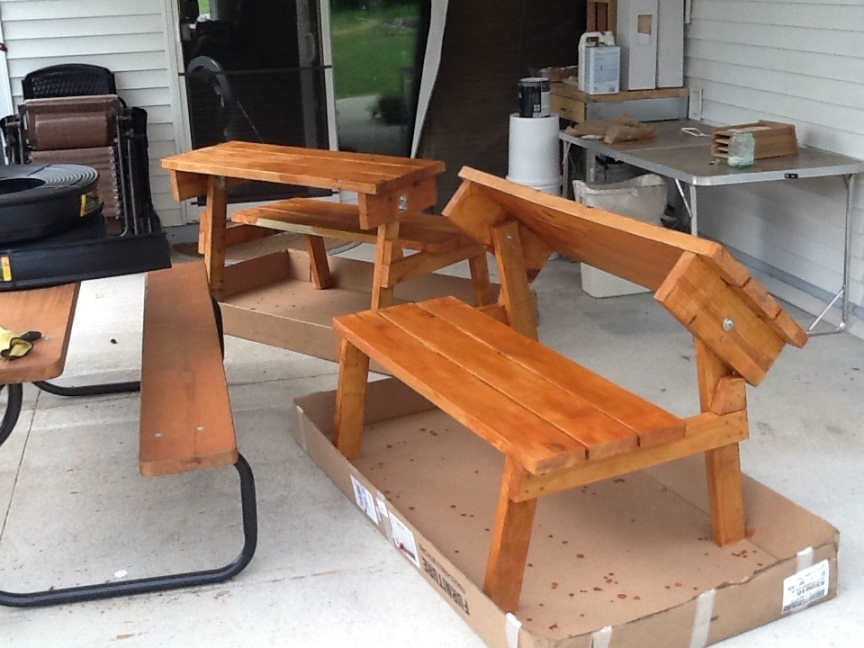
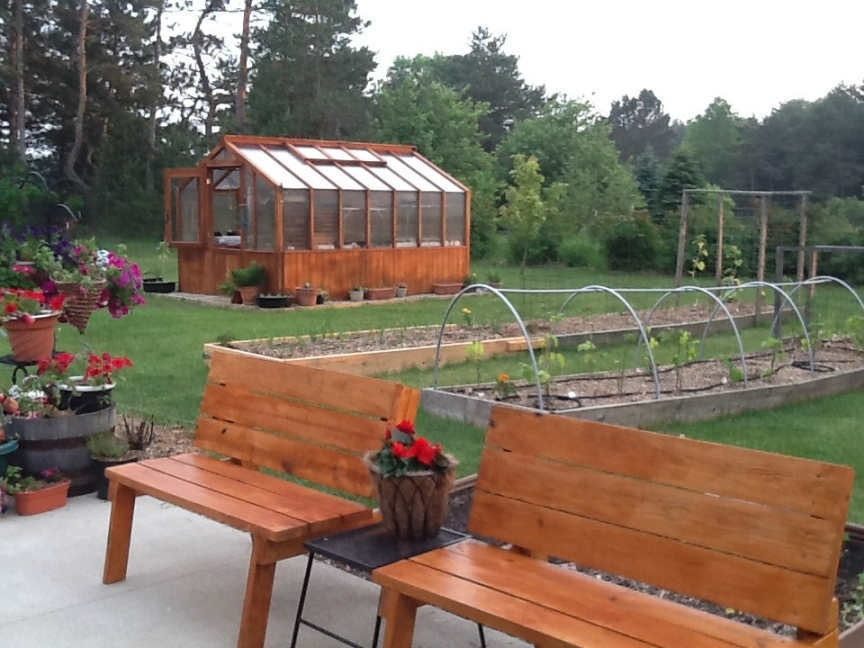
PICNIC TABLE THAT CONVERTS TO BENCHES ~ Cedar Finish

I saw a type of this for sale at Costco for $109 (for just ONE bench, not a pair). It' looked nice, and I almost bought it, but it had metal legs and trim and I wanted more of a natural look to go with my Cedar theme that I have going in my back yard garden/patio/greenhouse area. After seeing it in the store, I did an online search to see if I could find something a little more organic in nature... imagine my surprise when Ana's version of the bench/table came up! I looked over the plans and thought... well, I made the modified Farmhouse Table via her excellent instructions, I can surely do this! I did make a small change, I cut small pieces of wood to use as stops for the backs of the benches, instead of using holes and bolts to hold the backs at an angle that is comfortable. You can see this in the pictures, they are just beyond the back of the seat boards, on the leg supports. Thank you Ana! It was easy, quick, and they look SO good on my patio. I will be making more, maybe even selling a few because so many have asked me if I might :) I figure the cost was about $65 for both benches. A great deal and a fun project! Patrick really has to refrain himself from wanting to "help" me, but I am determined to do it myself... and low and behold! With Ana's generous free plans and inspiration, no problem!
Built from Plan(s)
Estimated Cost
$65 for the two
Estimated Time Investment
Day Project (6-9 Hours)
Finish Used
Cedar Stain. The project was not stained until the benches dried out for several days. They were built using green treated lumber, so they needed to dry out well before staining.
Recommended Skill Level
Beginner
Comments
Wed, 07/17/2013 - 13:11
Your bench/table
Oh, great job!! I love it. The back stops for the bench is a great idea because those bolts are expensive! I'm going to do the same. Thank you for the idea!
Weatherly Sectional (L-shaped)
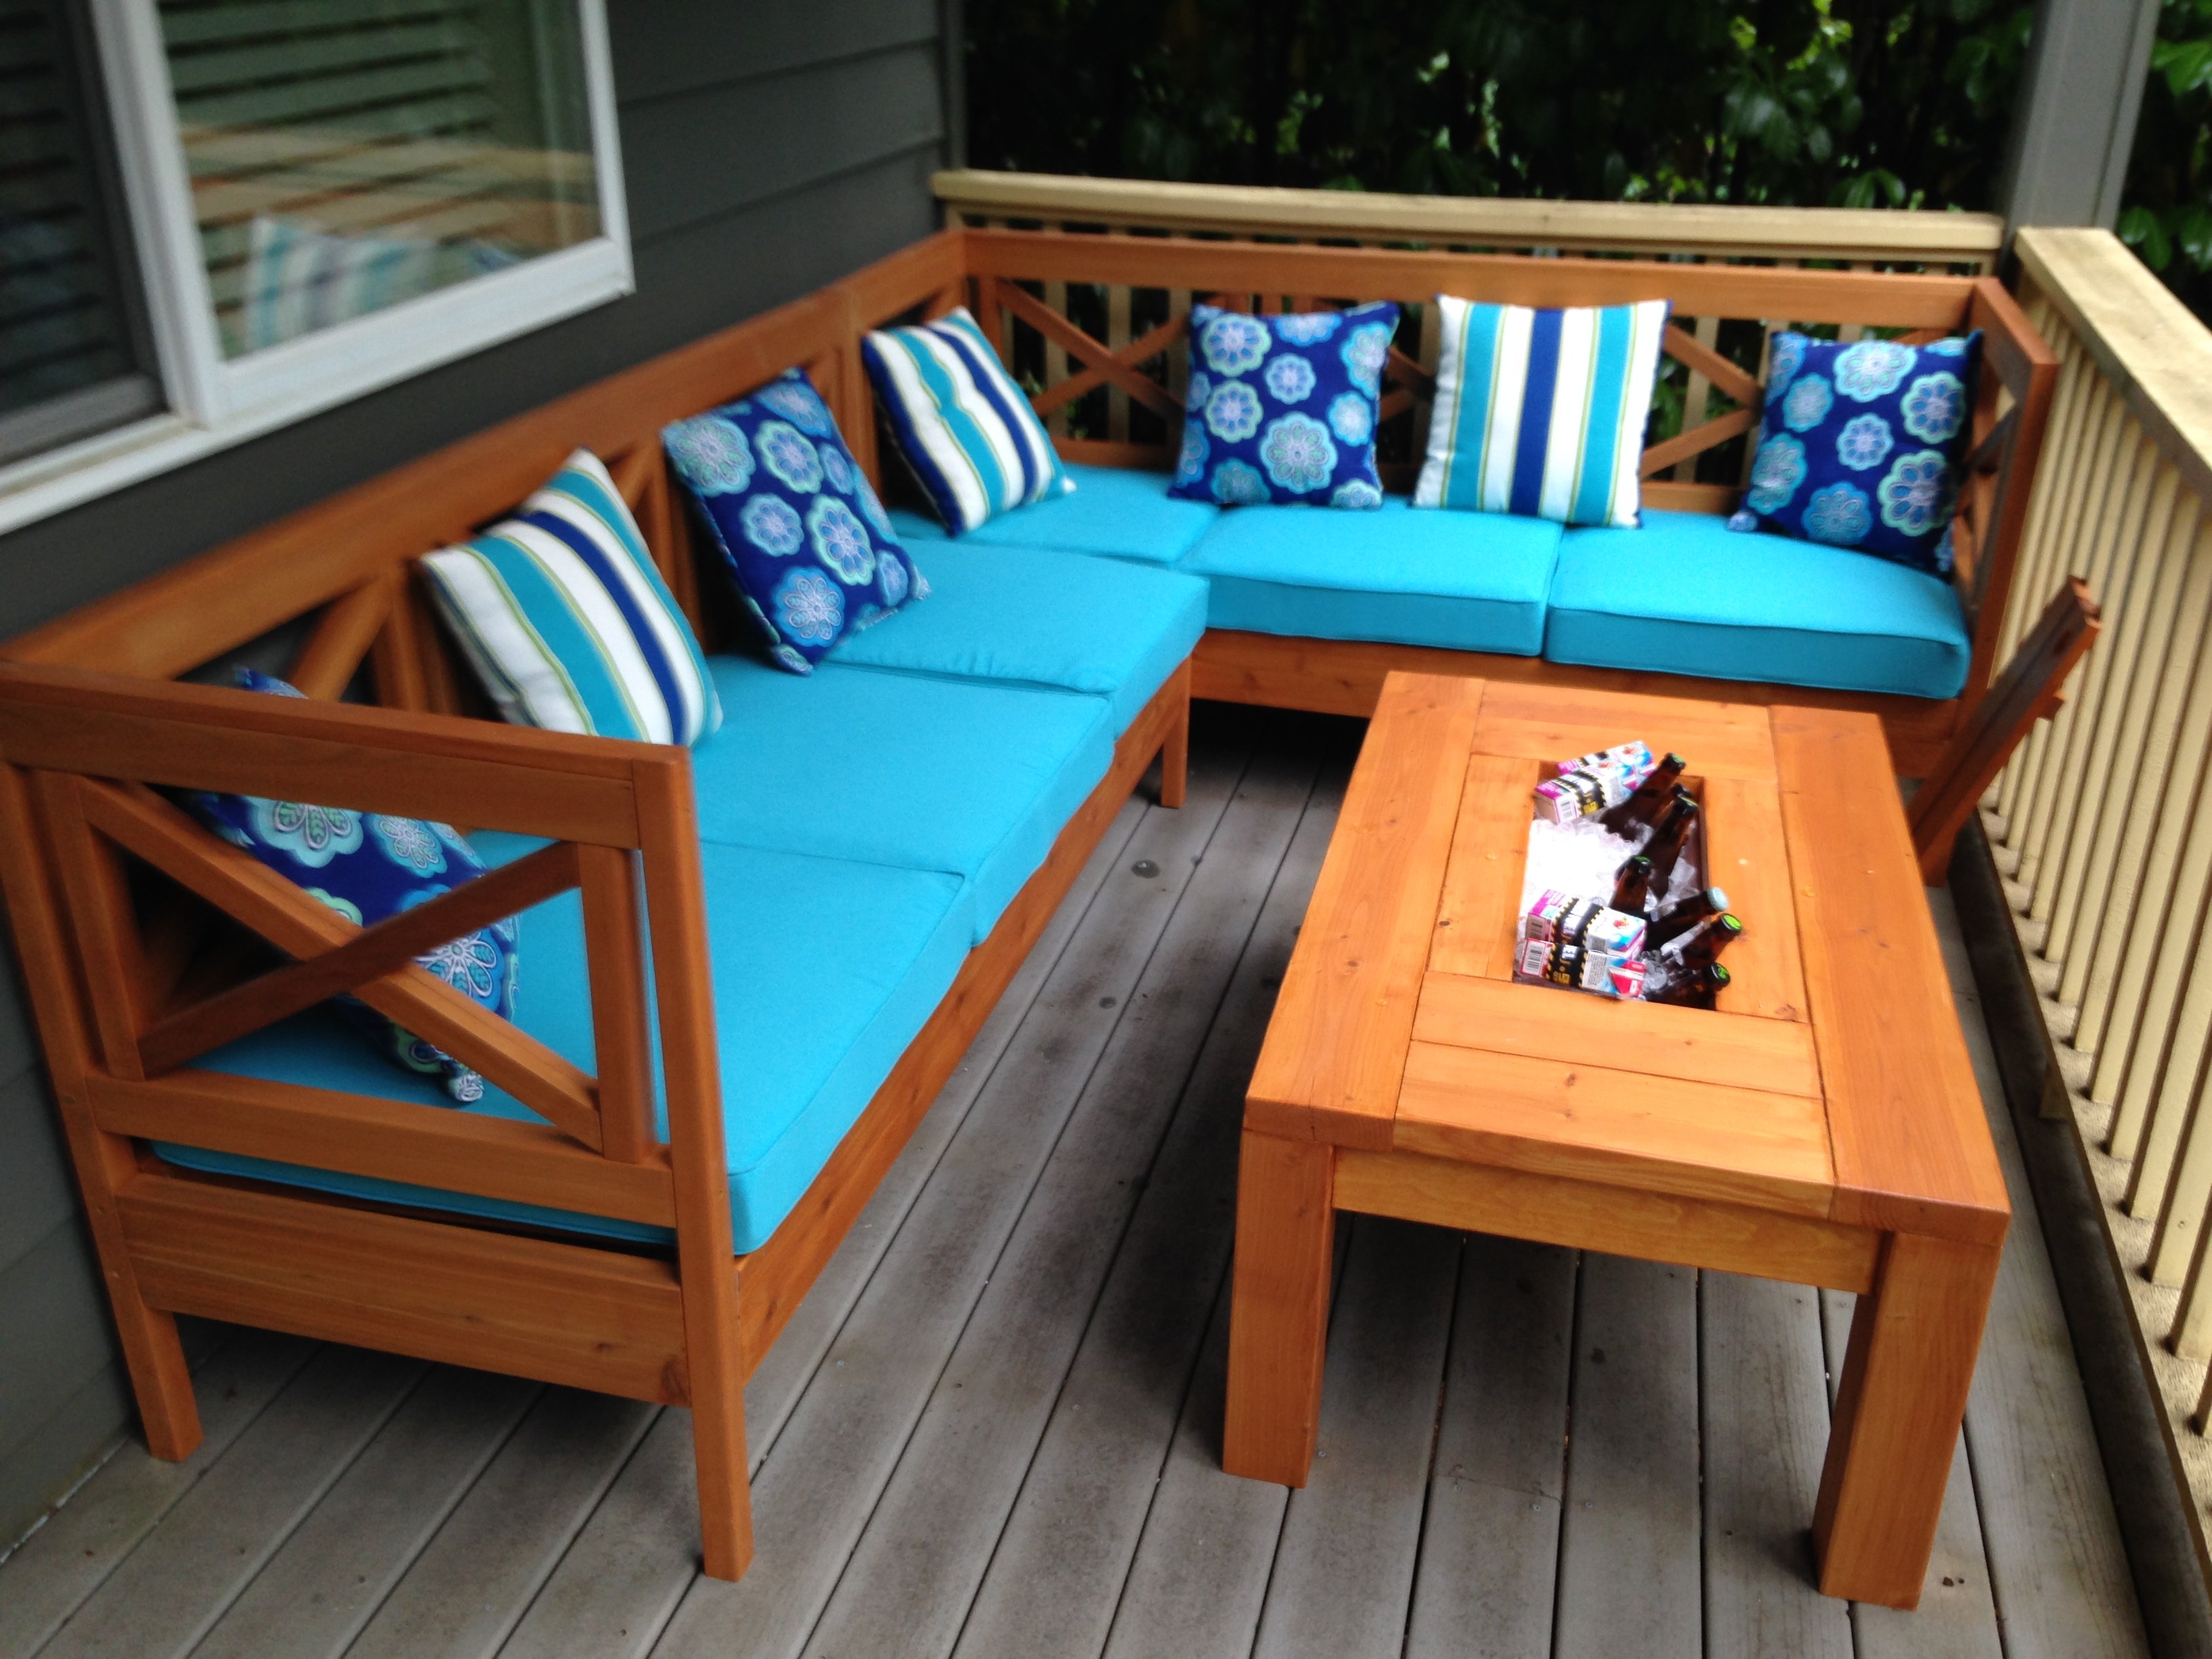
When I first saw the outdoor sectional plans from Ana I had to build this! The sectionals at potterybarn cost at least $1500 and that is without the cushions. I chose cedar for the lumber because I wanted a high end stained wood look that would stand up to the pacific northwest weather. I purchased most of the lumber from Orange and some of the smaller boards from a local lumber yard. Every board was cut first then sanded and stained before assembly. This made it look a lot more professional and no drips! There are just too many tight areas to do this after it is assembled. I made 2 Weatherly outdoor sofas and used the plans from the Weatherly loveseat to leave the end off of one of the sofas to make an L-shaped sectional. This fit perfectly for my narrow deck which is the beauty of DIY and Ana's easy to modify plans. I followed the suggestion of another brag post to attach the 2 sofas together with carriage bolts and nuts. It is important to be very accurate with all of the cuts because they have to fit together perfectly for the final product to look straight and measure correctly. Because there a about a million repetitive cuts in these plans I took the idea of another brag post and youtube and created a stop out of leftover lumber which really helped me keep my cuts accurate and saved me a lot of time. I really enjoyed using my new Kreg K5 pocket hole jig on this project which saved me time and my new Ryobi brad nailer that I convinced my husband I needed. I plan on using it on several projects which "require" a brad nailer! I bought six 25" cushions in turquoise from Pier 1 in mid-July which were on major sale and several pillows to match the color. I am somewhat of a beginner so I didn't adjust te plans to fit six 25" cushions so I had to have one cut down to 22" by a local upholstery shop (I could have purchased a 22" cushion but of course they were all sold out). I suggest at least a 3-4" depth cushion that is fairly firm, which Pier 1 cushion were.
I love the outdoor coffee table with built in beer cooler idea that another brag post had suggested.It uses a planter box as the cooler. I used the same stain which worked well and adequately waterproofed the table. It also has a cover for the cooler when it is not in use. I thought it was a nice addition.
I loved this project and how it turned out! Thanks for the plans and inspiration!!!


Built from Plan(s)
Estimated Cost
$300 for the lumber, sand paper, screws and stain. $300 for 6 cushions and pillows from Pier 1.
Estimated Time Investment
Week Long Project (20 Hours or More)
Finish Used
Behr Transparent Weatherproof Wood Finish in Cedar Naturaltone
Recommended Skill Level
Intermediate
Outdoor Bar Table and Stool
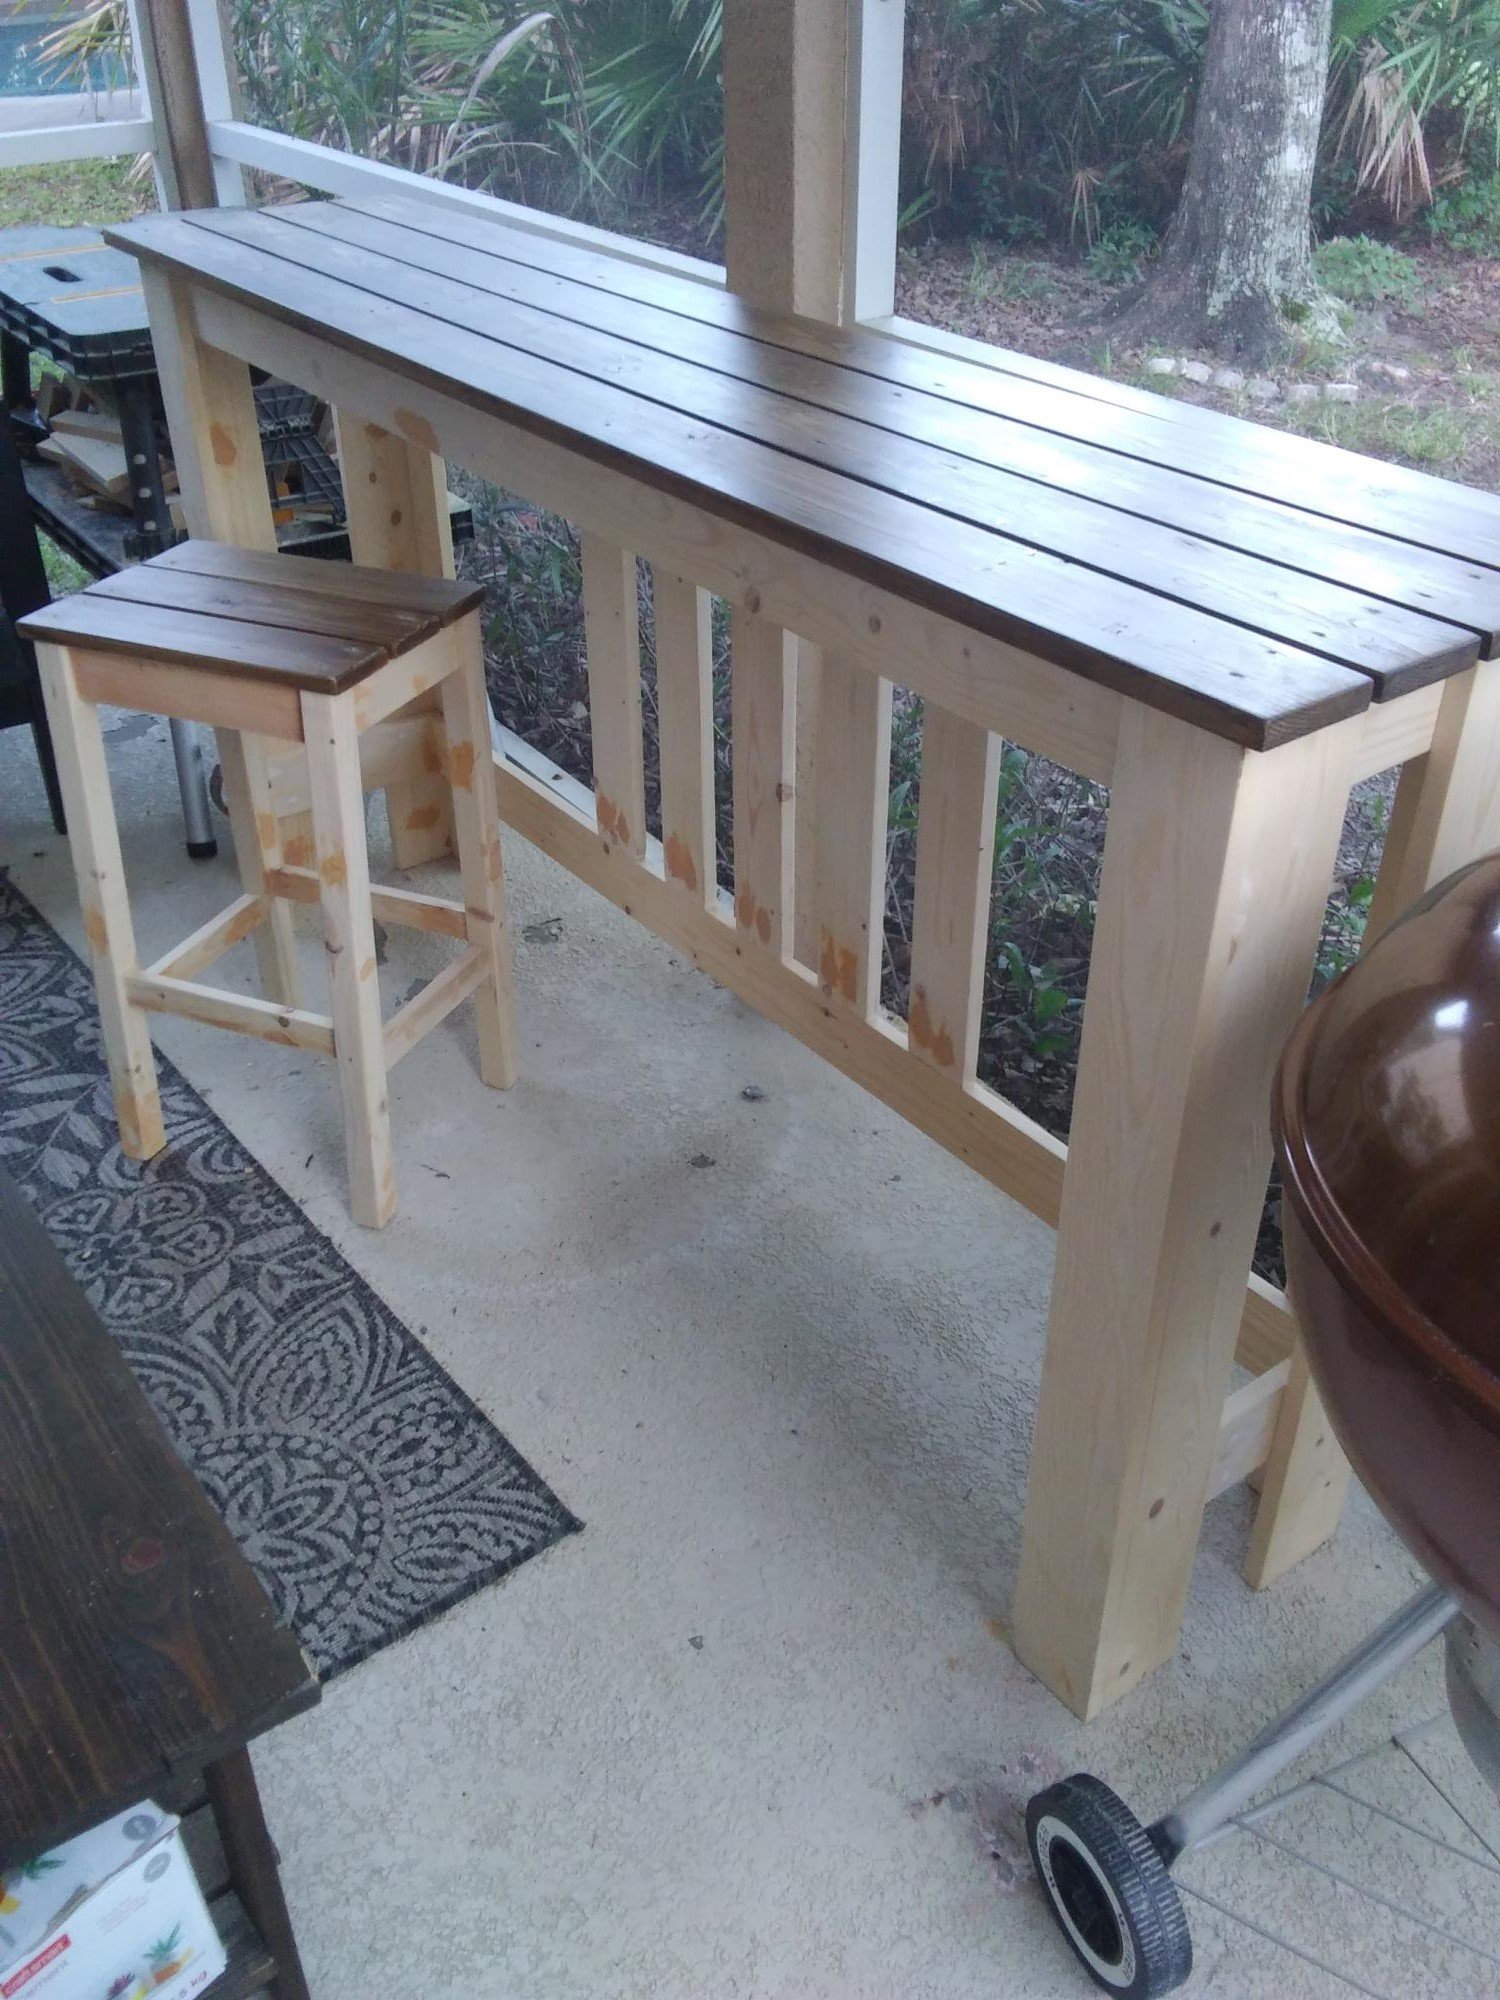
I love this bar table! I needed something long and narrow for our small patio - just deep enough to fit a plate and a drink, or a laptop, and long enough to fit three stools, so I modified Ana's dimensions. Also, living in Florida, we occasionally need to bring our furniture inside for hurricanes, so I made it a lighter by using 1x3s and 1x4s instead of 2x or 4x4s. I still need to paint the bottoms a cream color and build two more stools, but I already use it a lot. Thanks Ana! (The photo was upright on my computer, but I didn't see how to rotate it once it was uploaded)
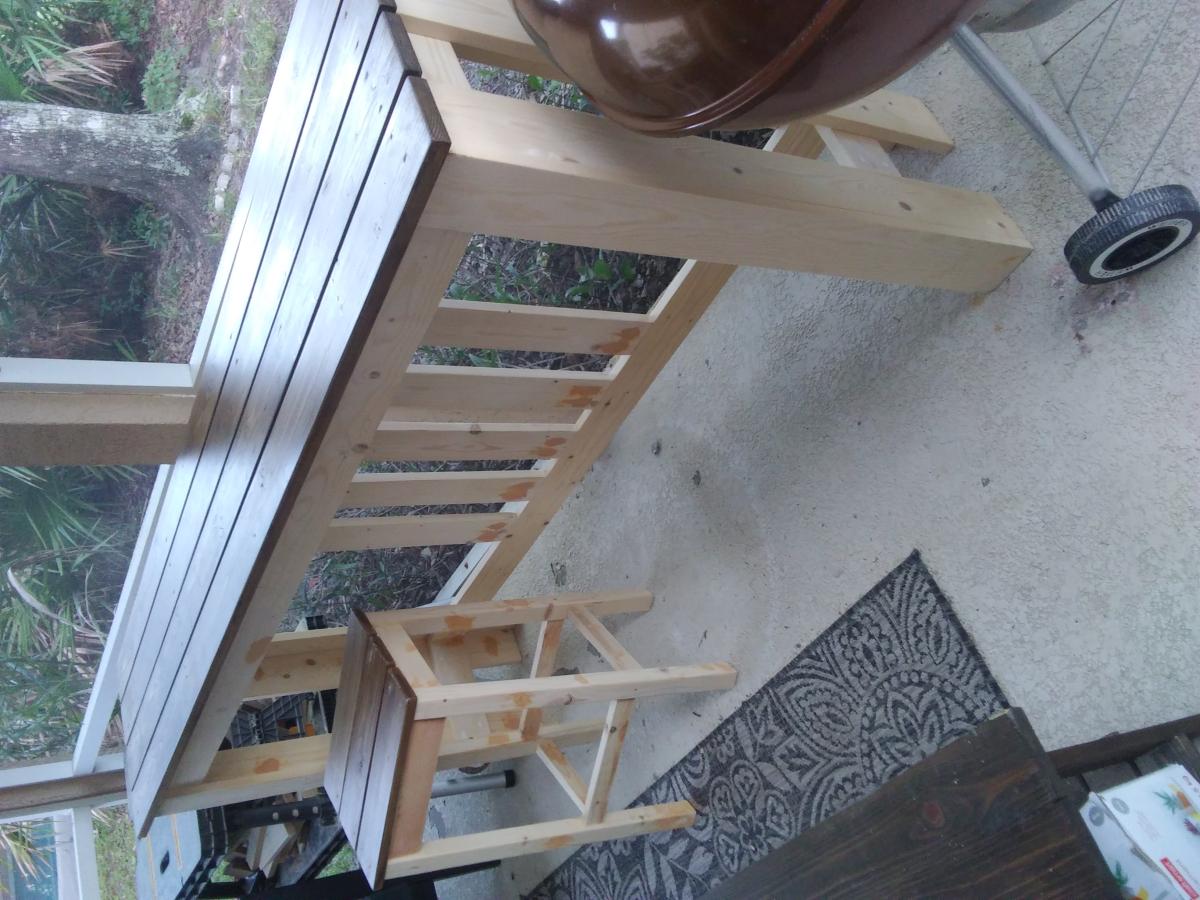
Built from Plan(s)
Comments
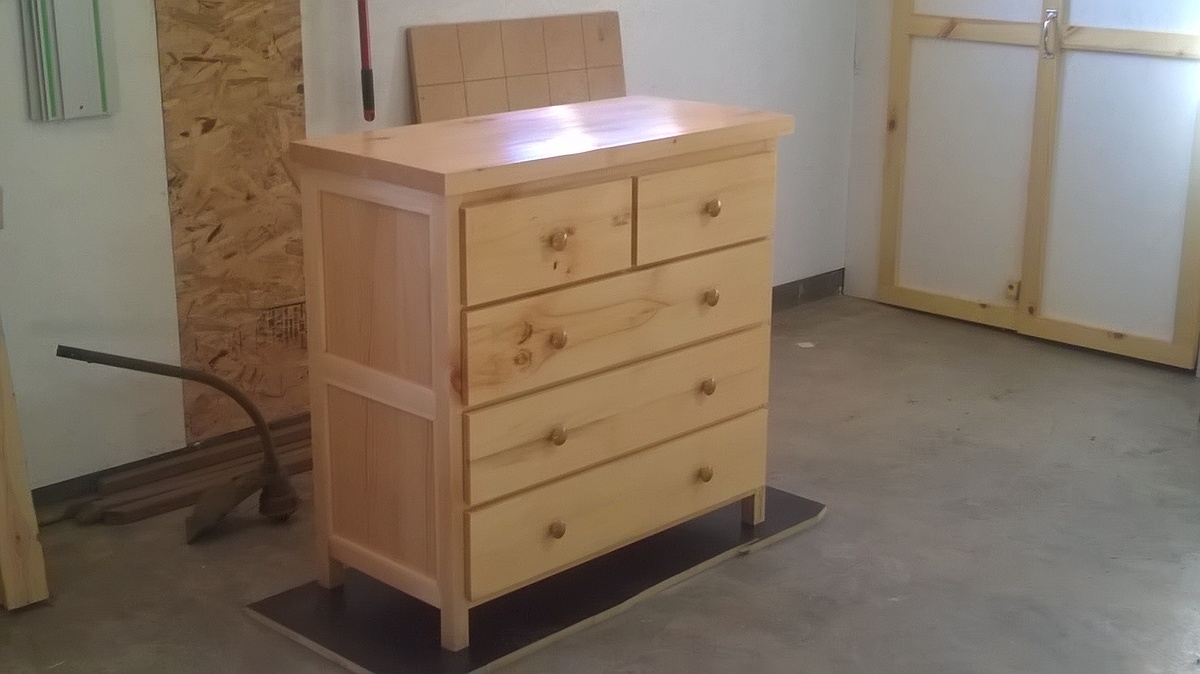
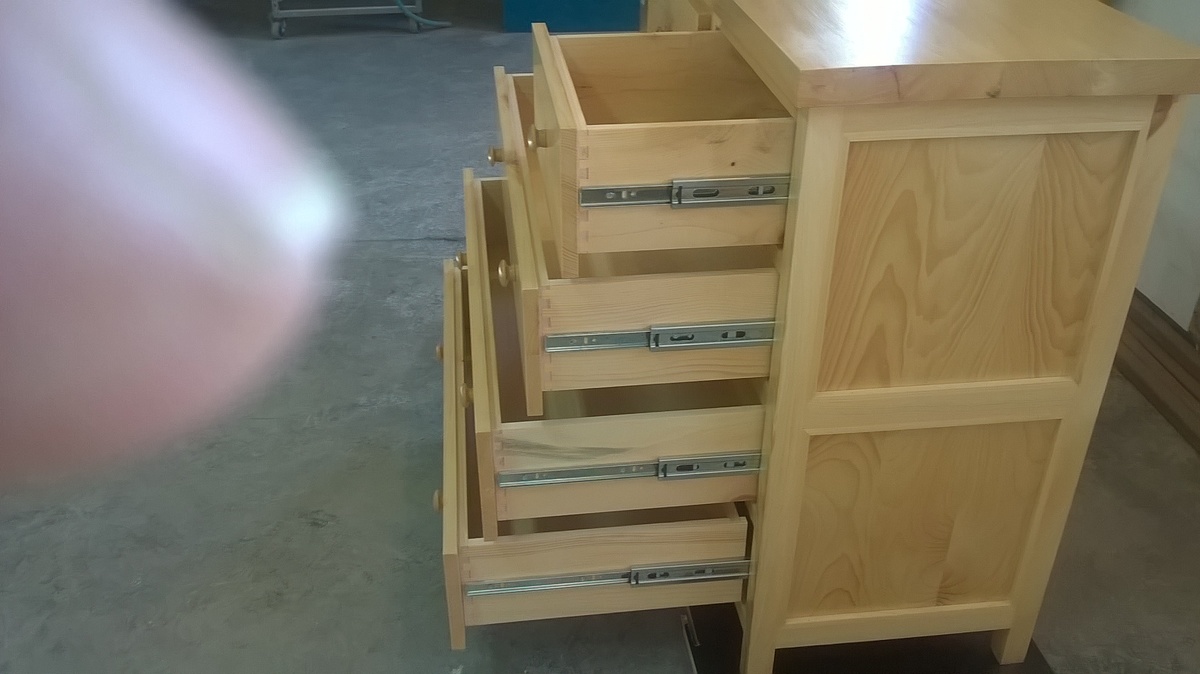
Northern Wisconsin White Pine Bed and Dresser
In need of outfitting the spare bedroom for overnight guests I came upon this site and found the storage bed plan we liked. After building the bed of course a dresser was in order. My sawyer has some northern white pine that came from the Wisconsin Northern State Fair grounds in Chippewa Falls. Having never worked with white pine before I found it rewarng and was happy with the finished product. Hope our guest enjoy it as much I had building it
Estimated Time Investment
Week Long Project (20 Hours or More)
Finish Used
A self leveling poly finish by General Finish.
Recommended Skill Level
Intermediate
Distressed finish fireplace
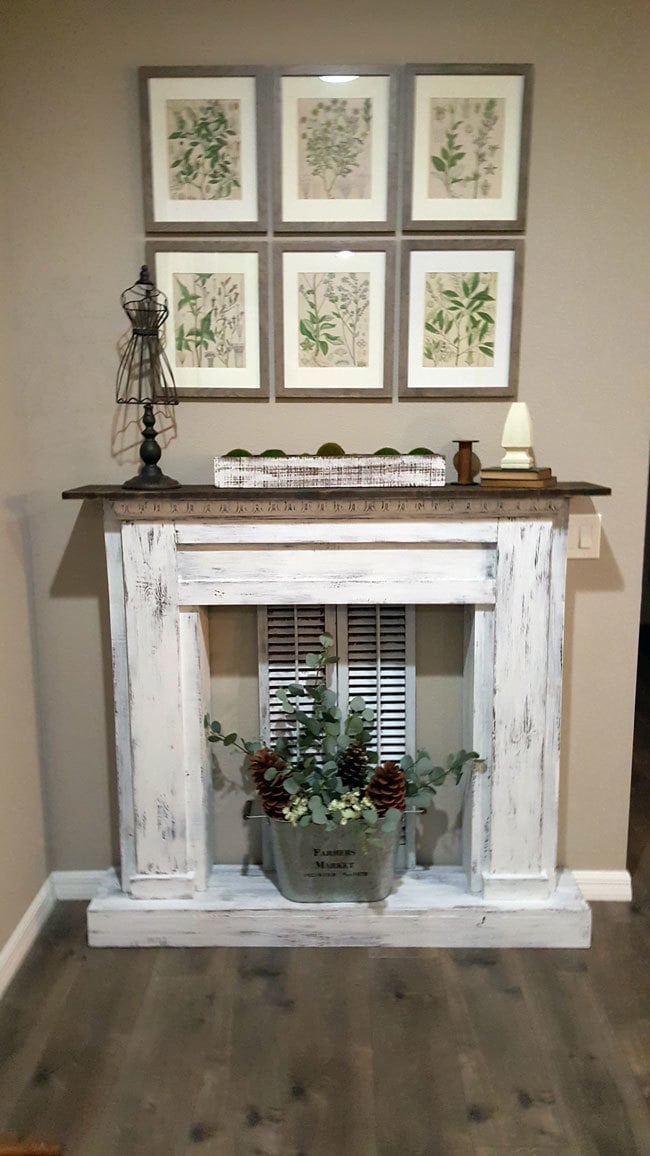
This was a great plan to use! We changed some of the measurements to fit our space and added a simple base to the bottom. My inspiration was a picture of an old chippy mantle from a flea market.
Built from Plan(s)
Estimated Cost
$100
Estimated Time Investment
Weekend Project (10-20 Hours)
Finish Used
I stained everything first then lightly rubbed vasoline over some areas. Used a white paint (rustoleum white linen chalk paint)and dry brushed on until distressed look was achieved.
Recommended Skill Level
Beginner
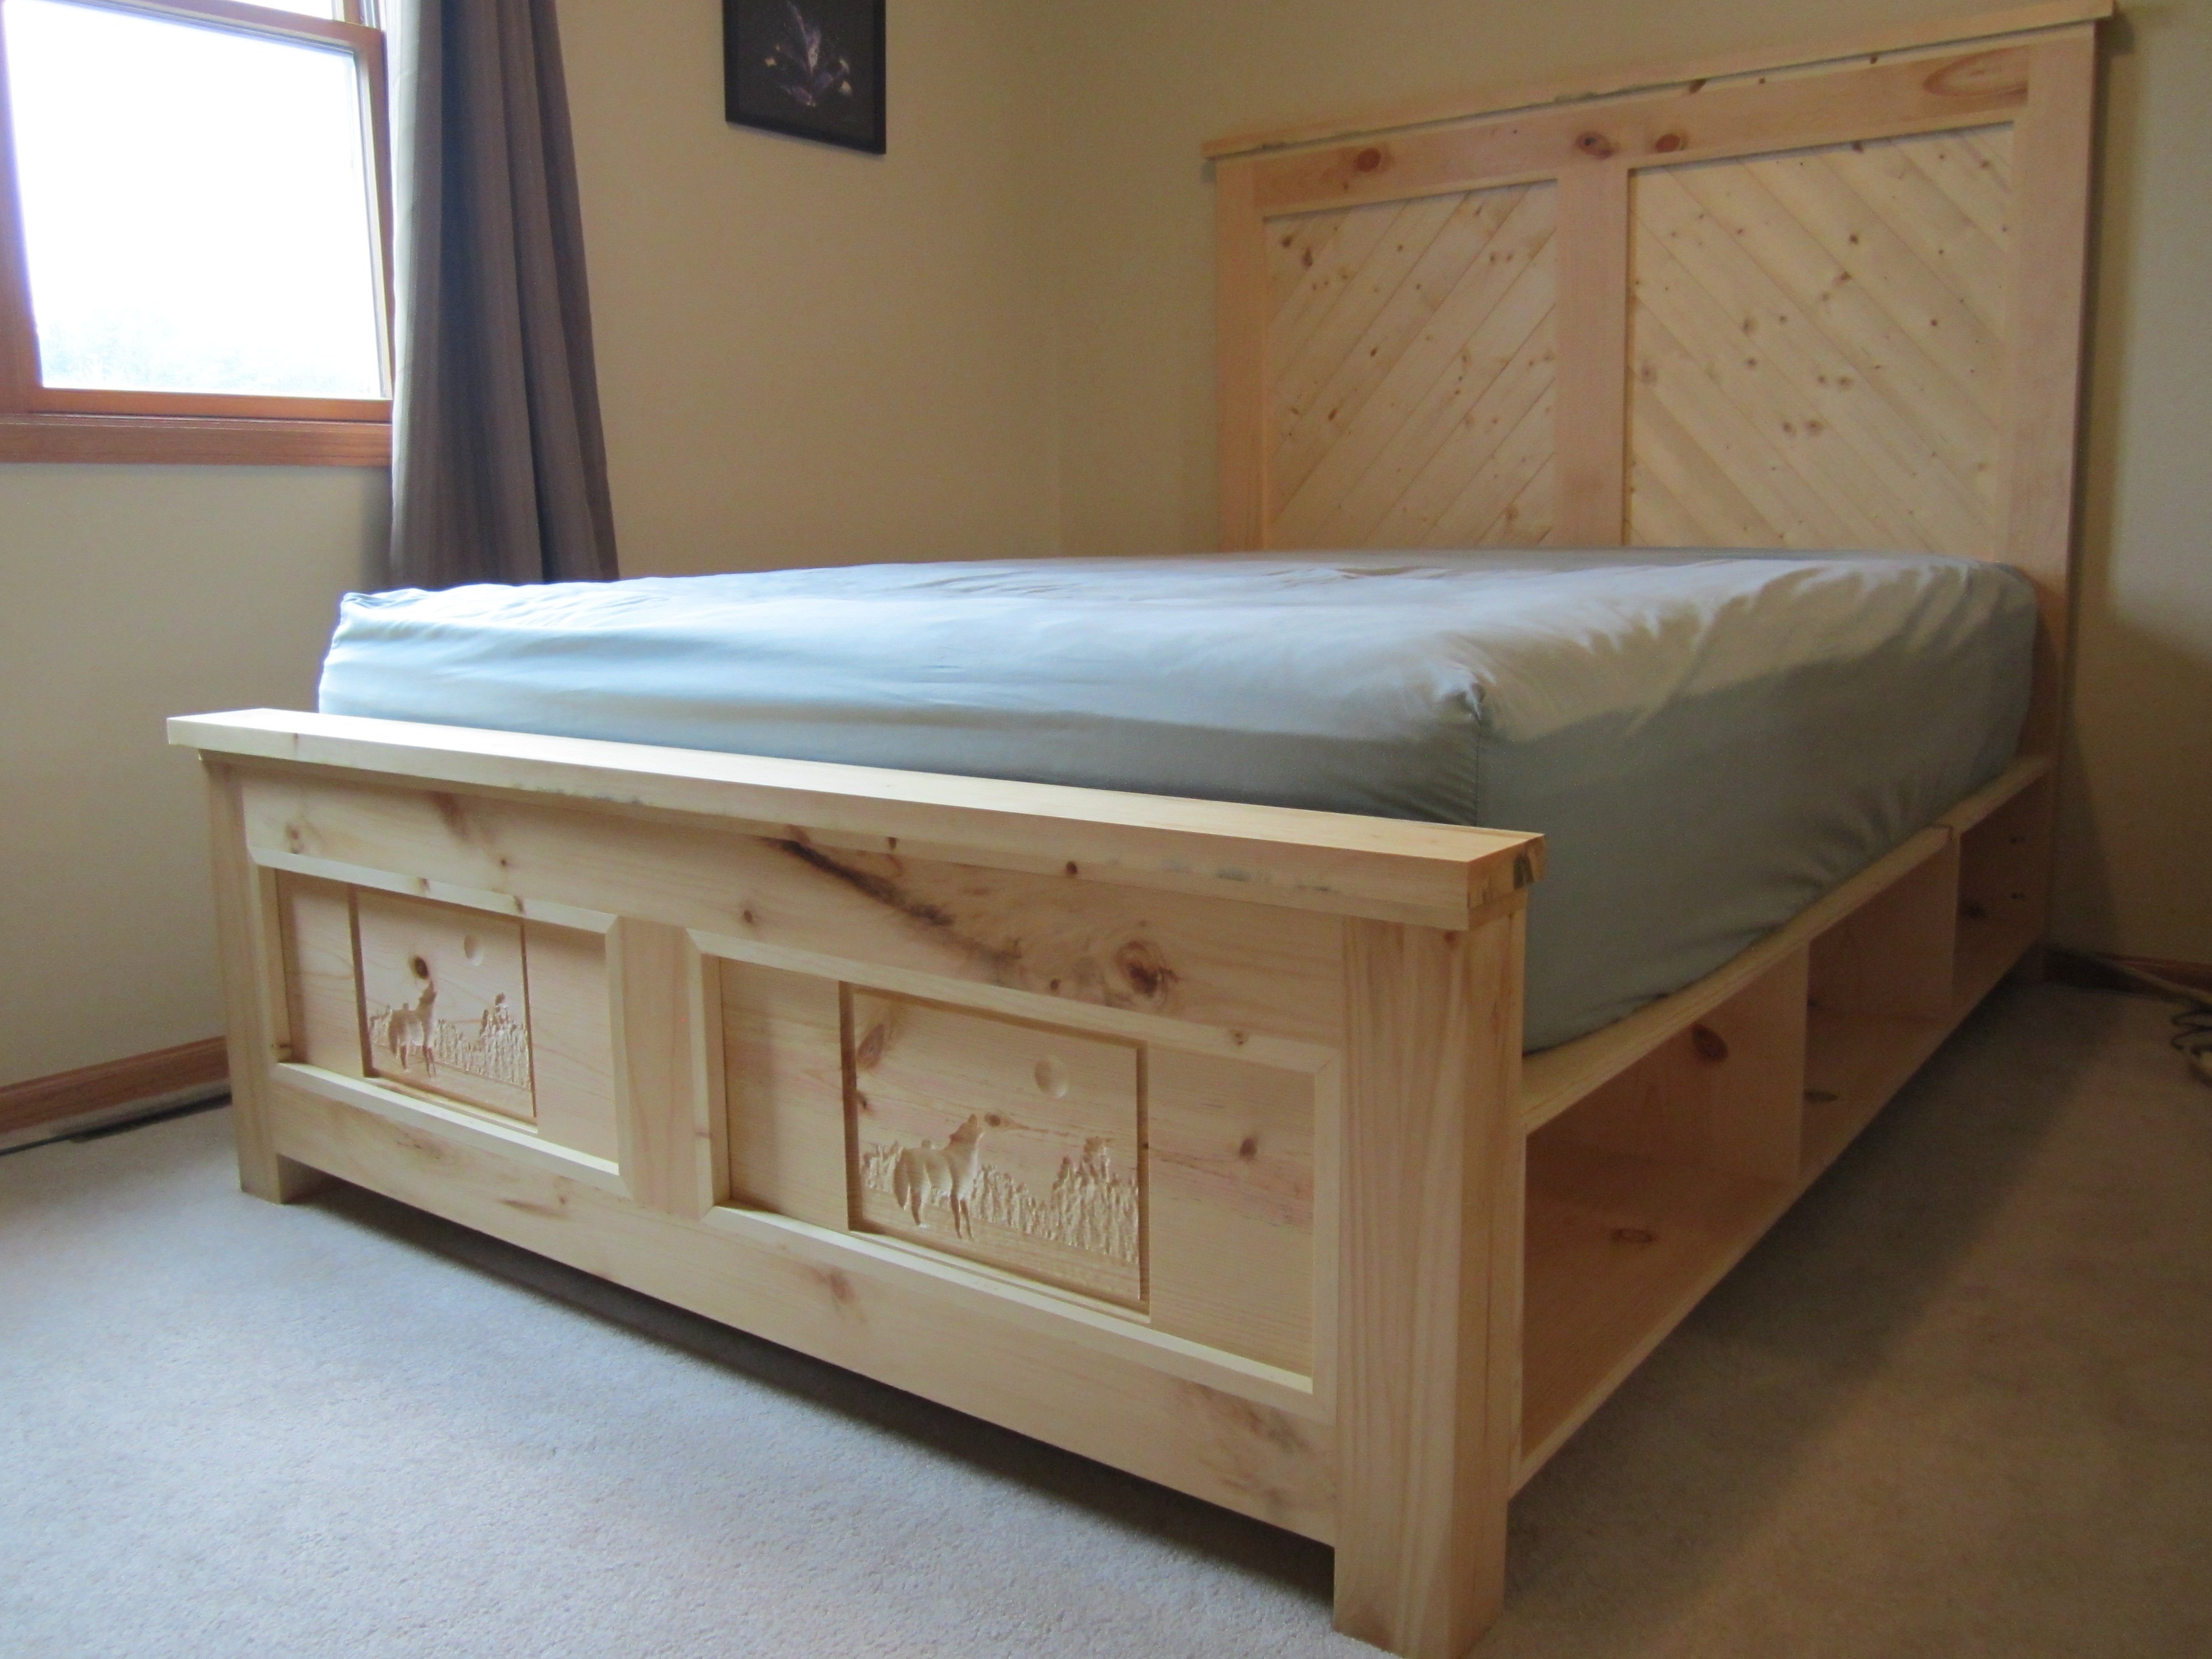
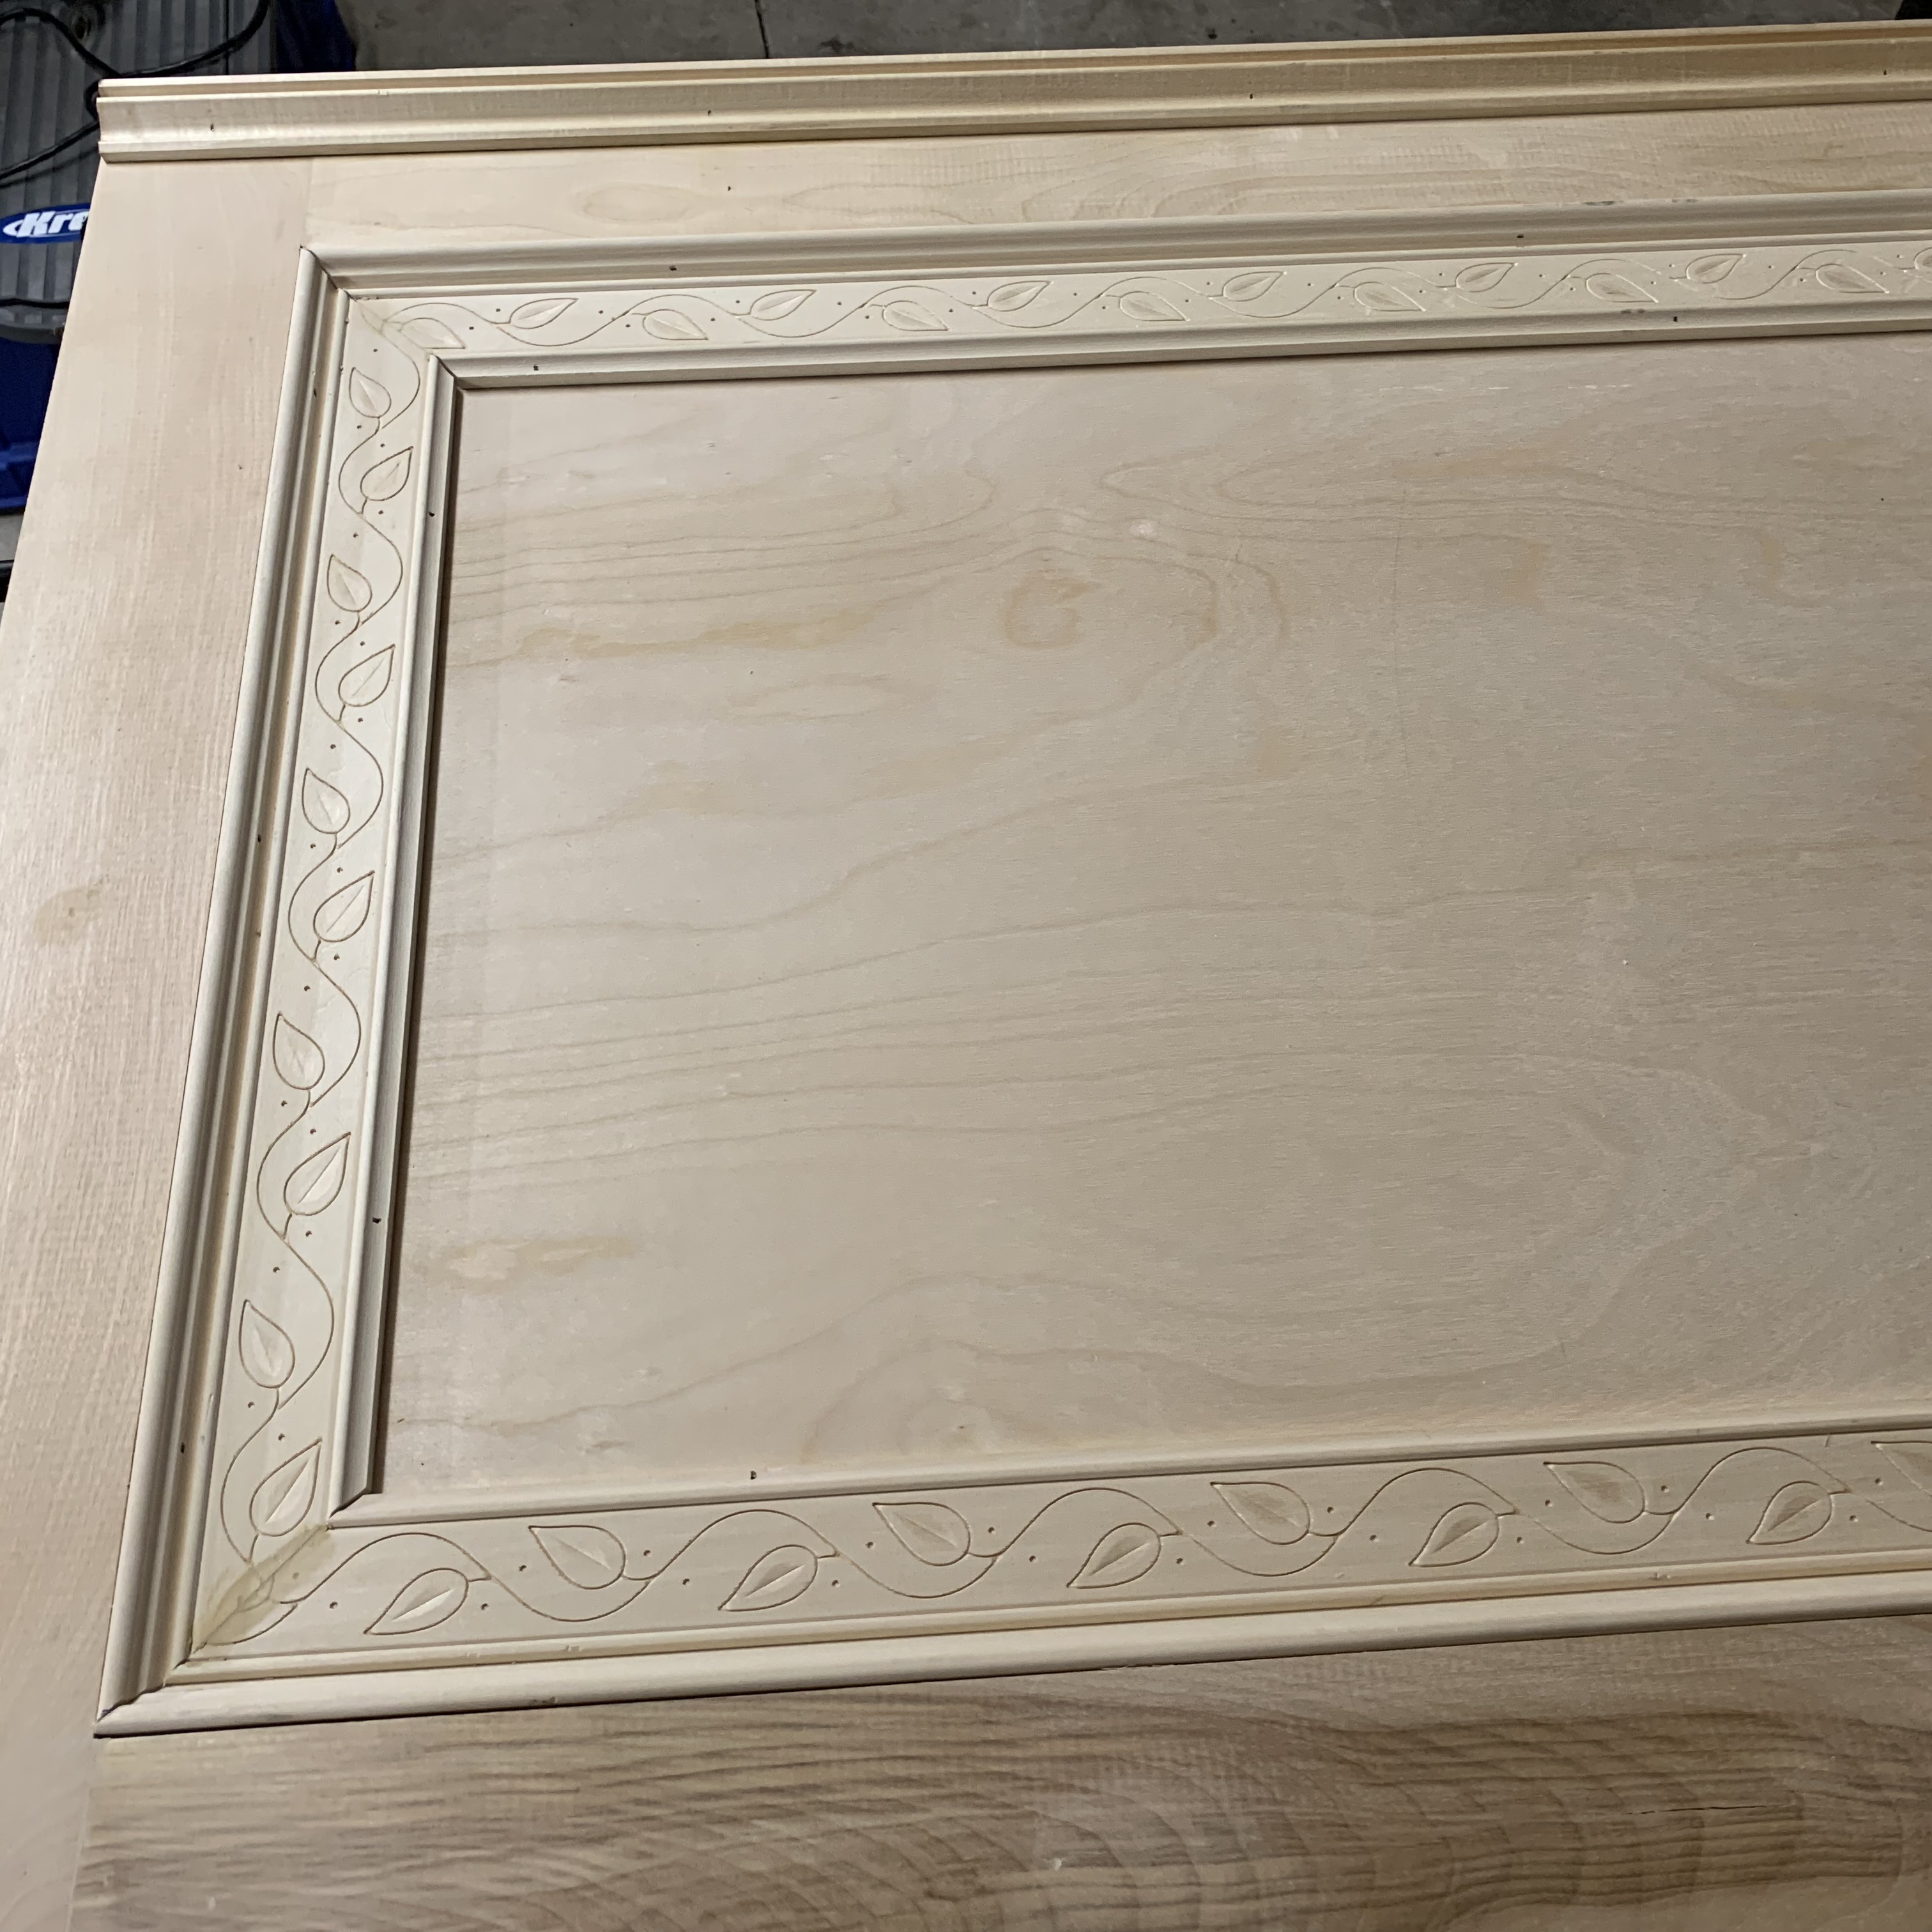
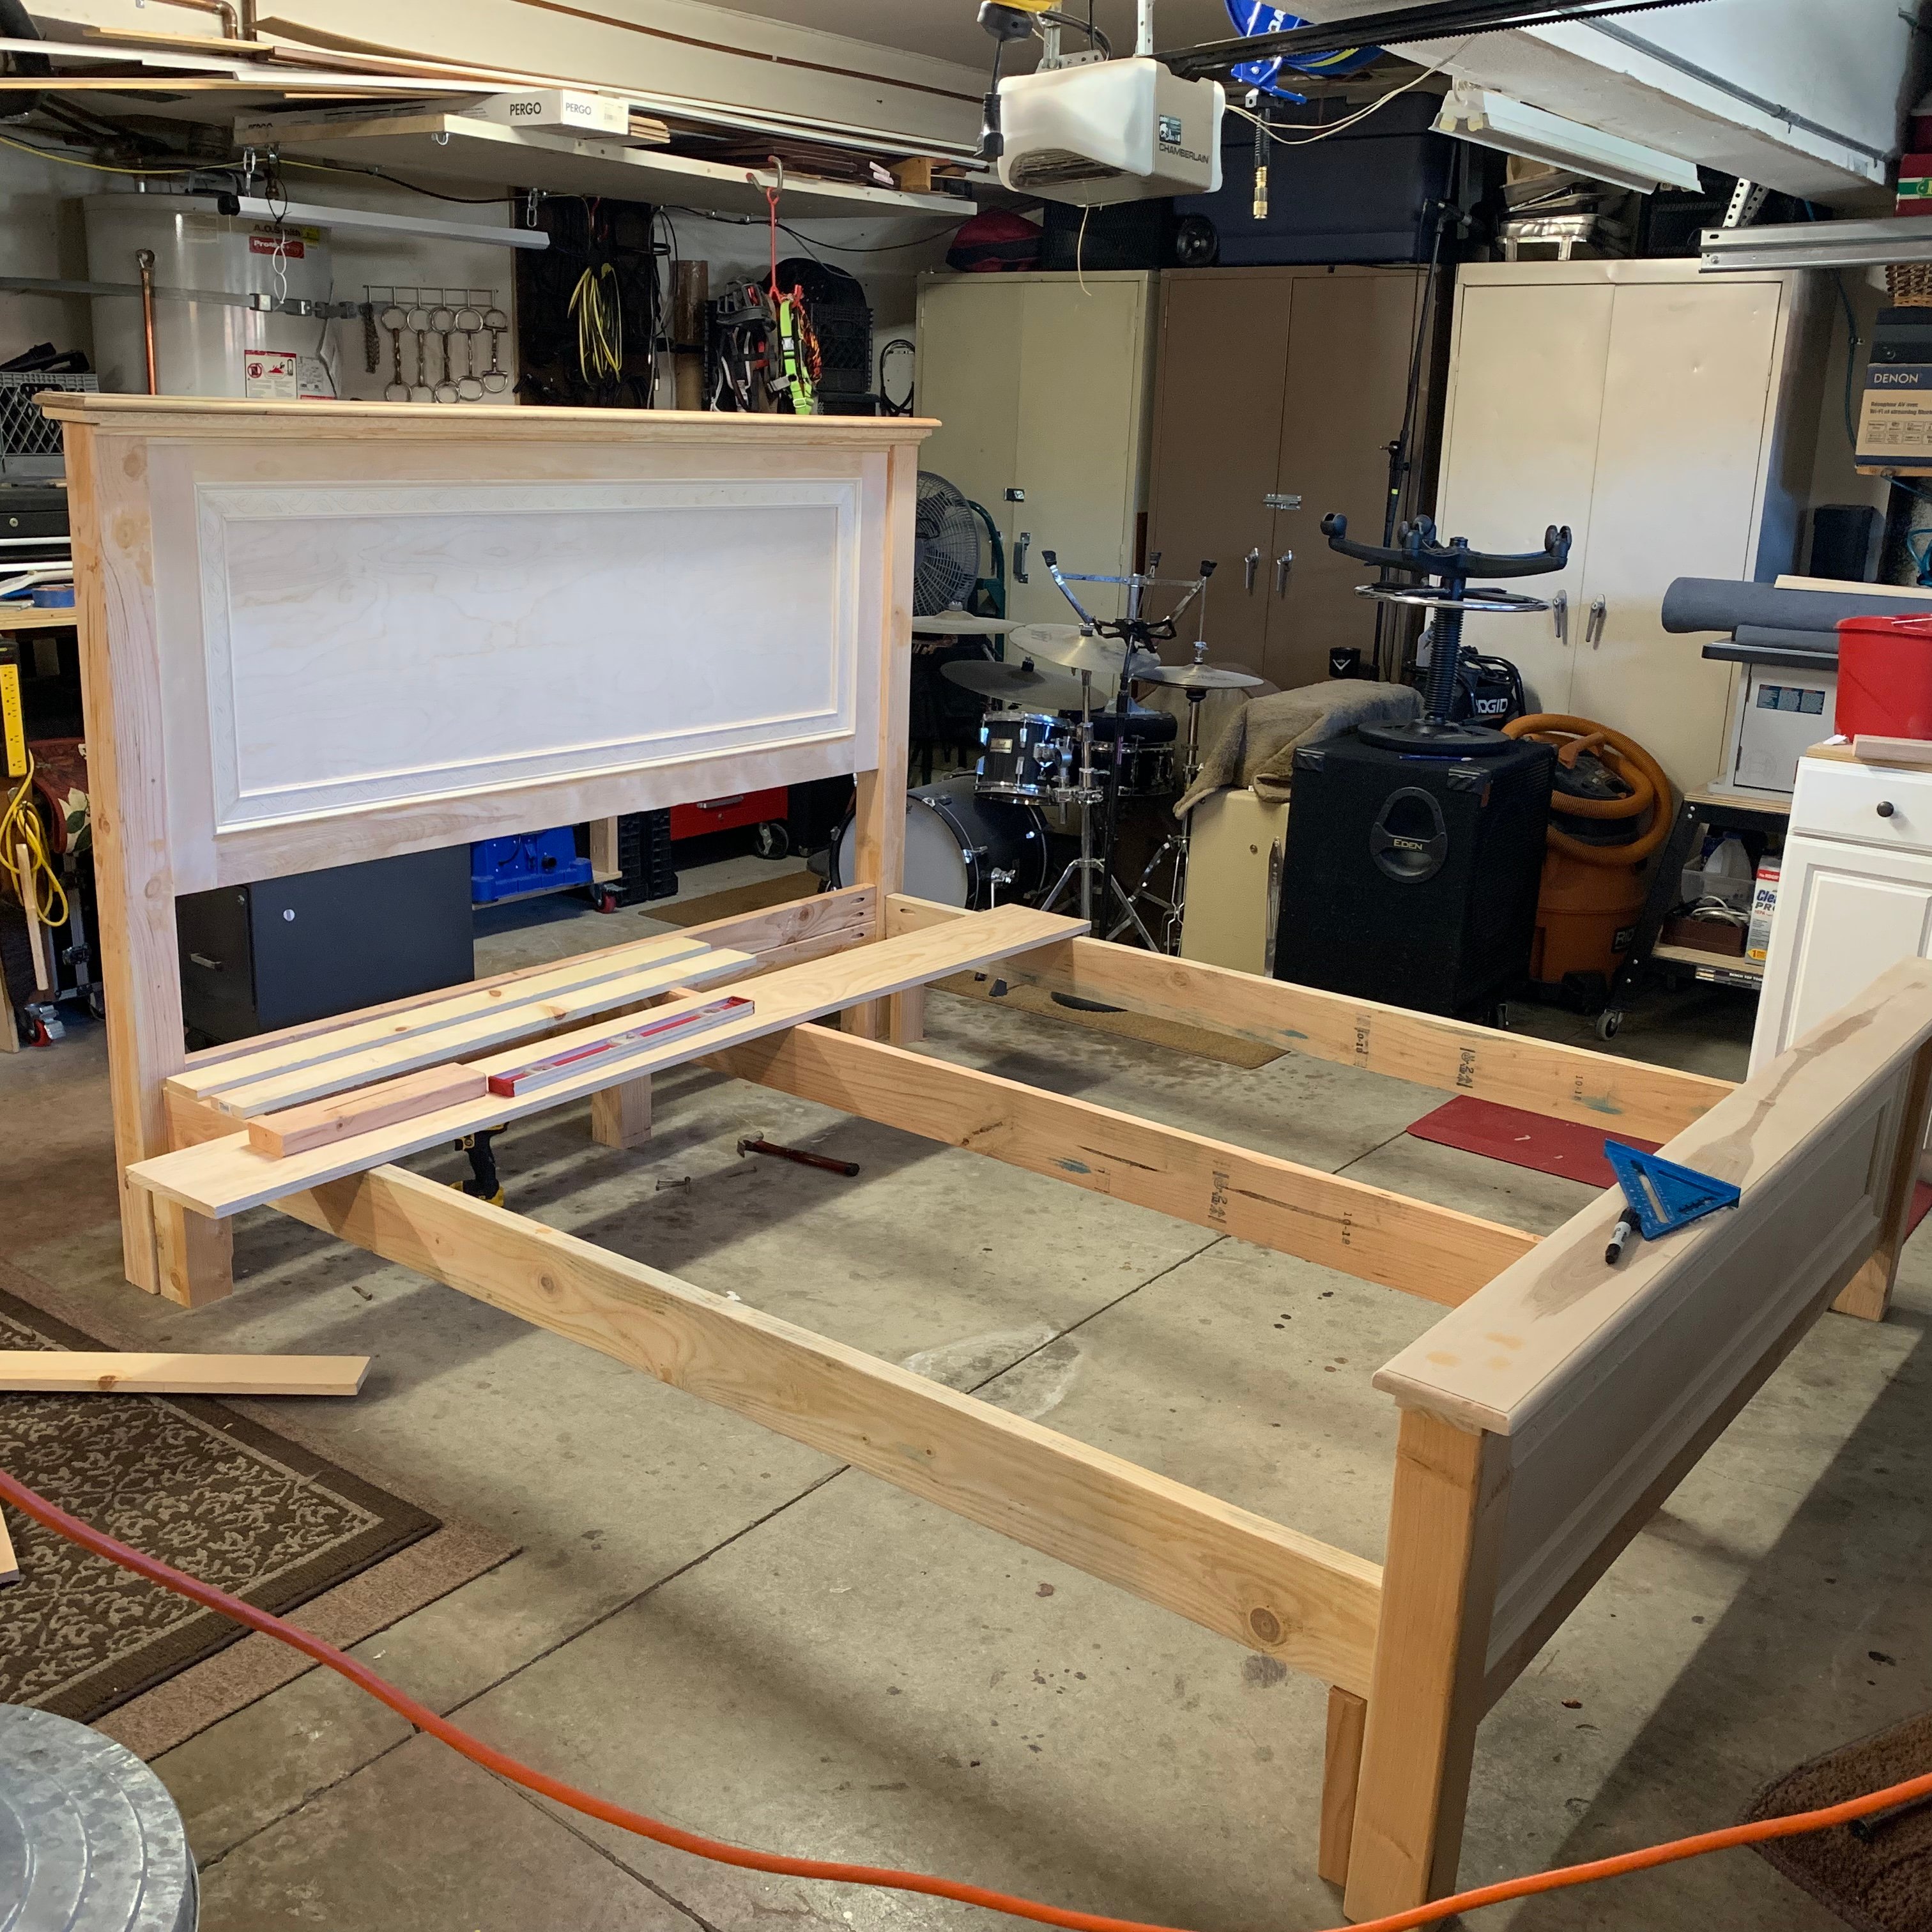
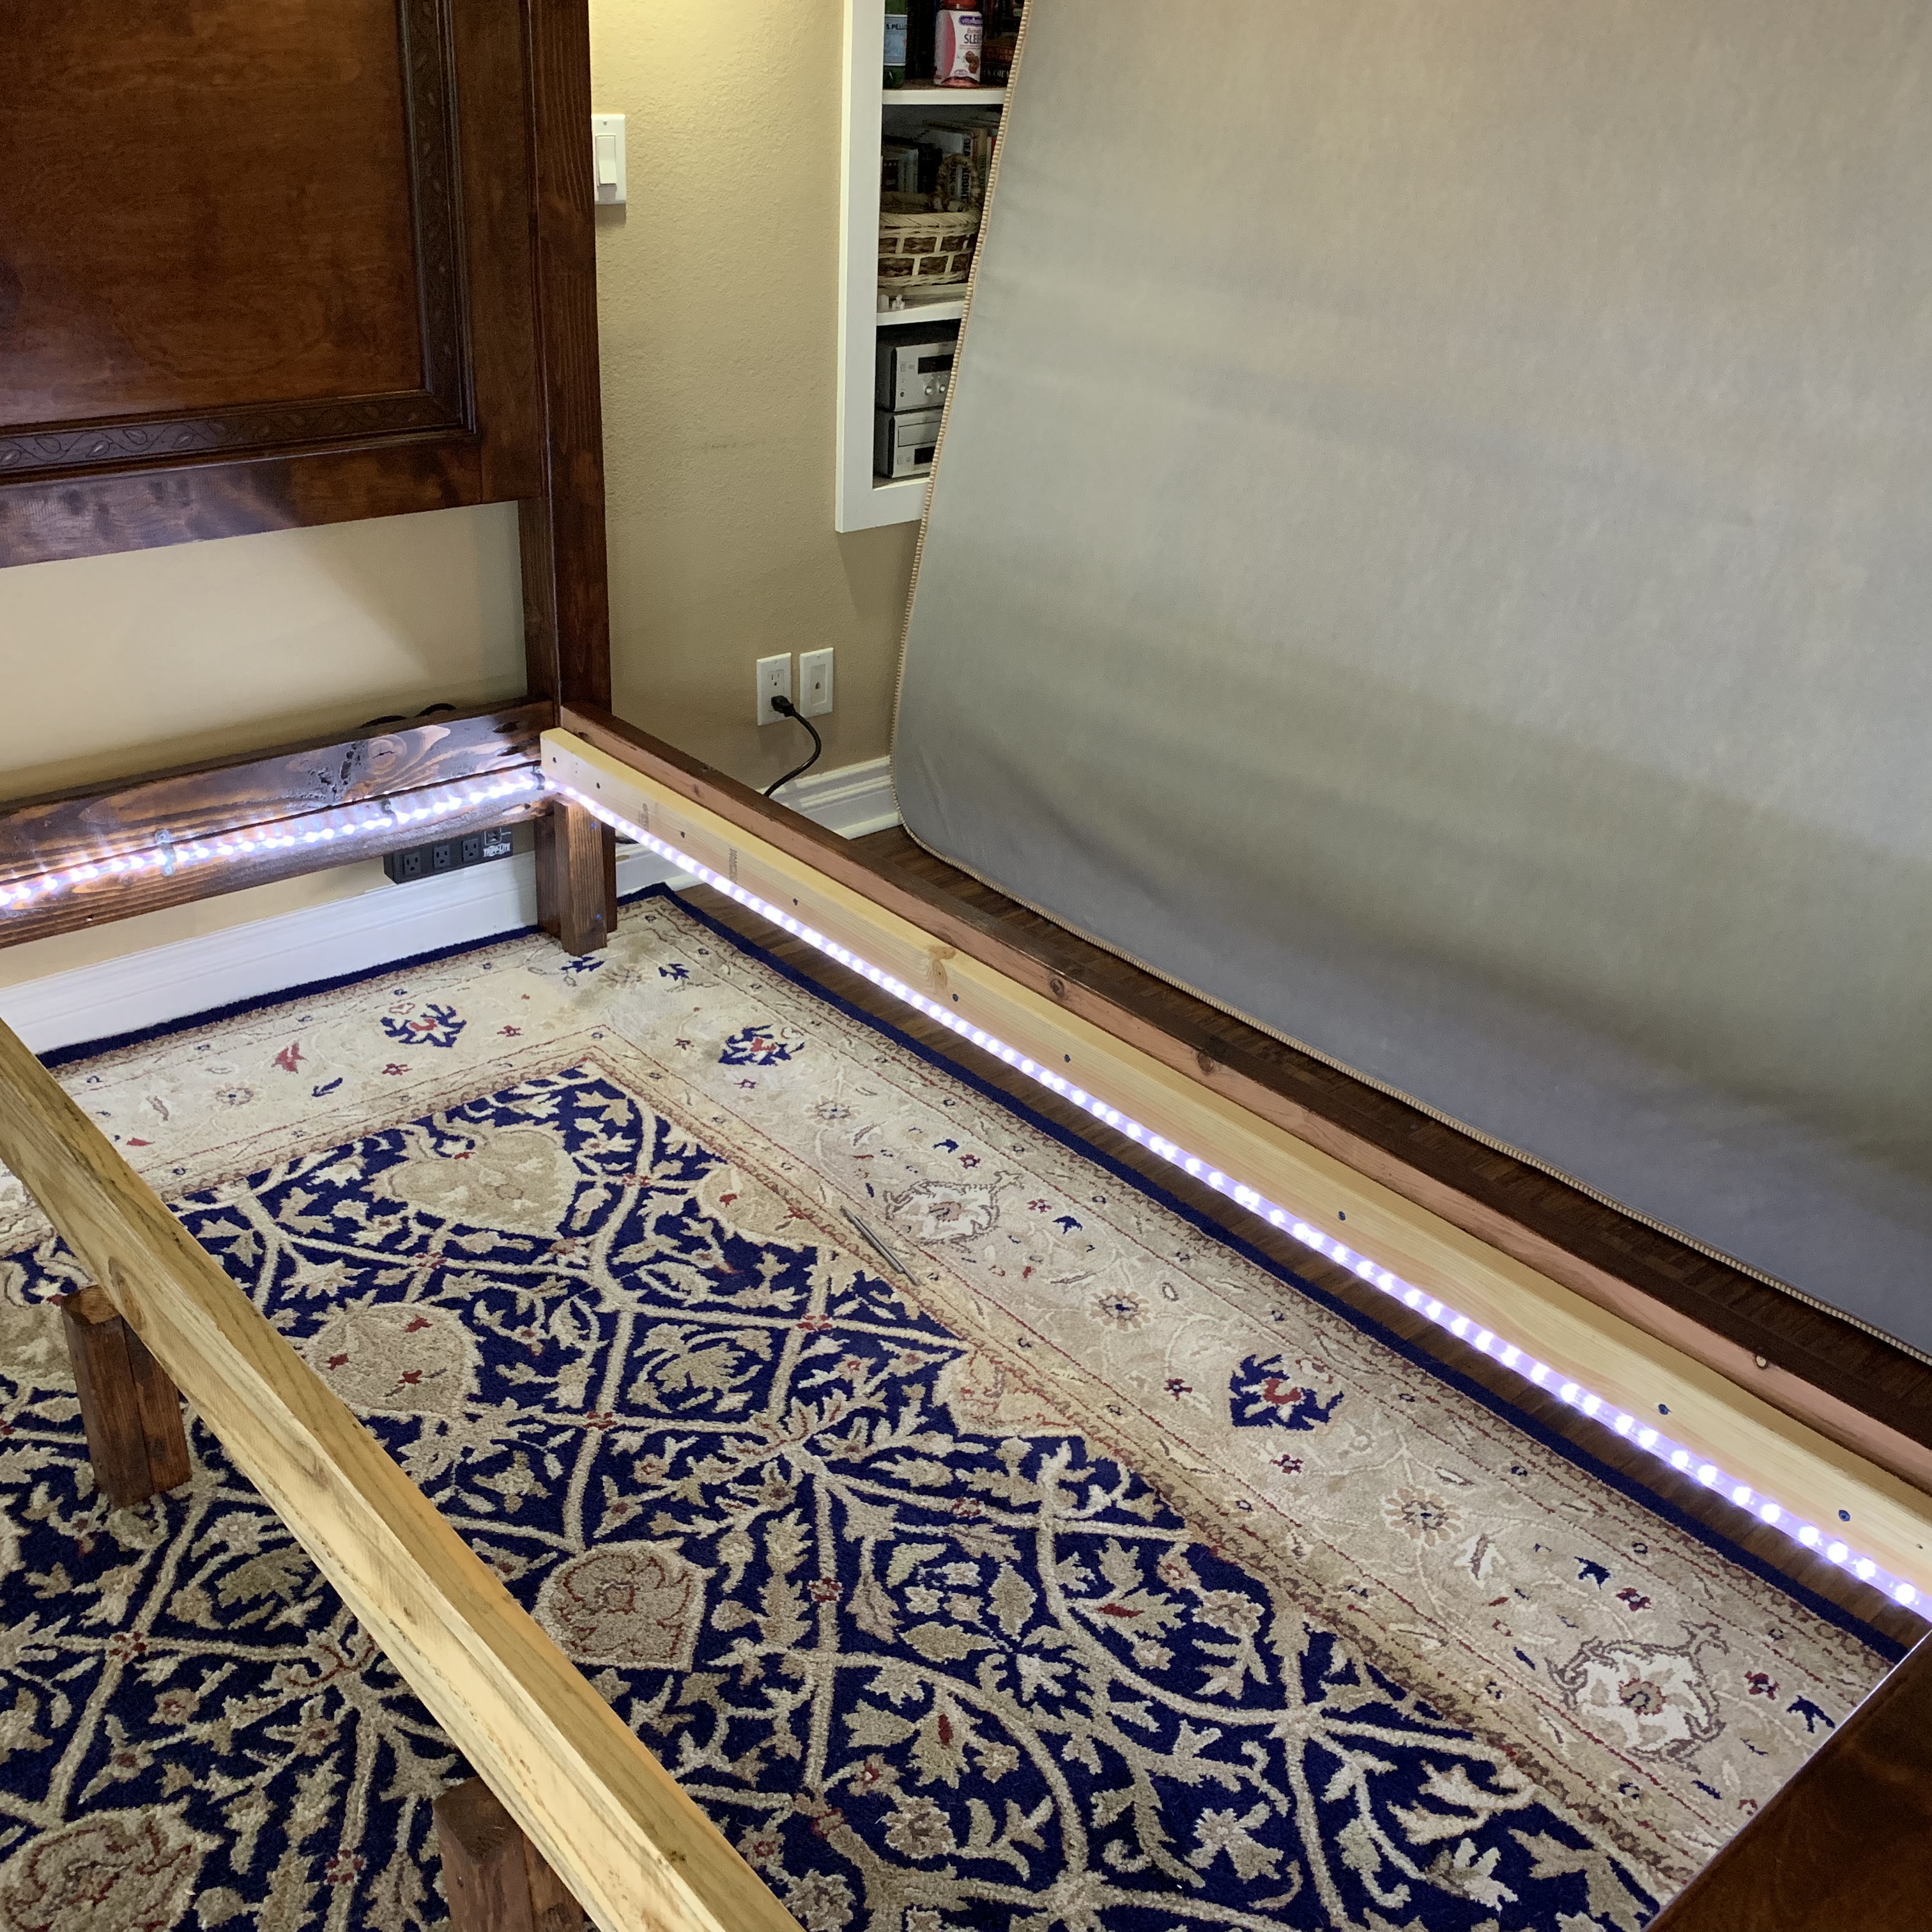
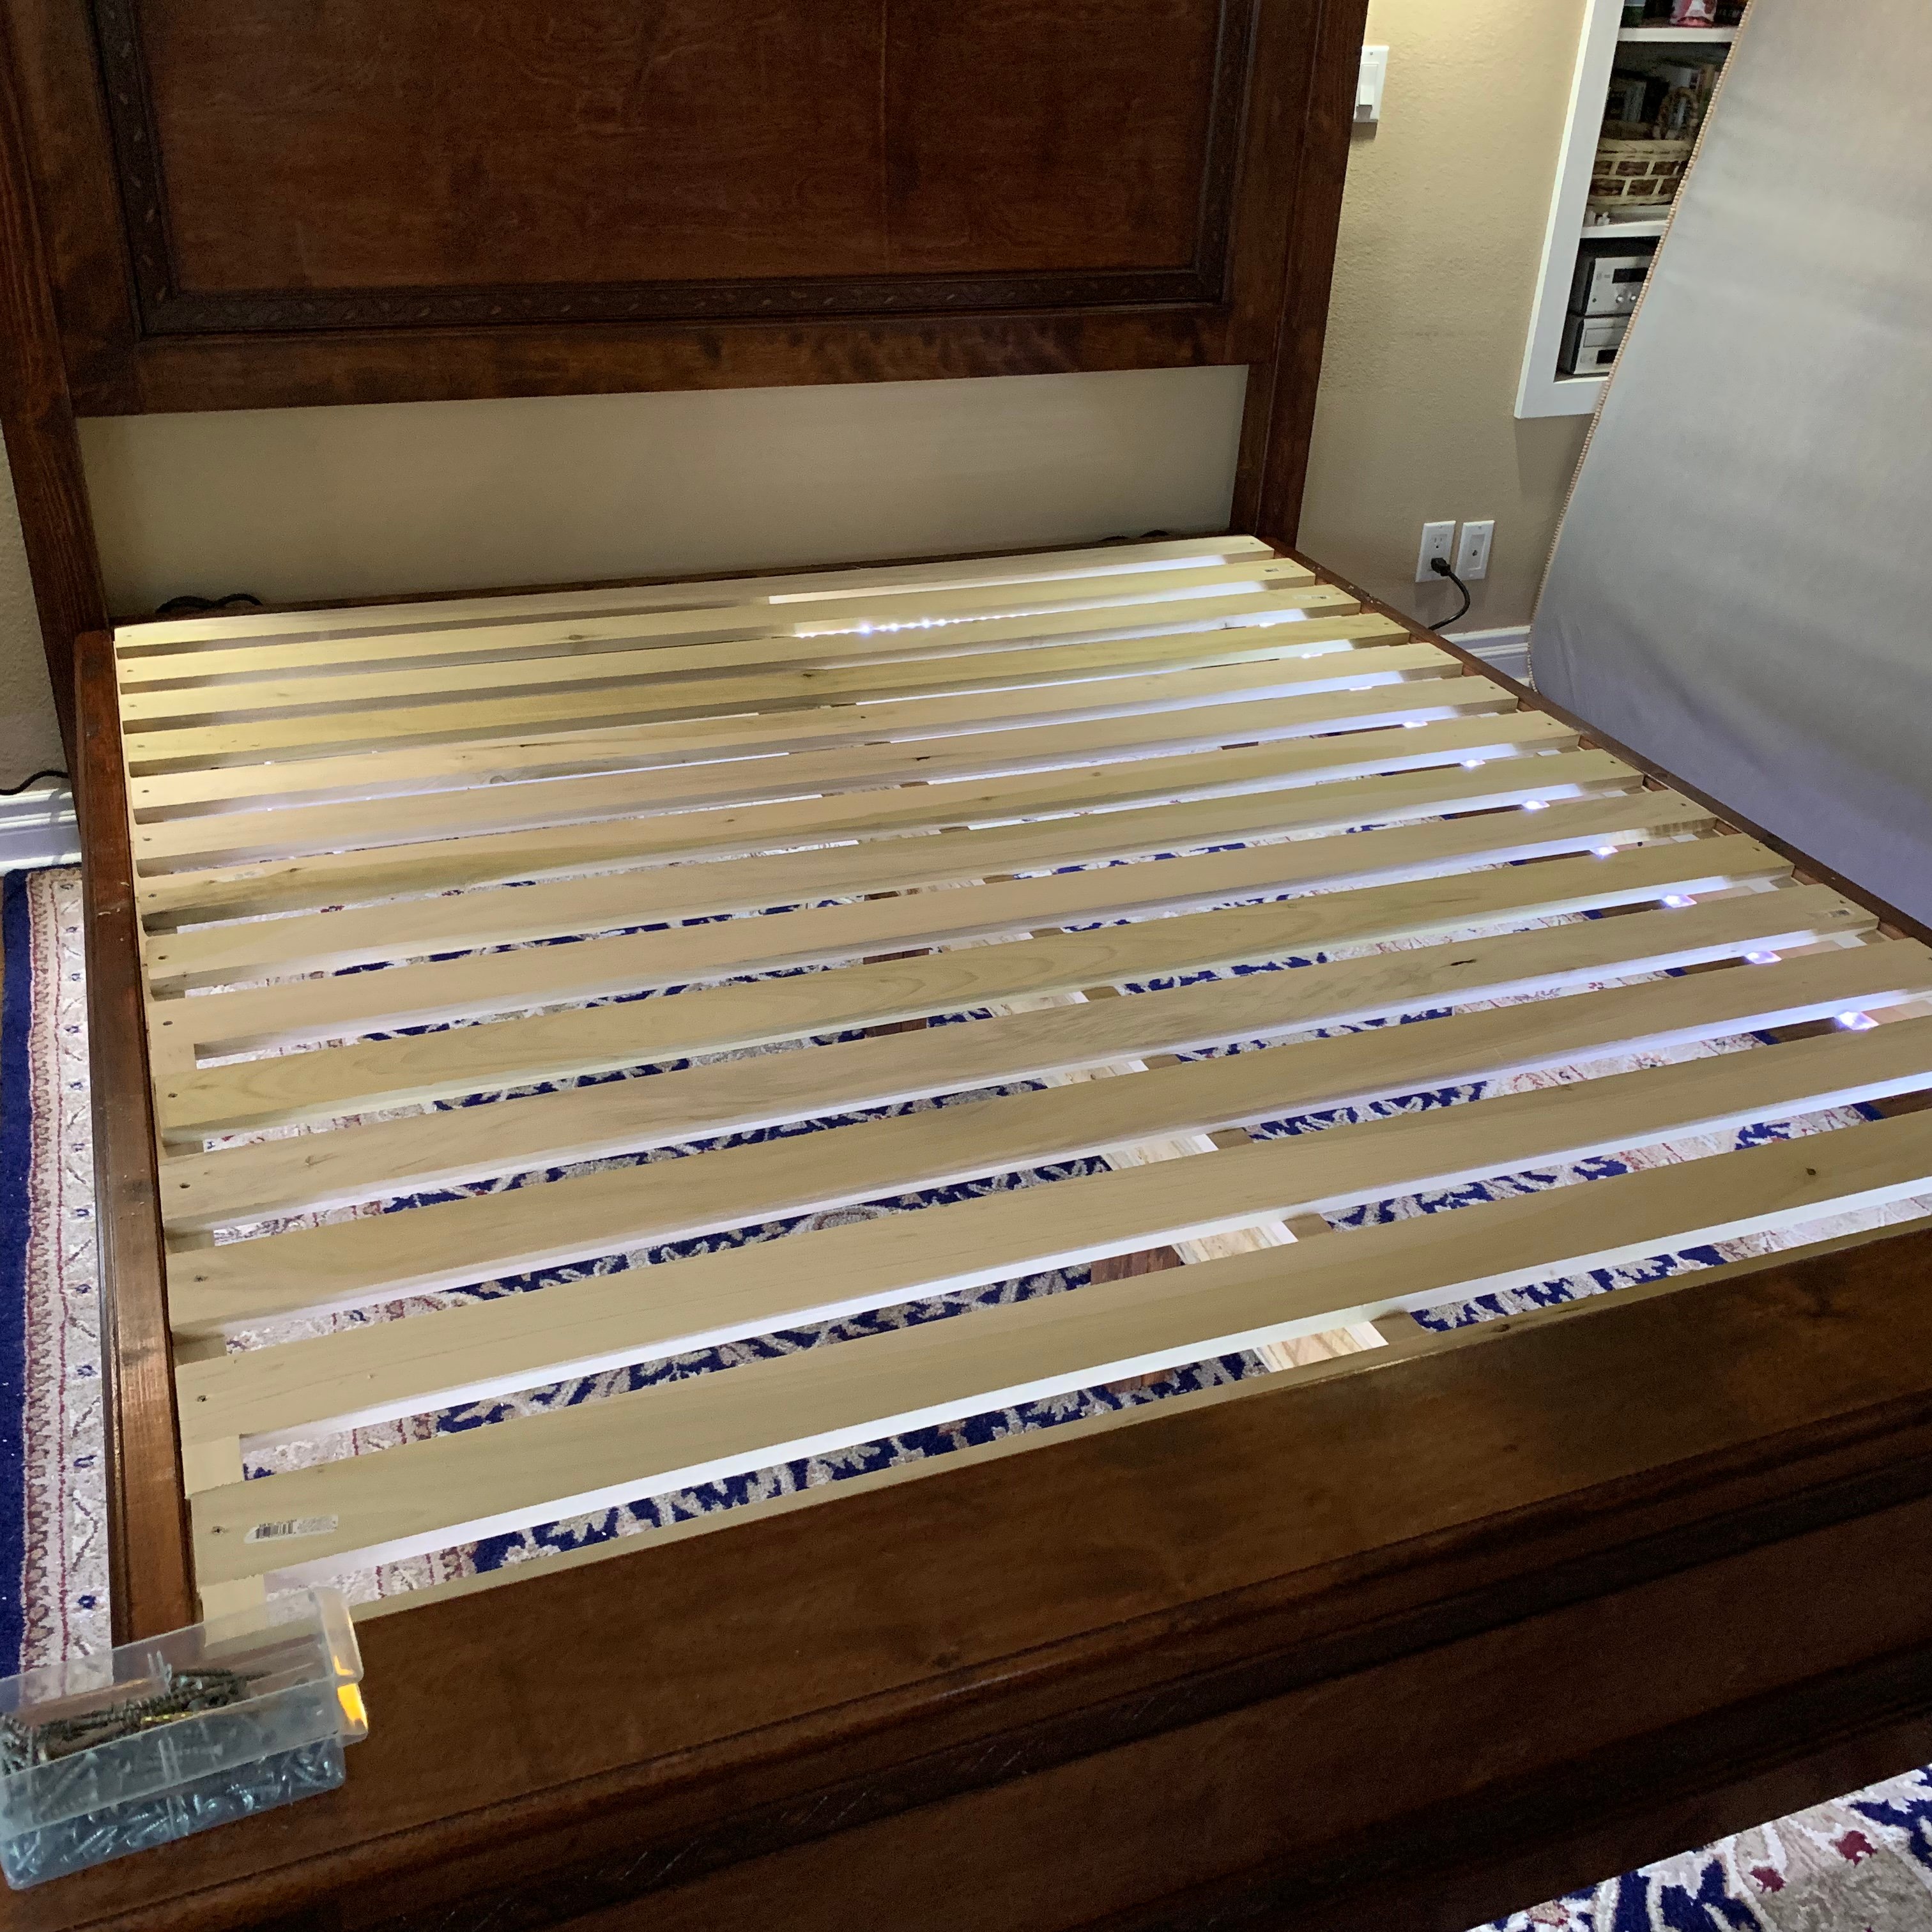
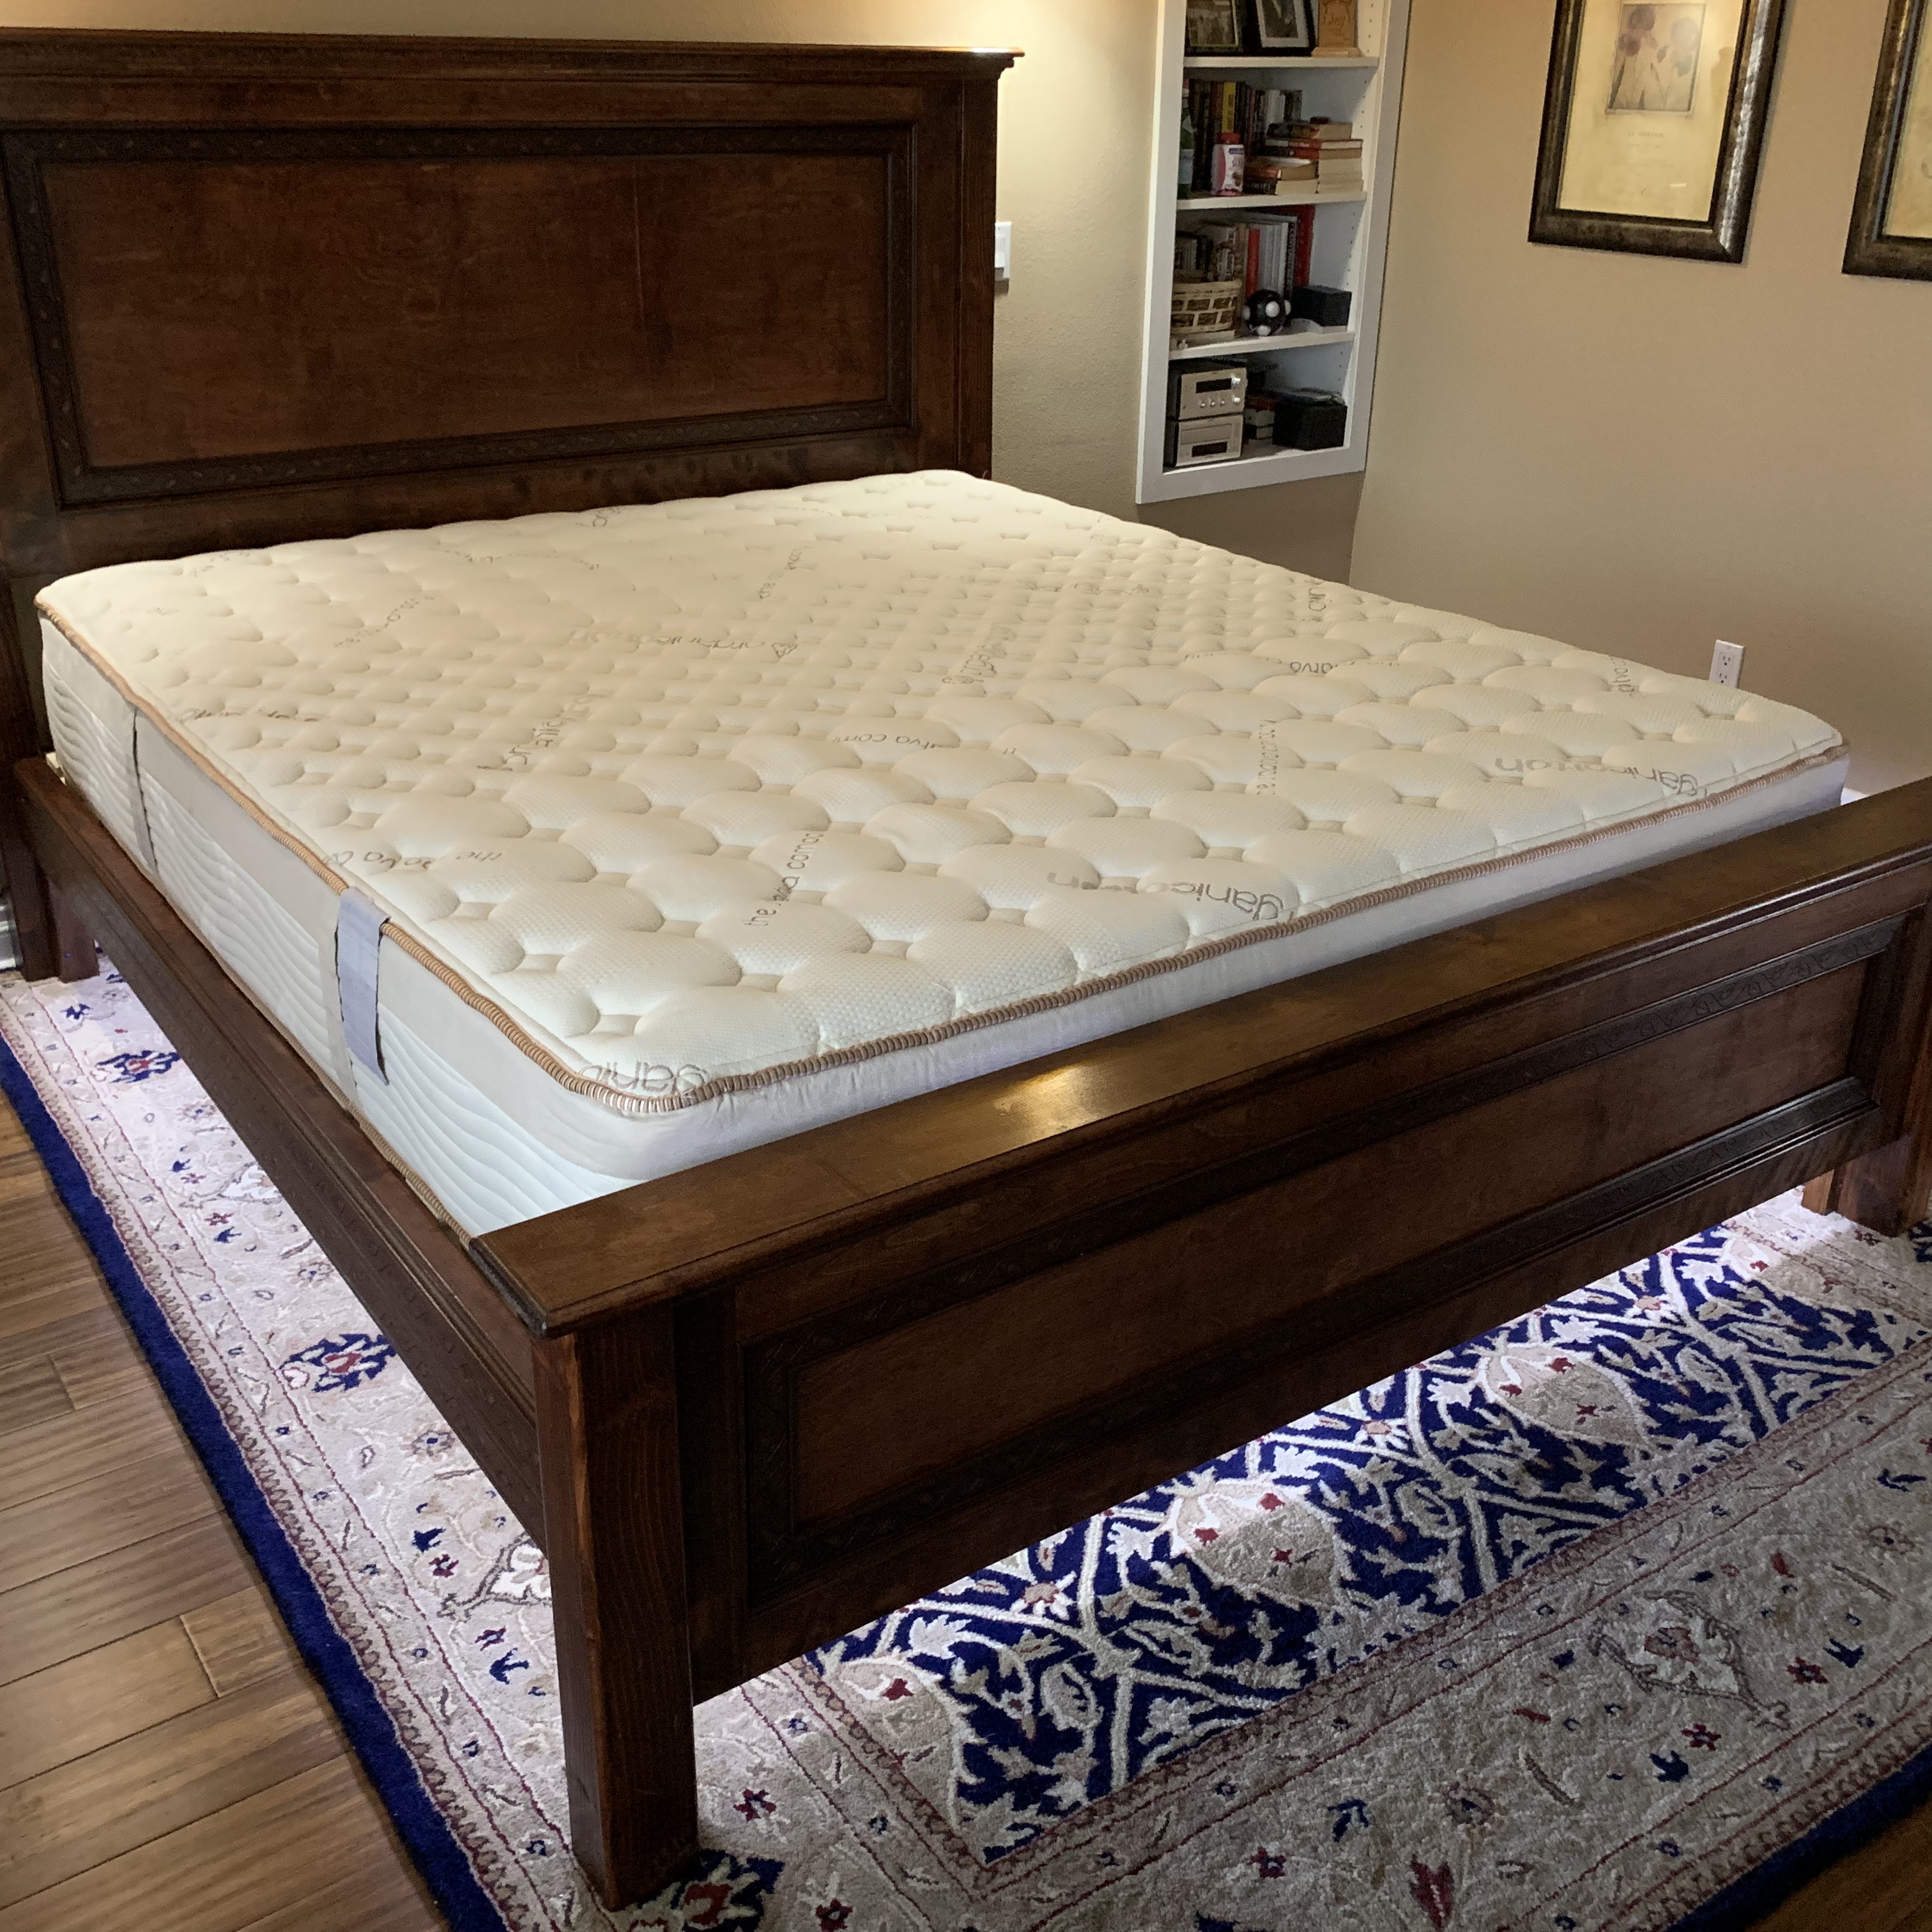
California King Modified
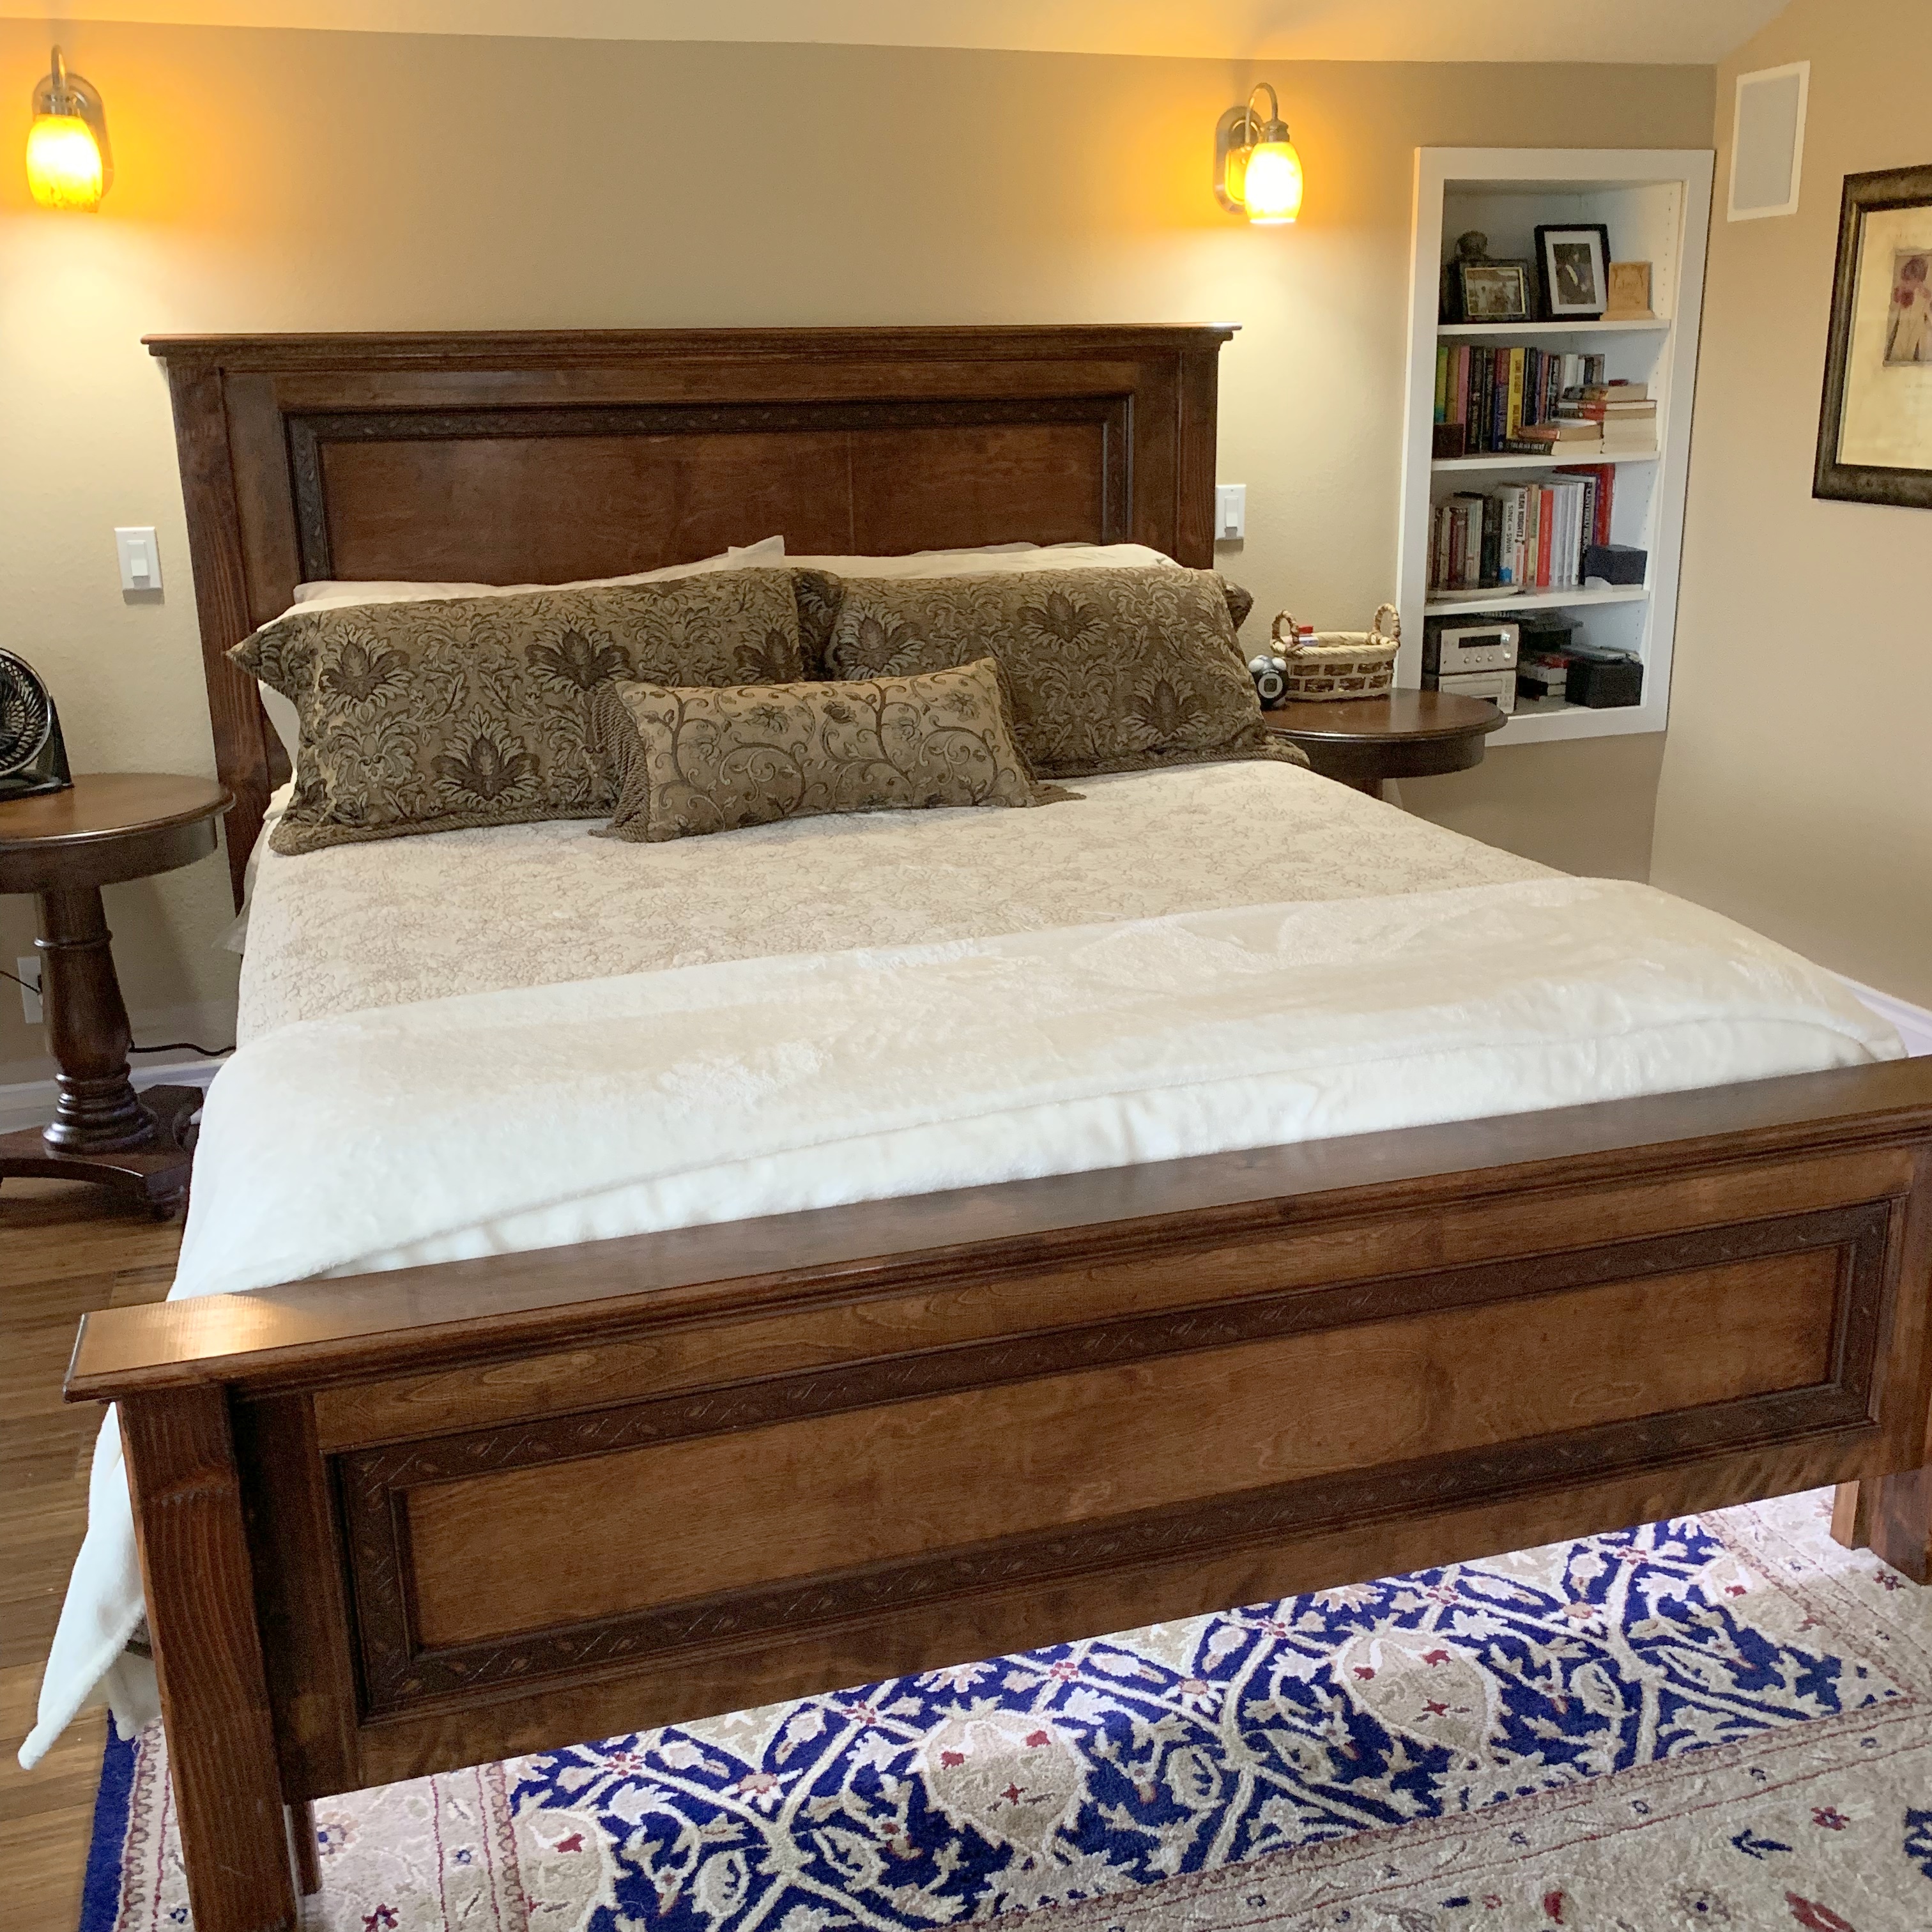
This was my first furniture build. Wanted something a little more detailed, so did solid panels, and inset molding into the panels for depth. I also wanted a taller footboard, so the panel is 18" high instead of the 15" that the plan showed. Ended up adding some crown molding as well, but mostly to cover up my mistakes. Also dressed up the side rails by covering them in a matching molding as well. Didn't want to use box springs, so moved the slats up to the top of the rail, and spaced them with 2" gaps between slats to give maximum support to the mattress. Since we have a small dog that I tend to trip over in the dark, I ran a 24' rope light along the interior side panels and footboard, and plugged into a wireless switch that I mounted to side of headboard, which I can turn on and off from bed. Stained it with General Finishes Mahogany Brown and then two coats of poly. Really happy with the way this turned out! Can't wait to do some more building, thanks to Ana! :-)
Estimated Time Investment
Week Long Project (20 Hours or More)
Finish Used
General Finishes Brown Mahogany stain and two coats of poly in a glossy finish.
Recommended Skill Level
Beginner
Laundry Tower
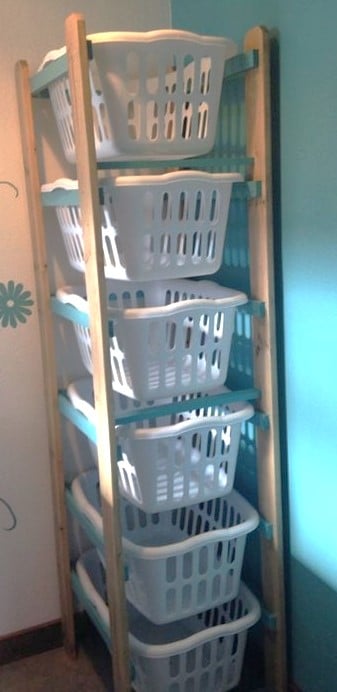
Reader submitted photo
Built from Plan(s)
Comments
spiceylg
Sun, 06/15/2014 - 18:31
Awesome
This is fantastic! Lucky kids!