Community Brag Posts

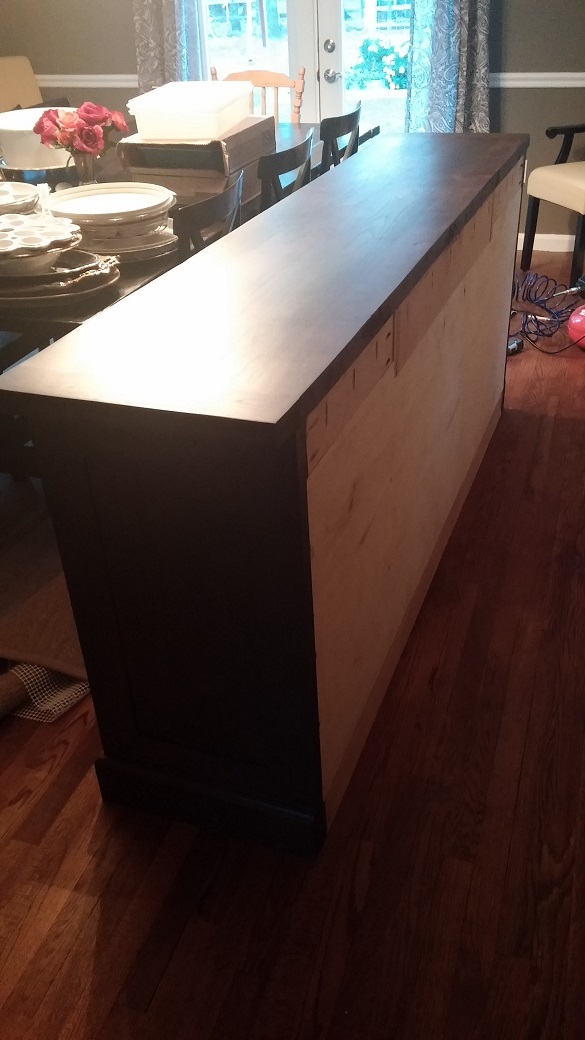
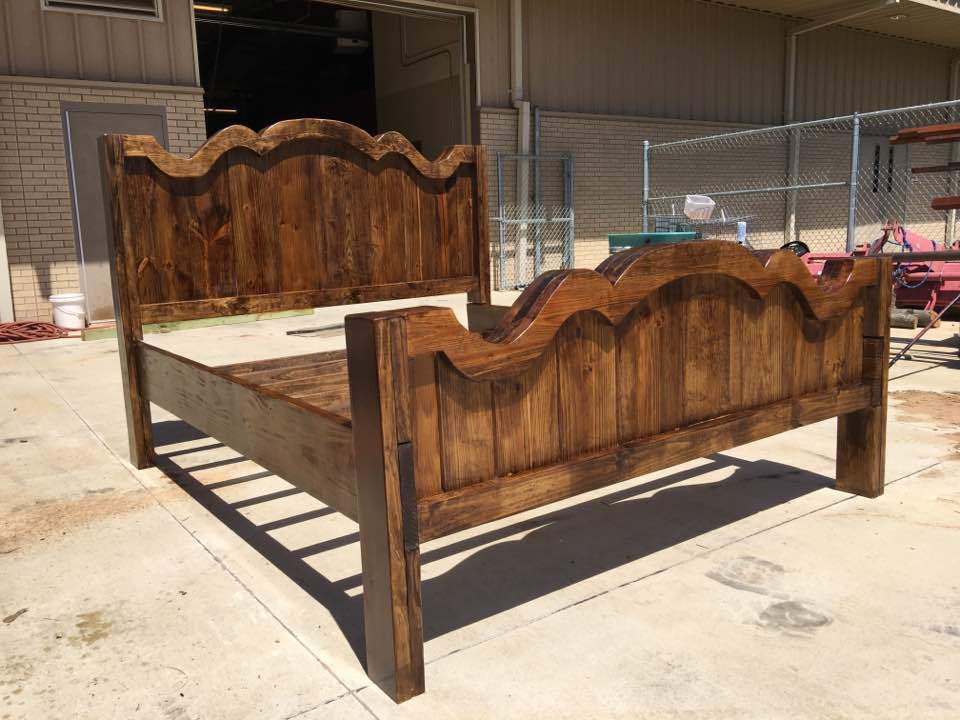
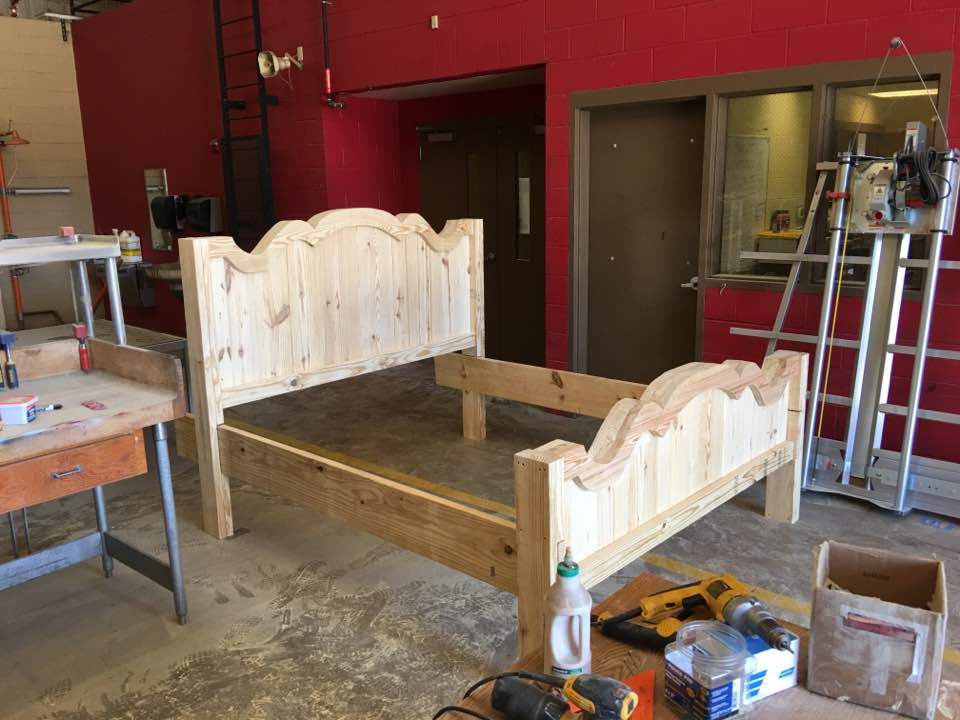
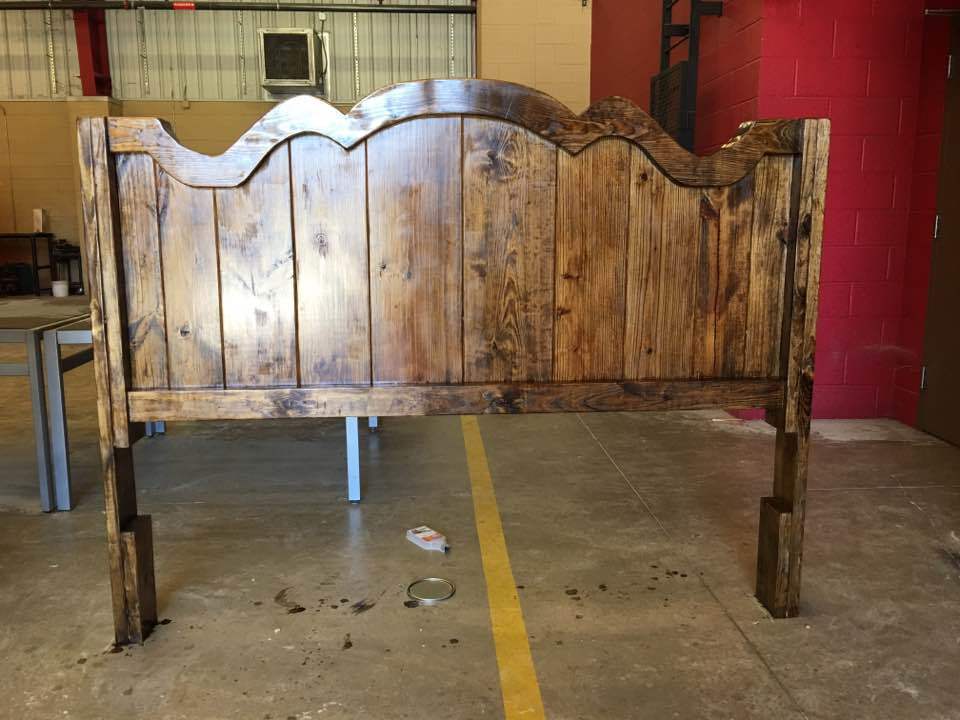
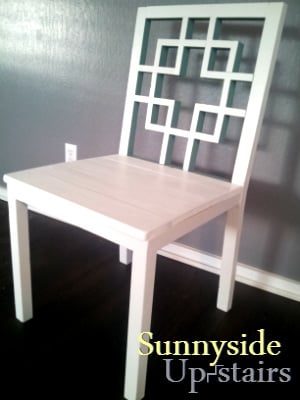
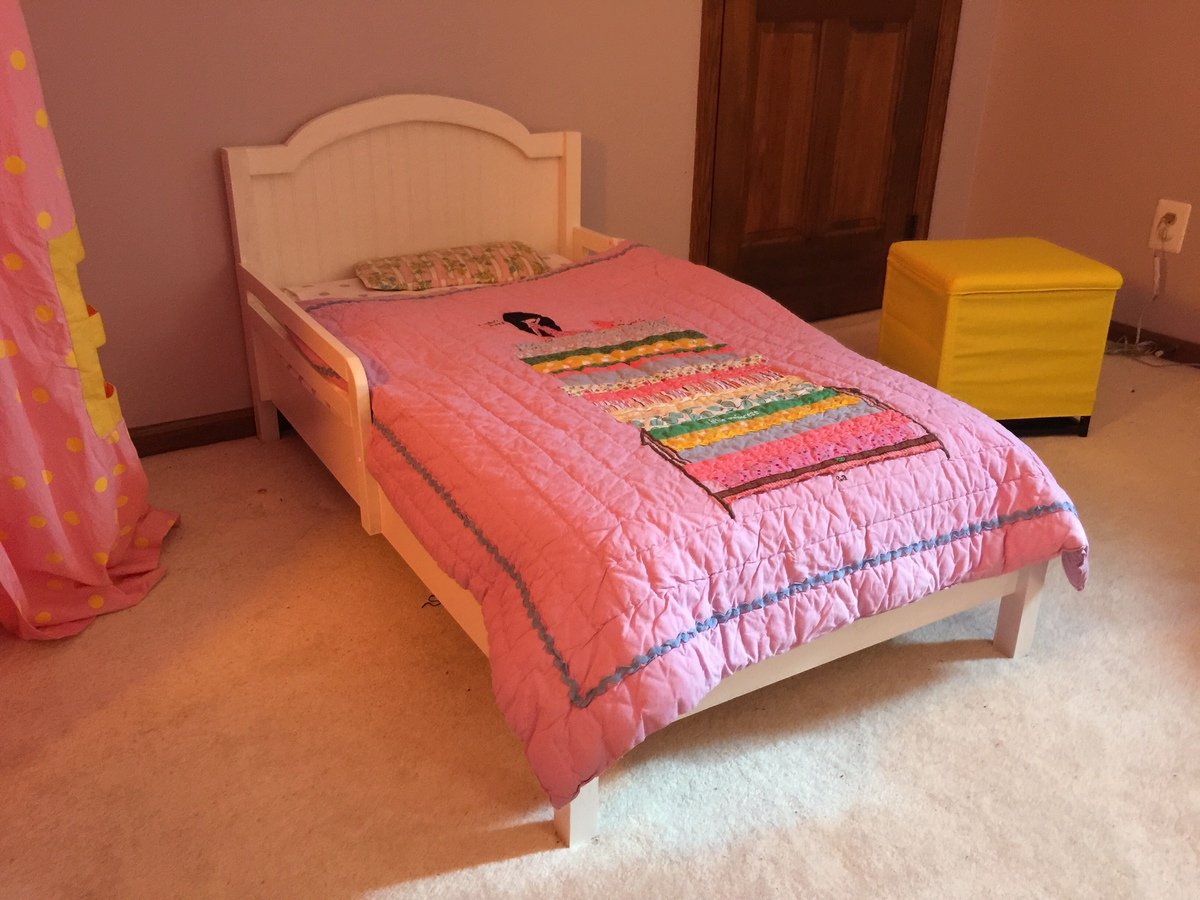
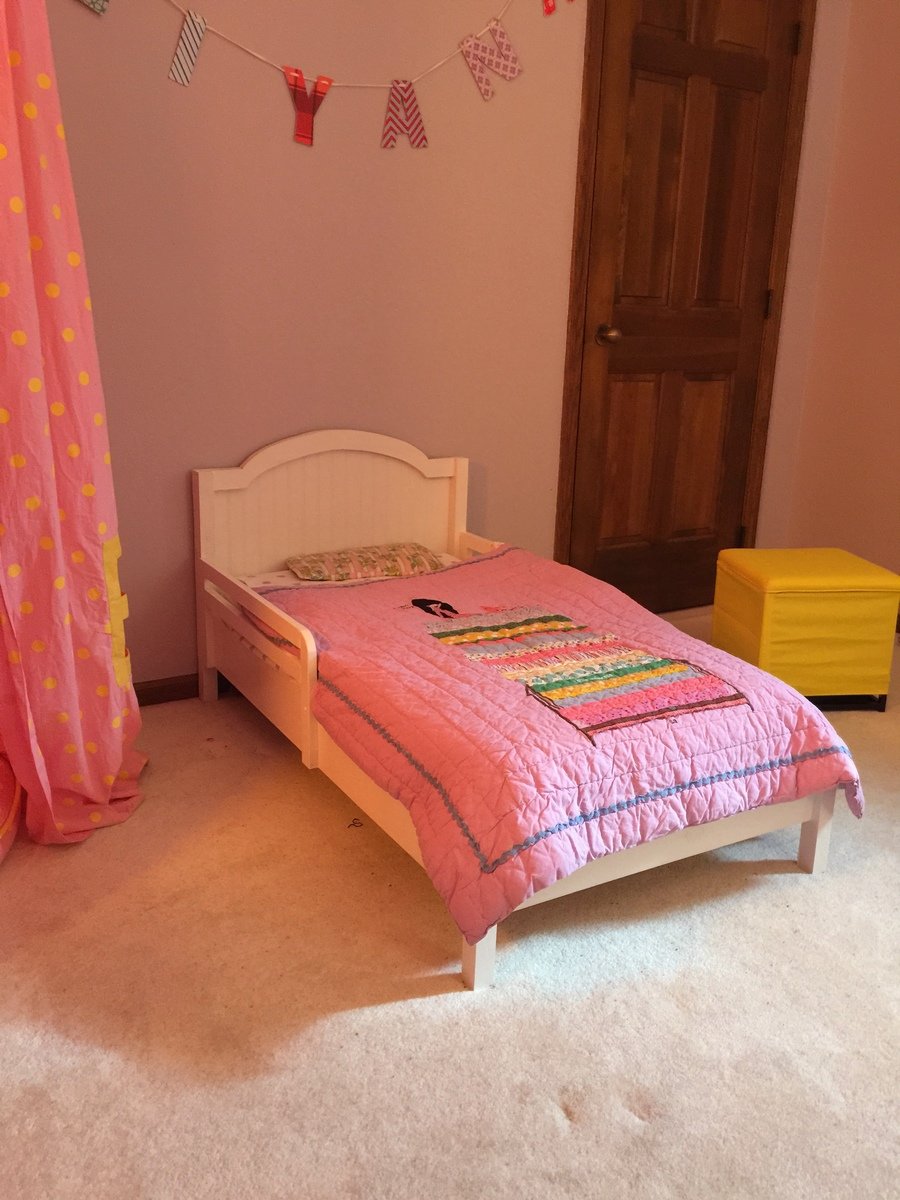
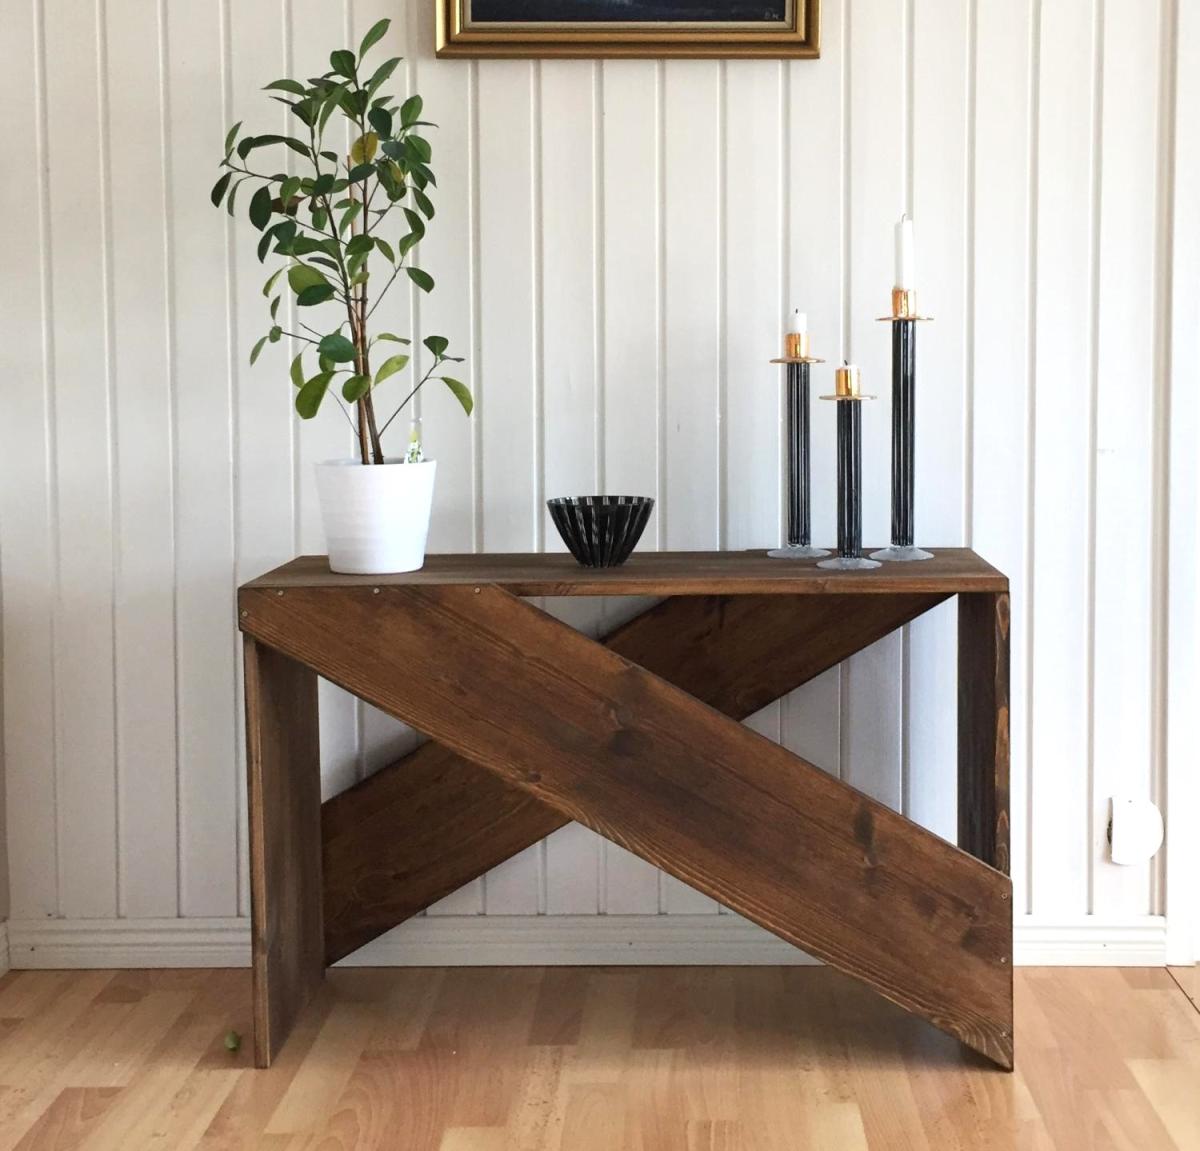
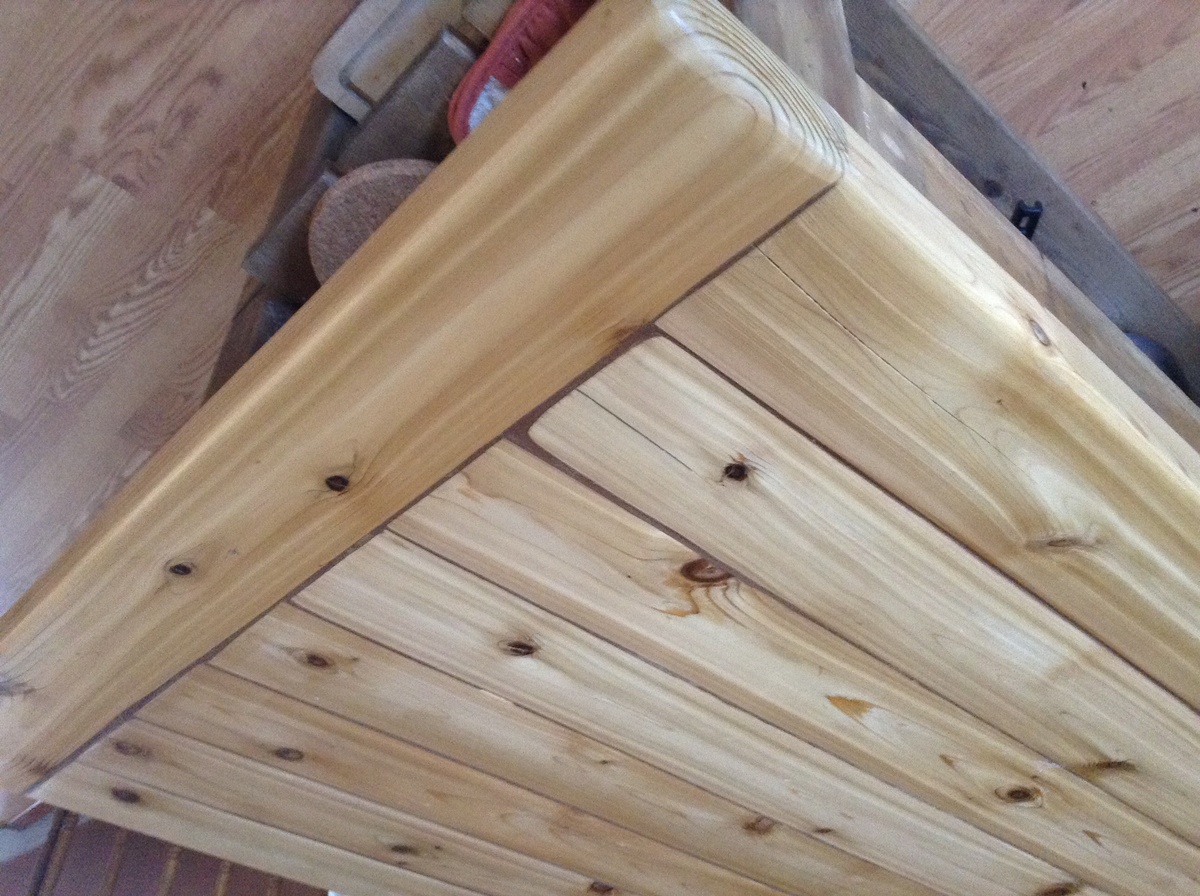
Reclaimed Wood Look Headboard with Ebony stain

Submitted by GWaters on Thu, 03/21/2013 - 23:30

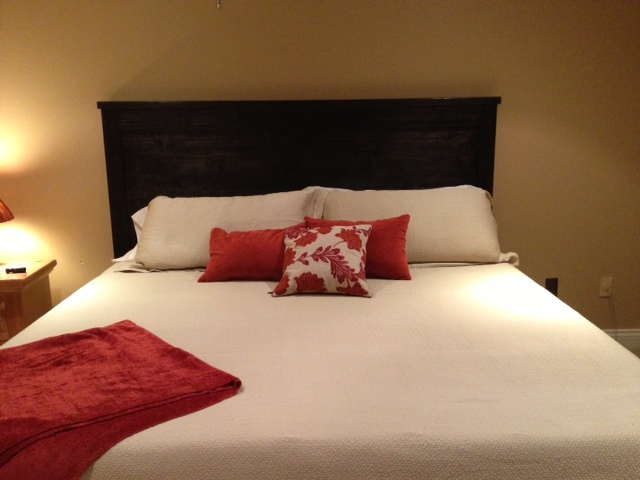
This was my first Anna White experience. It was a great beginner project. My husband was even impressed with the results. I was a little scared of the Menwax Ebony stain, but I applied it with a rag (several coats) and it came out very even. I used paste wax to finish off the project and it turned out great. I'm soooo proud of myself. I hope I don't sound too obnoxious, but it was just so much fun, and I was so surprised that I could build something that looked this professional. Ok, shutting up now. :-)

Estimated Time Investment
Week Long Project (20 Hours or More)
Finish Used
Min Wax Ebony Stain
Recommended Skill Level
Starter Project

Comments

Walnut Sideboard Variation

Submitted by DanGuyver on Mon, 02/02/2015 - 17:08

This project was a labor of love for sure.  It took me an hour here, an hour there over the course of several months before I finally finished it.  I have never felt so proud of something I built, and I truly could not have done it without the plans written up on this site!  Thank you so very much for the service you provide with your free plans!  

I started with rough-cut American walnut from a guy's basement.  It had been stored for over 50 years in a nice dry climate.  After planing it, running it through a jointer, and trimming off the crooked parts with my table saw, I was able to get everything to line up pretty well.   I will say the drawers sure gave me a run for my money!  Those are so difficult to get perfect! 

The stain I used is a Kona stain from Varathane.  I truly couldn't be more pleased with how it turned out.

Built from Plan(s)
Estimated Cost
$400
Finish Used
Varathane Kona
Recommended Skill Level
Intermediate

Comments

JoanneS

Mon, 02/02/2015 - 18:10

This walnut sideboard has real Wow factor! Absolutely love! The finish looks awesome, and I'm so impressed with all the work you put into making the old walnut boards ready for building. It's an Instant Heirloom!

DanGuyver

Wed, 02/04/2015 - 06:14

Thanks for the comments! I should also mention, that table was the "Rustic Farmhouse" from this site as well. And since that picture was taken I have built two more pieces from this site. I found a source for rough-cut oak lumber, and also managed to win an auction for a huge stack of maple that is currently drying in my basement. Hopefully I'll have many more projects coming soon. =)

Cali King Modified Head/Foot Boards

Submitted by Anonymous (not verified) on Mon, 05/01/2017 - 09:20

After showing my wife the plans, she did not like that flat top so I did some drawings until she liked what I had. I Modified the plans so that we could get what we liked. I used all 2" lumber instead of 1" because I wanted it to be nice and heavy. Raised the base of the side rails by 3" so that there would be more ground clearance, and used plywood under the slats so that we didnt need to use a box spring. I think it came out well.

Estimated Cost
$300
Estimated Time Investment
Weekend Project (10-20 Hours)
Finish Used
1 Coat of Minwax Provincial Stain
1 Coat of Spar Varnish Satin
Recommended Skill Level
Intermediate

Ambrosia Maple Box Frame Coffee Table with Lift Top

Submitted by Kimiark on Mon, 04/19/2021 - 14:41

Wow, building this table was more than I bargained for, but all the difficulties were my own fault. For starters, although the wood is beautiful (wormy ambrosia maple) the piece I chose to work with had a large knot hole that needed filling with an epoxy pour. It looks pretty good if I do say so myself (it's probably hard to see in this photo). Second, I didn't count on the hinges being so long and my wood came up about 3/4 inch too short for them. Had to scour the internet for some that were not so long. They ended up being a bit of trouble to install, but all's well. I used my router to cut a cove for finger grips which did make it easier to lift the top. I also made the top sides bigger that the original 2 x 2 (2 x 5 maybe) for weight and stability. I had extra wood so I added a bottom shelf as well. The finish is several coats of Varathane semi gloss polyurethane. I really like how it turned out!

Estimated Cost
$200
Estimated Time Investment
Week Long Project (20 Hours or More)
Finish Used
varathane semi gloss polyurethane
Recommended Skill Level
Intermediate

Comments

Squared2 Dining Chair

My husband and I loved the Squared2 Chair we saw on this site and we knew that we wanted to have this design for our dining chairs. As my building experience has increased, I thought it was time to try. This is my first chair: it is not perfectly executed, but I learned a few things along the way and I've decided to buy a few tools, too. I modified the square back pattern cut lengths explained briefly on my little blog.

Built from Plan(s)
Estimated Cost
$28 for me, using wood we already owned. $50 otherwise per Hawai'i prices.
Estimated Time Investment
Weekend Project (10-20 Hours)
Finish Used
Painted top coat: sample container of Valspar Mystique ($3, already owned) + Valspar shimmer powder ($7 new purchase) and Glidden Flat "oops" teal ($3 quart, already owned) inside squares on chair back.

Sealant/Protectant: Minwax Polycrylic ($17, already owned)
Recommended Skill Level
Intermediate

Comments

Traditional Wood Toddler Bed

Submitted by pde00311 on Fri, 02/06/2015 - 09:11

With another baby on the way in a few months, we decided to move our 2+ year old daughter across the hall into her first big girl room. I built big sister the Kendal Extra Wide Dresser, Traditional Wood Toddler Bed, Letter A Shelf and a Dollhouse Bookcase and matched the colors with her new comforter, lamps and princess canopy tent from the Land of Nod outlet.

A lot of people have done some pretty cool modifications to this project, but at the end of the day, we decided to follow the plan verbatim and build the Pottery Barn design. This build was super easy. Probably spent most of the project time sanding over and over in order to ensure that it was splinter-free, smooth, and safe for our princess. I do note that the side rails in the project design are somewhat low after you put the mattress down. However, this was really only a concern during the first few weeks. Although our daughter somehow was able fall to the floor during the first night (without incident--she did not even wake up--thank god for carpet), after she became accustomed to the bed, the lower side rails actually work rather well. Our daughter, a insanely crazy sleeper, usually wedges herself against the side rails at different parts of the night. She might hang a limb or two over the rails, but never through the rails, and she never falls off the bed.

Built from Plan(s)
Estimated Cost
$40
Estimated Time Investment
Day Project (6-9 Hours)
Finish Used
Behr white fur paint
Recommended Skill Level
Starter Project

Raised planter

Submitted by pezlo55 on Mon, 04/26/2021 - 12:57

This was simple and easy. I added handles and casters. This was a great project.

Comments

$10 shelf...but cheaper...

Submitted by Marisol on Wed, 03/27/2013 - 16:09

had a lot of scraps and put them to good use with this shelf, east to change out any art/photos my kids would like on their walls, size of frames, etc...without nailing frames, changing positioning, just re-arrange on the shelf :)

Built from Plan(s)
Estimated Time Investment
An Hour or Two (0-2 Hours)
Finish Used
Annie Sloan Duck Egg and home made white chalk paint mix.
Recommended Skill Level
Starter Project

Comments

spiceylg

Thu, 03/28/2013 - 05:58

Nice job on all the builds. Those closet doors are beautiful and actually the whole room looks fab!

Marisol

Thu, 03/28/2013 - 15:57

Spring is here, and no longer pregnant, I am excited to get started on many more projects!

Floating Shelves

I modified the size to fit my dining room and I am so pleased with the results!

Estimated Cost
$25.00
Estimated Time Investment
Afternoon Project (3-6 Hours)
Finish Used
I dinged up and scratched the boards, sanded then brushed on black latex pain that I thinned with water and immediately wiped it off.
Recommended Skill Level
Intermediate

Comments

Two-tone open wardrobe

Submitted by Anonymous (not verified) on Mon, 05/08/2017 - 08:06

I couldn't find any wardrobe that I was really happy with - and then I stumbled upon Ana's design, and I loved it! I went for two different colors (white for the supports and rosewood for the shelves) to give it more presence. Dimensions are 60" wide X 22" deep x 86" tall 

Built from Plan(s)
Estimated Cost
$300
Estimated Time Investment
Weekend Project (10-20 Hours)
Finish Used
General finishes rosewood stain (for dark wood, it gives a red hue) and whitewash.
Recommended Skill Level
Starter Project

Comfy sofas

Submitted by Anonymous (not verified) on Mon, 05/03/2021 - 16:59

These were a blast to make. Cant wait till my next project.

Built from Plan(s)
Estimated Time Investment
Weekend Project (10-20 Hours)
Recommended Skill Level
Intermediate

Comments

Apothecary Console

Submitted by bhanabh on Sat, 03/30/2013 - 21:09

My Apothecary Console

Built from Plan(s)
Estimated Cost
$250
Estimated Time Investment
Weekend Project (10-20 Hours)
Finish Used
Olympic Latex Paint for MDF , color - antique white, cherry colored wood Stain and gloss for pine.
Recommended Skill Level
Starter Project

Rustic Cedar Kitchen Island

The original plans were altered to measure 6 feet long to fit the space. The top is all cedar which I had planned to keep unfinished and oil each month. Well, that was the plan until I found that it was very hard to clean with kids eating on it and because the 2x4 boards were screwed down, they allowed a lot of food, water to seep through.  Some of the boards began splitting and warped considerably.  Then I discovered the pocket hole jig!!  I took the top off, gave a good sand to them and attached all with pocket hole screws which tightened them up so much that I needed to add an extra 2x4 to adequately cover the top of the island. I also added a breadboard to the end to give it that finished look.  To fill in the grooves I used wood filler with a dark pigment, and gave it a really good sanding after it dried. I then applied Varathane in 4 coats to the top after using steel wool in between coats.  Gives it a lovely natural cedar patina and keeps the breadcrumbs out.

Built from Plan(s)
Estimated Cost
$250
Estimated Time Investment
Weekend Project (10-20 Hours)
Finish Used
Special Walnut stain from Minwax on everything except for top and drawer fronts. Varathane Diamond Water based Wood Finish
Recommended Skill Level
Beginner

Husbands birthday gift

Submitted by Anonymous (not verified) on Wed, 05/10/2017 - 23:18

My husband loves to set outside and look out over our 10 acres with his coffee in the mornings. I thought this chair would be a great birthday gift to use for that purpose! It was fairly easy to put together.  I just have to purchase some cushions and it'll be ready to give to him.  I did modify a few things...used some 2x4s, changed up the back boards a bit and put some angle cuts on the arms. I'm very pleased with it! This is the third or fourth project we've made from Ana's plans. We just love them!

Built from Plan(s)
Estimated Cost
$60
Estimated Time Investment
Day Project (6-9 Hours)
Recommended Skill Level
Beginner

Love Seat Adirondack Style

Thanks to Ana White for the free plans
I had the challenge to do a love seat Adirondack style
I did and it turned out beautiful and I’m very happy

I spent les than $100 (canadian)

Thanks Ana 🙏🏼

Estimated Cost
$100
Estimated Time Investment
An Hour or Two (0-2 Hours)
Finish Used
Behr waterproof wood finish Cordovan brown (T-104)
Base 500N
Recommended Skill Level
Beginner

Comments

Bella's Backyard

Submitted by ebuffy99 on Tue, 04/02/2013 - 14:48

My first project ever was the red picnic table about a year ago and have built many more as housewarming/kid's bday gifts. This Christmas, instead of buying my daughter more toys, I decided to build her a playhouse. Not only was it a very special gift for her but also freed up space in my house being able to put her play kitchen, table, and other toys in it. The small changes we made were the size of the deck to better fit our available space and the shutters (made out of scrap 1x2s and hinged to close with a hook and eye). We put down 3/4" treated plywood as the base and then used 1 box of vinyl plank flooring that looks like wood to hold up to the Texas humidity. I eventually want to make accordion-like shutters for the front window but have up a bug curtain (used for regular size doorways and closes together with magnets) that I cut in half to fit. We have bad mosquitoes here in Texas! I also added a wireless doorbell.

Estimated Cost
$500
Estimated Time Investment
Week Long Project (20 Hours or More)
Recommended Skill Level
Advanced

Comments

spiceylg

Wed, 04/03/2013 - 04:58

You did an amazing job! Lucky little girl. Looks so cozy inside and out!

Seasonal And Holiday

My version of the Wooden Snowflake

Submitted by mlpluess on Sat, 02/14/2015 - 19:47

Bought a bundle of lath just to see how it would work.  Cut great and took the stain perfectly.  Since the snowflakes are going up against a pale green house, I kept them dark so they would stand out.  Made five and have a ton of lath left over.  Made them 33" wide.  Great plan, thanks!

Built from Plan(s)
Estimated Cost
$25 but have a bunch of wood left over
Estimated Time Investment
Afternoon Project (3-6 Hours)
Finish Used
Walnut stain
Recommended Skill Level
Beginner

Comments

Made in Argentina

Submitted by Anonymous (not verified) on Sun, 05/14/2017 - 07:23

I did it with wooden that i had at home. not aditional cost at all!

Estimated Time Investment
An Hour or Two (0-2 Hours)
Recommended Skill Level
Starter Project

Cubby Bookshelf - Large

My wife is a crafter, and her room is chockful of material for projects planned and projects waiting to be inspired. Our house is not a large house, and I had this desire to give her some organization. She already had a cubby bookshelf similar to this one, but that was store bought. I have only recently begun building things in my retirement, and I wanted to give her something that was me. It turned out nice, if a little wobbly, but I fixed that with a couple diagonal cross pieces across the back. It fit the space we had perfectly. The important thing is she loves it, and has (obviously) filled it up nicely.

Built from Plan(s)
Estimated Cost
75.00
Estimated Time Investment
Day Project (6-9 Hours)
Finish Used
Paint - two coats
Recommended Skill Level
Beginner

Comments

Miter Saw Cart named Dolley

I made the miter saw cart today. It took me about 2.5 hrs, but I was going slow and taking lots of breaks.

Built from Plan(s)
Estimated Time Investment
An Hour or Two (0-2 Hours)
Recommended Skill Level
Starter Project

Comments