Community Brag Posts

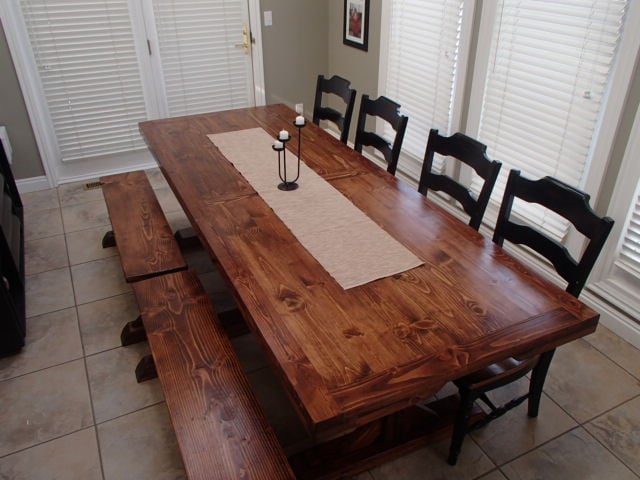
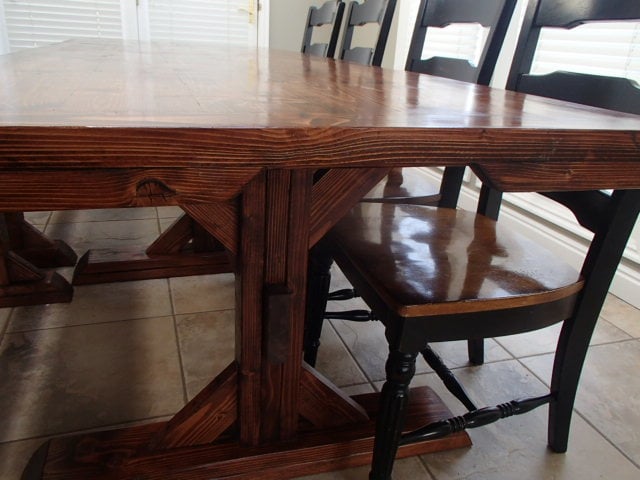
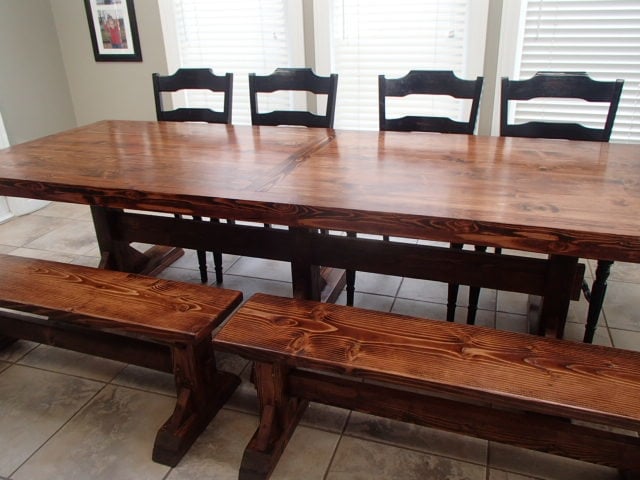
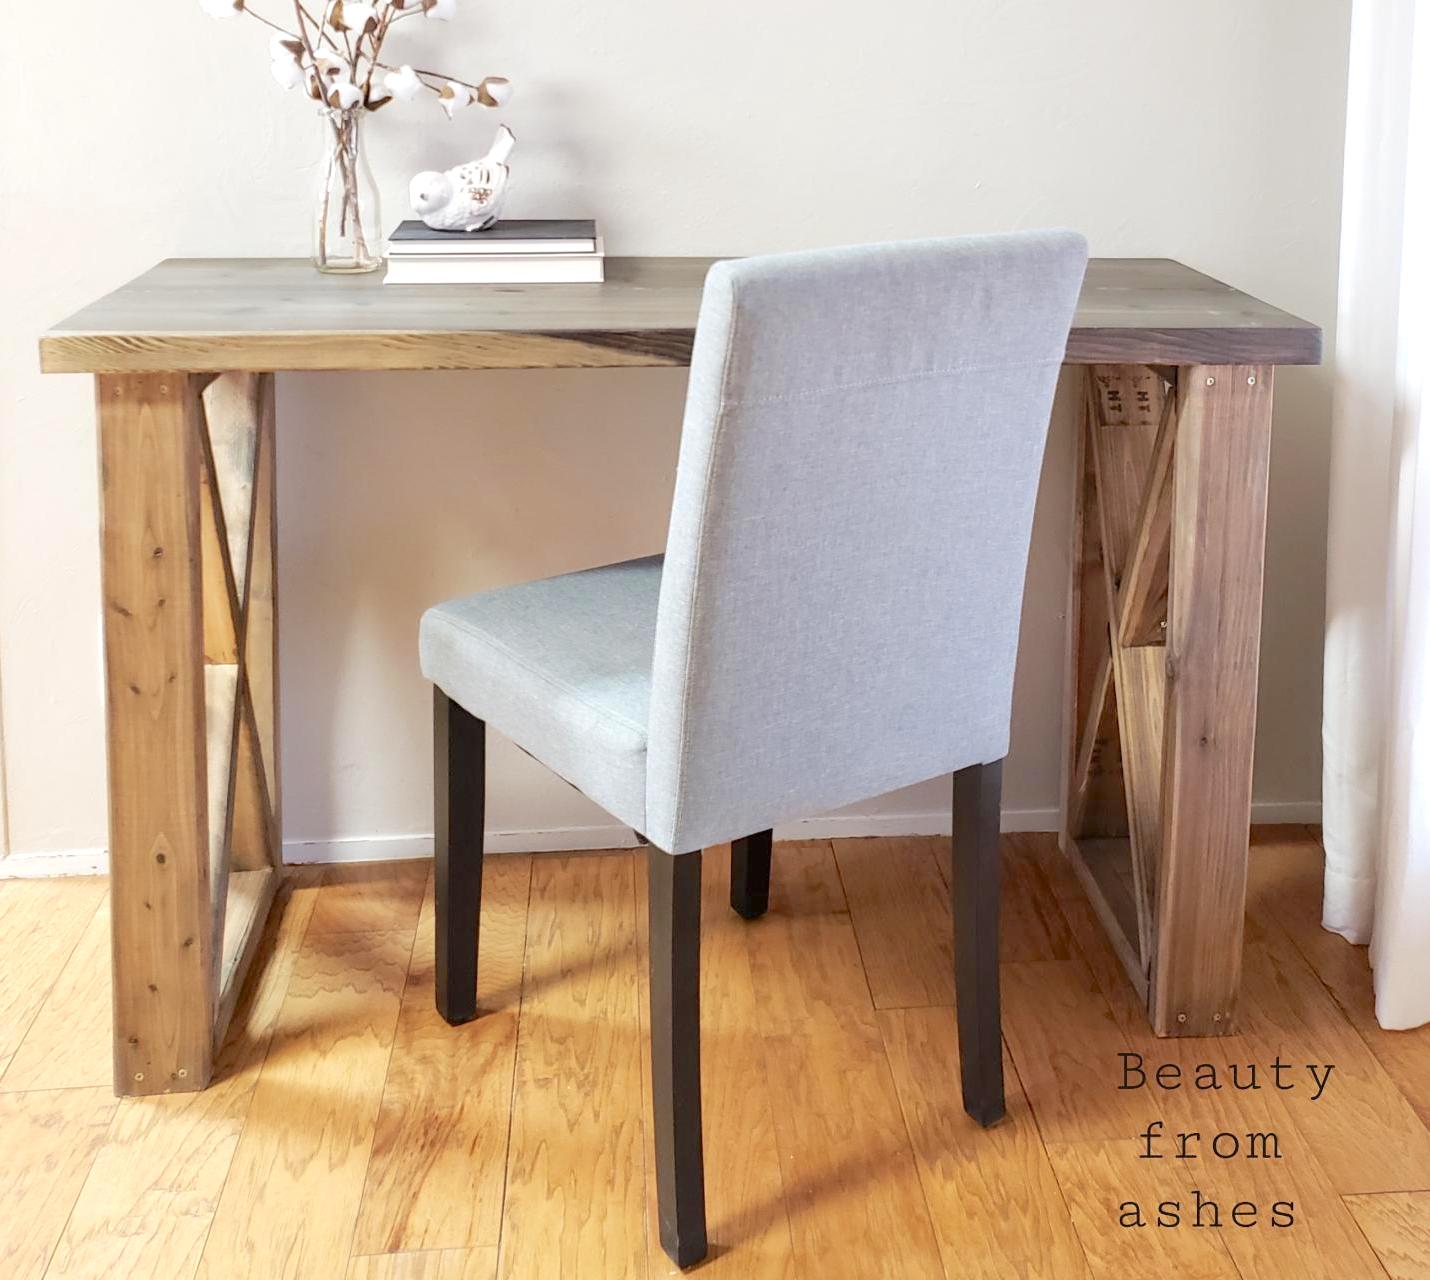
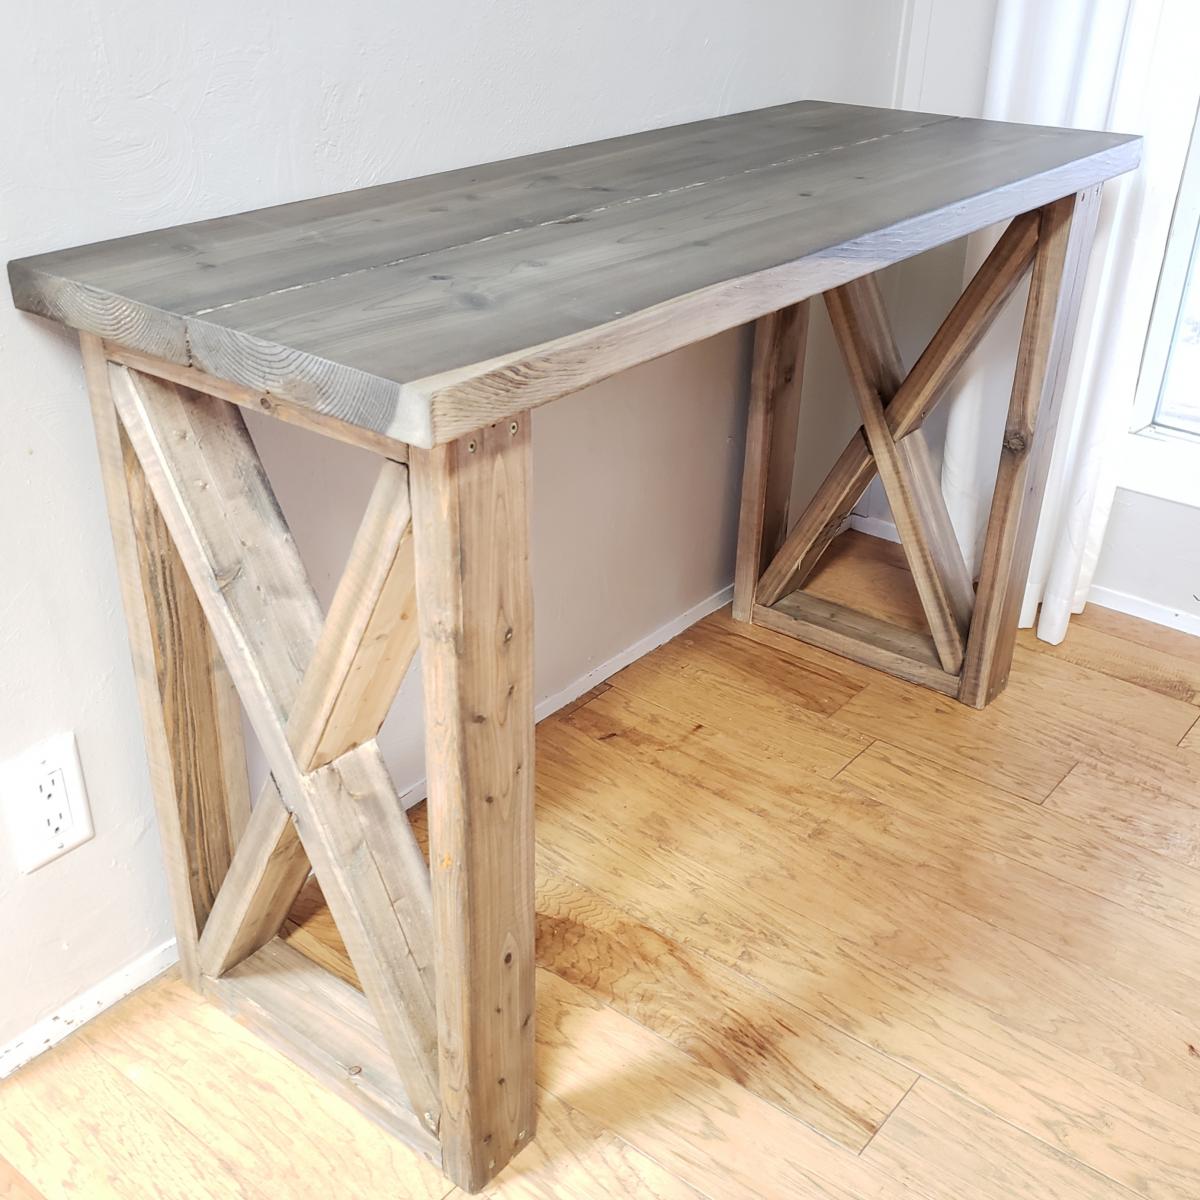
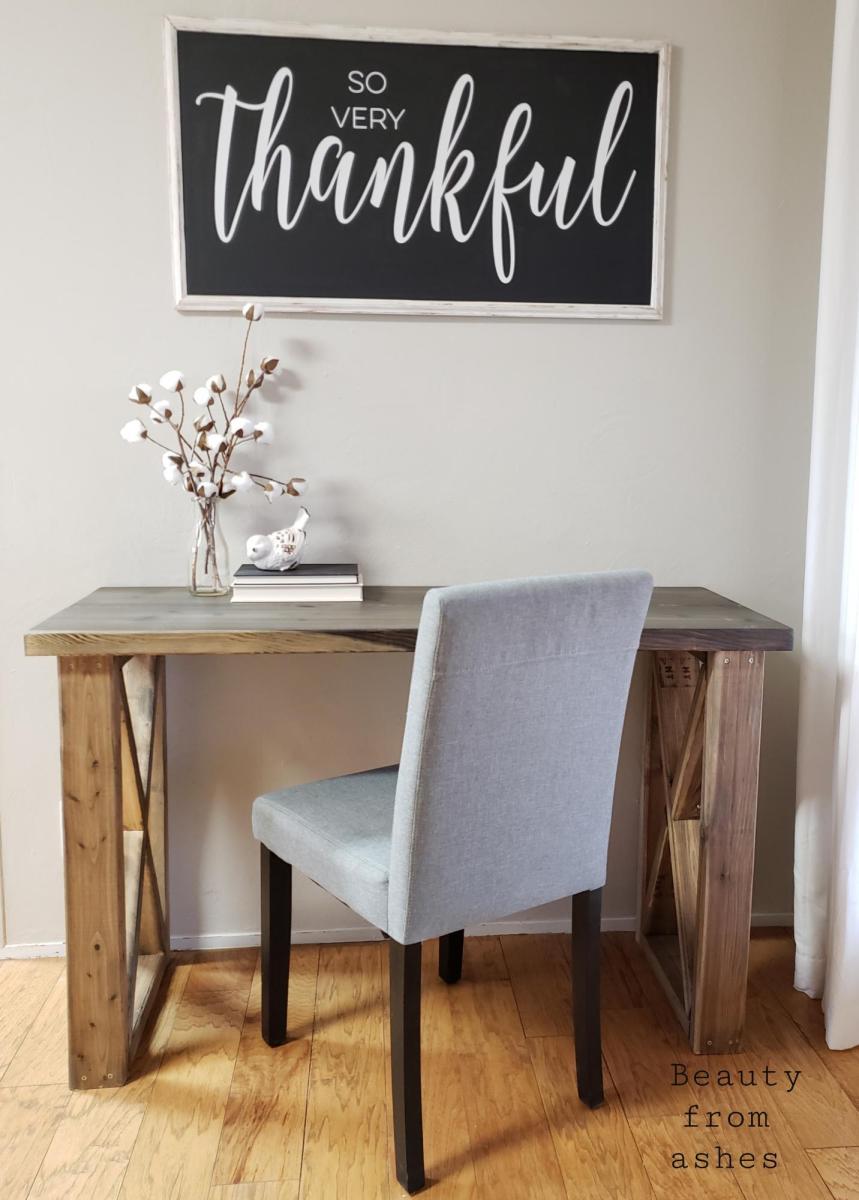
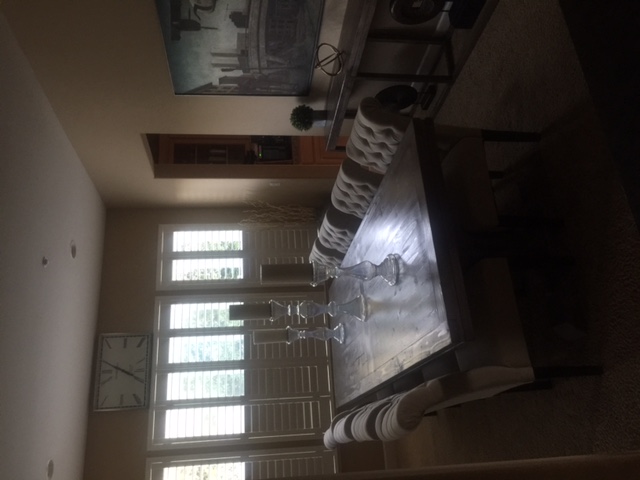
Triple Pedestal Table

Submitted by Lawwife on Wed, 04/06/2016 - 07:21

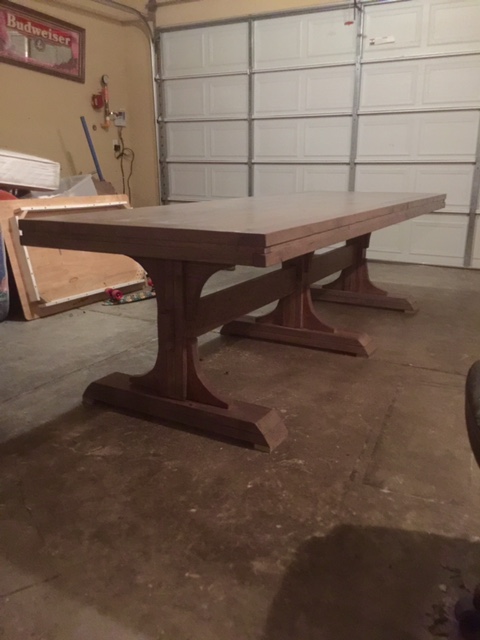
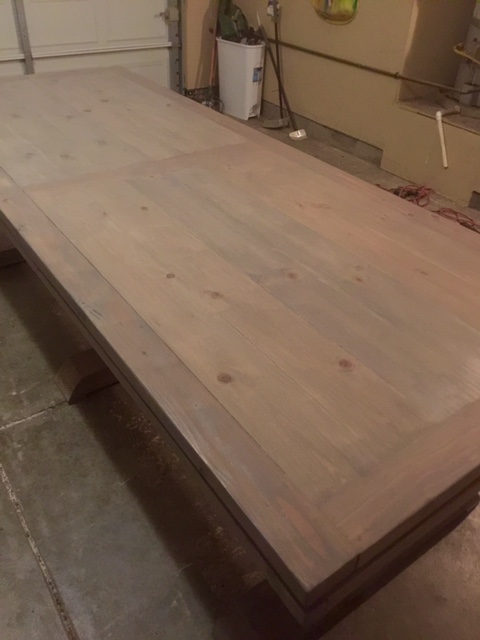
I built this table in about 2 weekends. The aprox cost including screws, stain, and glue was about $175. I stained it weathered gray from Rustoleum. My husband thinks it looks great. Now to order the end chairs!

Built from Plan(s)
Estimated Cost
$175
Estimated Time Investment
Week Long Project (20 Hours or More)
Finish Used
Rustoleum Weathered Gray
Recommended Skill Level
Intermediate

Live Edge Floating Bed

Submitted by Anonymous (not verified) on Fri, 08/18/2023 - 12:31

Older children moving out for college left the youngest without a bed. We decided to use your plan for a bed, but altered the headboard just a bit so that we could use live edge cypress. We love how it turned out, plus we were able to use locally sourced cypress!

Kathleen R

Modified Adirondack Chair and Bench

Submitted by jont on Thu, 03/29/2012 - 19:11

Decided we needed some outdoor seating. Added a few modifications to make it more my own.

Built from Plan(s)
Estimated Cost
$100 for both including the paint
Estimated Time Investment
Week Long Project (20 Hours or More)
Finish Used
Exterior paint and primer mix - not sure what to call the color, maybe a neon green.
Recommended Skill Level
Intermediate

Comments

My version of the Triple Pedestal Farmhouse Table

You can read about my project here...
love2dreamdoyou.blogspot.com/2014/01/hello-again-id-like-you-to-meet-my-table.html
This was my first building project--Ana's plans were great!

Built from Plan(s)
Estimated Cost
$200
Estimated Time Investment
Week Long Project (20 Hours or More)
Finish Used
Minwax Honey 272 applied with t-shirt rag. Minwax Fast Drying Polyurethane Superior Durability Clear Semi-Gloss several coats applied with foam brush
Recommended Skill Level
Starter Project

Niece's birthday present

Submitted by Anonymous (not verified) on Fri, 04/08/2016 - 20:55

Added a few design elements to personalize for the birthday girl.

Built from Plan(s)
Estimated Cost
$50
Estimated Time Investment
Weekend Project (10-20 Hours)
Recommended Skill Level
Beginner

Daybed and side tables

Submitted by Anonymous (not verified) on Tue, 12/17/2019 - 06:56

My husband made this for our granddaughter when she comes to visit. Then we saw the side tables, adjusted the height and poof the best room ever!

Estimated Cost
$300.00
Estimated Time Investment
Weekend Project (10-20 Hours)

farm table and benches in 2 hrs

Submitted by louiety on Mon, 04/02/2012 - 19:52

easy to follow directions

Estimated Cost
55.00
Estimated Time Investment
Weekend Project (10-20 Hours)
Finish Used
cherry stain and clear
Recommended Skill Level
Beginner

Comments

herzo1852

Tue, 04/09/2013 - 19:19

I don't think I'm ever going to buy from anyone again - making stuff is so much fun, don't you think? I might have to try your farm table, once I finish the loveseats and coffee table for outside!

Square Apothecary Coffee Table with Toy Box Rrundle

Submitted by rebmcami on Sat, 01/18/2014 - 19:21

I loved the design of the apothecary coffee table, but knew a square table would look best in my space. I have a 15 month old son who's toys are always all over our living room so the toy box trundle seemed like a perfect secret storage solution for us. I combined the plans of the apothecary toy box trundle with the library coffee table. The 3 sides are built similar to the sides in the plans for the library table, as well as the table top. The toy box trundle was built according to the plans for the apothecary table except that I made it a very deep drawer 33"X34.5". The table top measures 43.5"X40" This was my first time building a piece of furniture (I've built a chicken coop) and first time using my kreg-jig to make pocket holes. I had a great time building learned a lot. It took me awhile to complete because I was only able to work on it when my son napped.

Estimated Time Investment
Week Long Project (20 Hours or More)
Finish Used
I used white latex paint on the base. I did 3 light coats using a foam brush and sanded lightly between coats. I distressed/aged the edges with sand paper and carefully rubbed areas with dark walnut stain. I used special walnut stain from minwax on the top and did 3 coats of spray polyurethane.
Recommended Skill Level
Beginner

Comments

My Cassidy Bed

Submitted by Anonymous (not verified) on Mon, 04/11/2016 - 11:24

This is my take from the Cassidy Bed plan. I still have to upholster the headboard...stay tuned

Built from Plan(s)
Estimated Cost
$80
Estimated Time Investment
Weekend Project (10-20 Hours)
Finish Used
I floated the surfaces with a hard fill first, then sanded it with 220 to get it smooth. I used a slow drying oil primer, sanded it again. Then used two coats of
Behr premium ultra - Absolute Zero I added Floetrol to the paint so that it would lay down nicely
Recommended Skill Level
Beginner

Comments

Outdoor Pergola with Seating Built-in!

Submitted by Anonymous (not verified) on Sun, 08/27/2023 - 12:14

Pergola outdoor room plans modified to make side seating instead of side tables. Left sides open. Added cute crochet swing bench. Anchored to concrete slab with iron plates and added decorative wood ties that match footing. I've gotten so many compliments and no one believes I made this!

Kristen P.

Built from Plan(s)

Comments

Seasonal And Holiday

media unit

Custom size media unit using a combination of Ana's plans.

Estimated Cost
$600
Estimated Time Investment
Week Long Project (20 Hours or More)
Finish Used
1. Prime Zinsser Cover Stain
2. Two coats BM high gloss enamel white
Recommended Skill Level
Intermediate

Comments

Handygirl

Thu, 04/19/2012 - 21:56

Hey! Looks GREAT!!! I was curious how you made your doors. Did you attach thin plywood to the back, or slide it into the frame as an insert?

Joy Flake (not verified)

Tue, 12/04/2012 - 12:38

I was wondering how you attached the bookshelf unit to the base unit on the side cabinets?
Thank you!

6-Pack Carrier

Submitted by stacynabby on Mon, 01/20/2014 - 20:55

I've seen a couple of photos of "bottle caddies" for sale and I figured I could make my own. Seemed easy enough. I used 3/8" project wood from the Blue Store. I made the six-pack carrier for my neighbor who has been teaching me how to make all-grain homebrew.

http://www.pinterest.com/pin/179369997632846325/

Estimated Cost
$20 (including hardware and bottle opener)
Estimated Time Investment
An Hour or Two (0-2 Hours)
Finish Used
Danish wood oil
Recommended Skill Level
Starter Project

Comments

tommybo76

Tue, 01/21/2014 - 14:56

I home brew myself and I think this is a fantastic idea! How did you go about putting the label on the side?

tommybo76

Thu, 01/23/2014 - 07:09

This will come in very handy for lots of projects. I really appreciate you sharing this with me!

Debbie742

Thu, 11/27/2014 - 05:49

I checked the PDF and can't seem to find the plans to make this. Are they available??


debbie.

Workbench

Submitted by Malka on Thu, 04/14/2016 - 04:19

Great workbench. Made slight modification, in extending the top 2x4s past the counter edge, and then connecting them with another 2x4 so I'd have a place to put clamps/tools. Also used 3/4 particle board, as it was significantly cheaper than the plywood my local hardware store had on hand.

Estimated Cost
$50
Estimated Time Investment
Afternoon Project (3-6 Hours)
Finish Used
None
Recommended Skill Level
Starter Project

Desk featuring "X" legs - farmhouse style

Submitted by Anonymous (not verified) on Fri, 12/27/2019 - 07:20

I built this table for my son to use as a "Lego building station" in his room. I made it narrower (18" deep) x 4' long to fit along three wall in his small room. I had some trouble chiseling out the piece for the "X" part to interlock and ended up just cutting the piece through like Anna does with her "$40 farmhouse coffee table", which worked well. I sanded and then stained using homemade vinegar and coffee stain and sealed with water based polyurethane in matte finish.

Built from Plan(s)
Estimated Cost
$35
Estimated Time Investment
Afternoon Project (3-6 Hours)
Finish Used
I mixed up a homemade batch of coffee stain (vinegar, coffee, steel wool) and top coated with Matte polyurethane.
Recommended Skill Level
Intermediate

Comments

King Size Mantel Headboard

Submitted by Anonymous (not verified) on Fri, 09/01/2023 - 13:26

Mantel headboard king size, I used 2x6 construction grade lumber. Sanded it down. If I did it again I’d used 1x6 and a better grade lumber. It’s quite heavy. With thanks to Matt Brooks twindaddedesign

Vince D

Built from Plan(s)

Charging Station Via $10 Ledges

In my house, we have cell phones, music players, ebook readers that all need to be charged. Not a day goes by that either a device or a cord in misplaced. I was trying to figure out a solution, when I thought about the $10 ledge plan. I made a 24" shelf. The only modification I made was taking a 1 1/4" spade bit and cut out a hole in the bottom shelf so I could feed the cords up onto the ledge. I still have to paint it, but I am going to hang it right by our family calendar so we all know where they belong! Yeah for a cheap and easy solution!!!

Built from Plan(s)
Estimated Cost
$5 - $10
Estimated Time Investment
An Hour or Two (0-2 Hours)
Finish Used
Paint
Recommended Skill Level
Starter Project

Open Shelf Console with Modifications

Submitted by Stacie on Thu, 01/23/2014 - 07:32

I modified the size of the original plan to better fit the space. It is slightly deeper and taller than the plans. I also used a router to create a rabbet for the glass inserts in the doors.

The finish is a homemade chalk paint followed by multiple coats of furniture wax. The build itself was quick and straight forward, but the finish took the most time.

The console really pops in a room full of stained furniture. I love the look, shape, and versatility of it--thank you for sharing the plans!

Built from Plan(s)
Estimated Cost
$75
Finish Used
I painted it with three coats of homemade chalk paint and followed by 3-4 coats of wax.
Recommended Skill Level
Beginner

Comments

Val Manchuk

Thu, 01/23/2014 - 08:36

This project looks really good. I love the glass inserts and the color you chose.

Val @ artsybuildinglady.blogspot.ca

Back