Bar height table with stools
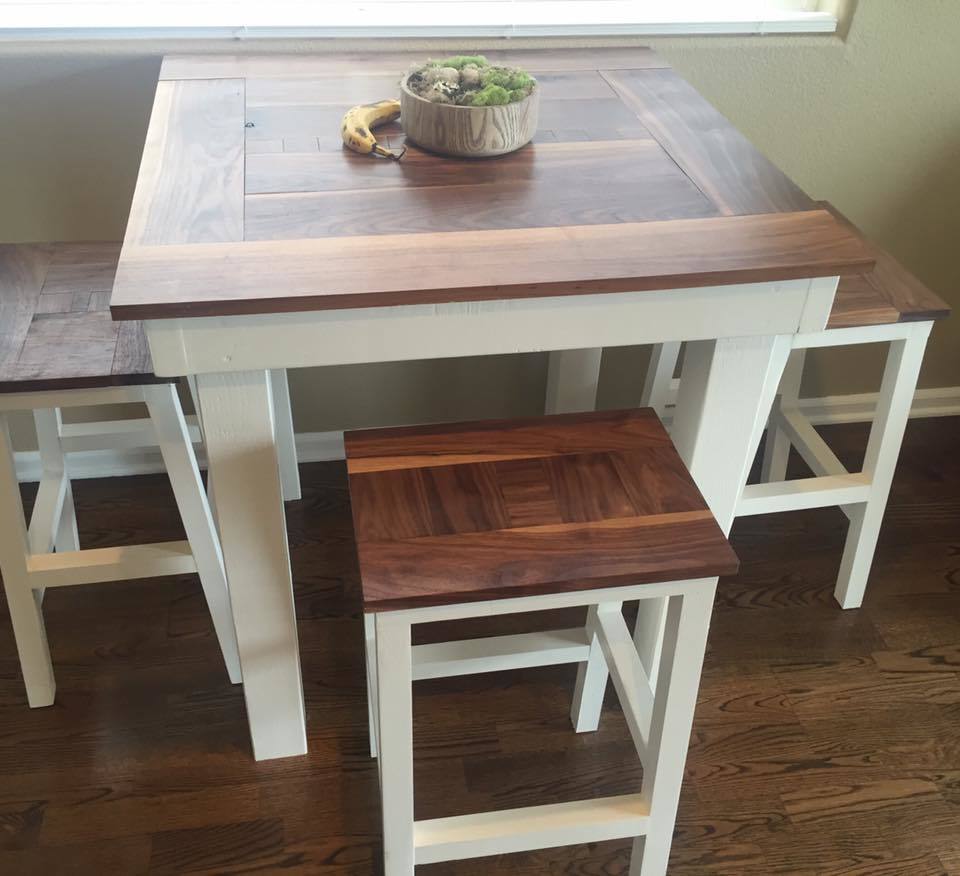
This is one of my favorite pieces because the white contrasts perfectly with the walnut hardwood. The base of the table is all standard 2x4 and 4x4s, and the tabletop is 100% walnut.

This is one of my favorite pieces because the white contrasts perfectly with the walnut hardwood. The base of the table is all standard 2x4 and 4x4s, and the tabletop is 100% walnut.
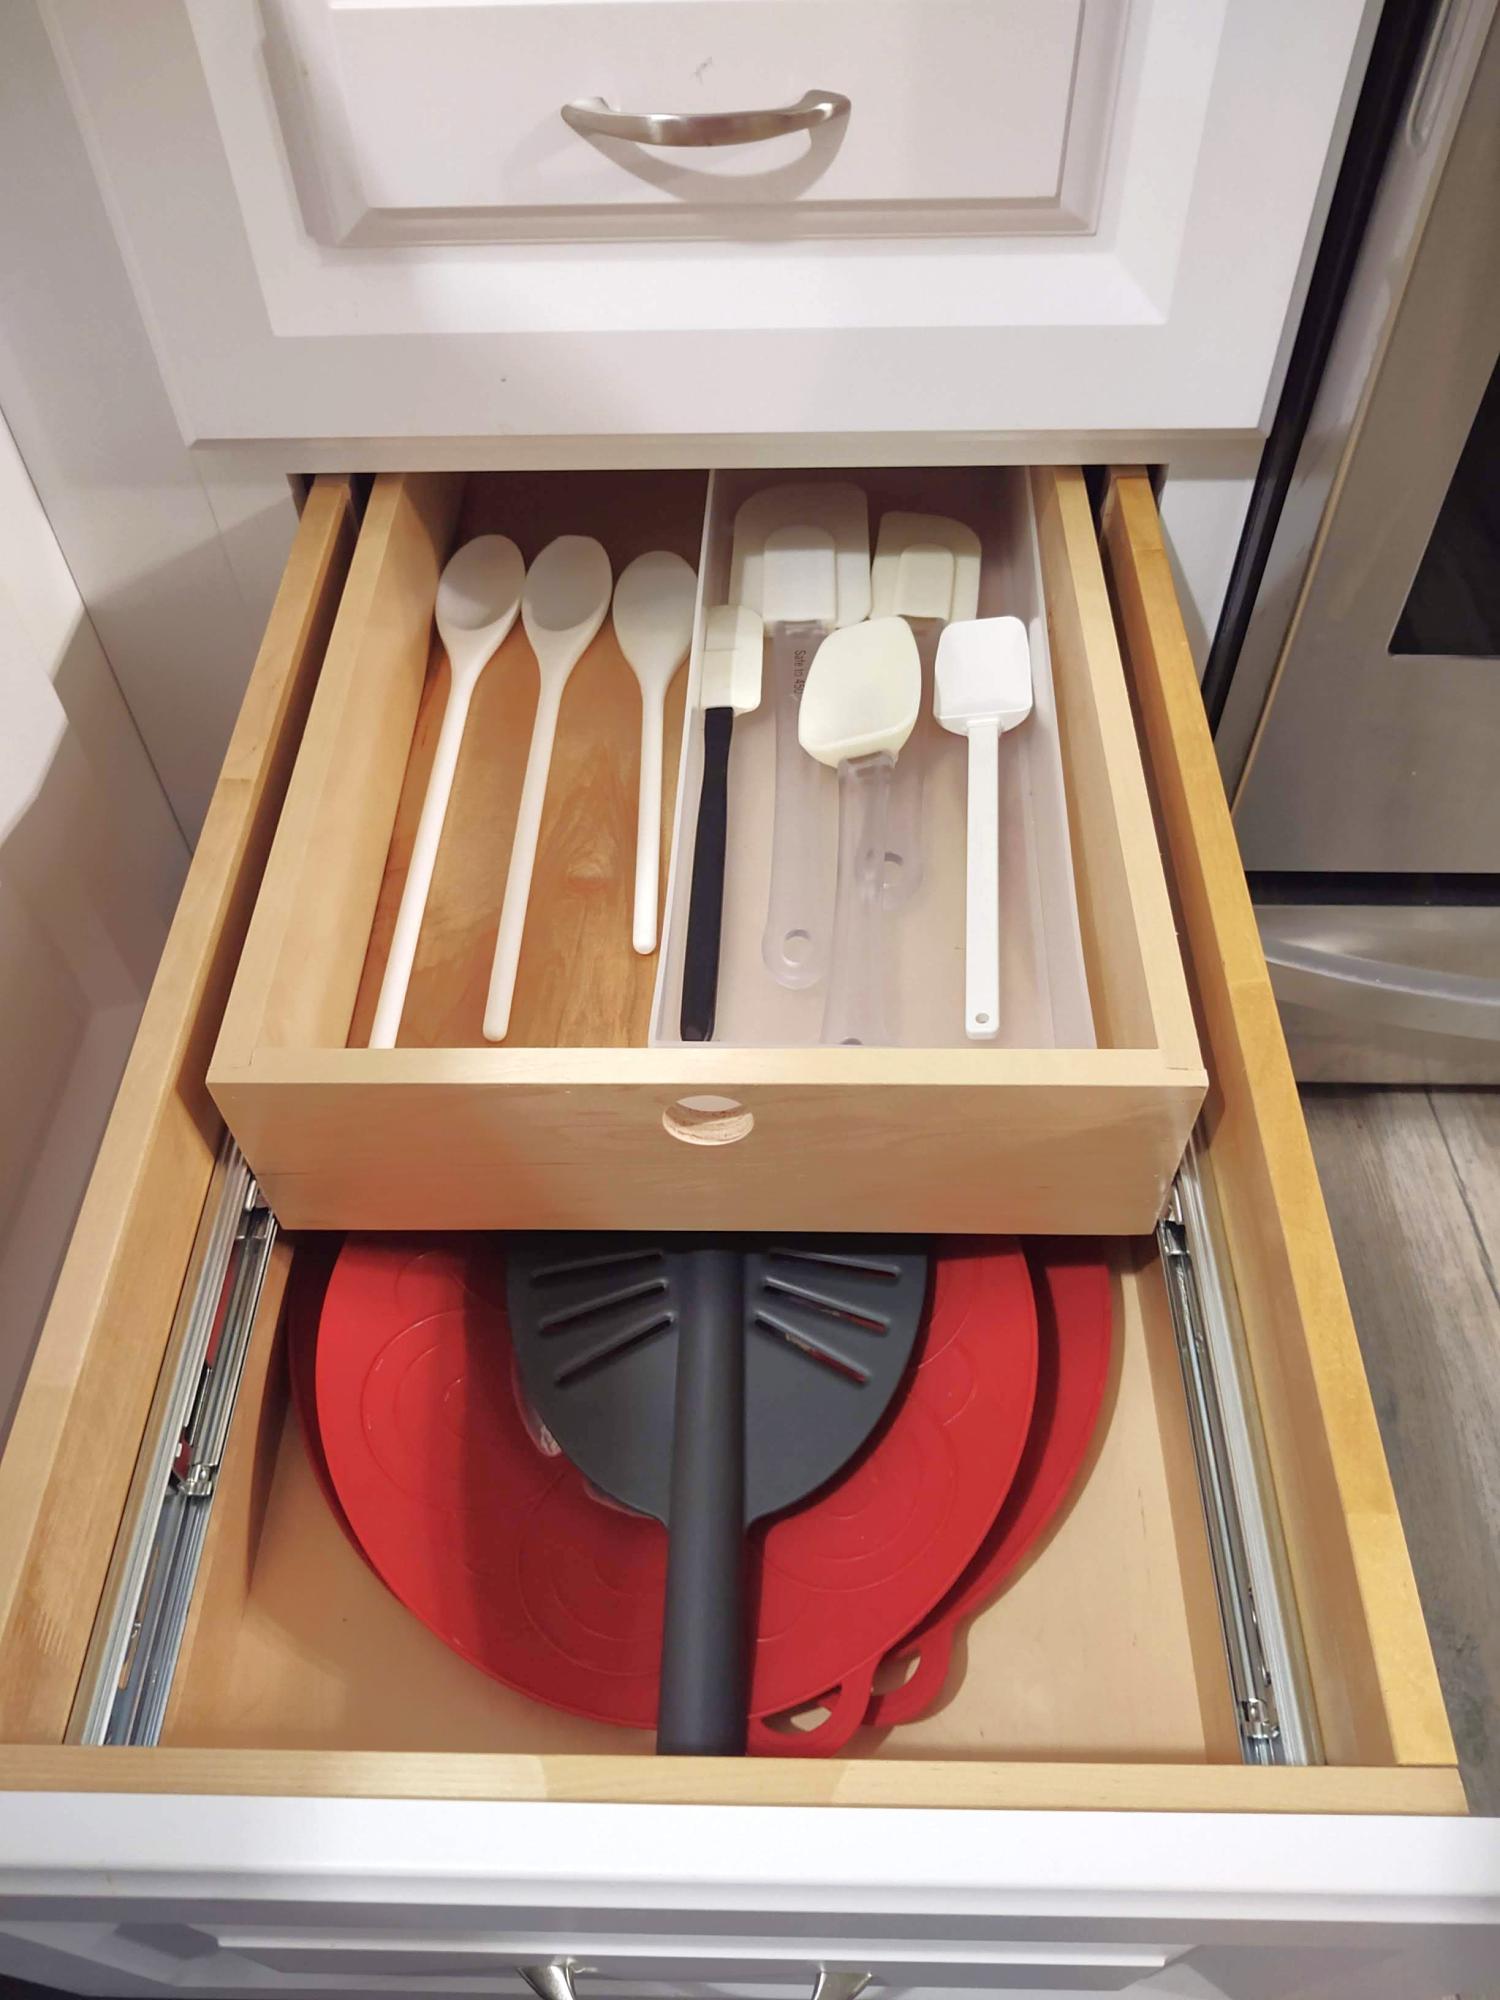
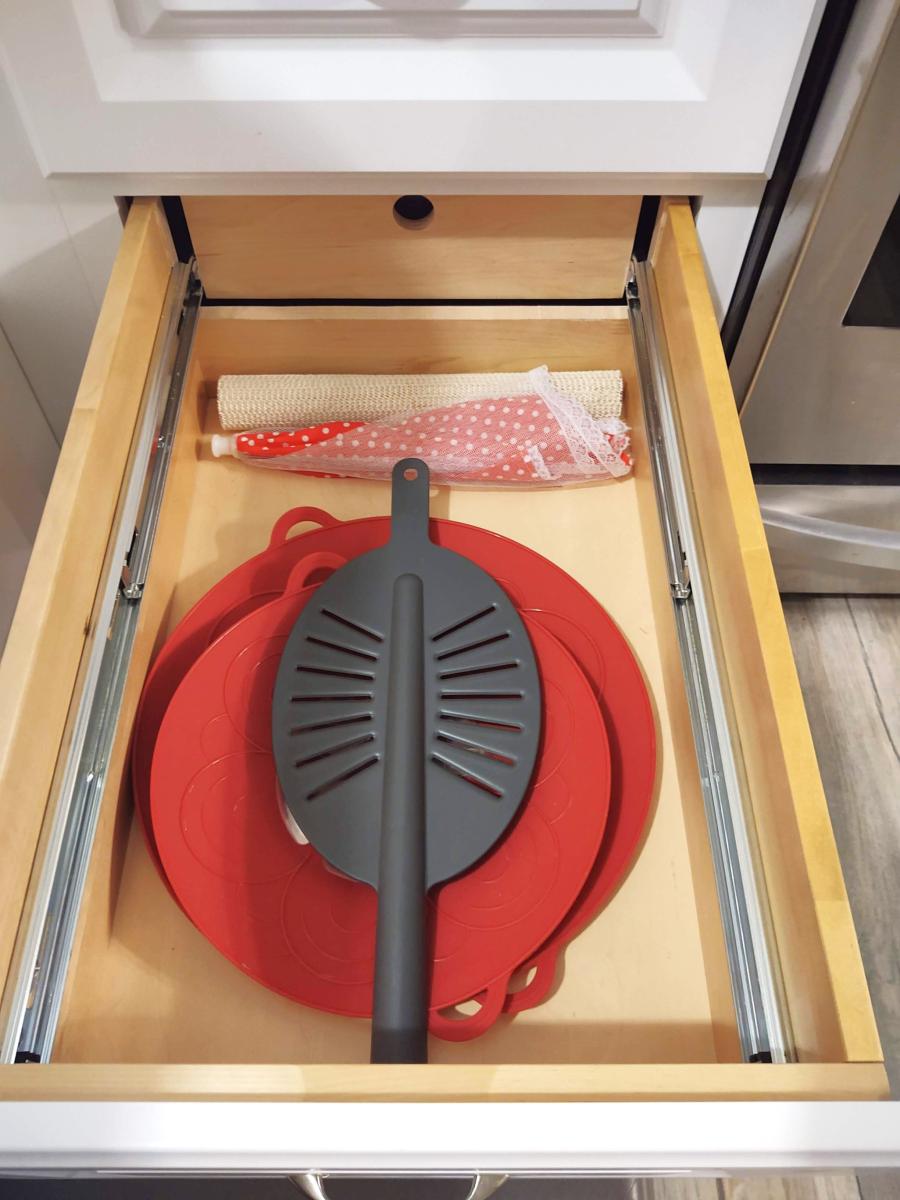
I had a friend who does cabinets, complete two drawers for me from your example. And he did two for my sister's place (one being a double decker slider because her drawers are deeper). Thank you for the inspiration!!
Michelle R.
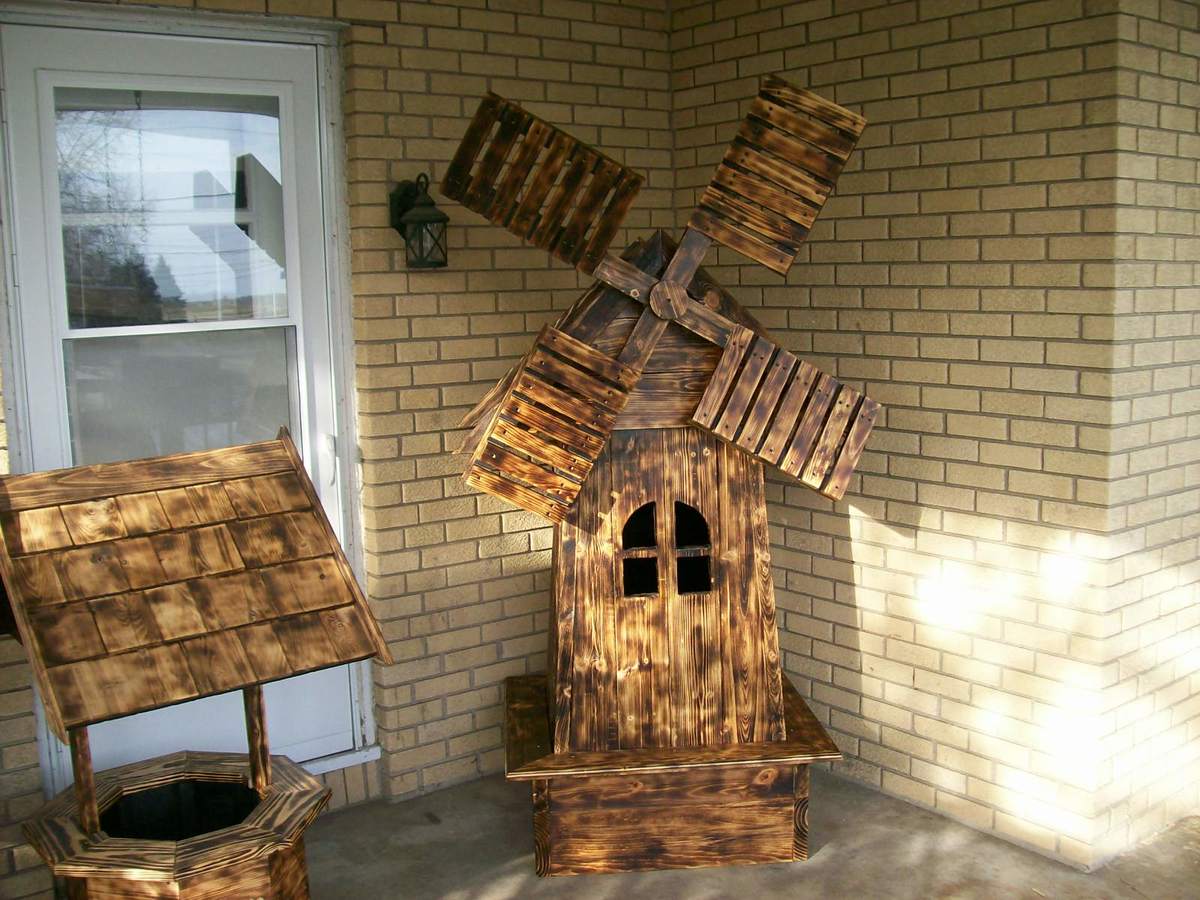
Made from a picture on the internet and made a few changes so it would more complete
Mon, 04/26/2021 - 07:34
I really like the way this windmill looks and would love to make one. Are there plans somewhere?

After falling in love with the Newport Vanity from Pottery Barn, I knew we would have to DIY it, since the original was not in our budget. I came across the plans from Ana, and off we went! We modified the plans a bit to fit our existing granite countertop- we didn't have space for the drawers, unfortunately. However, we used our Kreg Jig whenever possible, and it made the project very easy!
http://www.everydayenchanting.com/diy-pottery-barn-inspired-sink-consol…


Wed, 11/08/2017 - 05:25
Fair question. Especially when it costs over $25 for Osborne to ship the legs to me via UPS ground.
My wife and I recently built this farmhouse table with her grandpa. It was a lot of fun and we are really happy with how it turned out. The table is 80 inches long, 43 1/2 inches wide, and 31 inches tall. The extensions are 15 inches long and 43/1/2 inches wide, and the bench is 61 inches long, 15 inches wide, and 19 1/2 inches tall.
It tooks us about 4 weekends (around 32 hours) to finish the project and the included rebuilding the base of the table after our first one cracked.
We modified the plans a bit. We used 4x4s instead of glued together 2x4s for the legs on the table and bench.
We also used the plans on this blog (http://tommyandellie.com/?p=2582) as a guide.
This was the first time my wife and I have tired a DIY project and we had a ton of fun. Her grandpa had some experience with wood working and had all of the tools we needed but you can certainly do this without any extensive wood working experience.
Sorry for the duplicate post. This is my first time on the website and the first time I posted it came across as 'guest'
Tue, 08/16/2016 - 13:34
I forgot to mention that with the extensions the table expands to 110 inches.
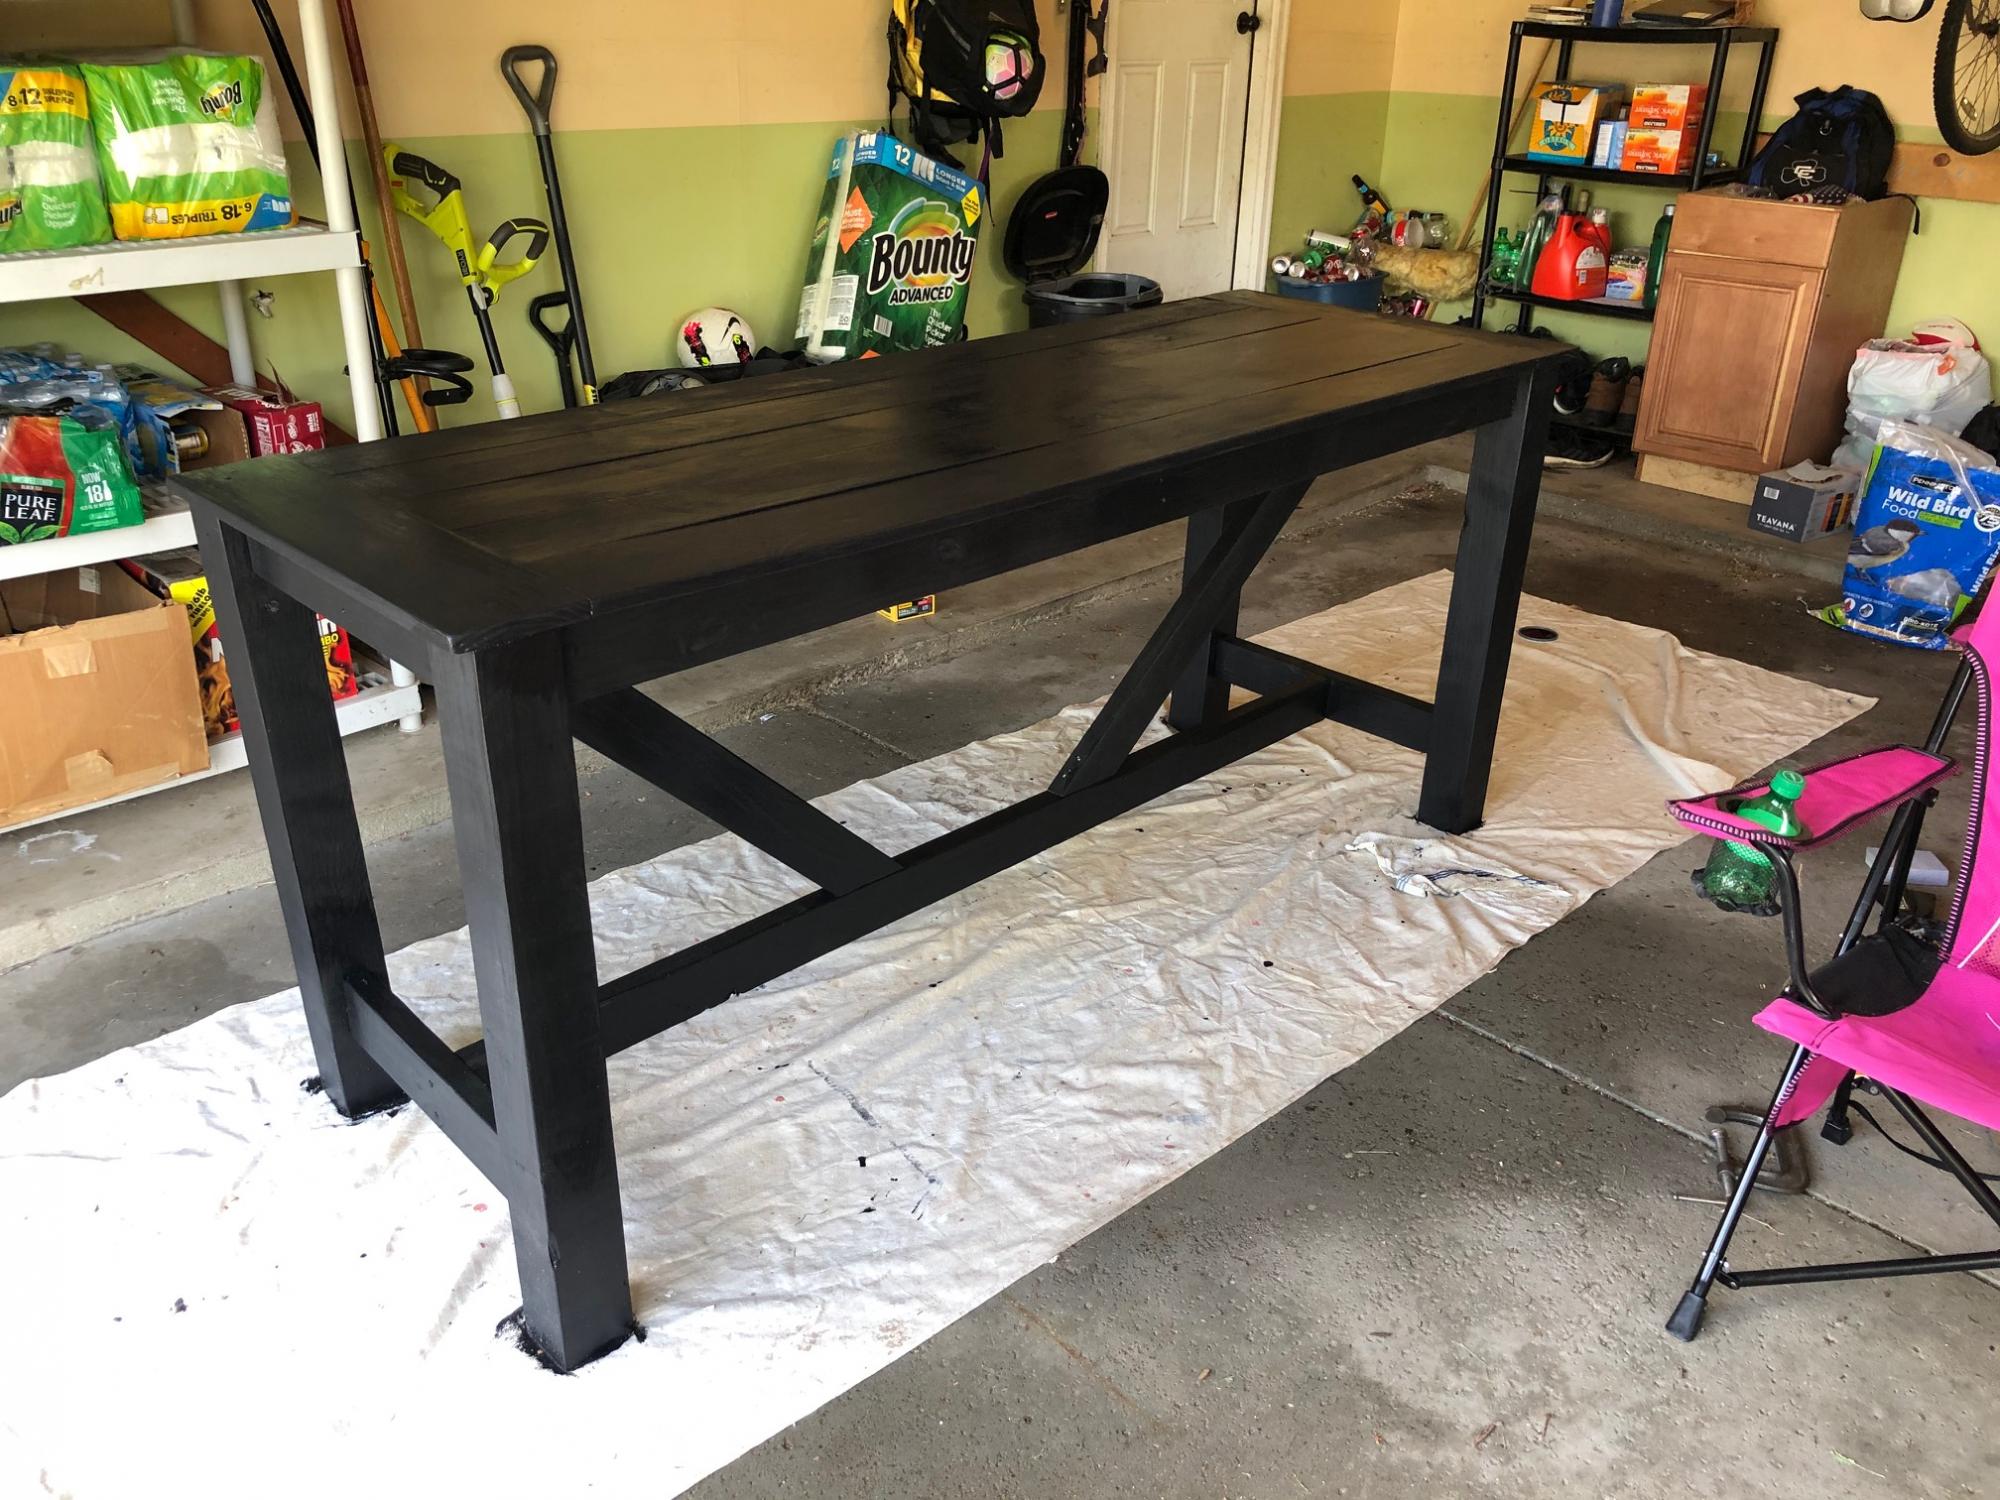
This is my first project, based on your outdoor bar table plan. Great design. I changed the top a little, still needs a little work.
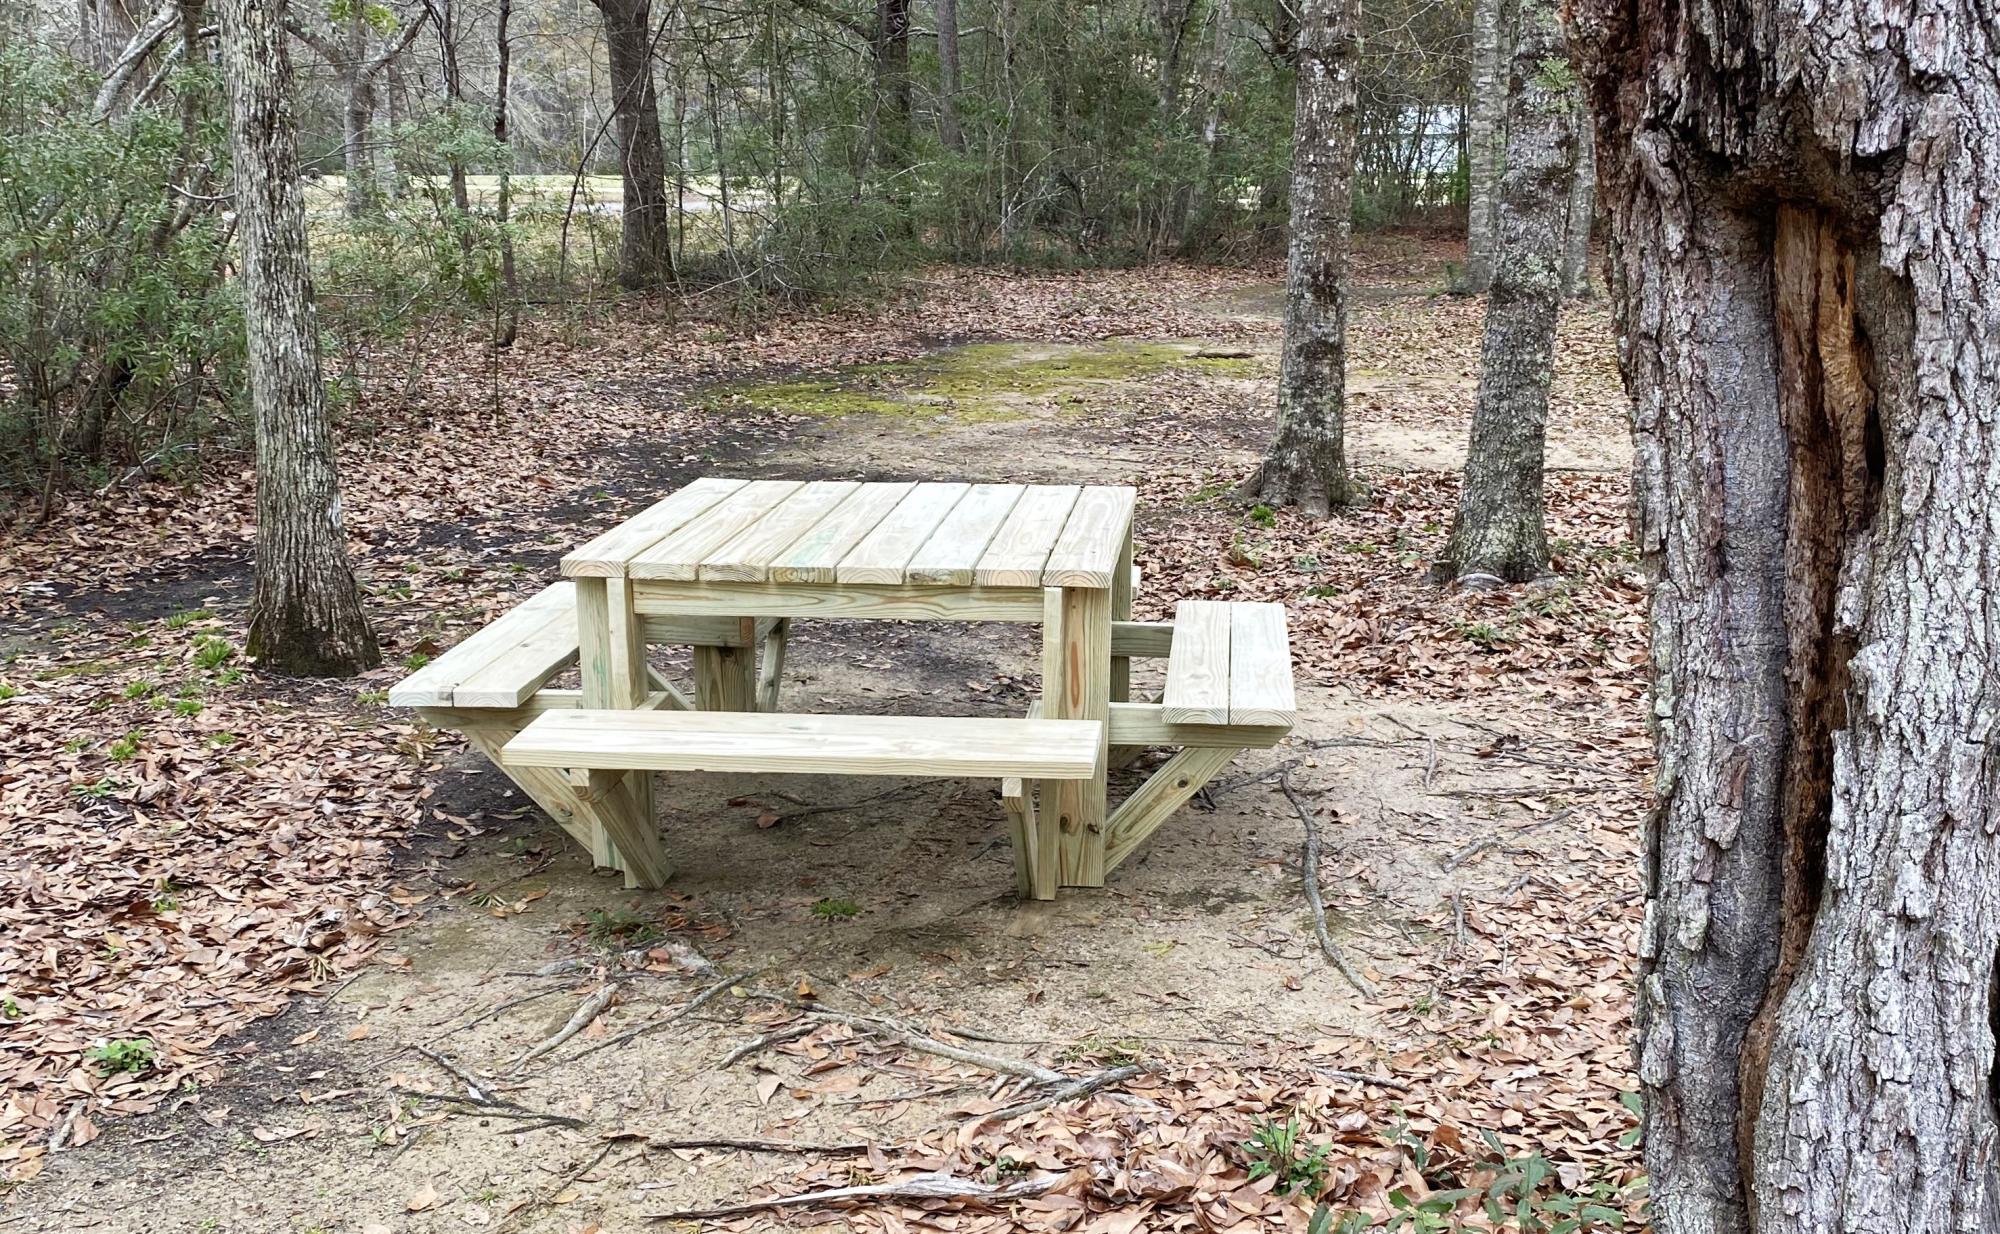
I am loving the plans from Ana. I can’t wait to enjoy some time outdoors with family and friends.
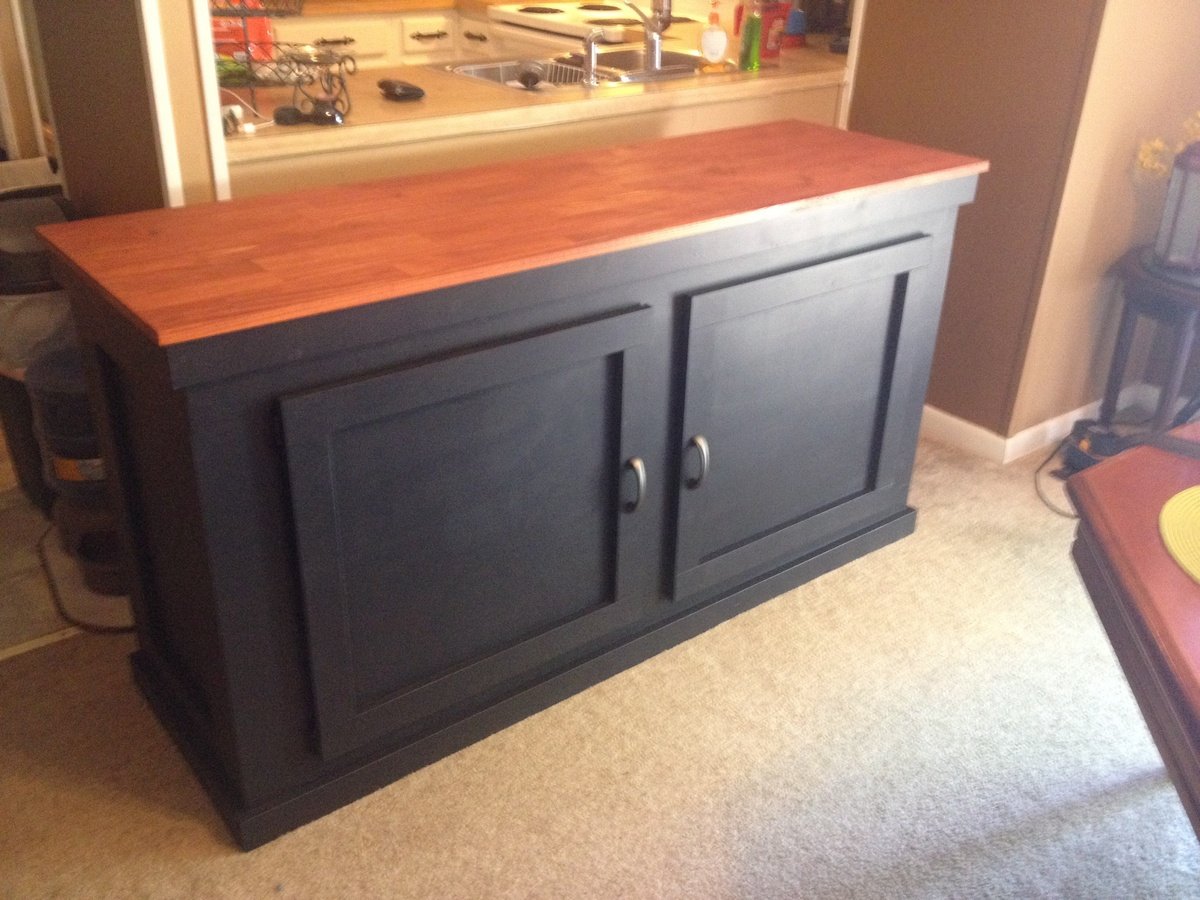
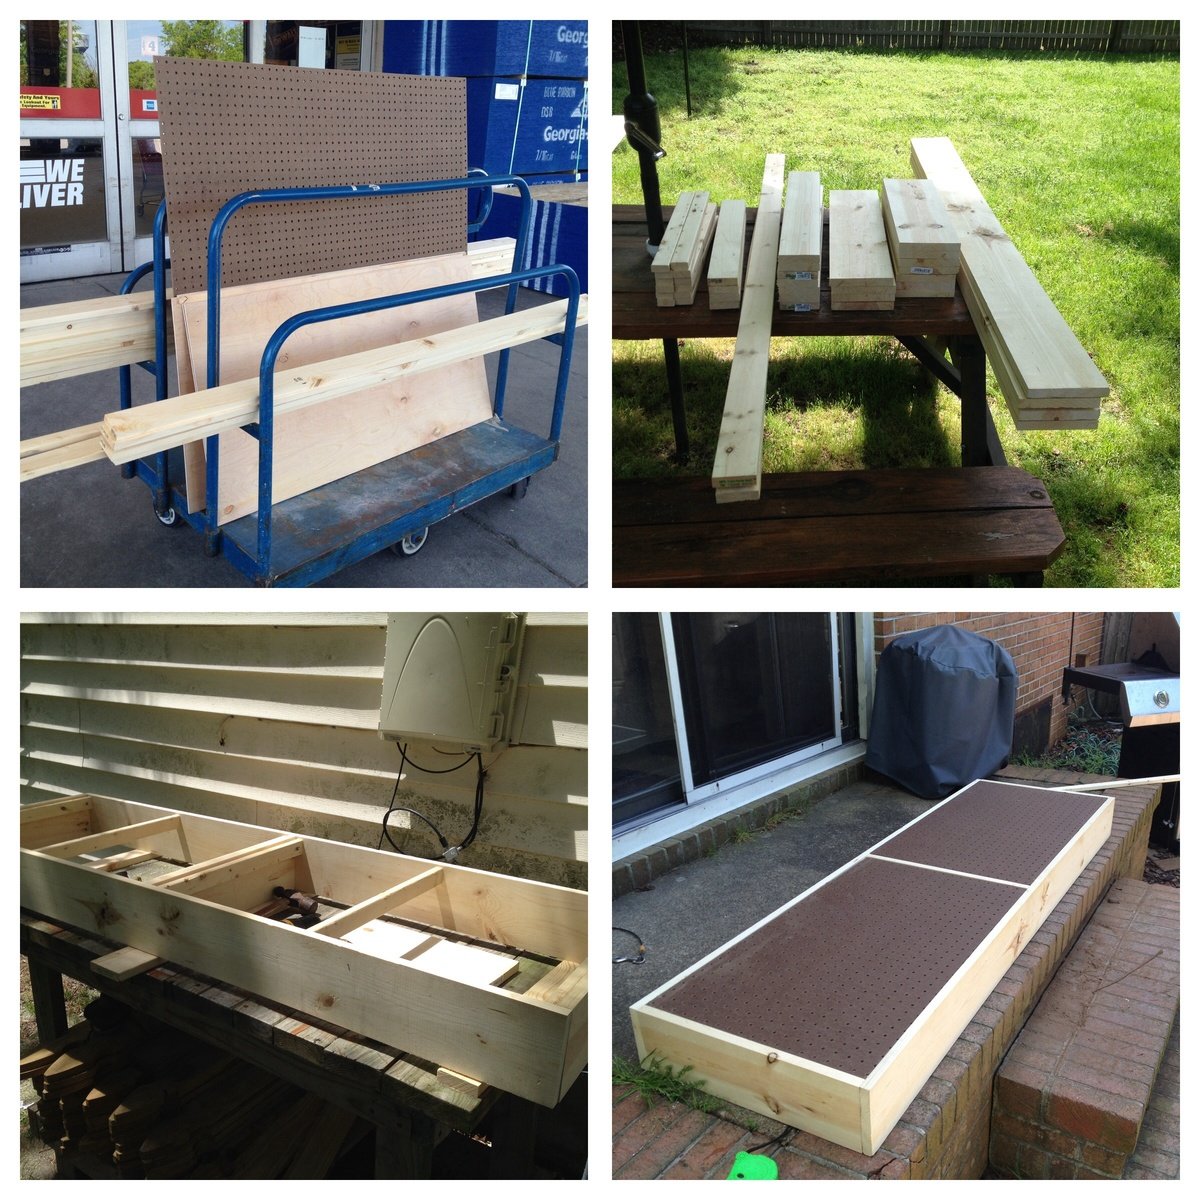
So... I am a pretty dedicated baseball card collector as well as a new found hobbiest in wood building. It's been an ongoing issue in my household with my baseball cards and boxes cluttering up our dining room. I decided to resolve the issue while still being able to keep my cards in the same room with even easier access without being an eye sore! This just might have saved my marriage! I searched for months for plans for some sort of baseball card cabinet but they just did not exist. The closest I could find for what I was looking for was a storage bench plan here on Ana White. I liked the idea of a top opening for hidden storage. It was too small for what I needed. I then came across plans on another site for an aquarium stand cabinet. I figured the combination of these two projects was what I was looking for. After a week of planing and drafting and 3 weeks of construction/finishing in the little spare time I have, I created what you see. People in the card collecting forums I'm a member of are begging for plans or for me to build them one! Problem is, this is the first thing I have built following my own design and plans. I could pass these on but no one in their right mind would be able to follow my scratches on paper but myself! I'm extremely proud of the outcome but am looking for a way to come up with plans I can share! Hope you all like, and if I can come up with a way to make follow able plans I will share! This was all assembled using the kreg jig system, wood filler to hide the knots and lines where the wood joined and lots of sanding!
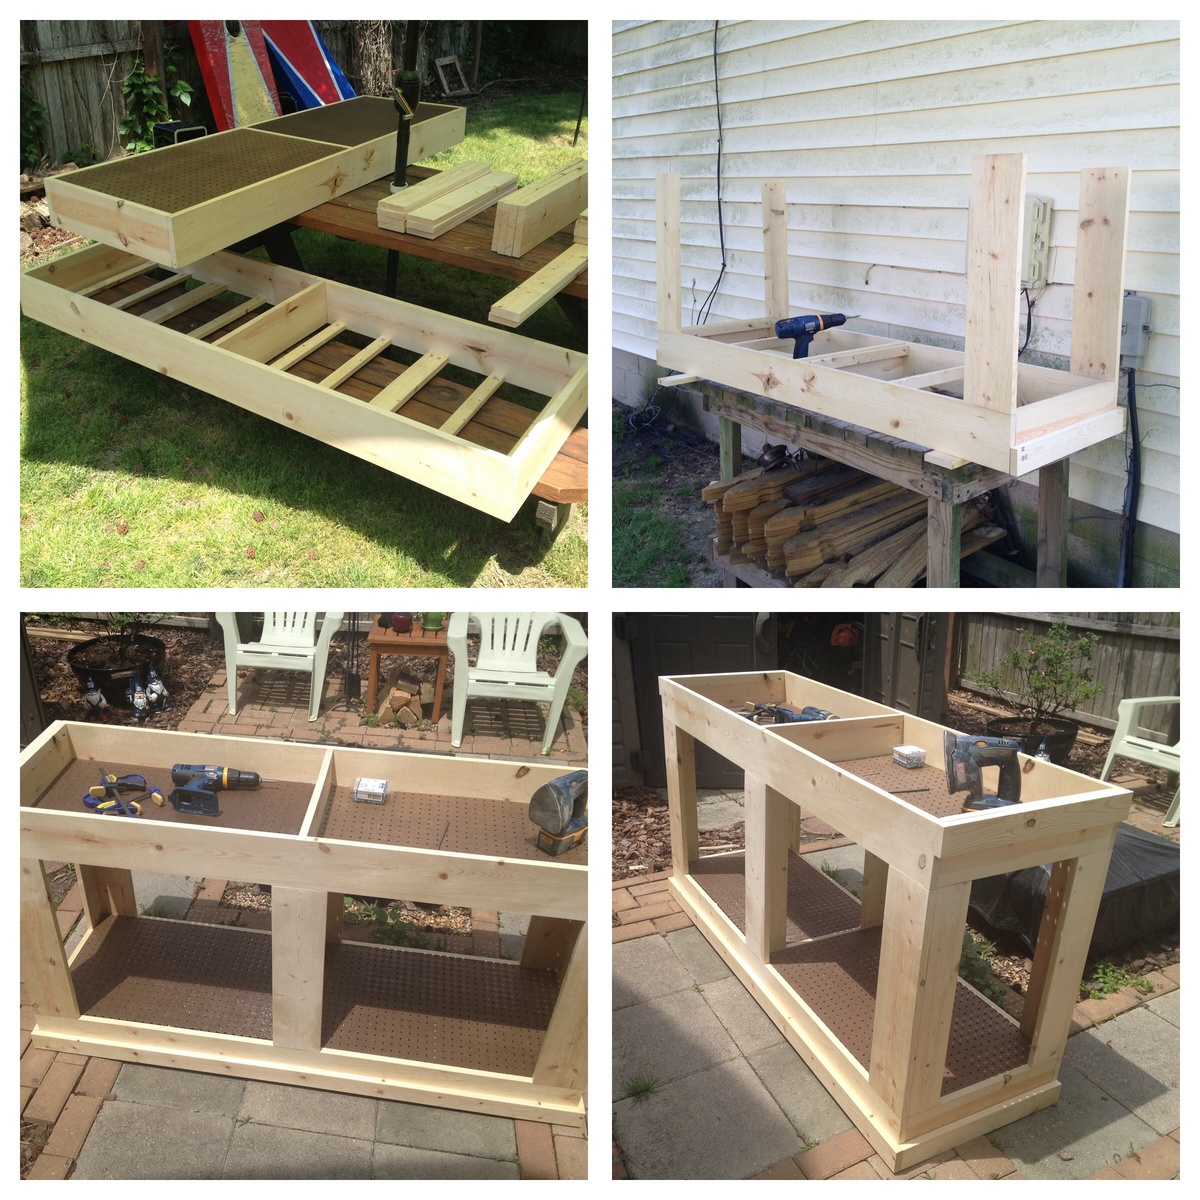
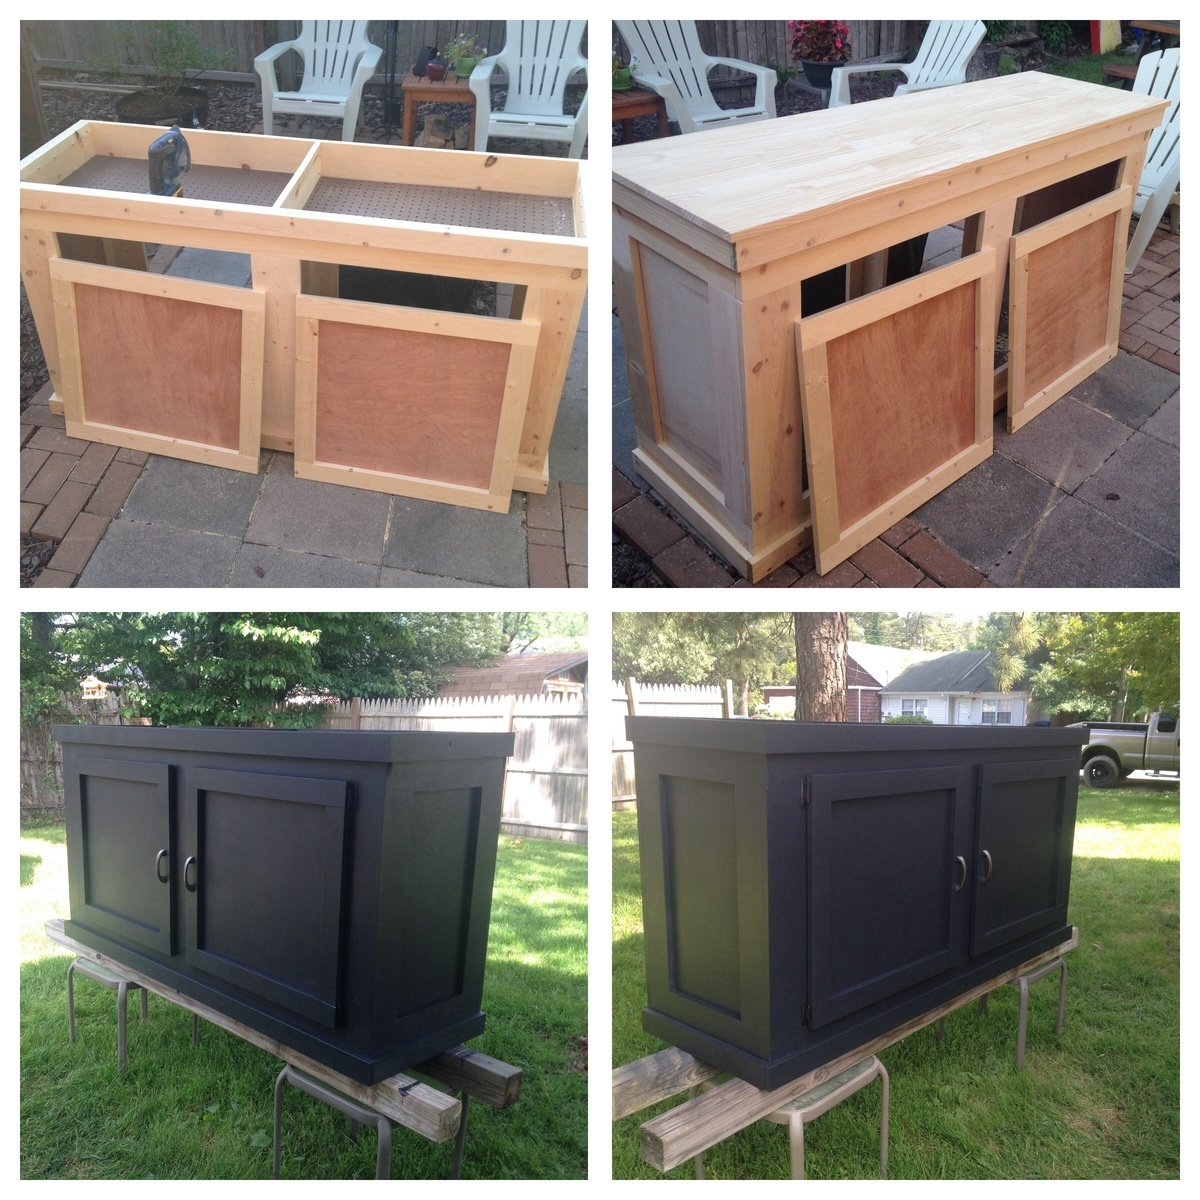
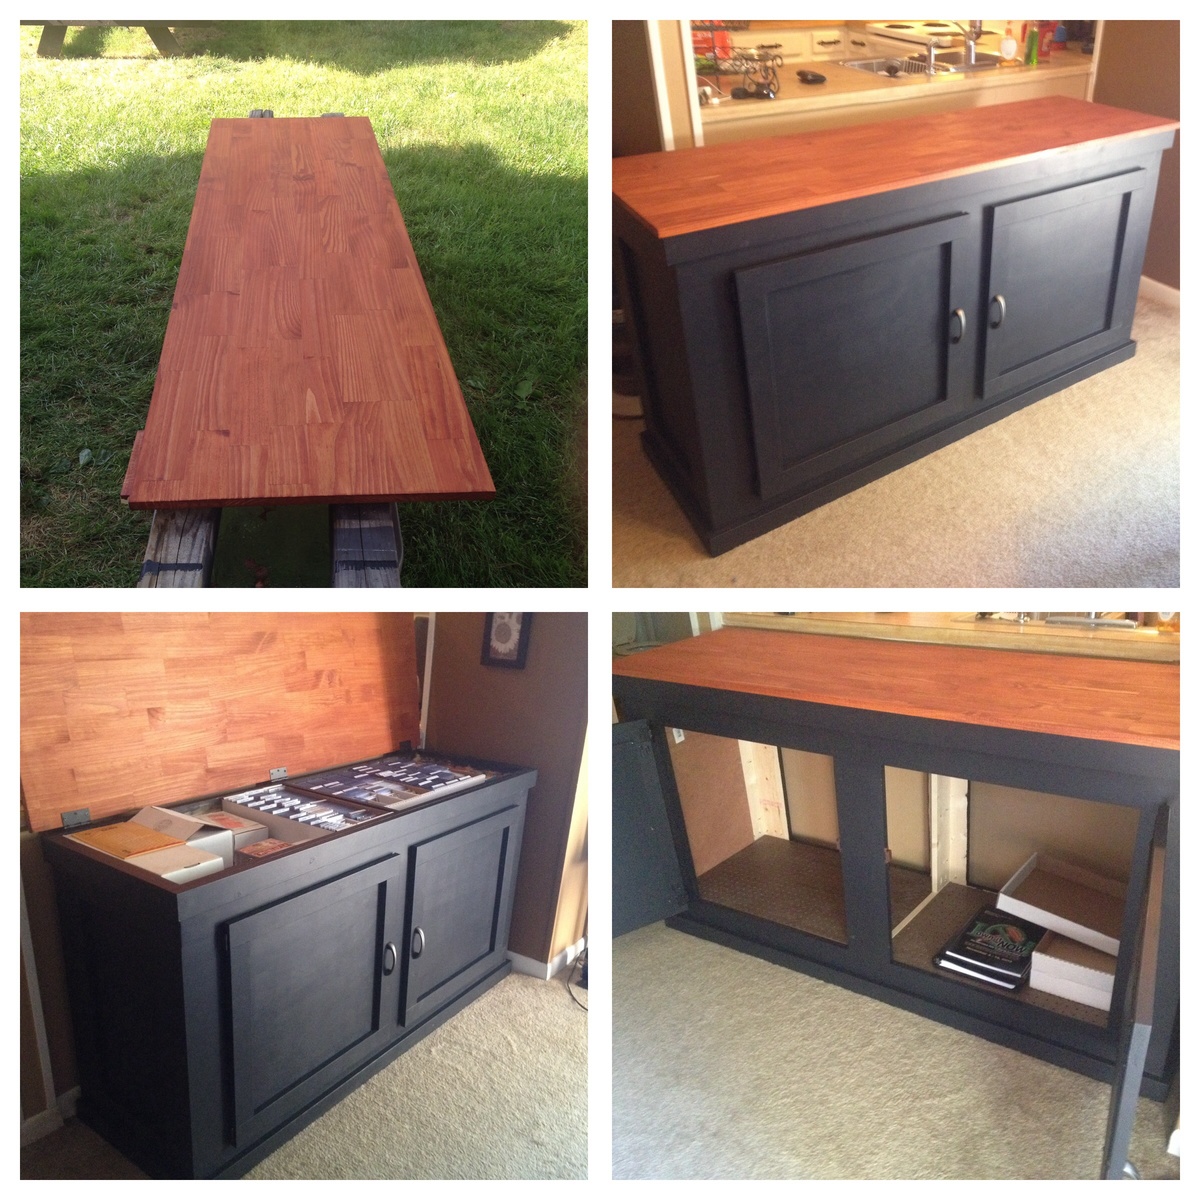
Mon, 05/26/2014 - 22:12
If anyone knows of helpful software to design plans in let me know!
Tue, 05/27/2014 - 08:38
Nicely done! How did you make the top? Is that a project board? It's very smooth.
I believe Ana uses "Sketchup" which is a google program to do her designs.
Mon, 10/12/2015 - 17:19
Would you be willing to share some basic dimensions such overall size width, depth, and height and door measurements to get an idea?
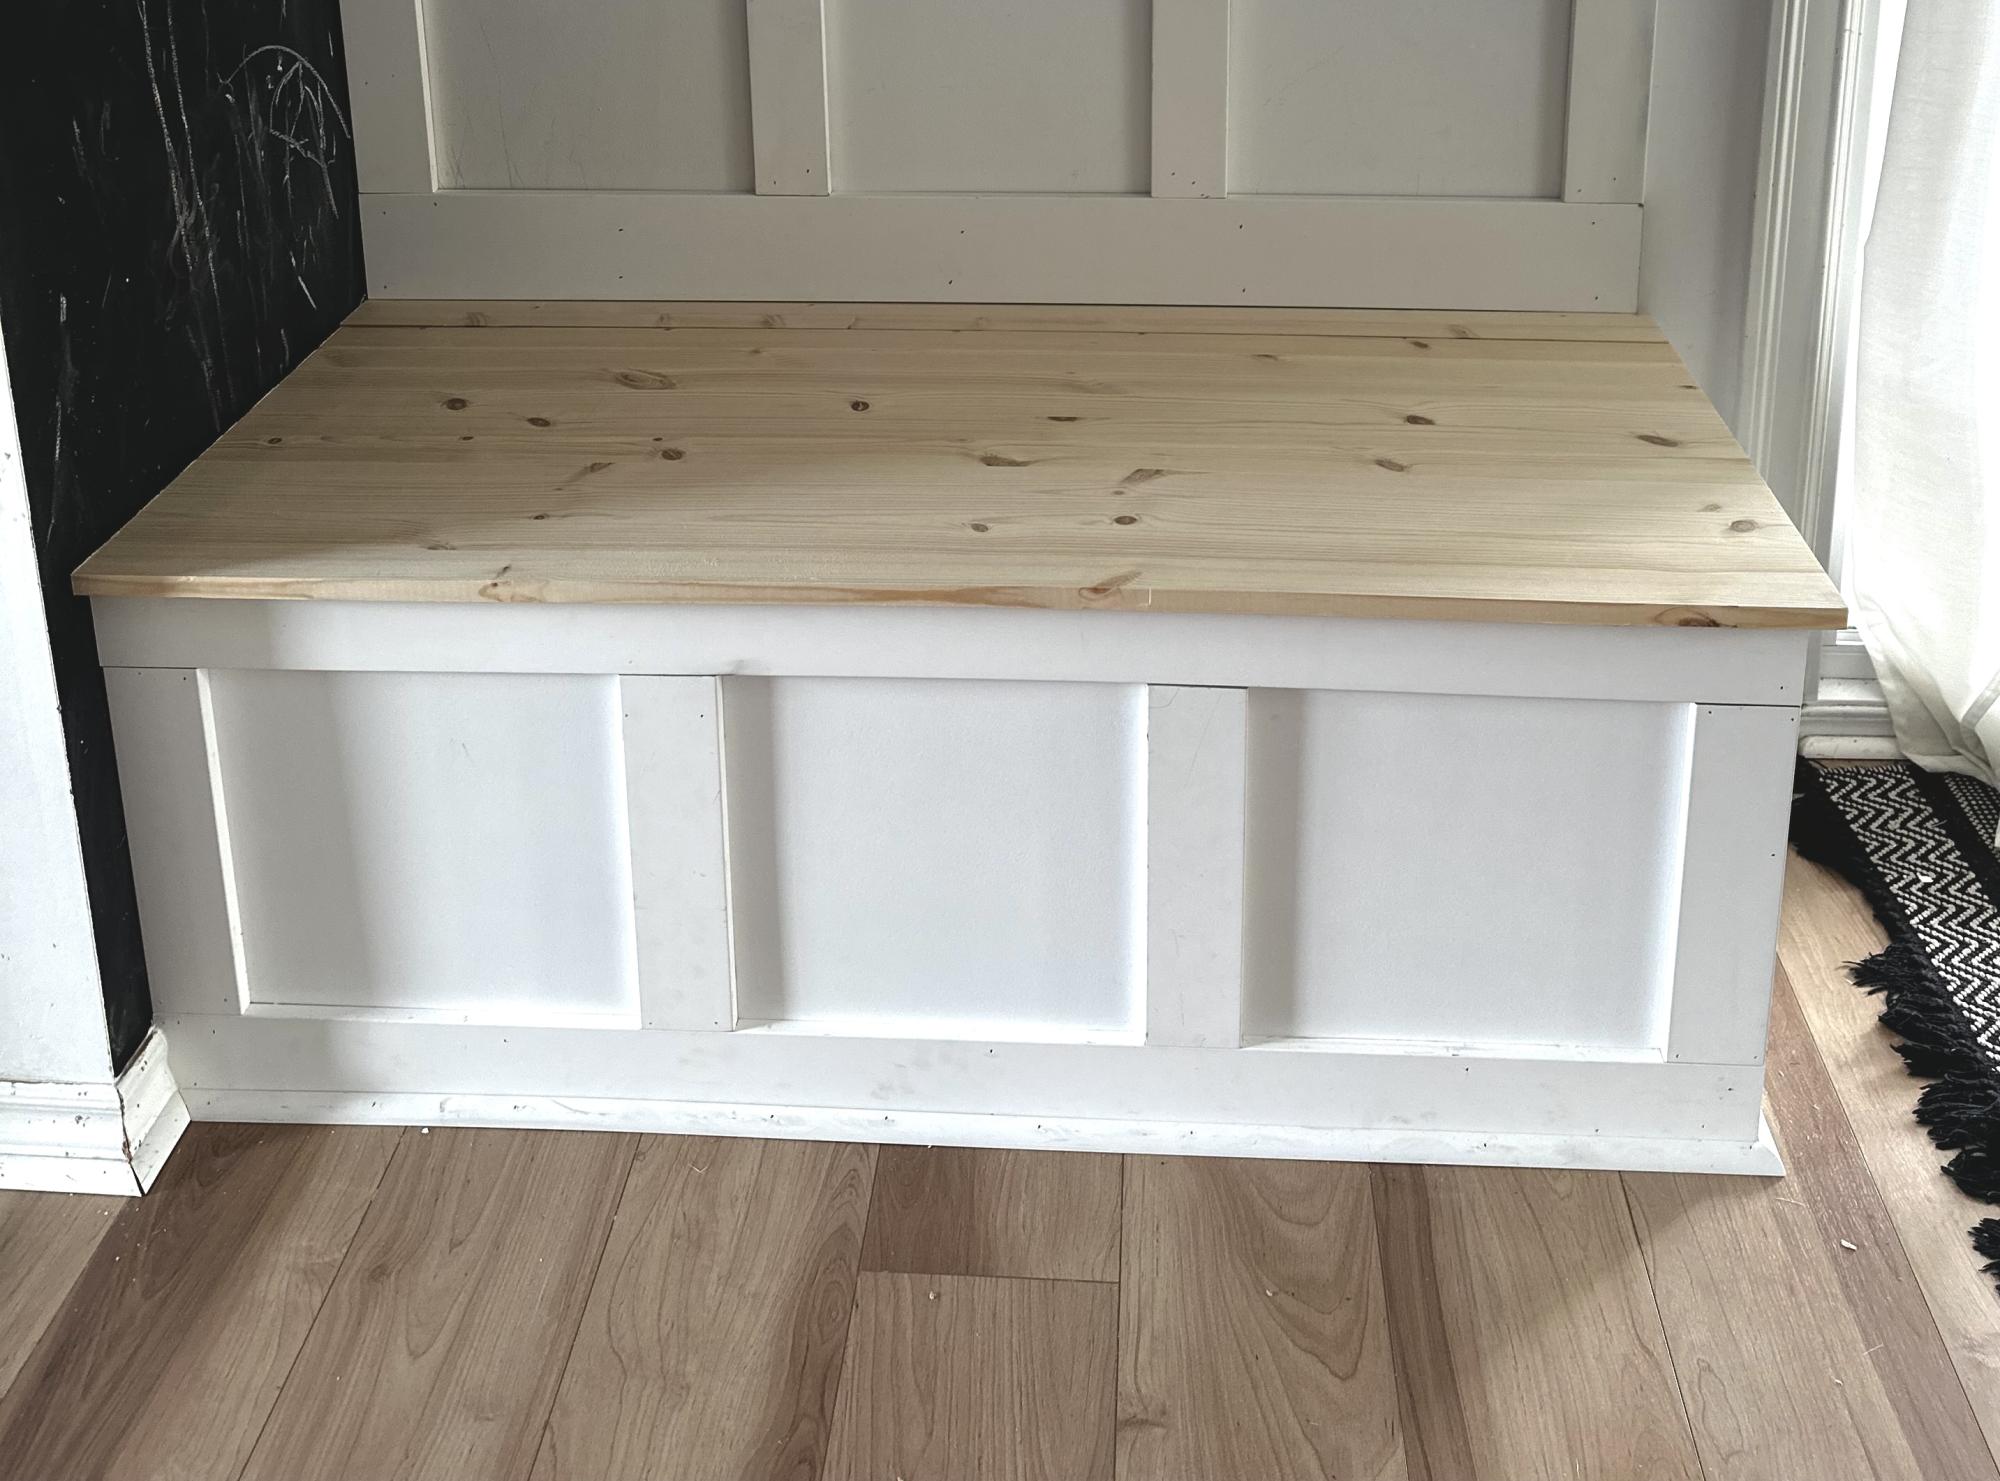
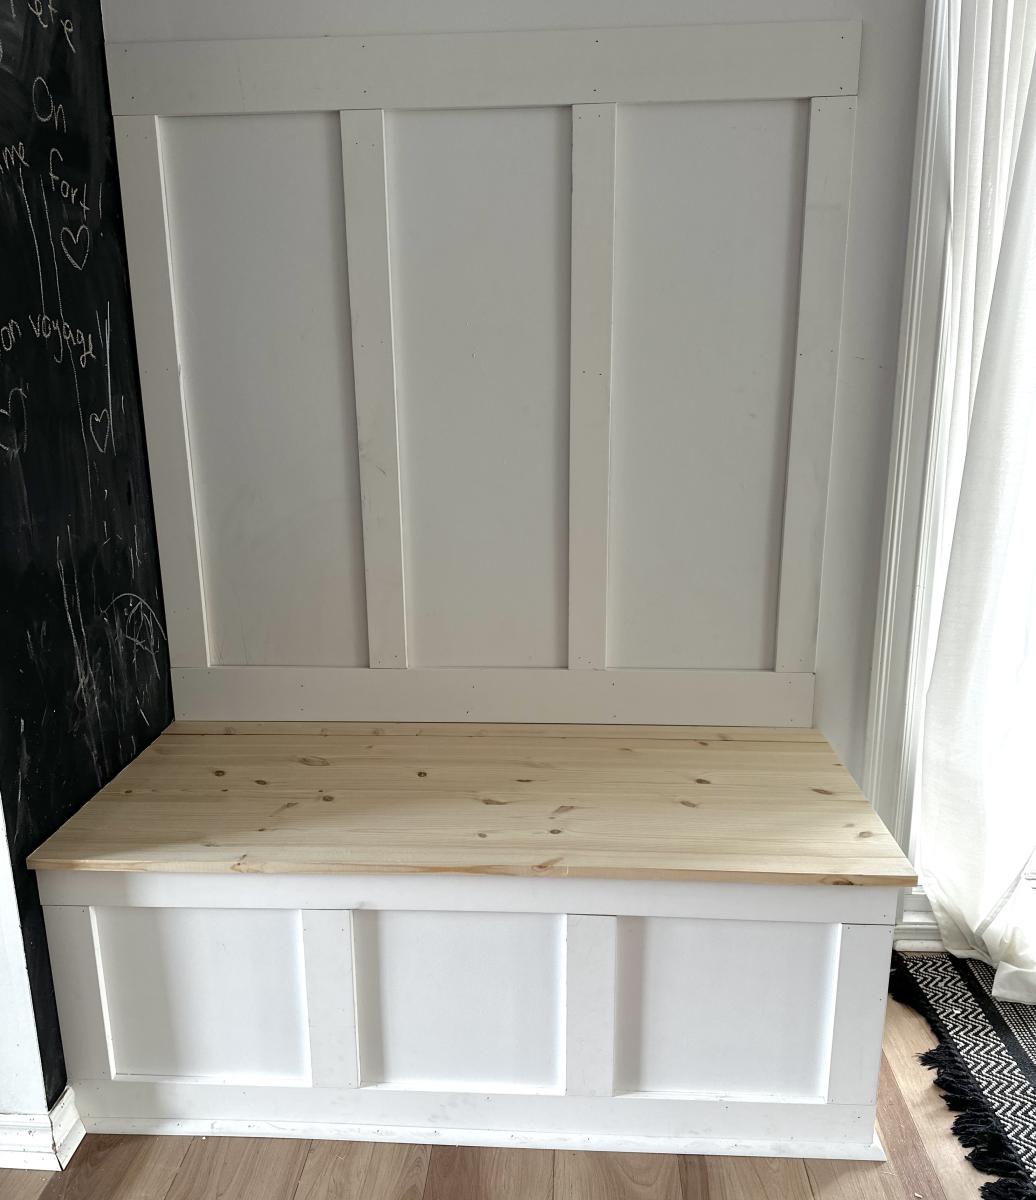
A nice bench with storage!
Built by Sylvie
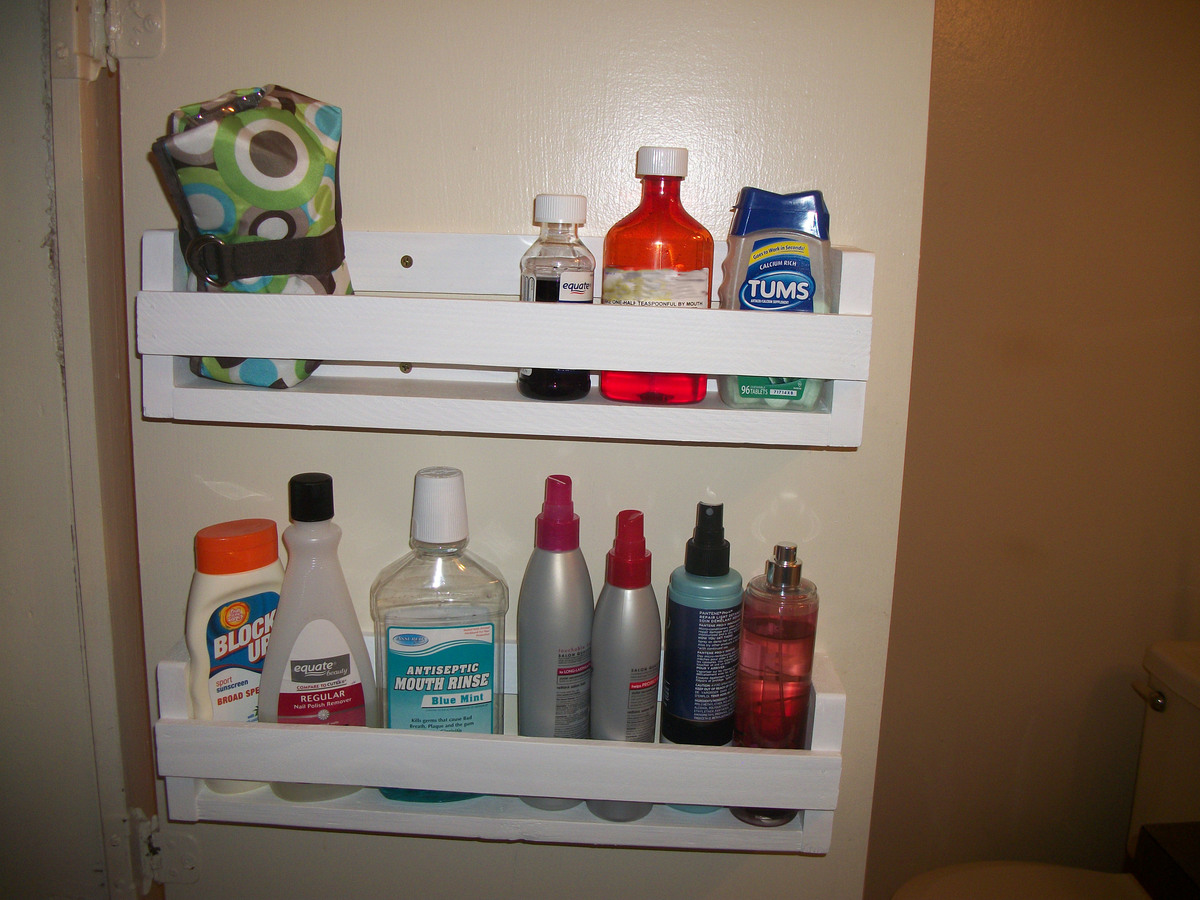
I got a miter saw for mother's day this year! This is the first project I made with it. We needed some accessible storage in the bathroom and this works out perfect
I loosely based them on the flat wall bookshelves and made them the right width to fit on the door. I used scrap wood and lathe that we had laying around to make both shelves.
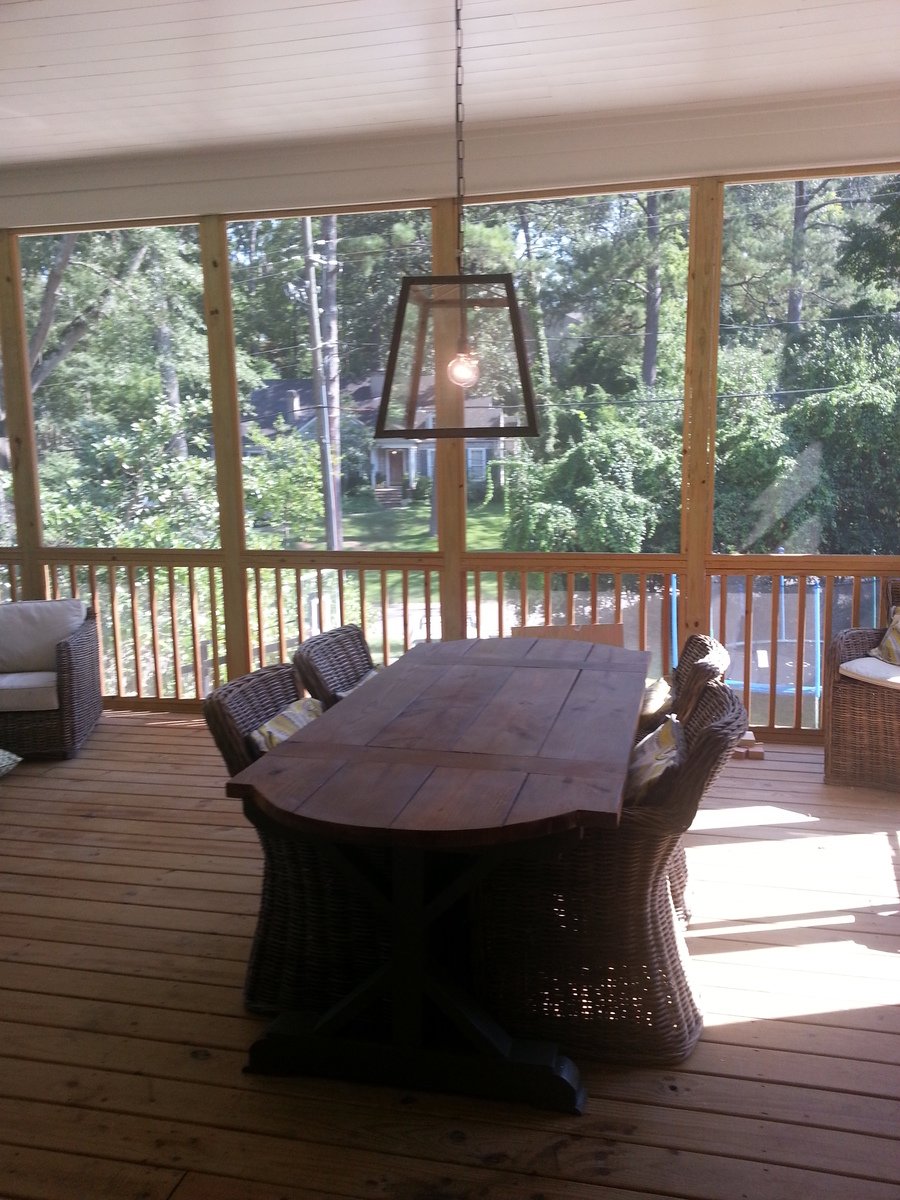
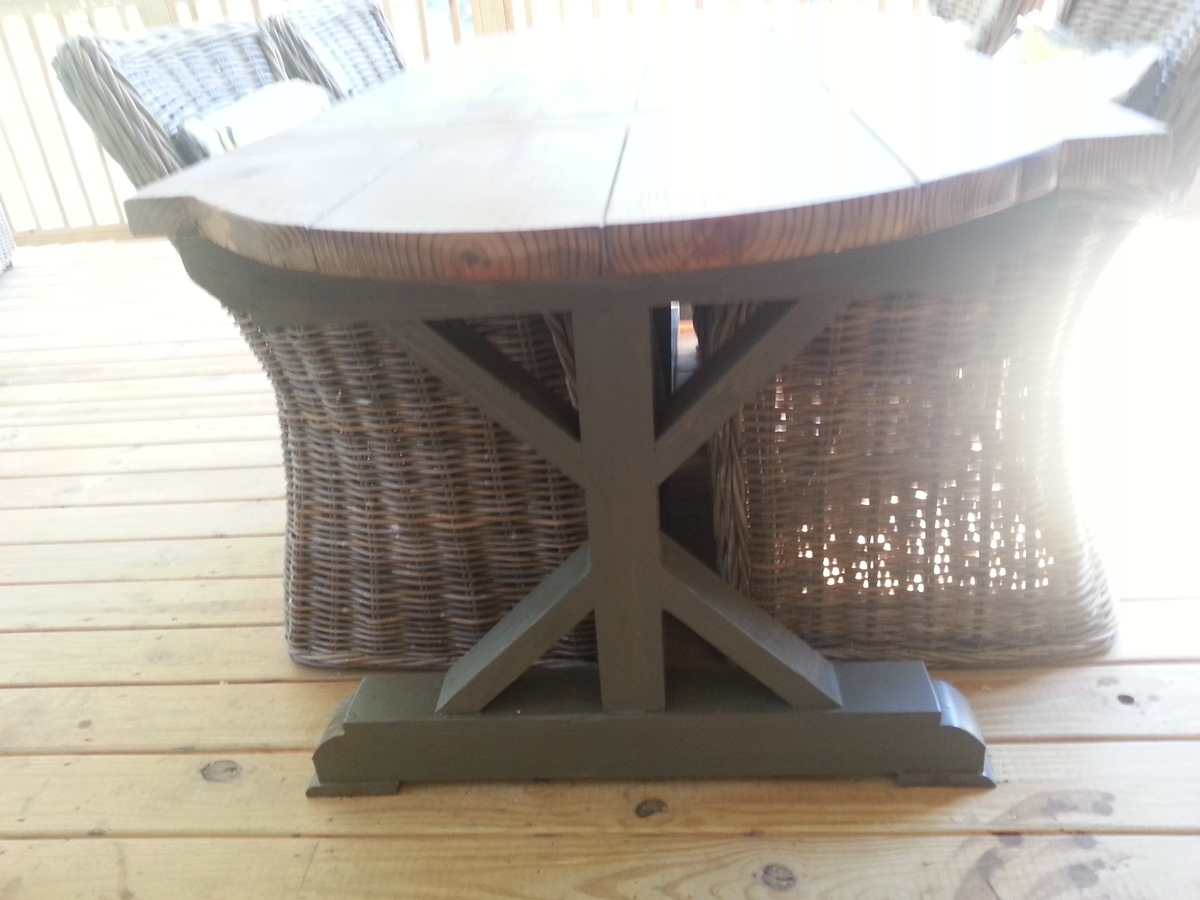
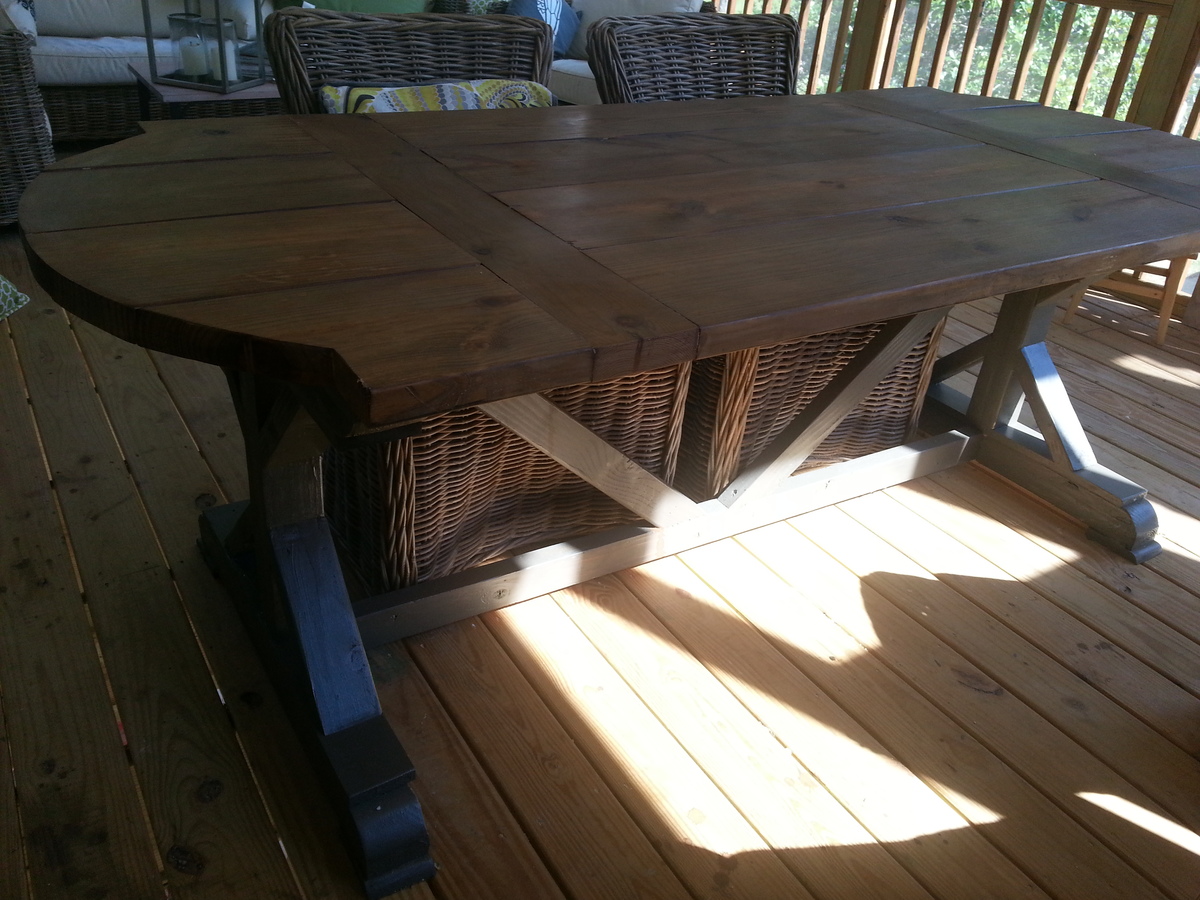
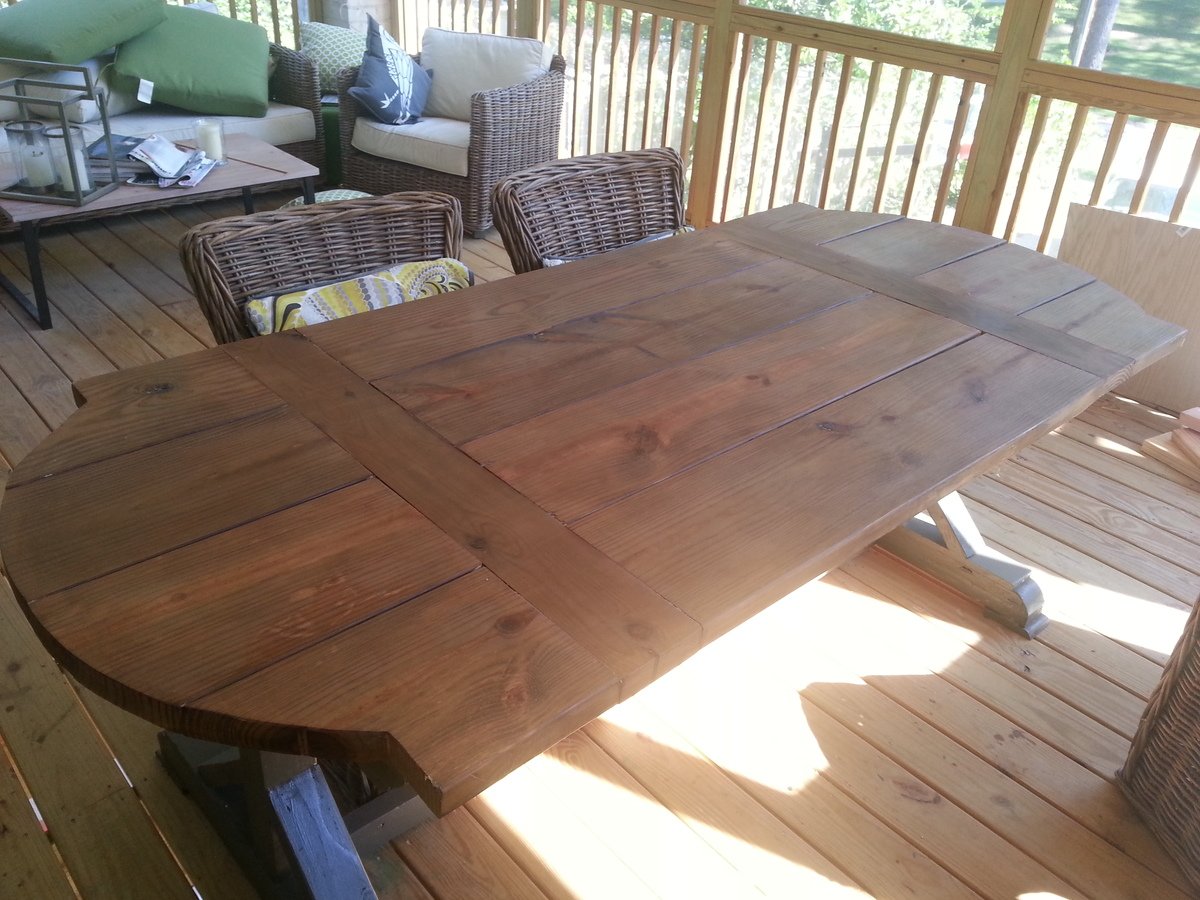
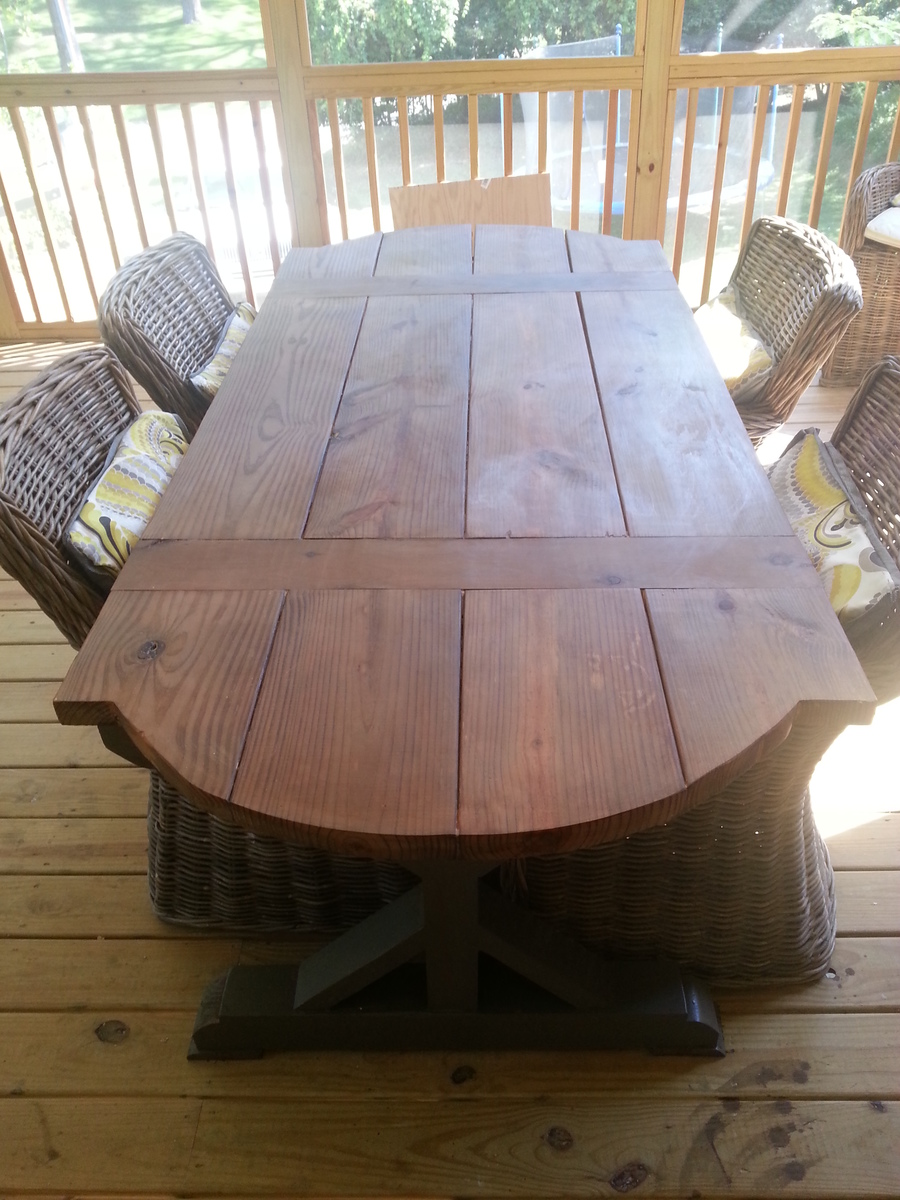
I'm so excited about my farmhouse table! I used mostly scrap wood that I had lying around, and I adjusted the length of the table to fit my space (it is 62" long). I cut the table ends in a curve pattern just for a little more interest. I used the steel wool/vinegar solution to darken and age the top, with a paste wax finish on top to give it a more aged patina. I painted the base with the paint leftover from my outdoor sectional that I built from Ana's plans. The actual table didn't take long to put together, but it took me a month to get around to the finish.
Sorry for the photos - I used my cell phone camera and the light was bad!

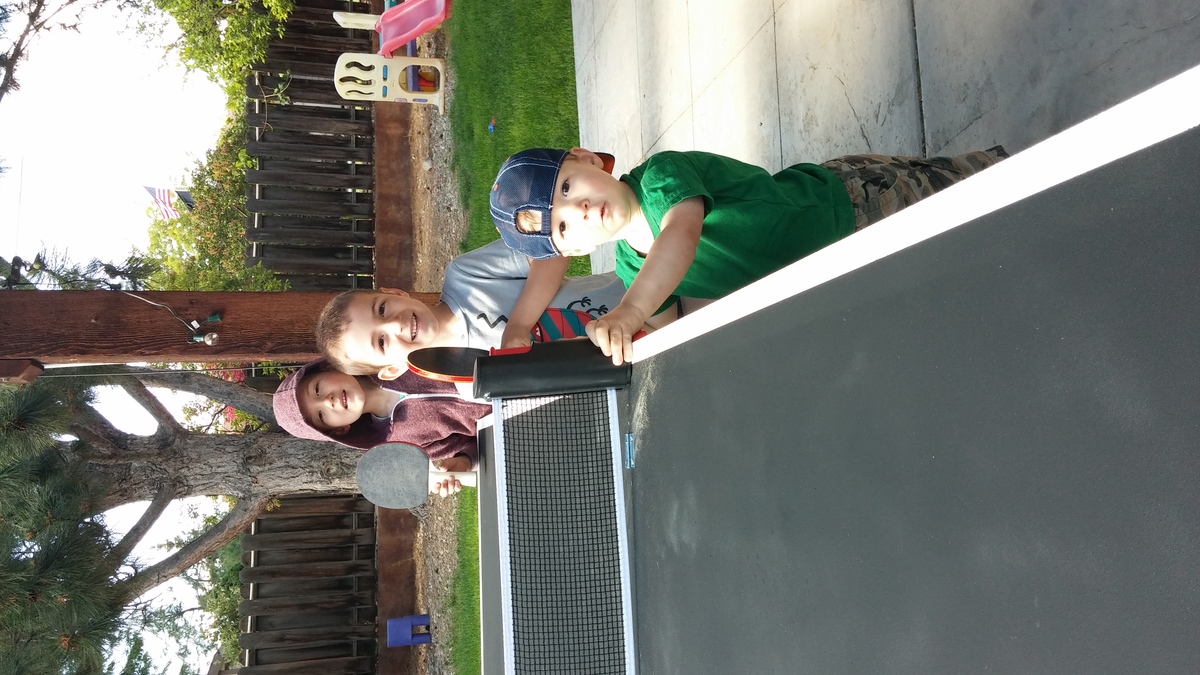
With Father's Day rolling in, my sons and I needed a gift, stat! My husband thinks that Table Tennis is the quintessential father-son activity, so that was an obvious choice.
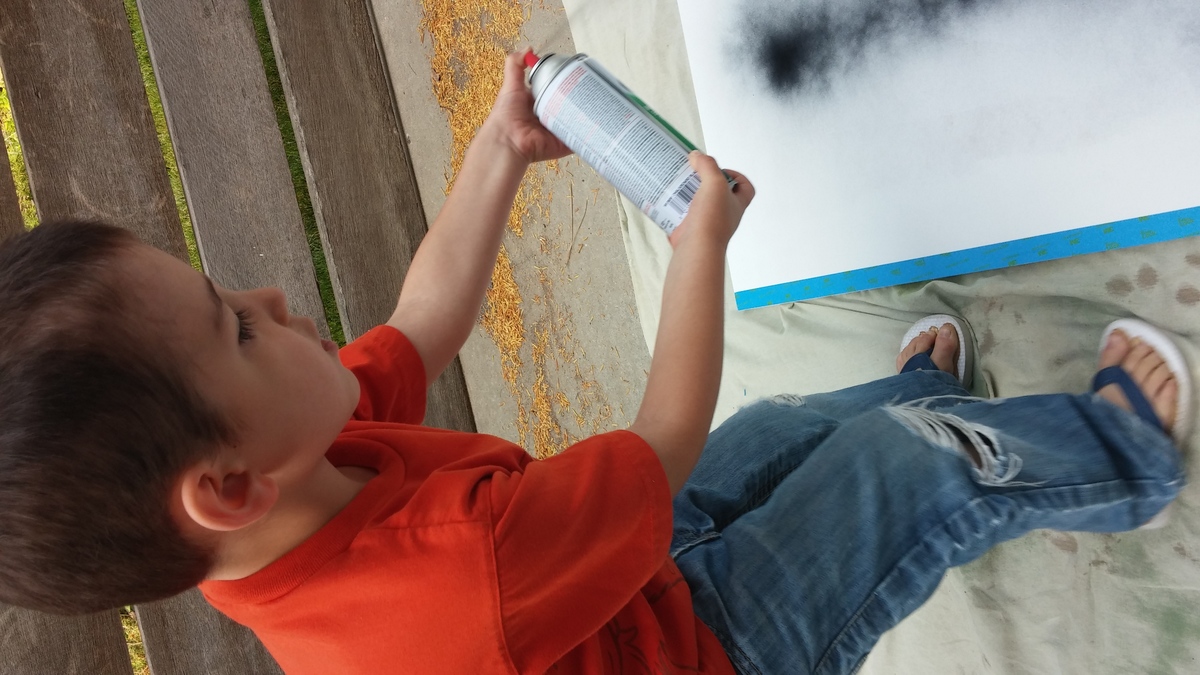
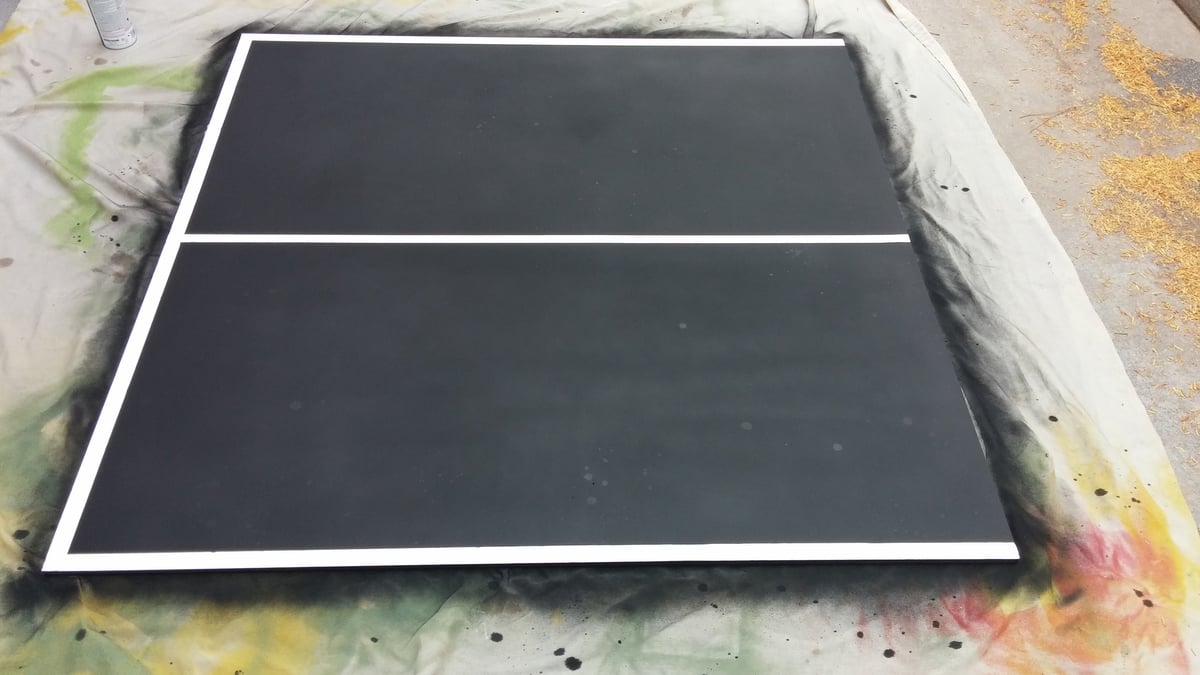
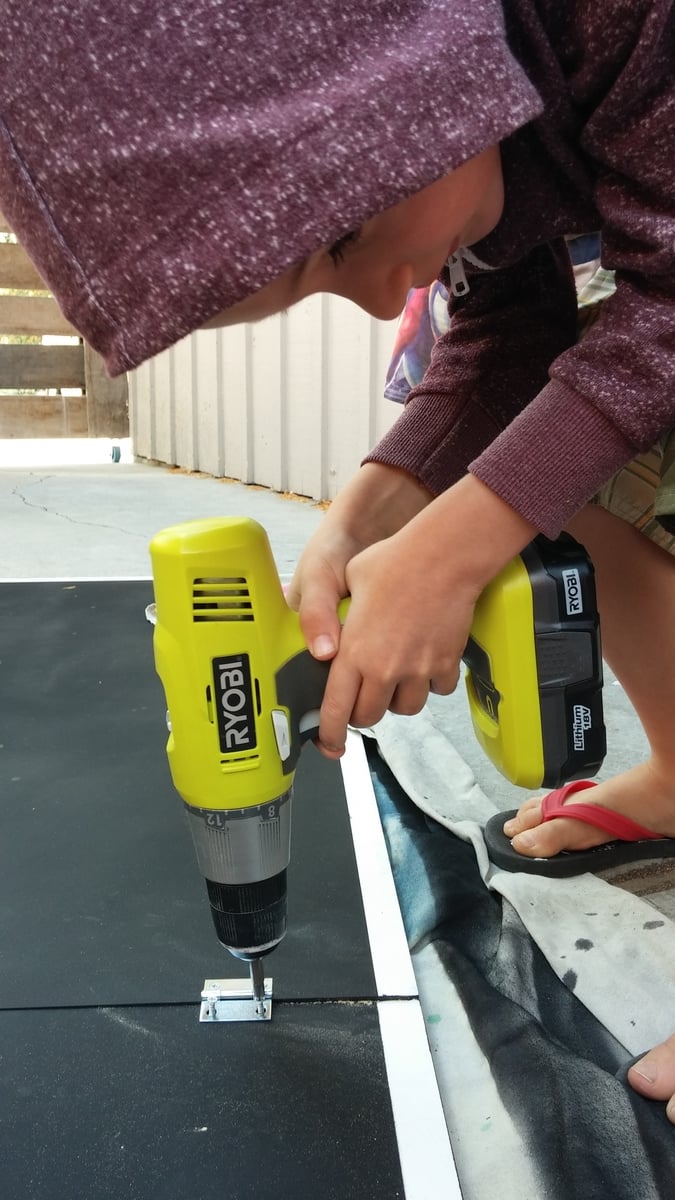
We needed something easy to make, easy to store, and budget friendly. With a 6, 4, and 2 year old helping out, I made a foldable mdf ping pong table that could easily be placed on our picnic table outside.
We had home depot cut the mdf in half, primed it, taped off some lines, spray painted it with chalkboard paint (bonus, you can keep score!), and screwed 4 small hinges to attach the 2 halves. We added a removable table tennis net, some paddles and balls, and have played nearly every day!
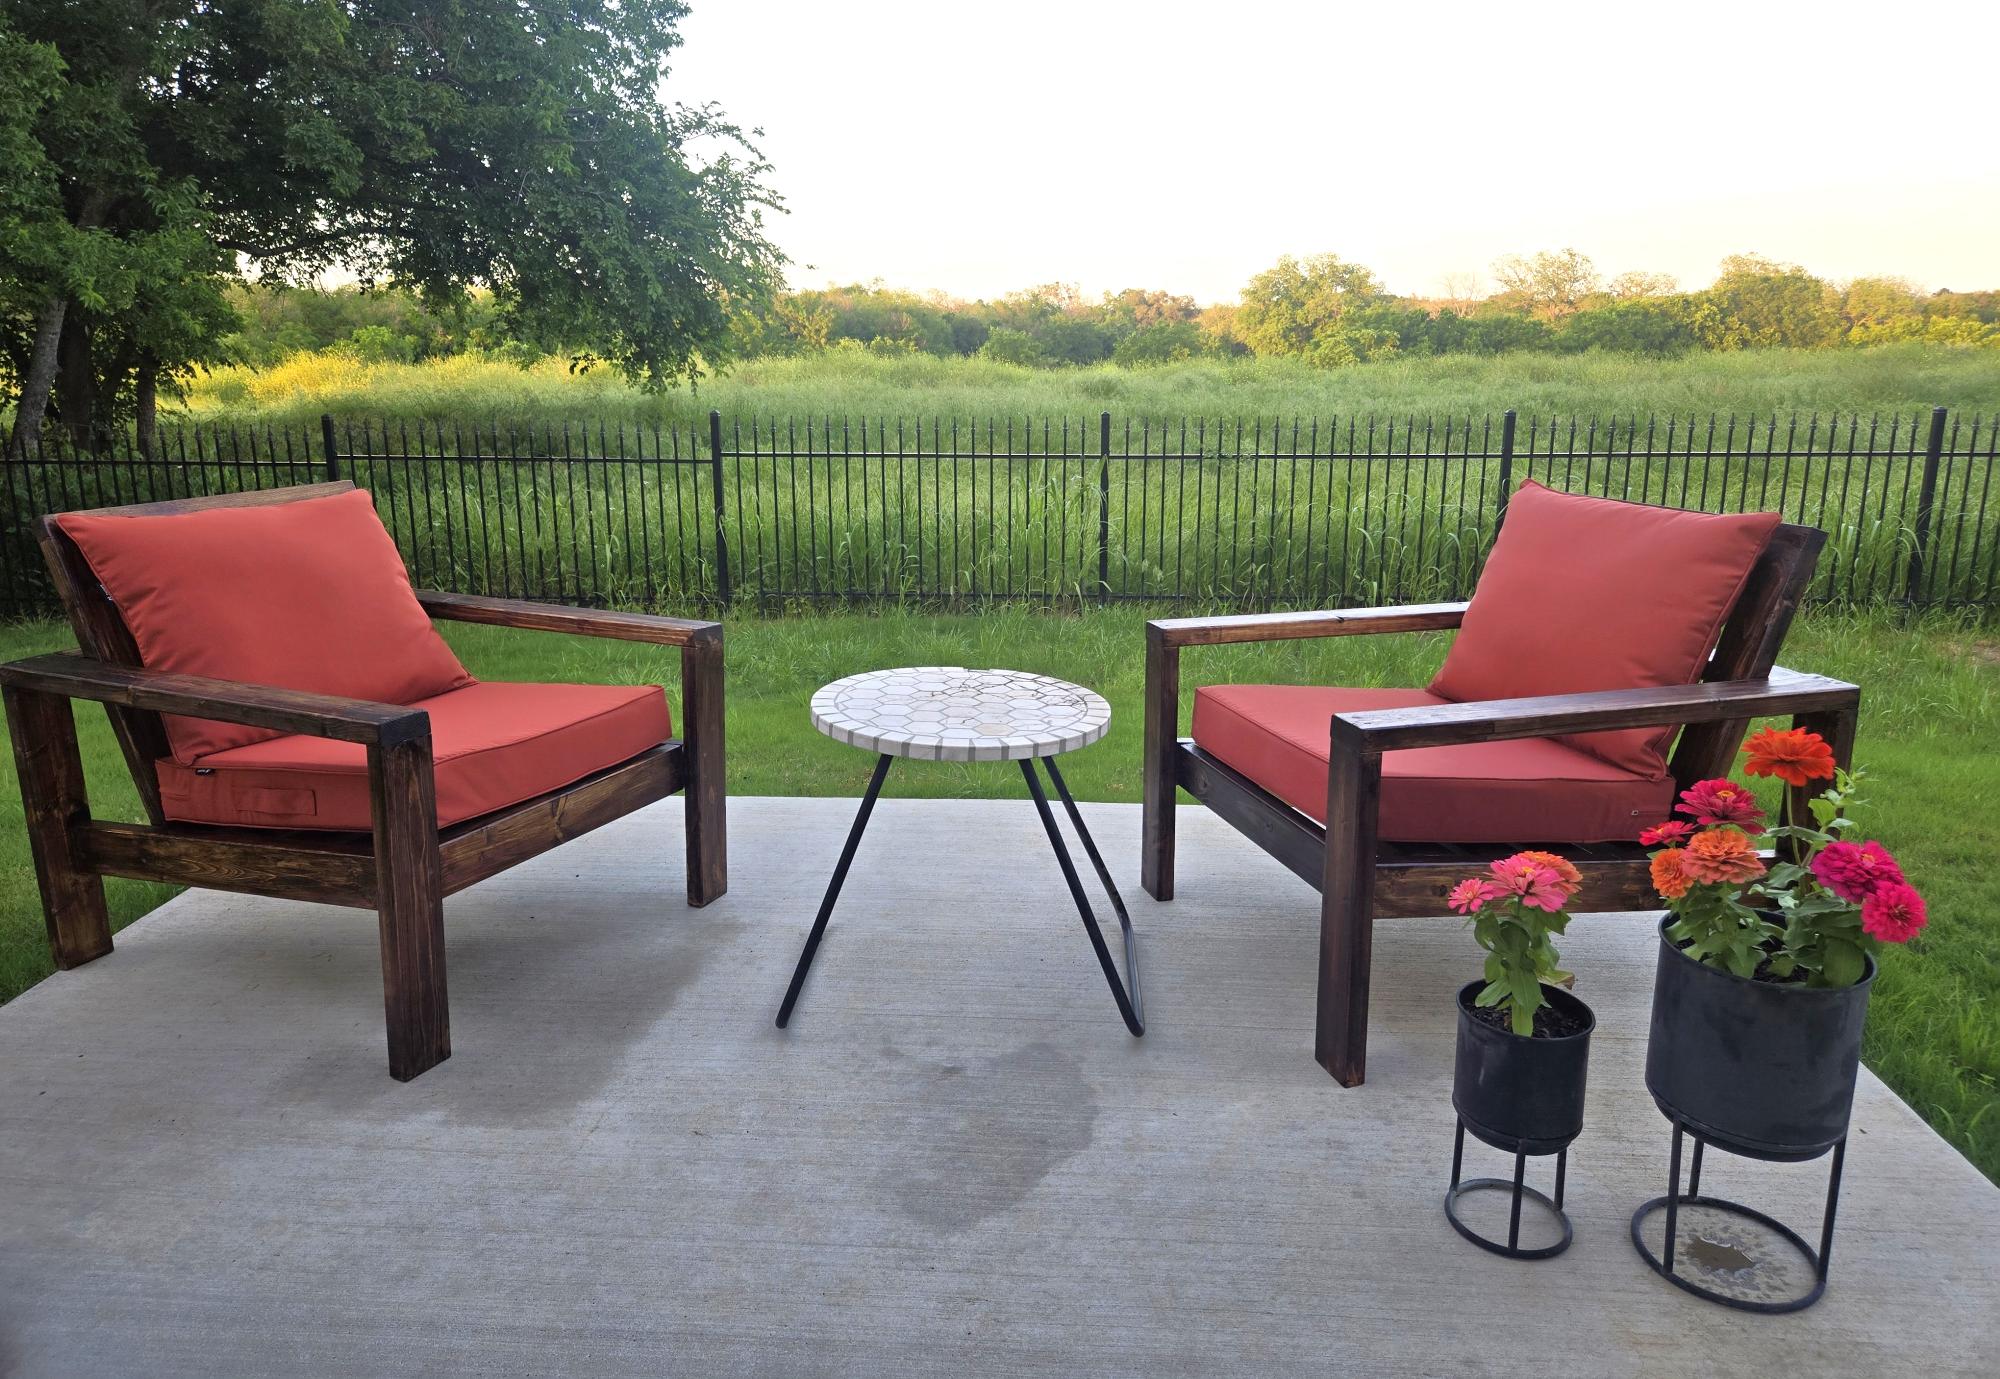
DIY Outdoor Wood Chairs
by Tara
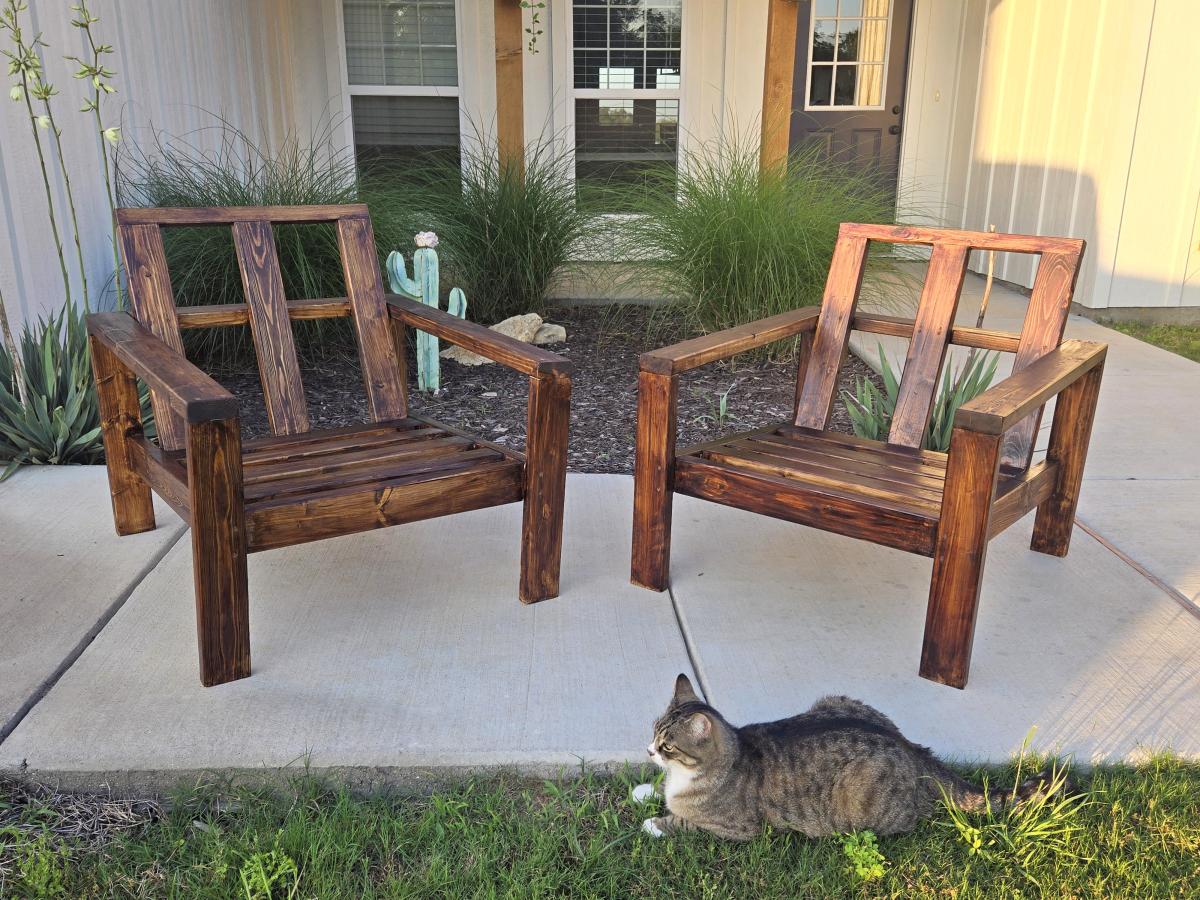
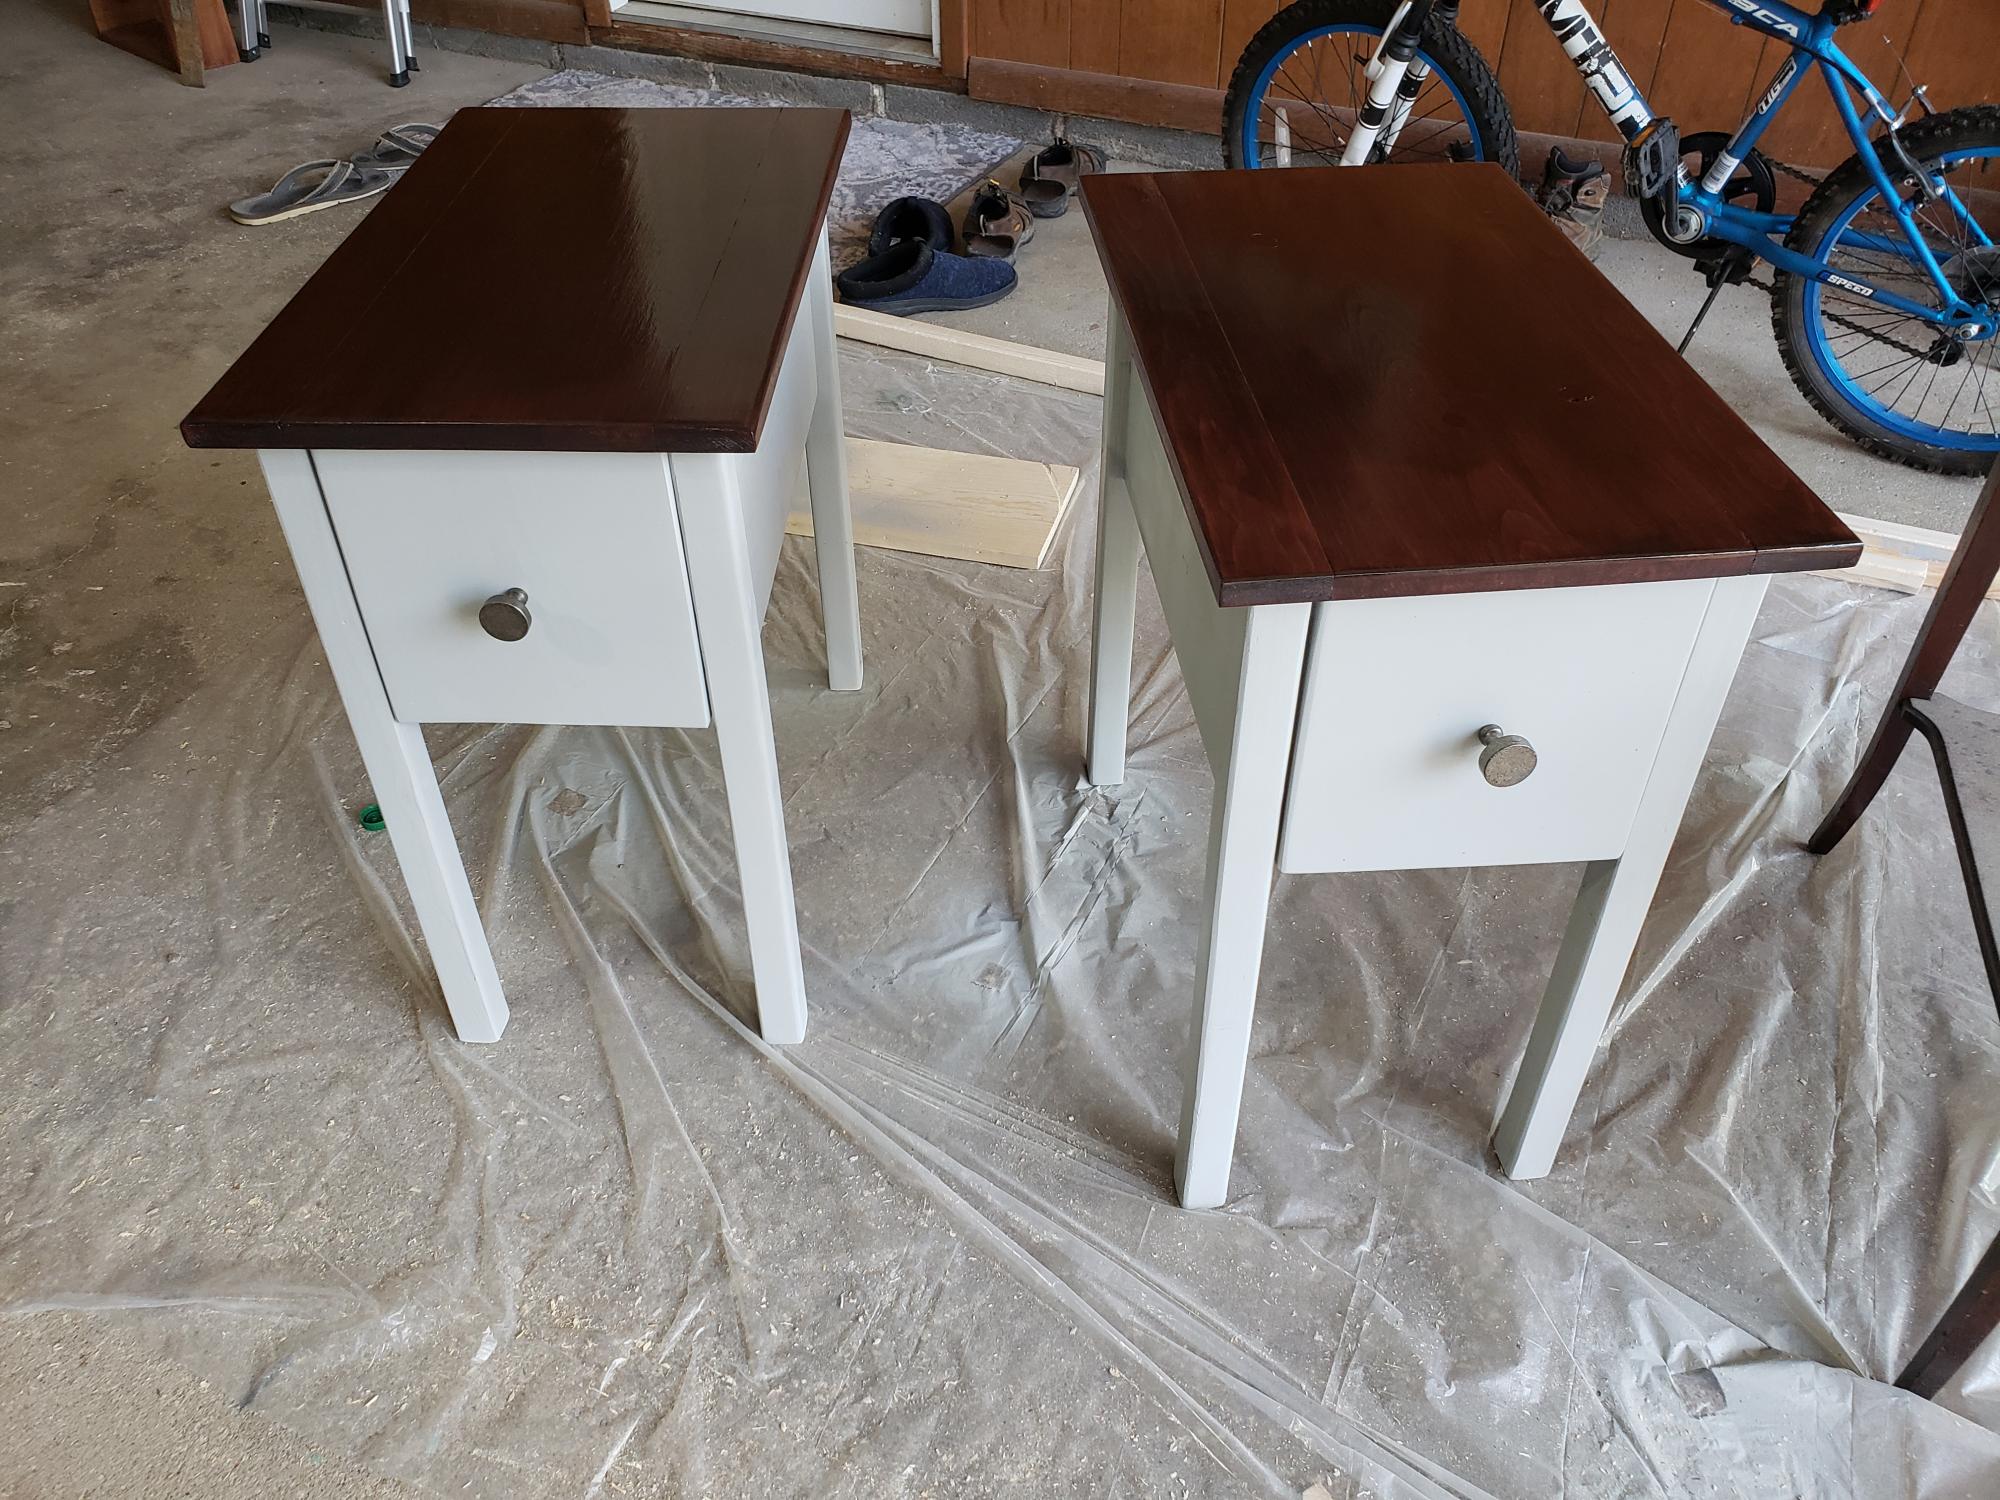
Perfect for for my living room
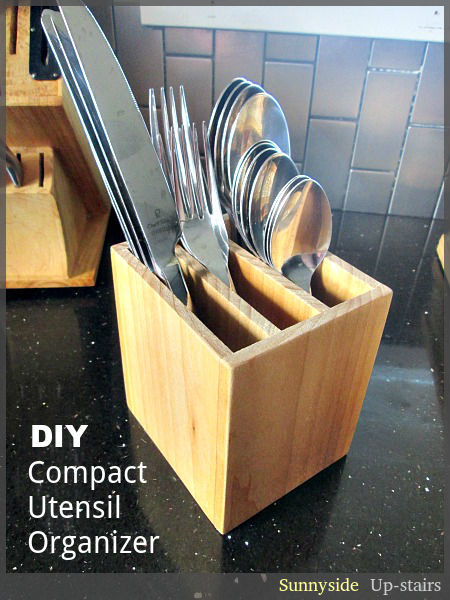
I made a counter top utensil organizer for our little kitchen and love how it solved a few utensil difficulties for us. I wish I could post plans, but all I can offer for now are photos and a brief explanation on my little blog: http://sunnysideup-stairs.blogspot.com/2014/07/compact-utensil-organize…
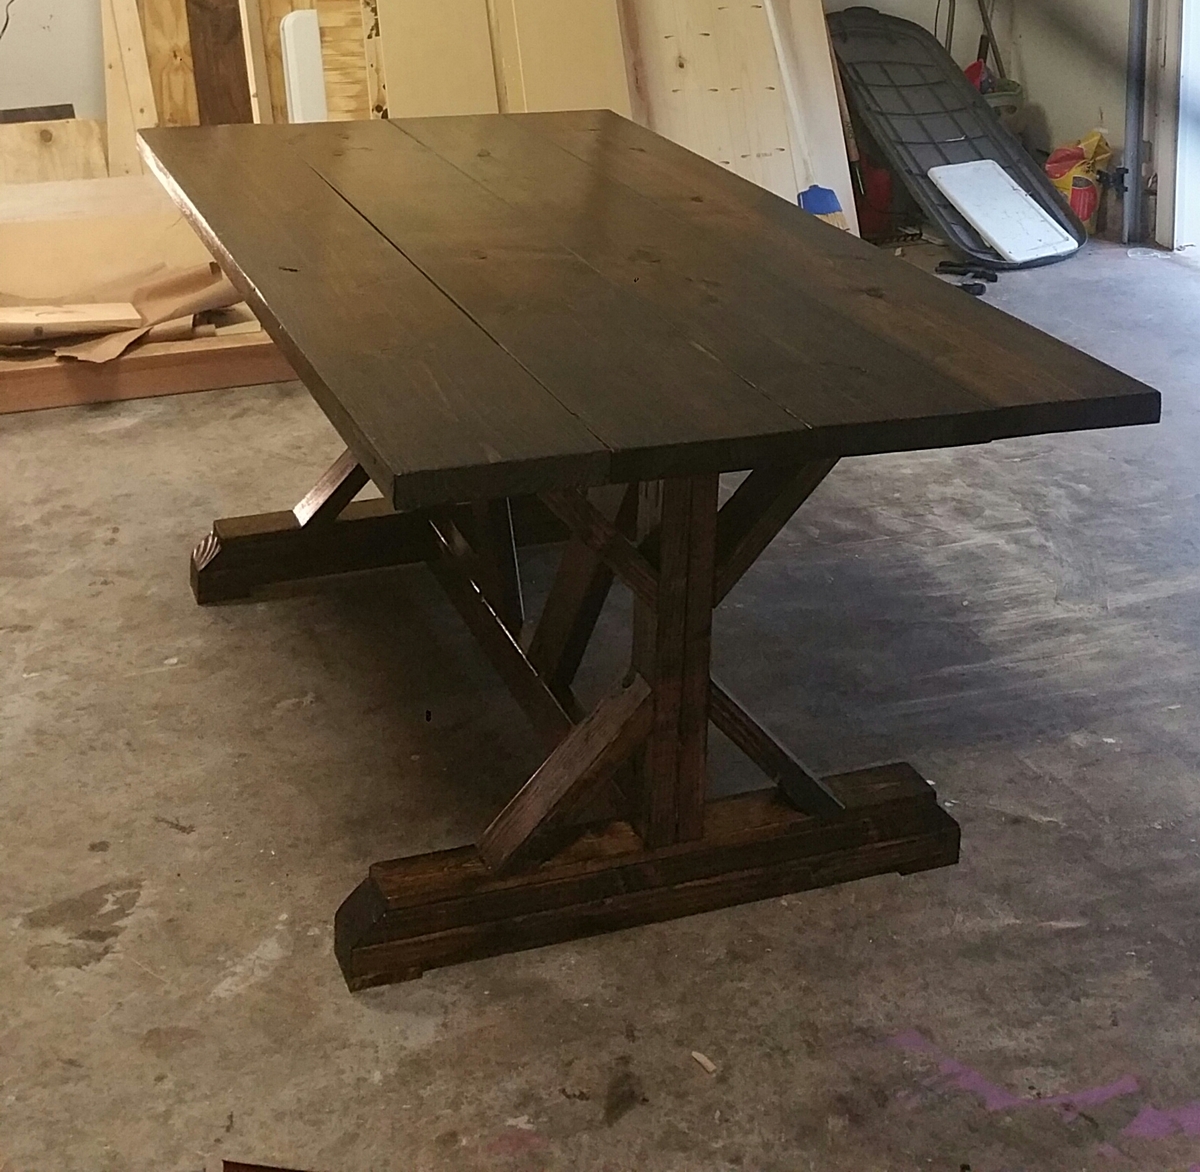
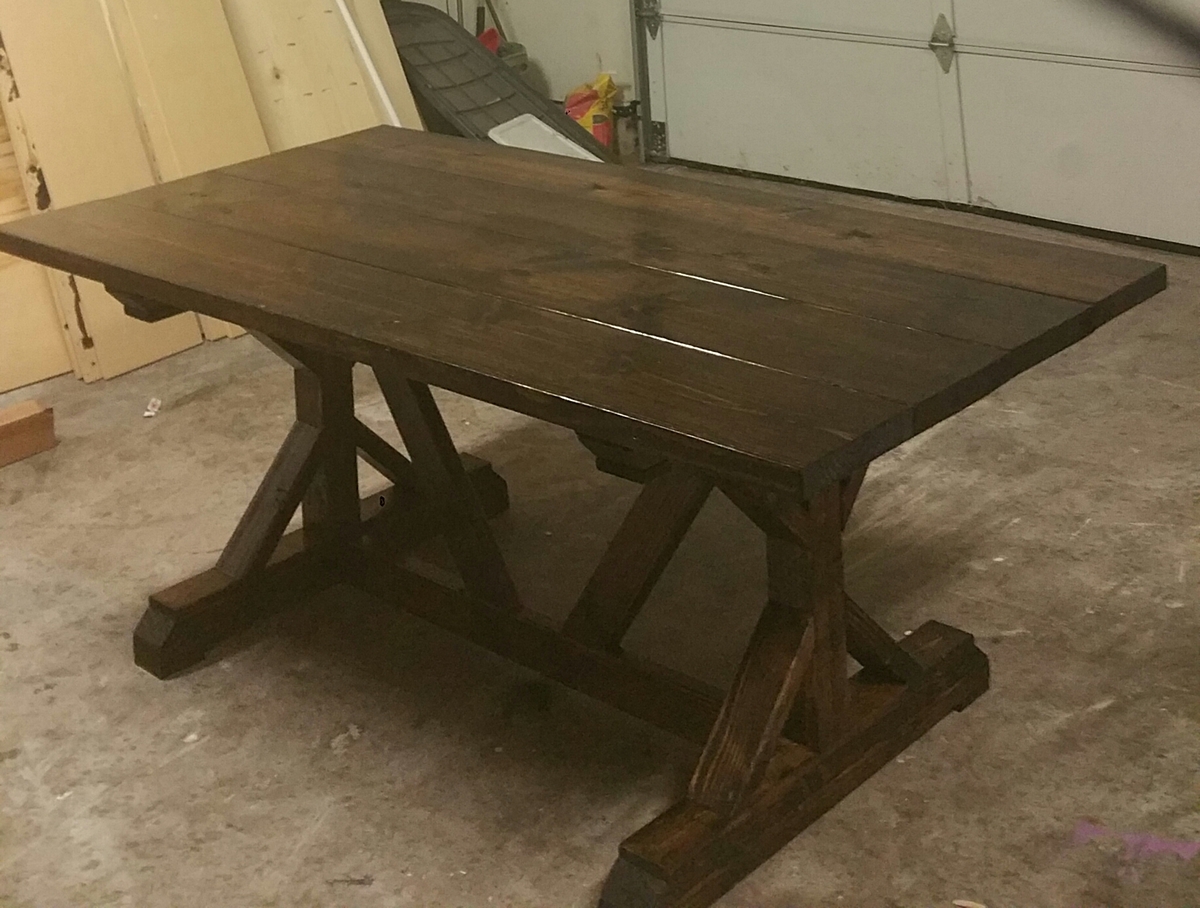
I built this table shorter than the plans. Its 72in long.
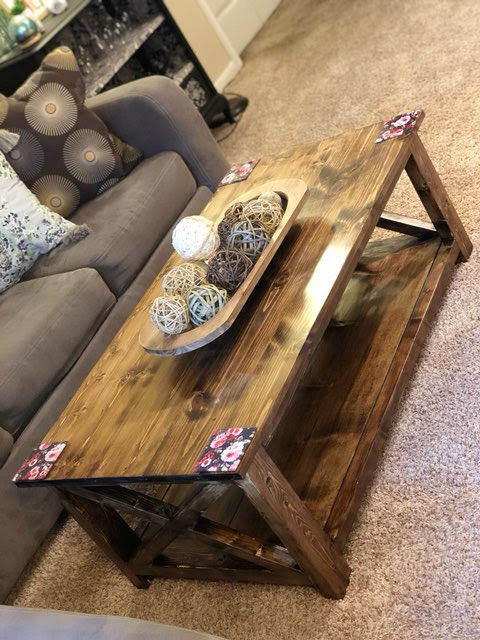
I built this for my daughter. I had to alter the plans just a little, but all of Ana's plans are so well done, that it is easy to change them a little and make them personal. Thank you Ana.
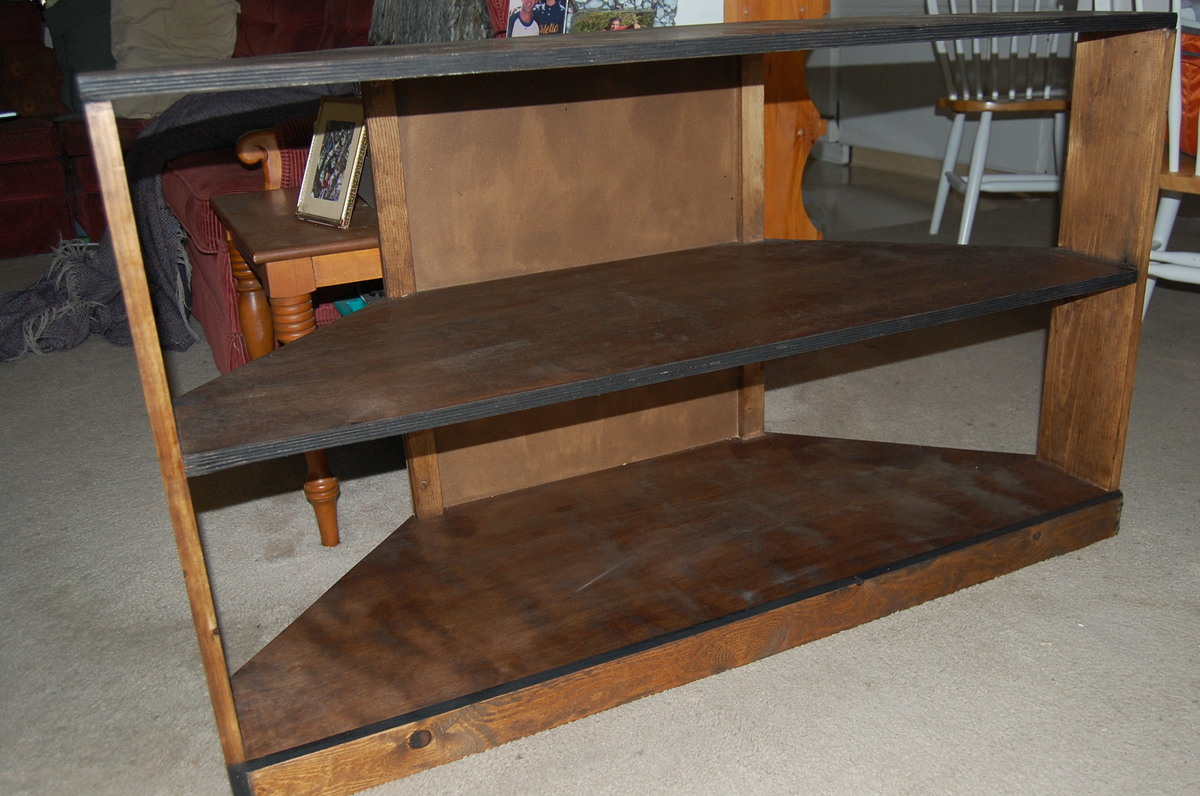
I used the Tall Corner Media Stand plans as inspiration for this, but I didn't actually need it top be very tall, so I took off one of the shelves, and decided not to add the extra section for the cable box and what not.
I also liked the simplicity to it without all the trim, so I decided to leave the sides and top slats off and just stain it and add a 1x3 at the bottom for aesthetic purposes.
Sat, 04/16/2016 - 23:01
Any possibility you could have an option for metric measurements on your projects. I assume that there would be many more metric speaking nationalities besides me that would find this helpful. Your country, and a smattering of others, are among the only countries that still use the old Imperial system.
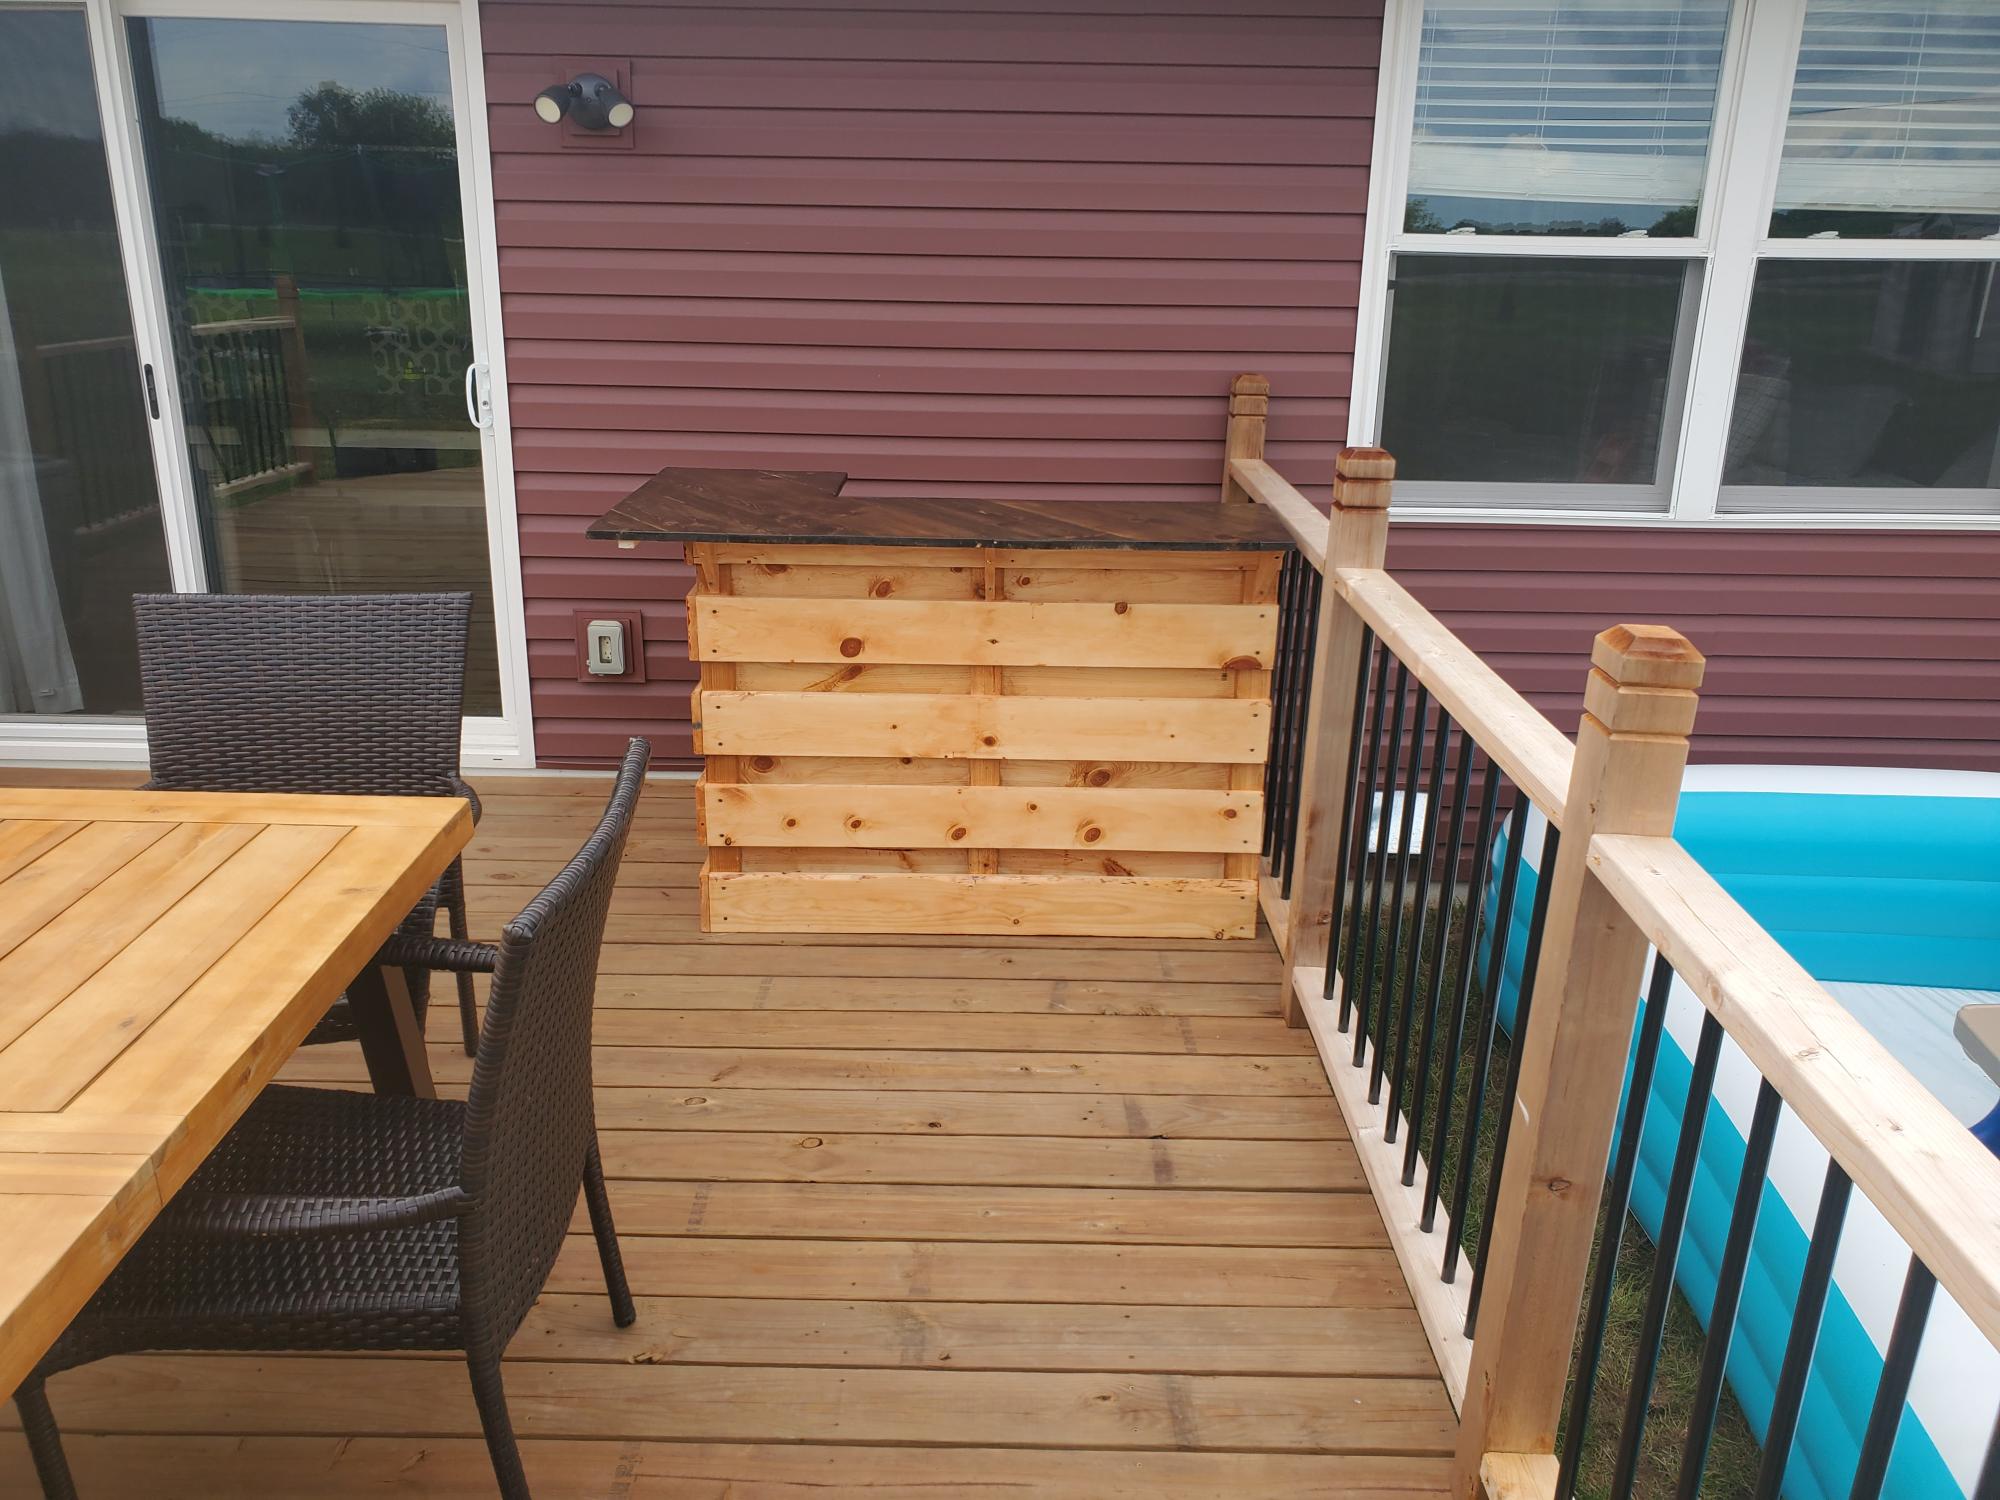
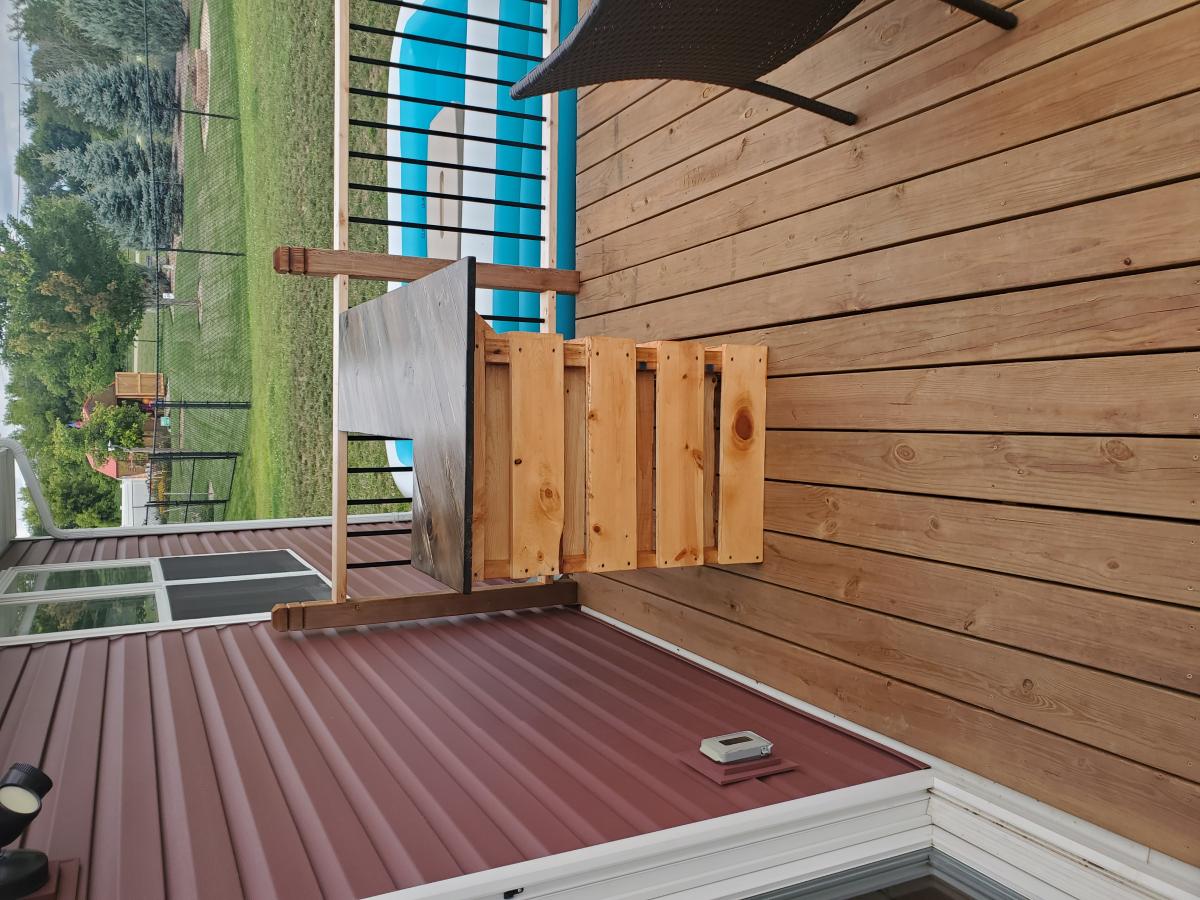
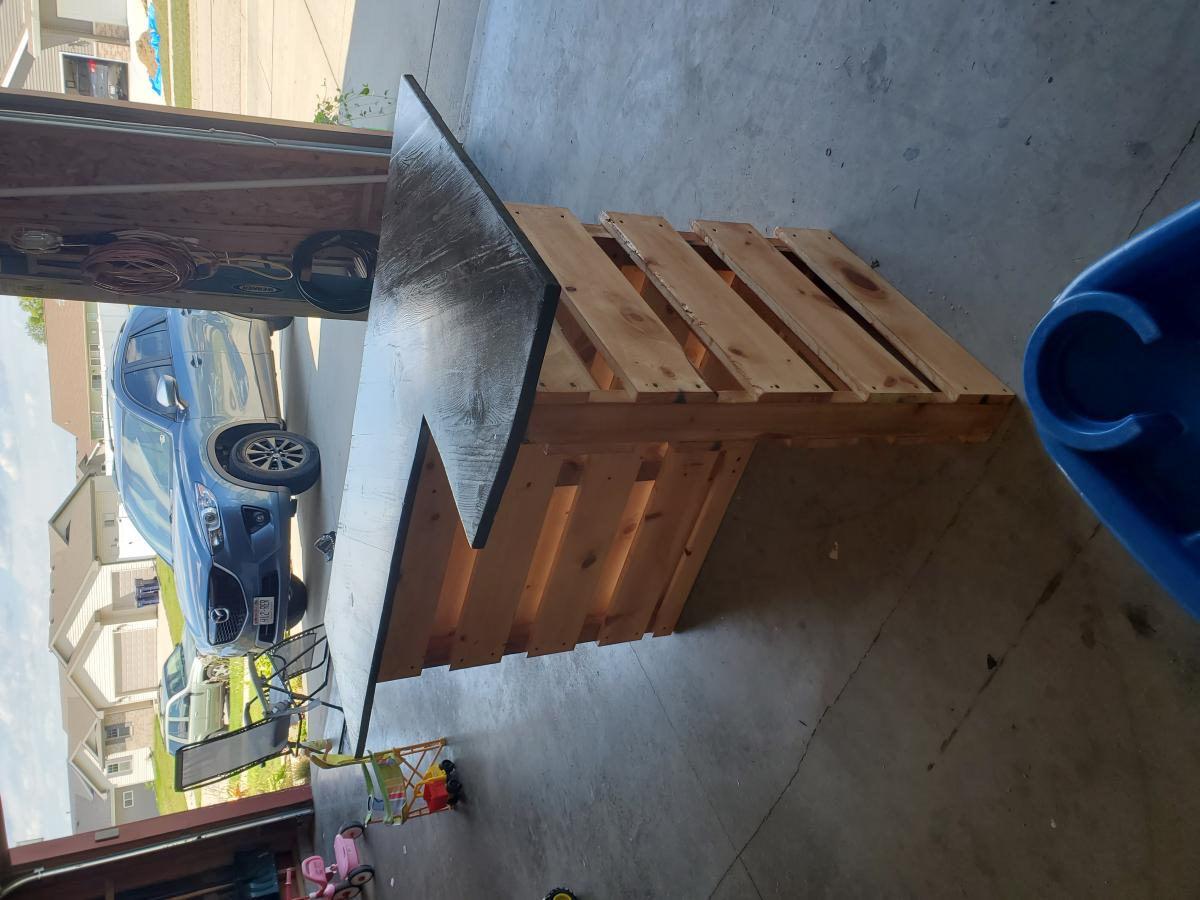
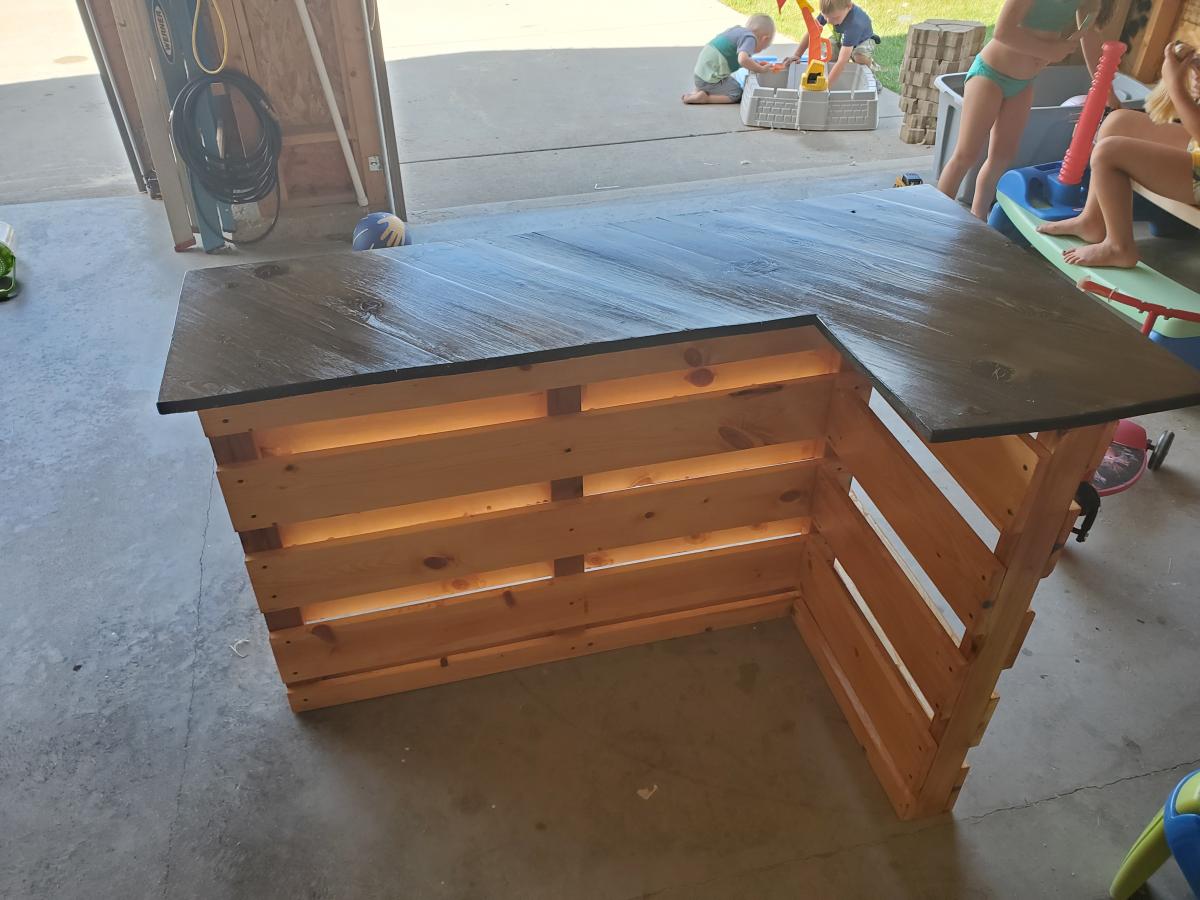
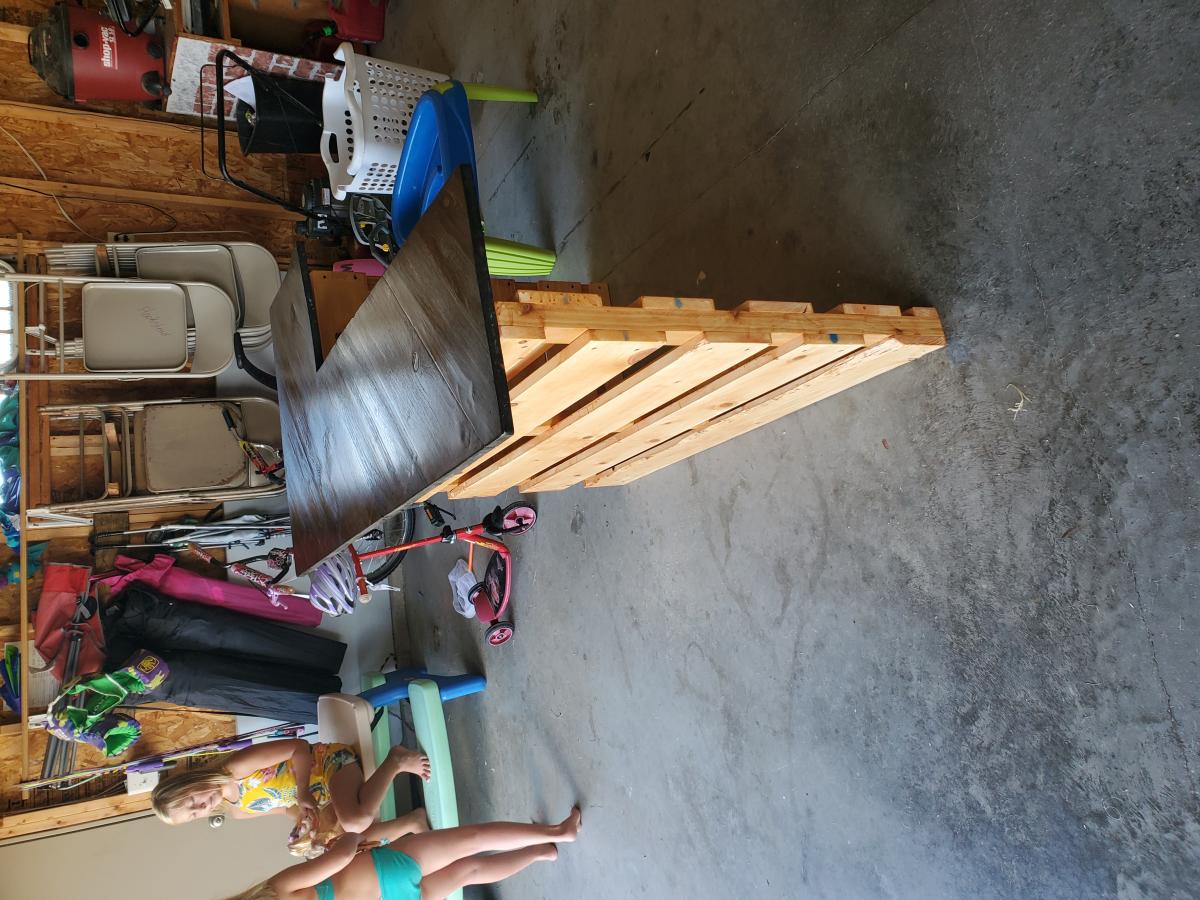
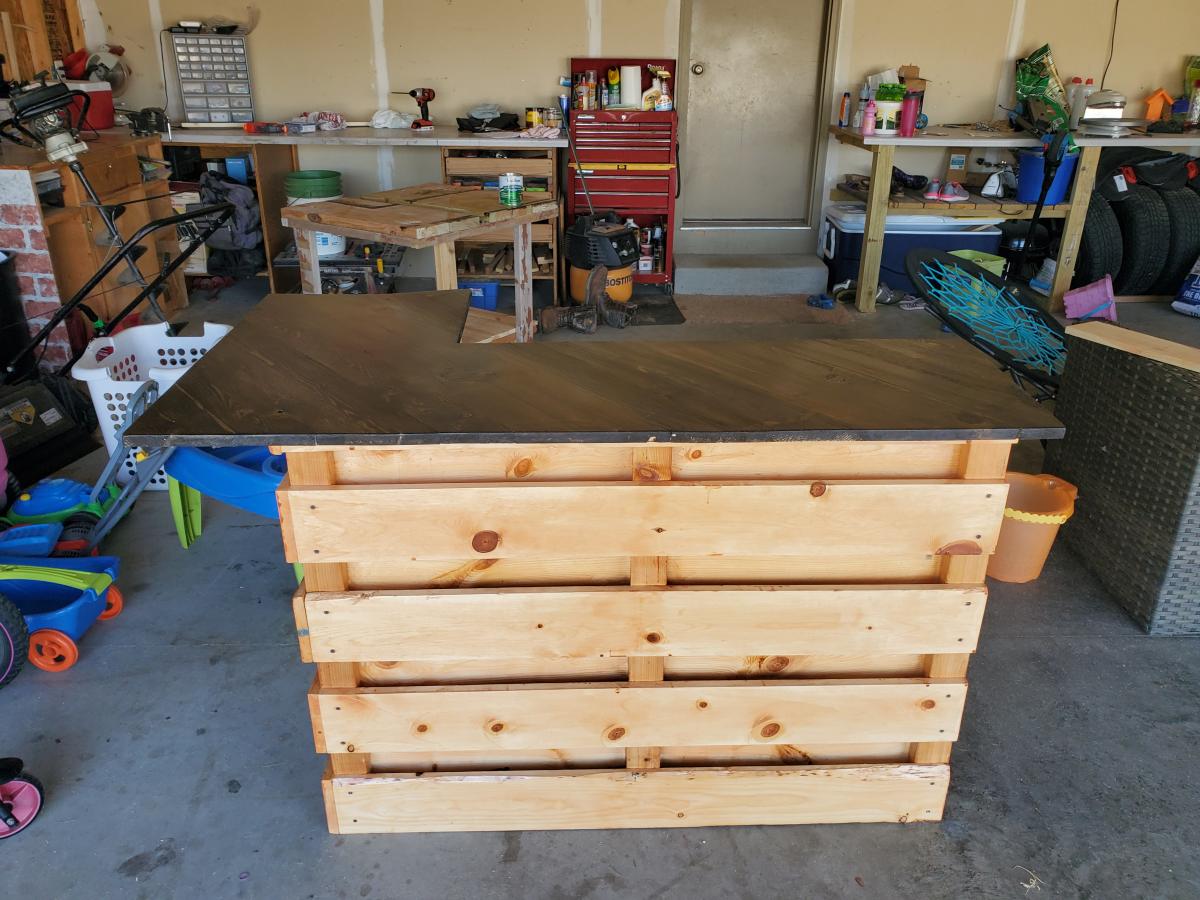
i have aqesome neighbors that just built a deck but was missing something. She like the pallet look bars but did not have any pallets. I did have a bunch of 1 x so made my own pallets.
Comments
dmalzner
Thu, 07/25/2019 - 09:32
Would you be able to provide…
Would you be able to provide the dimensions of the top of the table? Also, how tall are the stools? Thank you!