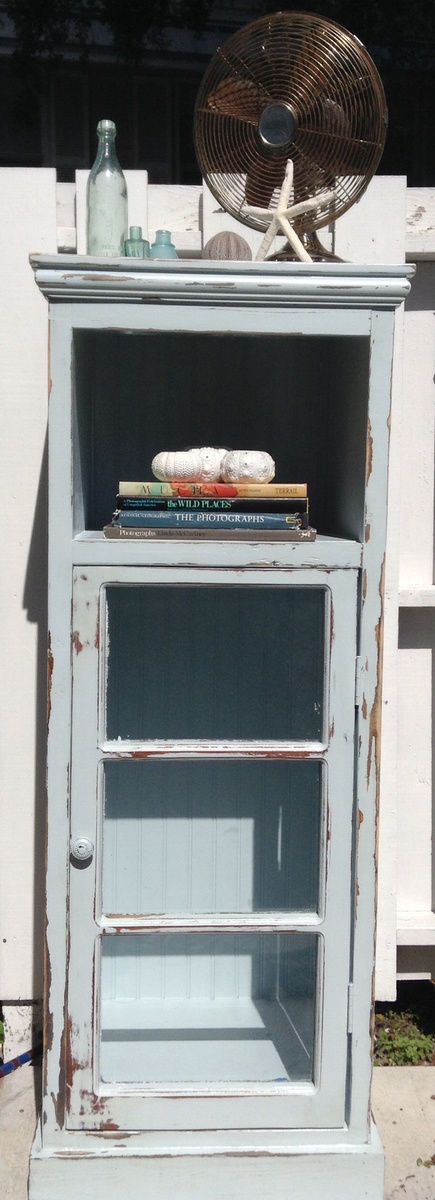
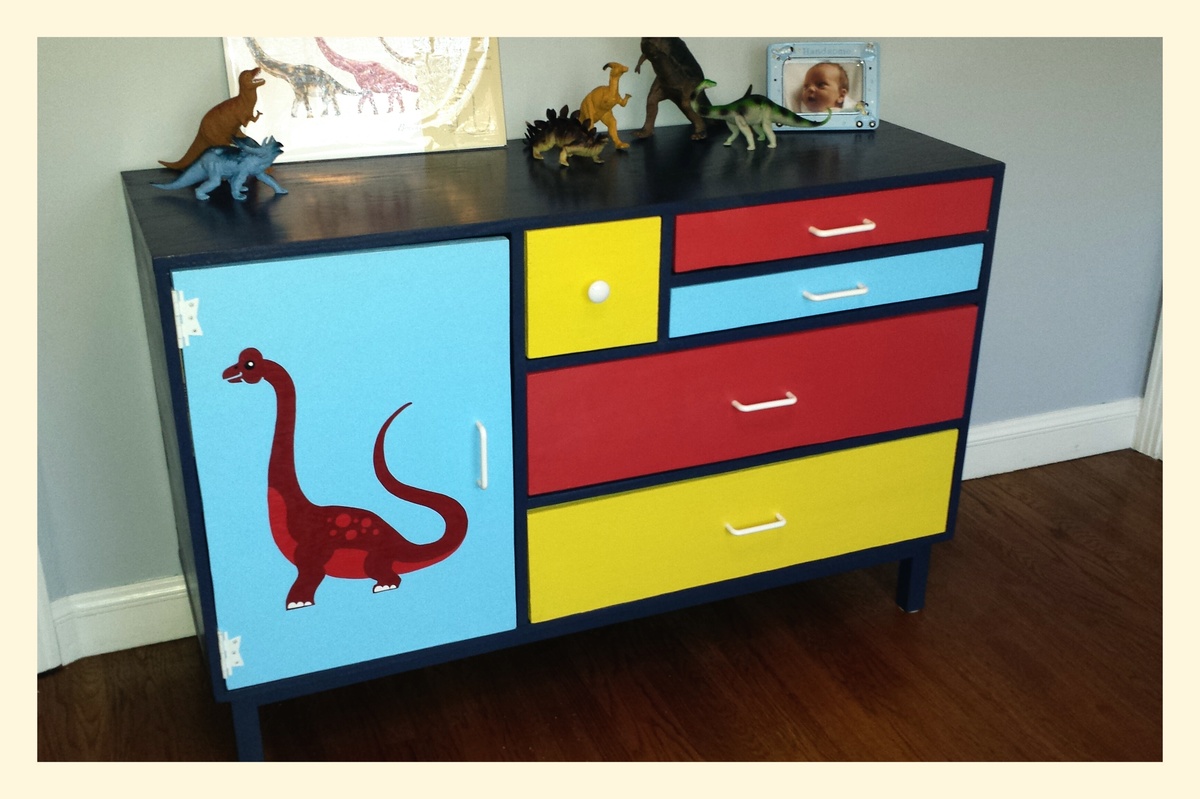
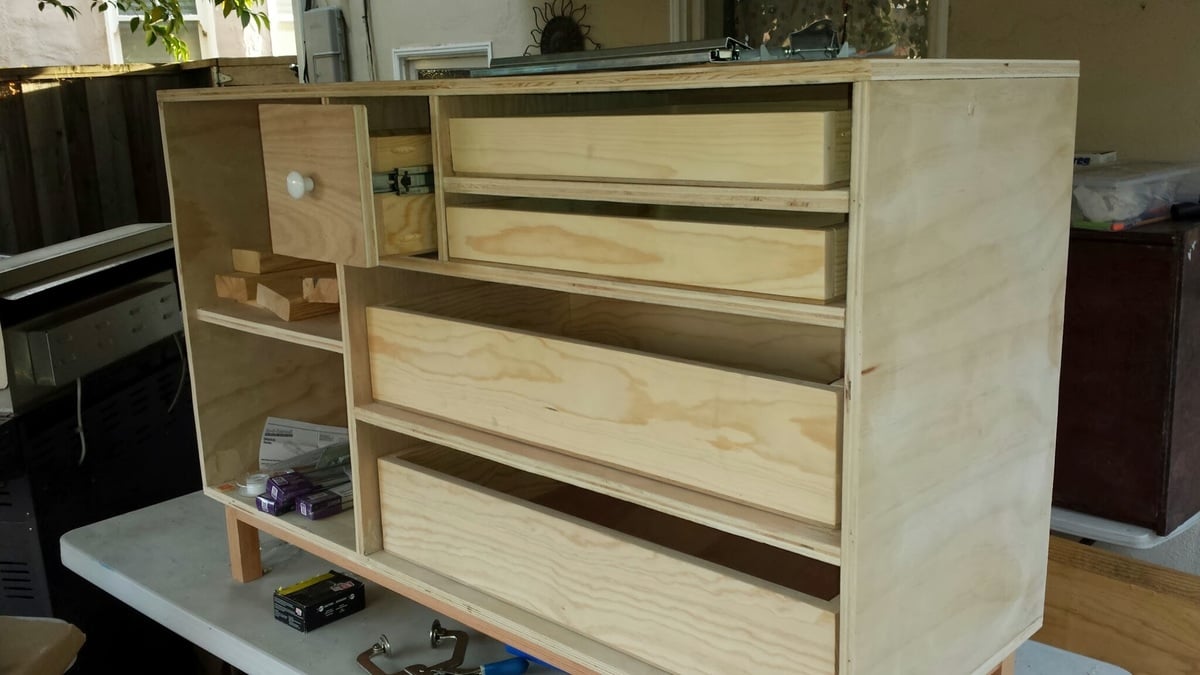
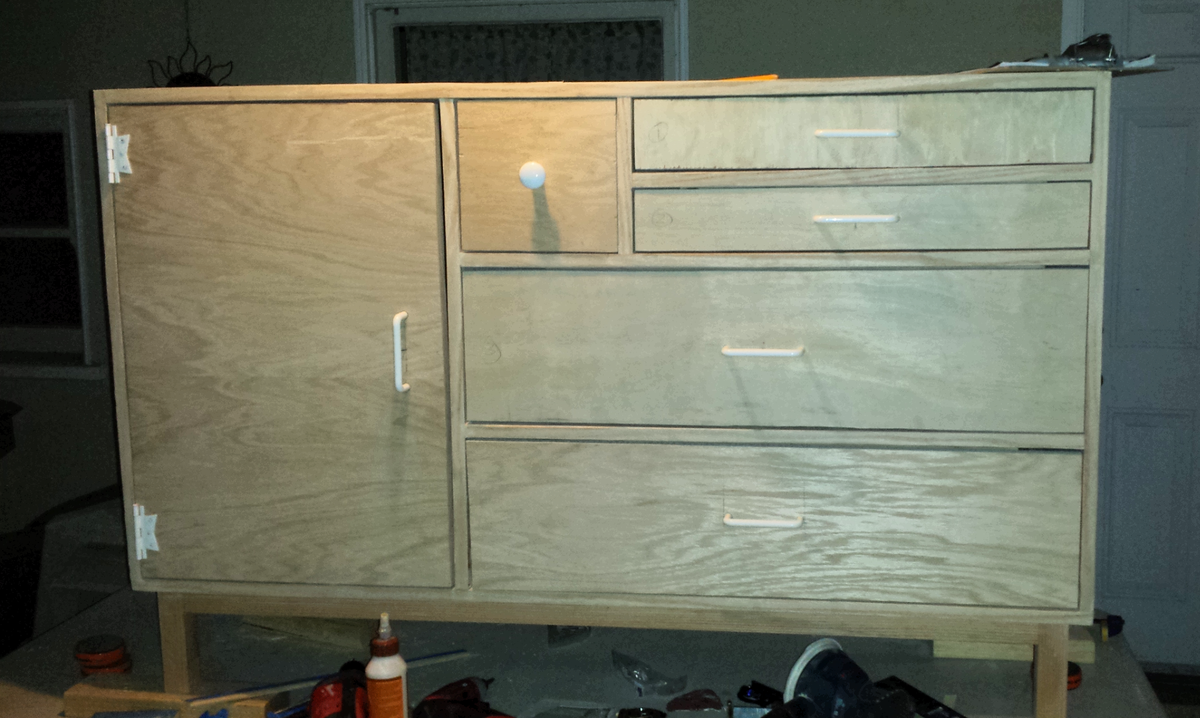
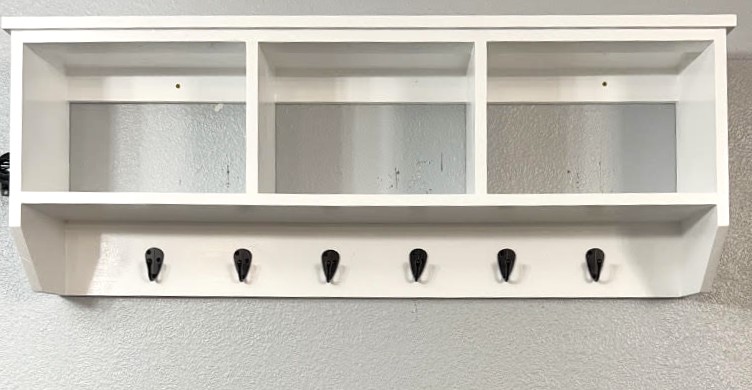
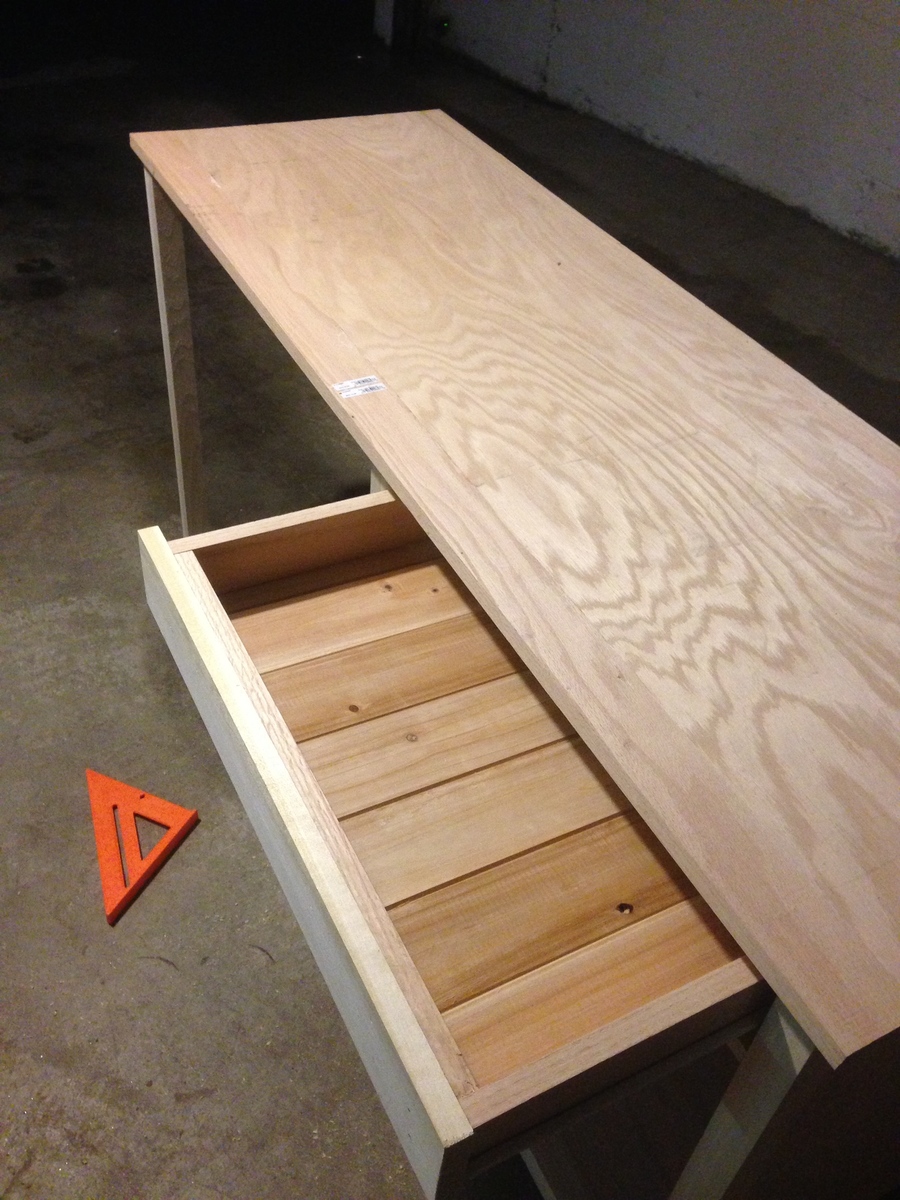
Martina Bath Storage
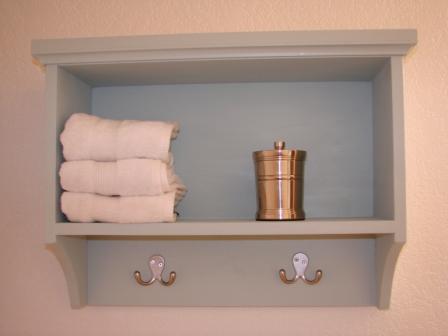
So happy to finally get around to this build. Super easy, though I found I am not that skilled with cove moulding...nothing a little wood putty couldn't hide.
I was given an old window that was going into the trash from an old house in Key West that was being remodeled and decided I wanted to use the window as a door on a cabinet. These plans were very thorough and easy to follow. I modified the measurements to fit the window and am really happy with how it turned out. I added some trim to the top and bottom and used beadboard for the back to fancy it up a bit. I painted it in Sea Mist by Behr and distressed it by hand. This is my first post on this site. Thanks, Ana, for making this possible for me!
Mon, 03/17/2014 - 12:11
Love that color! I painted a console table in the same shade and distressed it. Still one of my favorite pieces to date! ( http://www.birdsandsoap.com/2011/07/touch-of-blue.html )Your cabinet looks great. I can't wait to get started building once the weather warms up here!
I had a friend make a request for a console table. We came up with this design to fit her space and needs. It was a pretty easy build.
I used the plans from the "Grandy Barn Door Console" for the basic layout, and then altered them to accommodate an electric fireplace insert in between two cupboards, and an open shelf across the top to put in the stereo receiver. The tv is actually mounted to the wall over the top rather than sitting on the console. Overall, I love how it came out. It's exactly what we wanted!
Came across your shiplap fireplace and tweaked it a little, not bad for a 64 year old female right? Didn't take a weekend though more like a month but worth it. Thanks for the inspiration.
Sat, 11/18/2023 - 12:53
Love the mods for the open display shelf! Thank you for sharing:)
Table mad using the Rustic Table plans.
We wanted a bright and colorful dresser for the baby's room, and one that would match the Will Ruocco dinosaur prints that we purchased for the walls (http://etsy.me/PJ1yOs). This project spread out over many weekends but we were very happy with the results. We choose to go with legs instead of wheels, and made them tall enough that the Roomba would have clearance to get under. For the design, we used a combination of the plans here and a similar plan from The Design Confidential website.
These chairs were really fun to build. This was my first project and they turned out great. Thanks Ana!
Loved building it. Took me and my husband a couple hours to build. Originally wanted to do the lift top but by the time we were ready to do that realized the front sides weren’t wide enough to do hideaway. Wish I could have made it a little smaller but I’m in love with it. Looking to do more projects during quarantine.
We needed a coop for our son's chicken Penny as she was big enough to move outside. We wanted one that would hold at least 2 chickens as we plan on getting a second soon. We found the plans for the a frame chicken coop here and the next day my husband and 5 yr old son got to work. Took them about 3 hours from start to finish and it turned out great. He plans on spraying the whole thing with outside deck sealer to protect the wood and had some trim on the edges to protect the kids from getting scratched by the chicken wire.
This one will be around for a while... heavy as sin, but solid.
Used 11 2x2 removable slats per level spaced 5 1/2" apart by 2x2s.
Added a 44" ladder and back rail and front rail with 30 degree miter cut on 2x4s.
Next time, would have sanded & stained the headboard/footboard 2x6s on the ends before screwing them to 2x4s. Didn't have a sander that could get between the 1/2" gap and the hand sanding from position can be tough. Overall, very pleased with the result.
Kids love it! First of many projects I will be doing from this website.
Used Ana White's Husky Farmhouse Table plans/instructions and then made some of my own modifications to make the legs removable and expand the dimensions a bit. Turned out pretty good! This was my first project :)
Such a fun project and my niece was so excited for her new “big girl bed”
Mon, 04/20/2020 - 14:28
You are such an awesome aunt! Love the stain color, it's perfect! What a big smile on your niece's face!
I made this shelf with hooks a few days ago. Modified the overall length.
Zenski Farm
Built this as a platform bed for guest bedroom. Nice, sturdy bed.
Sat, 09/29/2012 - 04:11
I Love this Bed. Would love king size dimensions. This is exactly what I have been looking for.
my very first project! i surprised myself on how AWESOME this desk came out! although im not a huge fan of the finish i selected but i can live with it. i also used oak plywood (which i will never used again), poplar and i also used cedar planking for the backing and drawer base. i learned a lot from this project, mostly what not to do for the future, like use plywood.
Love all of the projects on this website. I am just getting in to woodworking but am loving learning all of things that I can do with these wonderful plans. I used all 1x2s for my fruit and veggie crates since they didn't have what I was looking for here at my lowes. Kind of limited on lumber around these parts unless I drive an hour away. A good sanding and these crates came out great. Smooth and stylish!
Nice update for our place. Pretty simple based on the plans.
Made to the basic design for the outside patio chair. With a few modifications due to utilizing all the scrap wood from the greenhouse.
Welshsmoker
This was an older hutch, oak in color. I took off the top glass doors off, put wood putty where the hinges were. I lightly sanded the hutch and cleaned it with TSP. Finally I primed and then painted black first. I used a candle to put wax on the area's I wanted to look distressed. After the black dried, I lightly sanded again, before I sprayed the red paint on. I lightly sanded the hutch once more, concentrating on the black to show through. Finally I glazed the hole hutch in a black. Black baskets were added to add to the appeal.
Thu, 01/07/2016 - 13:11
Which paint color and brand did you use for black paint and red paint? Thanks!