Community Brag Posts

DIY seesaw

Submitted by Anonymous (not verified) on Thu, 03/14/2019 - 11:08

We were setting up our finished seesaw the same day we bought the project supplies, so this is a fun project without a lot of waiting around. It’s been a huge hit in the backyard and the extra-long seats allow a couple of kids to pile on each end.

Built from Plan(s)
Estimated Time Investment
Afternoon Project (3-6 Hours)
Recommended Skill Level
Beginner

Daffodil Yellow Potting Bench

Submitted by CathyS on Sun, 10/27/2013 - 18:53

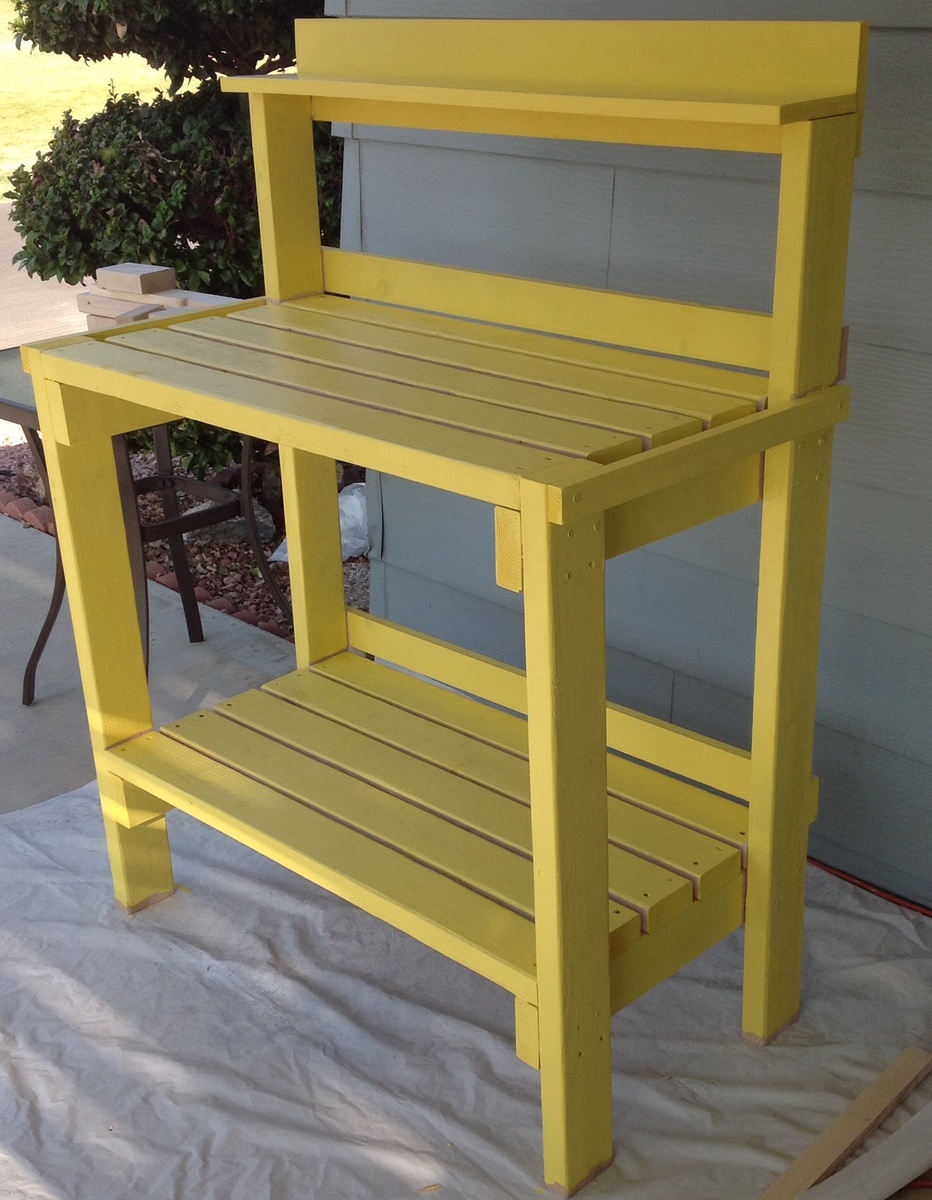
I'm so happy to have found your site! I've been wanting a potting bench for a while. Today the Hubs and I built this one in Daffodil Yellow! It is only partially painted, but I already love it! The hubs wants to build a modified one for his heavy electronics equipment. Thanks a Bunch!

Built from Plan(s)
Estimated Cost
$40
Estimated Time Investment
Afternoon Project (3-6 Hours)
Finish Used
Daffodil Yellow paint
Recommended Skill Level
Beginner

Sliding Door console with Cedar pickets

Submitted by KathrynK13 on Tue, 01/12/2016 - 18:46

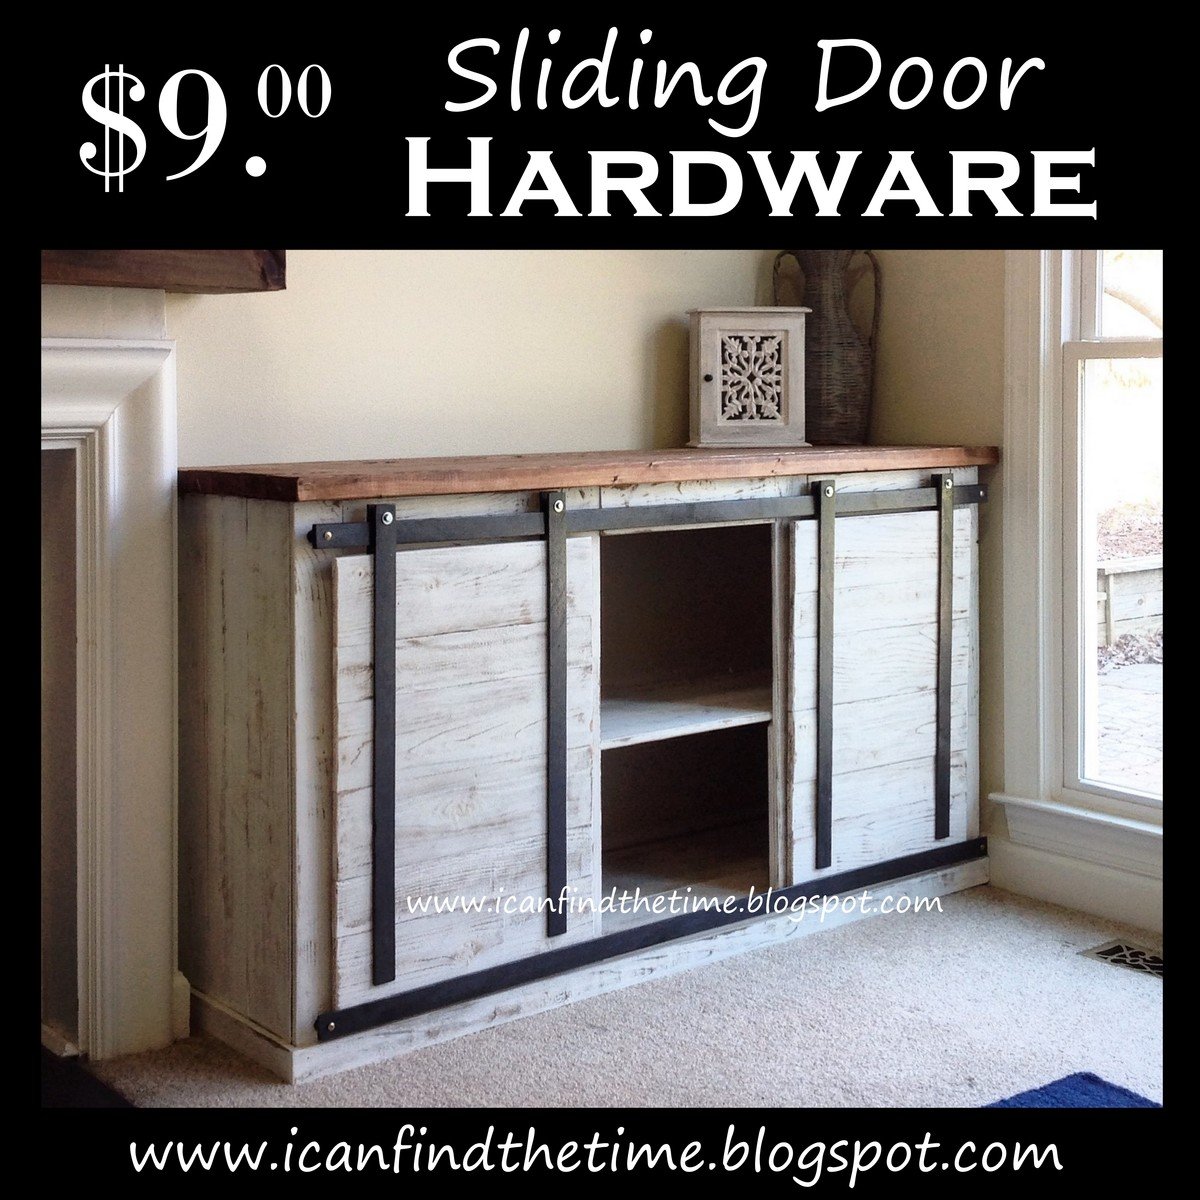
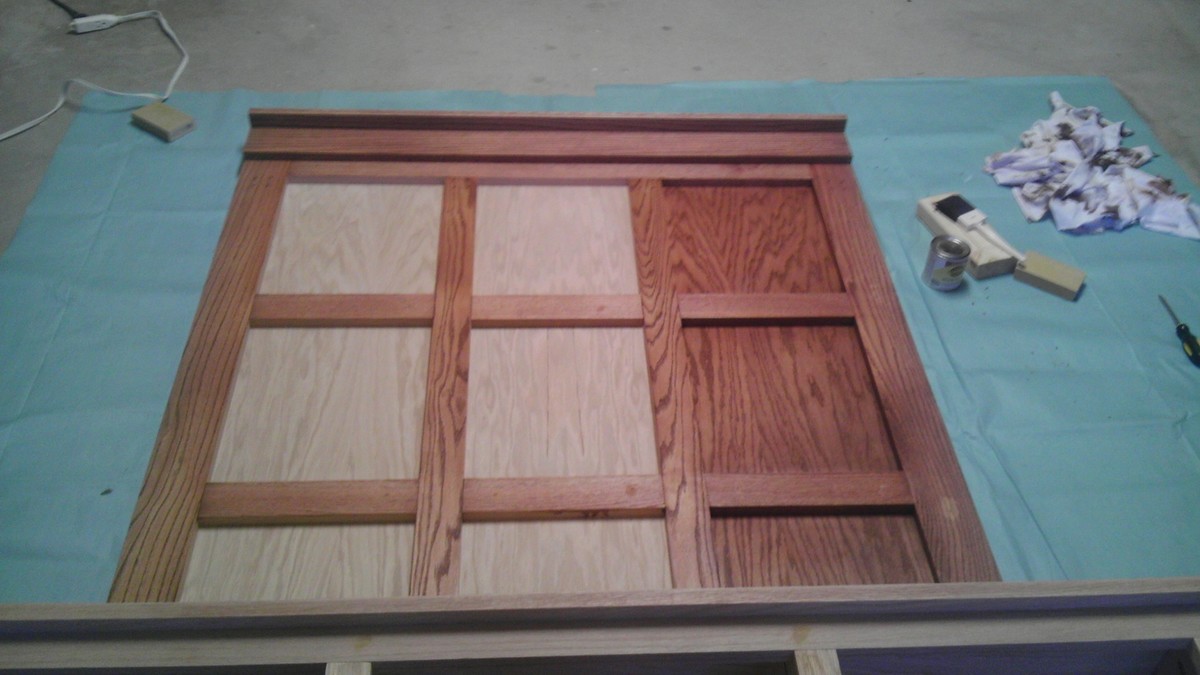
My first big build and I love it! I followed the plans in concept but changed the materials. My frame is still 2x3, but all the trim and siding is cedar fence pickets. I love these! They need a lot of finish work (sanding for days!), but the look is so rustic and real.

I also came up with a great way to get the sliding door look for only $9 in materials. The other tutorials I found online would have been $60+ and I just didn't want to spend that much. Make sure to check out my tutorial for the sliding door hardware.

Built from Plan(s)
Estimated Cost
Under $100 with some scraps that will be used on the second matching piece
Estimated Time Investment
Day Project (6-9 Hours)
Finish Used
DIY distressed finish. Stained cedar pickets with Early American then did a quick painting with basic white I had on hand. Lightly sanded to reveal a bit of wood grain and distress.
Recommended Skill Level
Beginner

Playhouse Loft Bed with Stairs

Submitted by Karajoy on Tue, 01/03/2012 - 18:12

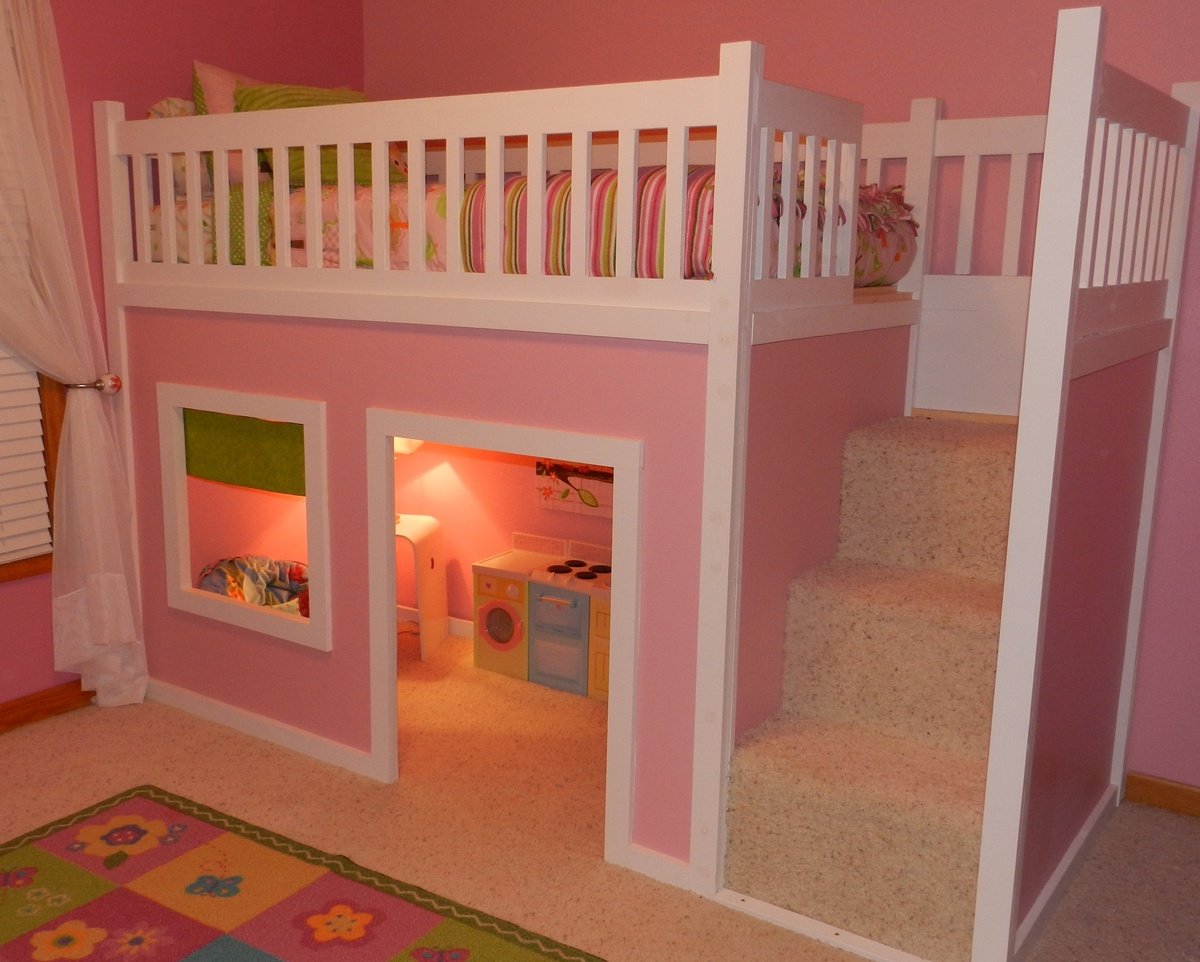
When I showed my husband the plans for this playhouse loft bed on Ana's site, he decided that we needed to build it for our daughter for Christmas. We combined the two plans for the Playhouse & the stairs and modified it slightly to fit our space. We had left-over carpet which we used on the stairs. She absolutely LOVES it!! And secretly, I think her 3 older brothers do, too. Thanks SO much, Ana!!

Estimated Cost
350
Estimated Time Investment
Weekend Project (10-20 Hours)
Finish Used
Paint is BHG Pink Carnation.
Recommended Skill Level
Beginner

Comments

Phillip (not verified)

Wed, 01/04/2012 - 14:17

How can I get a copy of the plans?

Anonymous Coward (not verified)

Thu, 01/05/2012 - 07:16

Philip and Guest -
The plans are free, and click on the links in the post

From Plan: (plans are linked here)

Shameka (not verified)

Tue, 11/13/2012 - 18:29

Hey,
How do I get a copy of the plans for this bed? I would love to do this for my daughter for a birthday gift. I have gone to the section where it says plans but there is no link to click on. Thanks in advance.

Guest (not verified)

Tue, 01/17/2012 - 09:20

I would like to know how to get a copy of the plans for this bed. This is exactly what I want to do in my little girls room but I have not beed able to find plans. Thanks!

In reply to by Guest (not verified)

Karajoy

Fri, 01/27/2012 - 21:44

If you look in the section above, you'll see "From Plan:" There are two links (they're black and don't look like links. You'll need to hover over them). One for the basic bed and one for the stairs.

kelly.abbott (not verified)

Tue, 01/17/2012 - 18:38

I do not see the plans for the playhouse loft bed. Where is it located? Can you email it to me or post the link?

Guest (not verified)

Sun, 01/22/2012 - 11:57

Hi, I was wondering what age group this is best suited for? I can't tell from the size of the pictures, and my daughter is only 2.

In reply to by Guest (not verified)

Karajoy

Fri, 01/27/2012 - 21:38

I would say your 2 year old daughter is a little young for a bed this high. I think general guidelines would suggest waiting until age 6 for lofted and bunked beds, but I think that's being very cautious. Our daughter is just about to turn 4 and she does fine in it.

Cindy from Indiana (not verified)

Wed, 01/25/2012 - 11:29

You did a great job! That looks fantastic!

I'm going to be making this bed within the next month or two for my daughter. She's 4 (will be 5 in April). I know the overall design isn't *that* high off the floor, but my daugter has a tendency to roll out of bed...often. LOL

Do you find the guardrail/slats are high enough to prevent roll offs, or should I add some height to them when I build?

Yours turned out awesome! I can see why your daughter (and sons) love the bed!

Cindy

In reply to by Cindy from Indiana (not verified)

Karajoy

Fri, 01/27/2012 - 21:34

Hi Cindy.
Thanks for your kind words.
We had the same concerns about our daughter rolling or falling out. She is almost 4, but still had rails on her previous bed. We put the slats that the mattress sits on in the very lowest possible position and actually traded twin mattresses with her brother who had a thinner mattress. Her's had a pillow-top and even the extra 2 inches made quite a difference.
There are nearly 9 inches between the top of her mattress and the top of the rails which is plenty to prevent accidental roll-outs, but it certainly wouldn't hurt to add extra if it would make you more comfortable.
Now if we could just keep her from standing up there, I'd feel a whole lot better. lol
Good luck with yours.
Kara

Cindy from Indiana (not verified)

Sat, 01/28/2012 - 07:27

Hey Kara,

Thank you so much for replying! That does make me feel more comfortable that there will be around 9" between the mattress top and the rail top. Not sure yet if I'll add a bit more or not, but it's good to hear how it worked out for you guys. Now I'll be hoping to keep my little dare devil from trying to 'fly' off the top of it and we'll be good to go. LOL

Thanks, again! That was really helpful.

Cindy

Guest (not verified)

Thu, 01/26/2012 - 12:59

Hi! LOVE THIS!!! Am planing on making for my daughter. Any chance there are plans for this in a Full Size bed?

In reply to by Guest (not verified)

Karajoy

Fri, 01/27/2012 - 21:48

I've seen some posts on Ana's Brag Boards of these lofts with full sized mattresses on top. Ana's original plan is a twin bed, but others have modified it to suit their needs. You may just want to search and see if anyone has included their plans for a full. Sorry I can't be more help. Good luck!

Guest (not verified)

Mon, 01/30/2012 - 08:09

I will be making this for my boys. For the guard rail, I will be making it go all the way to the ceiling, since they like to jump off of things. They will get a kick out of it because it will be a "wild animal cage", lol.

In reply to by Guest (not verified)

Karajoy

Sat, 02/04/2012 - 16:14

Love it! It takes the safety issue out of the equation totally. Great idea. I know they'll LOVE it, too.

JessiW (not verified)

Tue, 01/31/2012 - 18:32

That is very nice if you dont mind me asking how long did you make that one... I am wanting to make one for my daughter but I dont have 103 inches that called for in the one plan...

In reply to by JessiW (not verified)

Karajoy

Sat, 02/04/2012 - 16:10

We made our bed to the exact specifications that Ana gave (103"), however, if you need to save space, you could leave the stairs off and opt for the ladder.

Kelly Kelley (not verified)

Tue, 02/07/2012 - 15:42

I tried to get the plans for this bed and I cant seem to locate. Could you help please? Thank you!! What a beautiful bed!!

In reply to by Kelly Kelley (not verified)

Karajoy

Wed, 02/15/2012 - 18:34

Hi Kelly,
There are links to the 2 plans in the "ABOUT THIS PROJECT" section above. Just hover your cursor over the "From Plans:" and the links will change color. They appear black and therefore, don't look like they're linked to anything. They're both there. Good luck!!

Guest (not verified)

Fri, 02/10/2012 - 14:23

I cannot find the plans to this bed. Could you email them to me ? Abby

Guest (not verified)

Fri, 02/24/2012 - 17:03

We were looking for plans to build a loft bed to save space in our 3.5 year old daughters room. My husband found this and we are sold on this idea. She is going to flip when she sees her new bed! Love it!

Amanda D. (not verified)

Mon, 03/05/2012 - 20:01

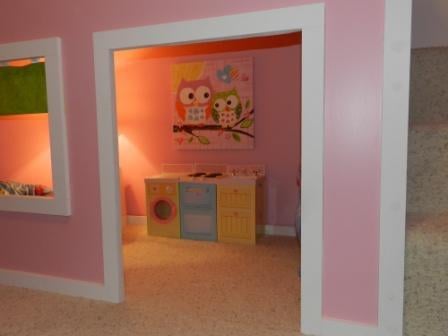
Hi there, I was wondering if you could tell me where you got the fabulous little washer and dryer combo that I see in the photo. I know the sweet owl painting is from target, but I love the little play space you seem to have created! :)

In reply to by Amanda D. (not verified)

Karajoy

Mon, 03/19/2012 - 19:42

The little set inside is from Playskool's Rose Petal Cottage collection. It's a little miniature set and worked perfectly in this space.

Kirstie (not verified)

Sat, 03/17/2012 - 22:52

I LOVE this so much! I love the color scheme as well, we decided to copy the scheme in my daughter's room. I was wondering where you got the curtain from? Did you buy it or make it yourself? It's almost exactly the color of the green paint we bought so I would love to know. Also, I love the washer and dryer too, also curious about that. Thanks!

In reply to by Kirstie (not verified)

Karajoy

Mon, 03/19/2012 - 19:40

Hi Kristie.
I made the little curtain and the little washer/stove/sink set are from the Playskool Rose Petal Cottage collection. Good luck building your playhouse. It's a little girl's dream!!

Guest (not verified)

Wed, 03/21/2012 - 20:27

Hi Kara,
I'm really interested in building two of these for my girls... they caught my attention because they've been asking for a bunk bed and I don't want to do a bunk bed because I hate the idea of struggling to change the bedsheets. Just wondering if it's a hassle with a bed this height.

Yours looks amazing, btw!

Thanks,
Sarah

gabey2329 (not verified)

Tue, 04/10/2012 - 11:18

oh my god i love this it would be awesome for my daughter also. were you able to stay in your budget???? do you think is a safe style for a 3 year old? she would go absolutely nuts!

Guest (not verified)

Fri, 04/13/2012 - 20:17

so beautiful! if i wanted to do this with a full mattress how would i tweak the measurements? i want to do this with a full with the stairs... just so she can be in the bed for a longer period and also the space underneath to be a bit bigger... also if i wanted to make the stairs have a drawer? i really would appreciate alll the feedback if possible because im so far from handy... :-/ and 1 more thing how did u get a light down there?

Veahava

Fri, 05/11/2012 - 18:27

I was wondering if once put together is it easy to take apart? My dad builds houses for a living and was going to make it for my daughter at his house then bring it to mine to set it up

Sharlean (not verified)

Sun, 06/10/2012 - 14:40

My husband and I just finished making this bed with stairs for our 3 year old and he loves it.

Rebeccaguest (not verified)

Tue, 06/12/2012 - 06:41

what age would you reccommend this for?? my son is 3 n a half and i woant to attempt to make this bed, but dont want to spend time and money if i will have to buy him a new bed in a couple of years. i would like it to last a good while. also, like veahava, i was wondering if this was easy to dismantle once put together as i am planning a move in the future, thankyou

winter_baby26

Thu, 06/28/2012 - 07:43

This looks amazing! I'm sure your daughter was thrilled. I can't believe it only cost $350 to build - I have no doubt you would pay significantly more than that if you bought something similar at a store.

Claire_UK (not verified)

Tue, 10/02/2012 - 02:14

This is absolutely divine - you are so talented! I have just found this website and can't imagine I'd ever be able to make something so beautiful. Putting up a shelf is beyond me. Your daughter must be so proud of her little nighttime palace!

Christine N (not verified)

Sun, 10/21/2012 - 20:01

I am trying to get the plans for this bed with the stairs but when I click on the link it doesn't give me the plans. Help, my granddaughter would love love love this. Thank you so much.

Nikki_DivaMomm… (not verified)

Thu, 12/06/2012 - 20:30

I LOVE this bed ! It's exactly what my husband & I are looking for !! With your measurements, is this suited for a toddler mattress or a twin??

Tara Payon (not verified)

Mon, 12/17/2012 - 20:42

Love love love this bed, what size mattress does it use?

cevans81

Wed, 09/11/2013 - 05:11

We made this bed for our daughter and now my son and daughter play with her kitchen and table underneath in the playhouse. Your instructions were so easy to follow and everything matched up perfectly. We did do the ladder due to space but the bed is beautiful. We get so may compliments when people come over and I always tell them about your website. You truly have awesome ideas! I can not wait for the next project and I am sure it will be off your site :-)

kullmann

Mon, 10/07/2013 - 17:26

I love your playhouse with loft bed! How tall is the underneath part? Would you be able to fit a desk underneath? Also, could the plans be adjusted to accommodate a double bed?

THANK YOU!!

Horizontal Murphy Bed

Submitted by Anonymous (not verified) on Sun, 07/09/2023 - 17:49

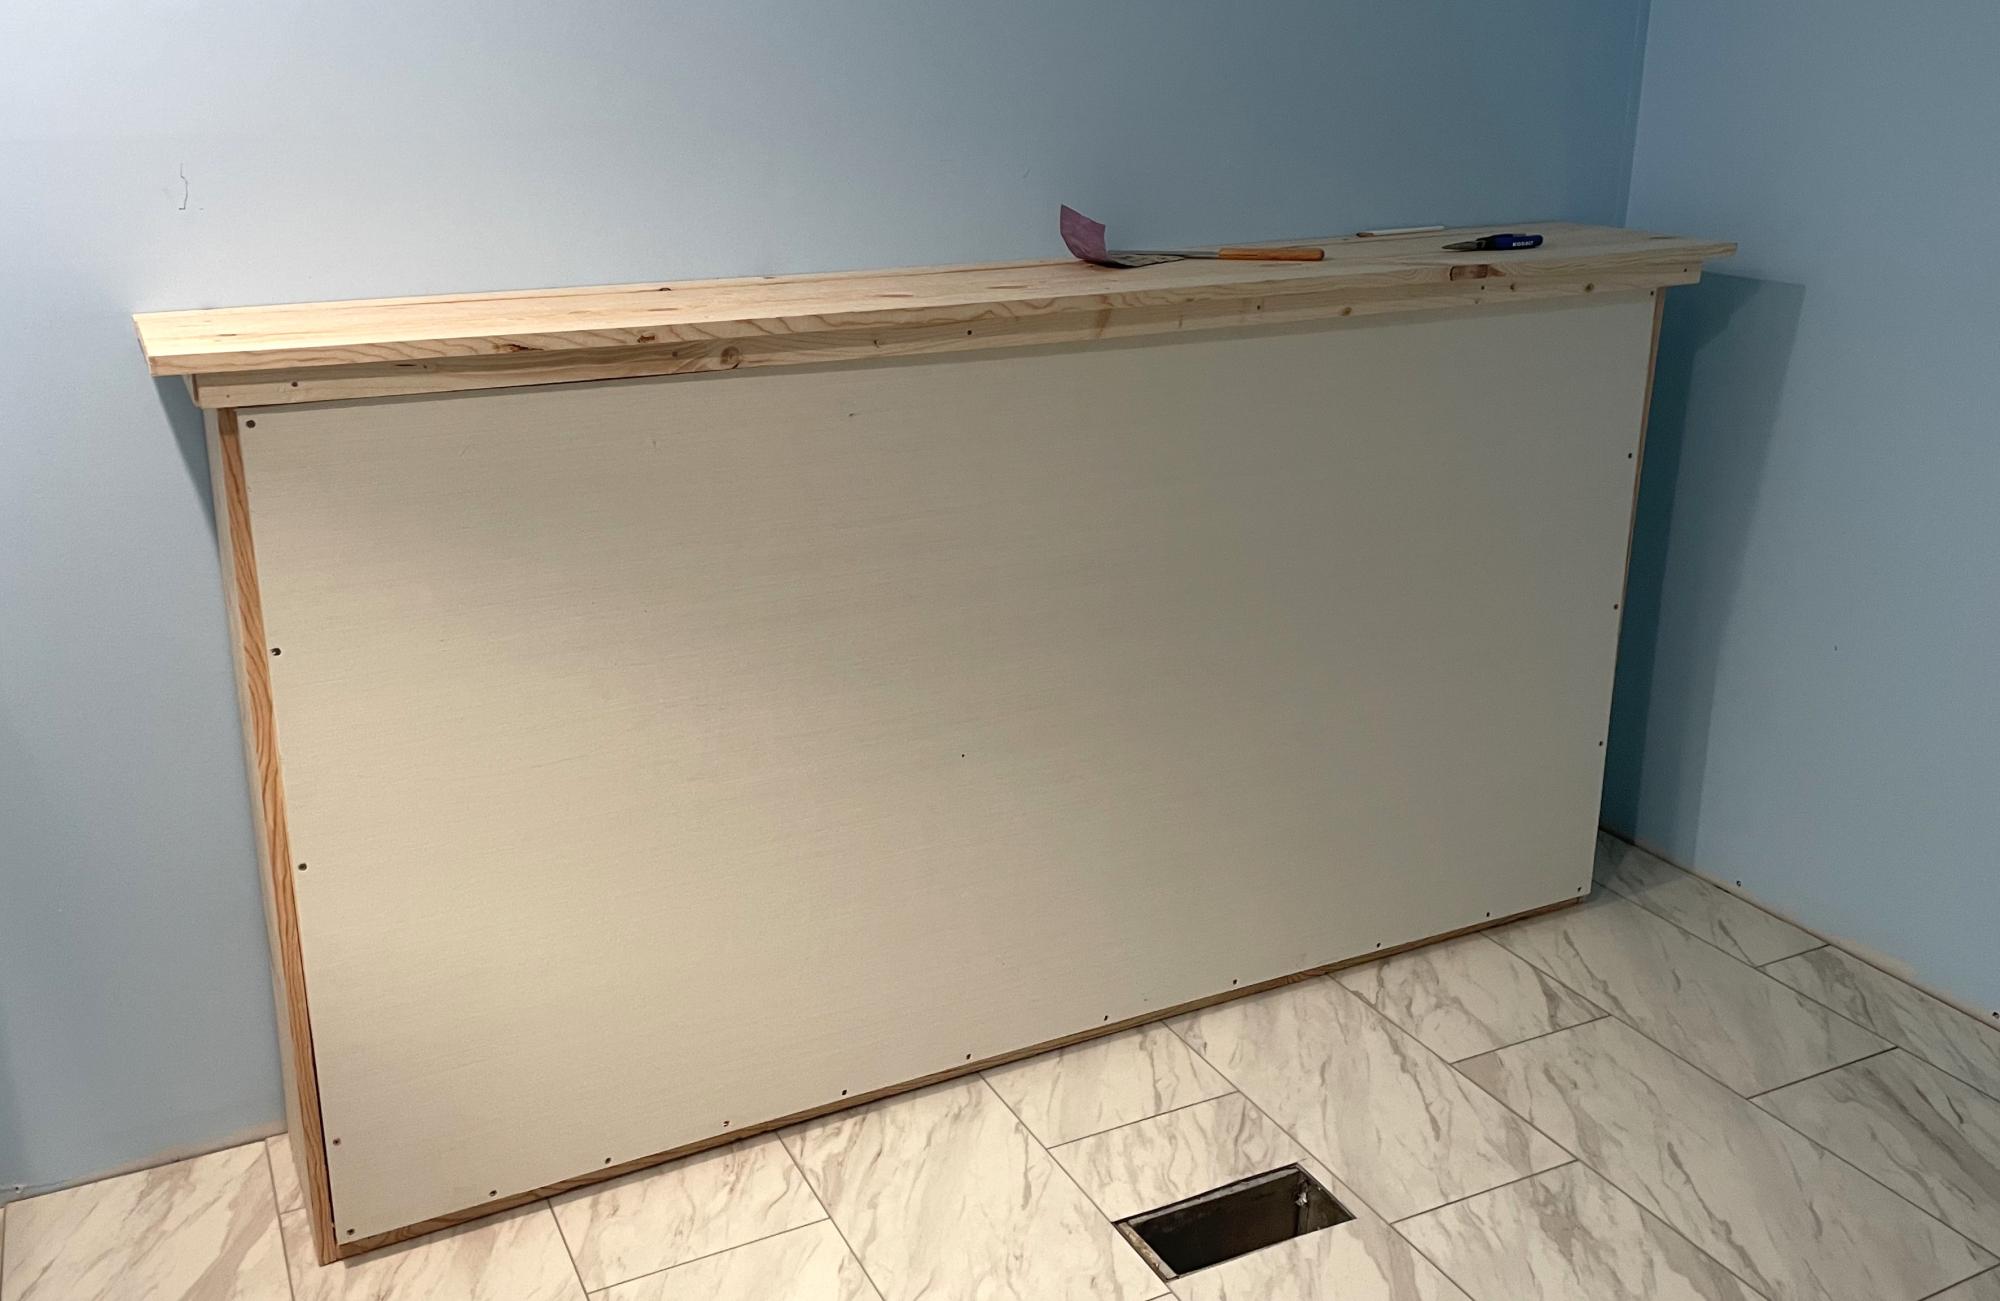
We are remodeling our 3 bedroom house into a 4 bedroom. In doing so, my youngest is getting the smaller room. We decided to go with a Murphy bed to allow more play time space. I do not particularly like the fact that this bed doesn’t sit off the ground but overall love the simplicity of making it. We turned it horizontal and just love the overall product. I can mot wait to make something else from this site!

Tams

bypass closet doors

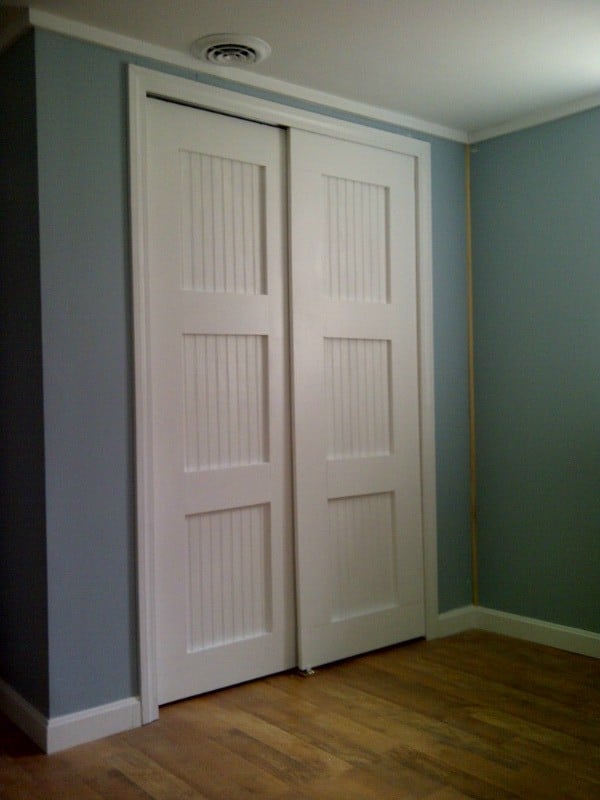
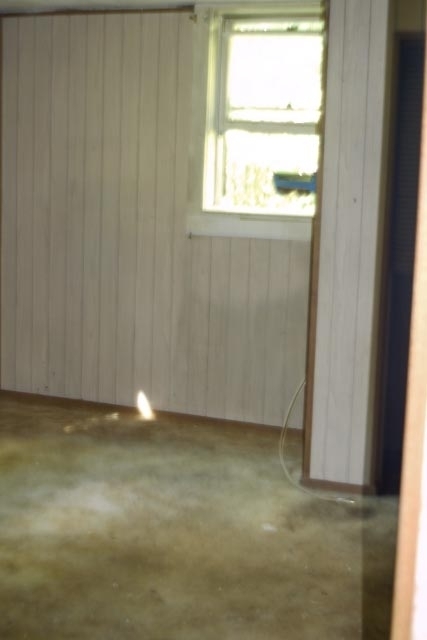
About 6 months ago the husband and I purchased a foreclosure for dirt cheap, hoping to rehab it into something livable. It turned out to be a total gut job. So much of the budget was blown on the big stuff--roof, electrical, water, plumbing, that we've really had no choice but to figure out how to do much of the work ourselves with occassional assistance from my son-in-law, a general contractor who lives 400 miles away.
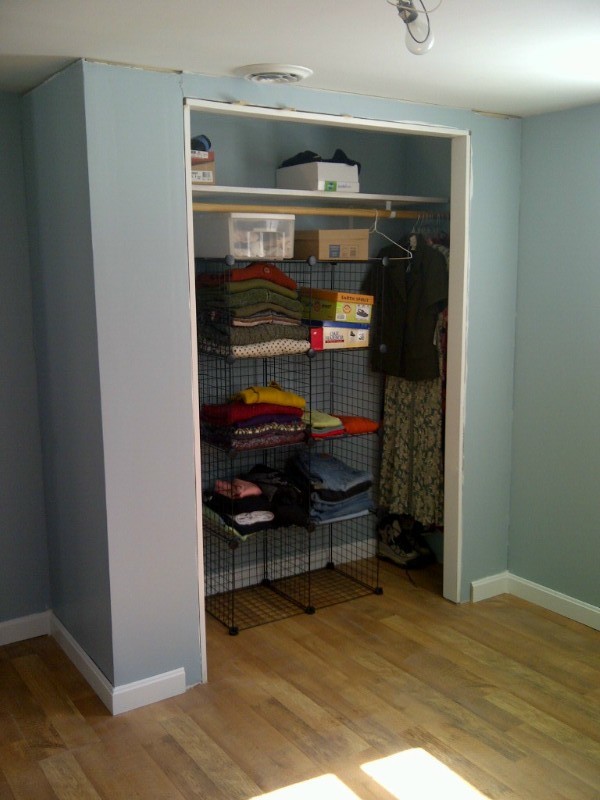
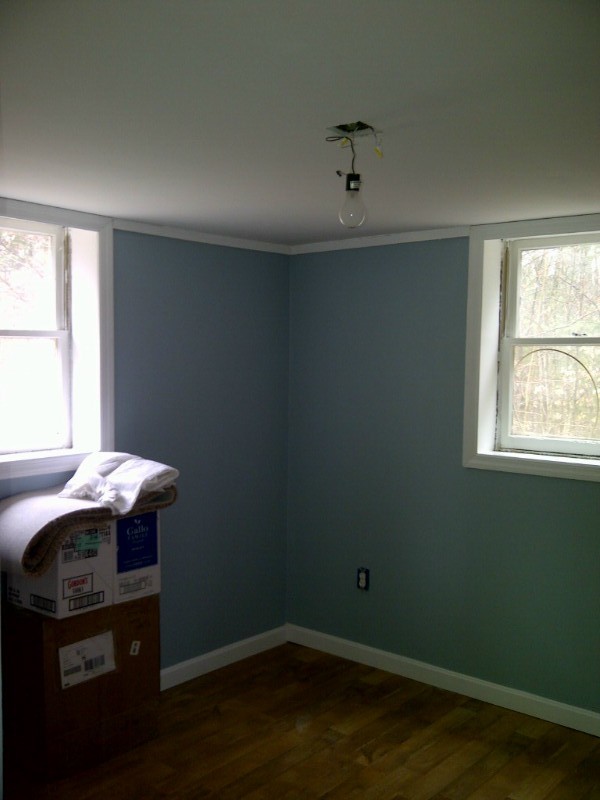
Although he did most of the basic sheetrocking I decided that I was going to build my own closet. After all, how hard could it be. I got it framed out and sheetorcked. Between the low ceilings in the room and the fact that I mismeasured the door frame height, I wasn't able to put in standard doors. But that's okay, I think I like these better.
Thank you, ladies, for giving me the courage to tackle some of these jobs that need doing. I've learned a lot of new skills, done things I never thought I would ever do...and love the feeling that so much of myself is going into making this house my home.

Built from Plan(s)
Estimated Time Investment
Afternoon Project (3-6 Hours)
Finish Used
behr semigloss white paint.
Recommended Skill Level
Beginner

Comments

Debi_G (not verified)

Wed, 04/04/2012 - 15:38

I love these doors. This is now on my to-do list!

Rustic Banquette Bench with Storage

Submitted by Anonymous (not verified) on Sat, 11/04/2023 - 14:16

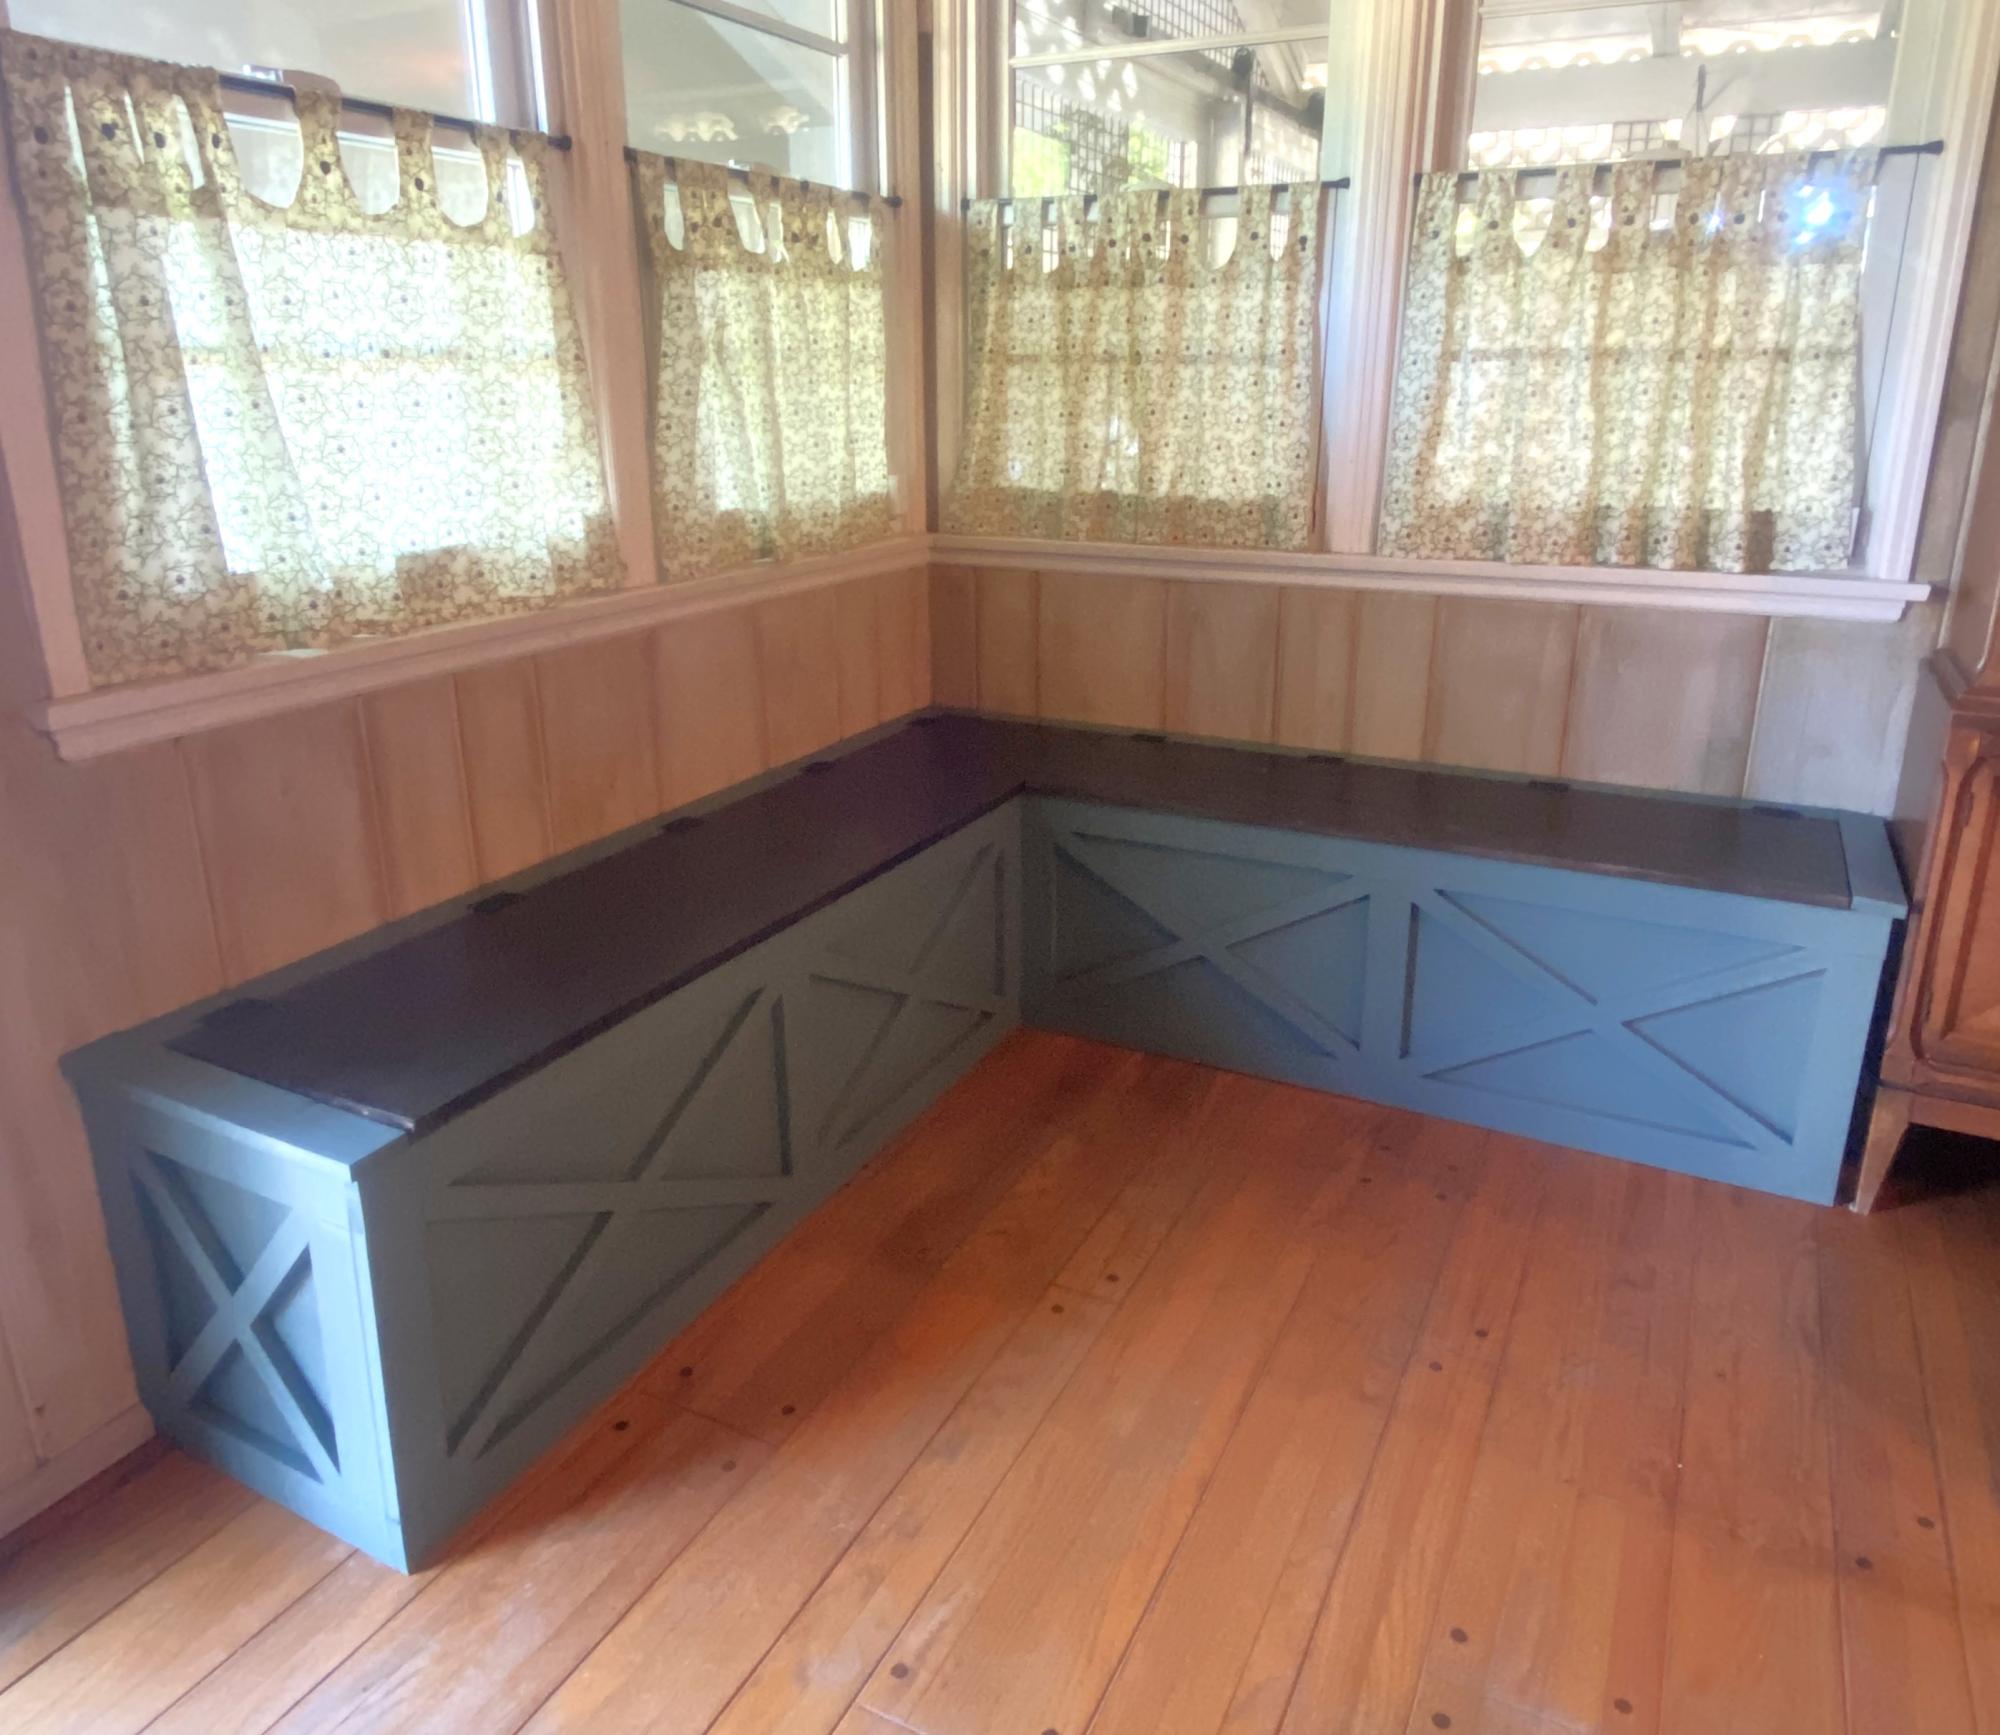
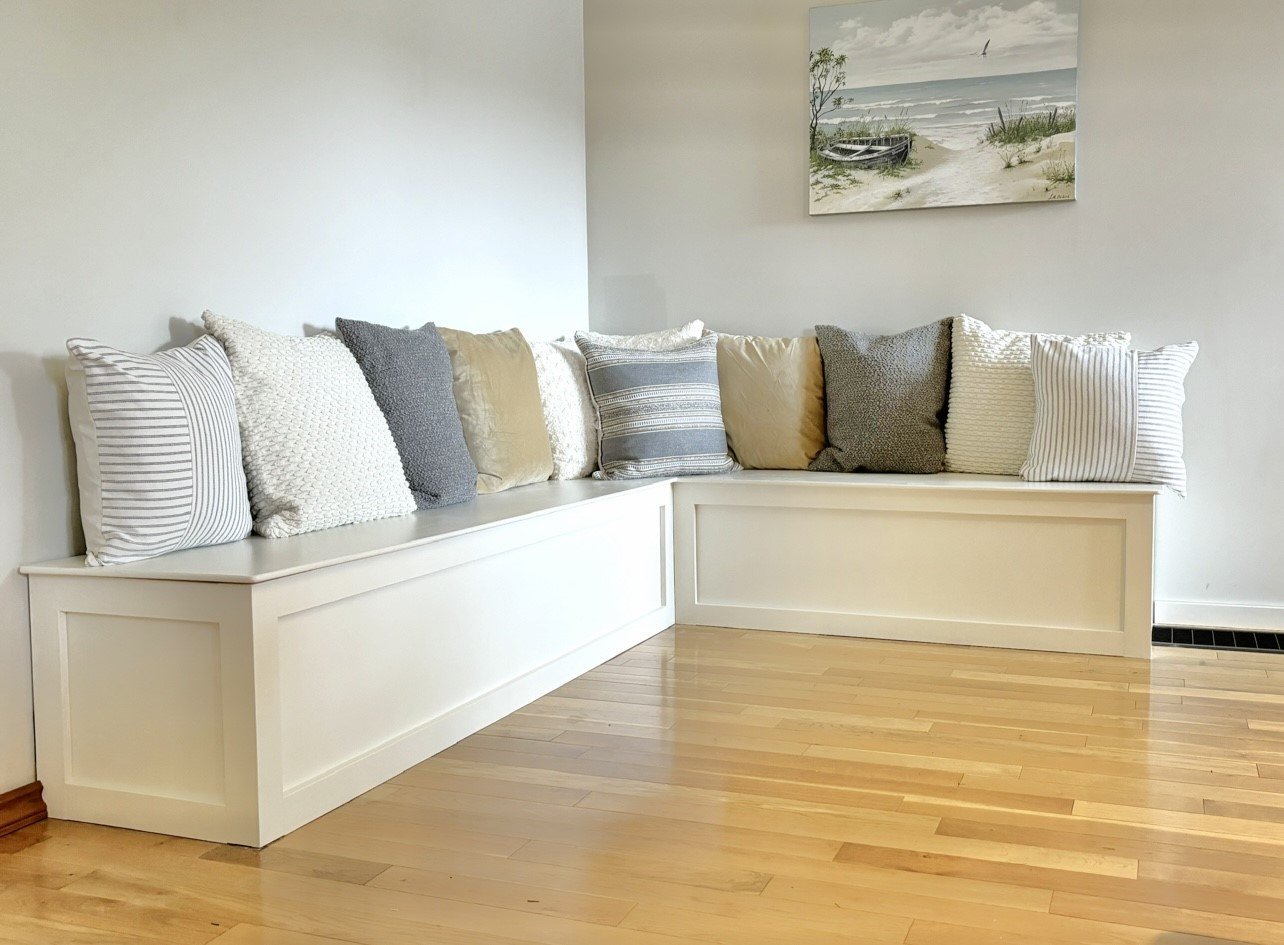
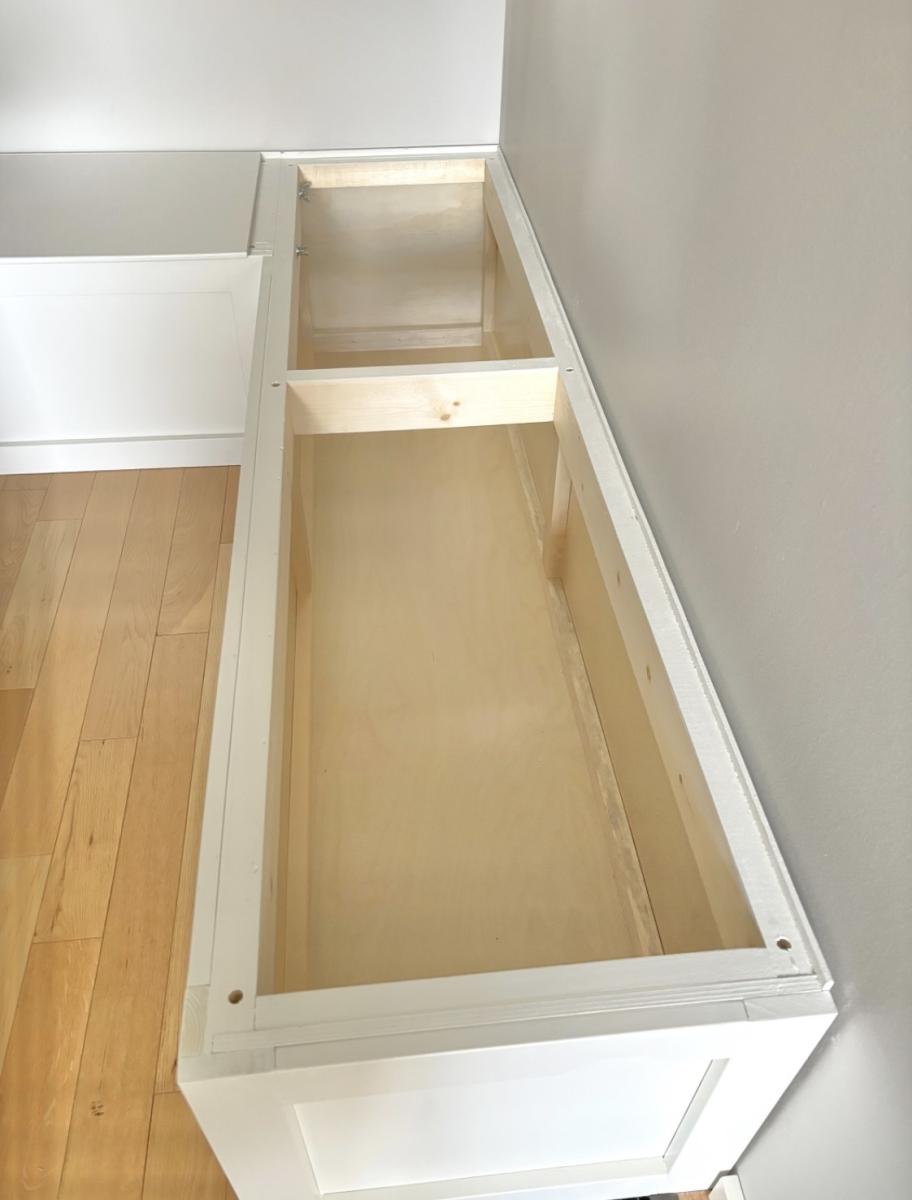
I needed some extra storage space and have always wanted a storage bench in this corner of my dining room. It took me a week to build from start to finish. I’ve never done any woodworking before, so this plan was good for me, as it was easy to follow with the color coding. The only thing that was “off plan” were the X’s on the face of the bench. I had some leftover 1x1 trim, from a handyman project a few years back, that I was happy to use up. It fit perfectly and I had just enough for all X’s. My biggest challenge with this project were the lids. They have a very minor bow, so one of the corners isn’t flush. But, it’s not enough to bother me or need to re-do the lid. All-in-all, I’m super happy with this banquette and may have caught the woodworking bug!

Paulieboxer

Ana, First time I have every attempted any kind of woodwork/building furniture other than building Ikea stuff. The plans were very easy to follow and now I want a chop saw for xmas. I roped my daughter in to help me and we completed the project in 2 days. Husband was totally blow away by our achievement. I love it and feel accomplished. Away to work on the table and further benches/seating over the next few weeks. Pauline

Estimated Cost
£200
Estimated Time Investment
Day Project (6-9 Hours)
Recommended Skill Level
Beginner

Router table w/ rockler table, fence and lift

Submitted by 1n4001 on Fri, 11/02/2012 - 08:19

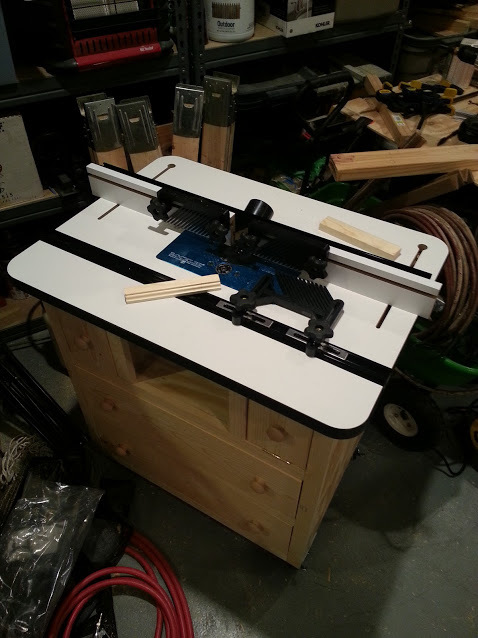
Built Patrick's Router table and added a rockler table, fence, and lift to finish off.

Built from Plan(s)
Estimated Cost
~$90 in lumber and hardware + ~$460 for table top, fence, and lift + $170 for bosch 1617evs router
Estimated Time Investment
Day Project (6-9 Hours)
Finish Used
raw, probably sand and spray some poly on it in the near future.
Recommended Skill Level
Intermediate

Comments

Patrick Hosey (not verified)

Fri, 11/02/2012 - 09:10

Yes! Enjoy. It'll be the most valuable tool in your shop trust me.

patrickhosey

Sat, 11/03/2012 - 19:28

Here's a tip for that 1617 router. Try putting a bandaid over the on/off switch. That thing will get gummed up if left uncovered. It's annoying.

jimssolidwoodp…

Sun, 03/05/2017 - 21:13

My question for Patrick is when he built the top section for 2 small drawers and middle section for the router access..

Did Patrick put on top a 3/4" pc of plywood then the router table top.

Can l attach my router table top to the top pc if 3/4"plywood then my table top is 1 3/4" thick that it would be to thick could you email to let me know please.

Jim

Parson Tower Desk

Submitted by Anonymous (not verified) on Sat, 09/19/2020 - 16:02

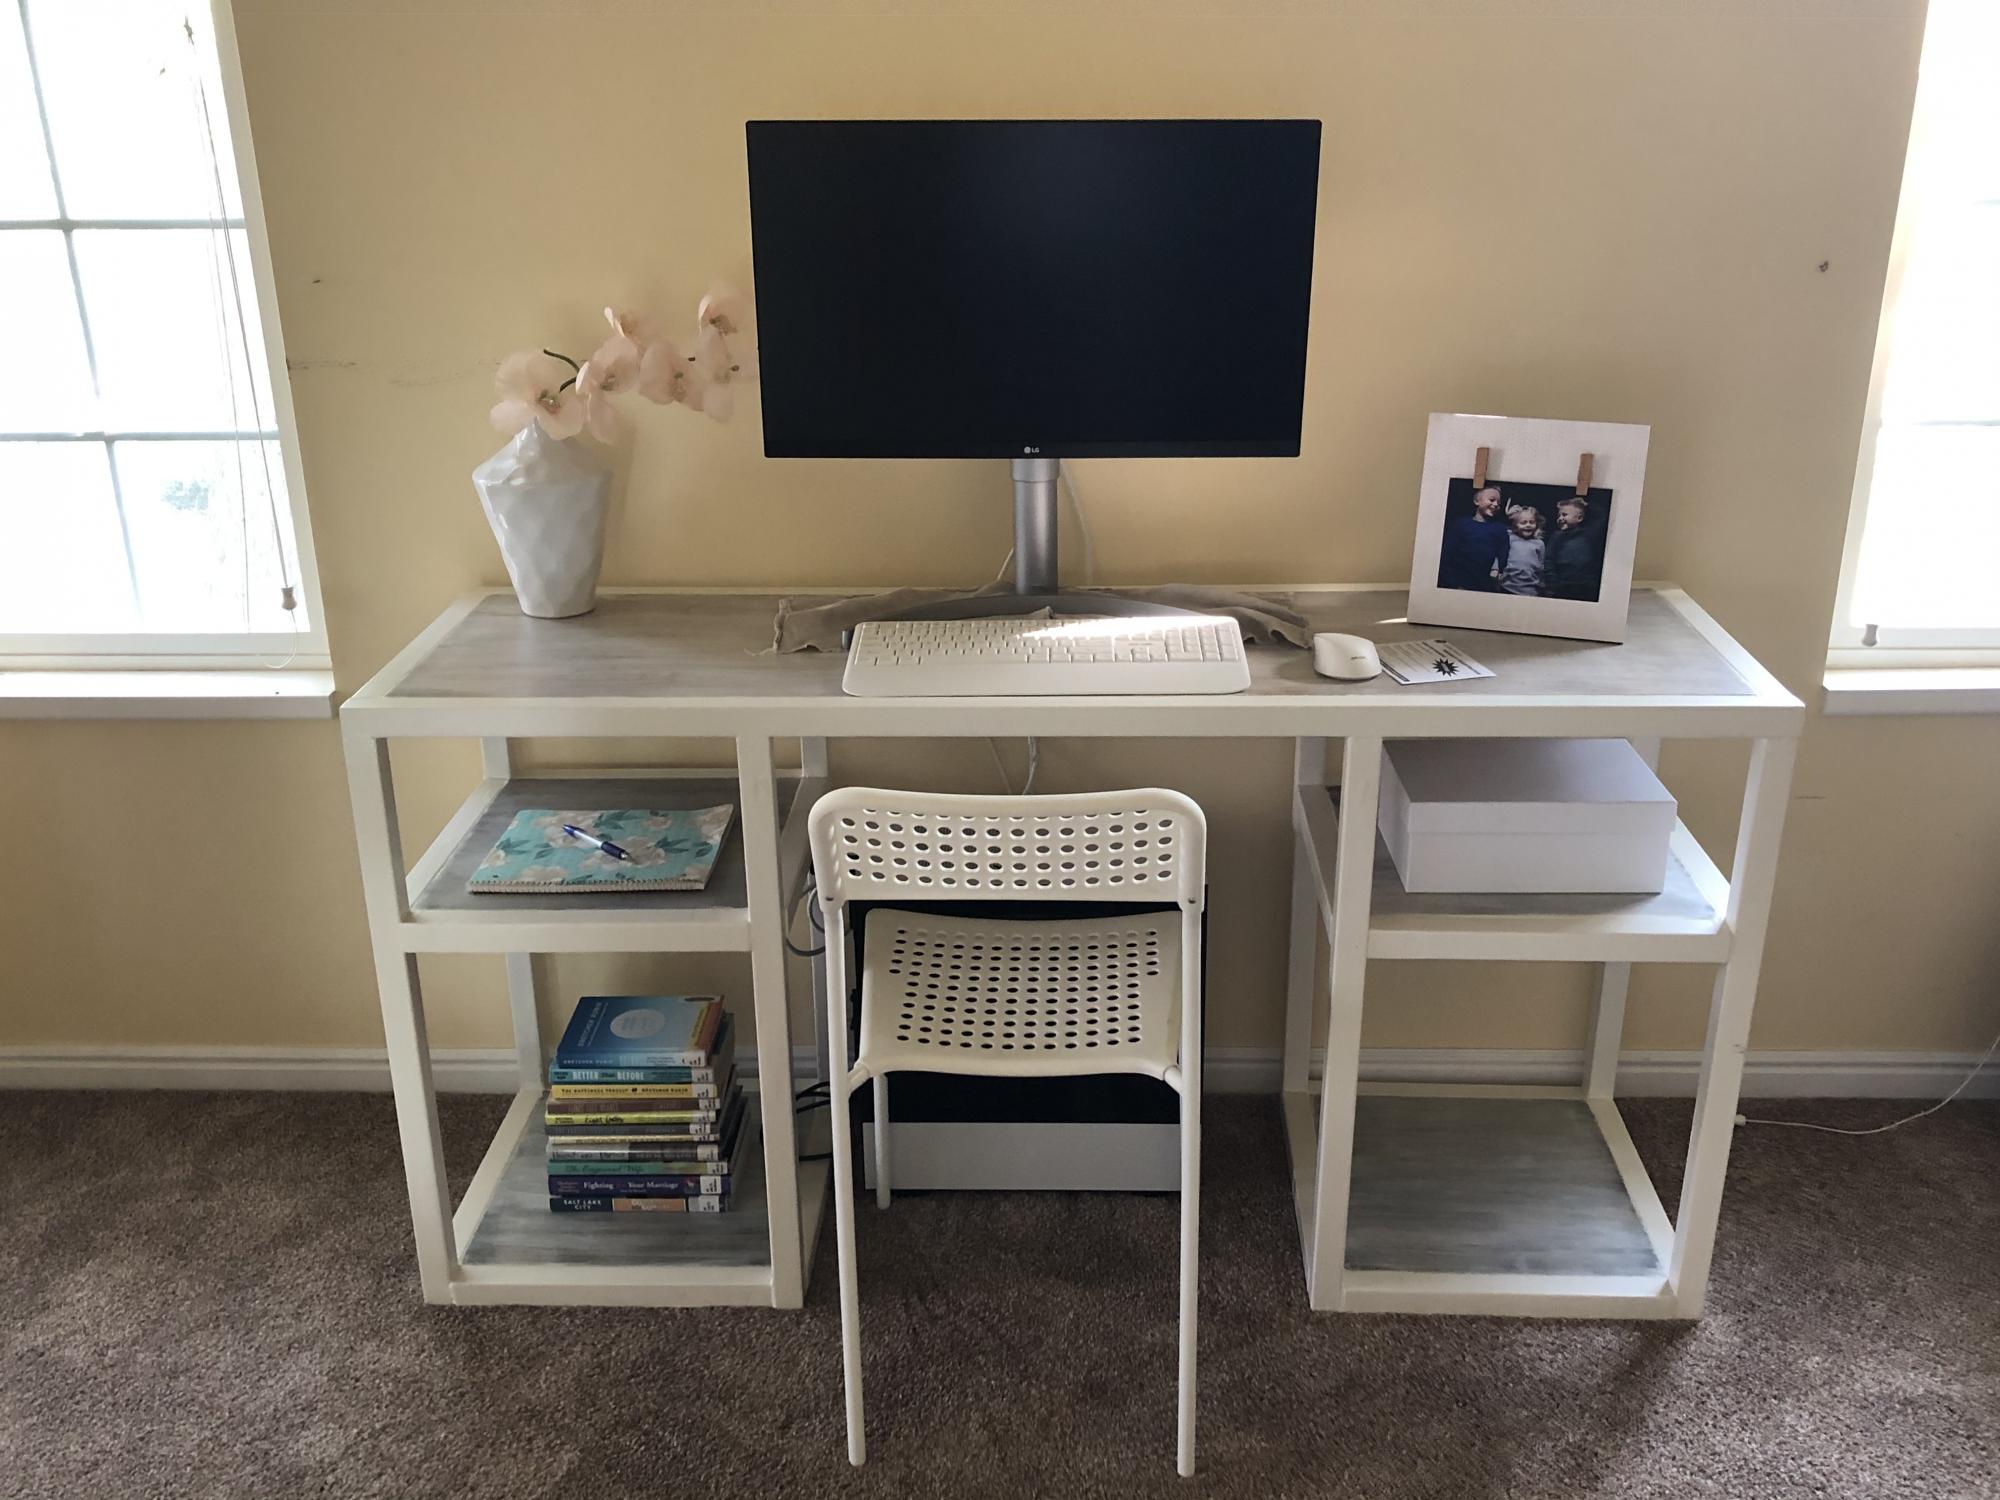
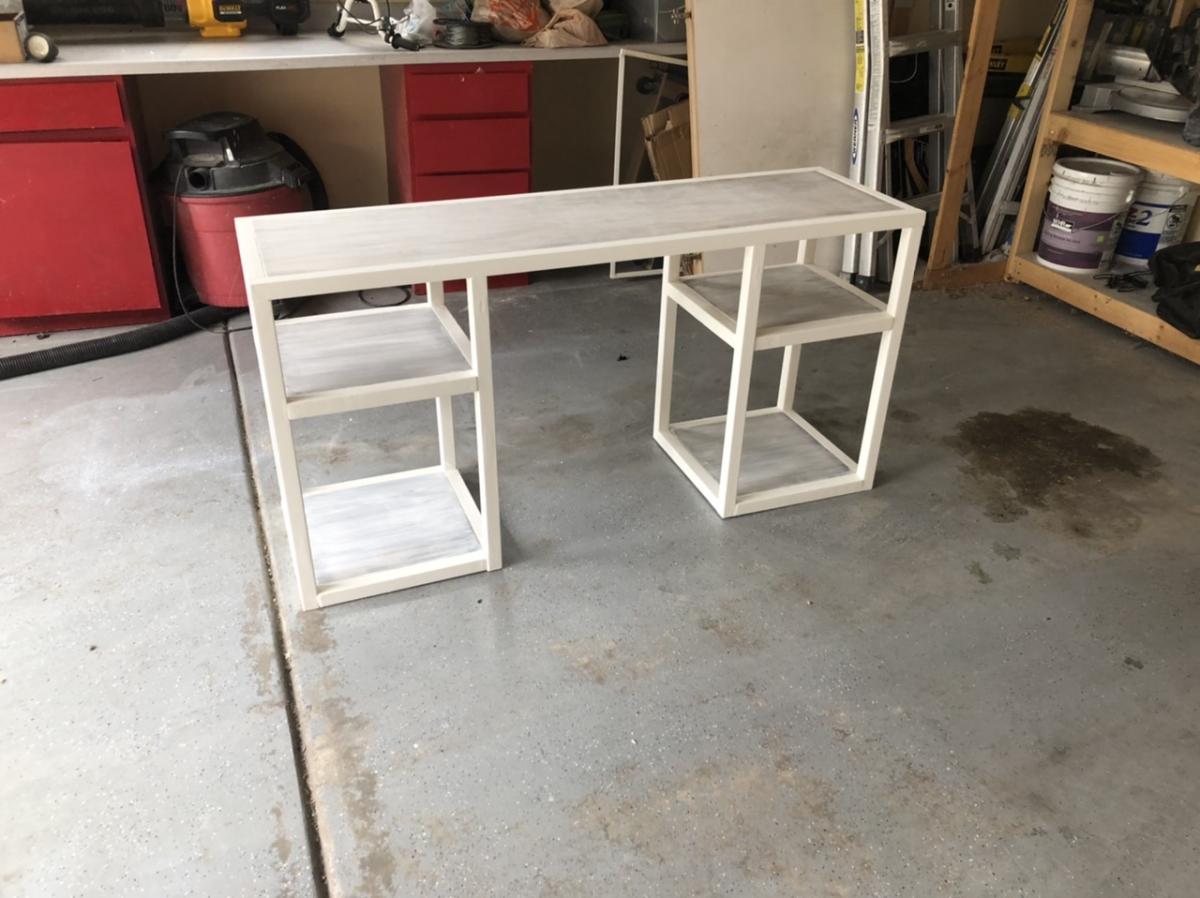
This was my first woodworking project. And even though it took me much, much longer than the afternoon Ana White said she built it in, I’m still happy with how it turned out.

I changed the plans just a bit because I chose to make the shelves higher up, rather than even, so that I could have larger spaces and smaller spaces to store things. I also tried to match a two-toned look that a few pieces of our furniture already had by making the top and the shelves a different tone than the edging. The “weathered” wood I managed to create was more gray than the inspiration pieces, but they tie together well enough. I’m sure that trying to match that look was one big reason it took me so much longer than I expected, since I couldn’t assemble the desk and then paint the wood since I would risk painting or staining the wrong surfaces. Also, I made a bunch of rookie mistakes that I had to try to correct and that ate up time as well.

This project only cost about $35 since my husband has all the tools I could possibly need, plus had several large pieces of wood left over from home remodeling I was able to use for the top and shelves. We had leftover paint and leftover stain I was able to use as well, and he even had a kreg jig and pocket hole screws. Really all I had to buy were the 2x2’s for the legs and edging, plus some cheap plaster of Paris to make homemade “chalk” paint.

It is so amazing to look at this and realize that I made it. It’s a pretty big feeling of accomplishment, and I love the open clean lines of the desk as well as the fact I was able to match furniture I had in a way that wouldn’t be possible at this point with a store-bought desk. Thanks, Ana!

Built from Plan(s)
Estimated Cost
$35
Estimated Time Investment
Weekend Project (10-20 Hours)
Finish Used
I used homemade chalk paint and a “weathered wood” finish created with stain and paint.

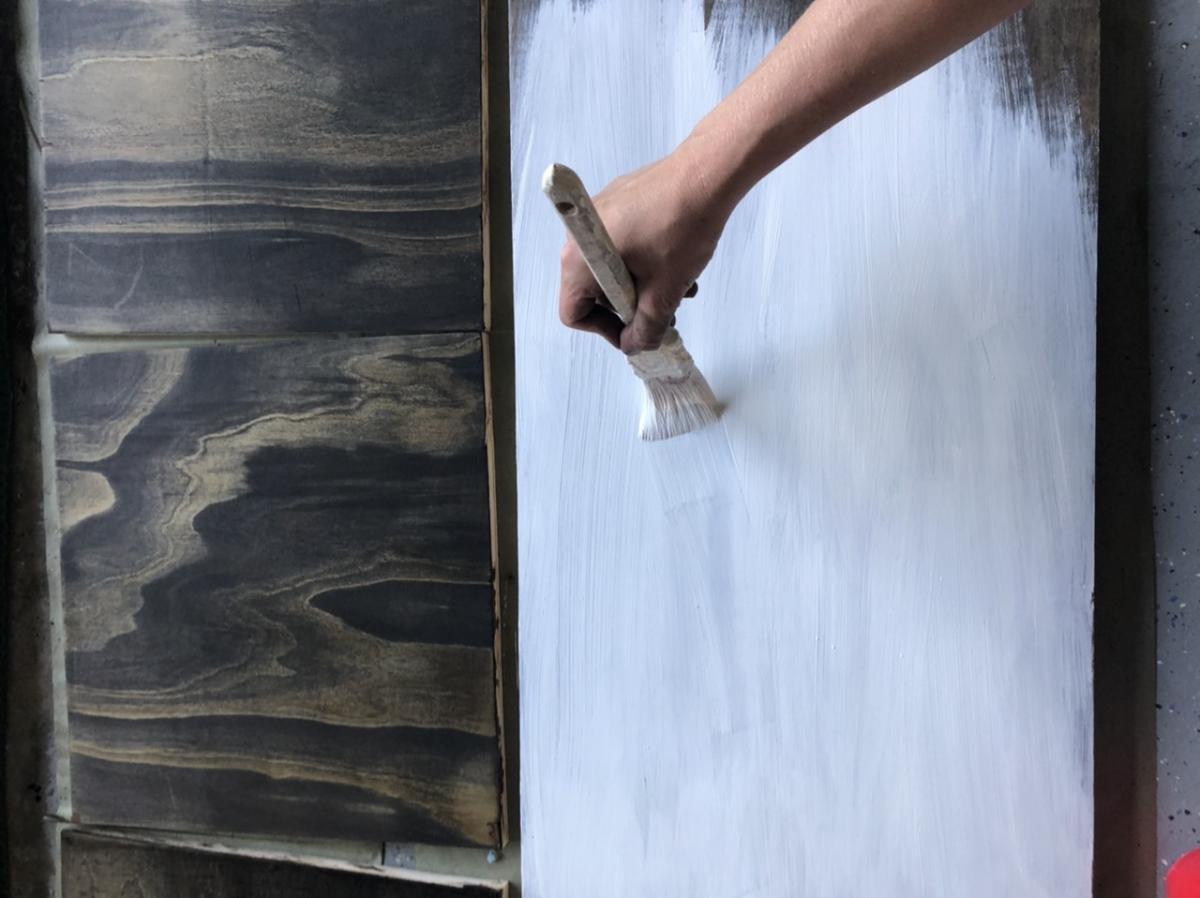
To create the chalk paint I combined a few tablespoons of plaster of paris with enough water to make a liquid solution, then added that to an equal amount of flat Benjamin Moore paint in white dove that we already had from painting our ceilings.

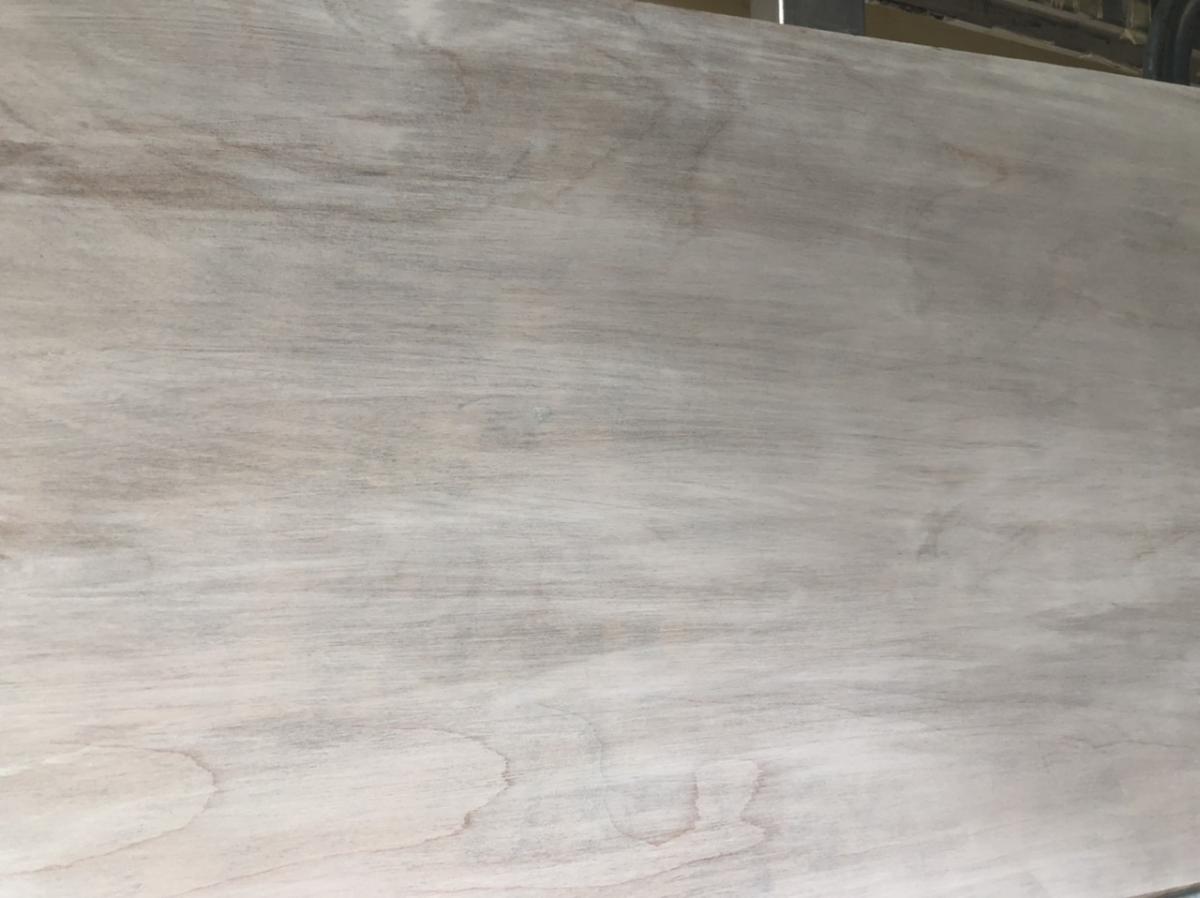
To create the weathered finished I first stained the wood in a dark neutral tone we already had. It was a custom color we’d ordered to match our hardwood floors, but it is similar to many dark stains with golden tones instead of red. I left the stain for almost 10 minutes so the stain would penetrate deeply and make the wood fairly dark before wiping it off. Once it dried I painted the wood with the same chalk paint I used on the 2x2s, but immediately wiped it off to reveal some stain and some areas that looked more gray. Once it was dried I sanded it lightly to reveal as much of the stained areas as I wanted, and then it was done.

I painted and stained everything before assembling so that I wouldn’t get the two finishes mixed up. Once it was all assembled then I filled all the holes that were visible, which were all on the 2x2s, sanded them, and repainted the white areas that needed it.
Recommended Skill Level
Beginner

Flip Top Piano Bench

Submitted by amycourts on Mon, 12/17/2012 - 17:54

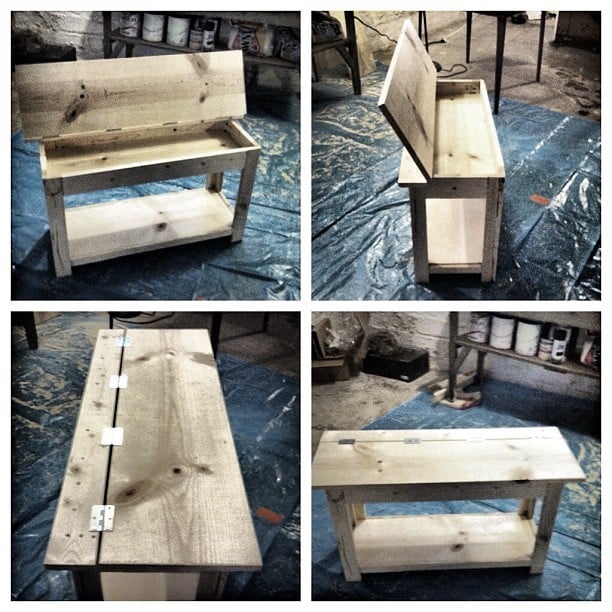
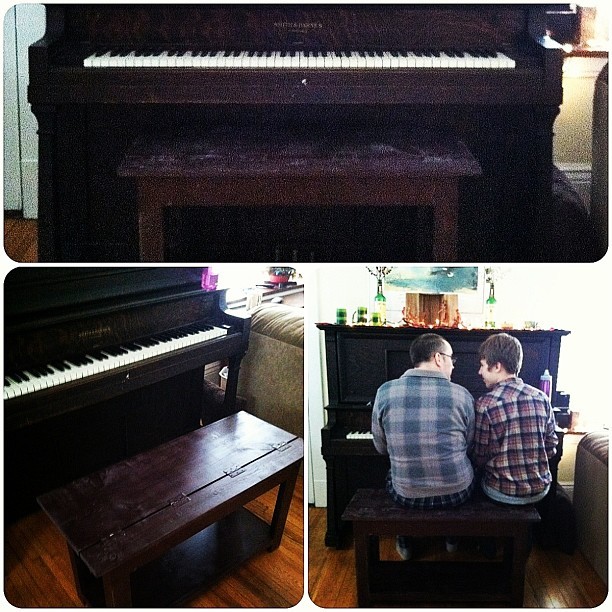
This was my first DIY build. Having been inspired by my good friend, the brilliant Jen Woodhouse of The House of Wood, I decided surely I could do this too. So I picked something that looked like a challenge, but that we also needed. We have an old piano we bought from Craigslist that has heretofore been benchless. So I used the Flip Top Storage Bench plans, headed to Home Depot, collected the wood (and let them cut it - but made a few of my own cuts, too), and got to work.

I had a little trouble at first, simply because, after assembling the sides and aprons, the unit did NOT square up. I took a few pieces apart and realized it wasn't user error (what?), but warped wood. That's right: one of my 1x3s was warped and bendy. So I rebuilt that side with some of my leftovers, and made sure to square up after each step, and lo and behold it came together!

It's not perfect - one of my legs is a bit off, so it wobbles when no one's sitting on it, but there's no issue when it bears weight - but for my first build, I'm quite pleased! And now that I know I can do this...well, this is just the beginning!

Total time it took me was probably around 15 hours, which includes practicing using my circular saw and kreg jig (both of which were straight out of the box when I started), along with my rebuilding the side.

I used Minwax pre-stain wood conditioner after sanding, followed by two coats of Rustoleum spray stain in Kona. I sanded with 400 grit sand paper after each coat of stain, and finished with one coat of semi-gloss polyurethane. I considered a few more coats of stain, but so fell in love with the weathered look that evolved from the staining and sanding that I just left it!

I also spray painted the hinges - that was a bit of an accident (I didn't know how NOT to cover them in stain...), but turned out to my liking!

My estimated cost is about $100, which covers the wood (including the extra 1x3s and an extra 1x2 I needed for a screw-up), nails, screws, three cans of spray stain, polyurethane, wood conditioner, paint brushes, two packs of sandpaper, and my hand sander. All but the wood will be used in my next few projects too, so that cost covers QUITE a bit!

Estimated Cost
$100
Estimated Time Investment
Weekend Project (10-20 Hours)
Finish Used
Two coats "Kona" spray stain, Minwex wood conditioner, one coat polyurethane, for a weathered look.
Recommended Skill Level
Starter Project

Comments

Angela J.

Wed, 01/30/2013 - 00:25

I am going to be building this bench this weekend. What is a kreg jig? I am so confused. I am going to HD tomorrow to buy supplies.

Great looking bench! I will certainly look out for warped wood :)

In reply to by Angela J.

amycourts

Wed, 01/30/2013 - 08:19

Hey Angela,

The Kreg Jig is a tool that creates pocket hole joints on all your boards - whether you're joining vertical to horizontal pieces, or two horizontal or two vertical, etc.... - and made this build, as my first, INFINITELY easier. You don't *need* the Kreg Jig to build this bench, but Ana recommended it, my good friend Jen Woodhouse, who contributes a lot of plans and builds to this website recommended it, and I highly, highly recommend it. It's about $100, and worth every penny.

Here's the video I used as a tutorial on how to do it. And seriously - it made this job SO much faster than it would have been without the Jig! :)

http://www.youtube.com/watch?v=IrIFHMEPkXs

Henry bookshelf - modified

Submitted by Anonymous (not verified) on Mon, 10/19/2020 - 04:47

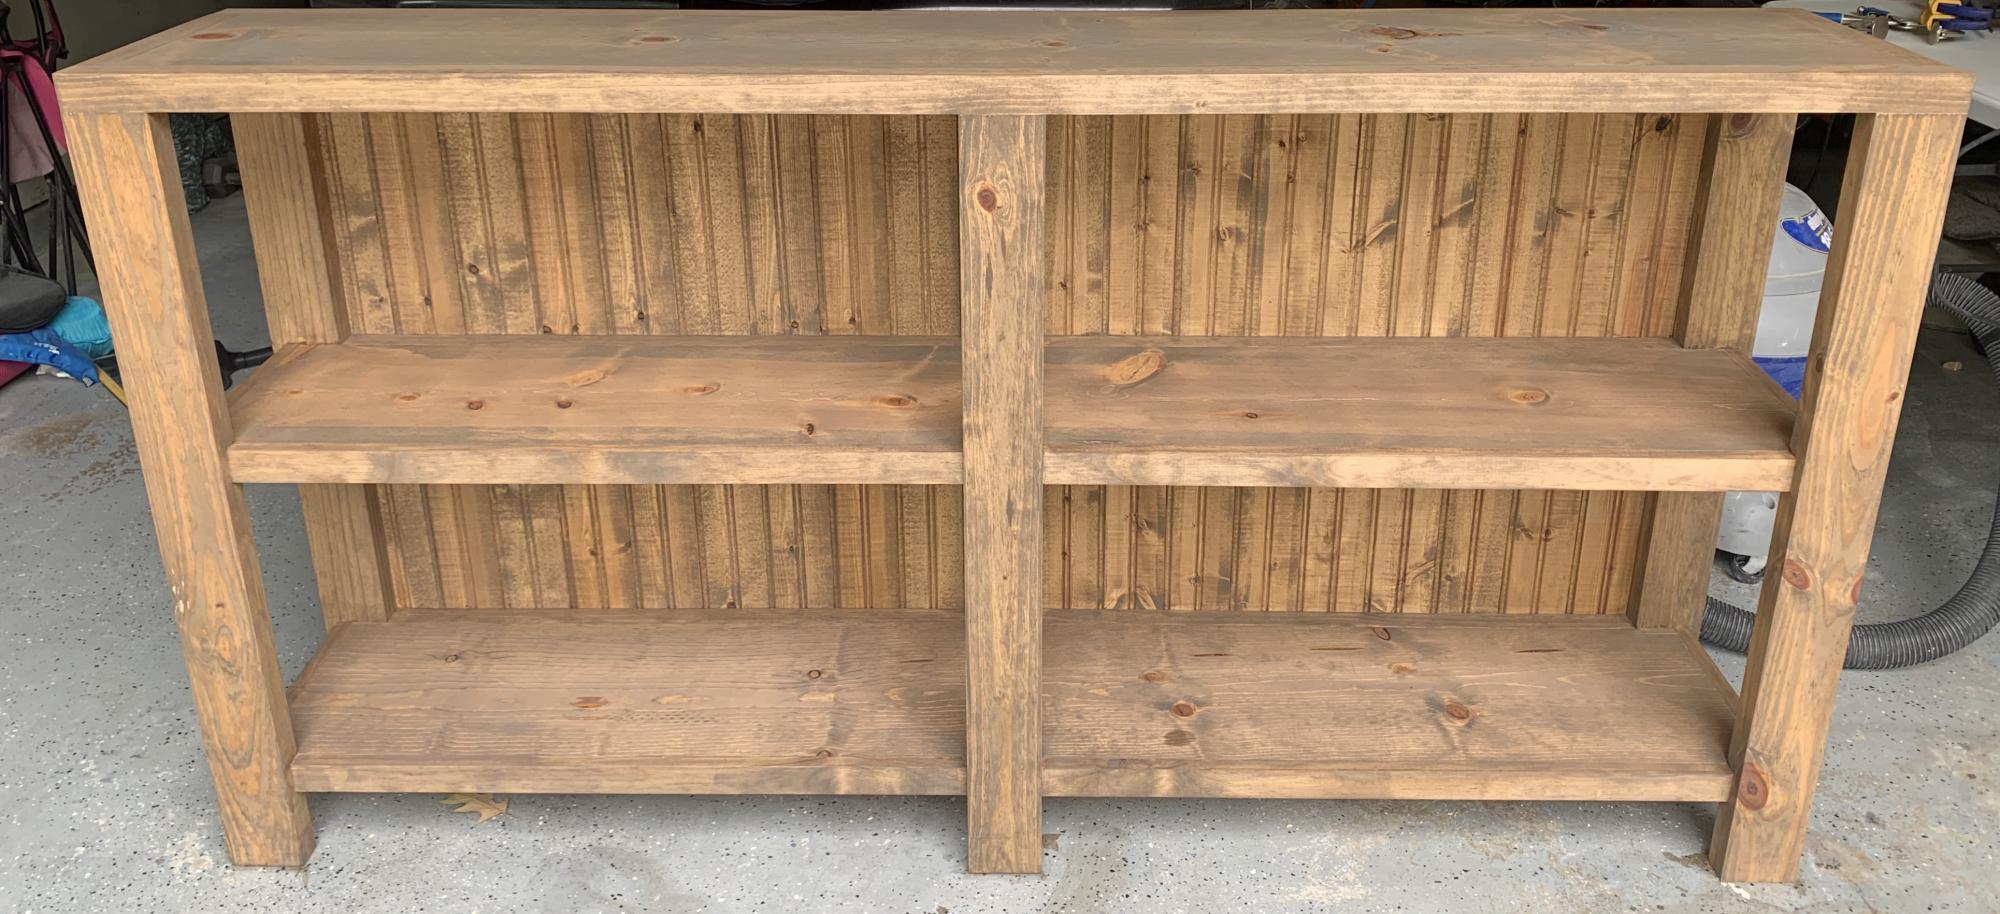
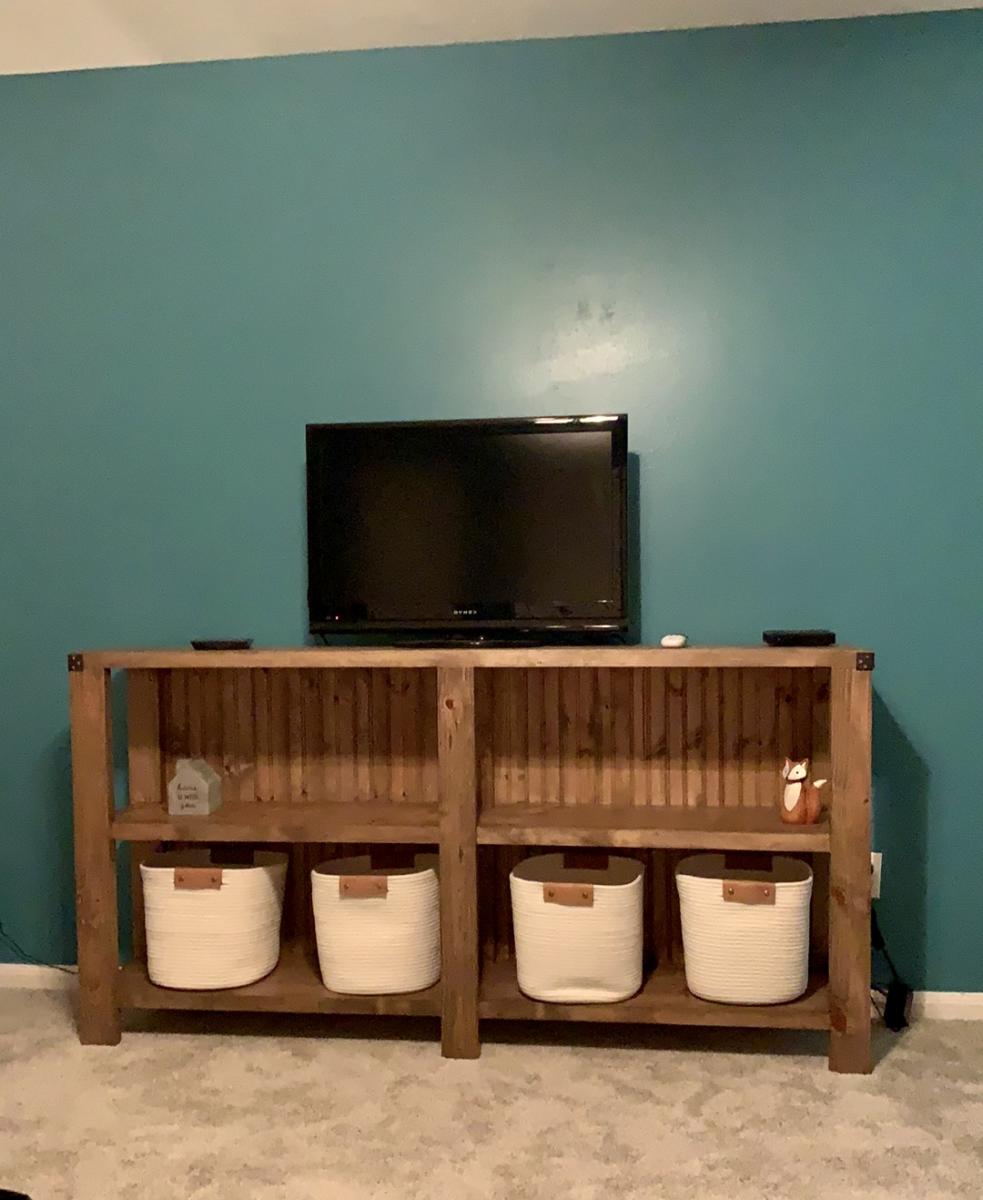
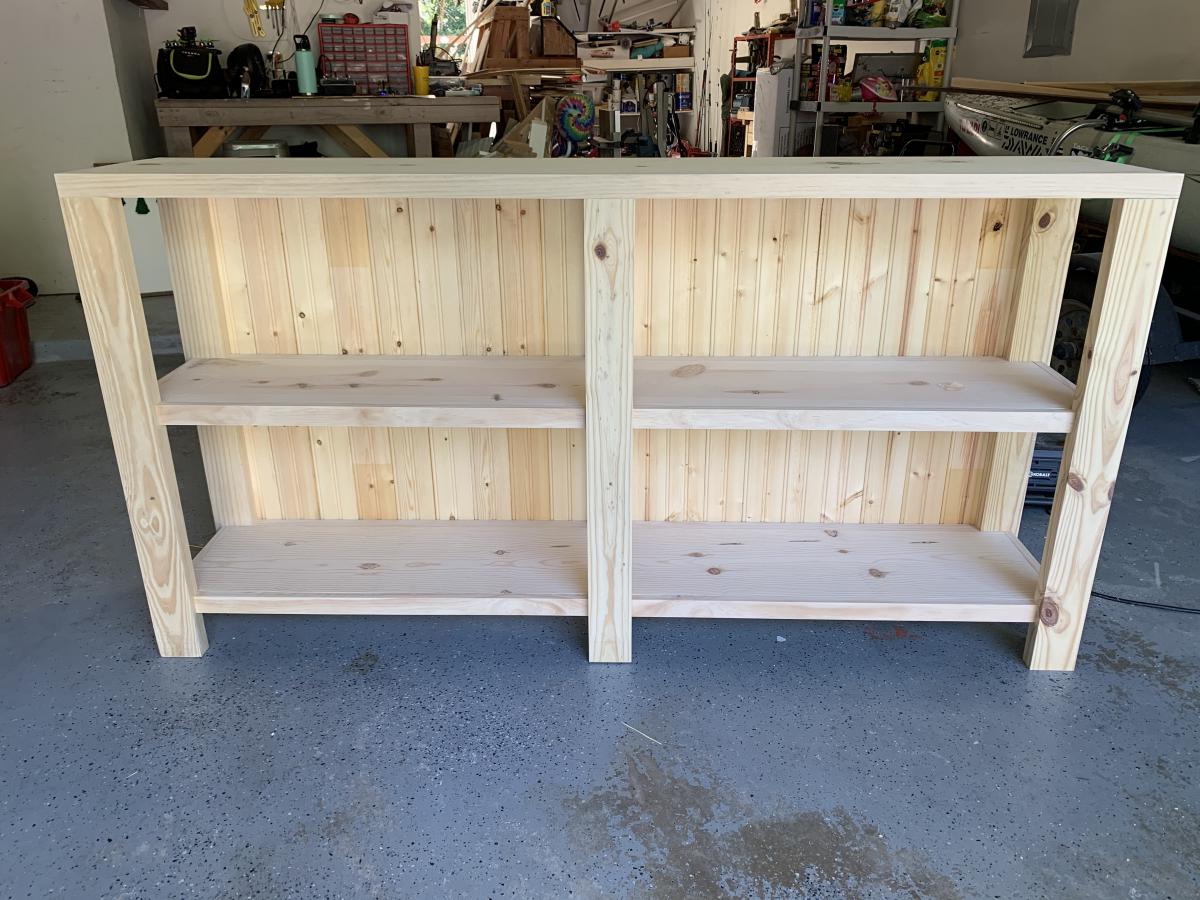
I loved the look of the Henry bookshelf, but I was looking for a longer, shorter bookshelf — so I modified the plans and created this version. It stands a little over 3ft tall and is 6ft long. I chose tongue and groove bead board for the backing and mixed two different stains to achieve the hint of gray. Finished it off with a satin poly.
-Whitney R. , Houston, TX

Built from Plan(s)
Estimated Time Investment
Weekend Project (10-20 Hours)
Finish Used
3 parts miniwax early american to 1 part miniwax gray and finished with miniwax satin polyurethane.

Comments

Folding lap desk

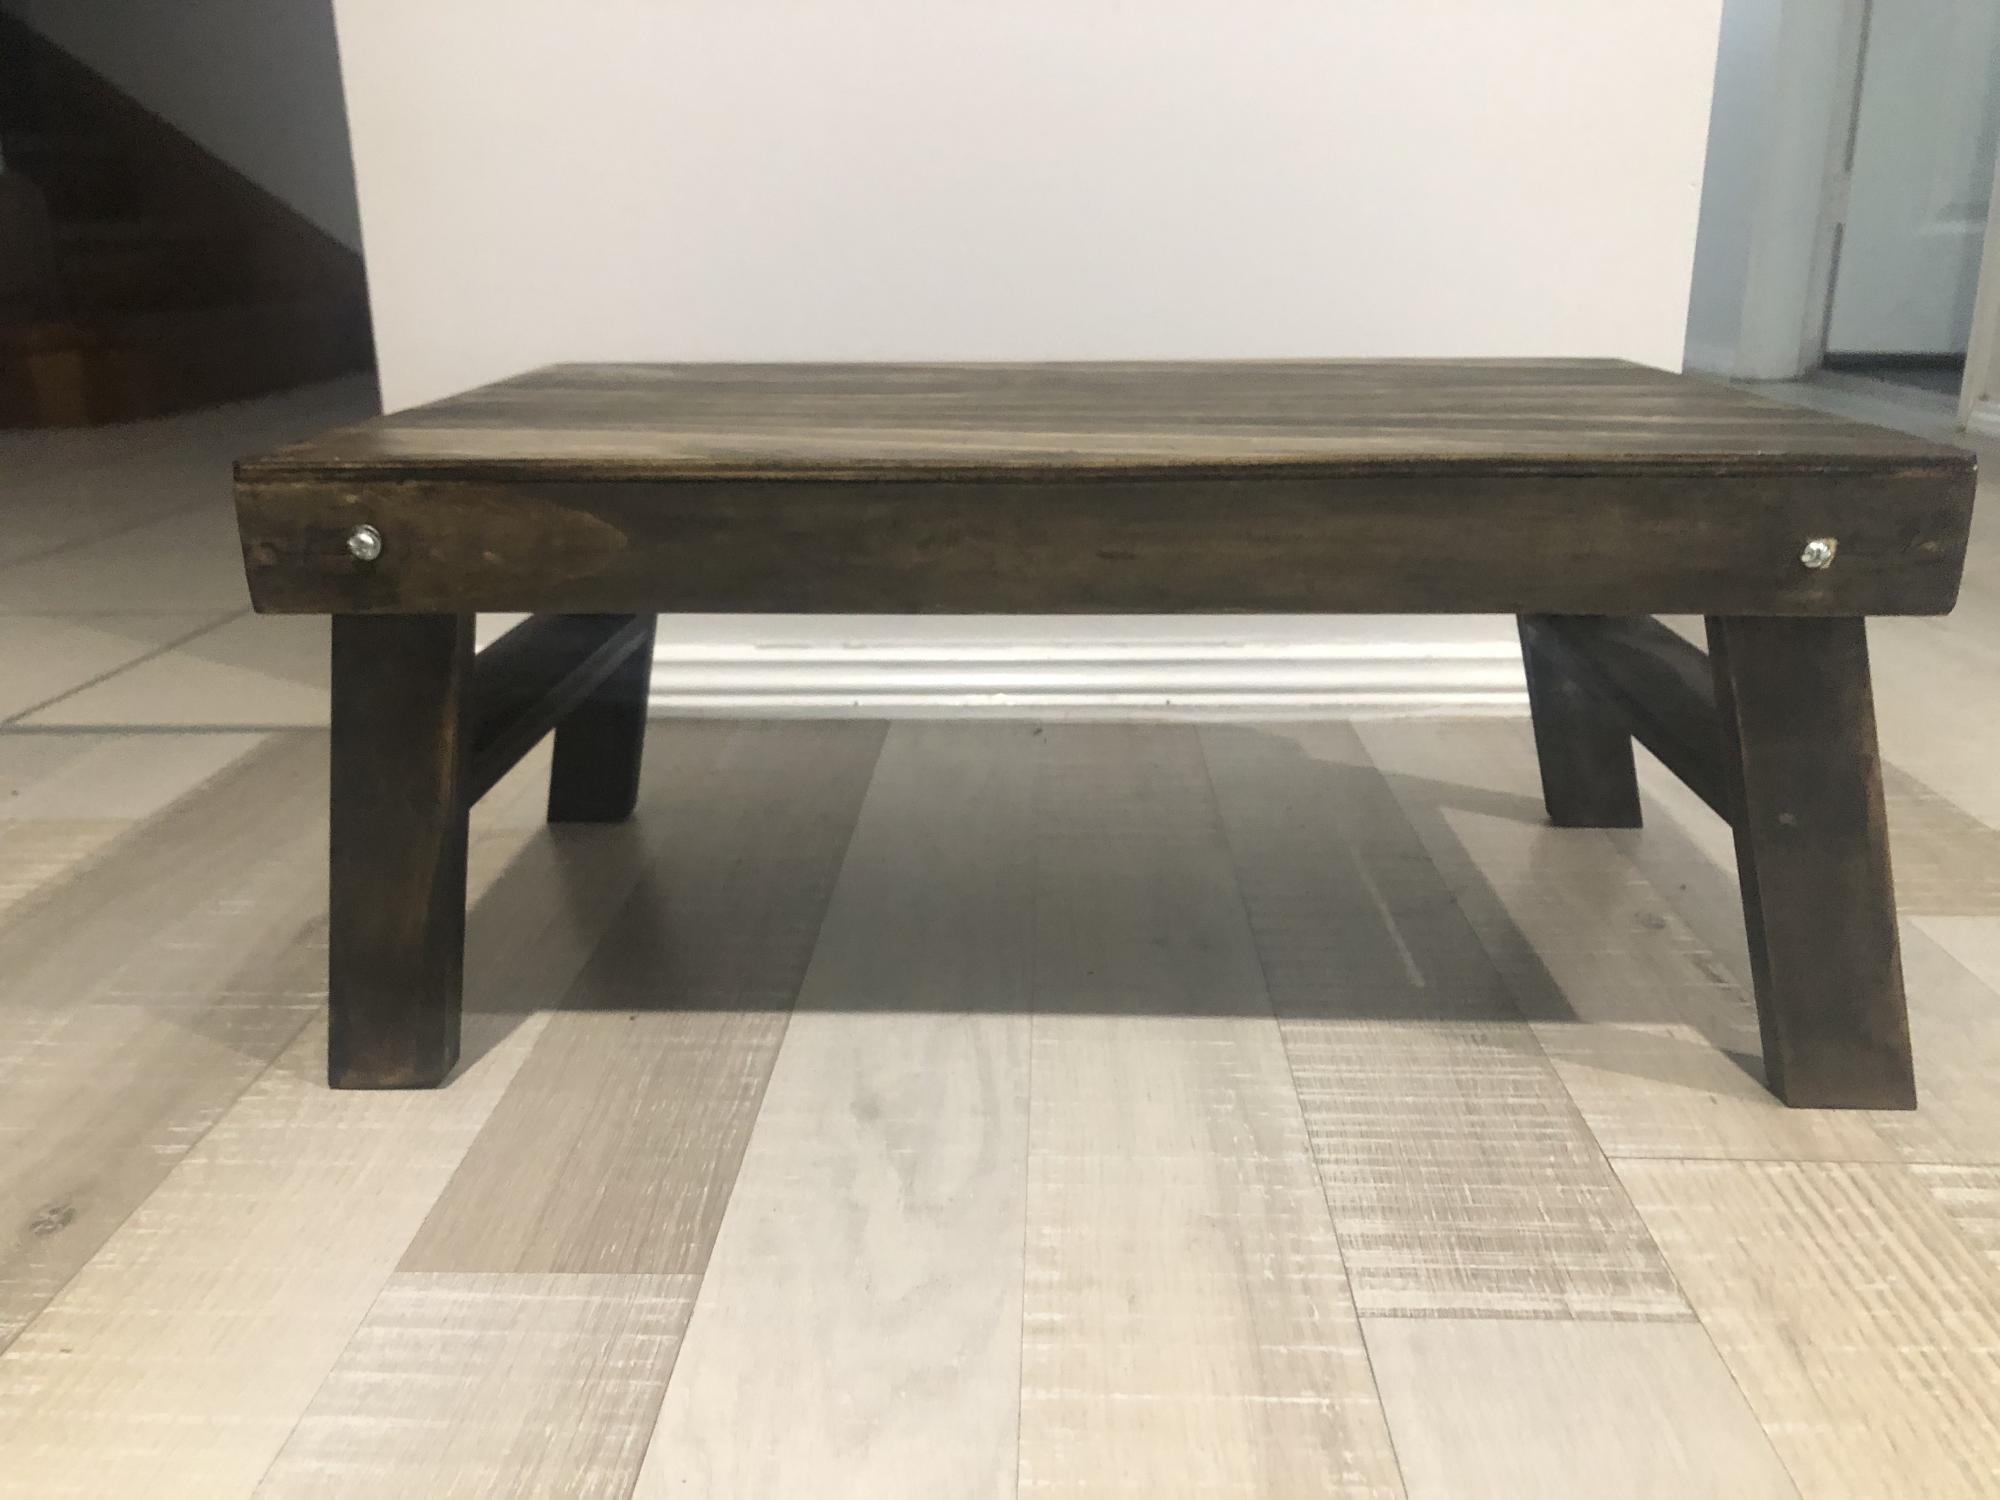
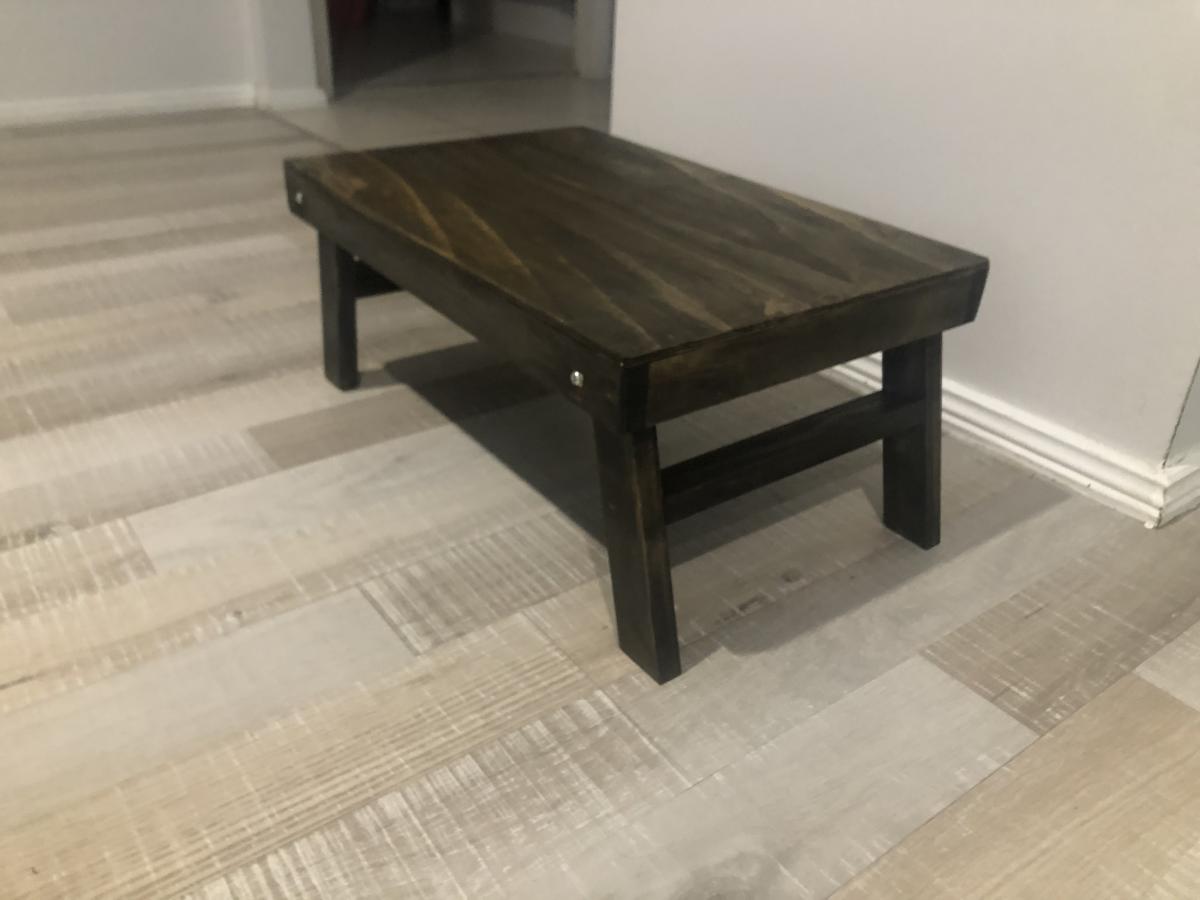
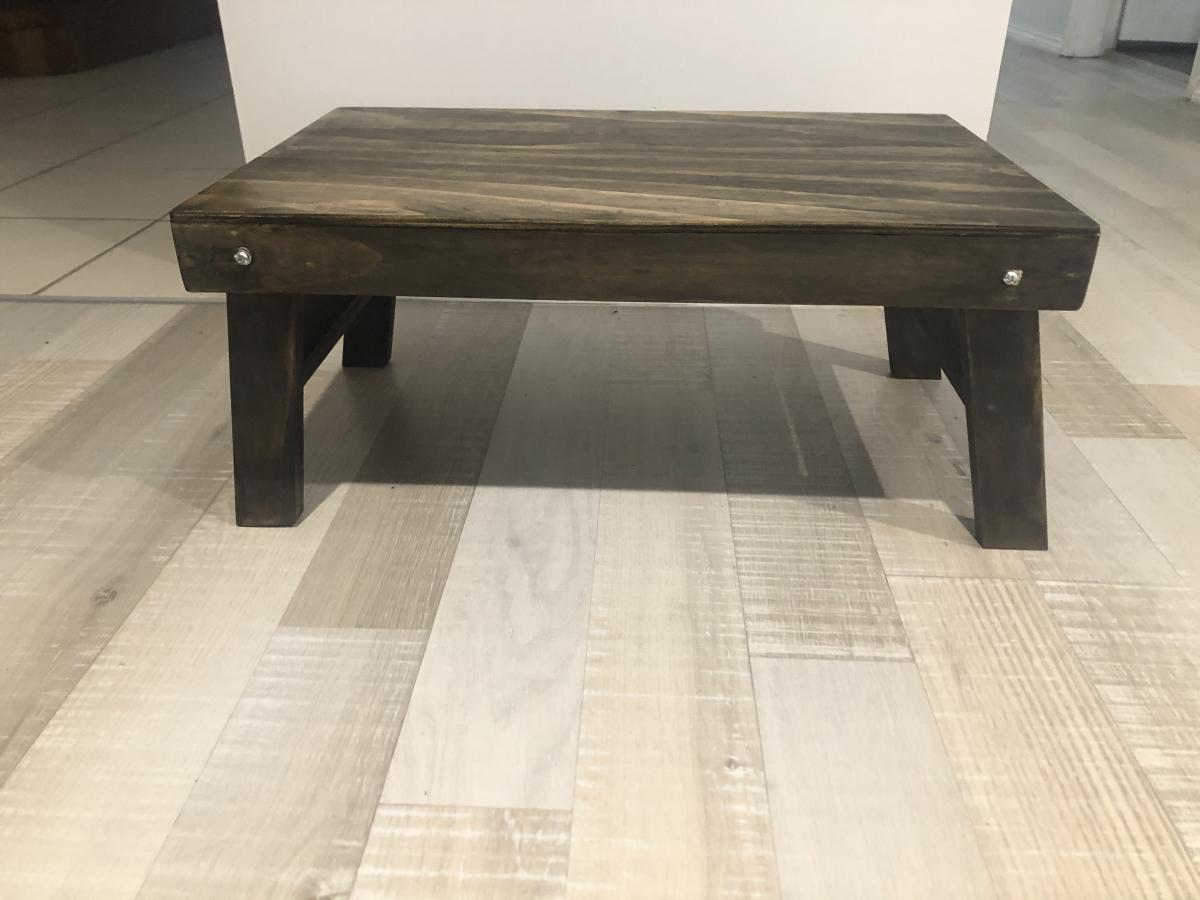
This is my first project that I’ve done entirely by myself and I’m so happy with how it turned out. These plans were great! The only thing I did differently was make the legs 1/2 an inch longer and I stained the table instead of personalising. I made this for my mum and she loves it, thank you for these awesome plans ❤️ This only took me an afternoon to build and then just going back and puttying the screws and staining the table was done over a few days. The wood cost around $30 and I already had the putty and stain at home. It would cost more to make if you had to buy the stain and putty.
Built from Plan(s)
Estimated Cost
$30
Estimated Time Investment
Afternoon Project (3-6 Hours)
Recommended Skill Level
Beginner

Comments

Teen Loft Bed

Submitted by KailuaGirl on Fri, 03/15/2013 - 12:59

Aloha!
I was inspired by what I saw on Ana's website. My daughter was obsessed with the PB Teen version of the loft bed, so I tweaked the plans here to make it more like the $2500 bed from the catalog!!!!! Yikes and don't even get me started on what the shipping to Hawaii would be....It was well worth the effort! My daughter loves her new loft bed...Now if I can just figure out a way to get the dog to love the high bed!!!
Cheers, Tina

Built from Plan(s)
Estimated Cost
$250 because I added a glass top to the desk
Estimated Time Investment
Weekend Project (10-20 Hours)
Finish Used
white glossy paint
Recommended Skill Level
Beginner

Comments

DawnL

Sat, 06/22/2013 - 02:57

Aloha Tina!

You did a great job! I was wondering, how high is the bed, room and clearance? We also live in Hawaii and my daughter's room is small. Any feedback on what modifications you made would be greatly appreciated! Mahalo!

KailuaGirl

Tue, 06/25/2013 - 13:35

Hi Dawn,
Yes, my daughter's room has low clearance, so I tweaked the loft bed height.
I determined what top clearance I could maximize that would allow my daughter to sit up in bed comfortably, but it will be tight as she grows. She's 5 feet now...
Then I tweaked the desk area height as well to maximize without too much of a struggle to get into the area.. I hope this reply is helpful..
Floor to ceiling height is 96 inches. desk area has clearance of 56 inches and from the top of the mattress to ceiling has a clearance of 28 inches.
Aloha, Tina

hansje01

Tue, 12/17/2013 - 16:06

Im having a problem finding the plans for the teen loft bed shown above. any direction would be appreciated! Thanks!

KailuaGirl

Tue, 12/17/2013 - 16:59

HI! There are no plans for this loft bed.. I used the plans on this site and just literally DIY'ed to fit my needs.. Sorry I know this doesn't help you much…
If you have a specific question, maybe I could help…
Aloha, Tina

Fancy Hall Tree

Submitted by JHardaway on Sun, 03/31/2013 - 18:58

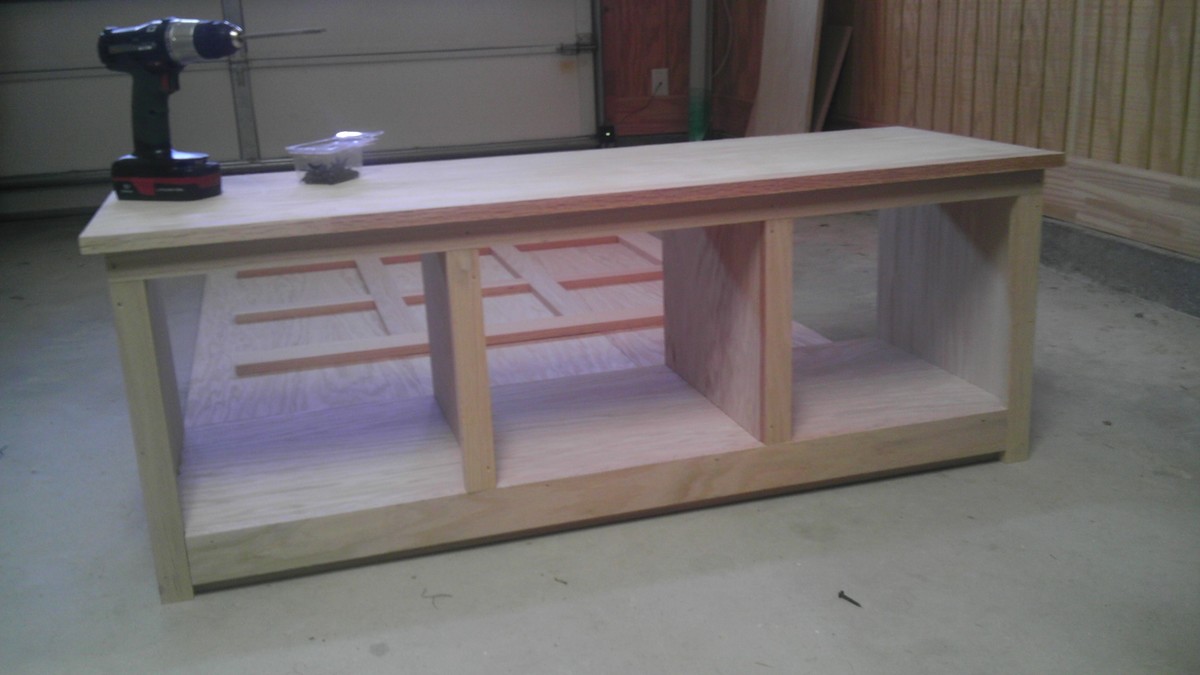
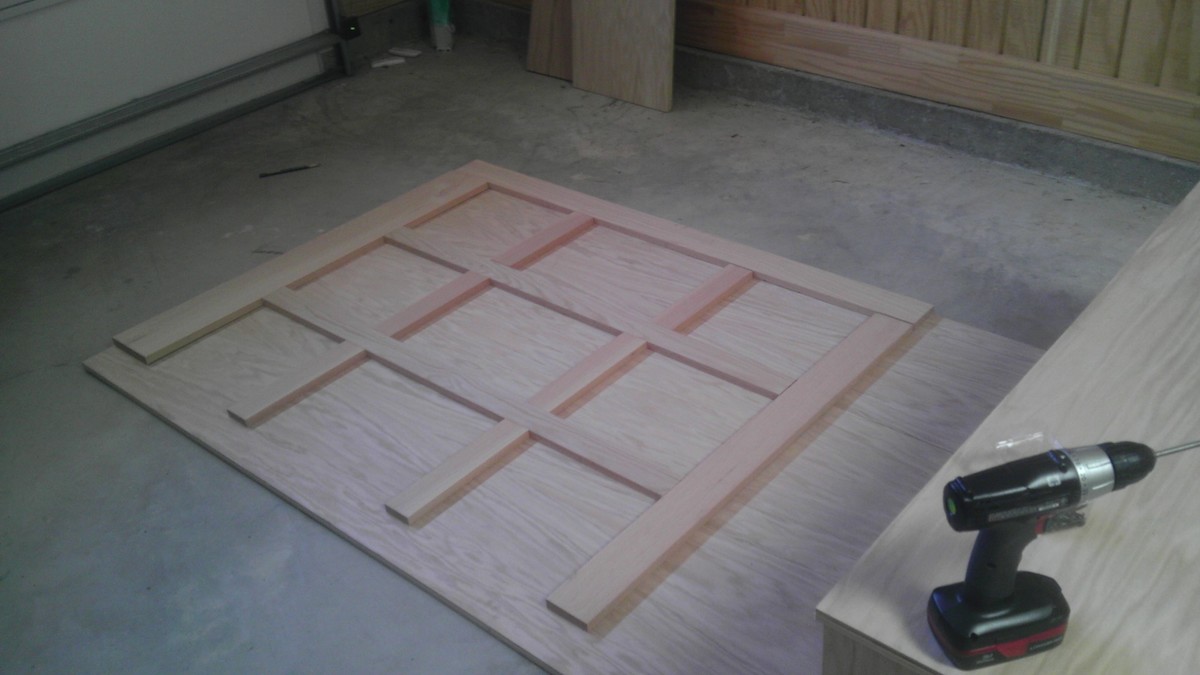
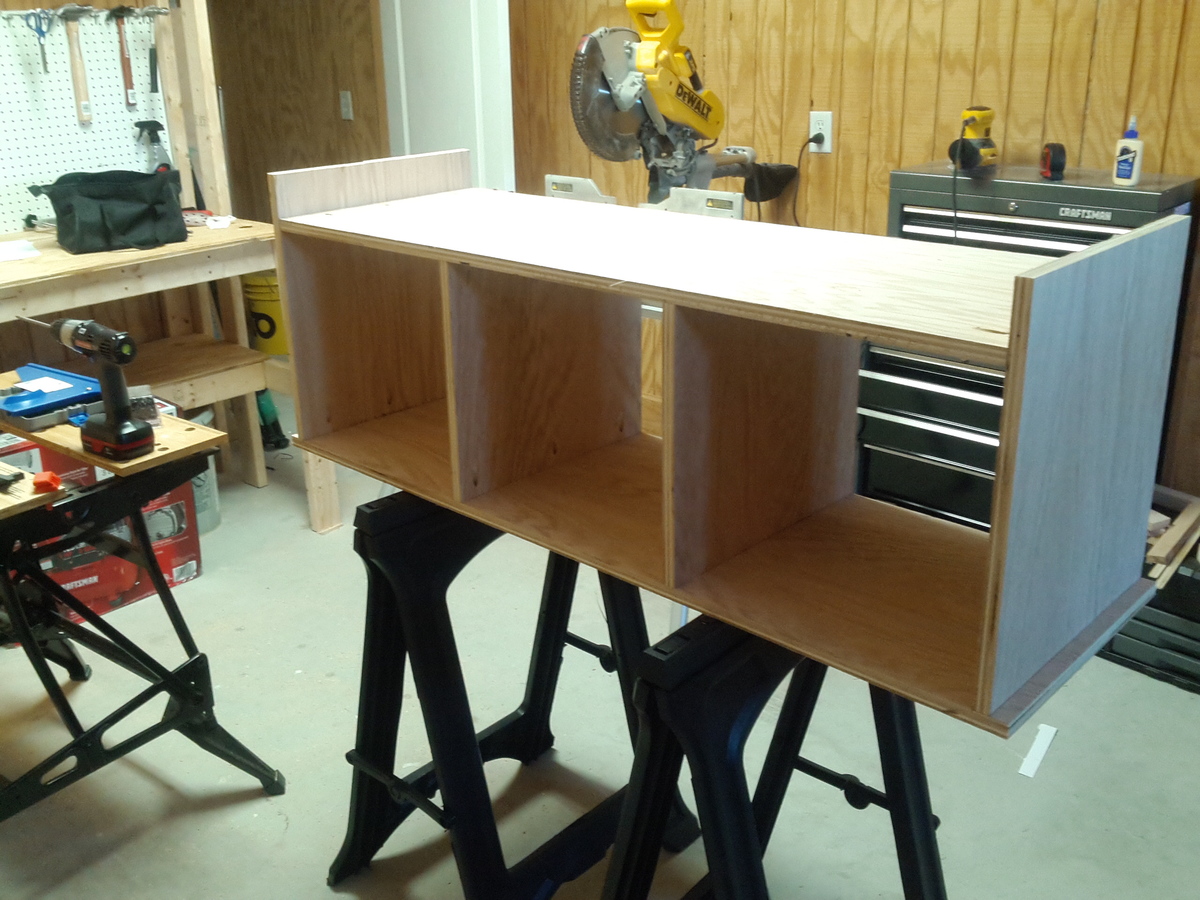
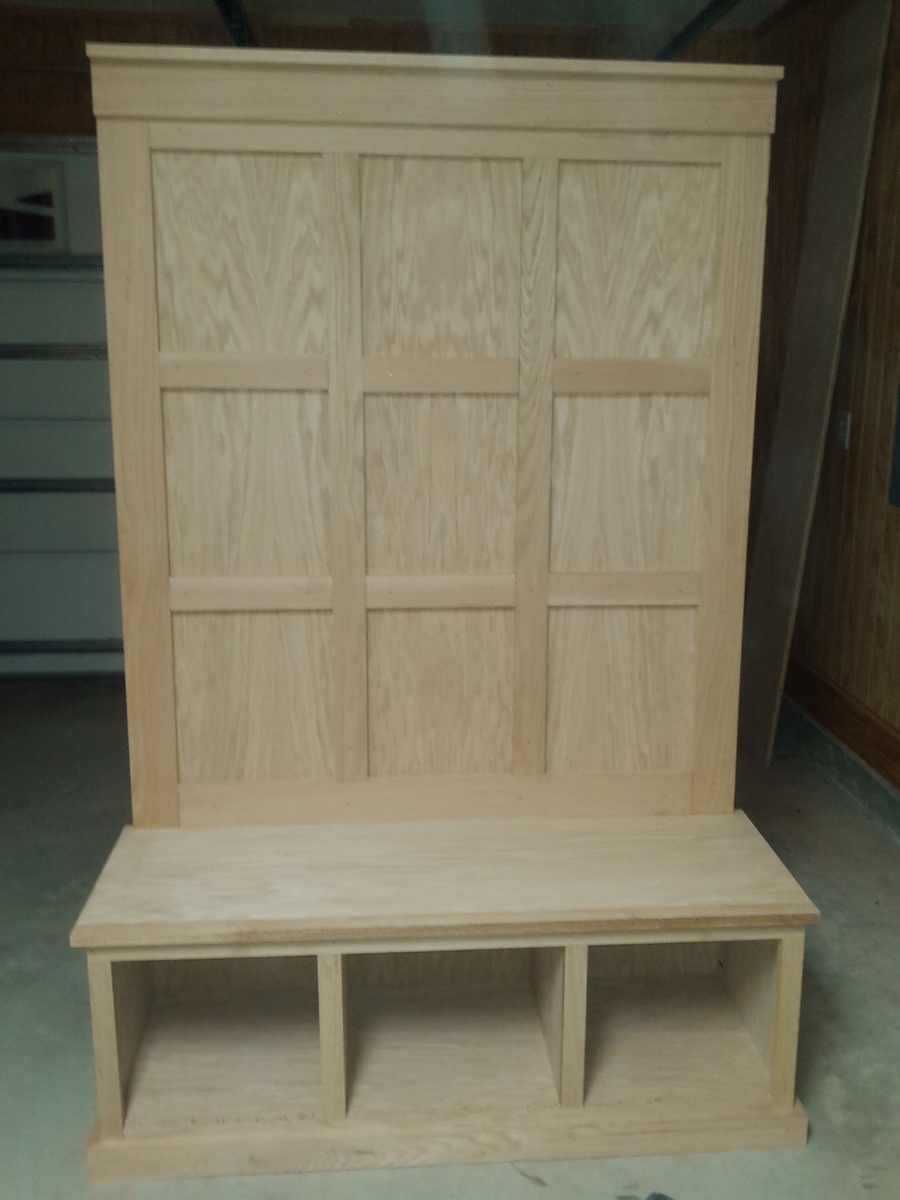
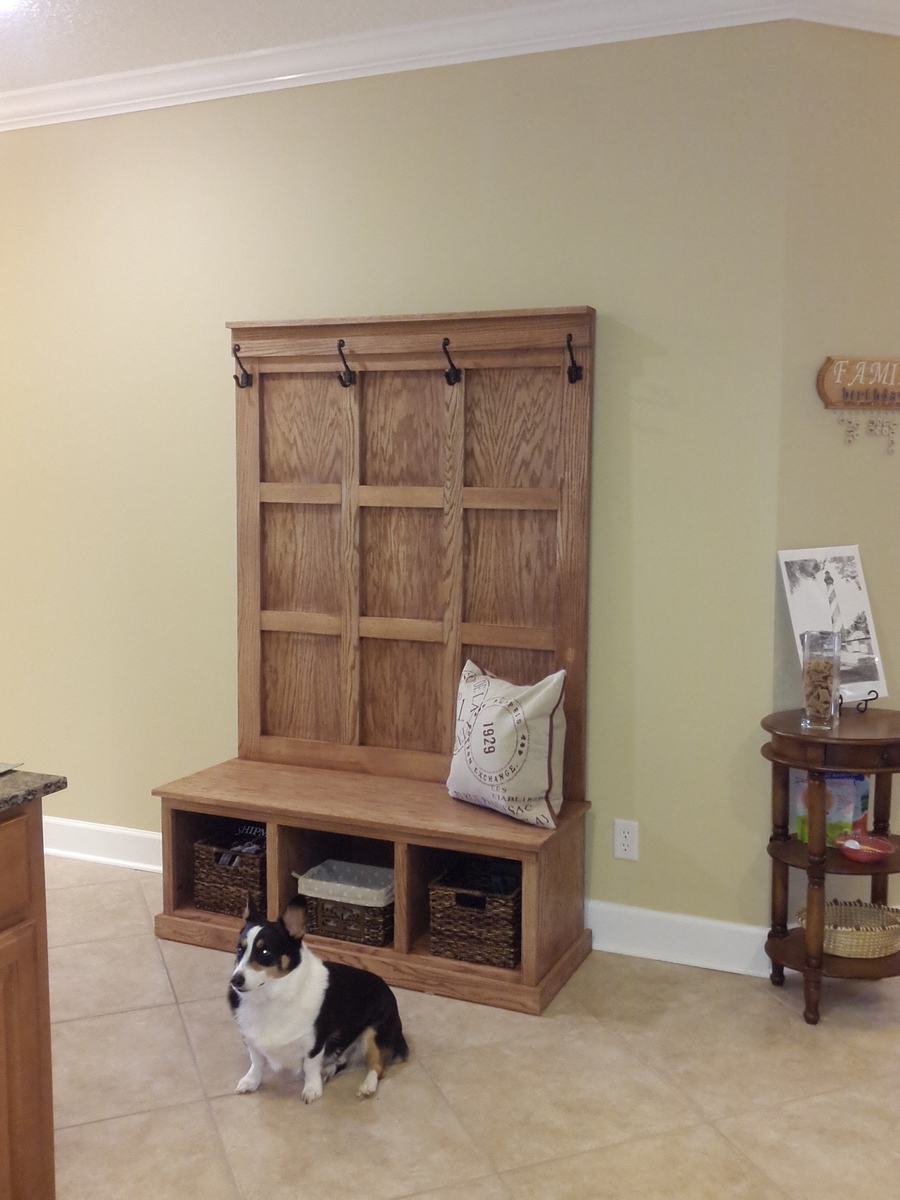
The Plans for this project made it relatively easy for a first time builder. Always wanting to build some furniture for my wife, I decided to start with this and it turned out way better than I ever expected. I used red oak and oak purebond plywood. I took a slightly different approach, using a 3/4" thick board of plywood for the back vice the 1/2 inch, which really gave the back a nice solid feel. I also assembled the lattice backing directly onto the backing plywood board and then attached the completed back to the finished Bench section (I know I didn't explain that well, the pictures show it better). Lastly I left off the arms for a variety of reasons, not the least of which was that I still need some work on cutting curves. Finished with one coat of Cabot Dark Mahogany and 2 coats of Rust-O-Leum satin polyurethane.

Built from Plan(s)
Estimated Cost
300
Estimated Time Investment
Weekend Project (10-20 Hours)
Finish Used
Cabot Dark Mahogany (1 coat) using cheap foam brushes and Rust-O-Leum satin polyurethane (2 coats) using nice-ish regular brushes. Sanded between coats with super fine (320 grit) sandpaper.
Recommended Skill Level
Beginner

Comments

Wooden Lanterns

Submitted by mrich_d60 on Fri, 05/14/2021 - 15:39

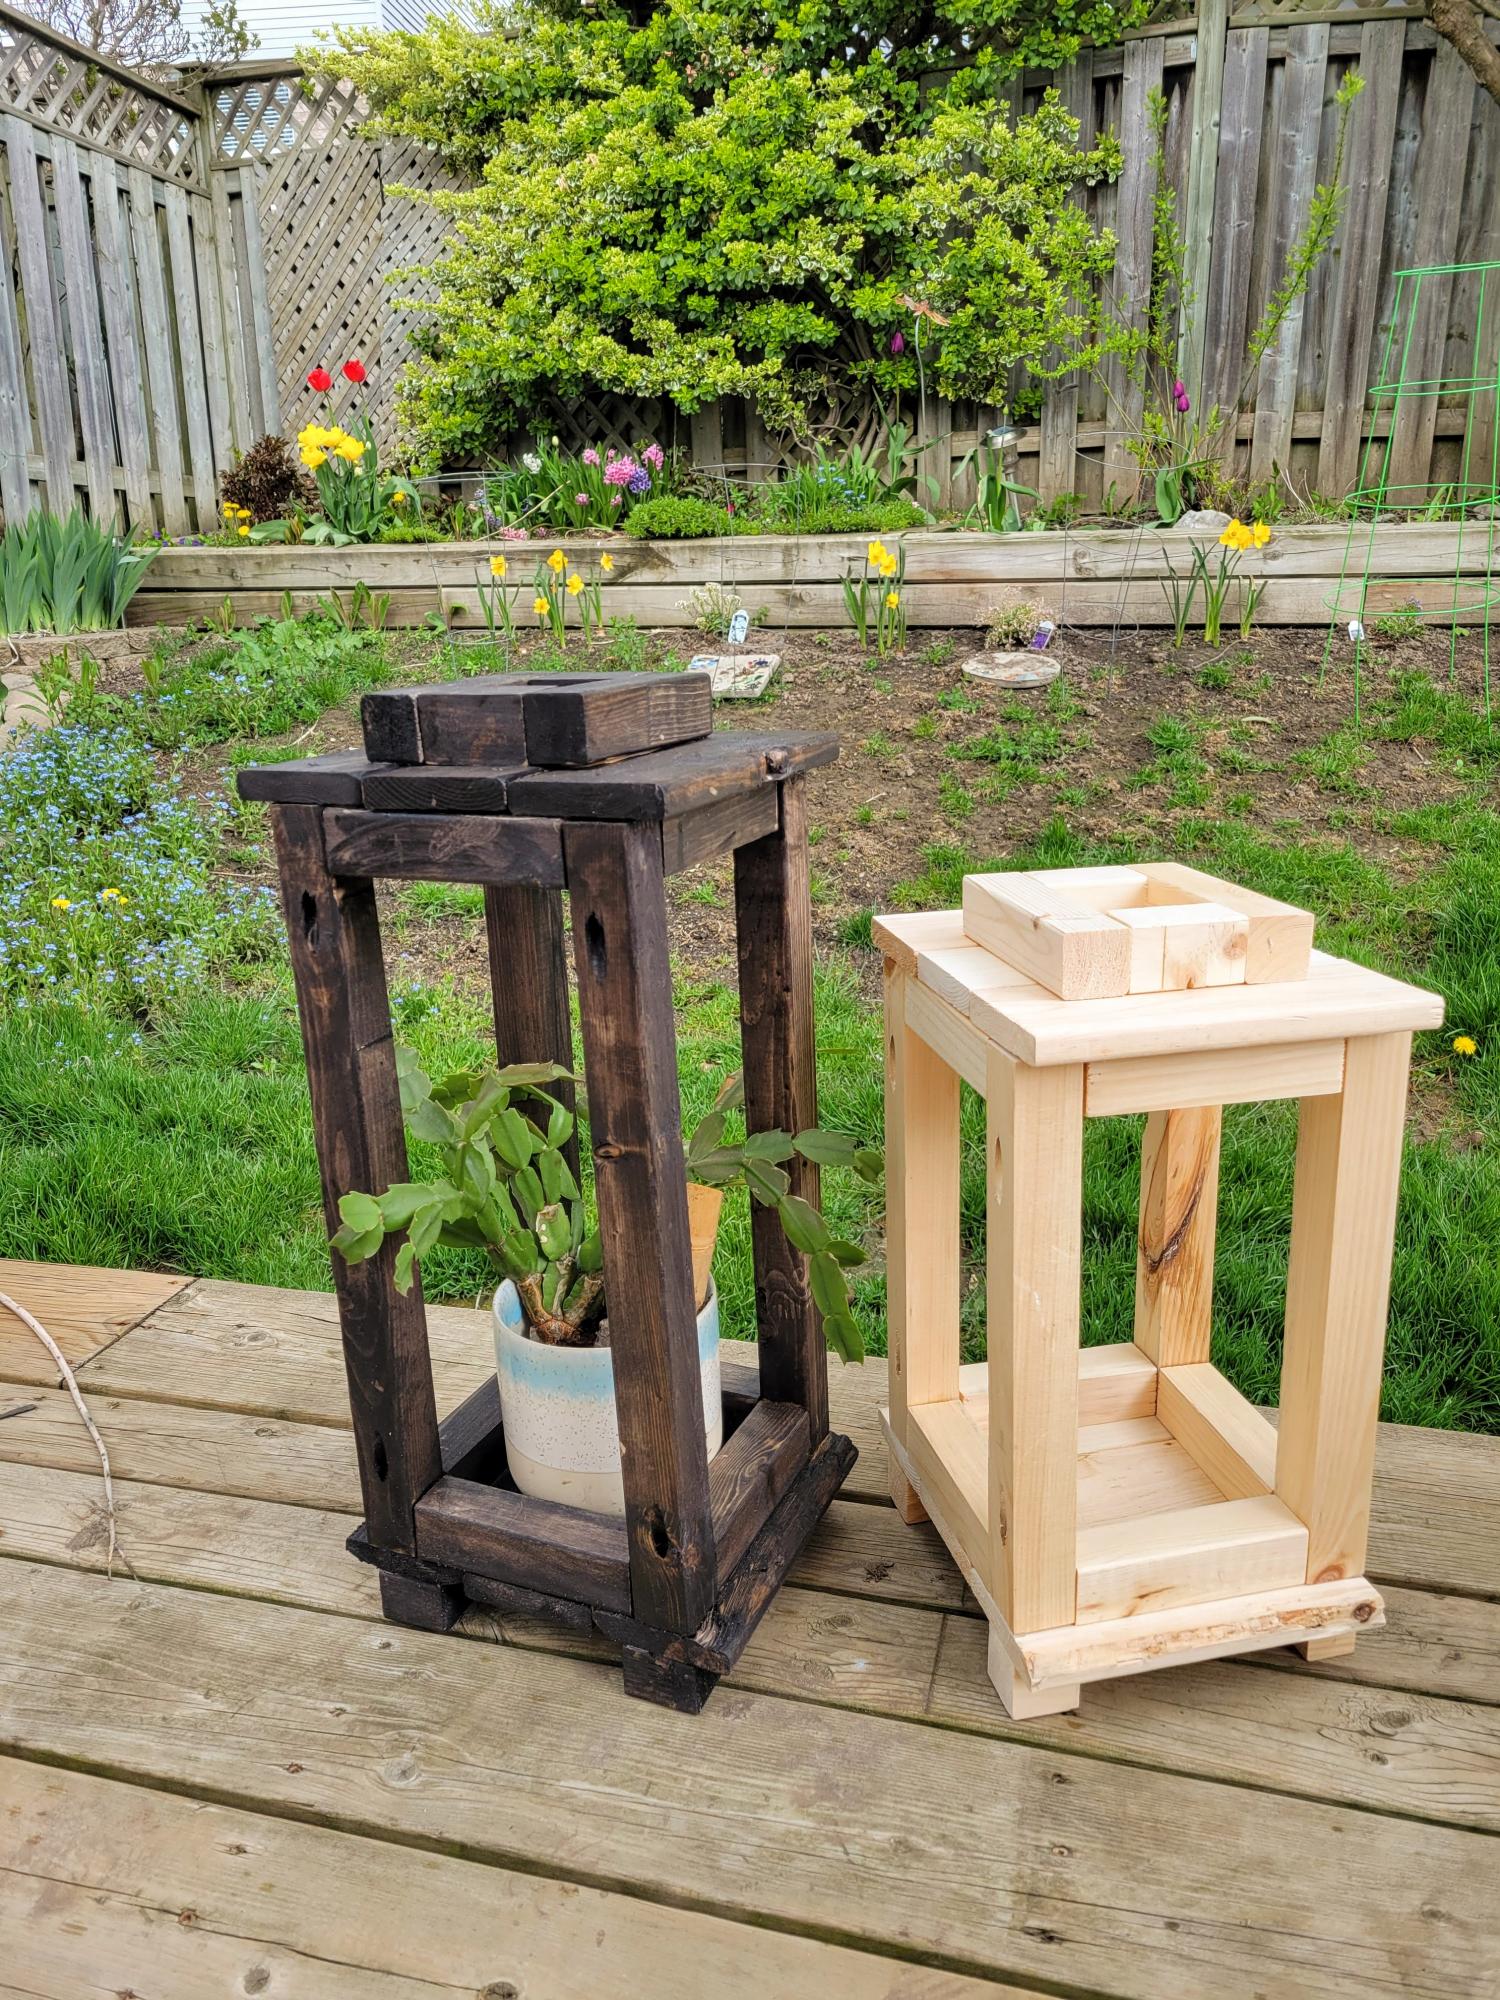
I made 7 lanterns - 6 with 18" uprights and 1 with 13". They were originally just for my daughter's backyard wedding. They aren't decorated yet because she's going to use them on the patio now and is waiting for the solar lights and LED candles to arrive. They were too nice not to use them right away!

Estimated Cost
About $9.00 each
Estimated Time Investment
Afternoon Project (3-6 Hours)
Finish Used
Varathane Ultimate One Coat coverage stain + Varathane Triple Thick one coat clear finish on entire lantern. Thompson's WaterSeal Waterpoofing Stain semi-transparent for underside and feet.
Recommended Skill Level
Beginner

Comments