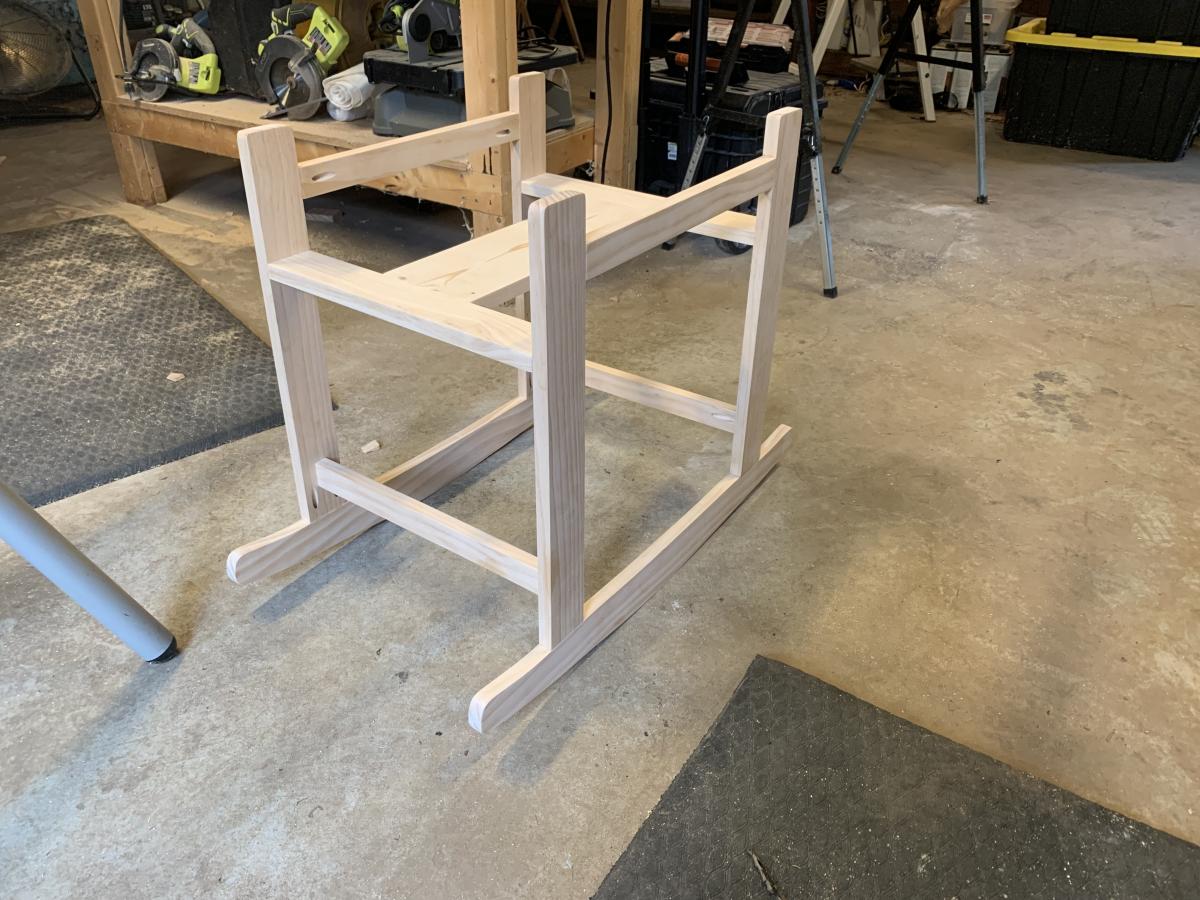
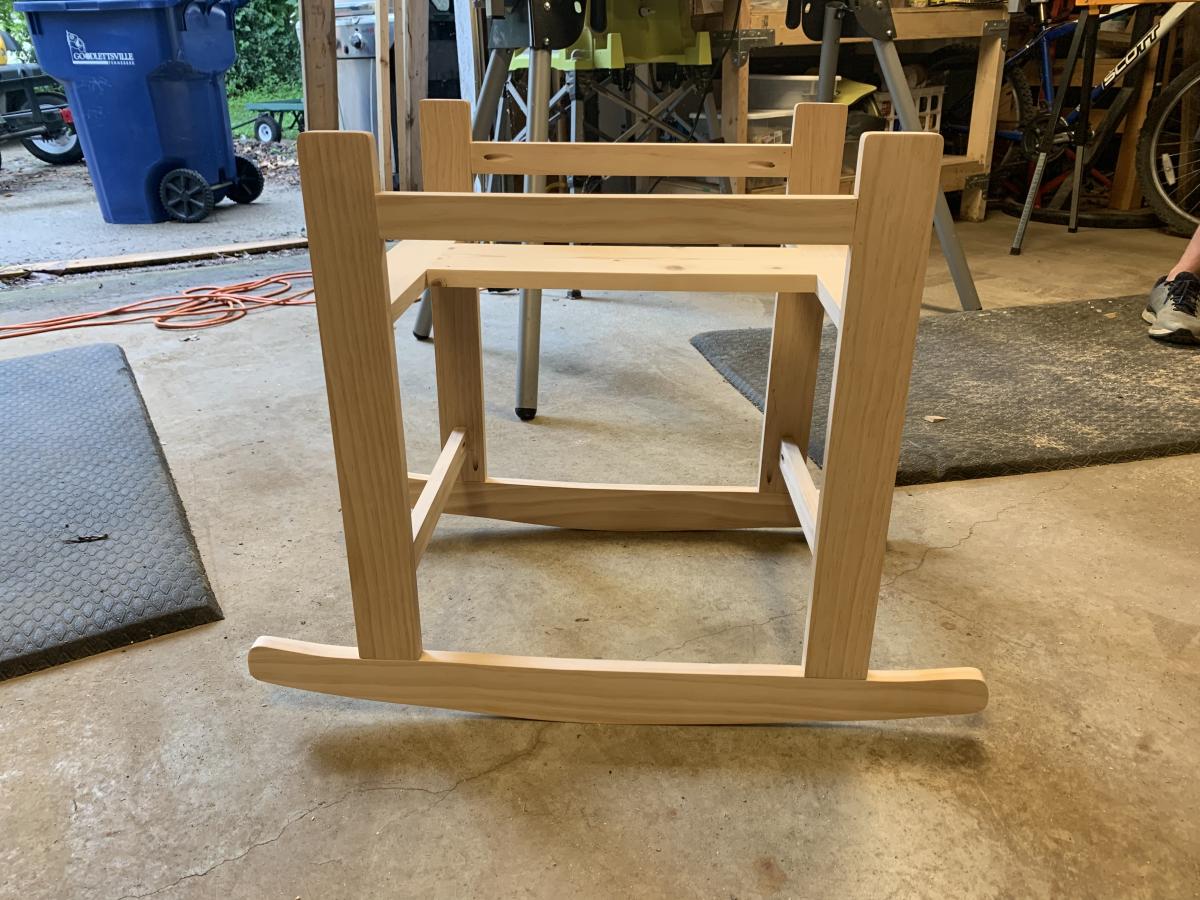
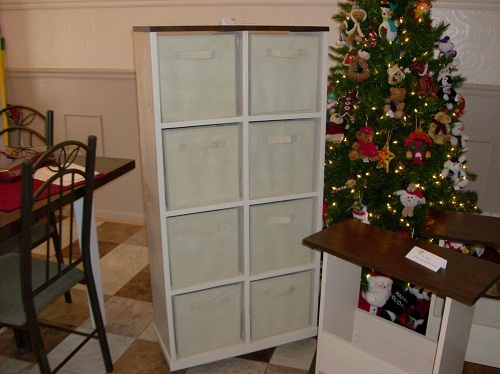
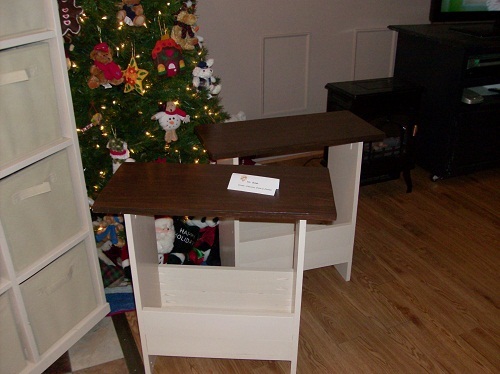
Moses Basket Stand
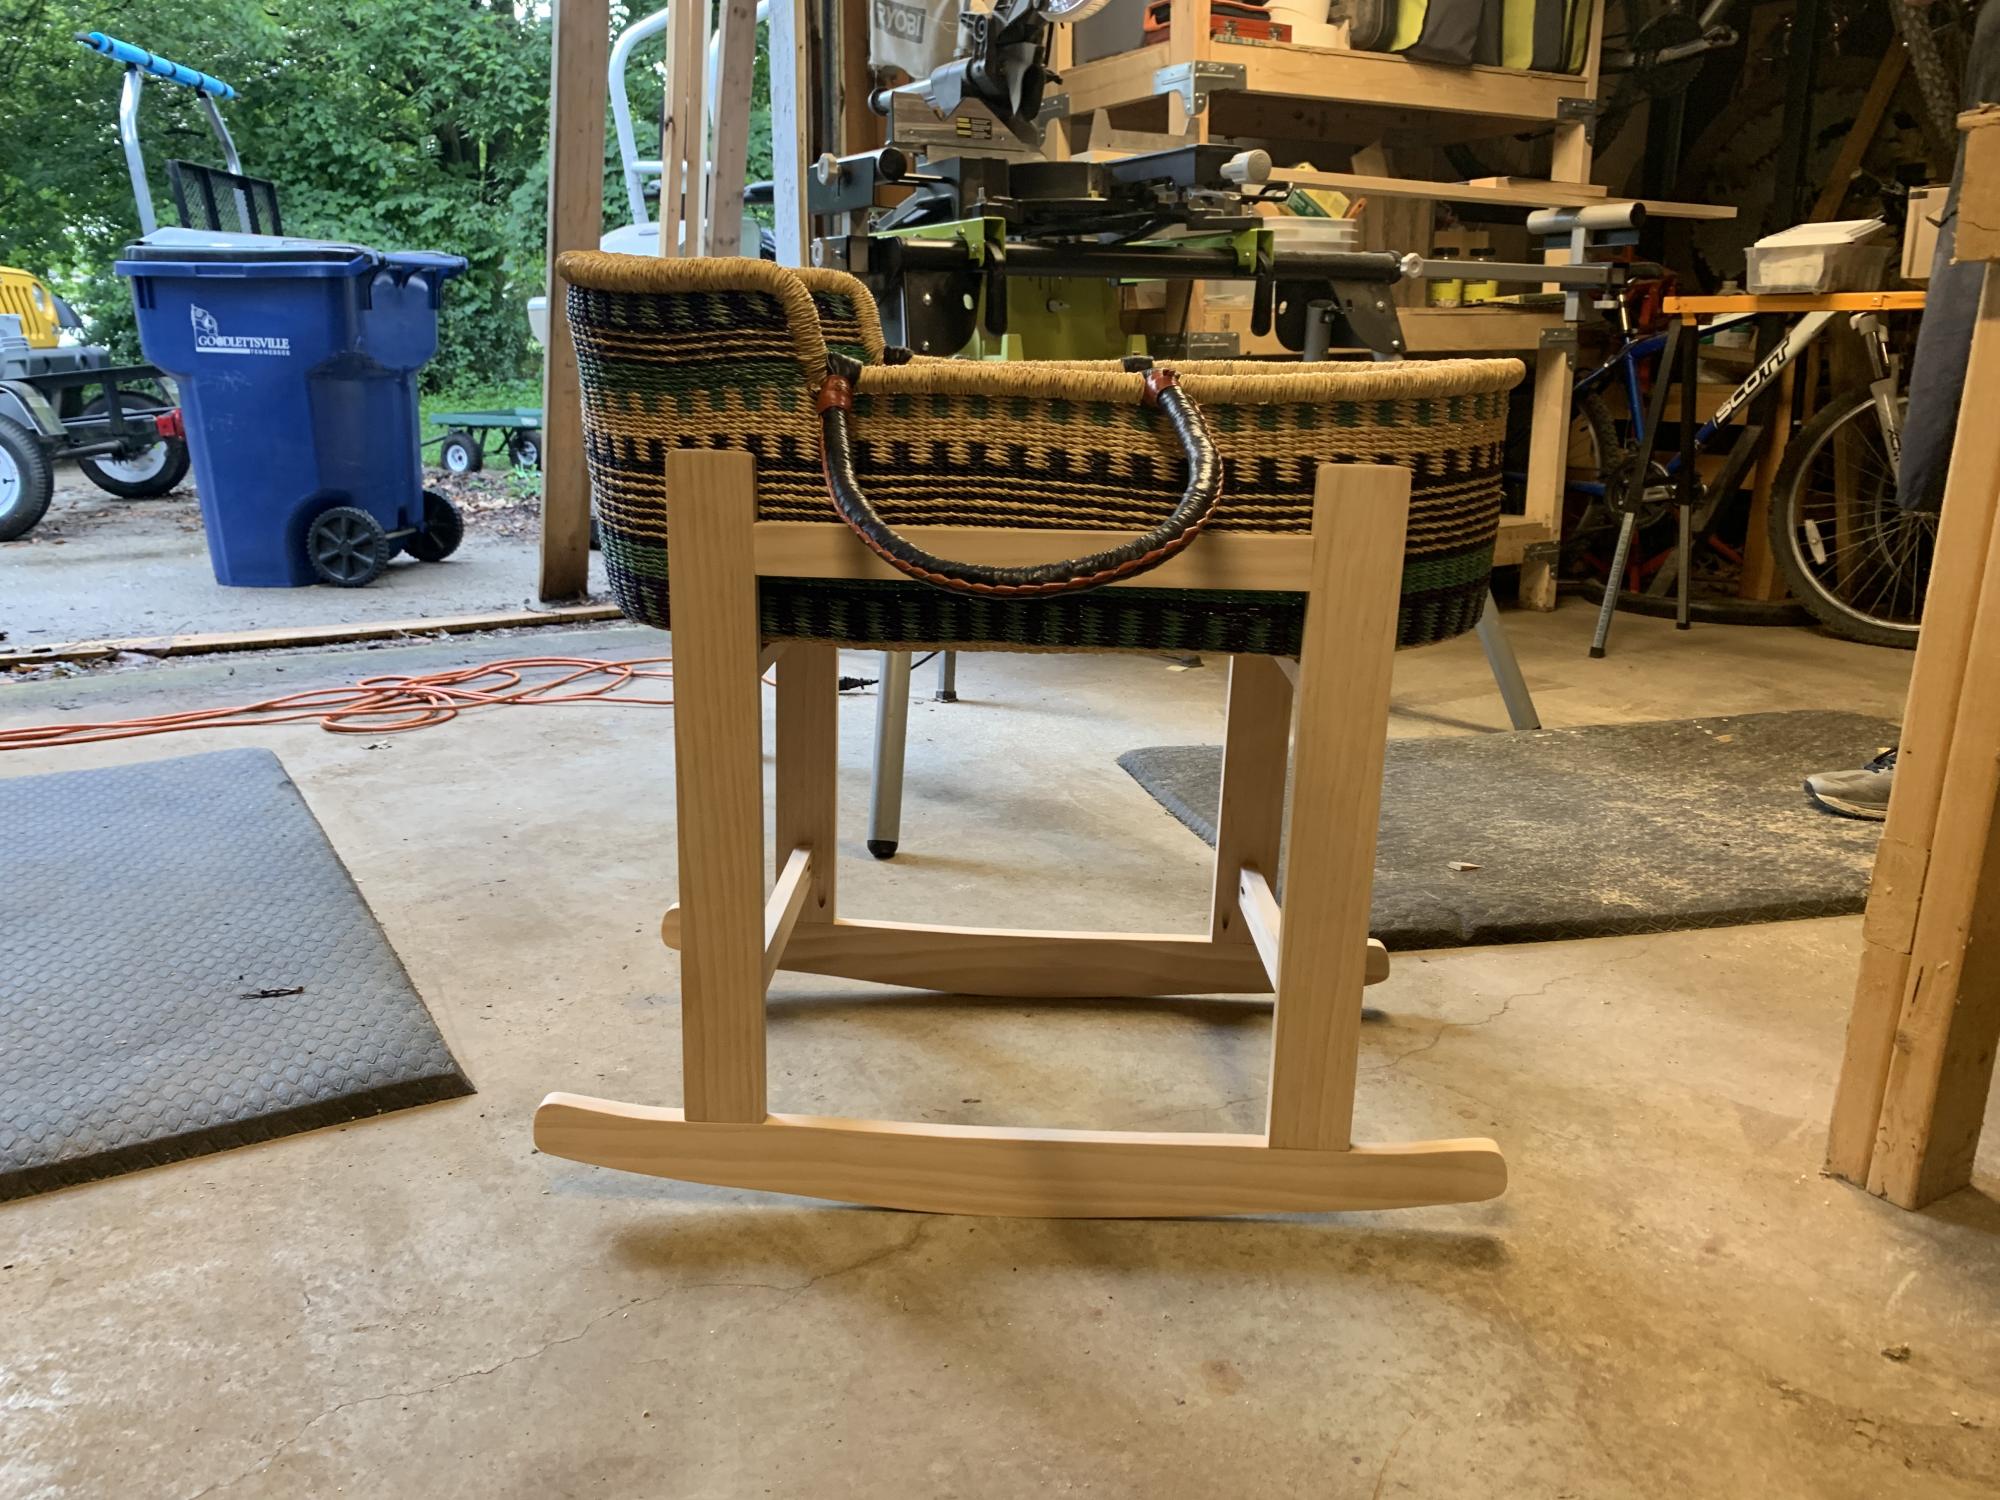
Thank you Anna!! We have friends who are adopting and they were given a beautiful mosses basket. Your pattern allowed me to make this gift for them.
The rockers were a bit complicated but I pulled it off.
Built from Plan(s)
Estimated Cost
$85
Estimated Time Investment
Day Project (6-9 Hours)
Finish Used
Natural with semigloss clear coat.
Recommended Skill Level
Intermediate


Comments
Ana White
Tue, 07/09/2019 - 11:11
It's beautiful! Love the…
It's beautiful! Love the moses basket too!