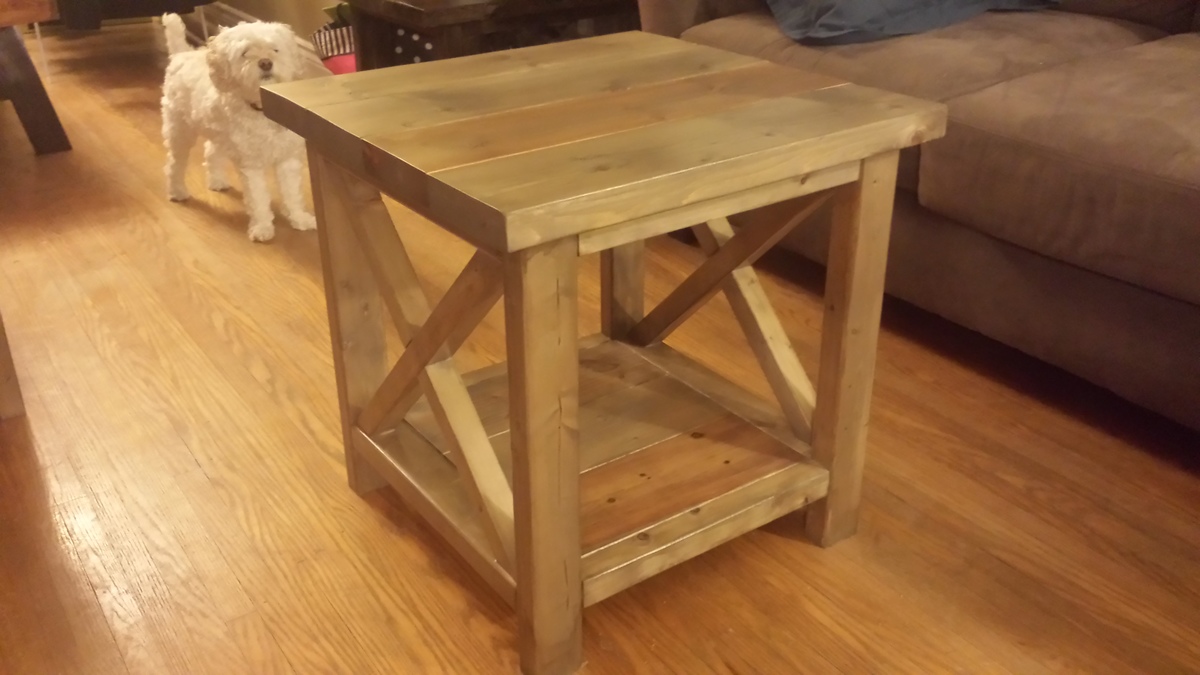
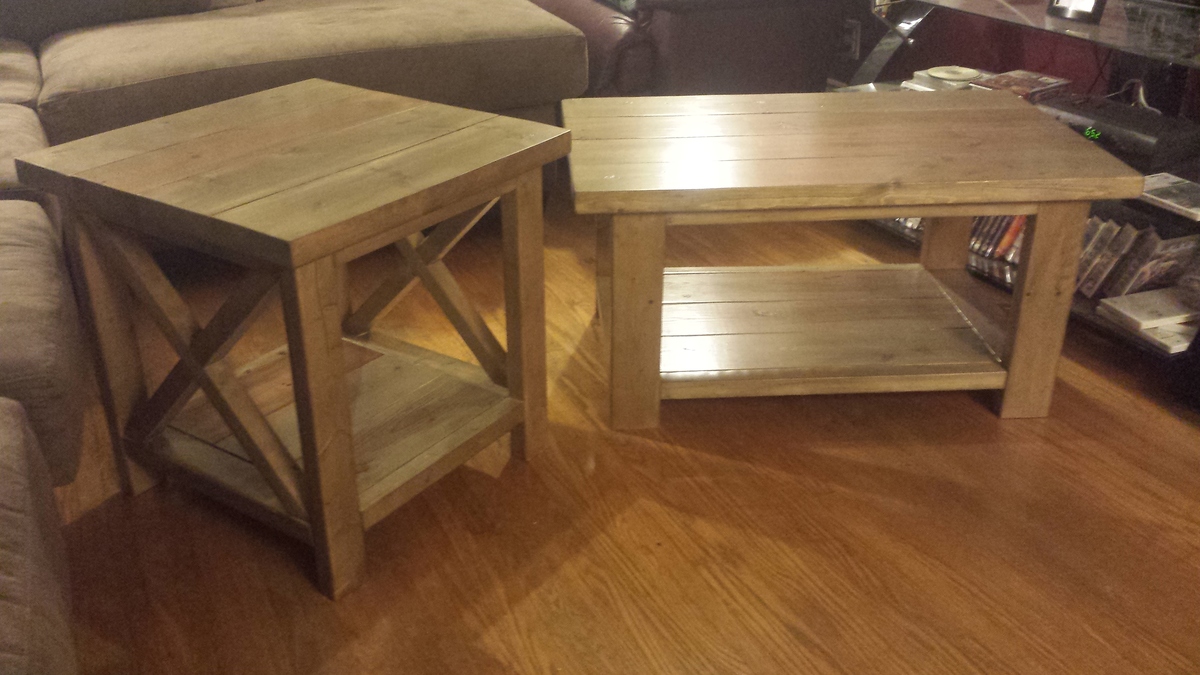
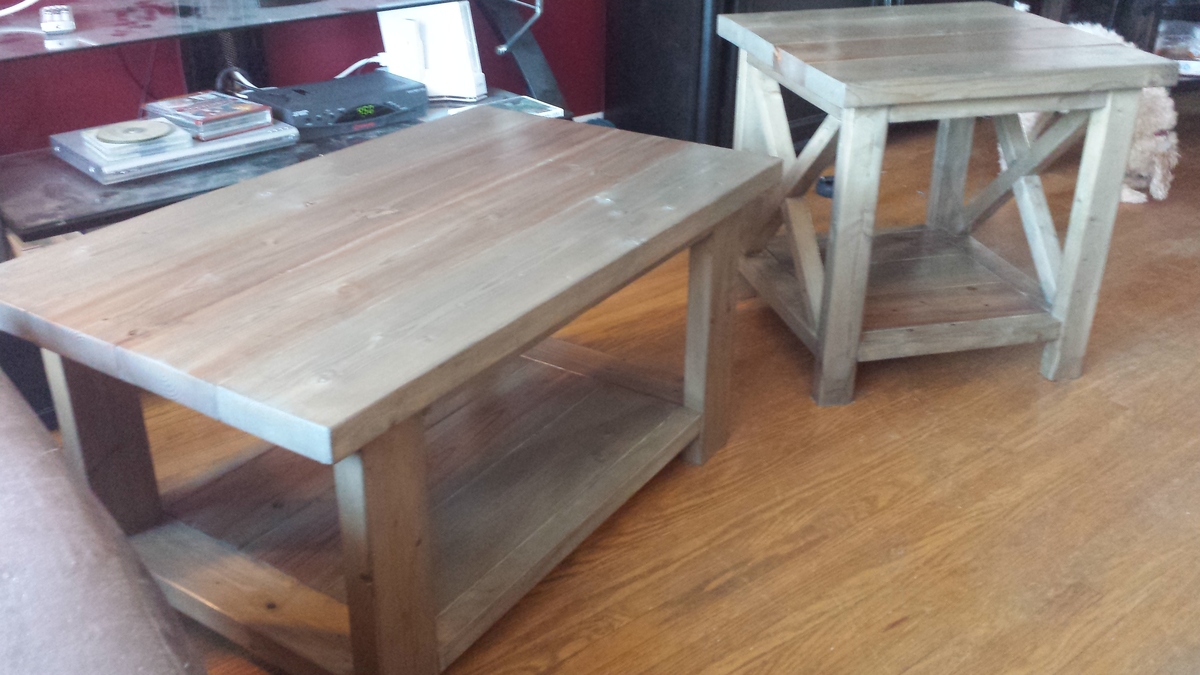
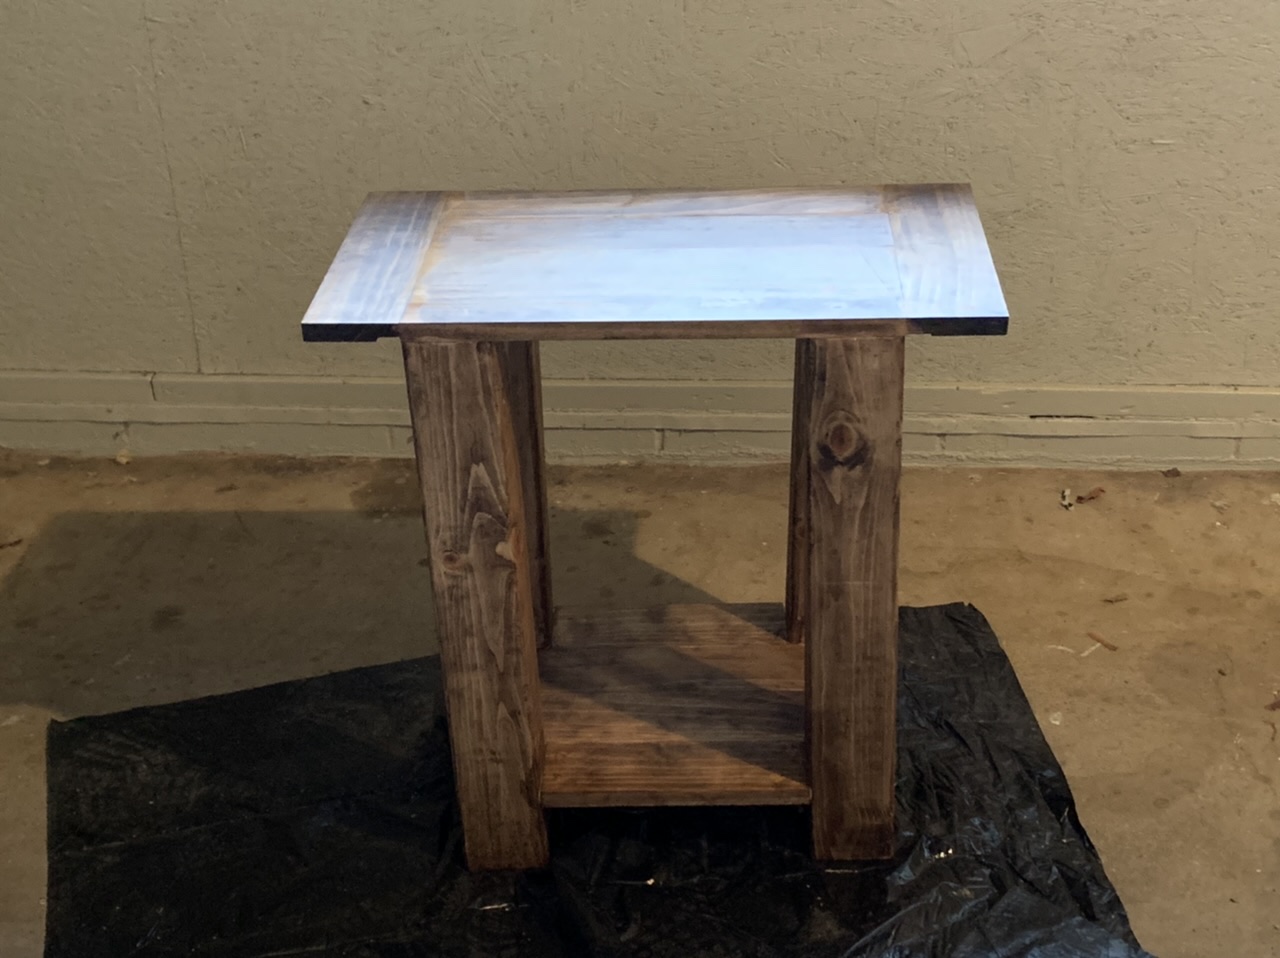
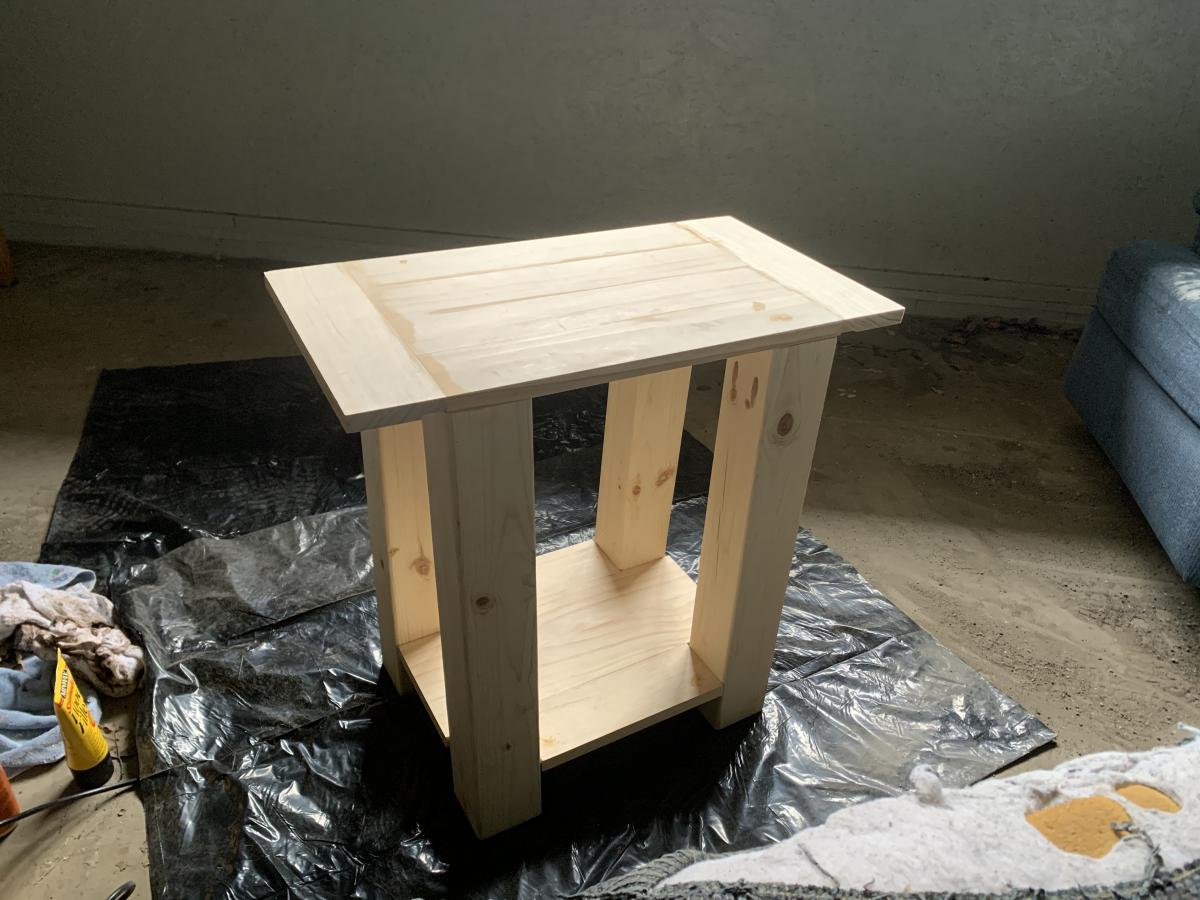
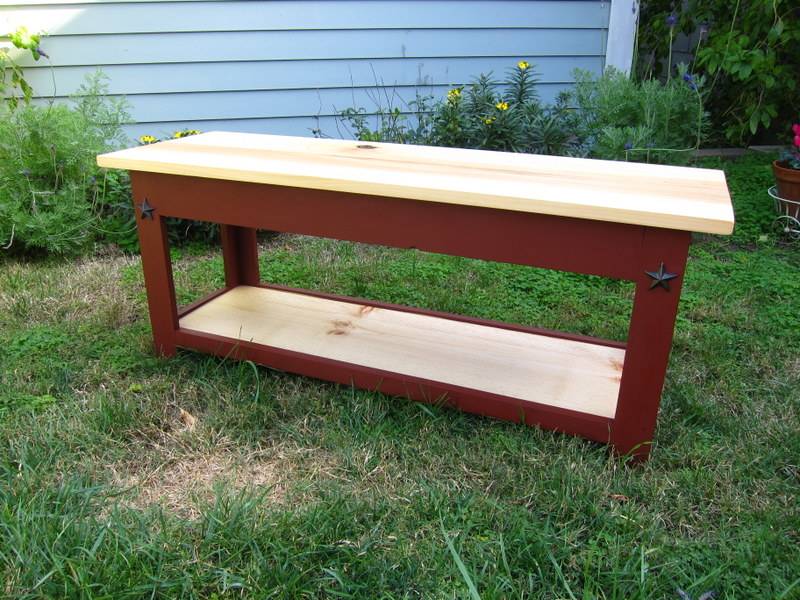
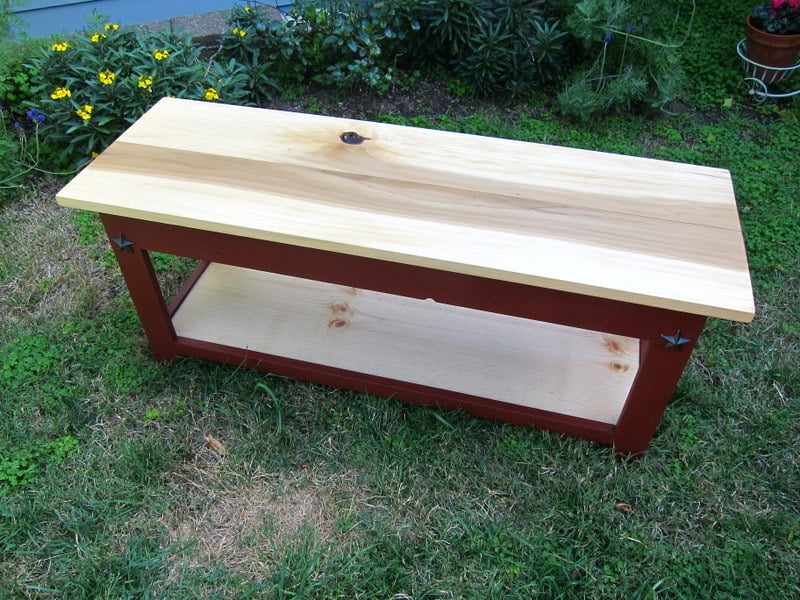
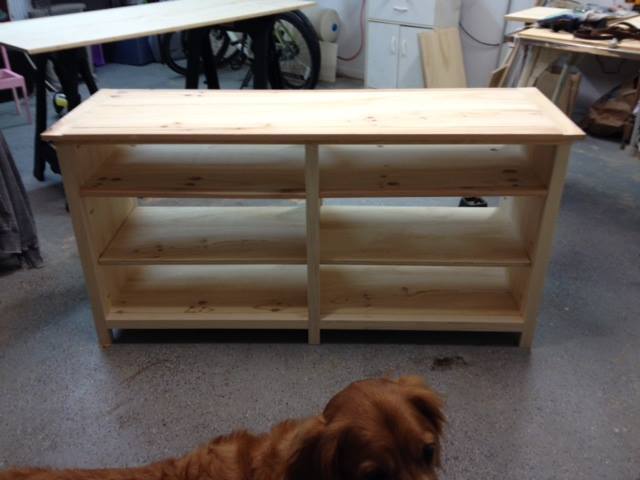
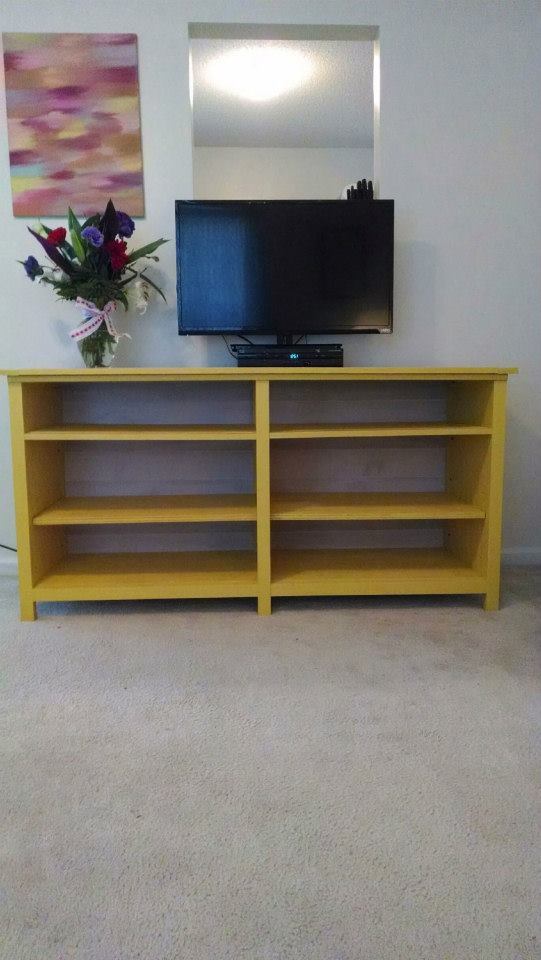
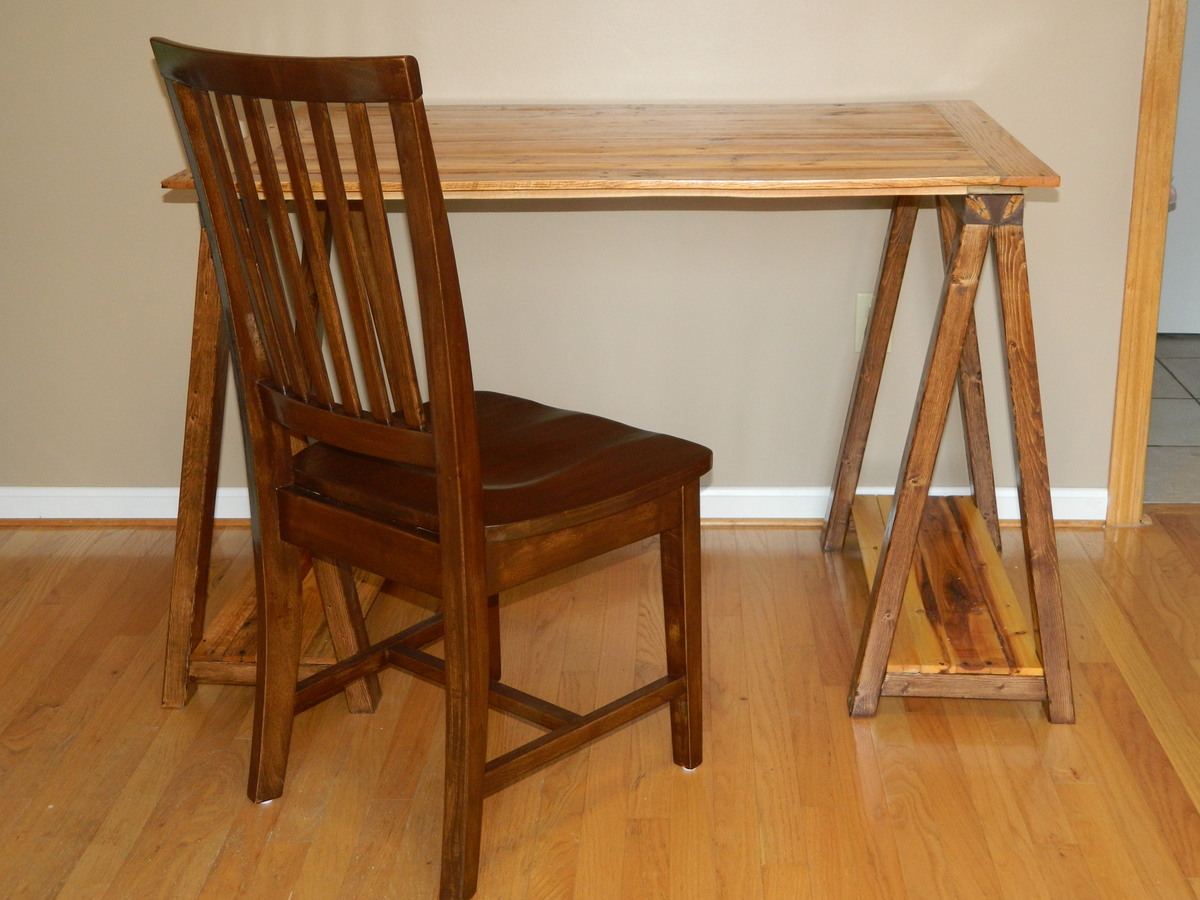
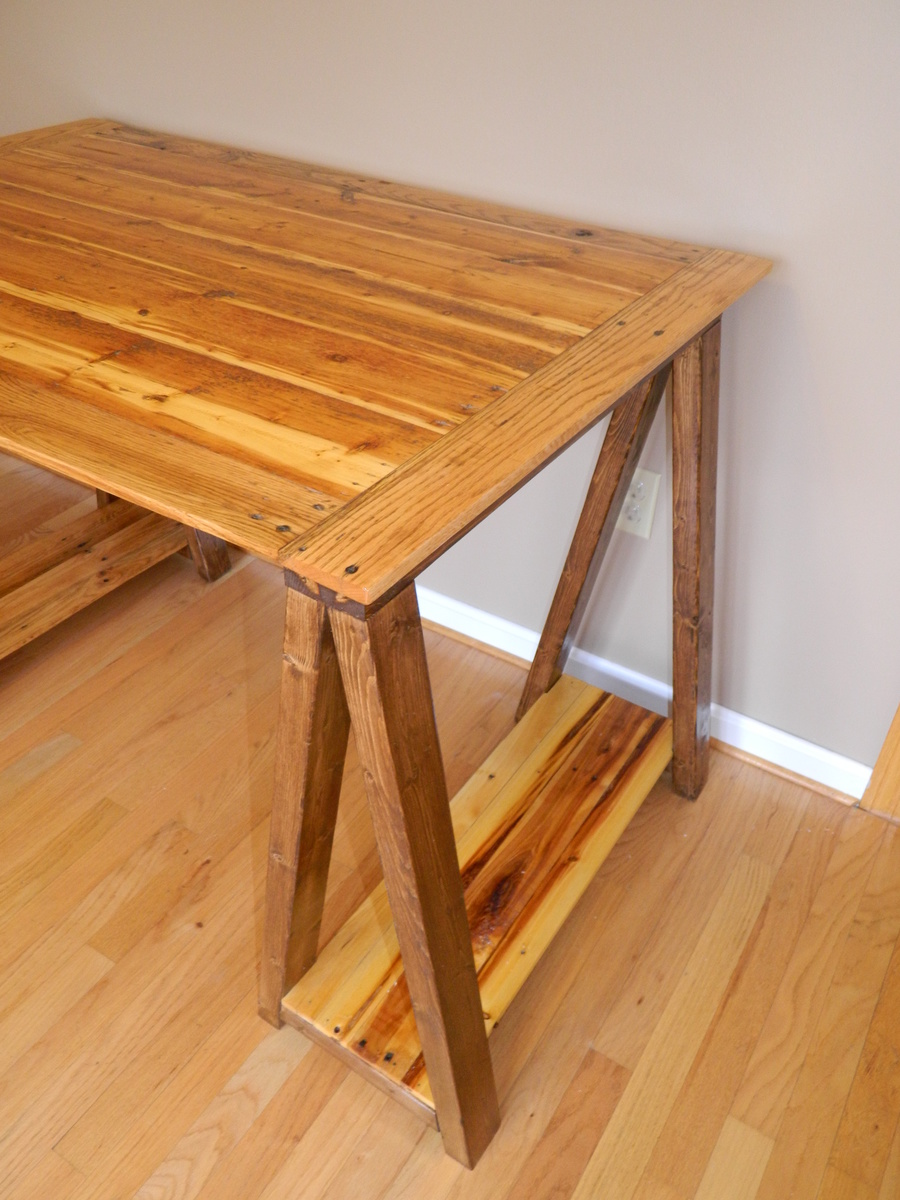
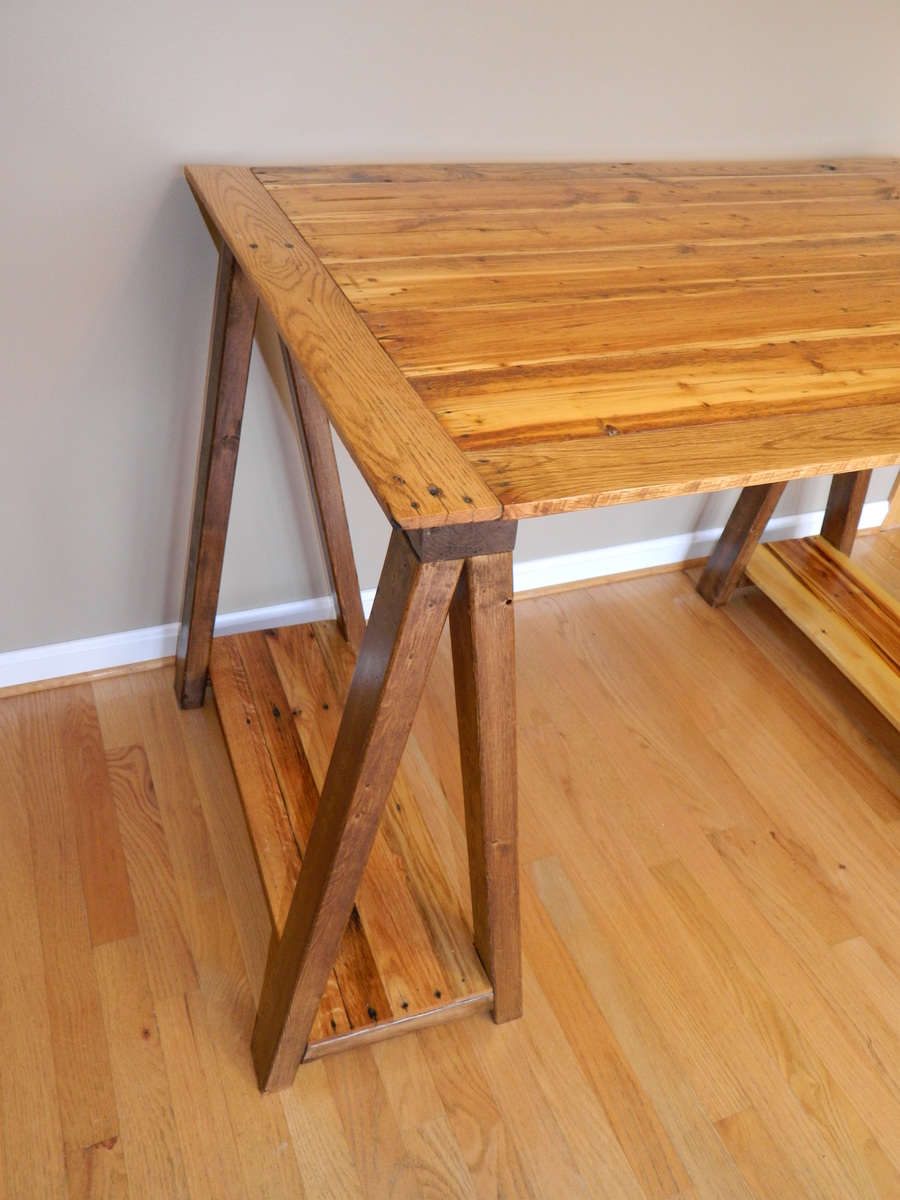
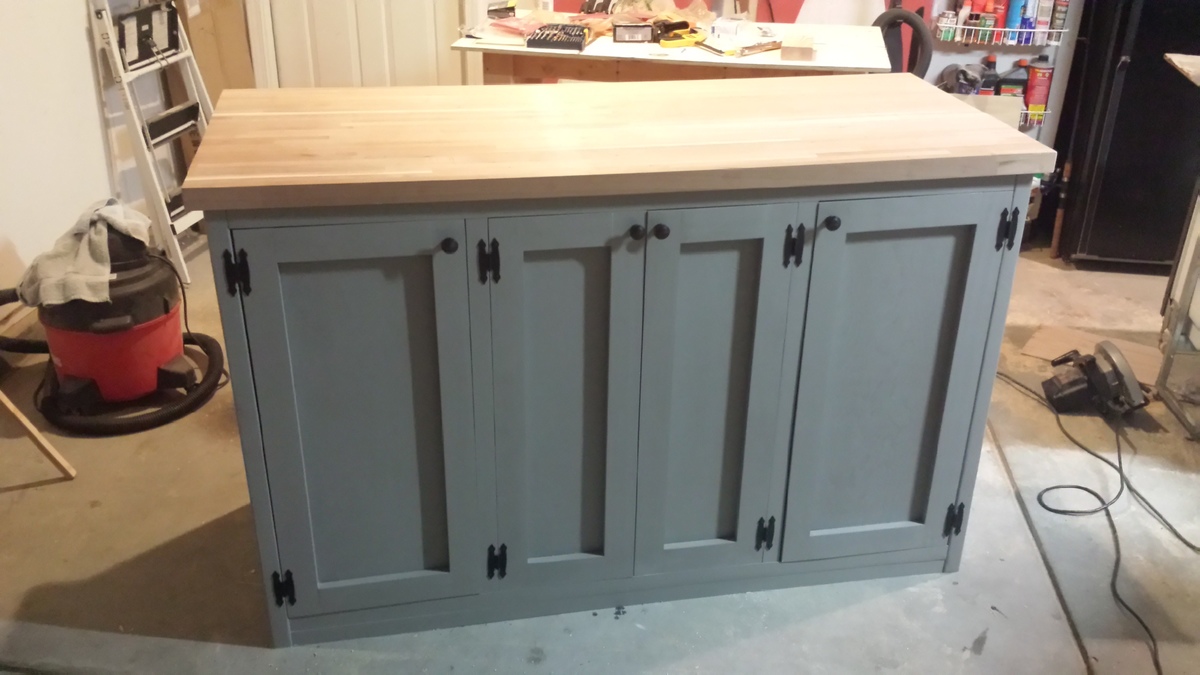
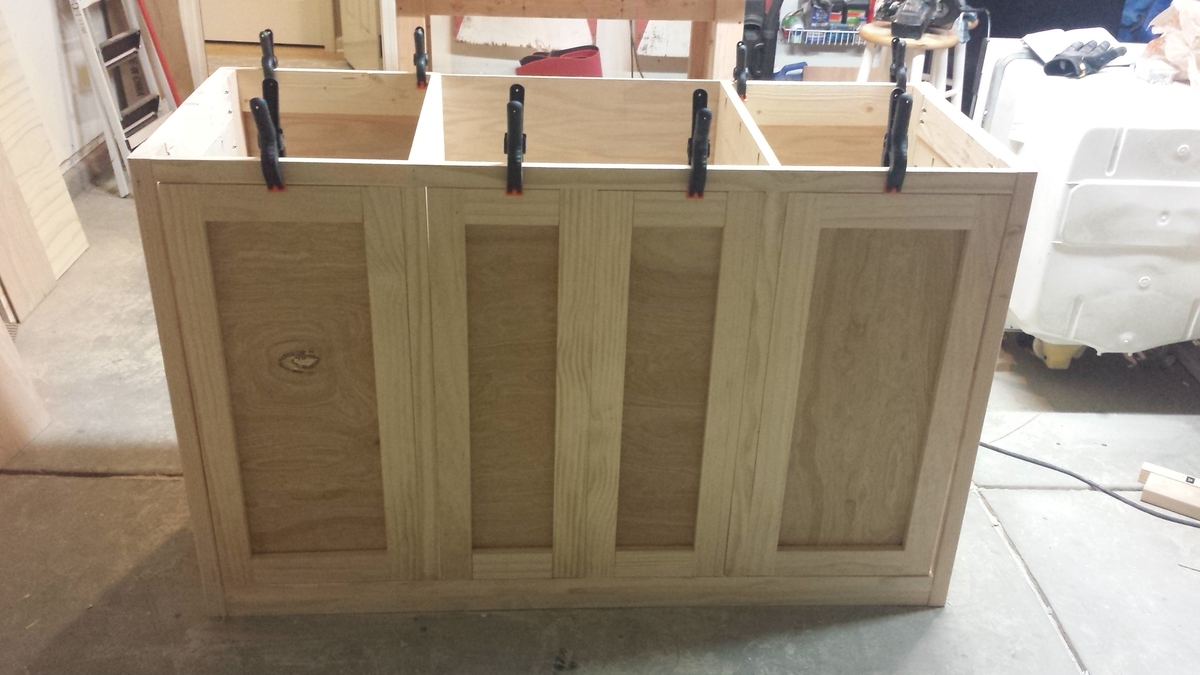
Pottery Barn Hudson inspired Bedside Table
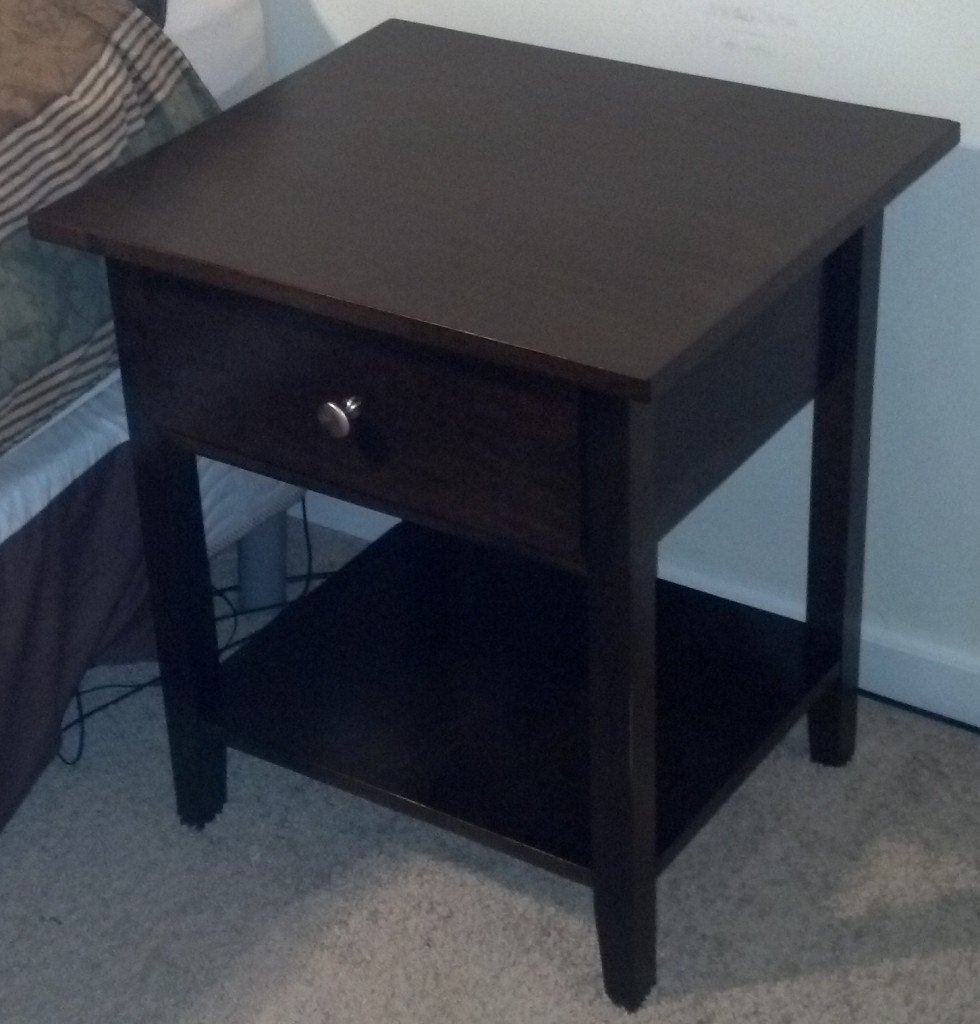
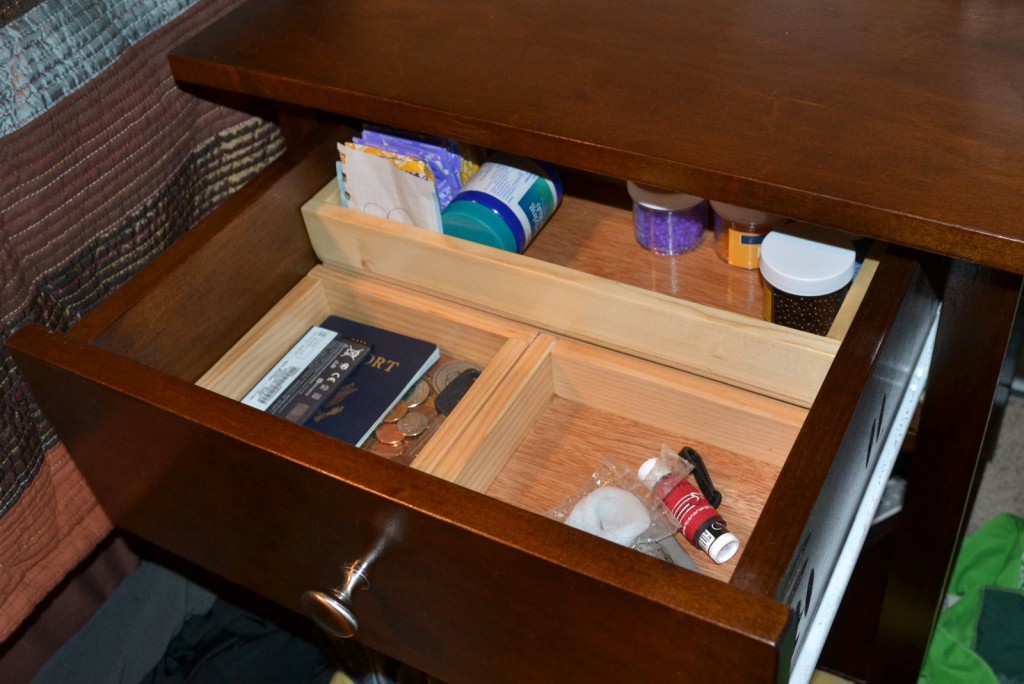
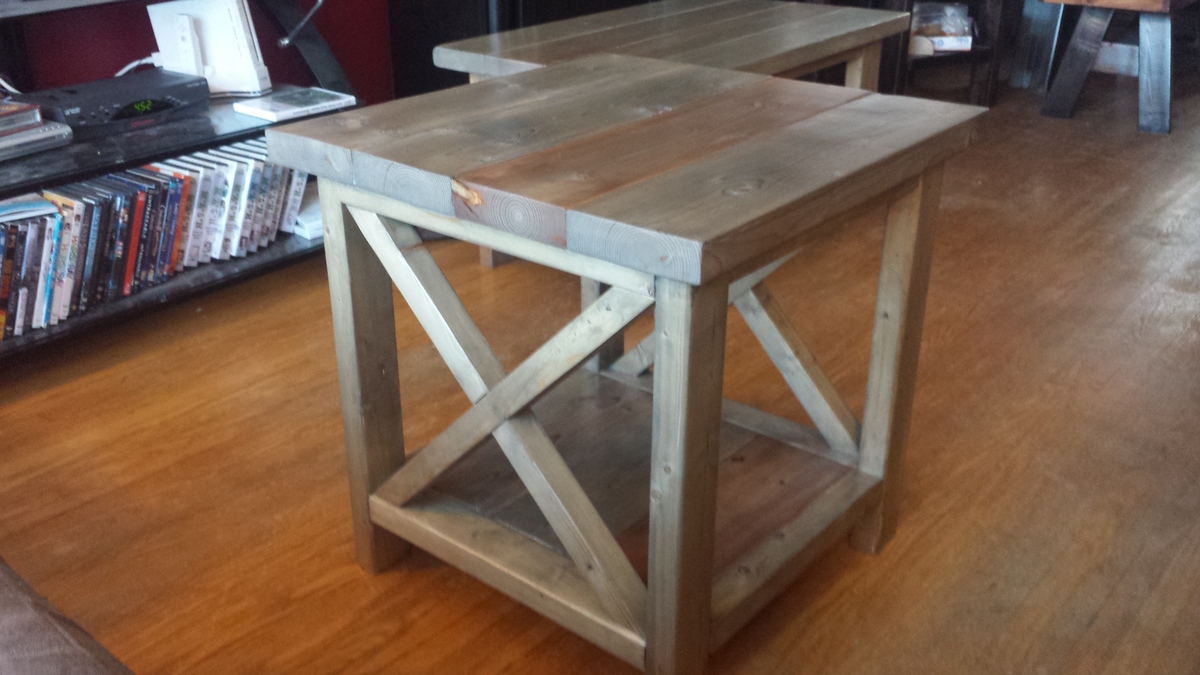
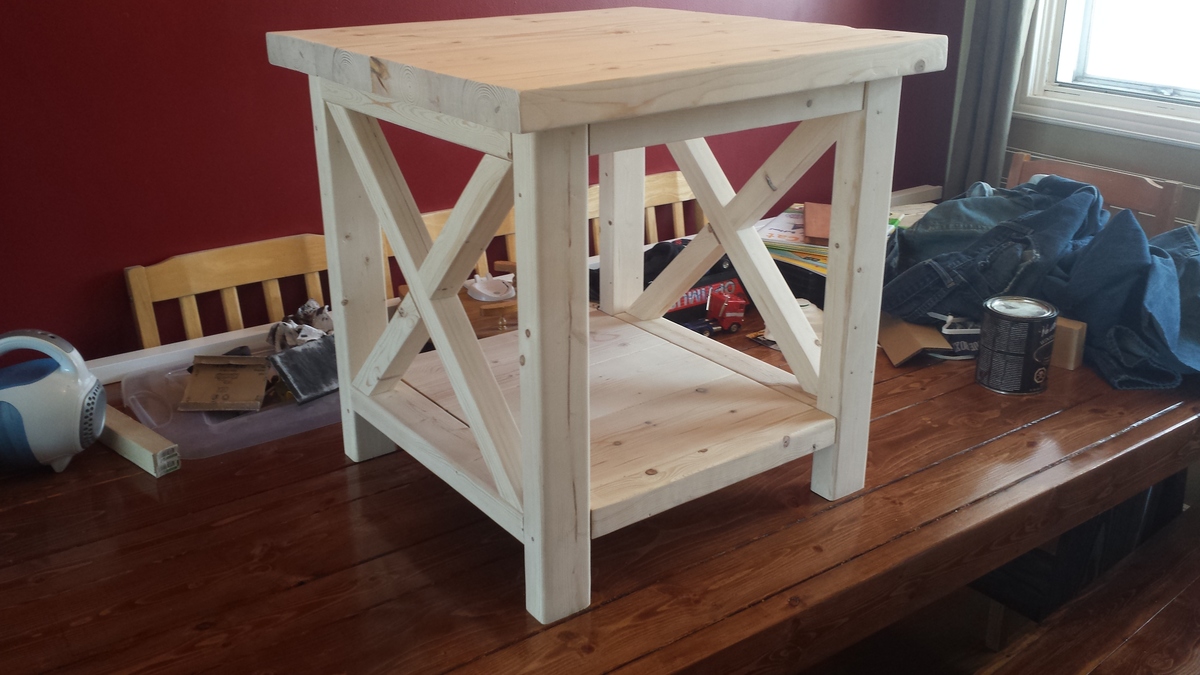
I needed a set of bedside tables and decided to build my own. Using a Pottery Barn Hudson table as the inspiration, I made these 2 tables. They are very similar to Ana's Farmhouse Bedside Tables. I have more details on how these were made from inexpensive plywood on my website. Enjoy!
Built from Plan(s)
Estimated Cost
$75
Estimated Time Investment
Weekend Project (10-20 Hours)
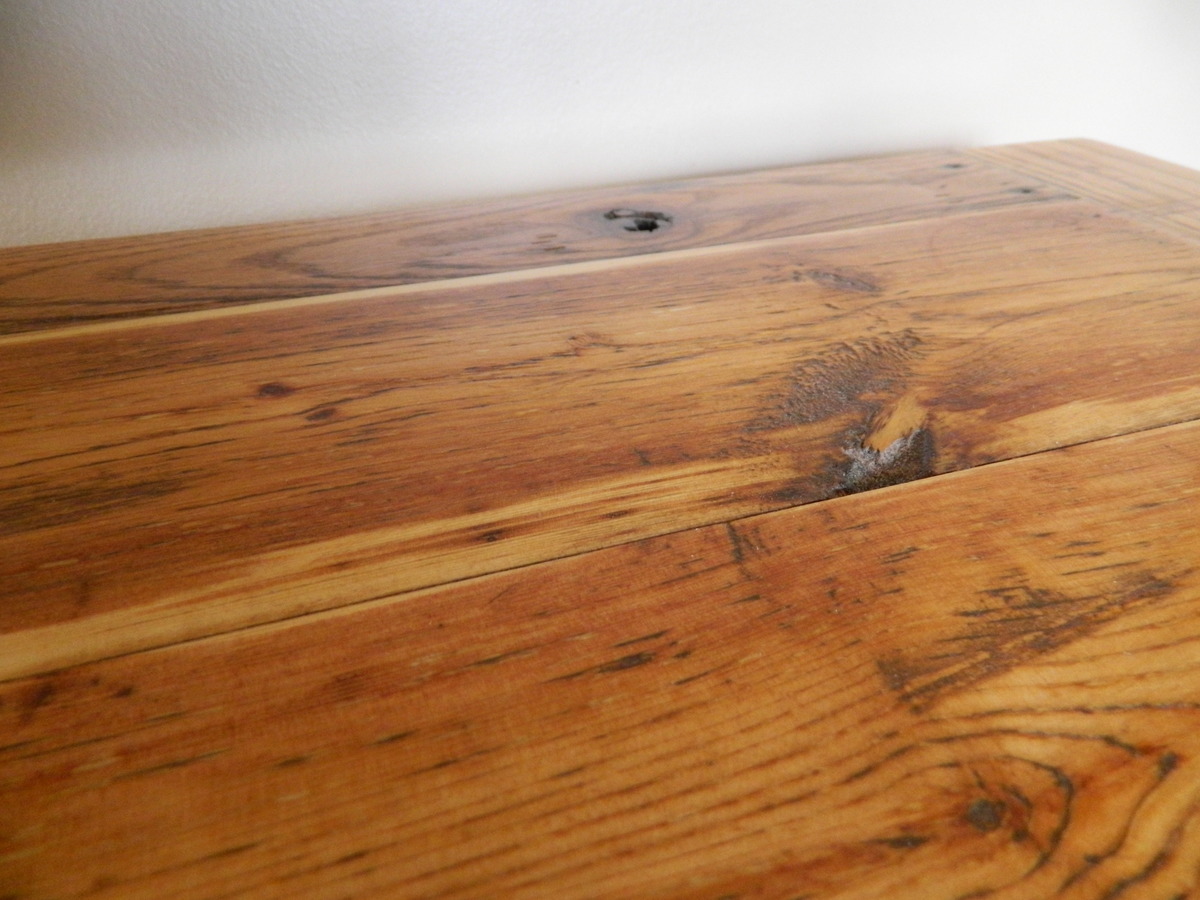
Finish Used
Stain & Sprayed Polyurethane
Recommended Skill Level
Beginner


Comments
cannelle9
Thu, 03/21/2013 - 15:43
Very nice!
I want to build myself a couple bedside tables similar to this. Great work! :)