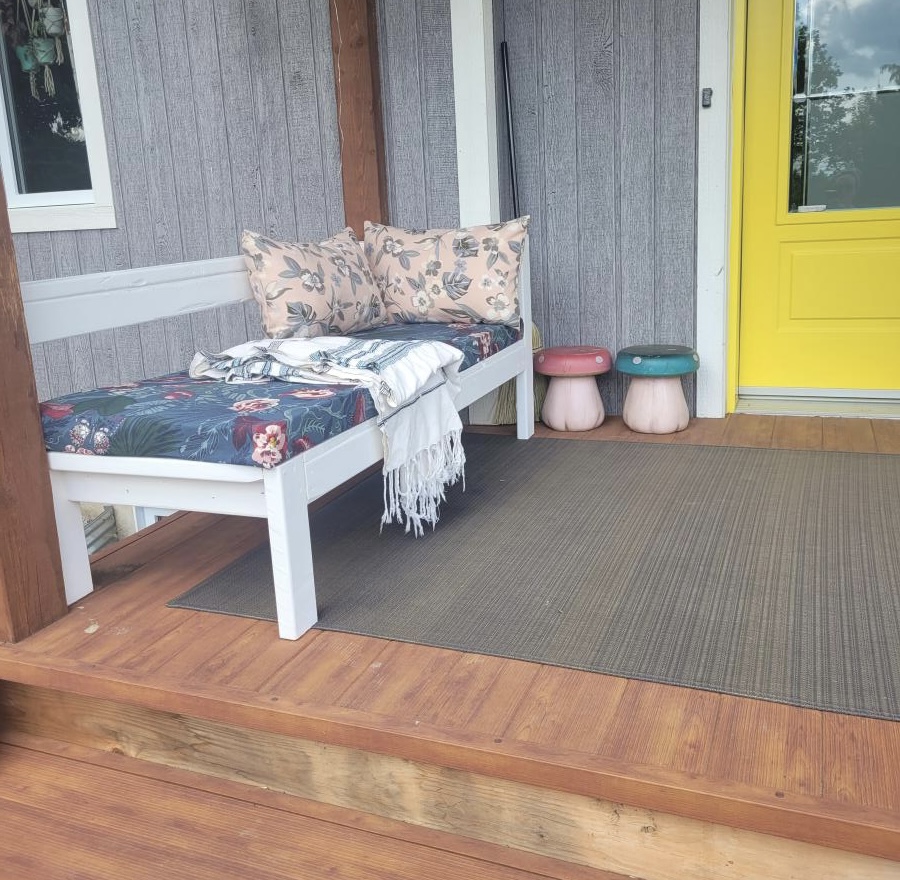
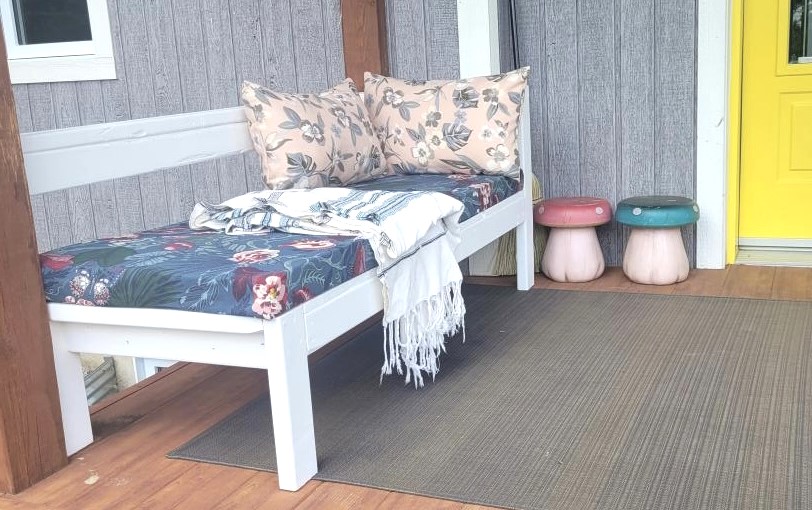
Chaise Lounge

It was so much fun to do and it's perfect for my front porch! I modified it a bit to fit and it was easy to do so.
Built from Plan(s)
It was so much fun to do and it's perfect for my front porch! I modified it a bit to fit and it was easy to do so.
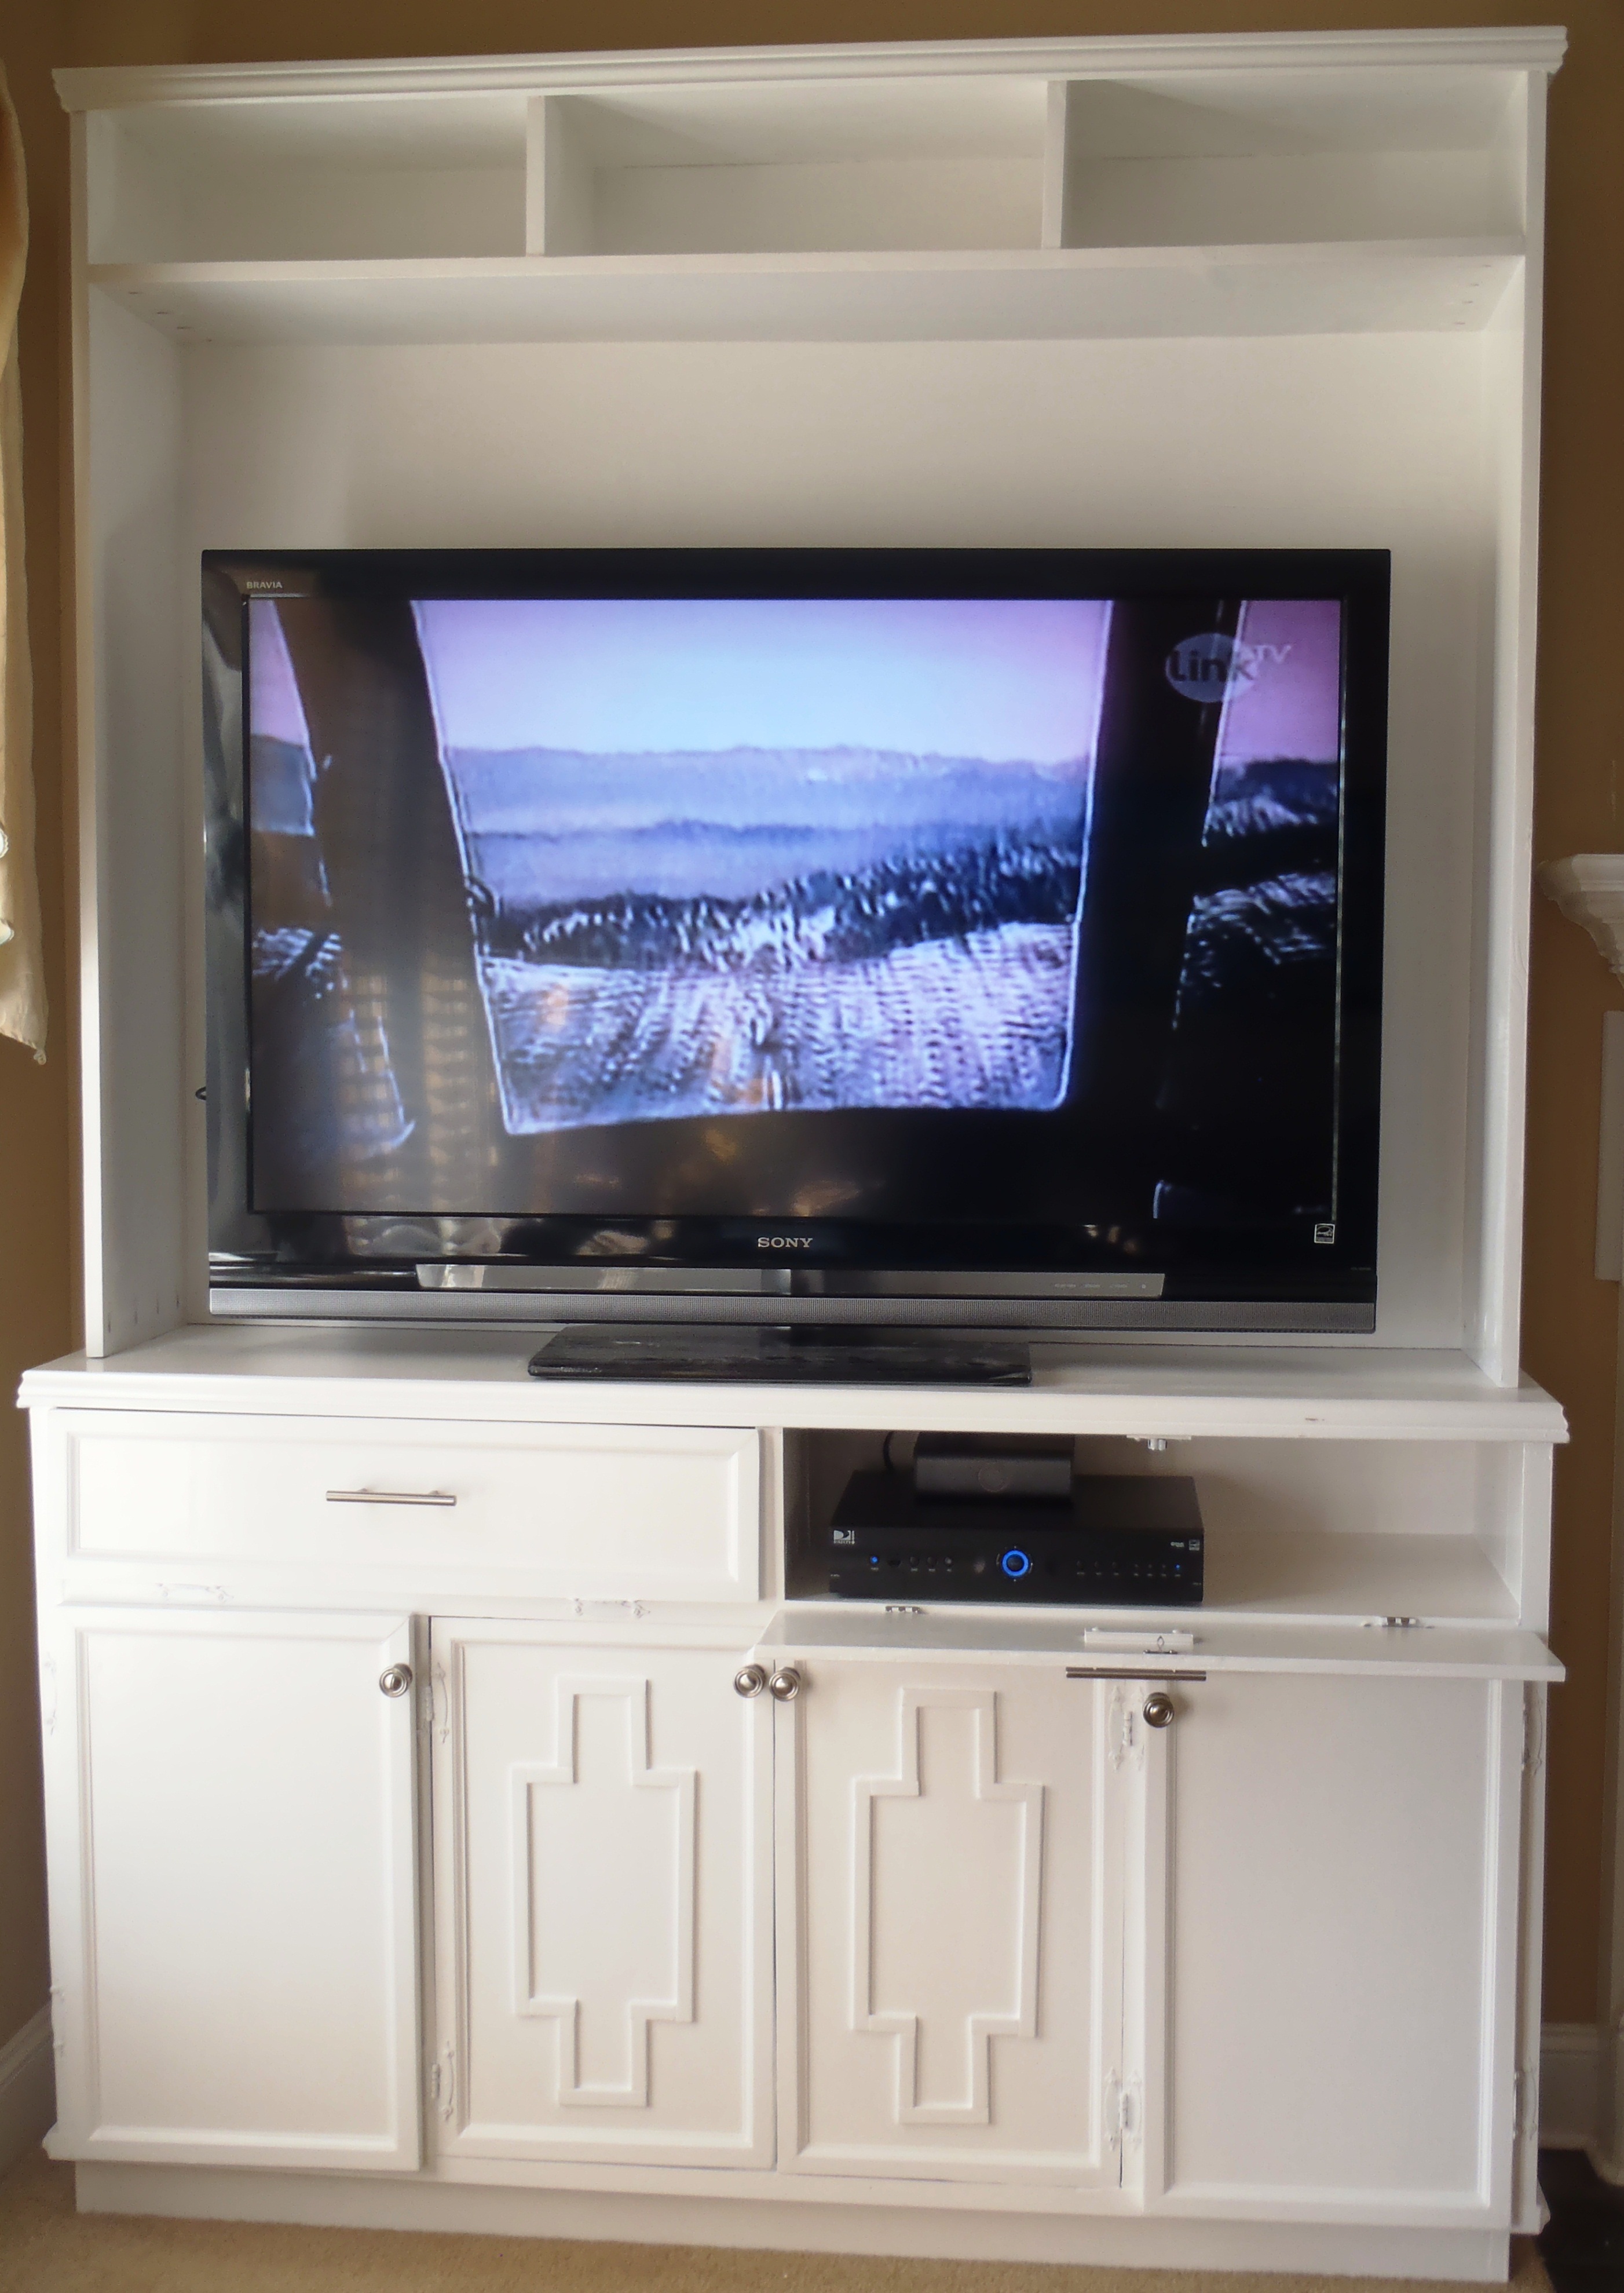
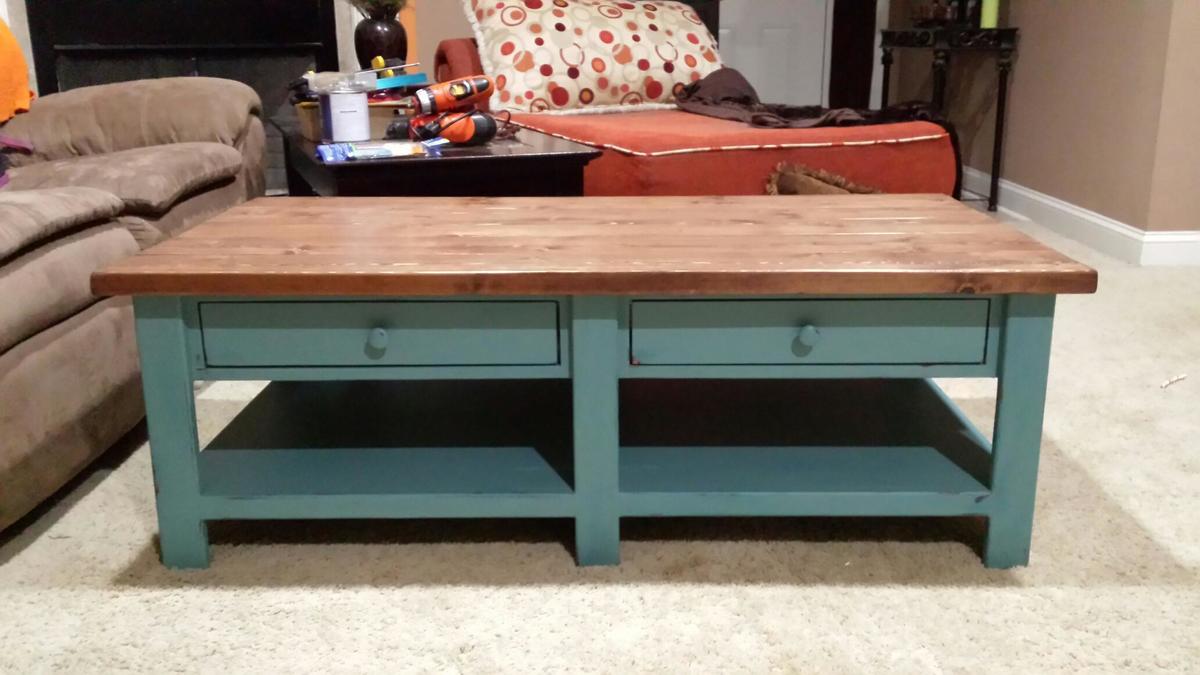
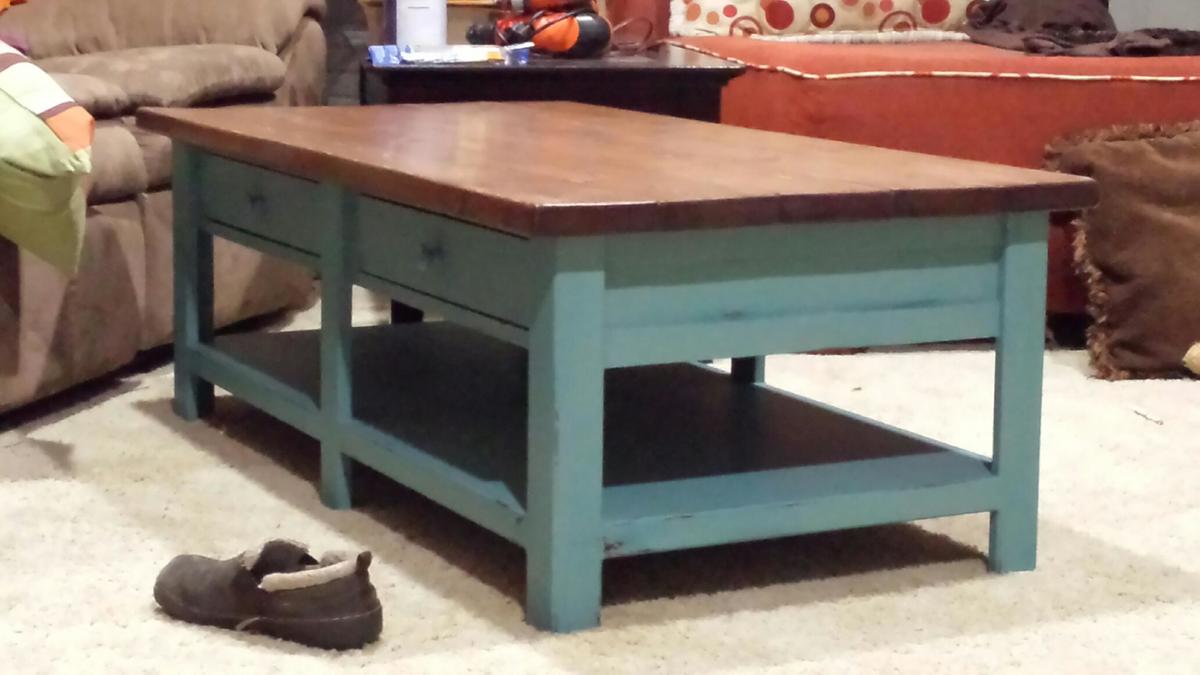
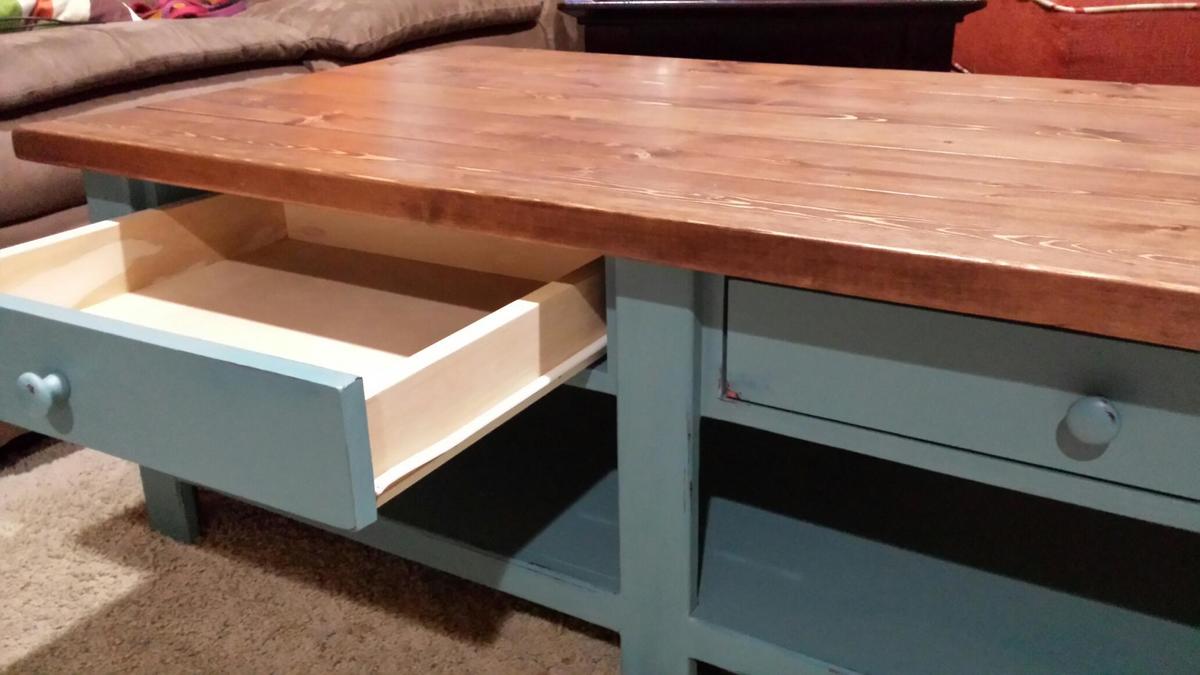
My very second furniture do-it-myself. This furniture was inspired by both the Tryde hutch and rustic media console built to suit my space and need. Whew! now I feel like I can build anything:-) Thanks Ana!

In reply to Very beautiful Liz!!! by Ana White
Tue, 02/07/2012 - 07:46
Tnx Ana, and thanks to you I discovered I can make my own furnitures and I'm lovin' it :-)
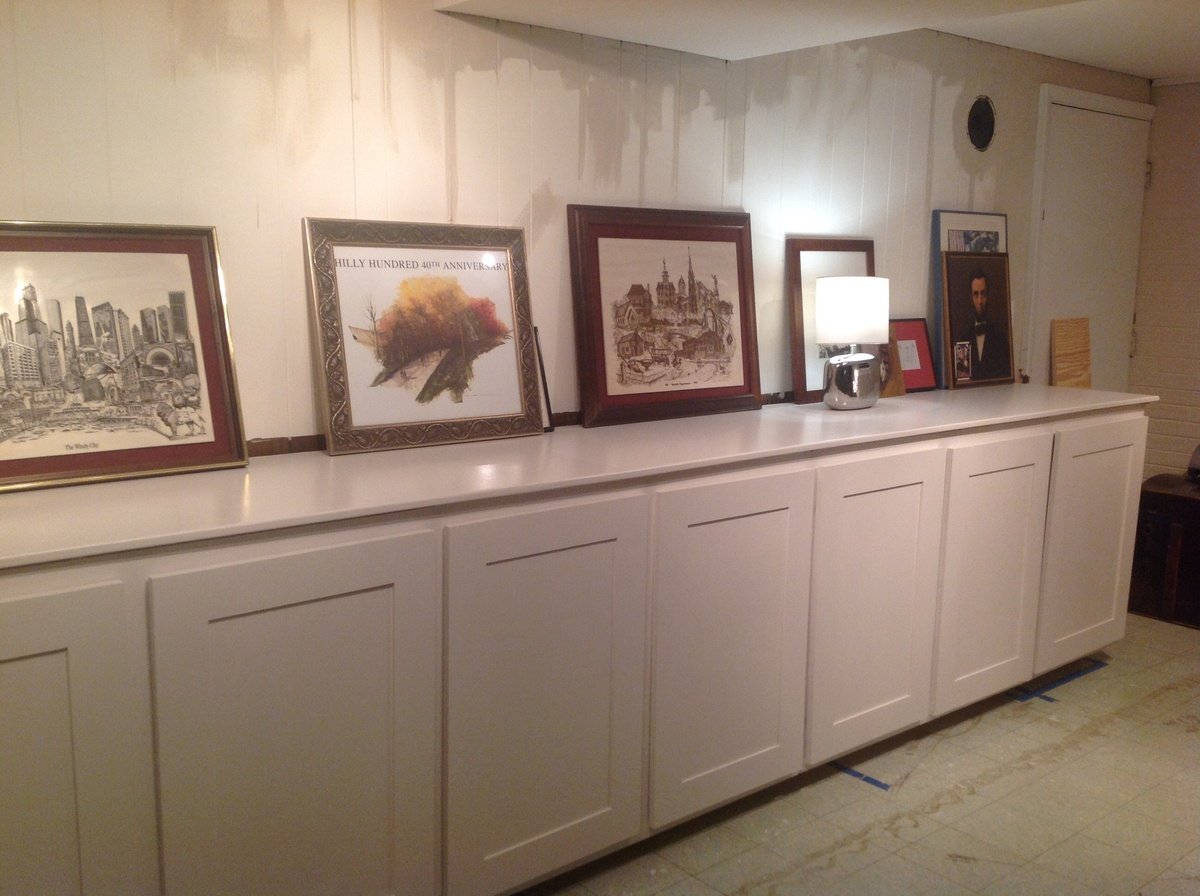
Using the base cabinets 101 post and other members' ideas and tips, I built these nine cabinets. It's my first project, and I'm very pleased. I live in a 1960's split level with nearly zero storage space... Until now. Next step is to top them with bookshelves, and add some decorative molding. Will start cutting wood once the temperature allows me to set up my sawhorses in my driveway again. Can't wait. Might make something really quick for my husband between now and Christmas. Thanks Ana and everyone else- I'm inspired.
Thu, 12/12/2013 - 07:16
Wow! They look So Good! I'm so impressed that this was your first build. Is the top just plywwod also? It looks so smooth and glossy i can't tell. How much did it end up costing?

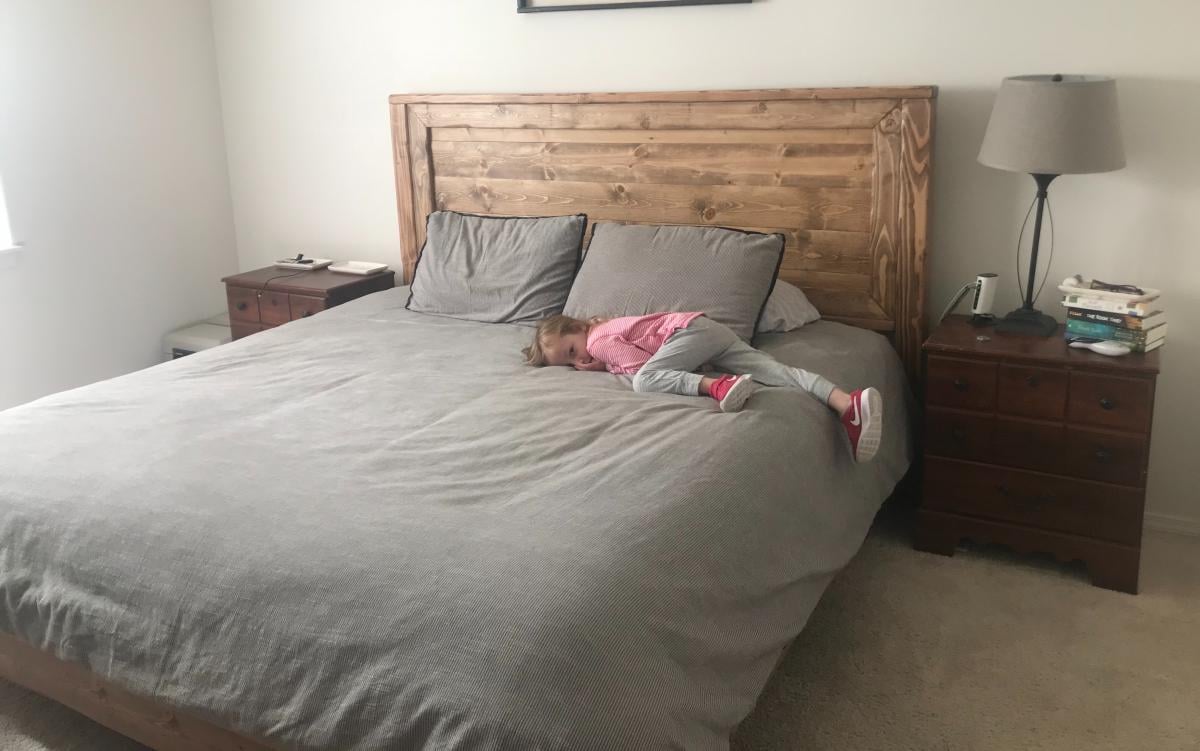
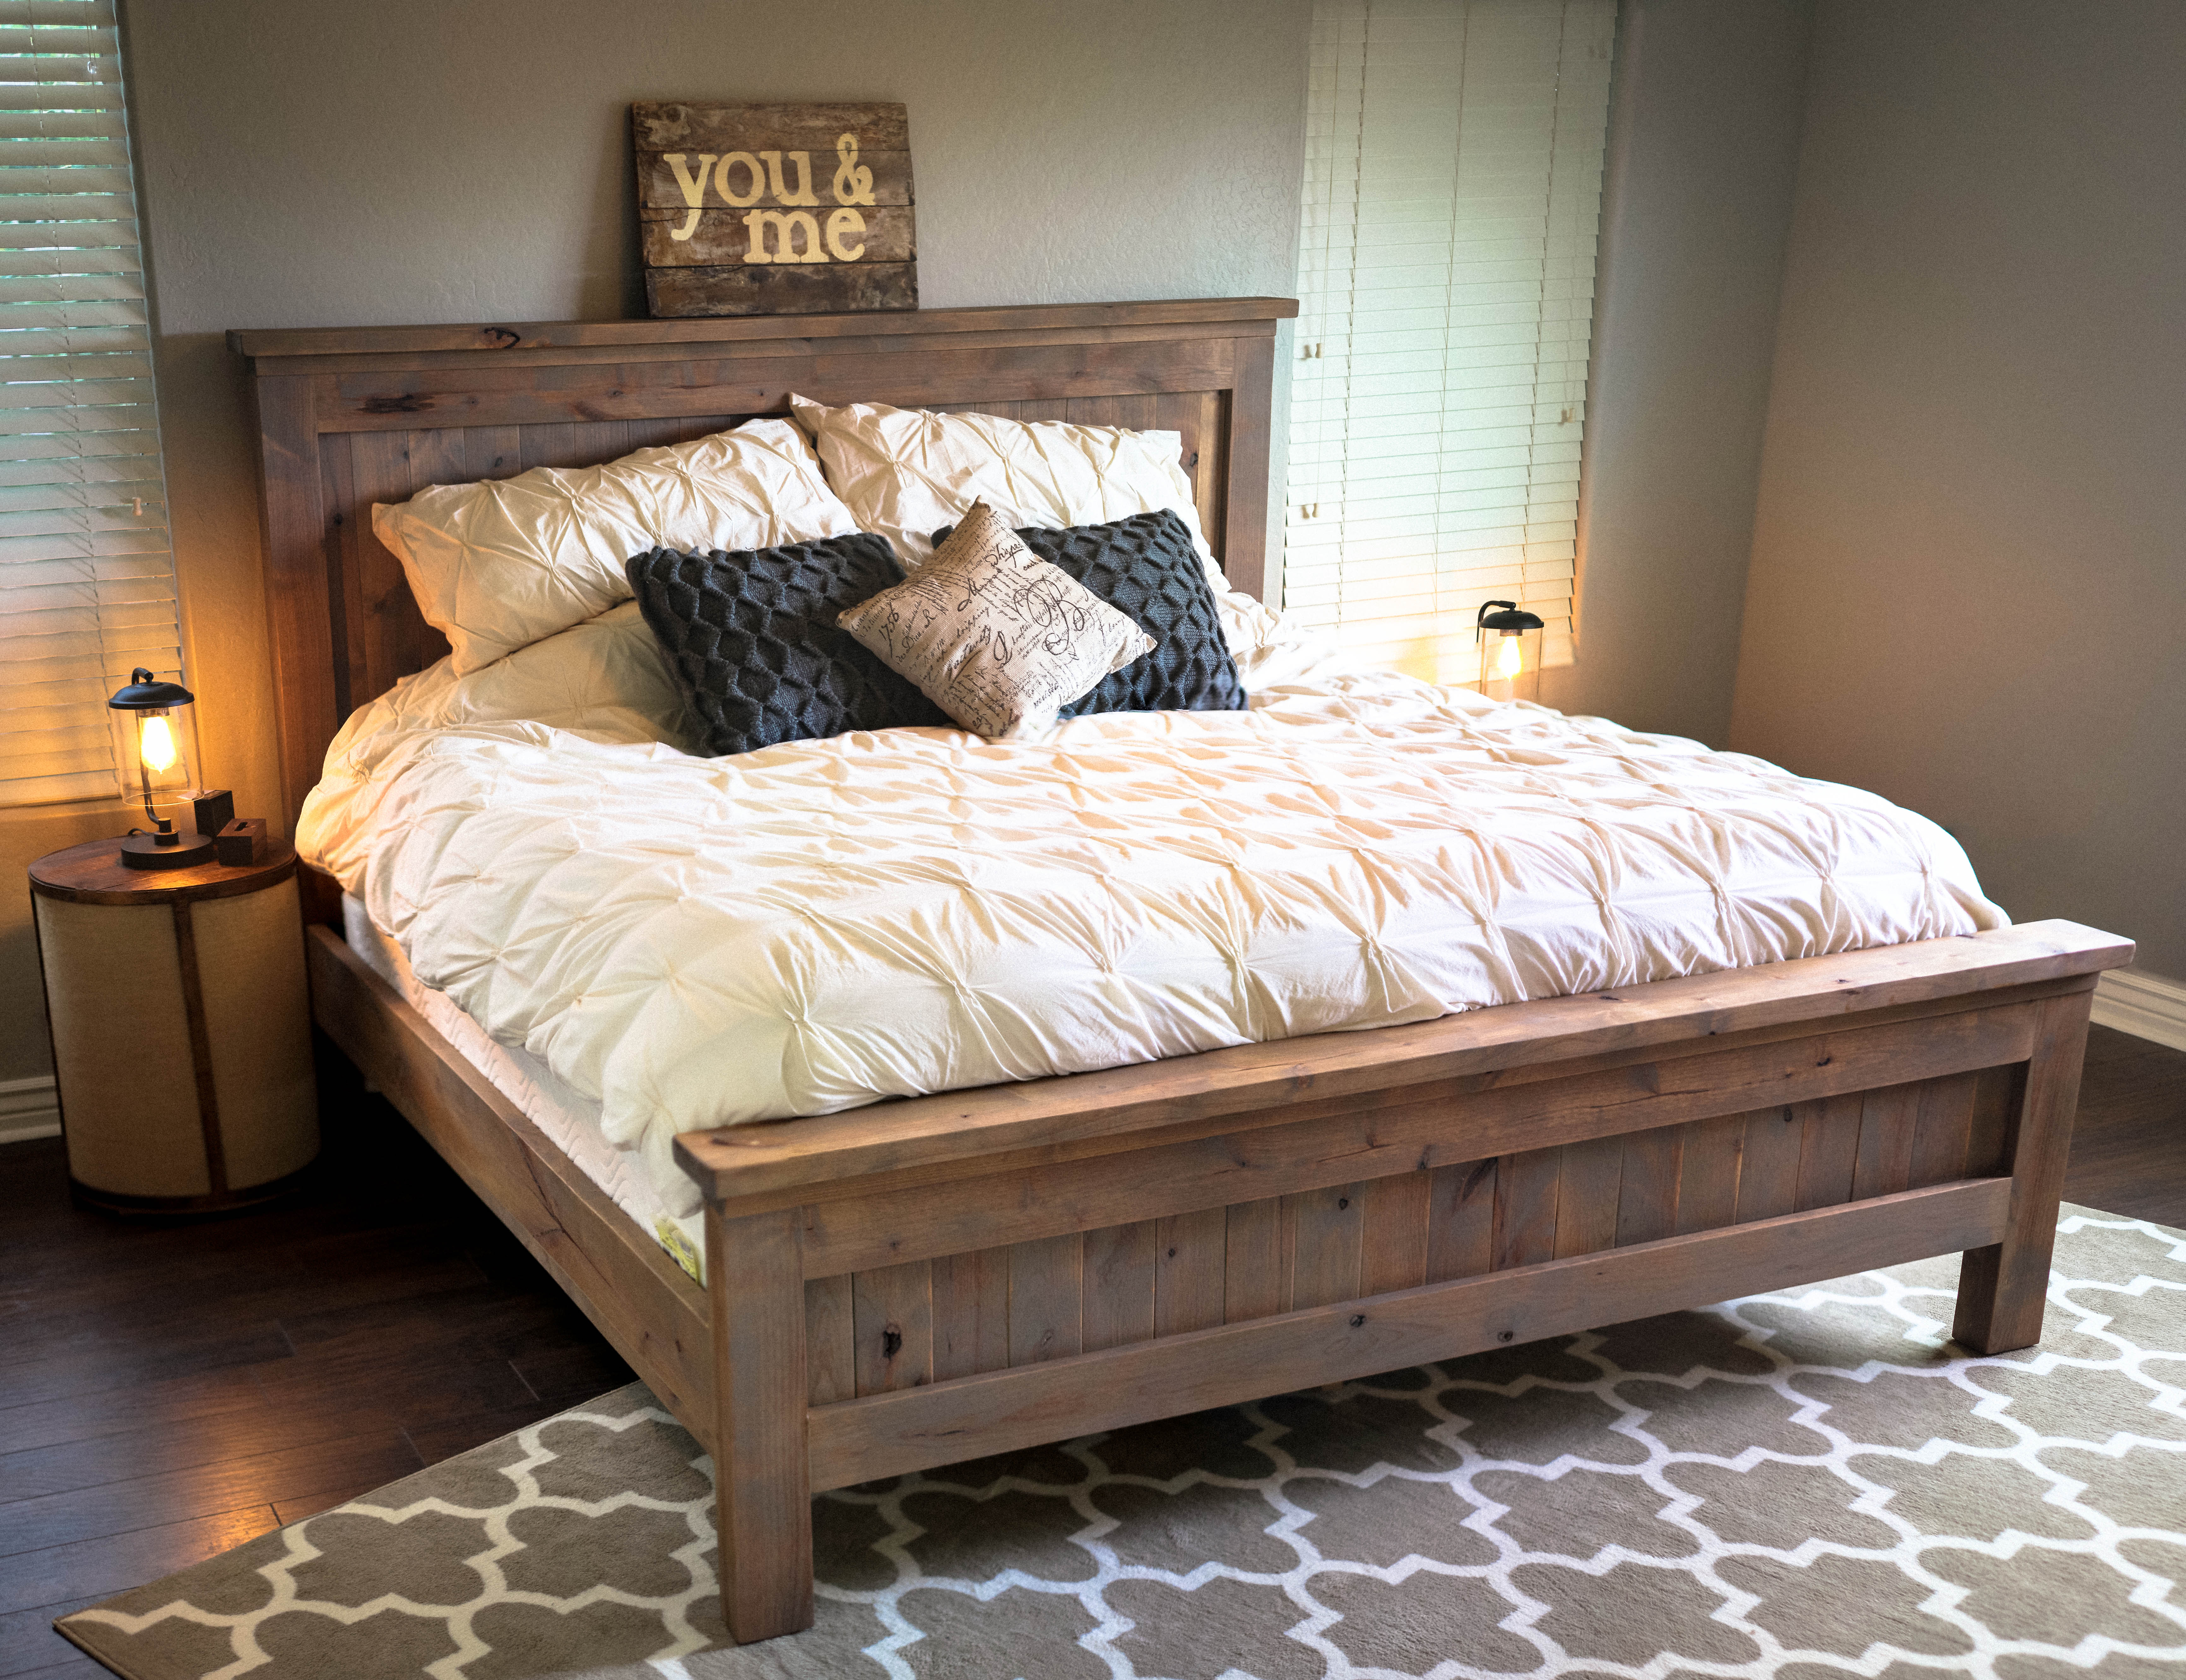
We combined two plans to accommodate for a boxspring with a mattress. We also liked the plan with the 4x4 posts so we tweaked the two plans and made it work.
Tue, 09/17/2019 - 23:07
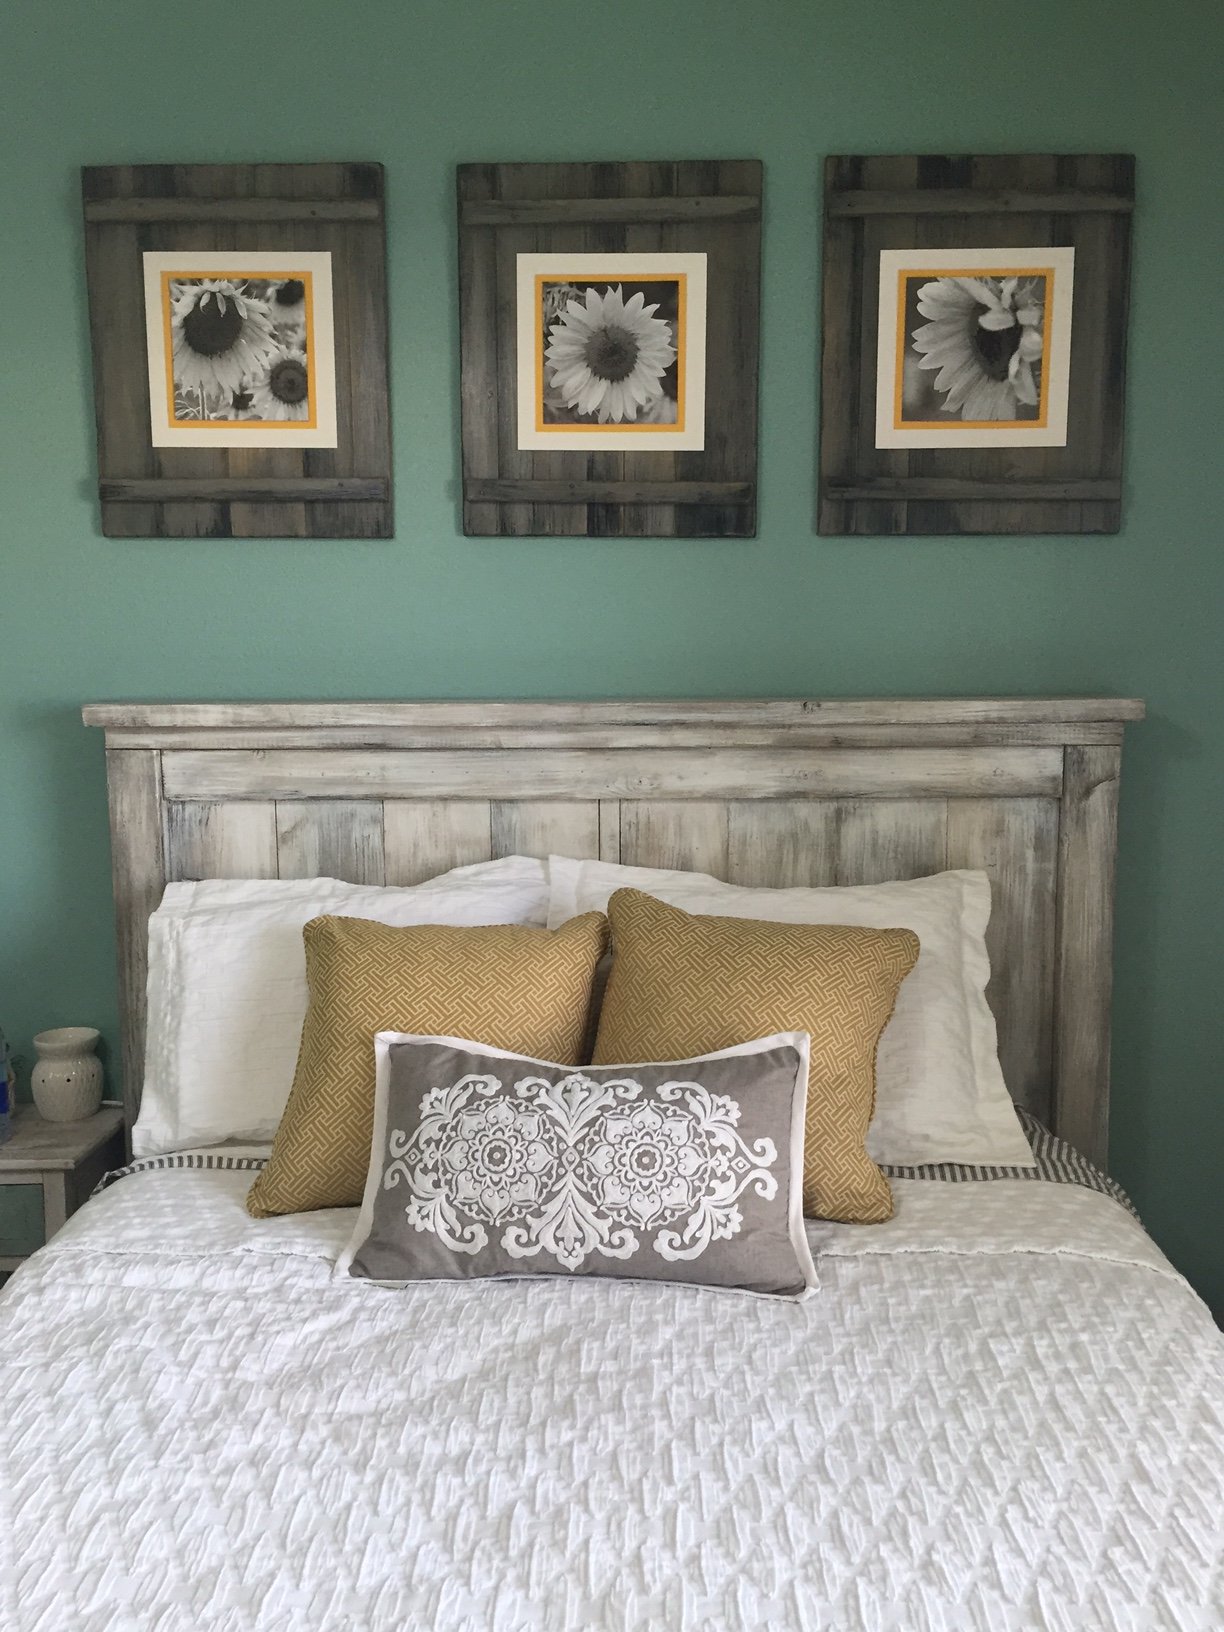
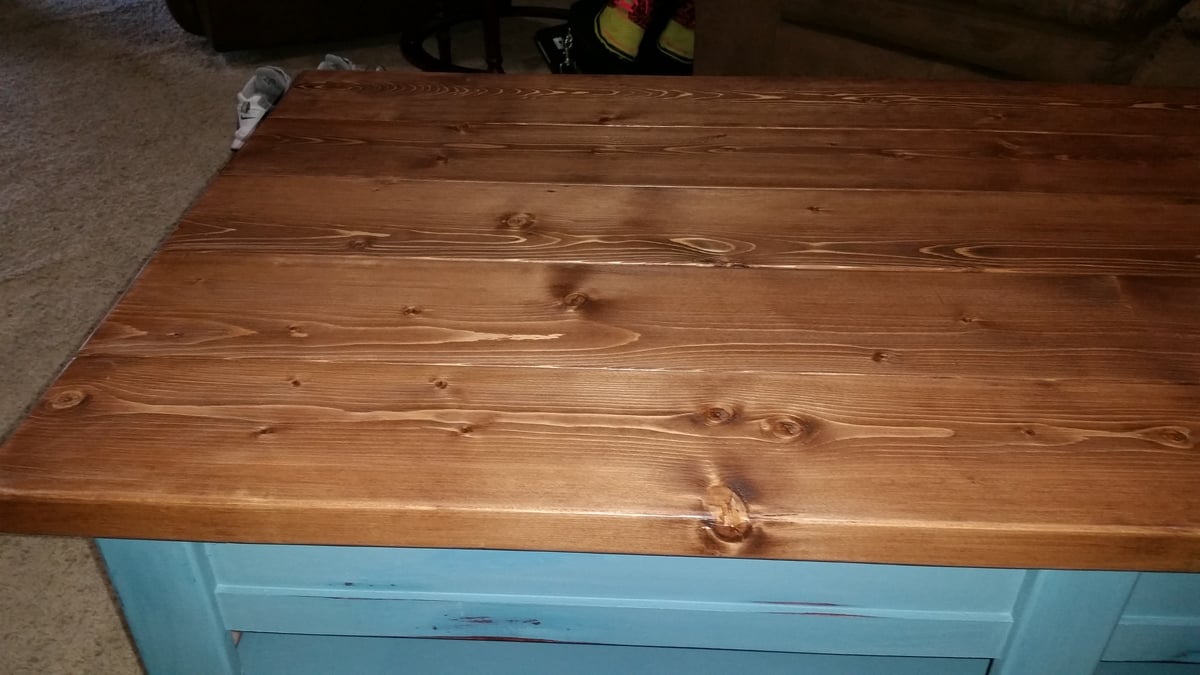
I used two shades of grey, white and black enamel paint to "sloppy paint" in various areas. Then I sanded off the paint, leaving some areas thicker than others. When I liked the look recreating "rustic barn wood" I then stained over the entire surface with barn wood grey stain.
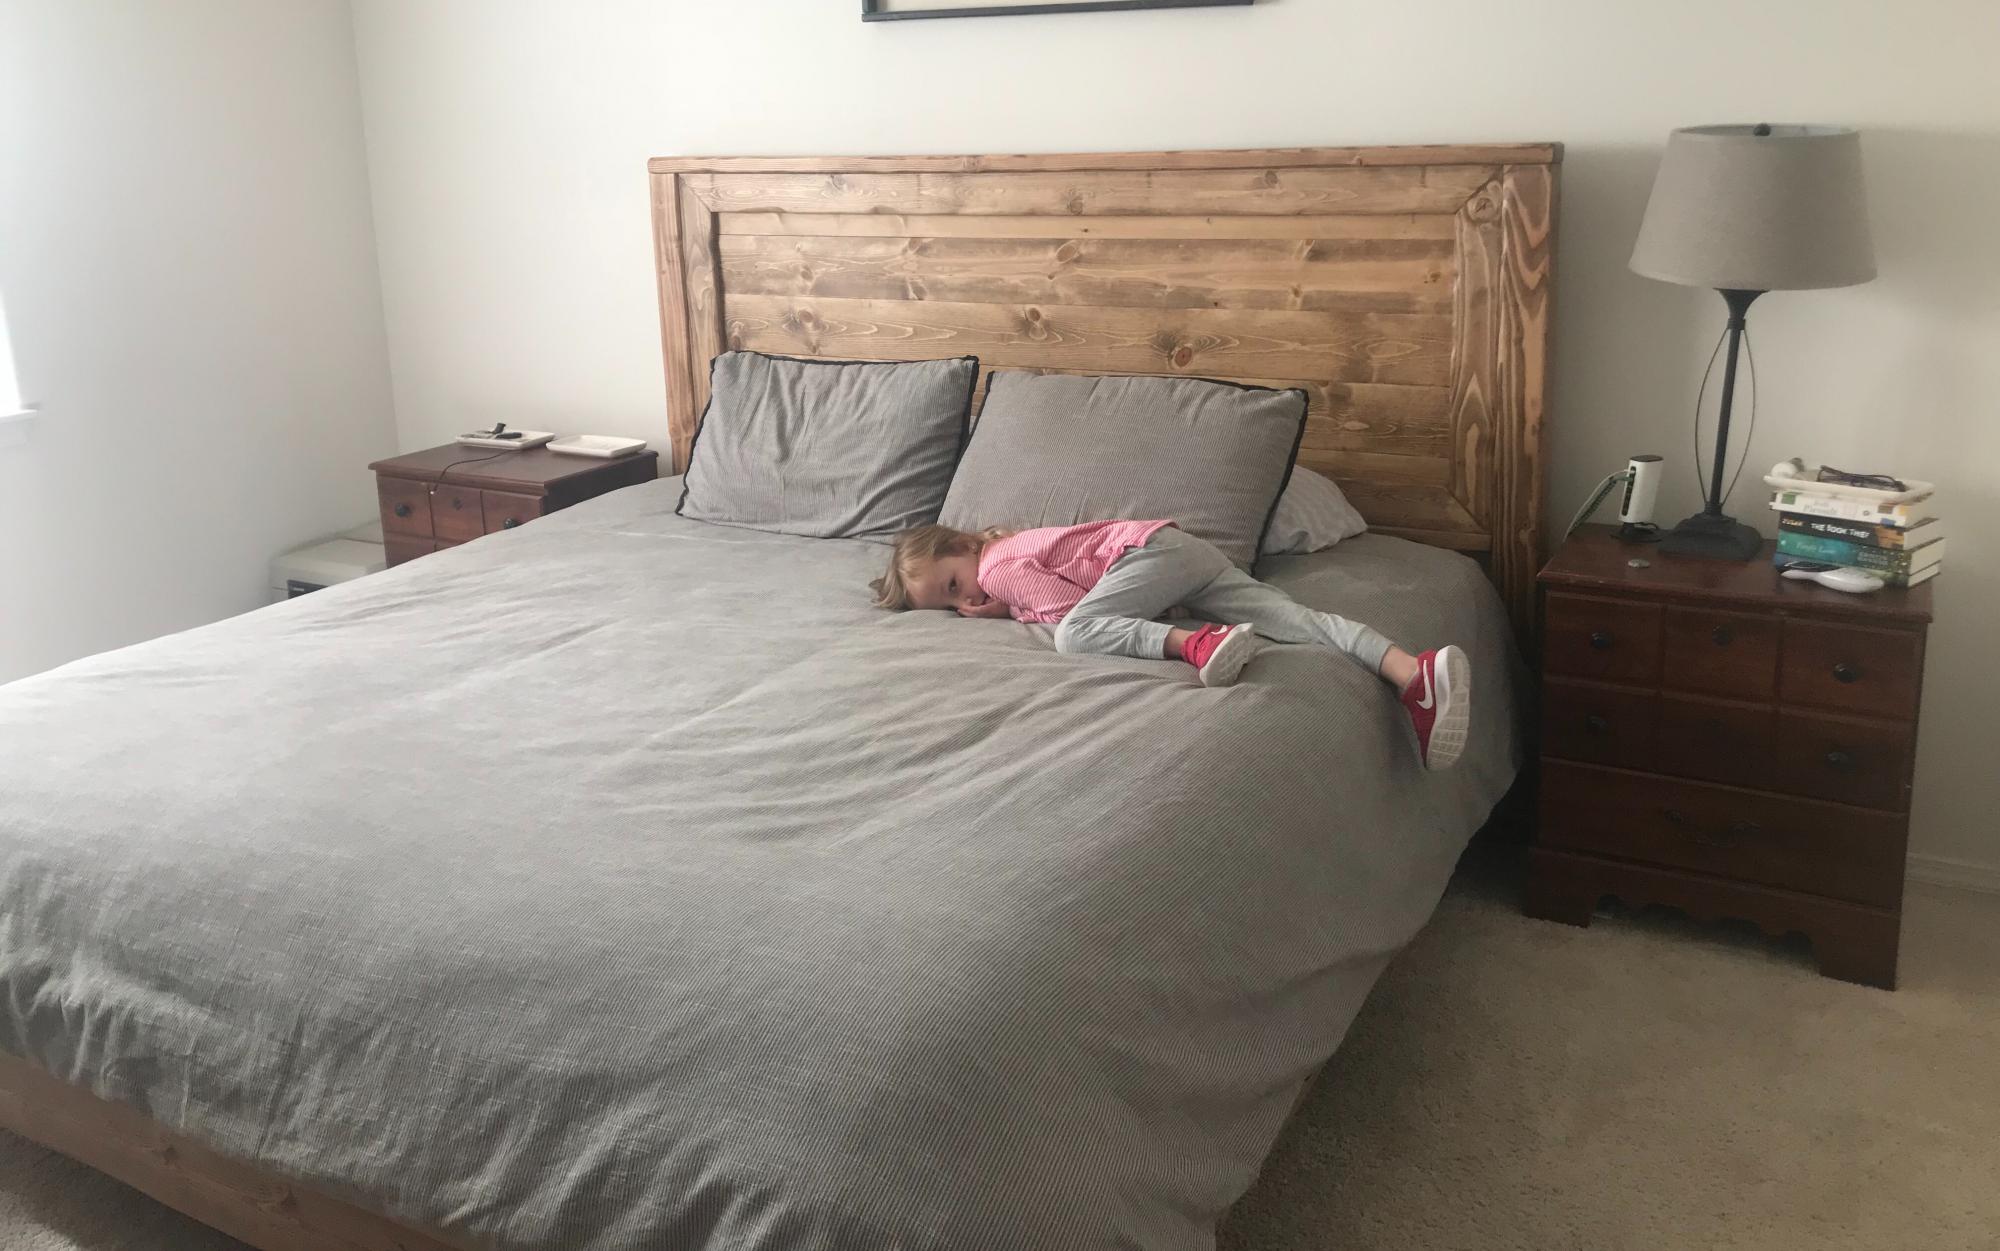
I needed to replace my bed quickly. I could not sleep in my old one anymore. Unfortunately I did not have the money to buy a new one so I turned to Ana white and a short time later I had a new bed and a fresh start. My kids and I love this bed. It’s hard to get them to sleep in their own beds now!
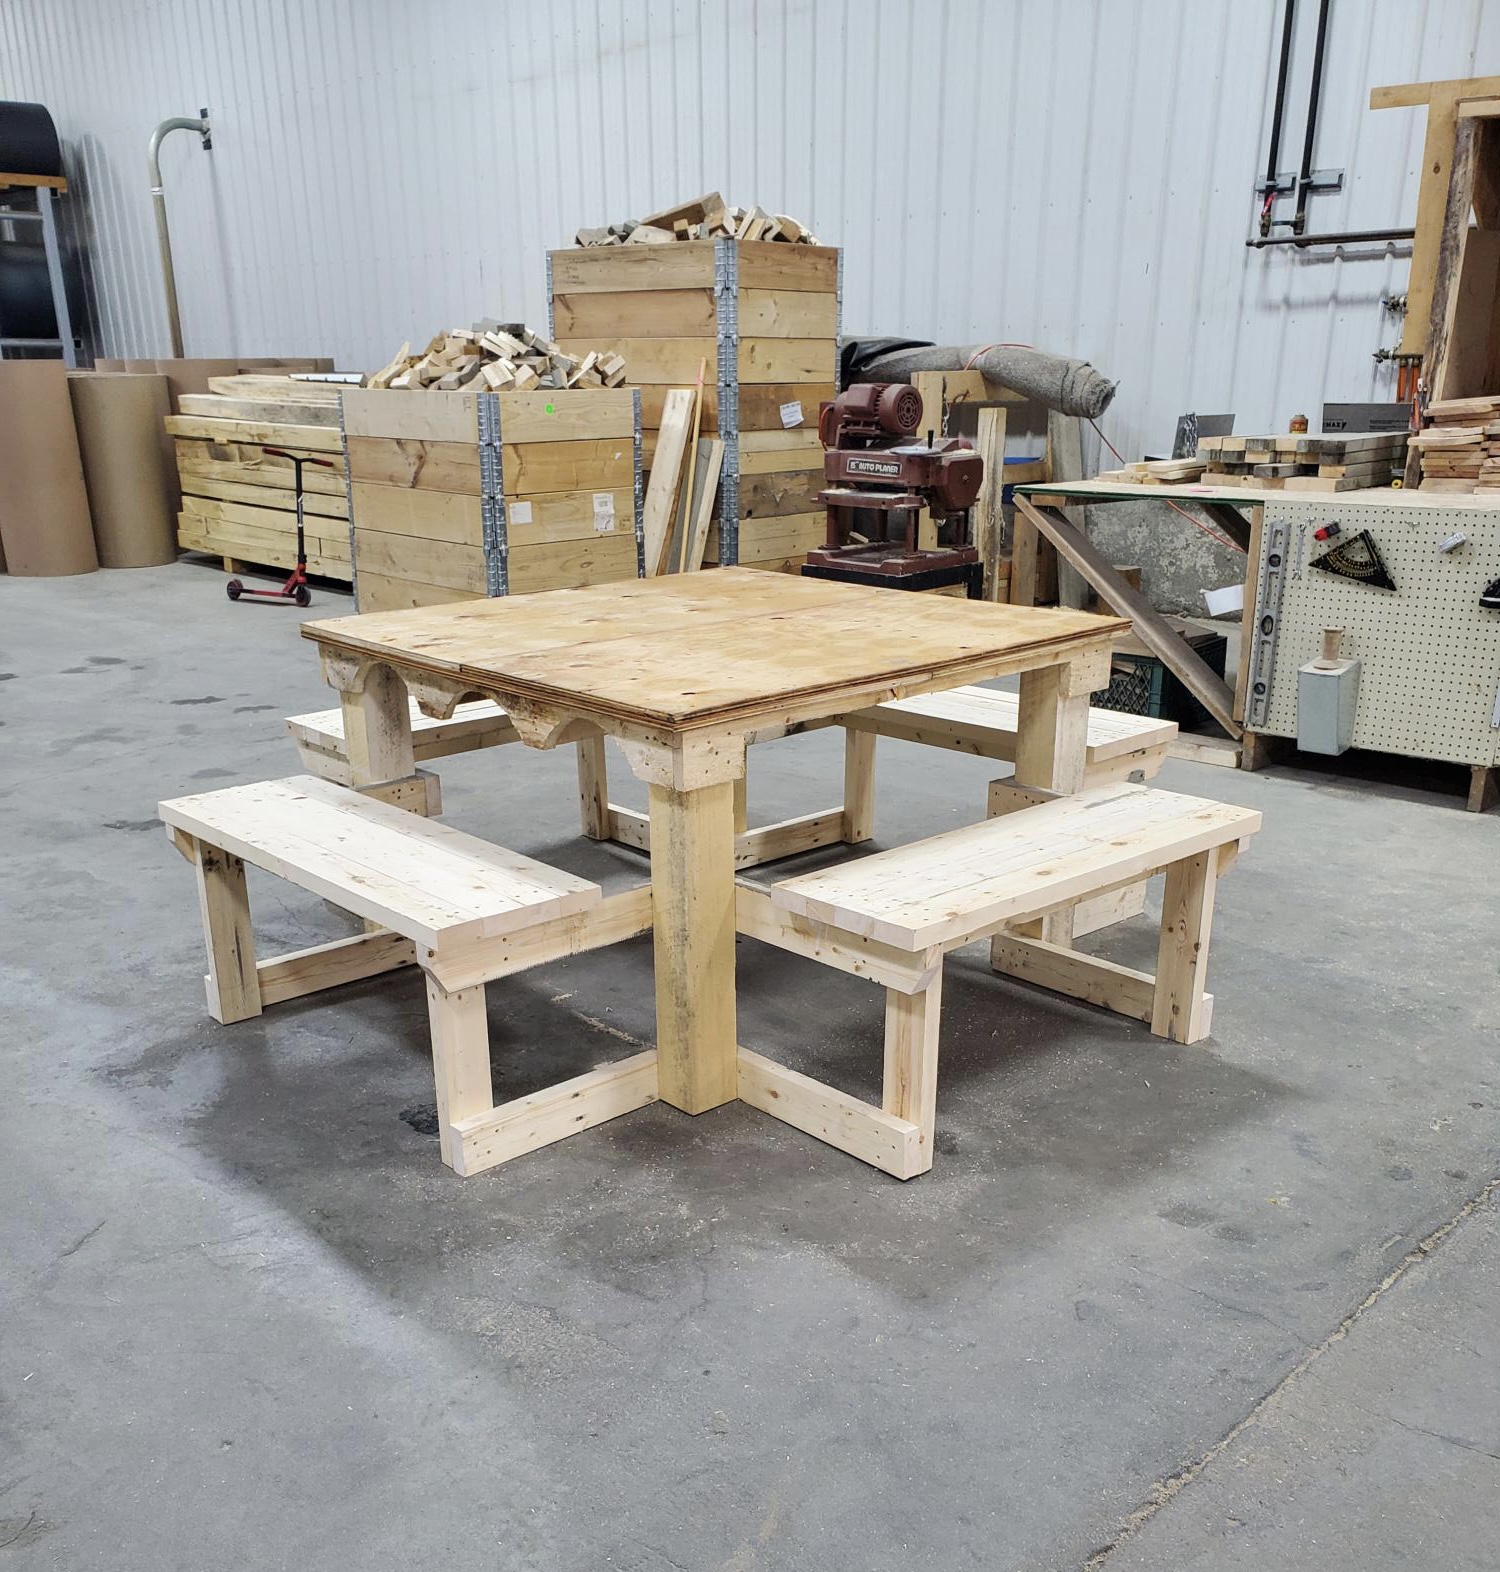
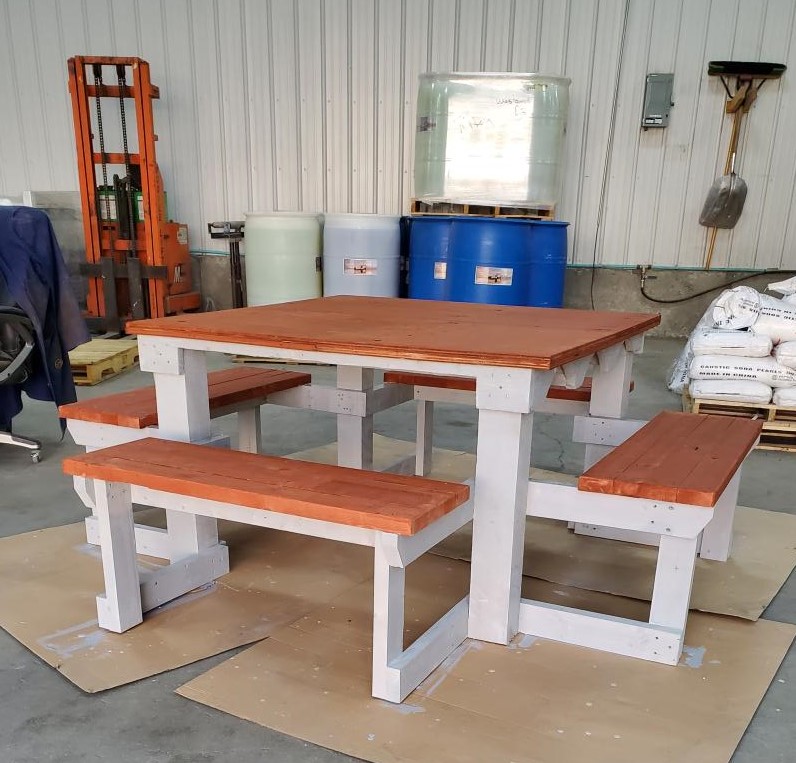
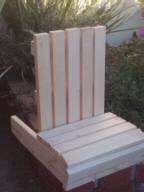
4 sides for the whole family to sit.
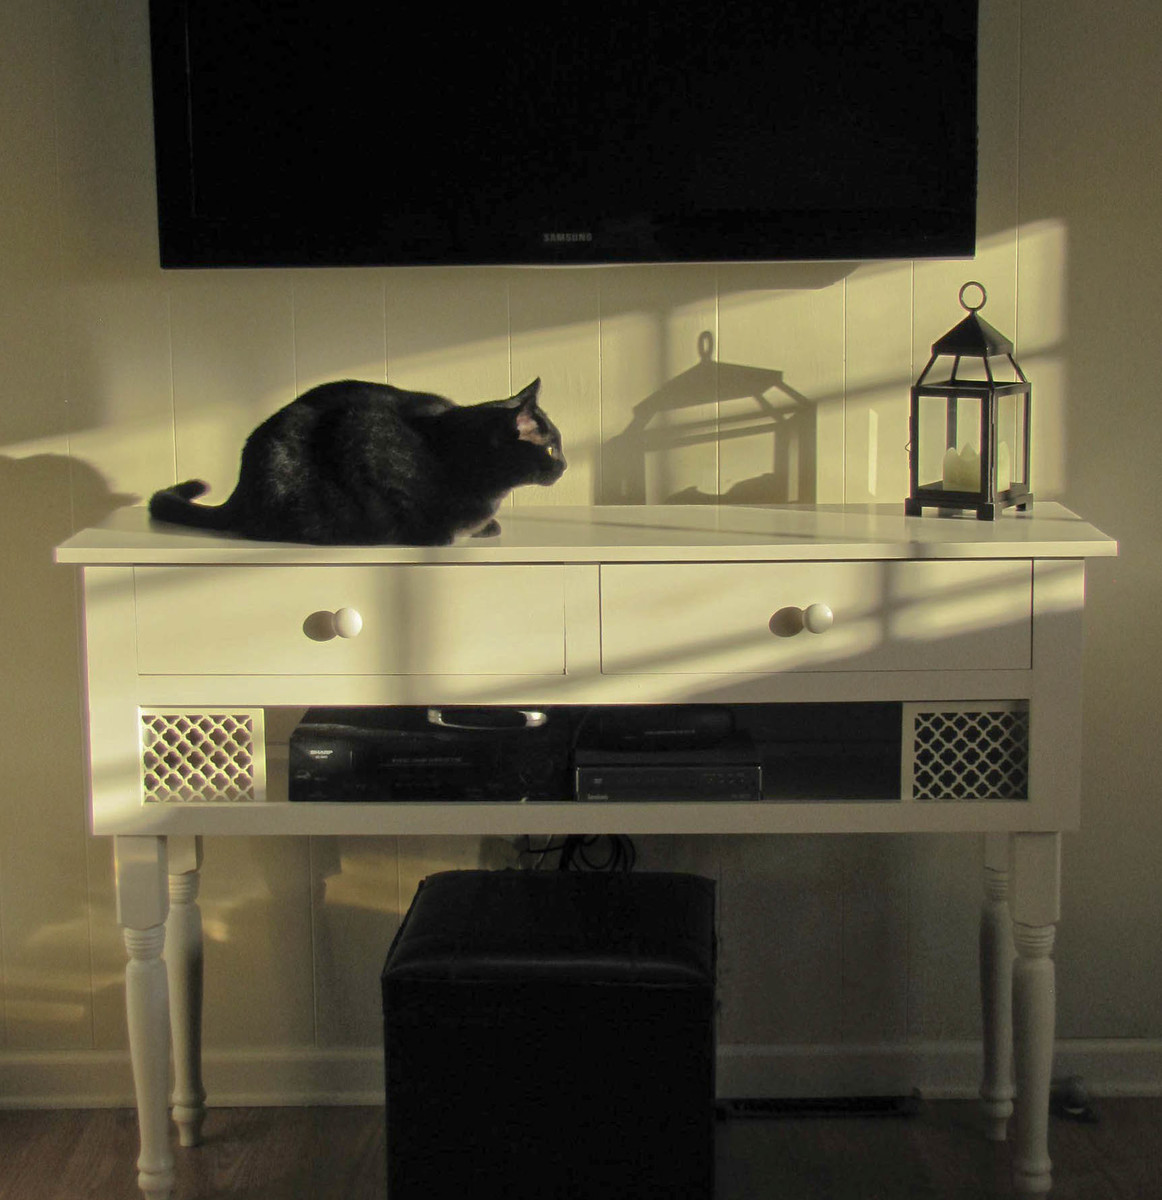
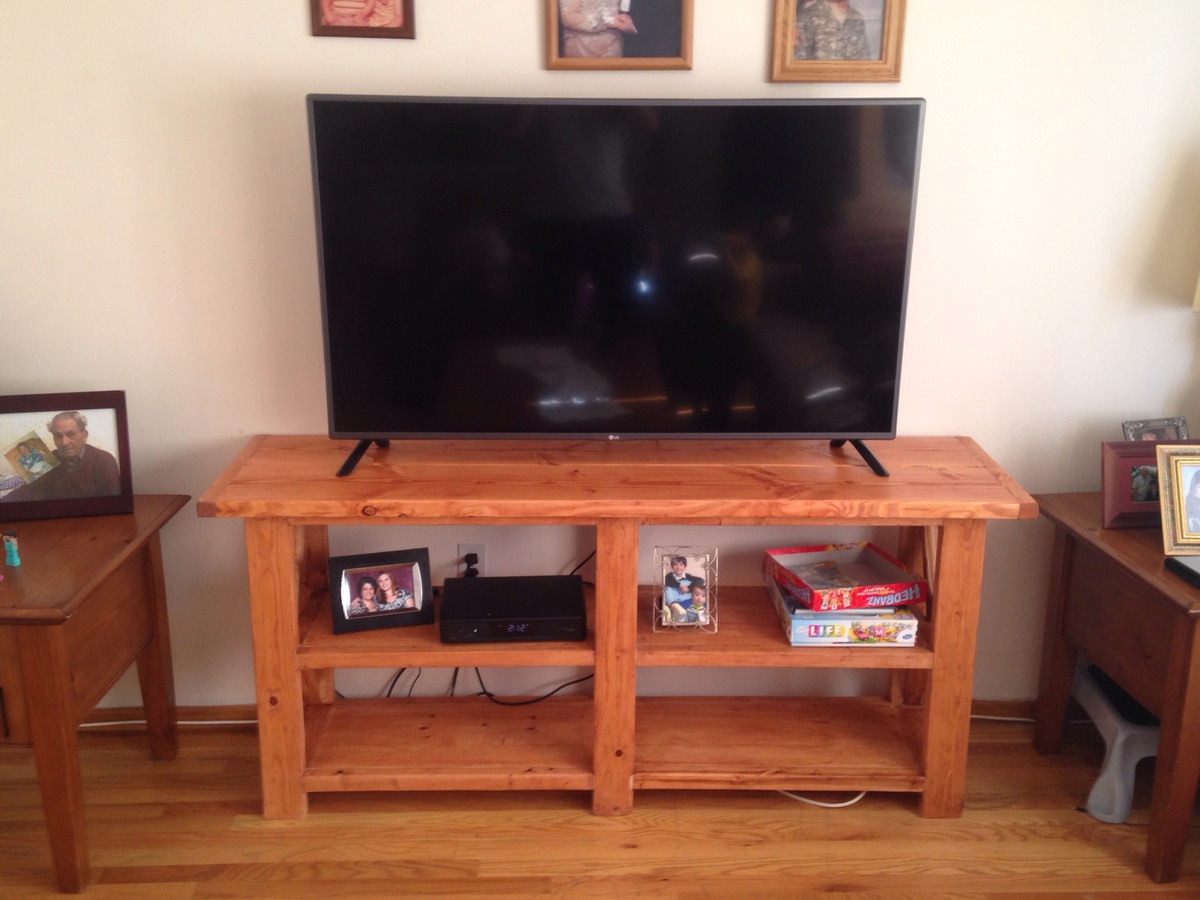
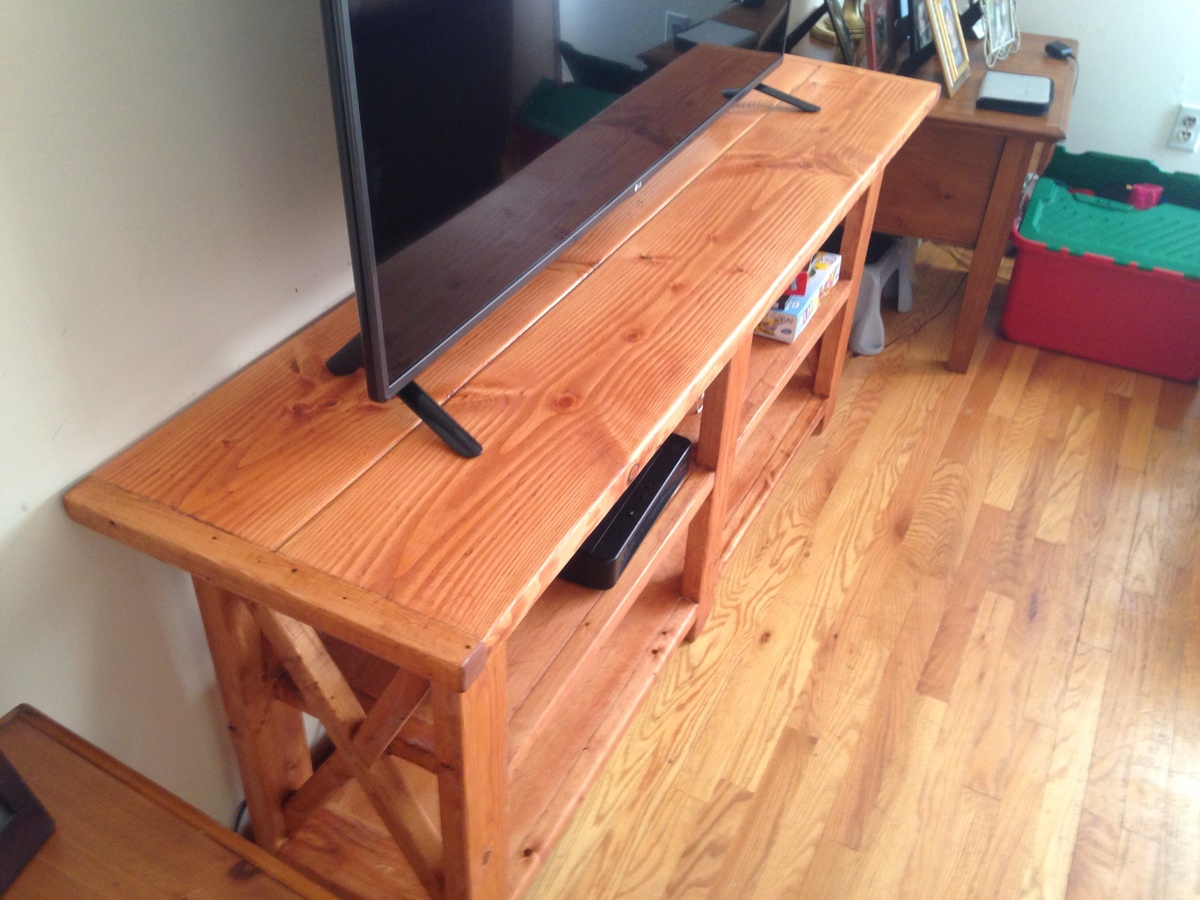
Media Console--My first build! Read all about it at http://isthisloadbearing.com/2012/01/15/media-console/

Sat, 02/04/2012 - 15:36
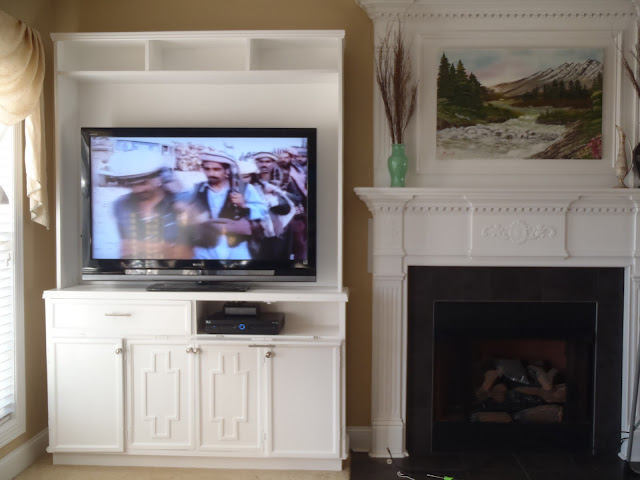
I love the legs and the lattice detail. The cat is pretty cute too!
Mon, 02/06/2012 - 13:31
The details really make the piece unique. The additions of the lattice panels and the legs look like simple additions, but they make a bigg difference. It looks great.
Mon, 04/09/2012 - 15:40
Did you follow Anna's plans for this? Some other comments on the plan had suggested the measurements were off. Did you find this was the case?
Thanks,
Randy
Sun, 04/07/2013 - 22:42
well i have read about you r project and i really like this in simply i want to say that good work you have done.
Sanford Locksmith
Mon, 05/06/2013 - 03:58
I like the idea you have in there. It is quite simple but it expresses such coolness and neatness to the place. Simplicity is beauty. It is better that you make your media console not occupied with a lot of stuff.
------------------------
dragon city hack
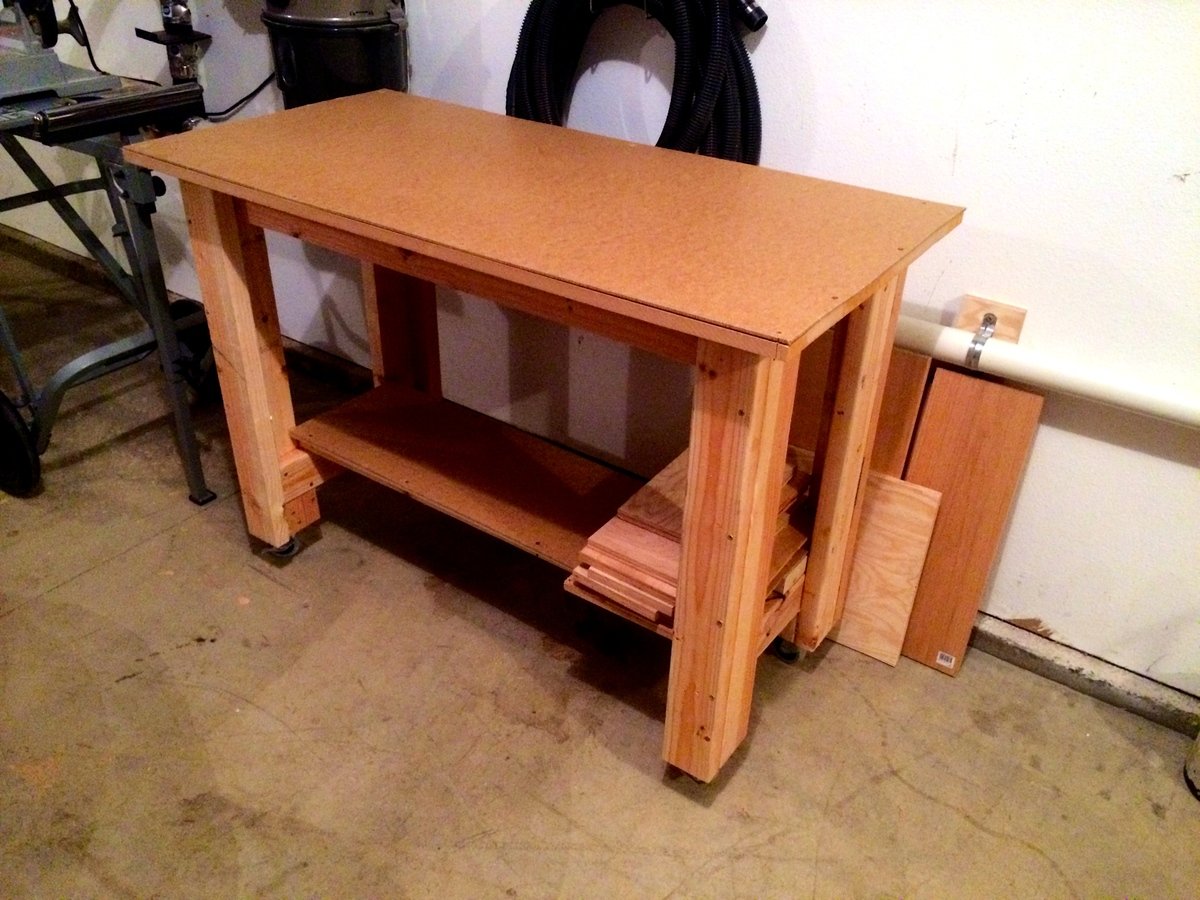
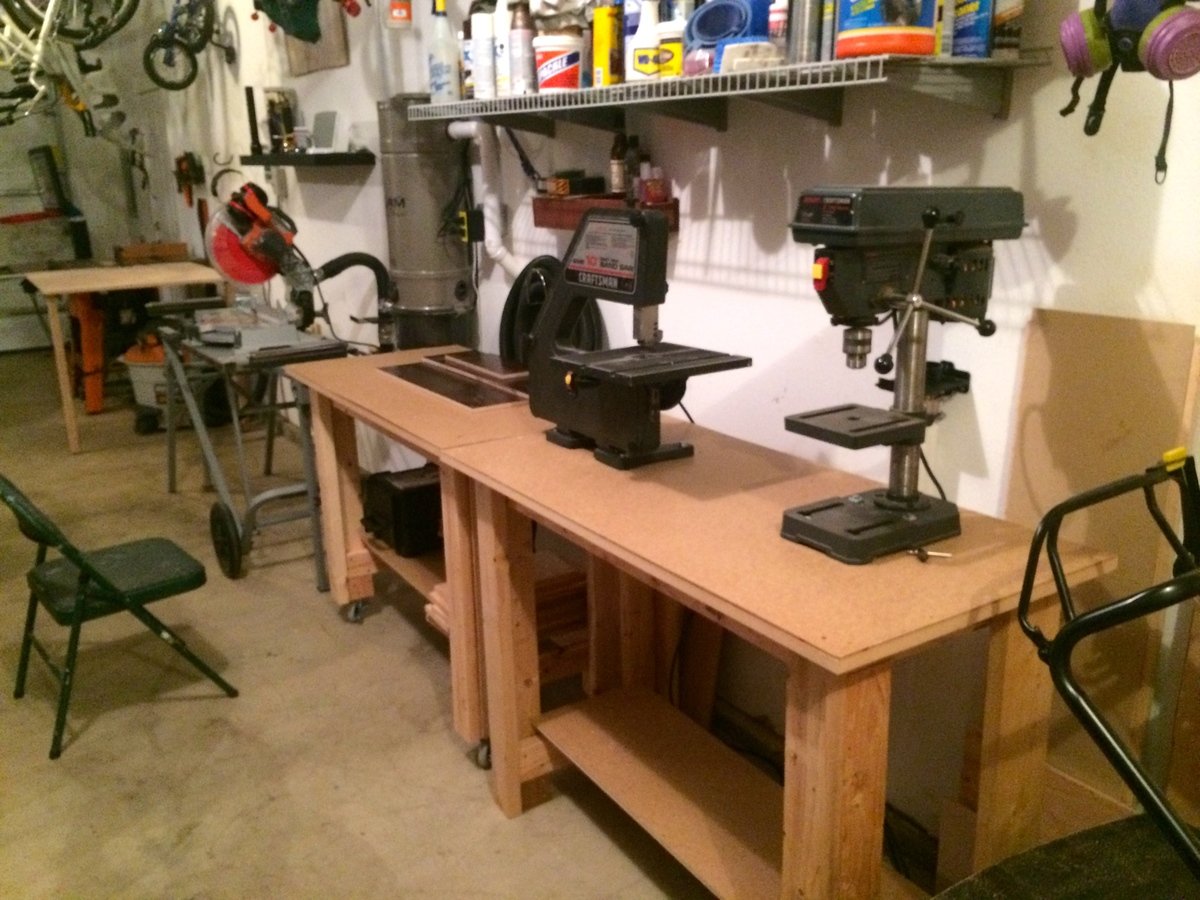
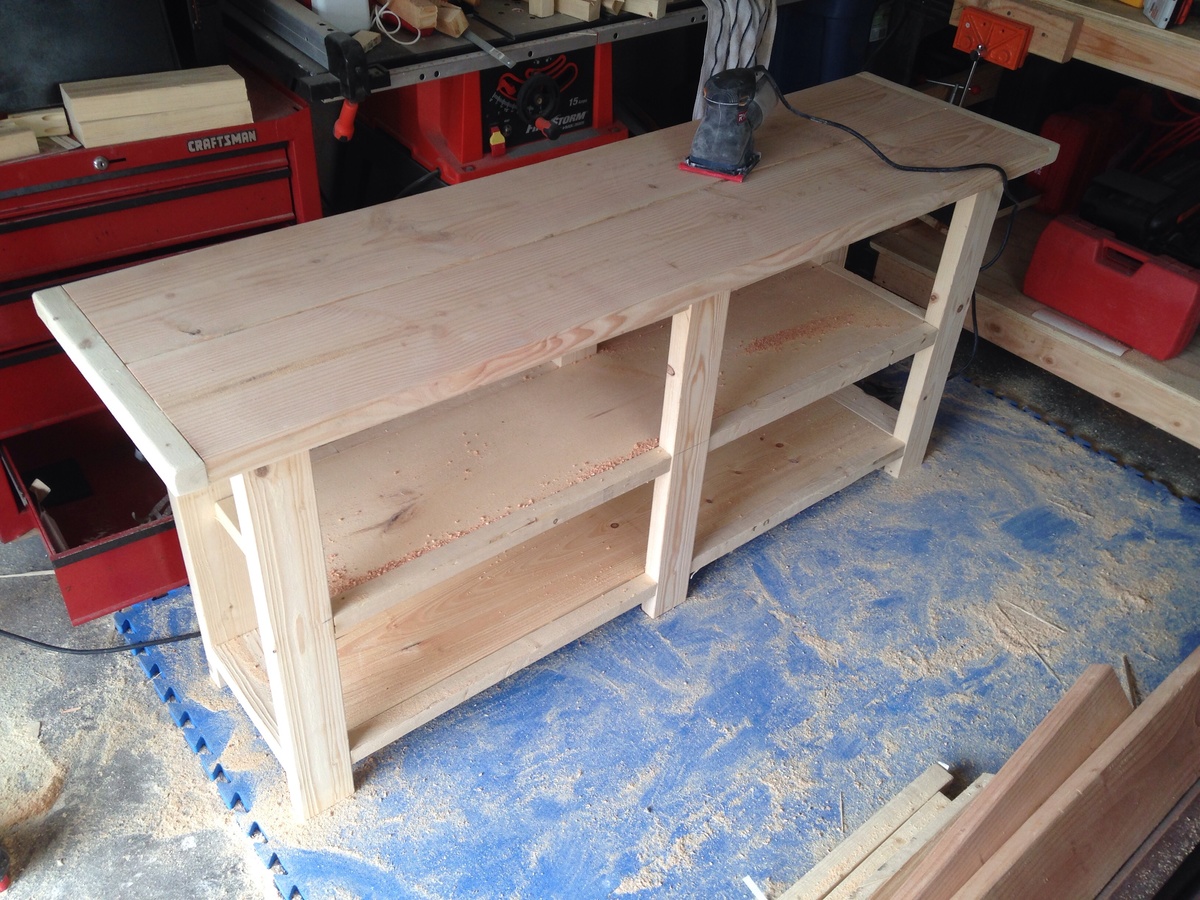
This is my spin on the sturdy work bench. I needed some more work space for building projects and for a few tools I acquired. My main work bench always seems to be covered in stuff so the extra space is great!
The first one I made I matched the height of the rollers for my chop saw, so I would have room for longer pieces of wood. I also put it on casters, so I can roll it onto the driveway when do things that should be done outside! The second one is fixed at the same height!
I used 2x4's with MDF on the shelves. I covered the bottom shelf and top with masonite, so it could easily be replaced when it gets nasty!
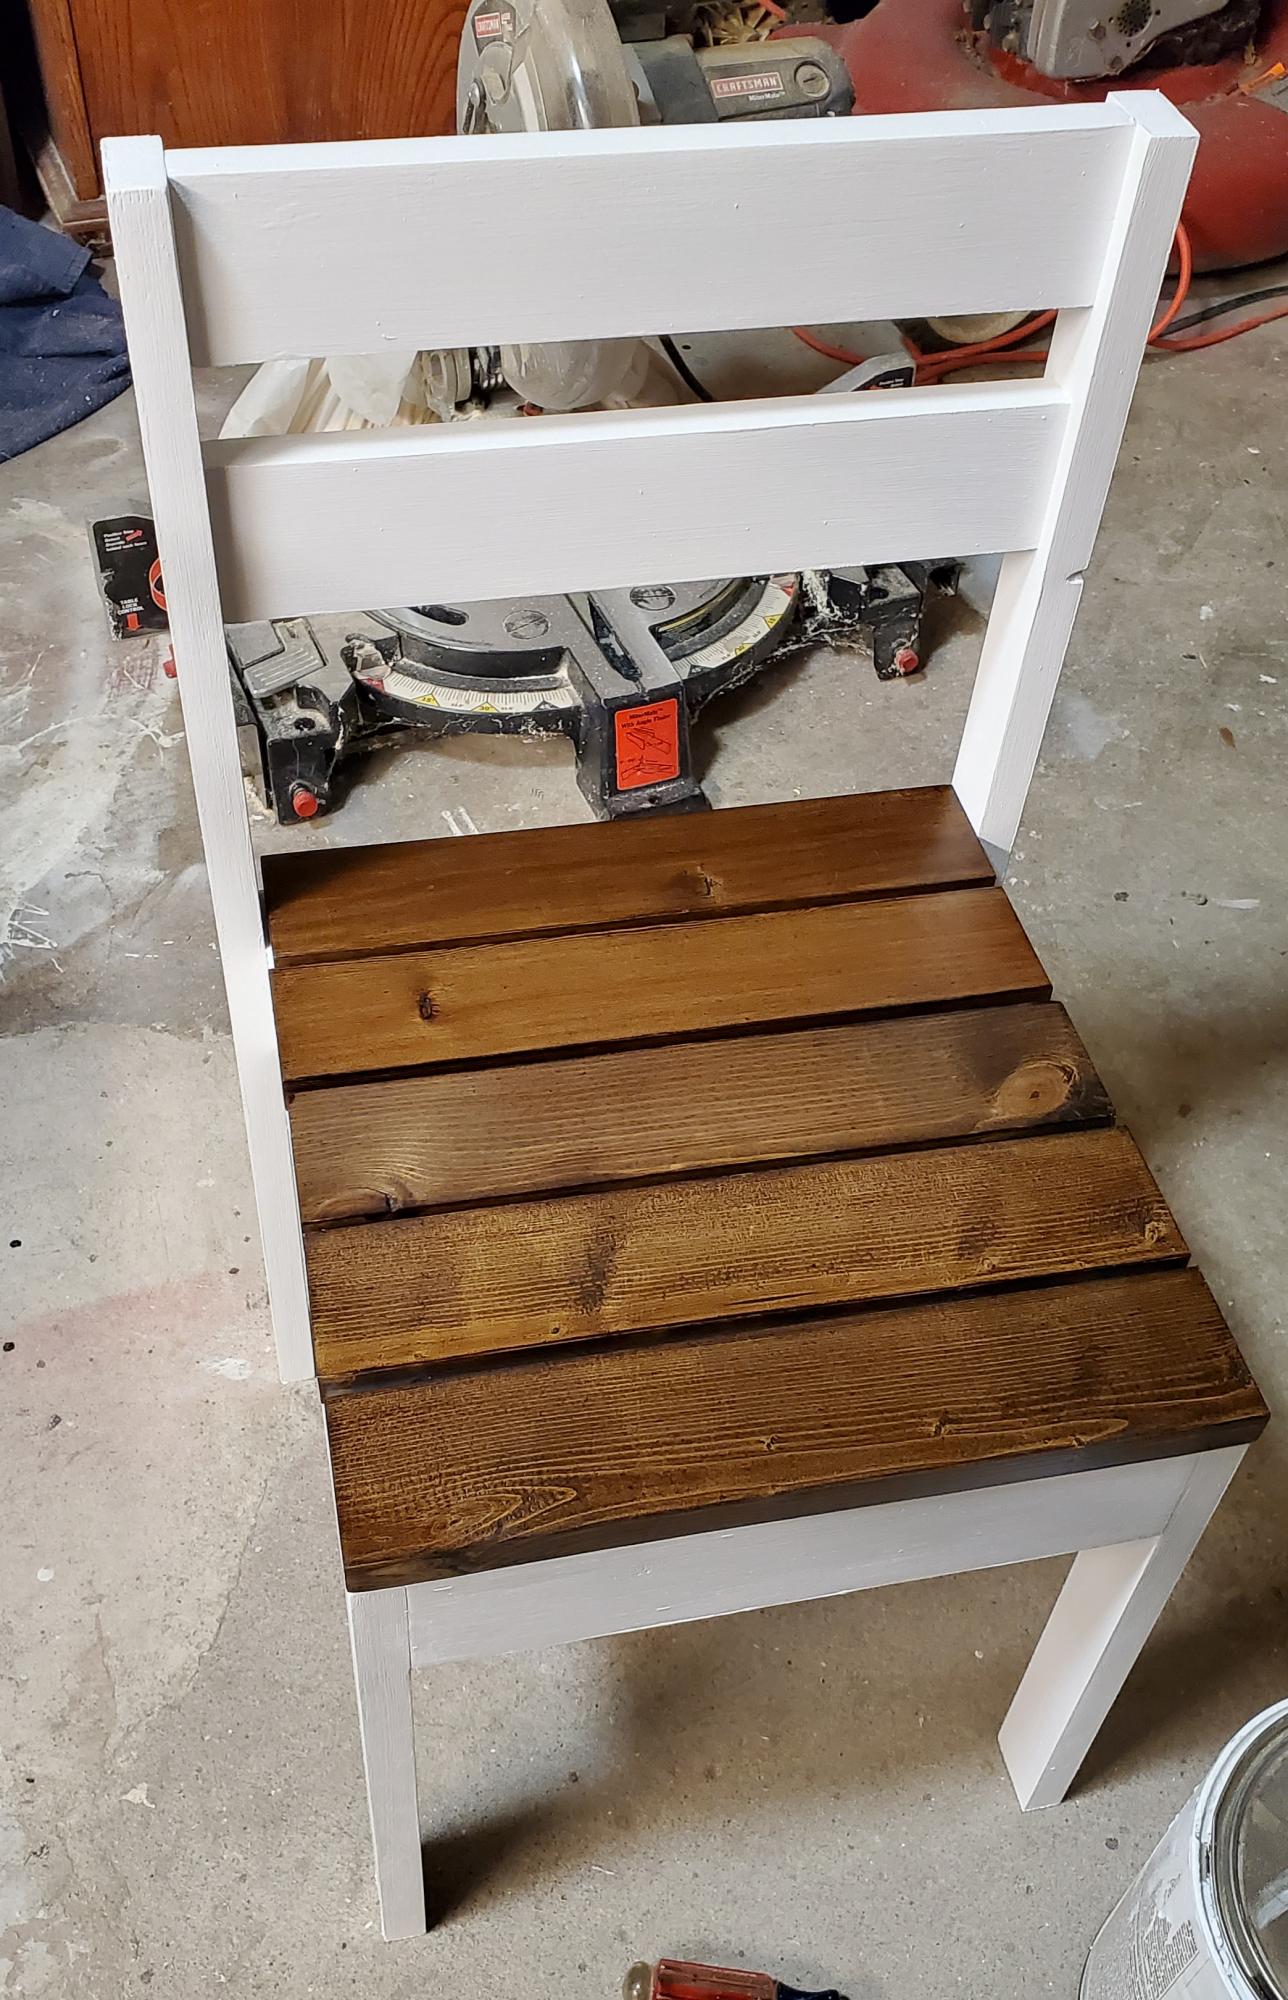
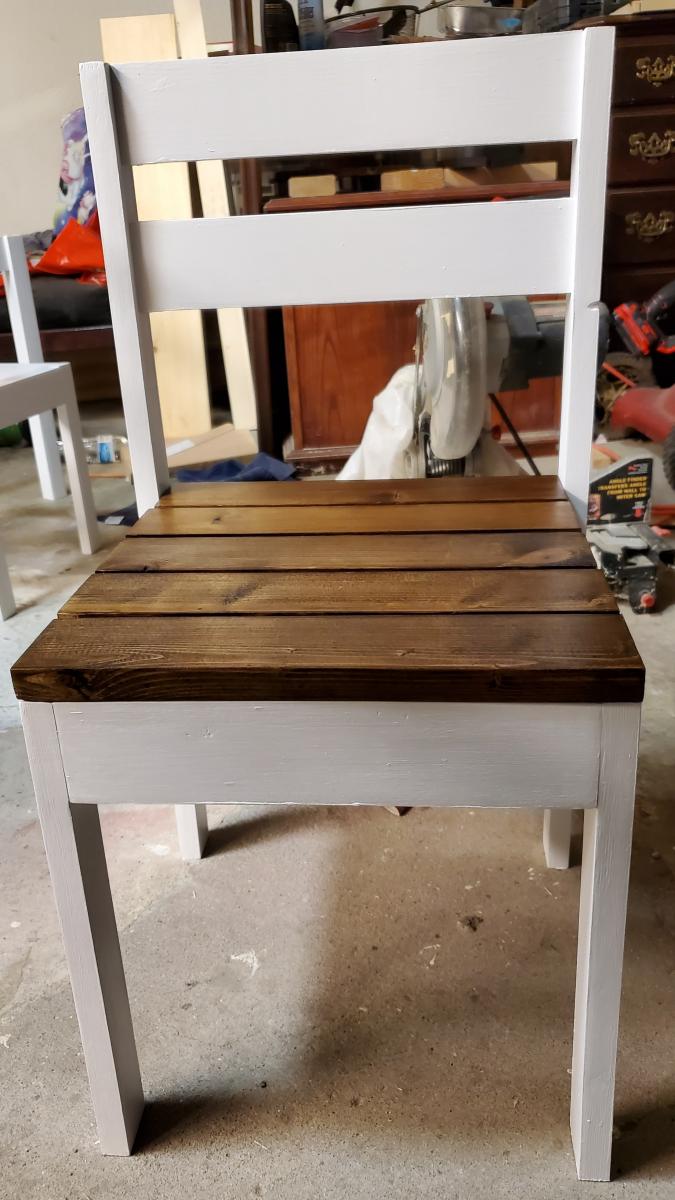
This was my first build other than some outdoor chairs. I learned tons while building and I got to spend time with my sister doing it. Also learned about chalk paint and other finishes from big sis.

Started out making the Fiona Adironback doll chair, and when my niece saw it in this state, she dramatically screamed, STOP! she's 8, lol. She brought it in to the house, sat her doll in it next to her game chair, gave her dolly the game controller, and began to play 2 player Nintendo, Wii, and xbox.
I've built 5 of these, all for friends of hers, who see her and Sarina (her Doll) playing video games together.

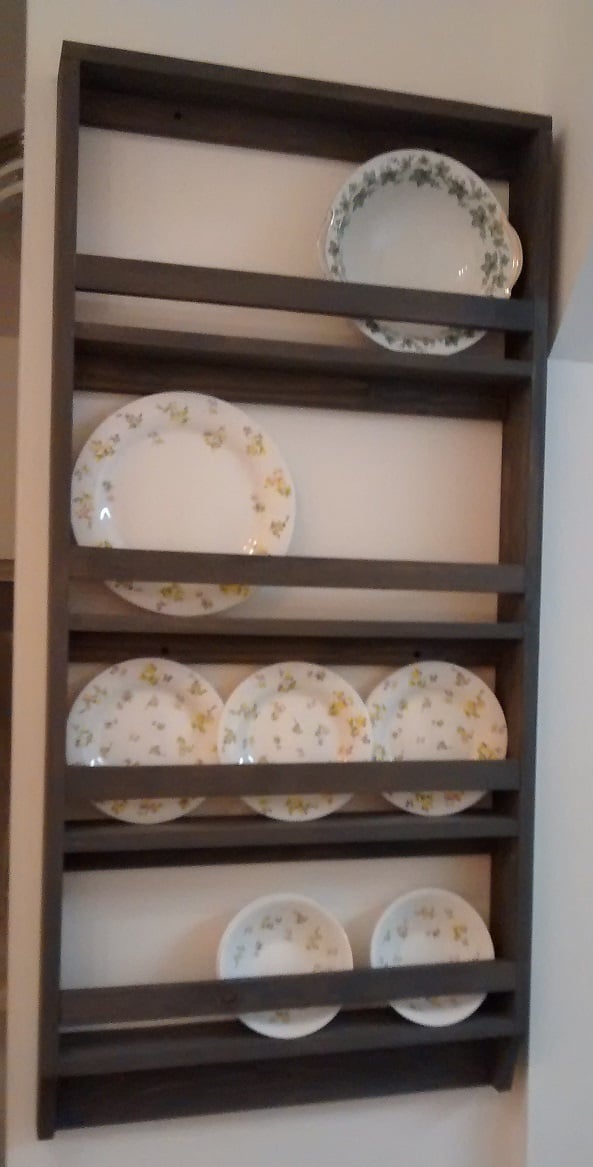
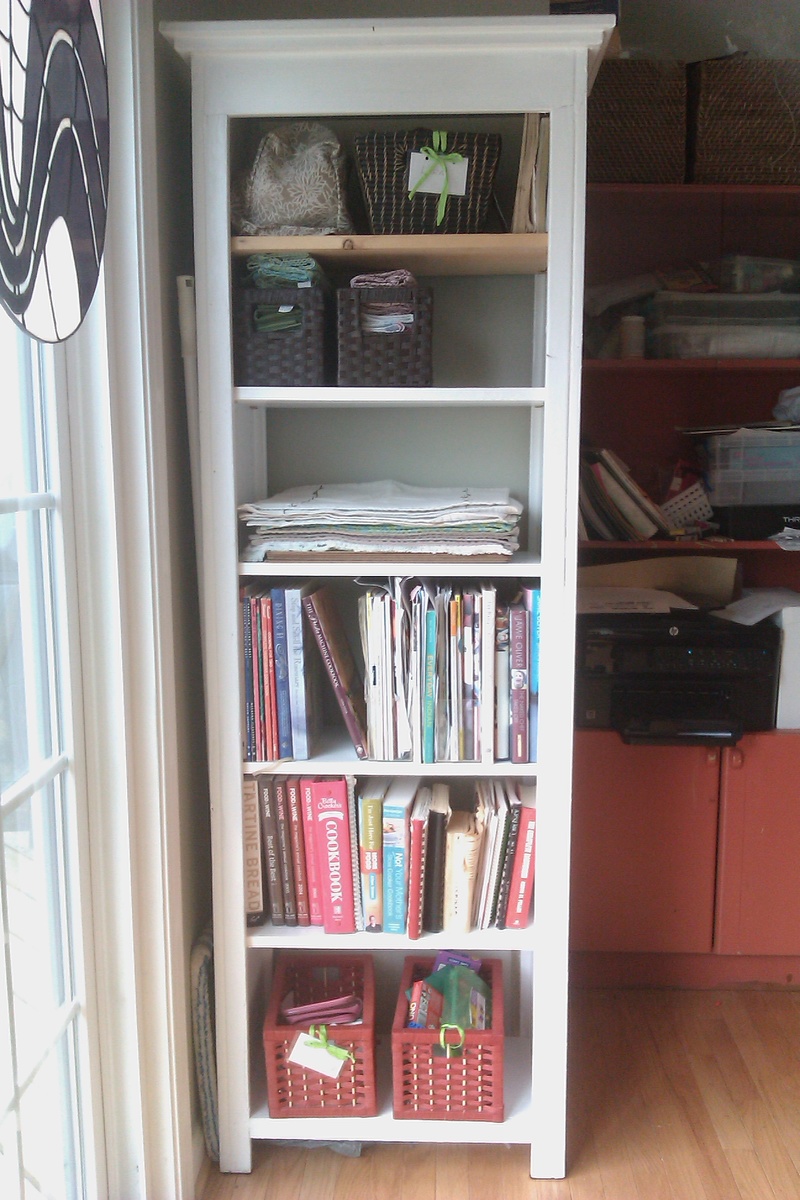
Very small kitchen with extremely limited storage. I made this taller than the plan at 48" and narrower at 23-1/2" to fit the available wall space. I added one extra shelf and left off the overhang from the top. As you can see from the photo, there isn't room for an overhang. I plan to put cup hooks under the bottom shelf.
Shelf space is 12" for the top two and 8-1/4" for the bottom ones.
Next project; a trash cabinet to sit on the floor underneath the plate rack and look like a mini Welsh Dresser :)
32” wood planters with false bottom
Jenna

I had an old chest I had gotten from the Army many years ago that was used to pack explosives. I had been using it to store some tools until I built a new tool shed. I went ahead and power washed it and then stripped it. I gave it a good sanding and then applied 2 coats of Minwax Antique Maple gel stain. I then top coated it with 2 coats of Minwax fast drying polyurethane. It turned out better than I expected. One of my sons uses it to store his book bags from school.
Thu, 03/01/2012 - 02:28
Just wondering, I always use 3 coats of Minwax fast drying polyurethane on my furniture builds or refinishes. The trouble that I have is the lingering odor. I recently built my son a bed and then finished it and he cant stand the smell and refuses to sleep in it and it has been about 2 weeks or more. Any ideas on how to get rid of the smell quicker. Everything that I have read says it just takes time but surely there has to be a quicker way!! Any suggestions from anyone would be greatly appreciated.

Thu, 03/01/2012 - 06:39
At least, that would be my suggestion for him. The smell will dissipate when the smell dissipates, and that's all you can do. You can speed that if the bed is stored in a very well ventilated space for a while, but it's just a matter of the urethane needing to fully cure. That manufacturer estimates four weeks for full cure.
Urethane has a distinctive smell. You can avoid it by using an acrylic finish instead (the water-borne finishes), but acrylic has its own smell that's probably equally offensive.

Sat, 03/10/2012 - 02:27
It does take a little time to cure and eliminate the odor. Any oil based finish; poly, paint, etc. does have a little stronger smell than water based. Try an open box of baking soda. An open window also works wonders. Ever notice how wonderful sheets smell whenever you dry them outside?
This was my first building project! I had so much fun with it ... for a guy that can't even hang a photo on the wall! My dad helped and he had all the tools. I spent a few weekends with him so not only was a good father/son project we had something to show off at the end. I think I've caught the woodworking fever.

Sat, 12/21/2013 - 18:55
Your bed turned out beautiful. I love the finish, that grey stain ads so much character!
Mon, 12/23/2013 - 12:10
I really like the look of the stain. I would be interested to know what changes you made to the original to achieve this look. Also, where did you find the lumber? I can't find knotty alder around here.
Thu, 10/23/2014 - 06:32
Is there a way to find the materials needed and specific instructions on how to make this bed? I LOVE IT!
Tue, 11/25/2014 - 19:22
Hello,
This is awesome, I've been looking to build a bed frame for my new apartment. Does anyone know where I can find the plans for this project.
Similar to the person above me, I am new to this and not quite sure what to do. If anyone can provide me with a little insight to this project I would really appreciate it!
Thanks!
Sun, 11/30/2014 - 20:41
I would love to see the plans for this bed. Please post them if you can! Thanks
Tue, 12/23/2014 - 09:23
Here is the plan http://ana-white.com/2009/10/farmhouse-bed-save-158100_7467.html
Thu, 02/26/2015 - 15:36
Love the bed! Where did you get the lumber? Specially ordered or just regular pine from the store like Lowes or Home Depot?
I built this for my mom after finding plans online. Since then I have been inspired by Ana and Jacob to build all furniture I ever need from this point on. No more over priced cheap store bought furniture. Thanks Ana and Family for your plans and helping me find peace in the workshop.
I made some slight modifications here by not using furring strips as I like the straight edges which increased the price slightly.
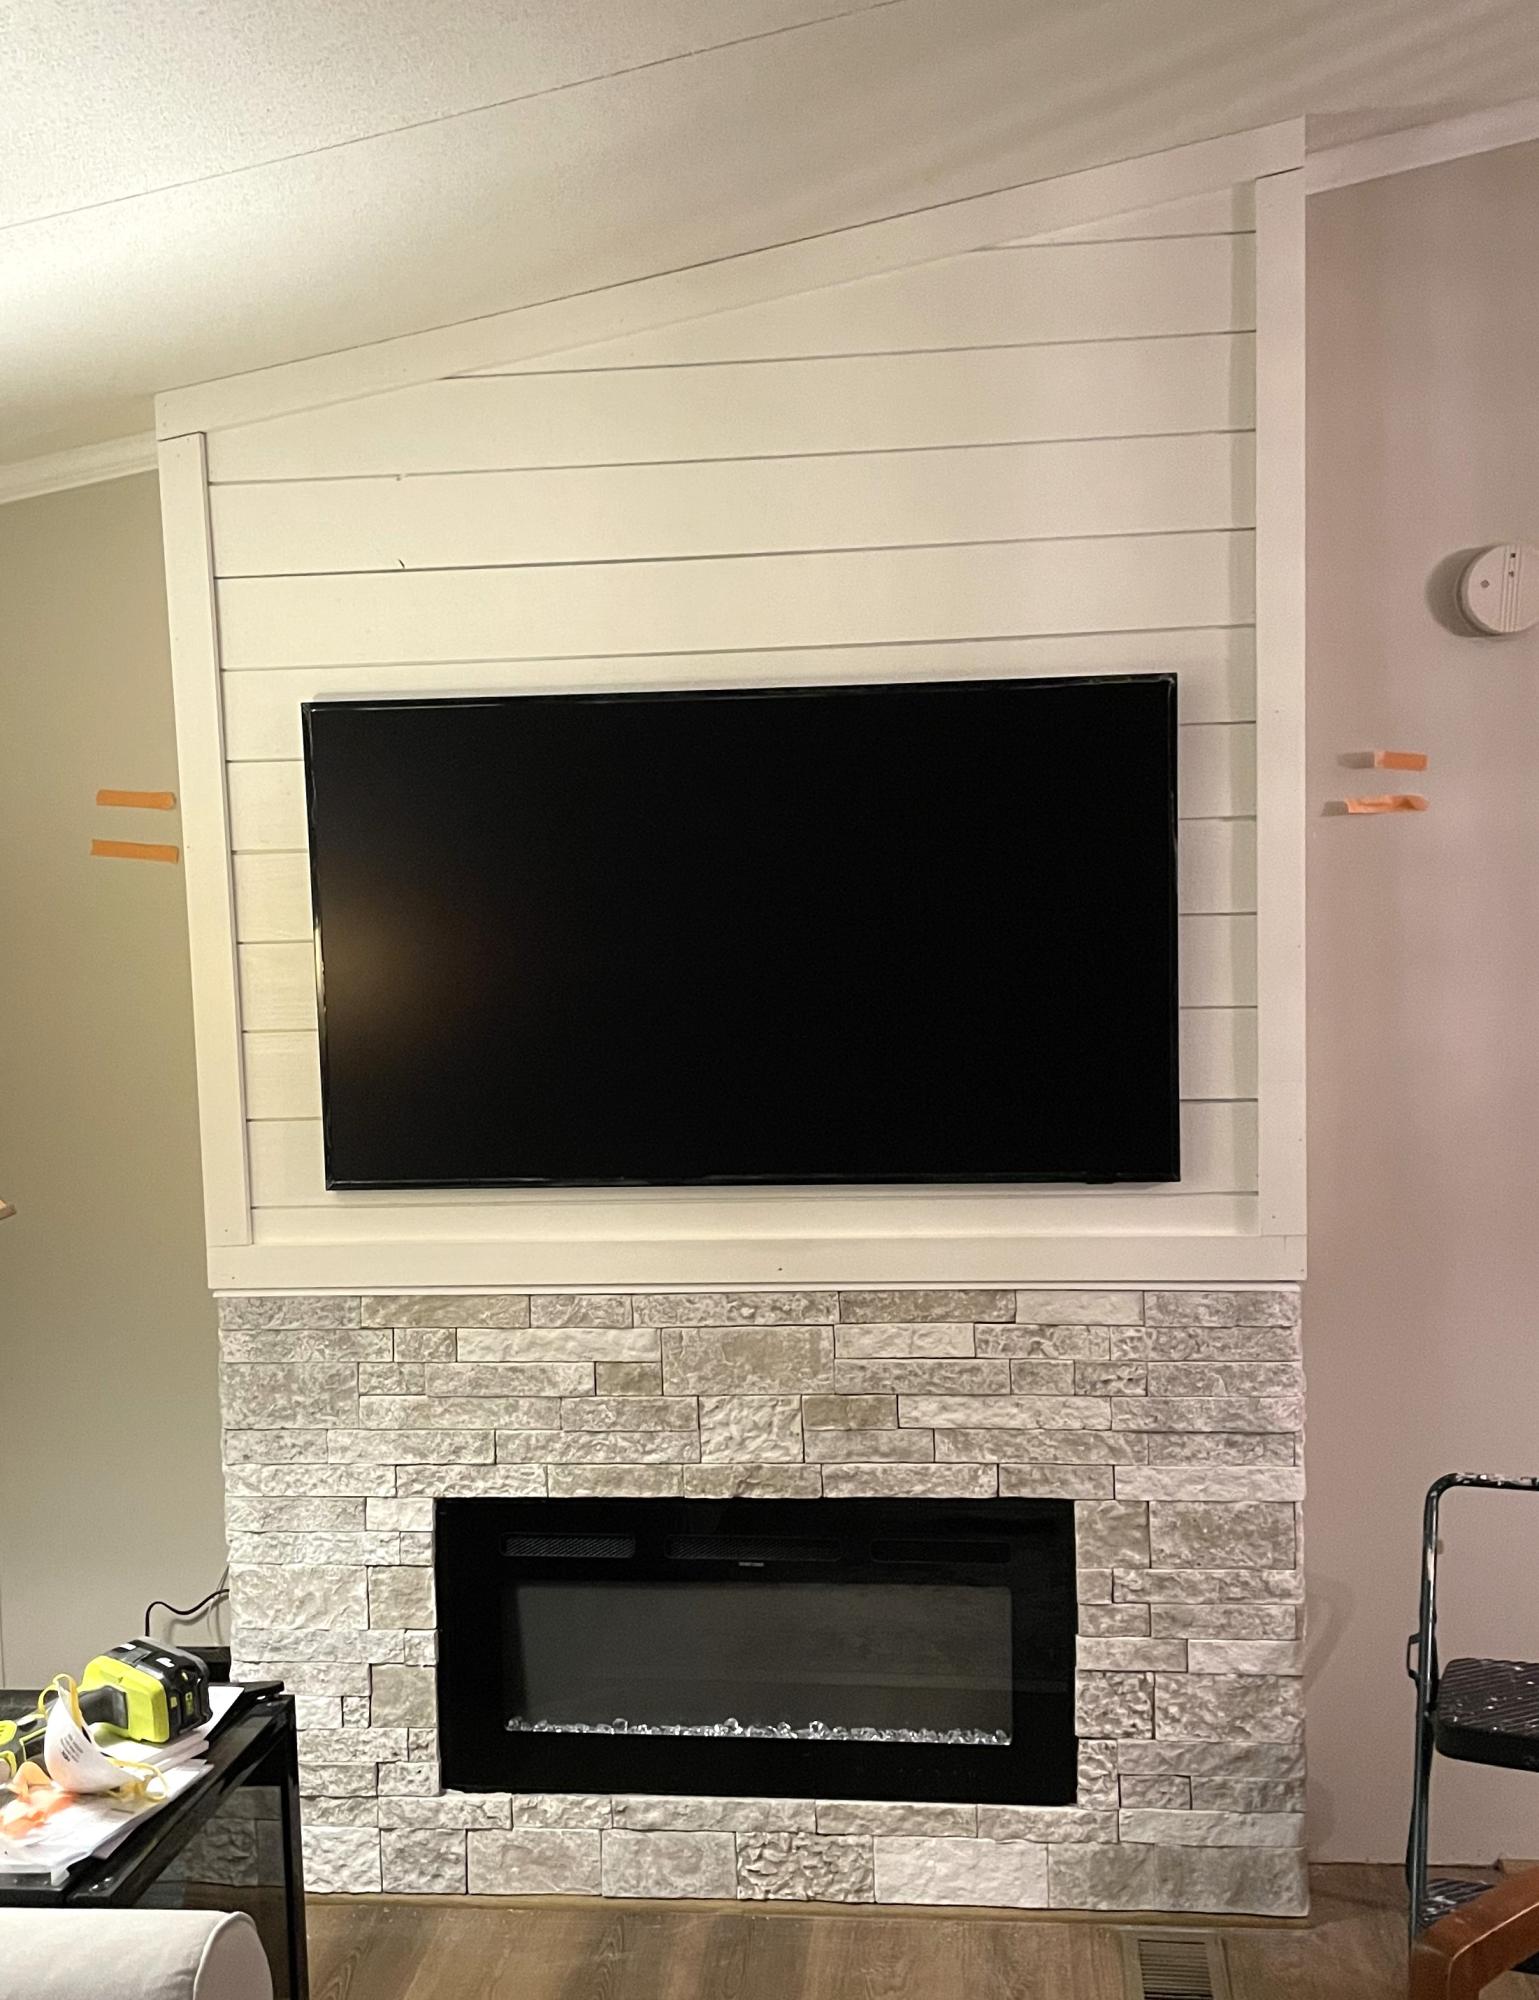
I used Ana’s fireplace plan and added lightweight brick. The vaulted ceilings was a challenge but I figured it out!
Marcia T.
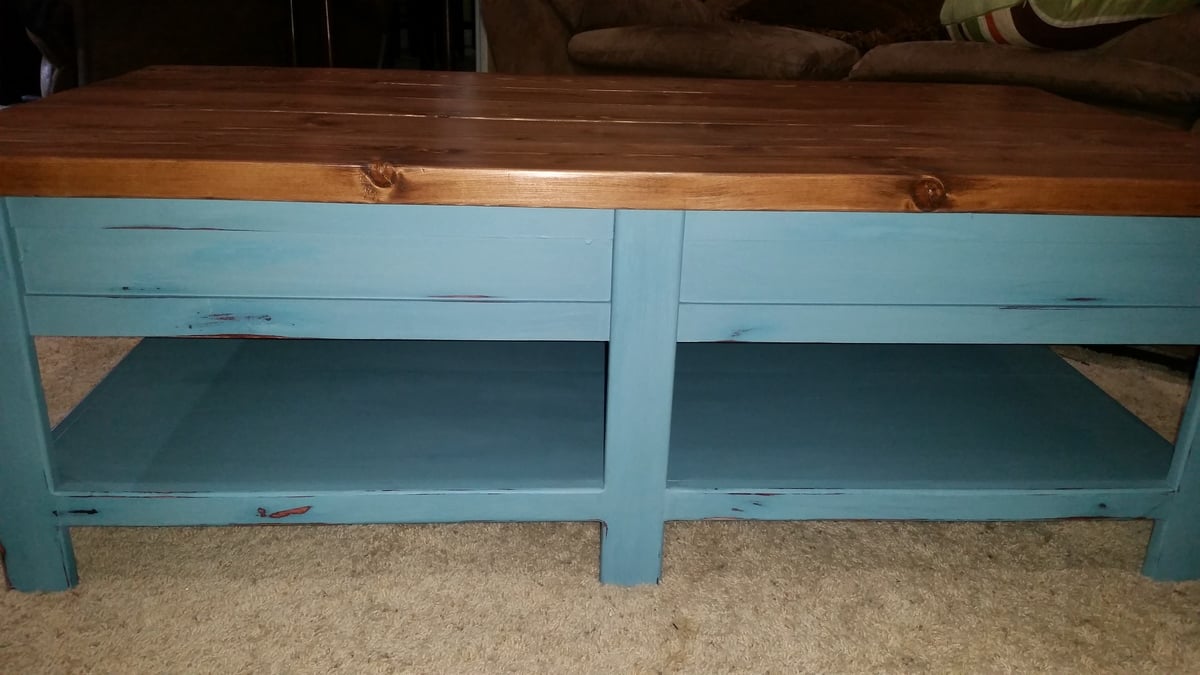
Built this over a couple of week nights. I used the basic bookshelf plans available on this site.
It was fun!
I do have a couple of observations though:
1- Sand all pieces of wood BEFORE you cut them, to the desired lengths! Make sure the wood is nice an smooth. So much easier to do with big pieces, that can be balanced on a good support! Especially important when using the cheapest pine available!
2- Take your time, double check measurements, and follow the assembly directions. (Yes.. I made a mistake on the assembly part... at least it's on the back, and no one can see it)
I did change the width to fit my wall space, and I did add adjustable shelves (1 fixed shelf, to help hold the whole thing square). (I used a piece of peg board to place the holes for the shelf supports). Pretty neat! I also added a couple of extra shelves. (I still needs some paint) I needed the extra storage for organizing the stuff we need in the family eating area.
I also changed up the top finishing details. I mitered the corners, and layed the 1x2's flat, offset by .75 of an inch. It gives a nice look.
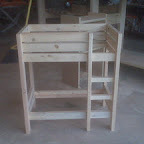
For our 2 1/2 year old granddaughter.
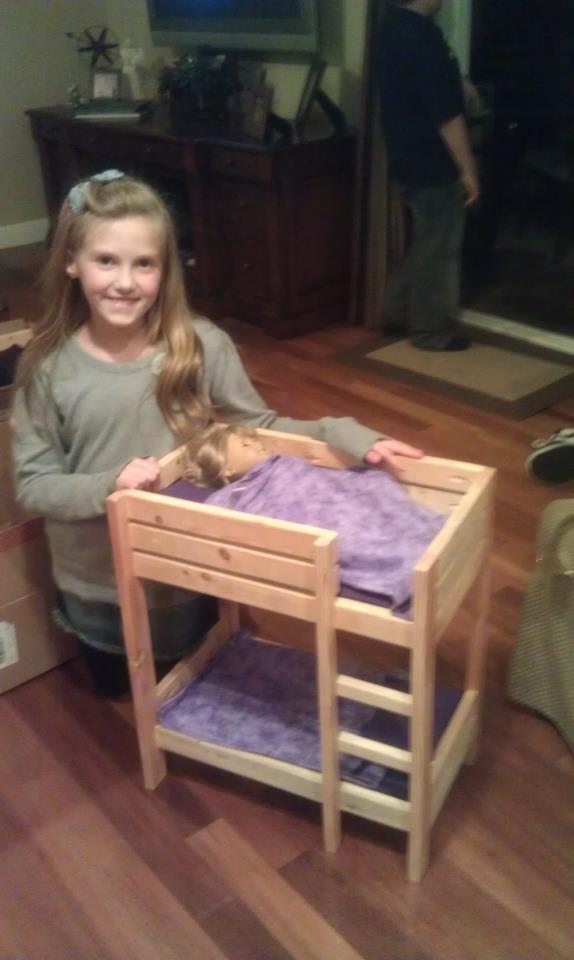
I fell in love with the darling bunk bed built by so many of Ana's readers. Since seeing it I've made several for my granddaughter, neighbors, and friends. What I've learned is that although they're cute, they take almost as much time as a full sized bed!


Mon, 02/20/2012 - 18:54
I love the beds. My child wants one so badly. I like yours better then the one American Girl makes.
Fri, 02/24/2012 - 20:48
That's a sweet thing to say. Evidently, others feel the same; I can't make enough of them! They're really pretty easy to make, I hope you try your hand at it!
Mon, 05/28/2012 - 17:27
Hi, I see you've made the Ana-White doll cradle from this post. The link to the pattern for the doll cradle appears to be missing as it is a dead link now. Do you know how I might obtain the pattern? Thanks so much


Comments
Ana White Admin
Sat, 06/10/2023 - 06:29
Great Chaise!
It looks like it's meant to be! Thank you for sharing.