Community Brag Posts

Dining Room Buffet Cabinet

Submitted by kdins31 on Sat, 08/13/2011 - 11:26

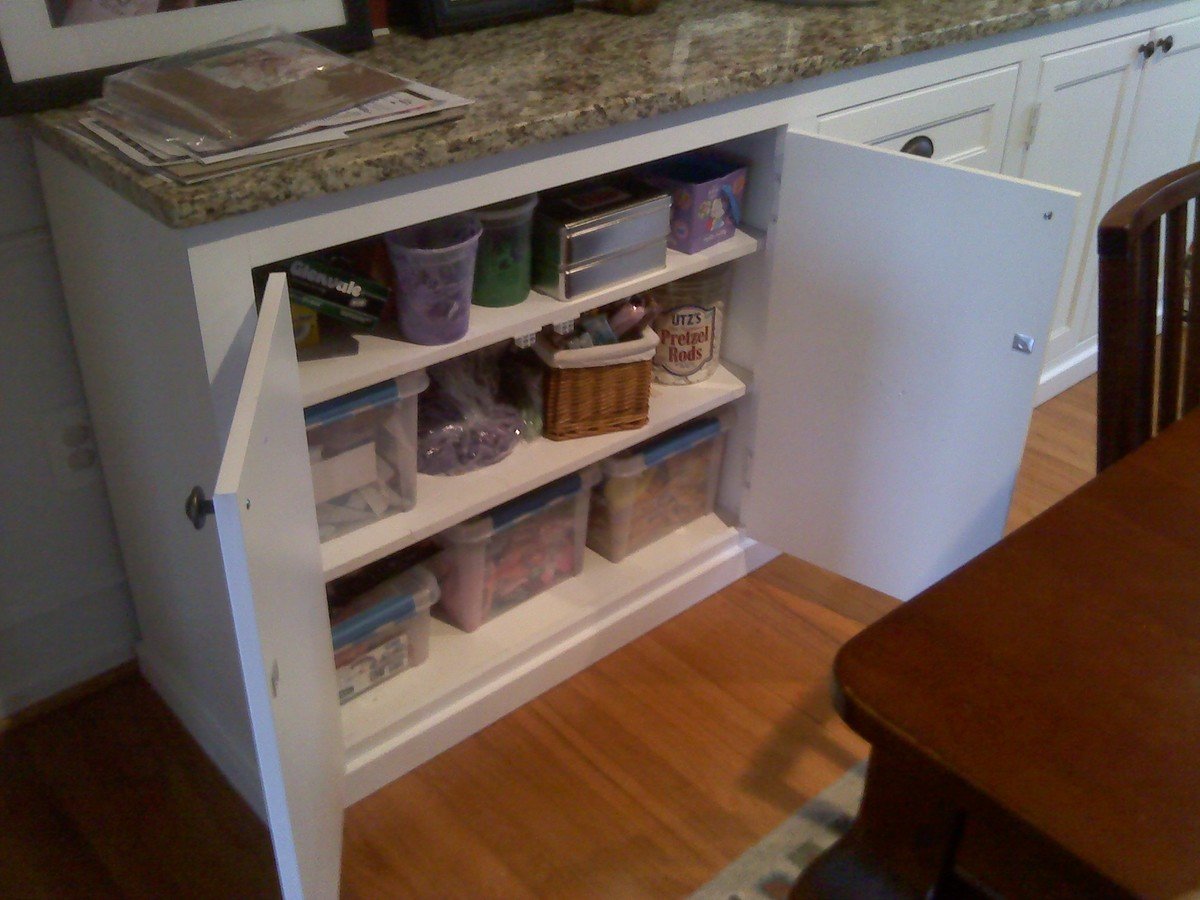
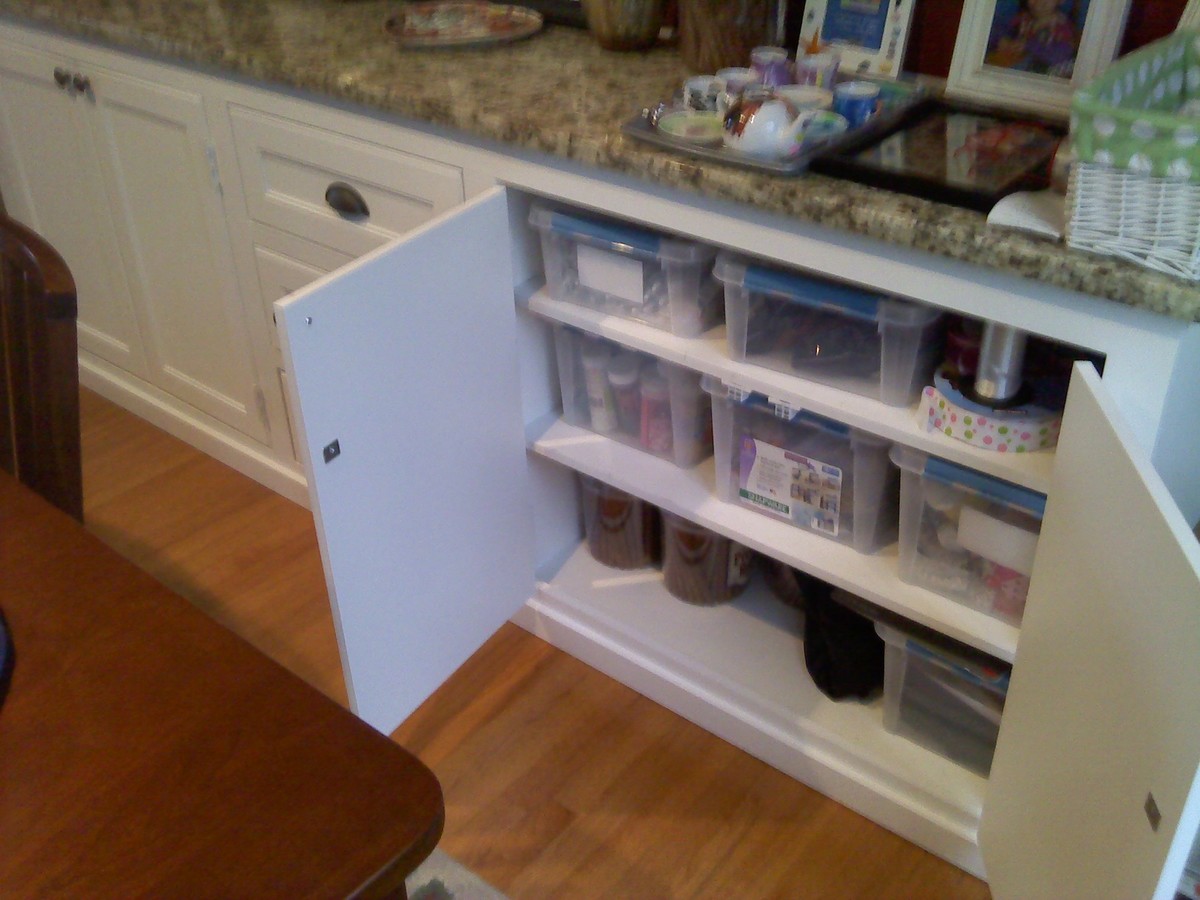
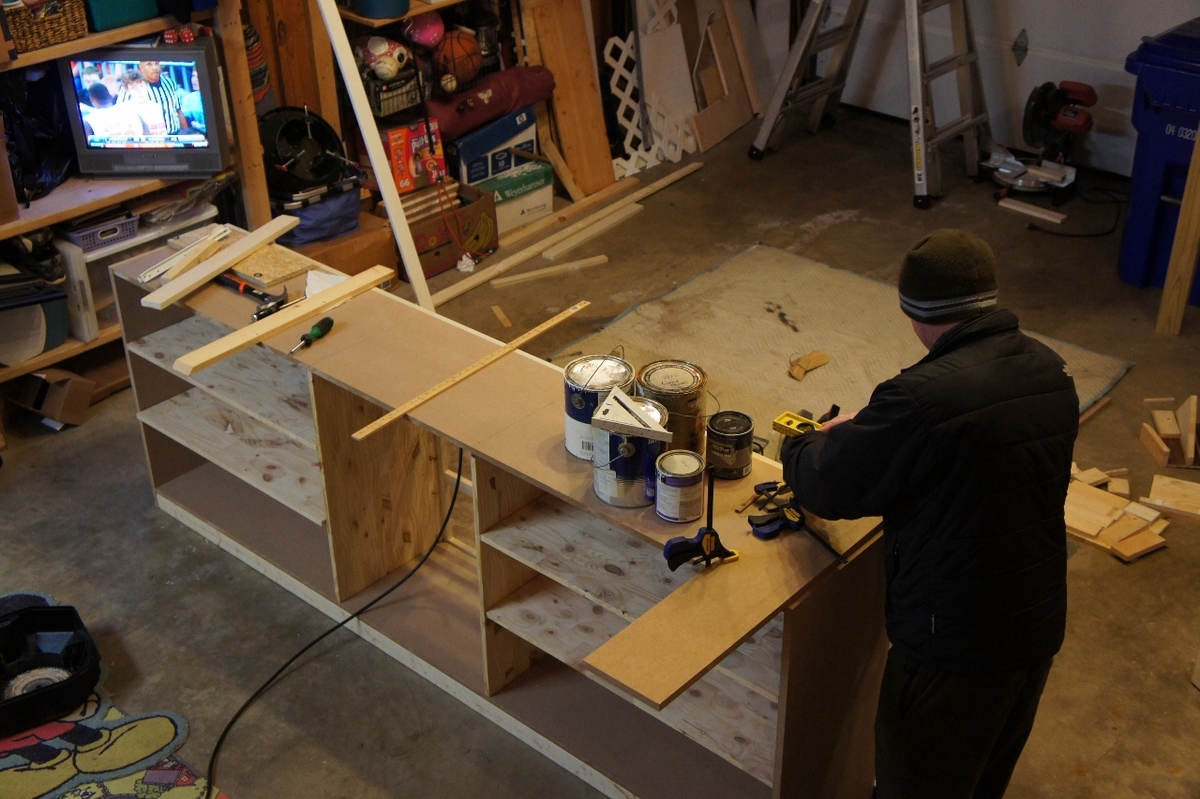
I scoured the web unsuccessfully for months trying to find a cabinet big enough to store everything we needed to store. I wanted something huge and bright and simple, and so I decided to just build away. It's 8'4" long, 18" deep and 36" tall. Topped with a slab of Giallo Napoleon granite and painted a nice plain white. Took me only a few nights to build and paint, thanks to my power nailer and power paint sprayer. Thanks to a great deal on a remnant granite slab, this was just about $400 total start to finish. I winged the entire plan and didn't really use any plans in particular, though I have gathered many great ideas and tips from this site.

Built from Plan(s)
Estimated Cost
$450-500
Estimated Time Investment
Weekend Project (10-20 Hours)
Finish Used
Satin white, nothing special!
Recommended Skill Level
Intermediate

Comments

shanestric

Sat, 08/13/2011 - 14:51

Wow - looks great! You would think it was done by a pro! You should be very proud of your finished product.

Toy garage

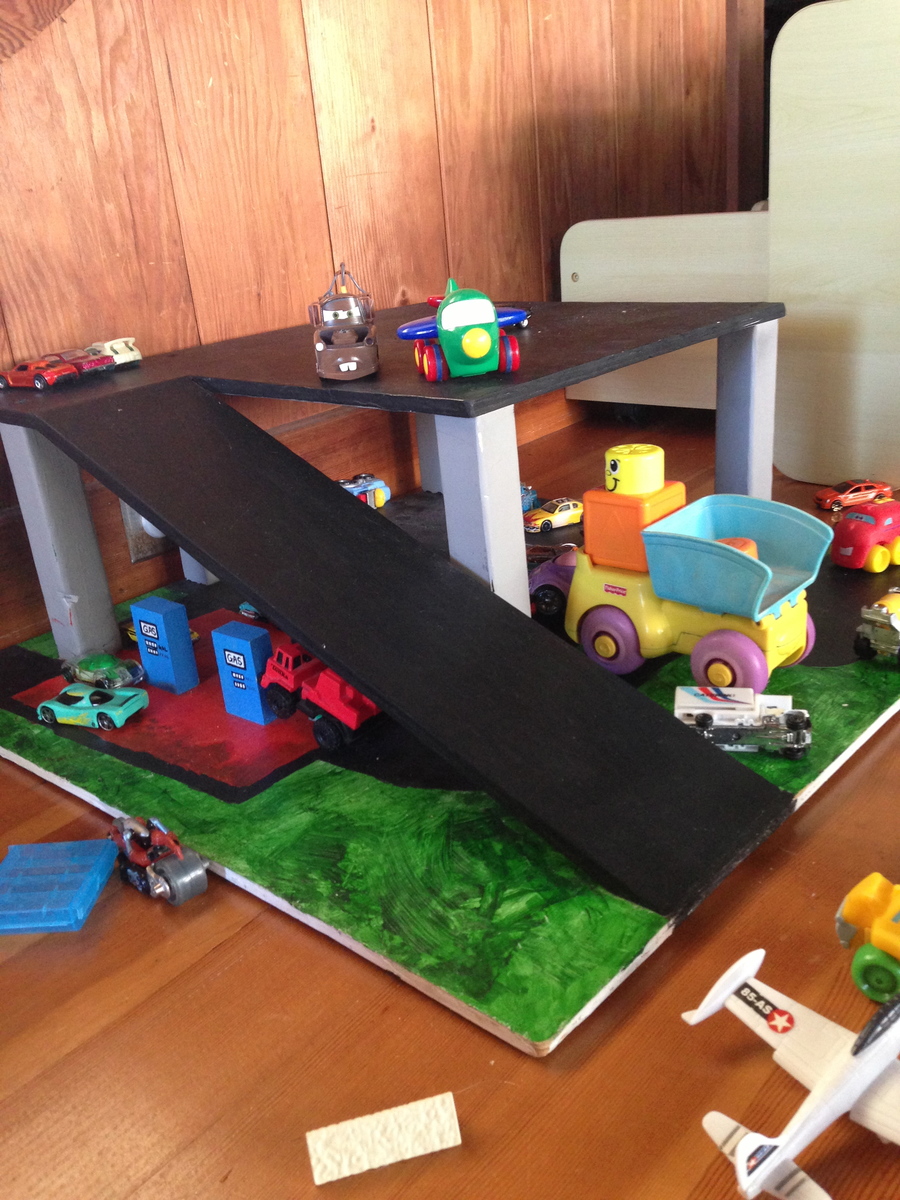
I got inspired by Ana to design my own toy garage - so that there would be somewhere to store all the hot wheels that kept piling up! I have no idea what the angle is for the driveway ramp - it was trial and error with help from my husband, but it's pretty sturdy. Between the mitered cut and the copious amounts of glue, it holds the weight of a 25 lb toddler walking up it (though I try to discourage it!).
I used chalkboard paint and acrylics - so that we can draw parking stalls, lanes, or arrows as desired - my son helped with the painting. So far, the favorite activities are sending the cars down the ramp, one after another...

Estimated Time Investment
Weekend Project (10-20 Hours)
Recommended Skill Level
Beginner

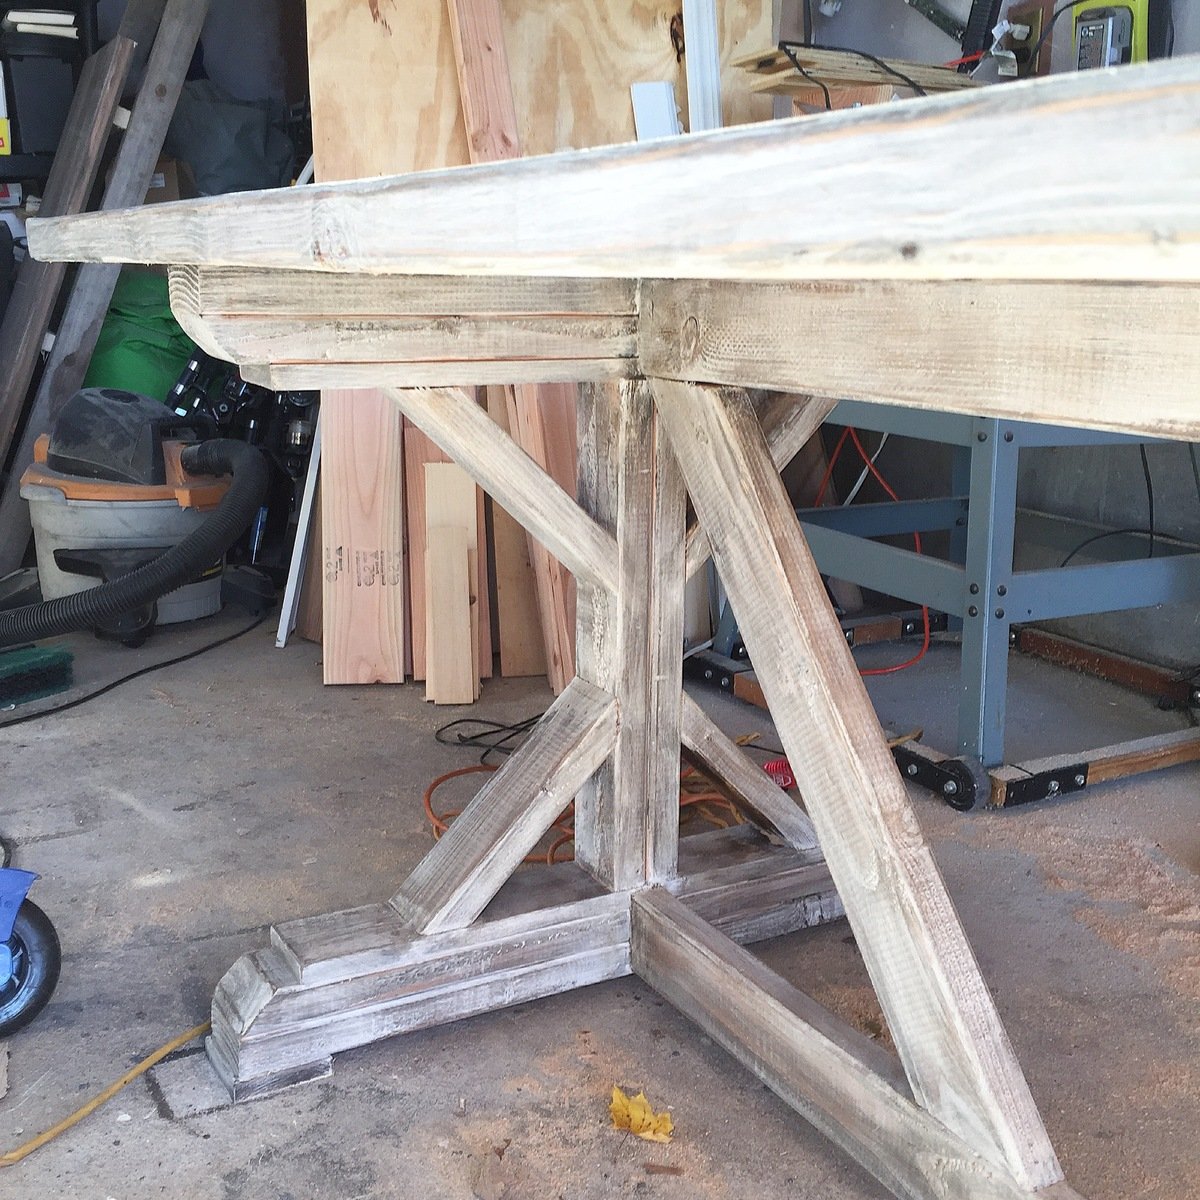
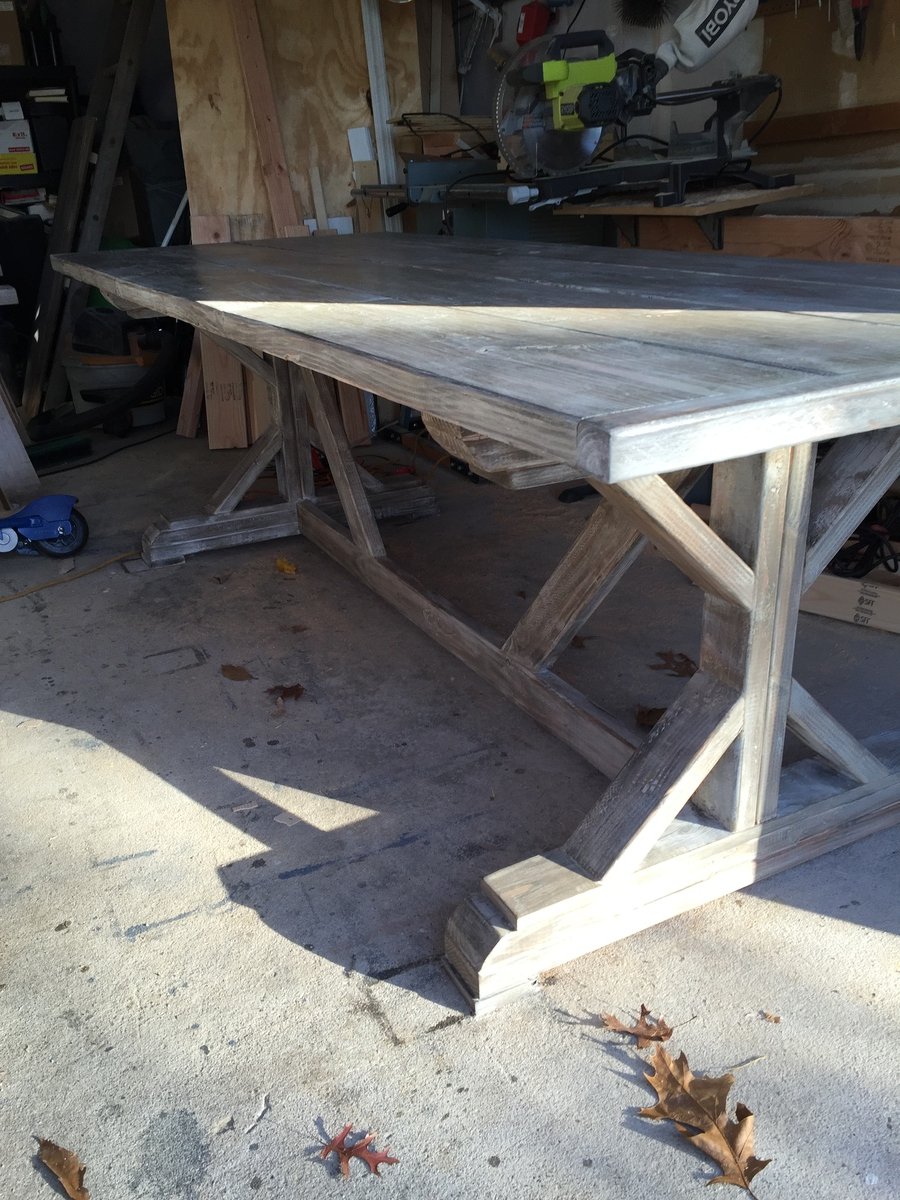
Rustic X Base Farmhouse table

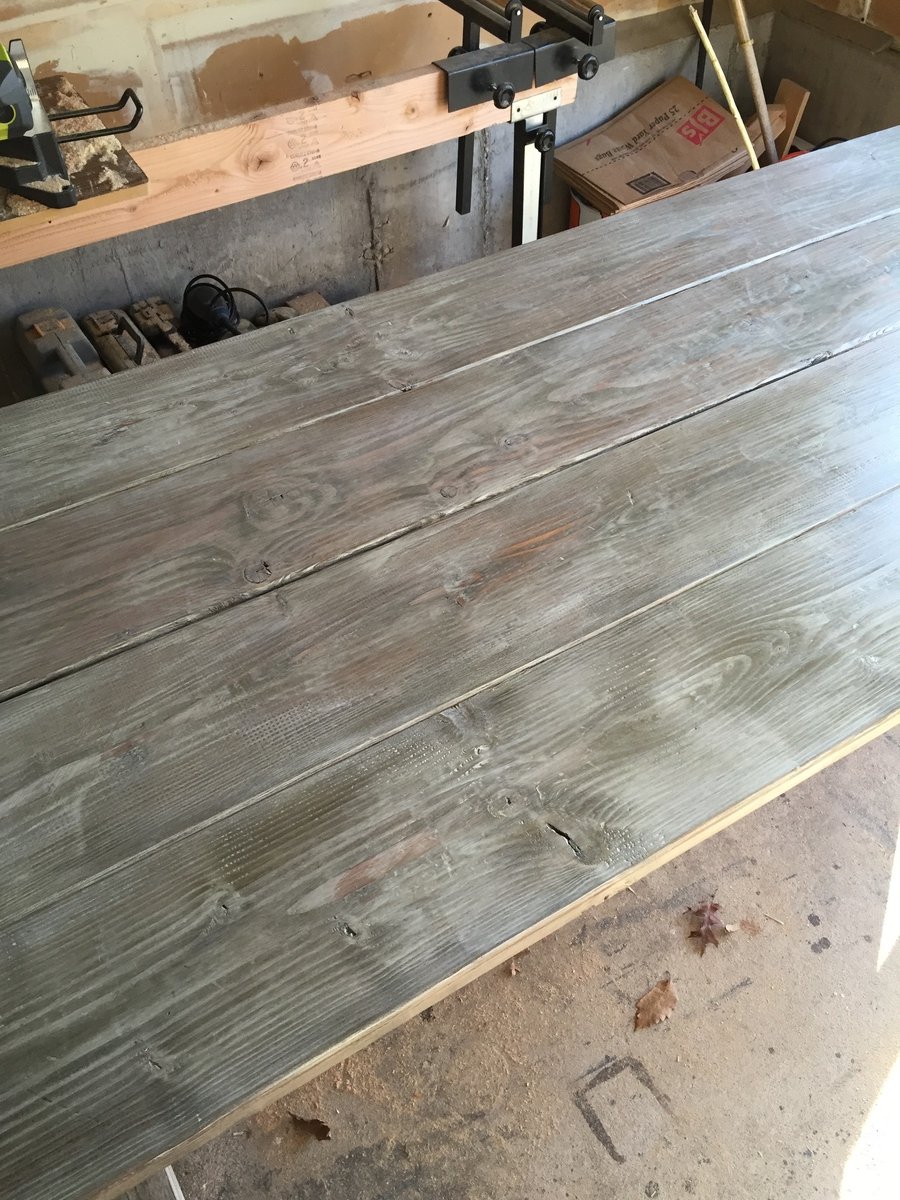
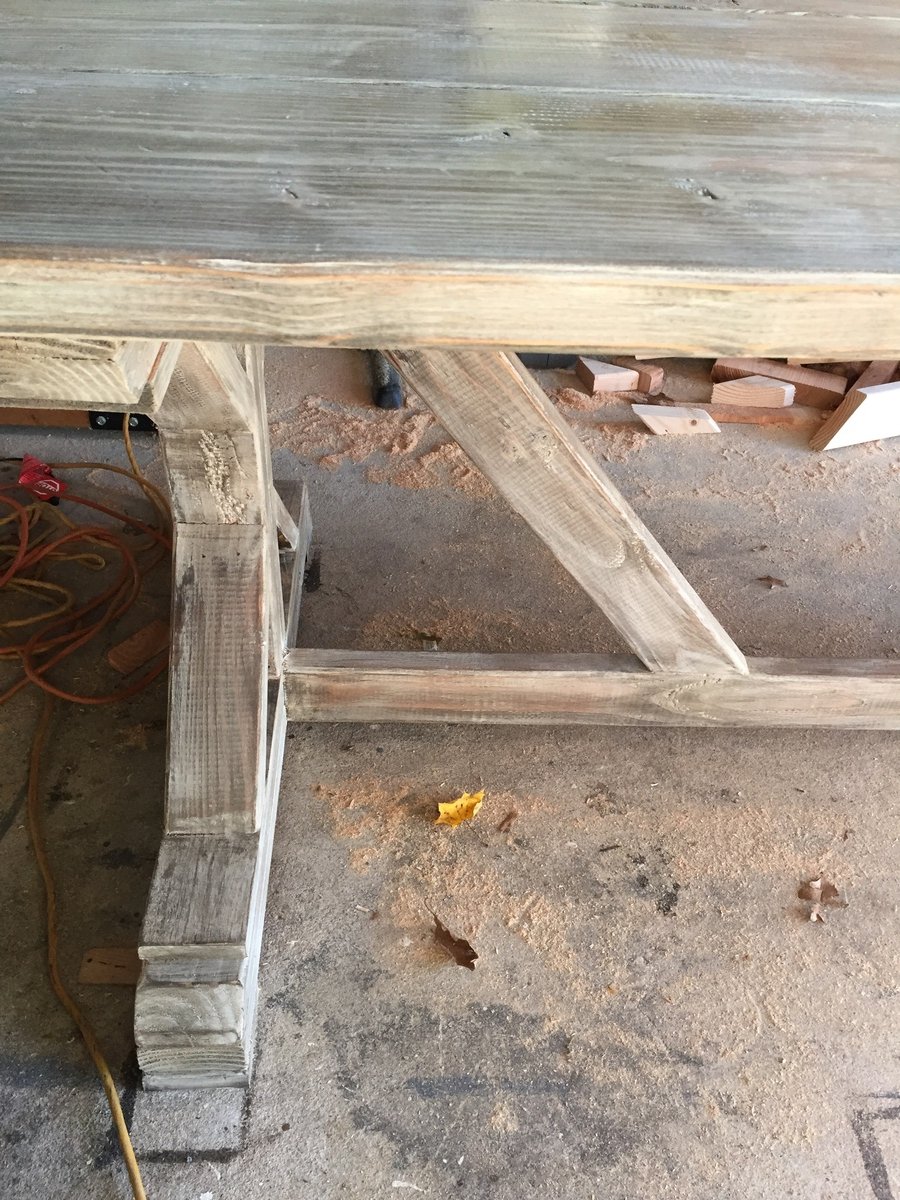
This table was made following the Ana White plan for the 8' table. I stained the whole thing Dark Walnut. I the rubbed Vaseline on the edges and anywhere else that I wanted distressed. I painted the table with a light coat of white chalk paint and sanded it to distress it after it dried. After getting the look that I wanted I applied a clear wax.

Built from Plan(s)
Estimated Time Investment
Afternoon Project (3-6 Hours)
Finish Used
Minwax Daek Walnut stain
Rustoleum chalked linen white paint
Minwax finishing wax natural color
Recommended Skill Level
Intermediate

Adirondack Chairs

Submitted by Anonymous (not verified) on Sat, 10/15/2022 - 17:52

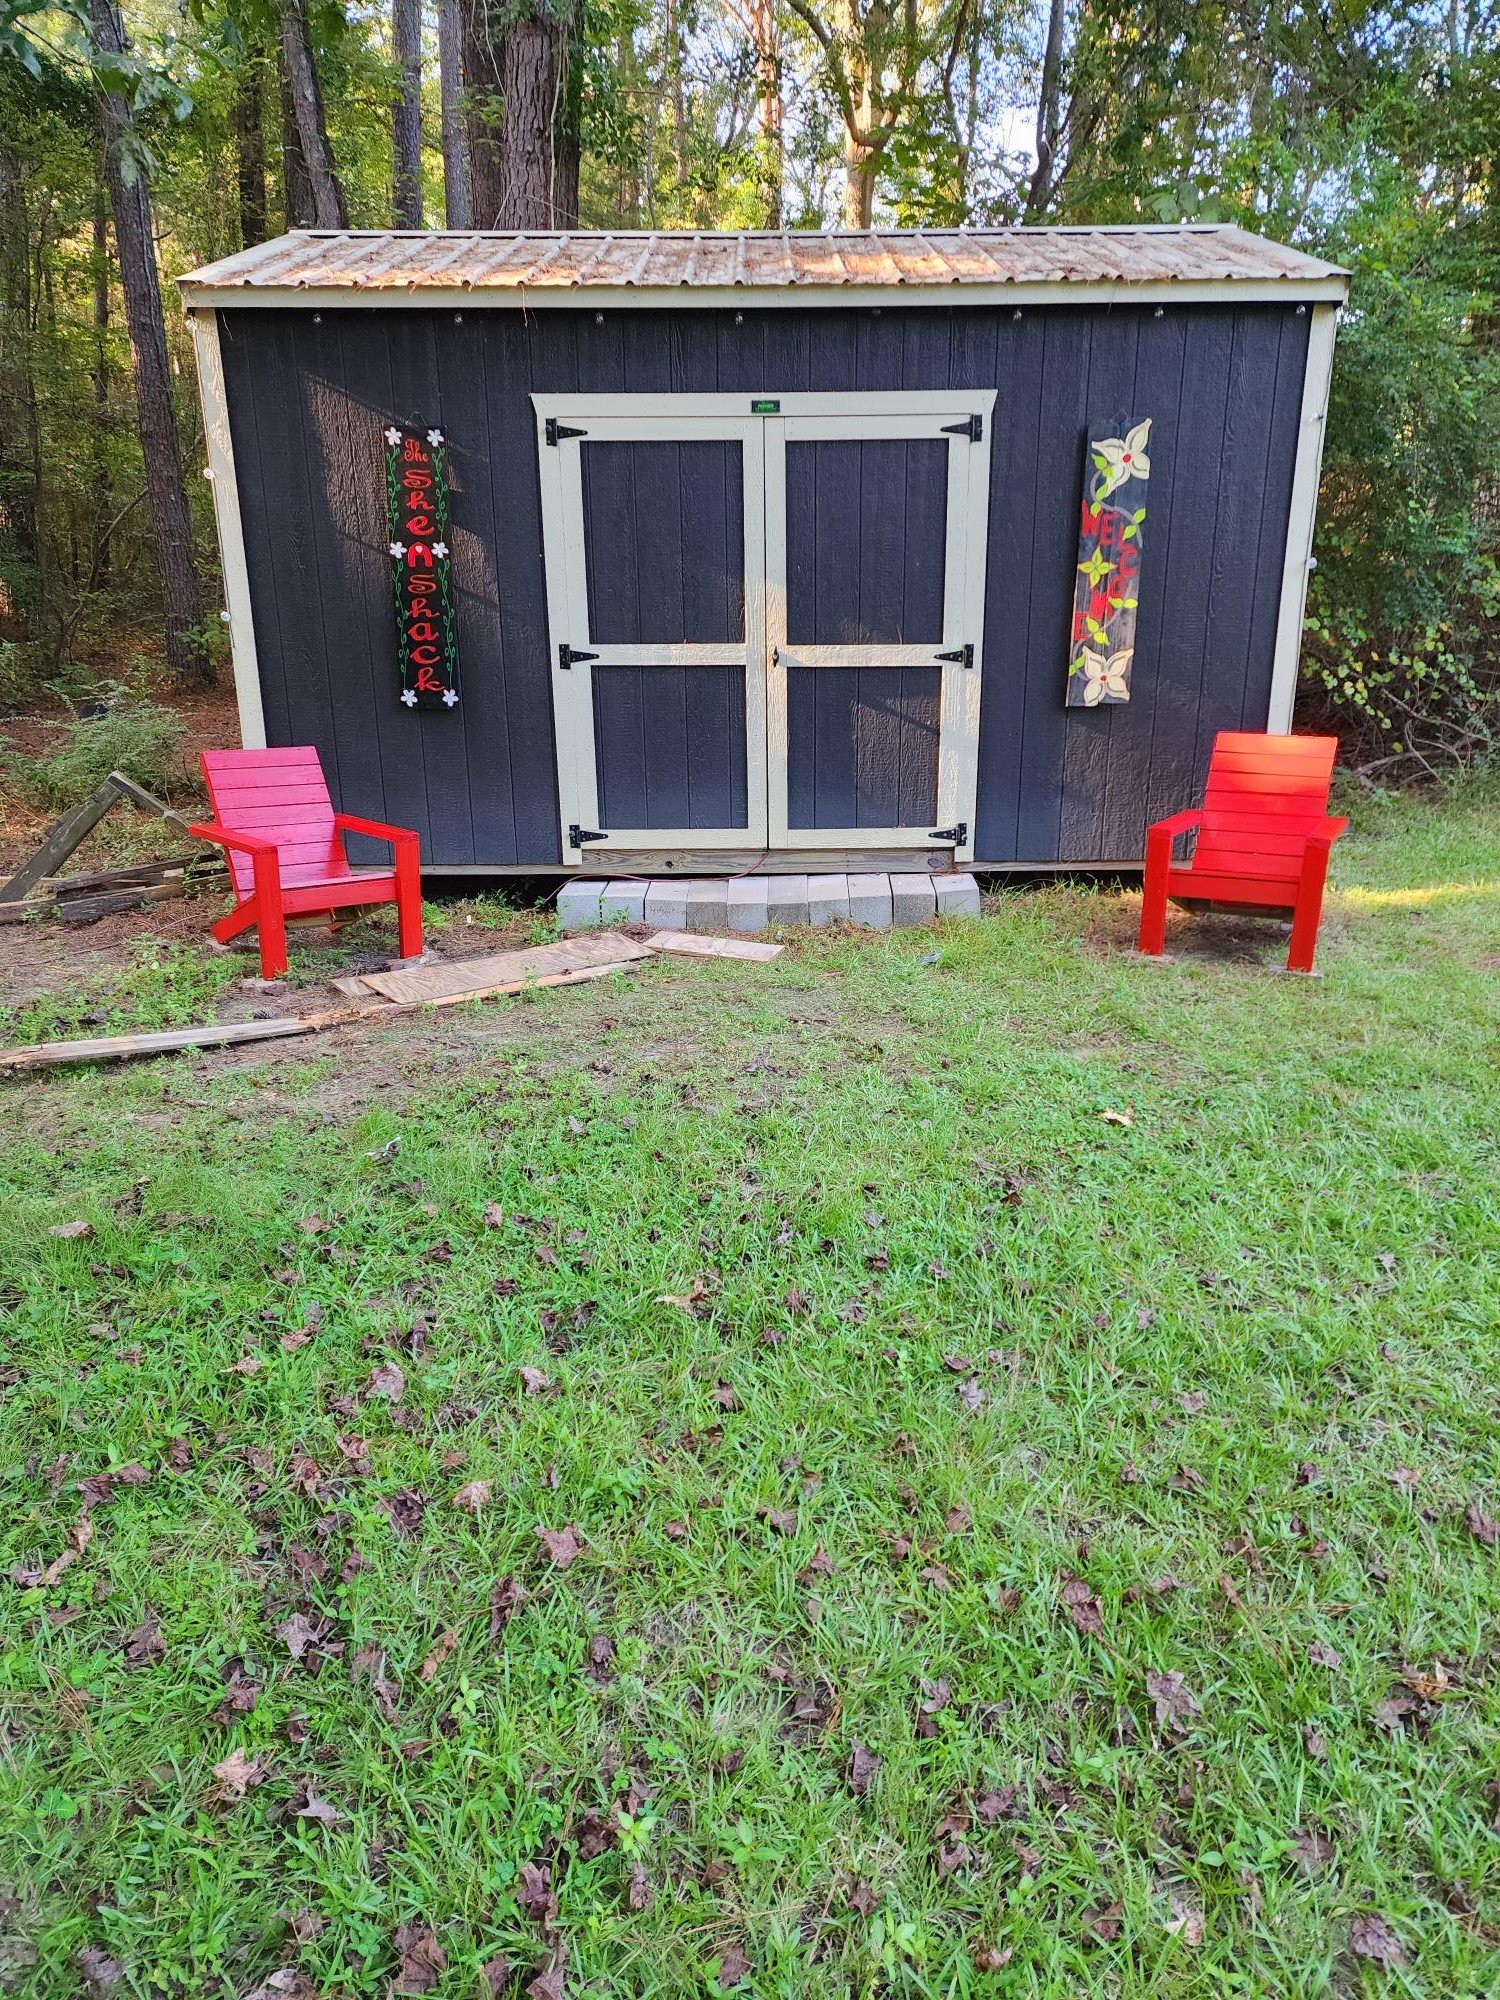
I made these adirondack chairs out of scrap 1 x4's I had left from another project. Along with the 2 x 4's. They came out beautiful. I plan to put them on my patio but they look so good by my shed. Thanks Ana for the easy plans to go by.

Built from Plan(s)

Comments

First-timer Farmhouse Table

Submitted by engarde on Mon, 09/30/2013 - 15:28

Ah behold the allure of a really good set of plans. :) Famous last words, "it looked a lot easier on paper!"

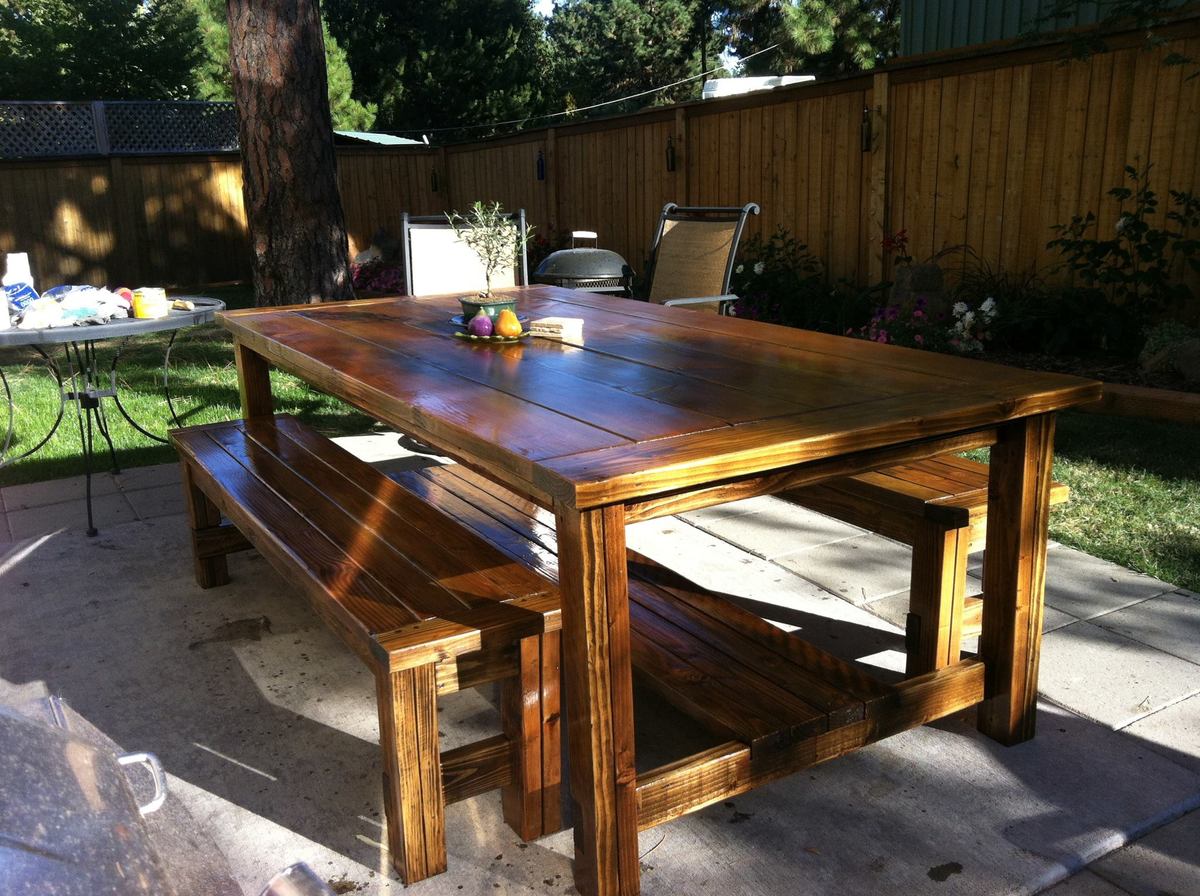
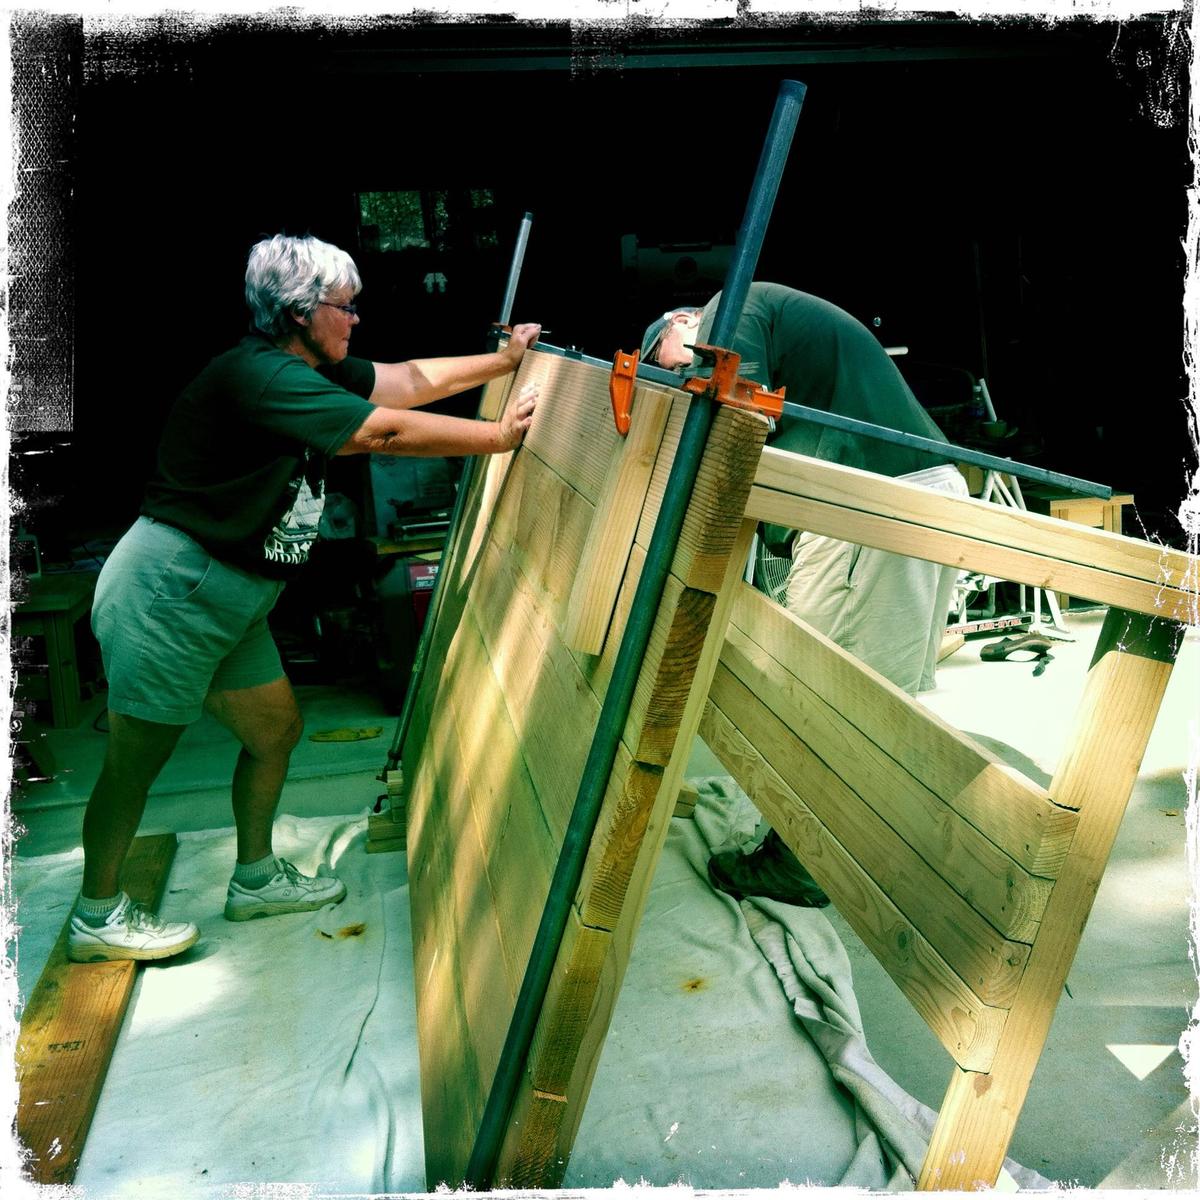
I happened across the wonderful plans for the Farmhouse Table on this site. Then I saw how it only took Handy Andy a mere 2-3 hours to make his out of reclaimed wood and thinking I would enlist my retired carpenter father to help me, easy peasy, right? Well, that was the plan anyway. :)

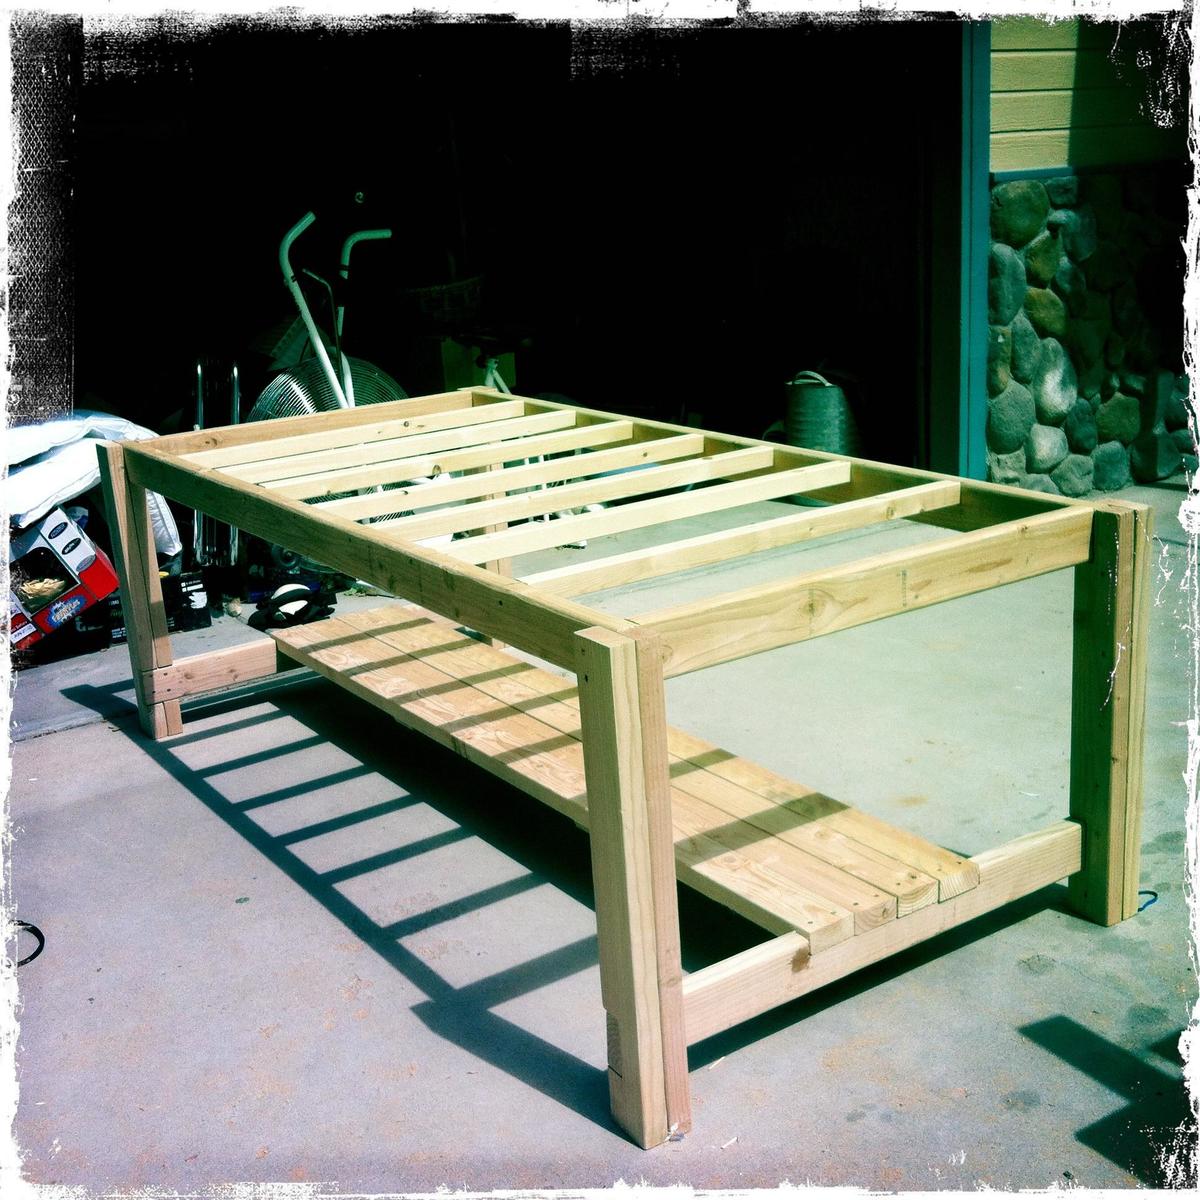
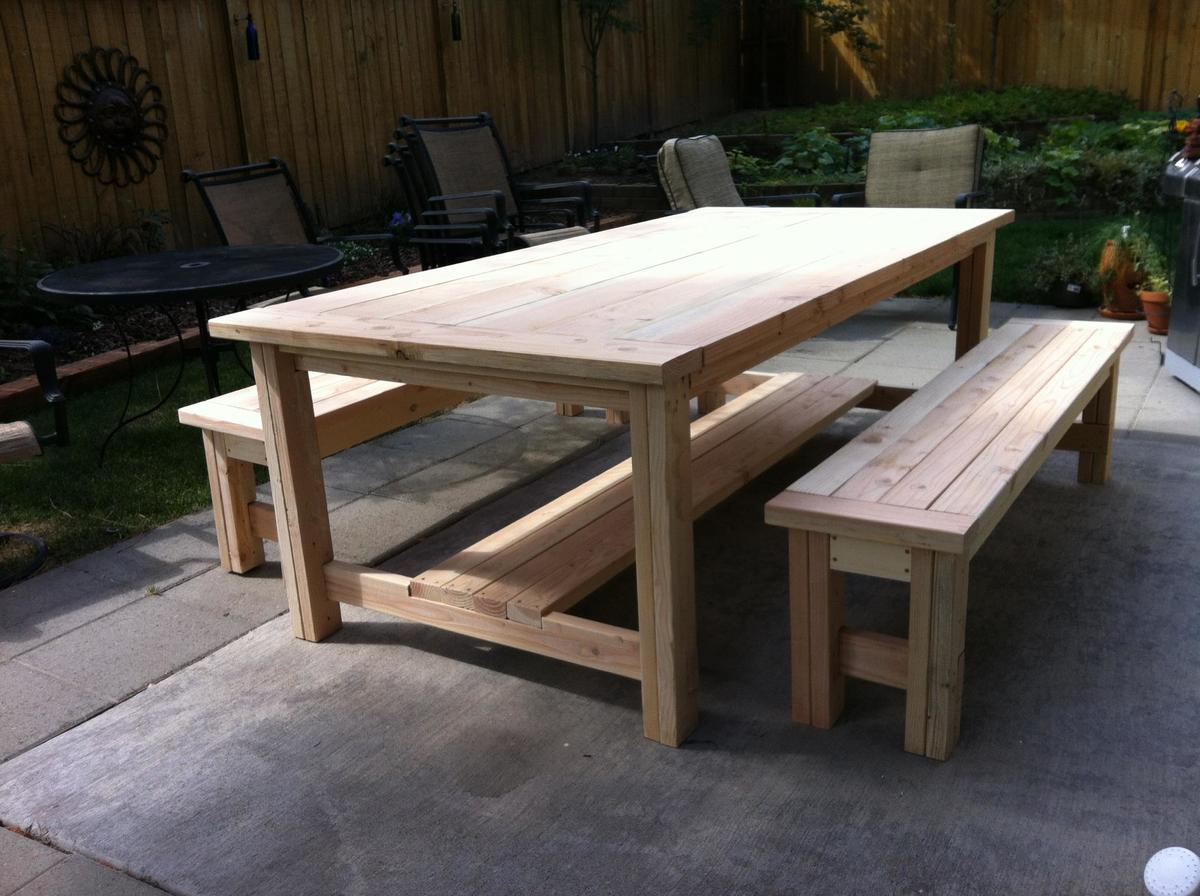
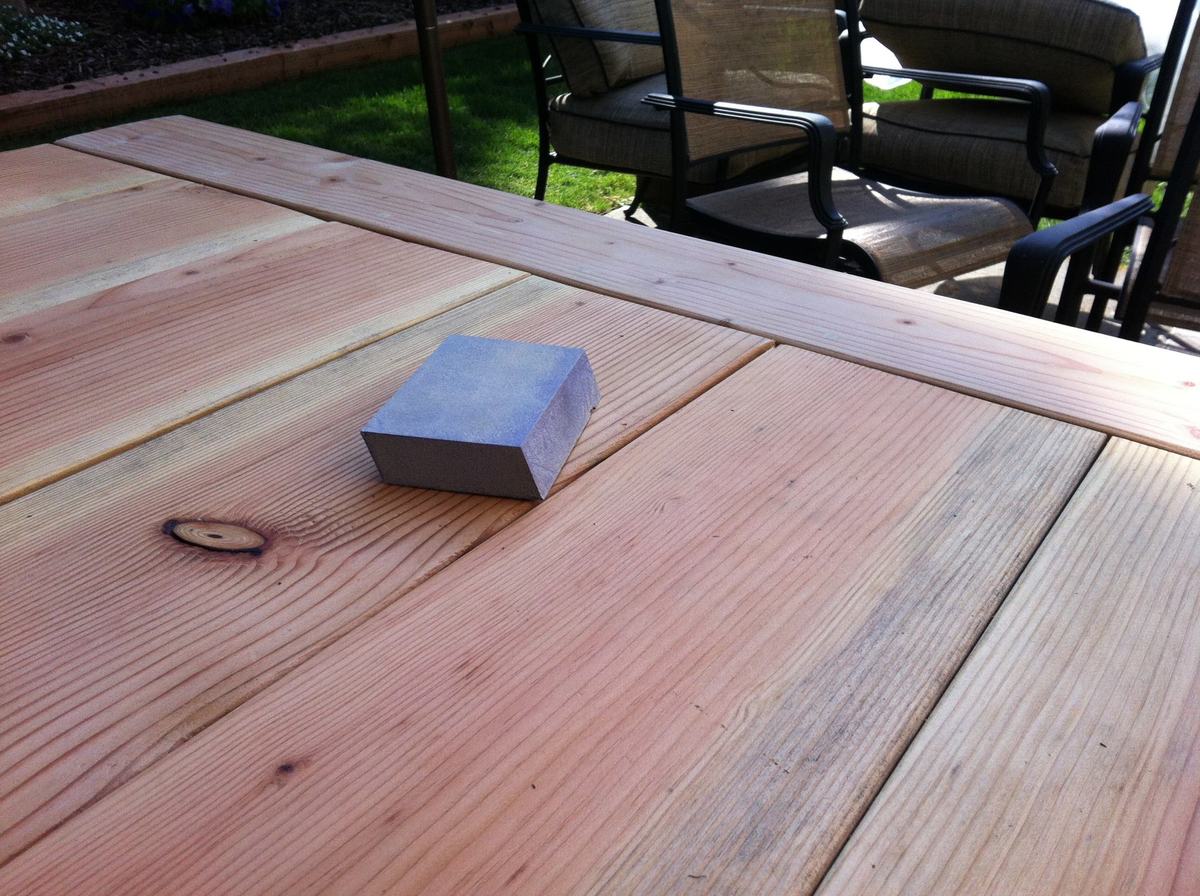
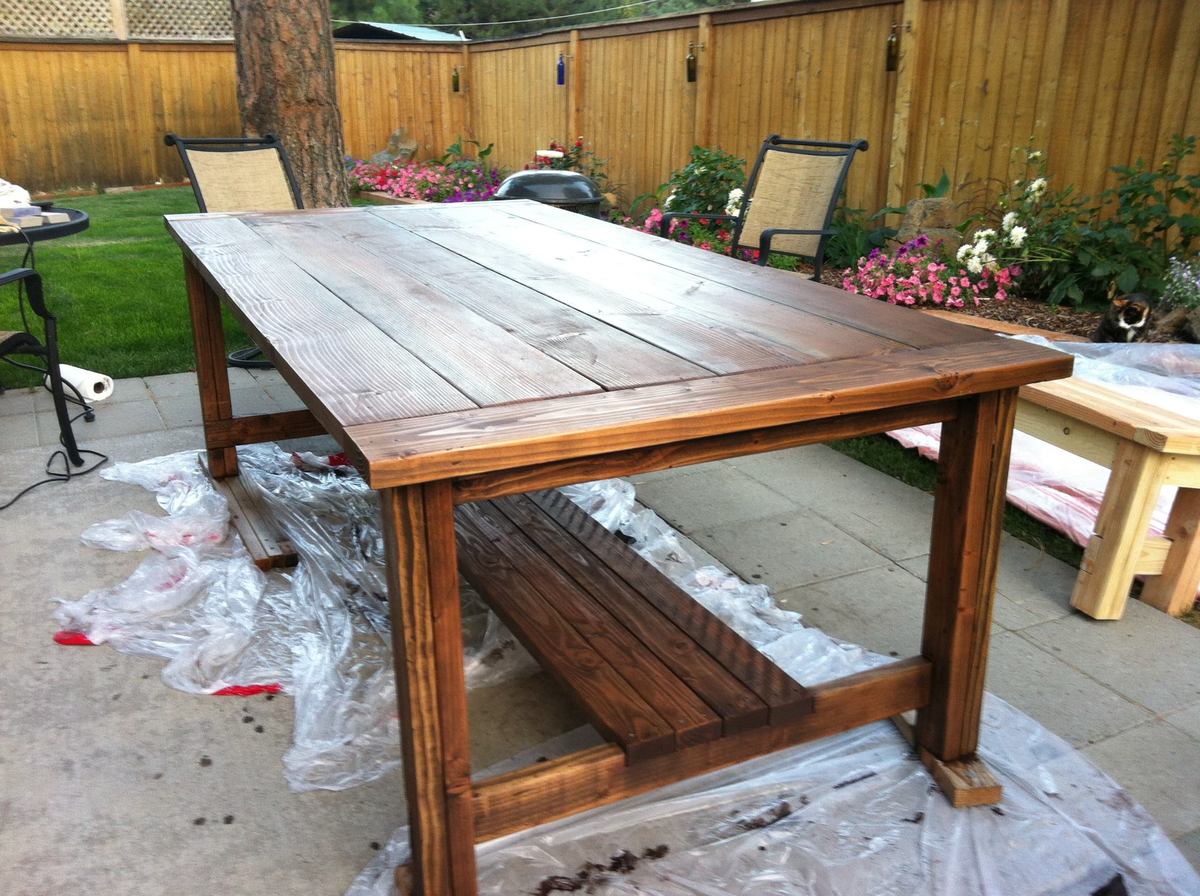
A couple of things to note, I purchased new fir wood as it was the most cost effective and frankly the least problematic in regards to finding the straightest boards. I did vary the design in that I added the shelf under the table for both storage as well as a footrest for diners. The design I ended up with was a little more complicated and I tried sanding as much of the boards from the beginning as possible in order to try and cut down on the amount of time spent on my knees later. Yeah, that was a nice thought.

Dad and I followed the plan provided, allowing my modifications for the footrest/shelf and I also made my top 45" wide. (I have another dining table that I had hopes of butting them together for large dinner parties if needed and wanted them relatively the same size). I will say that what I ended up with was an extremely heavy table which I transported home to stain and varathane on my own.

A couple of weeks later, well, the project took more than 2-3 hours (heh) but I am really happy with the results. If I were to do it again, I would probably have stained it a tad darker as this was my first staining/sanding/varathaning project and I took a little too much of the stain off sanding. It's okay, maybe someday I will strip off the varathane and restain it. Then again, it took so much time to do the first time maybe I won't!

A couple questions:
I would like to keep my table outdoors, but would like to add low profile metal feet to protect the wood. Does anyone have a suggestion where to look for heavy duty feet?

Second, any suggestions on how to get the spar varathane off my concrete patio? Yikes!

Thank you Ana for the wonderful plans!

Estimated Cost
$400
Estimated Time Investment
Week Long Project (20 Hours or More)
Finish Used
Daly's wood stain,
Minwax Helmsman Spar Urethane Satin
Recommended Skill Level
Intermediate

Comments

engarde

Thu, 10/10/2013 - 15:13

We had a couple of lovely dinner parties this summer on it. I was surprised as to how many we were able to seat around it. A really good set of plans. :)

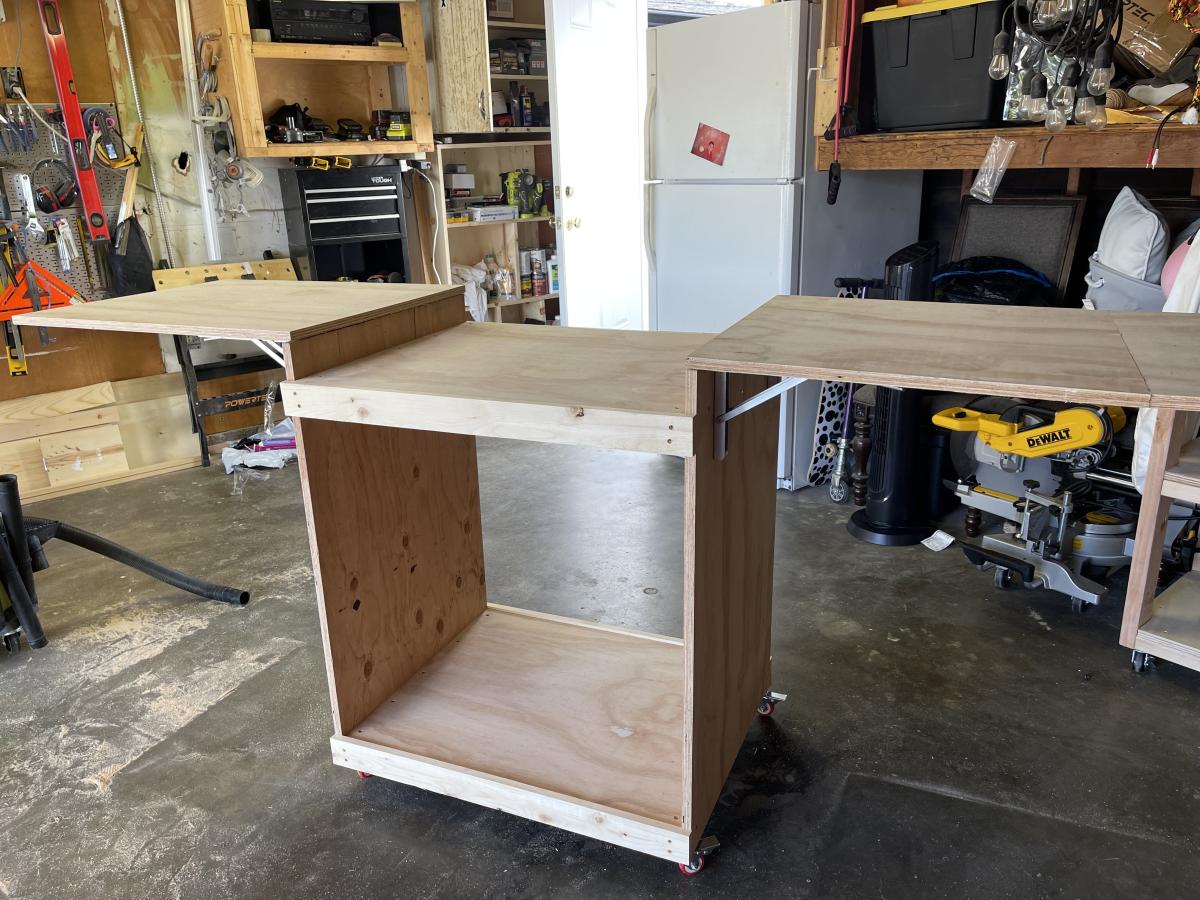
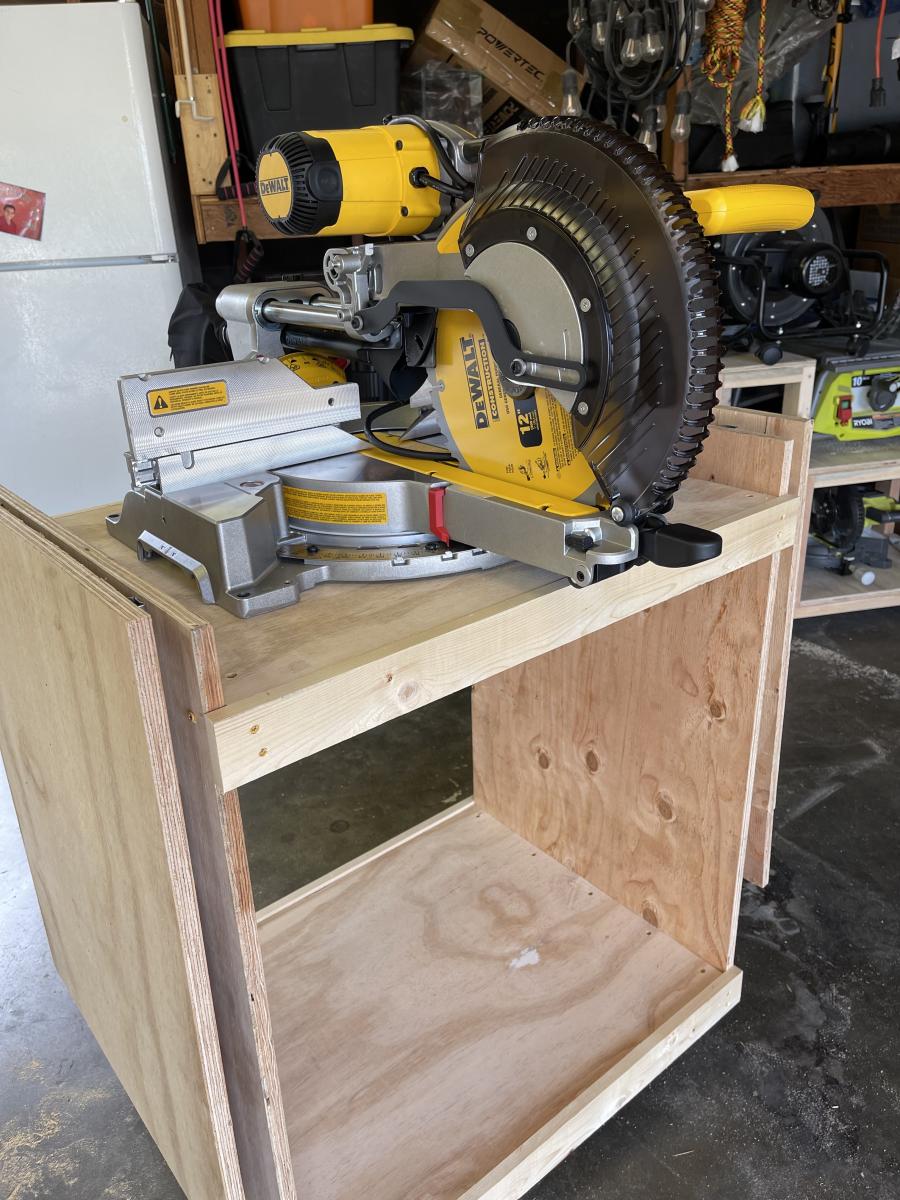
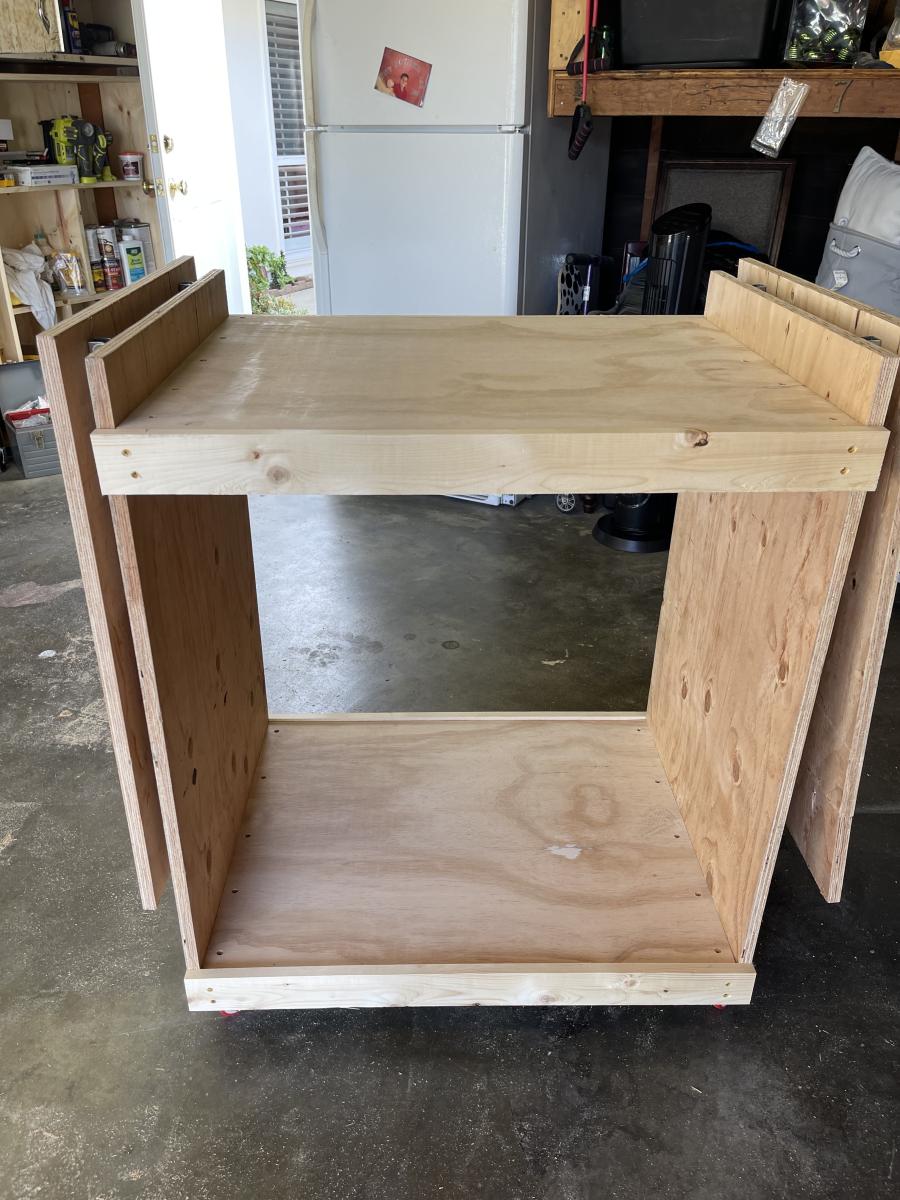
Miter saw cart

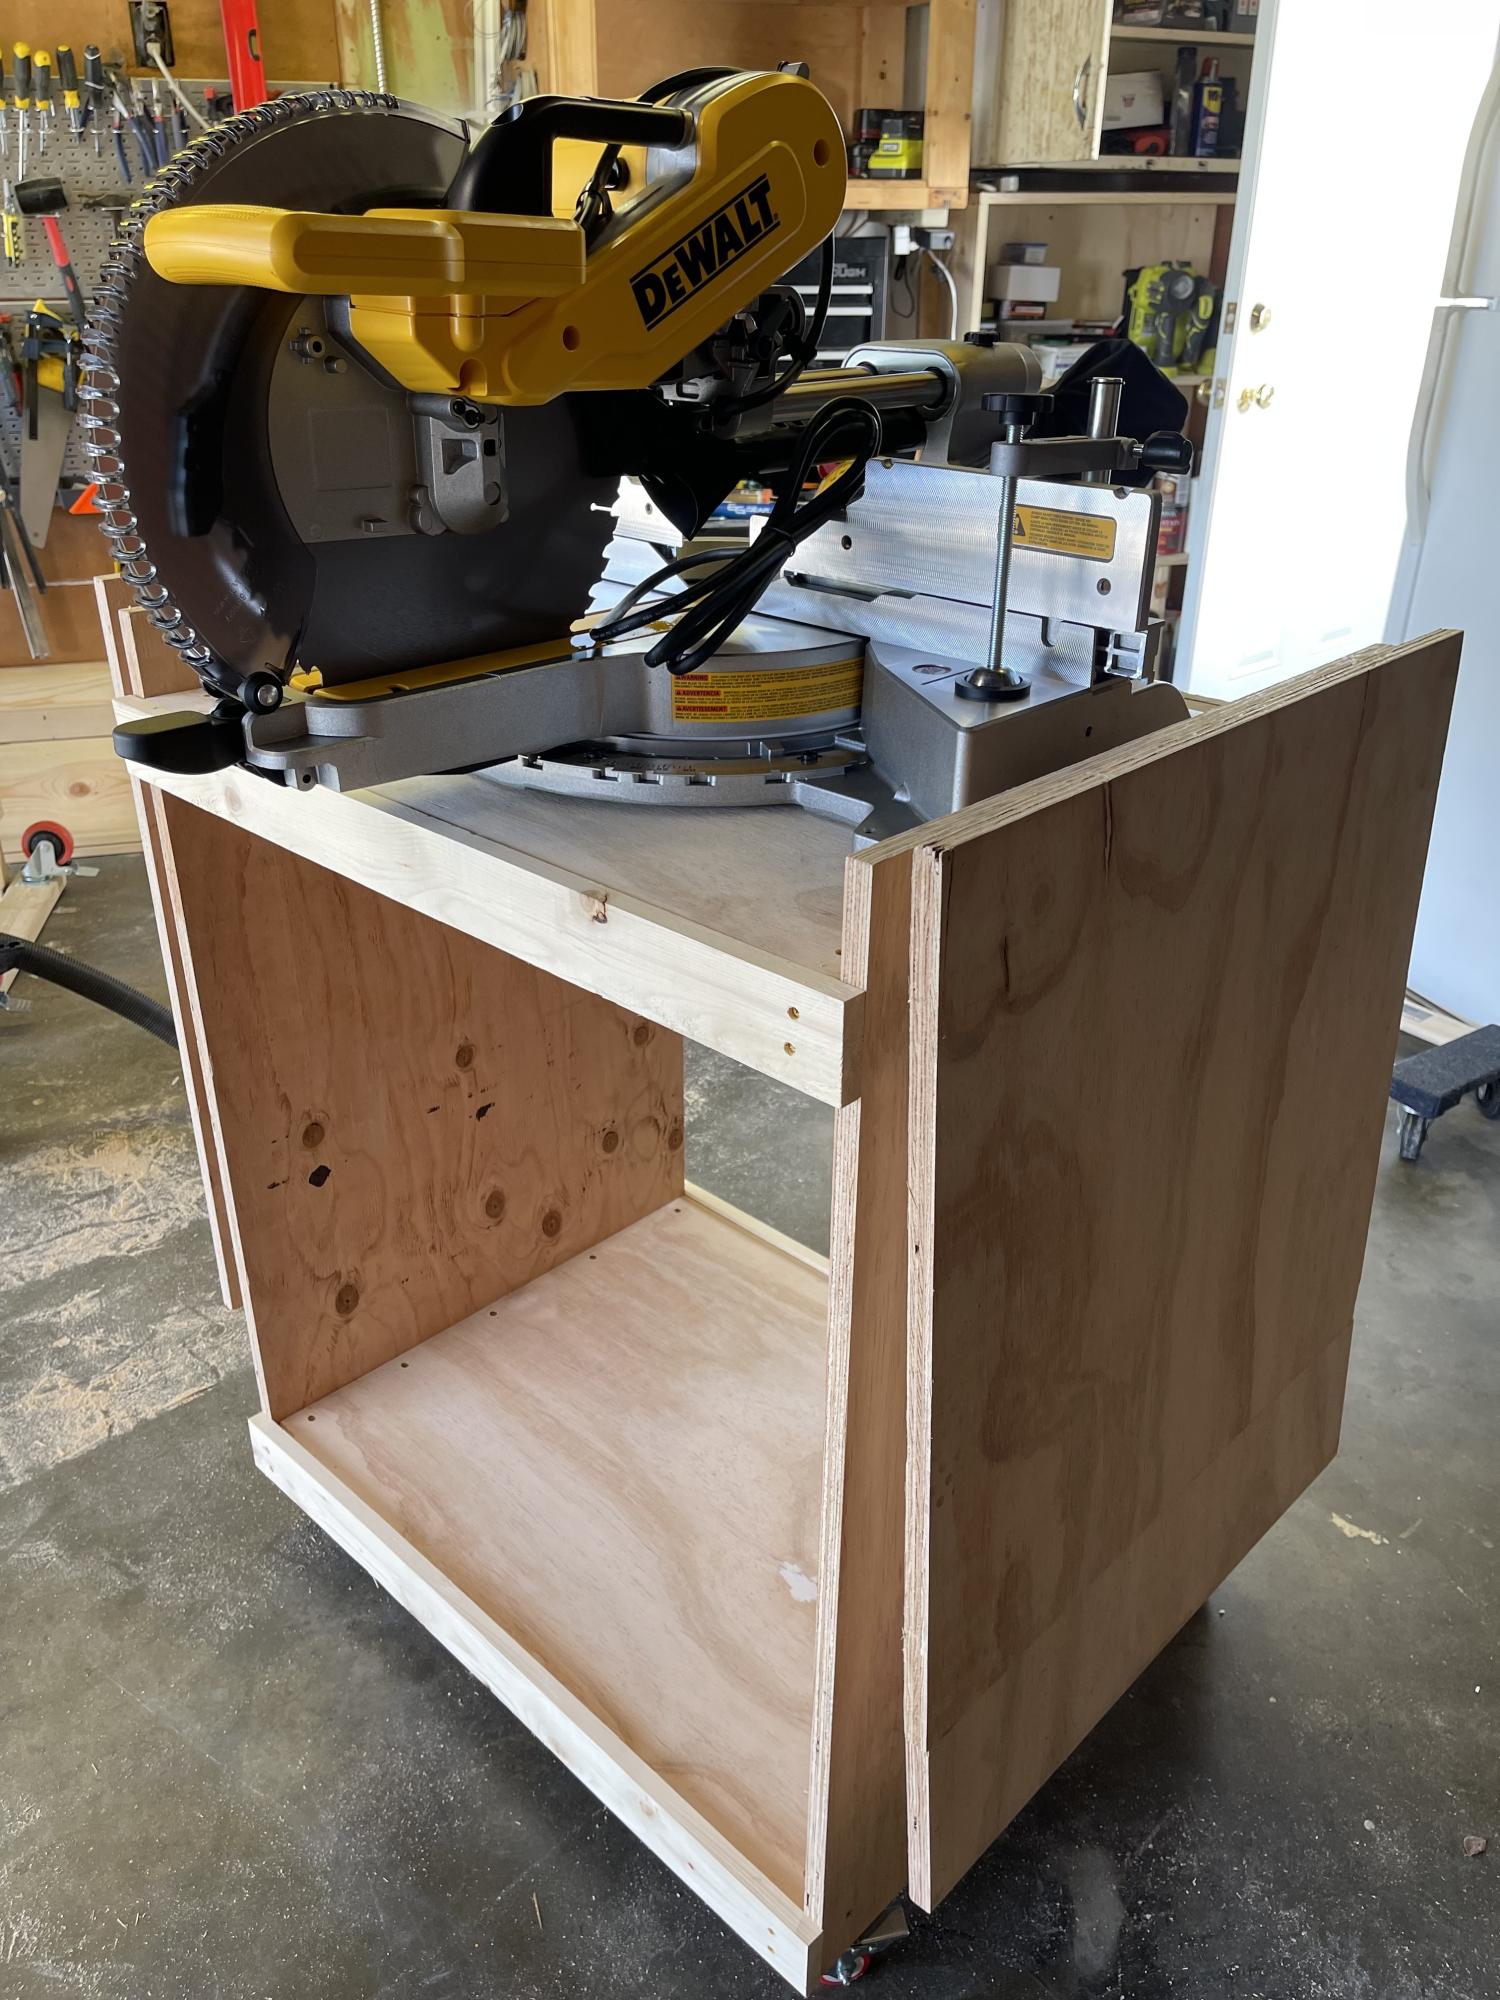
I looked at several solutions for a potable miter saw cart given that I had just purchased a new miter saw and it is quite heavy. Opted for the miter saw cart in Ana's website because it provided the most flexibility given my limited working space.

Built from Plan(s)

King storage bed

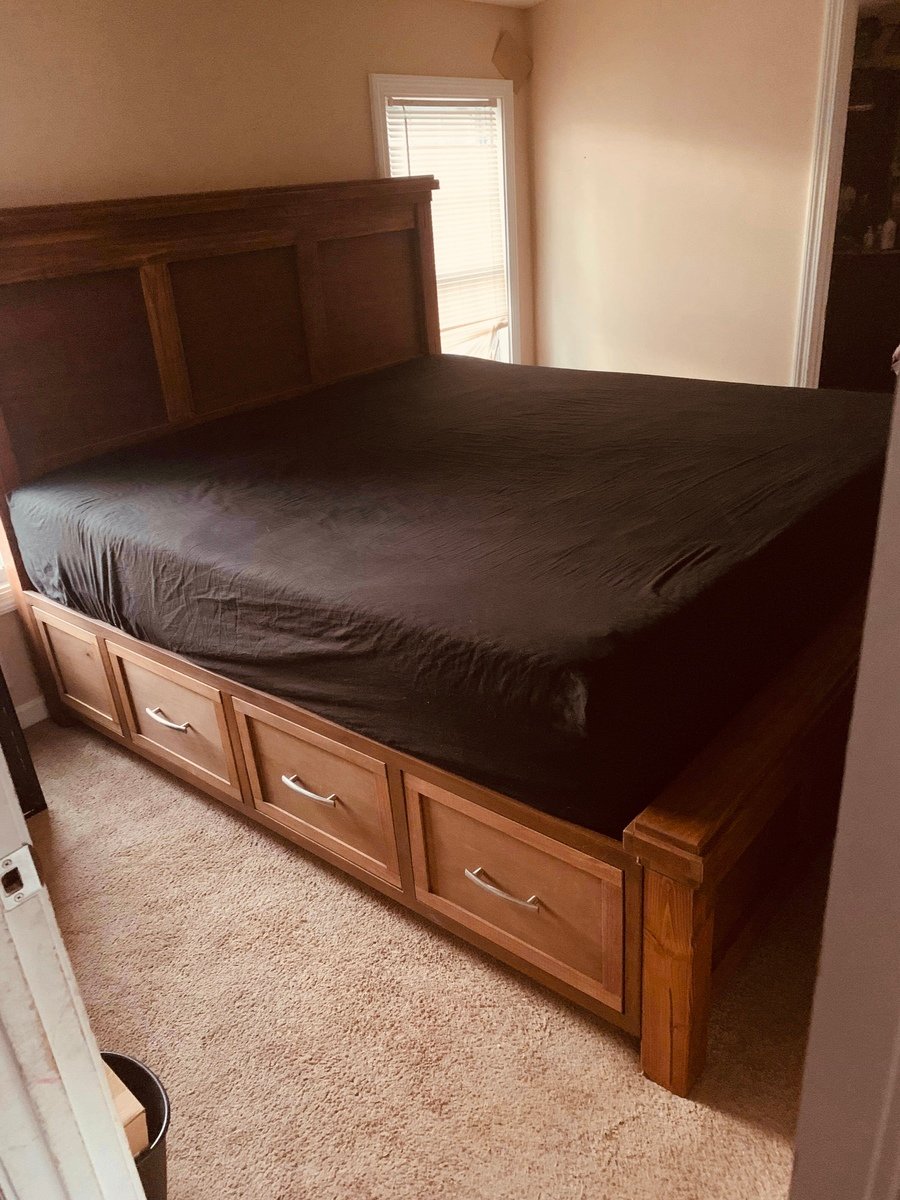
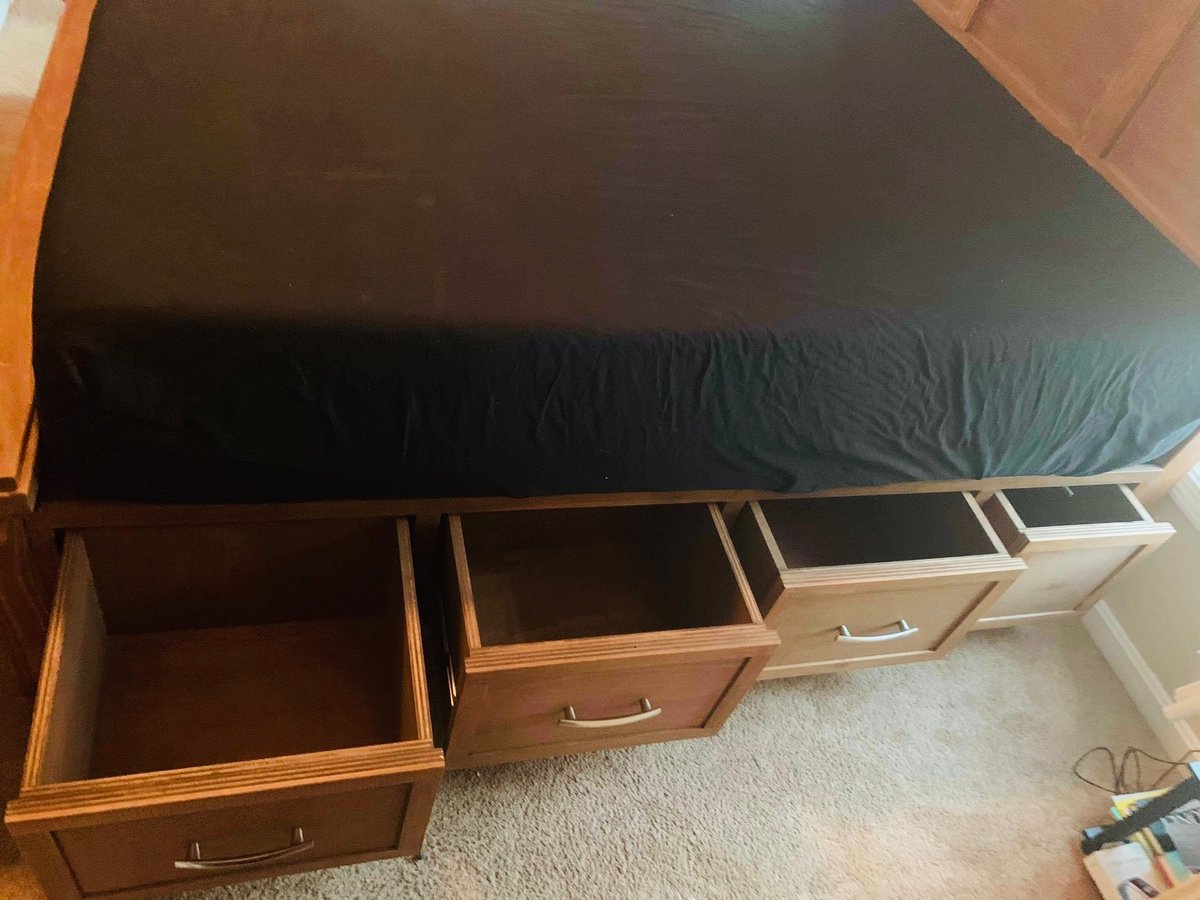
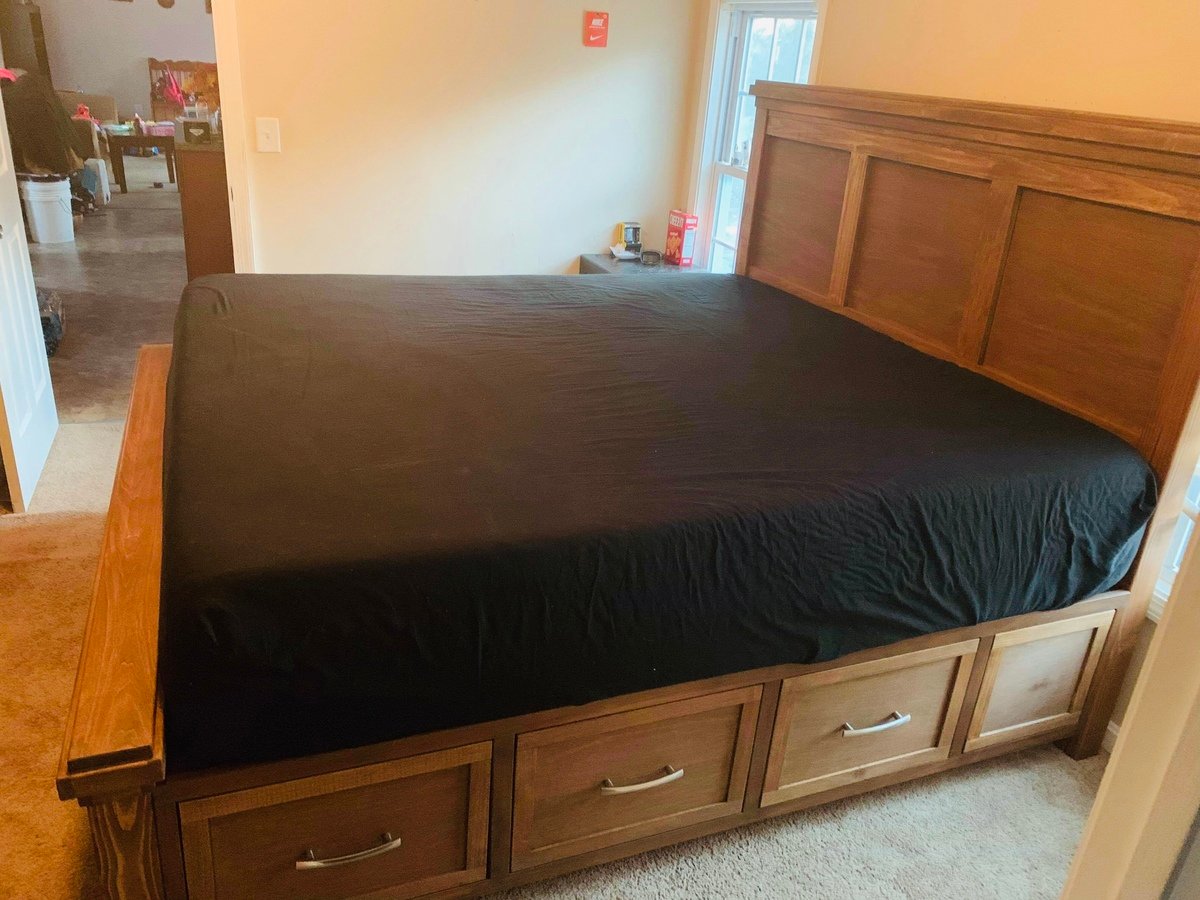
This bed was built using poplar, and pine wood. I used poplar for most of the stained pieces that are visible, and the stain is varathanes Early American. This is the fourth bed I’ve built with Ana’s Farmhouse Storage Bed plans, because it breaks down to four pieces, headboard, footboard and two side boxes, along with the drawers. This makes it easy to assemble on site.

Estimated Cost
$550
Estimated Time Investment
Weekend Project (10-20 Hours)
Finish Used
Varathane, Early American stain
Varathane satin polyurethane
Recommended Skill Level
Intermediate

Comments

Bengals97

Tue, 07/28/2020 - 14:33

I really like how you built this...I noticed you used the queen plans but made a king. Would you be able to share the changes you made to make this a king. I am still relatively new in my woodworking passion compared to your 25 years of experience. Thanks for sharing your end result...I would be open to pay for the updated plans if need be as I know your time and experience is valuable.

DIY Red Storage Sofa

Submitted by TracAttack on Mon, 11/07/2011 - 23:11

Thanks Ana White for the blue print to an awesome storage sofa. I used the similar dimensions except mine is a bit shorter in width (60 inches wide). Now I just need to find awesome pillows to go with it.

Built from Plan(s)
Estimated Time Investment
Weekend Project (10-20 Hours)
Recommended Skill Level
Intermediate

Comments

Erika (not verified)

Sat, 12/24/2011 - 18:57

How much did it cost you to build this?

Cynthia l. (not verified)

Sat, 12/08/2012 - 05:41

How has the sofa held up? I want to make one, and also would like to know how much it cost to make.

Mothersday Planter

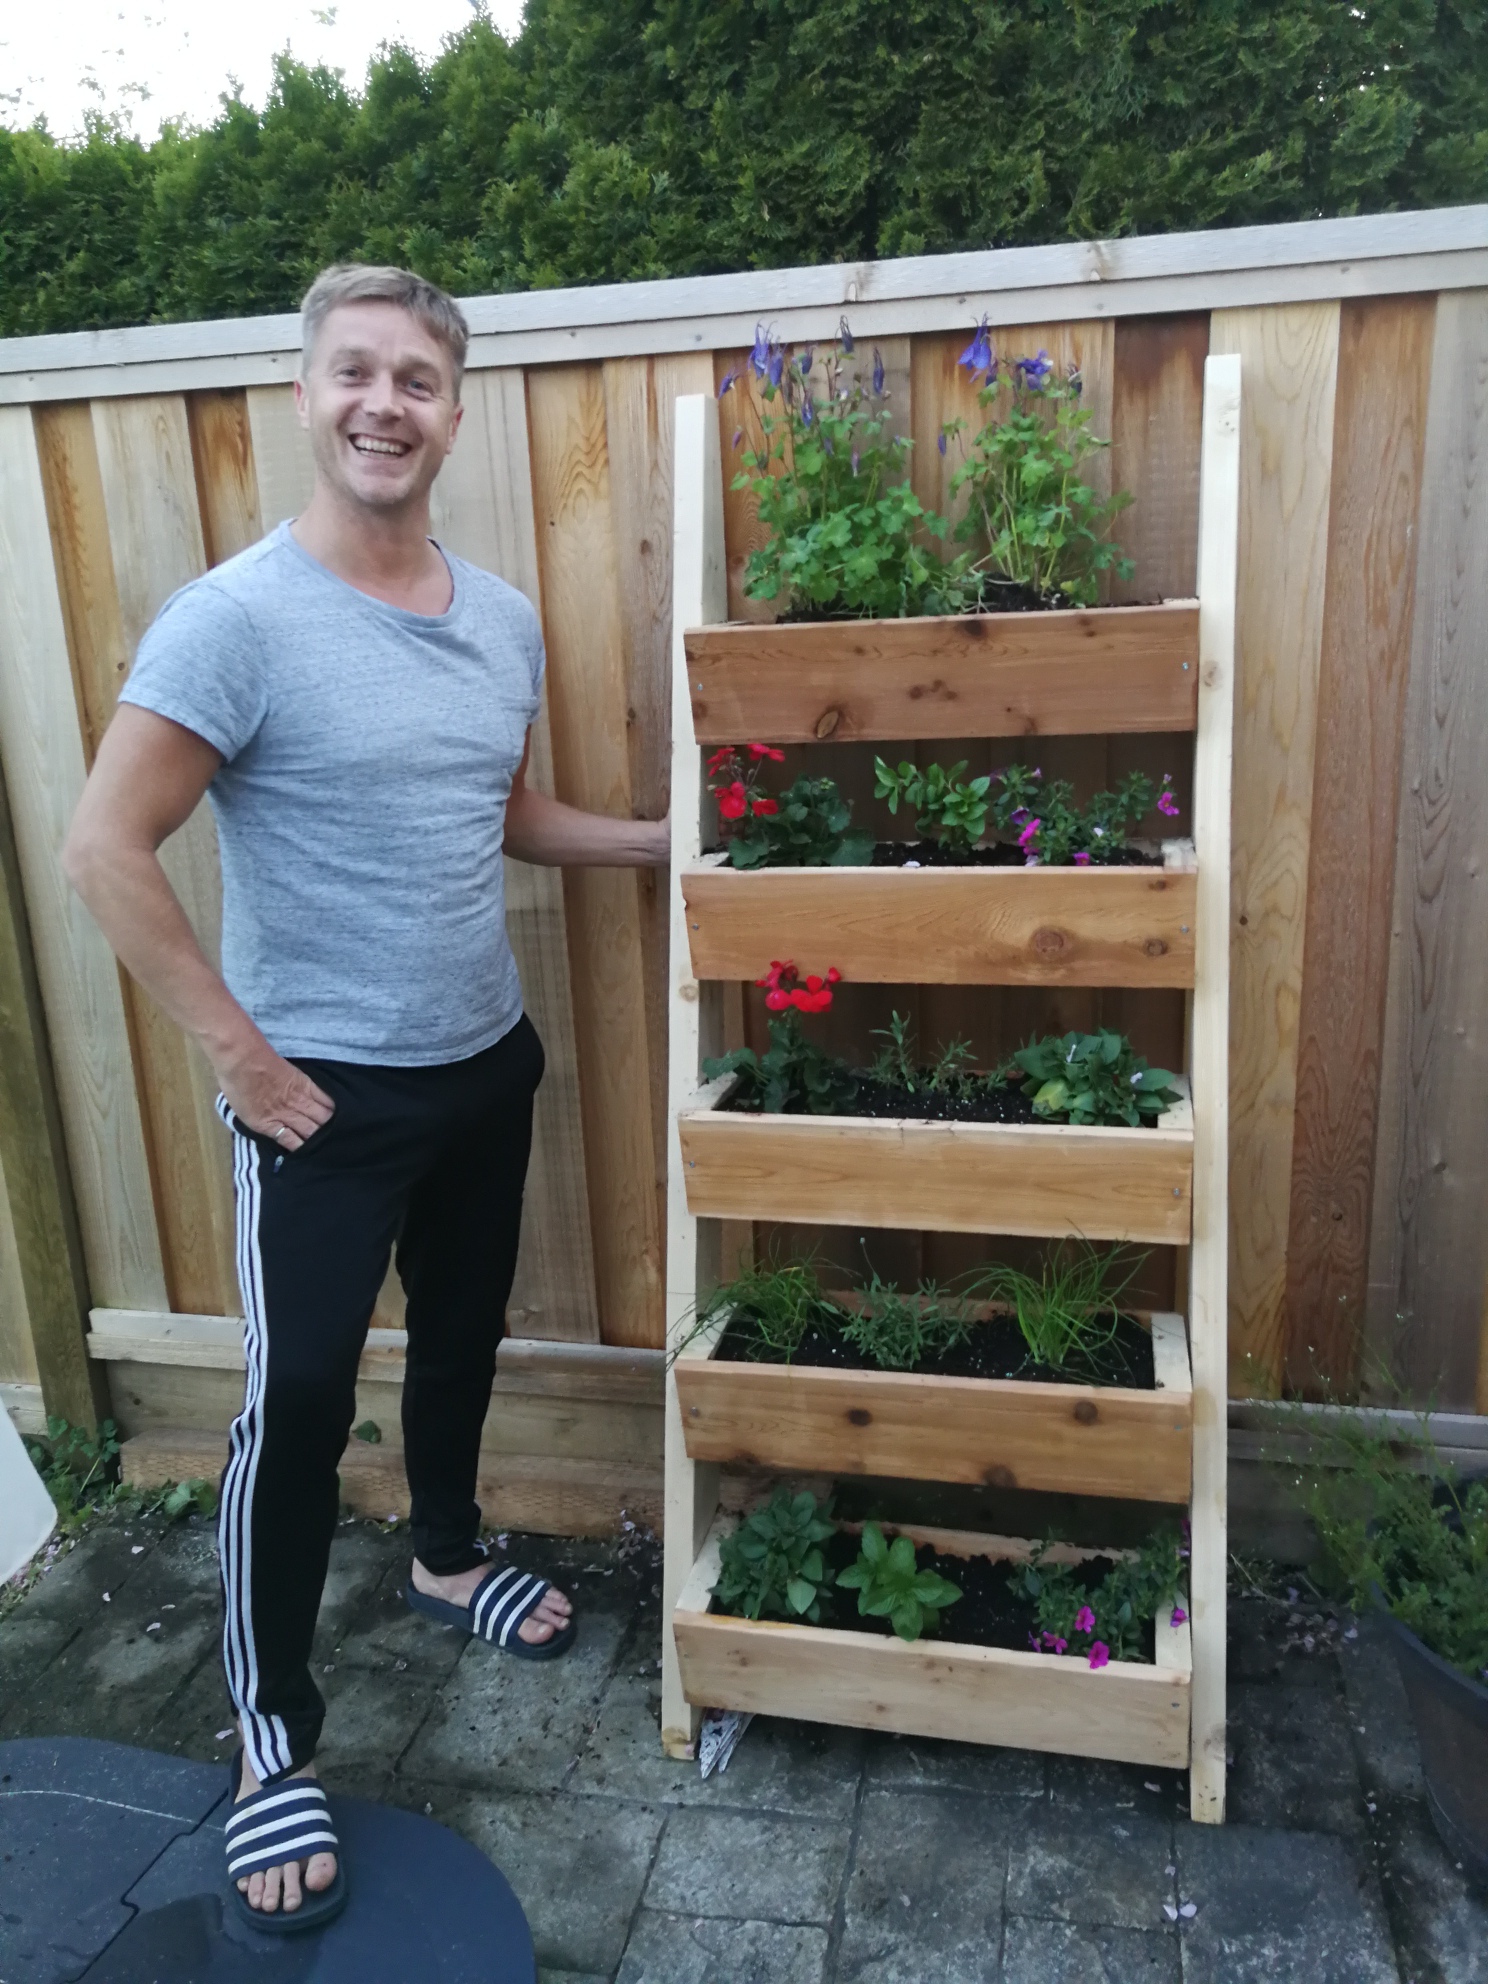
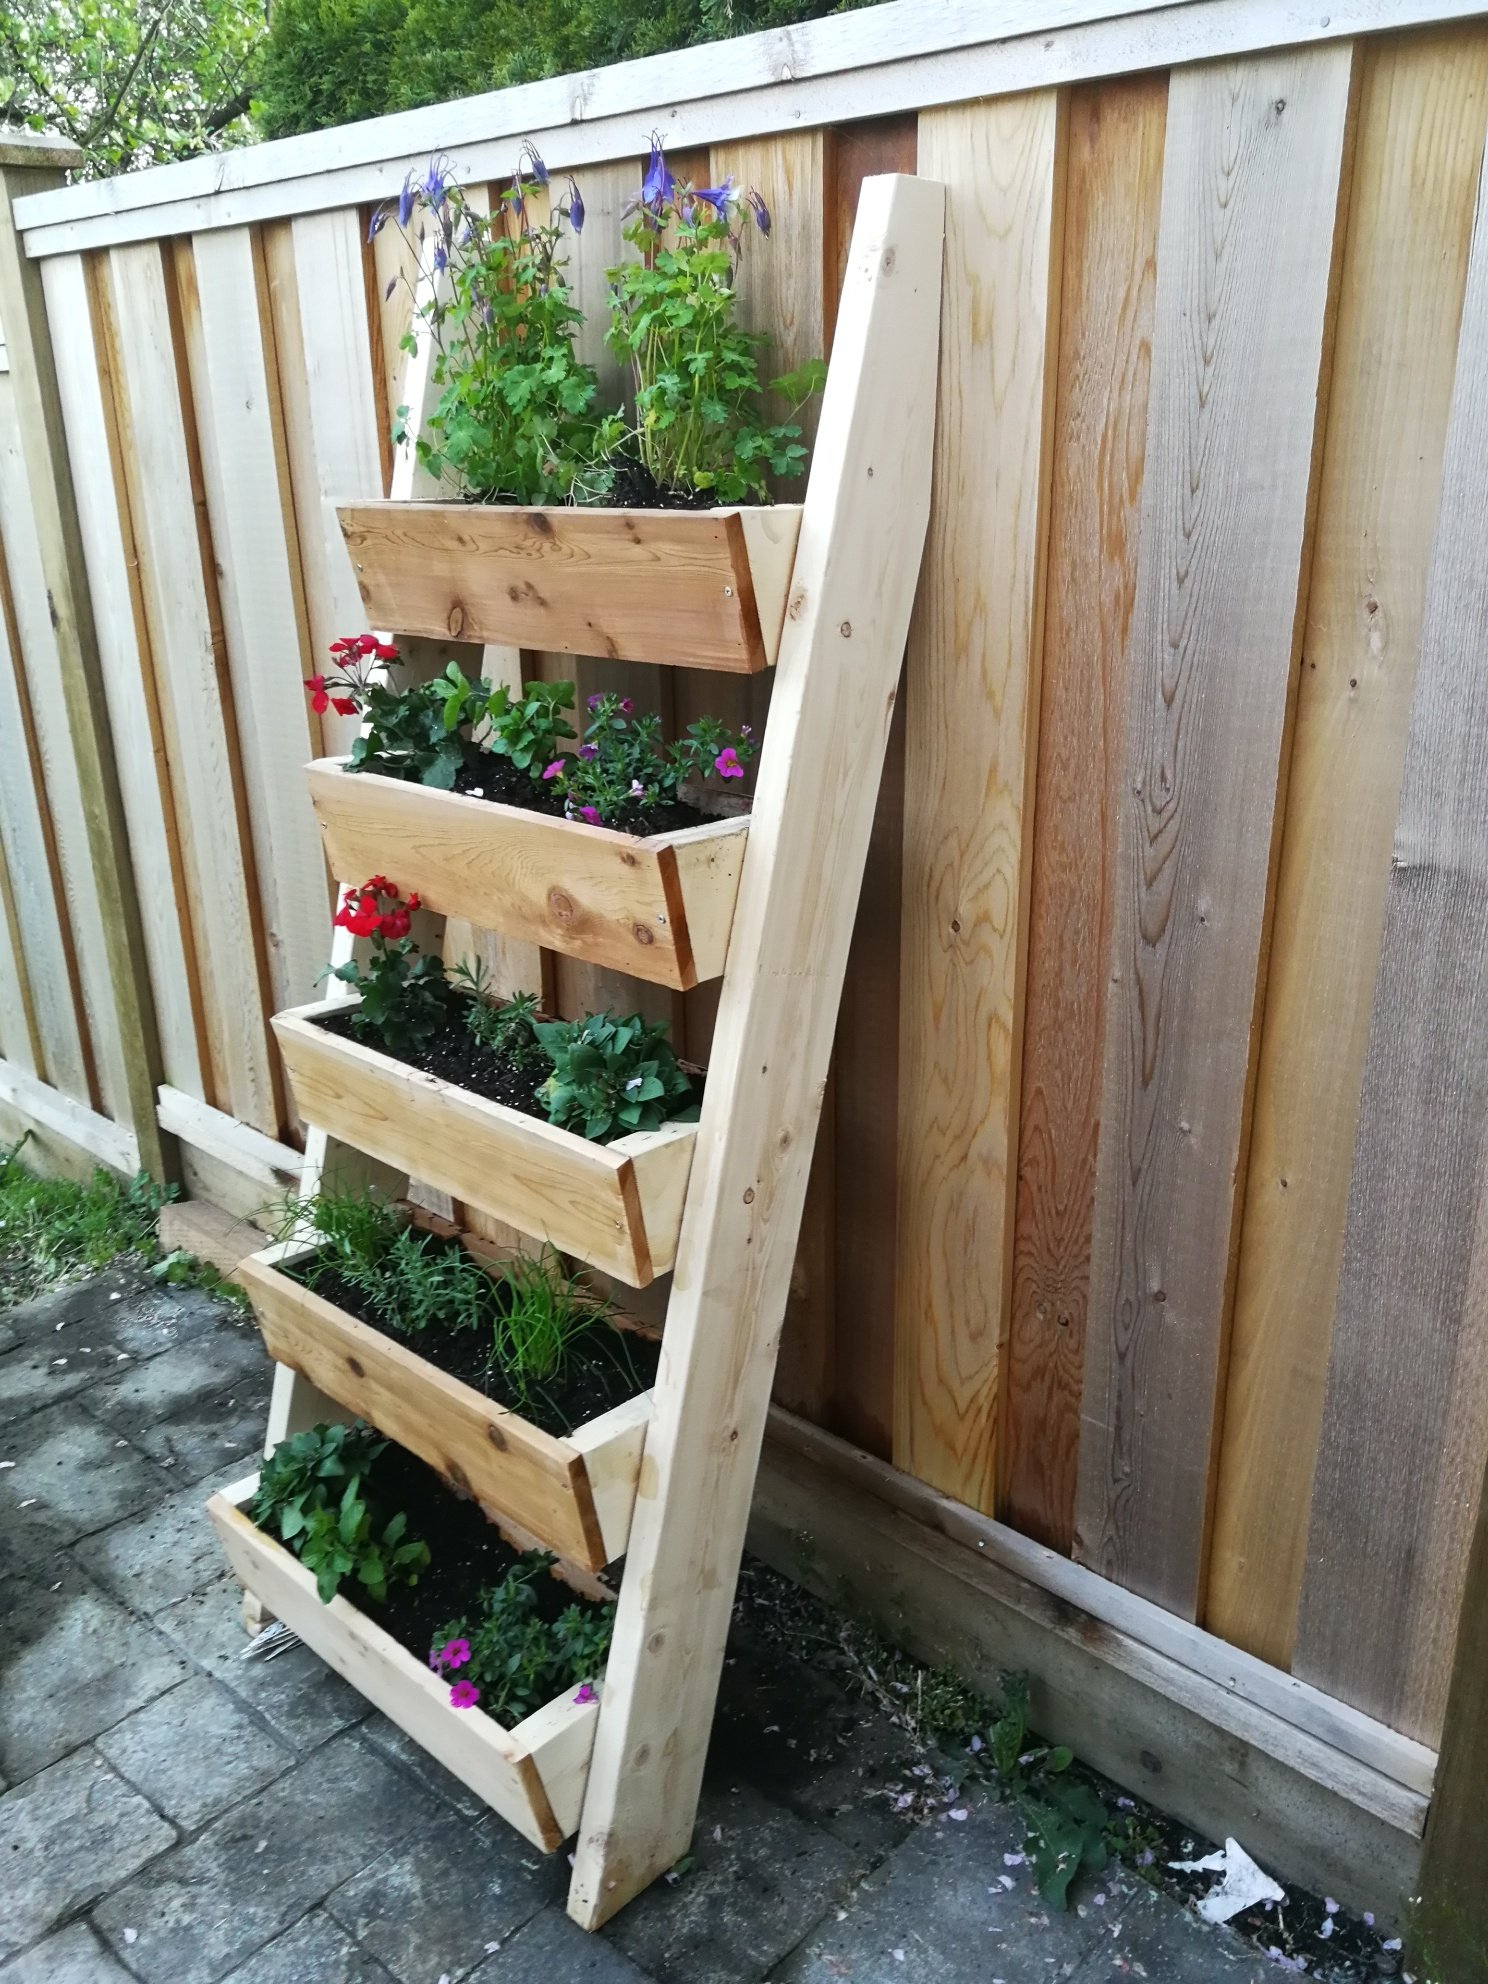
Thanks for these plans! I was able to complete this planter in one afternoon.
Estimated Cost
$50
Estimated Time Investment
Afternoon Project (3-6 Hours)
Recommended Skill Level
Beginner

Comments

Sliding Door console with Cedar pickets

Submitted by KathrynK13 on Tue, 01/12/2016 - 18:46

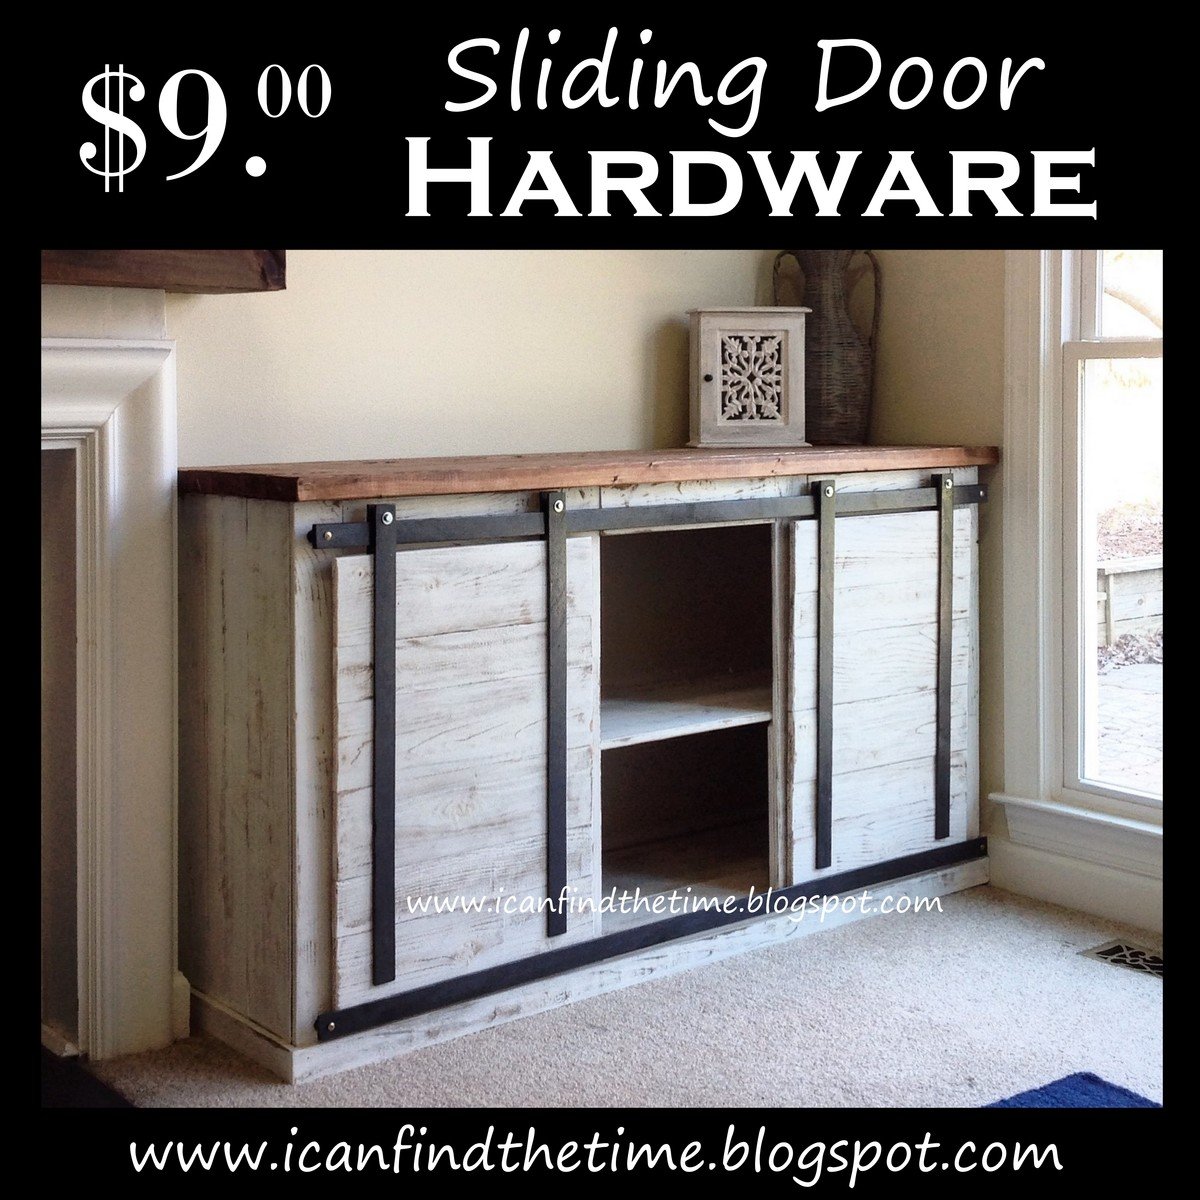
My first big build and I love it! I followed the plans in concept but changed the materials. My frame is still 2x3, but all the trim and siding is cedar fence pickets. I love these! They need a lot of finish work (sanding for days!), but the look is so rustic and real.

I also came up with a great way to get the sliding door look for only $9 in materials. The other tutorials I found online would have been $60+ and I just didn't want to spend that much. Make sure to check out my tutorial for the sliding door hardware.

Built from Plan(s)
Estimated Cost
Under $100 with some scraps that will be used on the second matching piece
Estimated Time Investment
Day Project (6-9 Hours)
Finish Used
DIY distressed finish. Stained cedar pickets with Early American then did a quick painting with basic white I had on hand. Lightly sanded to reveal a bit of wood grain and distress.
Recommended Skill Level
Beginner

My Modern Farmhouse Table

Submitted by samsam06 on Wed, 11/30/2011 - 16:20

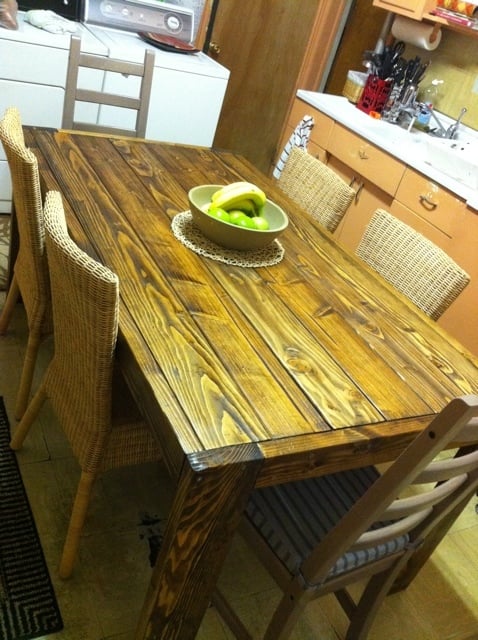
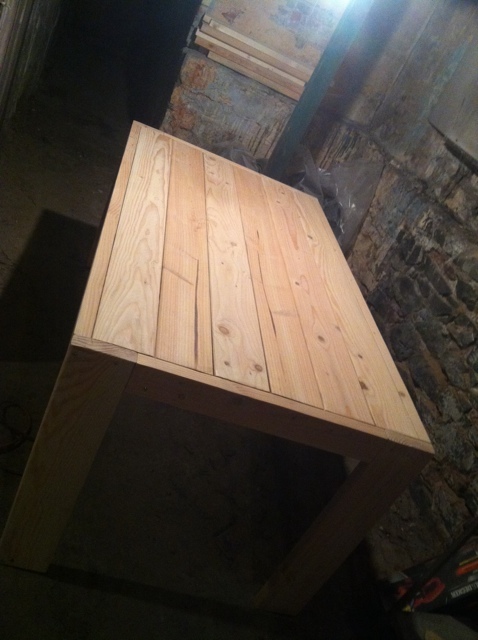
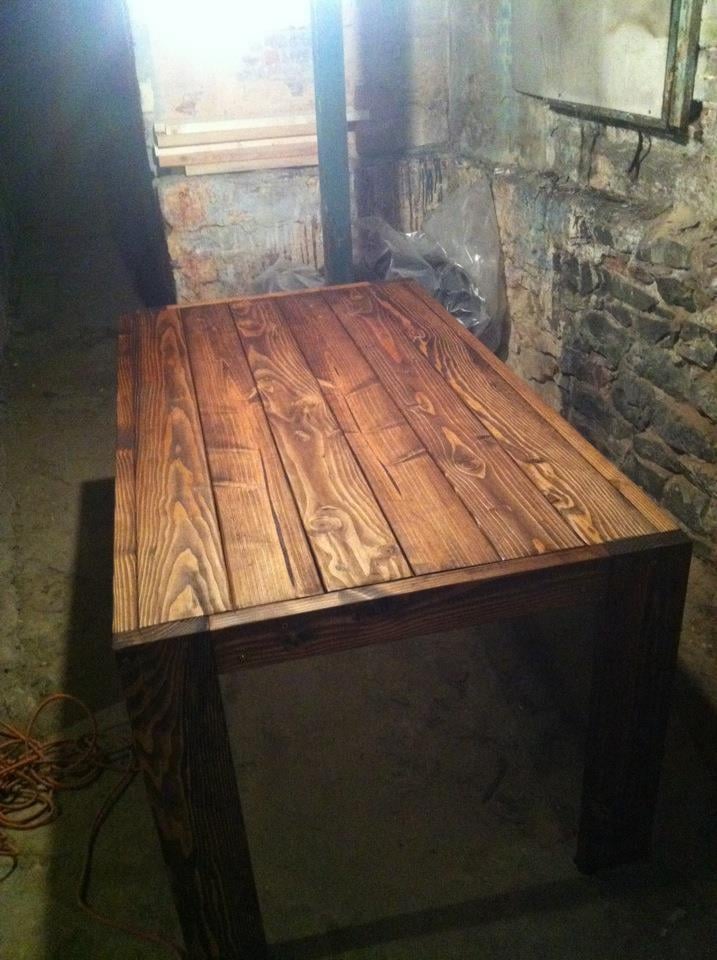
Started on Saturday Afternoon around 5pm and finished building on Sunday, sanding on Monday, stain and poly on Tuesday and we ate Thanksgiving Dinner on it on Thursday. All that is left is the wood putty! Not perfect but VERY happy with it :)

Built from Plan(s)
Estimated Cost
$70
Estimated Time Investment
Weekend Project (10-20 Hours)
Finish Used
Minwax Providence Stain & Satin Poly
Recommended Skill Level
Beginner

Oak Coffee Table

Submitted by Smokeydog on Sat, 01/23/2016 - 13:09

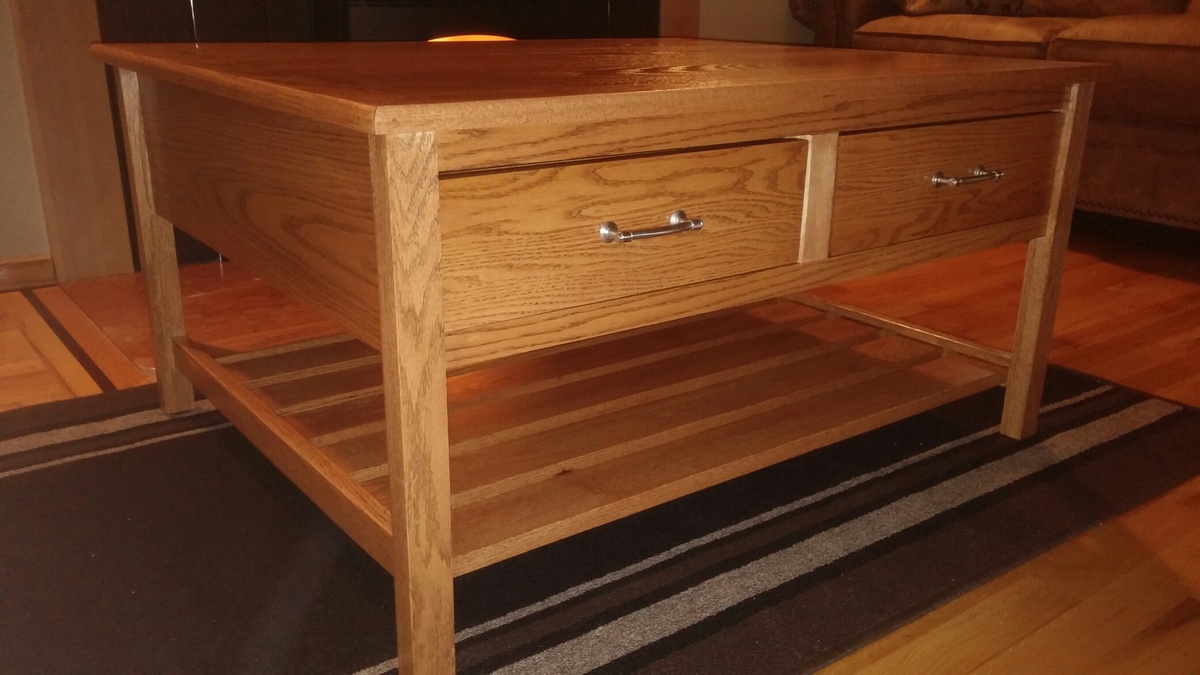
I made this table entirely from oak.  It was somewhat more expensive than other projects I've done but my wife wanted a new coffee table so I thought why not go for it.  I found hard wood to be much easier to work with than other wood.  I like how it turned out.  I used "Mom's  Train Table" plan but added two 22 inch deep draws.  A little extra storage is always a good thing!

Built from Plan(s)
Estimated Cost
300.00 dollars Boy, solid oak does not grow on trees!
Estimated Time Investment
Week Long Project (20 Hours or More)
Finish Used
Minwax wood conditioner, Minwax cherry satin Stai , Minwax polyurethane.
Recommended Skill Level
Intermediate

Modern Bench

Submitted by cinschultz on Fri, 07/19/2019 - 18:46

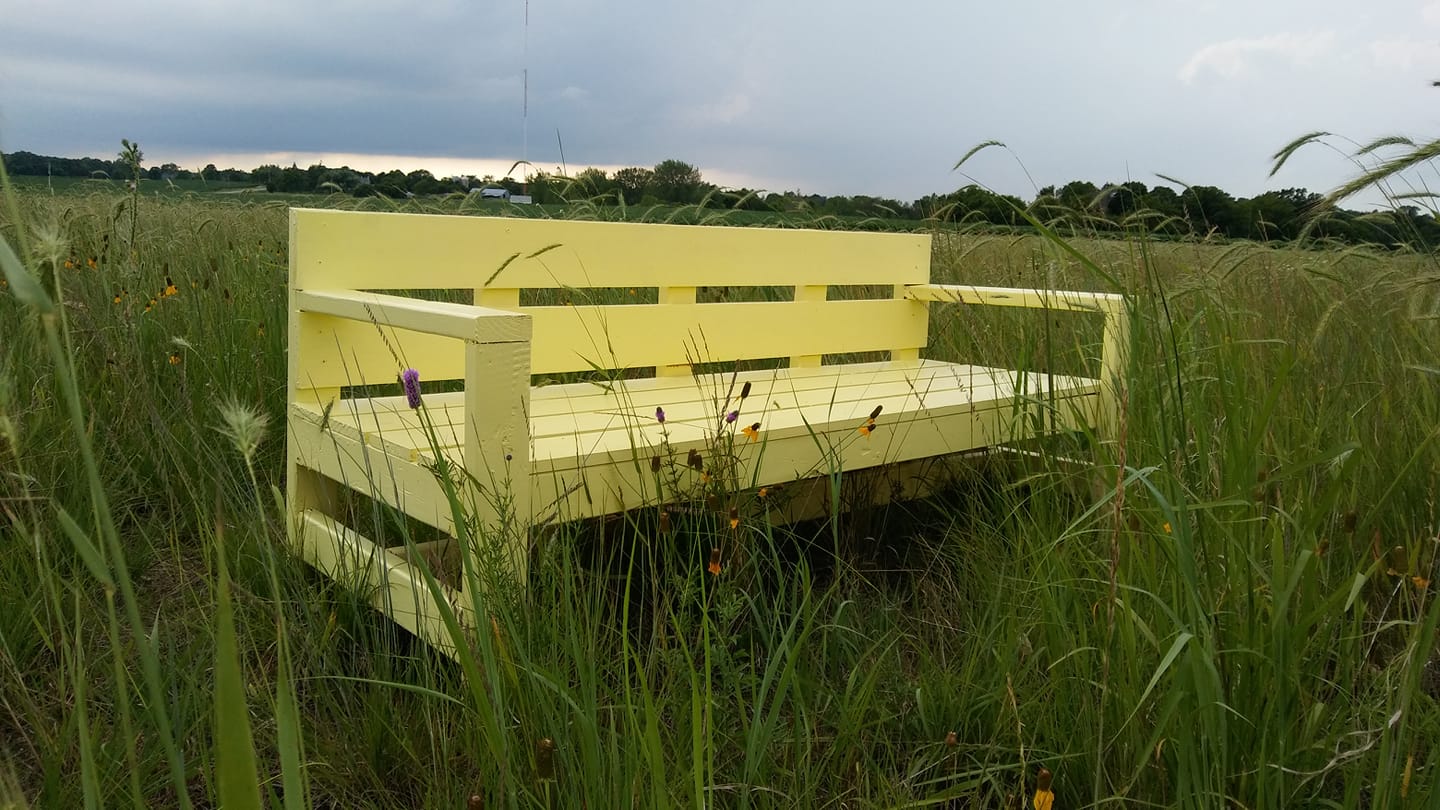
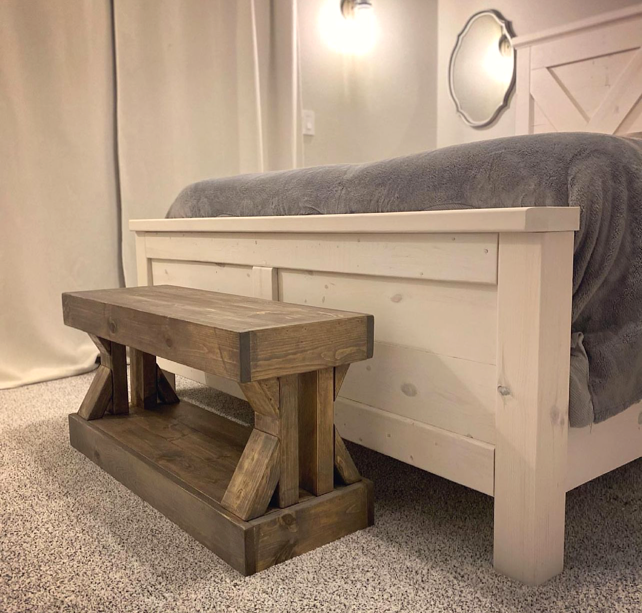
Built this modern bench to put in my prarie.

Built from Plan(s)
Estimated Time Investment
Weekend Project (10-20 Hours)
Finish Used
Exterior Paint
Recommended Skill Level
Beginner

Twin over Full for my Girls!
Submitted by brguad on Sat, 11/16/2013 - 11:44

I have two girls and my youngest was getting out of a crib. I could build another bed or include both girls and build a bunk bed. I chose the bunk bed route with the approval of my wife and got started. I loved the plans from ana-white.com and decided to pull the trigger.
Total cost for bed not including the new full mattress was around $300. A huge savings from the estimated $1,500 from comparable beds on the market. This took me about 2 weeks total but that was a couple hours here and there. I would describe most of the work as beginner skill level but a couple of the steps had challenges but you could figure it out. My girls were out there helping me build and paint so it was also very memorable. Thank you again for all you do Ana.

Bobby

Estimated Time Investment
Weekend Project (10-20 Hours)
Finish Used
Sanded with 120, used a primer and finished with 2 coats of Pixie Dust. It's almost white but has a touch of pink.
Recommended Skill Level
Beginner

Comments

Lindsayayer

Wed, 12/18/2013 - 09:34

I'm new to the site & love this for a potential kids room. Where can I fin the plans w/ specs & materials? Thanks.

brguad

Wed, 12/18/2013 - 12:09

I used the twin simple bed plans, full simple bed plans and the twin over full plans for the ladder. It was easier to just print them all off. Hope that helps

Nesting Tables

Submitted by jenn923 on Sun, 01/08/2012 - 10:40

I was really excited when I saw this plan. I needed a side table for my guest bedroom and these are perfect. The plans were very easy to follow - the only thing I did differently was I left off the angle braces. The hardest part of the project was waiting on the paint to dry. I've done a few other projects but this my best work so far...I'm getting better and better with each build. So excited to start something else...

Built from Plan(s)
Estimated Cost
$20
Estimated Time Investment
Afternoon Project (3-6 Hours)
Finish Used
Very light blue - Oops paint from Lowe's
Recommended Skill Level
Beginner

Comments

Kate (not verified)

Sun, 01/08/2012 - 13:08

They look great! I'm sure your guests will love them.

I'm currently still in the painting stage of a modified version of just the large of the Preston tables. I love seeing one fully completed!

Laura Fama

Sun, 01/08/2012 - 13:37

Awesome!!! ... What a great job you did!!! I am making these too... glad to see how great they look... can't wait to finish mine now!

Farmhouse Table

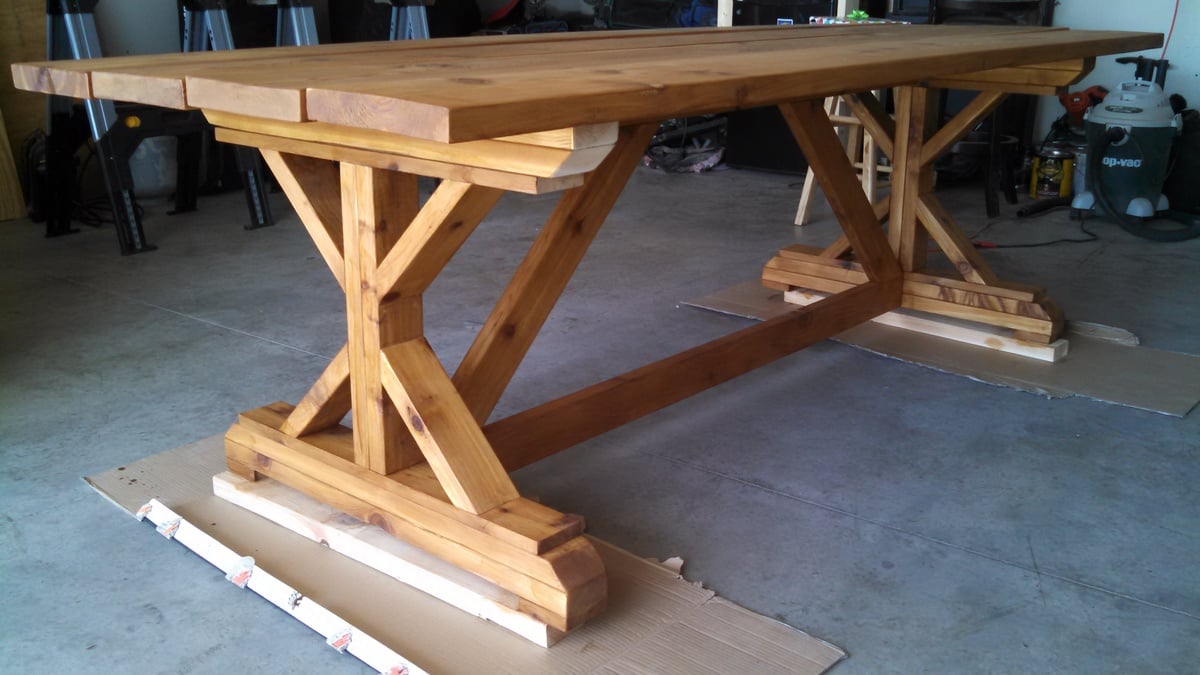
I built this table with cedar and used Cabots Australian Timber Oil hoping it would last a long time on my patio. After 1 summer, it still looks great! I made slight modifications for a comfortable height with the chairs I bought and also simplified the rounded cuts to a 45 degree cut on the bottom. Using glue and screws during assembly made the table solid.

Built from Plan(s)
Estimated Cost
$200
Estimated Time Investment
Weekend Project (10-20 Hours)
Finish Used
Cabots Australian Timber oil
Recommended Skill Level
Intermediate

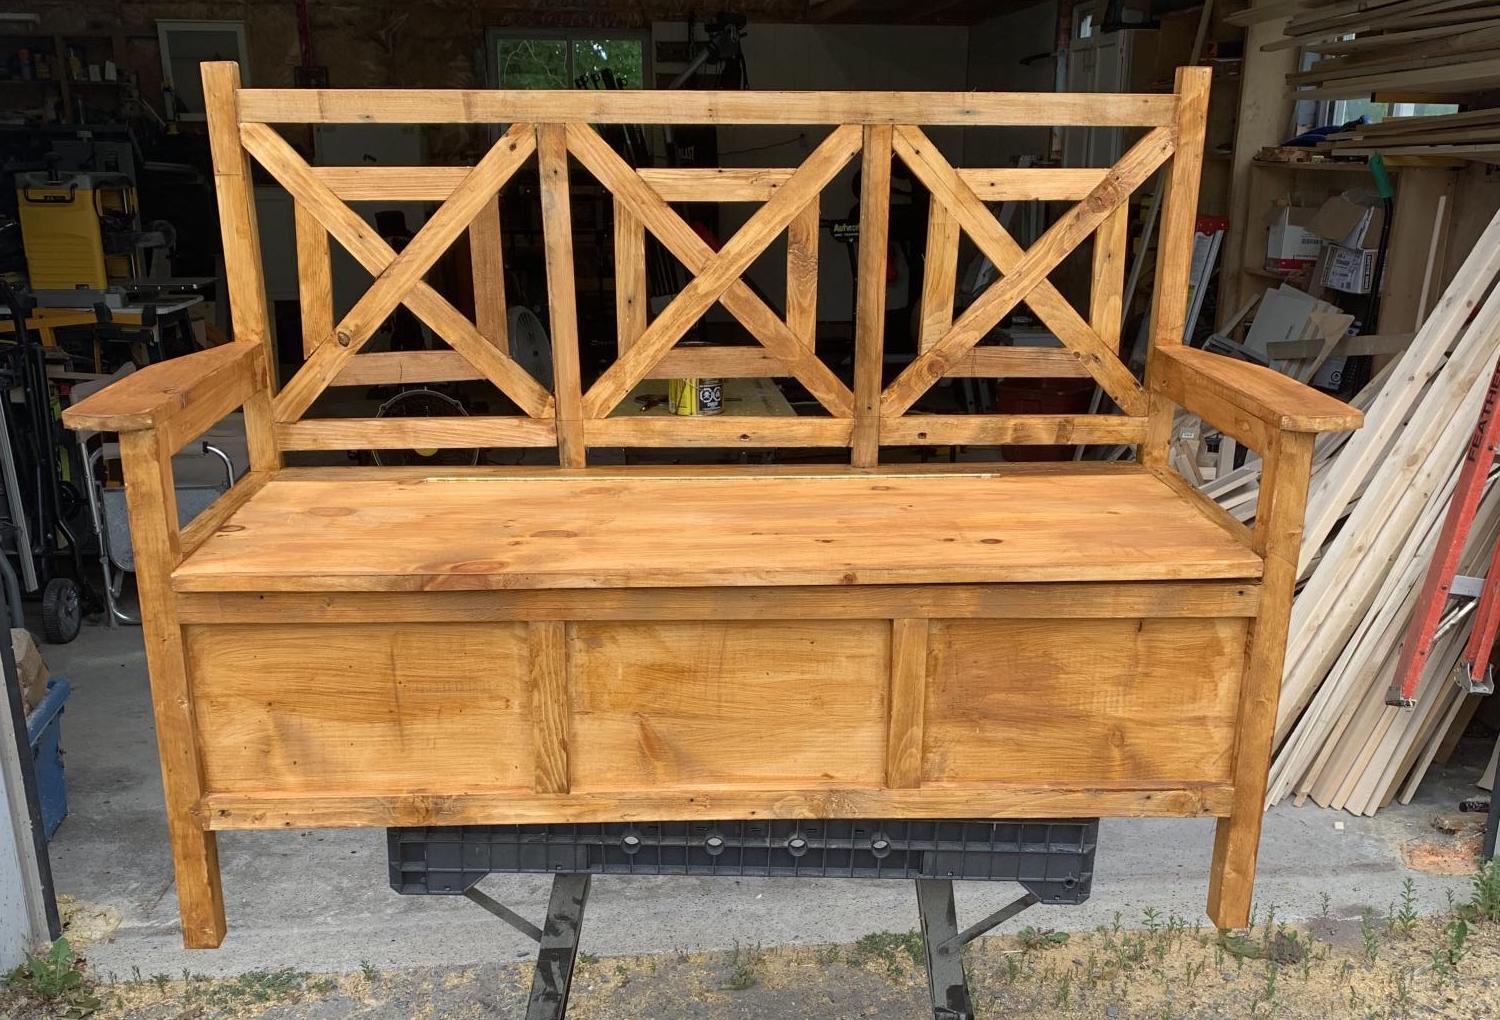
bench

Submitted by Anonymous (not verified) on Fri, 06/09/2023 - 12:12

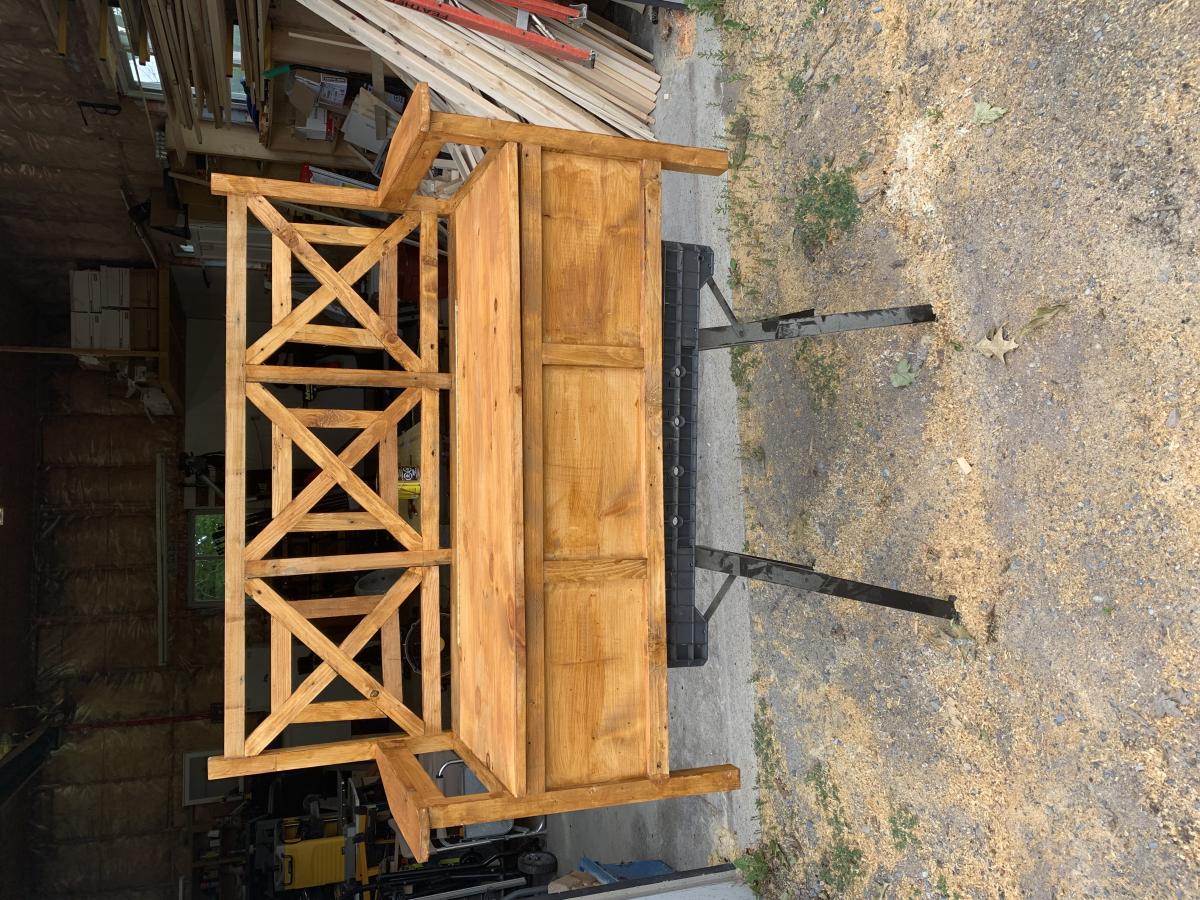
plan supplied by Ana

Comments

Greenhouse

Submitted by Anonymous (not verified) on Mon, 06/26/2023 - 13:04

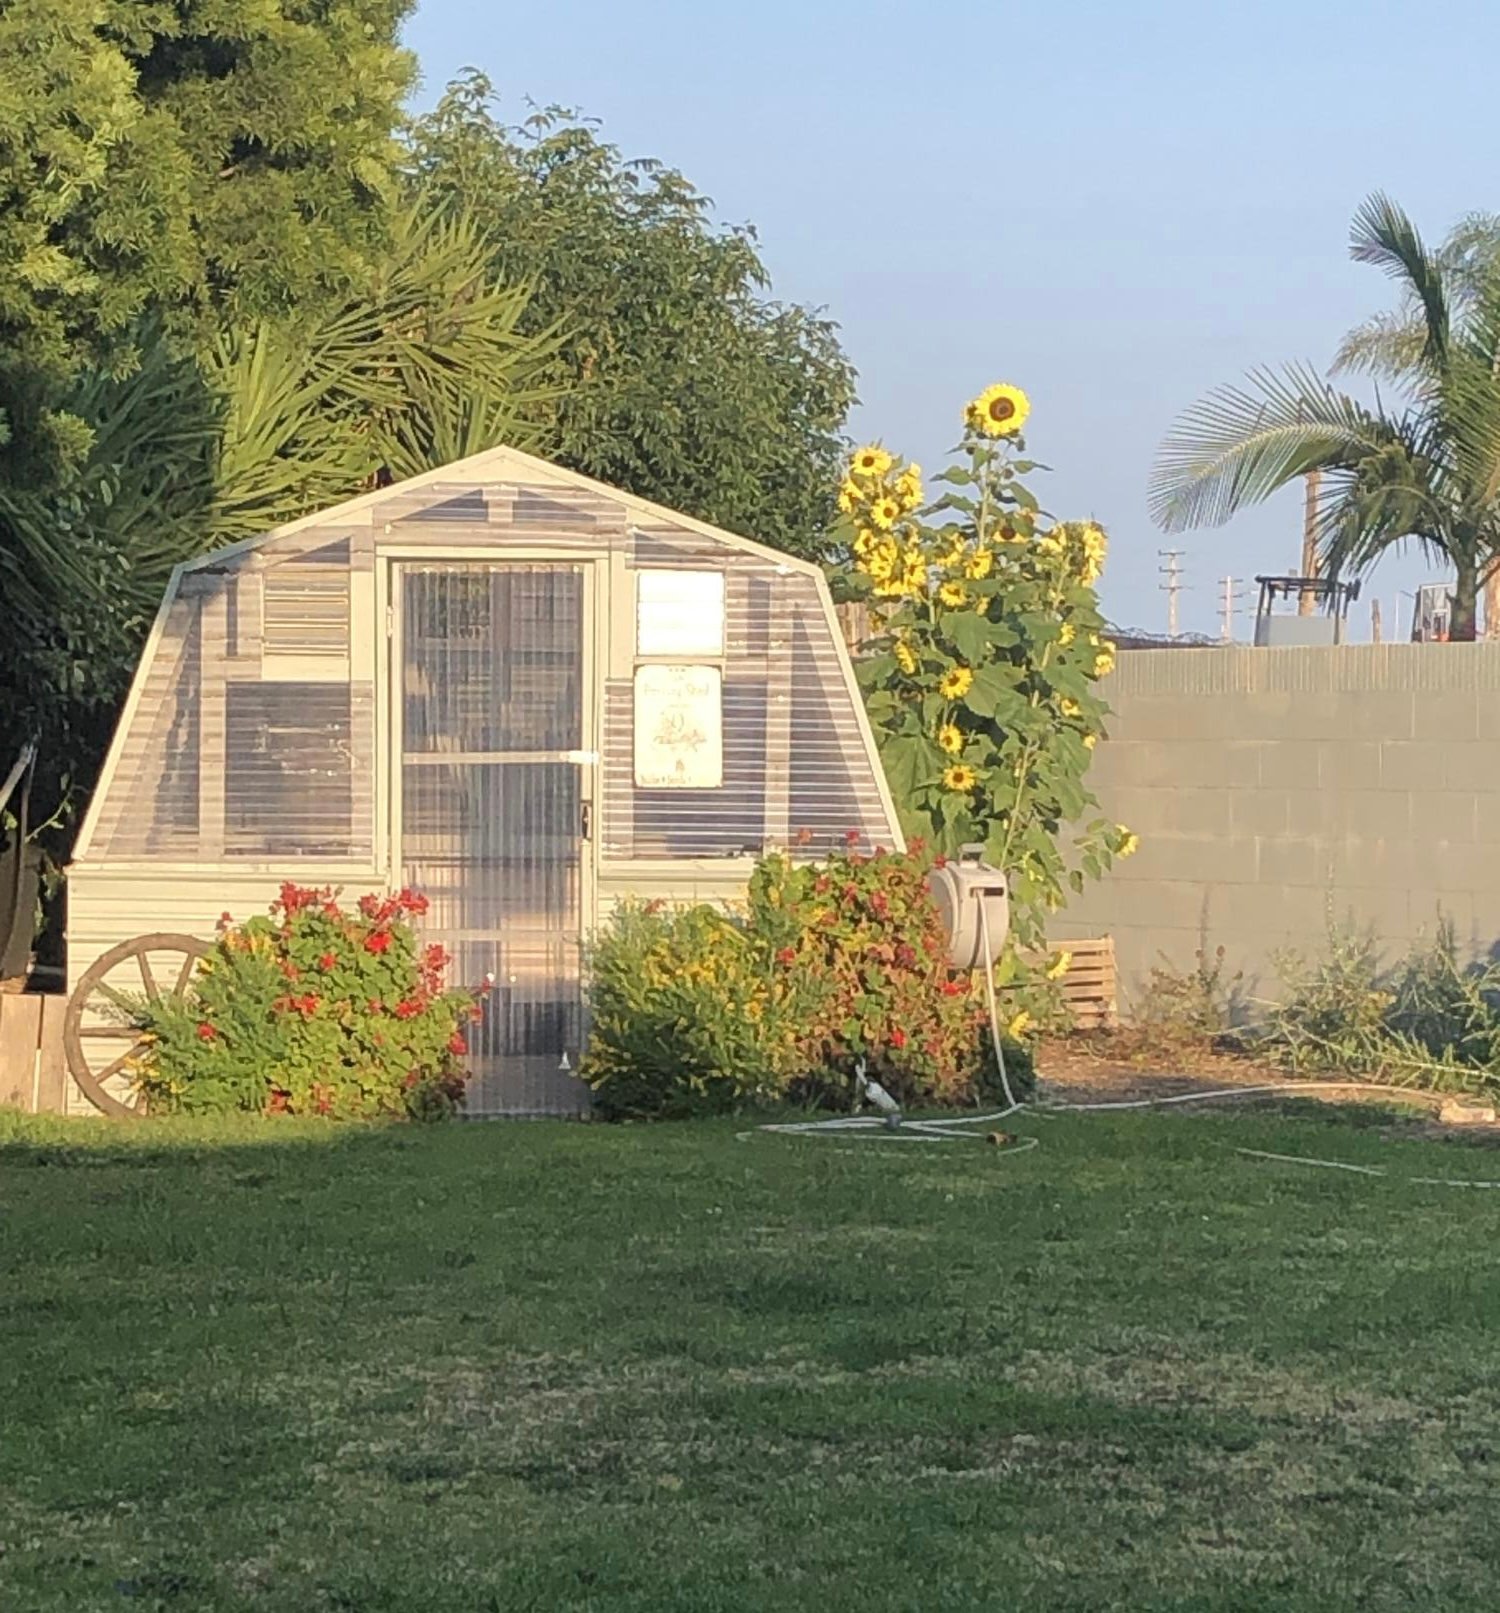
I saw this greenhouse built on the Justin Rhodes YouTube channel and immediately wanted my own. My husband was a champ at making my dream come true!

Built from Plan(s)

Comments

Seasonal And Holiday