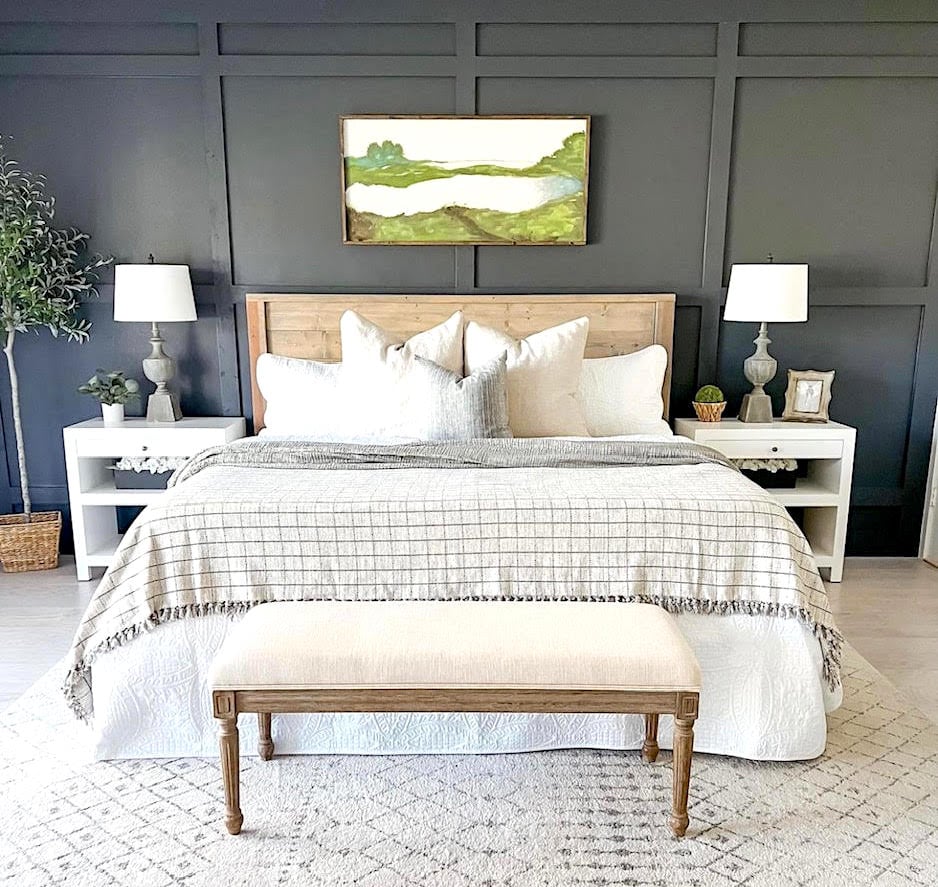
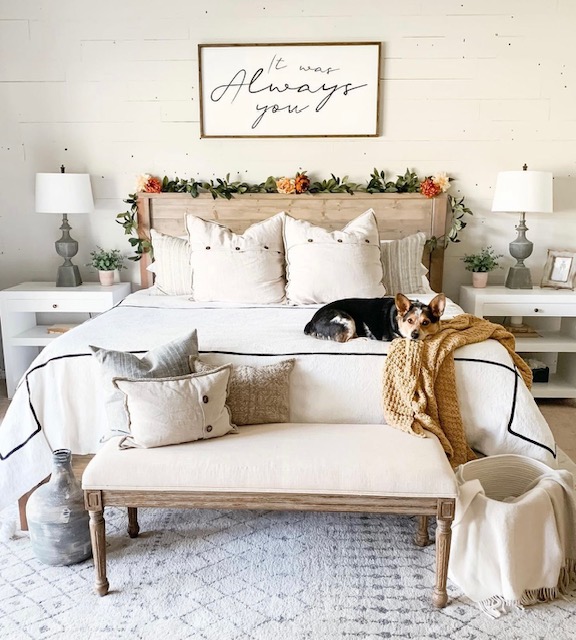
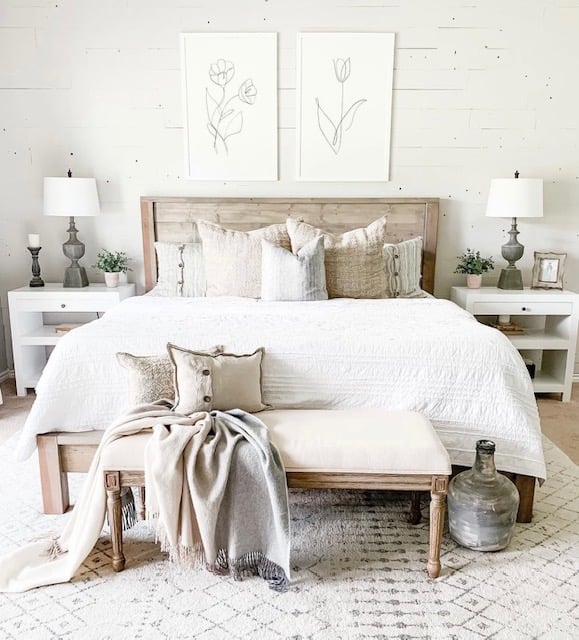
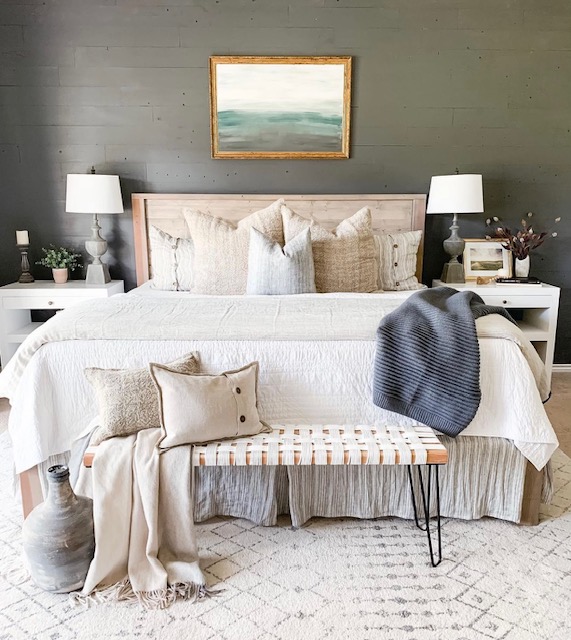
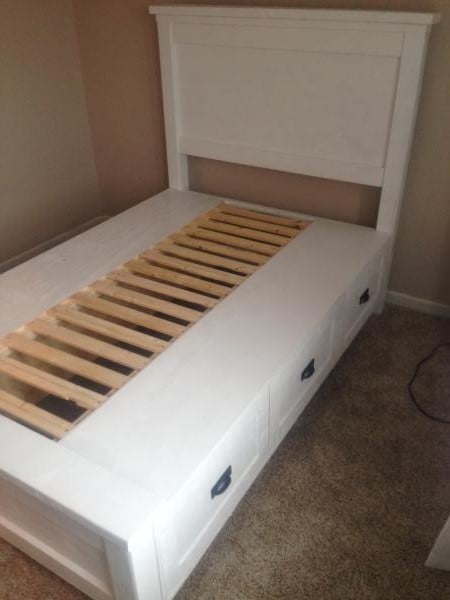
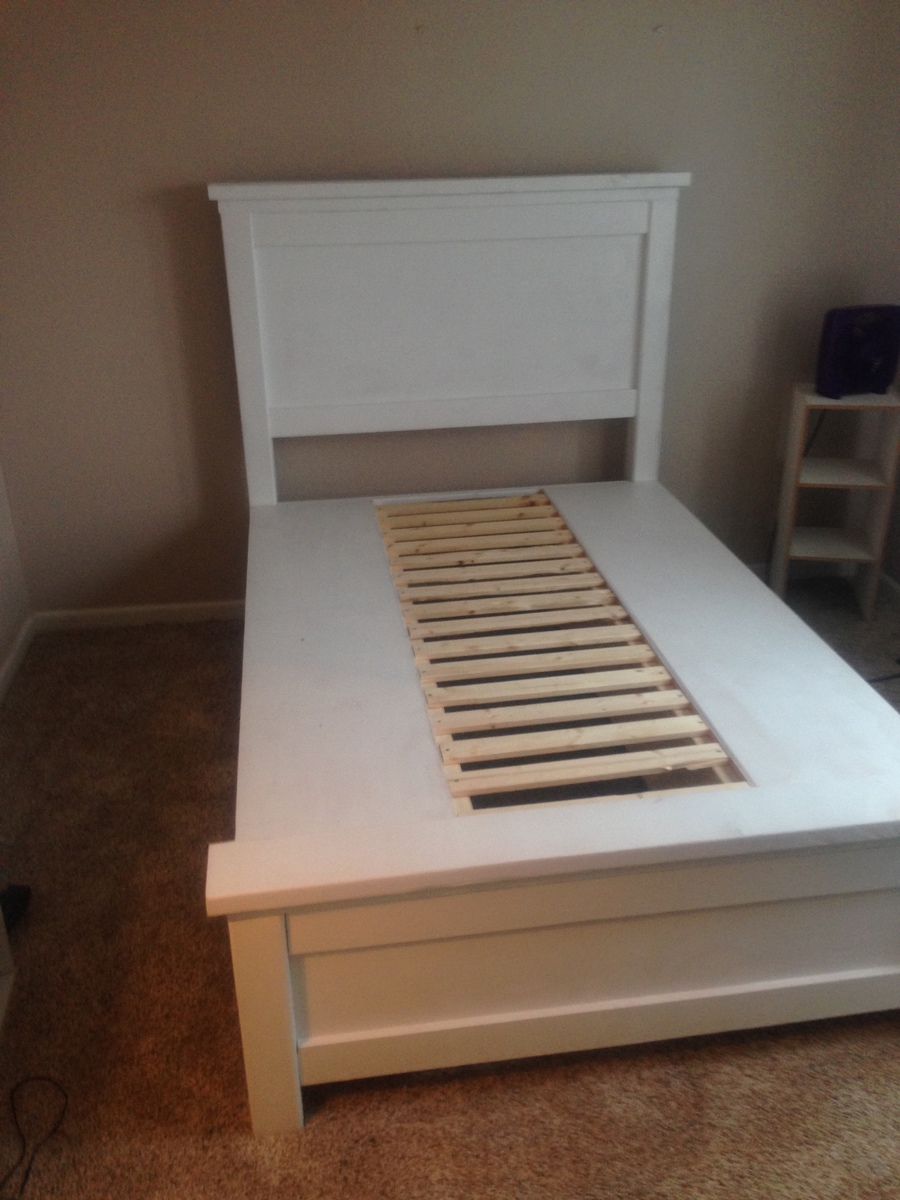
Farmhouse bed
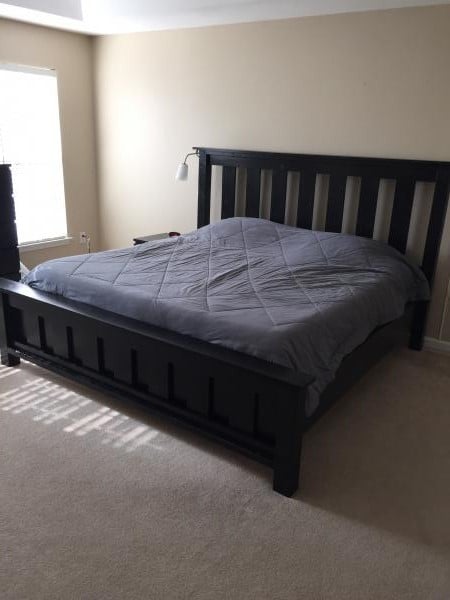
The project went relatively well. Had to readjust in order to fit our king. I used 2x4s and 2x4 joist hangers to support the mattres.
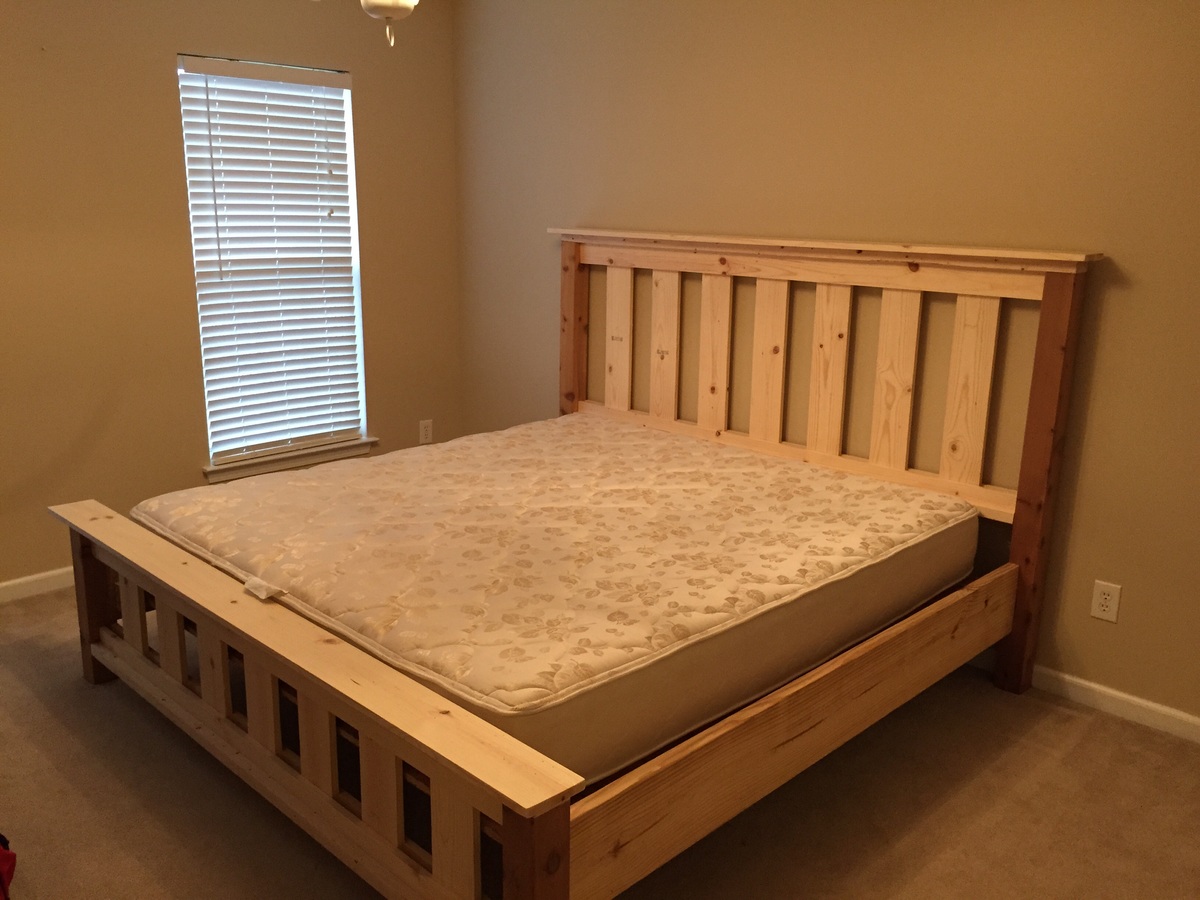

Built from Plan(s)
Estimated Cost
300.00
Estimated Time Investment
Week Long Project (20 Hours or More)
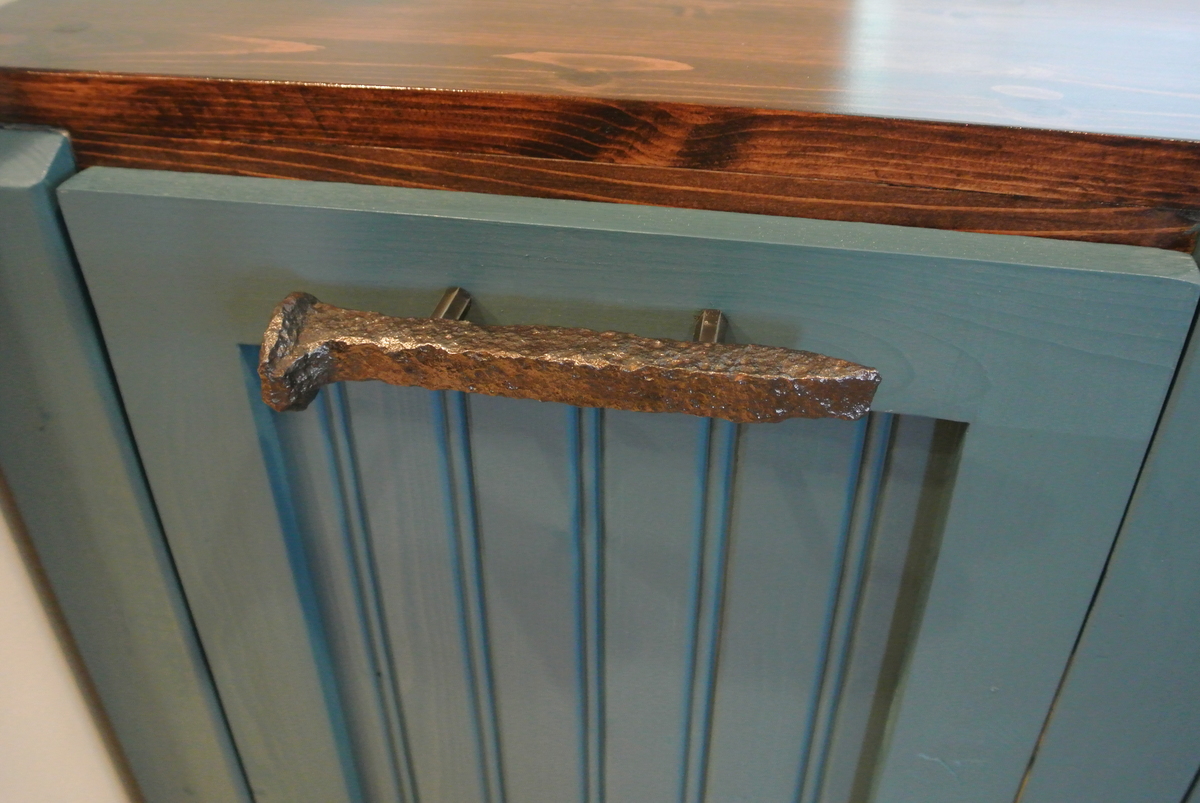
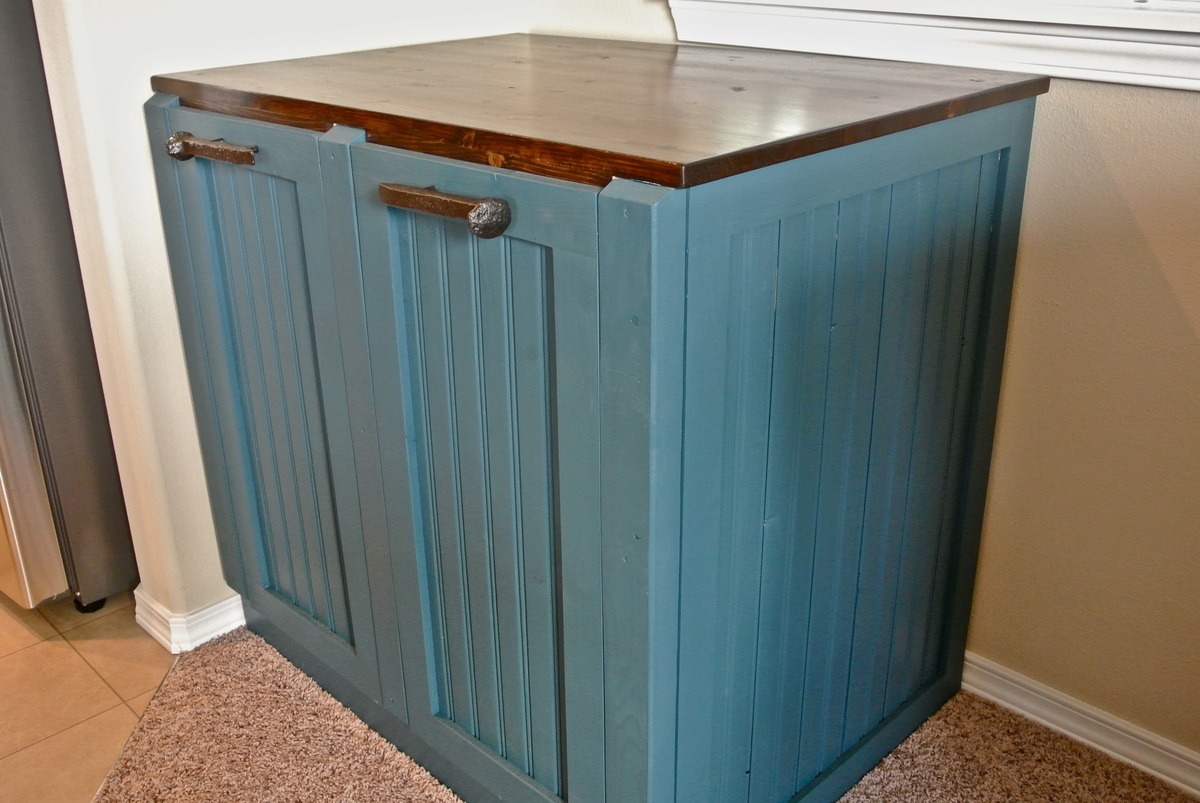
Finish Used
Rustoleum ebony stain and satin polyurethane.
Recommended Skill Level
Beginner