Farmhouse Writing Desk

Brookstone desk with a white oak top and drawer that I built for my 8- yr old son. It is a very fun build.
Jerry from NC
Built from Plan(s)
Brookstone desk with a white oak top and drawer that I built for my 8- yr old son. It is a very fun build.
Jerry from NC
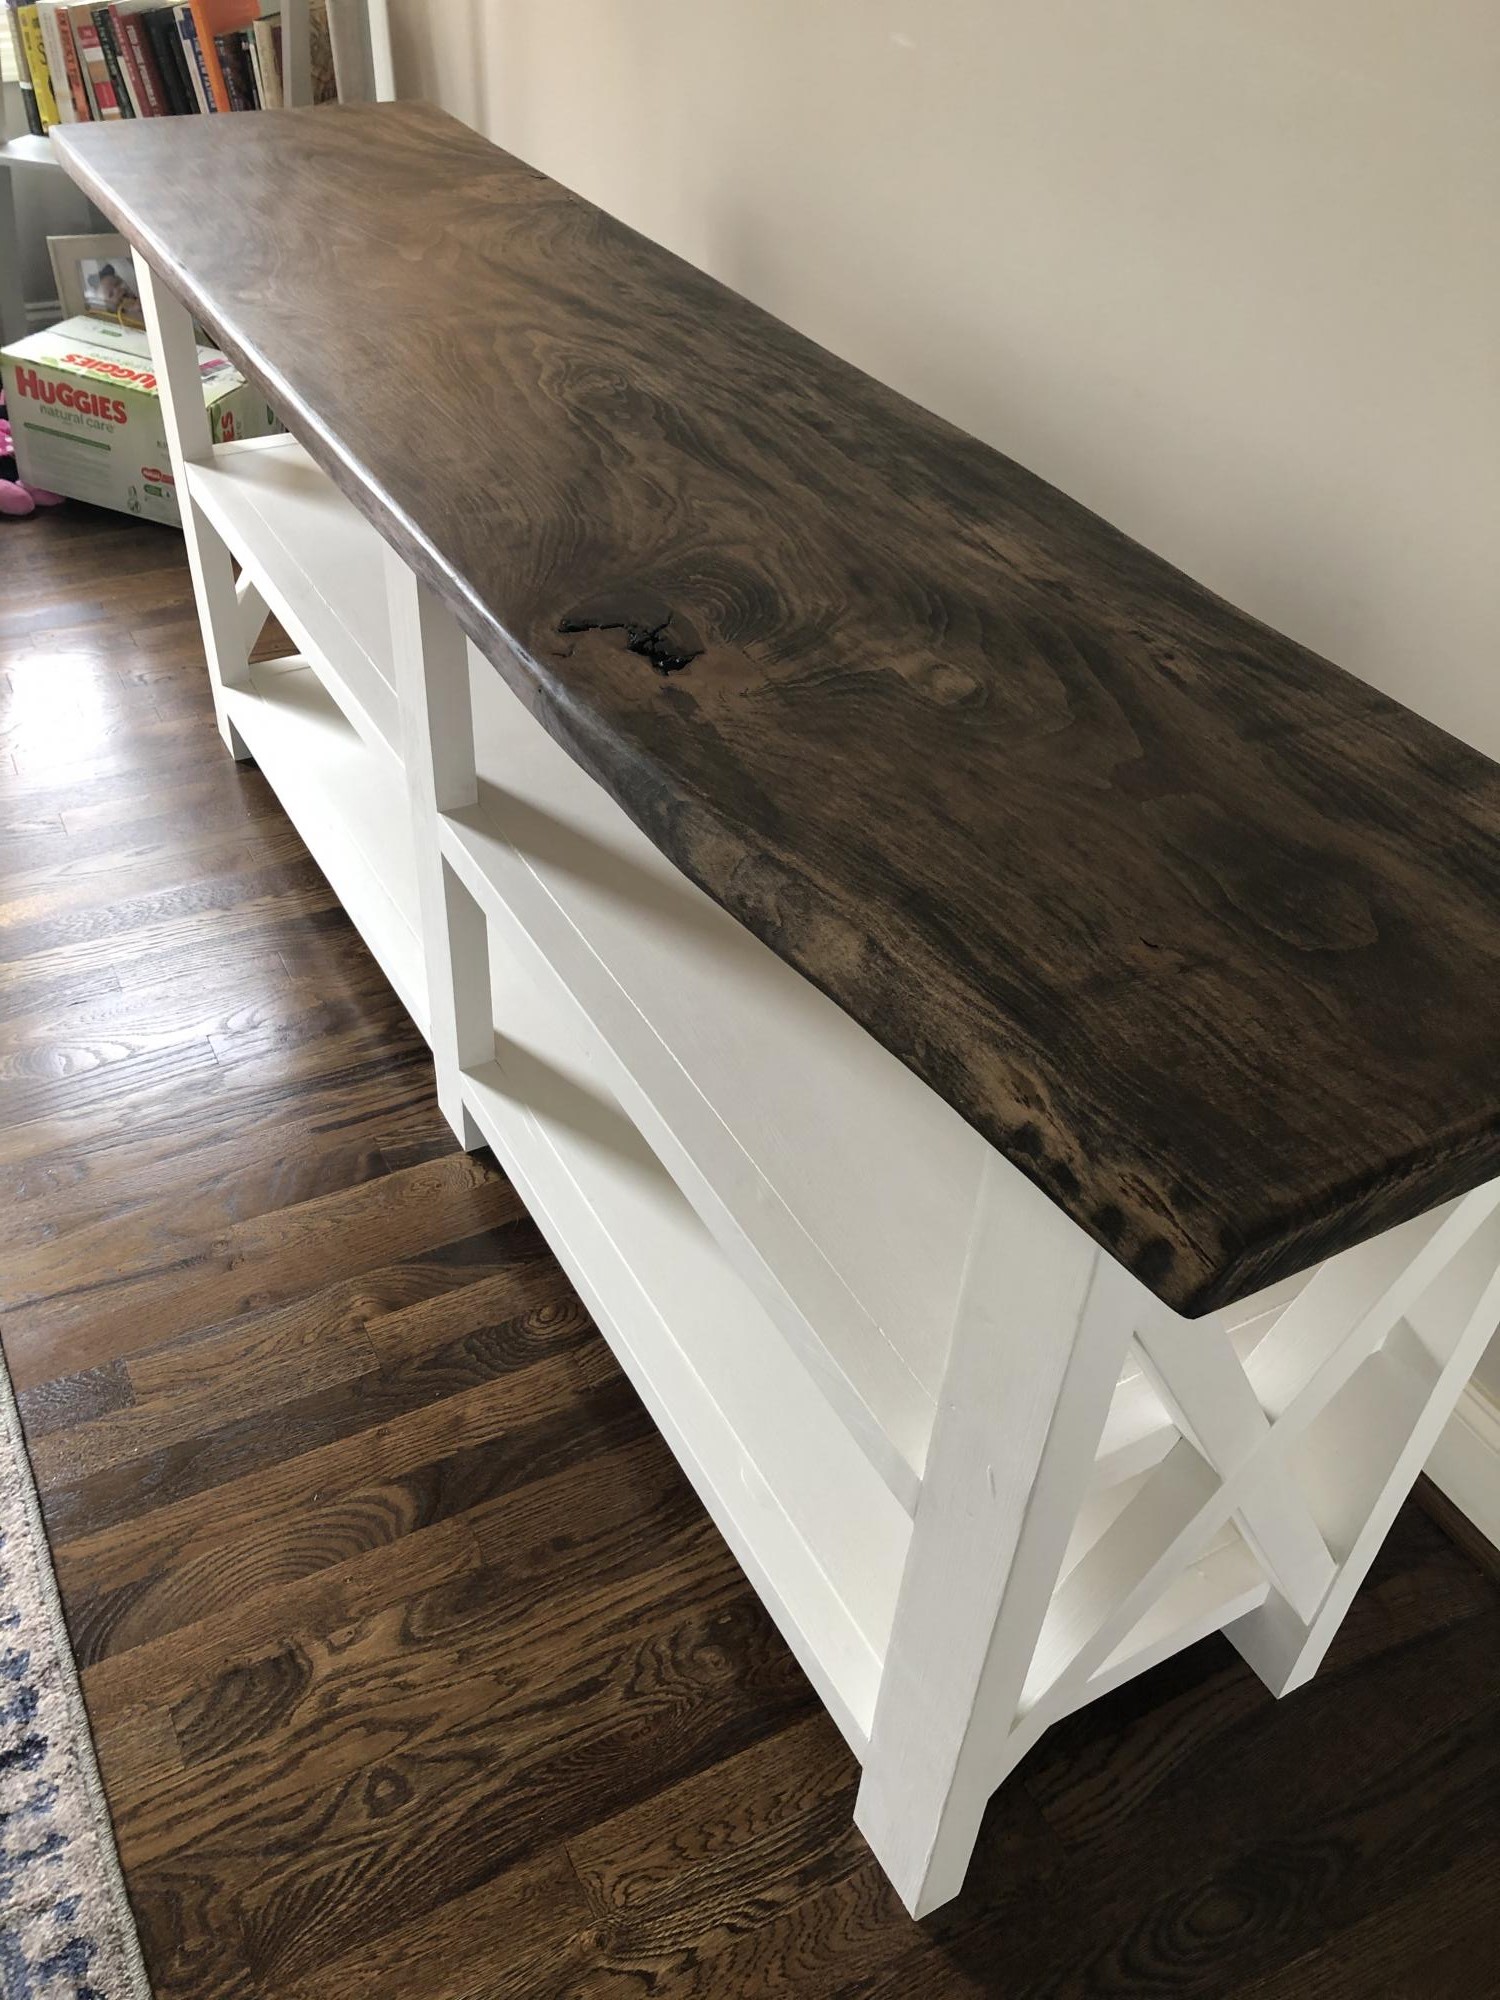
Made this with my son for his new home. The only deviation from the plan was a solid slab of sycamore for the top with dark Minwax stain. Base was painted and waxed with Annie Sloan Old White paint The toughest part was getting the angles right for the X pieces. Had to eye the line and cut with a band saw.


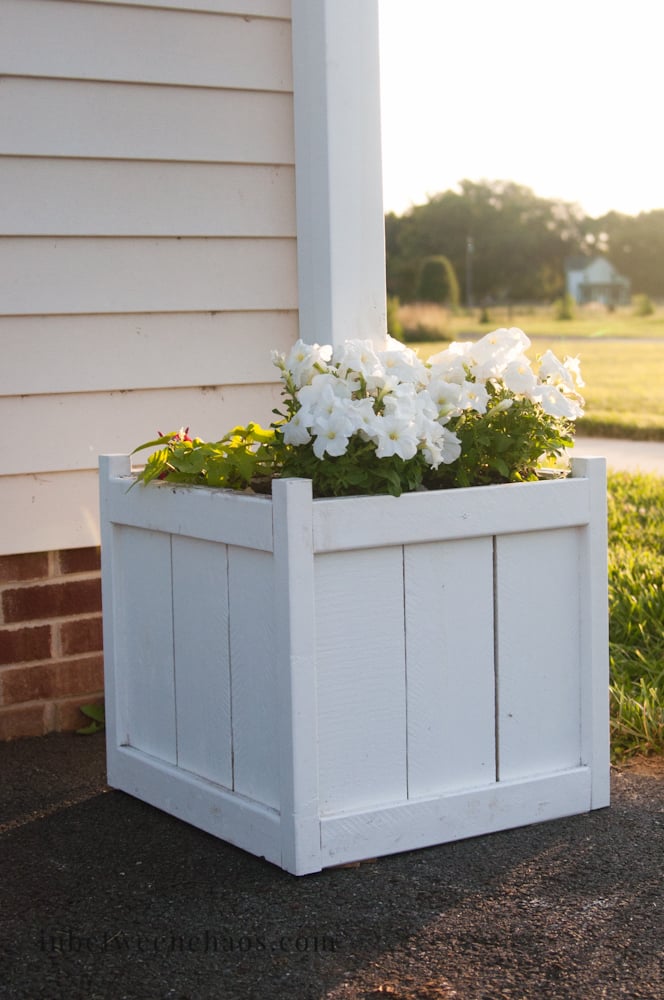
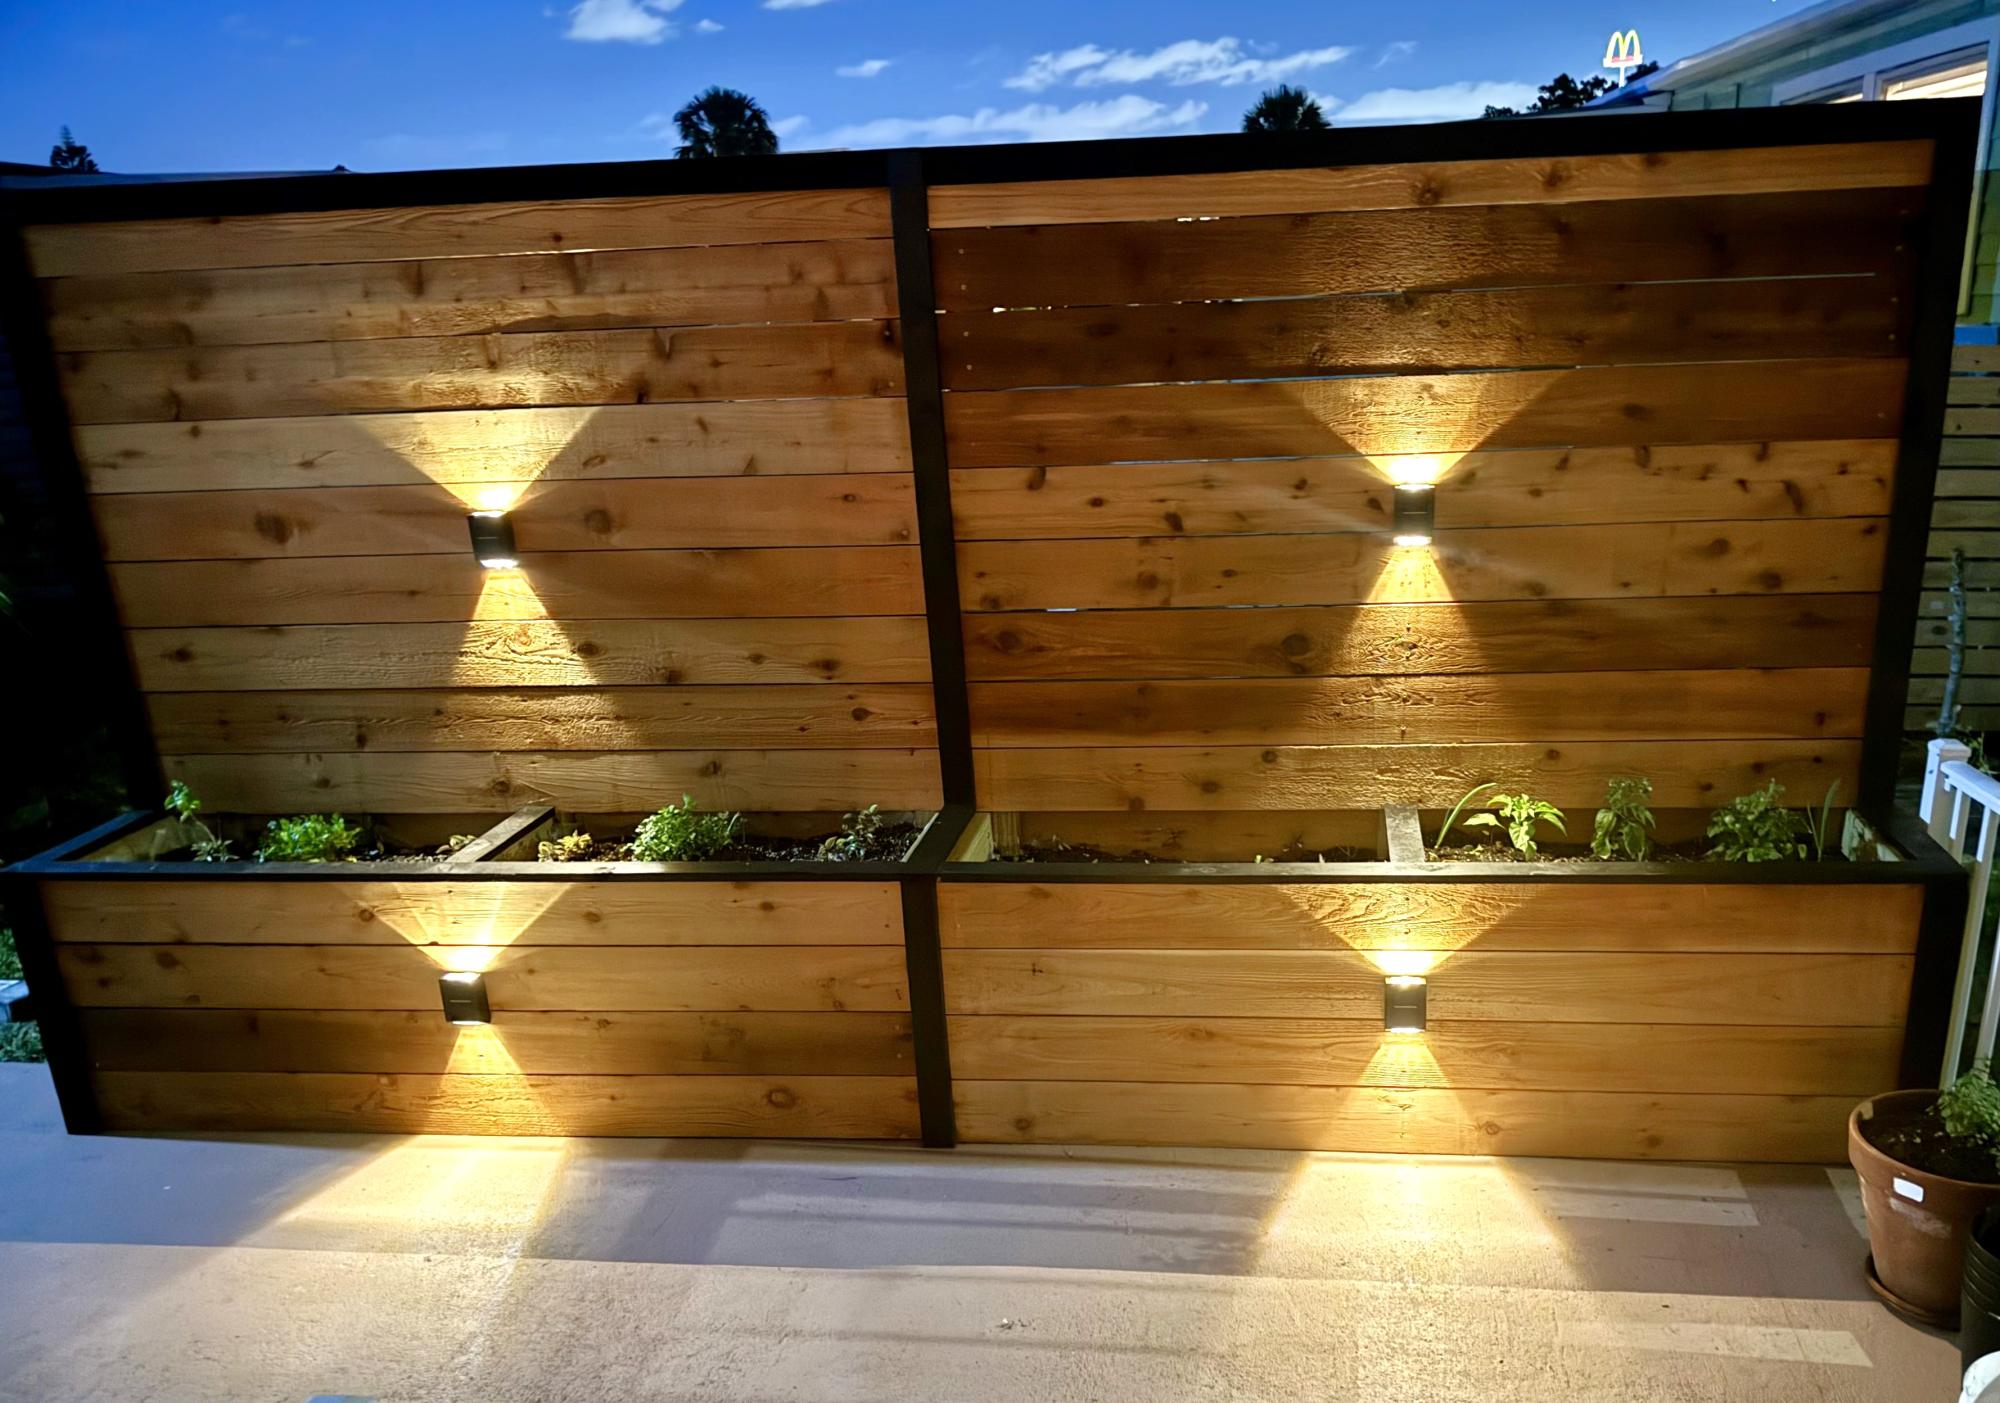
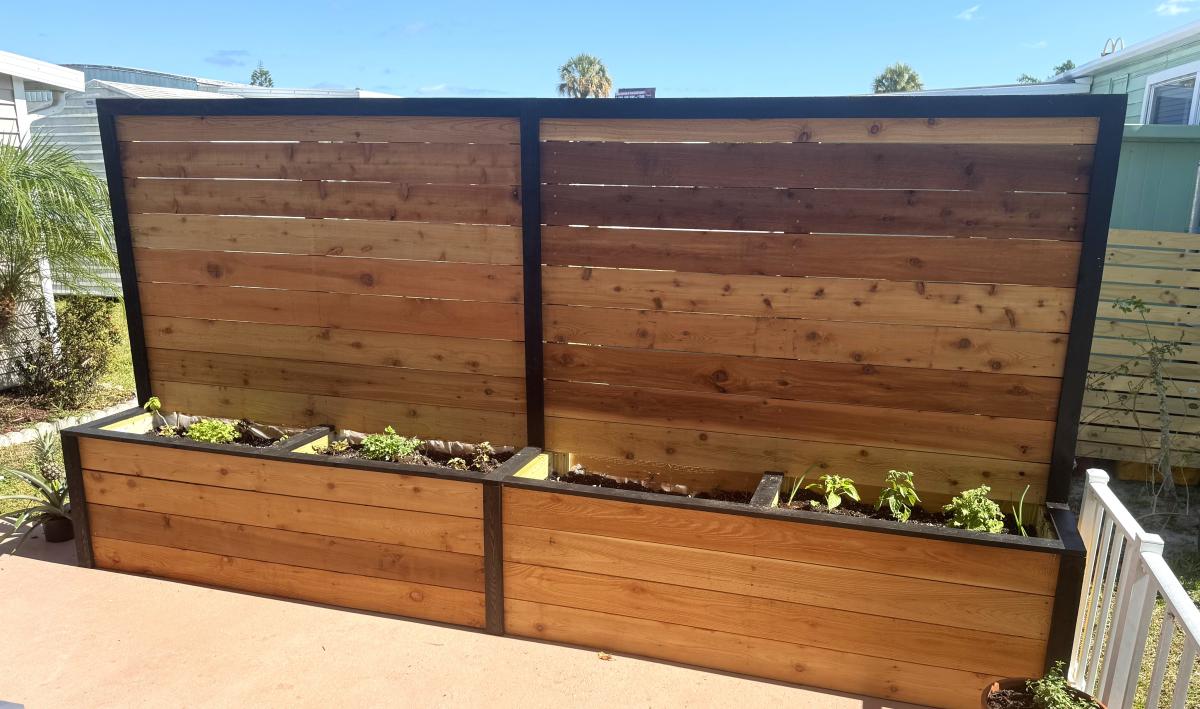
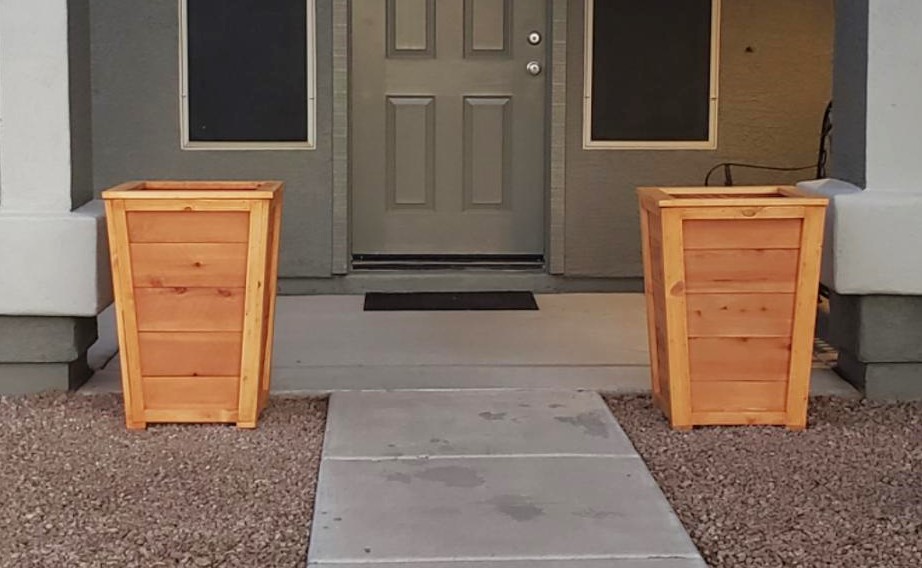
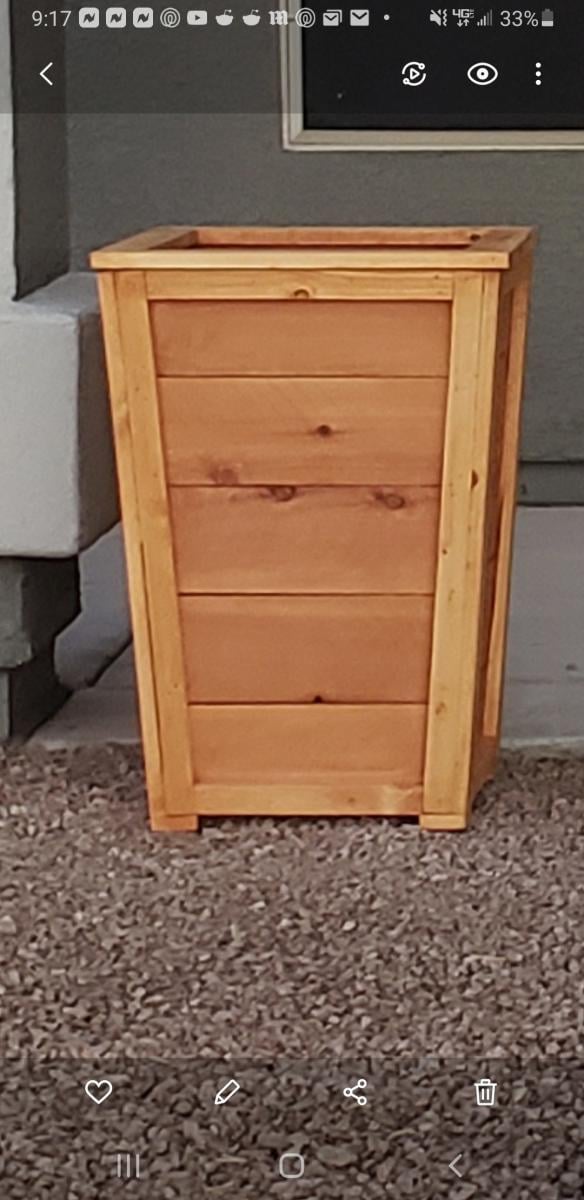
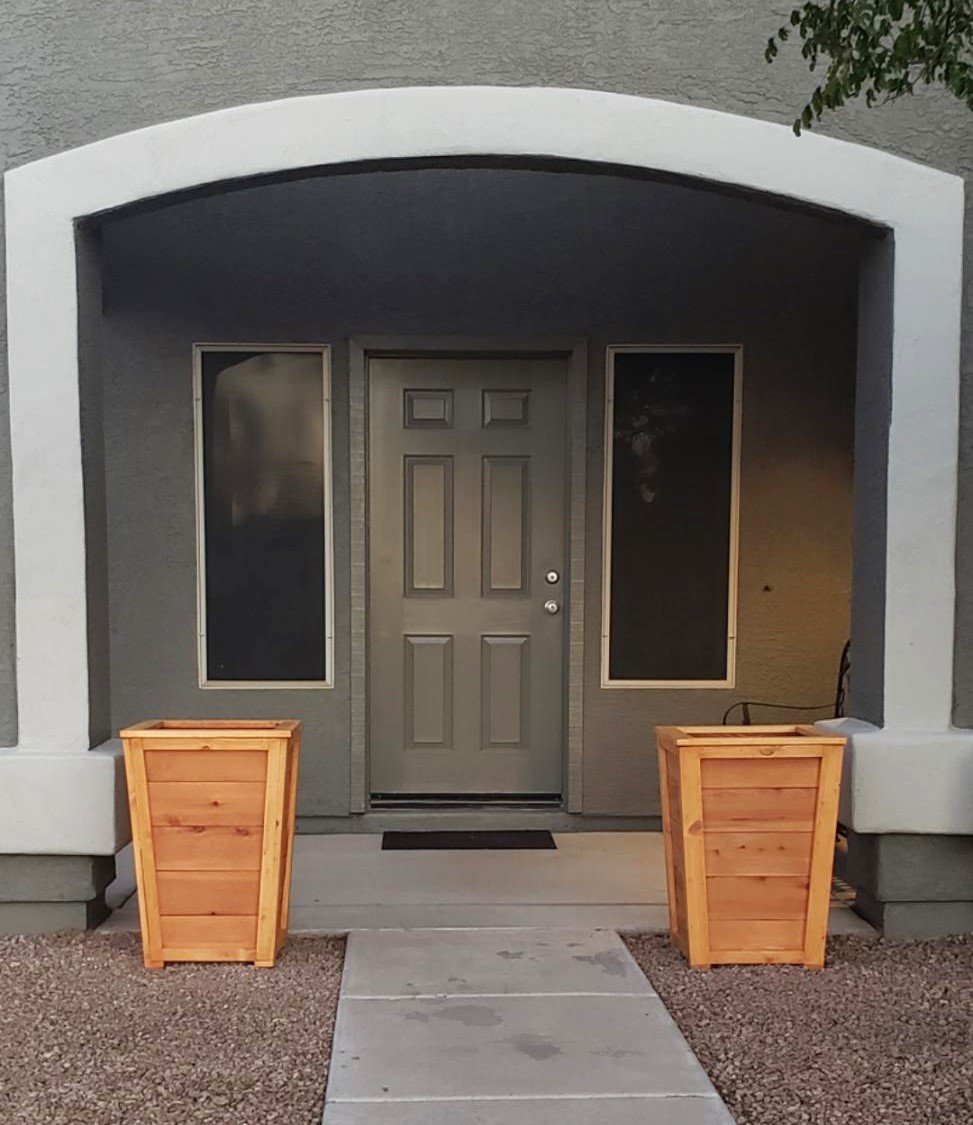
I wanted a place for a flag pole, but I didn't want to put one in the ground or screw into my siding, so I modified the cedar planter to hold a flag pole. It was a fun project! Check out more here!

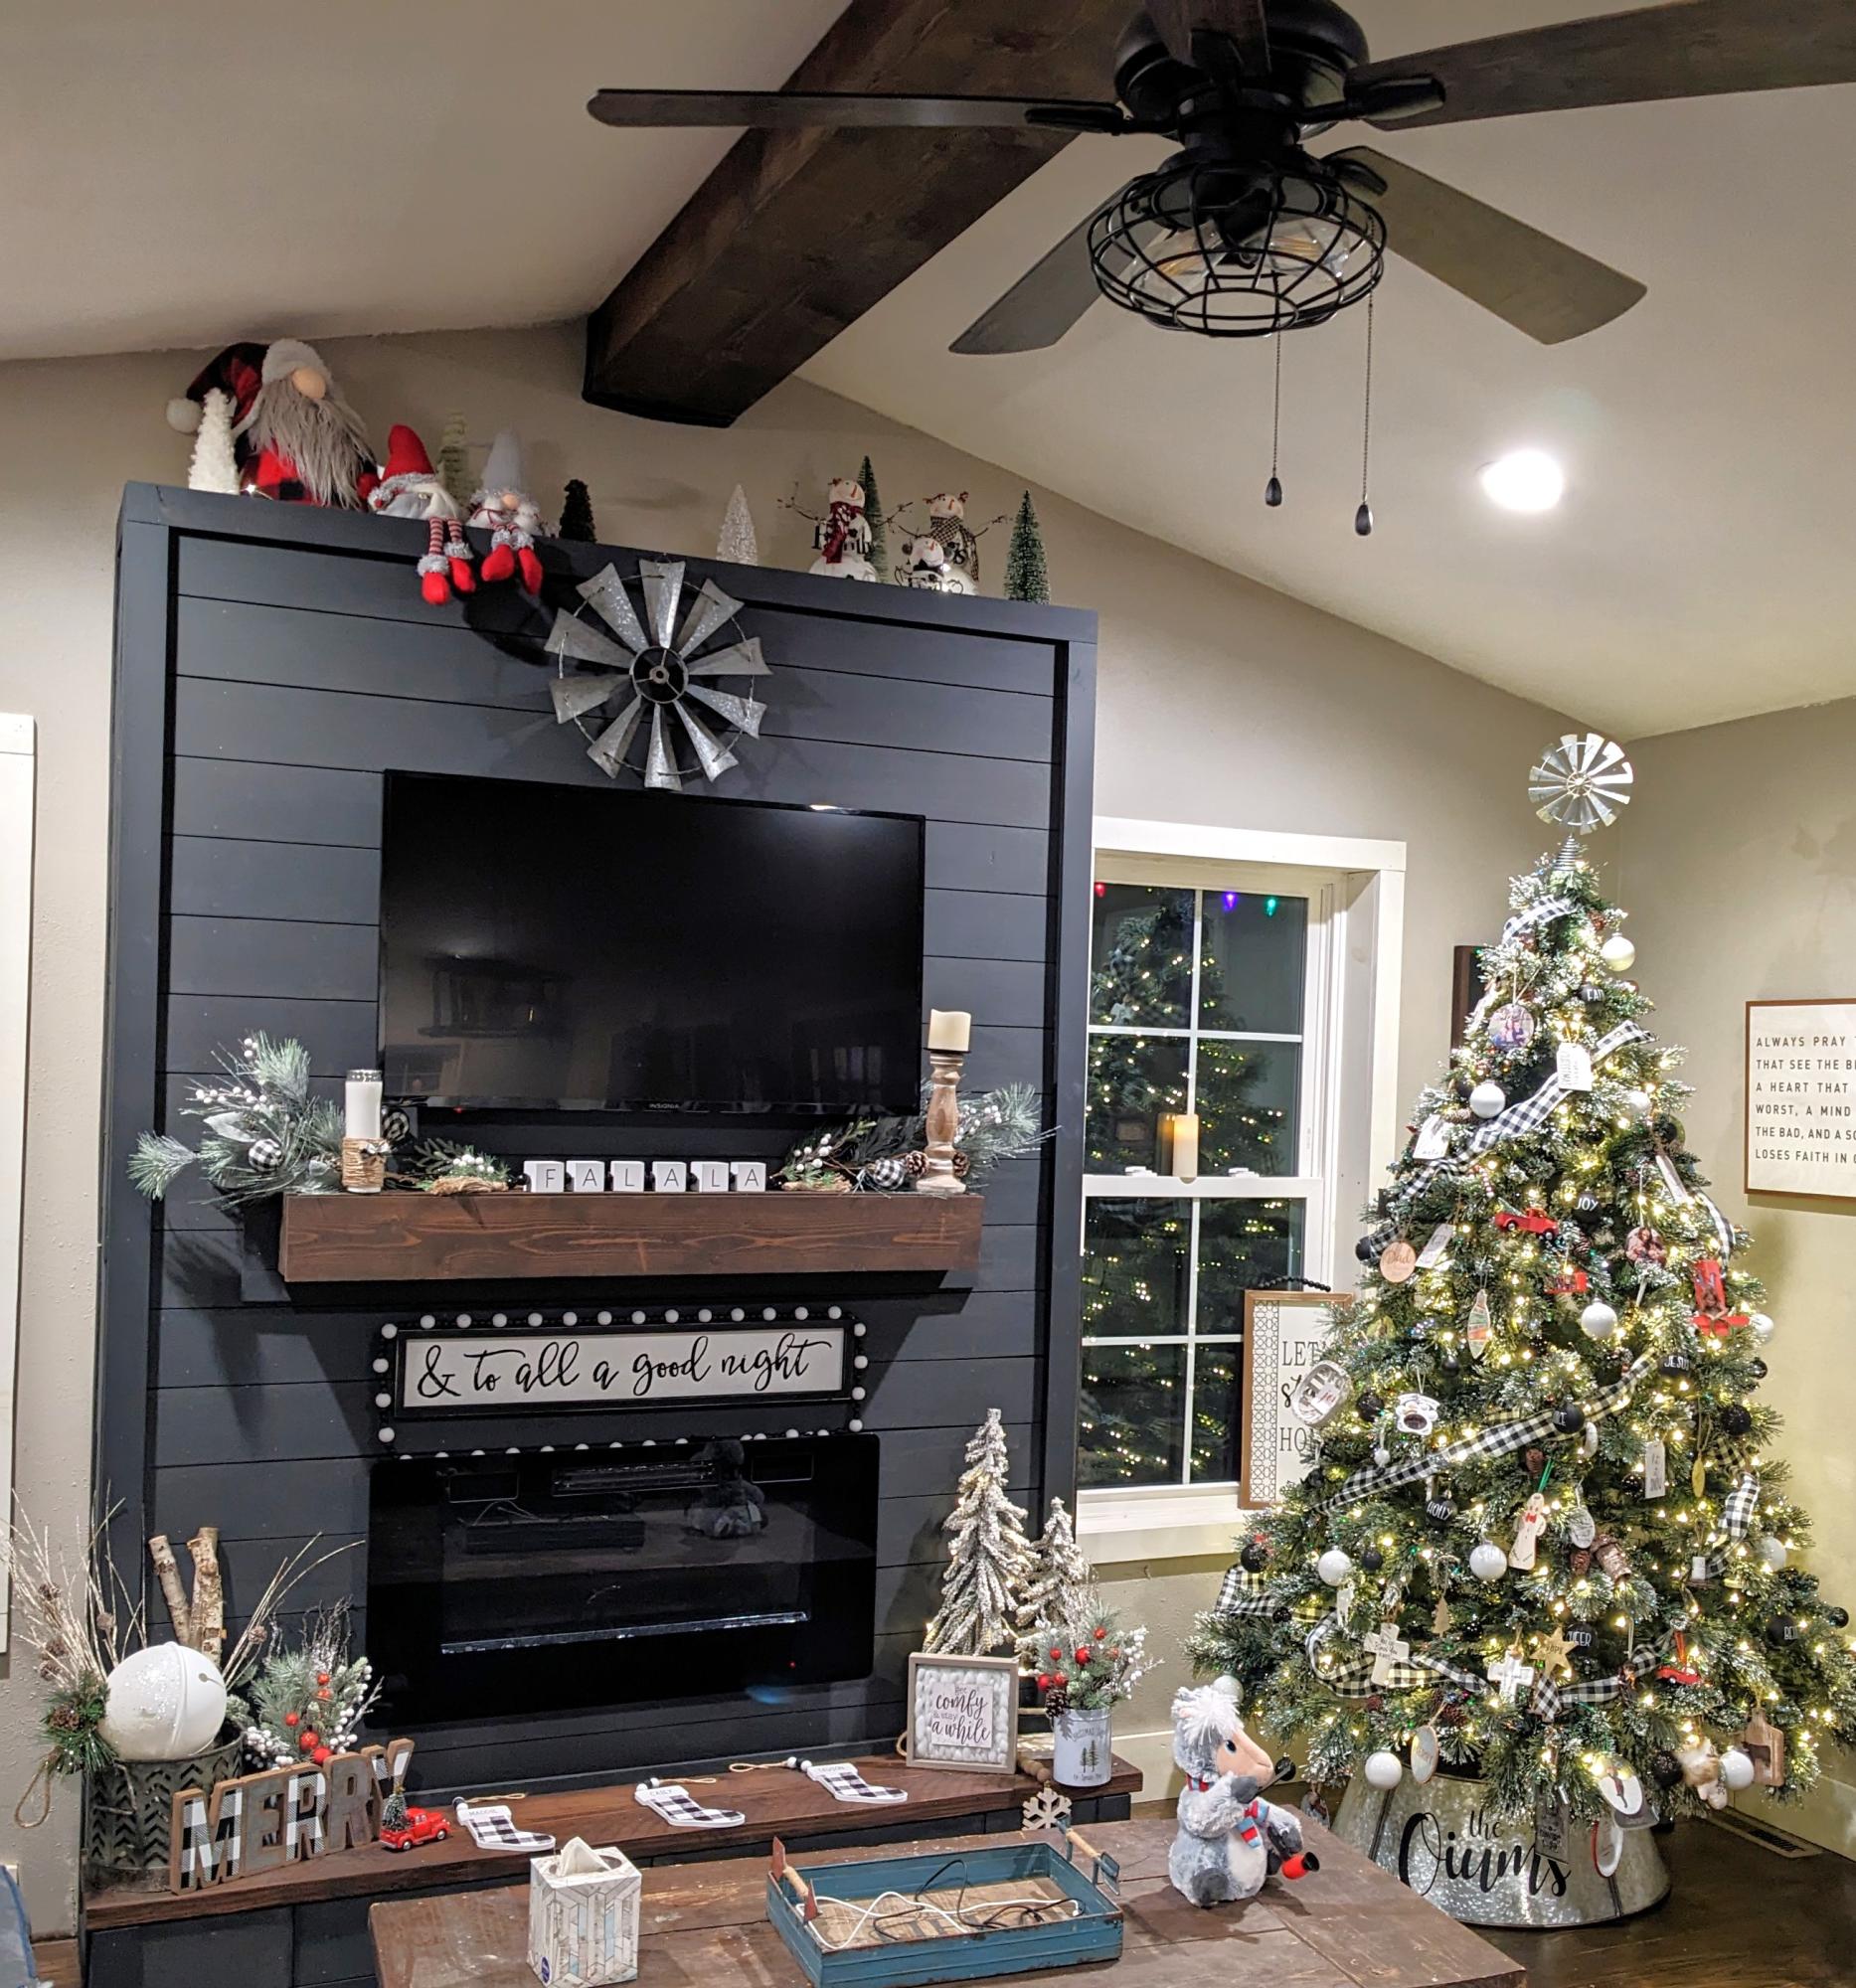
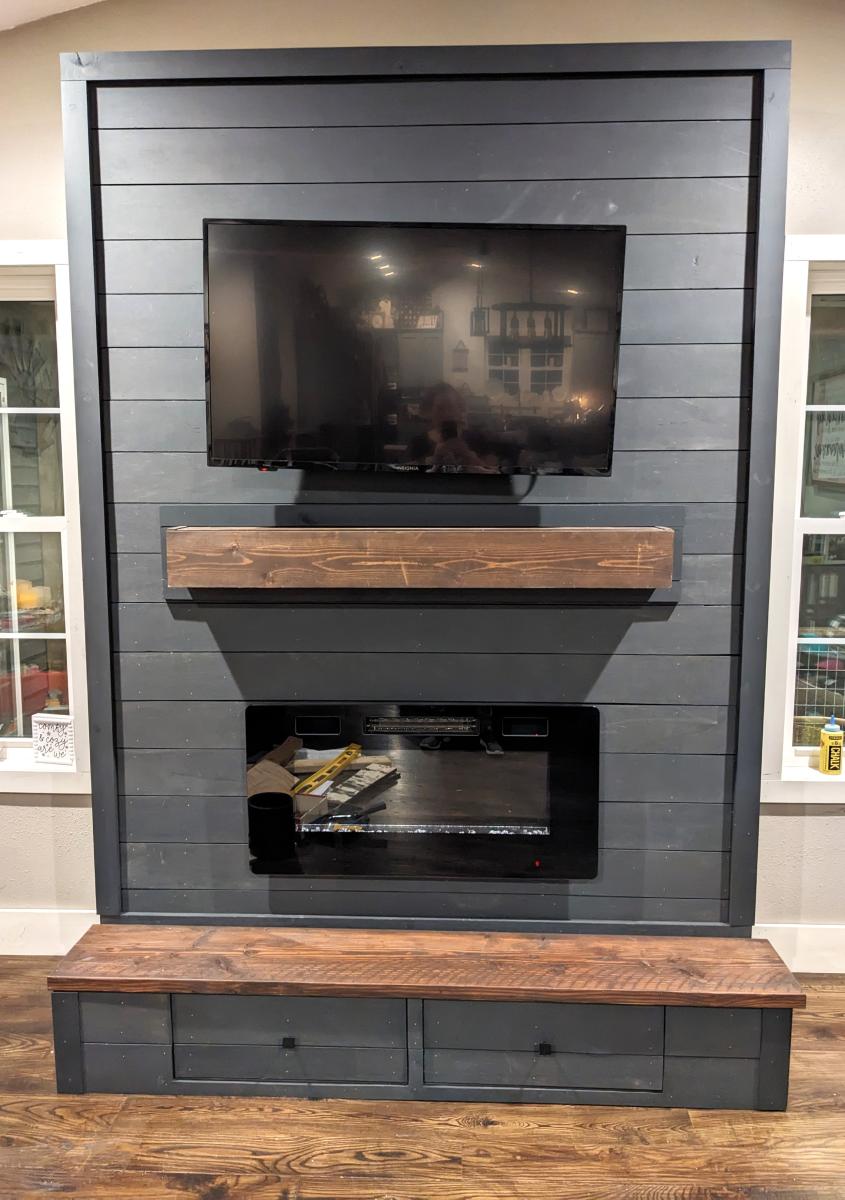
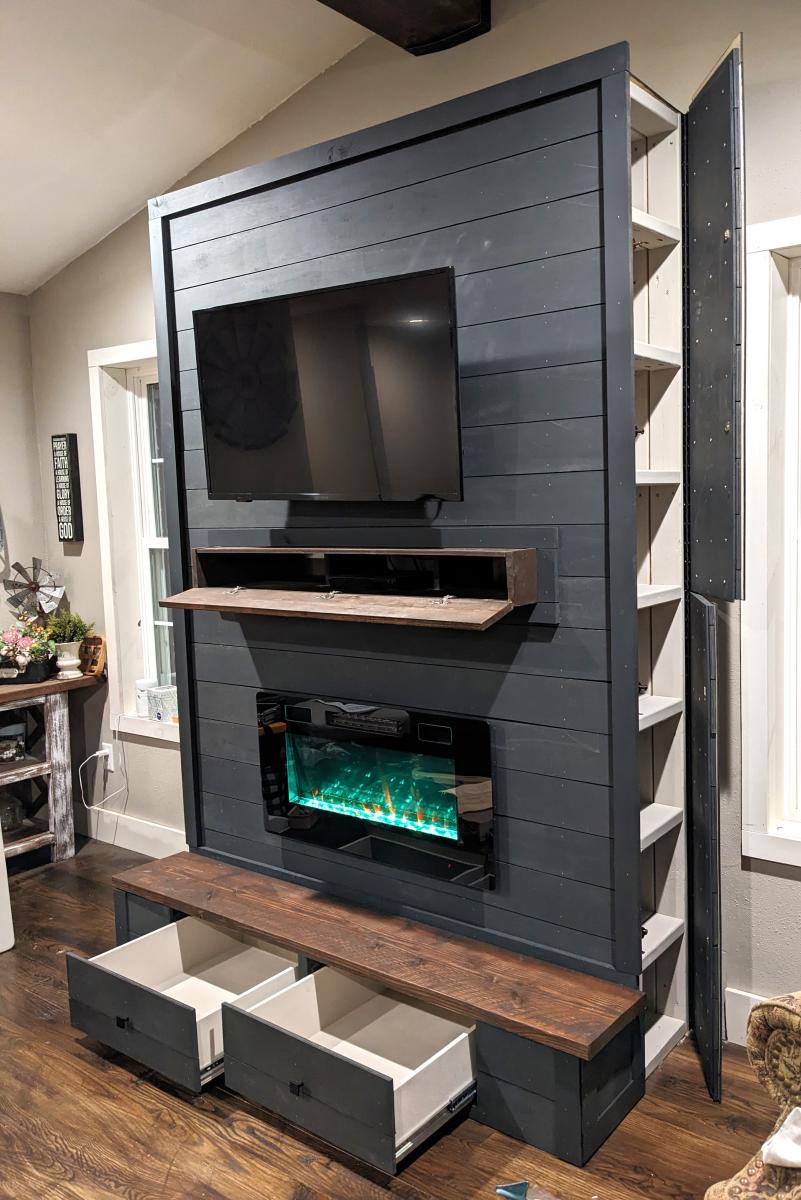
Modified plans to include game storage drawers, a flip open mantle for DVD player and hidden charging port, and hidden cupboards on both sides for DVD storage. I scoured the Internet for months before drawing this up to fit my space and tackling all on my own! I love it and all of my other Ana White inspired projects!
Casey O.
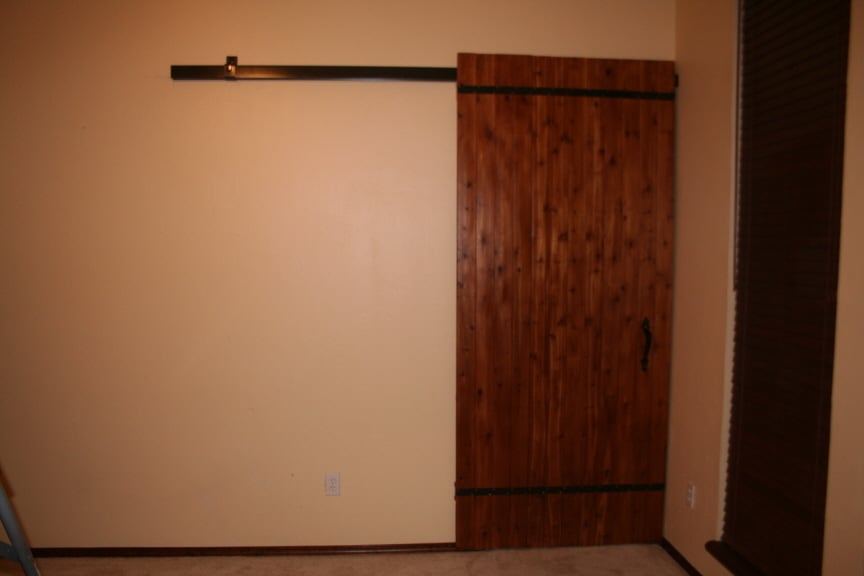
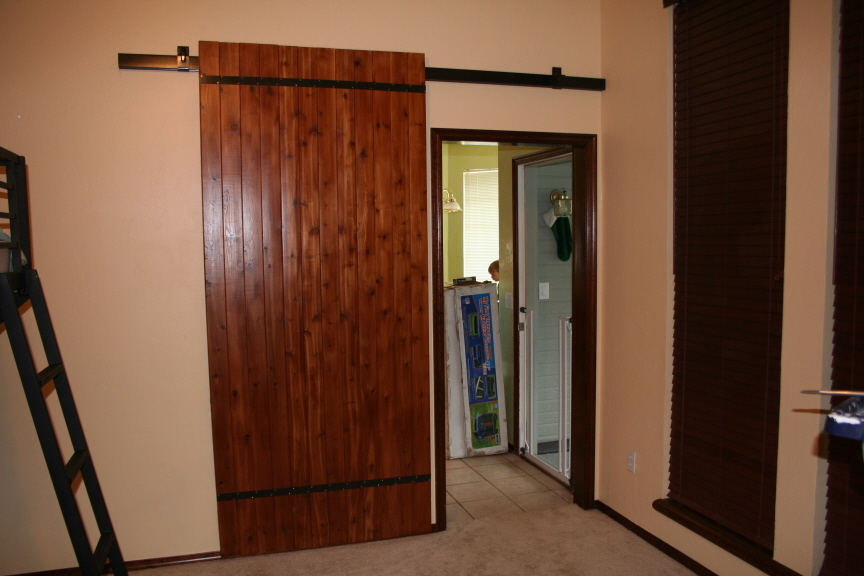
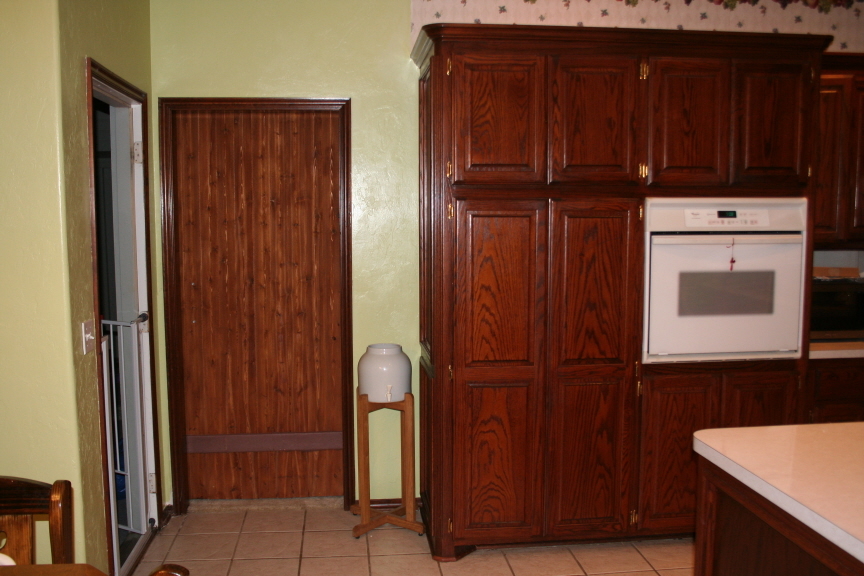
We turned a formal living into a bedroom so we needed a door to close off the kitchen/nook beyond. Since we were on a tight budget, we knew we could not afford the barn door hardware, so we found the next best thing:
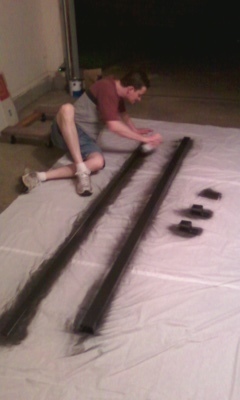
Stanley Trolley Box Track (from Lowe's). http://tinyurl.com/2z6wpn Yes, it's ugly looking, but we painted it black and modified how it was used. We got the 6' track with the box track hangers without apron. We bought the mount bracket, but that was a mistake. The door could not pass the mount on the right side and we ended up just attaching the track to the wall without the mount on that side (pic of door open shows both mounts before we were able to close the door and before we removed the mount on the right side). Had we known, both sides would have been attached to the wall without the mount. But, we went ahead and left the mount on the left side as we didn't think it hurt the look too much.
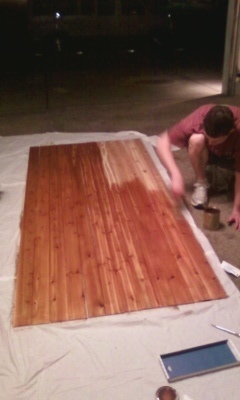
The door: We made another mistake. We meant to buy 1x tongue and groove wood (3/4" thick) to make our door and we somehow got 8' lengths of tongue and groove paneling 1/4" thick (OOPS): http://tinyurl.com/7ea6b3r It looks good, but it's ultra light weight (stain first, then put it together). We used a flat piece of aluminum to hold it together (also painted black - along with painted screws). Due to our mistake in depth, our screws were too long so we located a 2x4 directly behind the aluminum strip on the top and the bottom of the door for stability. It helped a lot. The location of the aluminum strip at the top is strategic because the 2x4 behind it is also what holds the box track hangers that roll on the track above. We put them a few inches in on each side from the edge of the door, drilled a hole vertical through the 2x4 (a little off center so the door wouldn't rub the track) where longer bolts were used to go all the way through the 2x4 and hold the door onto the track while being hidden behind the door. I also had to get smaller screws for my door handle to go on since the door was only 1/4" thick. But, it all worked out.
The backside: Due to the fact the door is so light, we added felt to the 2x4 at the bottom so it wouldn't damage the trim.

Wed, 06/13/2012 - 12:52
My mouth totally fell open when I recognized the door plan from my blog! Your door looks fantastic, even with the oopses ;) I'm glad it all worked out for you guys!
Thu, 06/14/2012 - 14:17
That's why I definitely wanted to link the blog post where the plan came from. It was a great idea and I'm thankful I found it. I don't think we would have been able to do the door without your blog. For one, they are too expensive and I wasn't sure how to do it without that expensive hardware. But, your blog helped us be able to do something nice and without spending too much money. It also functions perfect!!!
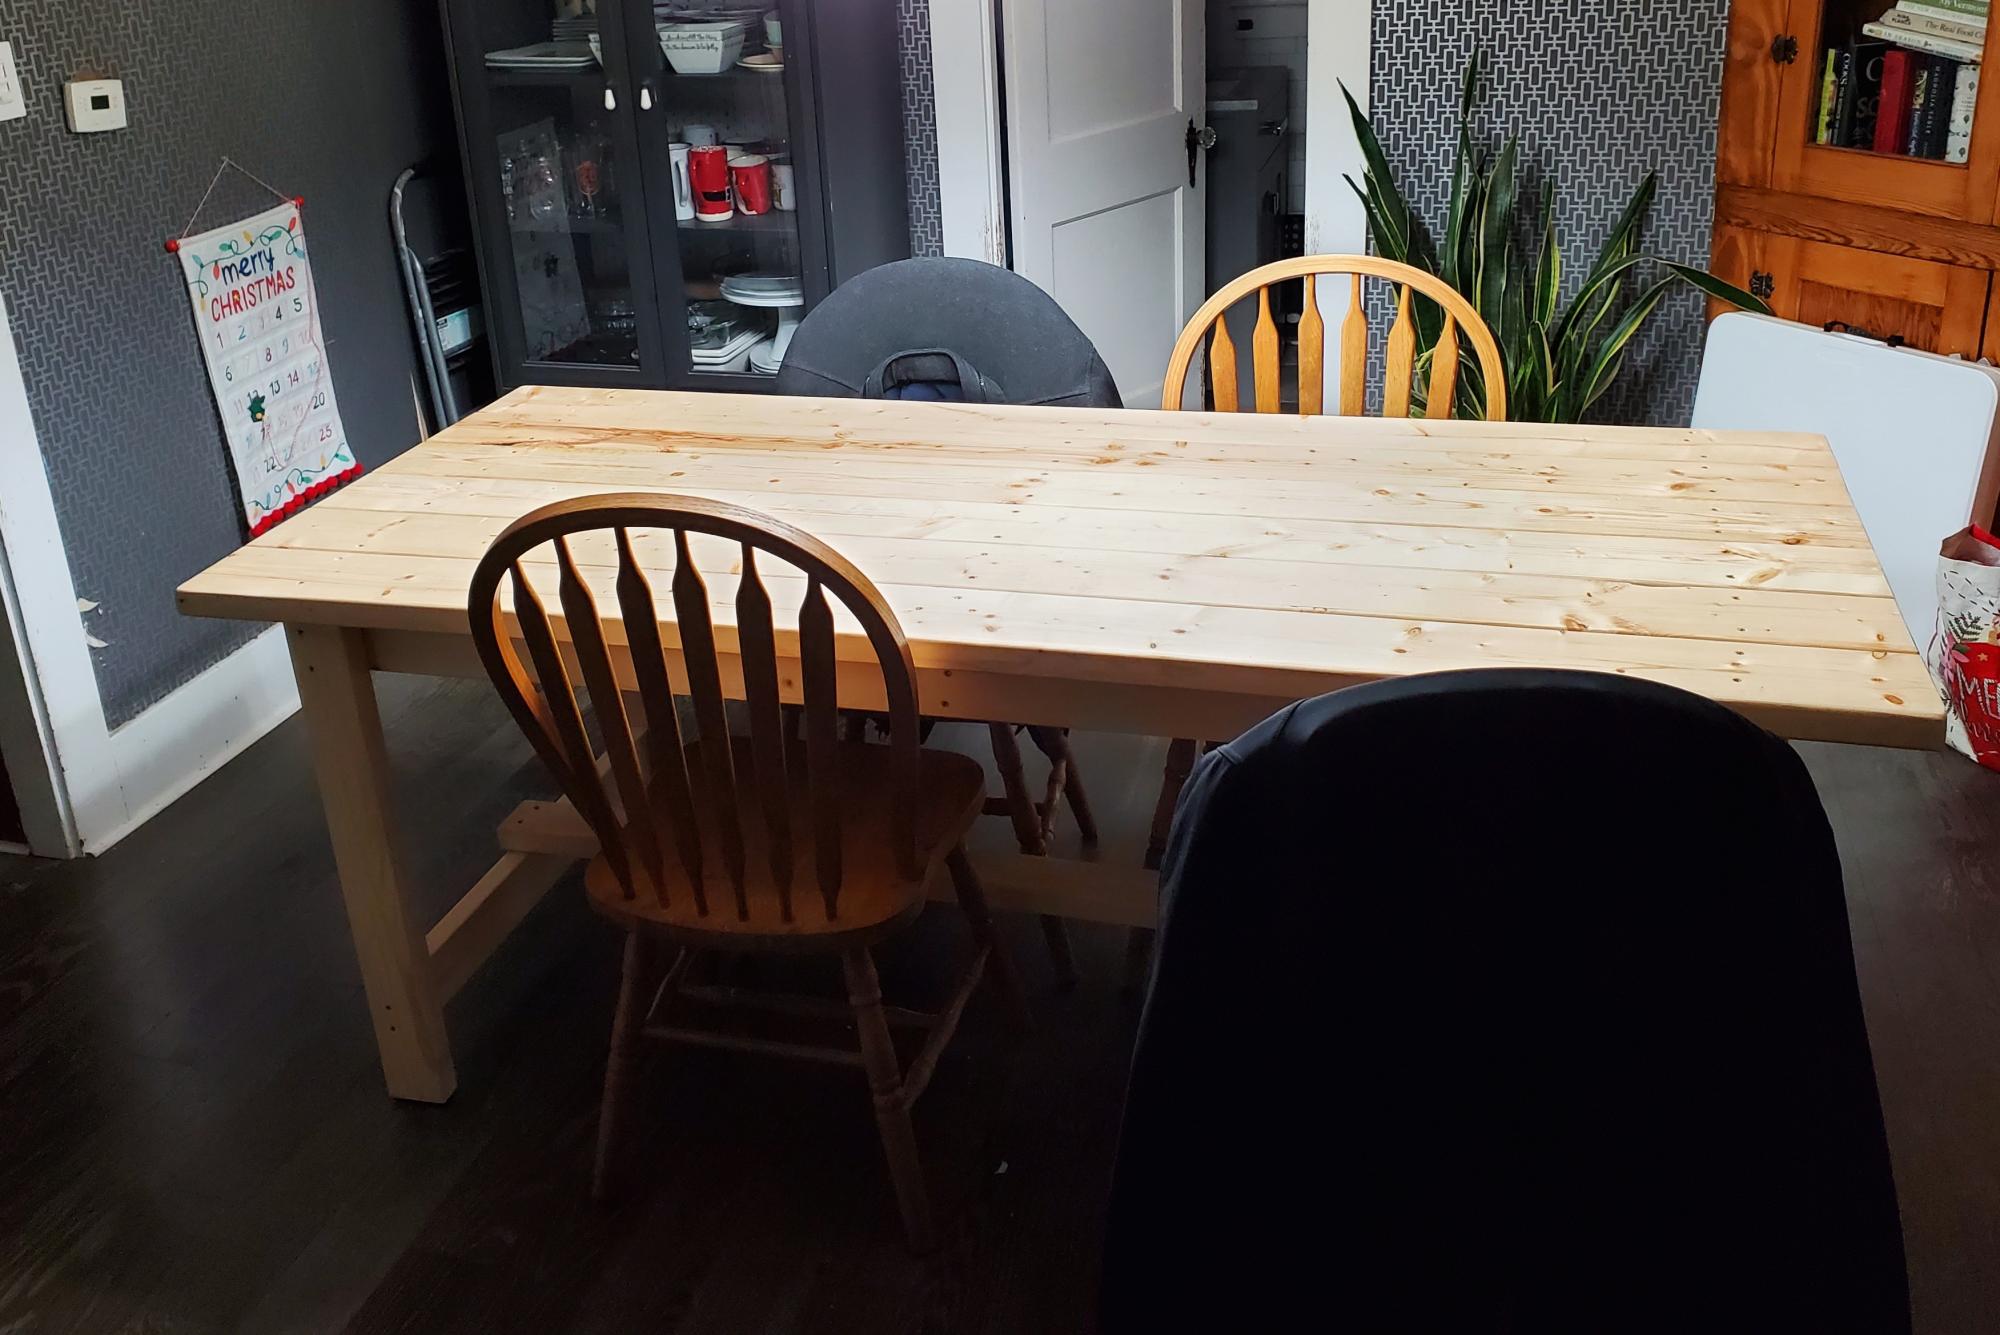
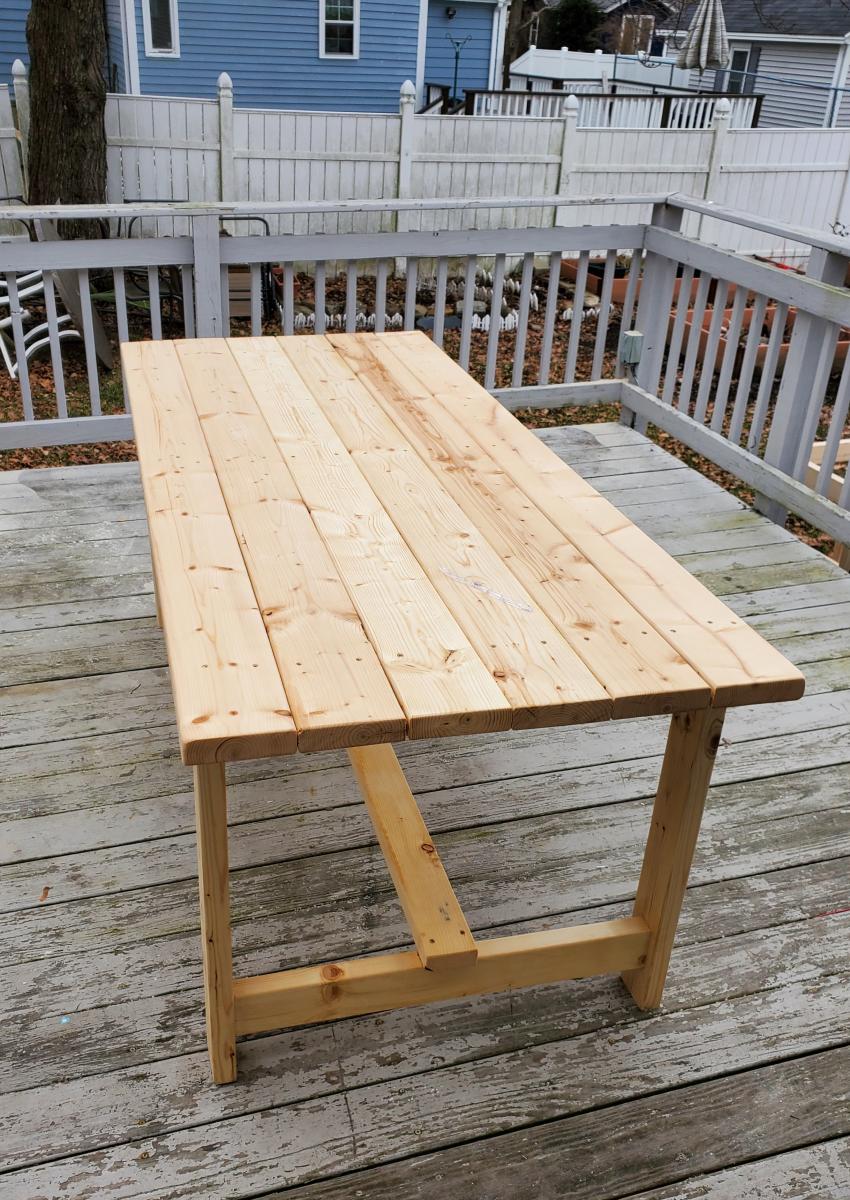
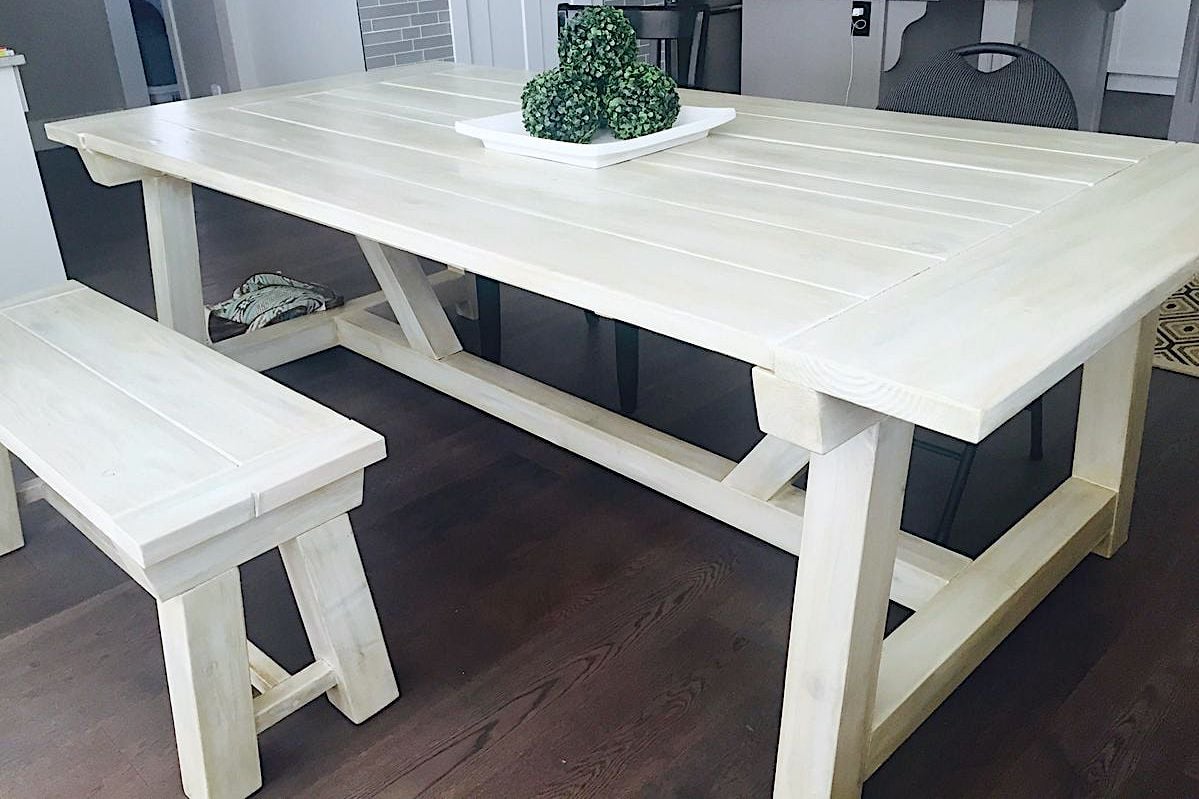
My wife and I had been talking about buying a new dining room table for some time and we are just so sick and tired of paying good money for cheap, particle board furniture from Wayfair or box stores. And solid wood furniture is expensive AF! So, I decided to build a table myself, even though I'd never built a single piece of furniture in my life. When I found the plans for this table I realized that I could do it myself. The plans were straight forward and easy to follow. I had to size the length down to fit in my smallish dining room (and it is still a little bit too big), but I am so proud of what I was able to build by myself in a weekend. Thank you Ana!
Shawn in New Hampshire
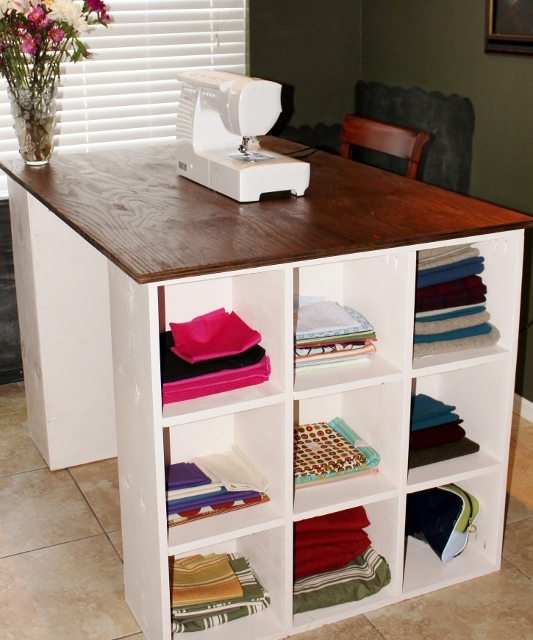
Our first woodworking project! A sewing desk that was featured on this site.
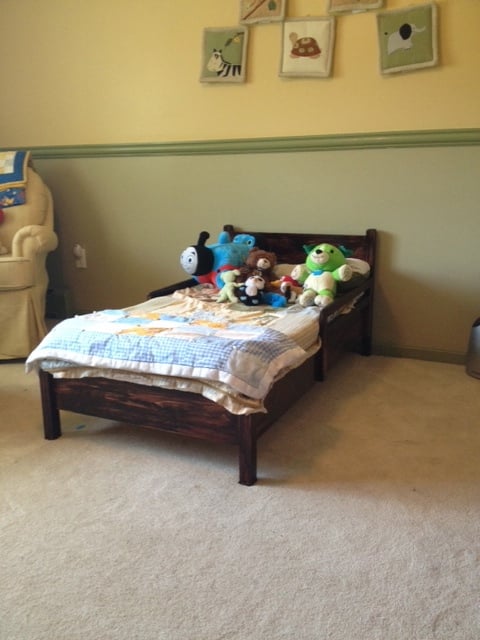
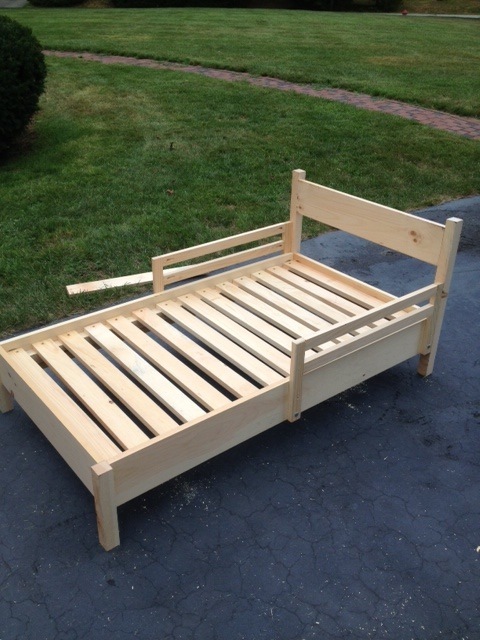
I made this without the fancy headboard, but I'm very happy with how it turned out! See my blog for complete details.
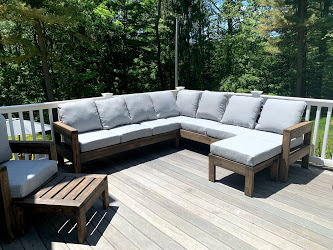
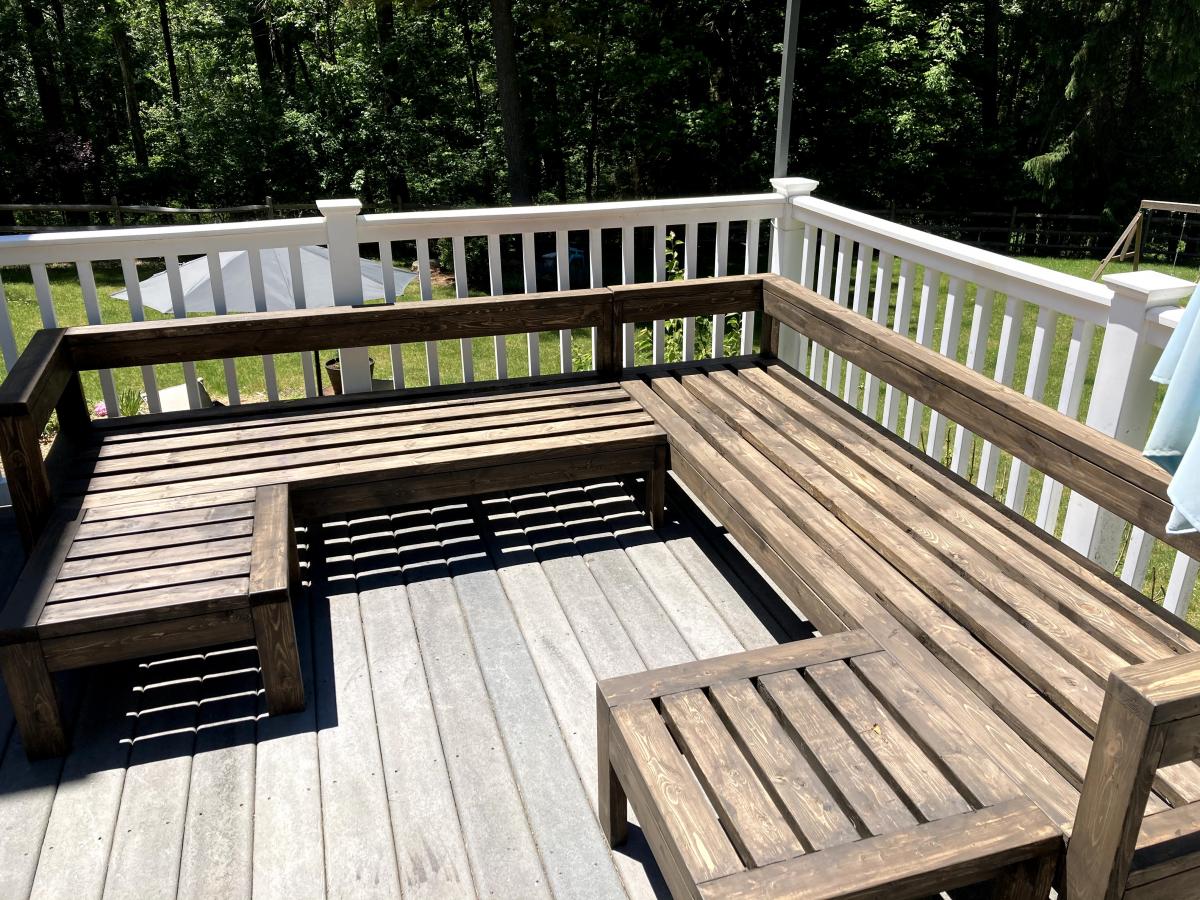
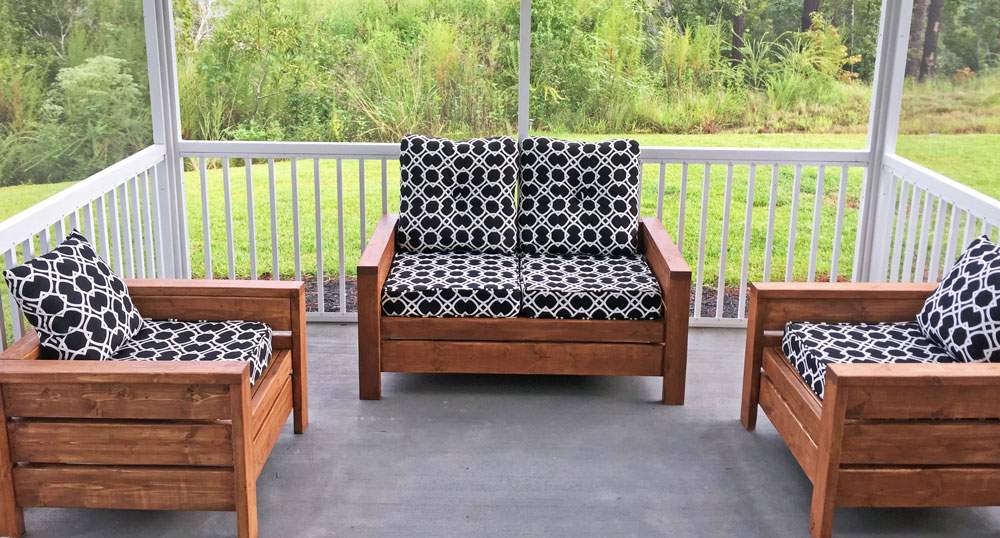
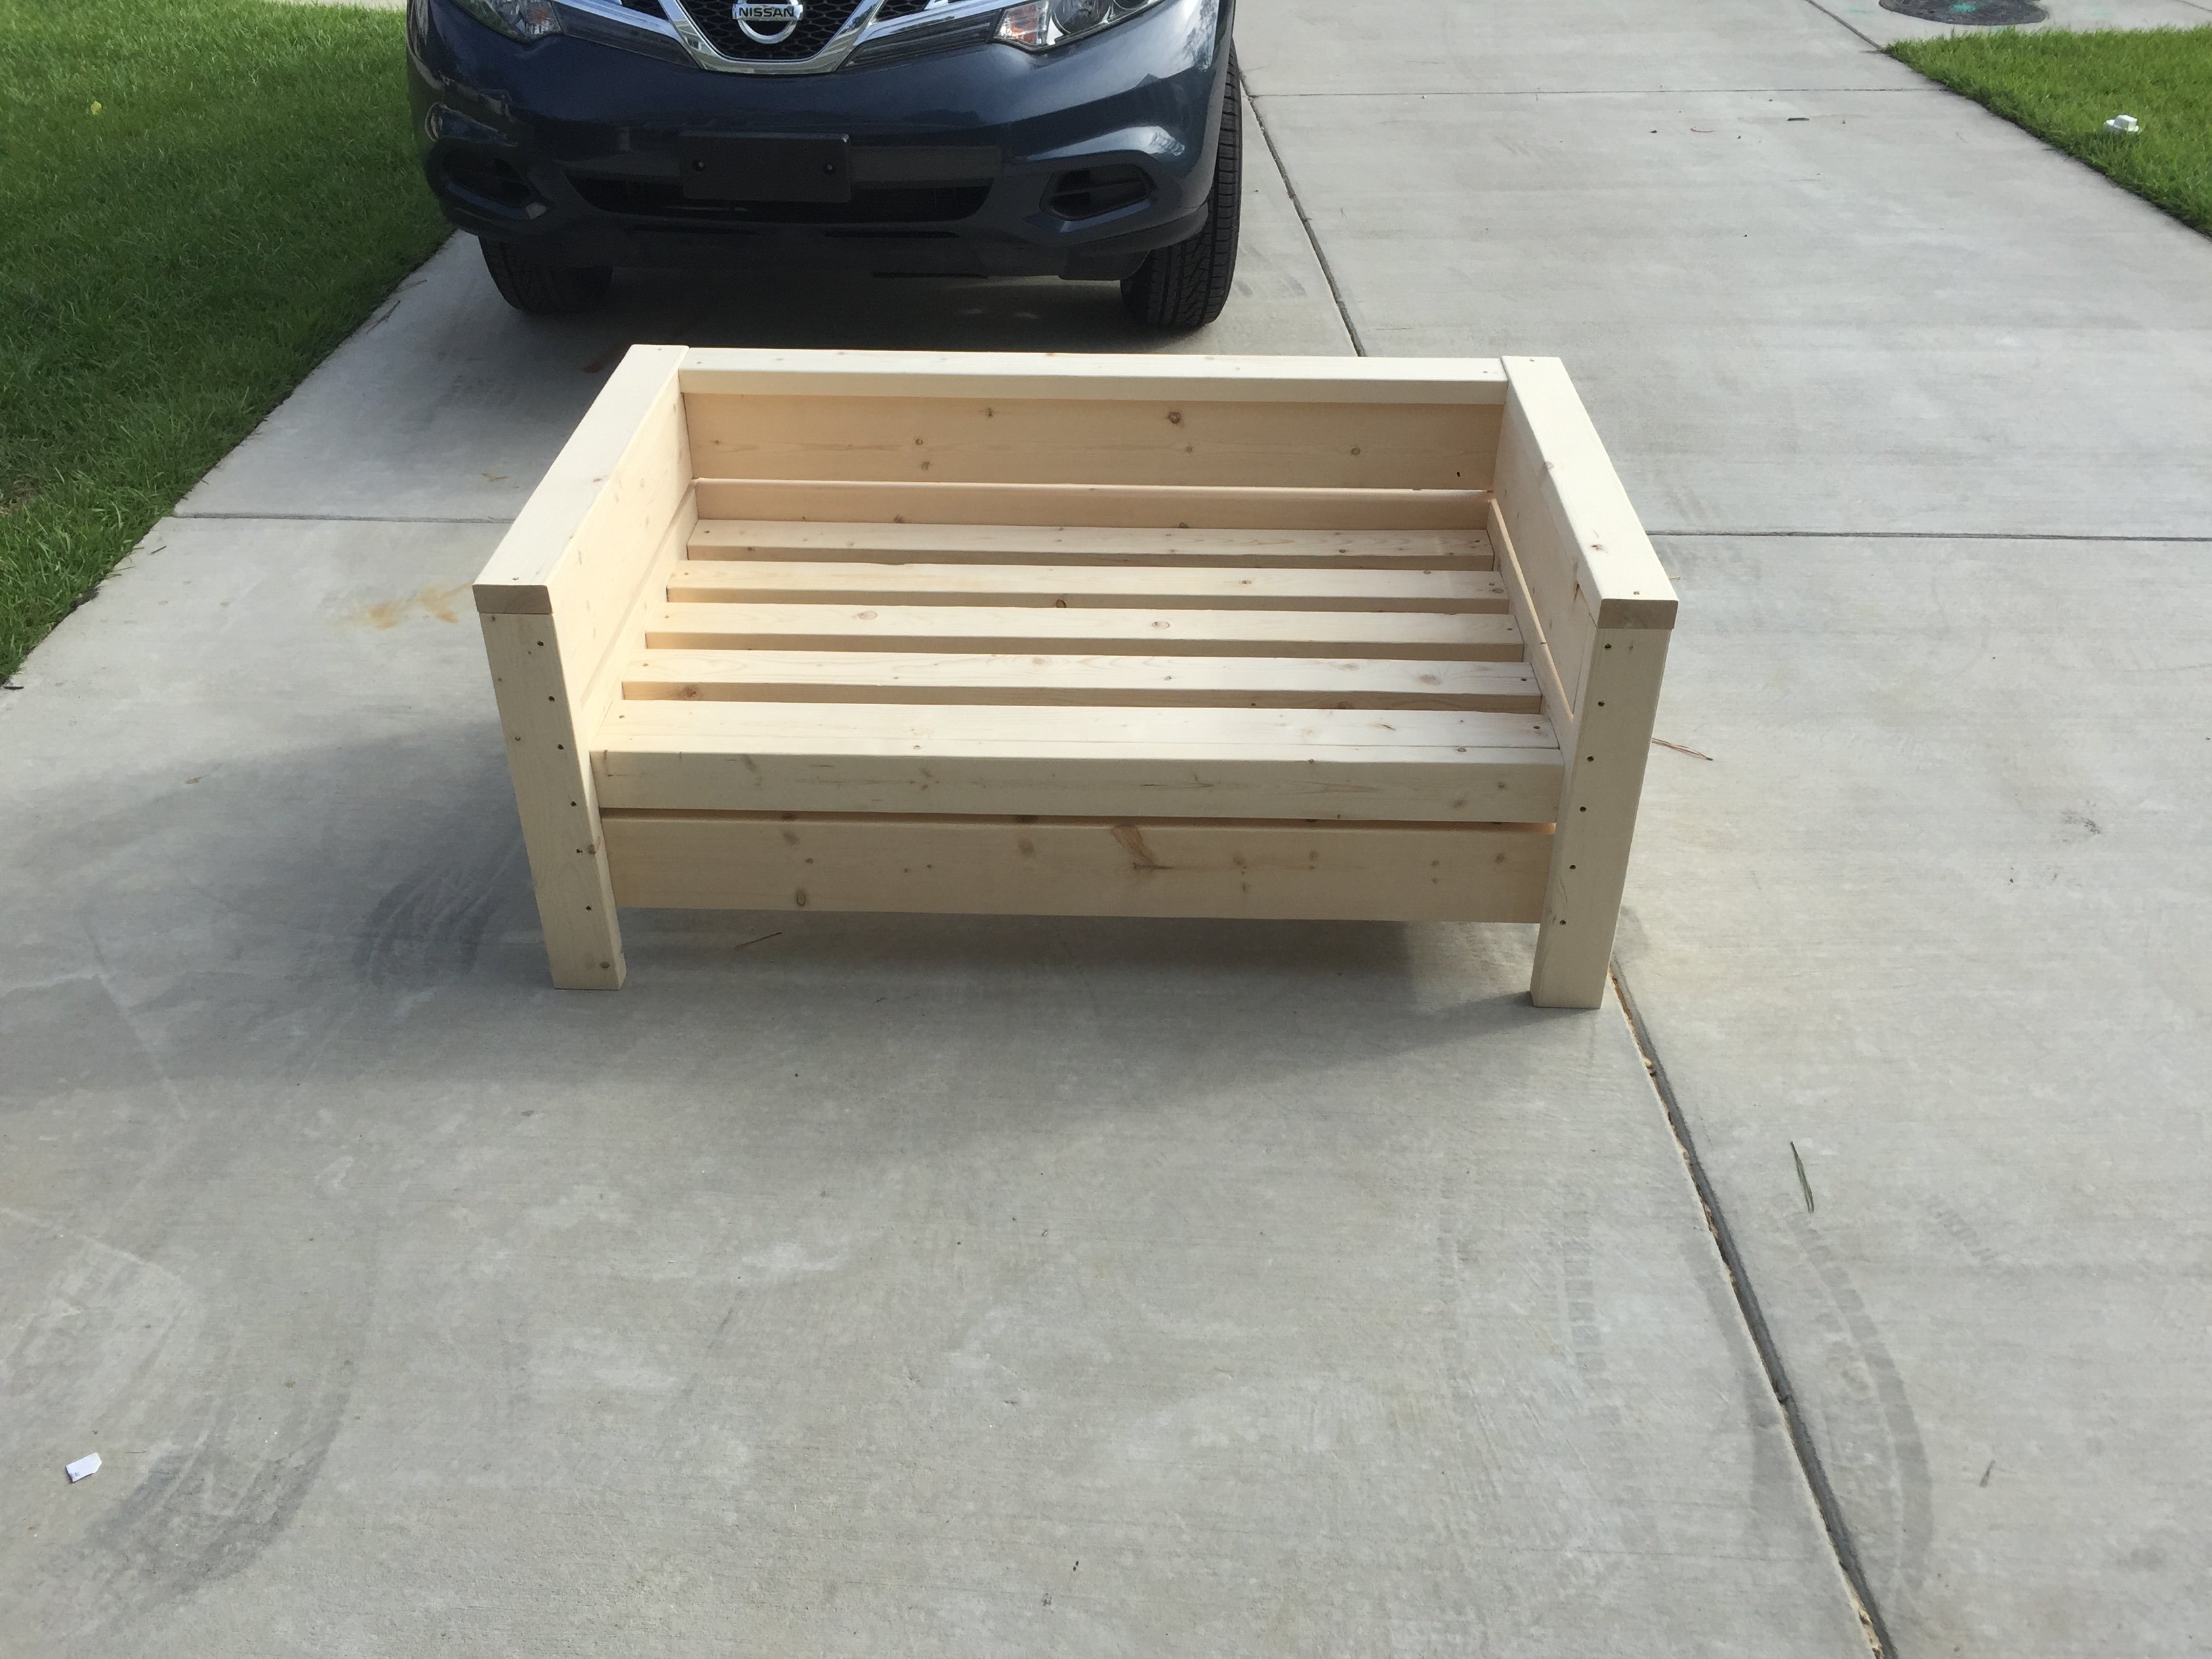
We were looking for outdoor furniture for our deck, and for the size and amount we needed it would have cost us at least $2000. We really like the idea of having an outdoor sectional that we can also use for dining, and we had trouble finding a set we liked. We found Ana's plans for the 2x4 Outdoor Sectional, and i loved the look. After seeing what others have done with the plans, I thought I would be able to modify it to get everything we needed for much less cost than buying a set.
We ended up extending the size of the 2x4 outdoor sofa by one 24" section, for a total length of 96". I then used the same design to make two outdoor chairs, just reduced the length to 24". I modified the 2x4 outdoor coffee table plans to create two ottoman's that can be moved around to make the seating more lounge style Finally, I modified the coffee table plans to make a 5 foot outdoor dining table. All in all, it took about a week and I couldn't be happier with how it turned out!


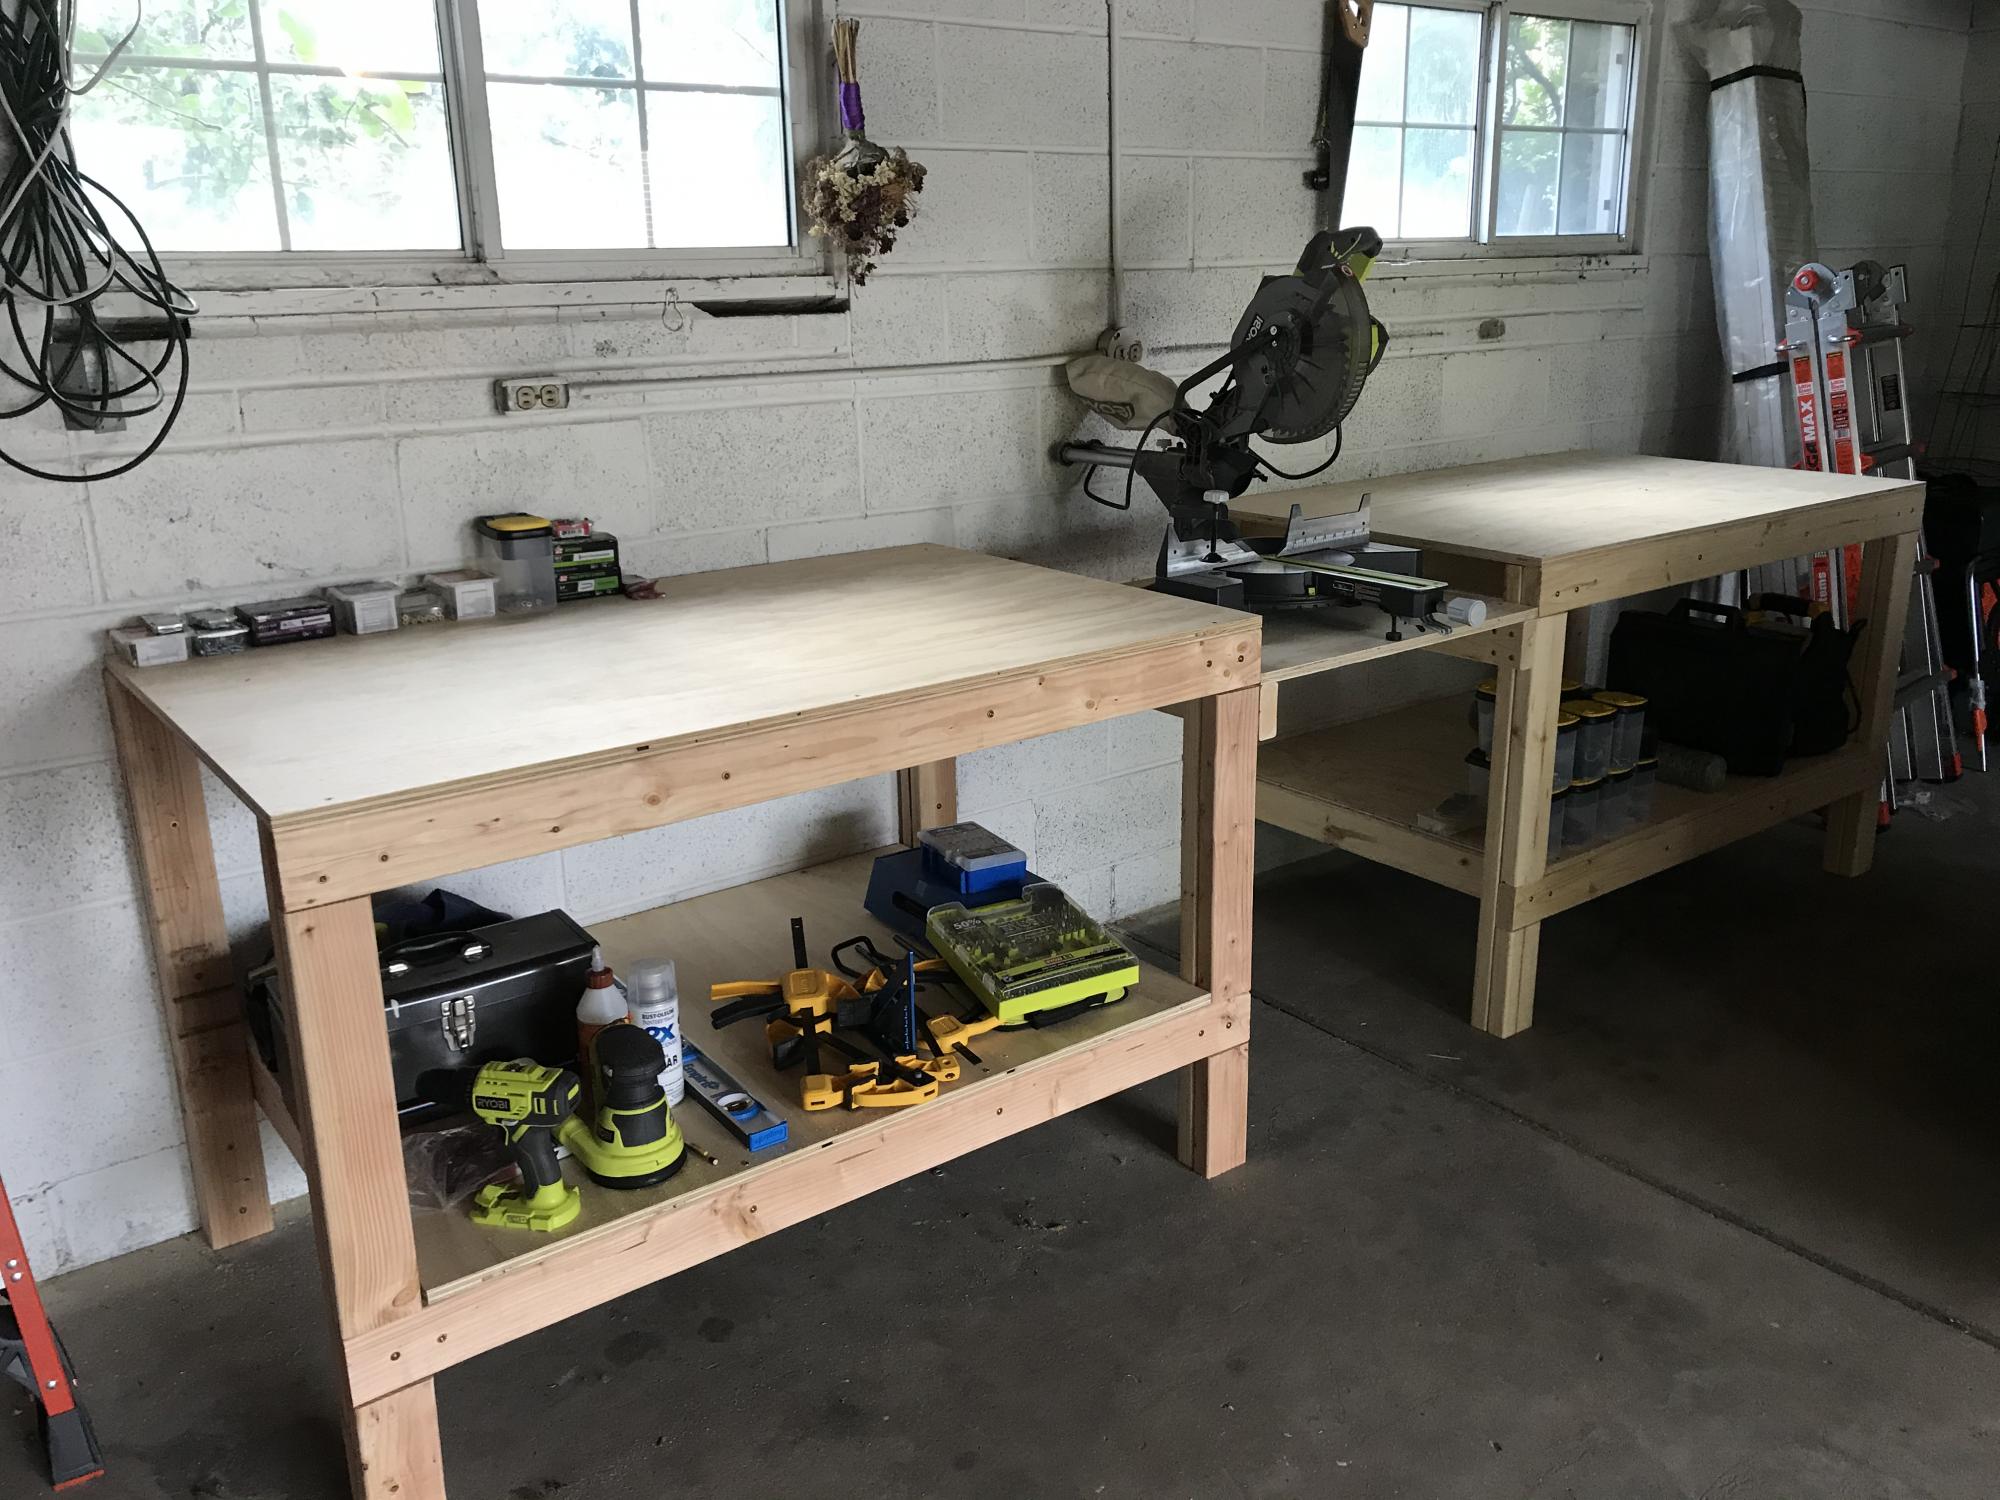
Built 2 of the workbenches for our garage. The plans made assembly very easy and quick. We had Home Depot cut the plywood to size.
Used your plan as a start and improvised from there. Thanks
This project was made using cedar. Most of the joints are dowels or mortise and tenon. It was my first time using this complex joinery and gave me a great sense of accomplishment. It was also complex recreating the plans in Sketchup

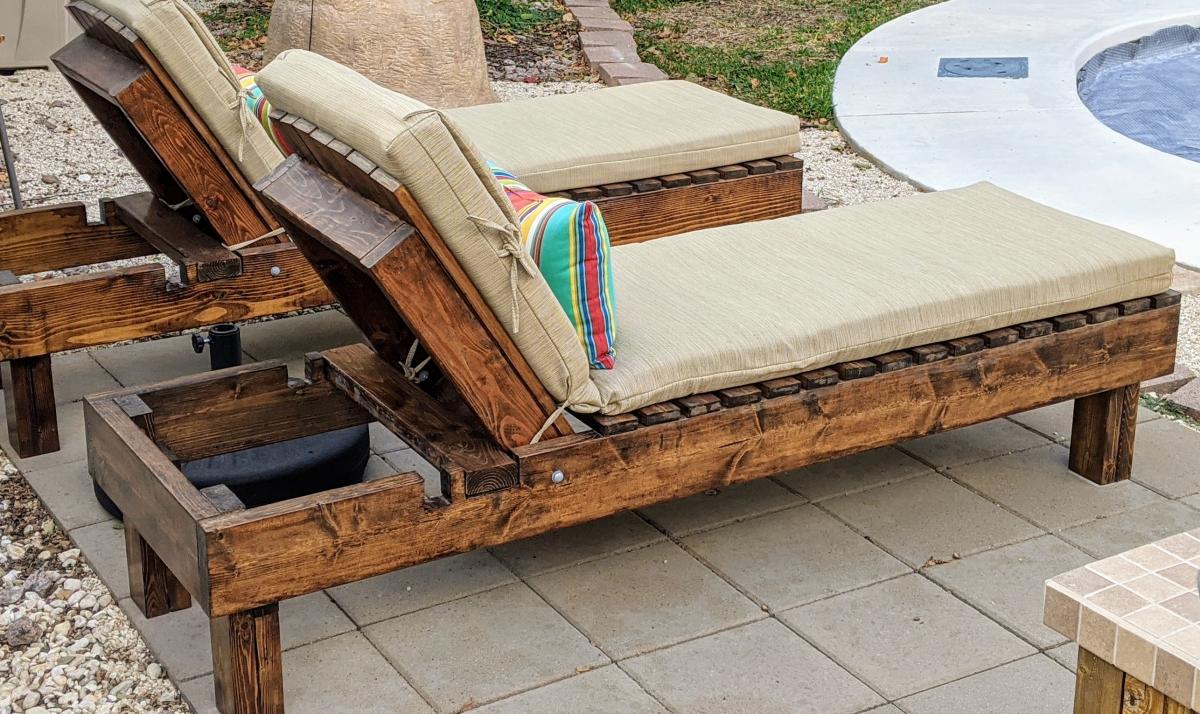
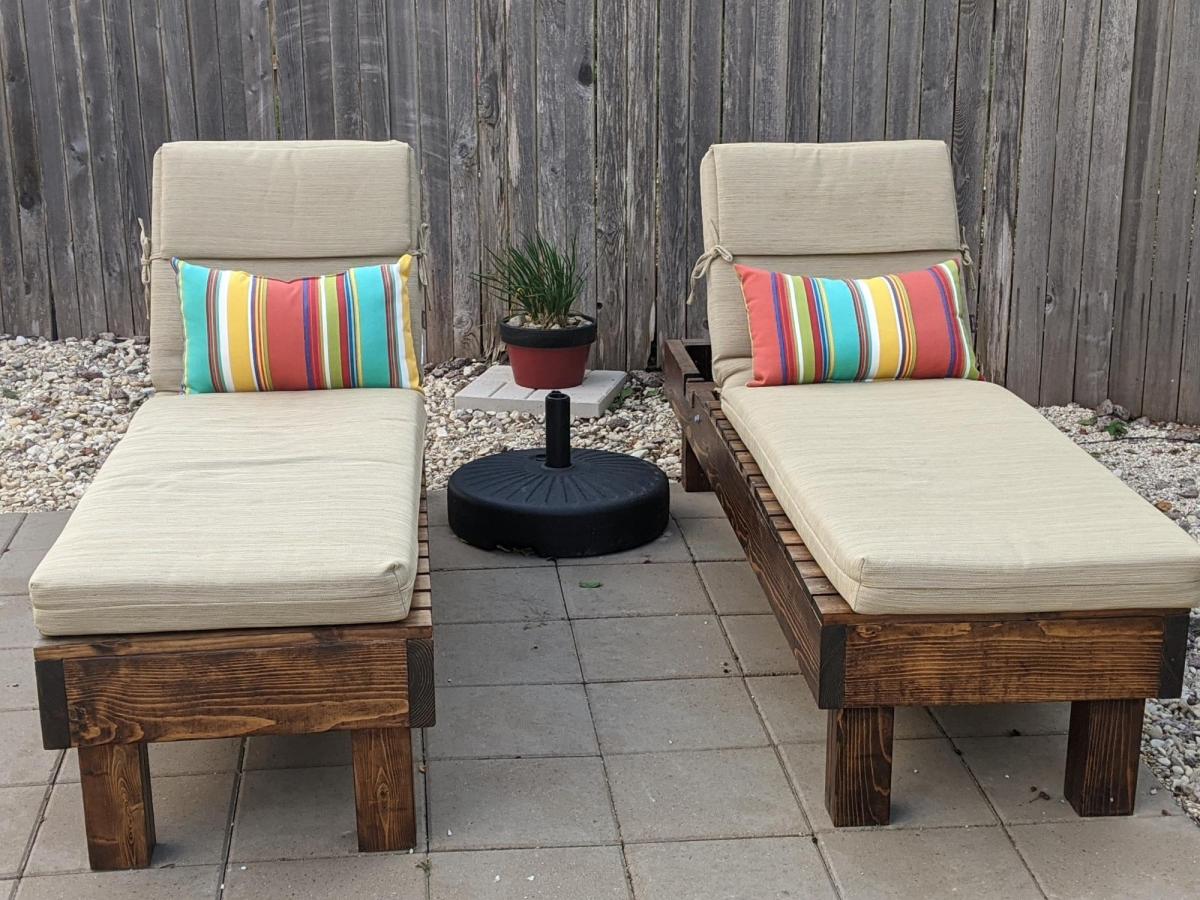
I didn't realize how expensive pool loungers were. Thank goodness for Ana White! I modified the size to 73 inches long and 22 inches wide so they would be a good fit for the cushions I got from lowes. Something to take into account is that the 2x4 won't be able to rest on the back legs when you use the 2x6 on the sides. There is no way to get it in. I didn't realize until I had built them but I just cut two pieces of 2x4 at 3 1/2 inches and placed it on top so I can rest the back all the way down. Love the end result!
Followed your plan but added extra 1 x 2 trim to the sides, feet made from 1 × 3 and 1x 3 trim around the top
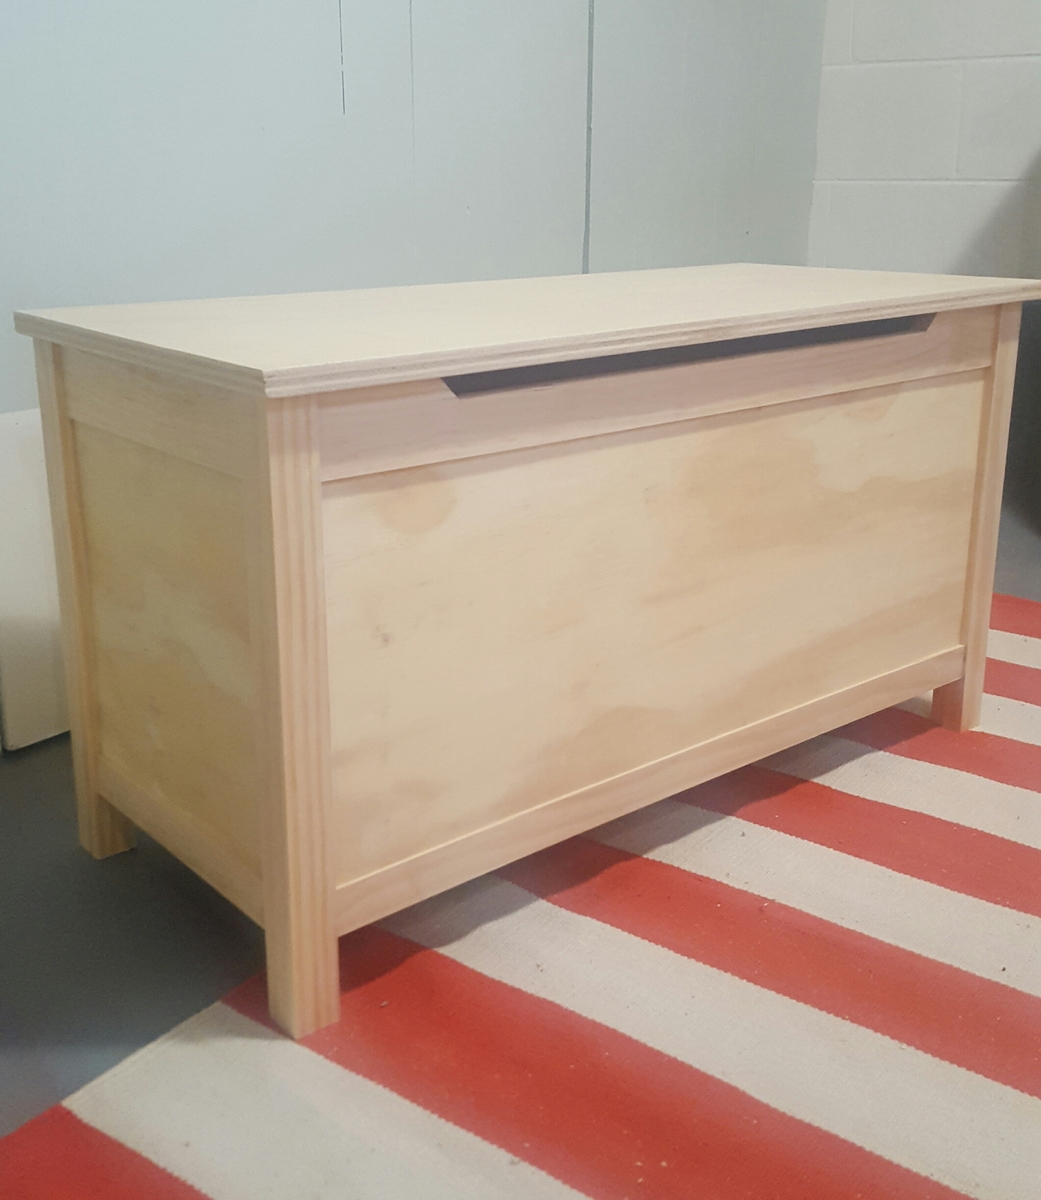
I had a wonderful time making this toy box and learning new techniques. Having access to a table saw really made this project turn out awesome. I was able to get 1/4" shims made that allowed for easy, precise offsets. The family just loved it!
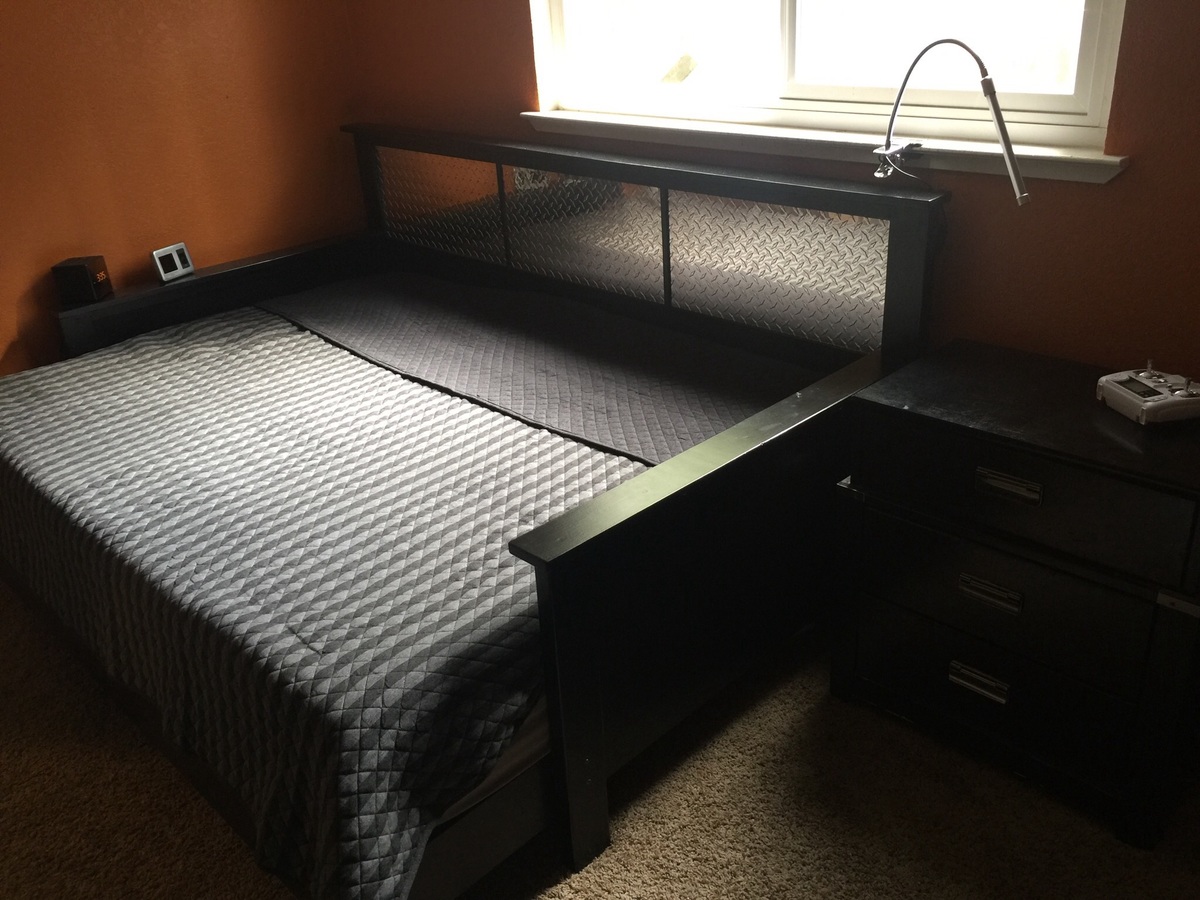
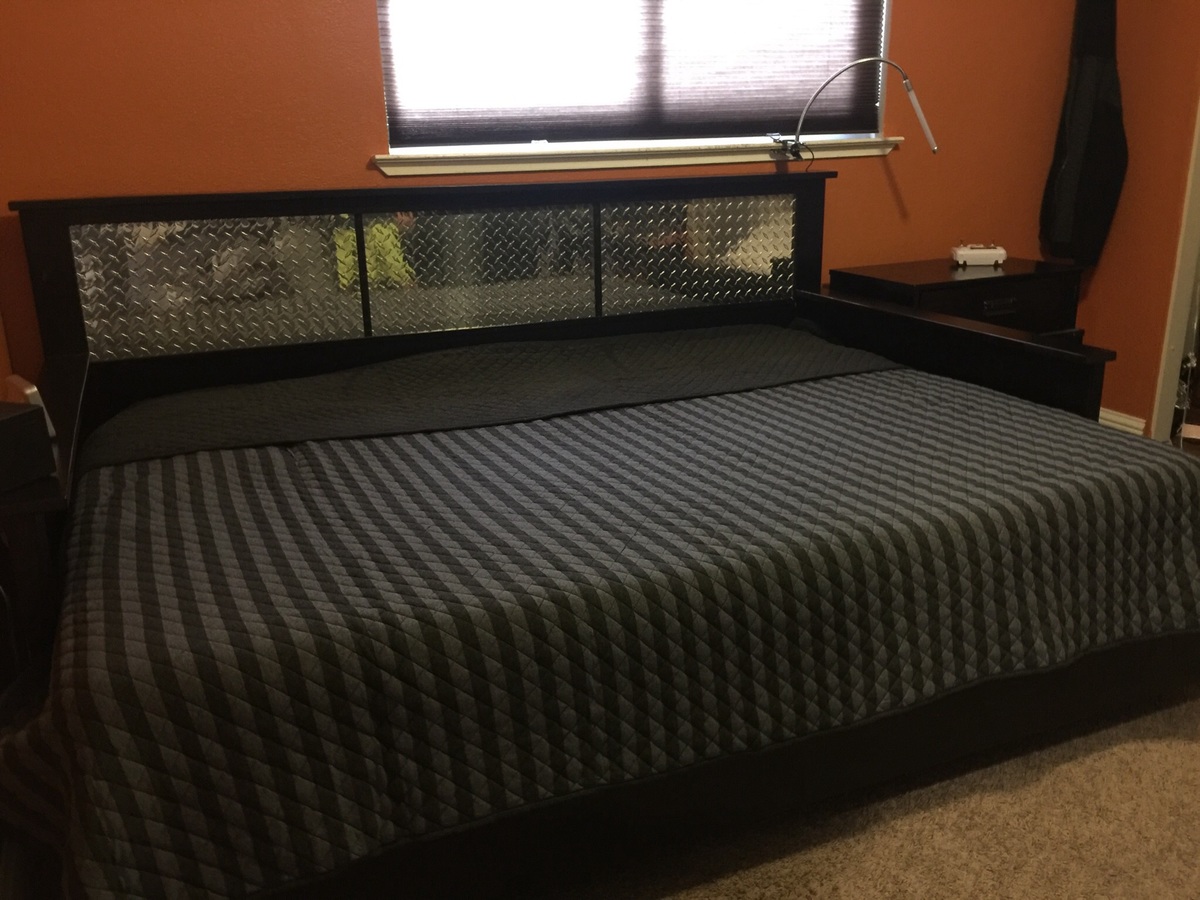
This is a hybrid between the Hailey daybed and the Hailey platform bed. My son is in love with this bed! Used aluminum diamond plate for the headboard.
Absolutely love the finish on this table.
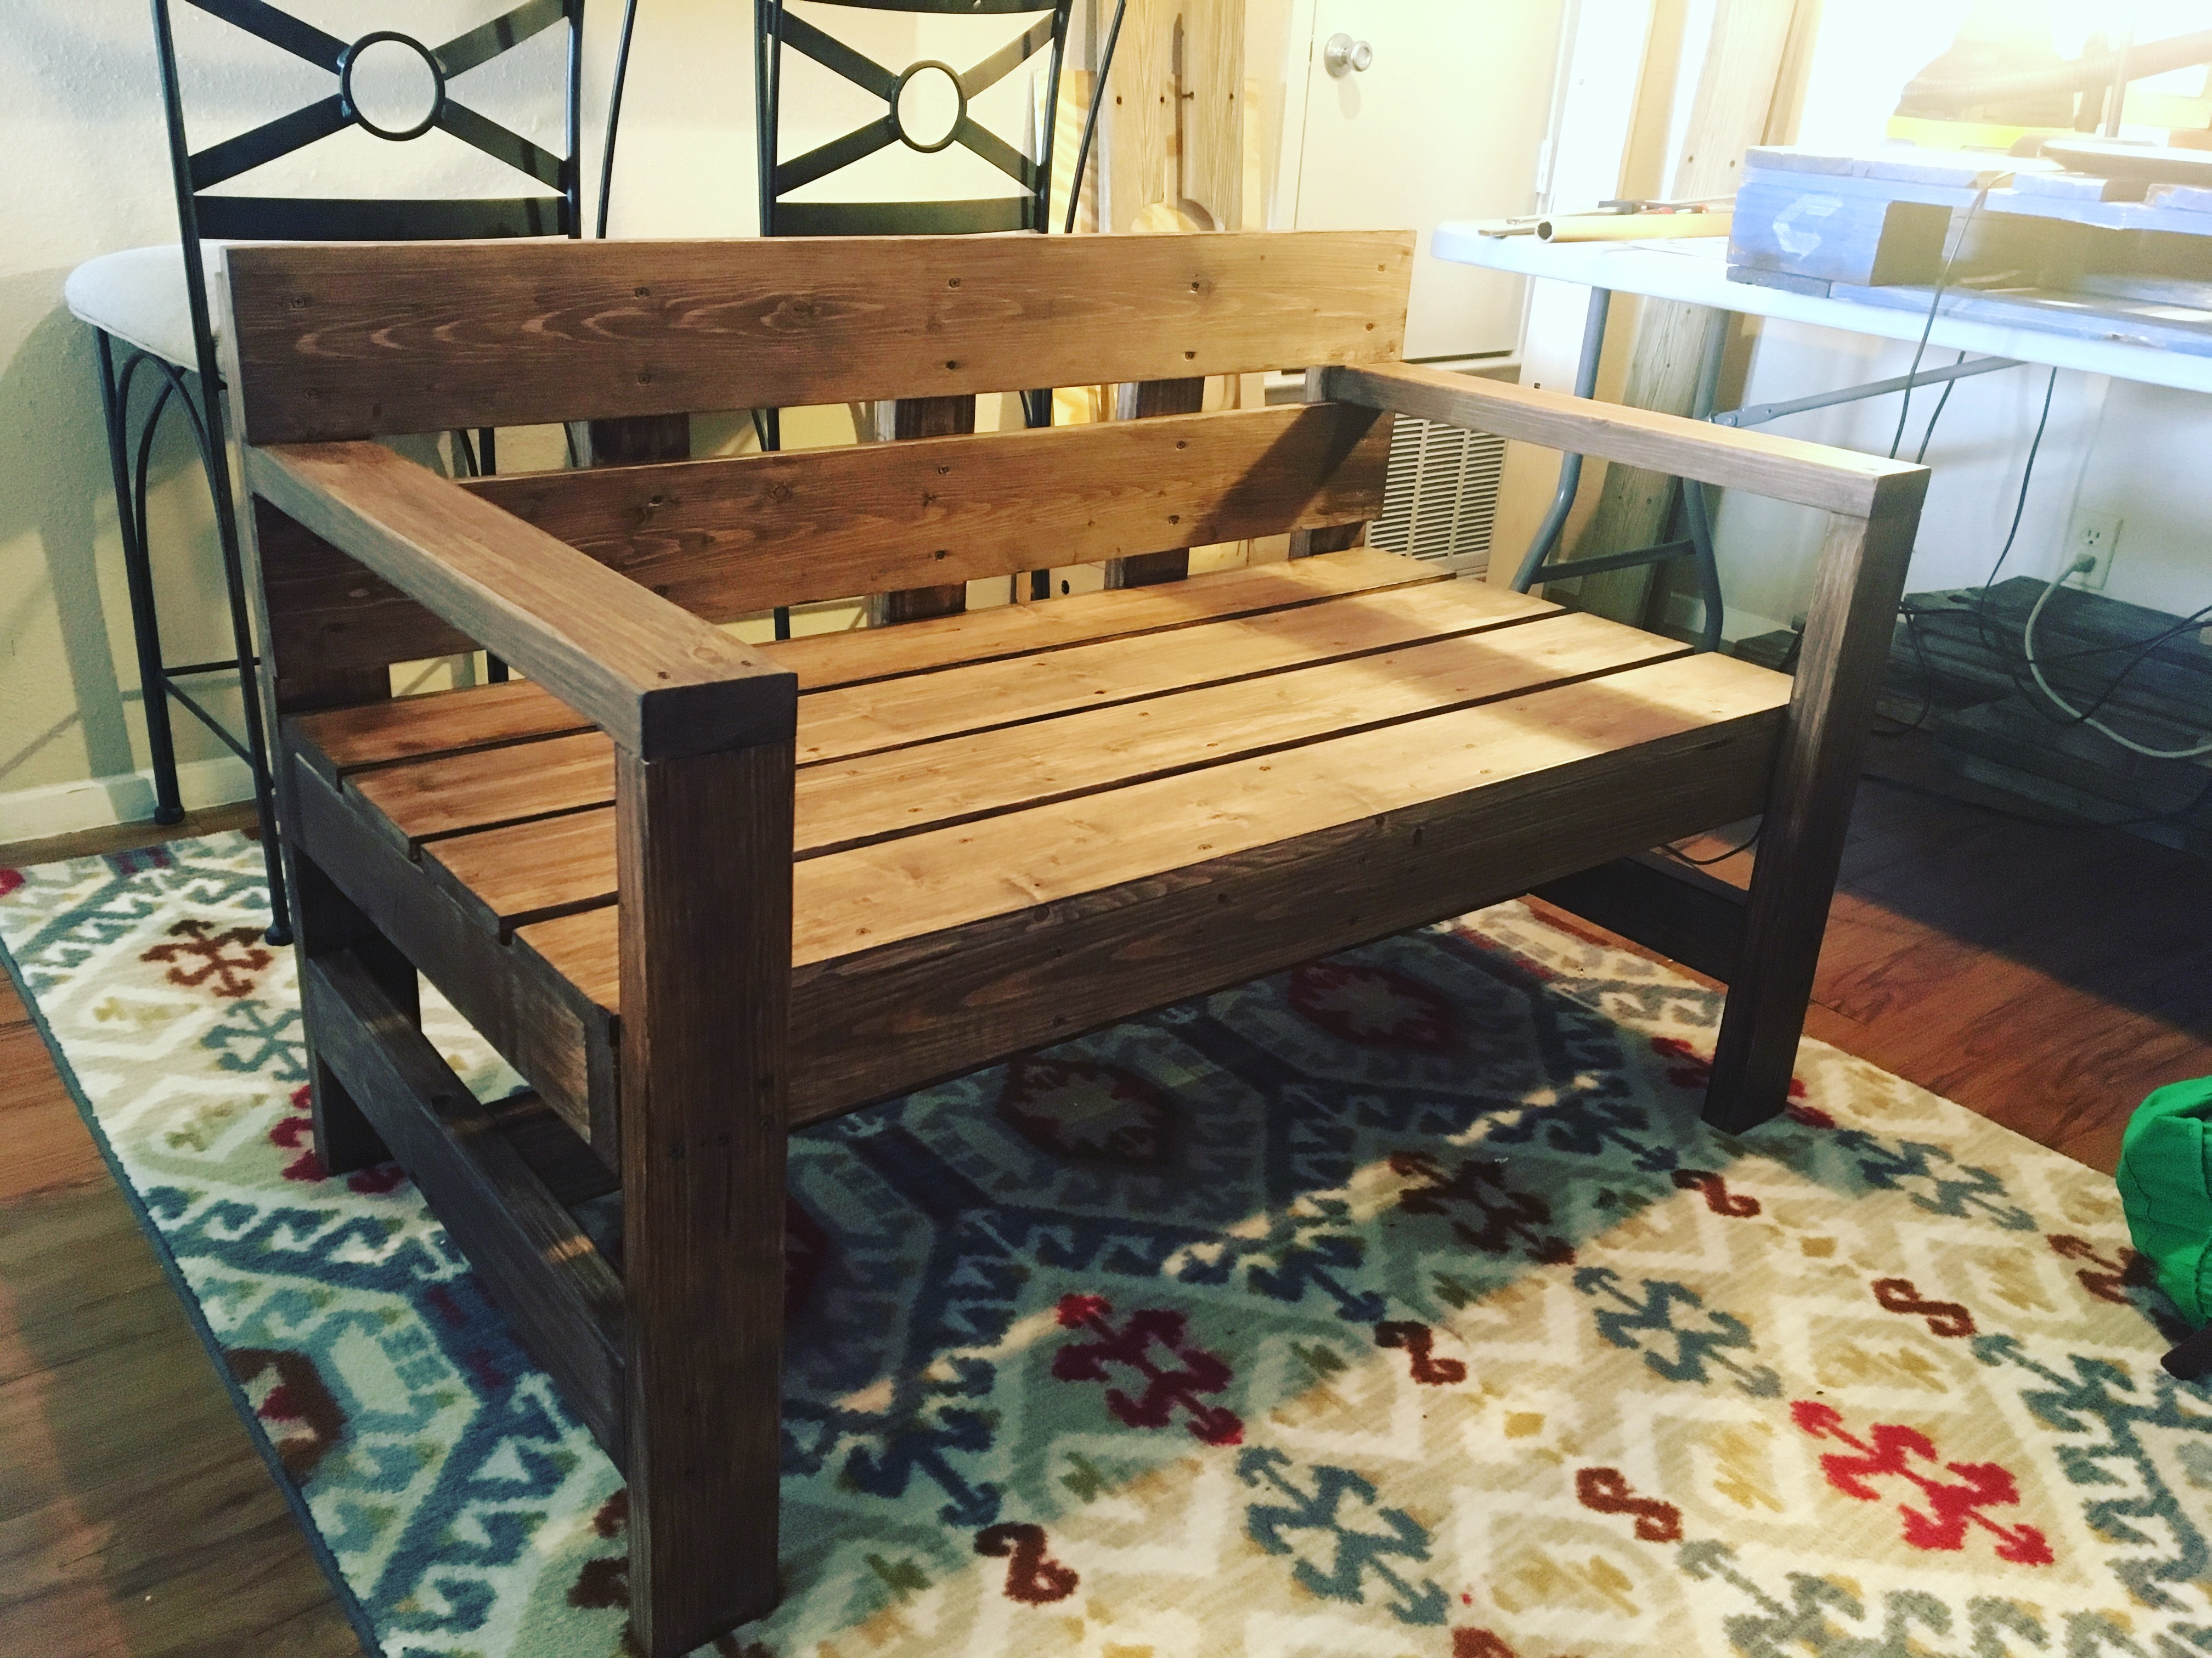
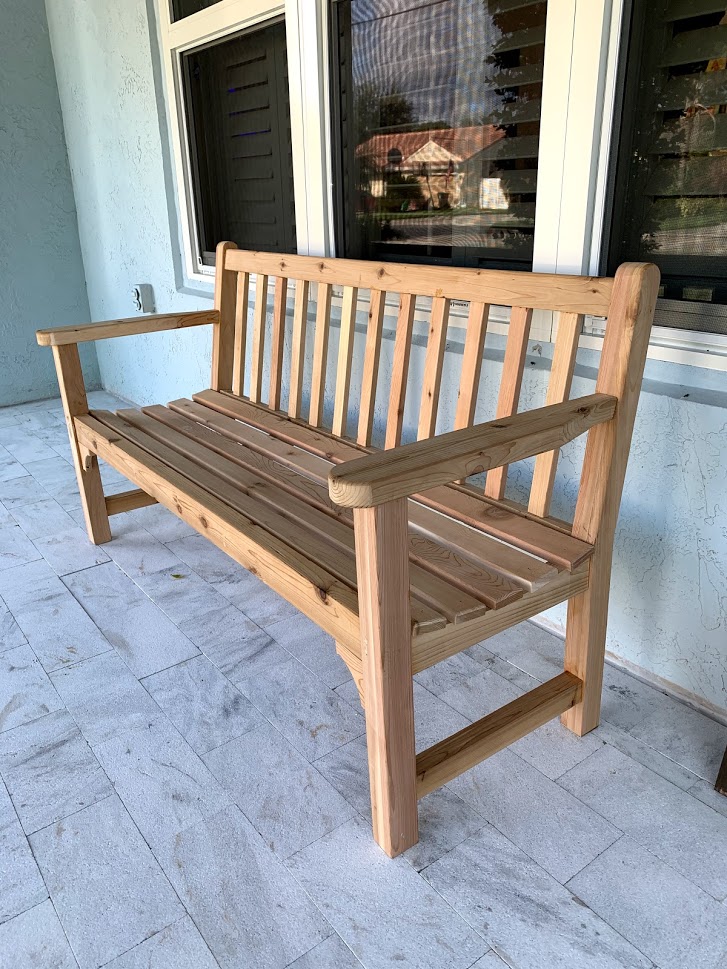
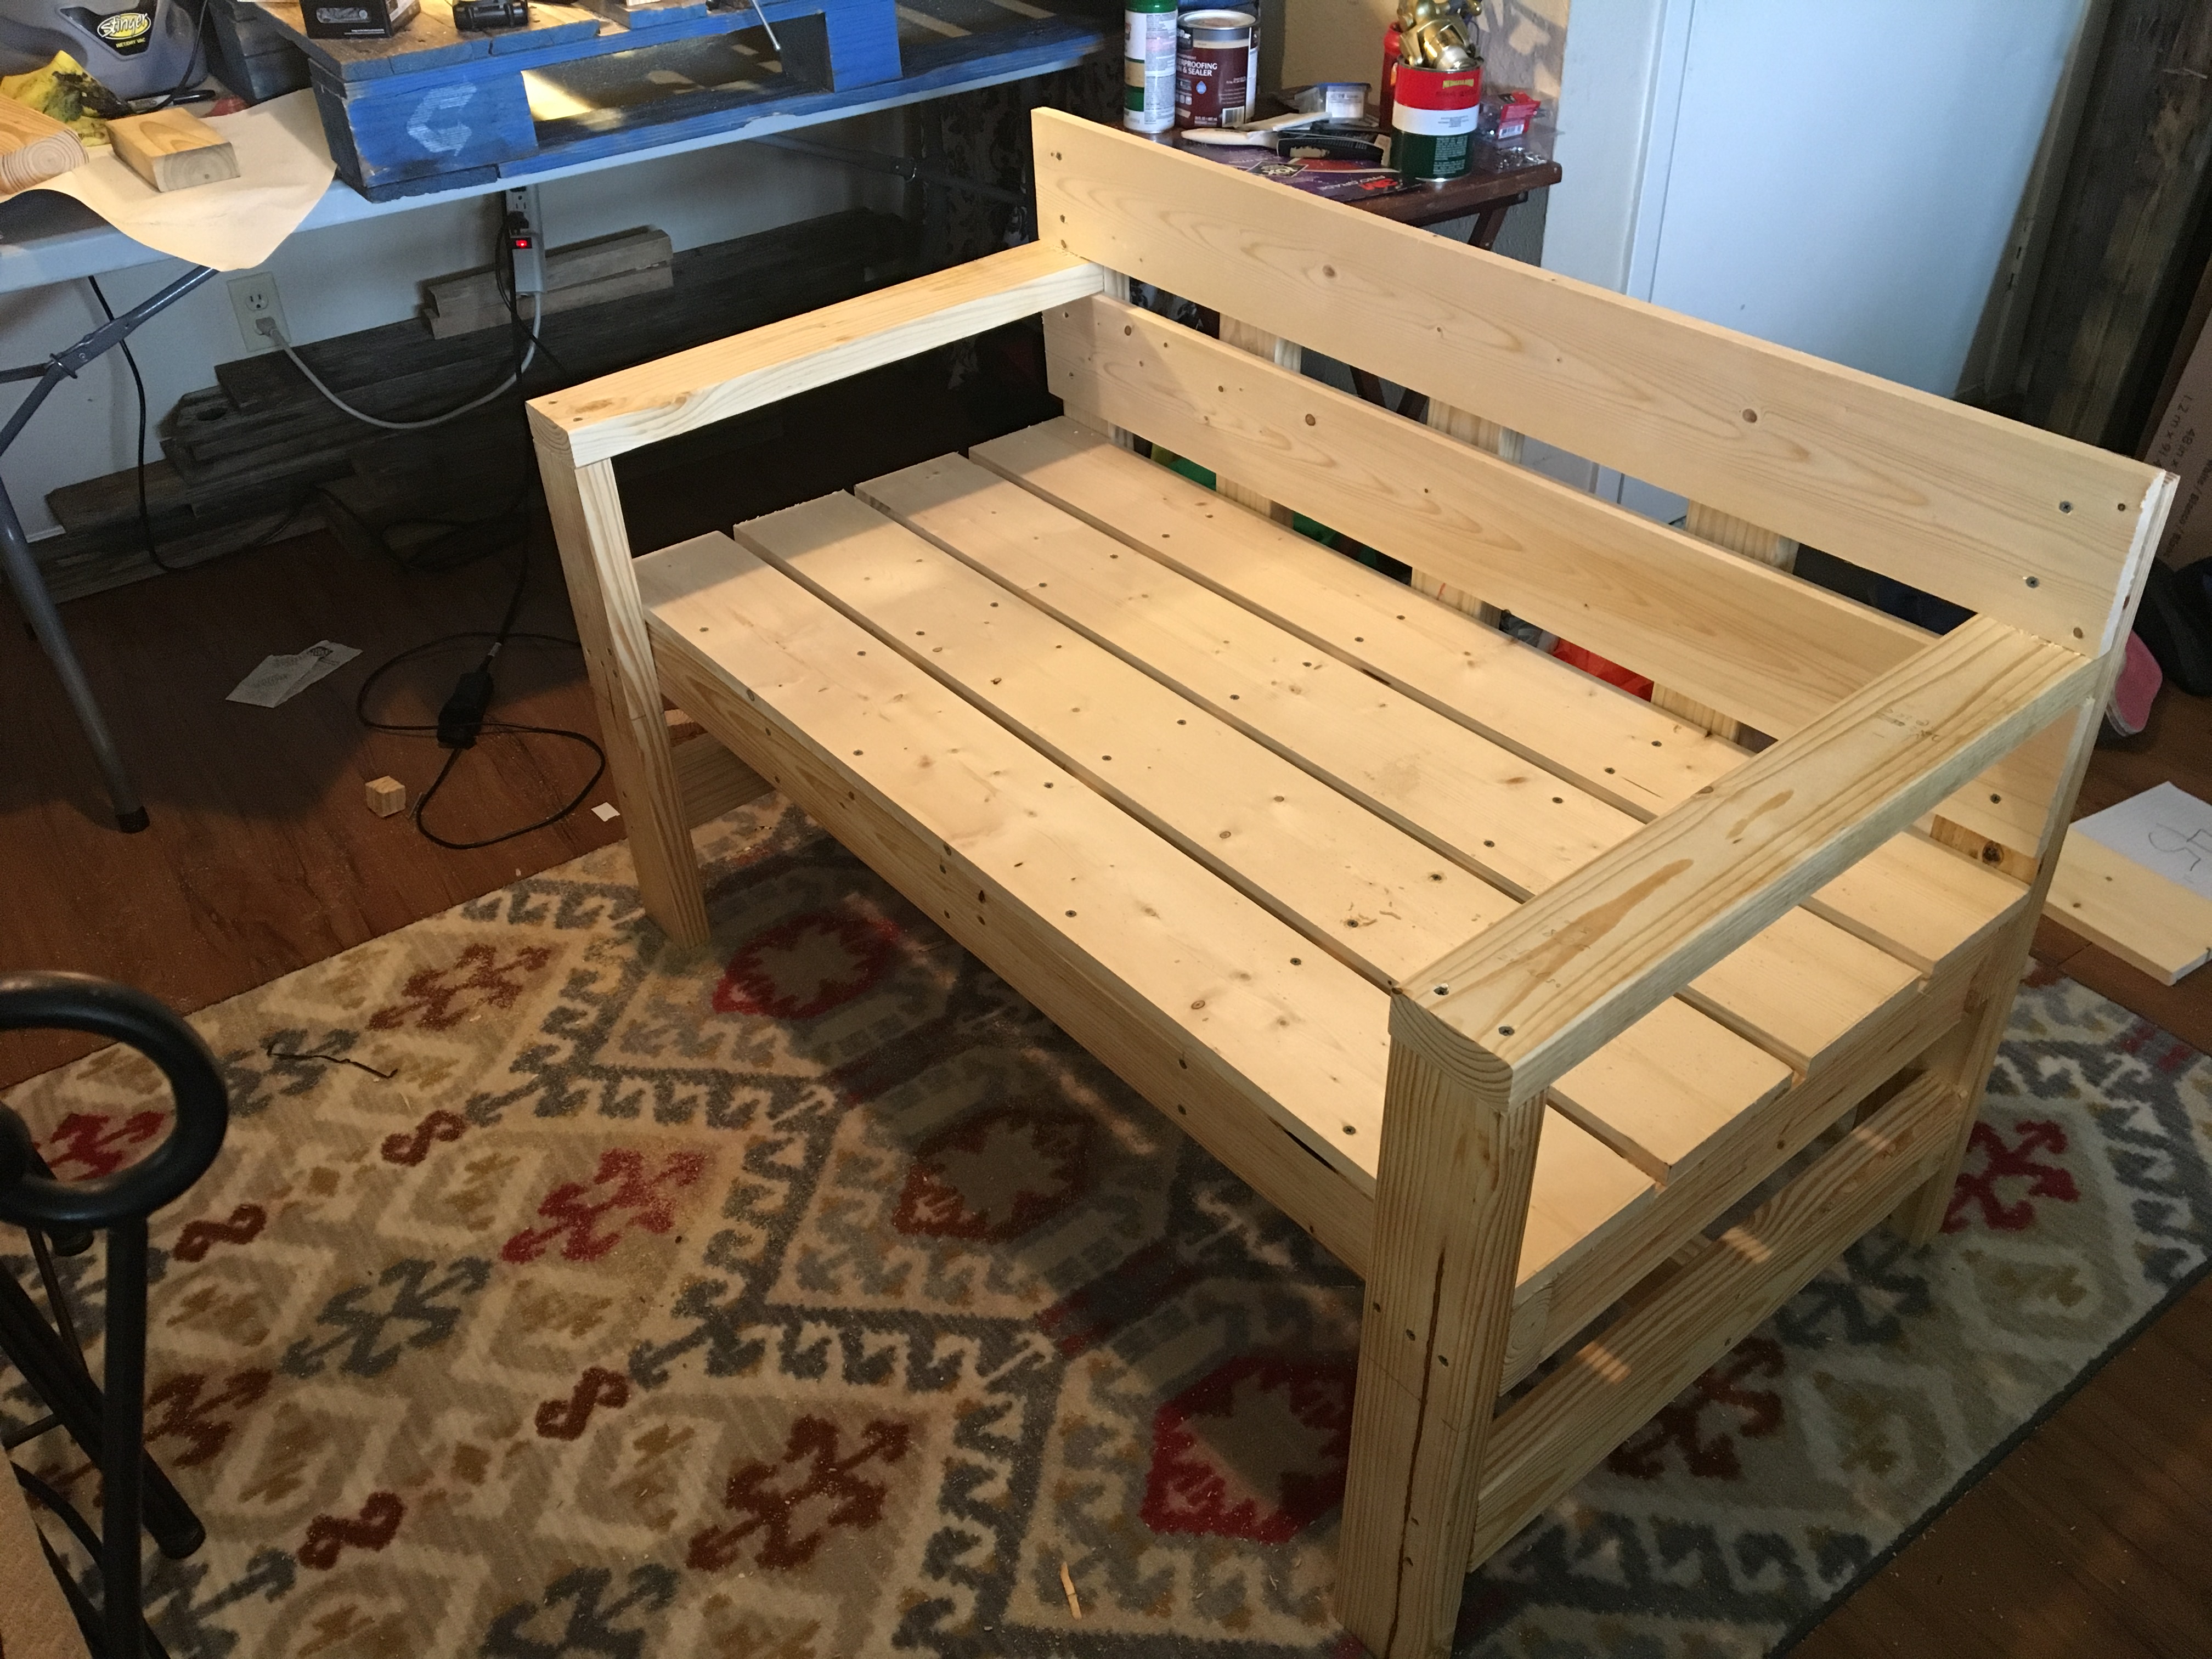
I've been doing only little projects here and there, so when I got an order for a bench, I was a little apprehensive, but of course I said YES! I immediately started scouring the web for ideas on how to, and what the cost would be to build. I came across Ana White's modern bench design and knew this was the one. I priced out all the materials and gave my customer a quote which she, without hesitation, accepted. The next day, I took a trip to the local lumber yard and purchased all I needed. Now, here's where I messed up a bit. Like I said, I priced everything out before purchasing. Well, I priced out the wrong 1x6s which threw me almost $35 over my original budget. Womp womp, right? I still made a little profit. But this bench cost me $100 to build. The customer ordered this bench for her garden and wanted it to be stained rather than painted. So, the wood, the decking screws, waterseal, and the outdoor waterproof stain and sealer was my purchase for the build. Totally worth it! The bench turned out great! I am delivering it to her in a couple of hours from now and I cannot wait for her to see it. I think it turned out beautiful especially for my first! Thank you, Ana, for making the design so easy to follow!
Built the 2 chairs according to the plans, and then modified it for a bench that's 48" (our cushions are 23.5 x 23.5). Worked really well!

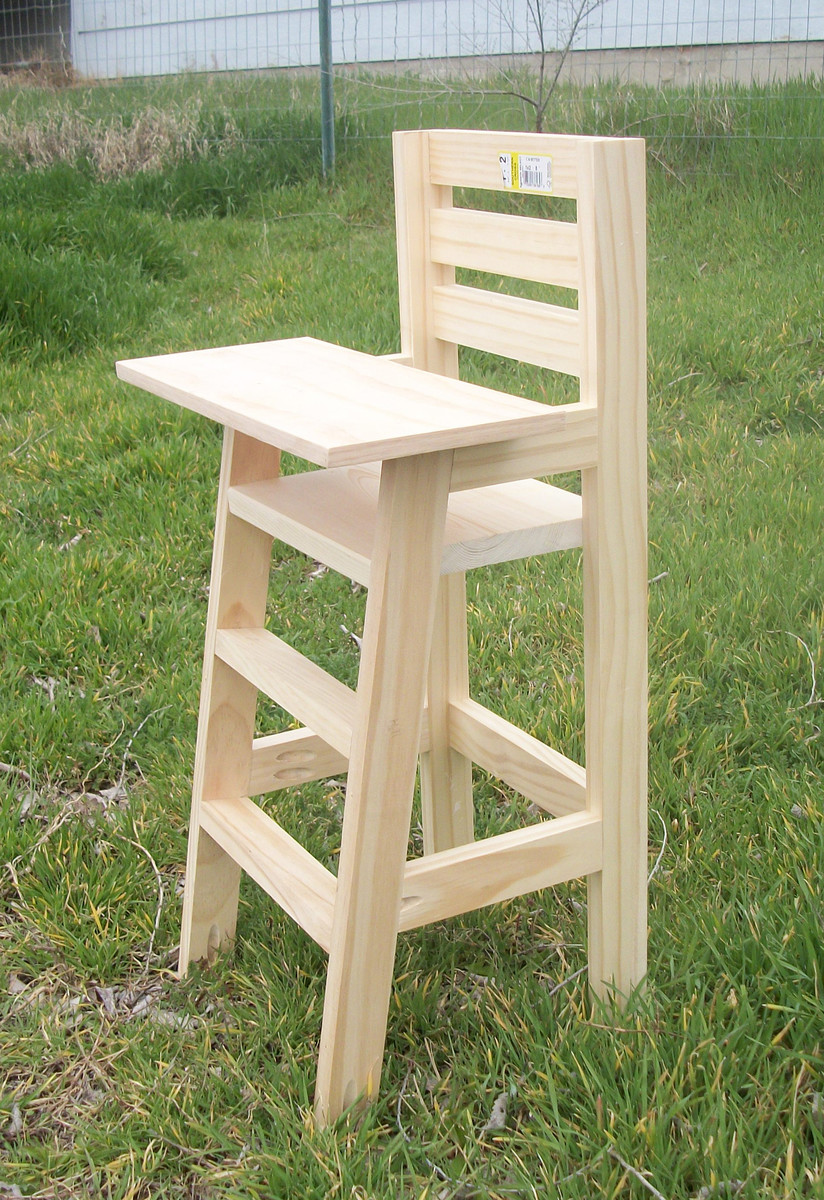
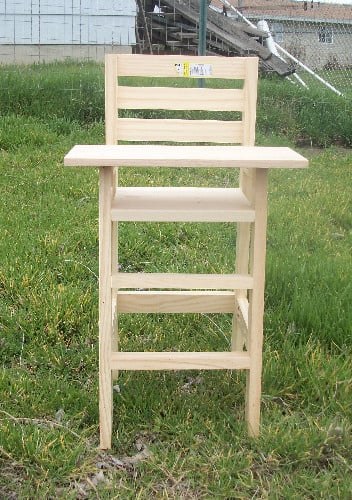
My neighbors grand-daughter is about to turn 3 and I thought this would make a great present for her.. plus, when she saw it online while visiting me (I was checking the website as usual), she said "Oh, I NEED one of those!". I laughed and then that night went out and checked my scrap pile to see if I had everything I needed to build it.
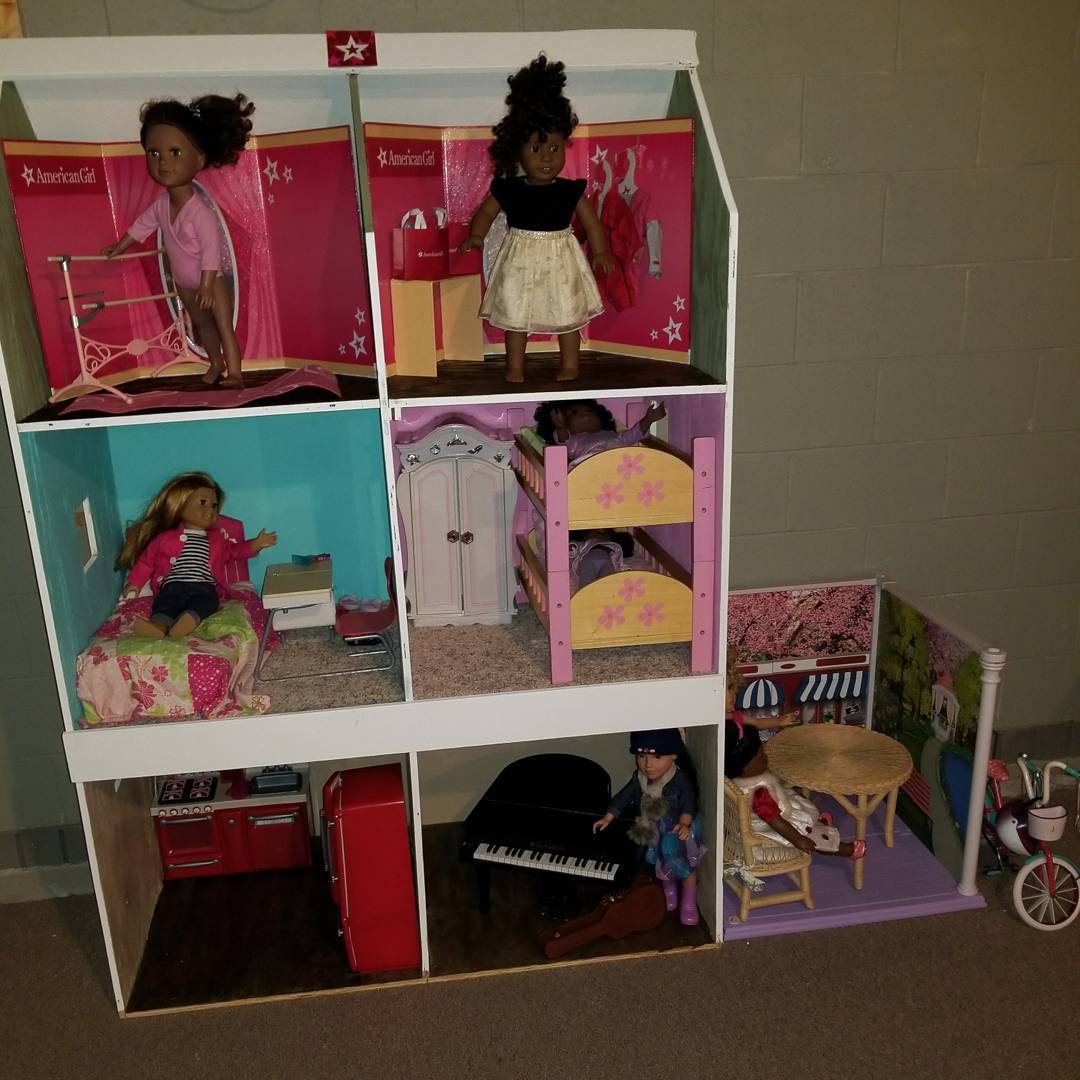
Both my princesses absolutely LOVE their dollhouse. It was my first diy project and it's wasn't nearly as difficult as I thought it would be.
Comments
Monika
Wed, 03/27/2024 - 09:17
Having a well-organized…
Having a well-organized writing desk is very important for optimal productivity. While services like https://domypapers.com/creative-writing/ offer assistance with creative writing tasks, finding inspiration in a well-organized workspace is equally important for writing success.
mistycoruscate
Fri, 05/17/2024 - 02:11
Having a comfortable desk is…
Having a comfortable desk is very important to me. A comfortable desk helps me focus and increases my productivity. Plus, the best book review writing service gives me easy access to professional help to polish my resume and make it stand out. So if you're serious about landing that dream job, investing in a good desk and using Skillroads' services is a winning combination!
LuckyGirl
Fri, 05/17/2024 - 10:45
As a student, having a…
As a student, having a comfortable workspace is crucial for productivity. A farmhouse writing desk not only adds charm to my room but also provides a functional space for studying and writing. Plus, with the help of reliable essay writing services like the one recommended on https://www.clevescene.com/sponsored/the-best-essay-writing-service-202… I can focus more on my studies without worrying about looming deadlines. It's all about creating a conducive environment for academic success.