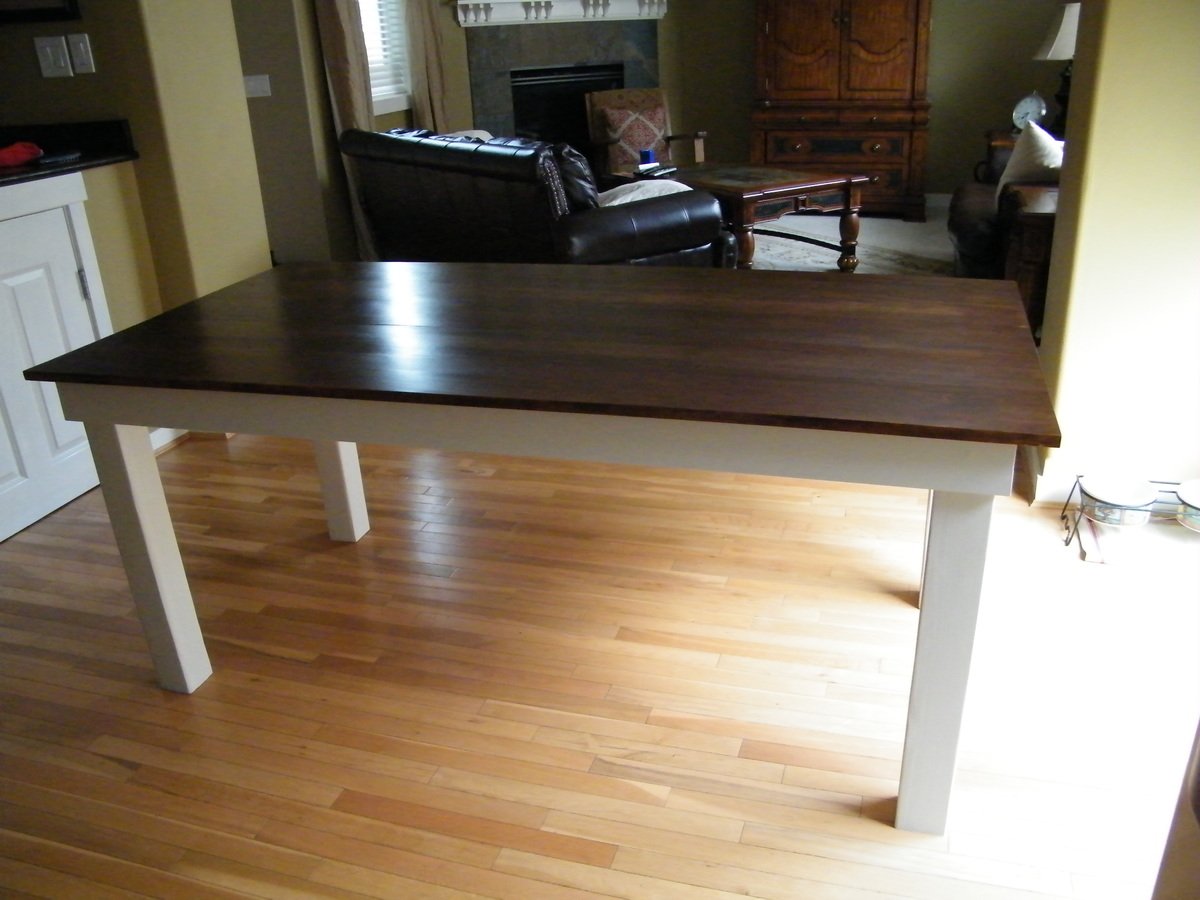
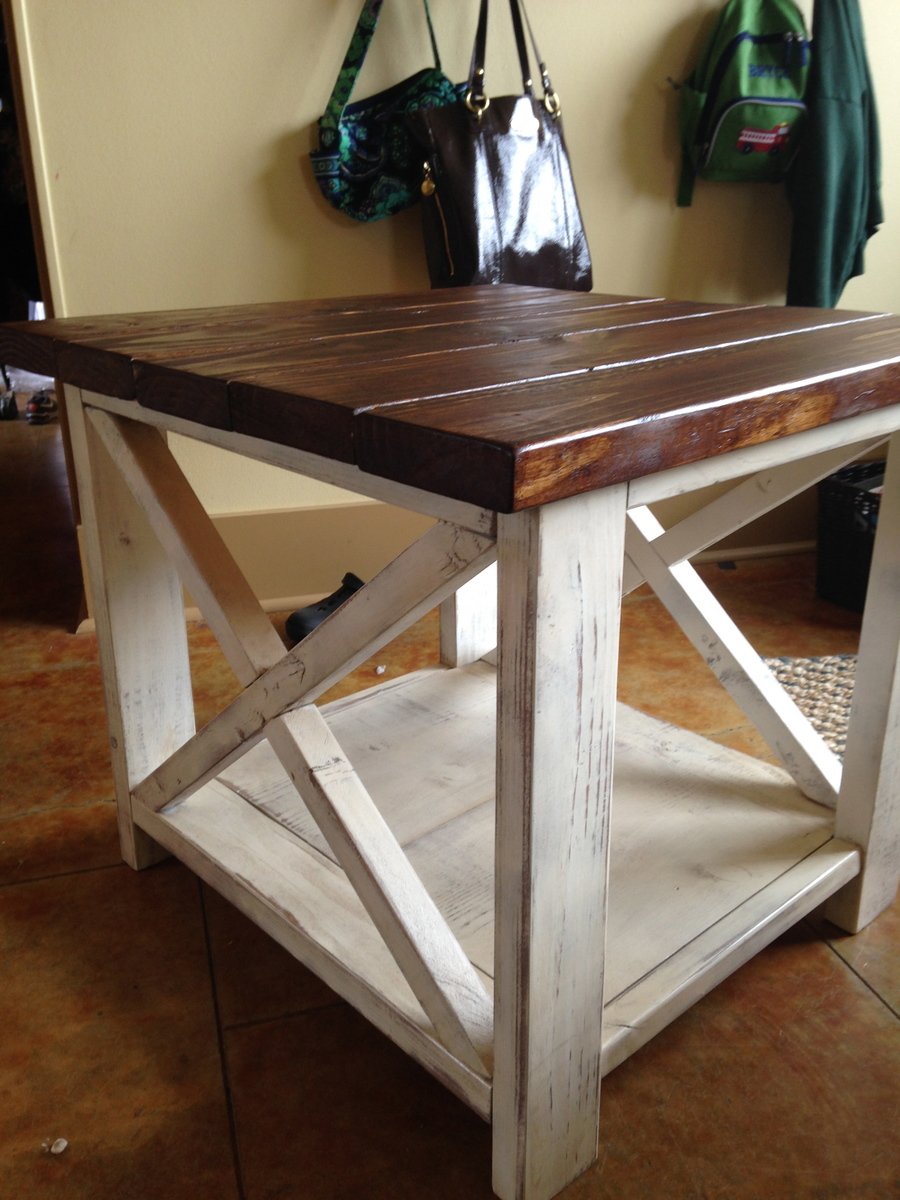
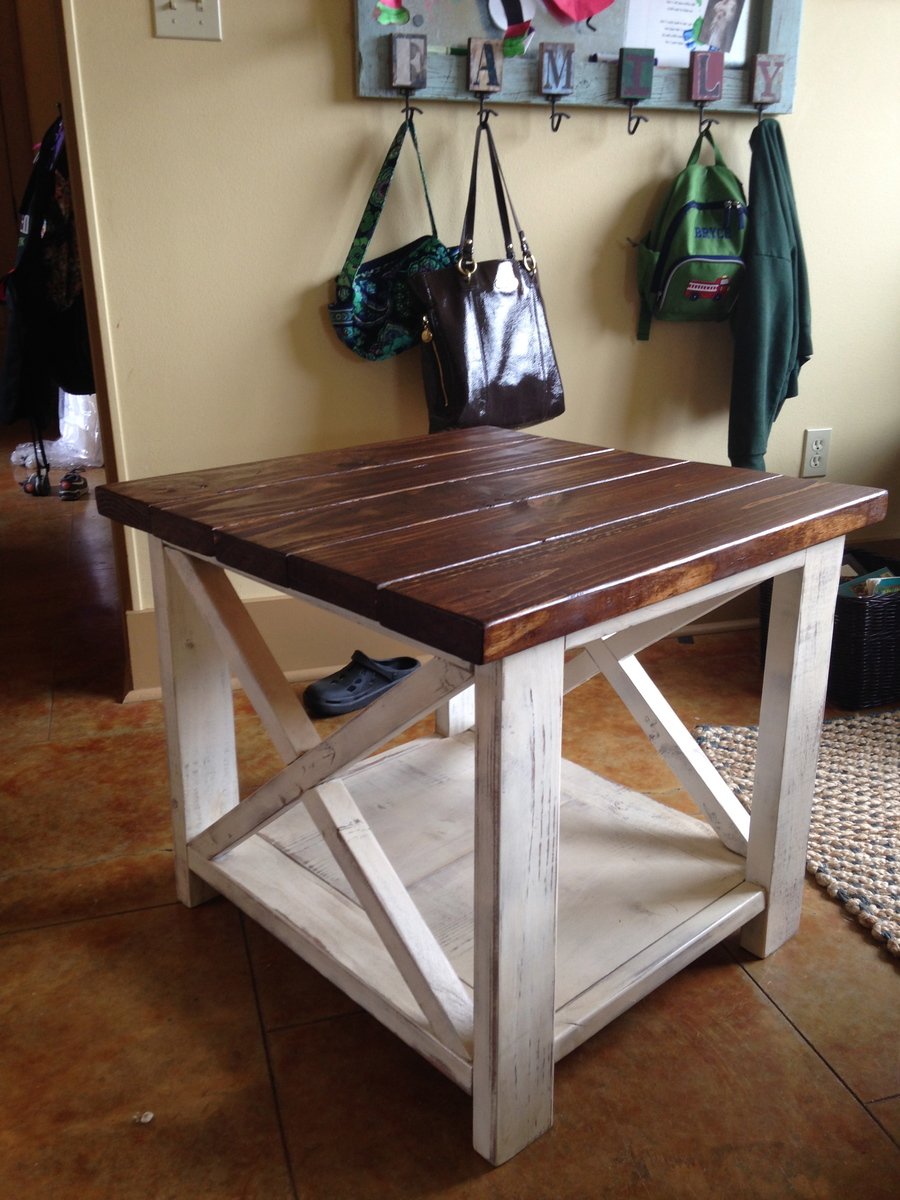
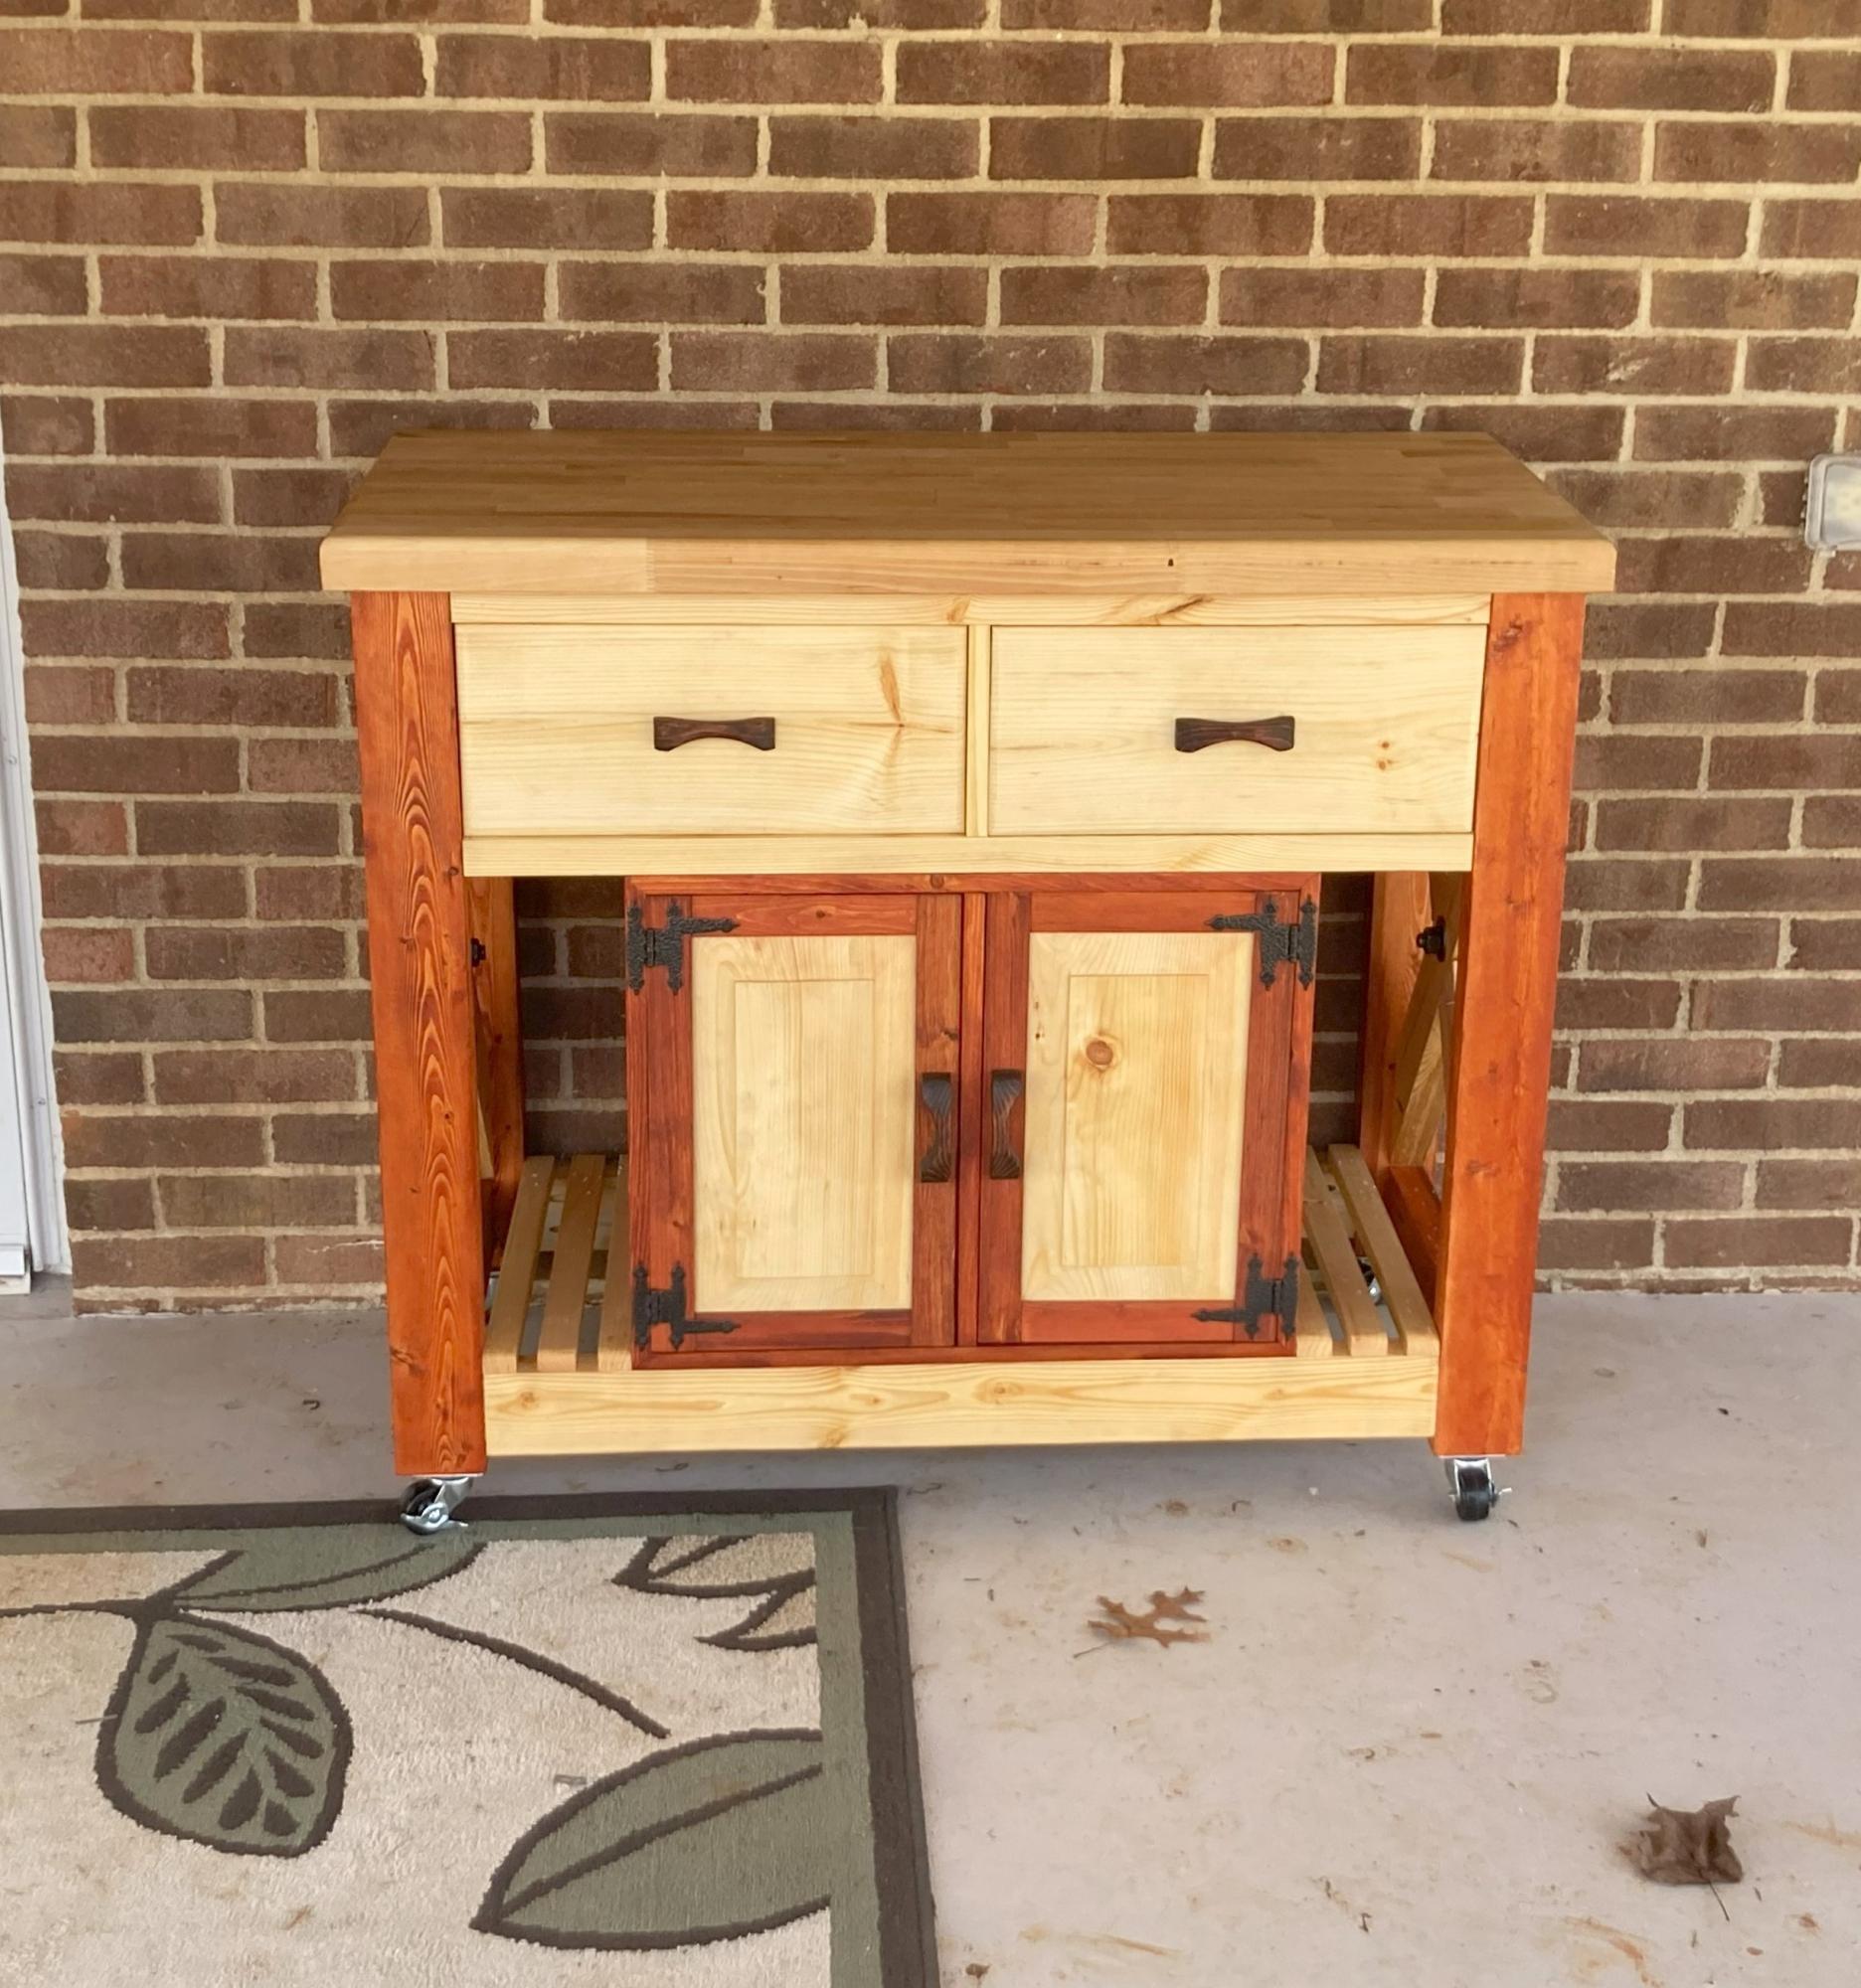
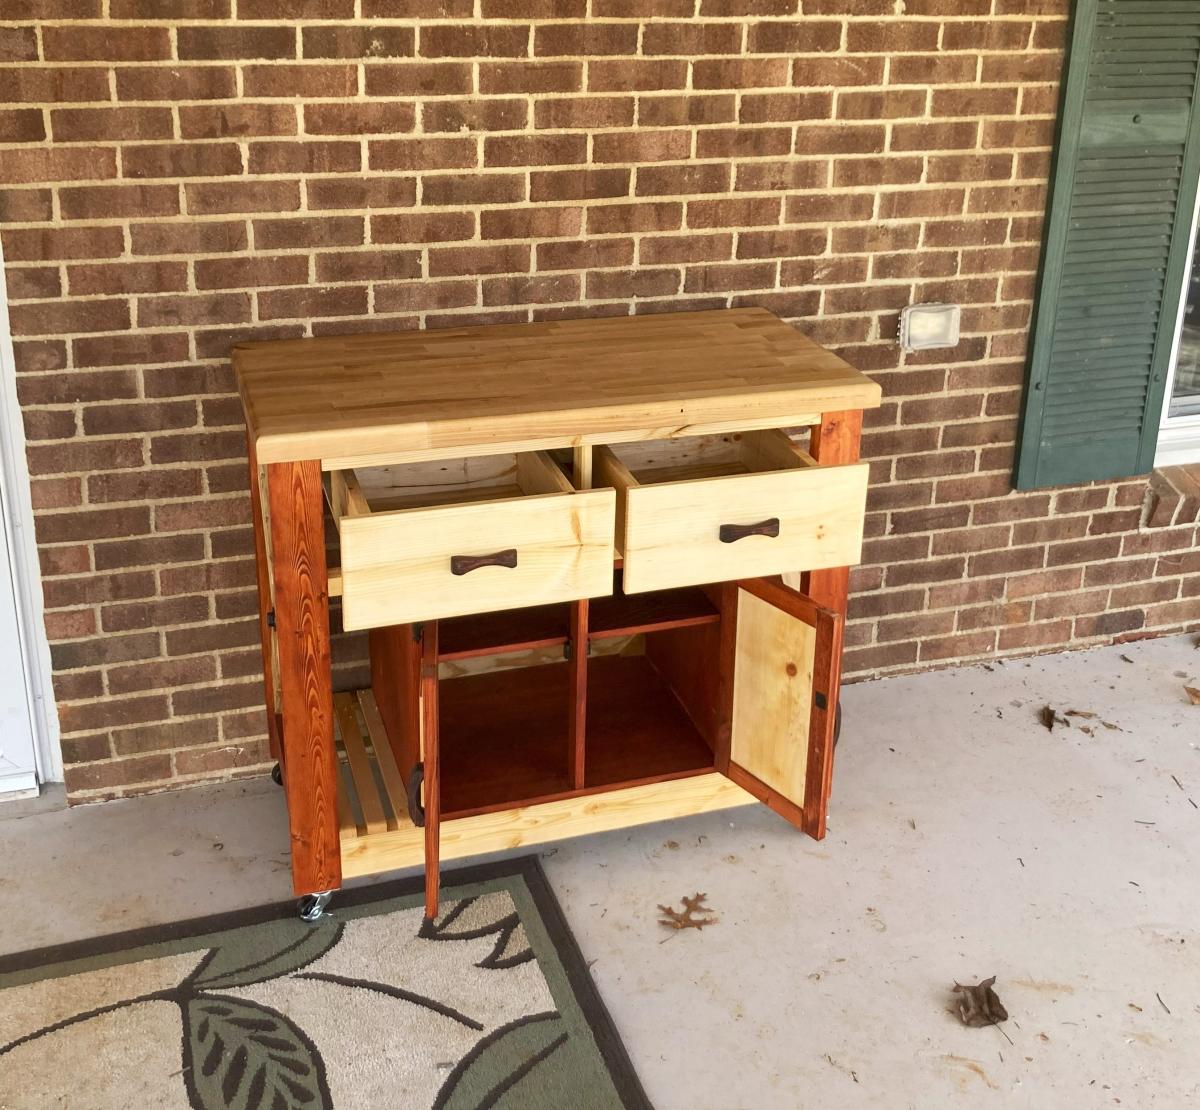
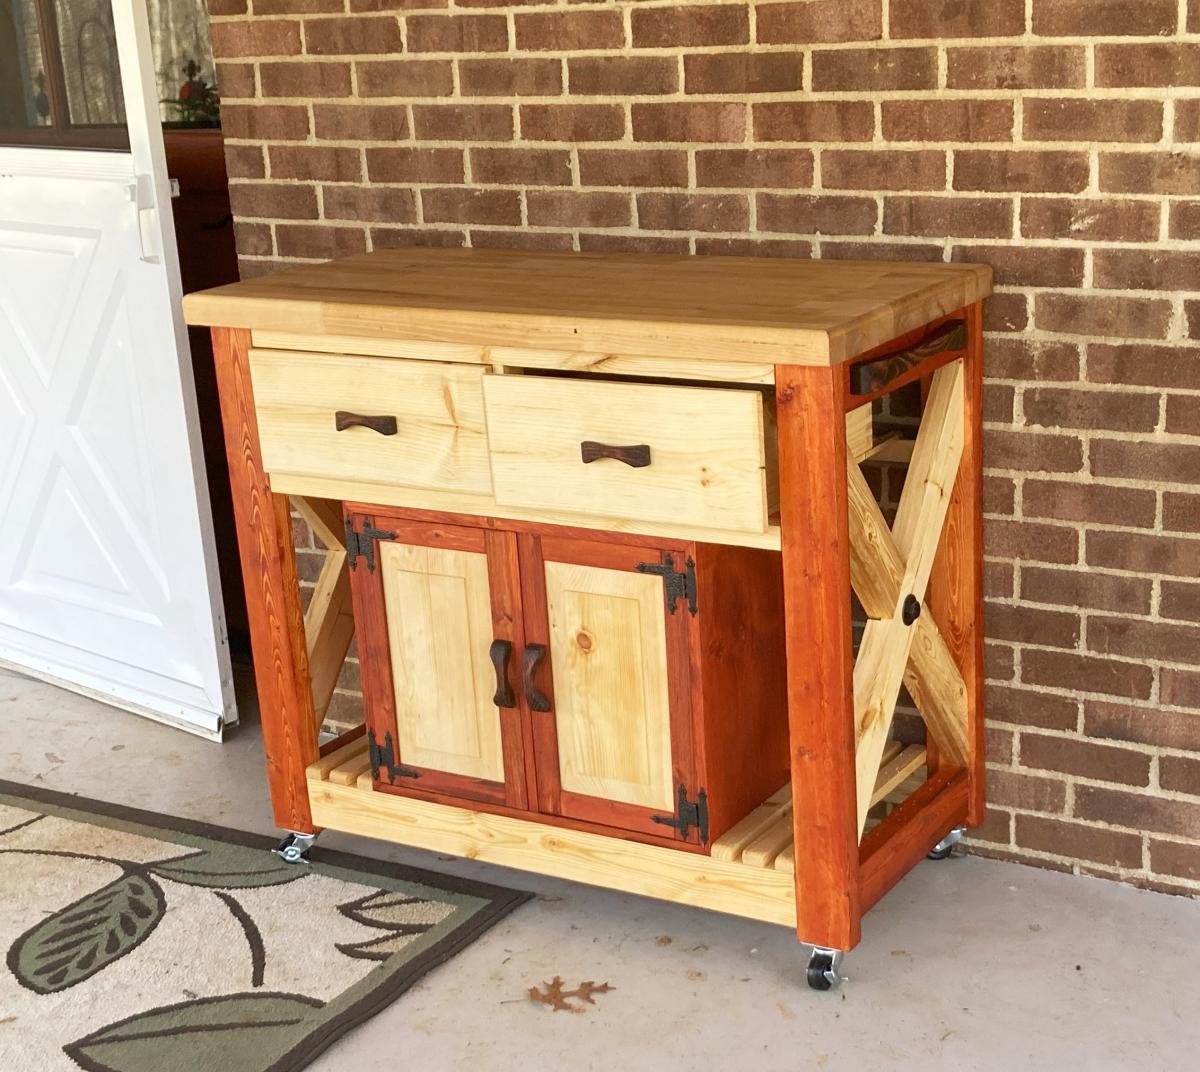
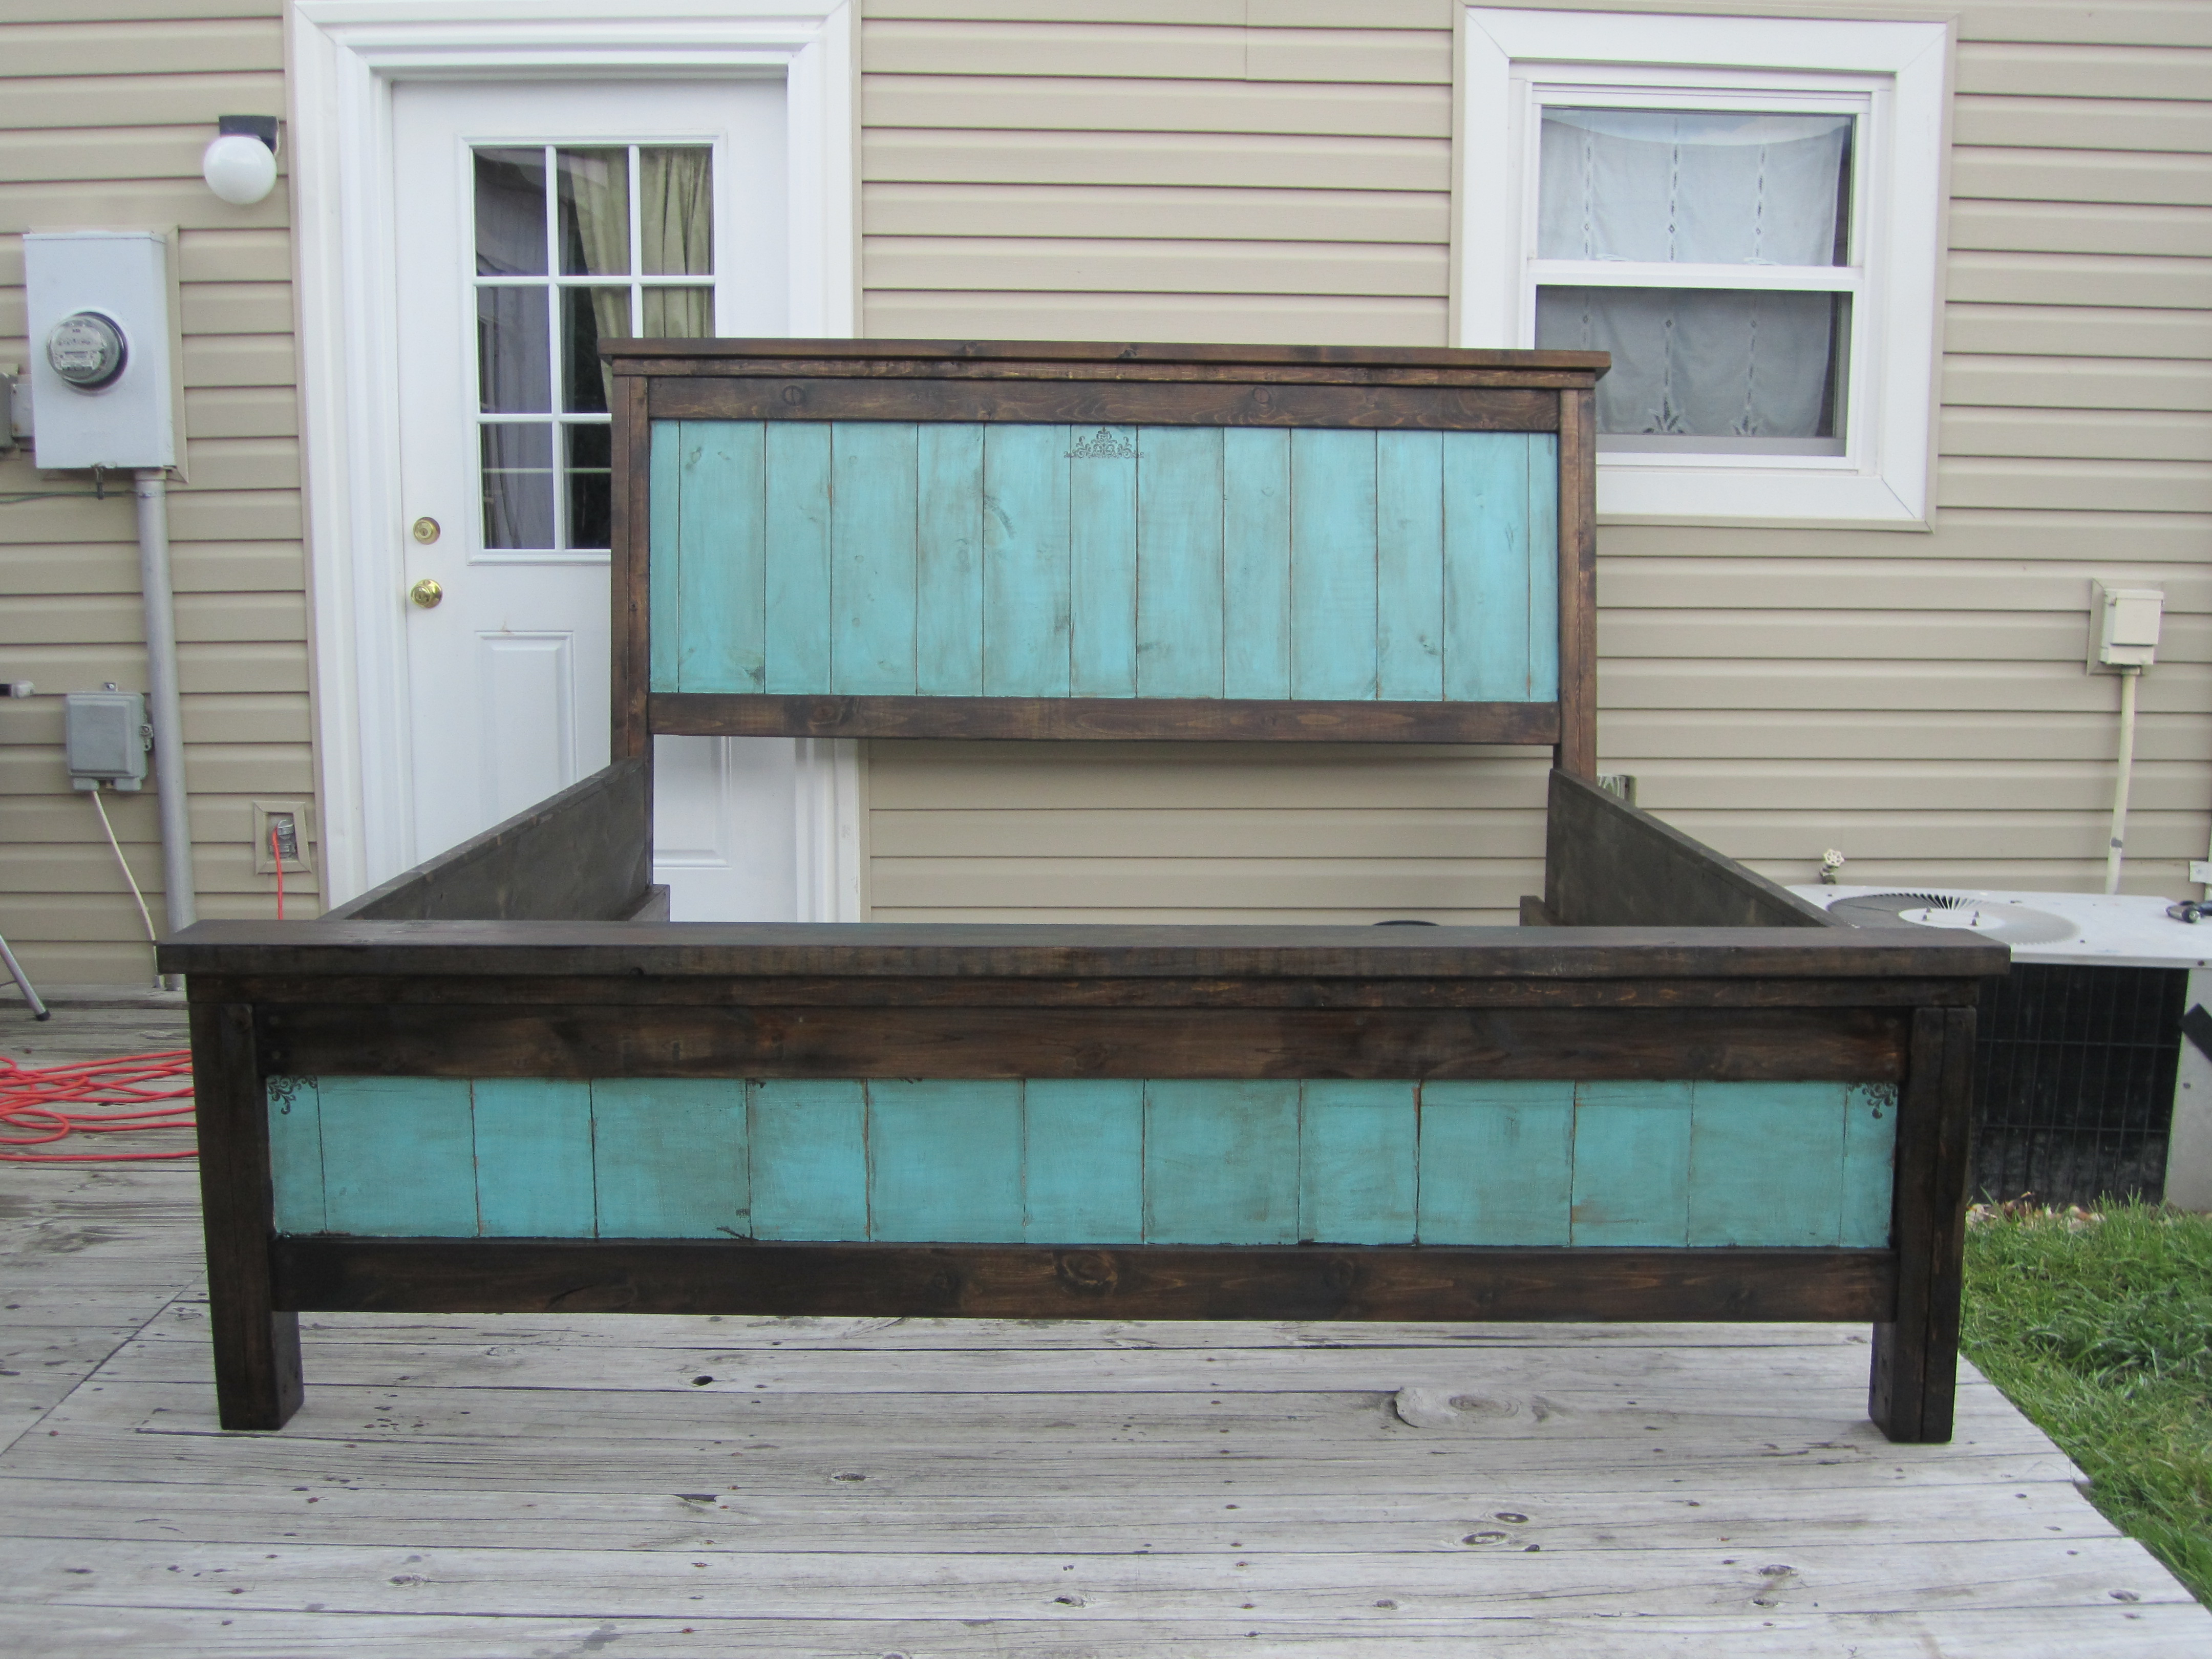
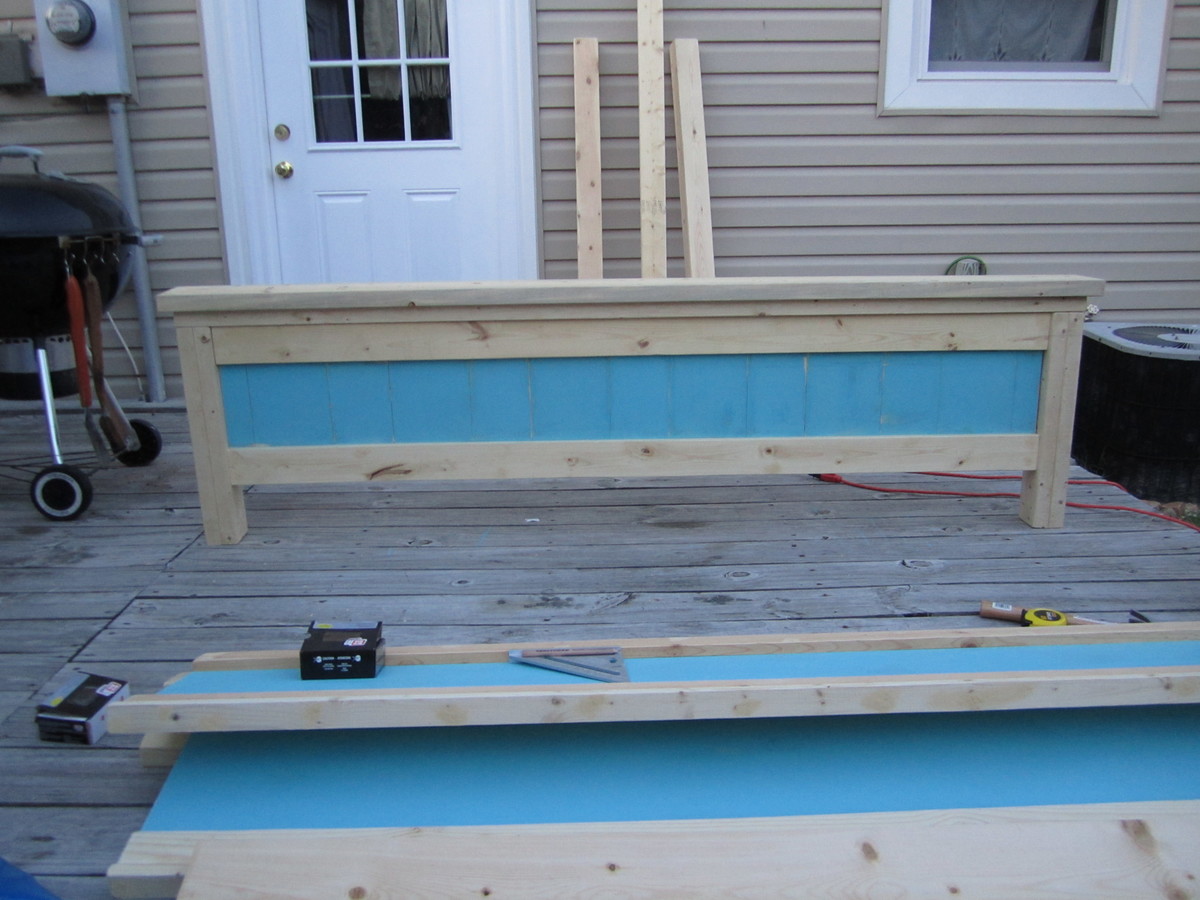
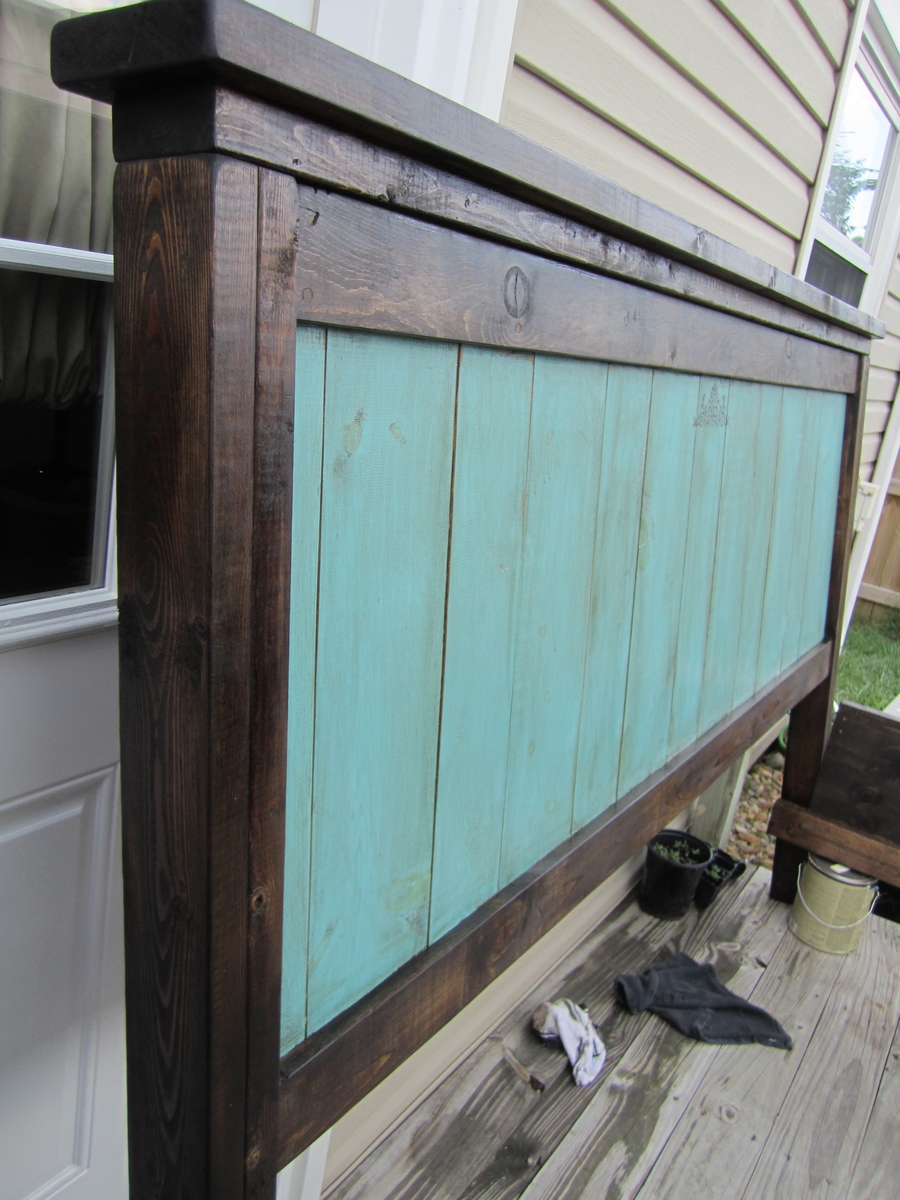
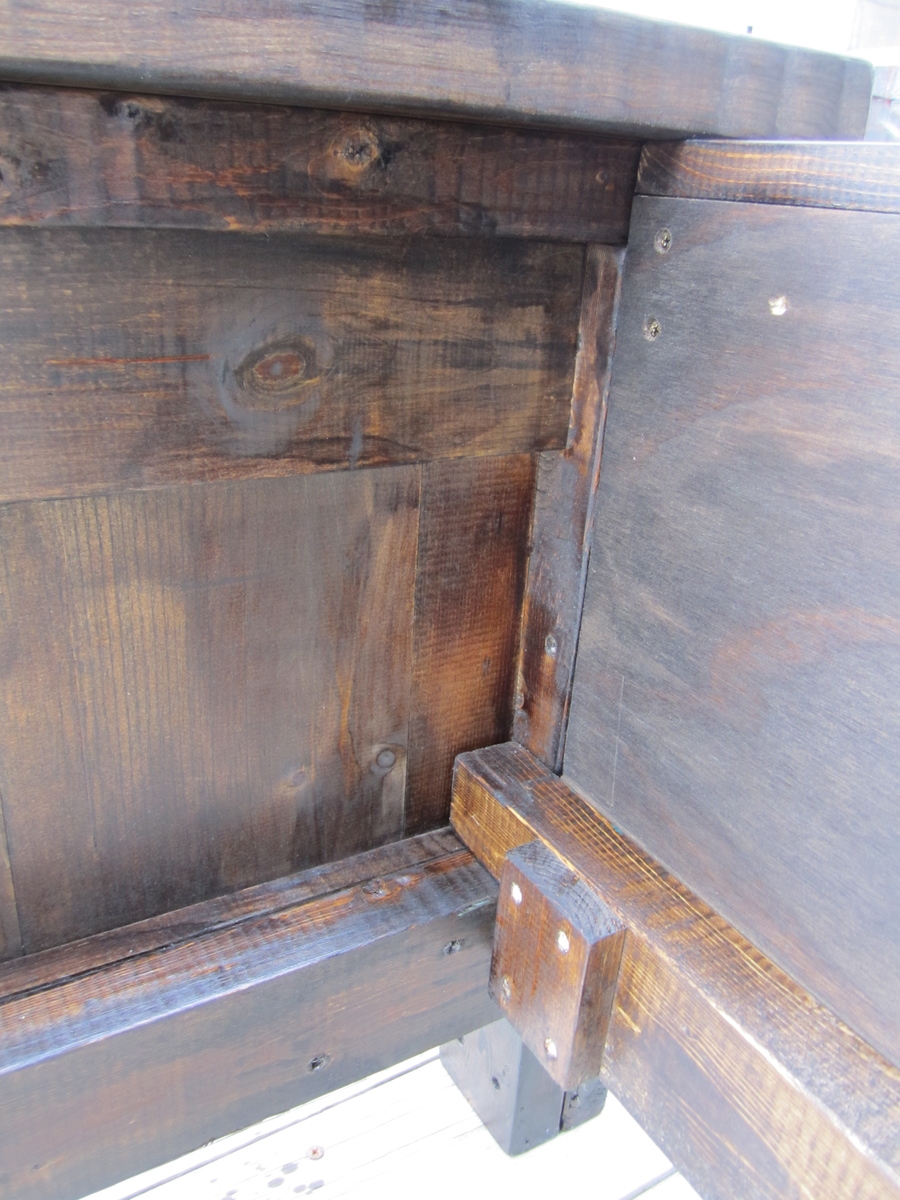
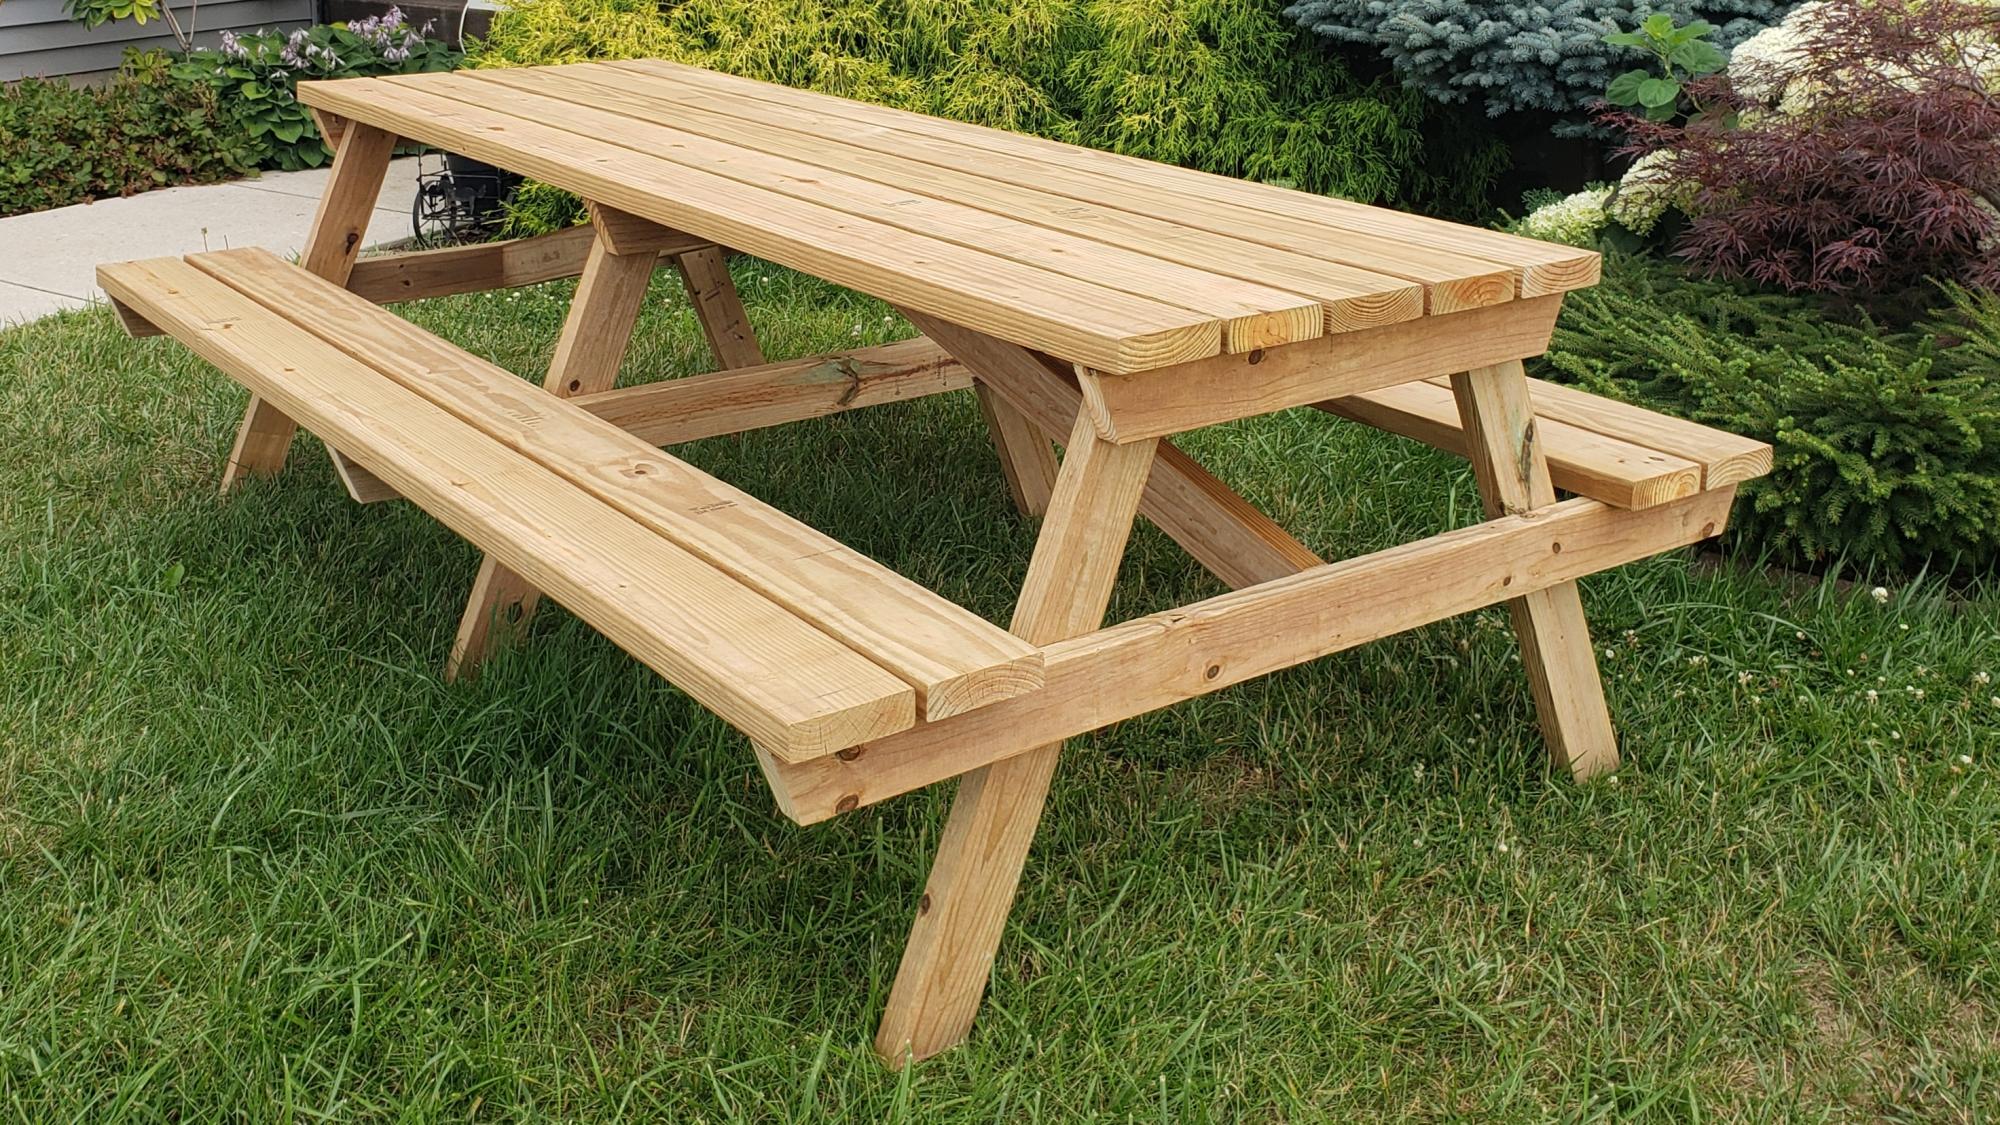
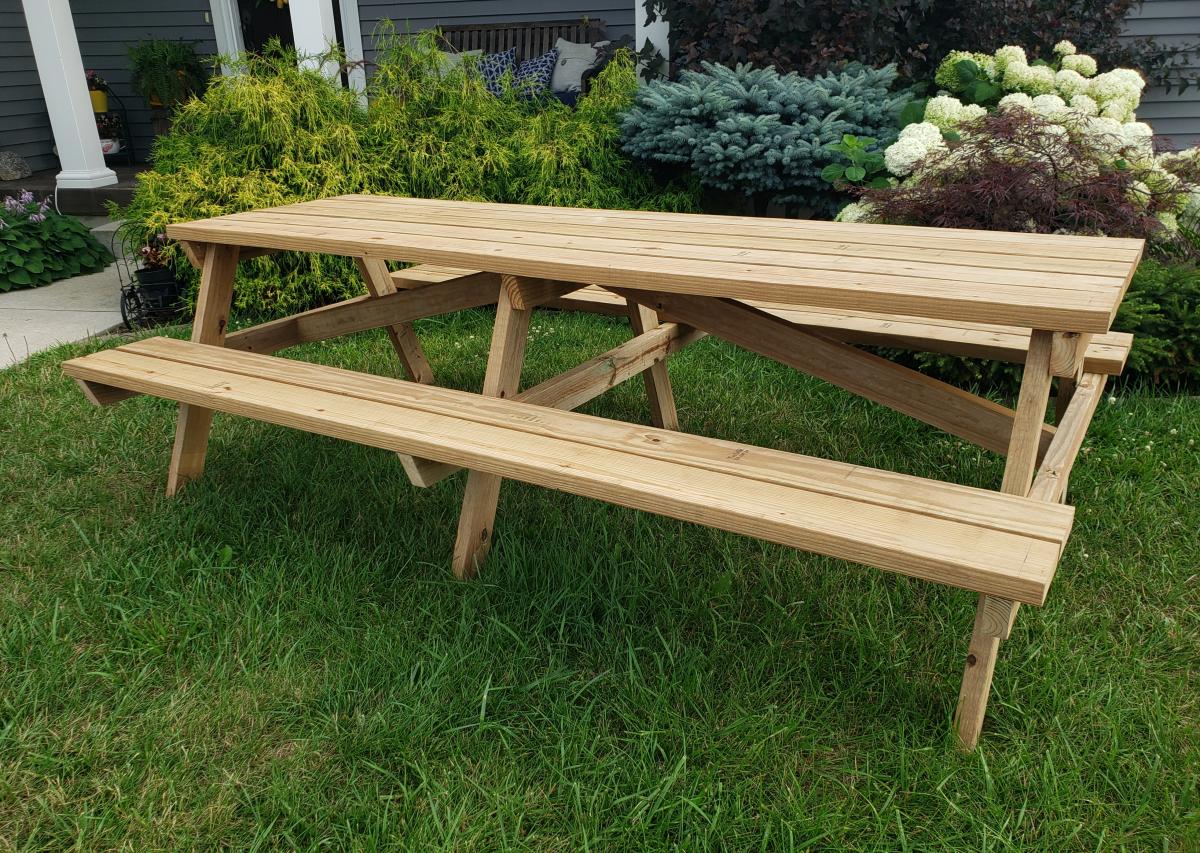
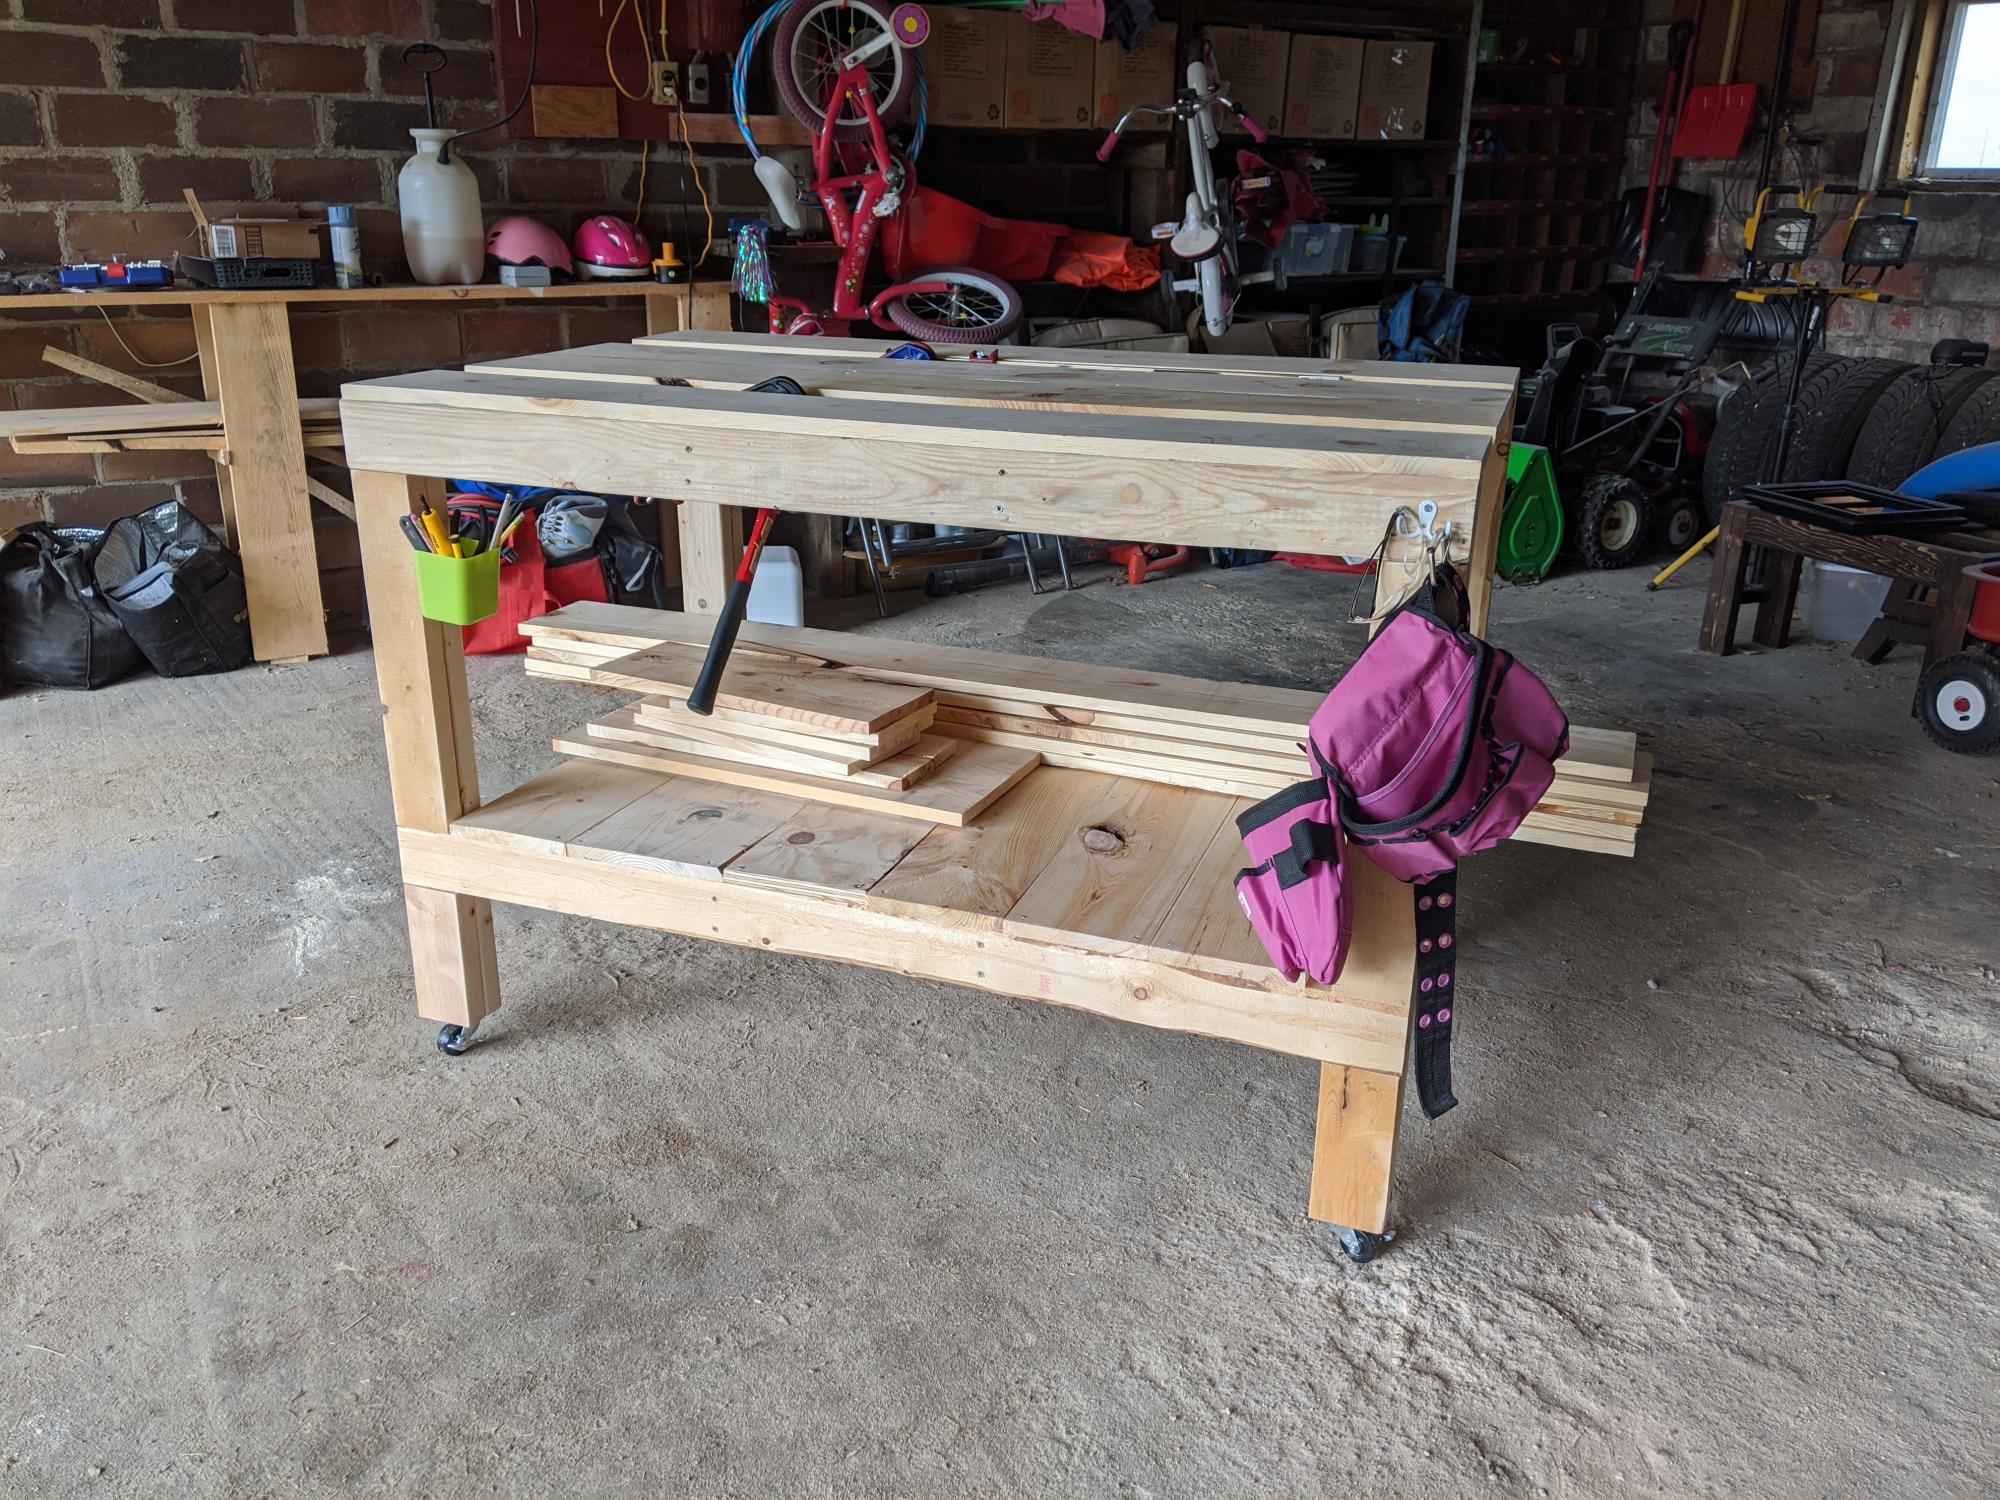
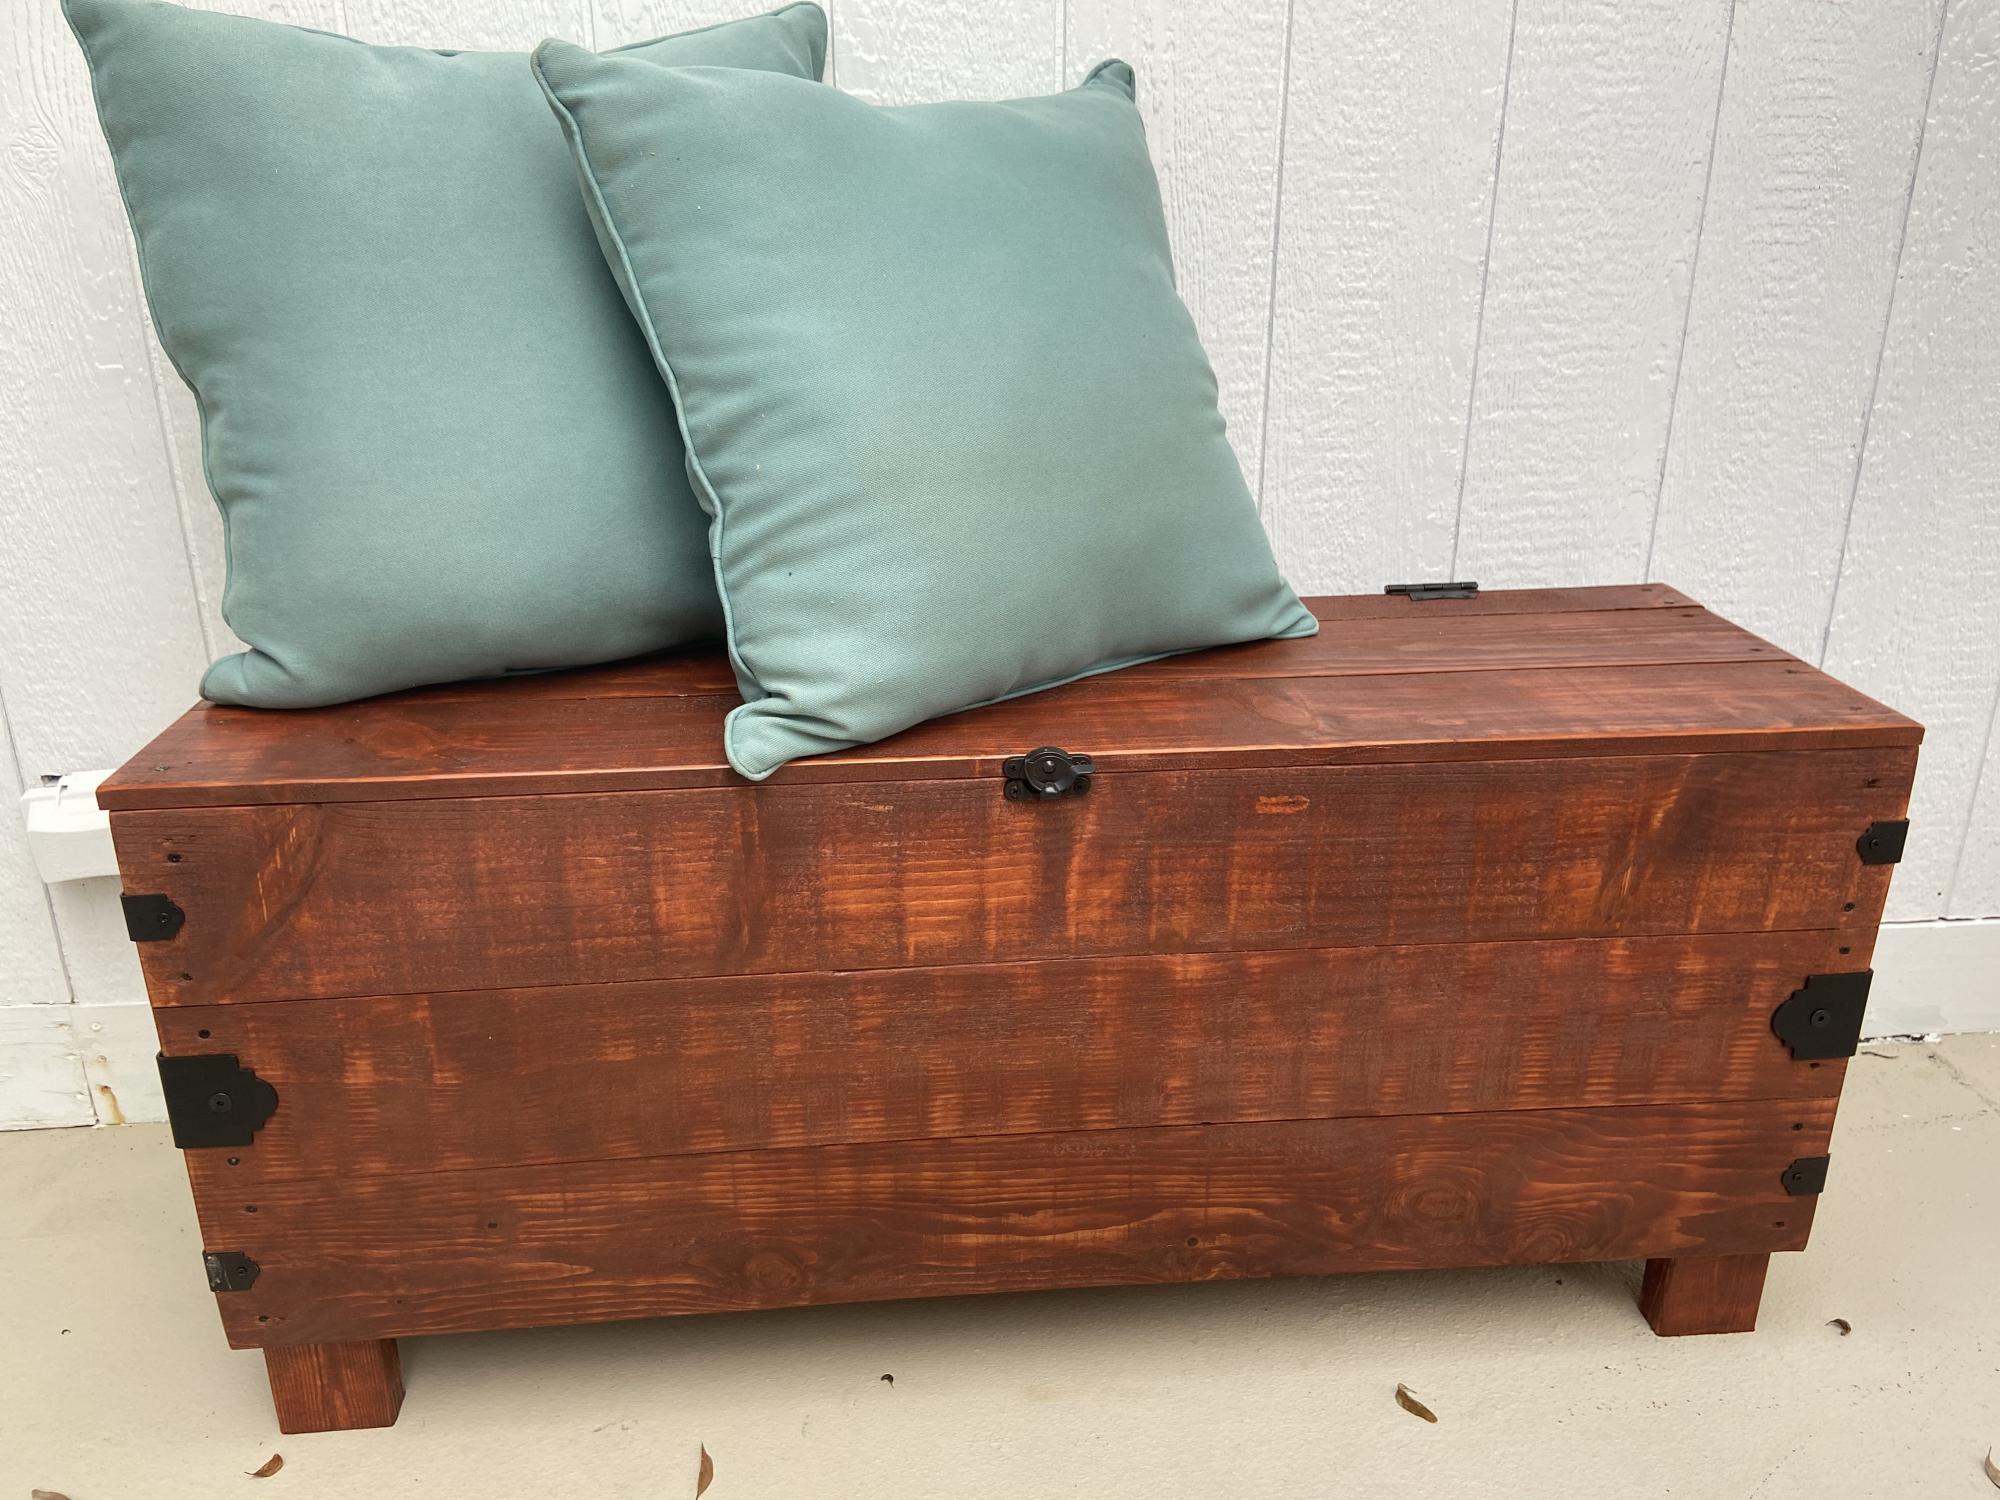
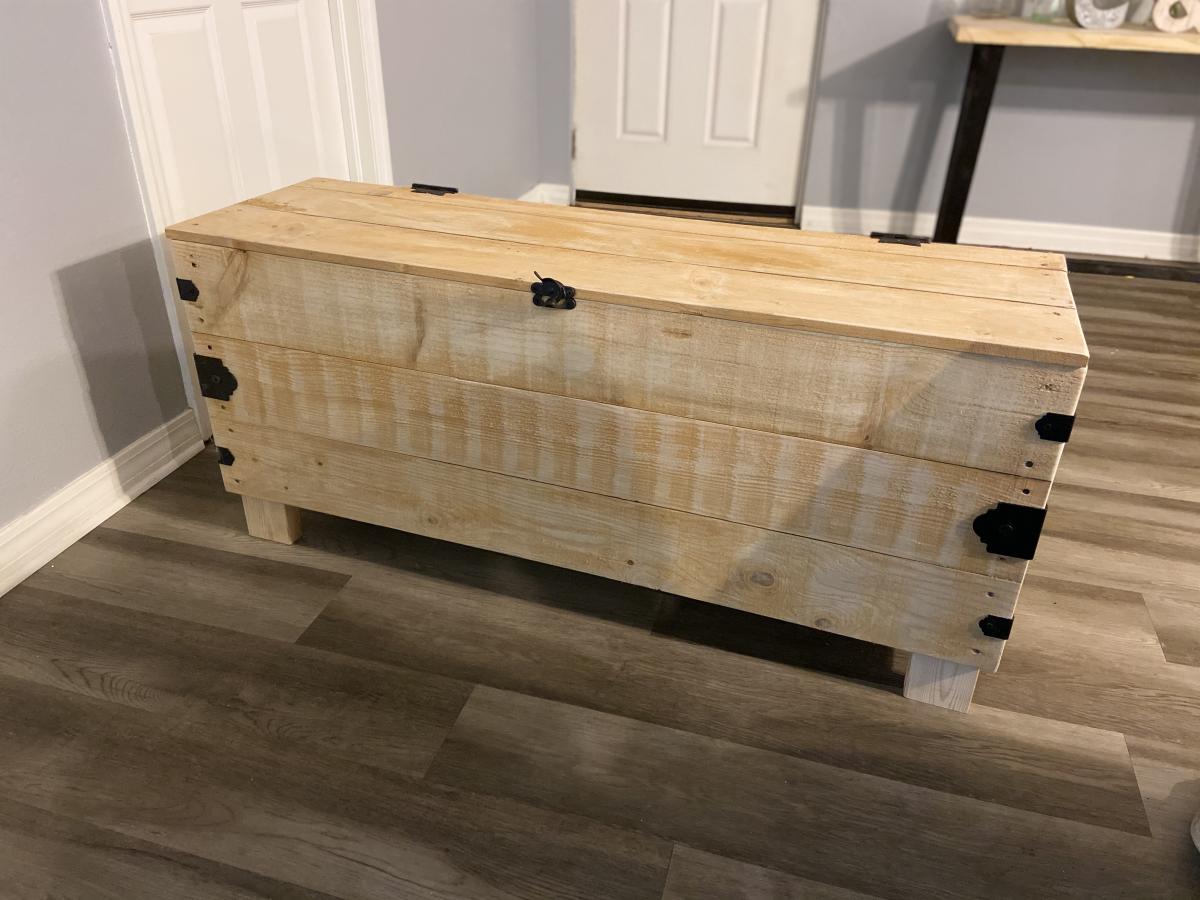
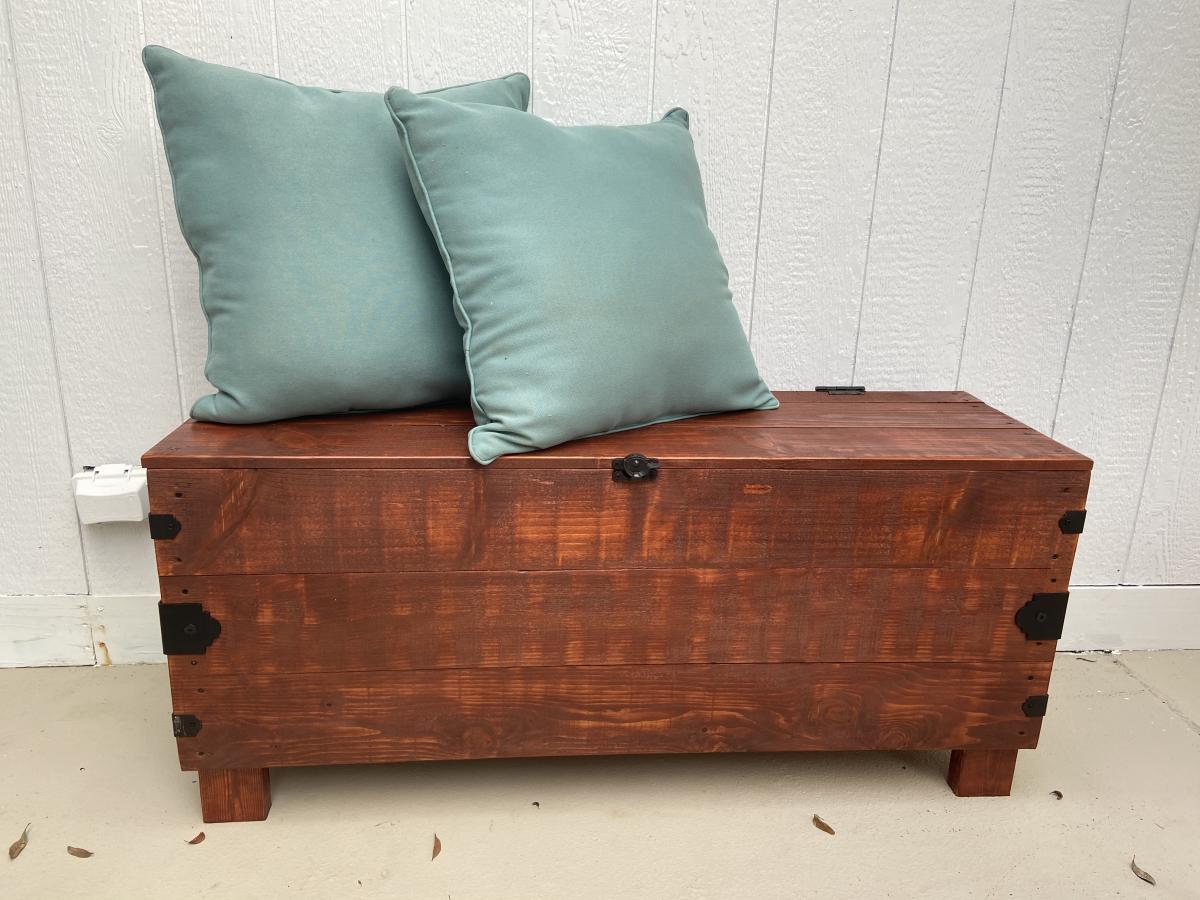
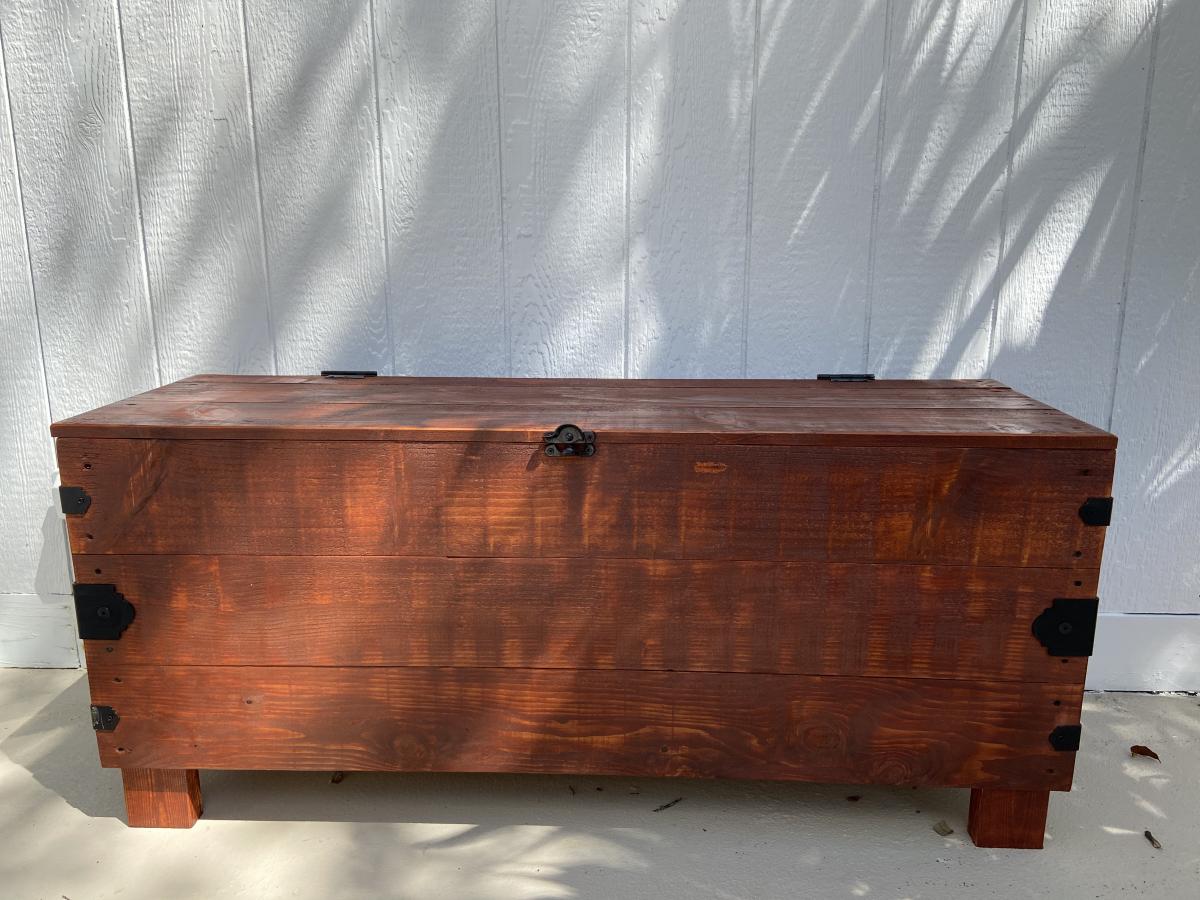
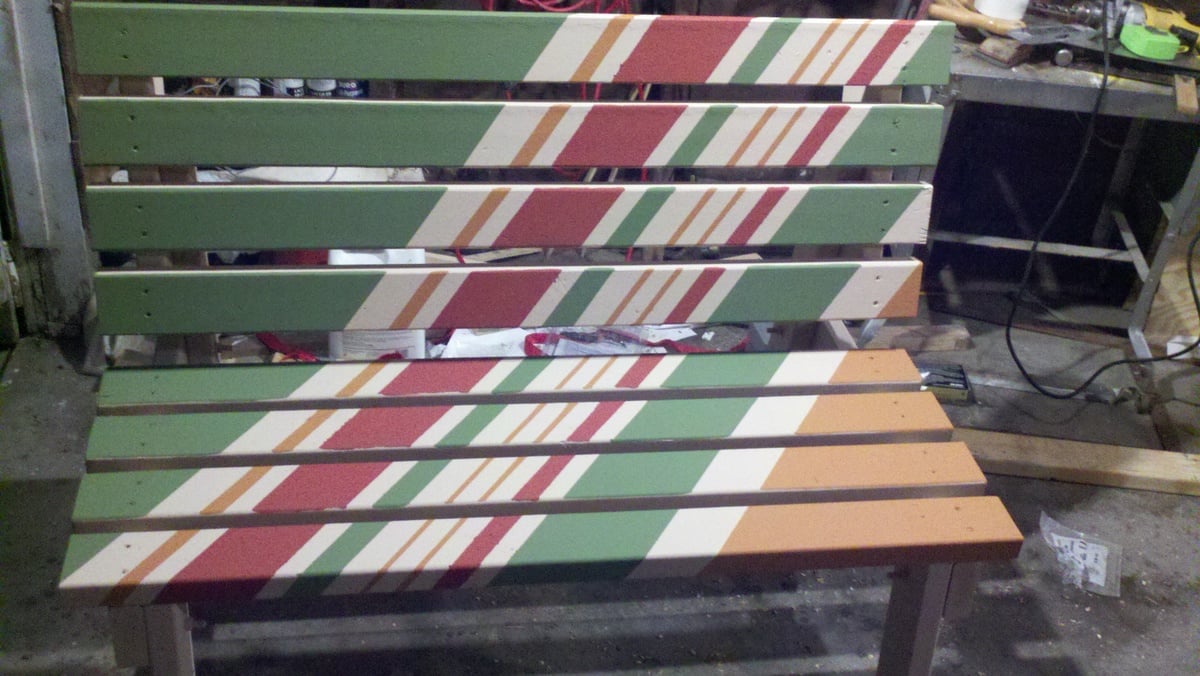
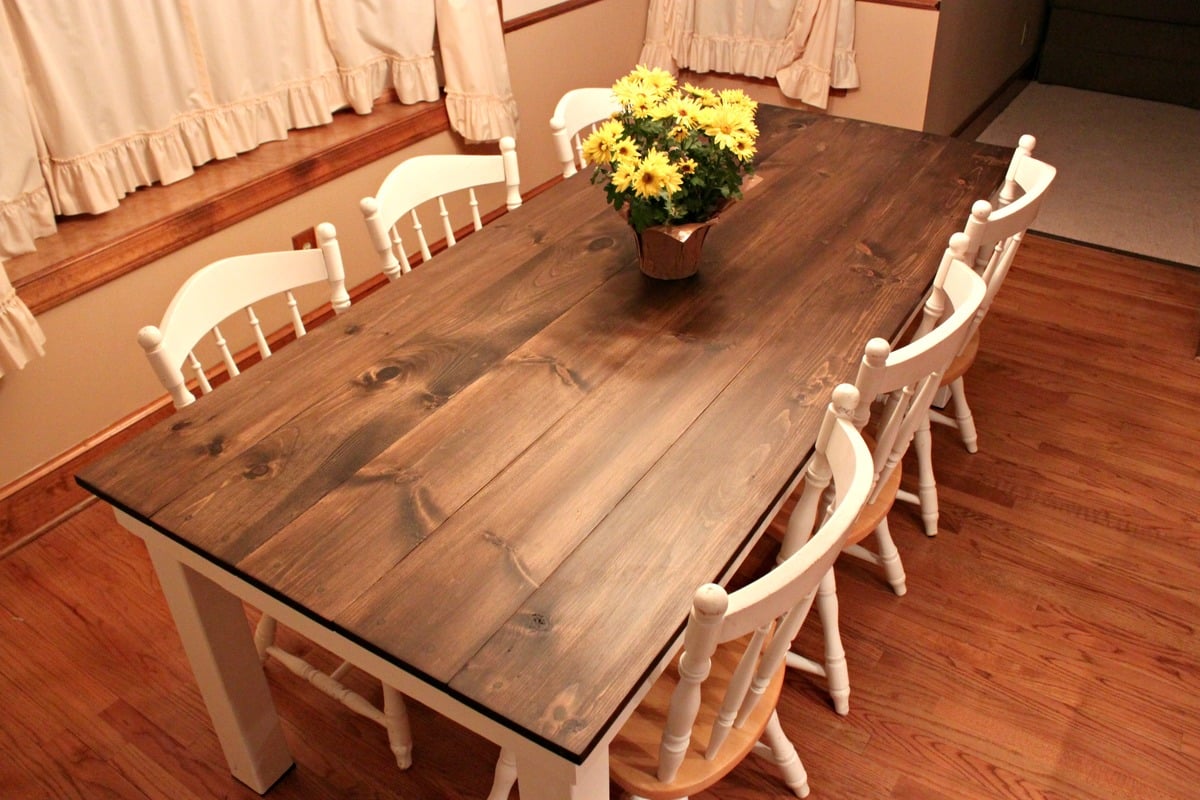
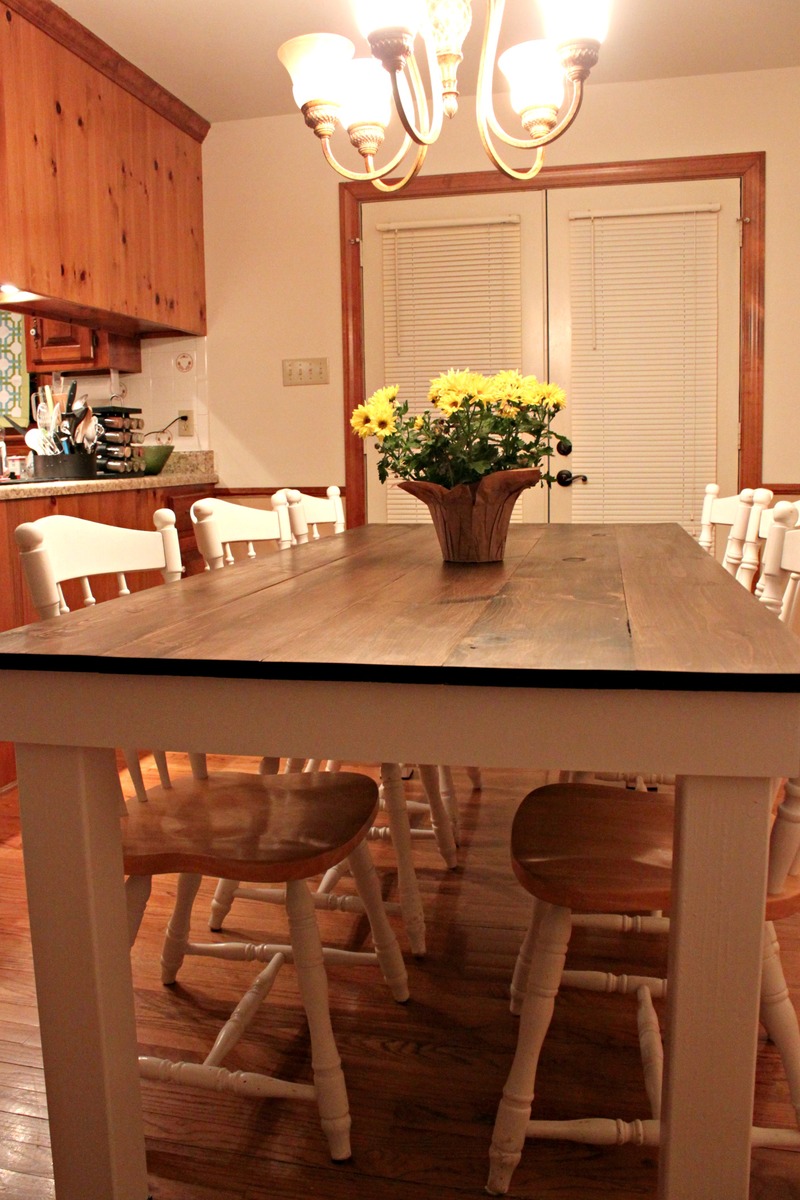
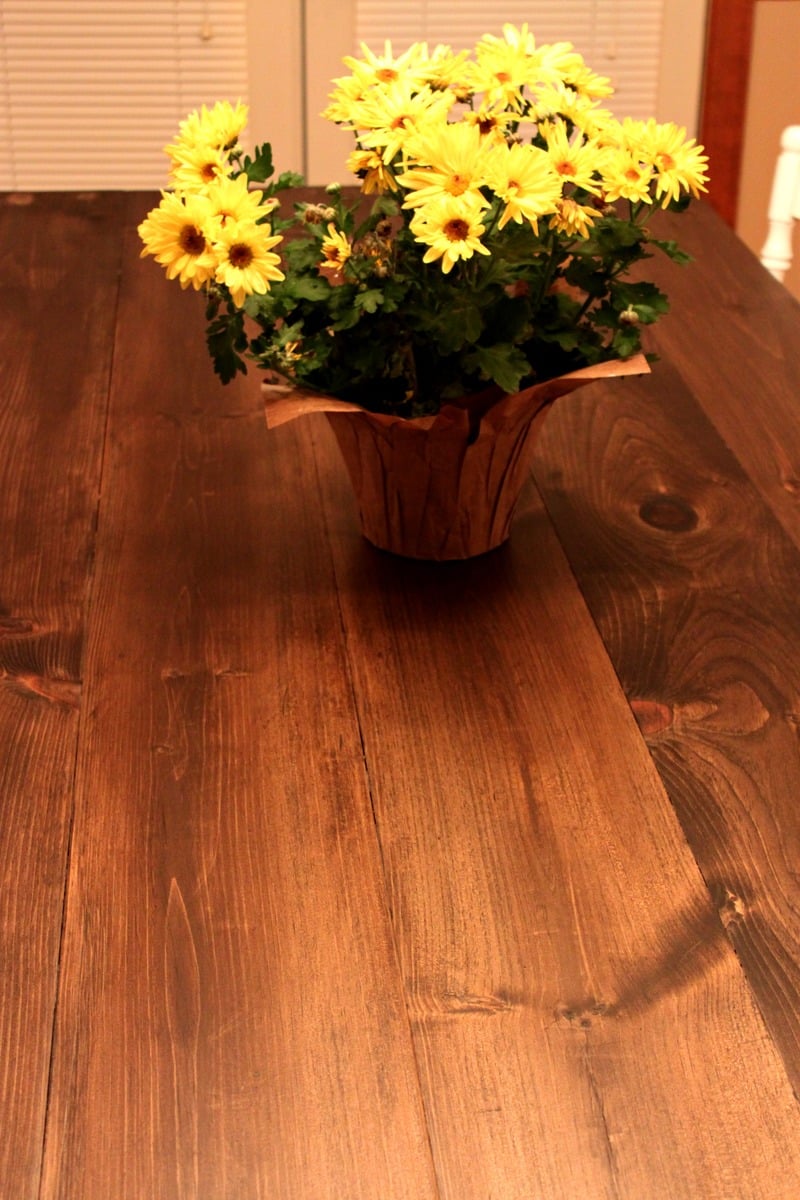
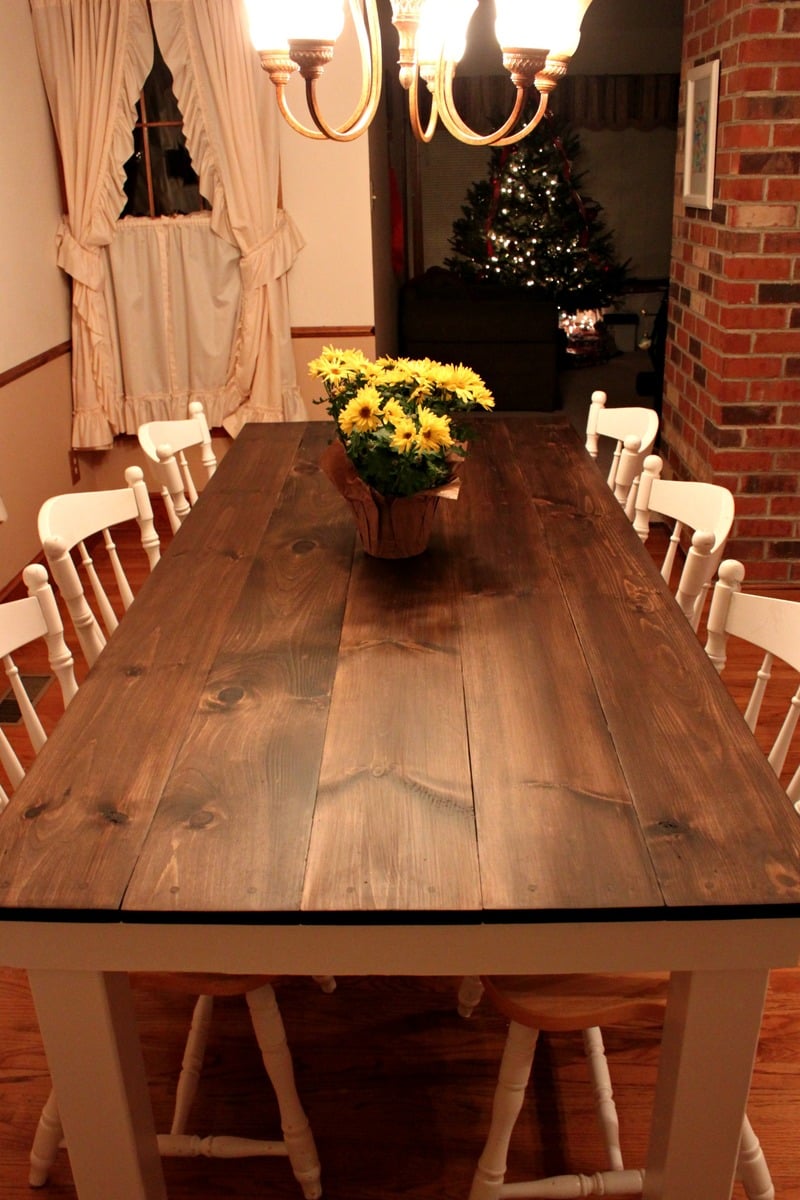
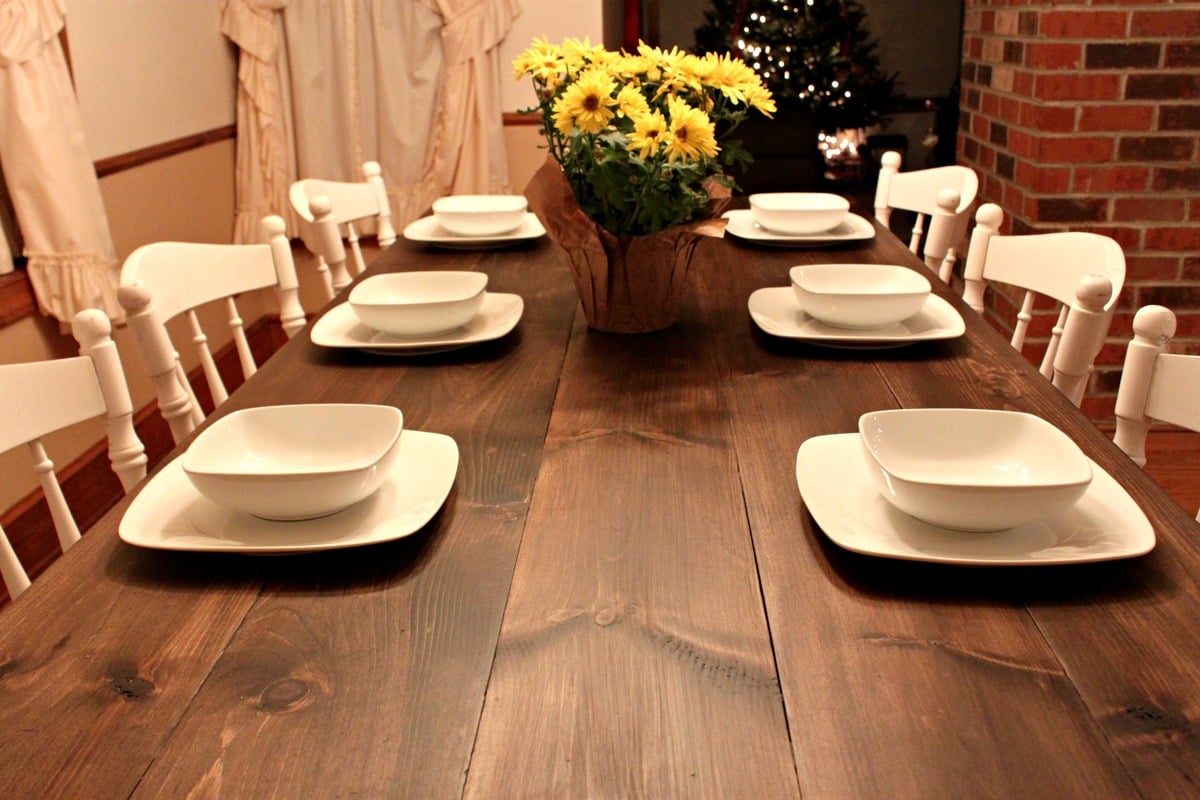
Rustic Kitchen Table
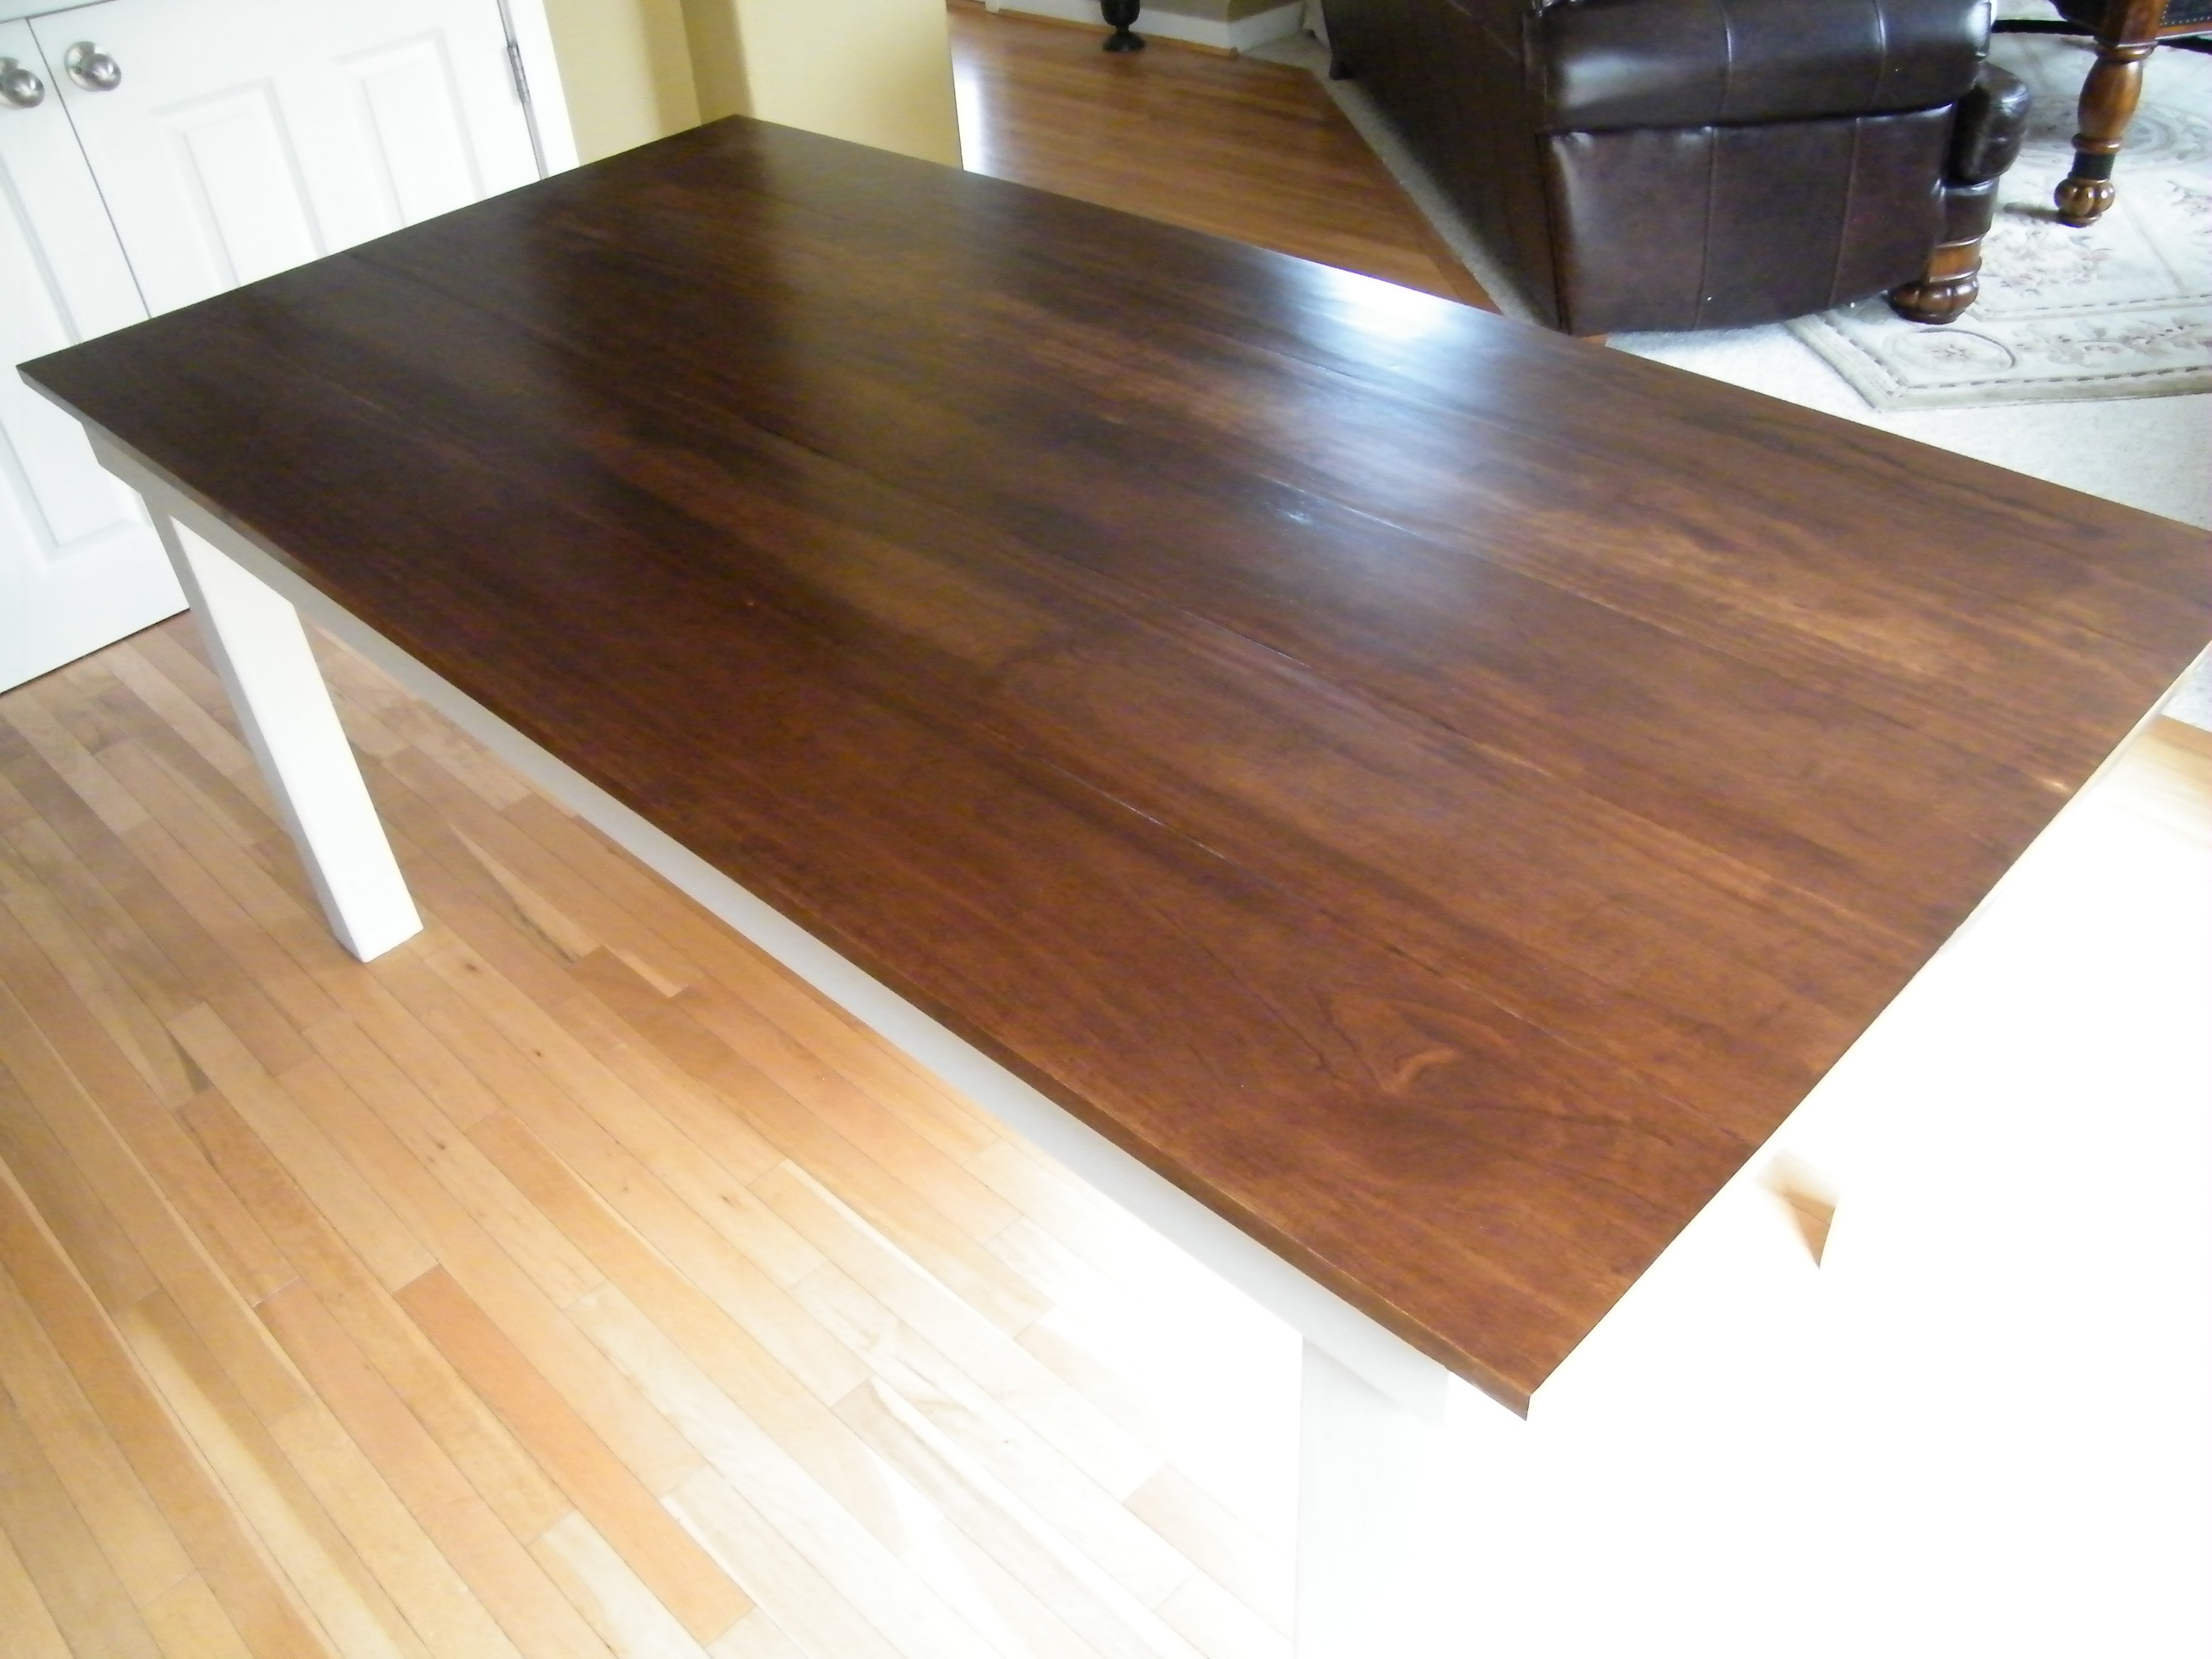
Table mad using the Rustic Table plans.
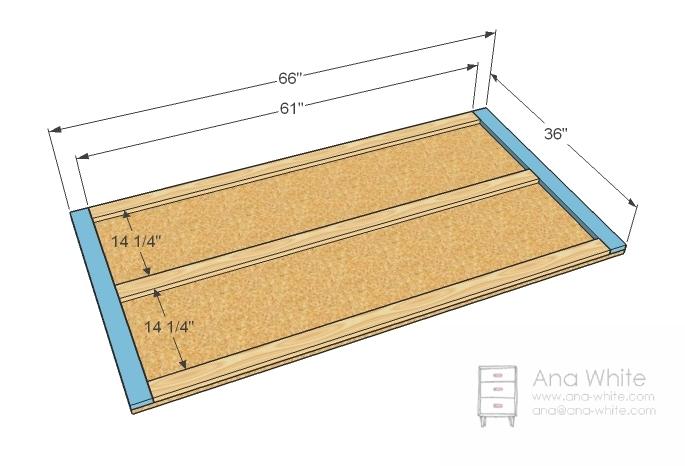
Built from Plan(s)
Estimated Cost
$250 for all materials & finishes
Estimated Time Investment
Weekend Project (10-20 Hours)
Finish Used
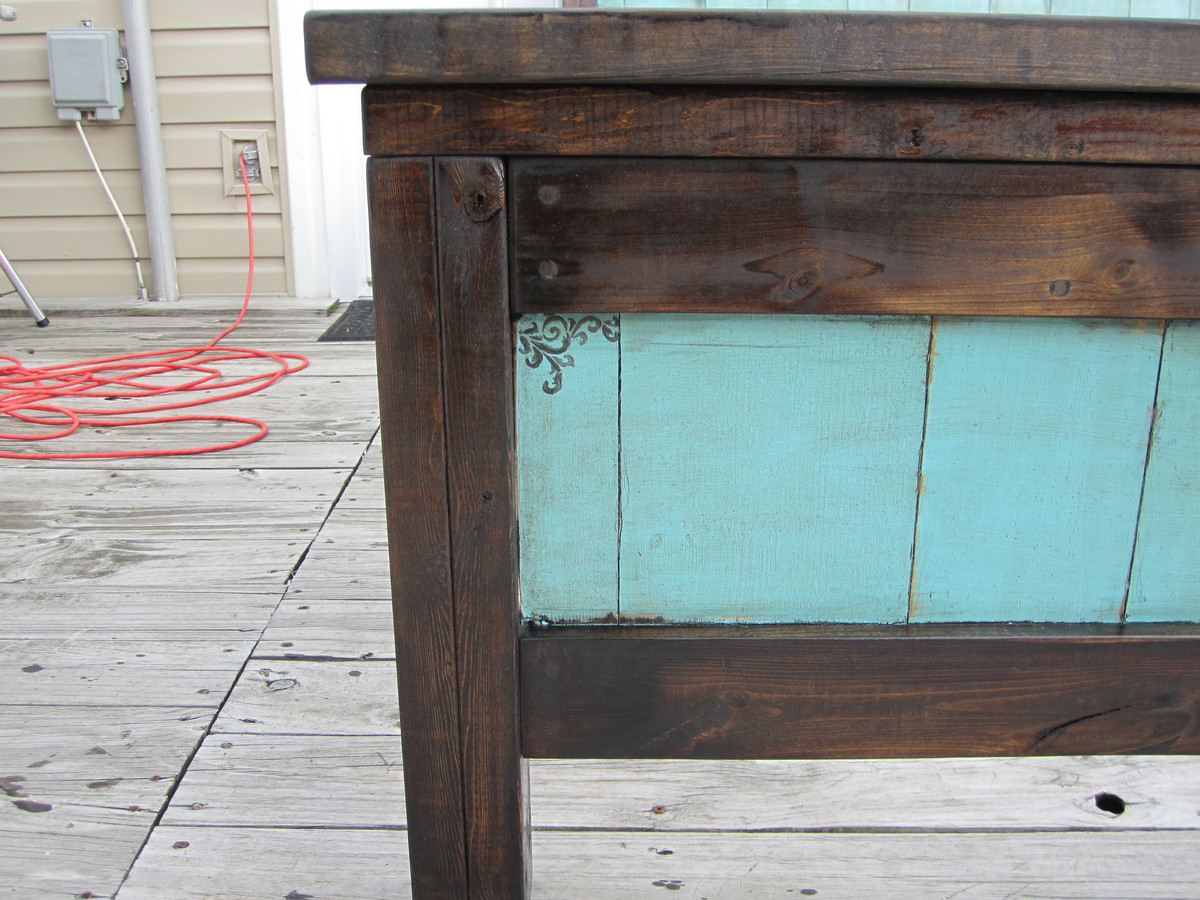
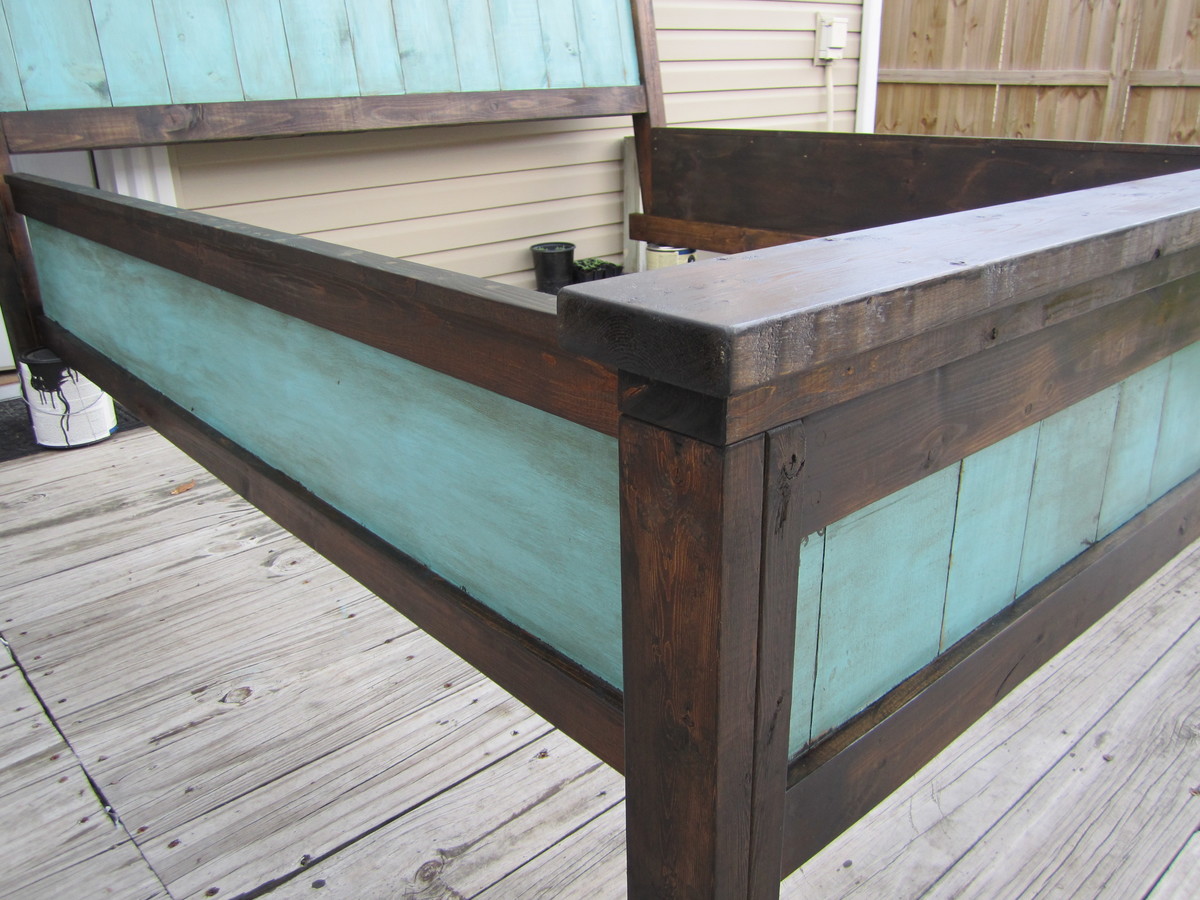
Minwax Wood COnditioner, Minwax Stain in English Chestnut & Provincial, flat house paint and wax for apron and legs.
Recommended Skill Level
Beginner


Comments
Britt (not verified)
Wed, 10/10/2012 - 20:39
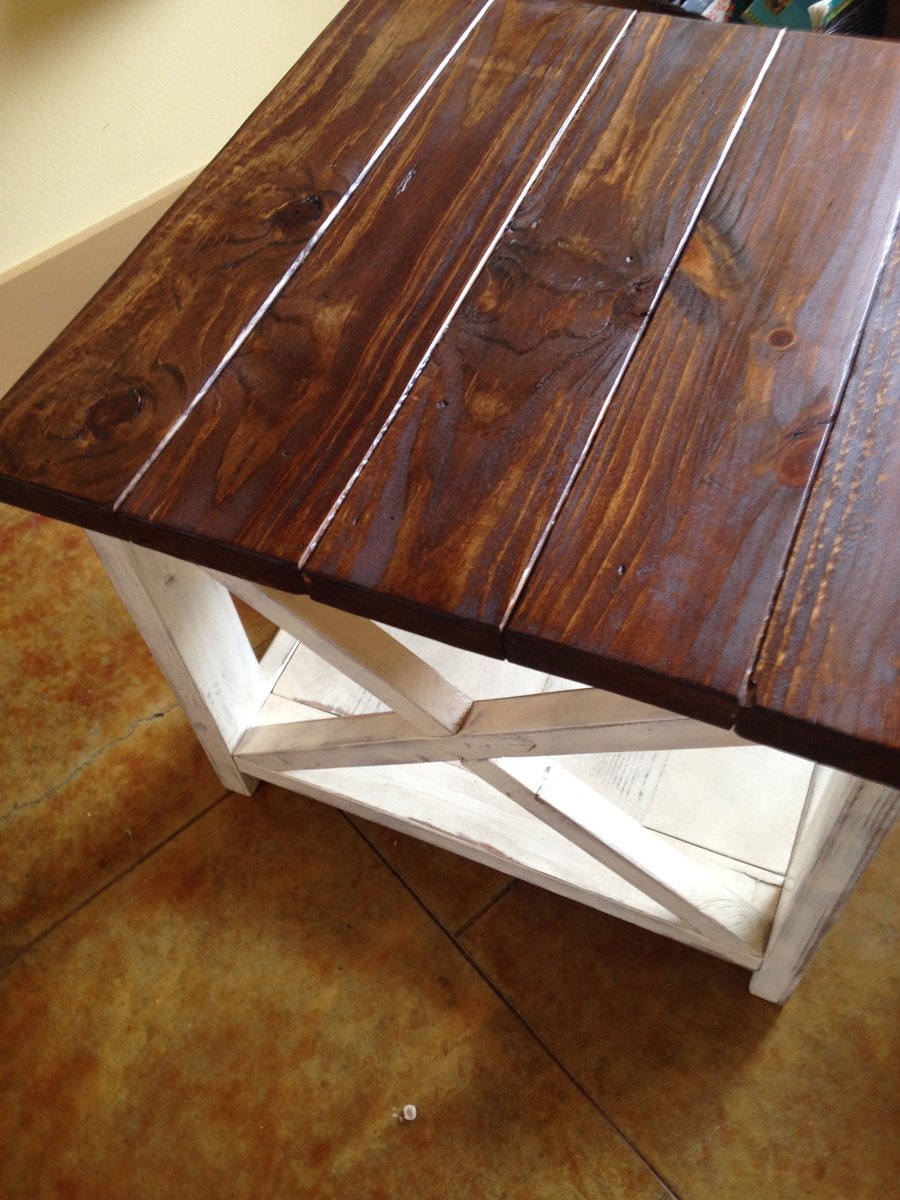
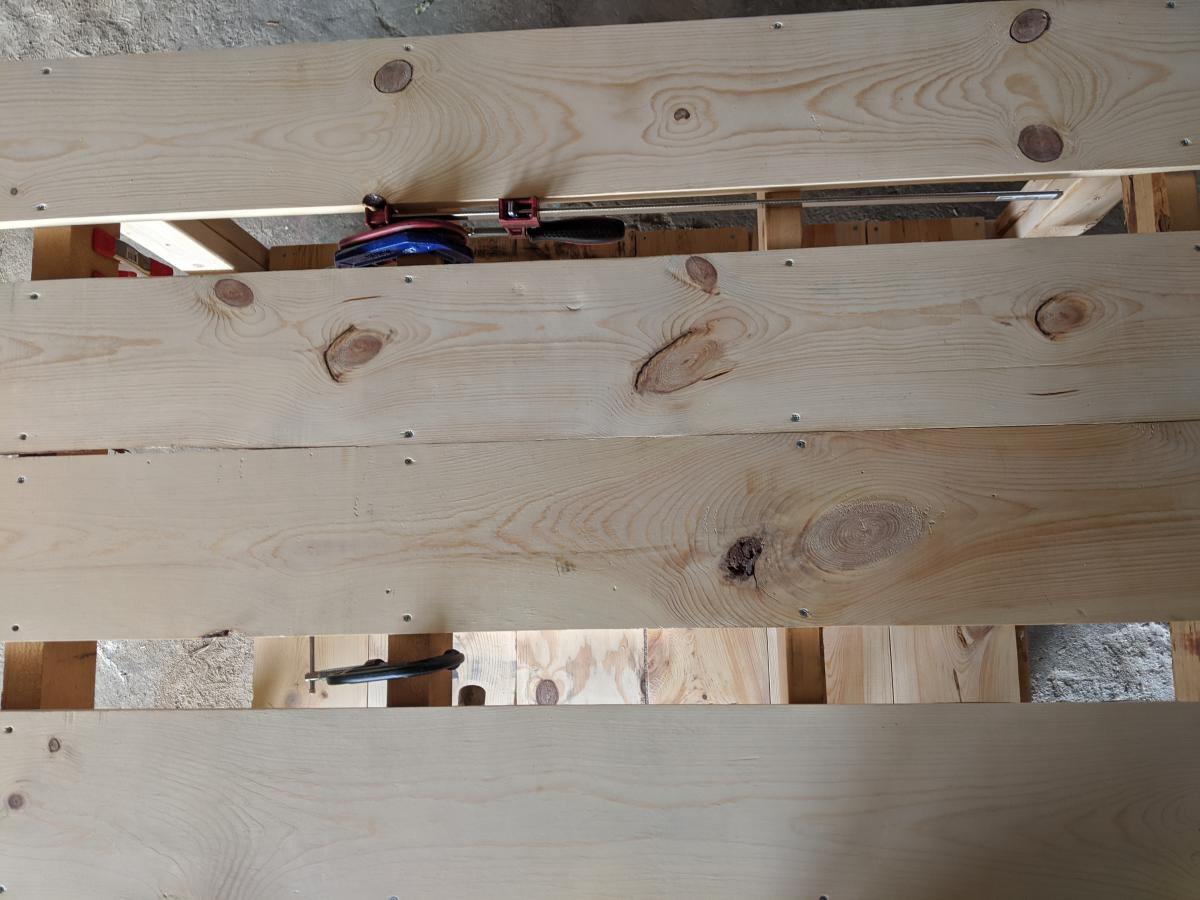
Beautiful
I love your tabletop! How did you finish your top to reduce the gaps between the boards?
Thanks for your picture!