6 cube bookshelf
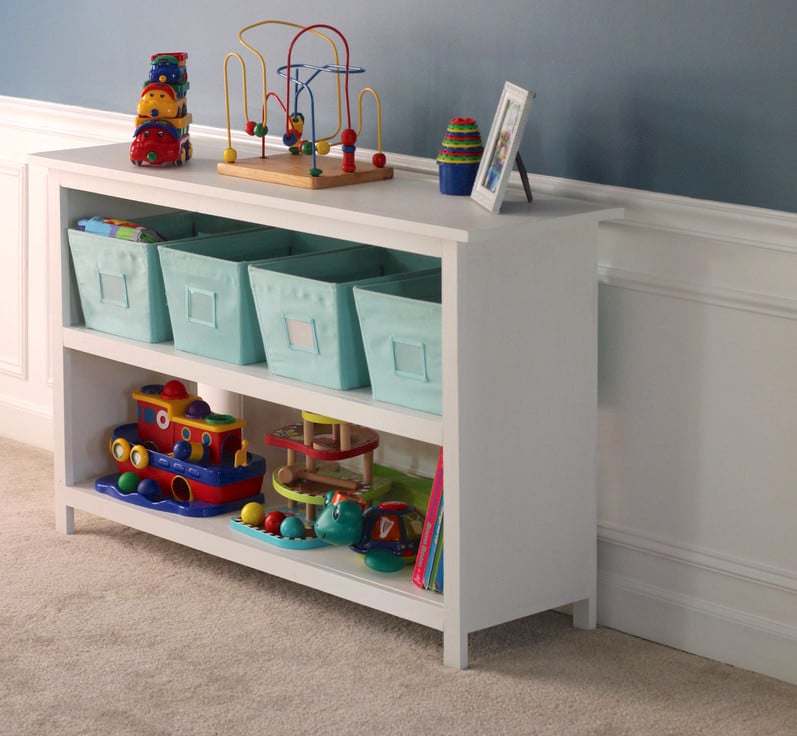
This was my first project that I've built and I feel really great about how it turned out!
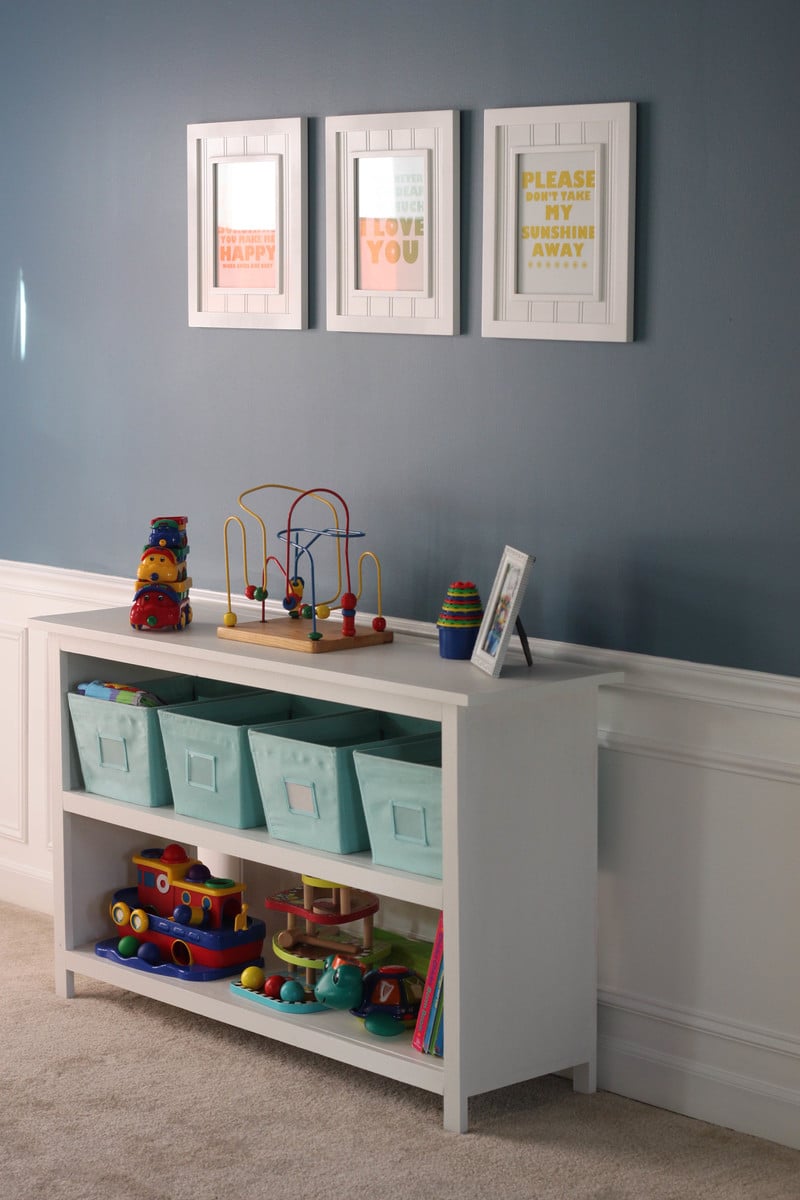

This was my first project that I've built and I feel really great about how it turned out!

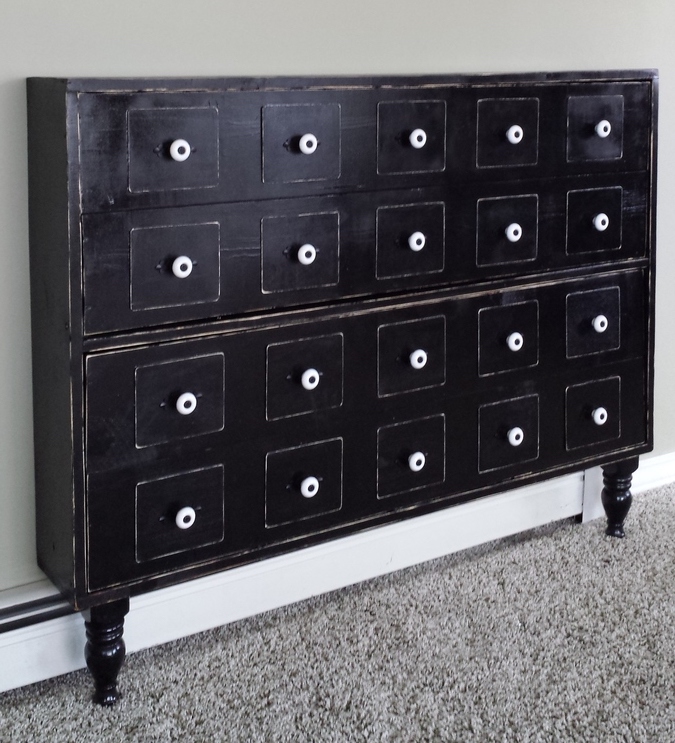
Loved this project! We had an old headboard so my wife came up with the idea to cut off the top posts and use them as legs.
Love this plan and the table and bench turned out exactly as I hoped. I did it by myself except for a little heavy lifting from my sweetheart. I researched the finish online and I am so happy with the results.
Tue, 02/10/2015 - 08:19
We have been shopping for tables and cannot find anything we like for a good price. I keep going back to building one myself. Your table top looks great .. nice and flat. Did you follow the plans to a T, did you use a kreg jig?
Tue, 02/10/2015 - 22:13
I did change the dimensions of the top a little. I wanted a wider surface. I did use a kreg jig, it made it a breeze to build. I spent a lot of time on the finish, sanding, using steel wool, and several coats of polyurethane. Thank you for the compliment !
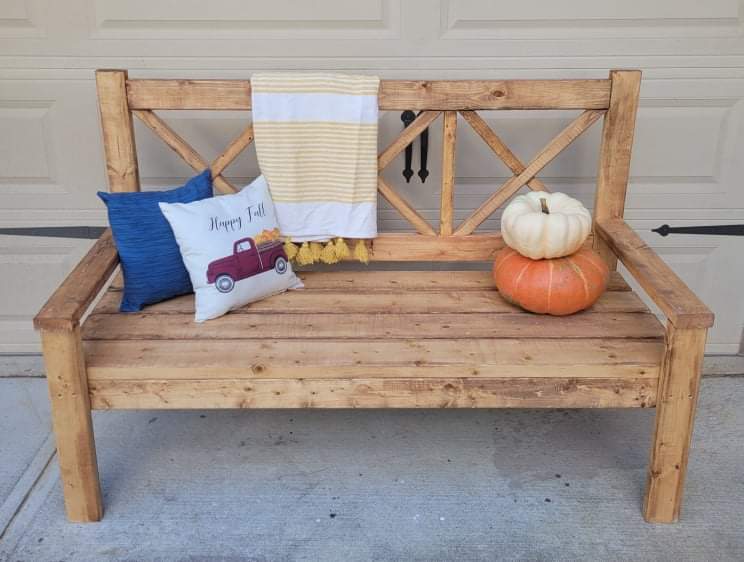
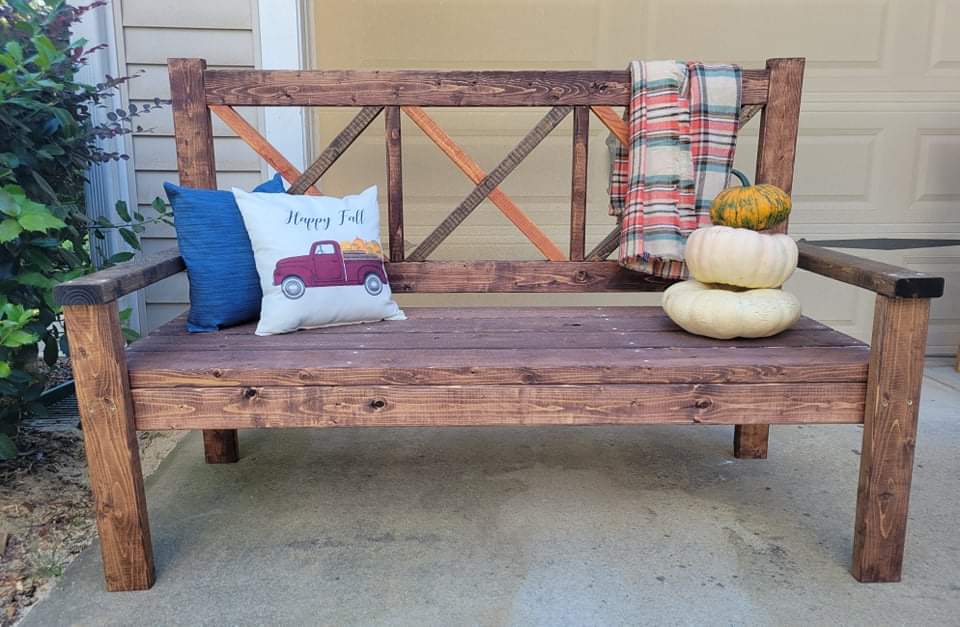
What a fun project, and great bench. We had someone ask us if we could make this for them, and we decided to make 2 while we were at it.....now we just need to find a spot big enough for the second one at our house. Loved this build, and look forward to sipping coffee on it on a cool morming.
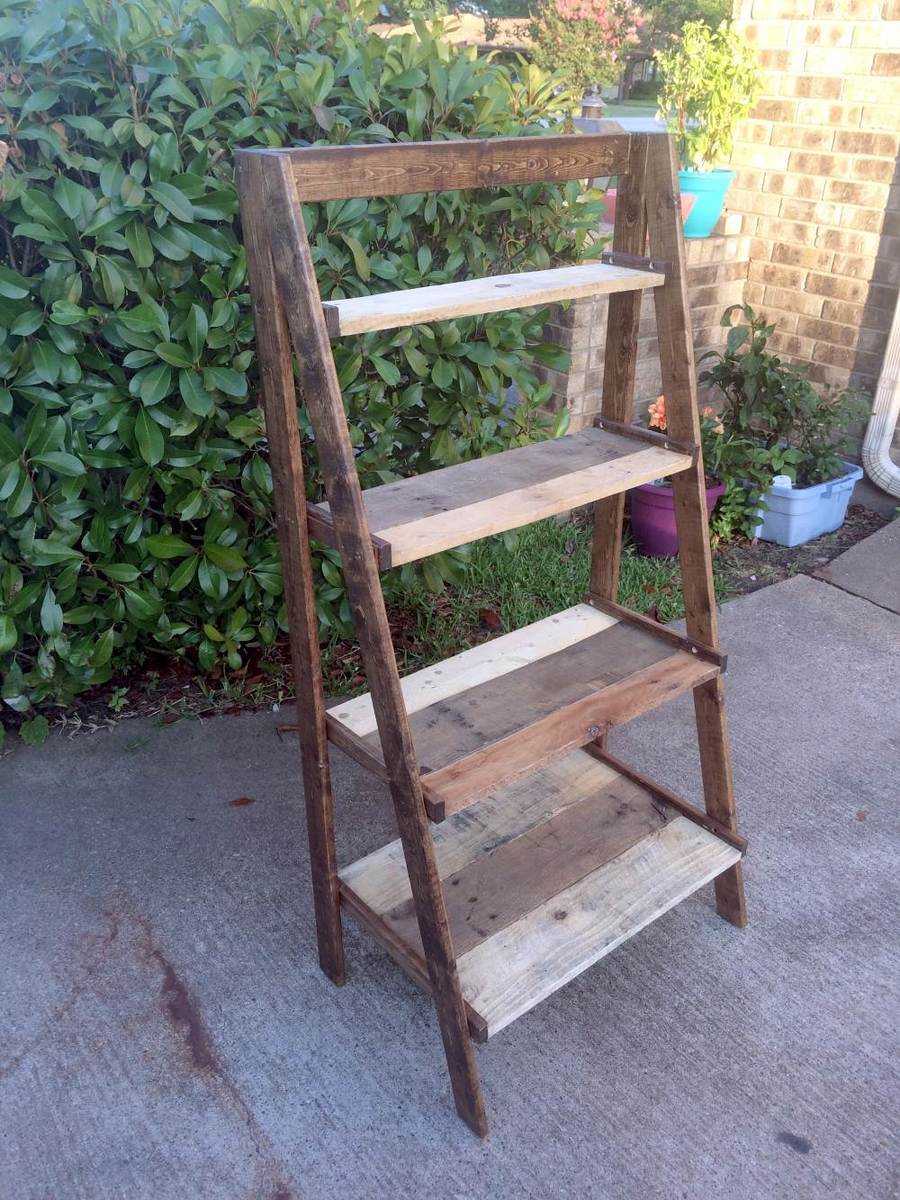
Made this one with shelf edges/trim just on the sides. Somehow my top shelf didn't span the width so had to add a little shim on each side but it all worked out! We had all the pallets and used 1x3s for the frame because some of my pallet wood was heavy hardwood. It was not without frustration because I was working with uneven/warped pallet wood but it hits the rustic look. I am happy with how it turned out.
This was one of our early builds. I"ve learned a new way to do doors since then so hope to replace these before we move. I love all the storage on this unit! The finish on the tops is a metallic glaze I made.
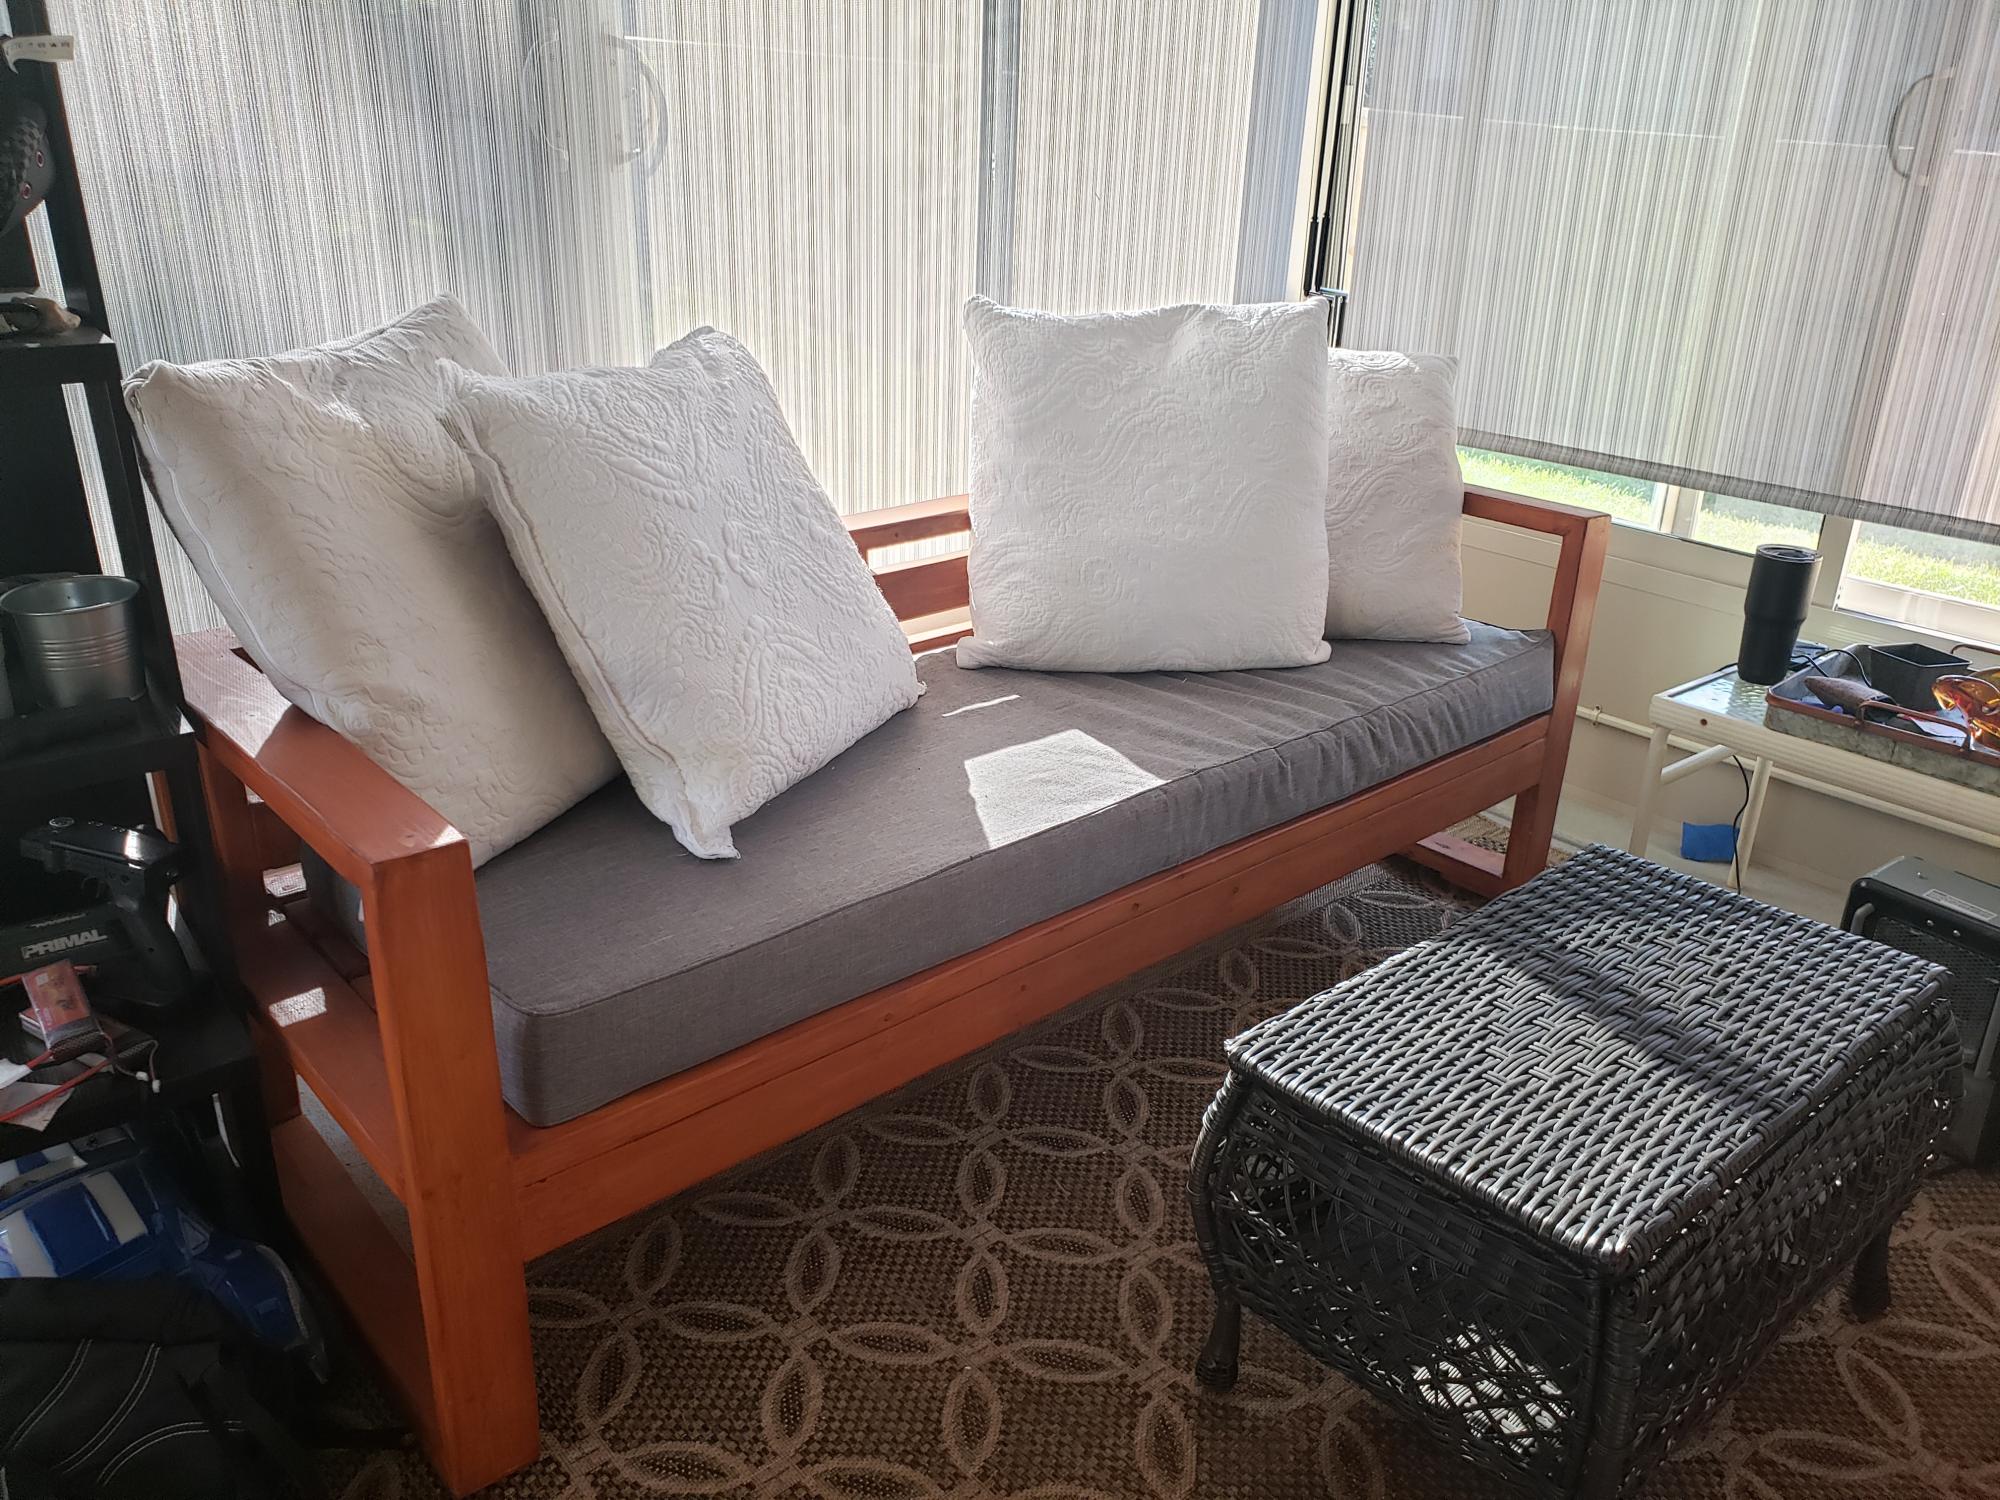
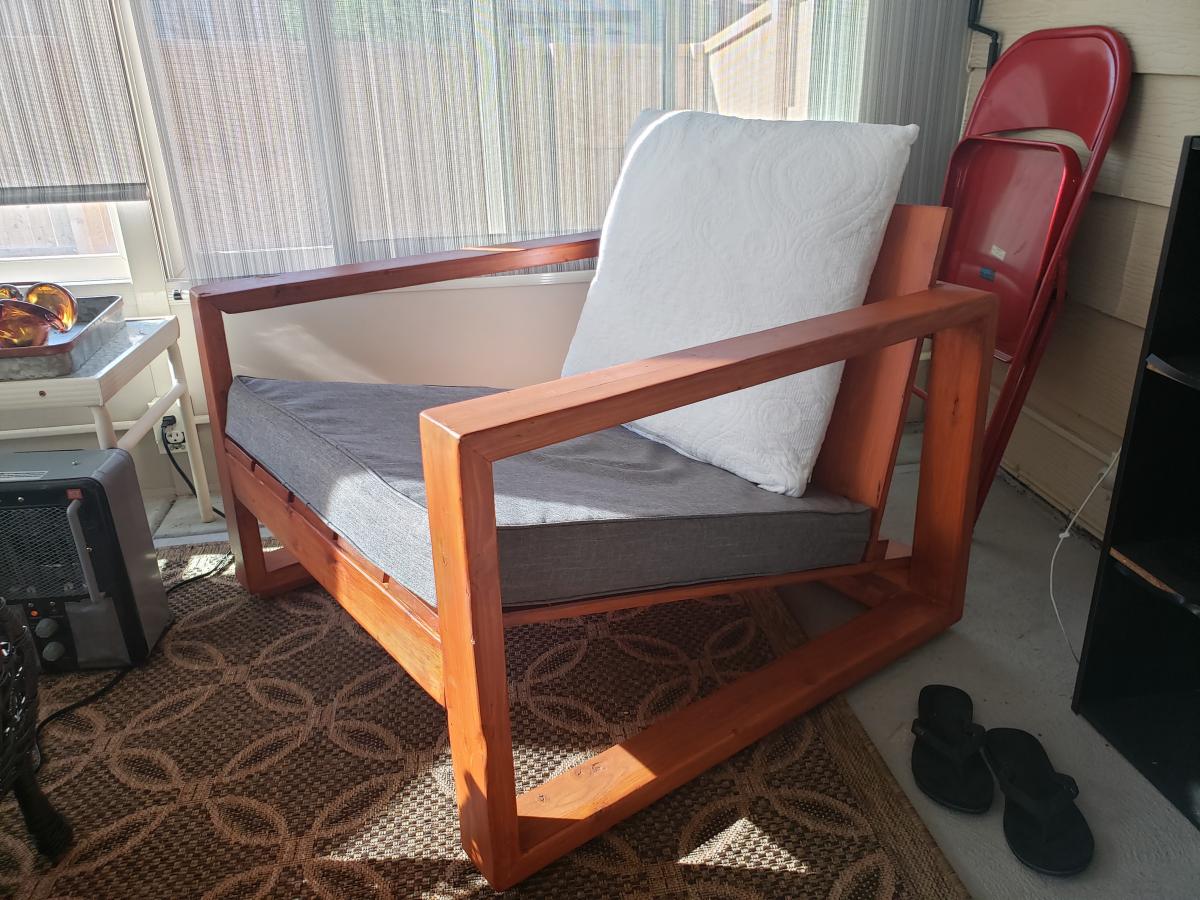
Well, I had just bought a house. We had no furniture for our sunroom, so I took it upon myself to build some while materials were still cheap.
Hindsight, the chairs rear end should have been a level seat instead of trying to build an Adirondack style club chair. I modified the ends to match the modern style so they would match the chairs.
The sofa turned out great, all are solid and built with pocket screws. Sealed with redwood deck sealer, should last forever!
For the covers, we had them made from covers and all, and went to the local Joann and bought 4" thick foam.and wrapped it with with polyfill. Can't tell that they were made in a backyard, but they've been great for 18 months so far!
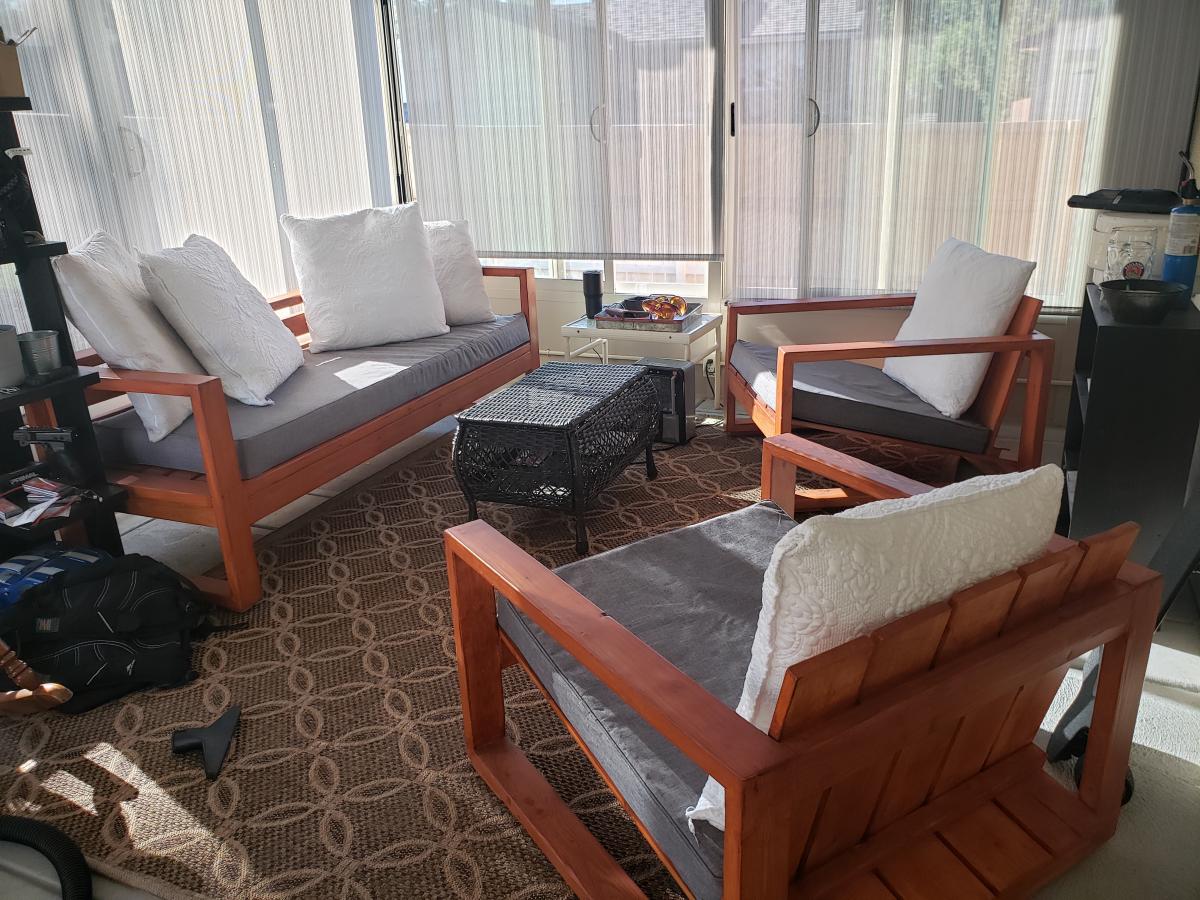
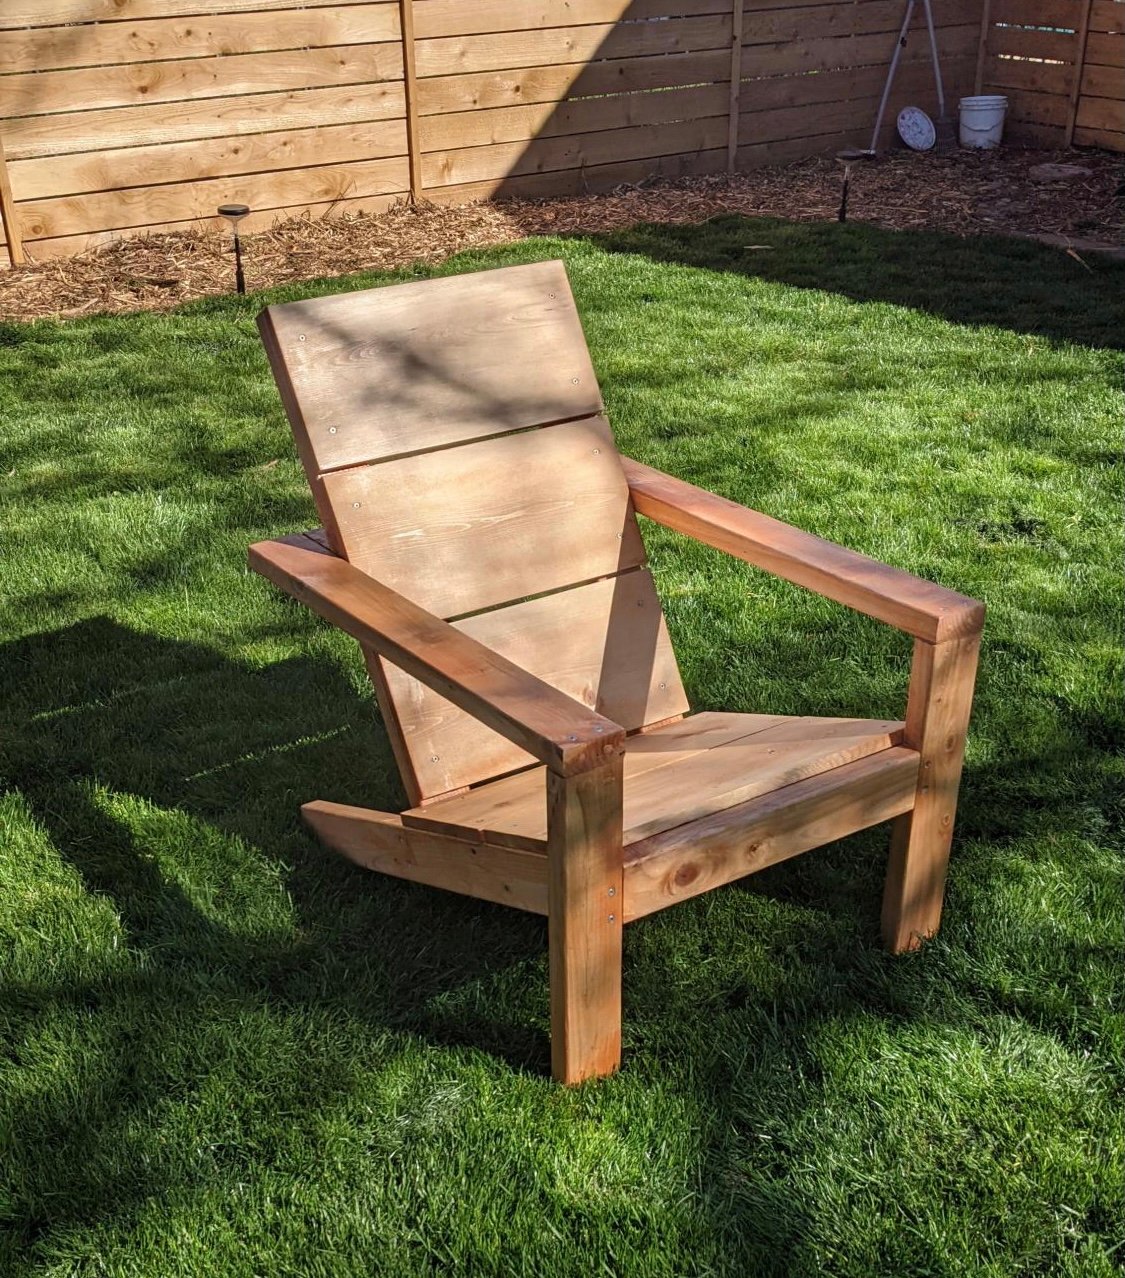
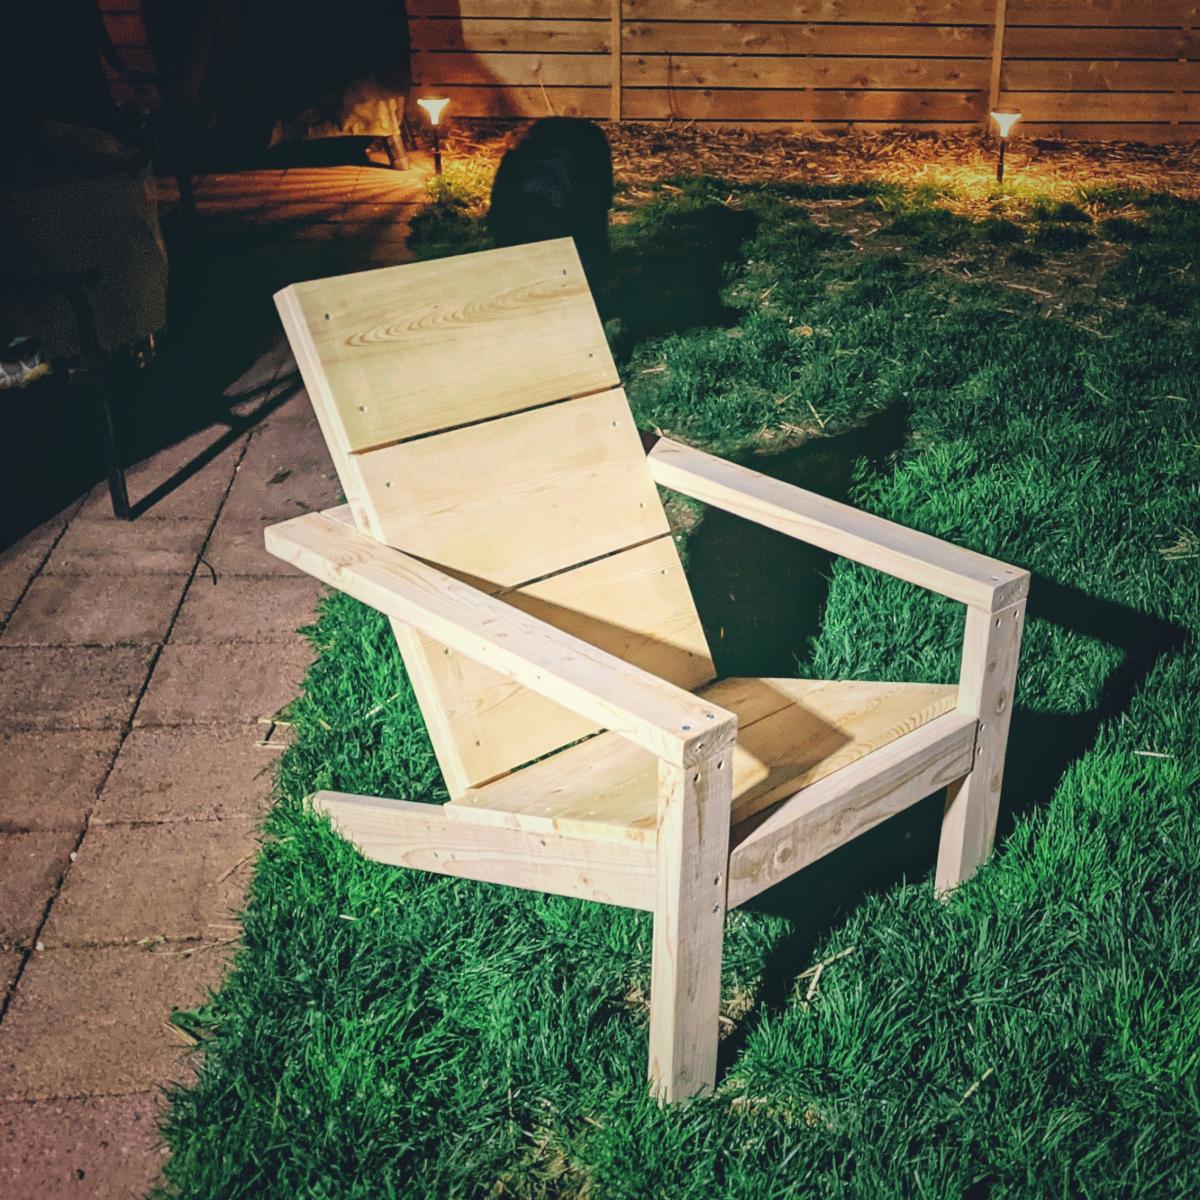
I've made 2 of the Modern adirondack chairs. Really enjoyed the plans and the video for help as I'm new to woodworking. I look for new plans all the time to see what I might build next
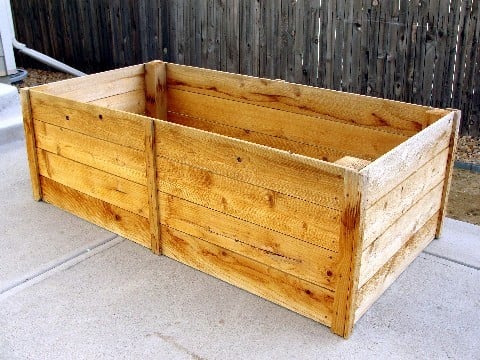
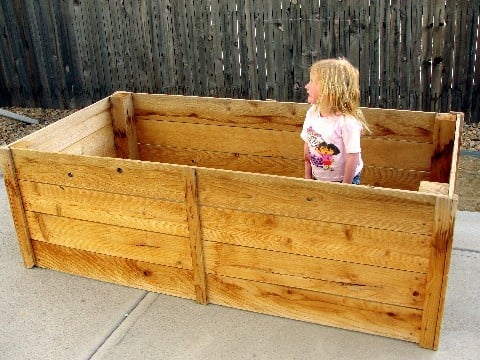
I made these last summer for my sister. And she didn't even use them yet! Very easy to make. She did want them taller, so that is the only modifacation I made. We're hoping the bunnies won't notice all the yummy veggies up this high :) I know, probably wishful thinking. Makes a great kid corral too.
I essentially stuck to the main plan - except to support the wings I used 2X2 boards and standard hinges.
I was worried that there may not be enough space for my Ryobi 10" sliding miter saw because of the slide however, it fits nicely and there is plenty of space.
Thank you for the wonderful plan. This was my first project of this size and I am very happy with the results!
Fri, 05/01/2015 - 08:10
This is great. I am currently getting my Dad's help to turn an old kitchen cabinet into a miter saw cabinet with wings like this. (it was a 1940's solid wood kitchen cabinet we took out of the house when we remodeled). I really like your 2x2 support struts. Have you considered putting a shelf in the middle of your box? It would add extra support and also more room to store stuff.
Sat, 05/02/2015 - 09:09
Good idea. I did consider adding a shelf however I have now decided to use the lower area to store my small router table. I discovered that it would fit in the spot however it leaves not enough room for a shelf.
Mon, 05/18/2020 - 14:12
I know it’s been a while but do you remember the angle you used on the 2x2 supports? I struggle when it comes to cutting angles.
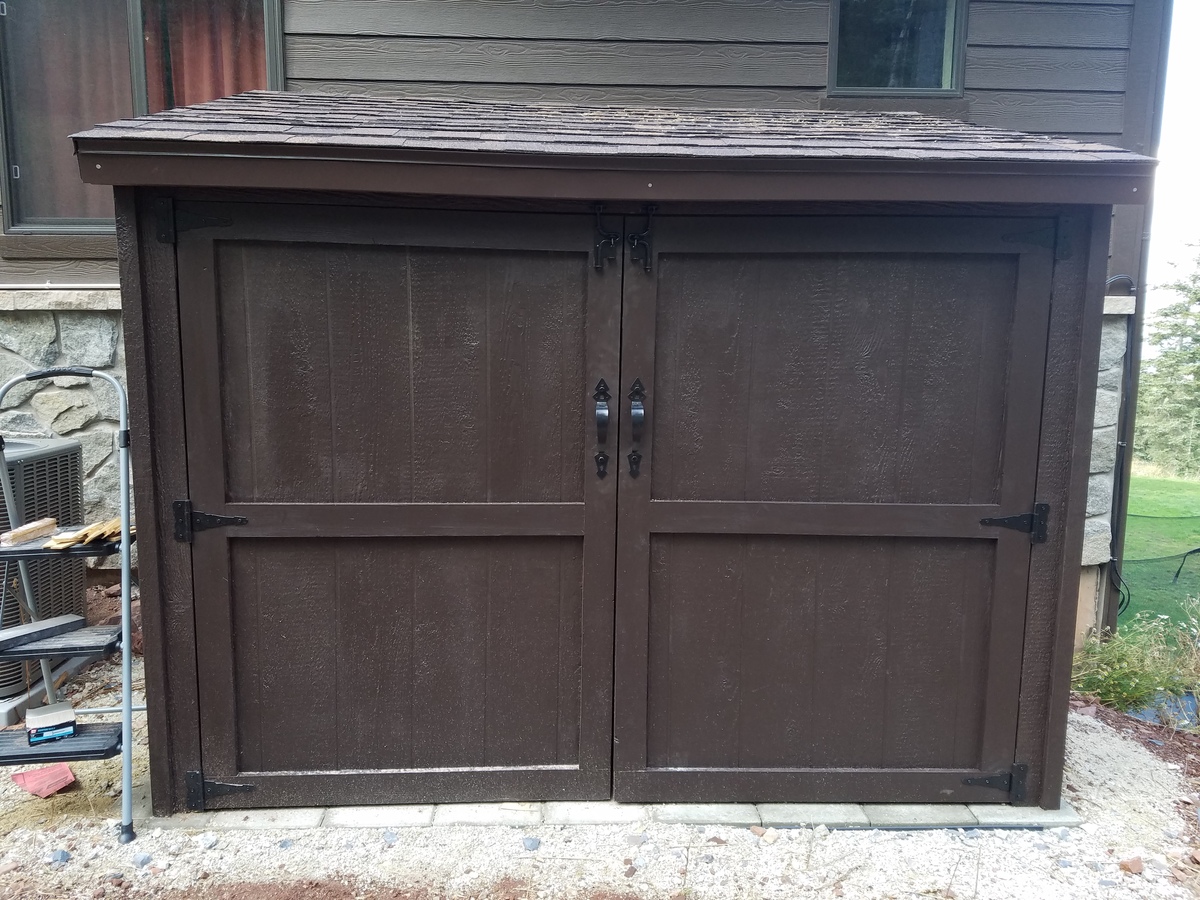
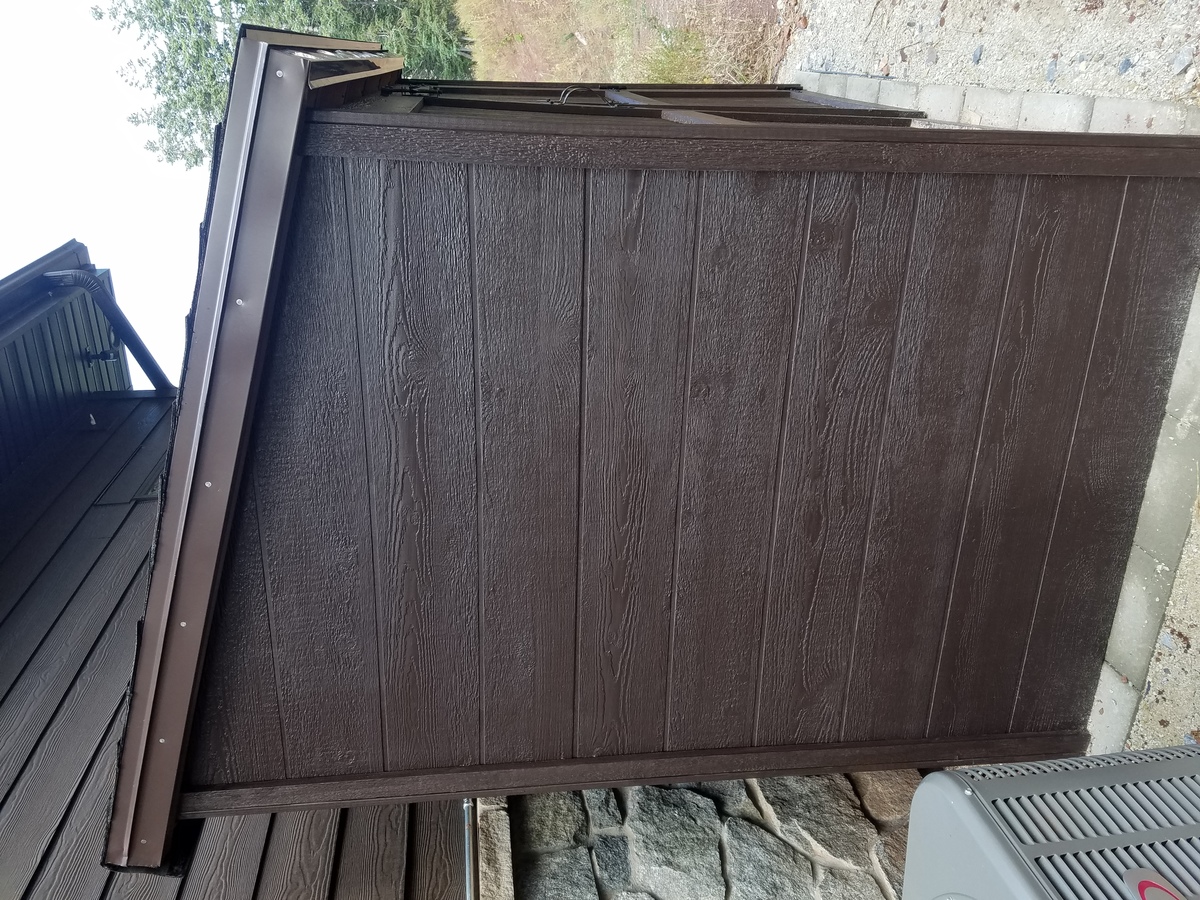
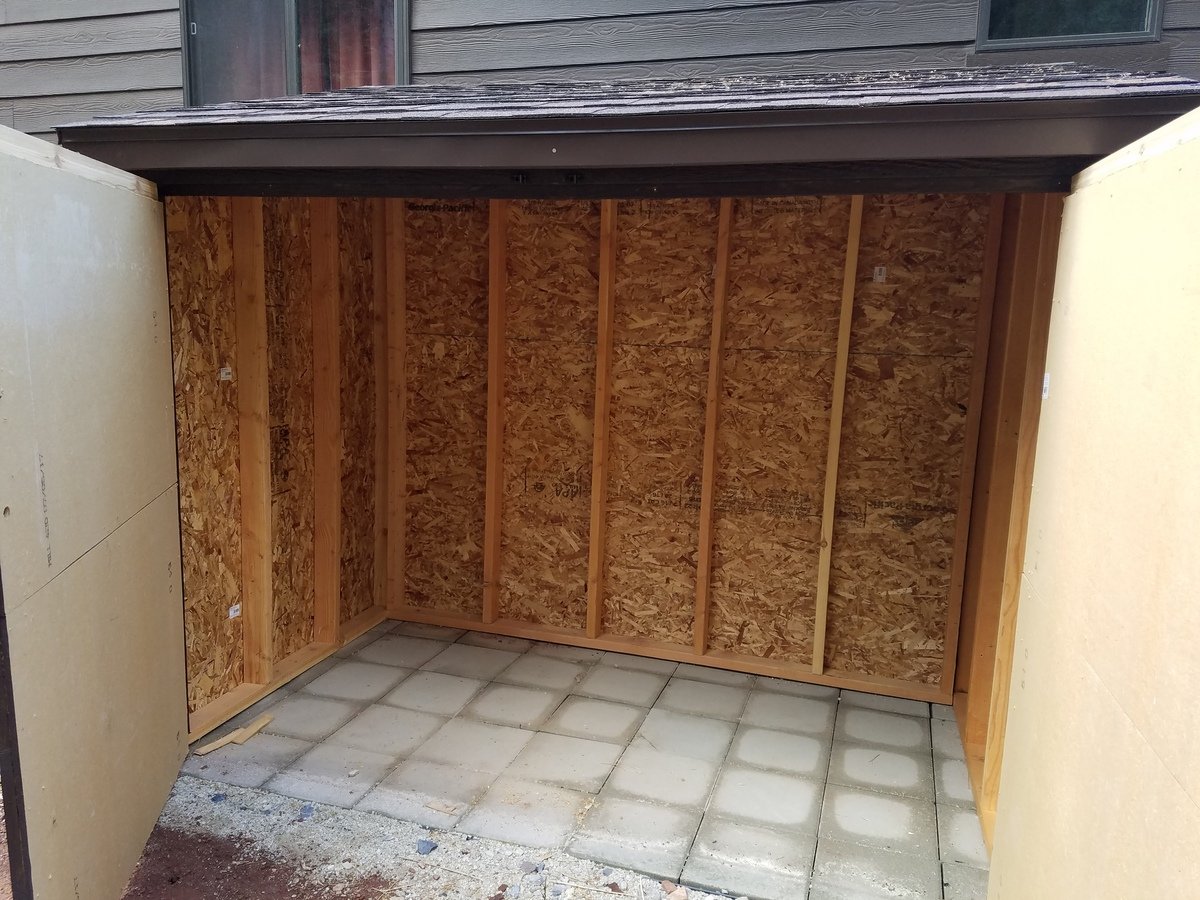
Using your shed plans, modified to use the 2x4s I already had on hand, I designed this 4'x8'x7' shed to match my house. I replaced the ceder fence boards with a hardiboard, but the construction was pretty much the same. My husband and I are so happy with this shed,which looks very similar to the $4000+ sheds we have seen, and it cost us less than $400 to make and matches our house perfectly. Your instructions were great, and I know you saved me a lot of time and trouble. Can't wait to load it up with our snow and gardening equipment! Thank you!
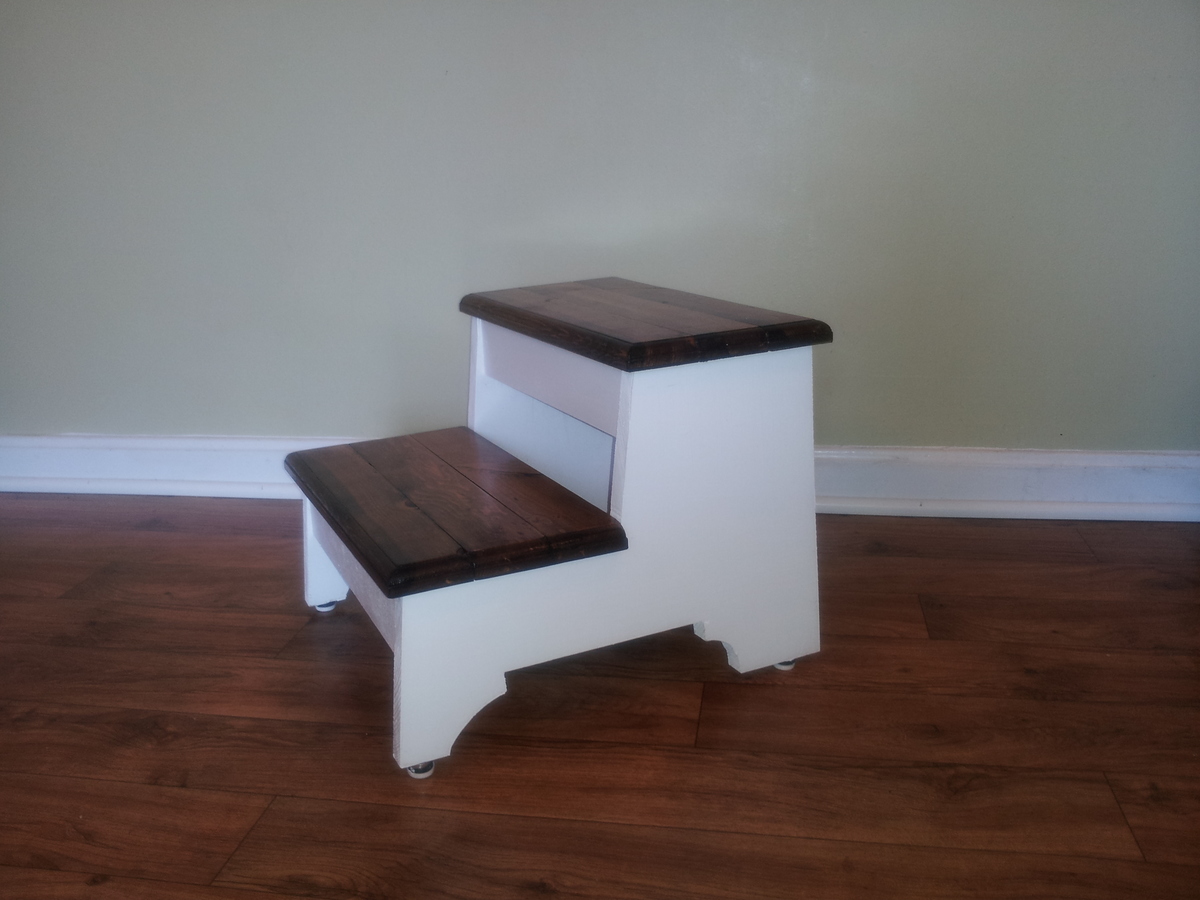
My son is a little short for his age and we have been searching for a stool that he could use to wash his hands by himself. I came across these simple and quick plans for an amazingly, functional stool. I spent about 4 total hours on it, made it from scraps that I already had, it looks great and it hold me too... all 230 lbs.
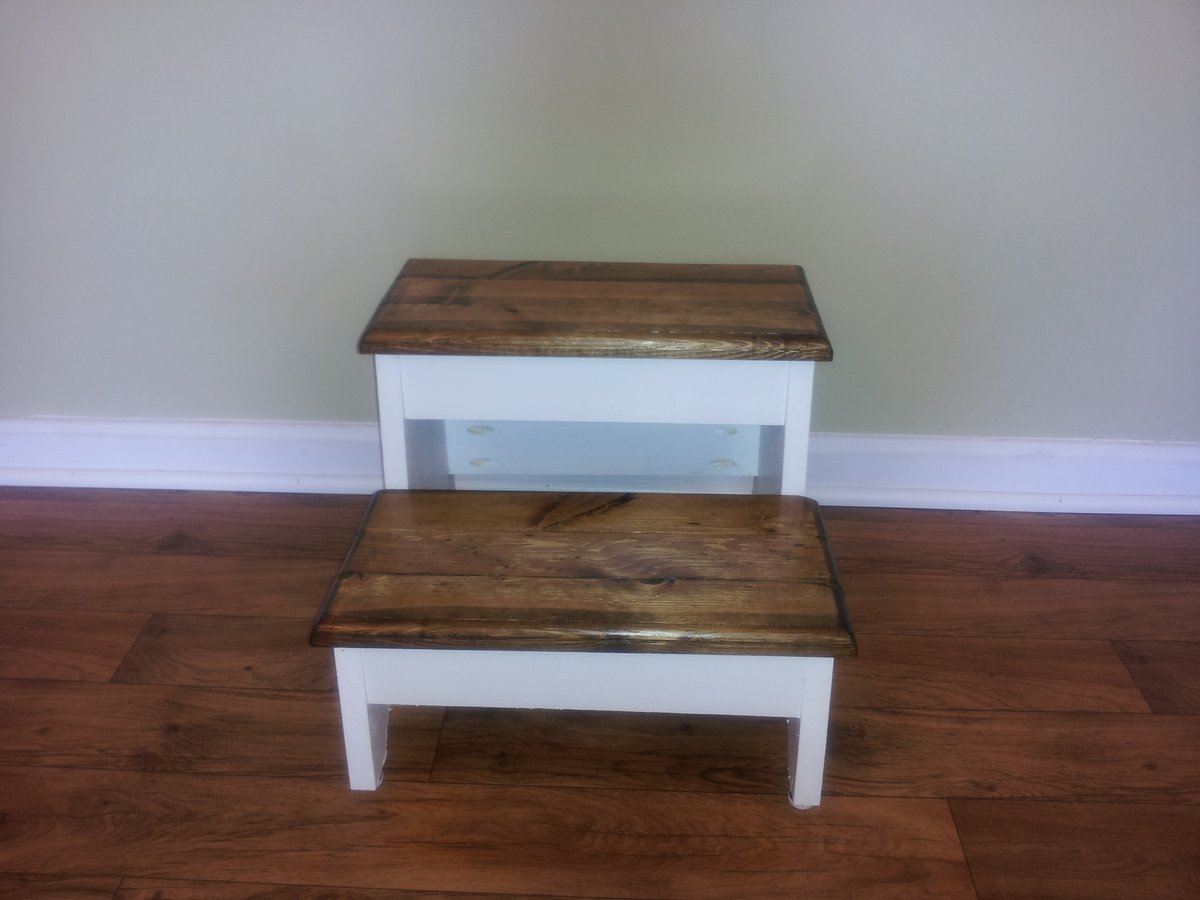
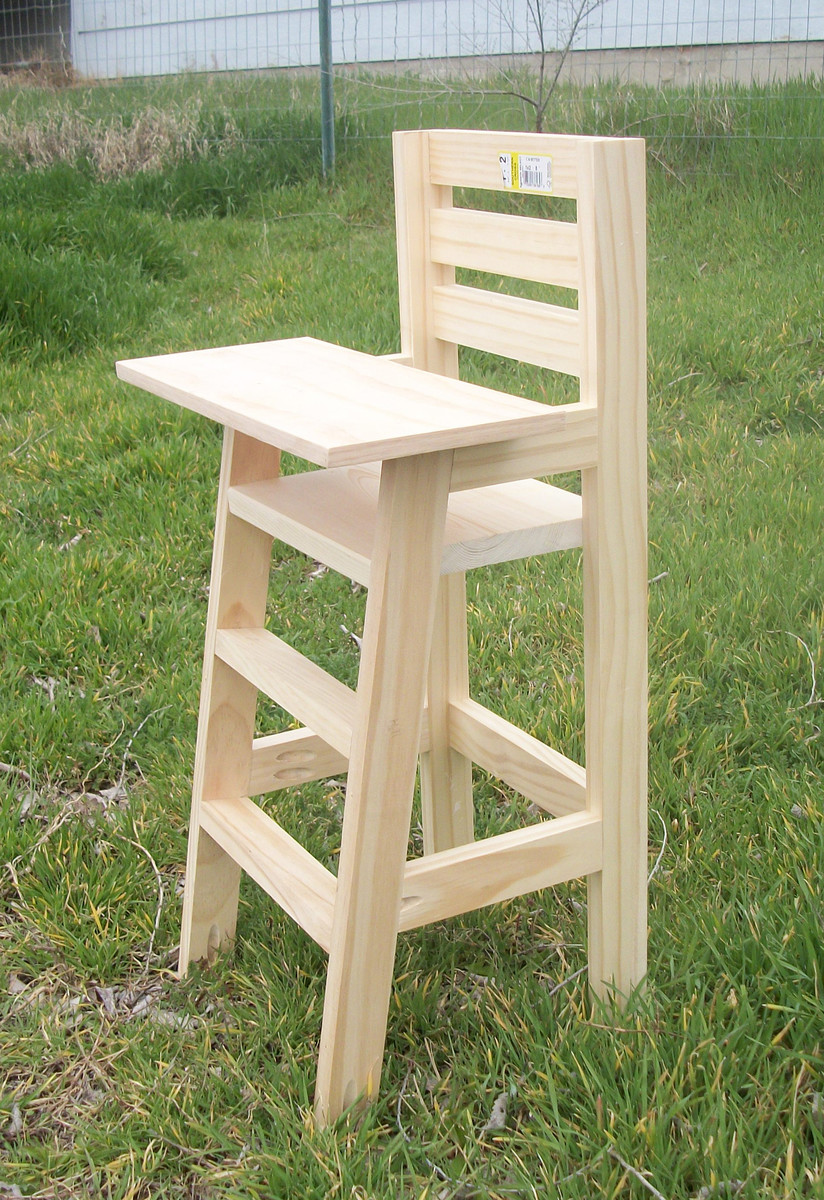
My neighbors grand-daughter is about to turn 3 and I thought this would make a great present for her.. plus, when she saw it online while visiting me (I was checking the website as usual), she said "Oh, I NEED one of those!". I laughed and then that night went out and checked my scrap pile to see if I had everything I needed to build it.
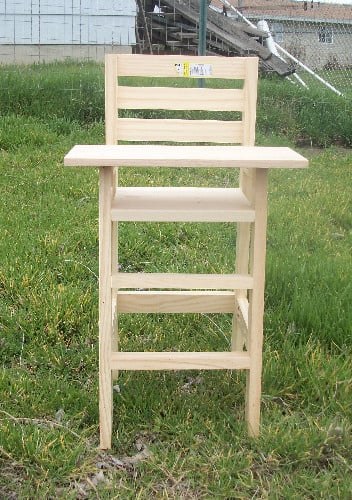
The apothecary console inspired me to make a dresser with faux drawer faces. I have no plan, since I measured and planned as I go along. This took me waaaay longer than I expected, and everything that can possibly go wrong did go wrong, and even some of things that were perfectly fine went wrong too. I'm blaming the wet midwestern stormy weather for mysteriously expanding two of my drawers. I used drawer sliders and they were more tricky than I expected.
I wanted to make an all-wood dresser, so no MDF or plywood.
I also made a food tray using scrap pieces. It's a little heavy for a tray, but I think I gained enough muscles building the dresser.
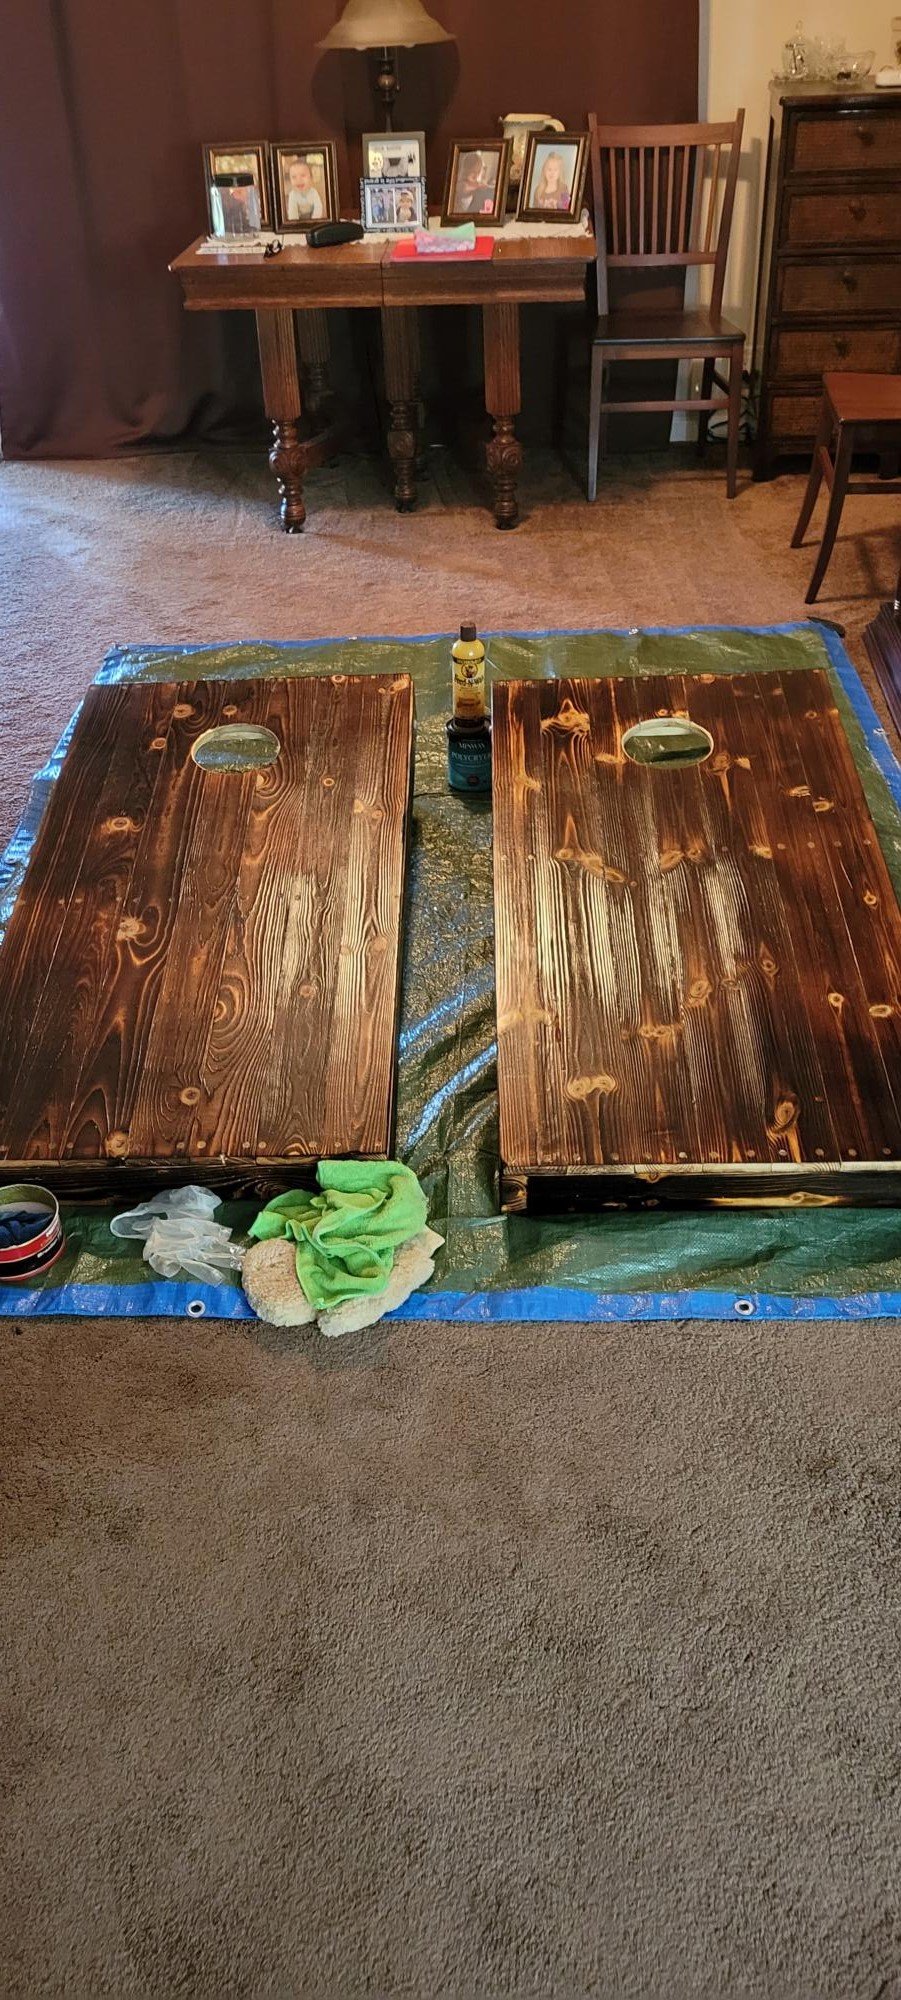
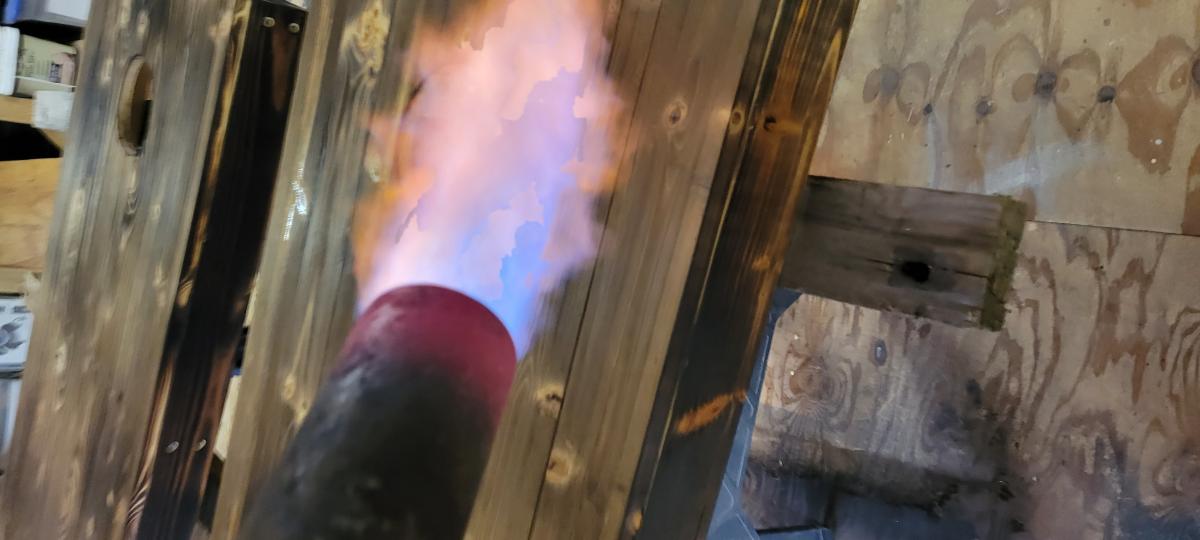
I'm James Farquhar, designer, and fabricator. This is the second set of cornhole boards I built this year. This set is the regulation size of 48" x 24" according to the American Cornhole Association. It is made from fir 2 x 4 s and pine 1 x 4 s (6 per board). Each board is glued with Titebond II and countersunk Torx top screws (#8 1-1/2 inches). It is coated with Minwax polyacrylic (8 layers sprayed on) and Howard's bee's wax (3 layers). The boards are secured with 3-inch toggle latches in pairs. Kayak carrying handles with four screw ports; I used the same Torx Screws I used to put the boards together, extra for strength. The total weight of the boards is 60 pounds. I used a Texas Flame Thrower to Shou Sugi Ban (Yakisugi), as a finish.
We had bought a house in New Mexico that was sadly lacking for closet space, as well as square footage for furniture. I was looking at Ana White's website, and saw the plans for the Farmhouse storage bed. It was good, but needed some steroids. I got out the calculator, and started upsizing EVERYTHING. What happened was, BEDZILLA!! King sized bed with 12 giant drawers. I also added lighting to the headboard for reading. It was a blast to build, and I was very pleased with, and proud of the finished product.
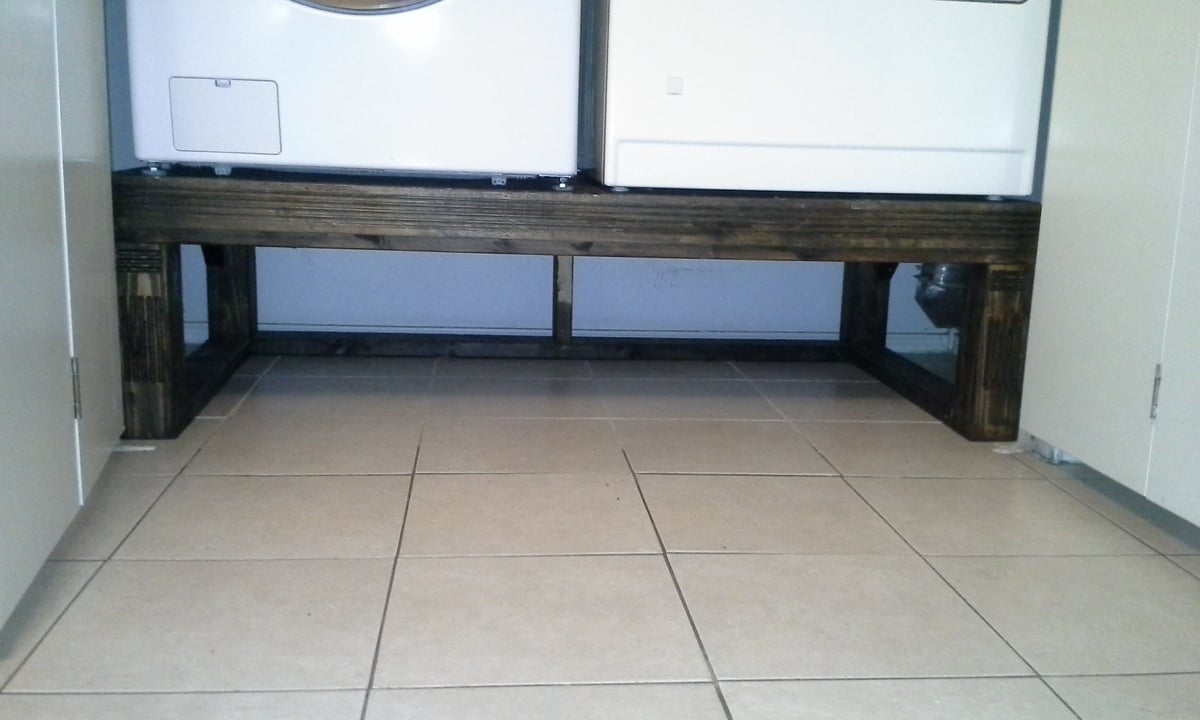
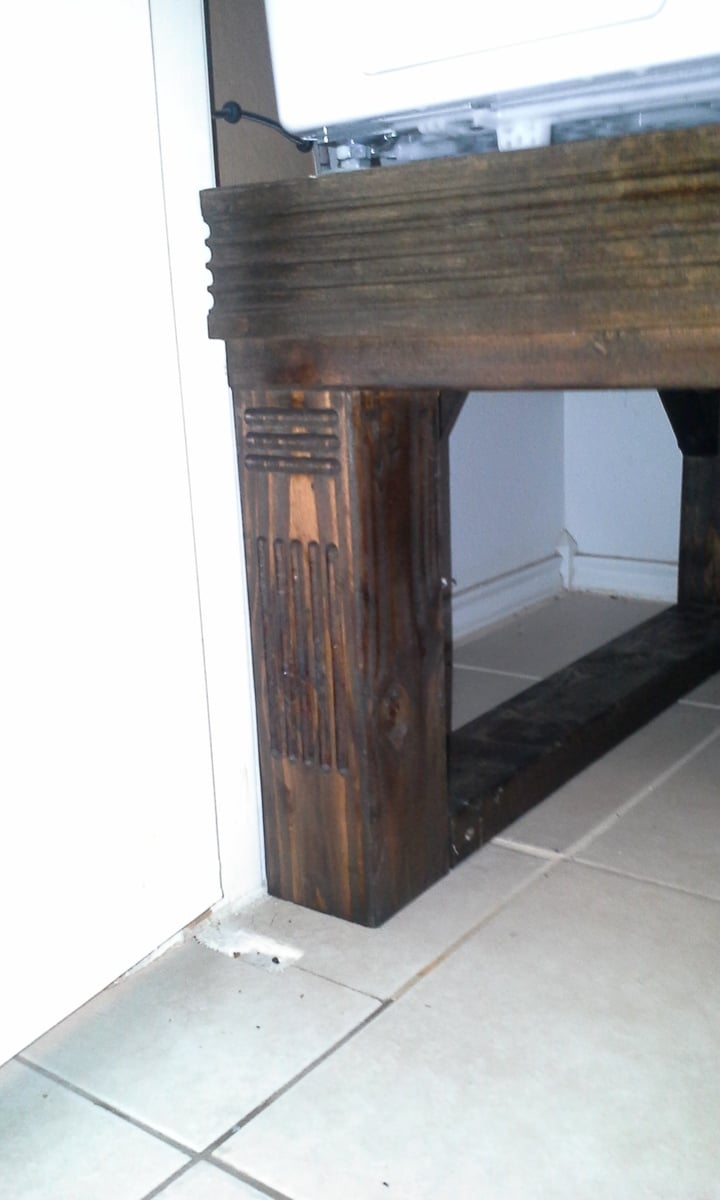
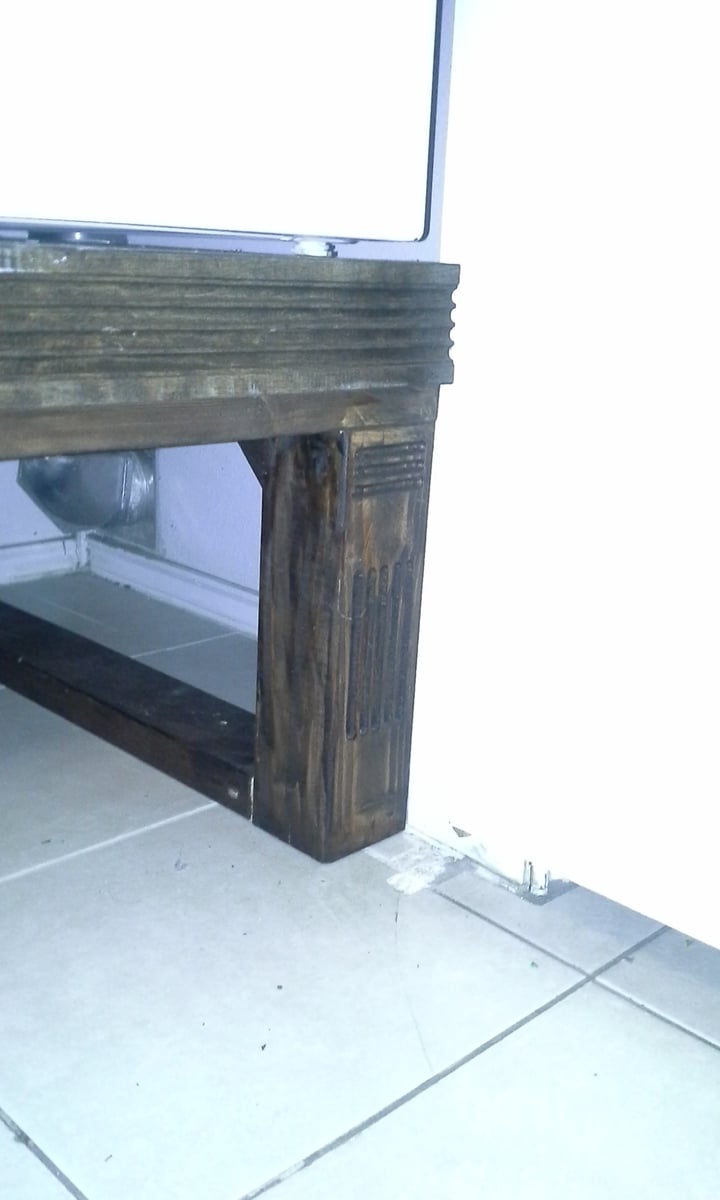
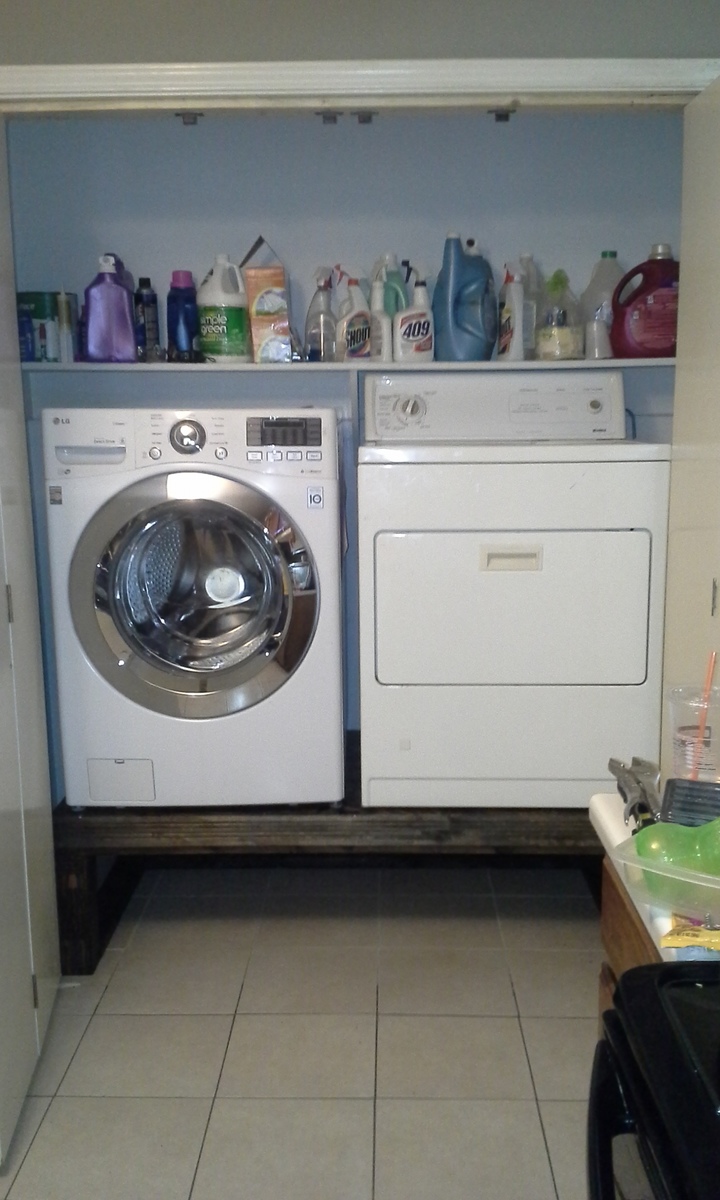
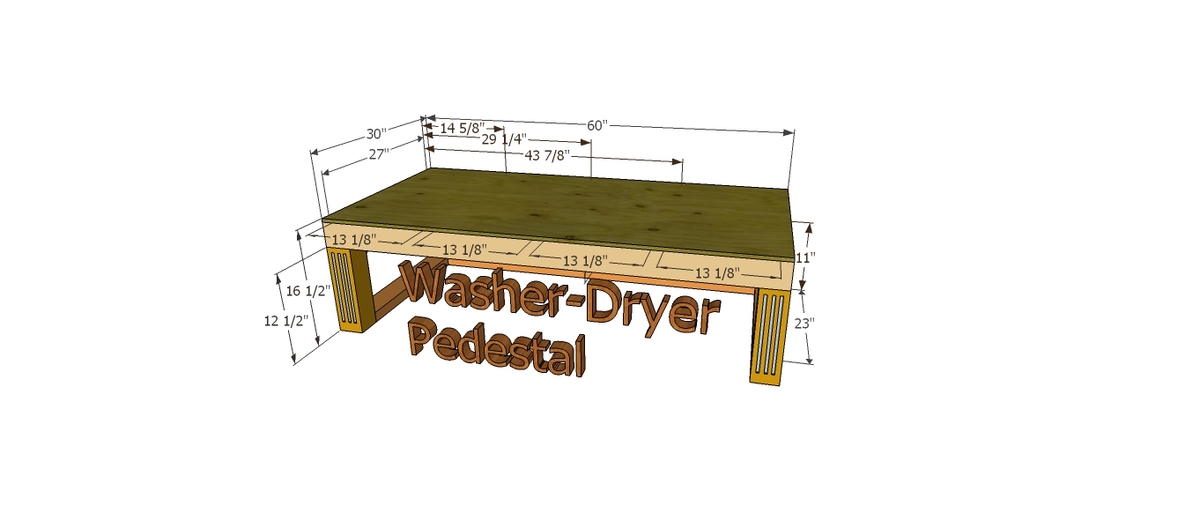
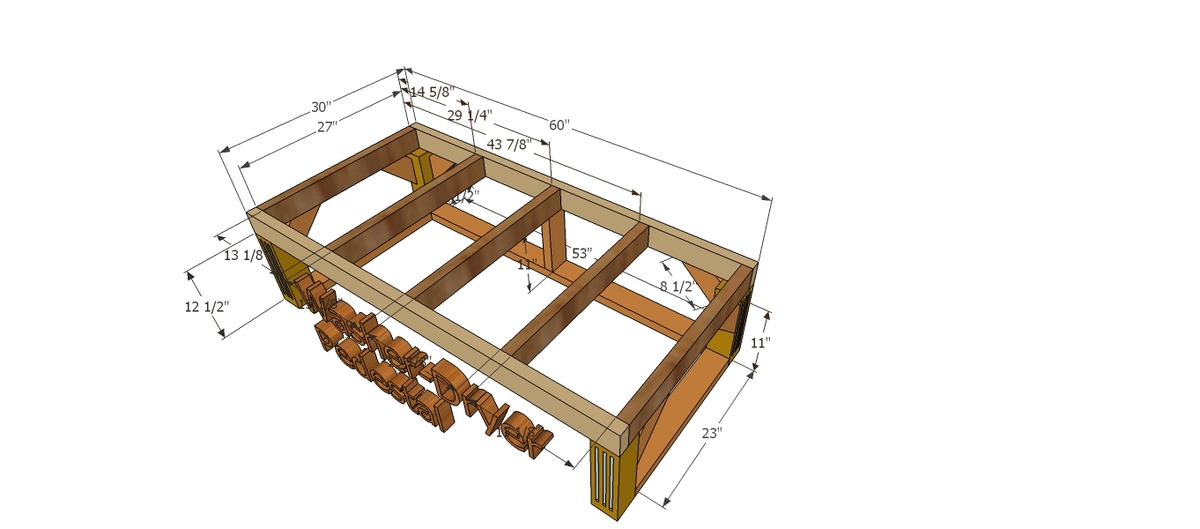
I had worked on this project a while ago, but did not had time to add my brag post. I actually modified the dimensions to fit my needs. I enjoyed making this pedestal along with my son.
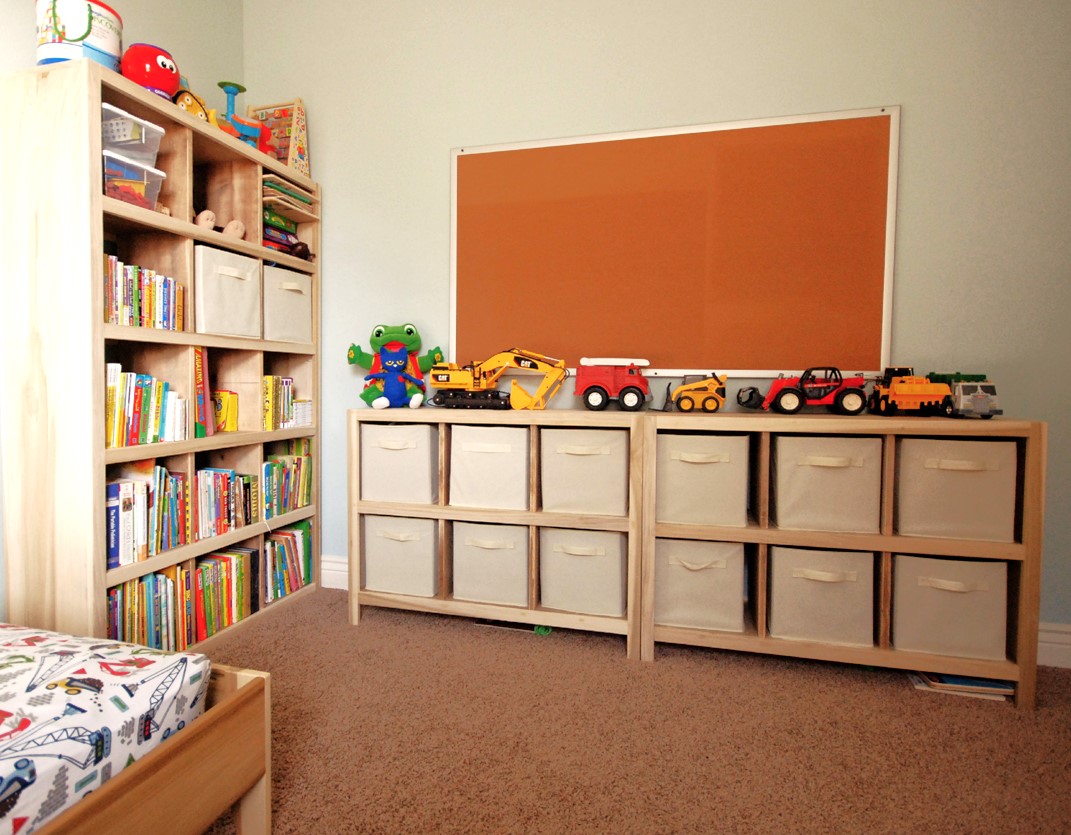
I built this set of cube shelves for my 3 yr old son's room. THANK YOU, ANA! I used poplar as I did not want to paint the wood and I love the irregular pattern of the wood grain. To save money, I used pine for the inner shelves and dividers. I stained it using the oxidized solution (http://www.friendly-home.net/2012/05/oxidized-x-console.html) that Ana recommended from the instructions of the Rustic Console. I added a cup of coffee to the solution to get a darker browner shade and unevenly sanded the wood for the distressed look. It matches the poplar wood more so than keeping the pine wood as is.
I also created a 5-tier version to match the 6 cube shelves but did not include the legs. I thought it would be more stable to keep the lower frame on the ground.
I purchased the storage boxes from Amazon It was around $20 for 6 boxes!
I am ready for the next project!
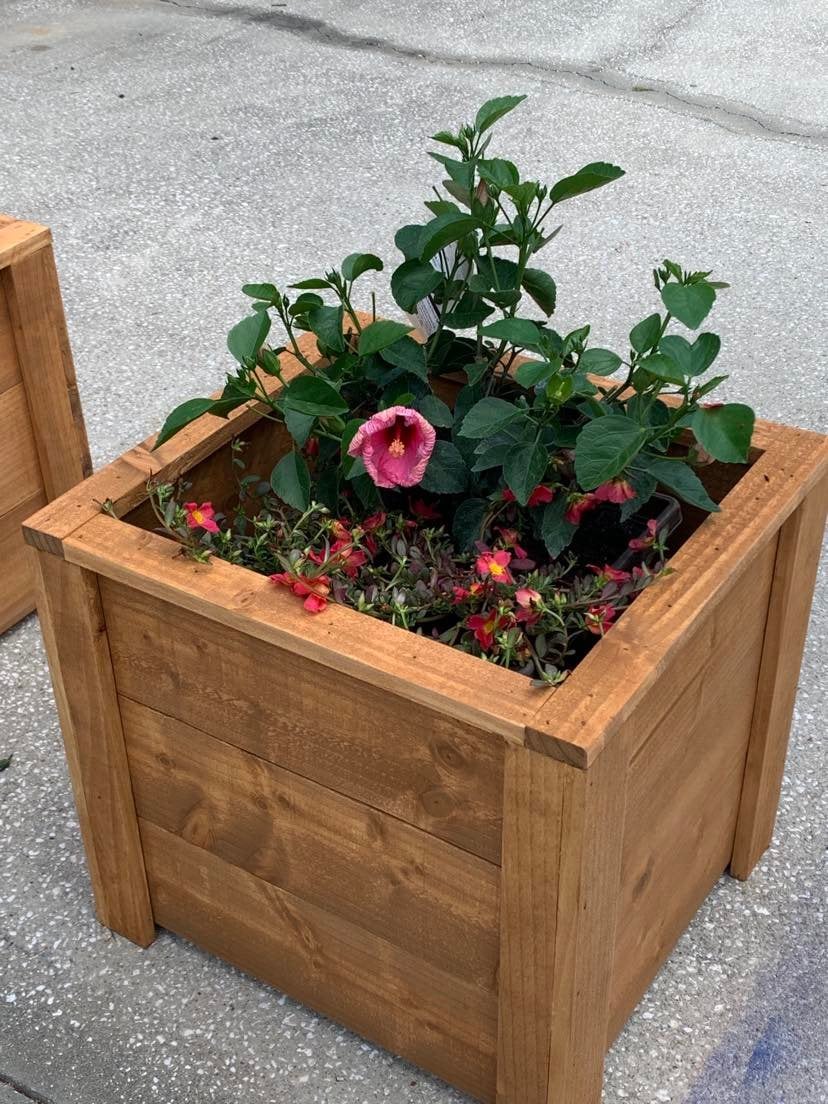
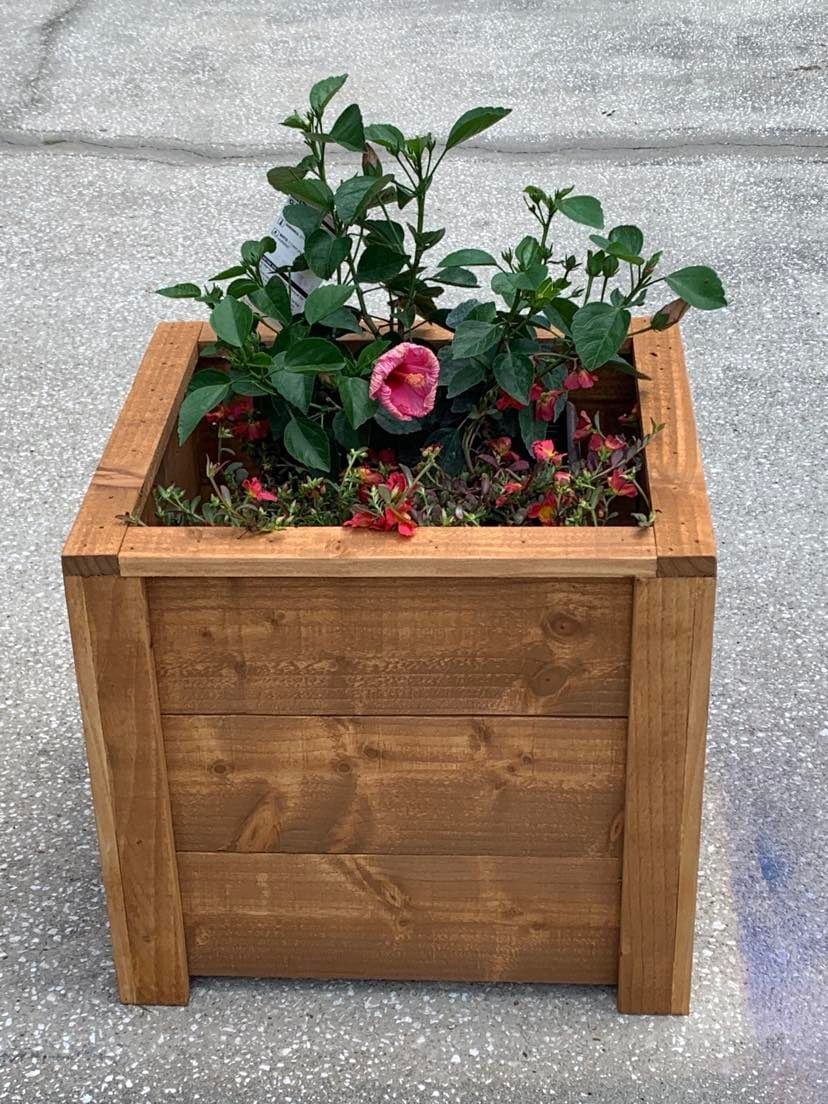
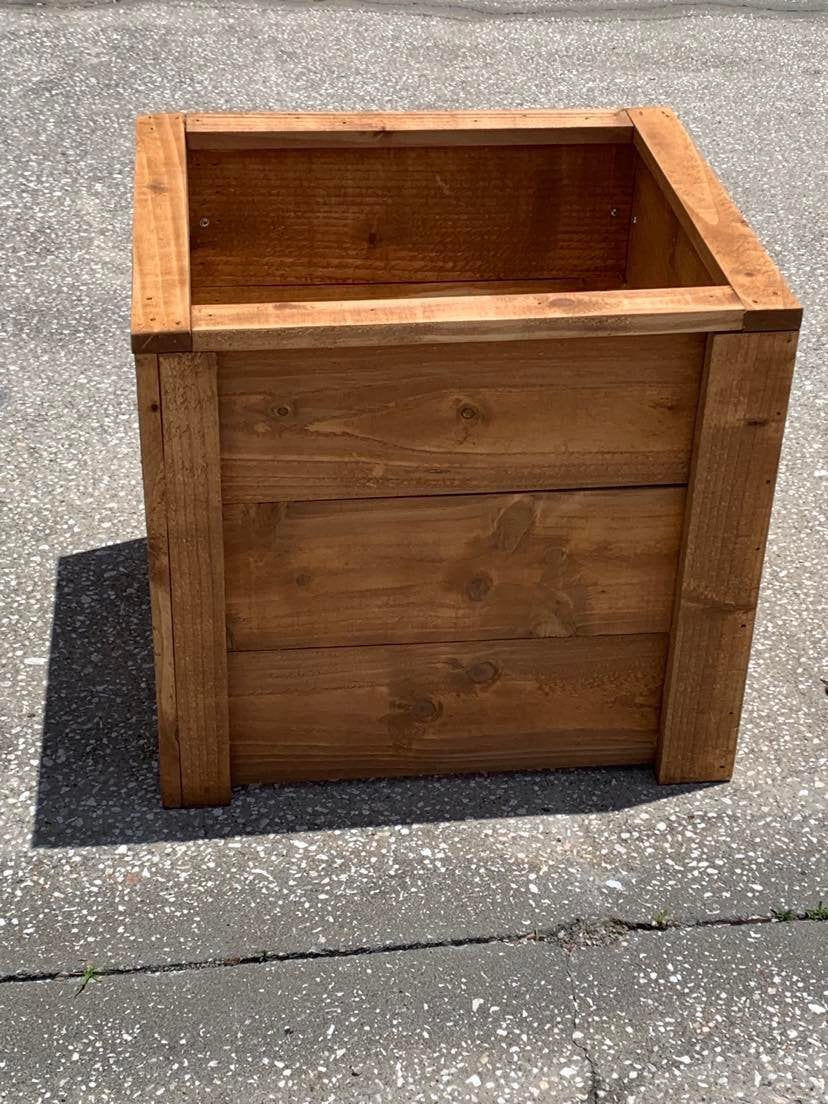
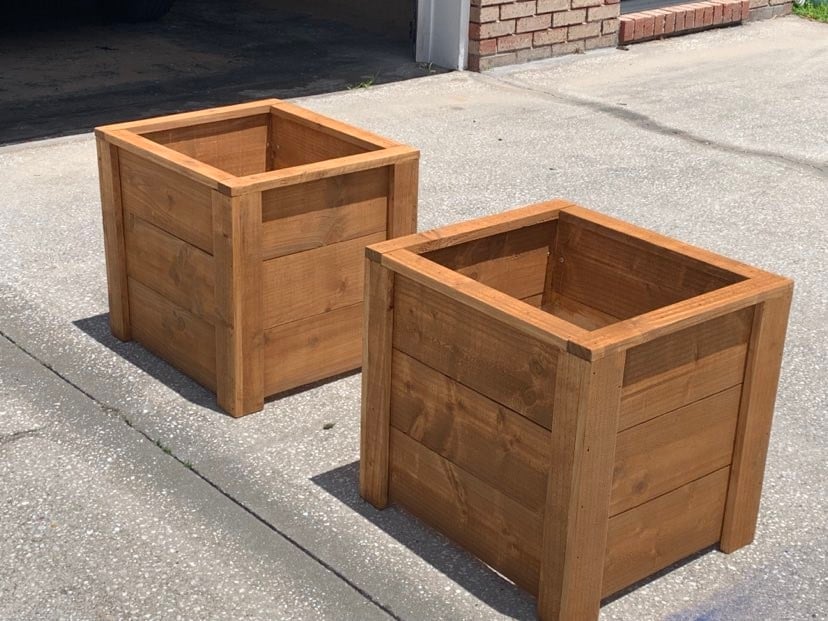
Thanks Ana, I built your planter box, actually built 2 of them, one for each mom. The were a huge hit and I already have people asking me to build them one.
So loved building this planter box. Thanks for all you do for your fellow woodworkers!
Dale G
Callahan, FL
Tue, 05/10/2022 - 07:05
Love these, wonderful idea for a mother's day gift, thank you for sharing!
I found this fabulous vintage metal flat file cabinet at an antique store (Hunt & Gather Vintage Market, in Princeton, MA), but it didn't have a base or a top, so I went searching online for something that I could build. The Corona Coffee Table plans were going to be perfect! I just had to make a few adjustments:
LOVE how this table turned out! It's counter-height and the perfect centerpiece for my craft room.


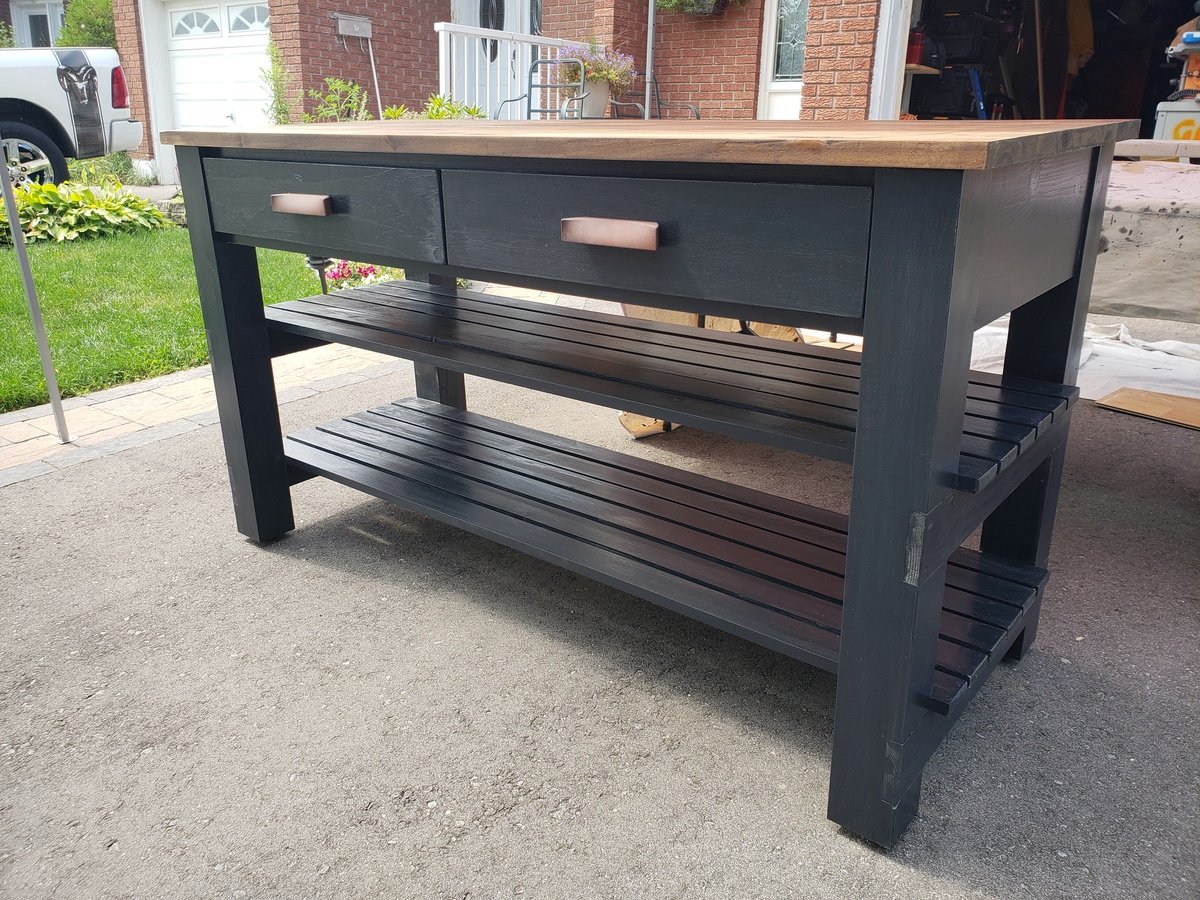
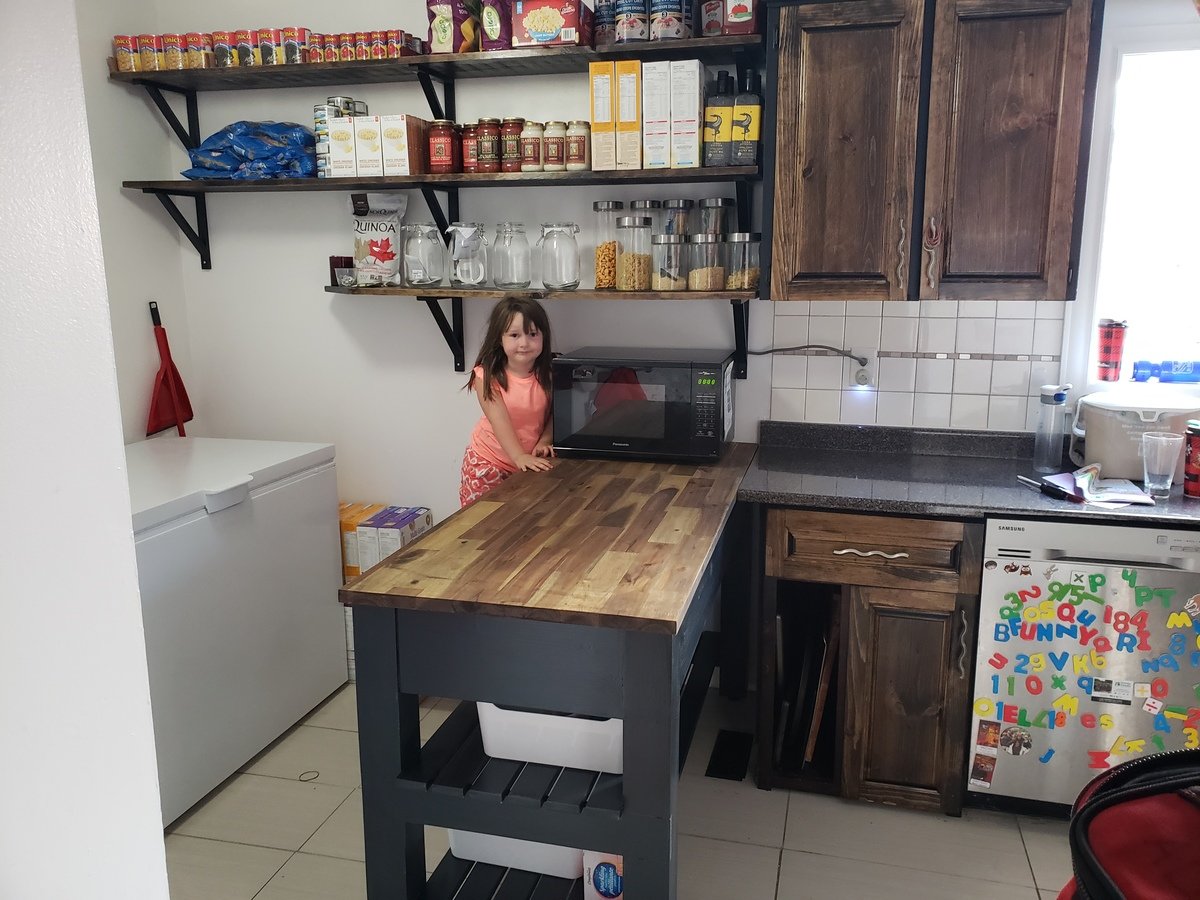
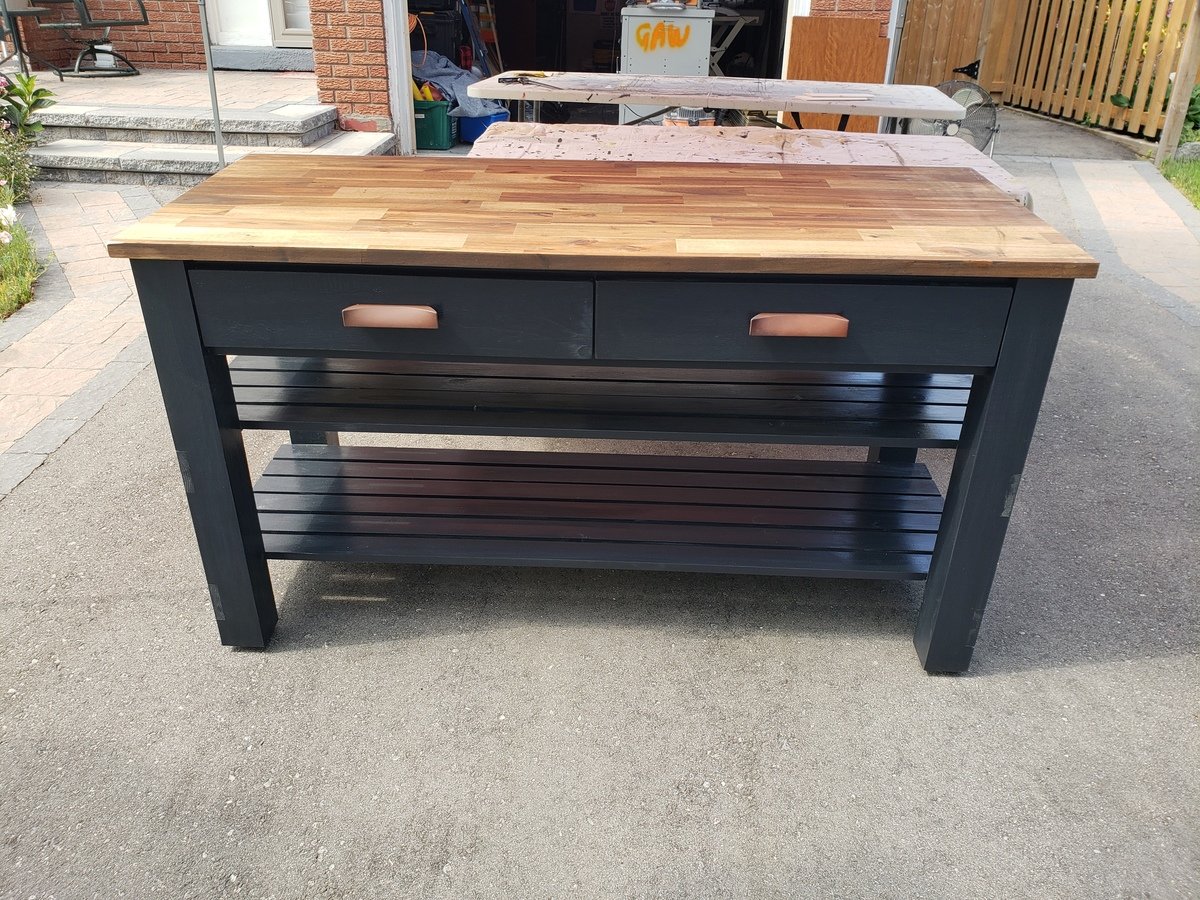
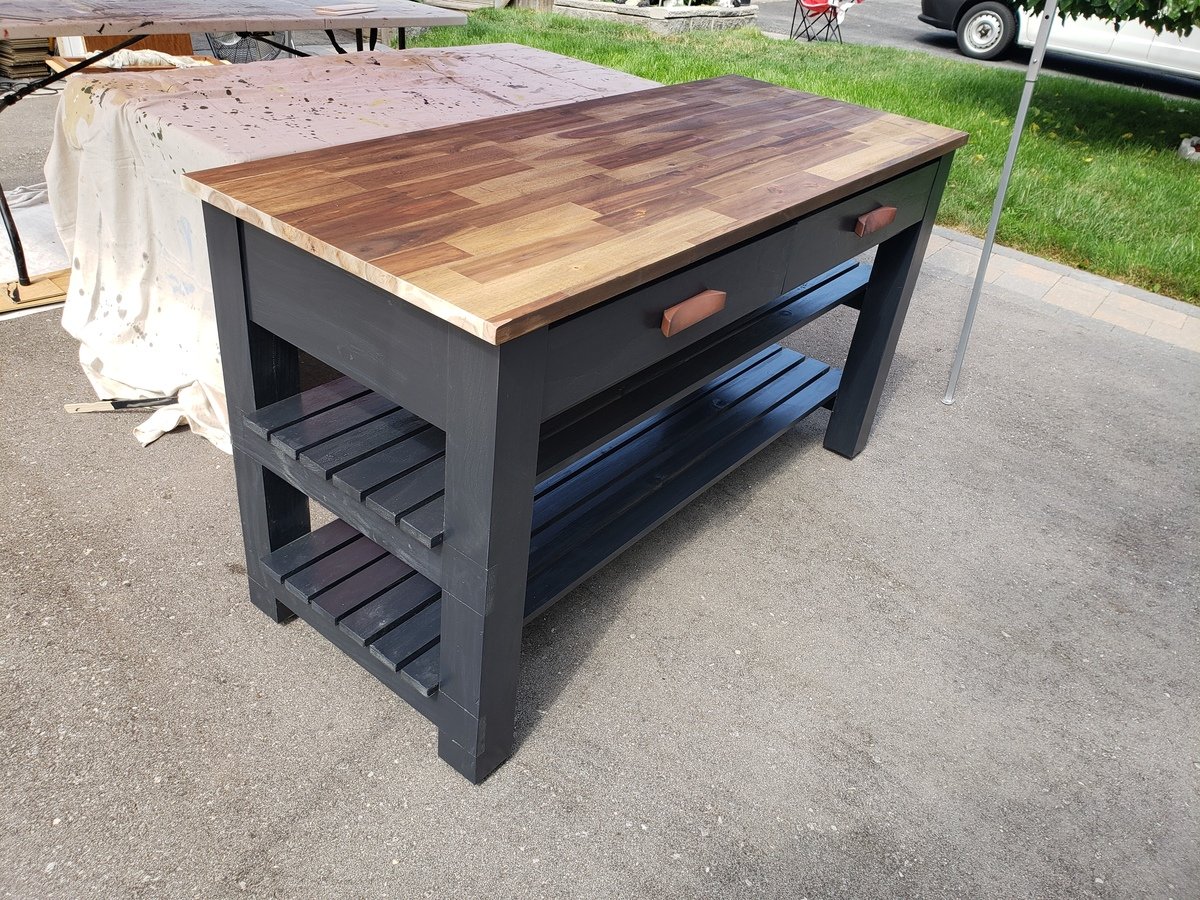
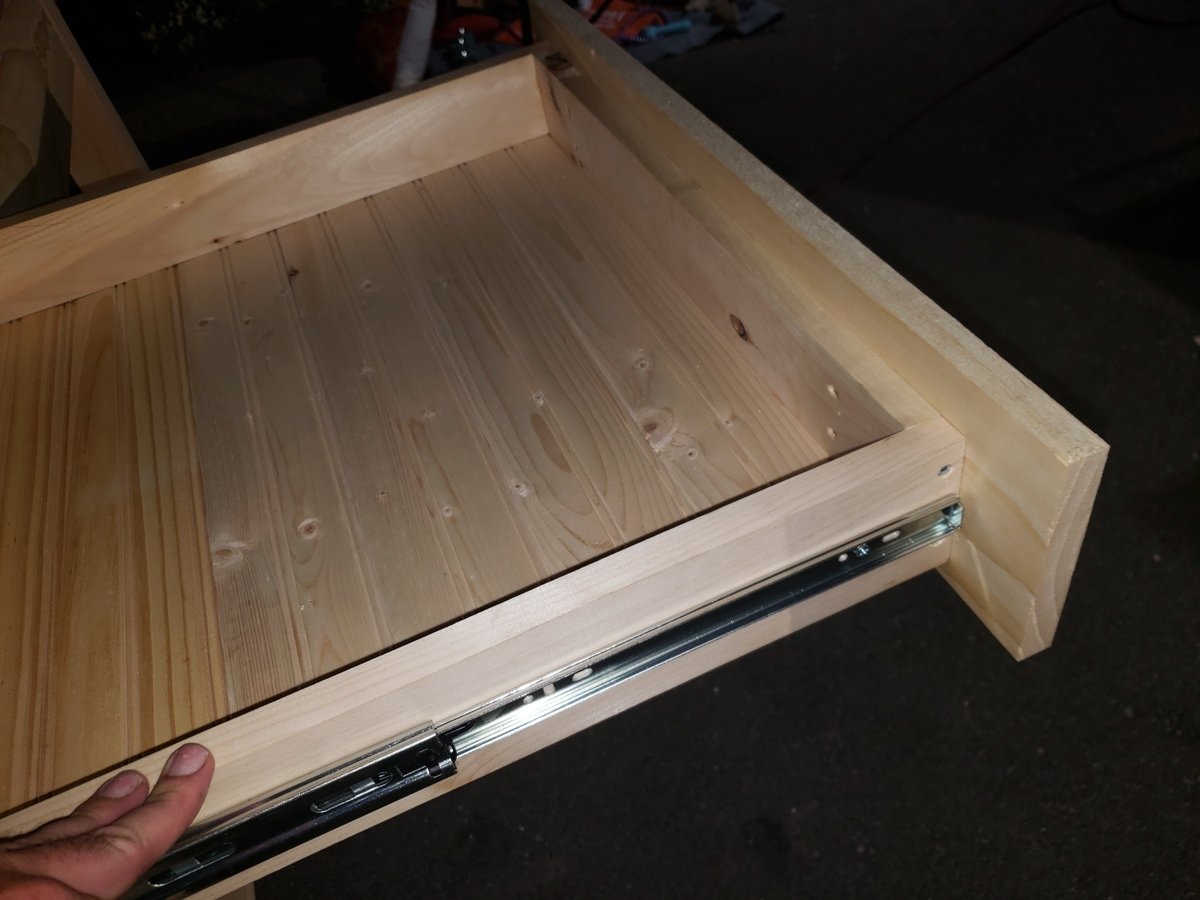
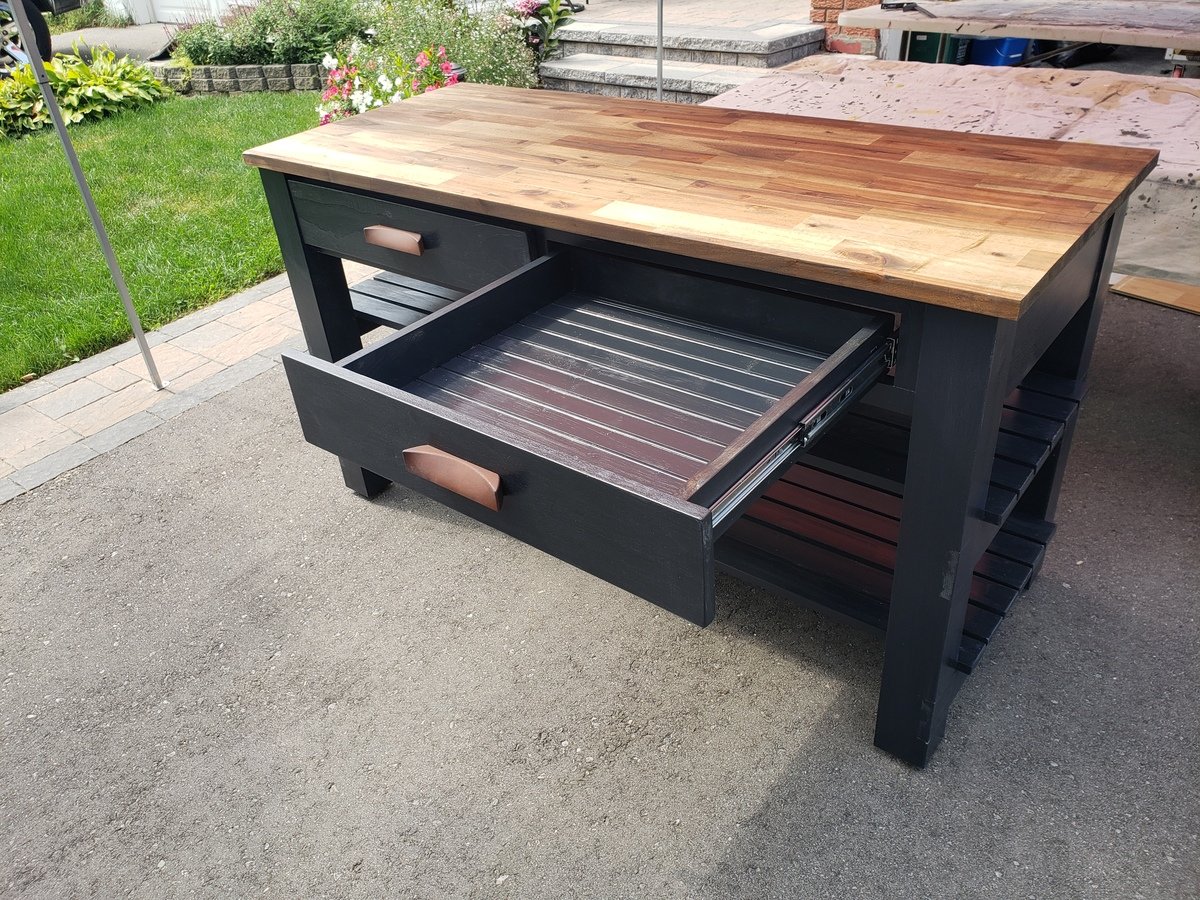
Took roughly 15hrs and $500... We bought the top at Lowes for $150 on sale (Acacia), because it turns out butcher block counter tops of this size (considered an "Island" top) are like $500 and I don't know who can afford those shenanigans but certainly not us. Interesting point: in as much as I totally appreciate the design (Thank You Ana!) the instructions are mostly beautiful but have a few key areas with room for improvement. If you are thinking of building this take some time to go over all the materials and really map out the project. I purchased everything in 8' lengths as per the shopping list, I realized afterwards that because my unit is only 5' long I now have many 3' cut-offs.... had I purhased 10' lengths, you see where I'm going with this yes? I would have paid more per board but had less leftovers. I think I also have a package of unopened screws and an extra board from the shopping list, no big deal, it's like the 10 hot dogs for an 8 pack of buns conundrum, I've now entered an infinite loop. I also realized too late that to use the pocket hole screws to secure the counter top I would need to drill the holes (using my handy dandy Kreg Jig) before putting the slats on the top shelf or else I couldn't get my drill in, rookie move I know...You may find, as I learned, Lowes/Home Depot do not carry such things as 4x4s that are not pressure treated and therefore not ideal to have in one's kitchen...I ended up purchasing all the lumber at an actual lumberyard (Peacock Lumber, Oshawa, Canada), which was cool, because now I know where that place is, and it smells nice. Have fun with your build. I tried to post some other pictures but they kept coming up sideways, story of my life. Take a look on Facebook if you want Adam Connor in Pickering, Canada, I'm not shy ;-)
Comments
ACM
Thu, 01/24/2013 - 14:25
Beautiful Bookshelf!
Great job! Your bookshelf looks solid and the color is crisp against the darker wall. Love the frames too!