Community Brag Posts

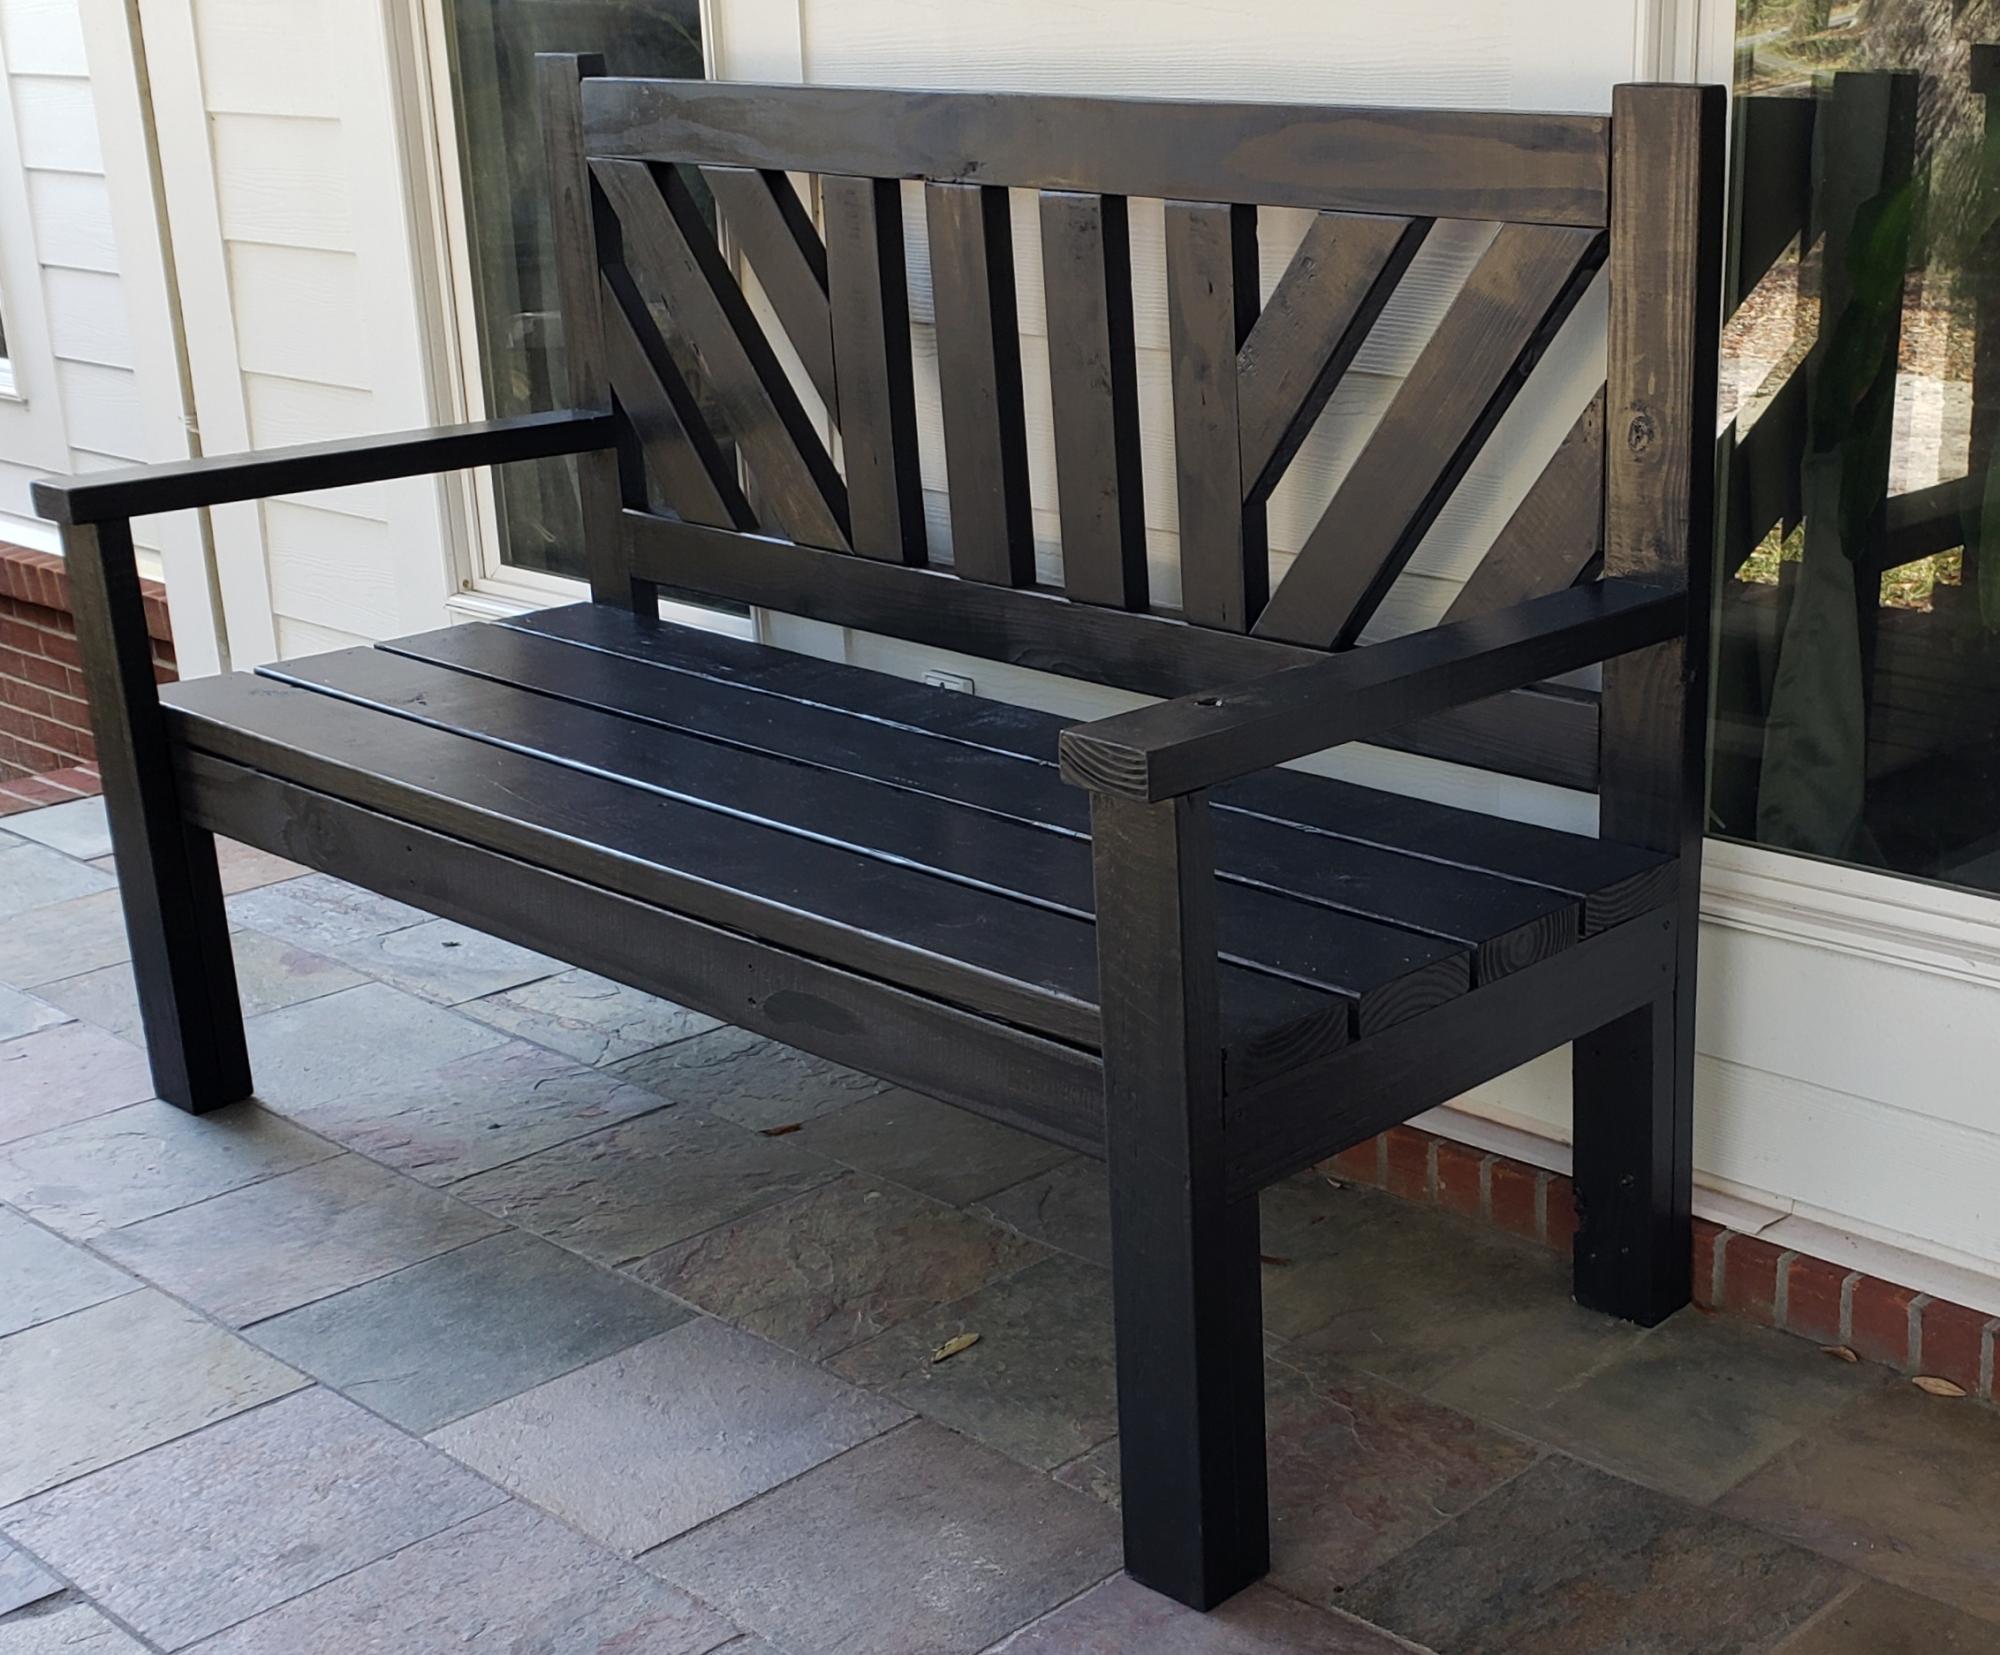
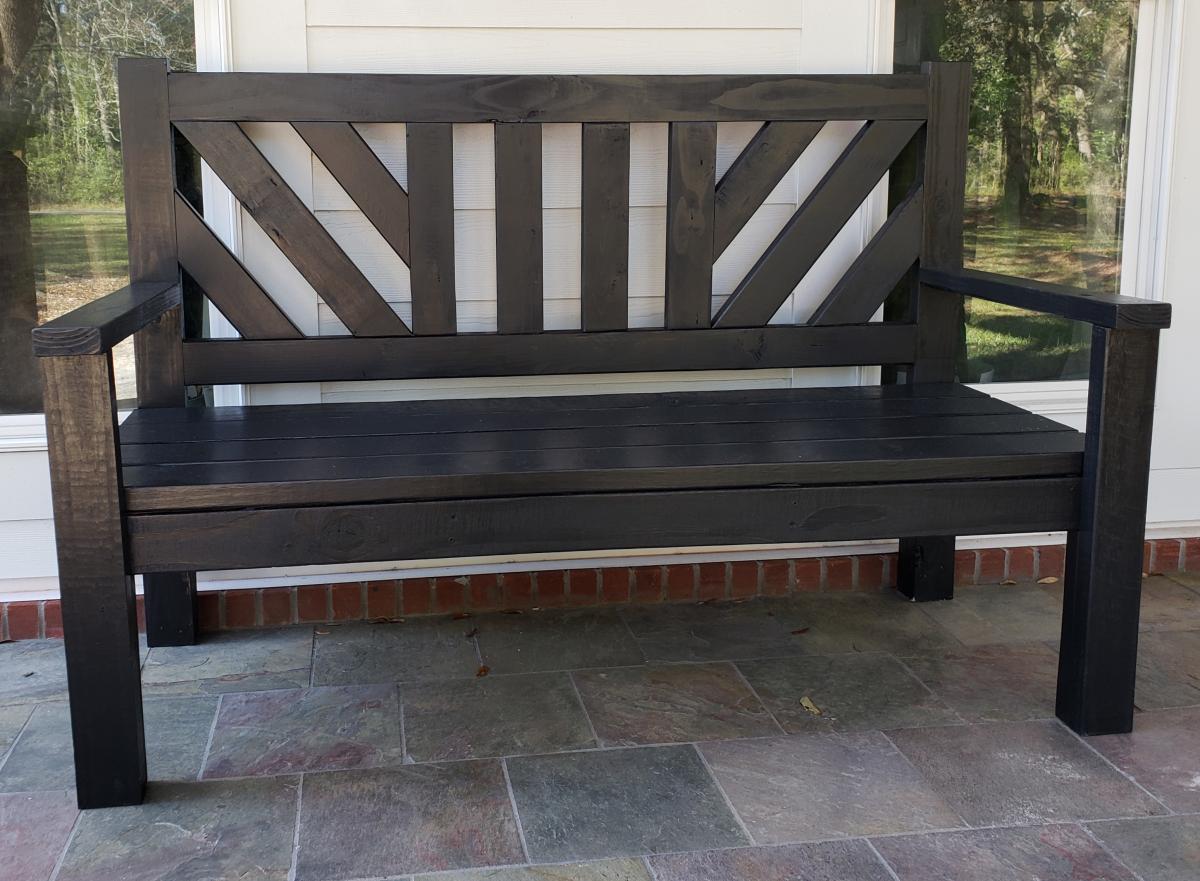
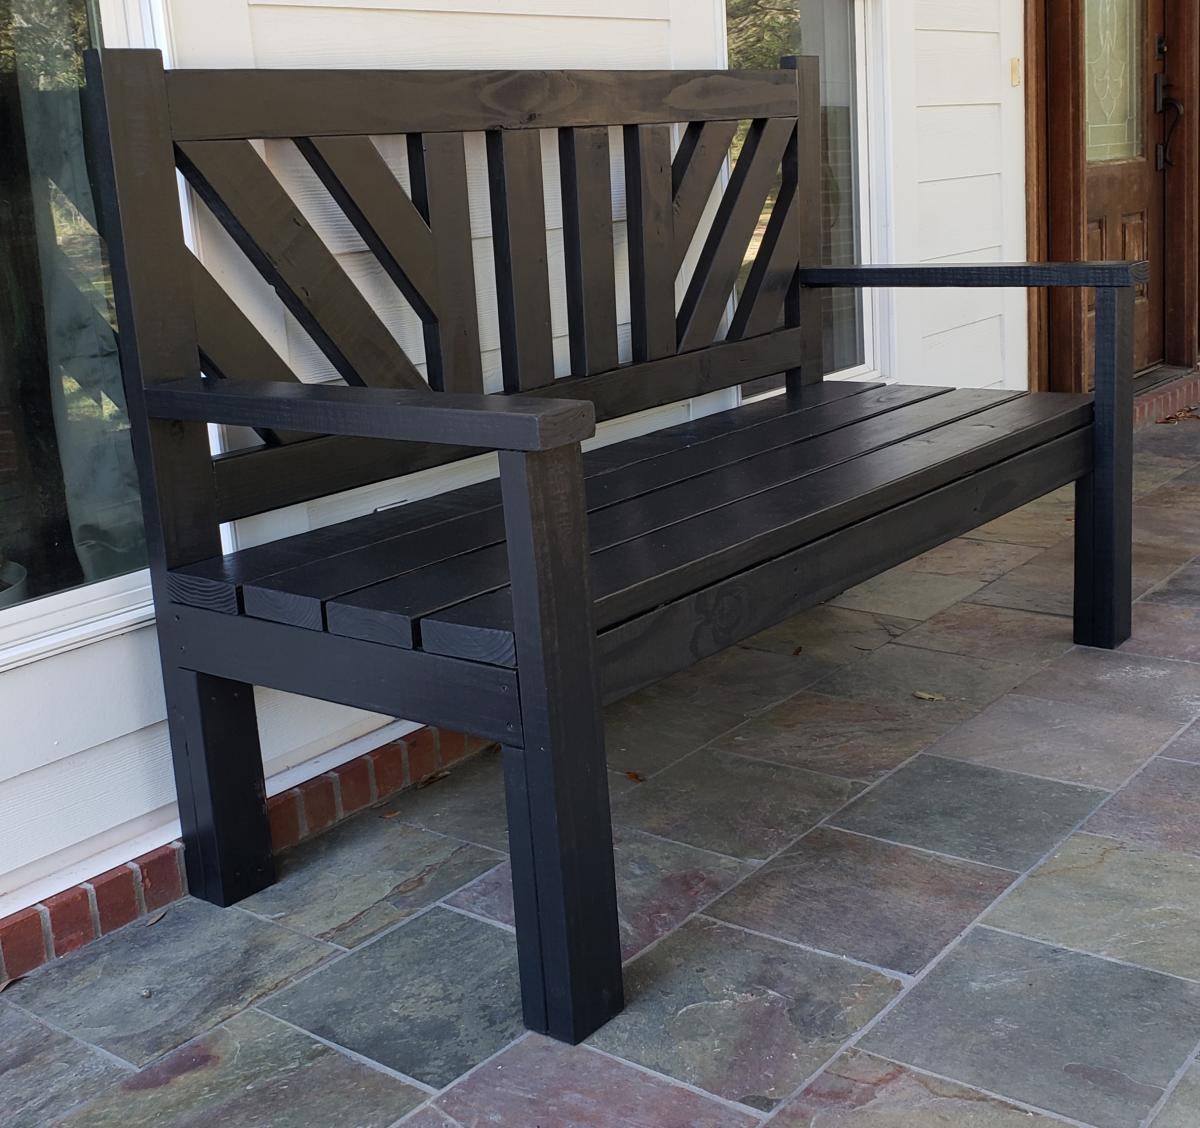
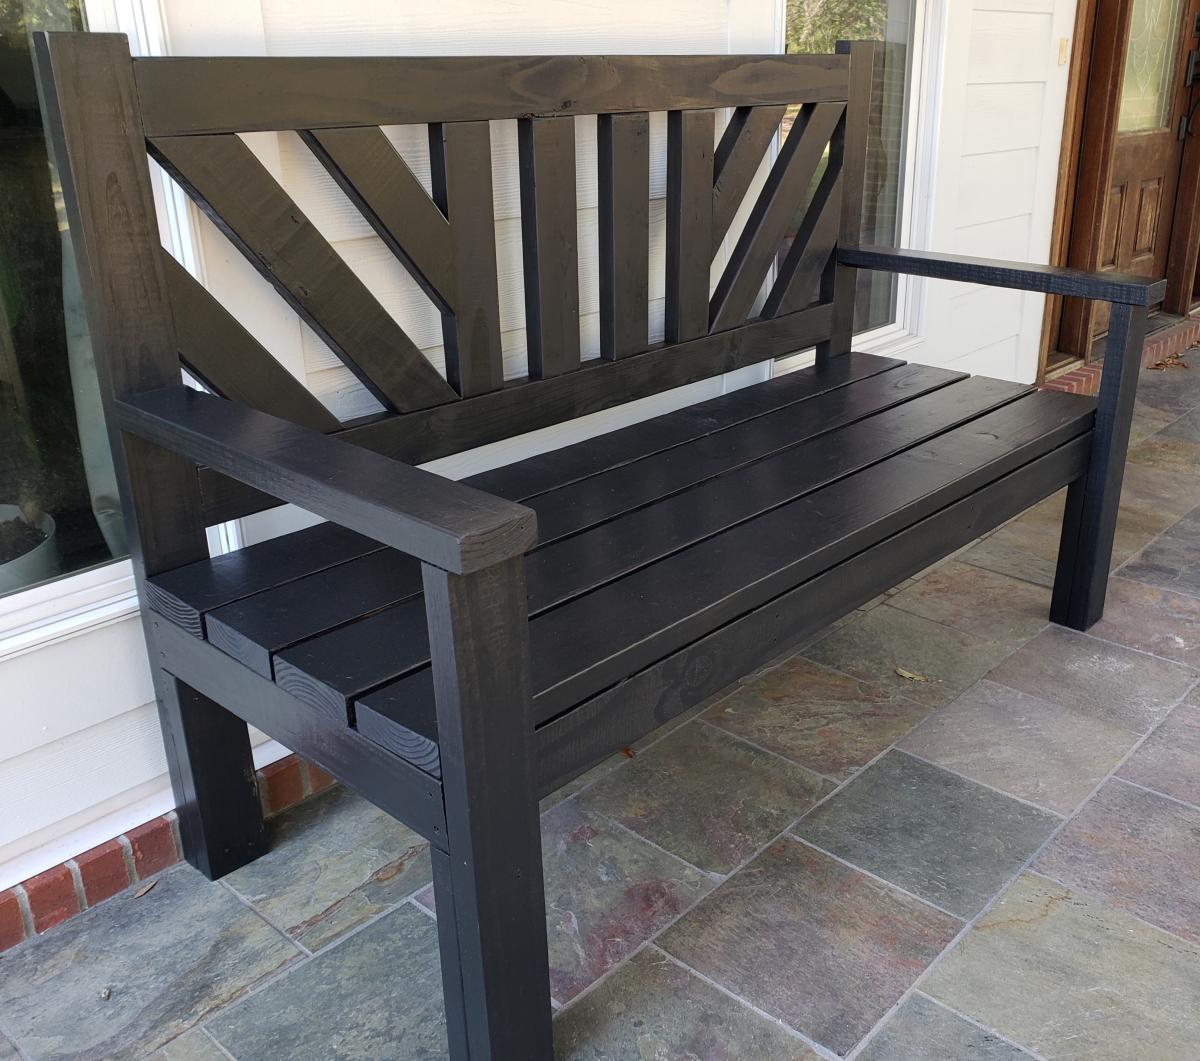
Large Porch Bench

Submitted by kwildman on Thu, 11/14/2019 - 18:55

I used untreated pine for this project and painted with benjamin moore exterior paint. 

I modified the back a little and I love how it turned out.  I also added an extra brace against the back of each leg that fits under the seat for more support. 

Very easy to build.  I love the plan.

Estimated Cost
75
Estimated Time Investment
Weekend Project (10-20 Hours)
Finish Used
Black exterior paint
Recommended Skill Level
Intermediate

Comments

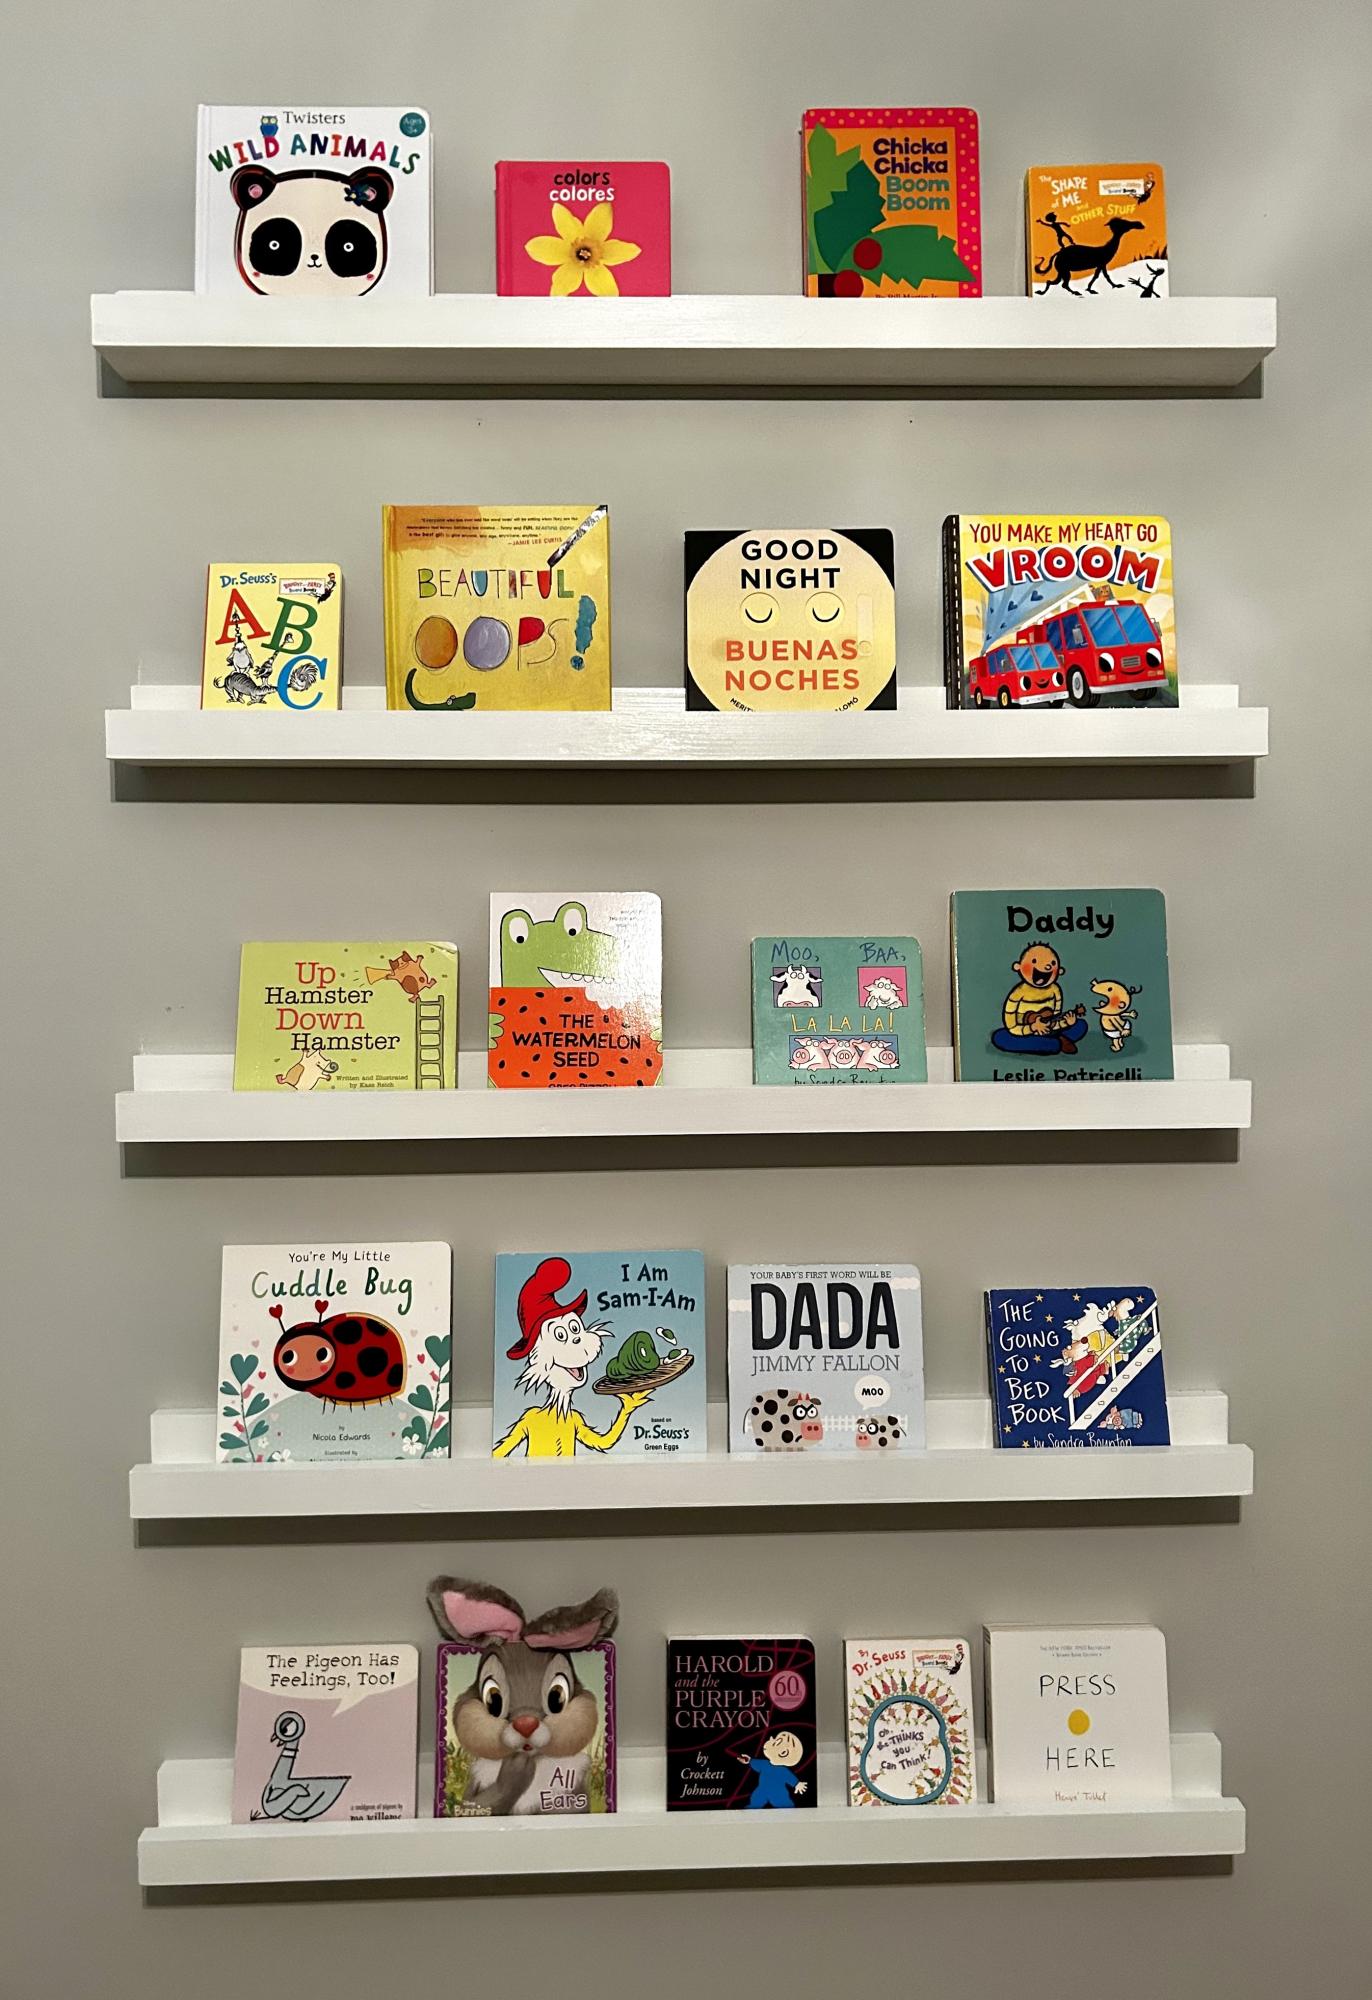
Nursery Book Ledges

Submitted by Anonymous (not verified) on Tue, 08/15/2023 - 14:59

Nursery photo ledges. Shortened the shelf depth using a 1 x 2 instead of a 1 x 3.

Built from Plan(s)

Comments

nifof17547

Mon, 04/08/2024 - 01:07

I love the idea of book cornices for the nursery! Reducing the depth of the shelves is a smart modification that makes them more suitable for children's books. It is very important to customize the furniture so that it perfectly suits your needs. Using 1 x 2 instead of 1 x 3 will give you a more customized solution. Books are a storehouse of knowledge! Speaking of knowledge, for students looking to adapt their learning process, platforms like Edubirdie https://essays.edubirdie.com/assignment-help offer reliable assignment help services. Edubirdie can help you tailor your academic assignments to your specific requirements. It's all about finding the right option for your needs, whether it's organizing children's books or tackling academic assignments. Great job on the customization!

LuckyGirl

Mon, 05/06/2024 - 14:40

A very cool ledges for books, especially useful for those who like to read like me. Moreover, I dream of writing a book myself. For this I must develop strong writing skills, often refined through literature review tasks. Yet, these assignments very complex for me. I prefer turning to professionals https://literaturereviewwritingservice.com/ for help. It provides students with the help needed to succeed in crafting compelling writing papers.

Levi's play kitchen

Submitted by Ash Matson on Thu, 12/26/2019 - 11:17

We modified the plans a little we made the 2 pieces together instead of separate. We used a 2” hole saw to cut out the oven knobs, then drilled holes a tad bigger than the screw so they would still turn once attached. We also made the back splash taller to accommodate our faucet that had to attach on the back splash instead of the counter top. We used all pocket holes to attach everything it makes it look so much nicer but doesn’t need to be done that way. We bought vinyl circles for the burners on the stove. A dog bowl for the sink and a laundry room faucet for the faucet.

Links to products we used

Faucet - https://www.amazon.com/gp/product/B01KRCTHEA/ref=ppx_yo_dt_b_asin_title_o07_s00?ie=UTF8&psc=1

Oven hinges - https://www.amazon.com/gp/product/B004K7V8UU/ref=ppx_yo_dt_b_asin_title_o08_s00?ie=UTF8&psc=1

6 – 4 inch circles matte black Stove vinyl - https://www.etsy.com/listing/713062039/circle-circles-pack-set-vinyl-decal-car?ref=yr_purchases

Sink 56oz dog food bowl - https://www.amazon.com/gp/product/B00H6OXRN0/ref=ppx_yo_dt_b_asin_title_o01_s00?ie=UTF8&psc=1

Oven handle - https://www.lowes.com/pd/Sumner-Street-Home-Hardware-Vail-10-in-Center-to-Center-Matte-Black-Pull/1001368422

Estimated Cost
100.00
Estimated Time Investment
Weekend Project (10-20 Hours)
Recommended Skill Level
Beginner

Comments

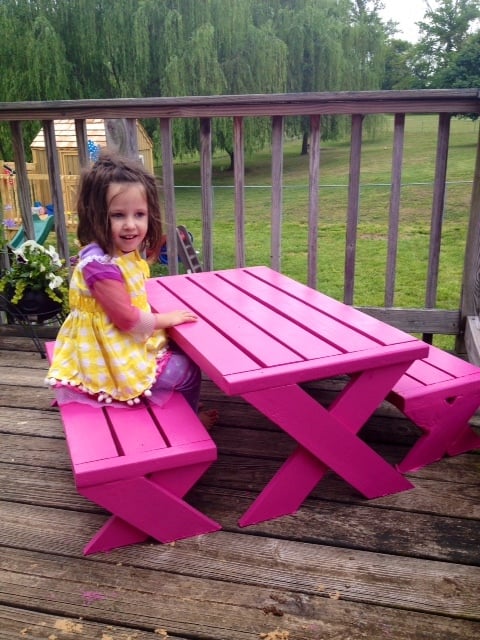
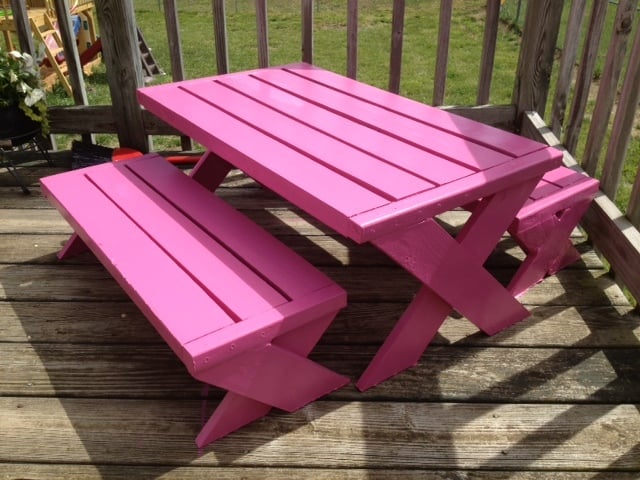
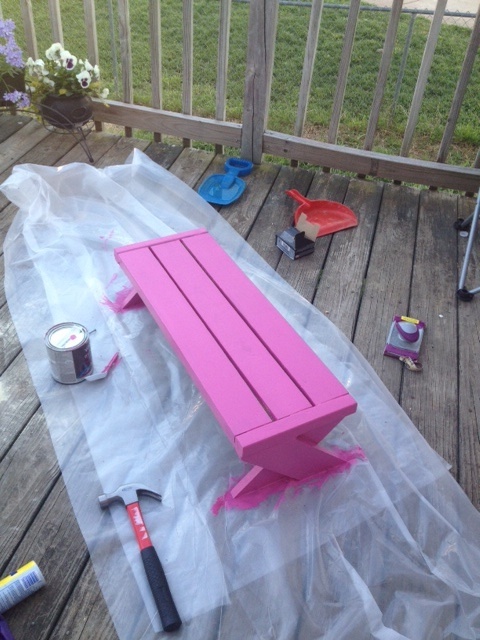
Kids Modern Picnic Table

Submitted by abbpim on Mon, 04/16/2012 - 09:52

This is my very first wood working project! I know its not perfect and I learned from my mistakes. I found a miter saw at a garage sale and after three hours of plugging it in and unplugging it, I finally worked up the courage to make it make a noise! Then I eventually worked up the courage to cut wood lol! I'm pretty proud of myself for building something and I am going to continue practicing until I can make really cool stuff!

Estimated Cost
$20
Estimated Time Investment
Afternoon Project (3-6 Hours)
Finish Used
Valspar, Quart Size, LA218, Fuchsia, Duramax, Exterior Semigloss, Base 4 214-4.75, 113-31.75, 105-3.63, 115-2Y7

I used 2 coats
Recommended Skill Level
Starter Project

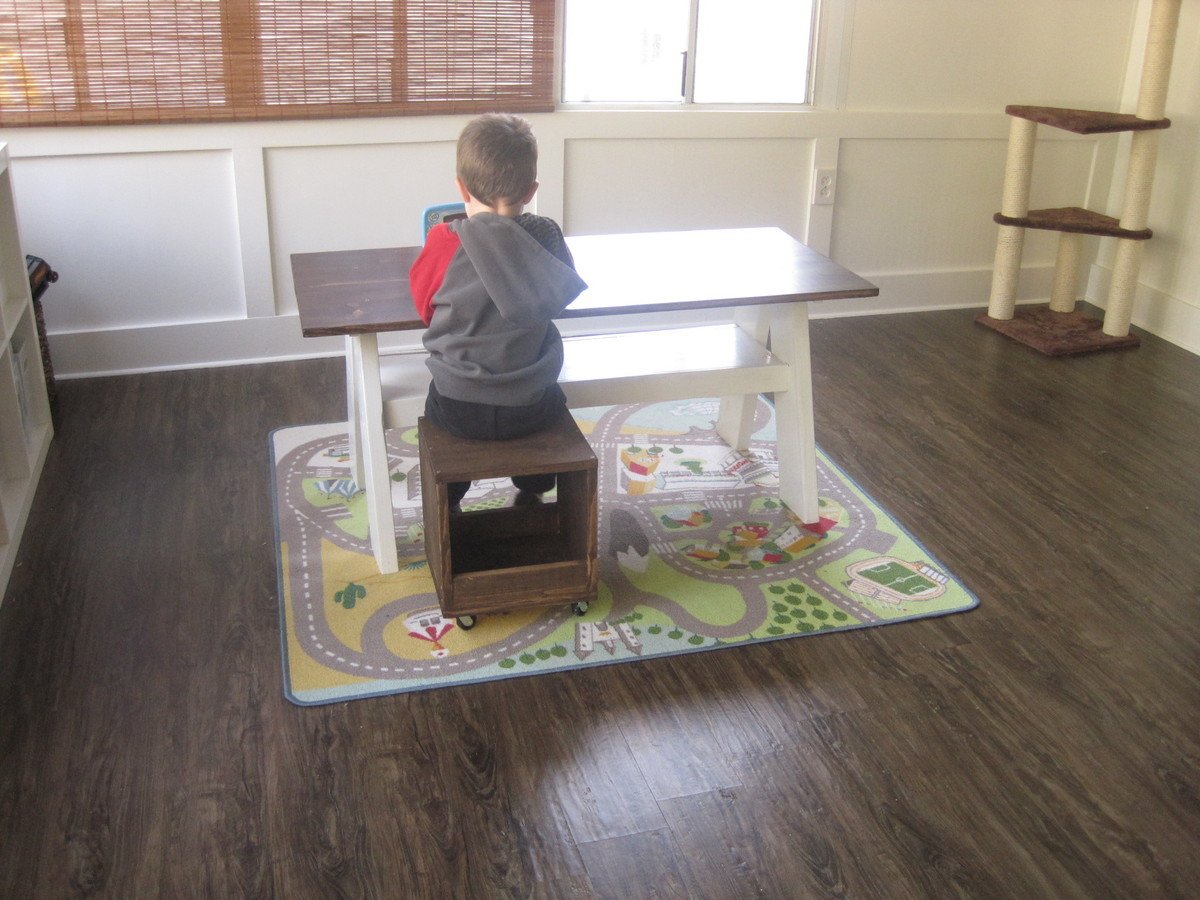
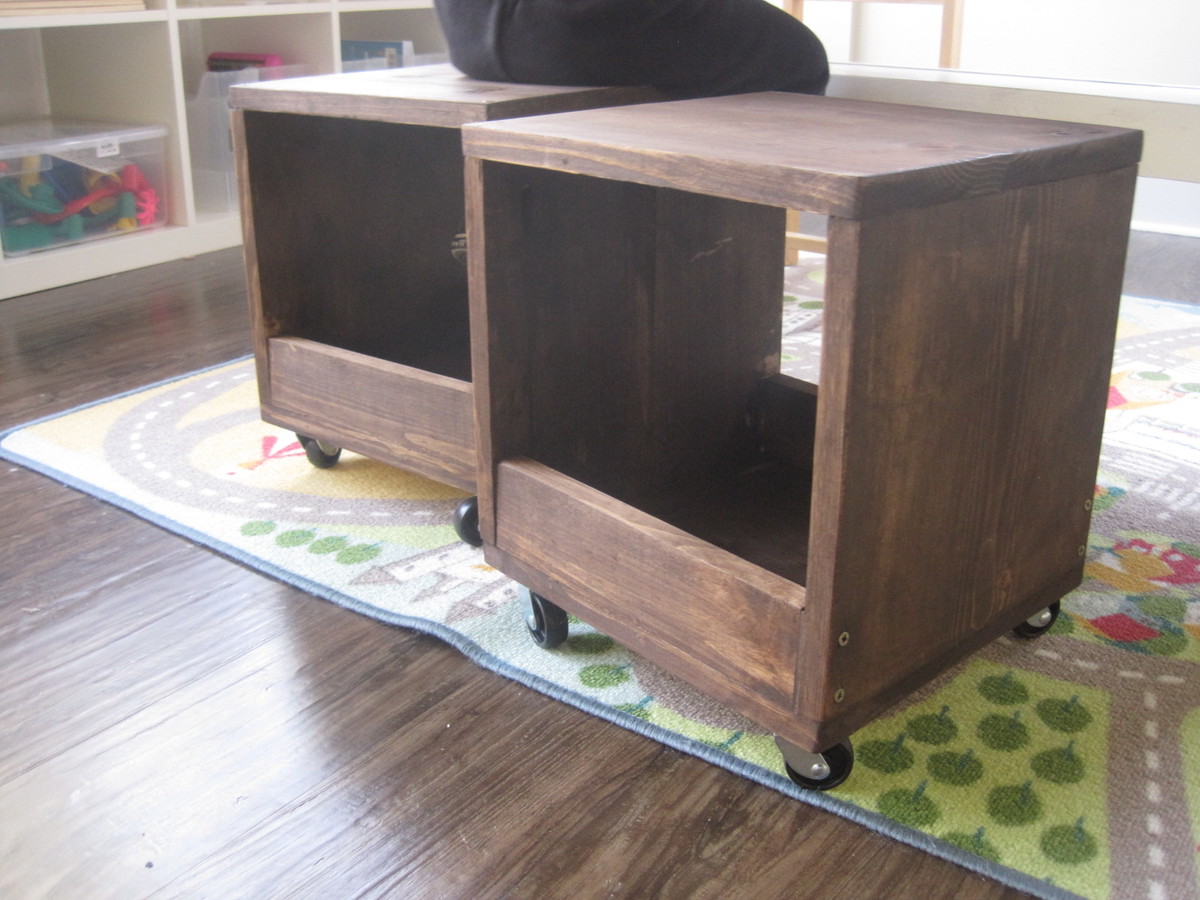
Kid's Trestle Play Table and Rolling Cubbies

Submitted by mamamea33 on Wed, 01/29/2014 - 09:36

We have been slowly updating our sunroom and making it a play area for our kids. I built this trestle play table and a couple of rolling cubes to go with it. I still need seating for two more (for playdates and when the grown-ups want to sit) so I'm trying to decide what to do on the other side.

I wanted to use all wood that we already had in the garage, so the top is made from 1x12s connected with pocket holes, and the legs are 2x6s.

In the background you can see the board & batten my husband and I installed a few weeks ago. We also ripped out some moldy carpeting, sanded the concrete and laid vinyl plank flooring. It's coming along!

Plan for the rolling storage cubes: http://www.shanty-2-chic.com/2012/07/rolling-storage-cube-stools.html

Built from Plan(s)
Estimated Time Investment
Day Project (6-9 Hours)
Finish Used
Rustoleum Ultimate Stain in Dark Walnut on the top, plus three coats of poly. The base was painted with Behr semi-gloss in Swiss Coffee.
Recommended Skill Level
Beginner

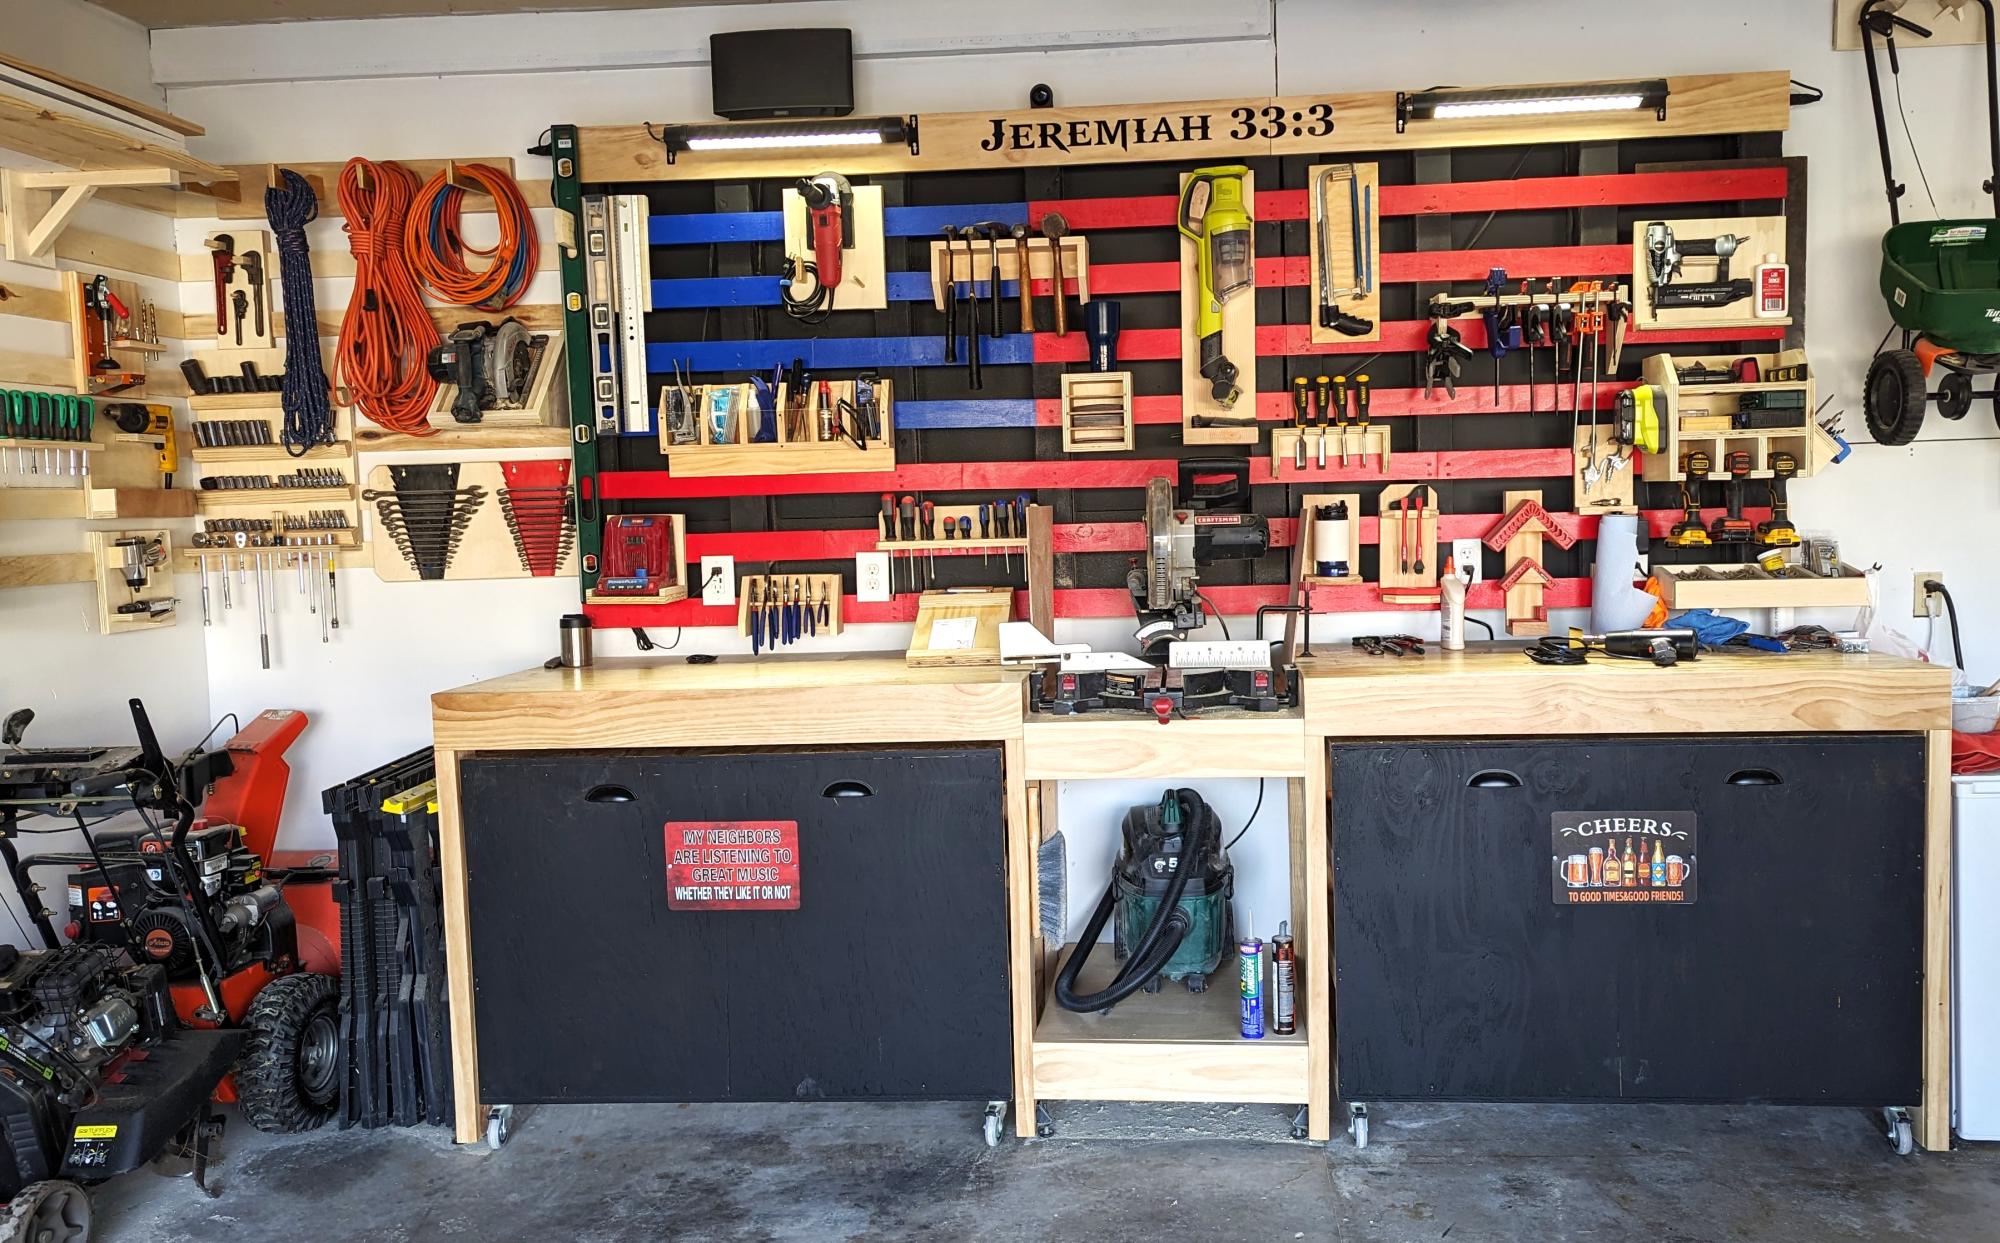
Ultimate Workshop Workbench

Submitted by Anonymous (not verified) on Mon, 09/18/2023 - 15:38

My garage needed an overhaul and I wanted to start a hobby in woodworking.
I found my way to Ana's website and found some of the best ideas and decided to try my attempt at building the Ultimate Roll Away Workbench with Miter Saw Stand.
This helped inspire me to augment my garage and build that workbench and new french cleat wall.

Thank you Ana for having such an awesome website and offering up ideas for free!!

Comments

Milled Wood DIY Table

Submitted by Anonymous (not verified) on Mon, 10/02/2023 - 11:13

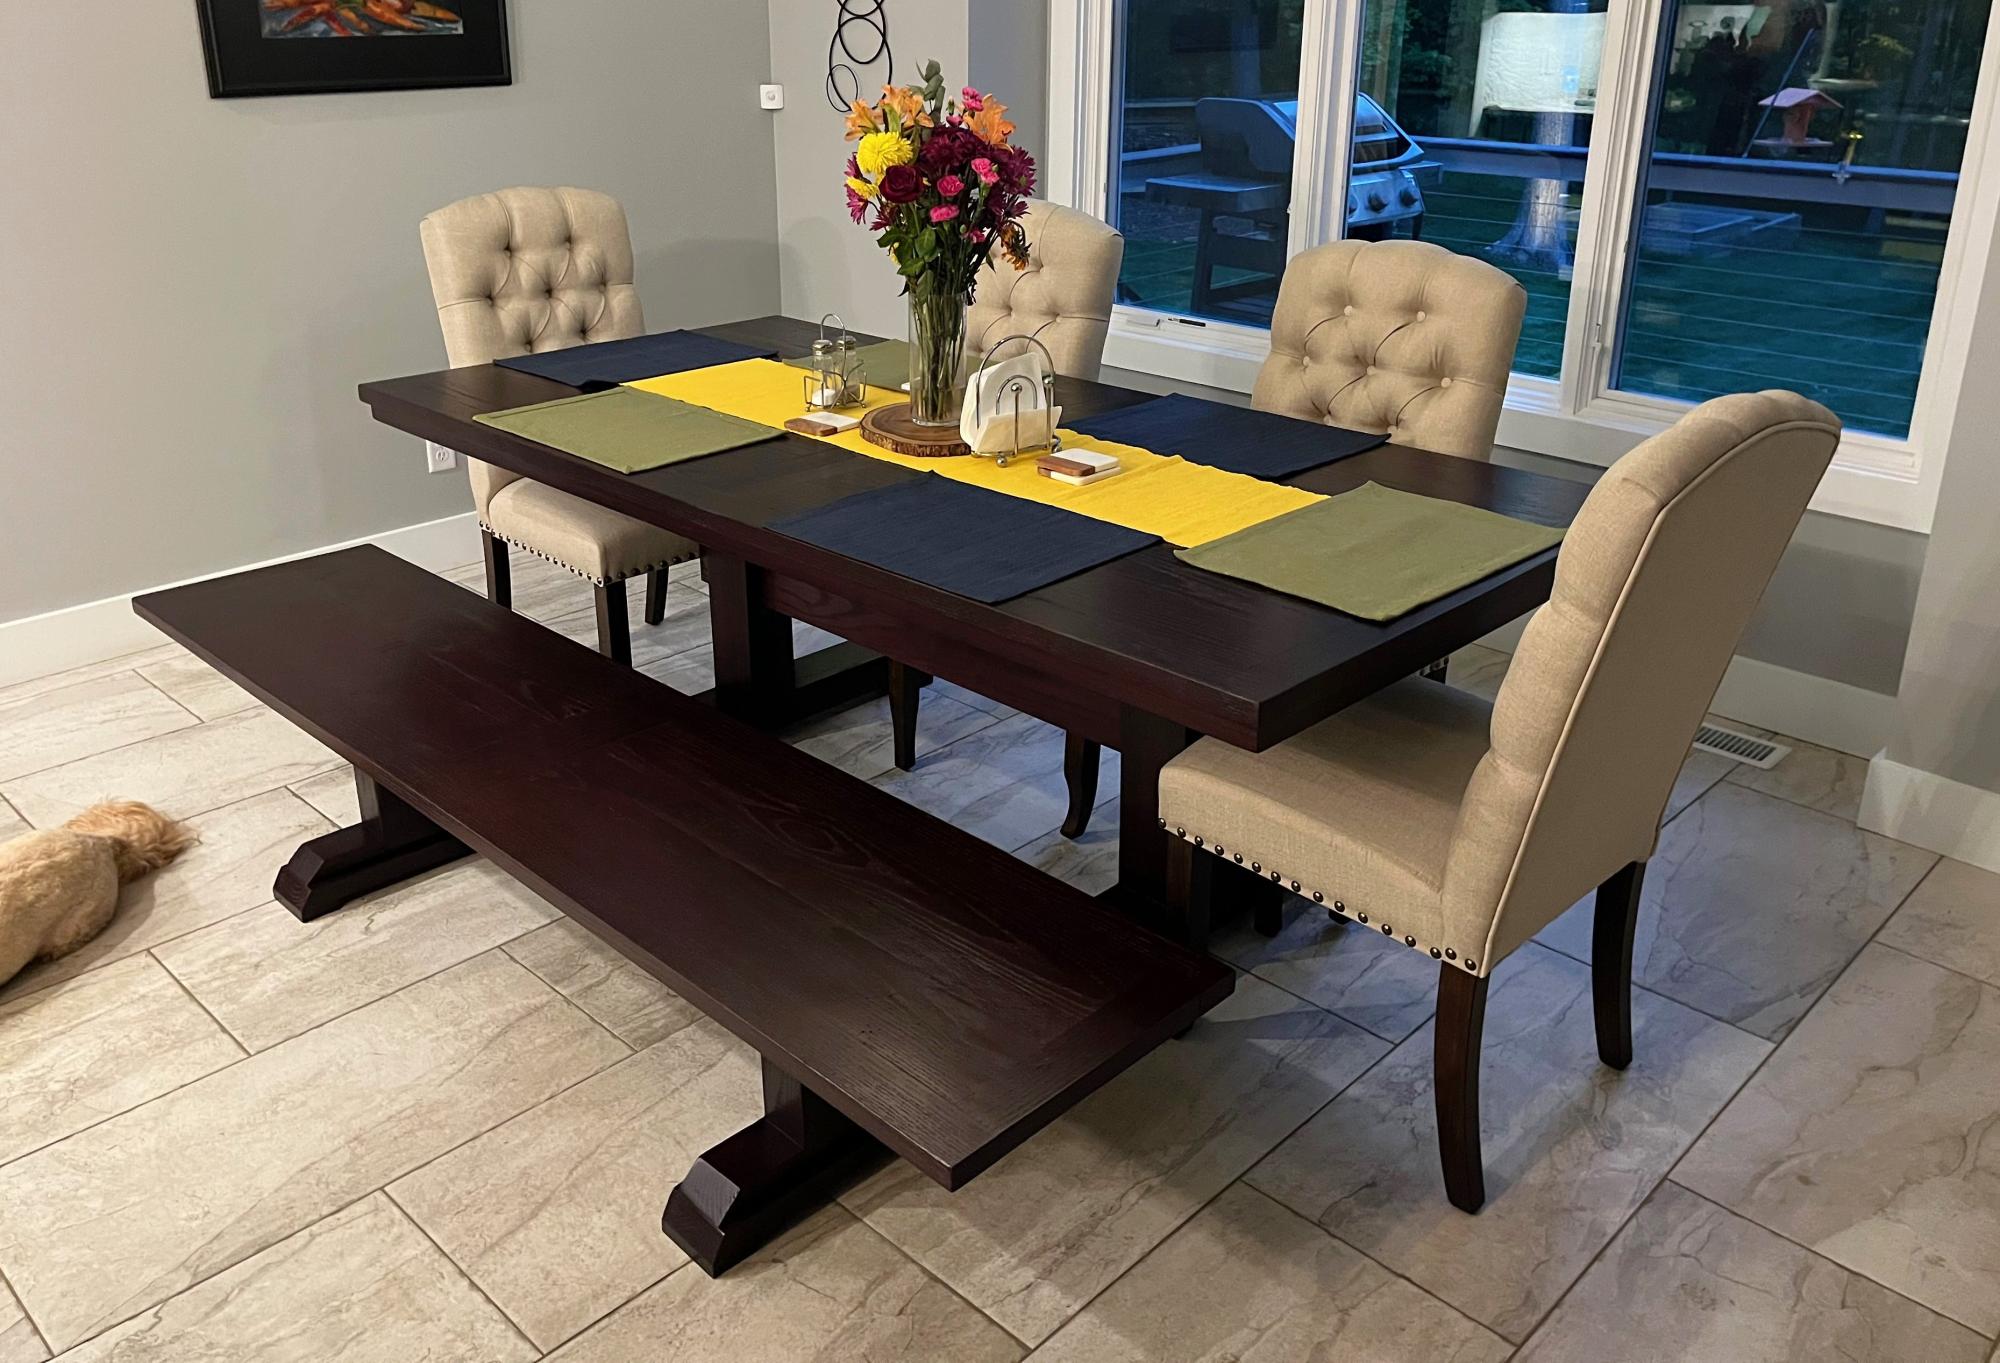
This was made from Red Oak trees that were cut down to clear a lot to build our home. We saved the trees with plans of making a dining room table. I used the Triple Pedestal Farm House Table plan and modified it for the size that we wanted to fit our space. The end result was just want we wanted!

Carla Jo DIY 

Built from Plan(s)

Shaker style cabinet doors and drawers!

Submitted by ksmith311 on Sun, 02/16/2014 - 16:49

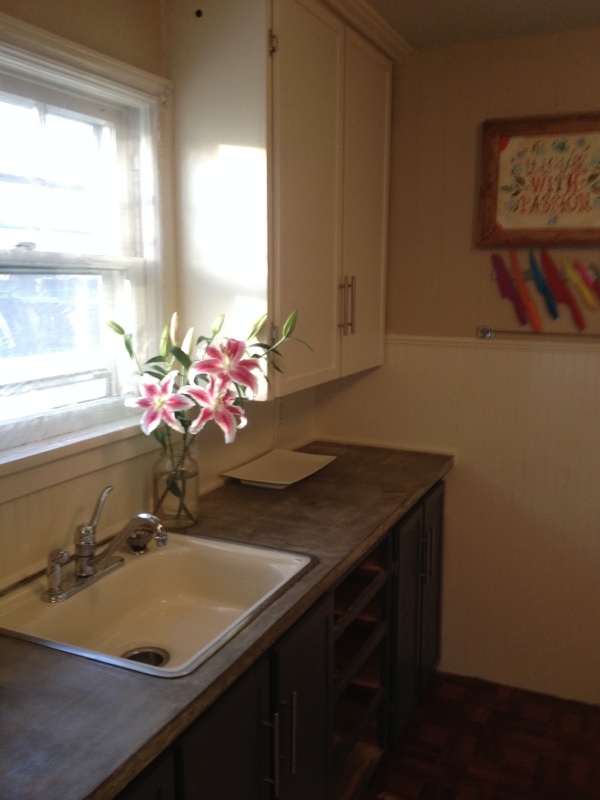
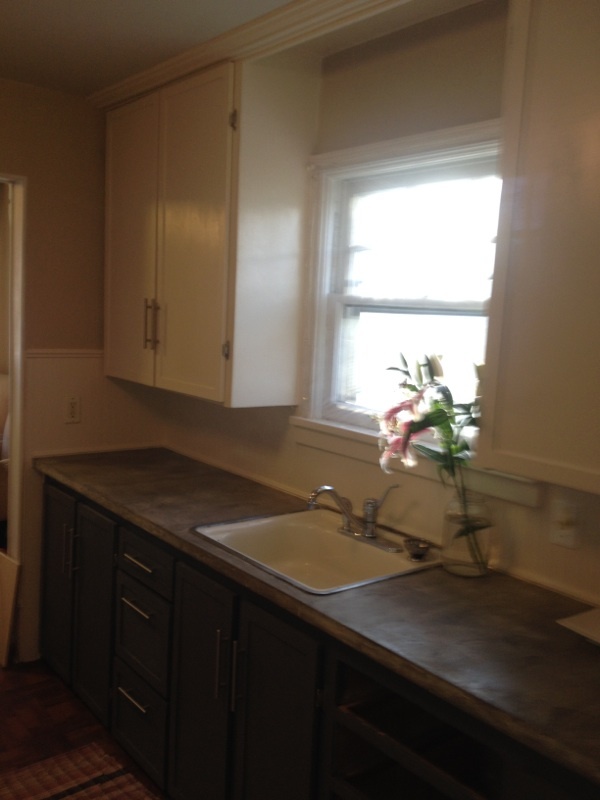
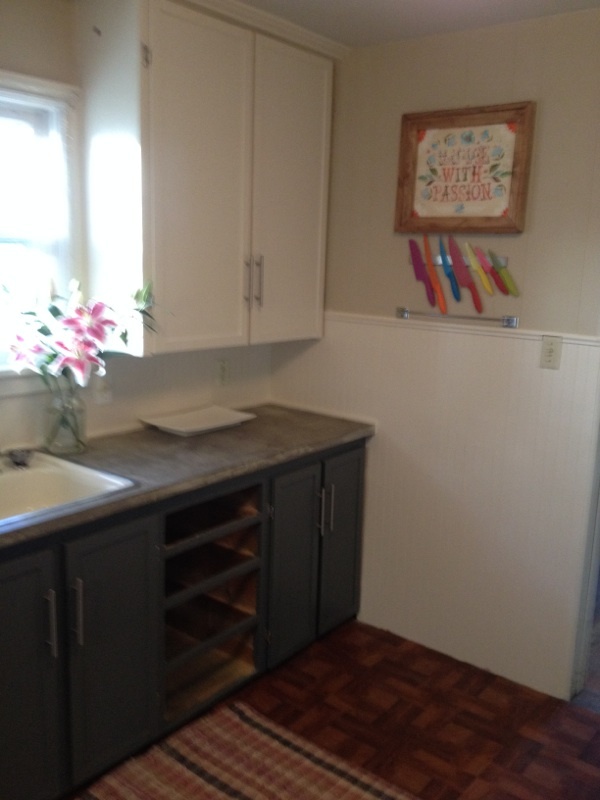
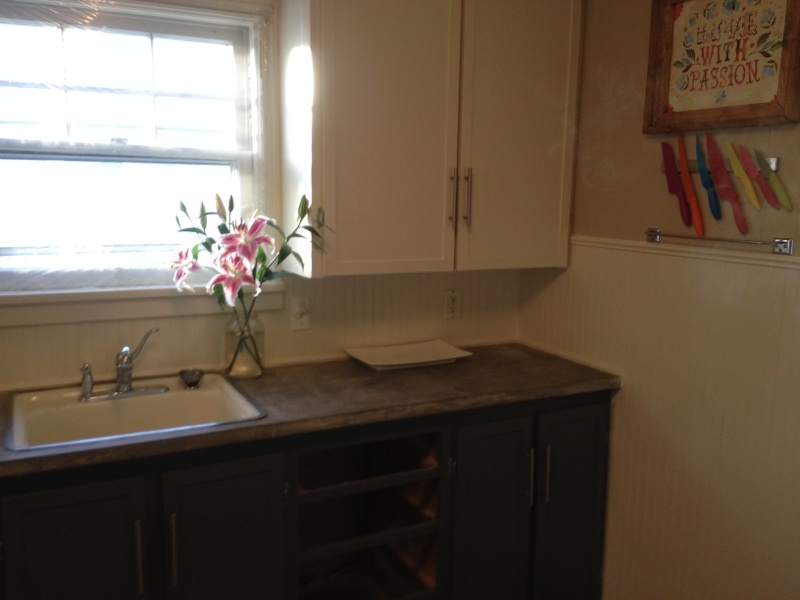
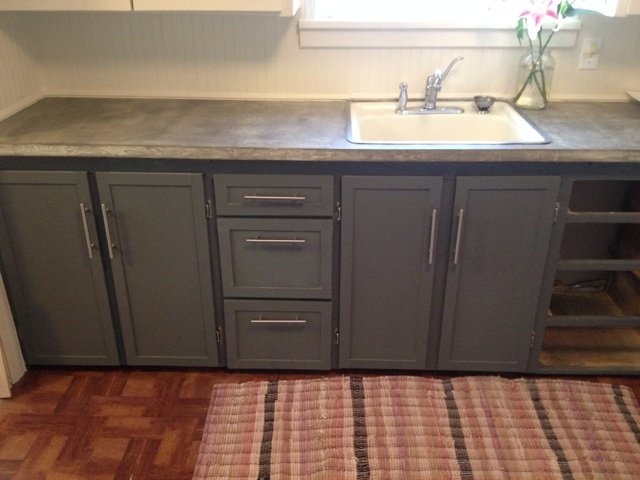
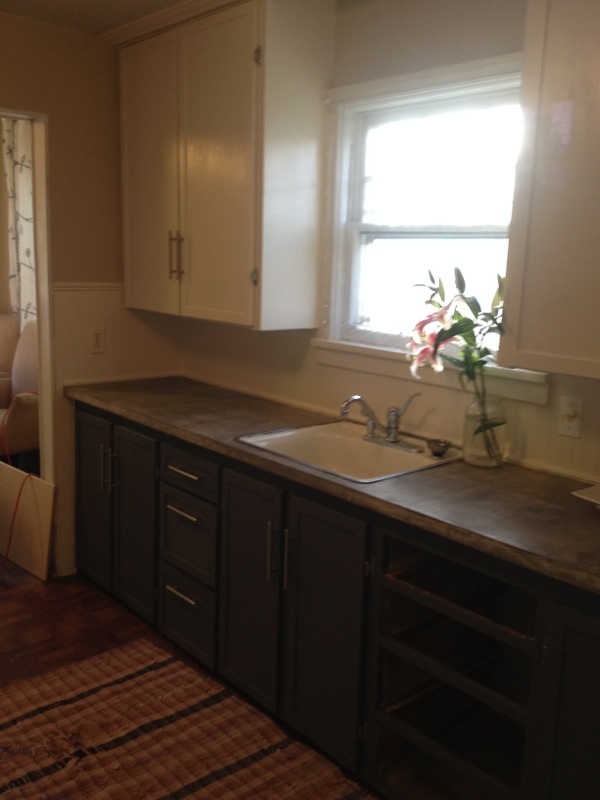
After some inspiration from Ana, my husband and I tackled refacing and rehabbing our original cabinets circa 1939. The drawers and shelves were in rough shape so we built our own using the kreg jig. We're extremely happy with how everything turned out. When the weather gets better we will be building new cabinets on the opposite side of the kitchen where unfortunately we don't have ANY storage.

Thanks for looking!

Estimated Time Investment
Weekend Project (10-20 Hours)
Finish Used
Farrow and Ball "Lime White" uppers and Benjamin Moore "Kendall Charcoal" lowers
Recommended Skill Level
Intermediate

Rustic Dresser and Bedroom Set

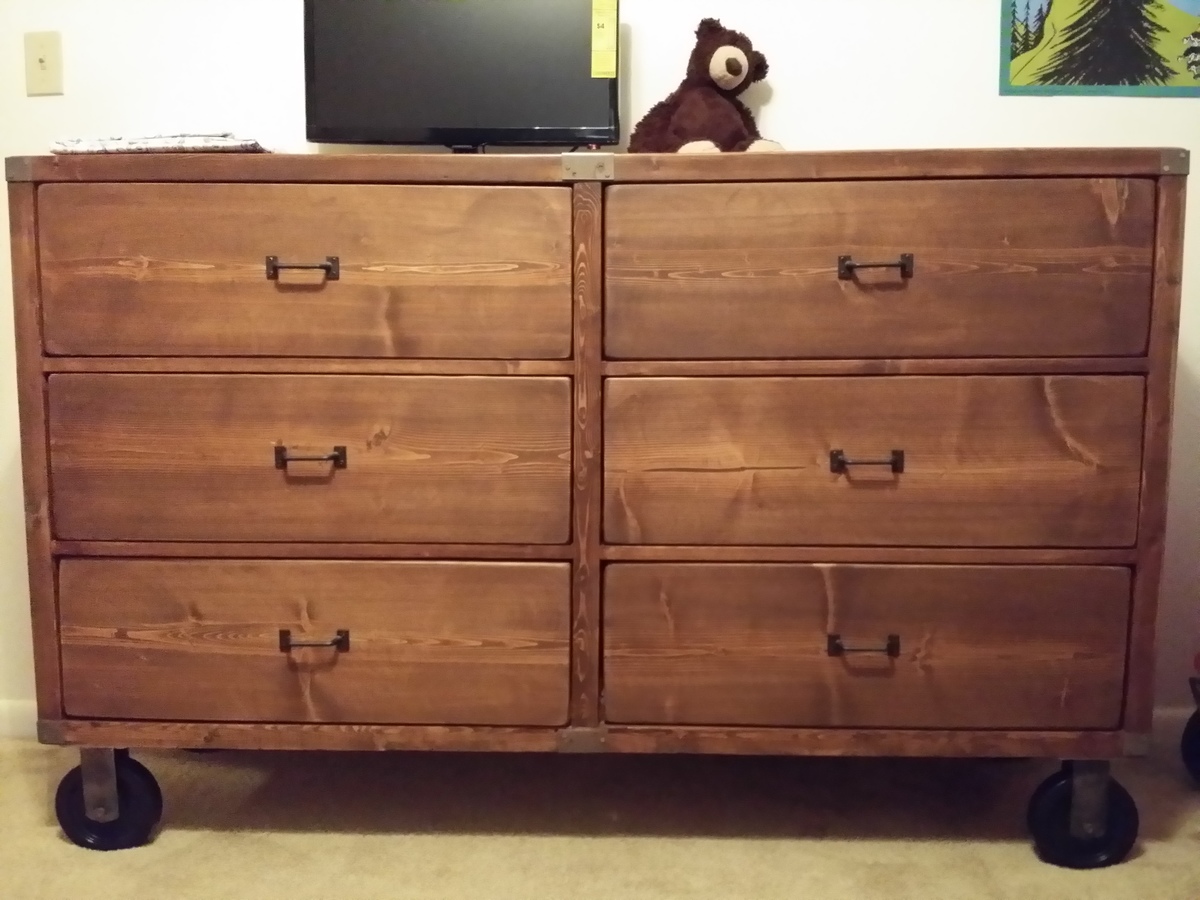
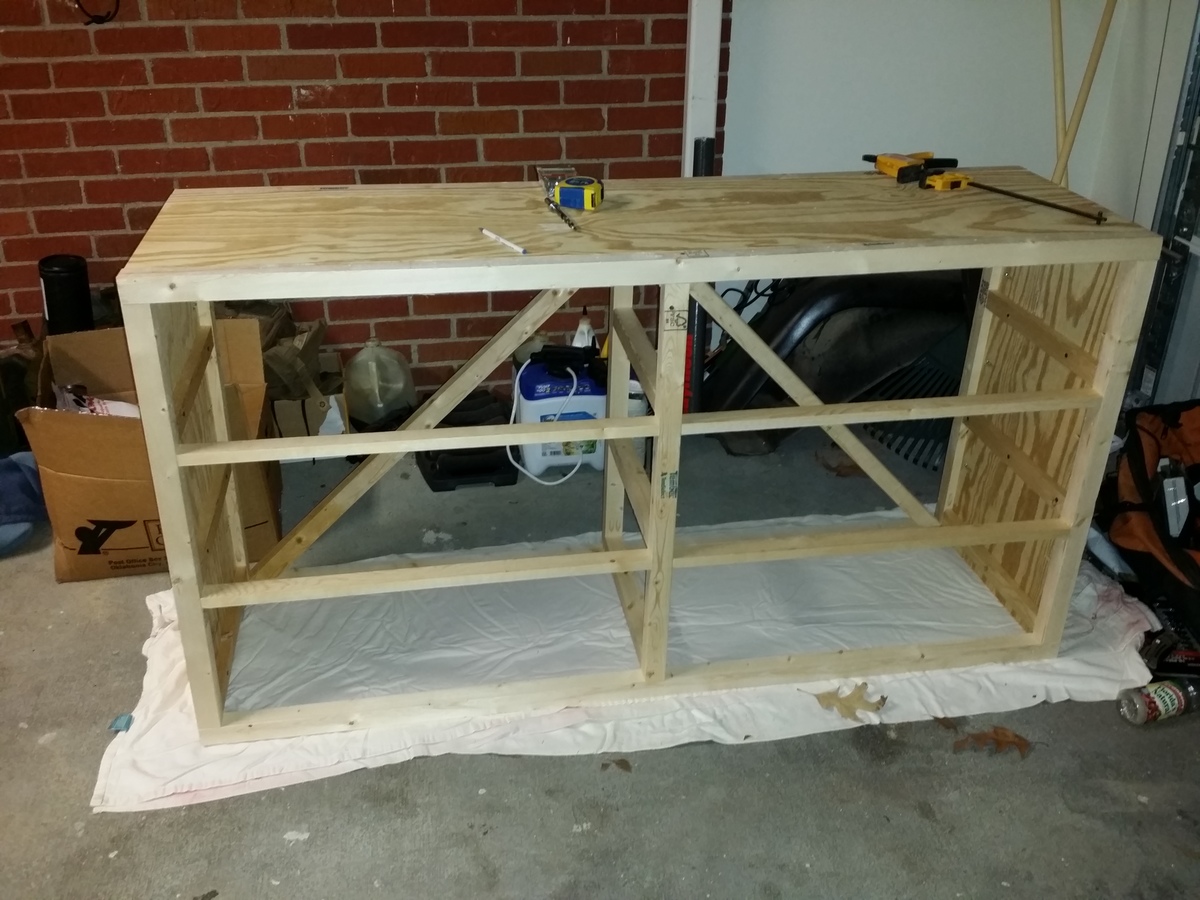
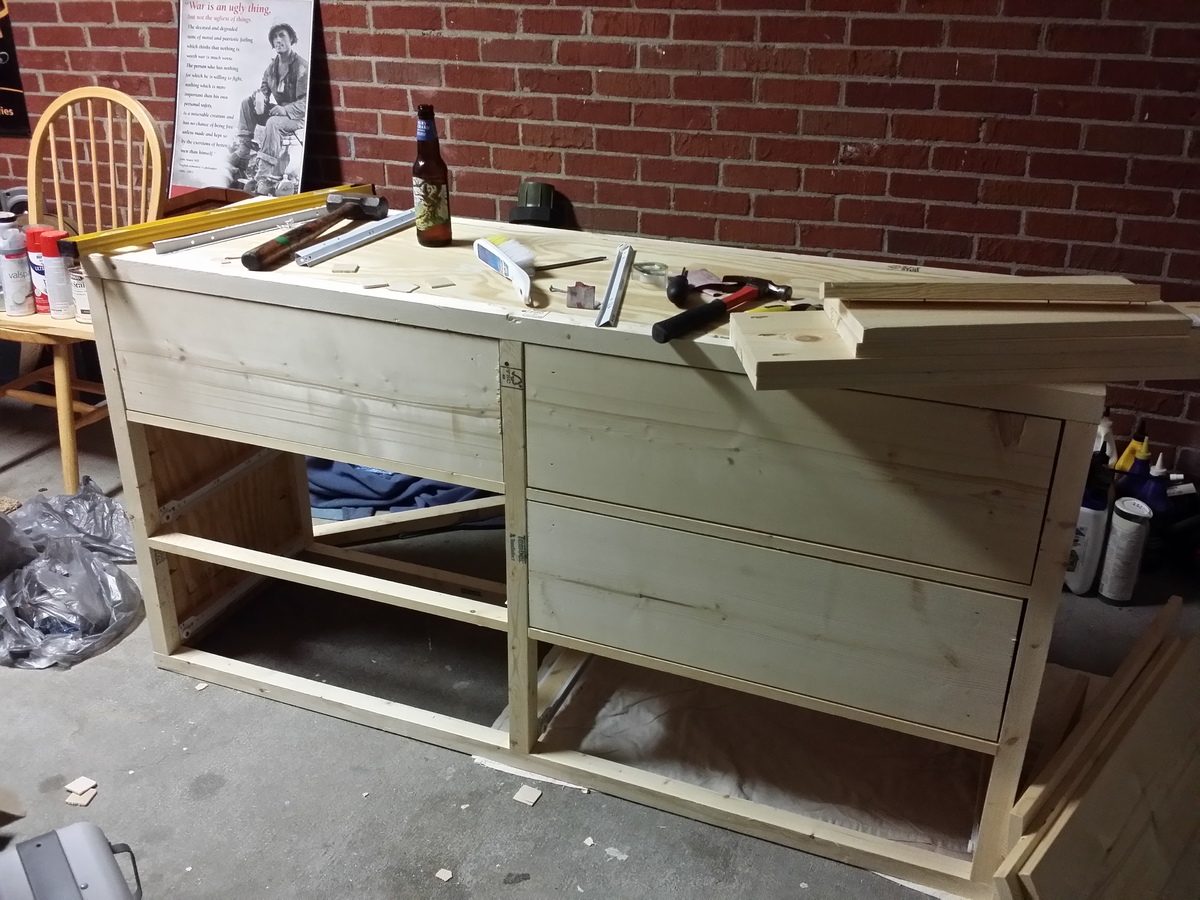
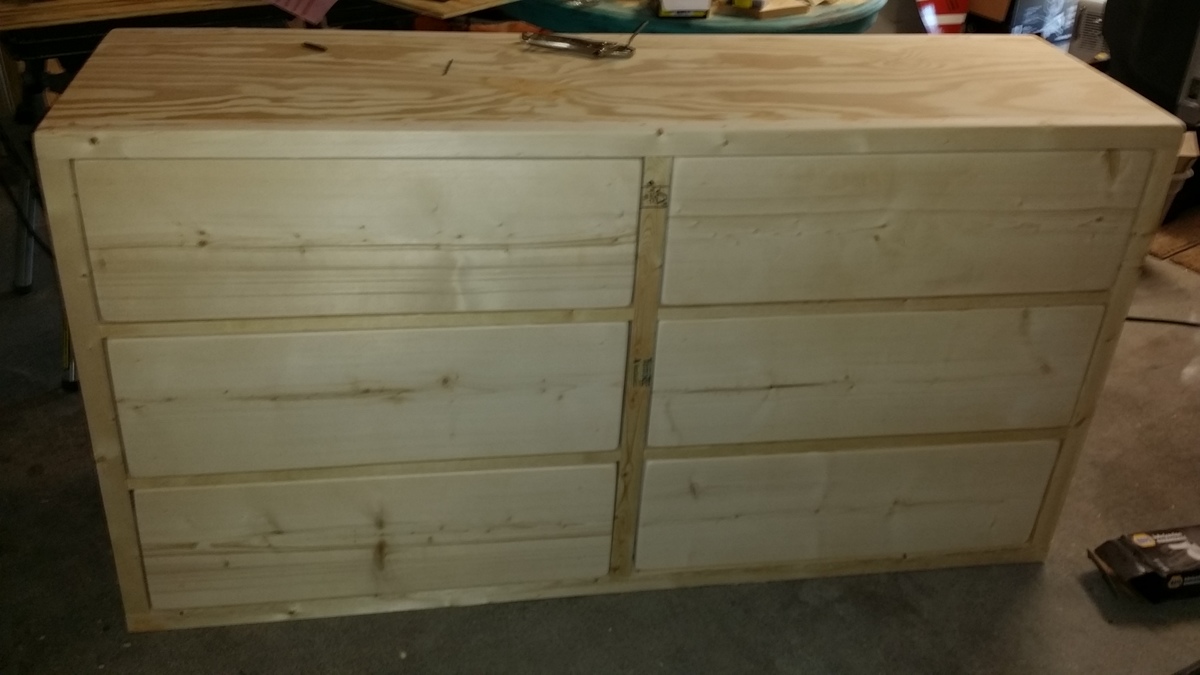
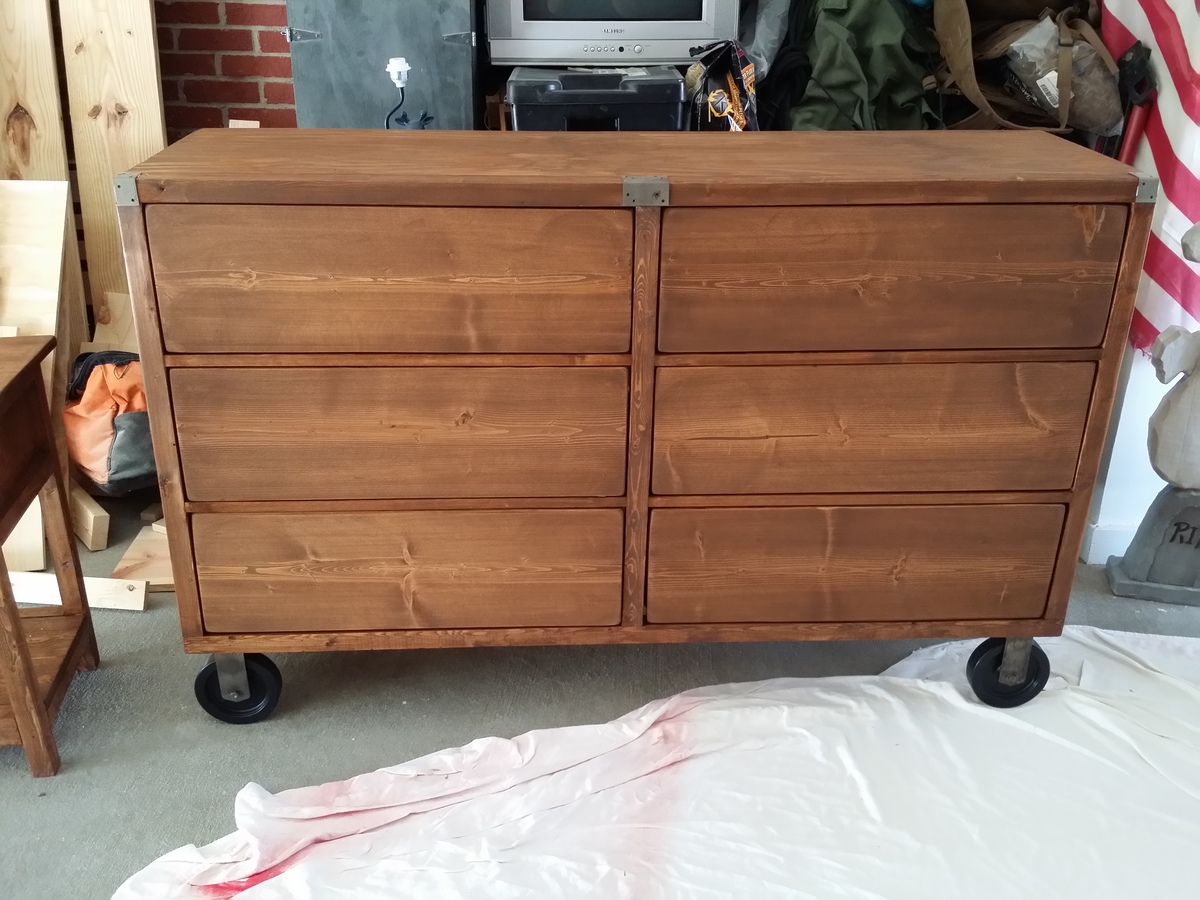
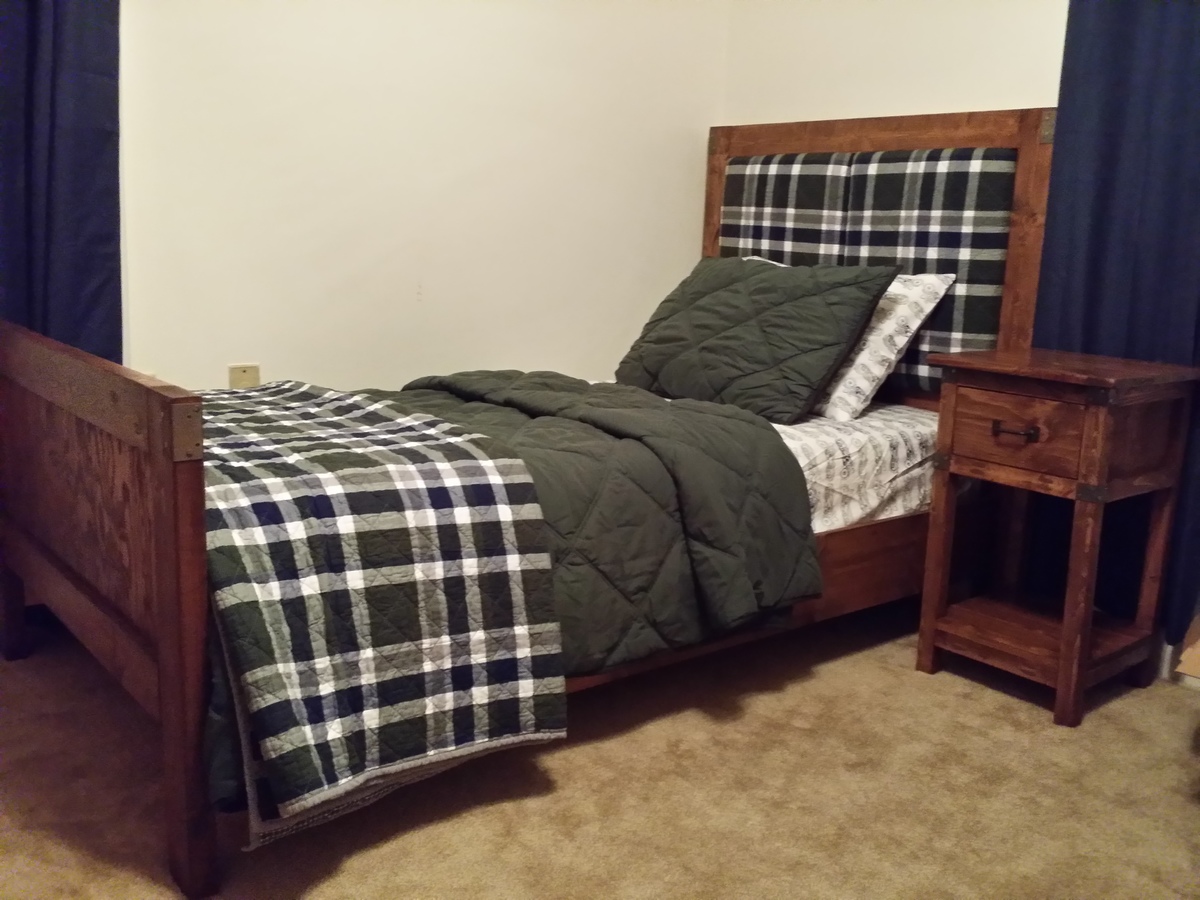
My son was too big for his toddler bed and had been spending his nights in the guest bed, instead. For his Christmas gift this year, his grandparents were going to get him bedroom furniture, but I insisted on building it instead! I love the rustic theme, saw the rustic dresser on wheels and thought it was perfect for him and perfect for us since we move so much with the military. Hello, a dresser on wheels? Like, no man labor trying to carry the thing out of the house? Just roll it? SOLD! I HATE the wheels that I put on it, but I really did not want to dish out $100 for the spoked wheels. I think I may change them one day and put the wheels on that will make it look ten times better, but for now, these will do. The wood for the dresser was pricey, but it was my first time buying plywood and I didn't realize that I could buy nicer plywood in smaller amounts that would have been a little cheaper since I didn't need to buy entire boards! Otherwise, it wouldn't have cost as much I am sure. I built a bed and a night table to match the dresser (as seen in the pictures), and frankly, I am very pleased with this set that I built! (CHECK OUT MY BED! http://ana-white.com/2014/02/rustic-twin-bed-upholstered-headboard-matc…) It was quite a difficult project for me, being the first time I had built drawers and because I didn't have more than a few hours in a week to get outside to work on it, but I finally finished :-) I also had a very small space to work in, since my husband consumes the garage with his man "stuff" and it was cold, so I needed the door closed with the space heater ;-). This project could definitely use some good amount of workspace!

Built from Plan(s)
Estimated Cost
$100-$200??
Estimated Time Investment
Week Long Project (20 Hours or More)
Finish Used
Minwax Early American , used a natural bristle brush, foam brush and cloth, set for a minute or two, wiped off.
Minwax Furniture Wax, rubbed on with cloth and let dry for a bit.
Recommended Skill Level
Intermediate
Kids Storage Table & Stools

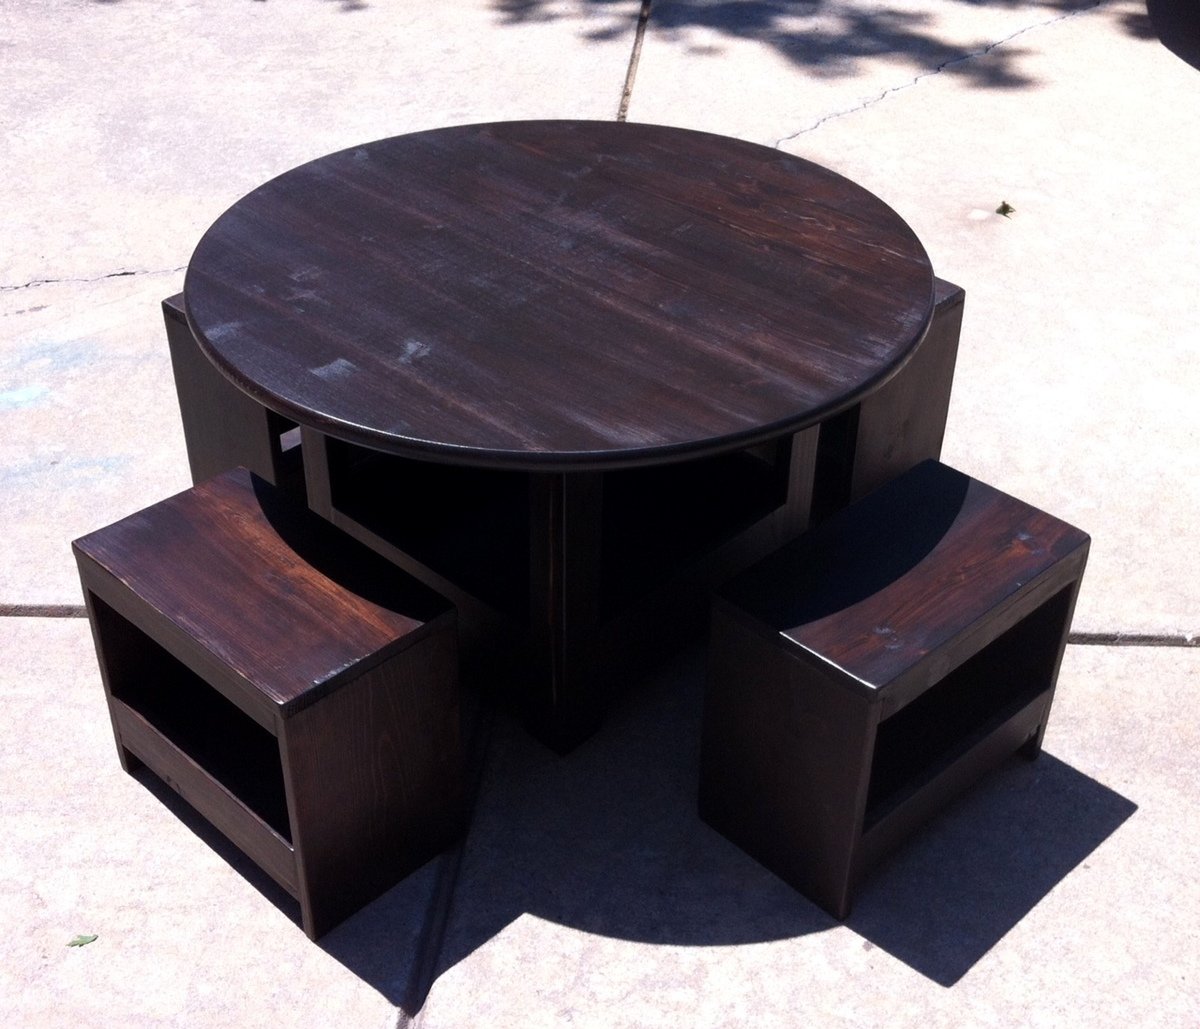
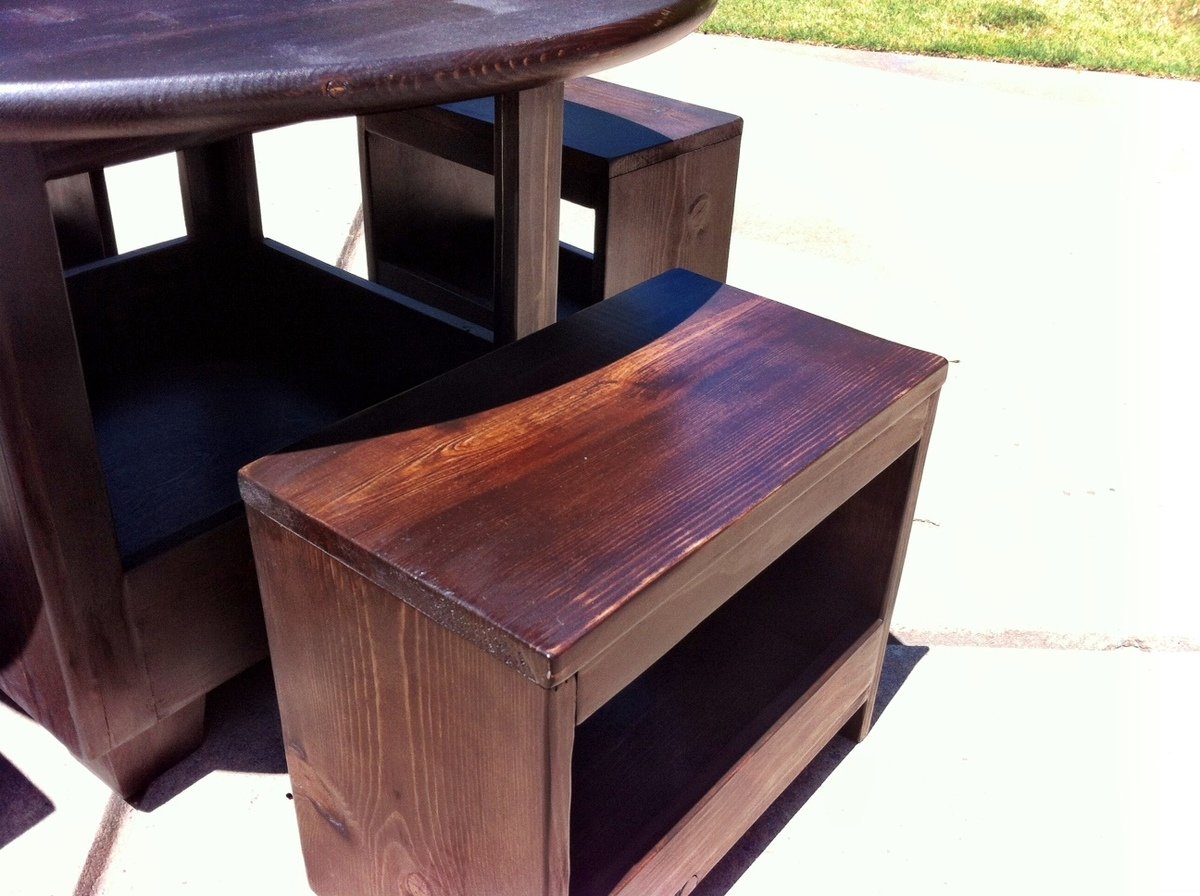
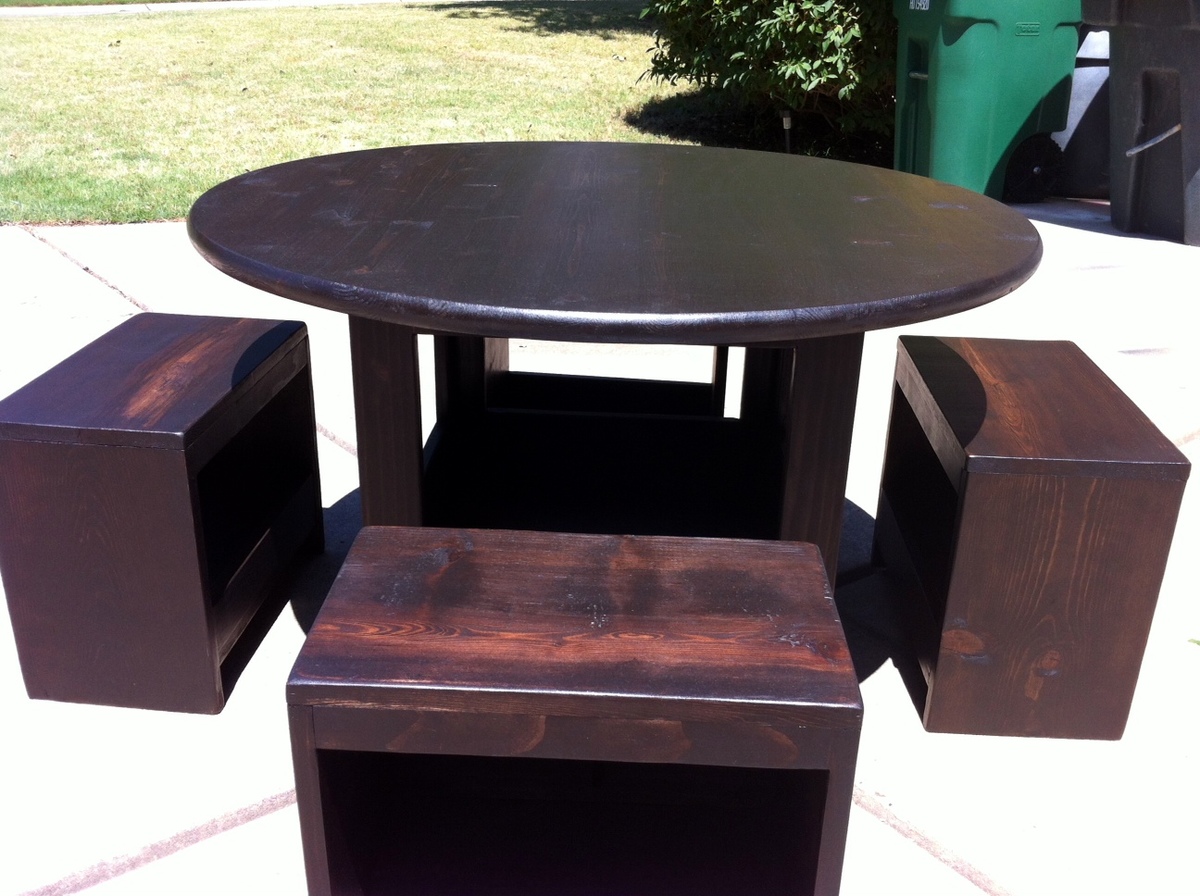
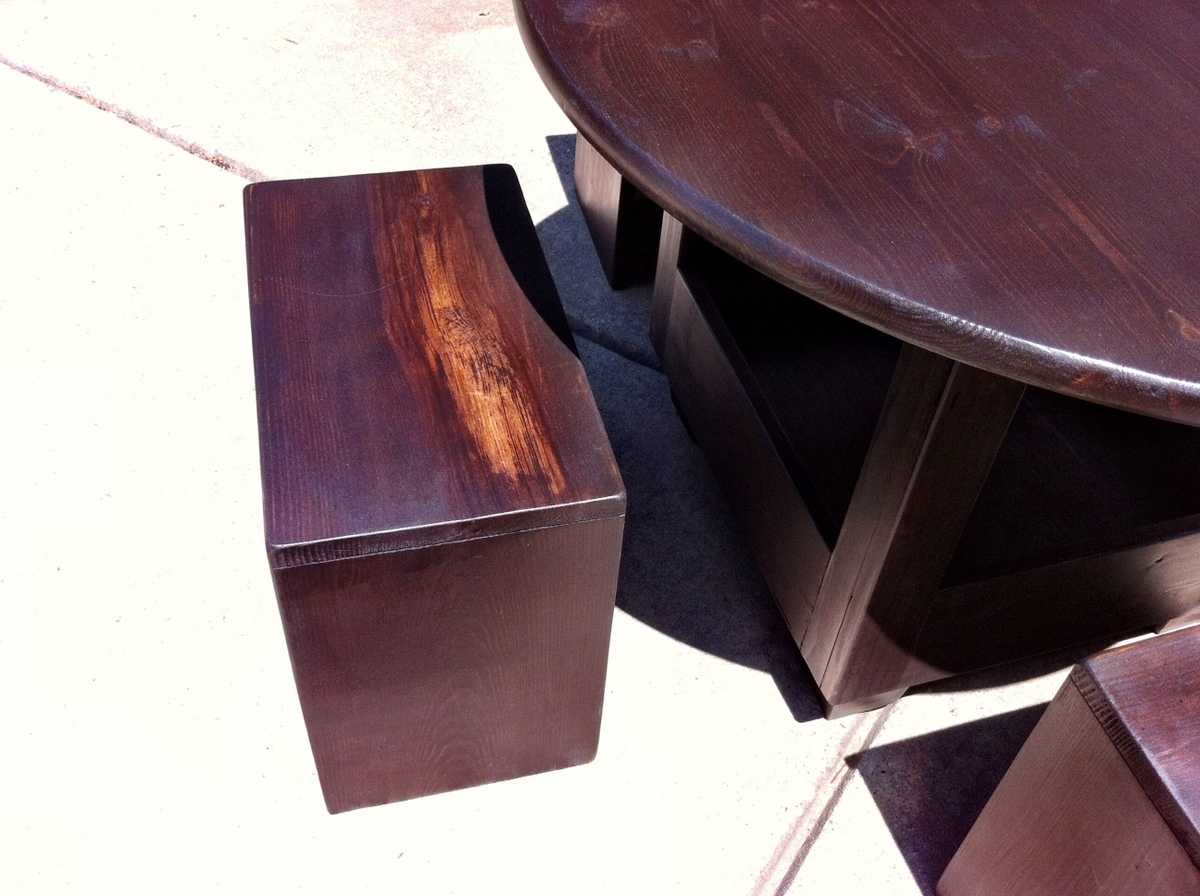
I built a storage table and stools for my son's school class project and my wife wanted a set for her mom to give to her on Mother's Day.

Estimated Cost
$130
Estimated Time Investment
Week Long Project (20 Hours or More)
Finish Used
Rustoleum Kona Stain, Poly satin finish
Recommended Skill Level
Beginner

Comments

spiceylg

Sat, 10/20/2012 - 10:25

Beautiful build. Is that the 36" round project panel? I don't the 32" size she refers to in any store.

DIY Children's Picnic Table

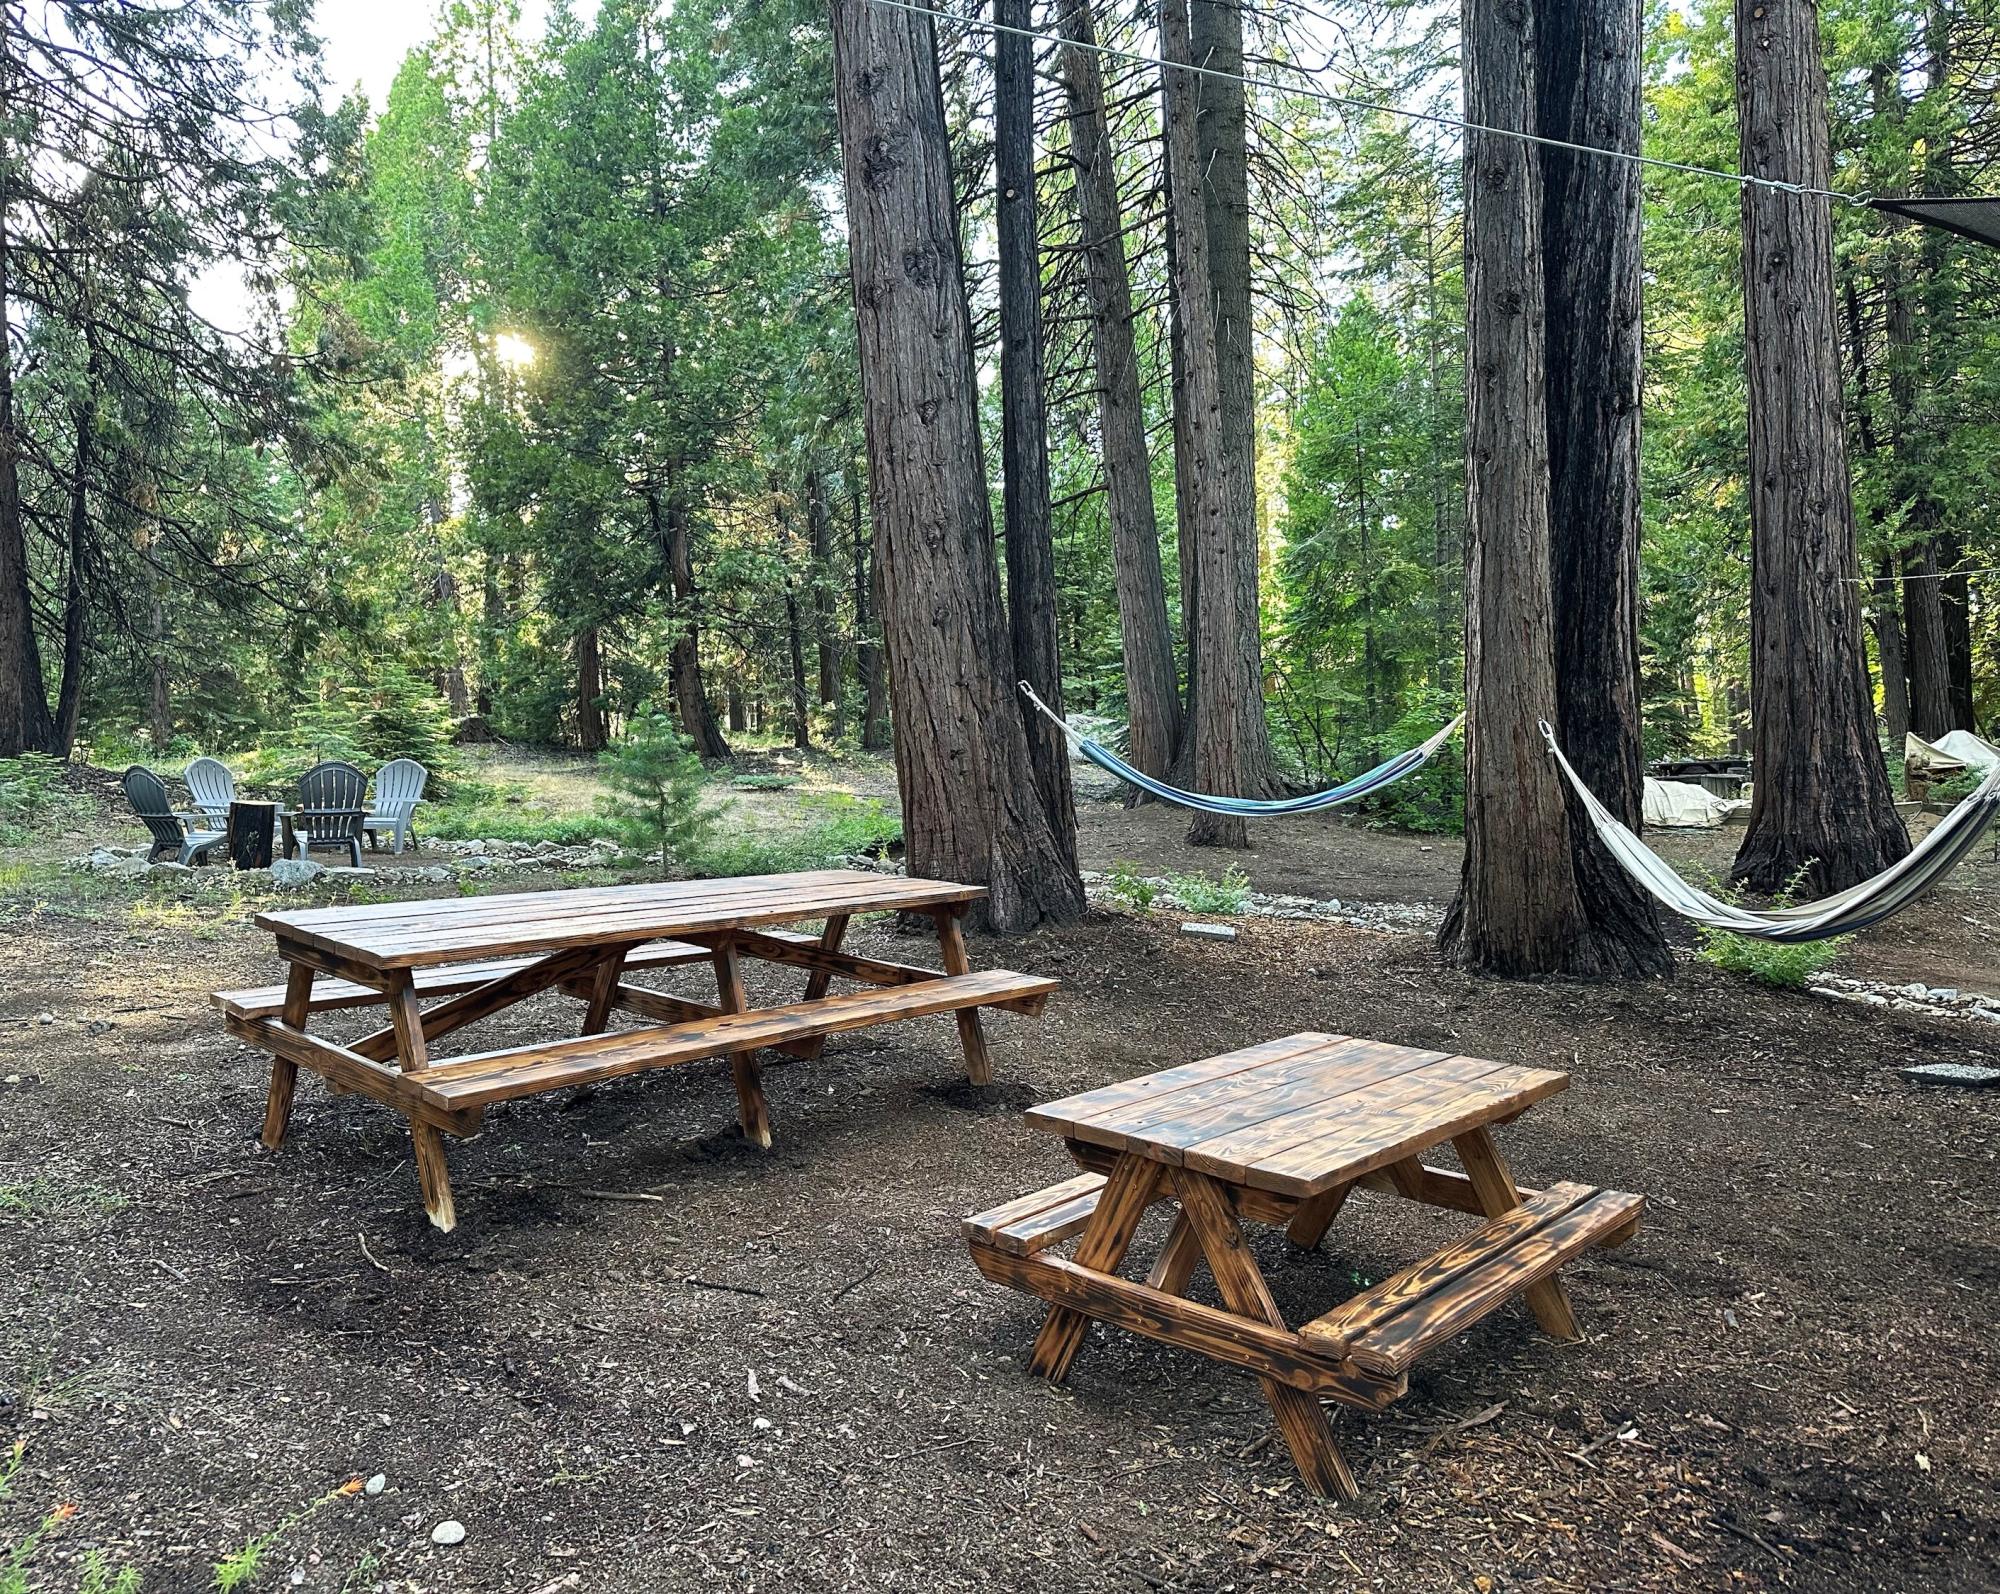
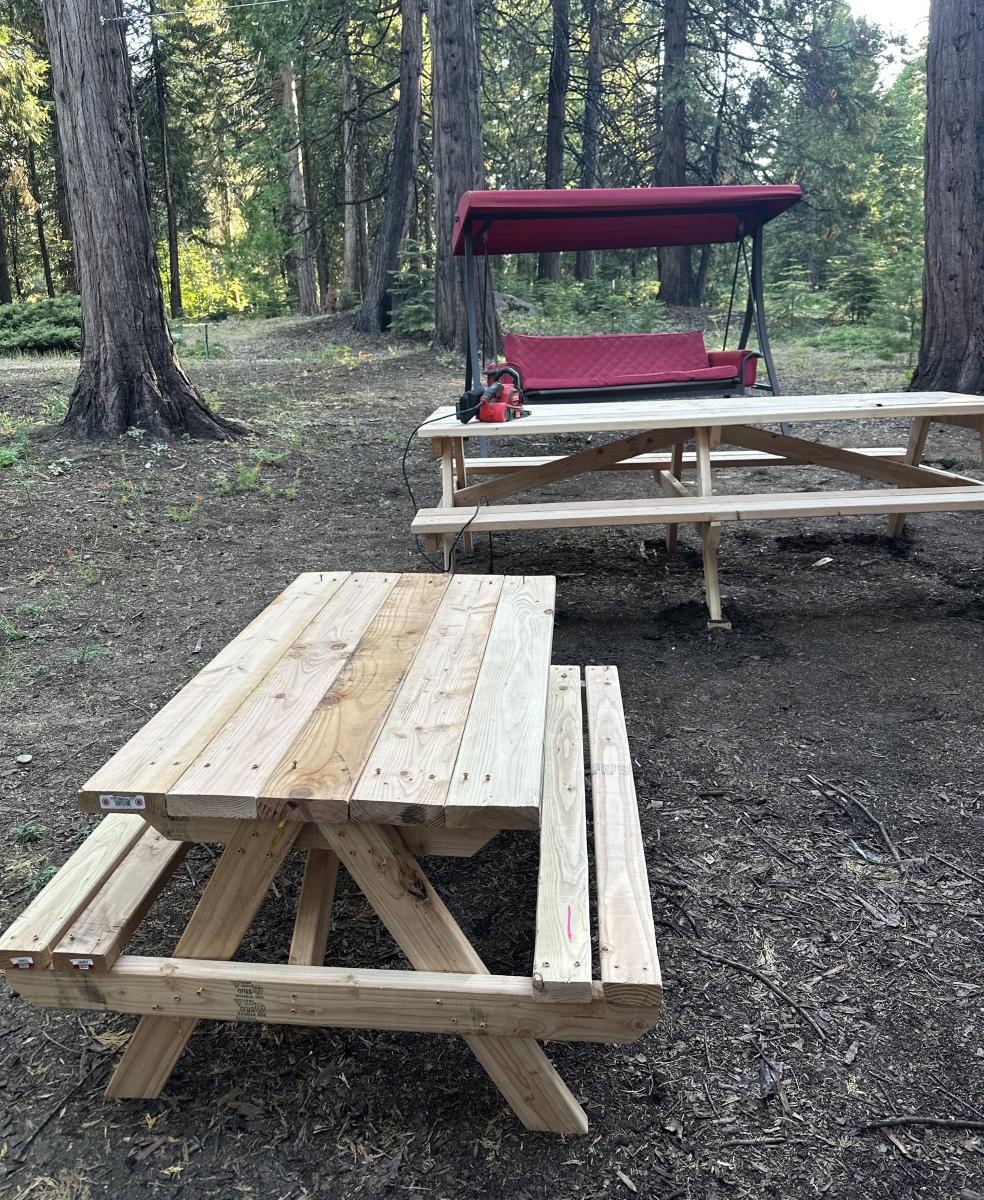
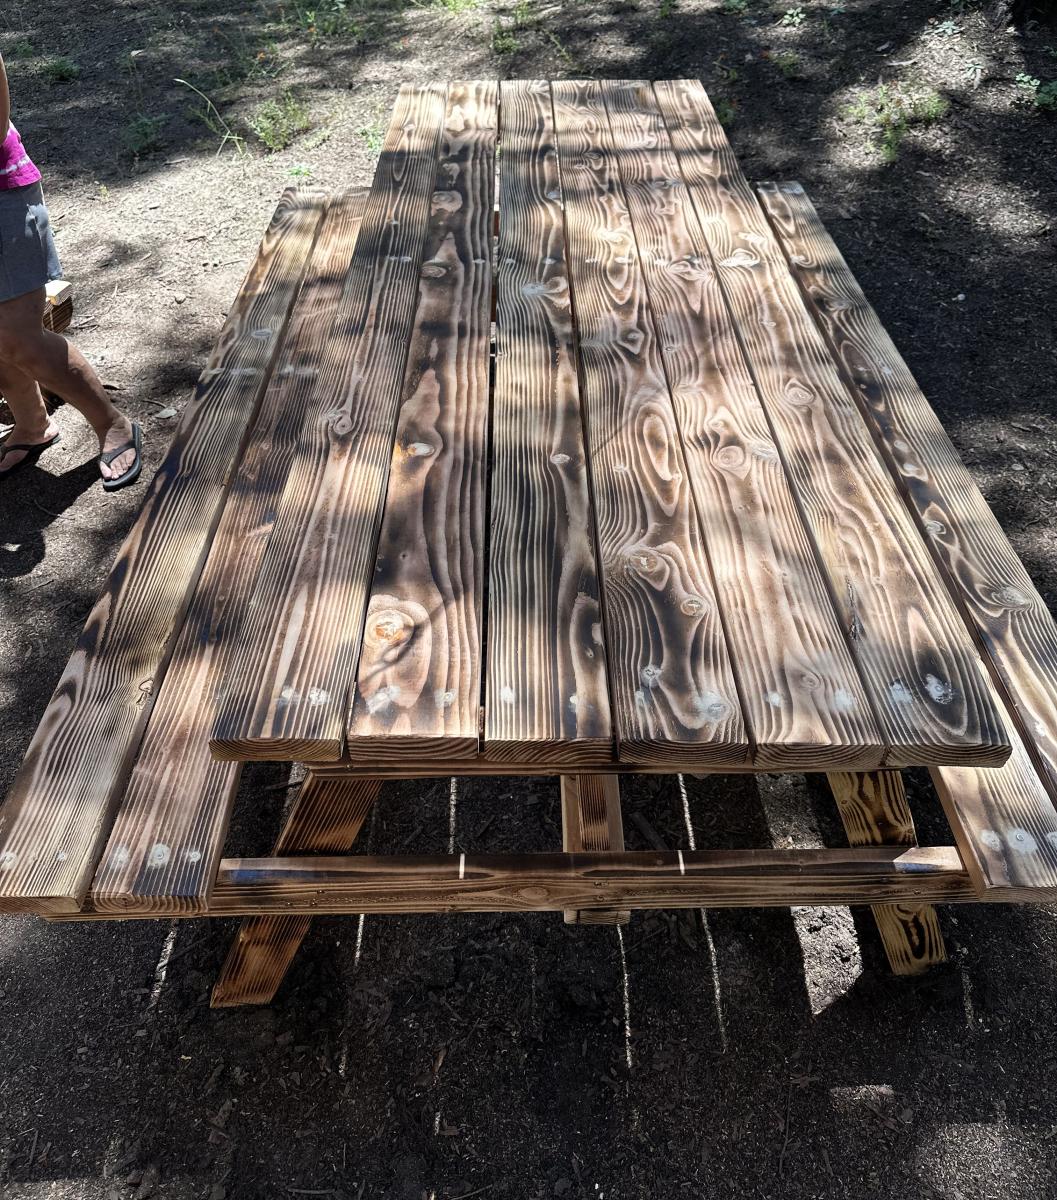
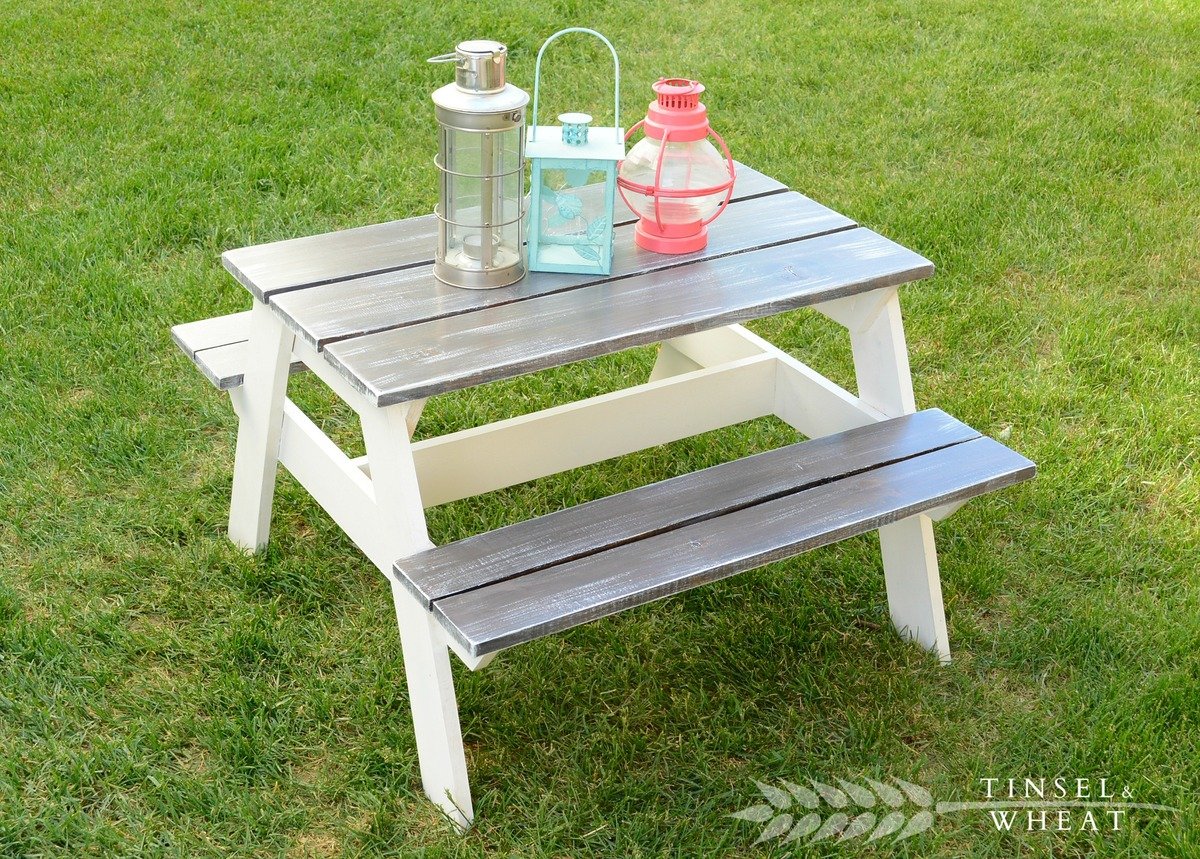
My first truly functional build! I love how it turned out, but even more importantly my kids are loving it - we are literally using it for every possible meal and snack right now. Perfect summer project, and bonus - we get to keep all the eating messes outside! 


Built from Plan(s)
Estimated Cost
$22.50
Estimated Time Investment
Afternoon Project (3-6 Hours)
Finish Used
For the first table I sued a combination of stains.. Minwax Jacobean and Weathered Grey with a white latex paint wash. White semi gloss Behr for the legs and bottom half of table.
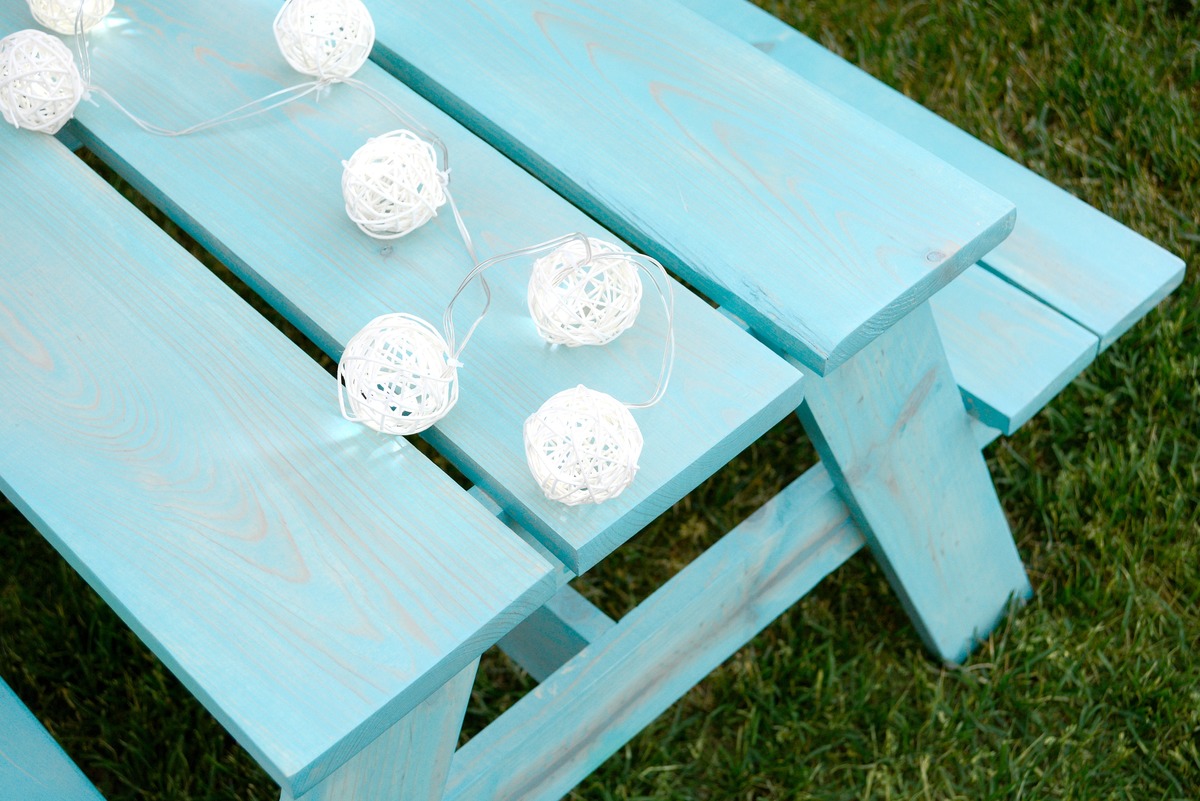
Second table I used Varathane's Vintage Aqua and I sealed both tables with 4 coats of Varathane's SPAR- Urethane.
Recommended Skill Level
Beginner

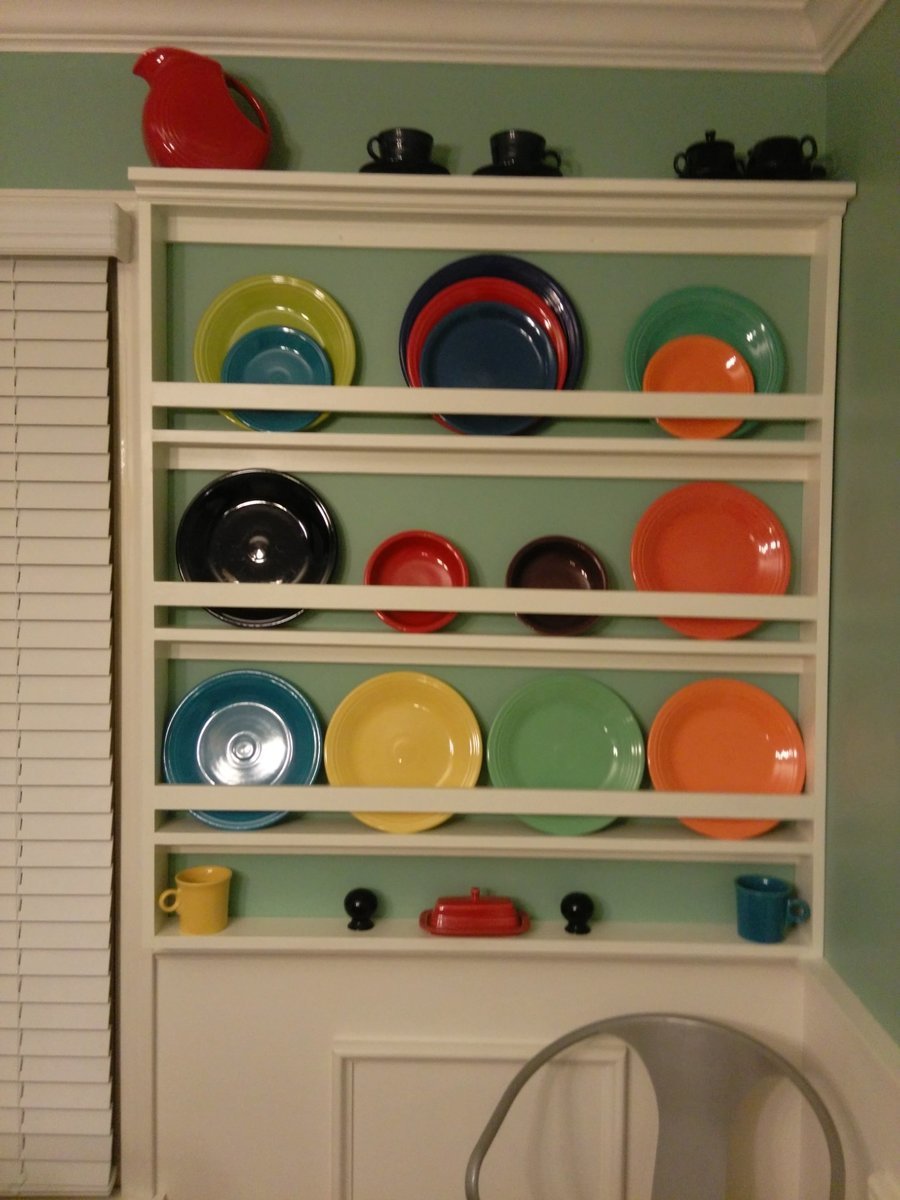
Dining room plate racks

Submitted by Anonymous (not verified) on Mon, 07/11/2016 - 15:21

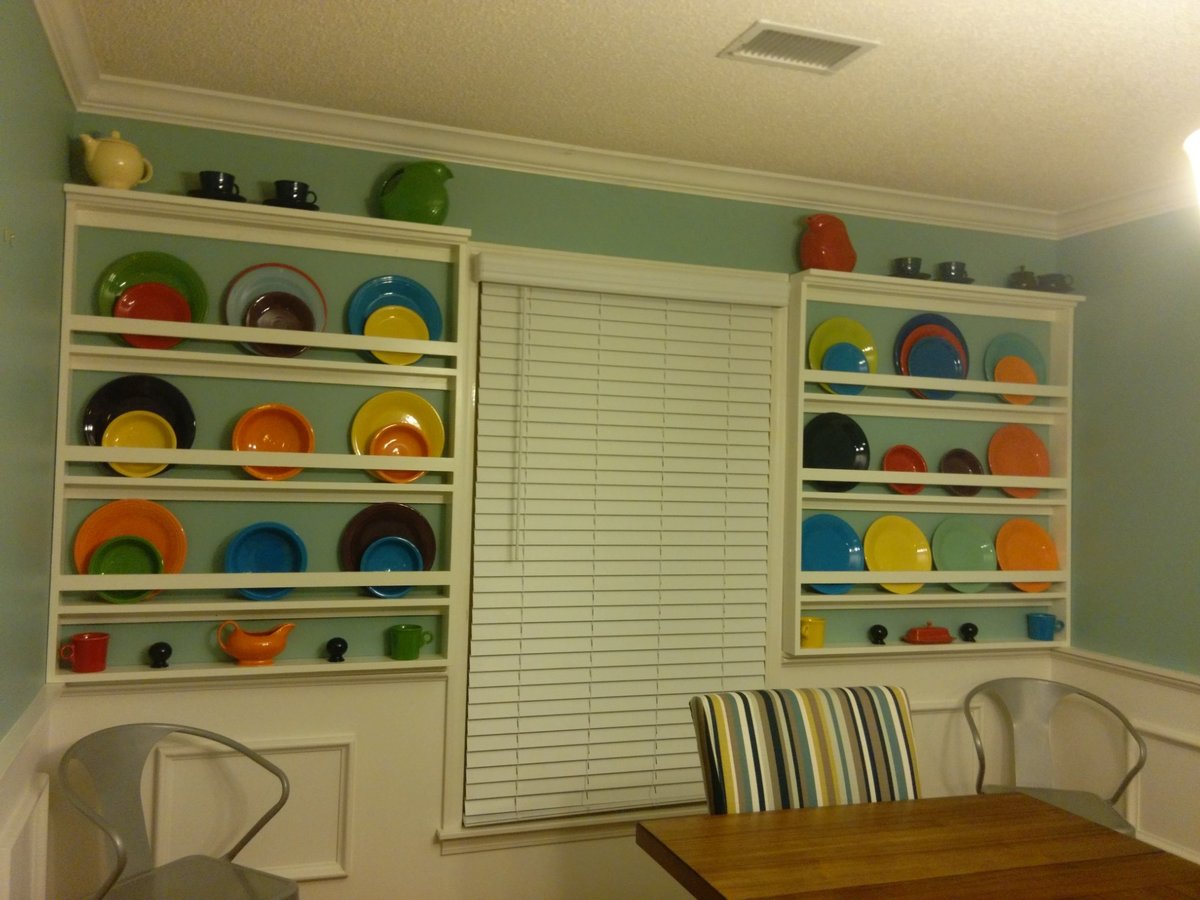
We took the plans and customized them to fit the area around our windows in the dining room.  We also added a 1x6 to the top so we could fit larger items and added a trim piece.  We made the shelves different heights to accommodate our plates and added a shorter shelf on the bottom 

Built from Plan(s)
Estimated Time Investment
Weekend Project (10-20 Hours)
Finish Used
Benjamin Moore Advance Dove White
Recommended Skill Level
Beginner

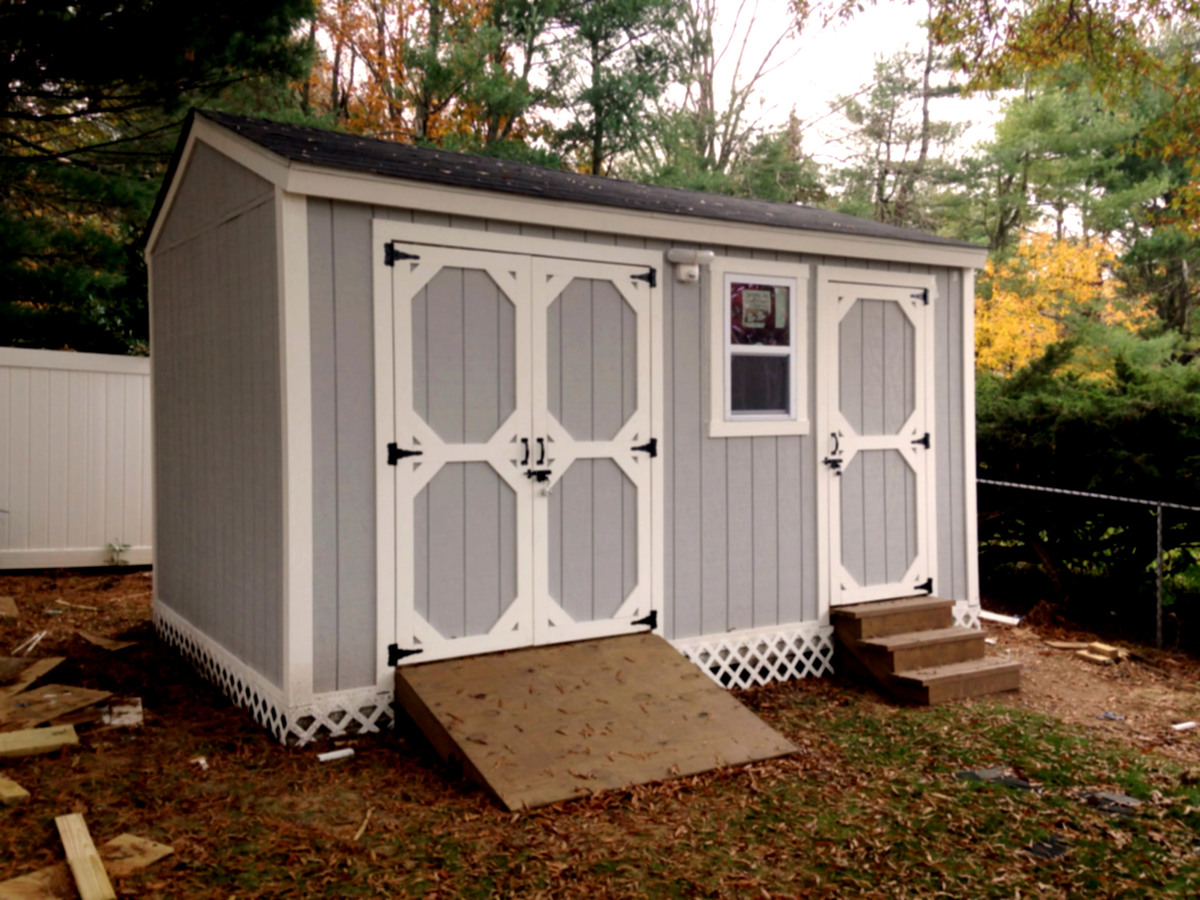
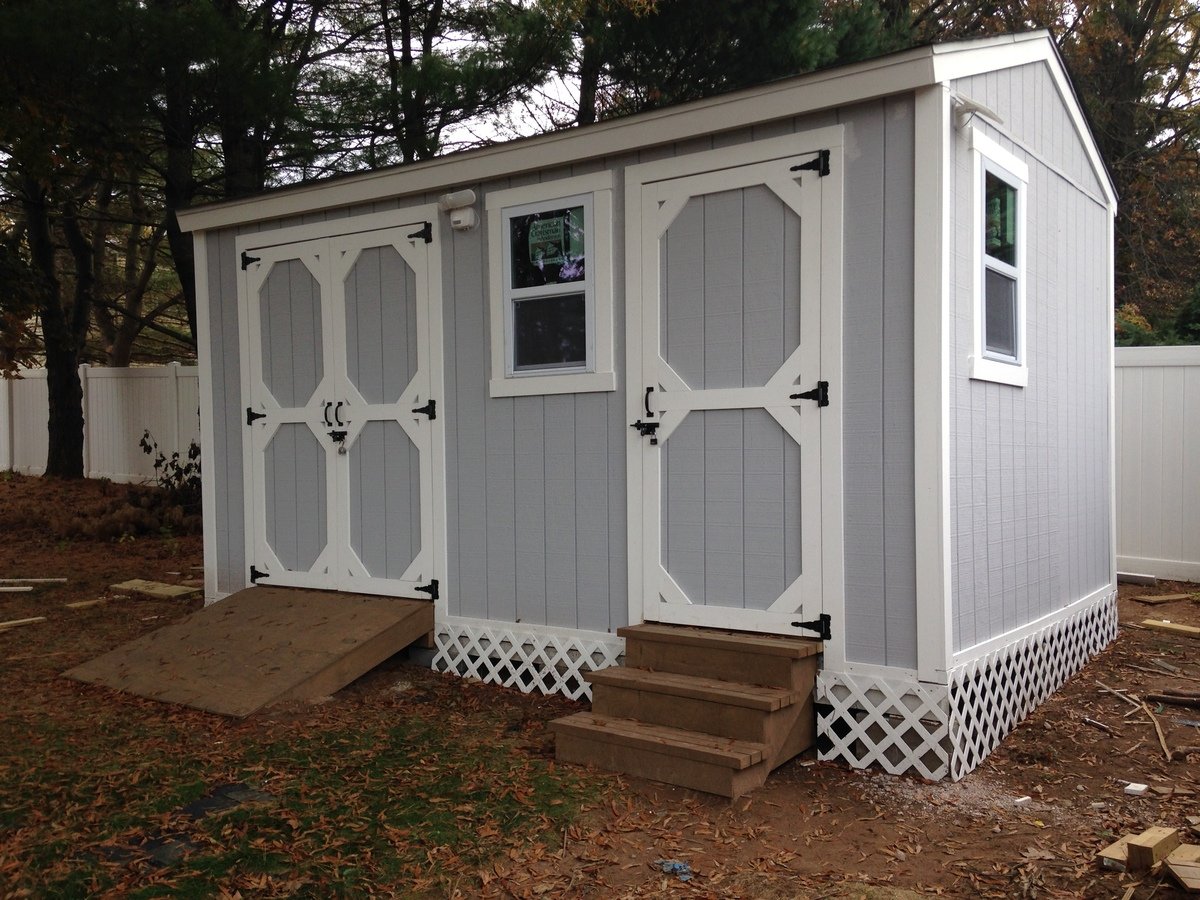
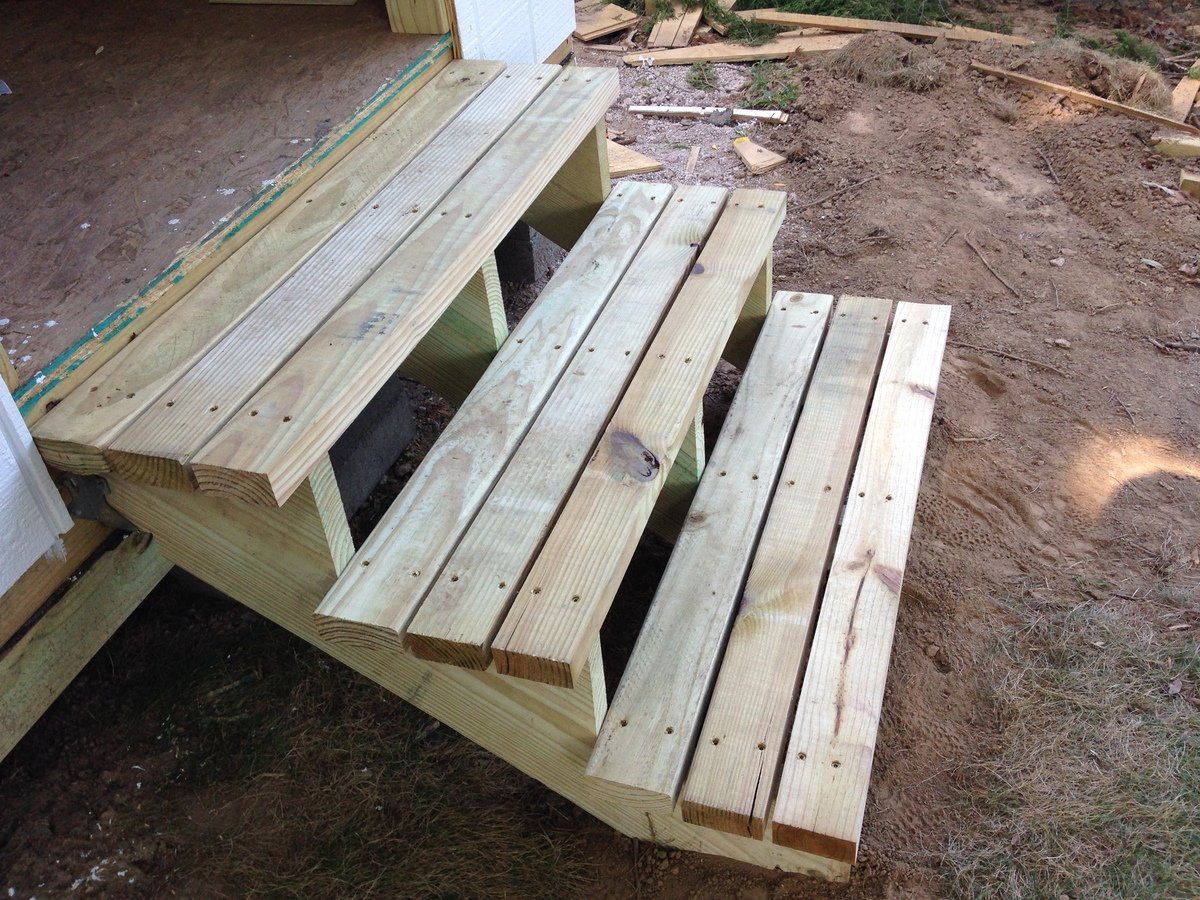
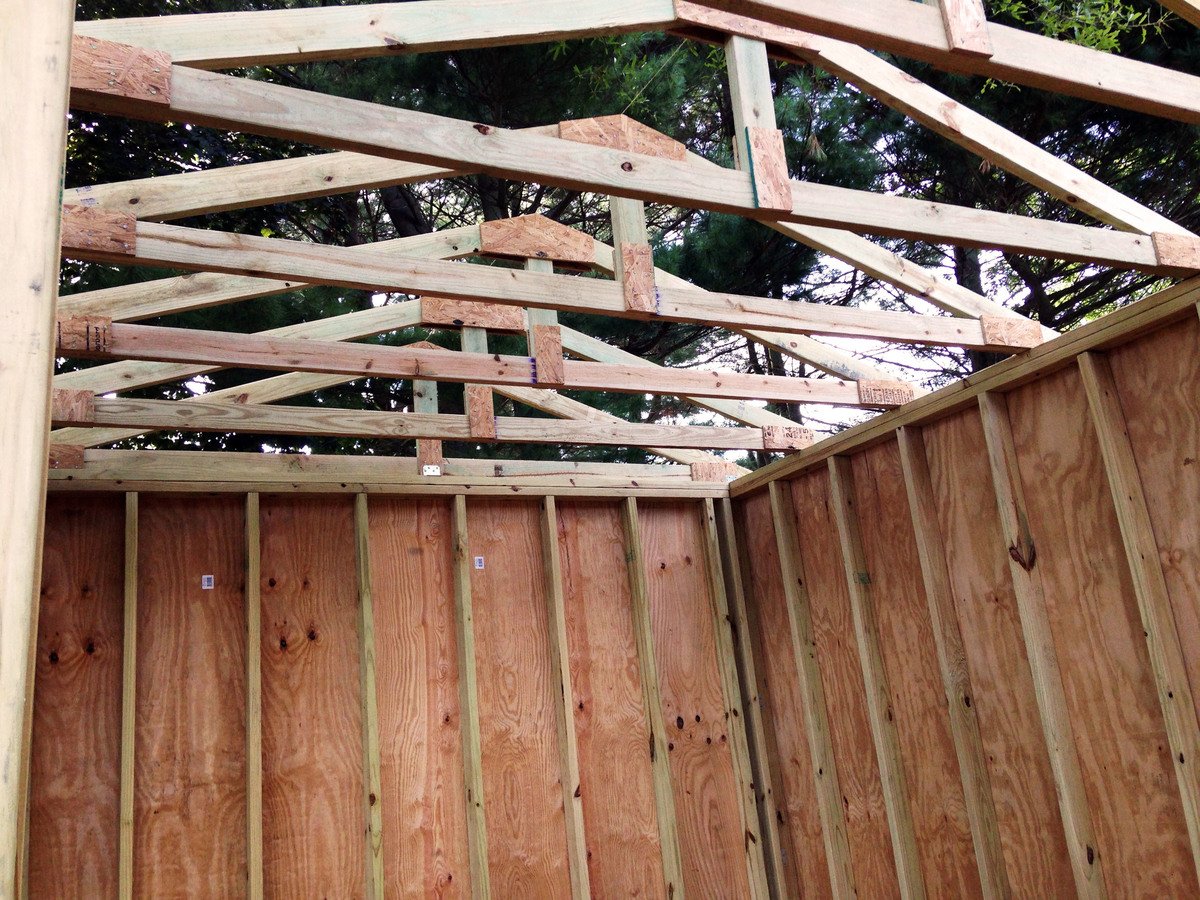
DIY storage shed with mower ramp and steps

Submitted by lookitsash on Thu, 07/28/2016 - 15:29

I used ideas on your site for inspiration for my current back yard shed.  I did a lot of research before choosing one.  If you've never built a shed before from scratch, it can be a little daunting, especially if its a larger shed.  I also documented my whole process from the laying the foundation to putting the last nail on the shingles.  Here's the link for you to my blog post:

http://www.justmeasuringup.com/blog/the-shed-project-phase-1

It was a lot of fun for me, and a huge wow factor to impress my friends ;)  I store everything in there from my riding mower to all my patio furniture in the wintertime.  It's such a useful thing to have.

I spent around $1500 and it took about 2 months to complete (working on it while having a full time job - otherwise would have finished a lot faster)

Estimated Cost
$1500
Estimated Time Investment
Week Long Project (20 Hours or More)
Finish Used
Used T-11 siding with several coats of exterior primer and paint
Recommended Skill Level
Intermediate
Comments

lookitsash

Sun, 07/31/2016 - 17:44

Thanks!   I looked at a bunch of different door trims online and found this pattern that I liked.  The mitre saw made quick work out of it, and it only took about 10 minutes to cut and install.

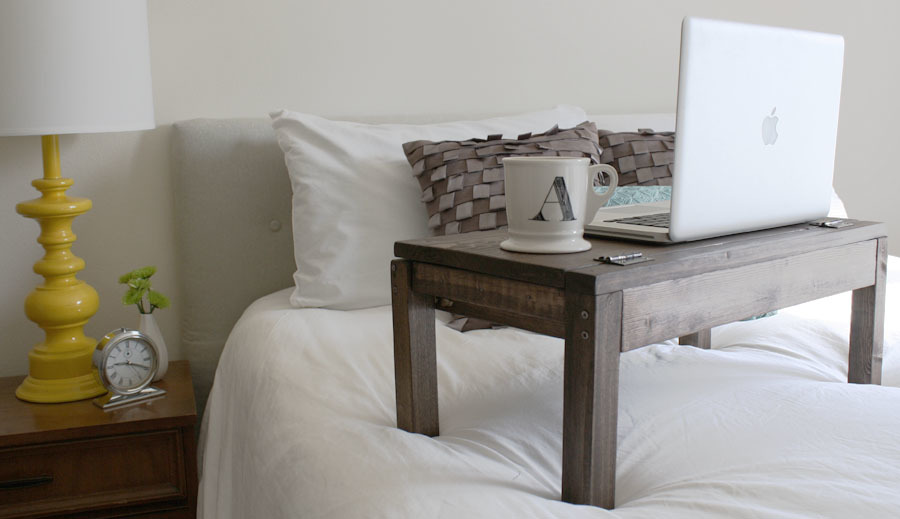
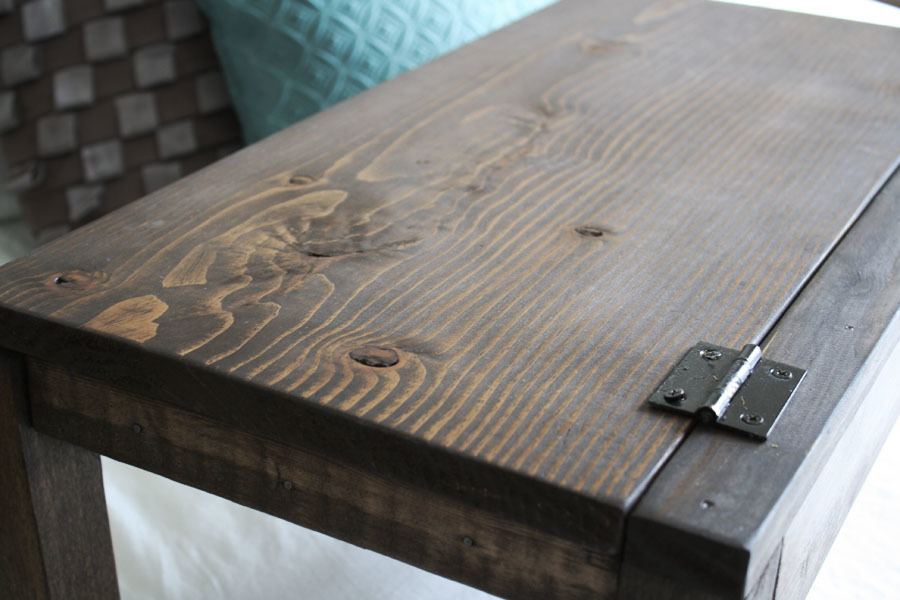
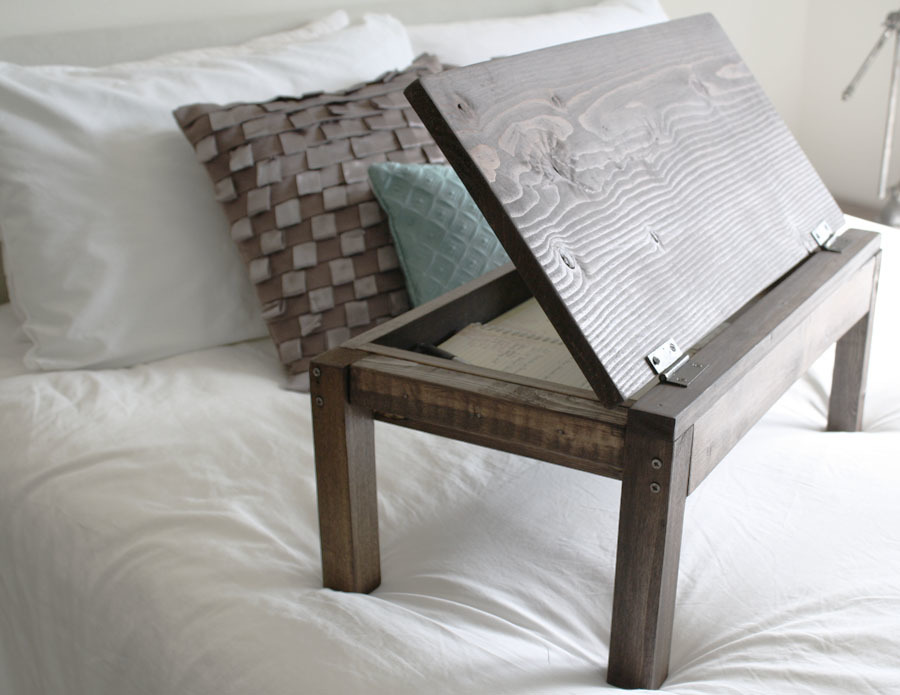
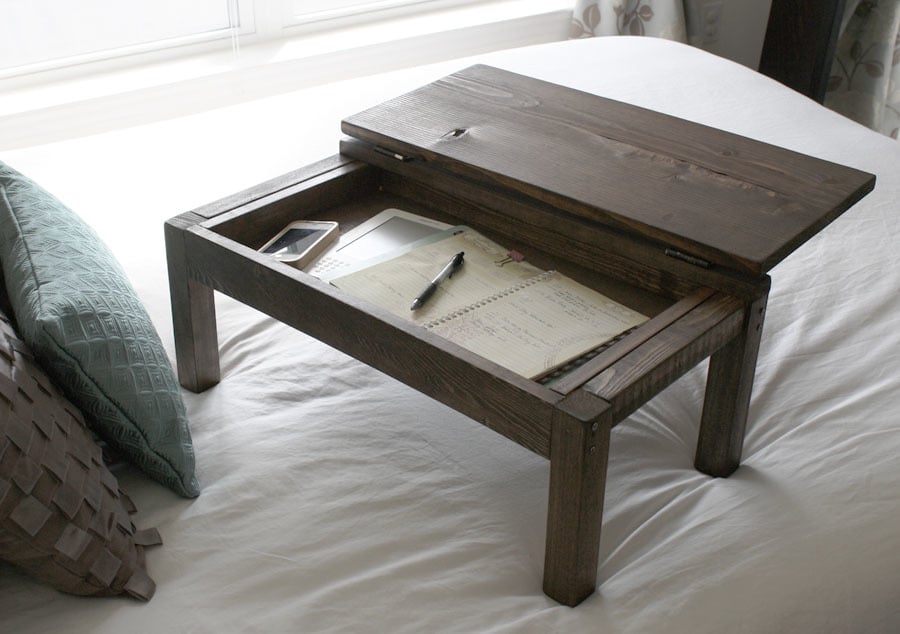
$2.00 Scrap Lap Desk

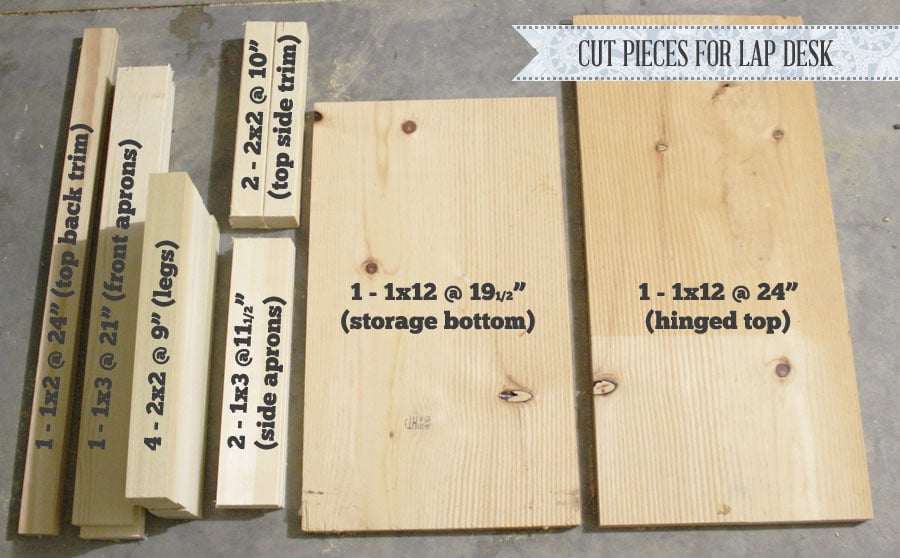
This was a really quick and easy build. I built it with two bucks and two hours with some scrap wood I had laying around. The only thing I bought was a package of 2 standard hinges ($2). Also, I deviated from the plan a little by not including the lower storage compartments (didn't want it to get too heavy), making the legs 4" shorter (so it's more comfortable to use in bed), and not building the storage dividers under the flip-top lid. Check out more info by clicking my blog link!

Built from Plan(s)
Estimated Cost
$2.00
Estimated Time Investment
An Hour or Two (0-2 Hours)
Finish Used
A quick sanding and a coat of Rustoleum Ultimate Wood Stain in Dark Walnut.
Recommended Skill Level
Beginner

Comments

School Library Cart

Submitted by dmfinet on Sun, 05/25/2014 - 19:11

My 11 year old son made this library cart for our homeschool books. He followed Ana's plans with a few changes on dimensions. I love how it turned out, and it is a perfect addition to our school room. We kept the cost low by using some wood and paint that we already had.

Built from Plan(s)
Estimated Cost
$23.00
Estimated Time Investment
Day Project (6-9 Hours)
Recommended Skill Level
Beginner

Sewing Tables

Submitted by sgilly on Thu, 08/02/2012 - 12:58

I have a friend who makes beautiful quilts. She's been doing this by sitting on the floor to cut her fabric and plopping her sewing machine on a wobbly folding table. When she decided to turn her guest room into a dual purpose sewing/guest room she asked me to build her something that would fit into a niche under her dormer window.
The built in table has two large drawers for sewing notions and is supported at the back by a shelving unit with adjustable shelves. She plans to store items that she seldom uses here. They will be accessible, but out of the way and barely visible when she has guests using her room.
I suggested that I also build Anna's sewing table for small spaces so that she use that as a night stand when not in use as a cutting table.
I usually don't finish projects I build for others - I'm just not good at it! But, my friend asked me to put a finish on it. She picked out the Minwax polyshades product, and I have to tell you that it was a nightmare! (You can read about that here: http://thewidowsworkshop.blogspot.com/2012/06/lessons-learned-again.html)
I ended up using a stripping product to remove that finish. The final finish, just a stain and rub on poly, turned out beautifully!
Installation was also a challenge, but using brute force - and a hammer! - I was able to fit it between those very out-of-square walls!
She's happy, I'm happy to be done!

Estimated Cost
$150 for both
Estimated Time Investment
Weekend Project (10-20 Hours)
Finish Used
Originally, Minwax polyshades, had to strip that off. Then I used Minwax wood finish in Colonial Maple. I applied 3 coats. Then I used Minwax rub on poly in semi-gloss and applied 3 coats of that (following directions for dry time and sanding). I finished it off with a minwax polishing wax to give it a really nice smooth finish.
Recommended Skill Level
Beginner

Washer and Dryer Pedestal

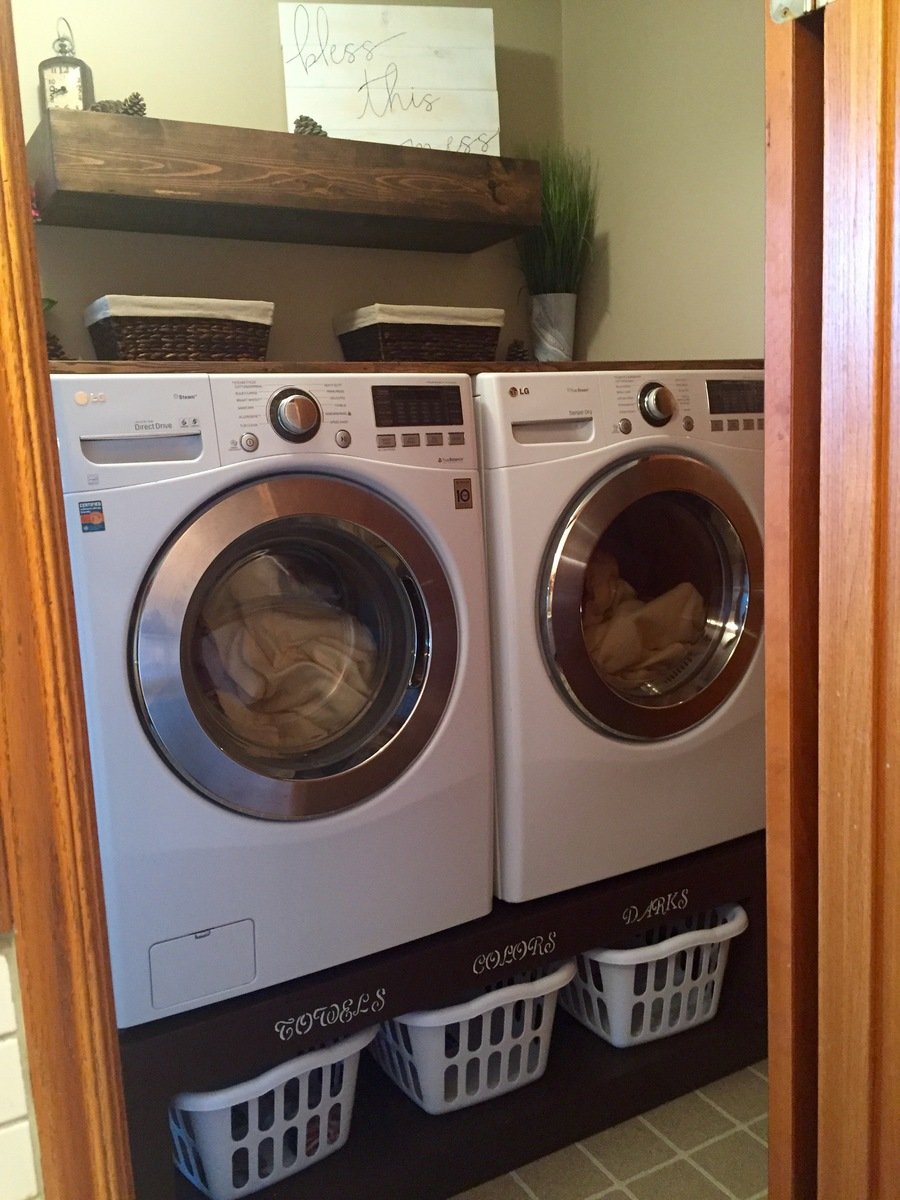
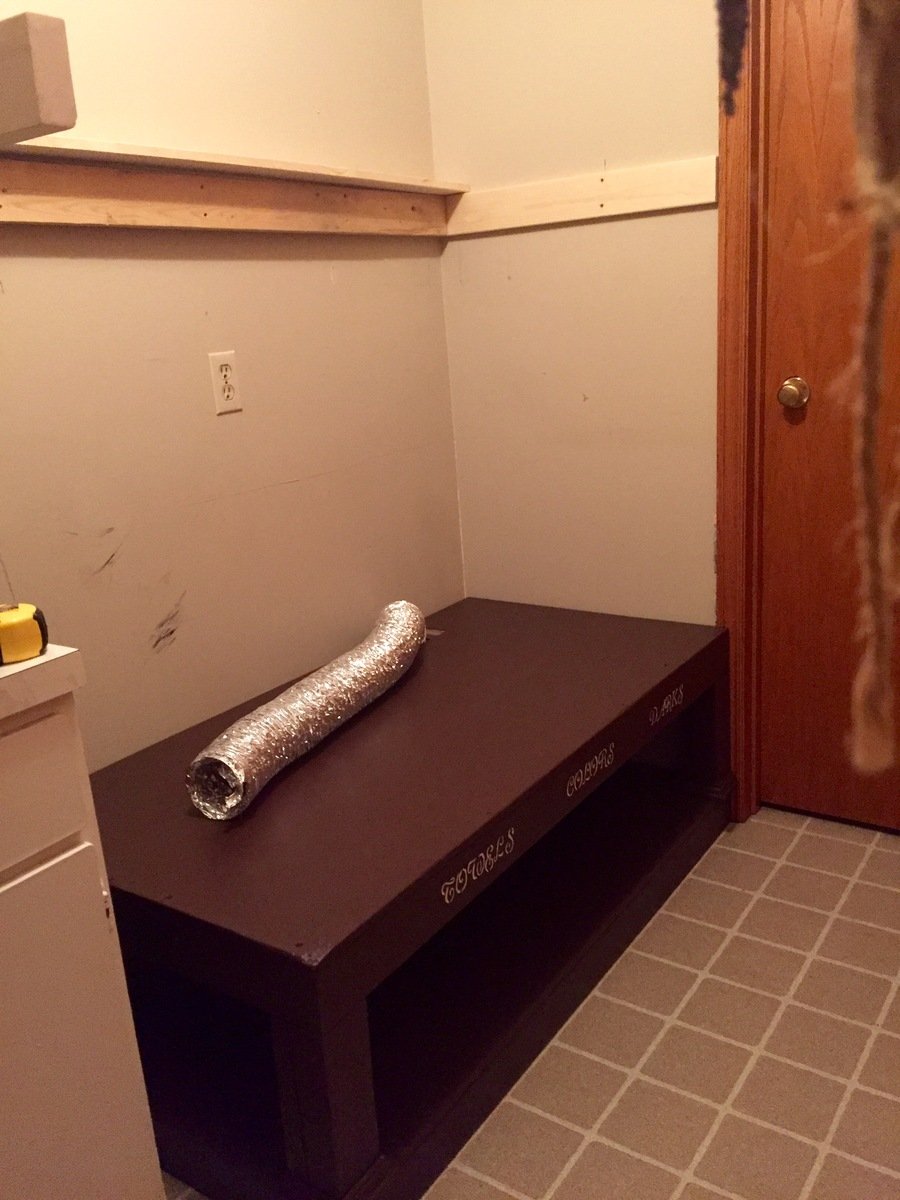
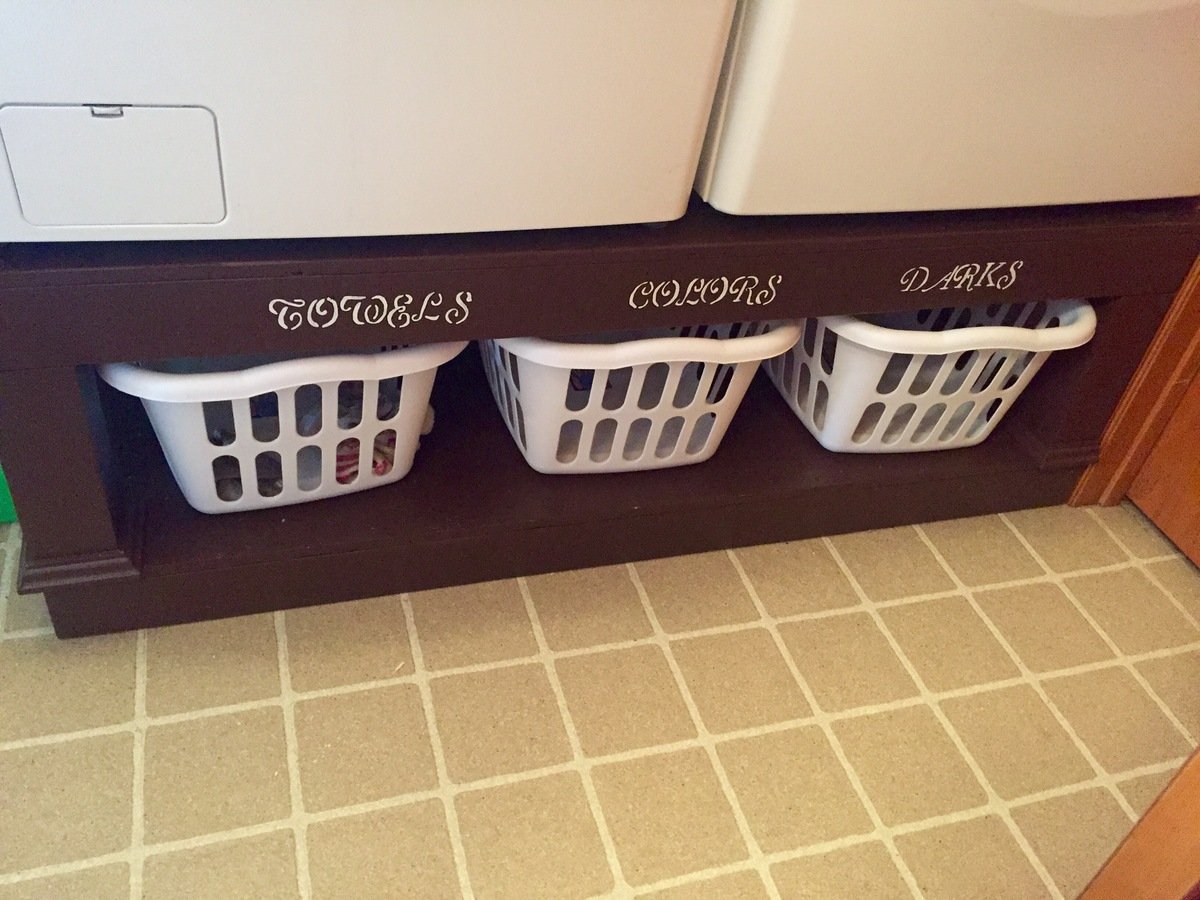
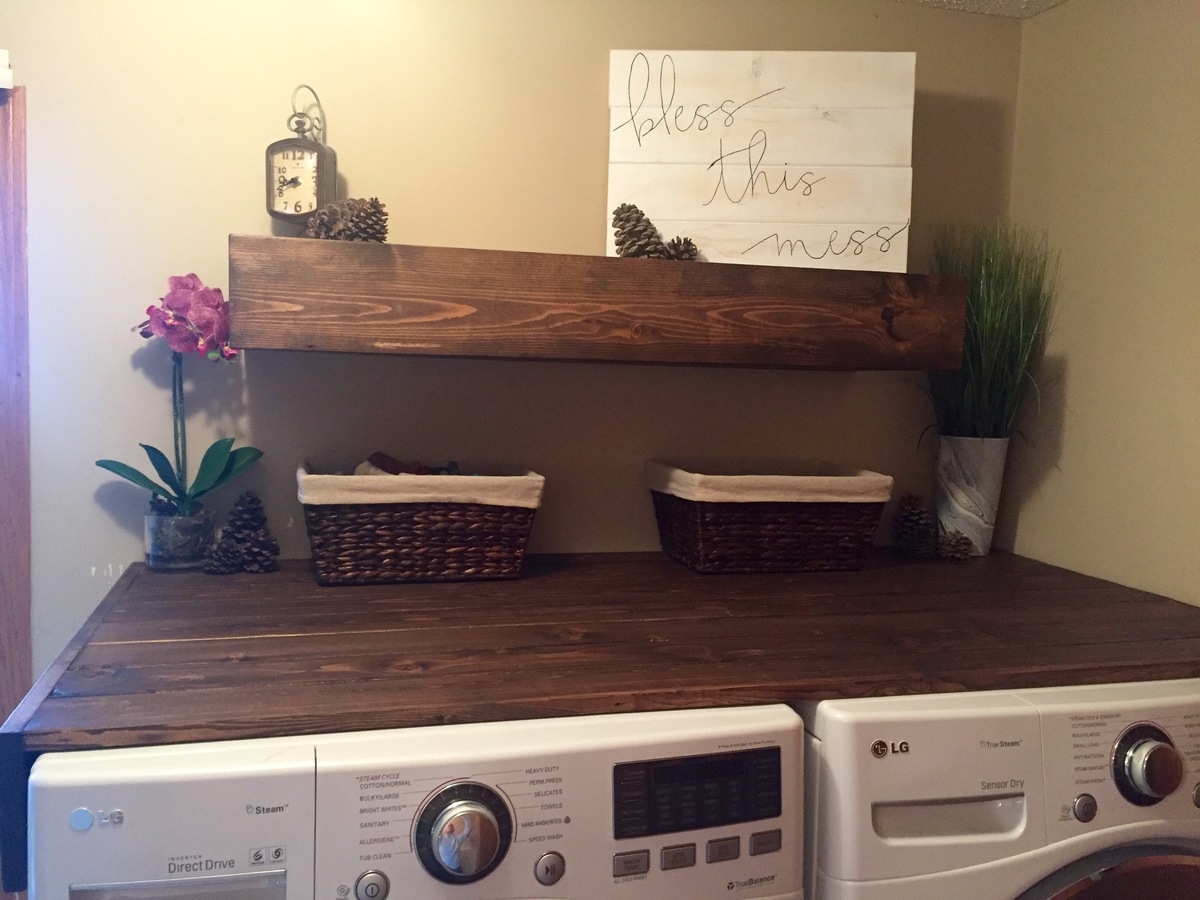
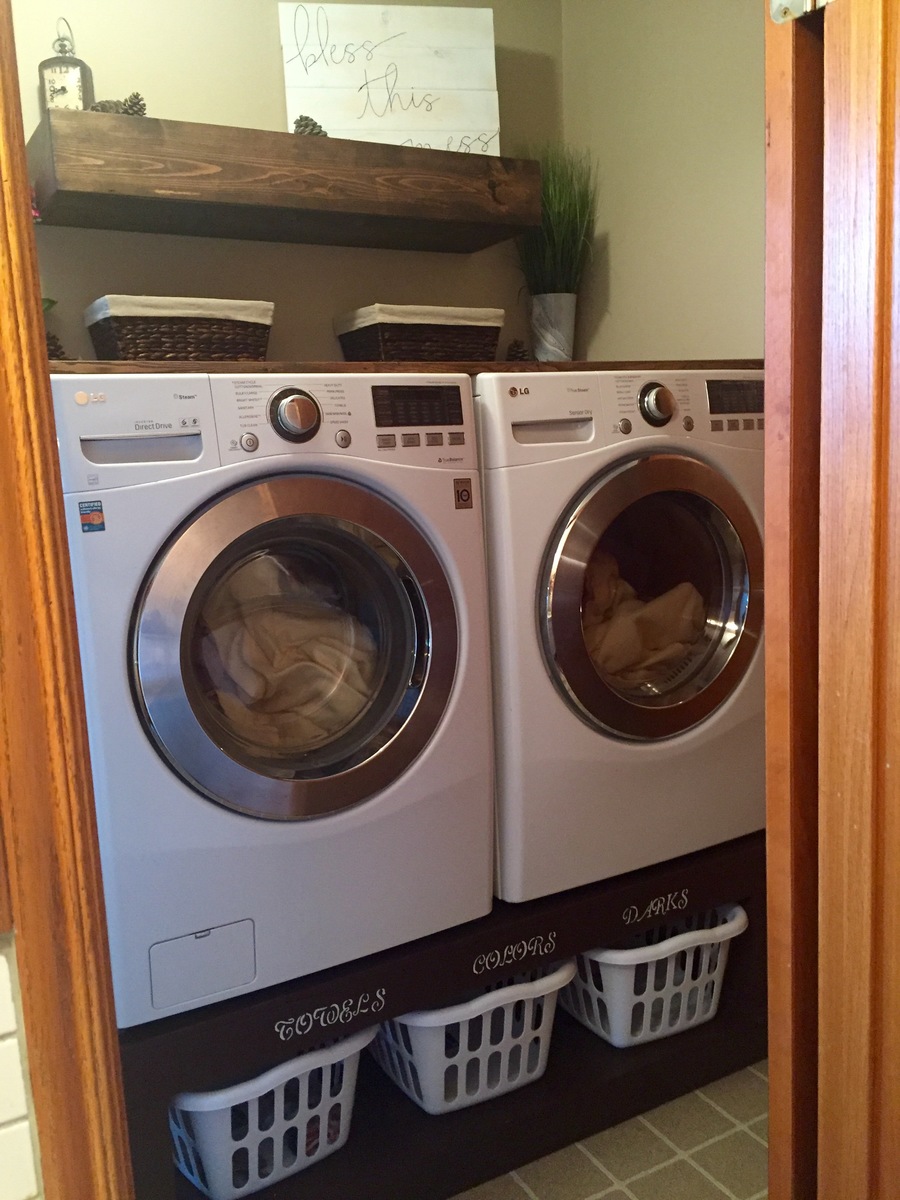
Found these awesome plans from Ana's site here and thought I could definitley make that!  My mother needed a new laundry room makeover so it was the perfect opportunity.  I made my stand only 56" long to fit perfectly into the spot.  Which still allowed enough room for washer and dryer to be on there and enough room if they shook a little.  I had to adjust my plans as I wanted it to fit snug against the wall but needed to allow for the dryer hose to connect to wall so I cut out a 4.5"x 5" spot on both the bottom and top platforms to allow for hose and cord to plug in.  I put in extra supports going vertically and horizontally to replace the strength for the holes being cut.  The result was perfect!


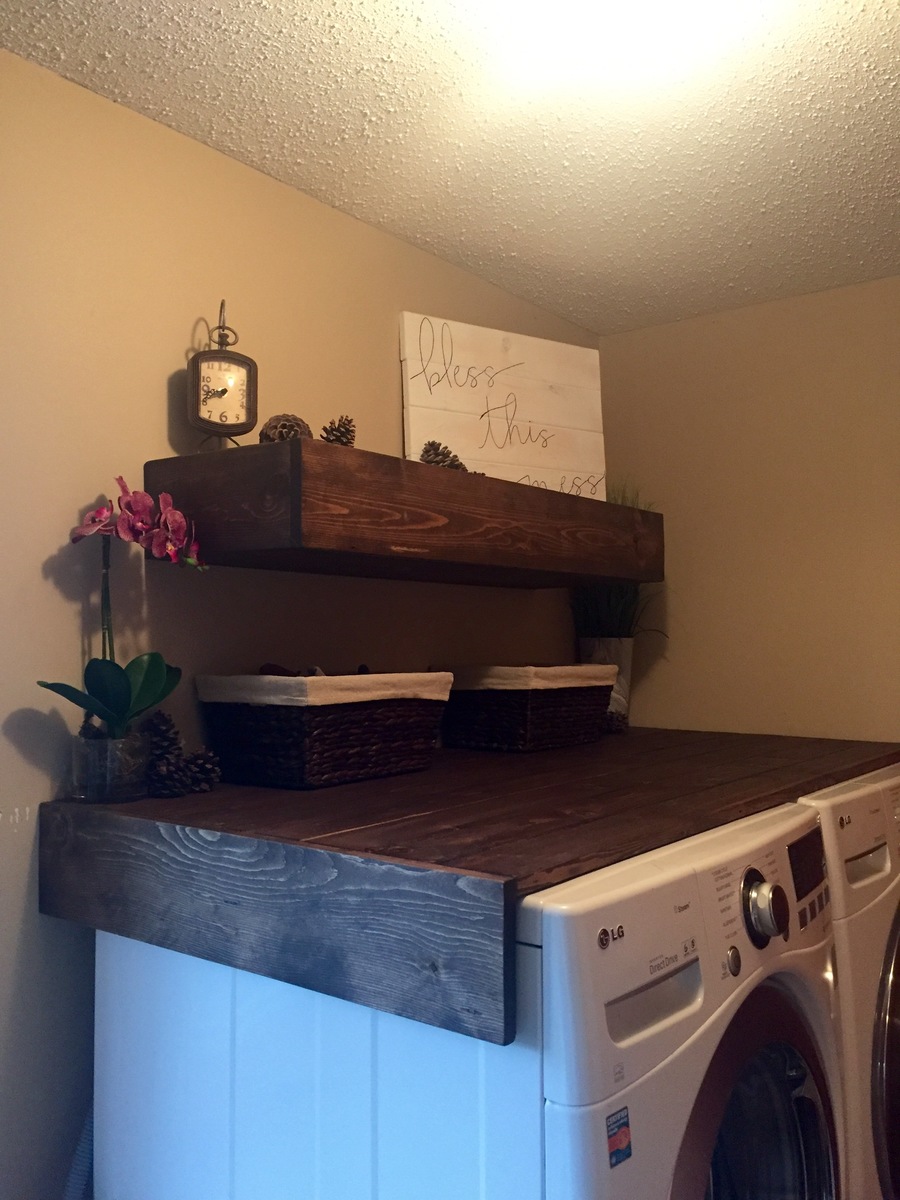
I got creative and added a floating rustic tabletop to the washer and dryer to make the space useful and also added a floating shelf above that.  Both stained in a dark walnut.


Happy builder right here!!!

www.facebook.com/RW.Creations.Blackfoot.AB

Estimated Cost
$150
Estimated Time Investment
Weekend Project (10-20 Hours)
Finish Used
Painted a dark chocolate brown and sealed with
Recommended Skill Level
Beginner

Outdoor Wooden Cooler

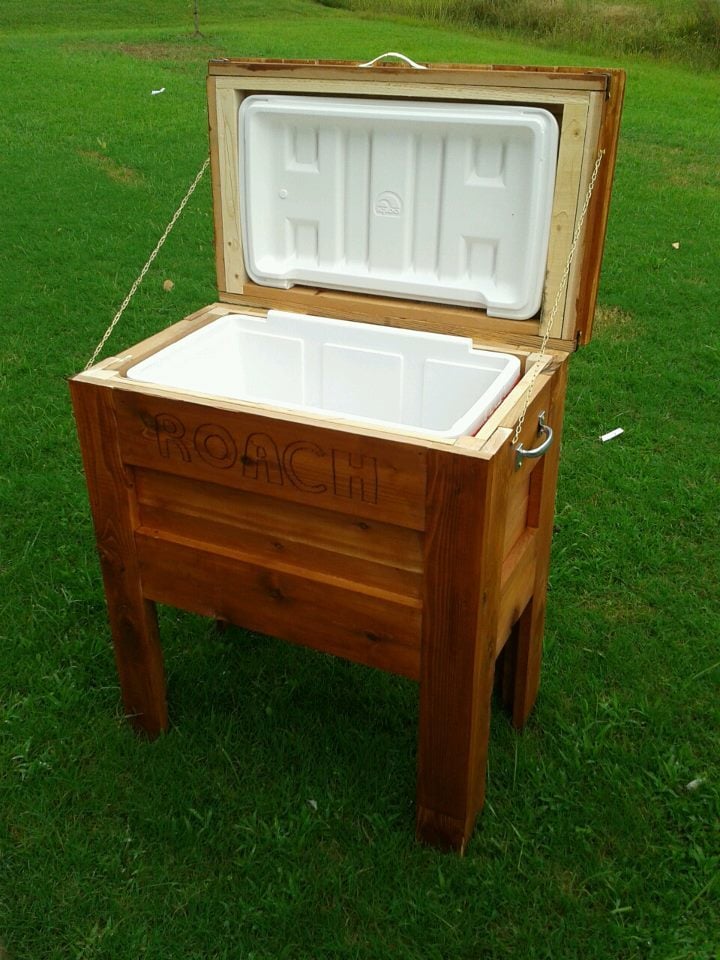
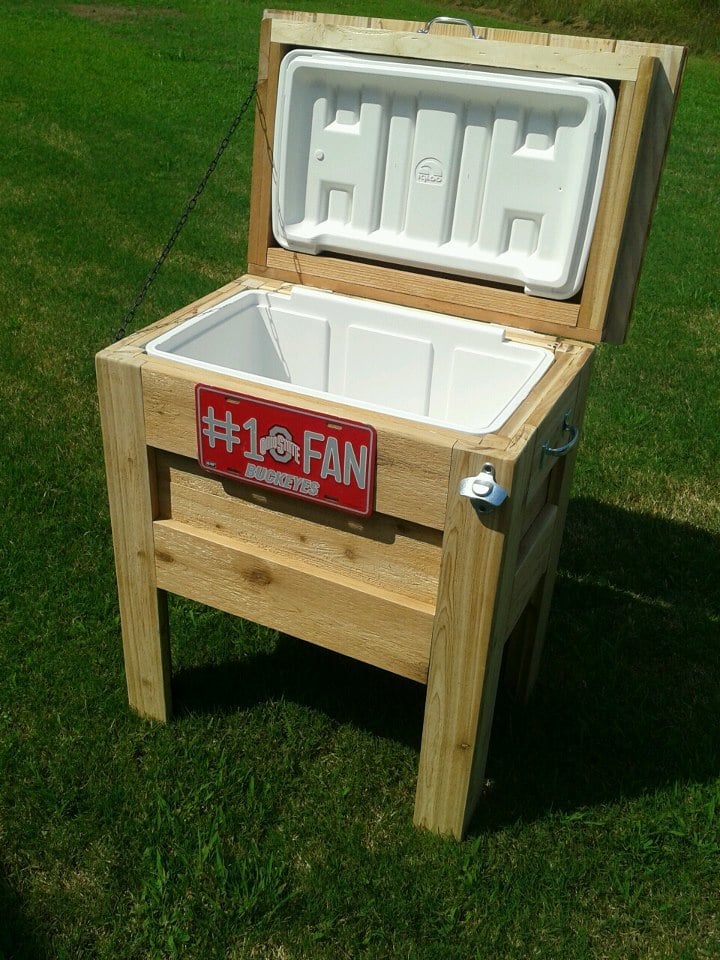
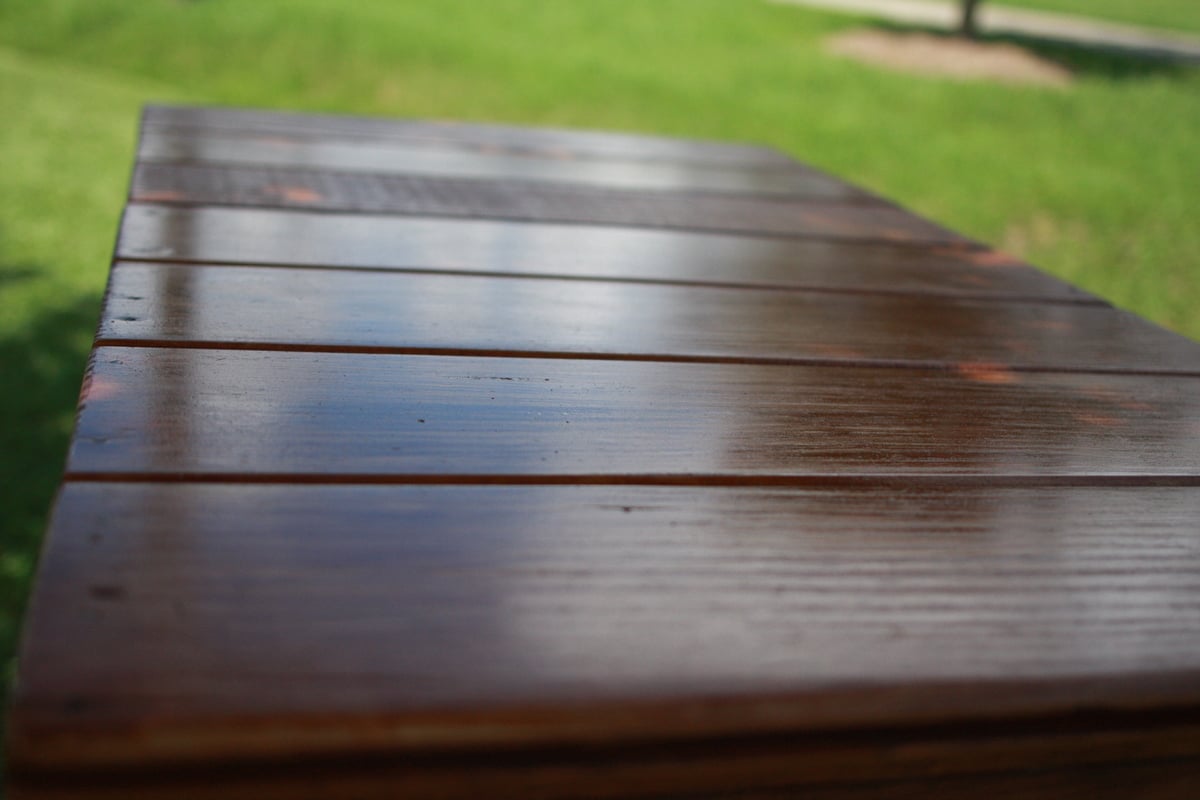
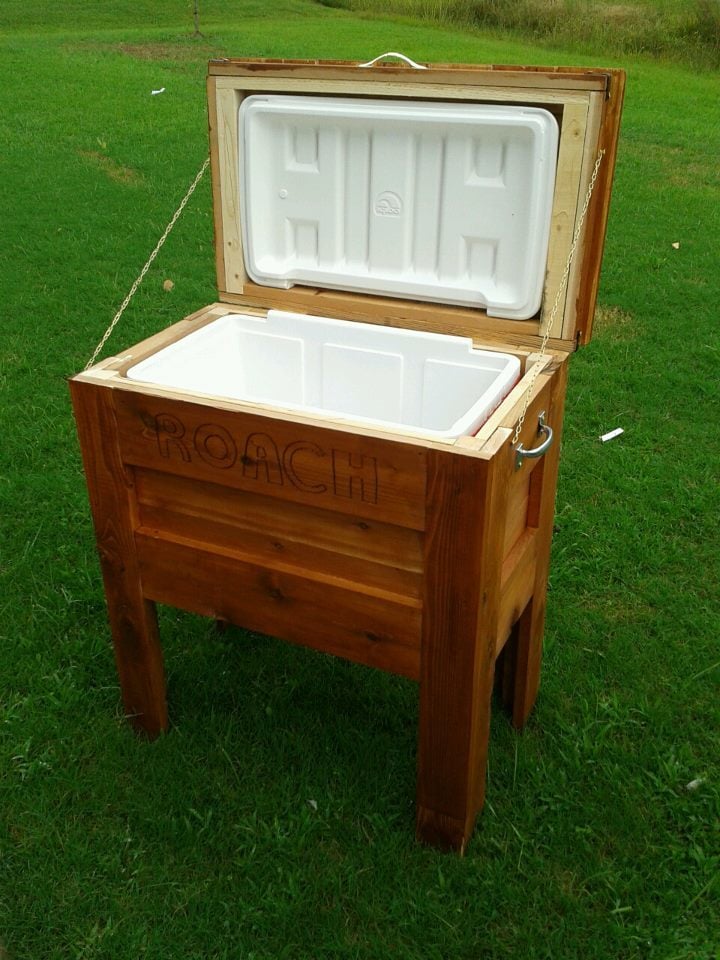
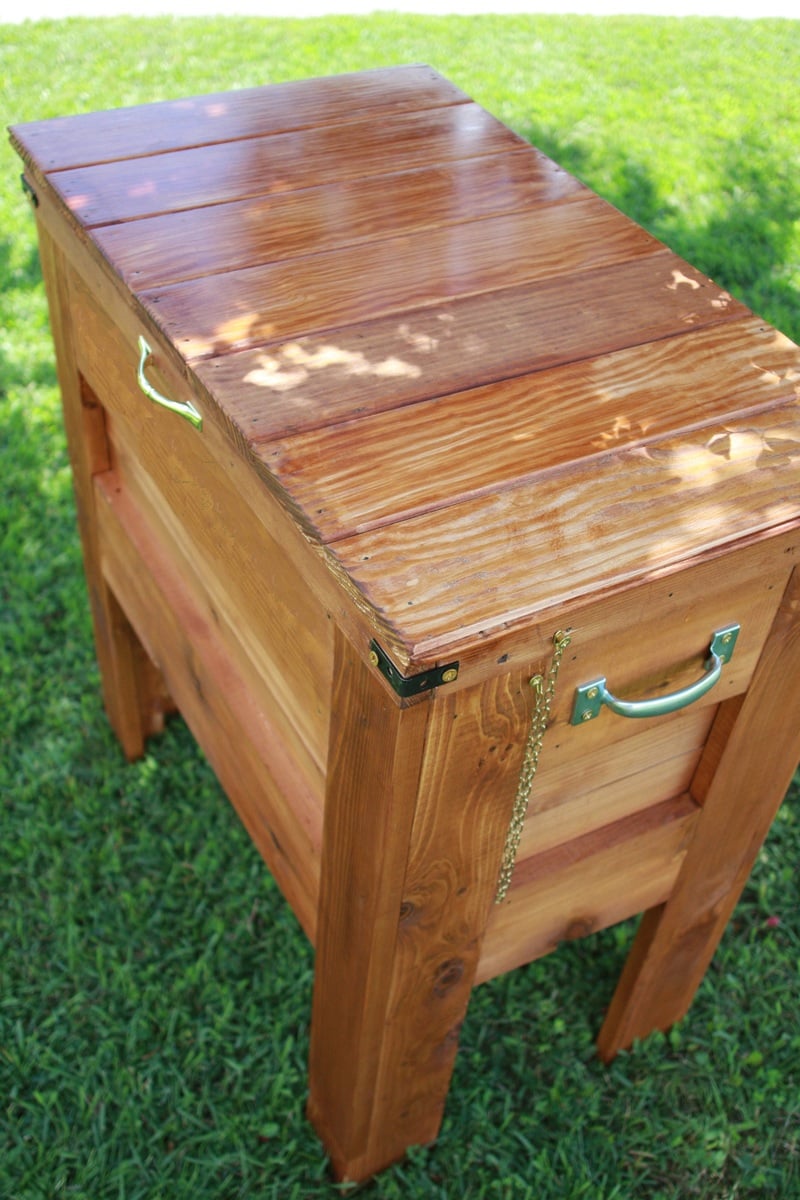
An Outdoor Wooden Cooler is the perfect way to accent any deck, patio, or garage. Can be made from Cedar, Pressure Treated, Cyprus, etc. Sizes can vary from small 28 qt coolers to Large 120 qt coolers capable of holding hundreds of drinks. These coolers can be themed for your favorite sports team, favorite hobby, or anything of your choice. Engraving or wood burning is available.

Built from Plan(s)
Estimated Time Investment
Weekend Project (10-20 Hours)
Finish Used
Stain, painted, distressed, etc.
Recommended Skill Level
Intermediate
Comments

sgilly

Fri, 08/31/2012 - 09:52

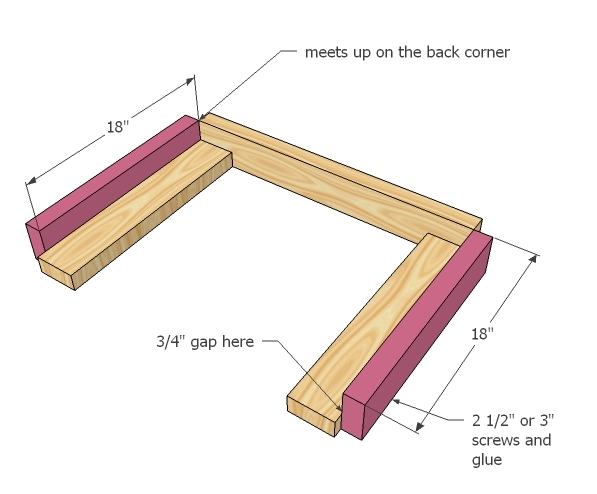
Well, actually, two. My beer loving son-in-laws would love this, and Christmas is coming! Do you happen to have any "step-by-step" directions you'd be willing to share? I can figure out the dimensions but it would be really helpful to read - or see - the components and how you put it all together.
Thanks for sharing!

Adam_Scheetz

Fri, 09/28/2012 - 11:41

I had to make a new page because of some password issues. Thanks for comments. I have no plans yet, I've built so many it's sort of muscle memory now. Shoot me an email at [email protected] and perhaps I can help.

And no, the lid style I like is nothing more than some tongue~n~groove boards cut to length, attached with pocket holes and nailed to the lid frame. Tongue~N~groove is optional of course, you could just use regular boards.

sgilly

Fri, 09/28/2012 - 11:58

I really appreciate your response. And, I did indeed send you an email!
I have a bunch of cedar milled and planed by one of my son-in-laws. He'll be thrilled to see that I've made something he can use for his favorite beverage!
Back