Community Brag Posts

chicken boxes that work!

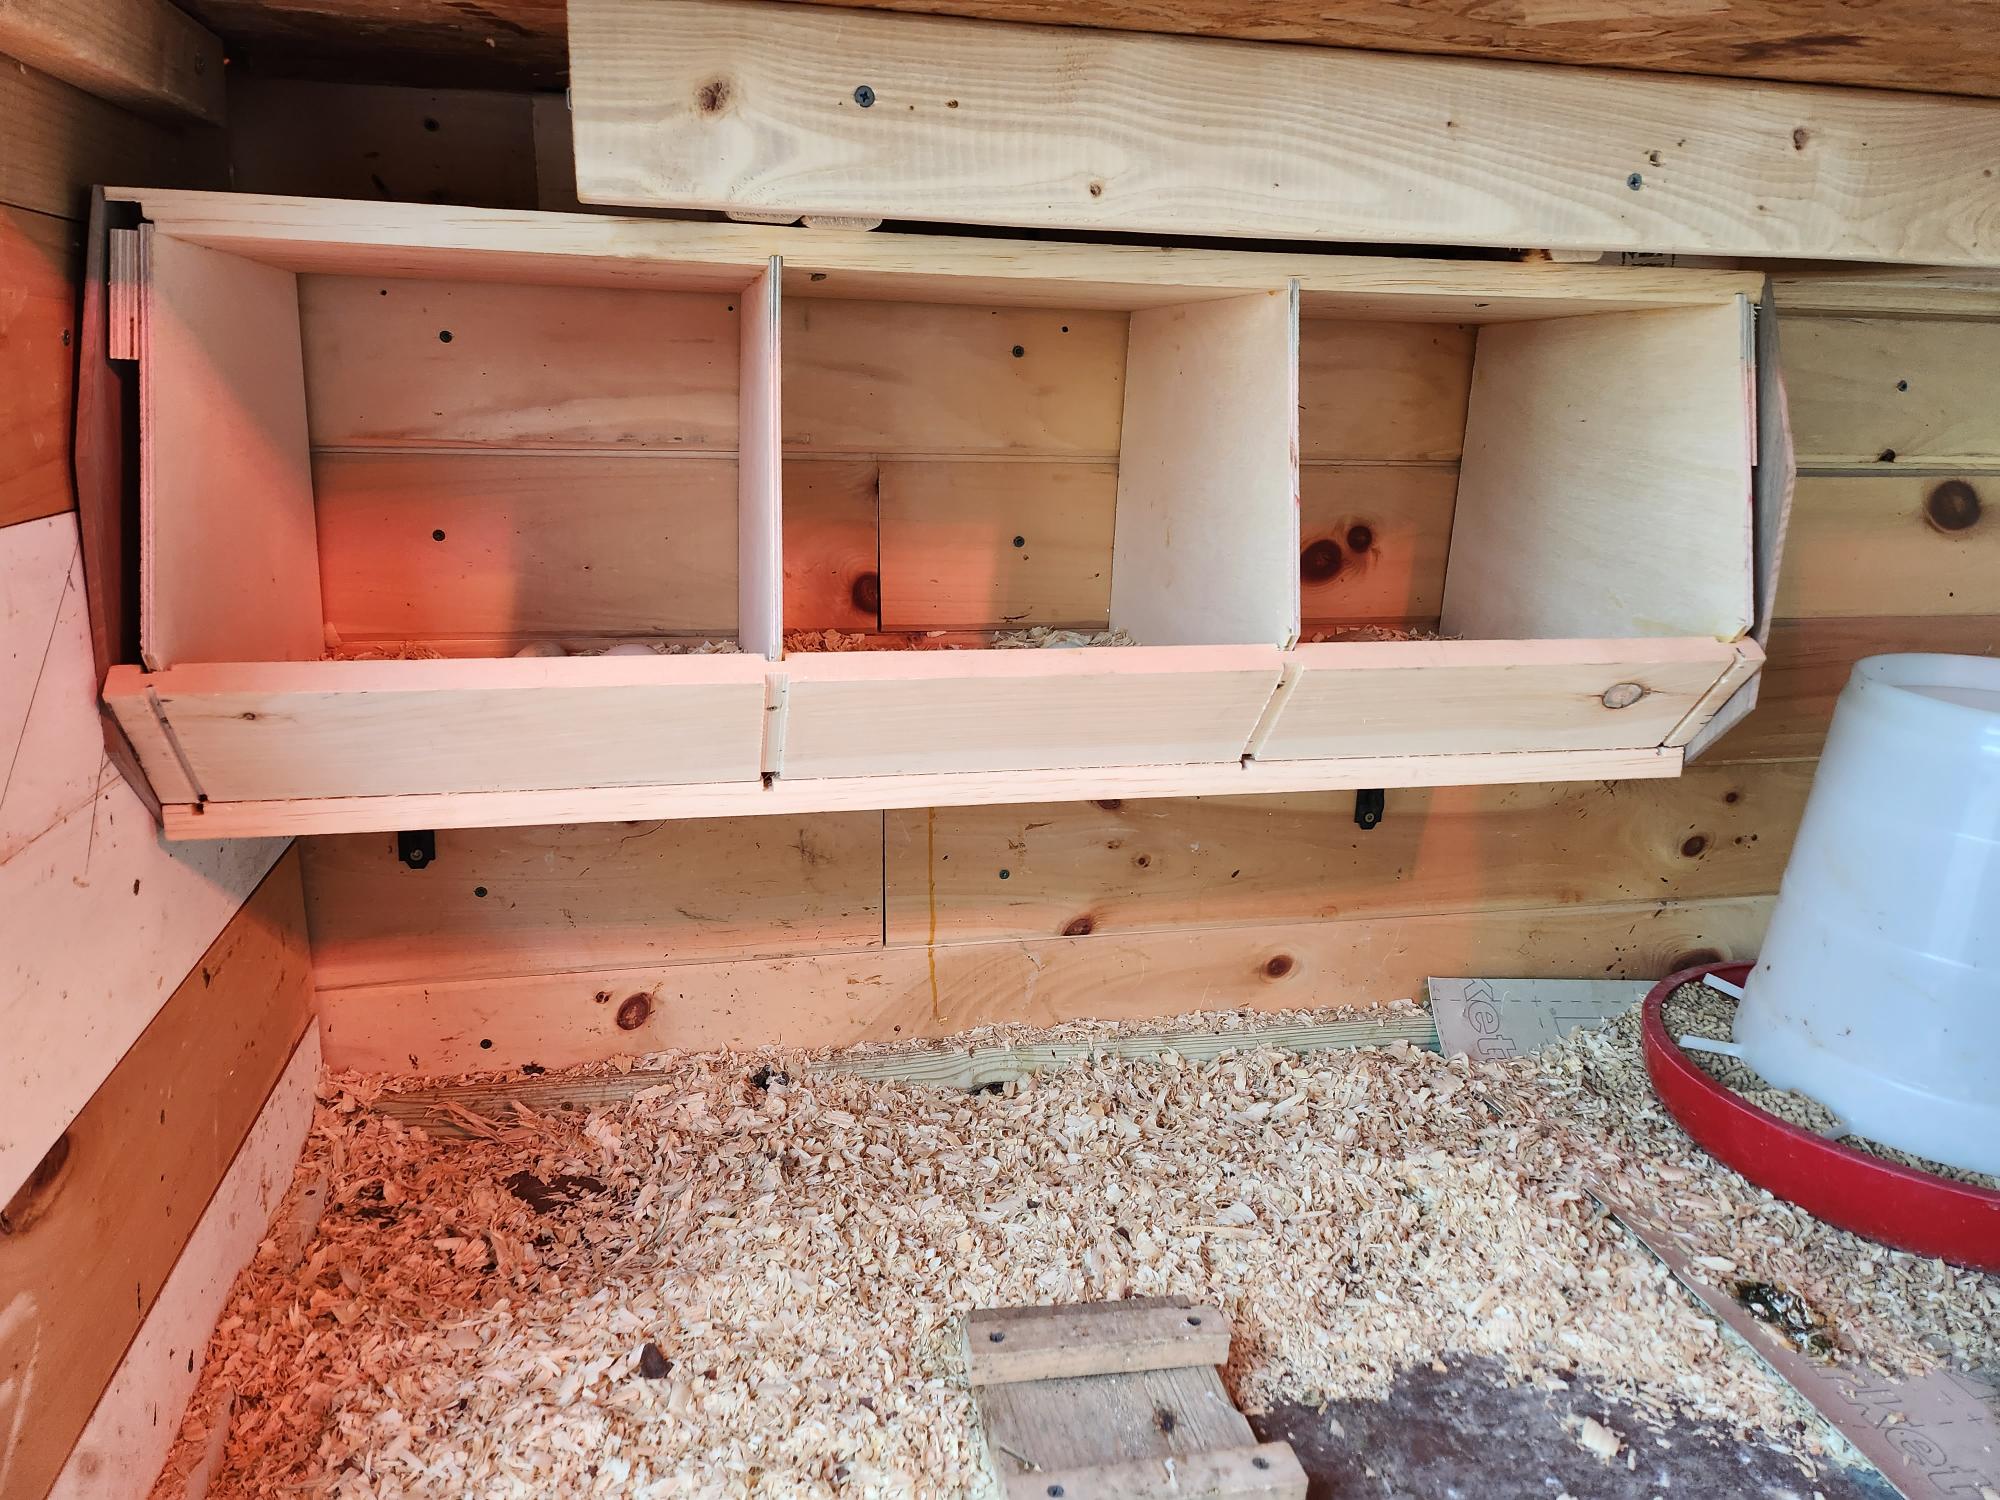
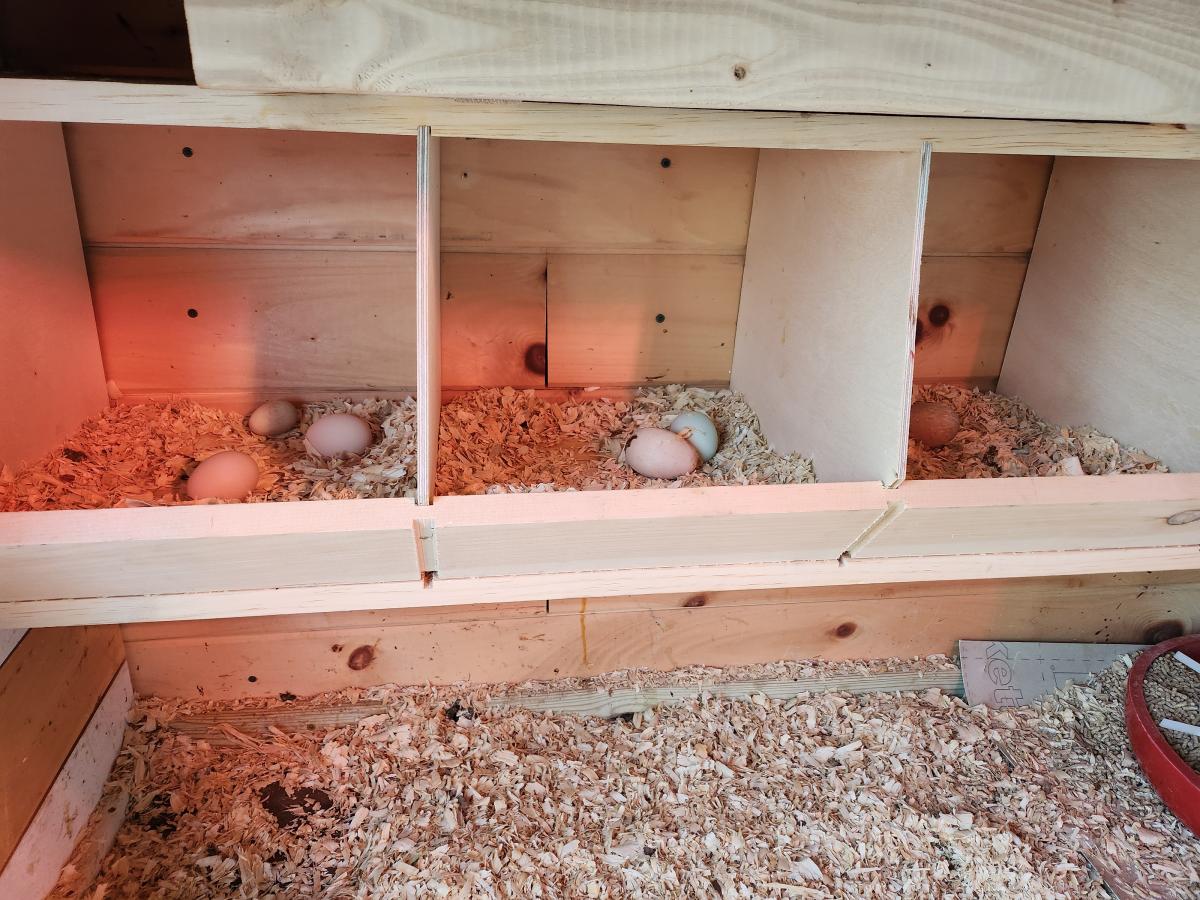
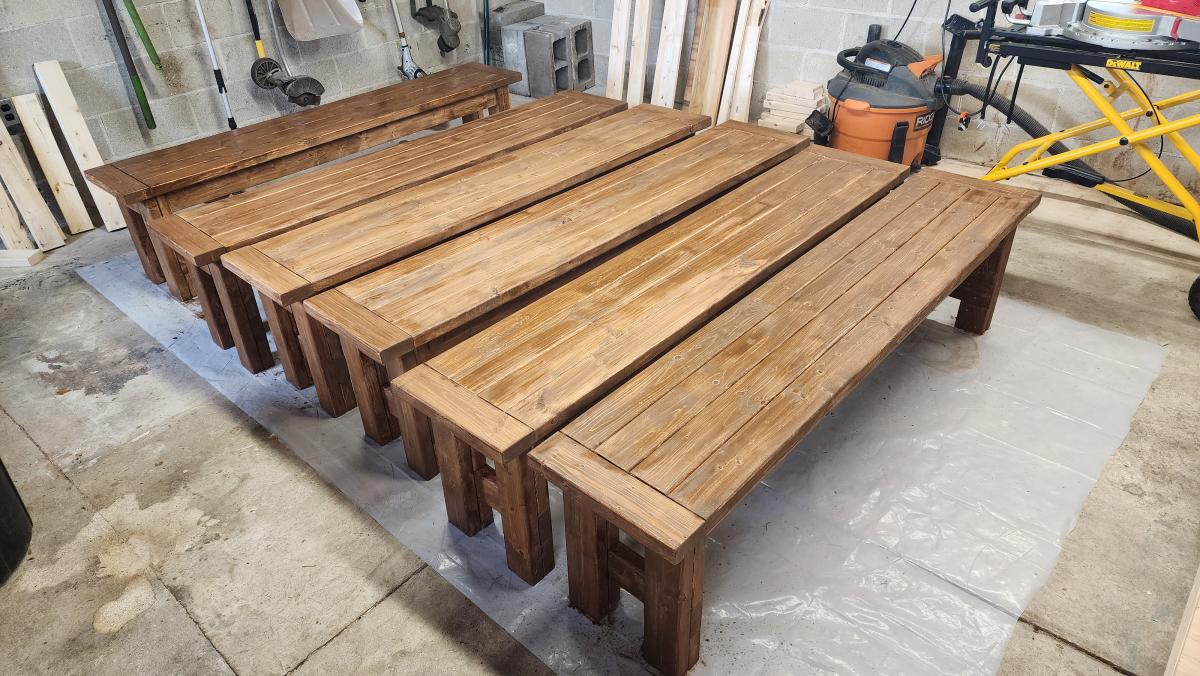
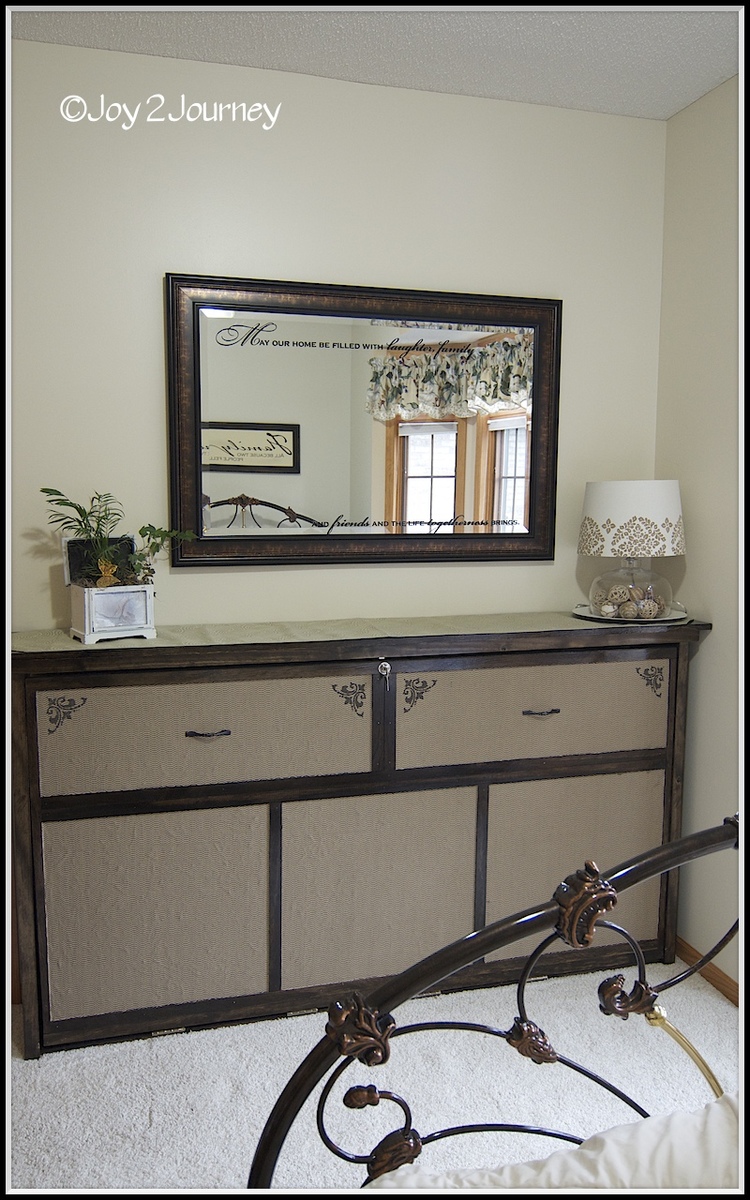
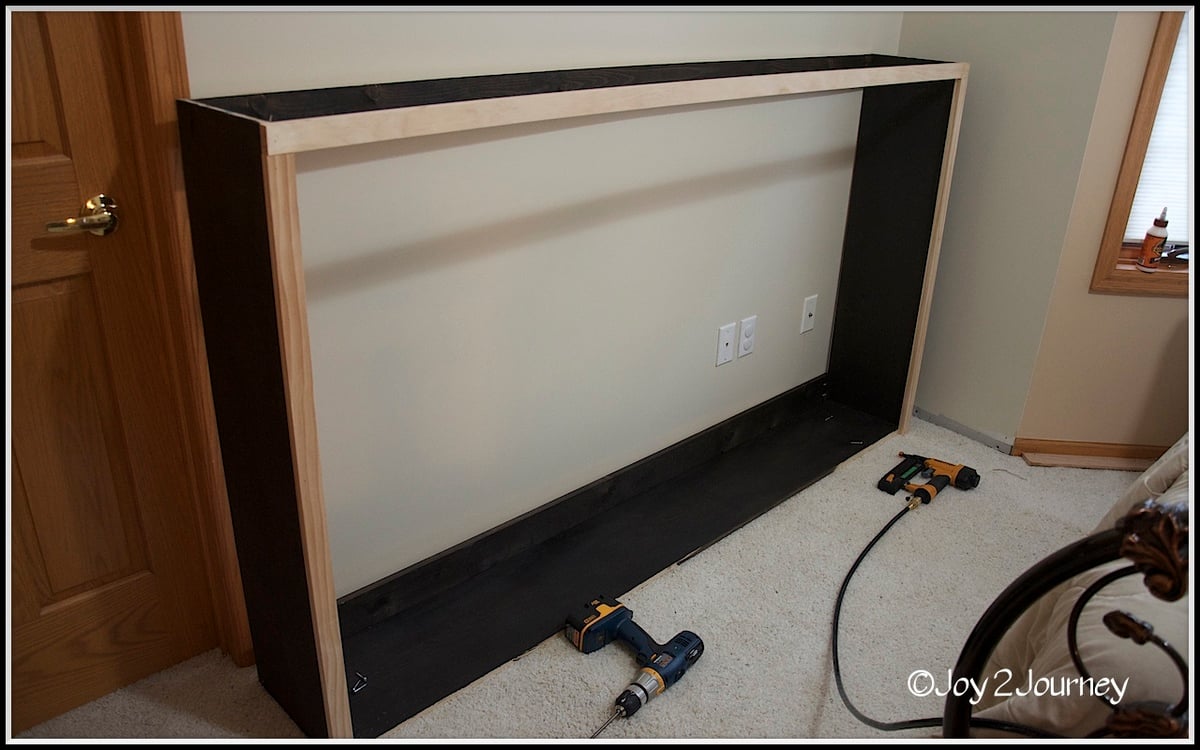
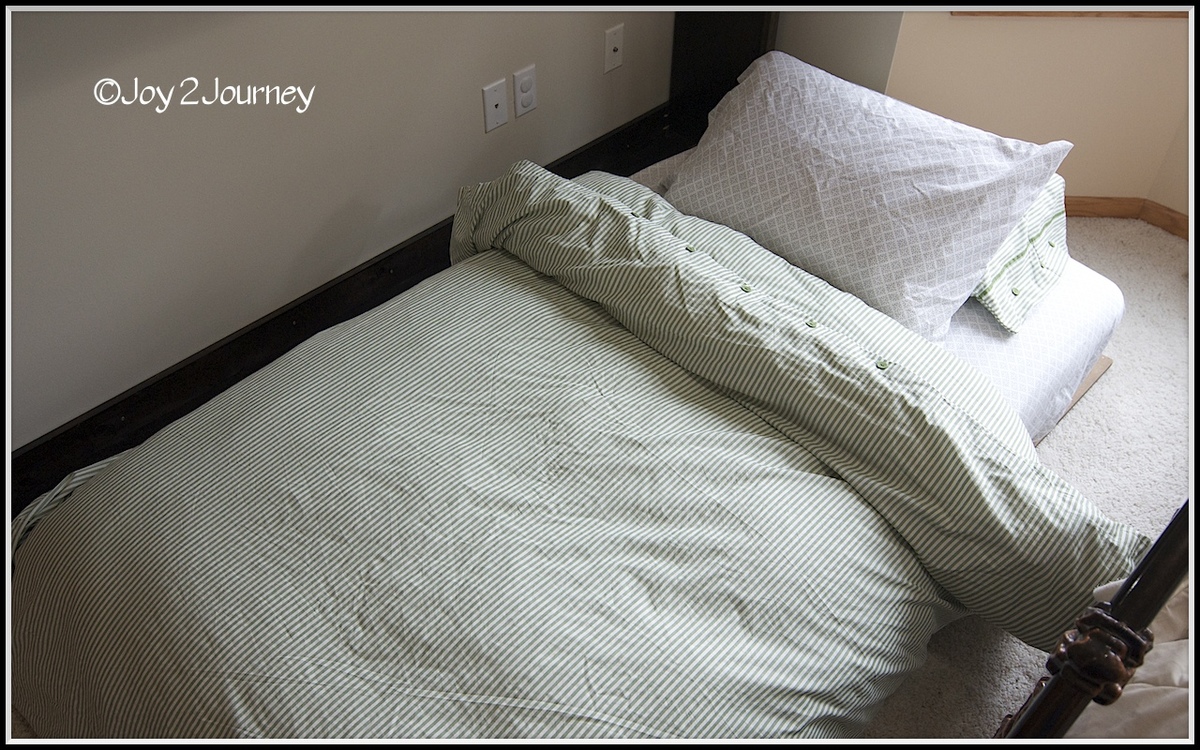
I have tried all sorts of nest boxes. No one ever used them. I decided to make the one from Anna White's site. I used joinery to attach the various pieces. The best thing of all: I find girls sitting in the boxes and take eggs from them. It really is awesome. I got a photo with real eggs and you can also see the wooden eggs to entice them to try it out. Thank you so much! I will build another one for the other side of the the wall.

Built from Plan(s)

Comments

Stick on organizers for dresser drawer

Submitted by Ana White on Thu, 04/27/2023 - 12:58

I used the stick on drawer organizer tutorial to divide a giant dresser drawer

With the divider, the drawer can hold more and is so much neater and easier to use

i love there is ZERO planning or sourcing of dividers with this method  just have the basic materials on hand, open up a drawer and get it done  


Modified Modern Park Bench

Submitted by Anonymous (not verified) on Sat, 08/03/2019 - 16:06

I used the Modern Park Bench plans and modified the size for our patio space. I also modified the bottom and used 2x2’s to give it a different look.

Built from Plan(s)

Vertical Shoe Rack

Submitted by Anonymous (not verified) on Sat, 05/06/2023 - 14:12

I needed a shoe rack that would work for our limited space and the Laundry Tower that was on the brag post caught my eye. It was modified from the Open Frame Laundry Basket Organizer. This shoe rack is working great for our family now! Thanks for this community!

Comments

Entertainment Center

Submitted by azca33 on Mon, 01/09/2012 - 18:48

My wife and I decided it was time to give our new TV a home. We began looking on ana-white.com and saw a beautiful black entertainment center. That is where I received my inspiration. It is a very similar design however, I decided to change the color and add inset doorsand drawers.

Everywhere we looked for an entertainment center, it was either too pricey, or the measurements were not right. I decided to come up with a plan for an entertainment center that would fit perfectly into our little niche.

Estimated Cost
650-700
Estimated Time Investment
Week Long Project (20 Hours or More)
Finish Used
Dark Walnut Stain/White Latex Paint
Recommended Skill Level
Intermediate

Comments

Jana Thomas (not verified)

Mon, 01/23/2012 - 12:28

I LOVE your entertainment center....exactly what we are working on as we speak. Ours will be a little larger (12 foot wide) after adding on two end shelves to hold lots of DVD's!! I know I want the white color, but could you give a little more information on the distressing and finishing? We've never done that before. Thanks!

azca33

Mon, 01/23/2012 - 17:59

Hey Jana,

What I did was kind of a pain. To give the entertainment center the distressed looked, I stained all the areas that we were going to distress a dark walnut. After we allowed that to dry, we painted it with white latex paint. Since we were painting over a dark walnut stain, it took about 3 coats to completely cover the color. After 24 hours of drying we sanded it with 100 grit sand paper on all the areas we wanted distressed. You will want to lightly sand it until the dark walnut color comes through. Avoiding sanding too hard as you will sand through the stain.

We still have some distressing that we would like to do on it, but we need to get a wire sponge for that, and just haven't gotten around to it. The sand paper works really well on corners, but not so much on the face of the wood. We haven't sealed it completely since we still have some areas to distress, but will use a water-based sealer.

Let me know if you have any other questions.

davidmac (not verified)

Tue, 01/24/2012 - 14:15

It looks great. How did you attach the side units to the middle unit? Are the drawer fronts just solid 12" x 12" with the decorate trim attached to front? I can't tell if the portion where the handle is attached is recessed or not. And lastly, are those 1" x 3" trim pieces around the drawers?

azca33

Tue, 01/24/2012 - 16:46

Hey Davidmac,

The trim is all 1x3 solid pine, including the trim around the drawers. The drawers measure out to 10x10. I built the drawer faces the same way I built the cabinet doors. I used 1x3 trim and dado'd a 1/4" groove to inset a 1/4" piece of plywood. I then added molding to give the drawers and cabinet doors a more detailed look, so it is recessed where the handle is attached.

The side units are attached by 1 1/4" screws that are hidden behind the trim. Easy access to remove for any future moves.

Jeff (not verified)

Sat, 01/28/2012 - 22:15

Are there actual plans for this? I just see it in another brag post. but no actual laid out plans.

Guest (not verified)

Sun, 02/19/2012 - 19:22

Where can I find plans for this. Beautiful.

azca33

Fri, 03/23/2012 - 09:24

Unfortunately, there isn't a set of plans for this entertainment center on the site. I looked at the Entertainment Center for Kristen Lotz and built my own plans according to her pictures, with a few adjustments. If you have any questions, I will be more than happy to help you out.

Kristen Lotz (not verified)

Tue, 05/29/2012 - 17:32

I just checked in onto this site for the first time in awhile and I saw your entertainment center. I knew you must have gotten inspiration from ours... I love how yours turned out! I love the white, I love the distressing, and I love the inset doors and drawers with all the details. It turned out absolutely beautiful. Good job!

azca33

Mon, 06/11/2012 - 12:21

Thanks Kristen and thank you for the inspiration. When I saw yours on ana-white, I knew that is what I wanted in my living room. I also thought it was genius to put the DVD Player etc... up higher so the kids can't play with it. We are really happy with it.

kristenlotz

Mon, 12/31/2012 - 14:20

I finally got around to making the plans for our entertainment center (well, actually my husband did it). It is very similar to yours except the inset doors and drawers, the door and drawer trim and the finish colors. Hopefully that helps those looking for plans for this beautiful entertainment center. I love finding brag posts of similar entertainment centers because they are absolutely beautiful at a fraction of the cost of buying one. And we love telling people that we built it!
http://www.jrlwoodworking.com/2012/12/furniture-plans-custom-entertainm…

Andrea Miller (not verified)

Mon, 01/07/2013 - 12:26

Did you do an under coat or did you just add stain to the sanded areas? Love the look.

Home for the Fridge

Submitted by Anonymous (not verified) on Sun, 02/14/2016 - 07:42

I used this plan to build this cabinet space around the fridge. Before this was built, we just had a small dinky counter space and the overhead cabinet. I had to make a few minor adjustments in order for it to fit in the space.

Built from Plan(s)
Estimated Cost
$200
Estimated Time Investment
Week Long Project (20 Hours or More)
Finish Used
sanded, primed, and painted - Sherwin Williams Pure White.
Recommended Skill Level
Intermediate

Comments

Industrial Coffee Table

Submitted by Anonymous (not verified) on Tue, 02/16/2016 - 12:24

I was seeing this coffee table everywhere so I knew we had to make it. It's the easiest build ever. I think the only tricky part is the painting near the edge. We like a more sanded/finished top. We tried spray painting the base and then attaching the top, but then we sanded the top and the spray paint on the base near the top came off, so I had to cut in and I'm not good at that.

So we're still working on a way to do this properly. We tried making the top on the ground and then sanding & attaching it. But the top needs to be completely exact/square in order to do this. We live in a old farmhouse, so we prefer to attach it as we go - then sand. We also plane the top for a more exact and modern look. 

Estimated Cost
Under 50.00
Estimated Time Investment
Afternoon Project (3-6 Hours)
Finish Used
Top stained in our custom beachwood mix. A mixture of Minwax stains, Bottom spray painted in Oil Rubbed Bronze & semi-gloss polyurethane ( two coats )
Recommended Skill Level
Beginner

Comments

Farmhouse Table

Submitted by Anonymous (not verified) on Fri, 10/04/2019 - 10:24

I built this table a few years back when I was just starting off with my woodworking hobbies. It turned out beautiful thanks to the easy-to-follow plan from Ana! This is a gorgeous, sturdy farmhouse table that can look good in any finish, and in any home!

Estimated Cost
$300
Estimated Time Investment
Day Project (6-9 Hours)
Finish Used
I used a grey stain to get the color I wanted. I then lacquered it to get a nice hard finish that will stay nice and keep from dents for many years.
Recommended Skill Level
Beginner

Comments

Bunk Bed

Submitted by hoffer5353 on Wed, 02/08/2012 - 14:04

I am very happy to have completed the up portion of the bunk bed. The full size down was done quite sometime ago and I became sidetracked on other projects.
This is a sturdy bed and a favorite in my home. One day I even found my husband napping (hiding) on the top bunk.
The part that I like the best is when we graduate from bunk beds we still have two beds to use.
I also completed the ladder and it works, but I cut it just alittle shorter than the plan called for. Lets just put another on my to do list.

Estimated Cost
100-200
Estimated Time Investment
Week Long Project (20 Hours or More)
Finish Used
minwax, red oak stain. Minwax Poly
Recommended Skill Level
Beginner

Comments

hoffer5353

Sat, 02/11/2012 - 14:37

It was surprisingly more easy that I expected. It helped me stay motivated to finish both beds.

Loft bed playhouse

Submitted by Woolfee on Mon, 12/23/2013 - 04:31

Followed the plans except for the rounded window and door. I love the cozy look!

Built from Plan(s)
Finish Used
Paint and wall stickers. Paint color is My Fair Lady by Behr.
Recommended Skill Level
Beginner

$10 ledge and first build with a kreg jig!

$10 ledge and first build with a kreg jig!

Built from Plan(s)
Estimated Cost
$8..97 (had 10% off coupon from Lowes!)
Estimated Time Investment
An Hour or Two (0-2 Hours)
Finish Used
Valspar Satin Paint in Buckeye Brown
Recommended Skill Level
Starter Project

Comments

claydowling

Sun, 02/19/2012 - 18:31

It looks nice. And having seen how much these shelves cost in the stores, it's good to be able to build your own.

12ft farmhouse bench

I was asked to surprise someone with a 12 ft. bench. After searching and searching I found a plan I really liked, but I felt it just wasn’t enough. I modified the plans to give it a little more of a farmhouse look. I also had to double the size of the original plans.

Estimated Cost
$40
Estimated Time Investment
Afternoon Project (3-6 Hours)
Finish Used
I sanded with 220 grit sandpaper. I then added a coat of pre-stain. After letting it dry, I stained it with English Chestnut from Minwax, and I finished it by putting on a glossy coat of polyurethane.
Recommended Skill Level
Intermediate

Rustic Farm Table & Benches

Submitted by Jeffrey on Tue, 04/03/2012 - 16:45

This was a first time woodworking project for me. I used salvaged redwood 2x8's from a friend's deck. The table measures.96"x41" and the benches are 34"x12". I used the plans for a Rustic Table and Rustic X Bench. Of course I had to modify them due to the wood I had available and I also wanted to add the breadboards to the table.

Estimated Time Investment
Weekend Project (10-20 Hours)
Finish Used
Minwax Helmsman Spar Urethane Semi Gloss - 3 coats
Recommended Skill Level
Beginner

Benchmark Media Tower

Submitted by lisamin on Sun, 01/19/2014 - 14:39

I modified the tower by making it a little wider so my husband's stereo components would fit. I used hardware cloth in the door for a more rustic look.

Estimated Cost
$50
Estimated Time Investment
Day Project (6-9 Hours)
Finish Used
Latex enamel distressed finish. I stained the edges with a dark stain, rubbed wax on them and then painted. When the paint was dry, it rubbed off of the areas I had waxed, letting the dark stain show through for a distressed look.
Recommended Skill Level
Beginner

Workbench

Submitted by jbknakal on Wed, 04/20/2016 - 05:36

I used melamine for the top and shelf to get a nice surface for working on

Estimated Cost
$70
Estimated Time Investment
Afternoon Project (3-6 Hours)
Recommended Skill Level
Starter Project

Football Lockers DIY

Submitted by Anonymous (not verified) on Mon, 09/11/2023 - 11:27

Here are a few pictures of the football lockers I built for our school. I used your mudroom locker plans and changed the dimensions to accommodate the boys' football gear. It worked great! I built 6 sets of 4 lockers, for a total of 24 lockers. I also used one of your plans to build 6 benches for the fieldhouse. Three for the home locker room and three for the visitor locker room. Each locker is 30 inches wide and 6 feet tall. 

Melinda Glenn

Murphy Bed

Submitted by bjhoove on Sat, 04/14/2012 - 21:58

I used the Murphy Bed Plan that Ana had on her website. I modified it so that it would look more like a dresser and would fit into the space that I have. It is perfect and I have used it myself just to see if it was comfy. It was!!! :)

This project took me longer to do as I had a creativity issue that you can read about here .. http://joy2journey.blogspot.com/2012/04/m-is-for-murphy-bed-its-finishe…

Estimated Cost
100.00
Estimated Time Investment
Week Long Project (20 Hours or More)
Finish Used
Jacobean Stain and a clear Poly.
Recommended Skill Level
Beginner

Comments

JoanneS

Sun, 04/15/2012 - 11:37

What an amazing job! Really looks just like a dresser. The lock closure is a great idea for keeping it securely closed. Beautiful finish, and the fabric and stencils are so creative!

redhead_61

Sun, 04/15/2012 - 14:15

Yeah this is pretty much awesome. It looks like a piece that should be there not something that is there to provide additional sleep space. LOVE it.

CharlesJr (not verified)

Fri, 12/14/2012 - 03:36

Things derived in this material will surely have some impact on the process of making of a classical overview. You should bookmark this page and http://allfreepapers.blogspot.com for the future. The question about it is a very important for the contemporary society. They have become proclaimed national standards recently.

MeganBurrell

Wed, 01/08/2014 - 12:28

You did a fabulous job on your murphy bed. Good to know it can be made horizontally too. Thanks for the inspiration! =]

Rustic half X Hall Tree

Submitted by danj4fsu on Wed, 01/15/2020 - 18:59

Just finished this tonight. Decided to make it a little wider than the plans. Added bead board on the back. I also made the top shelf a little larger so I can come back later and add some LED lights on it. Because I made the top shelf bigger I wanted to add the angled supports. That’s why I didn’t do an “x” on the bottom so the shelf support would mimick the slanted piece in the bottom.  

Built from Plan(s)
Estimated Cost
$150
Estimated Time Investment
Weekend Project (10-20 Hours)
Finish Used
Behr Marquee semi-gloss white
Recommended Skill Level
Intermediate