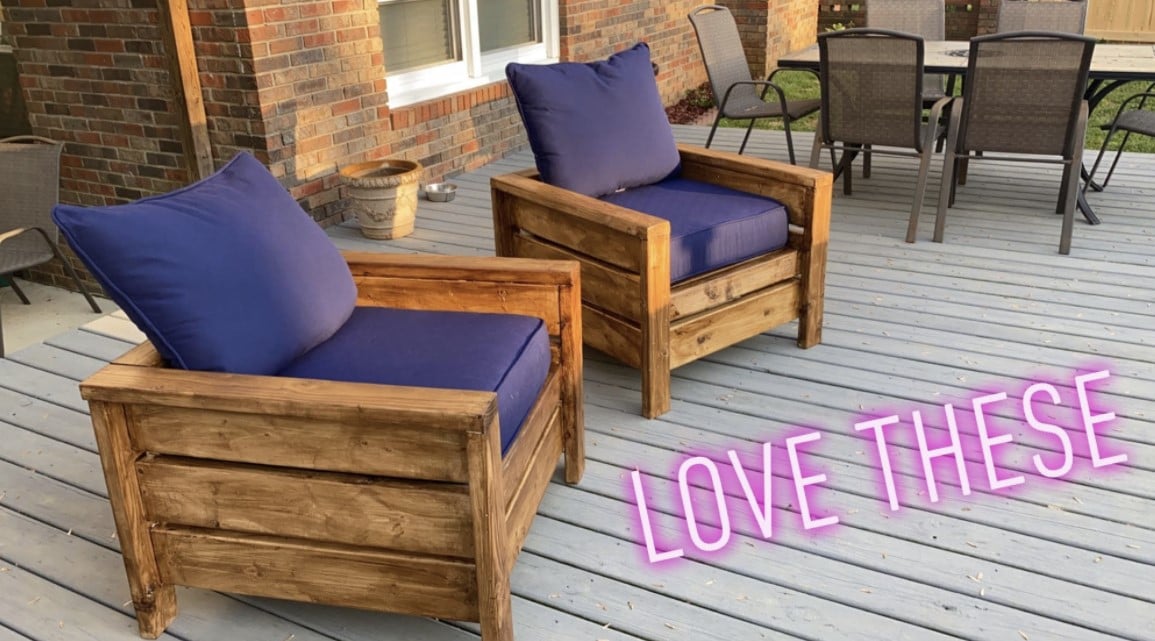
2x4 Sectional , table, and chairs
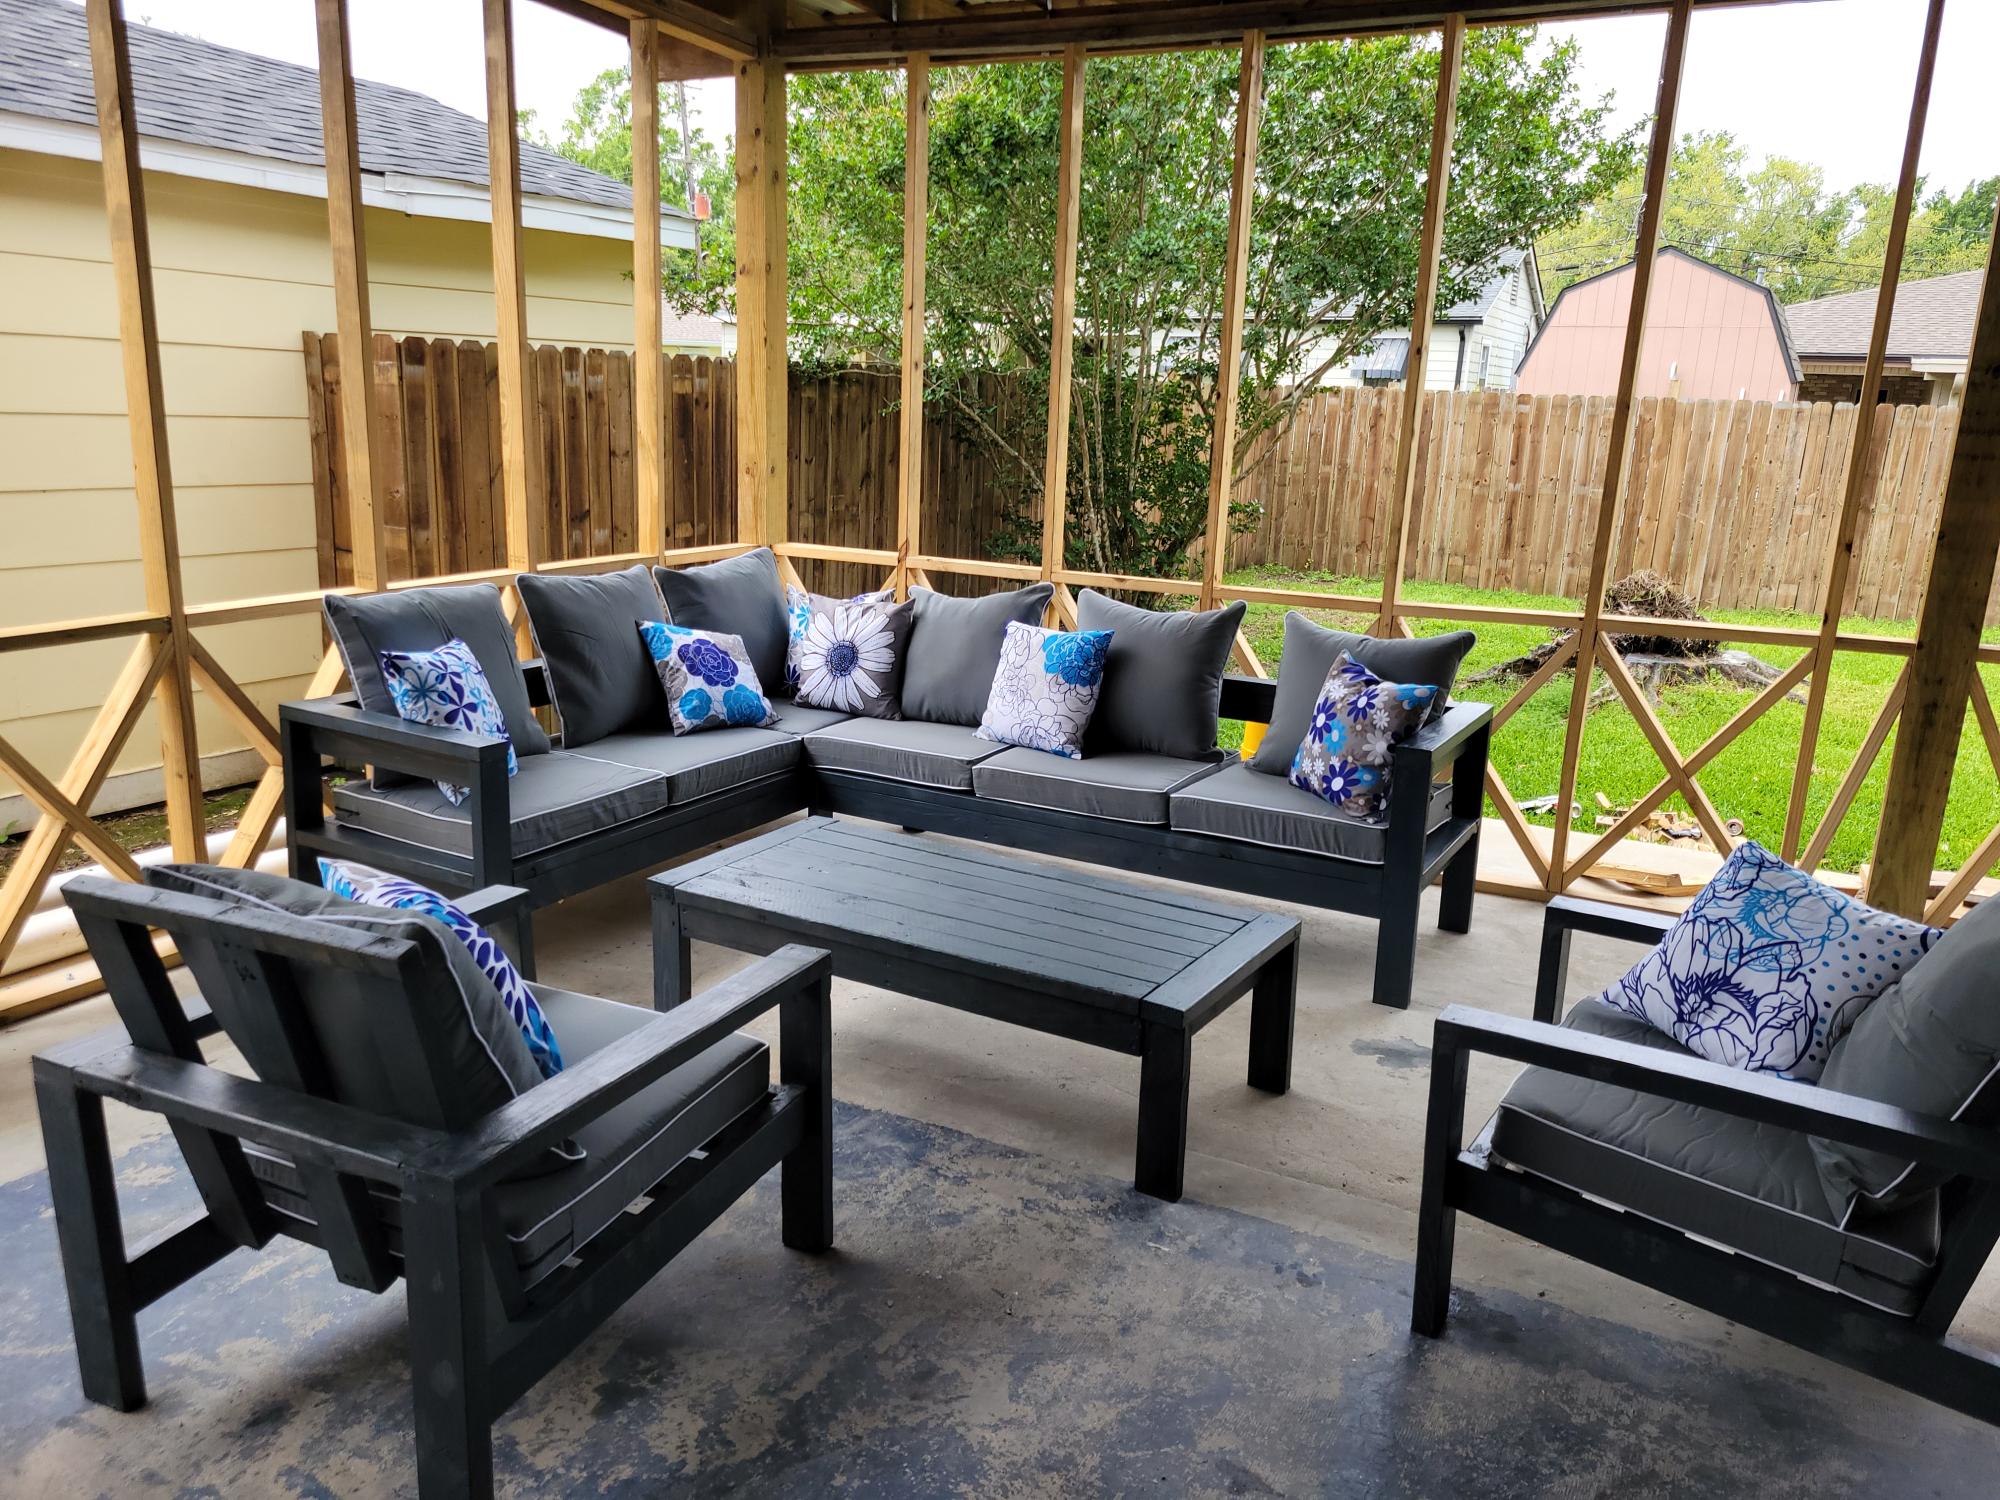
Your easy to follow 2x4 proje ts turned out amazing. My outdoor set is complete. The chairs, also, came from your plans. I built all of it by myself in one weekend. Thank you

Your easy to follow 2x4 proje ts turned out amazing. My outdoor set is complete. The chairs, also, came from your plans. I built all of it by myself in one weekend. Thank you
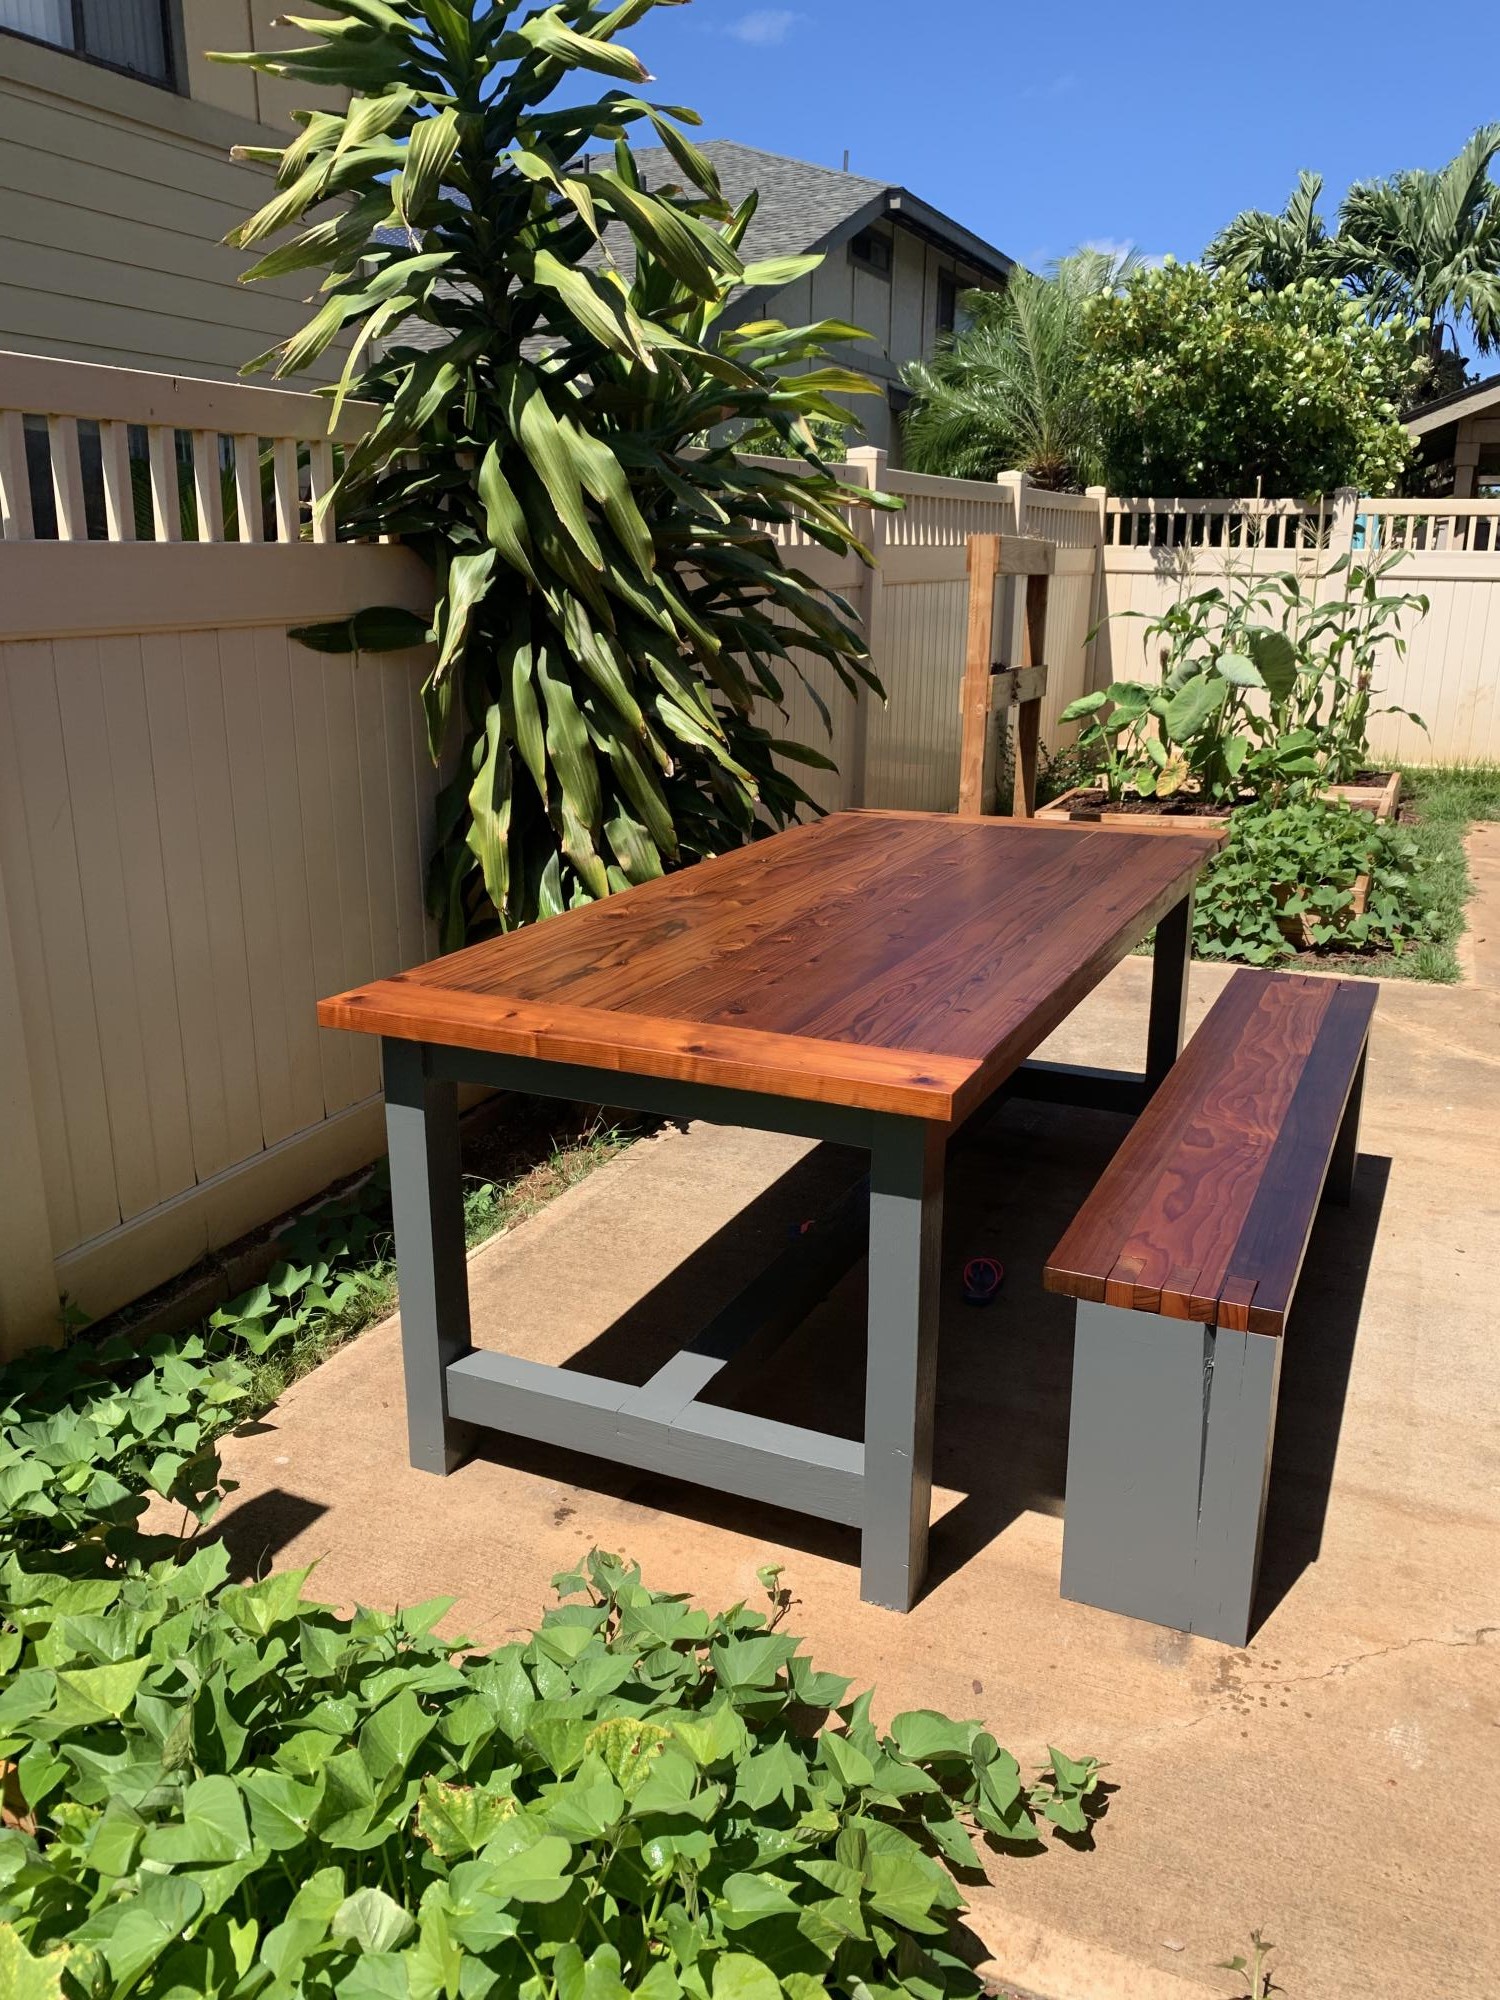
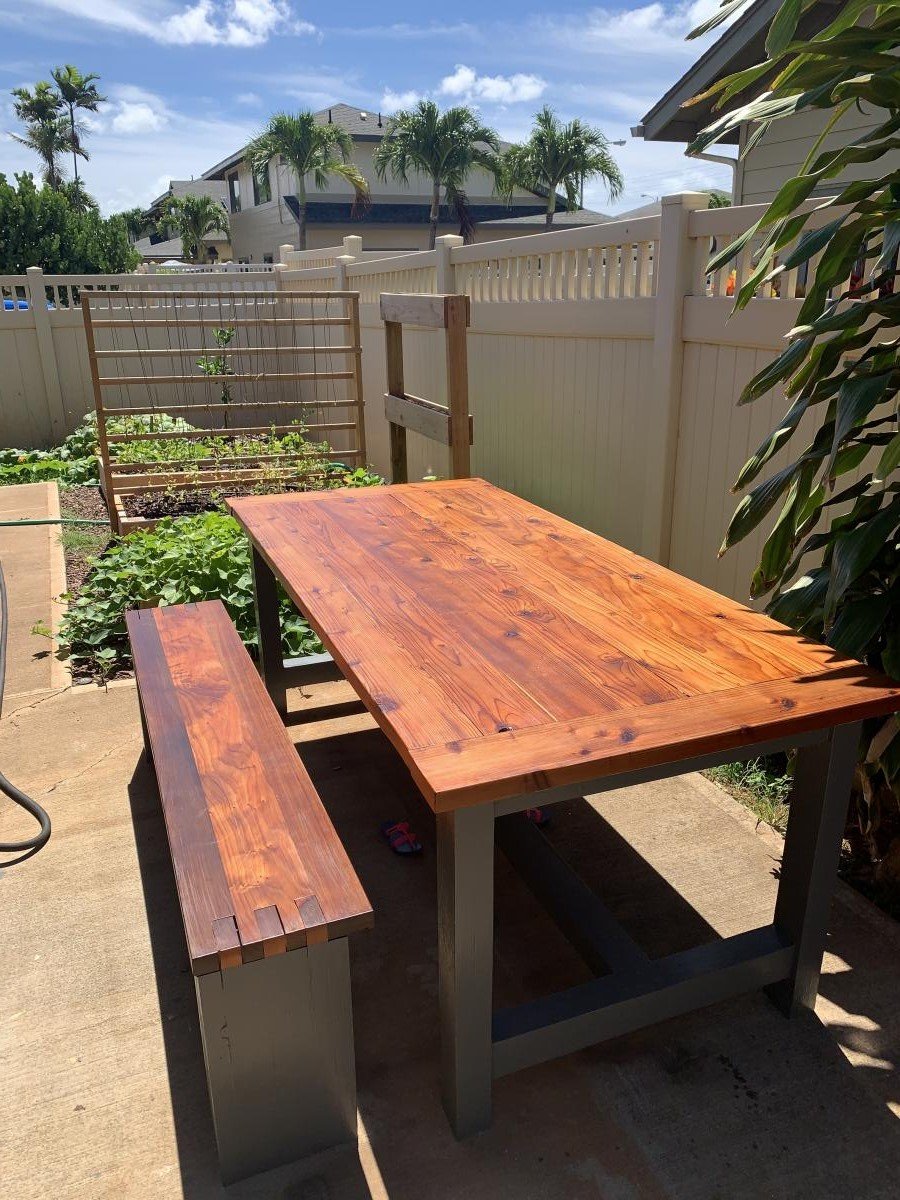
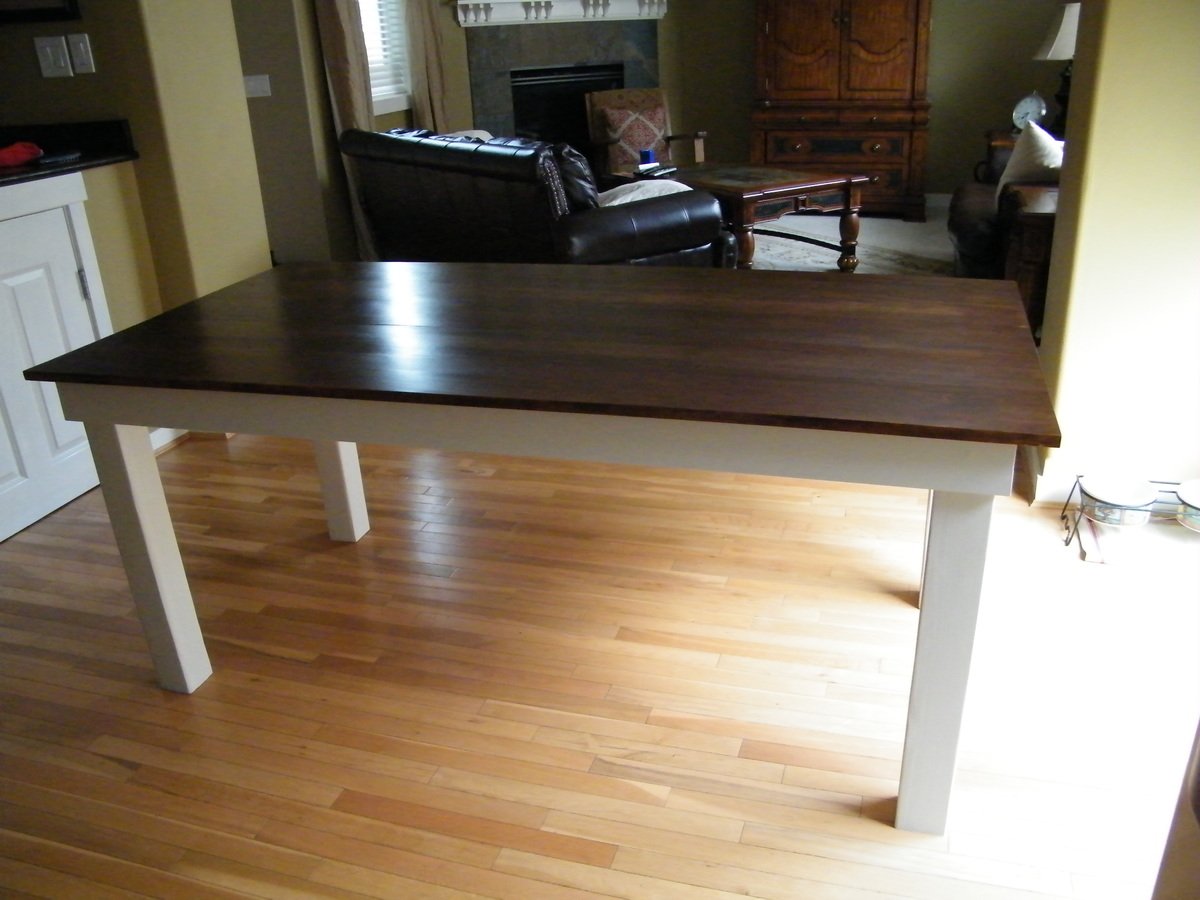
Farmhouse Table and Bench. Made from all redwood. Table is all new wood, and half the bench was from reclaimed redwood. Used Danish Oil and Spar Urethane to finish the tops, and paint to finish the legs.

Mon, 07/22/2019 - 11:14
What a gorgeous table and chairs. the top is done very nicely! Love it!
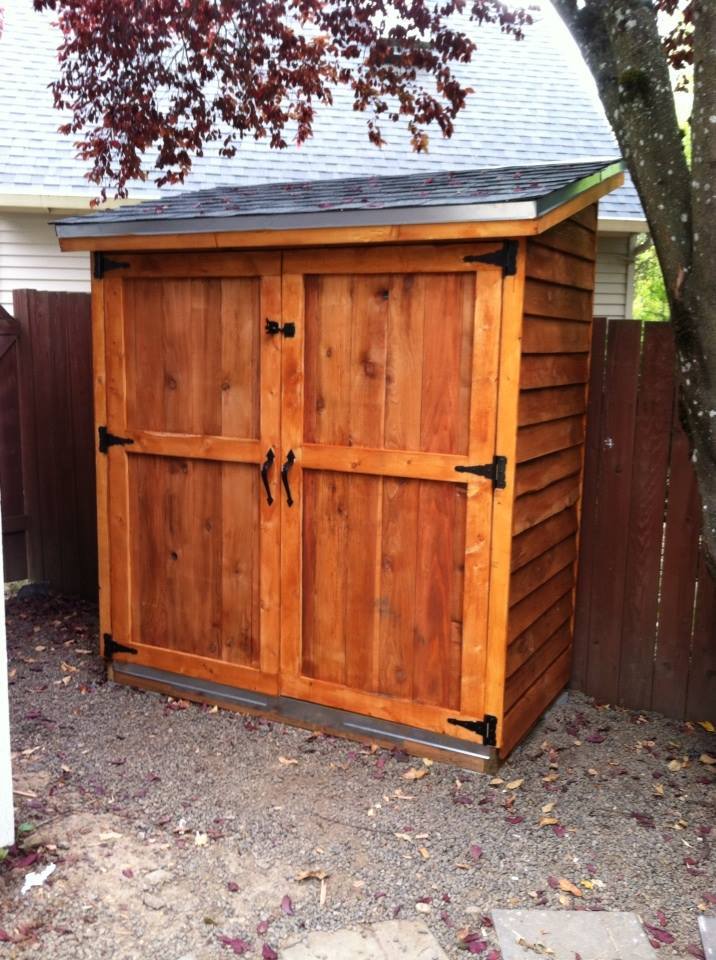
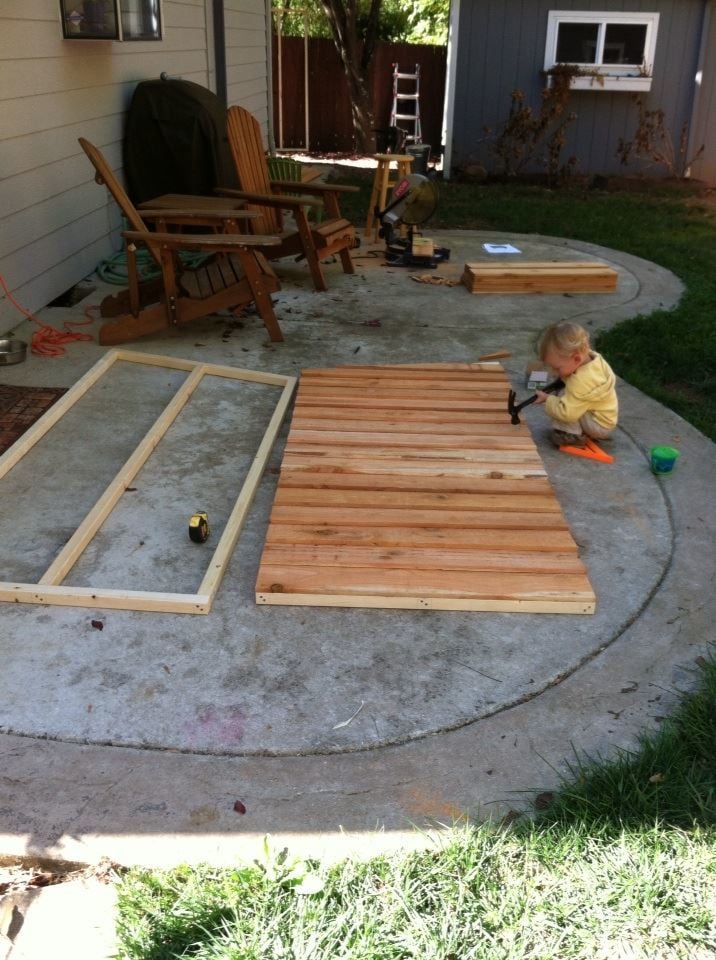
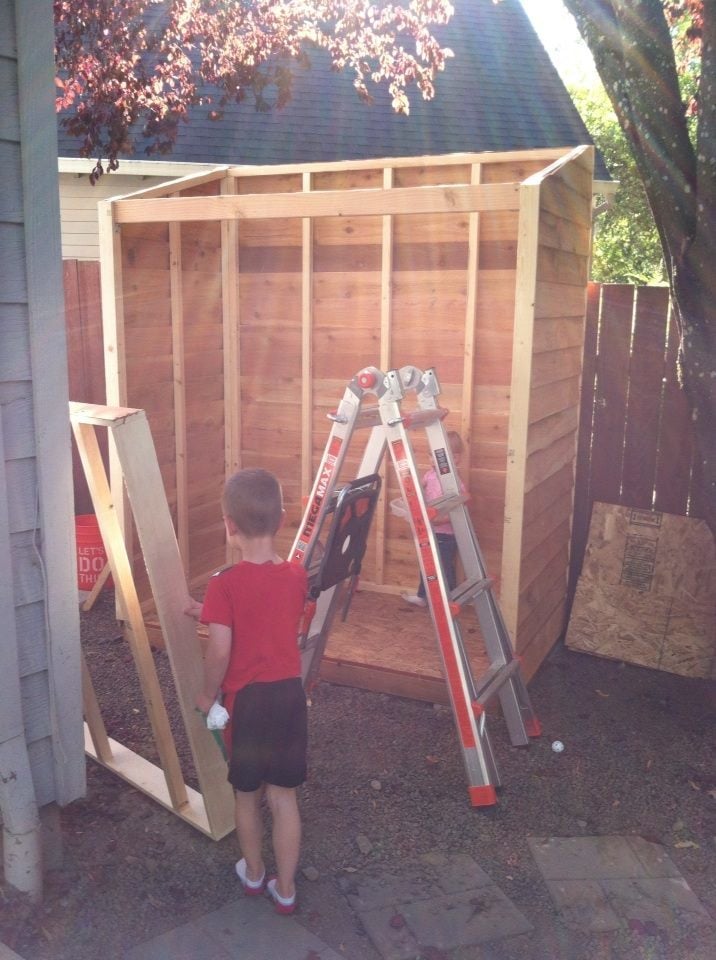
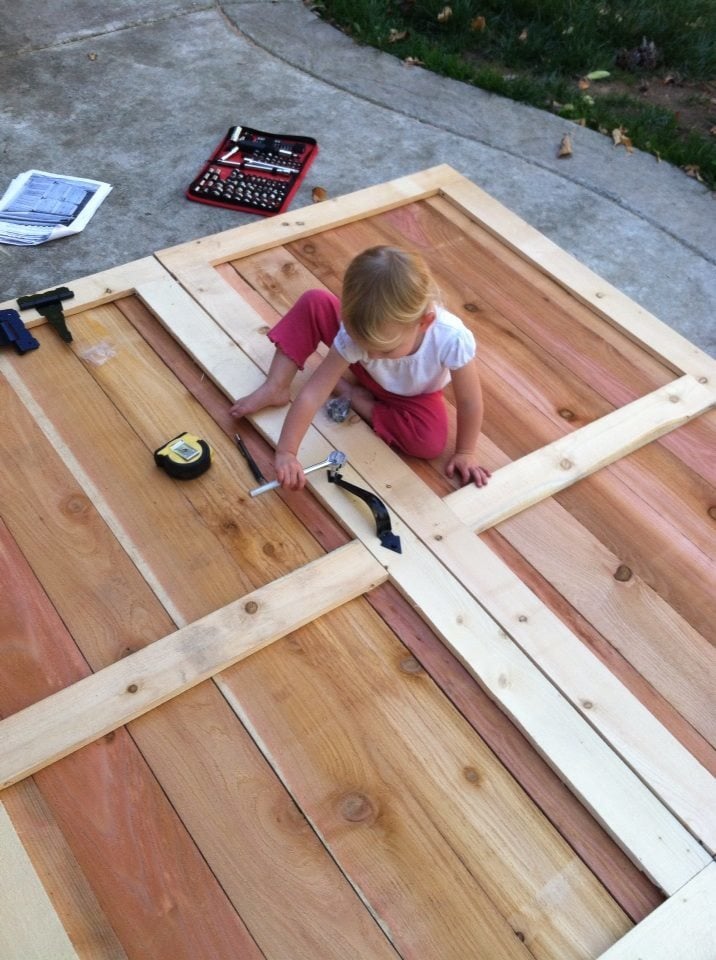
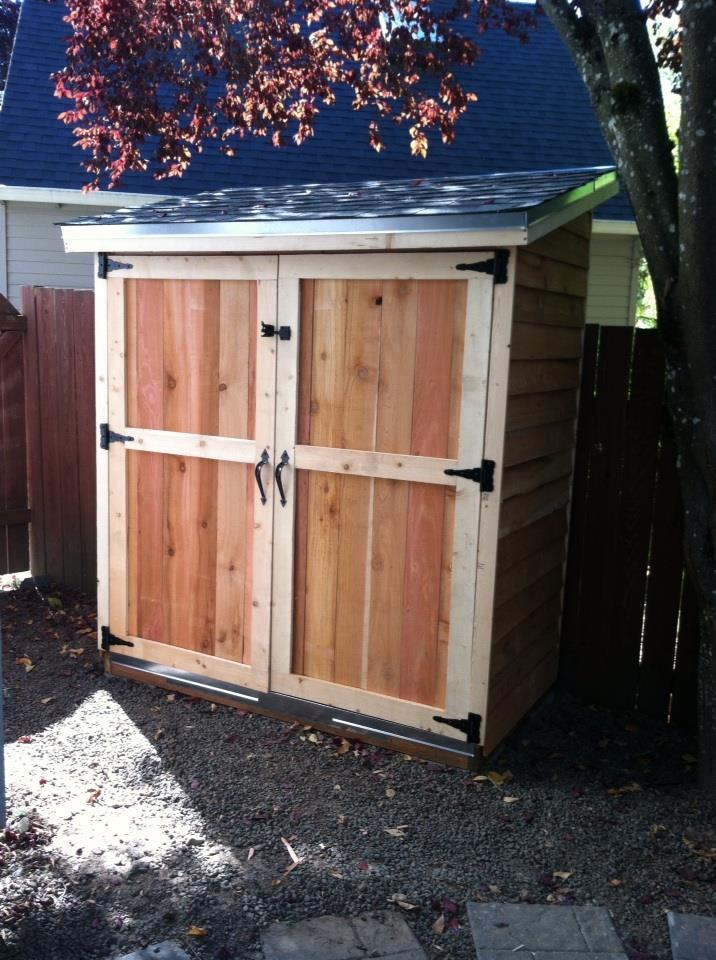
The plans were great! I hadn't built anything this big before but just followed the instructions step by step. I did also built a base to put it on (pavers on sand then pressure treated 2x6 frame). It took quite a while but that's just mostly because I had "helpers" and had to work on it when I had a spare minute. I was pleasantly surprised by how much we were able to pack in there. We added electricity and made a few other modifications to a larger shed we had so my husband could use that as an office. I built this to store all the tools, yard equipment, etc that we moved out of there.
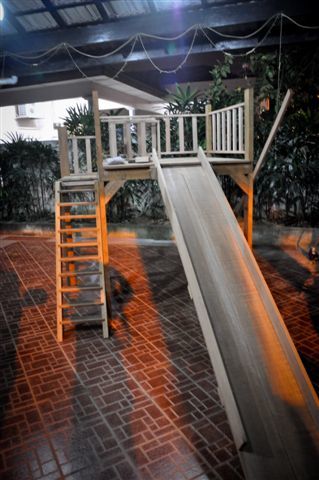
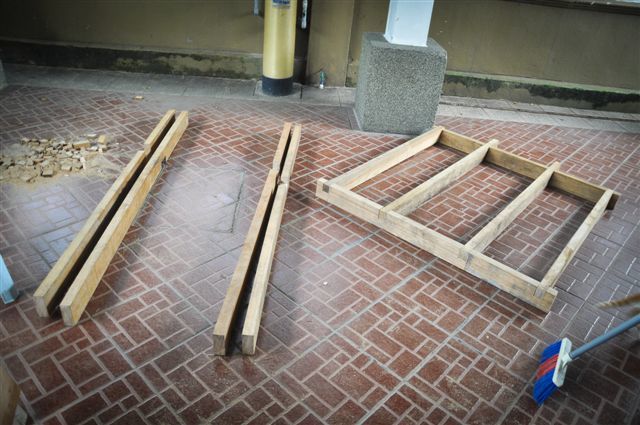
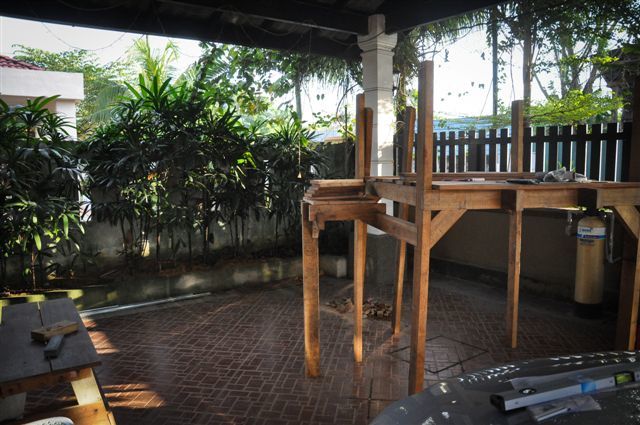
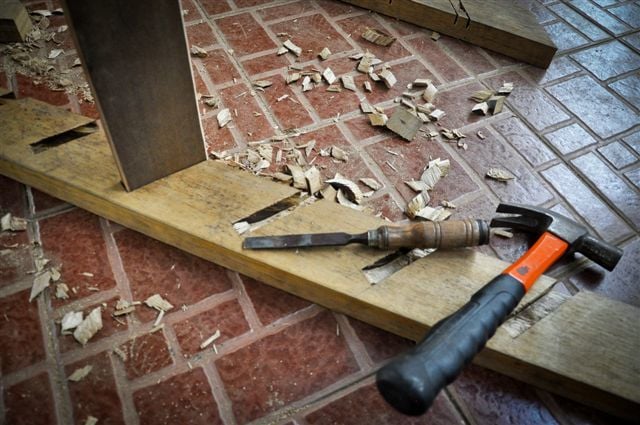
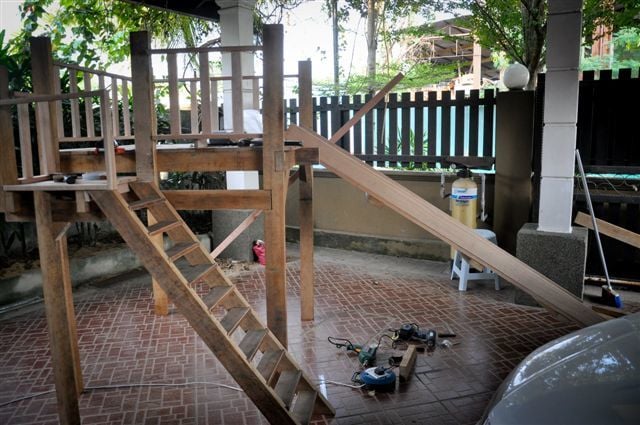
It's my first woodwork project and I went ahead on building a slide with a playhouse underneath. Took some of the ideas from Ana's playhouse deck plan. It took me awhile to figure out how to build the slides and steps though. The project is intended to cater for my 1 year old daughter. As you can see, the playhouse is not "there" yet as there's no wall surrounding the structure beneath the slides (there will be some soon enough). As this playhouse will someday be put under direct sunlight and heavy rain, choice of wood takes into account the tropical weather that we have here in Malaysia (I might have to put some heavy coating on that Meranti though).
Dimension wise it's a 4'X4'X4' structure with 1.5' steps attached at the side. The railing are about 1.5' high.
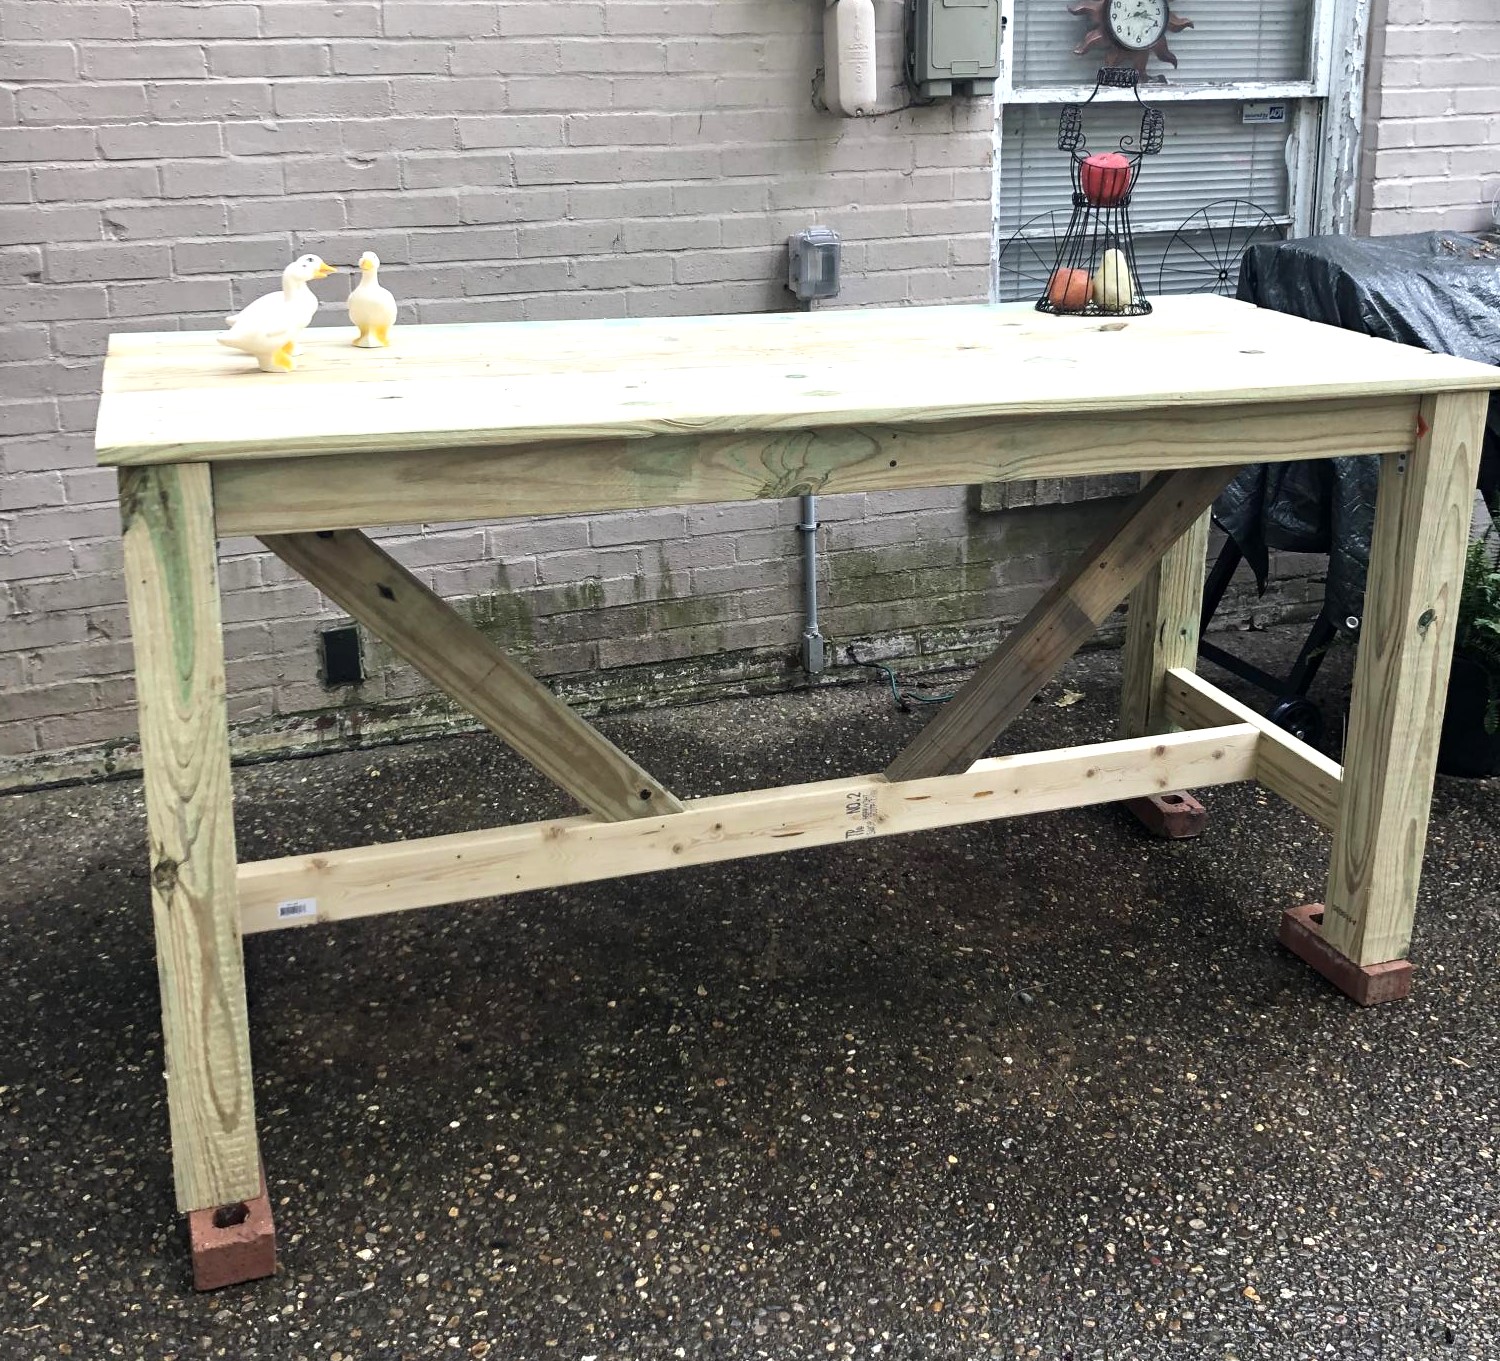
My first project using Ana White plans. Used pressure treated lumber and Kreg pocket hole jig. Cost: $126.
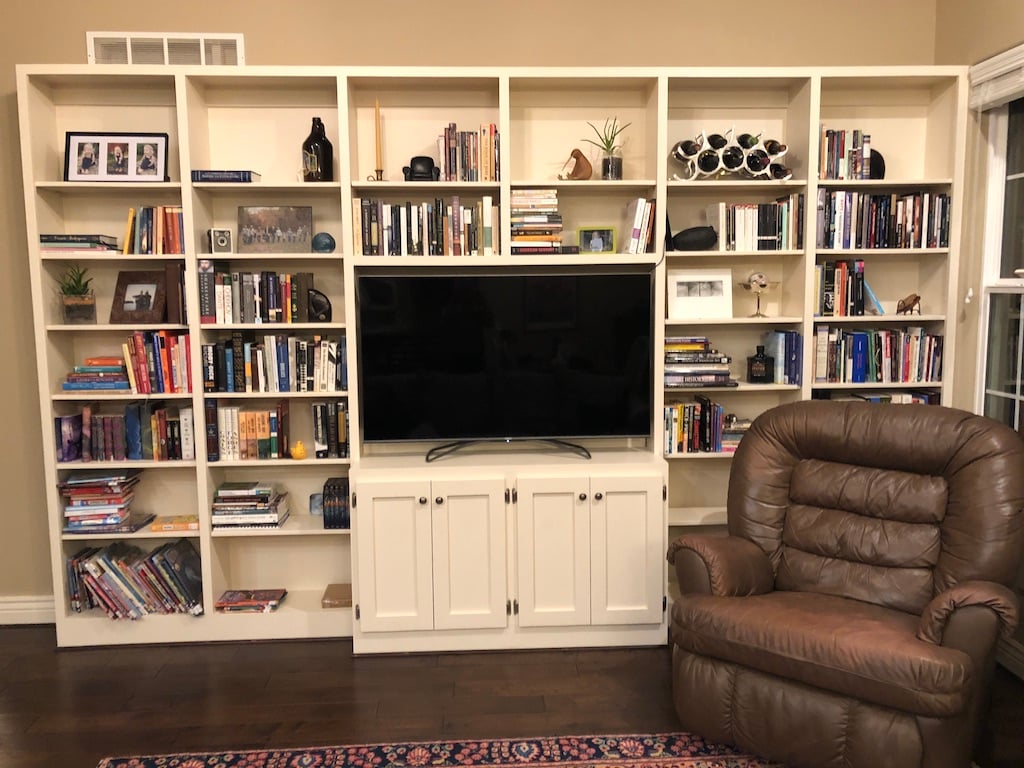
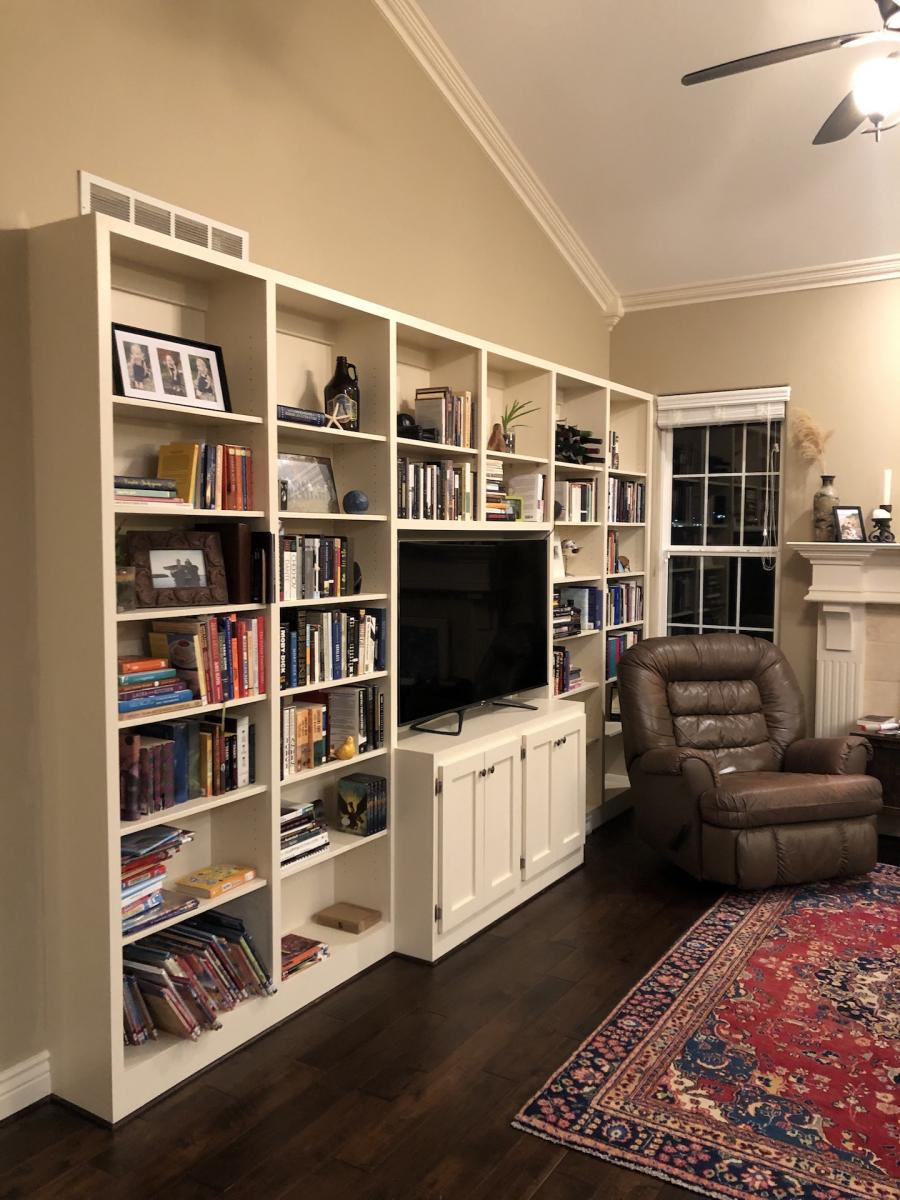
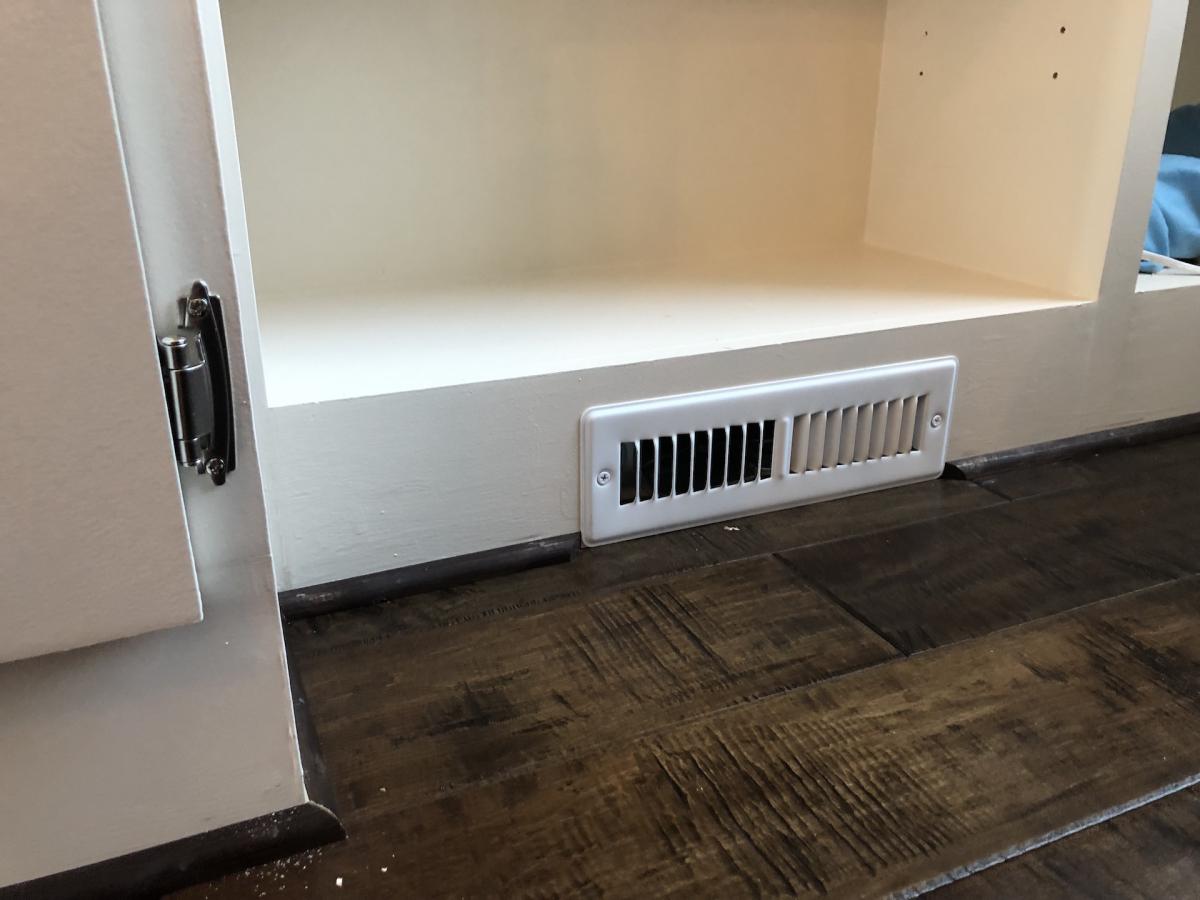
I built this project in 6 separate pieces before installing it in our home. I pulled the baseboard and attached it to the wall to give it a built-in feel. For the majority of the project, I used 3/4" plywood with the exception if 1/4" plywood for the back of the shelves as well as the centers of the cabinet doors. For the trim, I used select pine boards. I had to work around an airconditioning vent that was in the floor. I was able to divert it to run out the bottom of the bookcase.
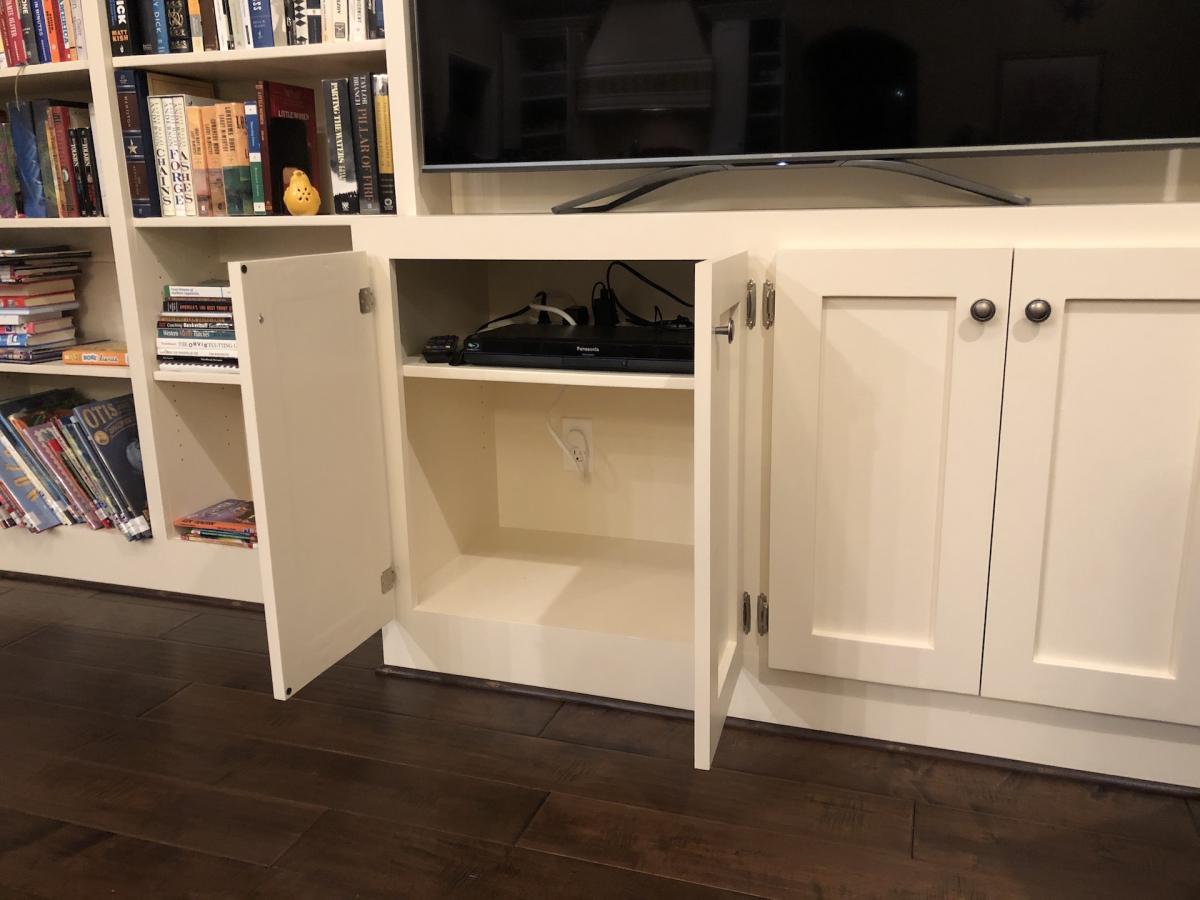
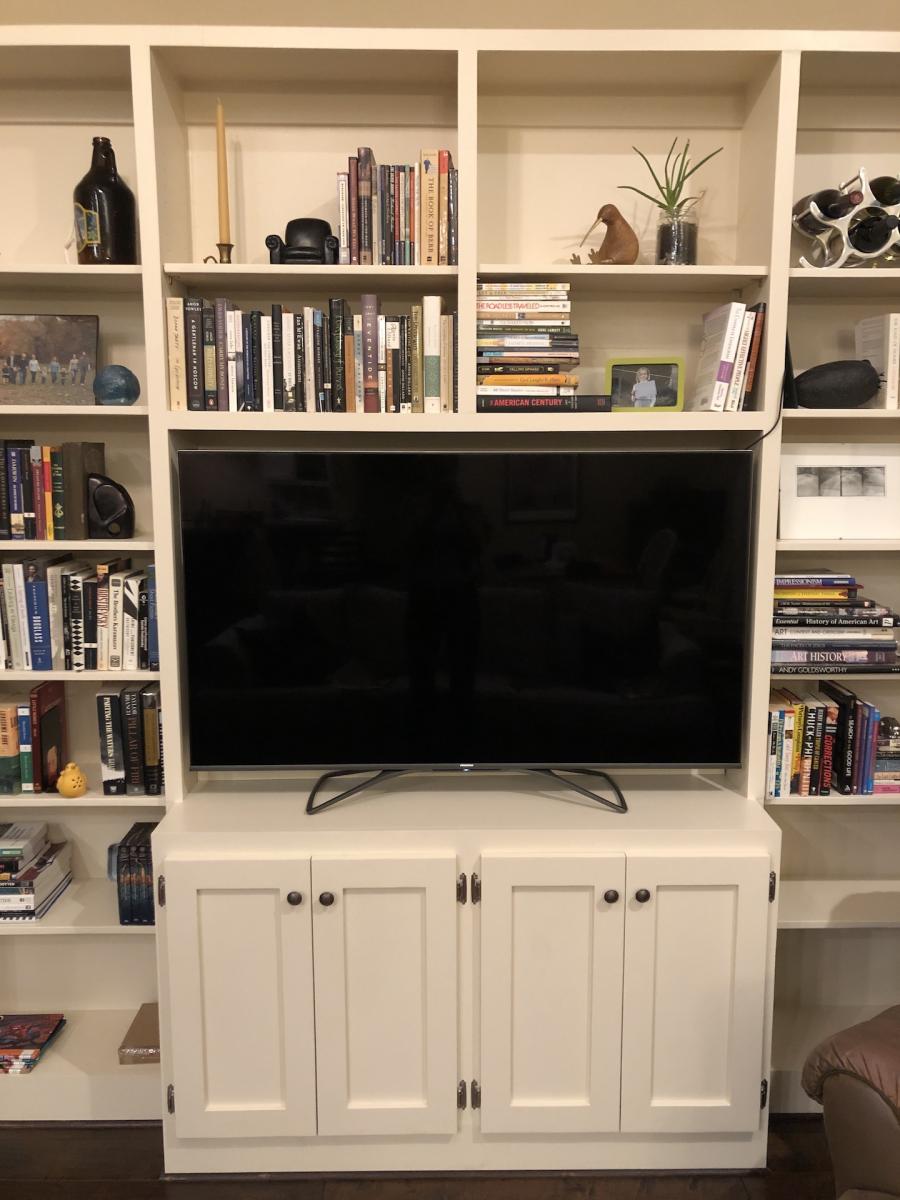
This build is loosely based on the Willy Bookcase. I actually found another brag post on the Willy Bookcase that was immensely helpful in constructing my project. I'm so grateful for the brag boards! Instead of fixing all of the shelves like the Willy, I used a Kreg shelf pin jig to make the shelves adjustable. The shelf that lines up with the TV is fixed for stability.
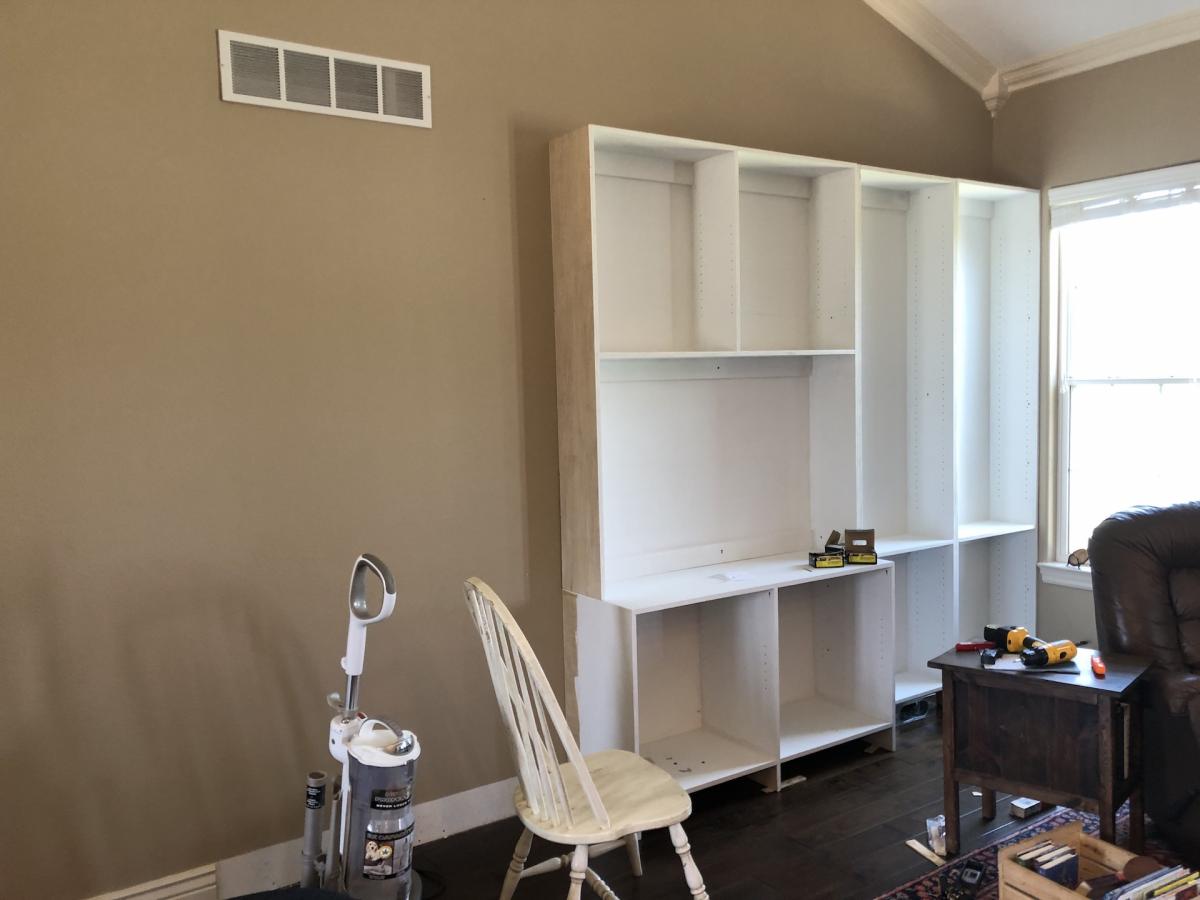
The estimate below covers all of the wood, paint, screws, hardware, etc. For fun, I'm including an in progress photo to illustrate the process. Thanks for looking!
Also, a note - this is a relatively easy project, however, I listed it as "intermediate" because of the cabinet doors. They definitely made it more complicated!
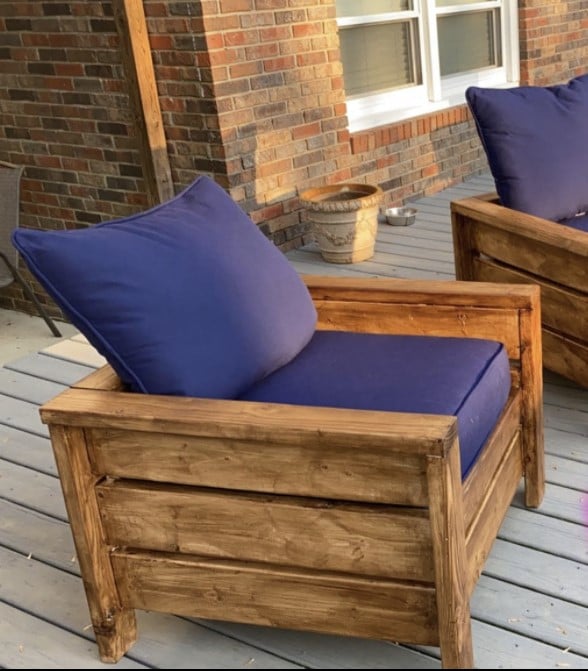
Outdoor chairs turned out beautifully! Love Ana’s easy to follow plans.
Paige Kimbrell
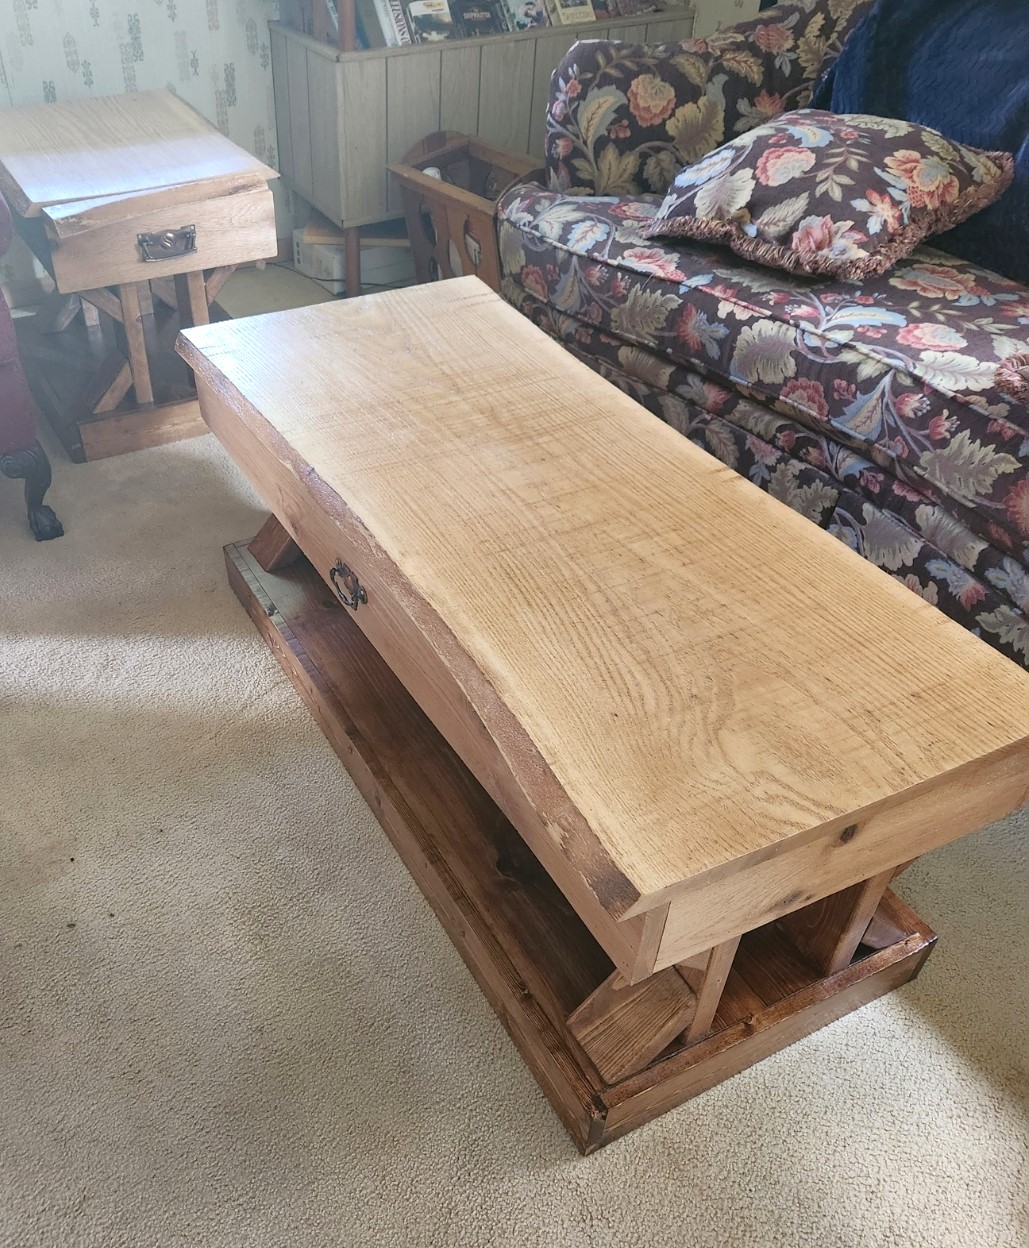
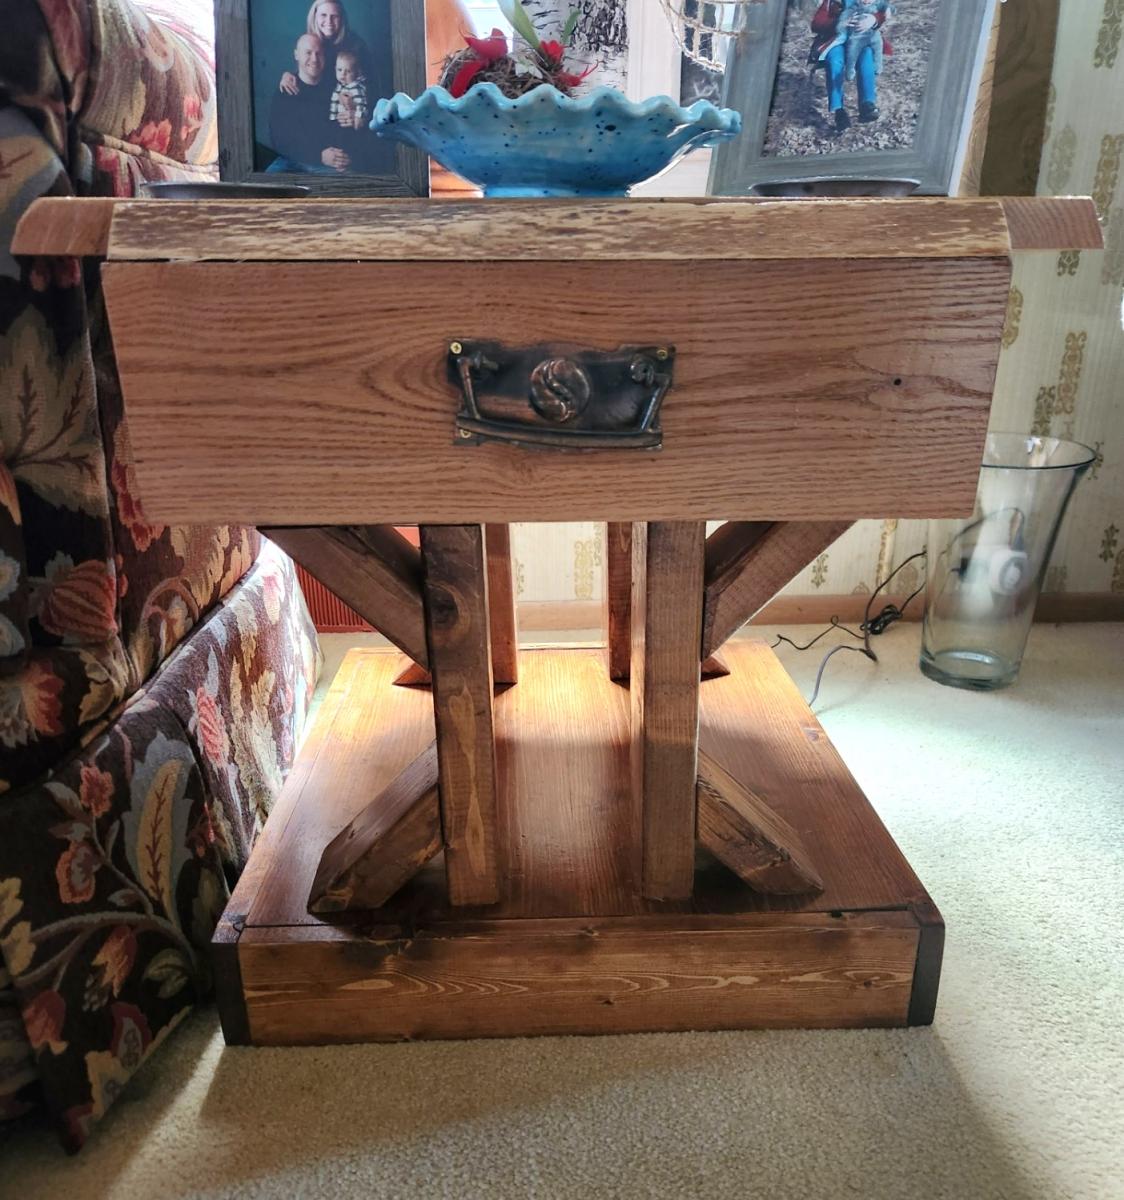
Here is my version of the modern farmhouse end table and coffee table. I used a 4/4 slab of live edge red oak for the tops and put a drawer in each end table.
Red Craig
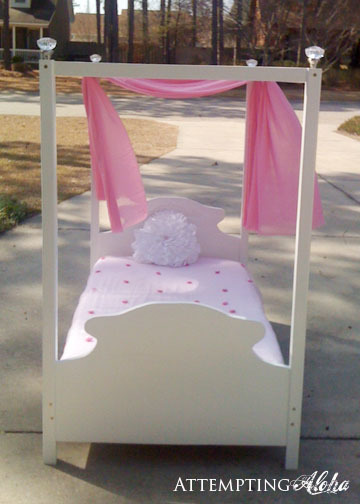
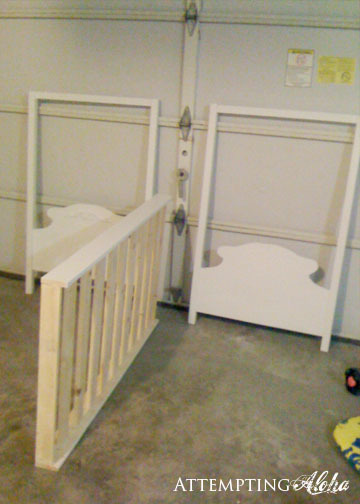
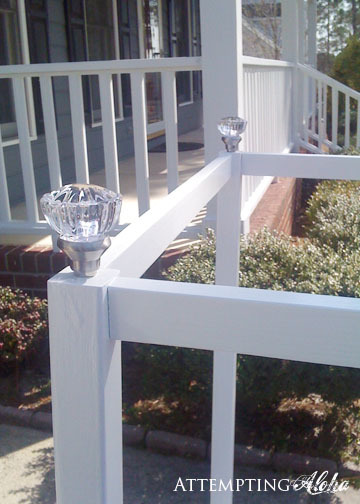
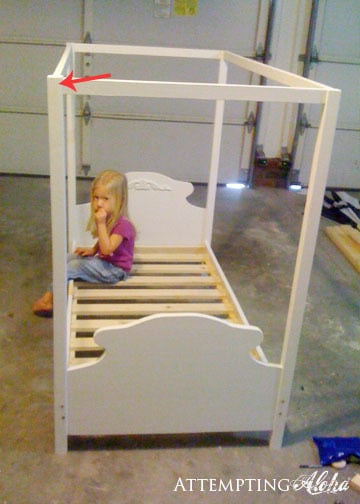
I designed and built this canopy bed without knowing Ana had already done a toddler canopy bed! Talk about reinventing the wheel. I should have known she already had plans up. ;)
Full plans are on my site, but I thought I'd add this as a brag post instead of a project plan since Ana's plans are already here. They're different, but the end result is very similar!

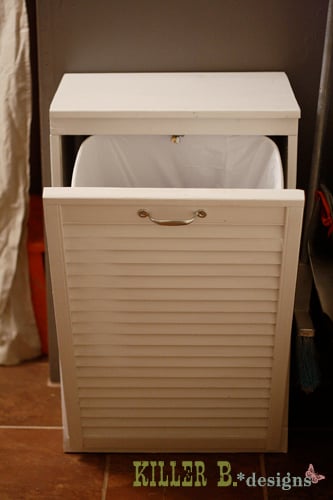
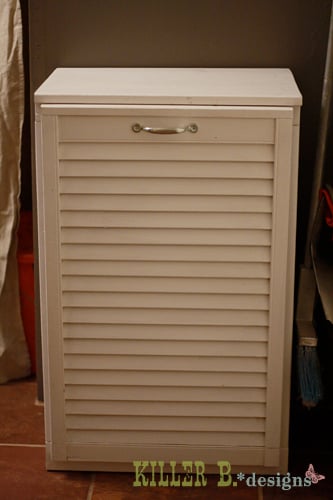
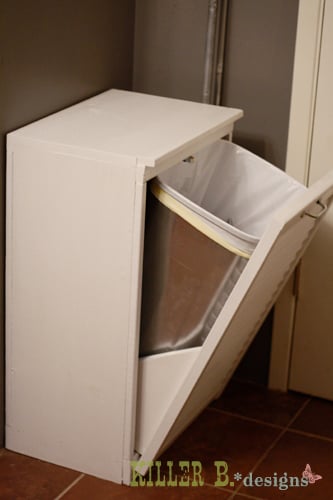
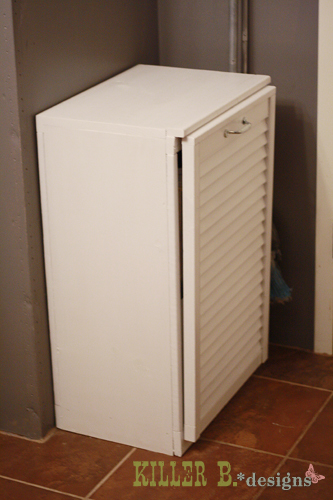
My trash situation was pretty dire once my dogs figured out how to pop off the lid and dig into everything. Trash was everywhere! So to keep out prying paws, I built Ana's tilt-out trash cabinet to keep the can safe. But I didn't read the plan through before going shopping, and didn't get any plywood to make the door! So I used part of an old bifold door that looks like a shutter and cut it to fit. I also added a cabinet clasp inside the top so it can securely shut. Now we don't have any trouble with my dogs dragging trash through the house!

Wed, 05/02/2012 - 11:26
I love the shutter style door! I'd say you improved the plan out of necessity. Good Job!
Fri, 09/28/2012 - 07:14
I too think you have given us another idea with this plan, it's wonderful!
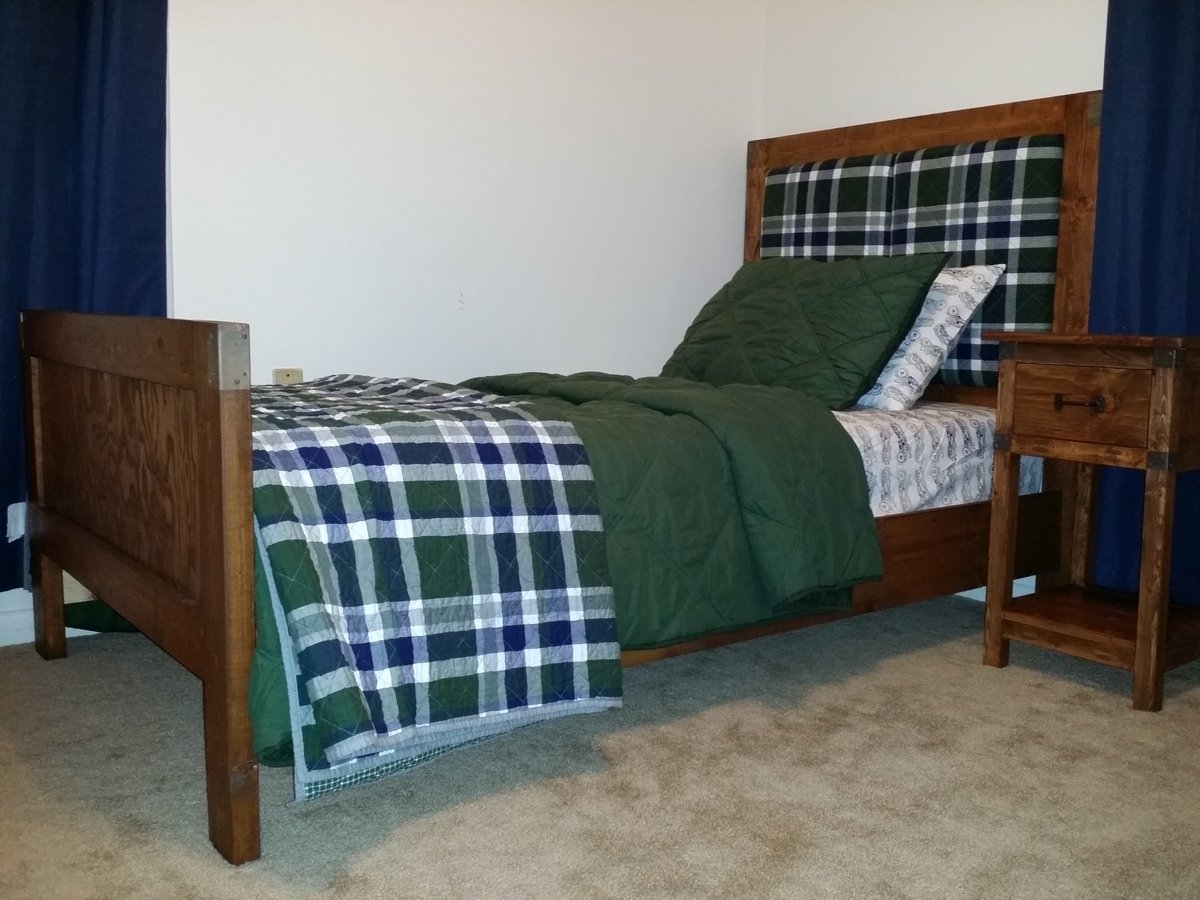
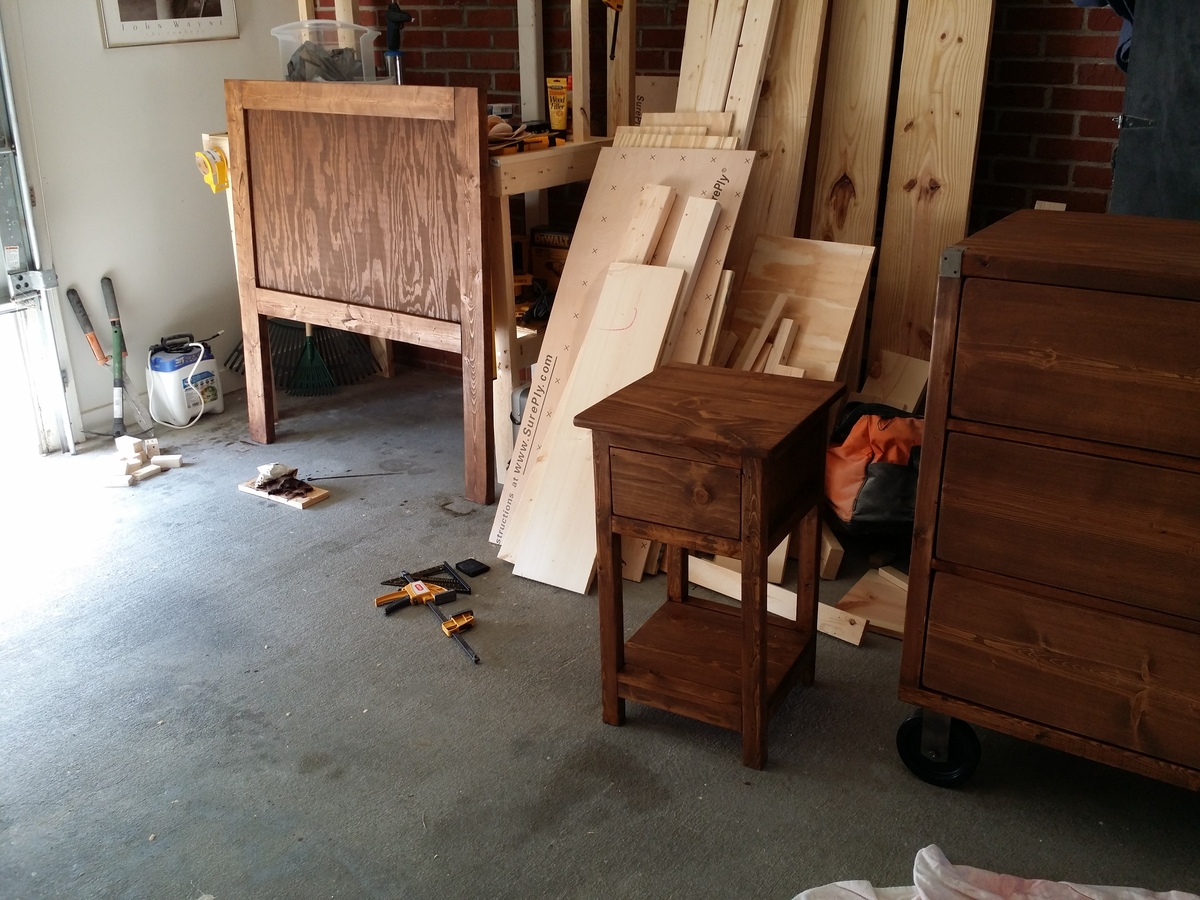
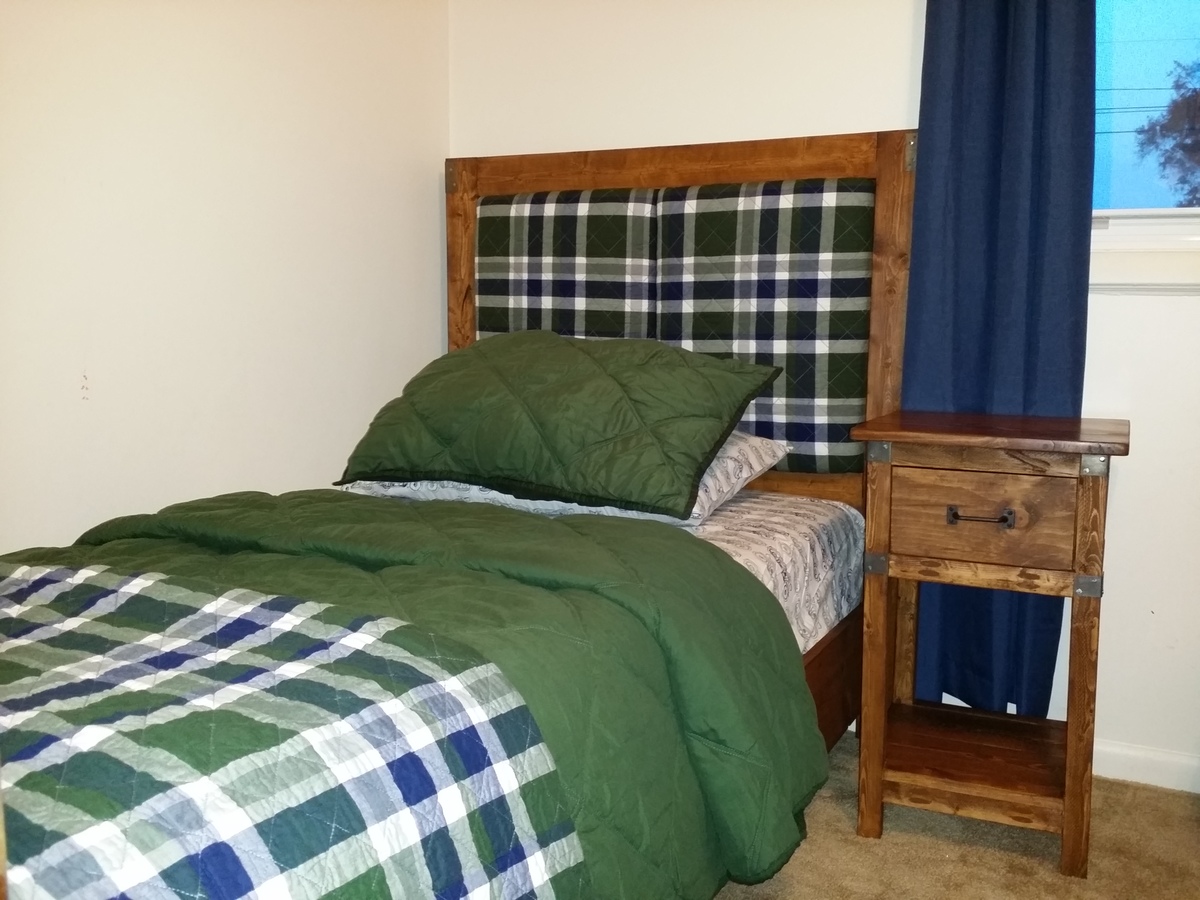
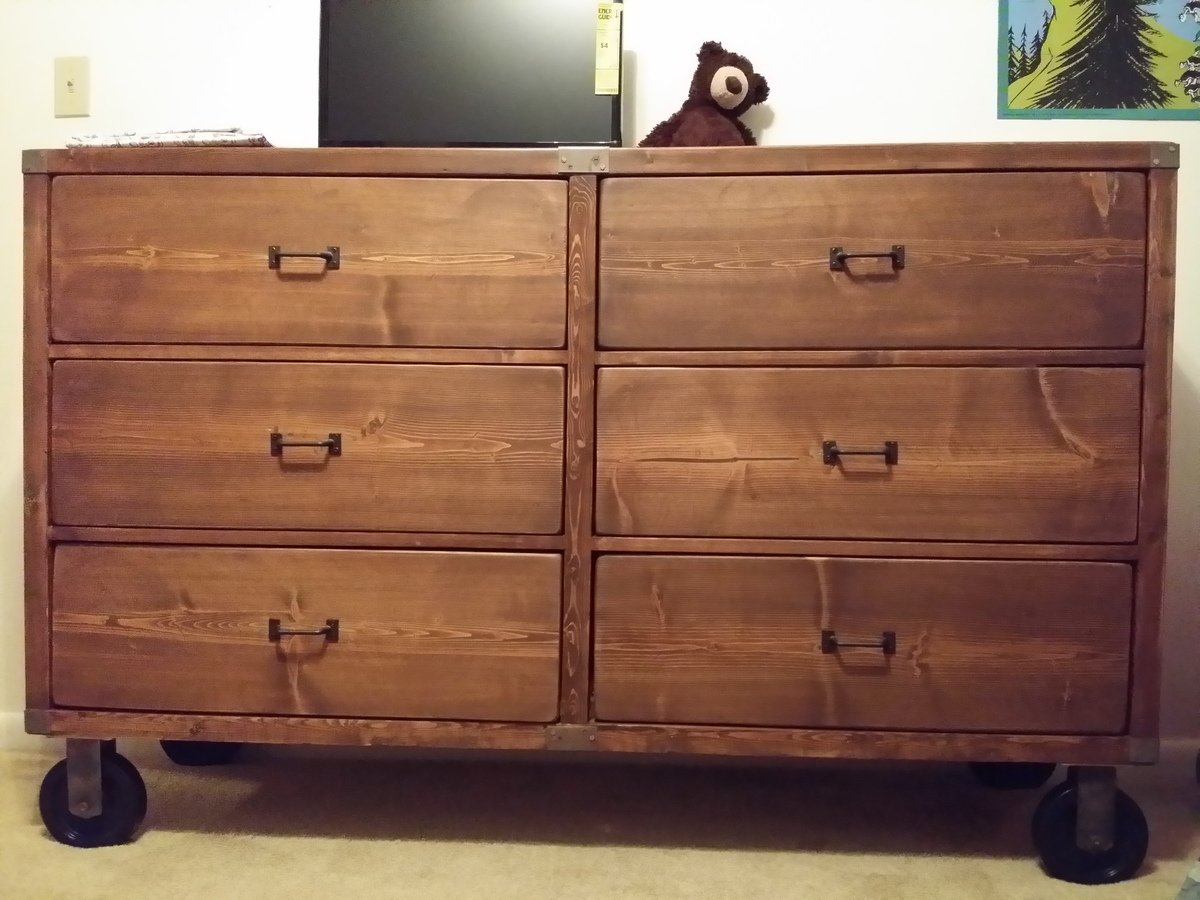
I started my son's bedroom set back at the beginning of January and have finally finished! I began by building the matching dresser (http://ana-white.com/2014/02/rustic-dresser-and-bedroom-set) and then started the bed only a week ago. The night table was taken from http://ana-white.com/2011/06/mini-farmhouse-bedside-table-0 - I had built it over the summer, but I couldn't get my pocket holes on the inside of the table because my drill wouldn't fit, so I wasn't going to use it.. until I realized it was the perfect little bedside table for a two year old who might destroy it anyways!
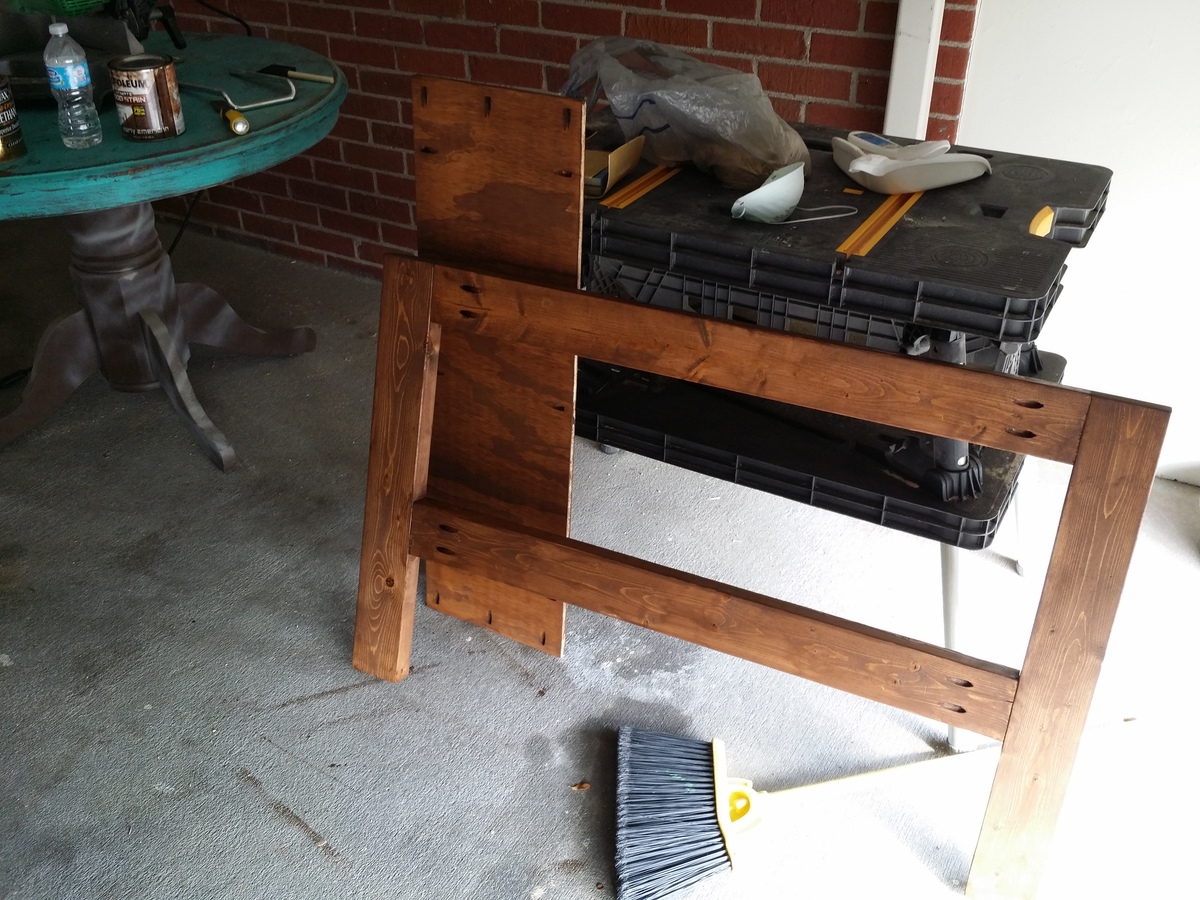
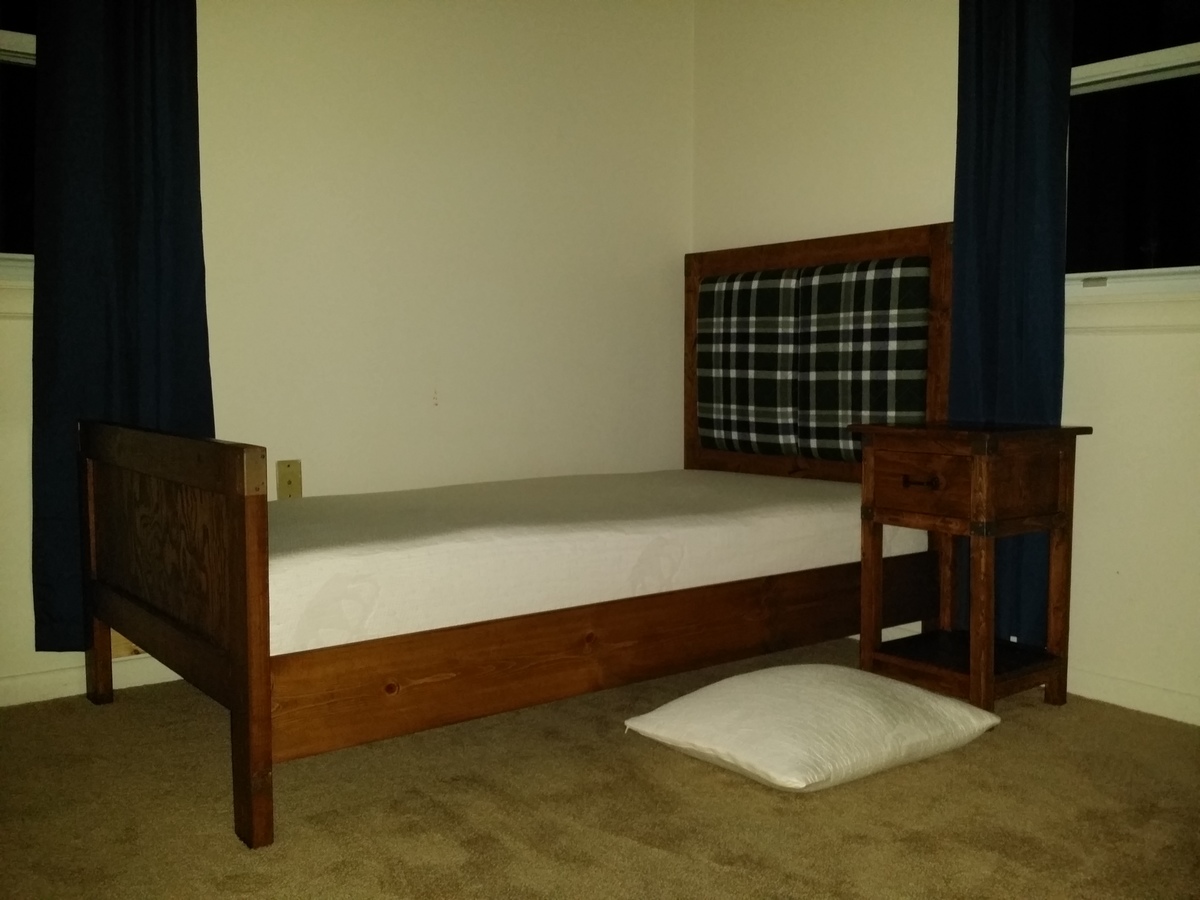
Back to the bed... I just had this vision of what I wanted my son's room to look like after seeing the rustic rolling dresser plan, and I stumbled on the Emme Twin bed plan. It was kind of perfect, but I didn't like the whole "window" look on the headboard. I still may add a divider on the foot board, but haven't decided yet. Regardless, so I envisioned something else with the same concept of the Emme twin bed. Building it exactly the same way without the dividers, I ordered the clearance shams from pottery barn that matched his new quilt and bought another piece of half inch plywood. I cut it in half and left about a quarter inch on each side of each piece of plywood to accommodate the fabric in between the 2 by 4s. I added one inch of foam and a couple layers of batting, matched up the two shams side by side, folded them each around the batting and foam, and stapled them. They fit perfectly into the headboard with some 1 1/4 or 1 1/2 inch screws (There is a gap from the fabric on the back, so your screw needs to account for that. You could put like a 1x4 onto each panel to screw through, but I placed the back plywoood attached to the 2x4s too far in, so it would have made the panels "float" and I wanted the fabric of the panels flush to the back plywood) holding them to the back plywood attached to the 2x4s. I wanted the padding on the back of the headboard because I always hear my son slam his head into the wall when he's sleeping and i just wanted to make sure he wasn't hitting the dividers that were on the EMME twin bed.
The bed was so easy to build, stain and finish. It turned out exactly how I had envisioned it. I had to lower the side rail 2x4s because I bought a ten inch memory foam mattress (You can see the foam mattress and pillow rising in the picture!) and didn't want it coming above the headboard, but now I don't think I'll need a guard rail since he is so close to the floor! The 2x4s sit 5.5 inches up from the bottom of each leg. I also added quite a bit of length to the foot board legs because I wanted the footboard to come above the mattress. I wish I had realized that there was much nicer plywood at Lowes, but when I asked, they told me "this is all of the plywood we have" and I got stuck with the ugly stuff.. I will fix the footboard with some nicer looking plywood, but it's good enough for now!

Was a good project that I built for my son's new home.
I found a few errors in the instructions such as:
A) 2 - 2x4 @ 30 1/2 should be 30 1/4
B) 8 - 2x6 @ 32 15/16 both ends at 30 degrees off square, parallel to each other) should be cut at 34 15/16 blank sizes then cut the angles to acheive the finish size of 32 15/16
C) 8 - 2x6 @ 36 3/4 (both ends at 90 degrees off square, parrallel to each other) should be (both ends at 22 1/2 degrees off square, NOT parrrallel to each other)
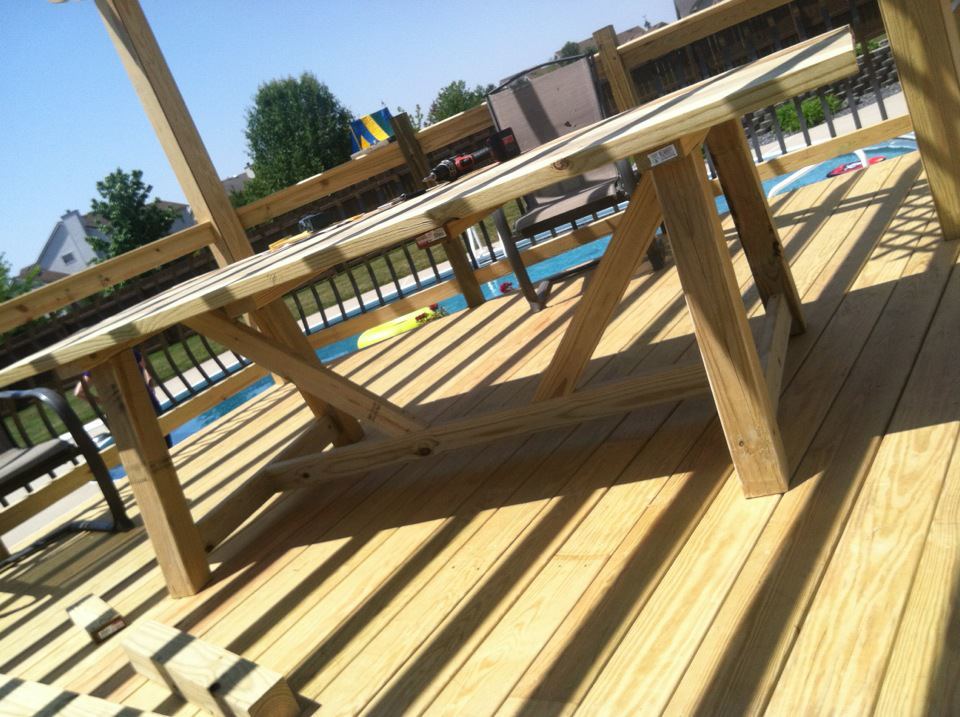
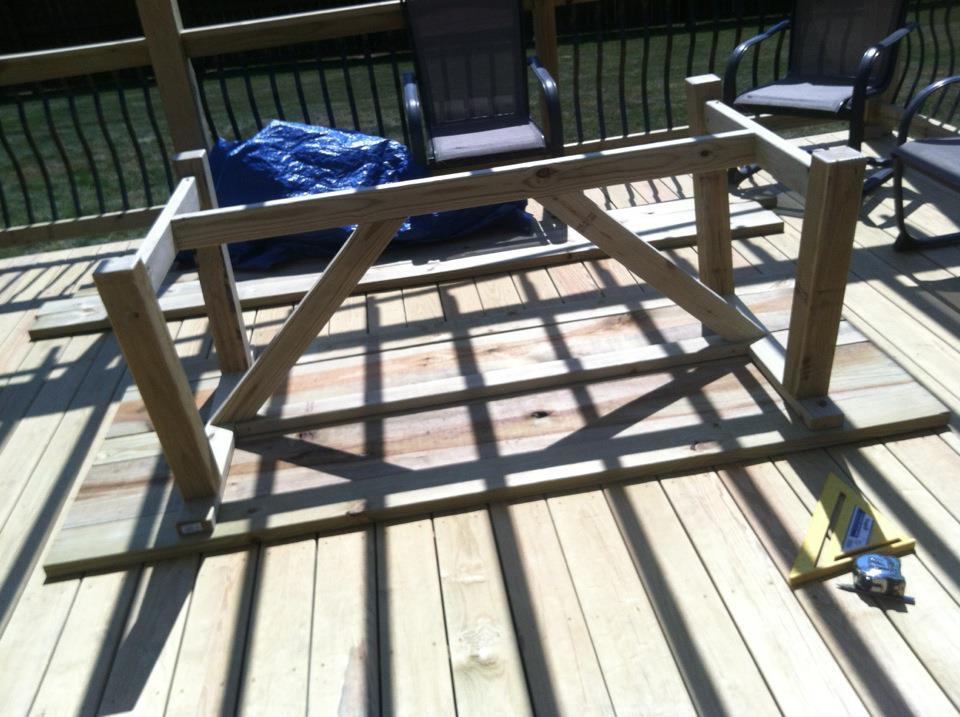
Here is my Providence Table made from scrap wood we had left from building our deck. I am not thrilled that it is made out of pressure treated wood but it is what it is. I used 2x6 mixed in with 2x10's for the top, 4x4's for the legs and used a 1/4 router bit for all the edges.
Fri, 05/25/2012 - 18:44
Thank you! I have been asked to build this for nearly everyone who comes over! Great great plan that saved us a TON of $! Thanks!
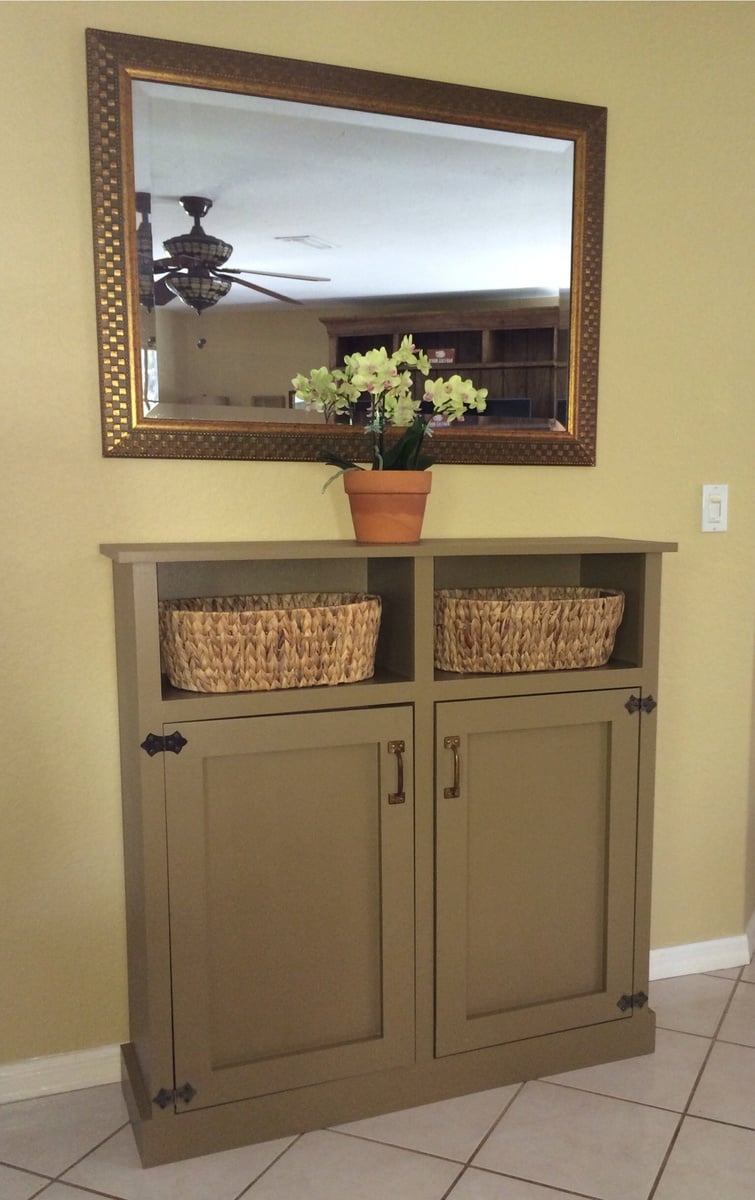
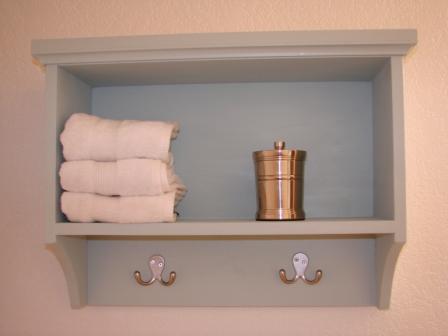
This is my first furniture build!!! I needed a narrow cabinet (from the wall) and found the plans on your site from Shanty2Chic. I LOVE this cabinet and I LOVE the Shanty girls along with you Ana! I finally put the doors on after I found the handles at a restoration store. I needed to make something 42.5" wide to fit under the mirror so I adjusted the length & height measurements of the original cabinet. This cabinet is 42.5W x 43H x 13D.
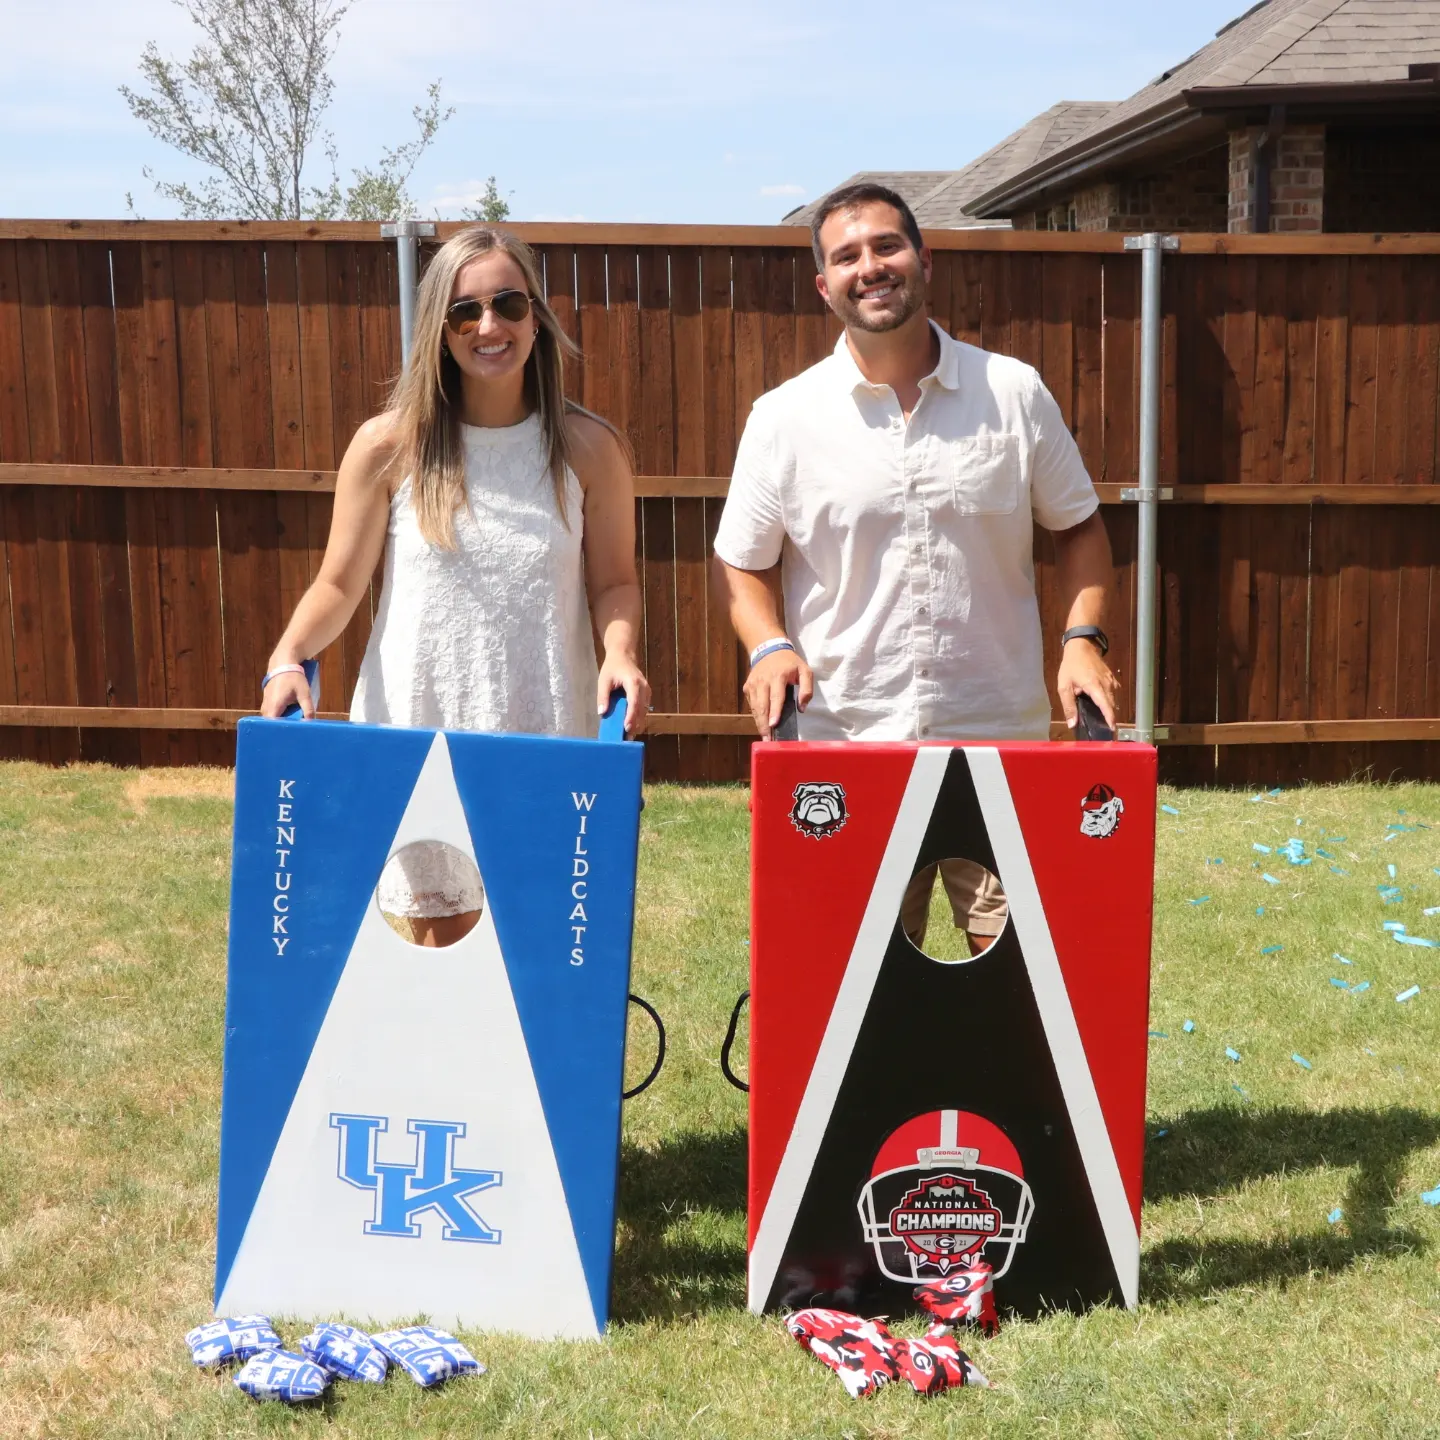
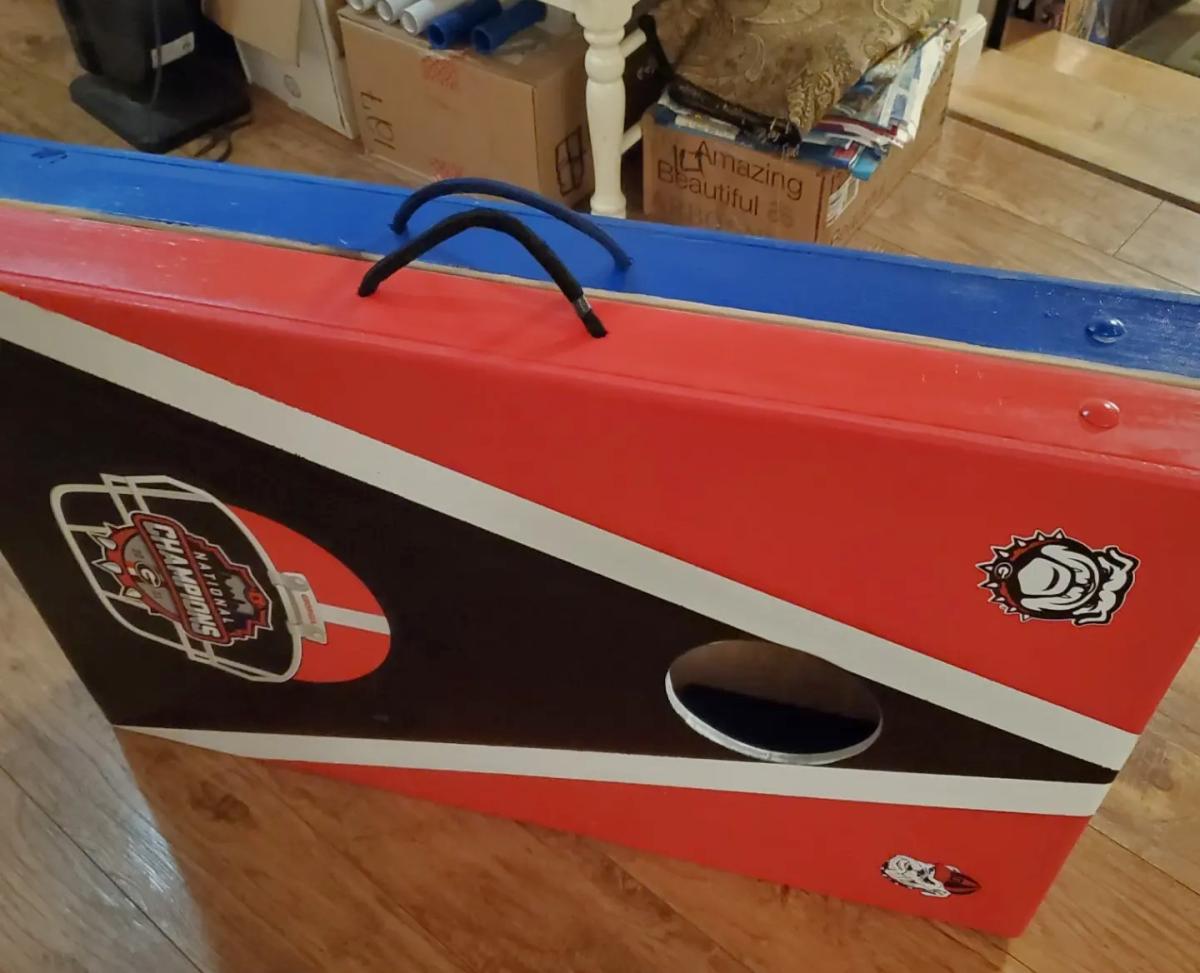
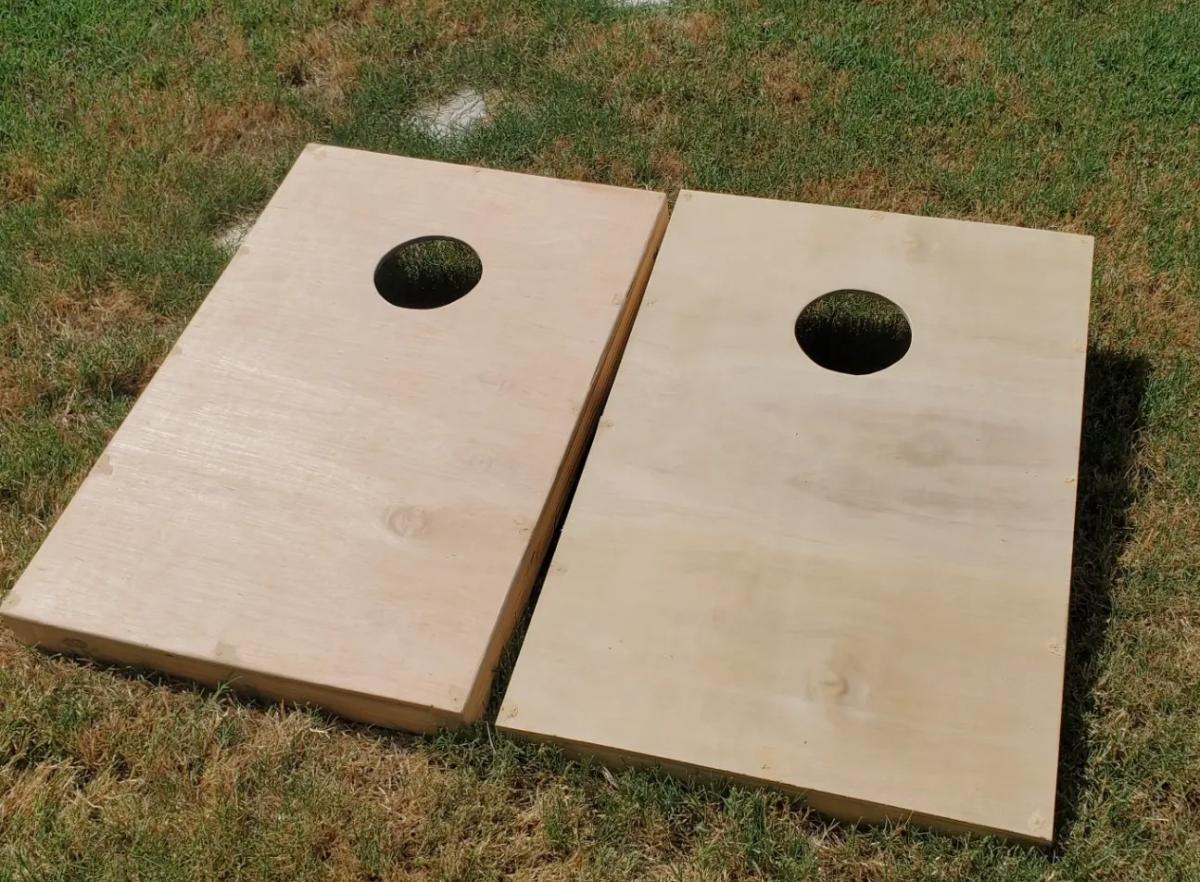
Corn Hole Plans
Made lighter by thinner plywood and using 2x3s instead of 2x4s. Not regulation size as just for family and used rope as handles and Velcro on bottom to carry both pieces as one unit. Decorated to fit kids favorite schools.
So happy to finally get around to this build. Super easy, though I found I am not that skilled with cove moulding...nothing a little wood putty couldn't hide.
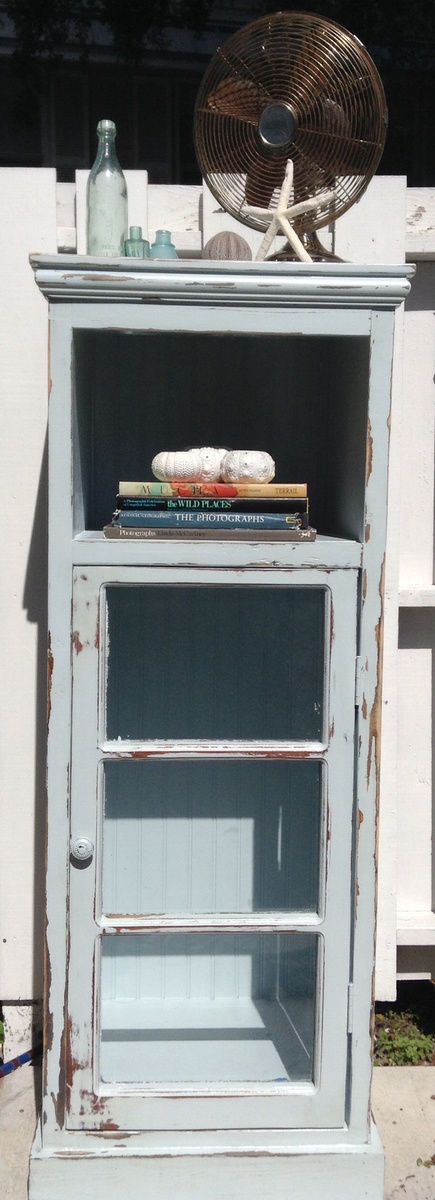
I was given an old window that was going into the trash from an old house in Key West that was being remodeled and decided I wanted to use the window as a door on a cabinet. These plans were very thorough and easy to follow. I modified the measurements to fit the window and am really happy with how it turned out. I added some trim to the top and bottom and used beadboard for the back to fancy it up a bit. I painted it in Sea Mist by Behr and distressed it by hand. This is my first post on this site. Thanks, Ana, for making this possible for me!
Mon, 03/17/2014 - 12:11
Love that color! I painted a console table in the same shade and distressed it. Still one of my favorite pieces to date! ( http://www.birdsandsoap.com/2011/07/touch-of-blue.html )Your cabinet looks great. I can't wait to get started building once the weather warms up here!
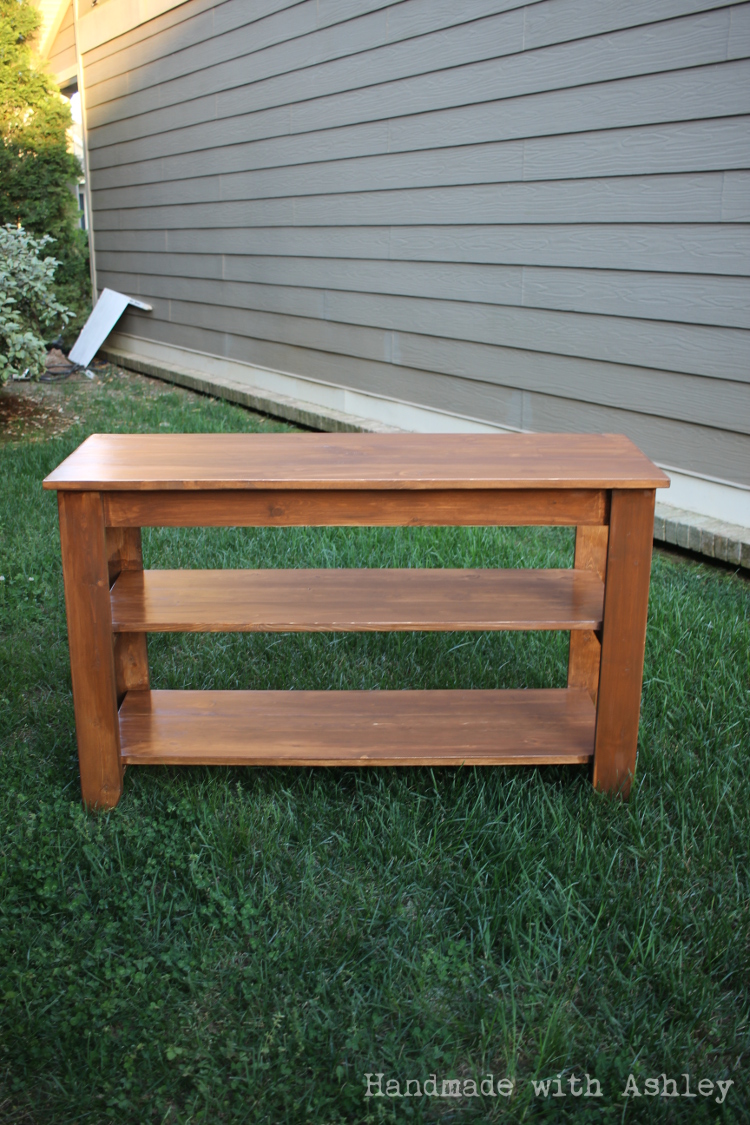
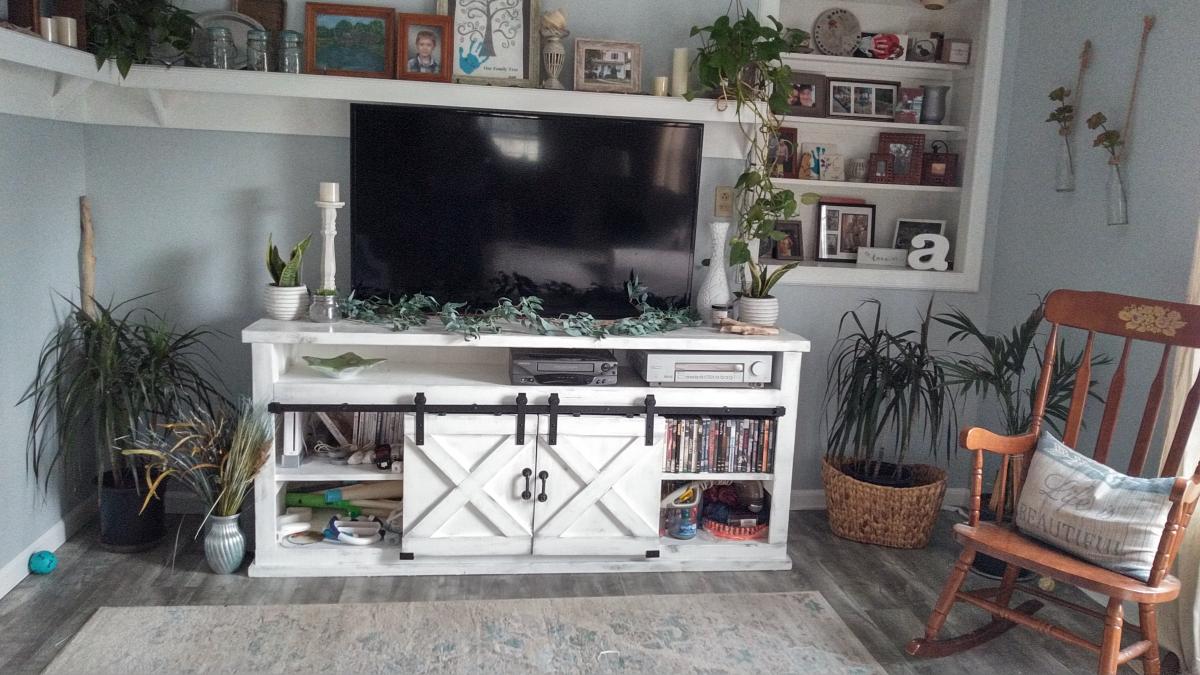
I had a friend make a request for a console table. We came up with this design to fit her space and needs. It was a pretty easy build.
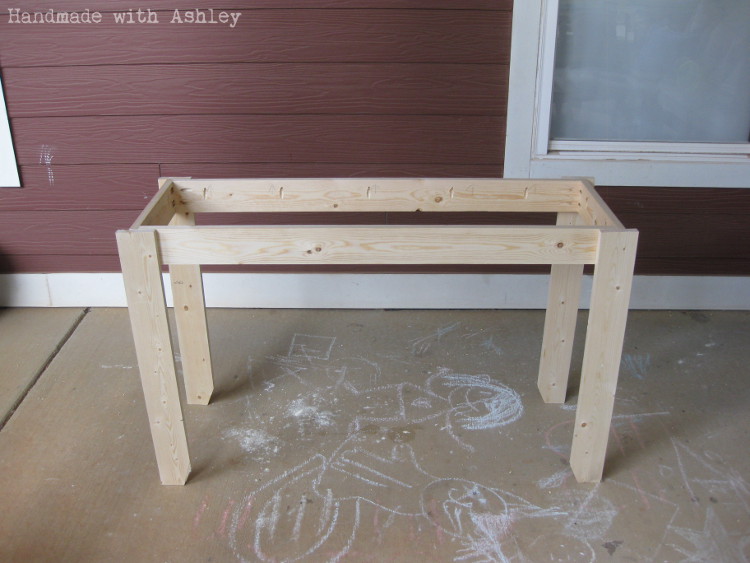
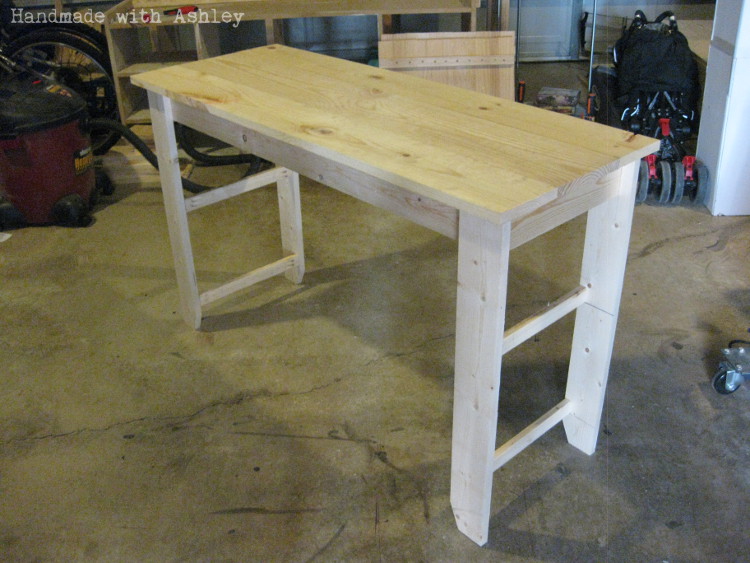
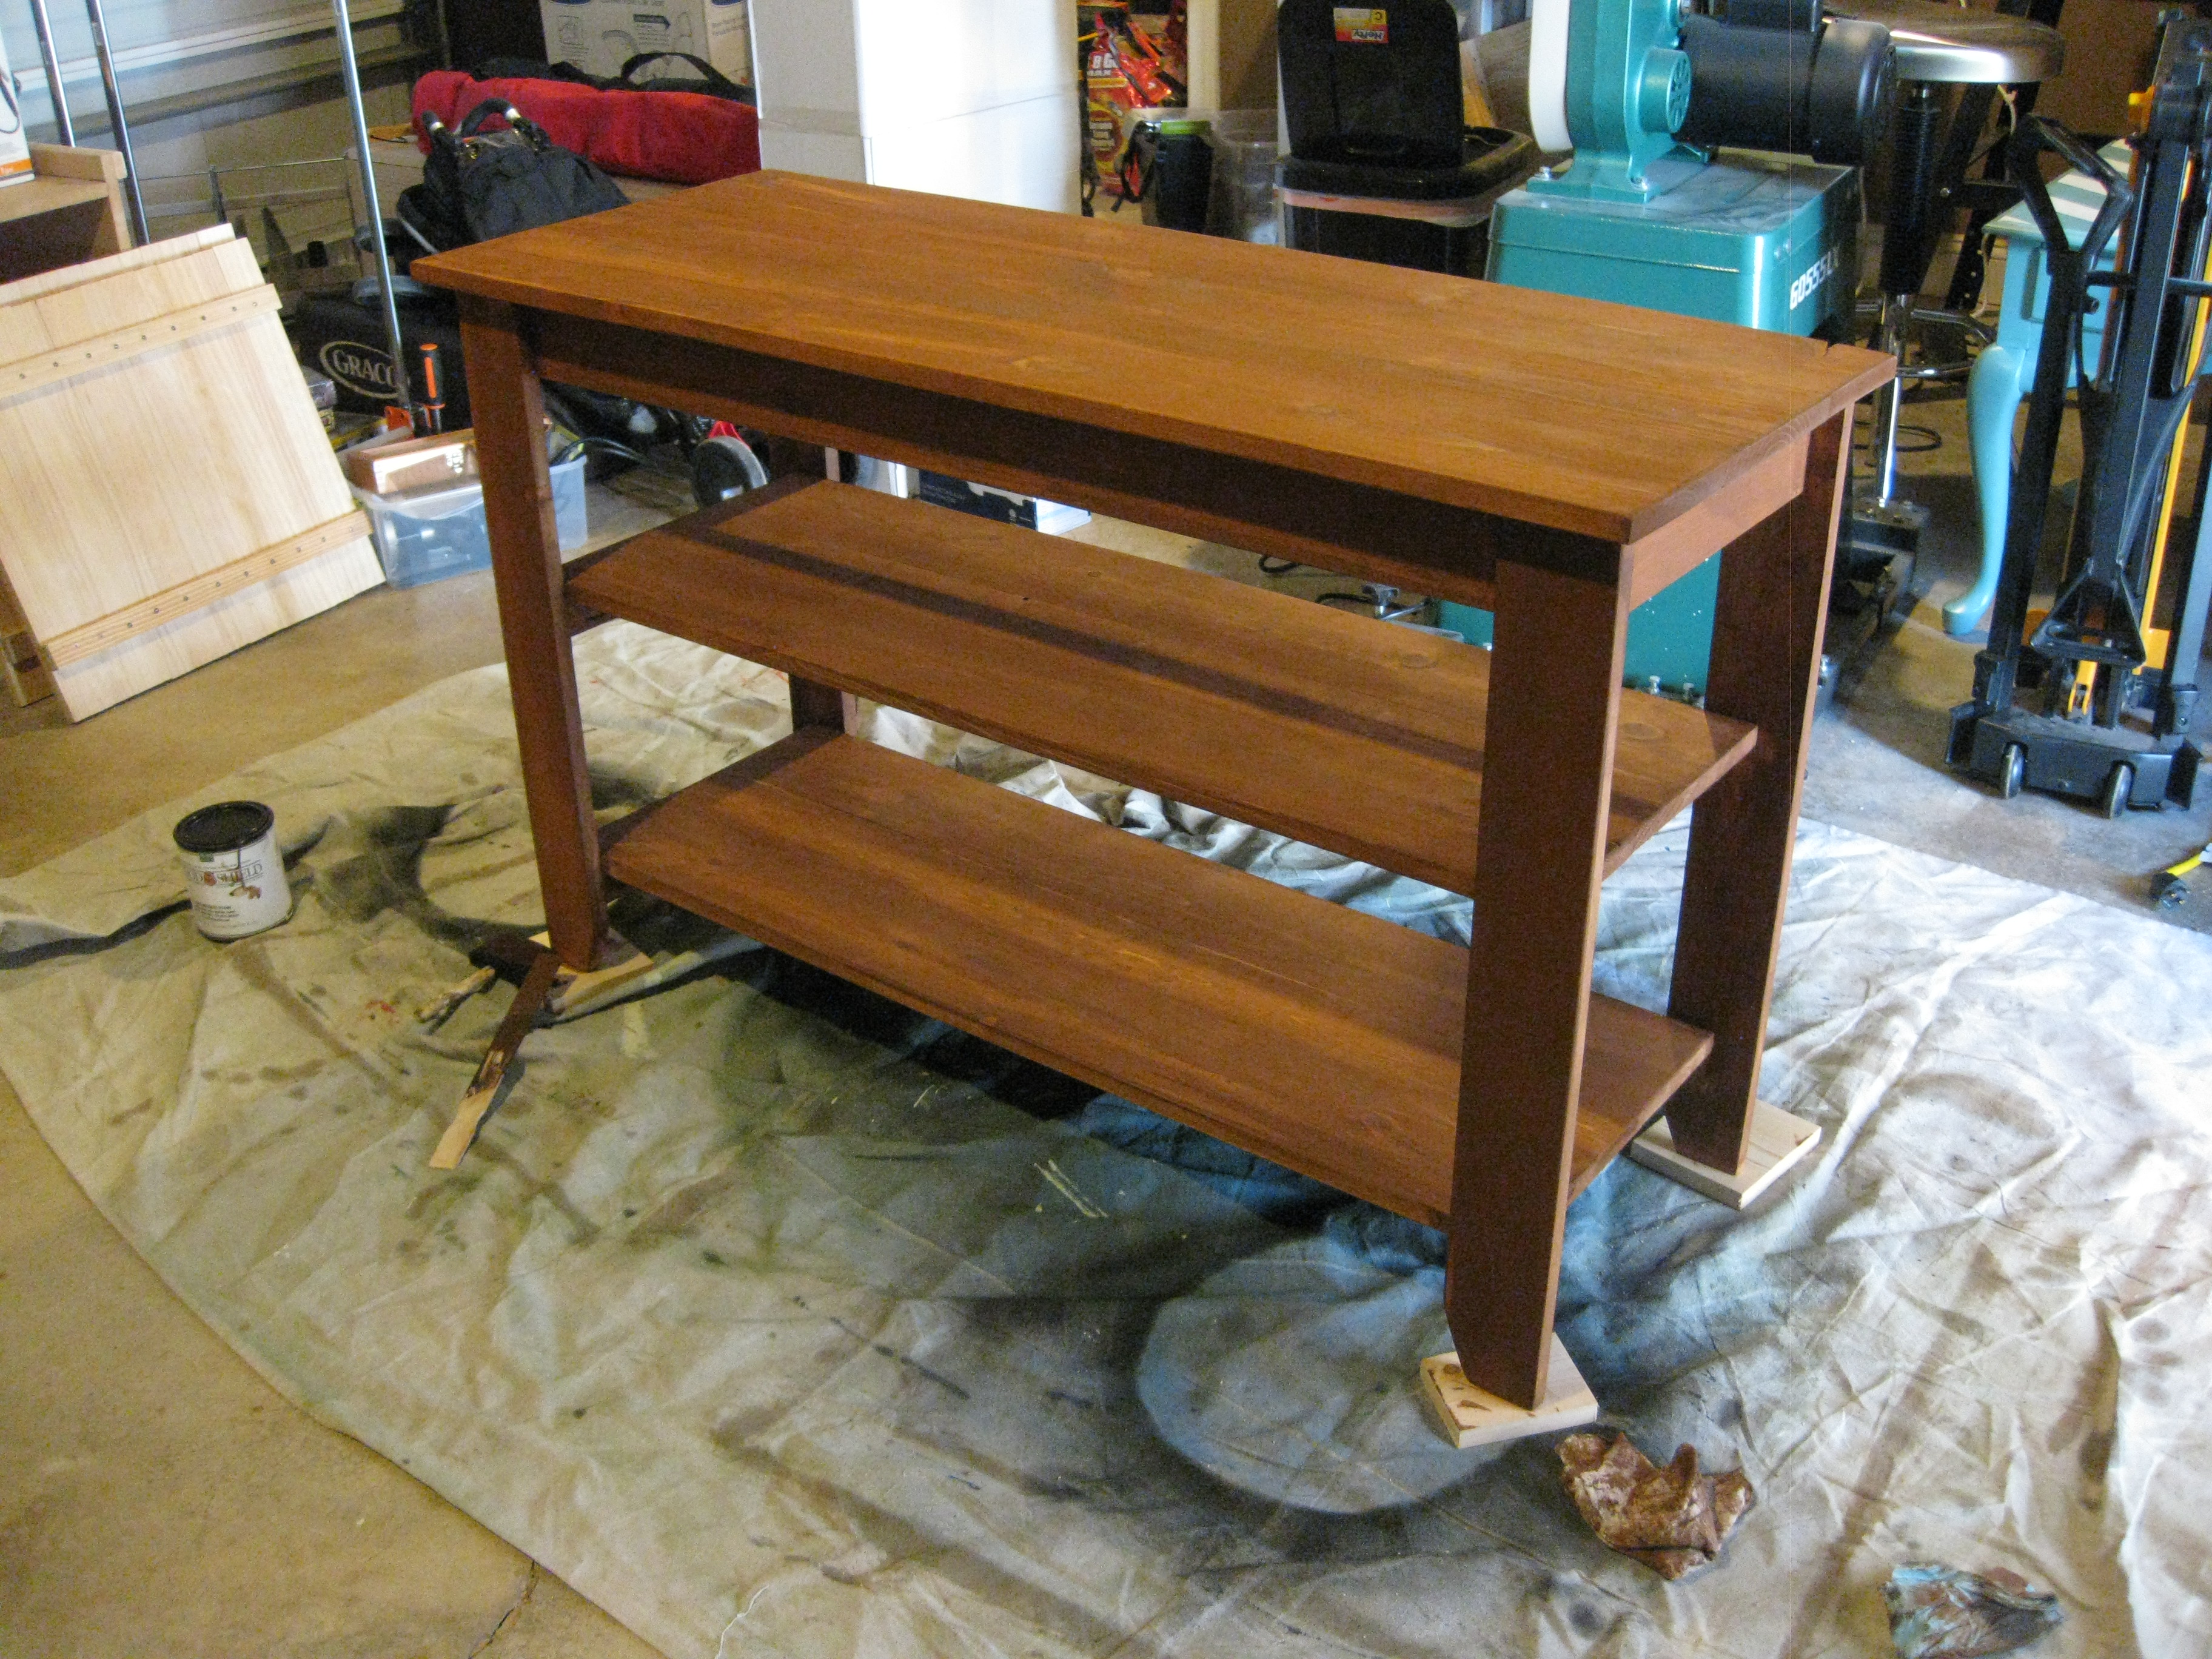
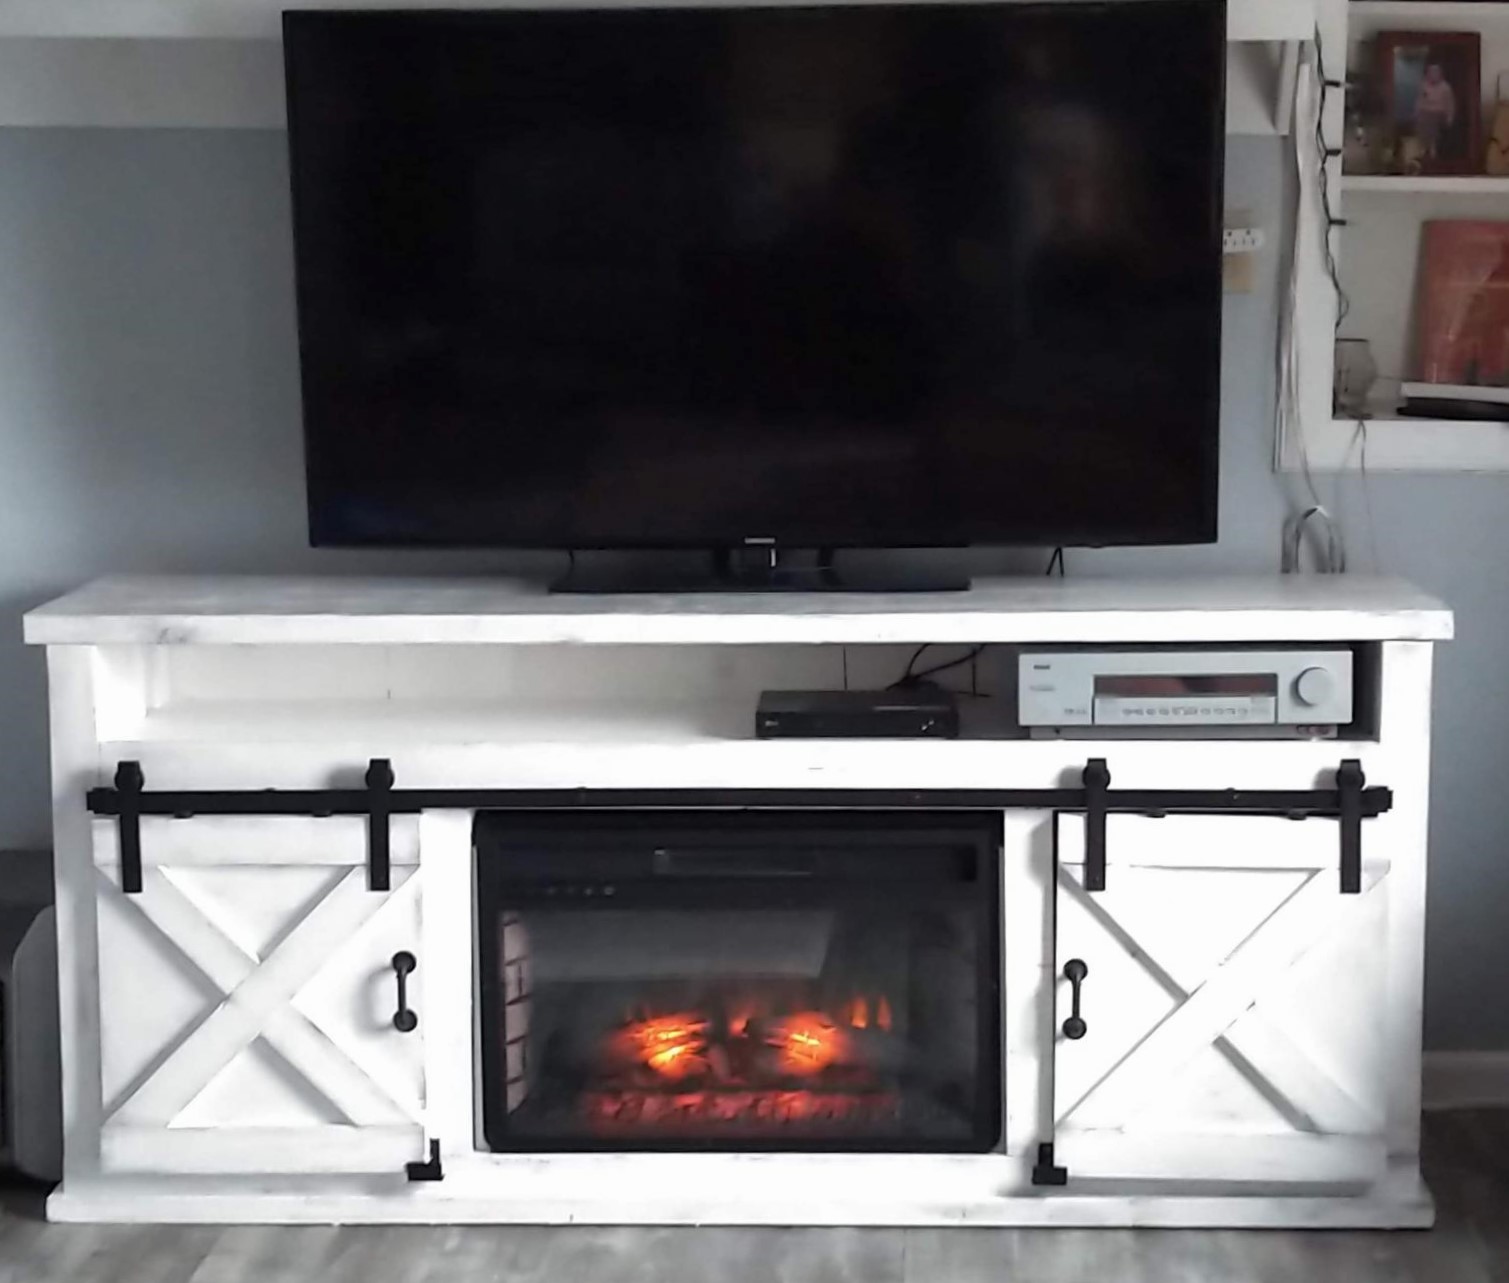
I used the plans from the "Grandy Barn Door Console" for the basic layout, and then altered them to accommodate an electric fireplace insert in between two cupboards, and an open shelf across the top to put in the stereo receiver. The tv is actually mounted to the wall over the top rather than sitting on the console. Overall, I love how it came out. It's exactly what we wanted!
Ana,
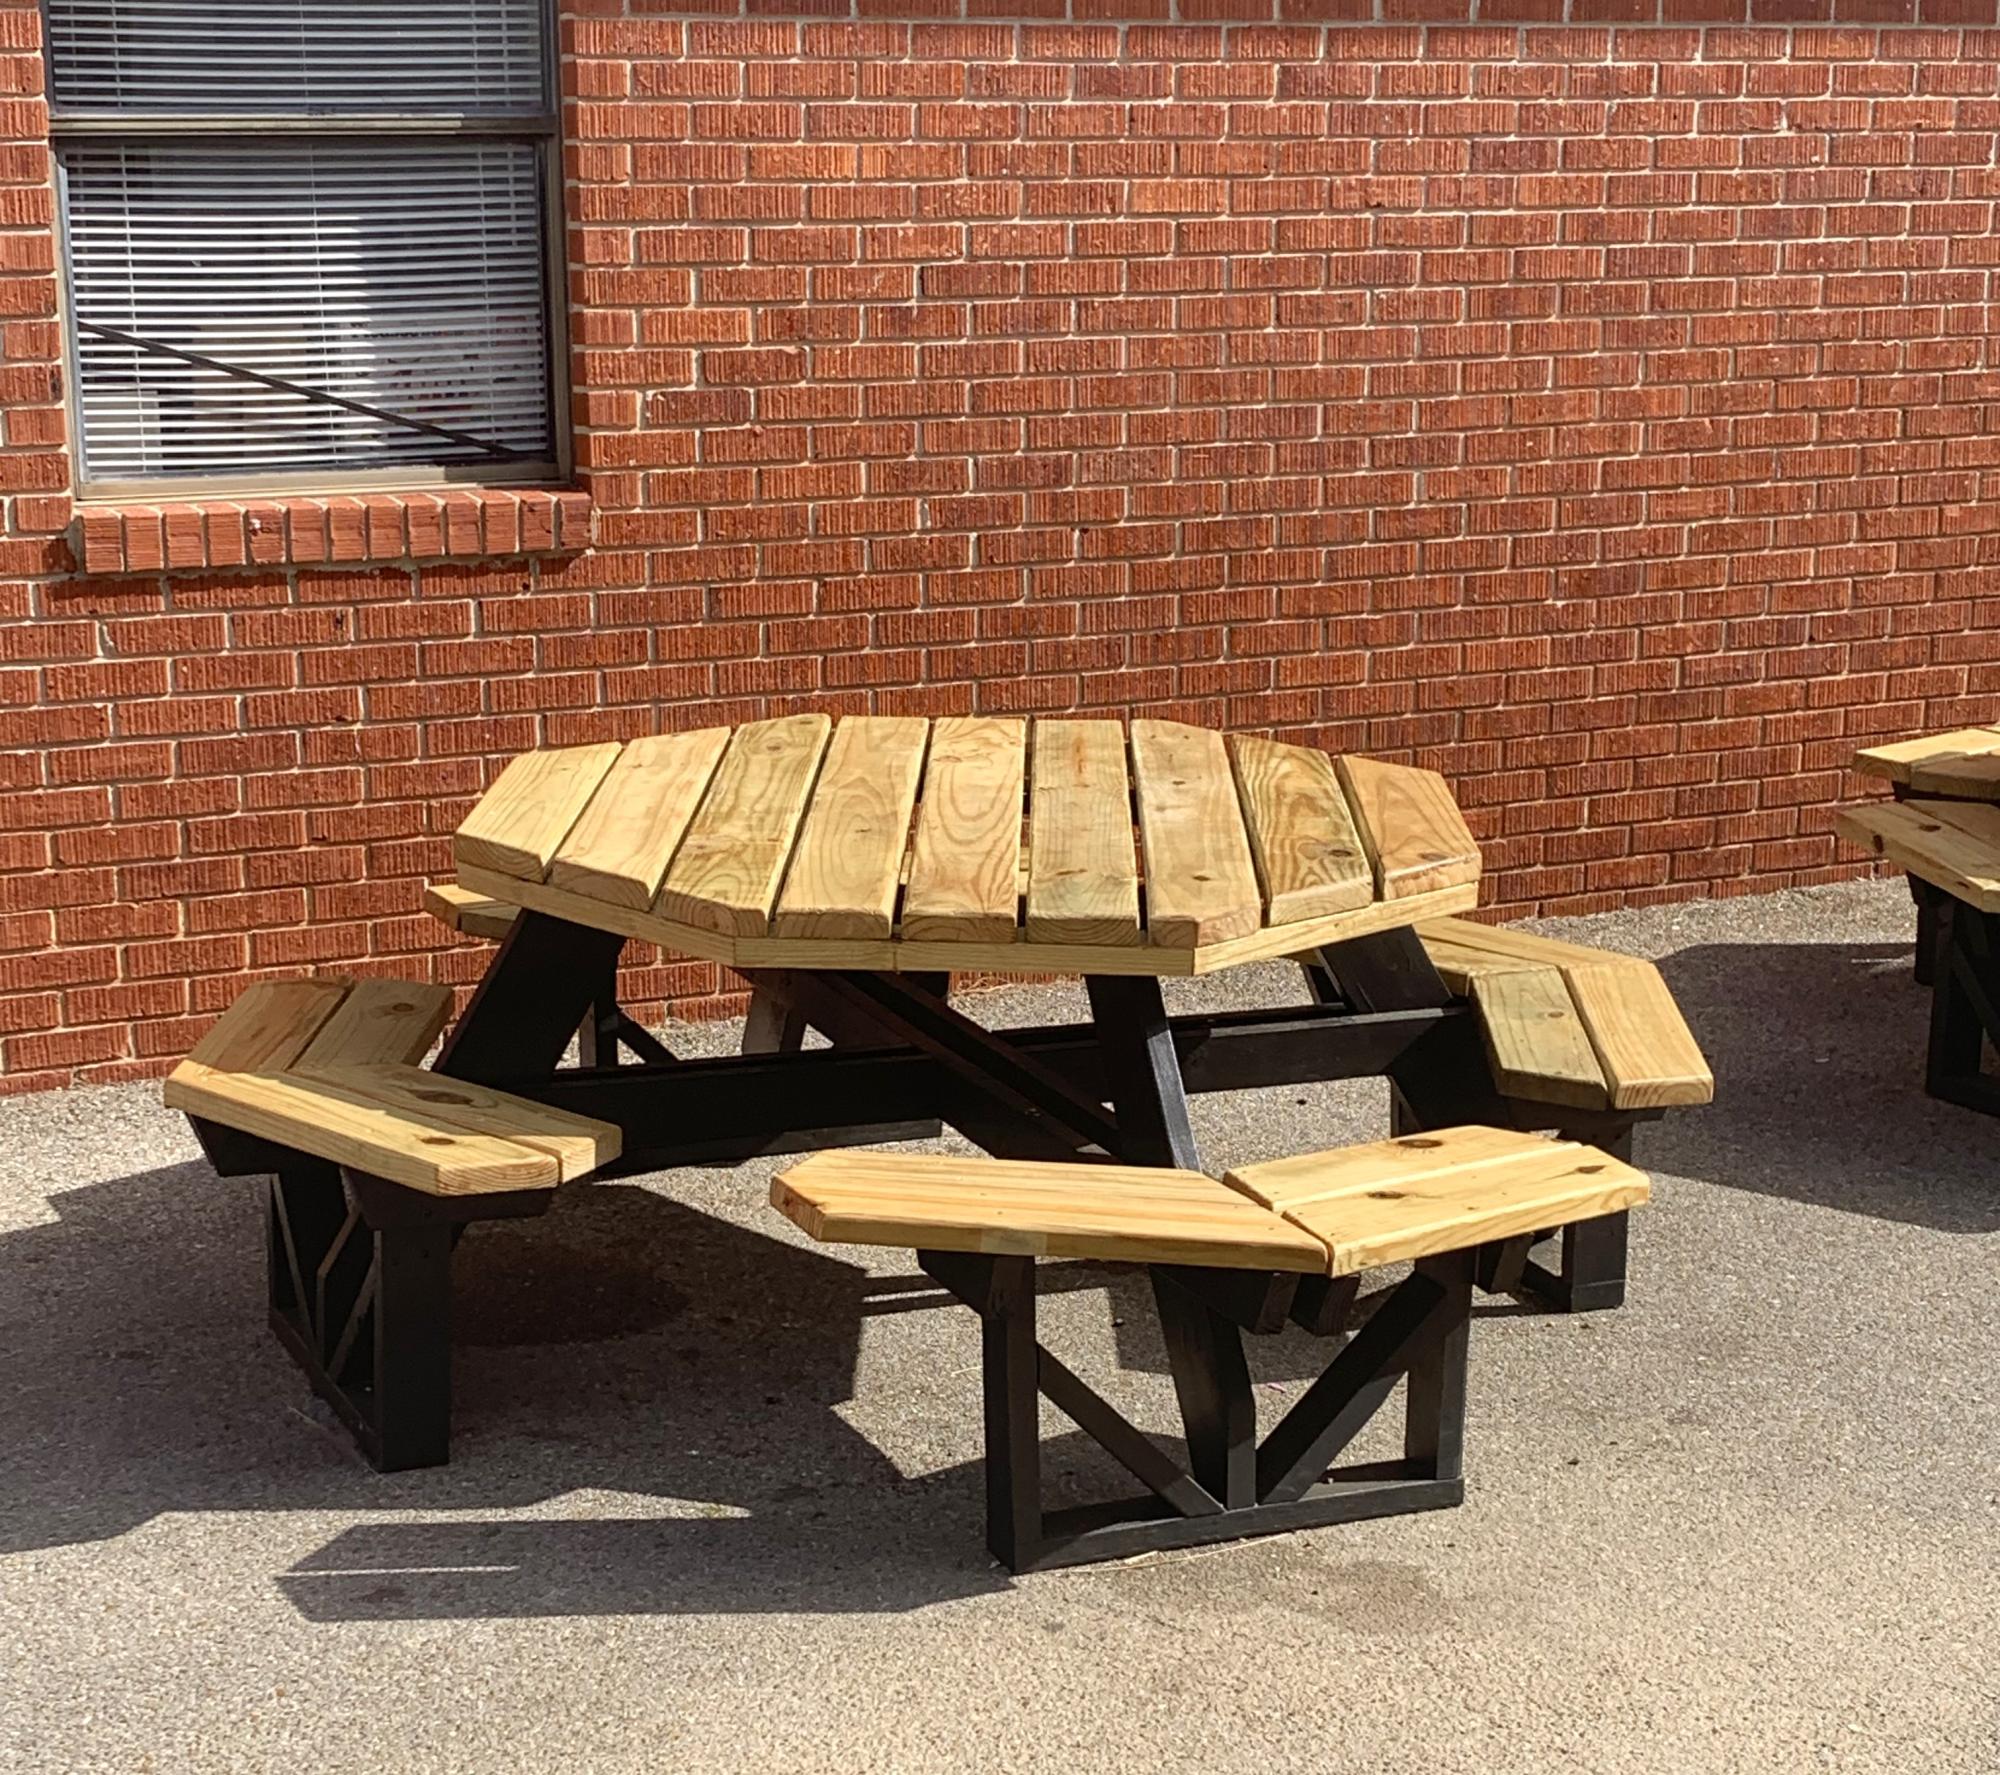
Thanks so much for your octagon picnic tables plans. I teach a Life Skills Class at Russell Christian Academy for middle school. This class of 18 students completed the build of 4 of these tables (with a little assistance from me) and are now being used as an outside dining area for all grades K-12. It was a great experience for the kids and I have received many positive comments about these tables.
Thanks again…
Dewayne Knight of Meridian, Mississippi
Sat, 11/18/2023 - 13:03
I love seeing these student projects. It's great that they are seeing them put to good use and people enjoying their hard work!
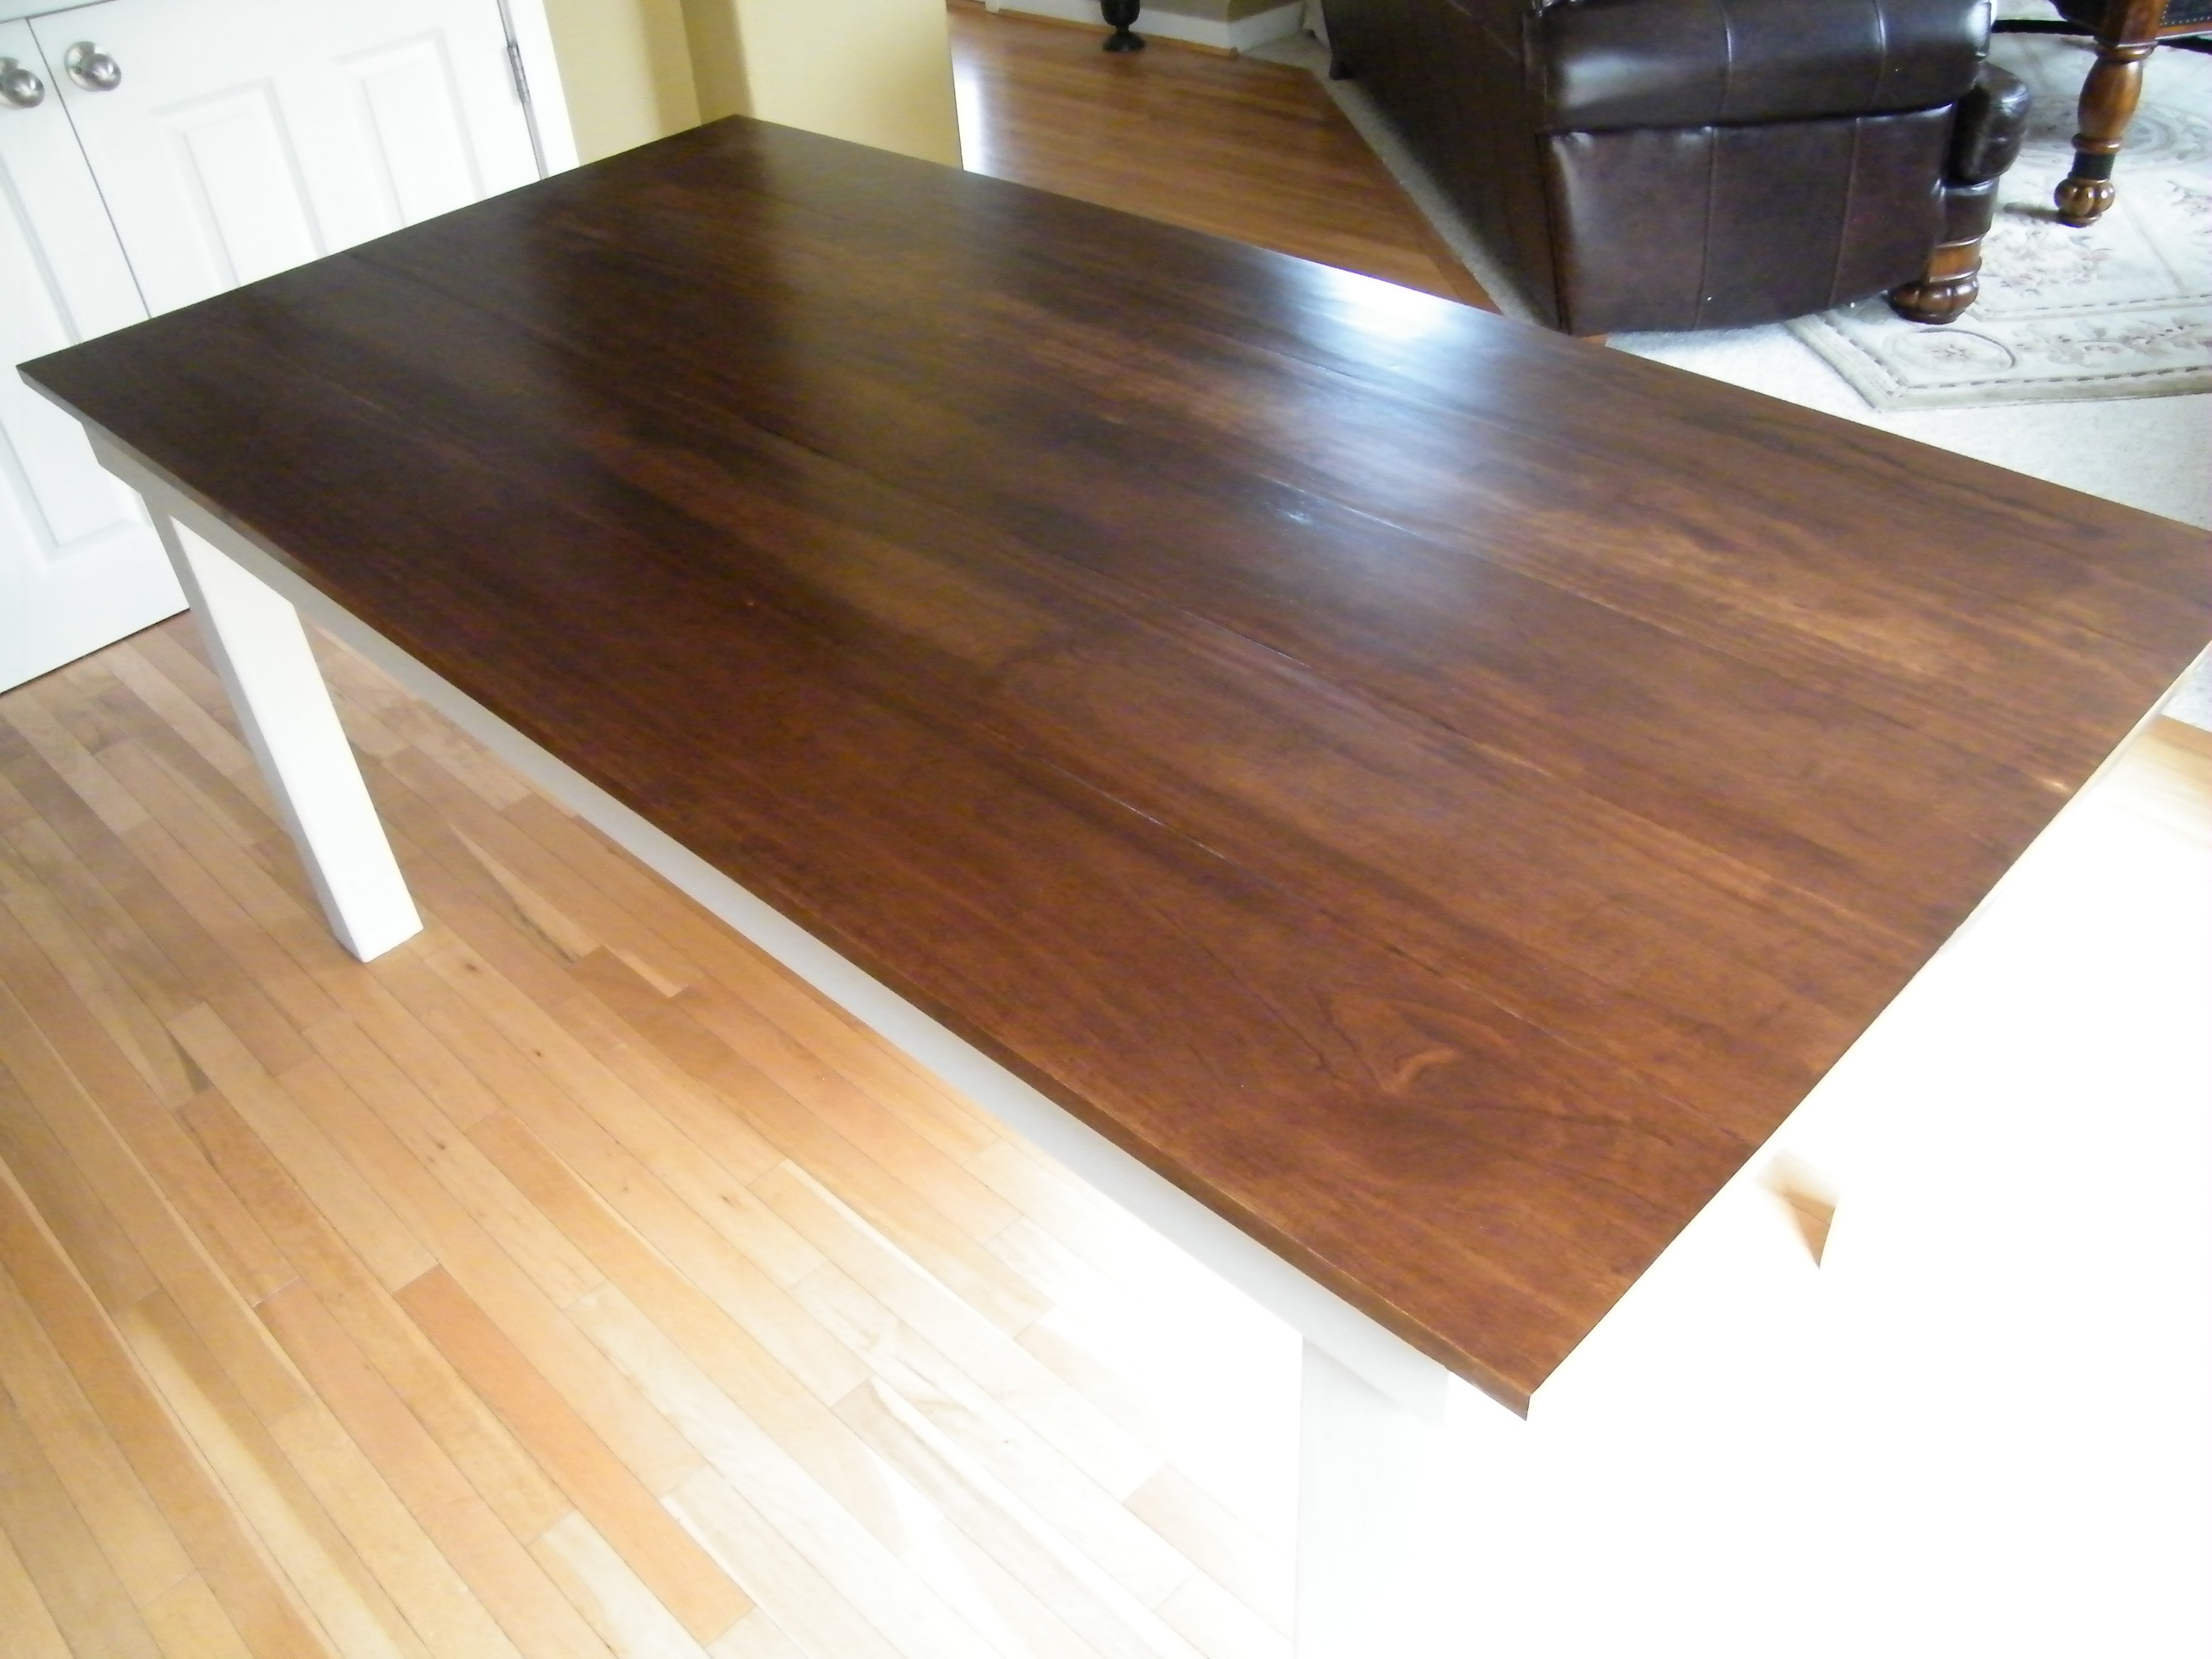
Table mad using the Rustic Table plans.

Comments
Ana White Admin
Fri, 04/14/2023 - 13:35
Built in one weekend!
This looks fabulous!!! Thank you for sharing.:)