Doll house Bookshelf for Grand daughter
![](/sites/default/files/3154827913_1370394827.jpg)
This was my first project and there were many starts and re-starts and tearing apart and re-doing but finished product was great! I added the arched doors to original plans and had fun with the whole project!
![](/sites/default/files/3154827914_1370394827.jpg)
![](/sites/default/files/3154827915_1370394827.jpg)
This was my first project and there were many starts and re-starts and tearing apart and re-doing but finished product was great! I added the arched doors to original plans and had fun with the whole project!
This was my second project after creating a custom bookcase for underneath our kitchen island. When I saw this bench, I knew it would go well with my dining table. It was pretty easy to do. I sanded and stained each piece before putting it all together and I stained it to try to match my dining table.
Thu, 05/07/2015 - 13:51
I love how you were able to match the bench to the table. By the way, what is the name of your table? I really like it! I wonder if Ana has time to draw up this plan, pretty please Ana.
Fri, 05/08/2015 - 10:19
It's the Paloma I from Crate and Barrel: http://www.crateandbarrel.com/furniture/dining-tables/paloma-i-dining-t…
Fri, 05/08/2015 - 10:35
It's the Paloma I from Crate and Barrel: http://www.crateandbarrel.com/furniture/dining-tables/paloma-i-dining-t…
Our first project using the plans provided on this web site. We couldn't be happier with the outcome. The plans were concise, accurate and easy to follow.
Tue, 09/19/2017 - 21:52
I apologize that the picture is sideways. That is not the way it is saved on my computer but no matter what I try, it rotates to this.
I love my new hobby and your site makes it so fun and simple, thanks for sharing your knowledge and enthusiasm.
Cindy
Your plans made this project so much easier. We love it and have gotten a lot of compliments for it.
Fri, 06/12/2020 - 11:05
LOVE the attention to decorating details! This is beautiful. Thank you for sharing!
We finally got our outdoor porch cleaned out and needed some additional seating. Loved all the different designs based on Ana's 2x4 sofa. Used Cedar boards instead of Pine.
This was the first project my husband and I completed from one of Ana's plans. I'd wanted a pair of Adirondack chairs for our yard, and convinced my husband that we could build them ourselves. Once he was on board, he suggested we build a pair for our neighbors as a surprise and leave them in their yard while they were out of town. We had a blast and learned a lot. We've had tons of compliments on the two sets of chairs, and during our last neighborhood garage sale, we had many offers to buy them (but we're not selling!). Thanks, Ana!
I used an all oak wood with a maple inlay on the table top to give it a different grain pattern and stand out a little more than just one type of wood. My wife wanted 3 shelves so she could display all our babies photos in our living room, toys on the bottom and odd storage in the middle. The way I figured to find the height of the second shelve was because we have a scentsy warmer and the basket we use to hold the scents I made to just fit under the table top. I also went with a fancier router-ed edge to the top which has three grooves instead of your normal round over or just square. I used a lot of kreg jigs to put this together and the two bottom shelves are free floating without a support beam. The way I did it made it really sturdy with clean lines on the peace. I sanded the whole project to 400 which made it feel like glass. If you would like to know more ask questions. I love to do this type of stuff.
Fri, 10/18/2013 - 01:46
I just finished a second, smaller version of this one for one of my friends who just got married. I also inscribed their names and date they got married on the bottom. I made it look like a carving in tree. It was pretty cool.
This is project #3 for me. Went together pretty easy. I originally made it for my living room but my teenaged daughter likes it so much she is begging for it to be in her room. She helped me stain it so I guess I will give it to her. I love Ana, I love the plans, I love feeling so empowered!
Built by Richelle Munro
"I love all your plans, and I have made quite a few of them now! This is one of my favourite! I used old barn wood for the top, and ship lap for the bottom and doors!"
This plan had comments about the 1x12 being a little short.
I love this table. I needed a little console table for my bedroom, and this was a prefect fit. It took me a day (not including buying the lumber), and it was fun to build. This was the 2nd project I have done, and I am really proud of it! (PS i found one on the pottery barn website that looks very similar for $600!) I spent about $50 on lumber, and already had the rest of my materials:)
Mon, 06/10/2013 - 16:05
Great job! I love that stain! How come you did not use pocket holes to attach the board so there would not be any visible screws? I love this table though. I saw the plans last week and want to build one next!
In reply to Great job! I love that stain! by Officer_Dad
Tue, 06/11/2013 - 08:11
Thanks! I like how the stain turned out too:) As for the screws showing...well.. I didn't want to buy any extra tools- and i have no idea how to make pocket holes yet haha. This is only my 2nd project. But I really don't mind the screws showing.
:)
It was a bit tricky putting it together in my limited space closet but I got it all done! Loving it! It also forces me to make up a capsule wardrobe and clean out my closet as there isn't room for everything. Thanks Ana!
A great one board project using some left over cedar that was collecting dust. Using a 1/2" round over bit I eased the outside corners as well as the drawer sides. I find that the drawers will slide easier with a slight round over applied. I left the cedar without a stain and two coats of satin clear.
Sat, 11/04/2017 - 19:29
Great job on this project! The router detail is beautiful, and the unique shaped pulls are awesome!
JoanneS
Made this simple house bed for my daughter. Got the idea from Ana white page and made my own.
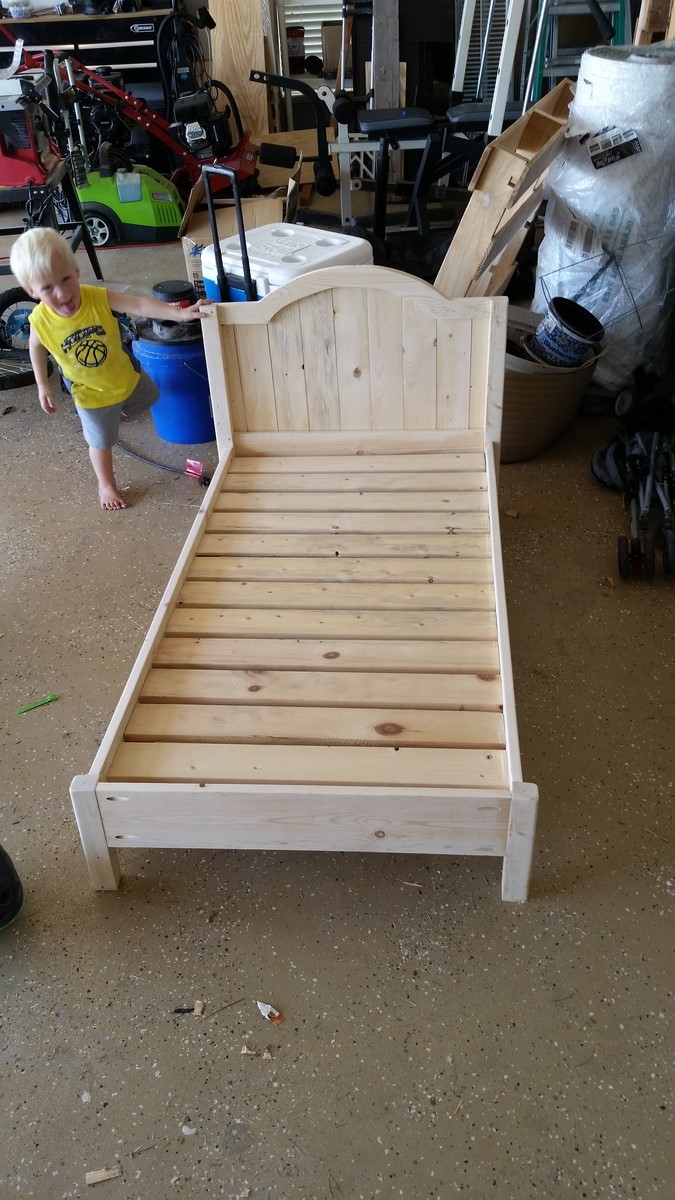
This is my first build ever...except for a rad cd rack I built in 8th grade shop class. My husband and I
So it all started when my amazingly crafty friend Lee built a toy kitchen for her kids. I was so impressed and started looking up other people's diy kitchens. So then I was searching for something totally different and saw the play kitchen on Ana's website (love it), and I got totally addicted and decided I was going to build a dining room table, because we have been using a hand-me-down brown card table and chairs from the 70's since we got married. (How's that for a run-on sentence?) I wasn't sure if my husband would take me very seriously, but after I showed him this website, I started noticing him on it all the time. He's more addicted than I am!
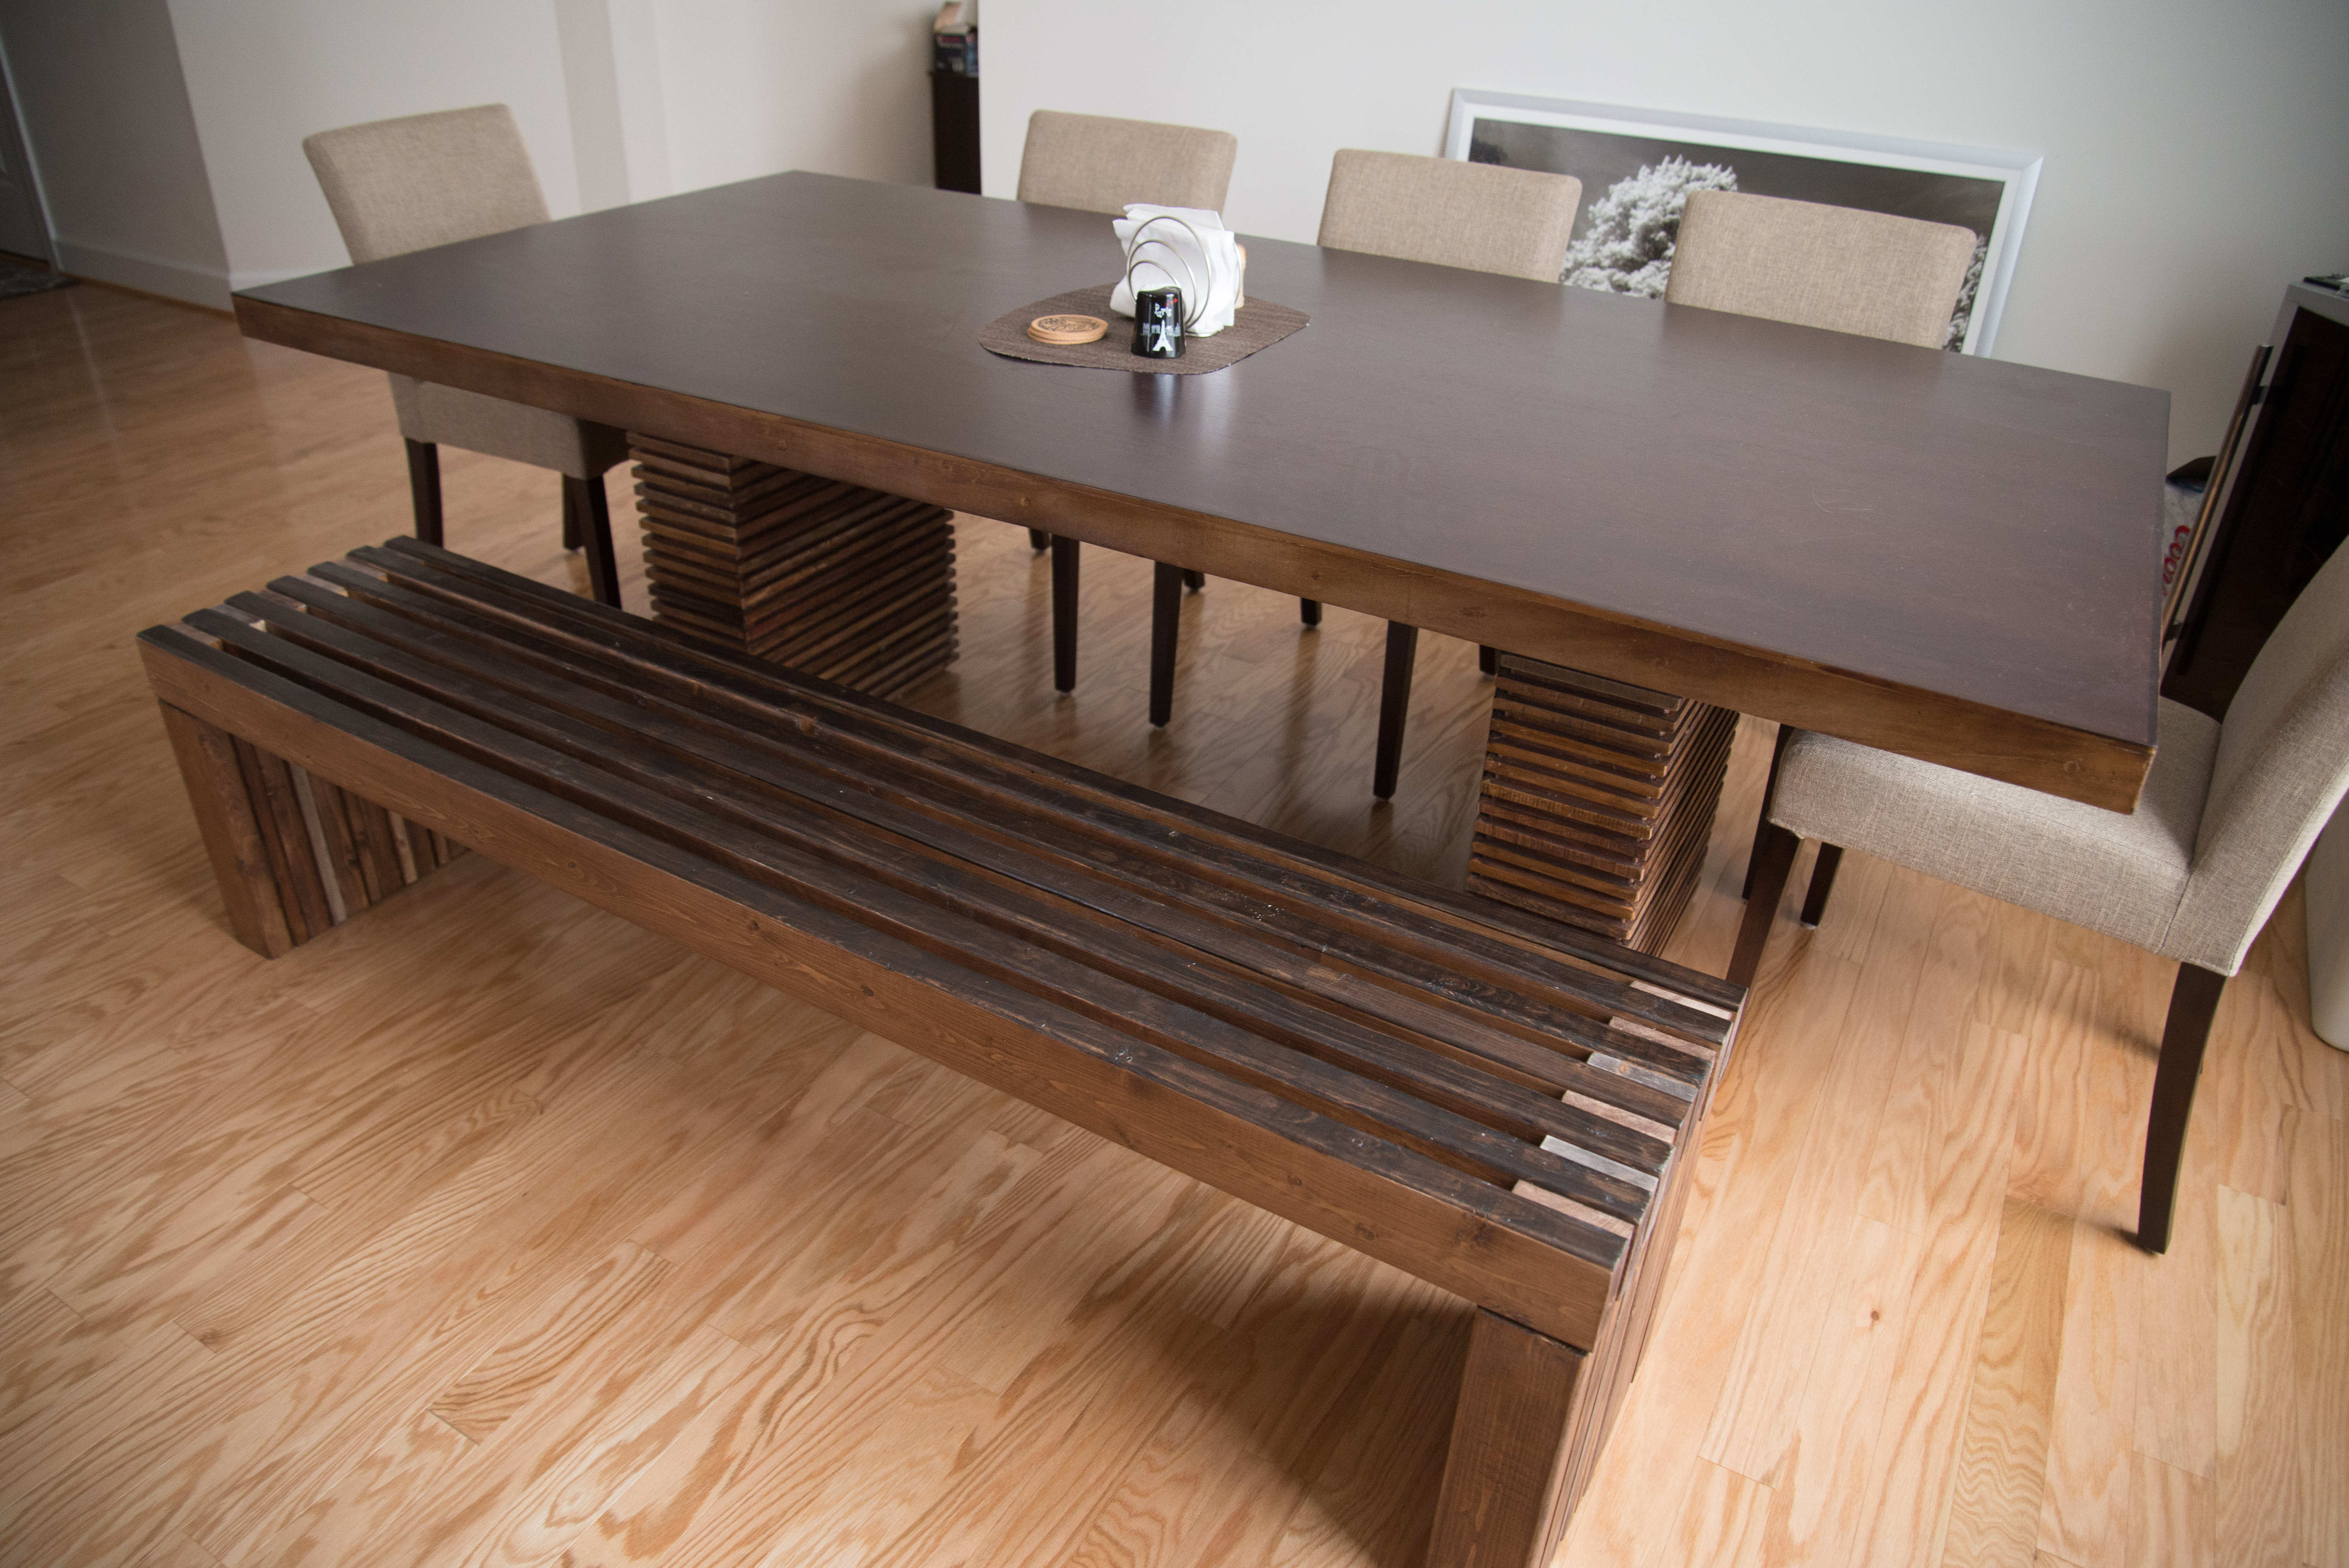
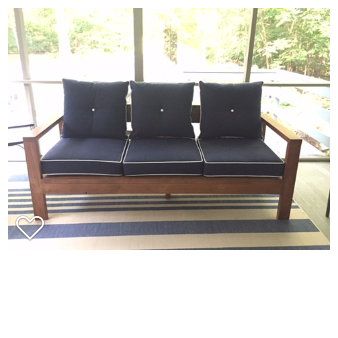
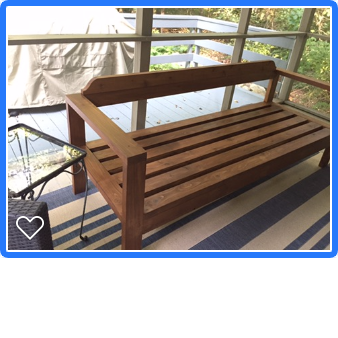
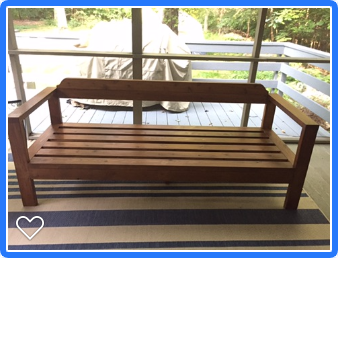
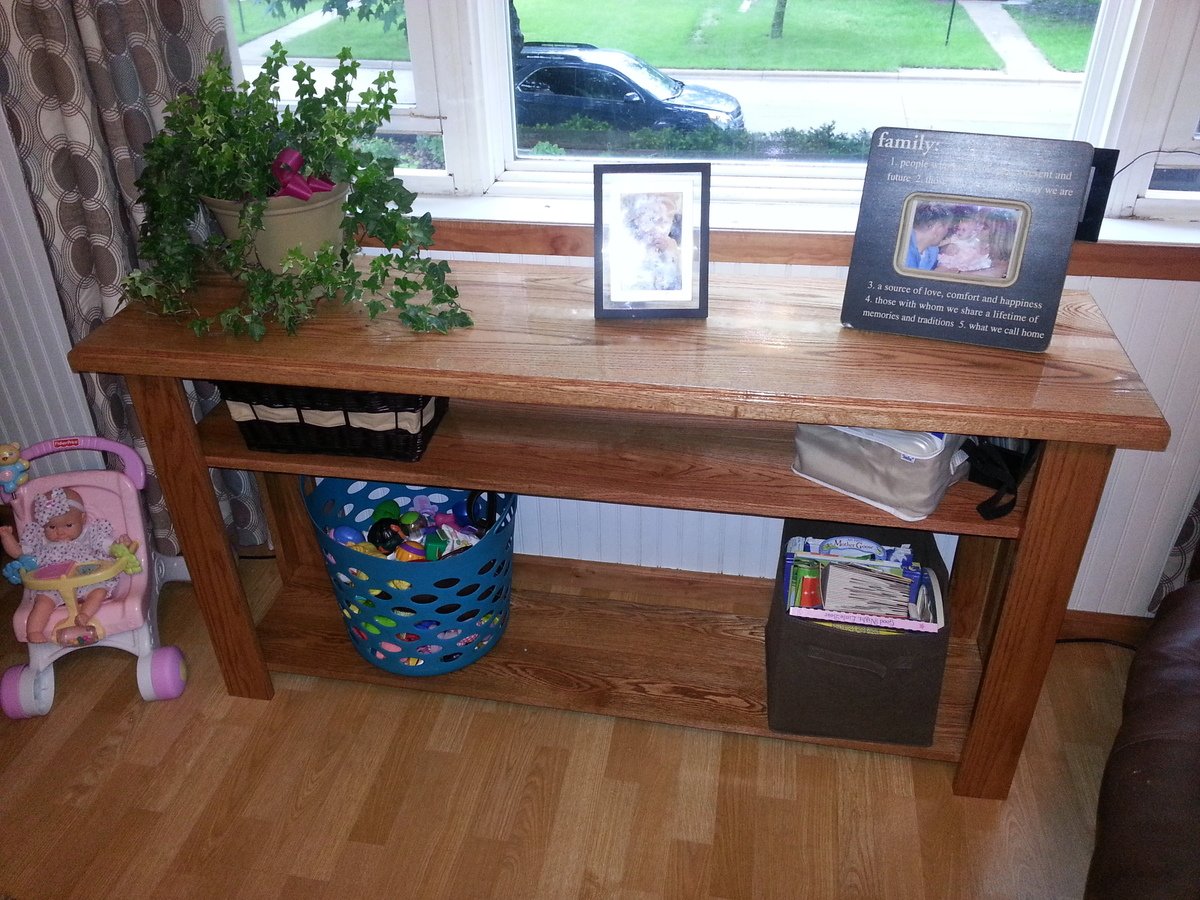
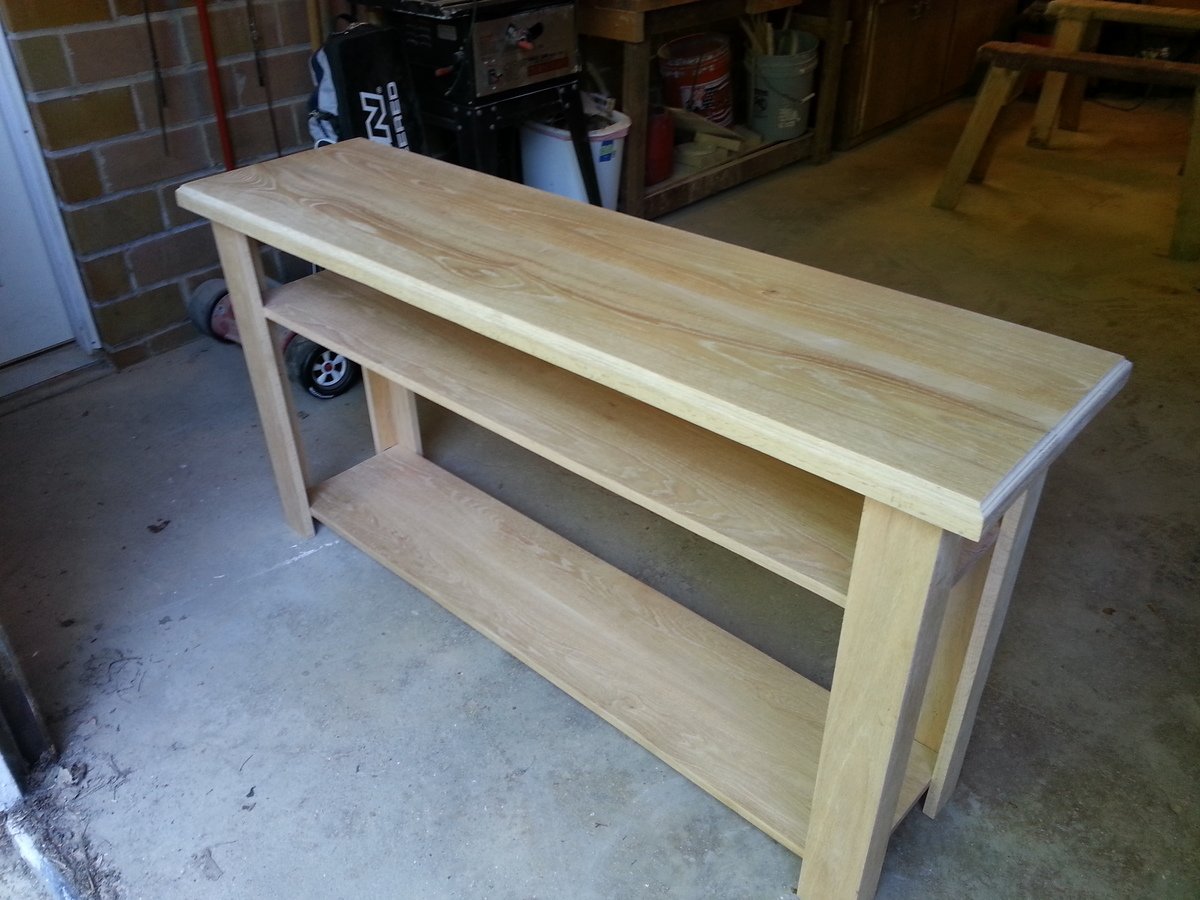
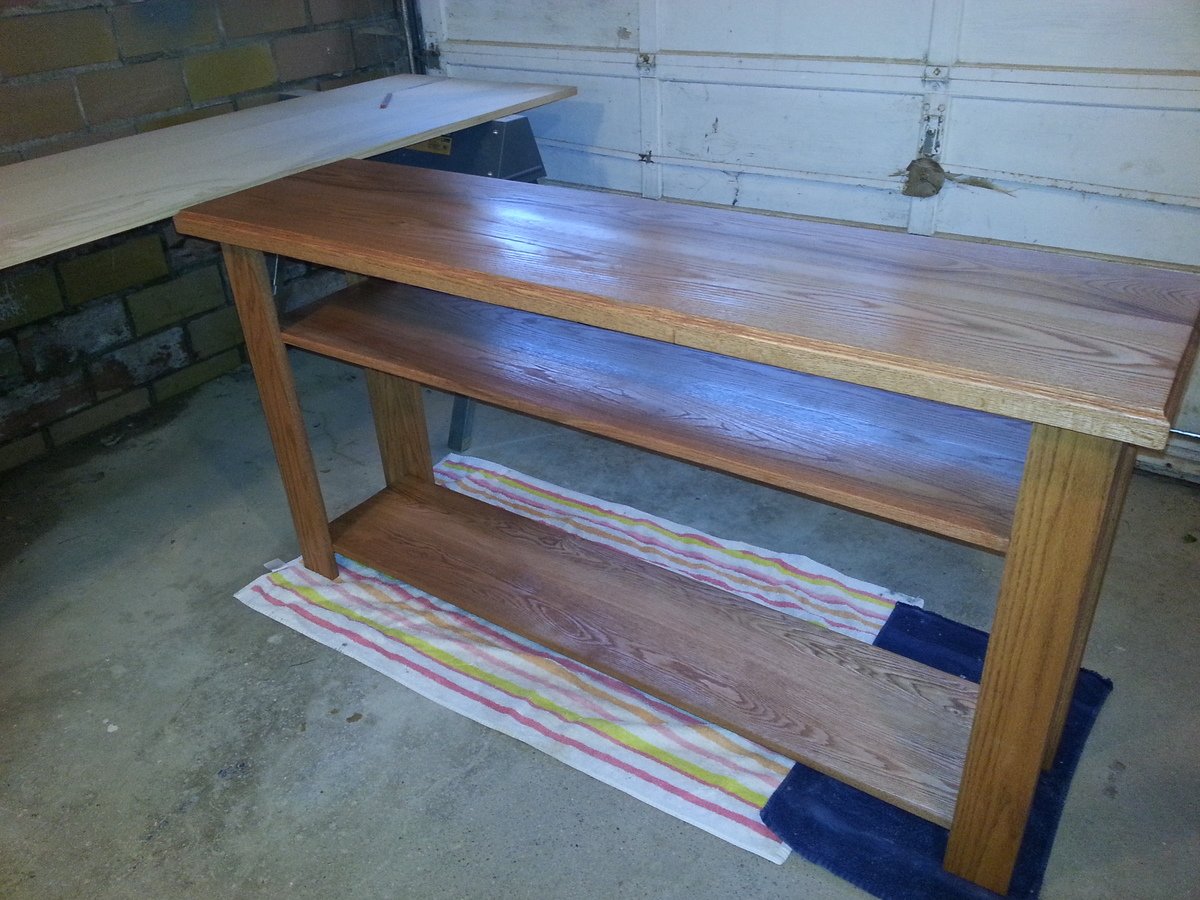
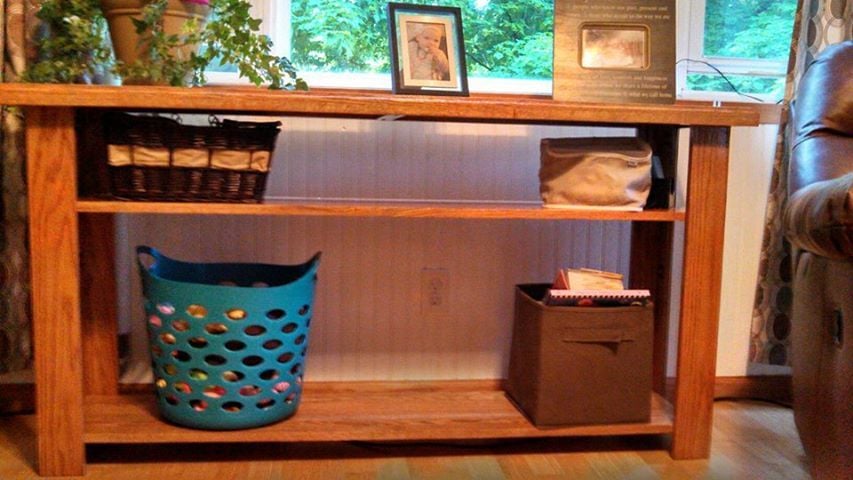
Fast forward some time and we decided to start with the spa bench as a warm-up. Once we are in a house with our own garage (God willing in the next few months), we plan on tackling the Farmhouse Table. Anyway, when we took the kids to Gma and Gpa's, my father-in-law got really excited that there were going to be carpenters in the family, and he took us out to the garage to show us all his tools that we could use.
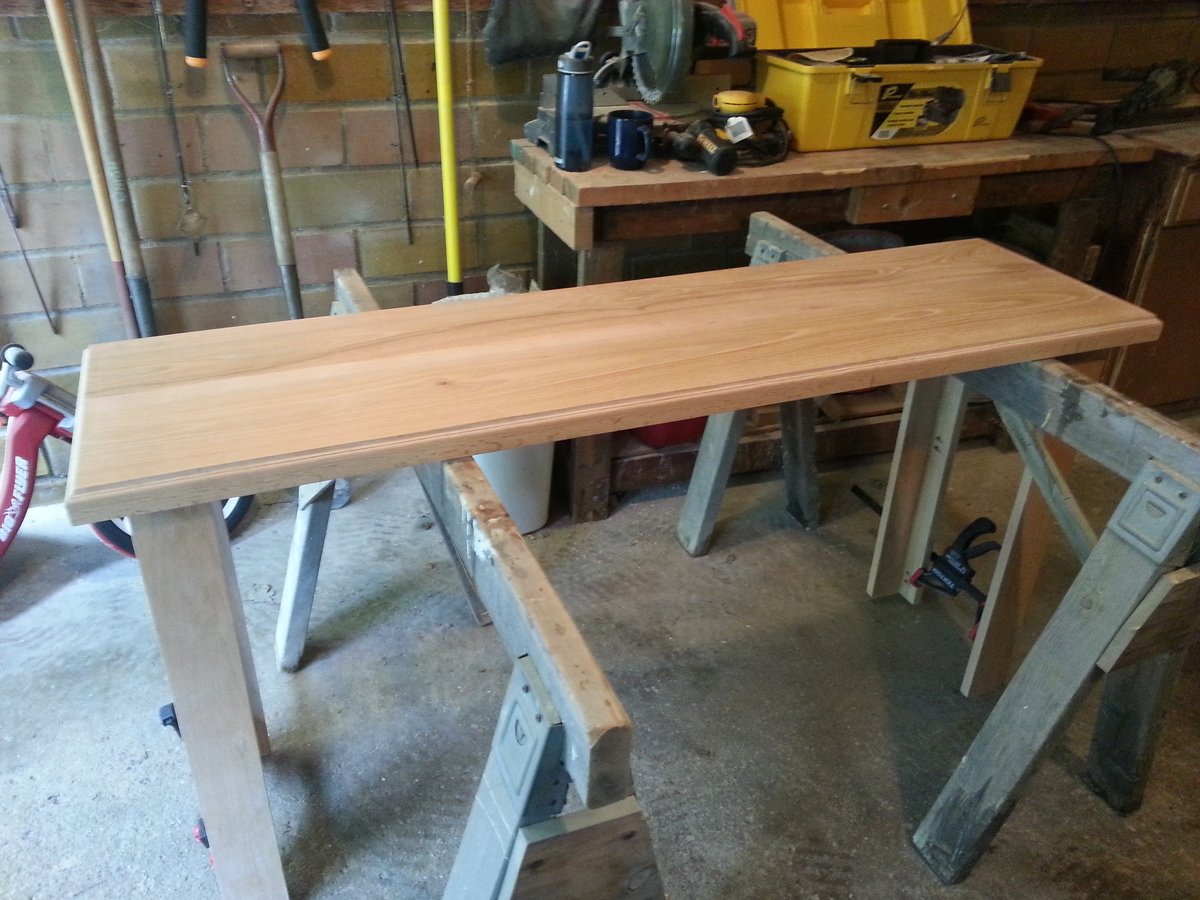
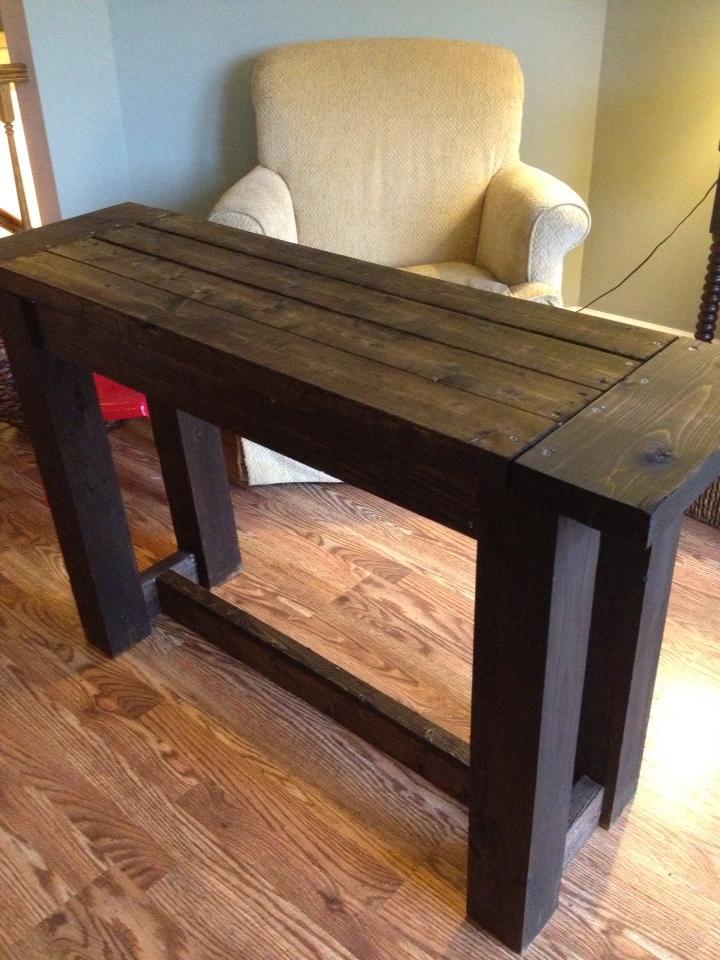
We had to buy all of the wood, screws, sand paper, stain, polyurethane, and a paint brush since it was our first project, so it ended up costing about $85. At least now we have a lot of supplies left over for our future projects! We had
This is probably a weekend project if you count the staining and finisher. The actual building part only took us three or four hours (please don't laugh at us if that's painfully slow), but we actually took about two weeks to finish it because we have rain, no garage, and three kids under 19 months. And we weren't really in a hurry. Anyway, it was fun. We like to build. Thanks, Ana, for inspiring us and for making it doable for so many people! We think you're neat.
- Used a router to cut a dado slot for the vertical boards to slide into the 4x4 posts so I would not have to screw them in from the outside
- Used a router to round over the edges to make the post toppers.
- Used router to give a shaped edge to the top horizontal planks
- I bought the finials for the post tops
Bed Frame and Headboard made from Ana's plans. Frame is very simple. Headboard is fairly simple but a lot more cuts, measuring and attaching. I stained both with Varathane Weathered Gray. I also attached sideboards and internal support 2x4s with bed-frame brackets rather than screwing directly in to allow for easier deconstruction and reconstruction. Used an insert nut on the sideboards to attach hairpin legs (screwed directly into top/bottom boards).
Side tables are just 3/4 birch plywood glued and nailed into a rectangular box. 24x18" Top/Bottom and 18 x 6" sides. Hairpin legs are longer versions (16") of Ana's Amazon suggestions for bed frame. Stained with Varathane Antique White.. turned out ok, but would use a different white stain or just paint them white if I had to do it again, and paint the insides before you build!
Tue, 11/16/2021 - 15:27
That is beautiful, well done, thank you for sharing!
This is my daughters new bed. We modified the plans to fit what we wanted. I added drawers to the stairs. Then put shelves behind the stairs. Added doors so we can hide the shelves. We used rope lights inside to add light with her own light switch.
PS Don't mind the date on the pictures. Forgot to change the date.
Comments
mary tuper
Wed, 06/05/2013 - 06:39
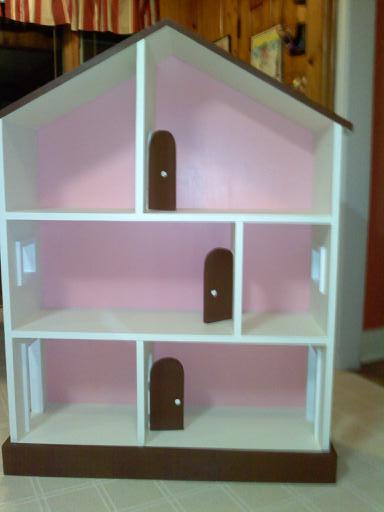
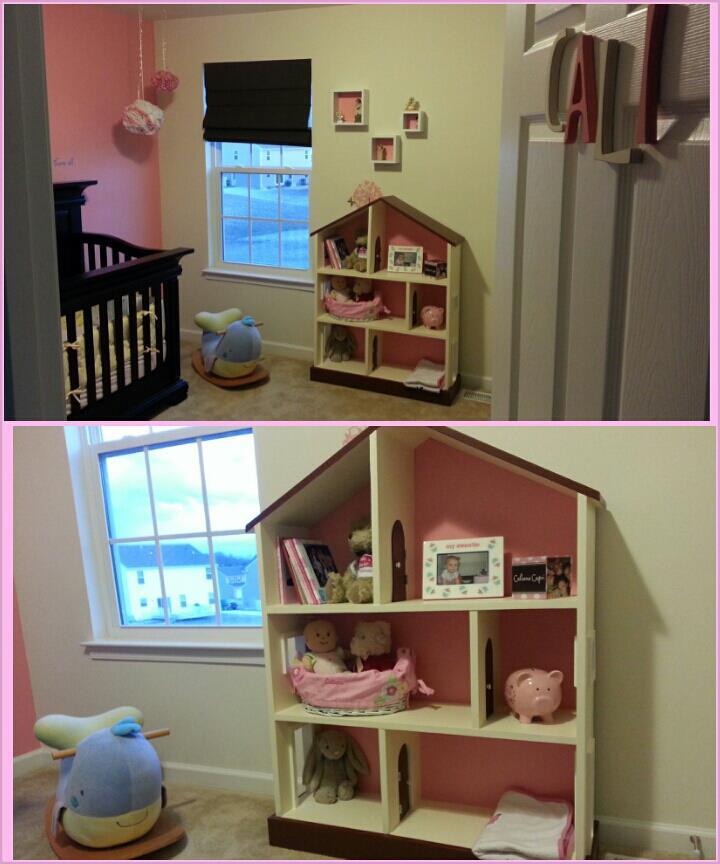
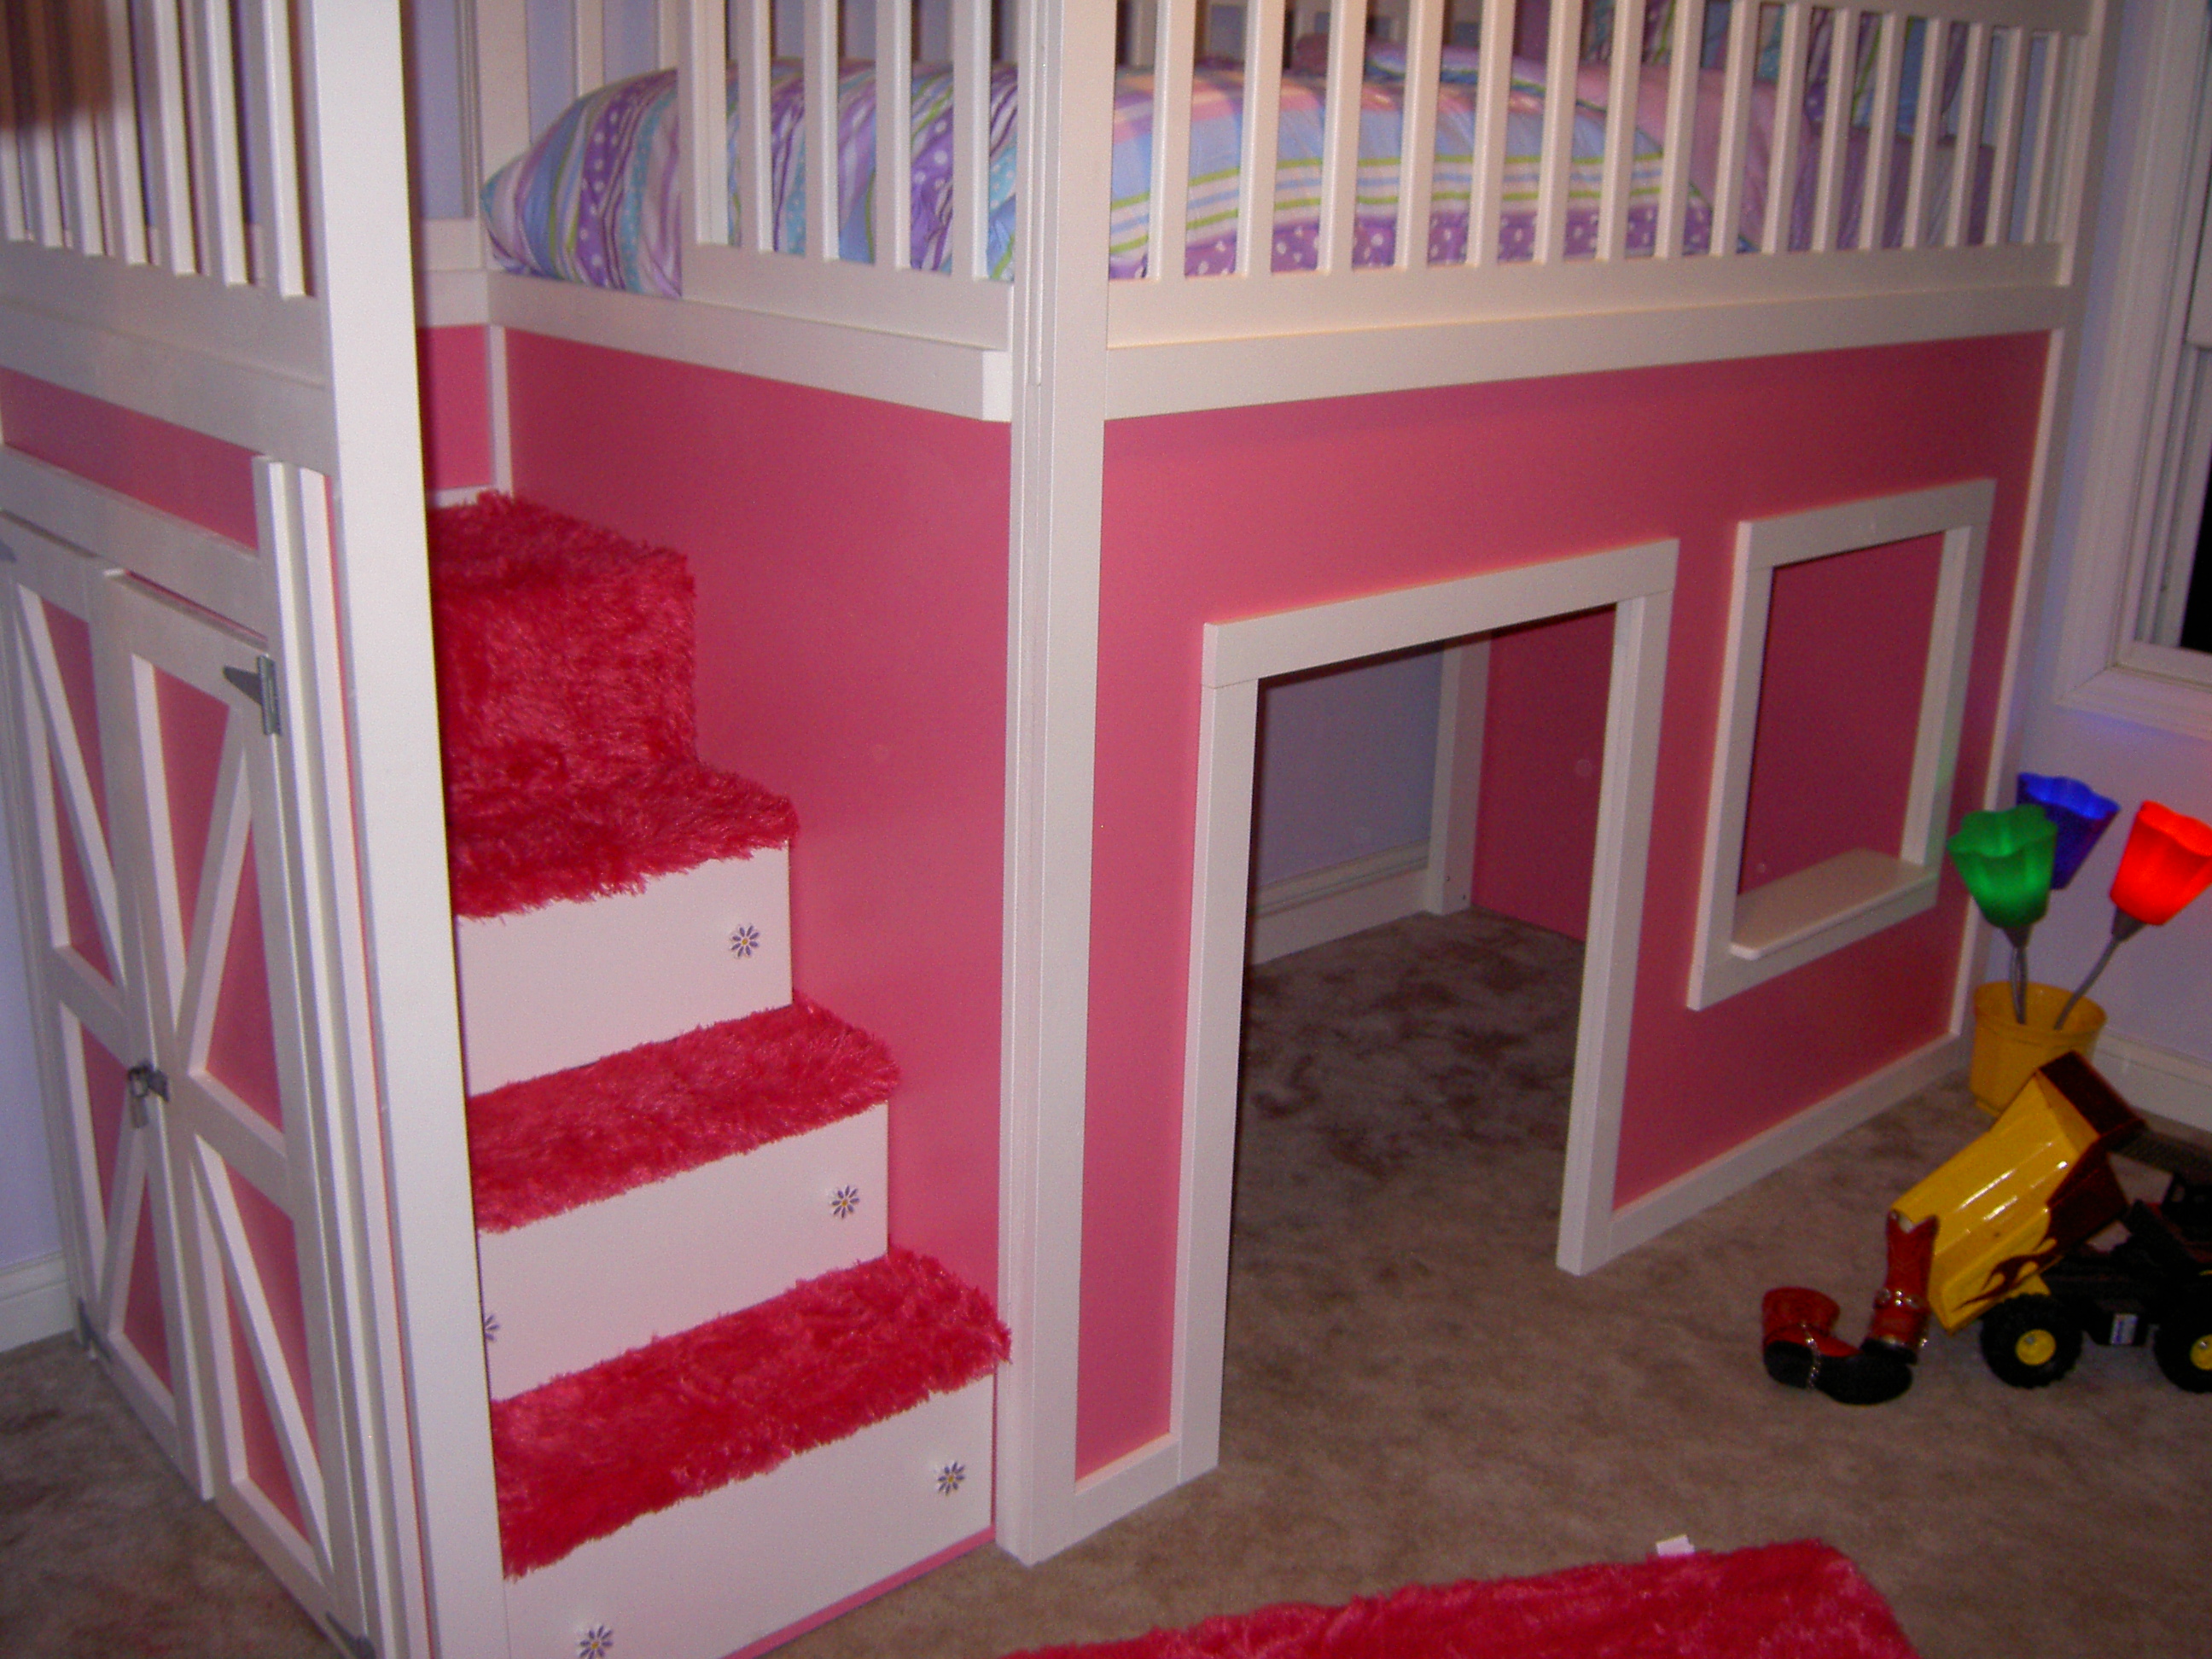
doll house
This was a truly fun project!
Pam the Goatherd
Sun, 06/09/2013 - 06:02
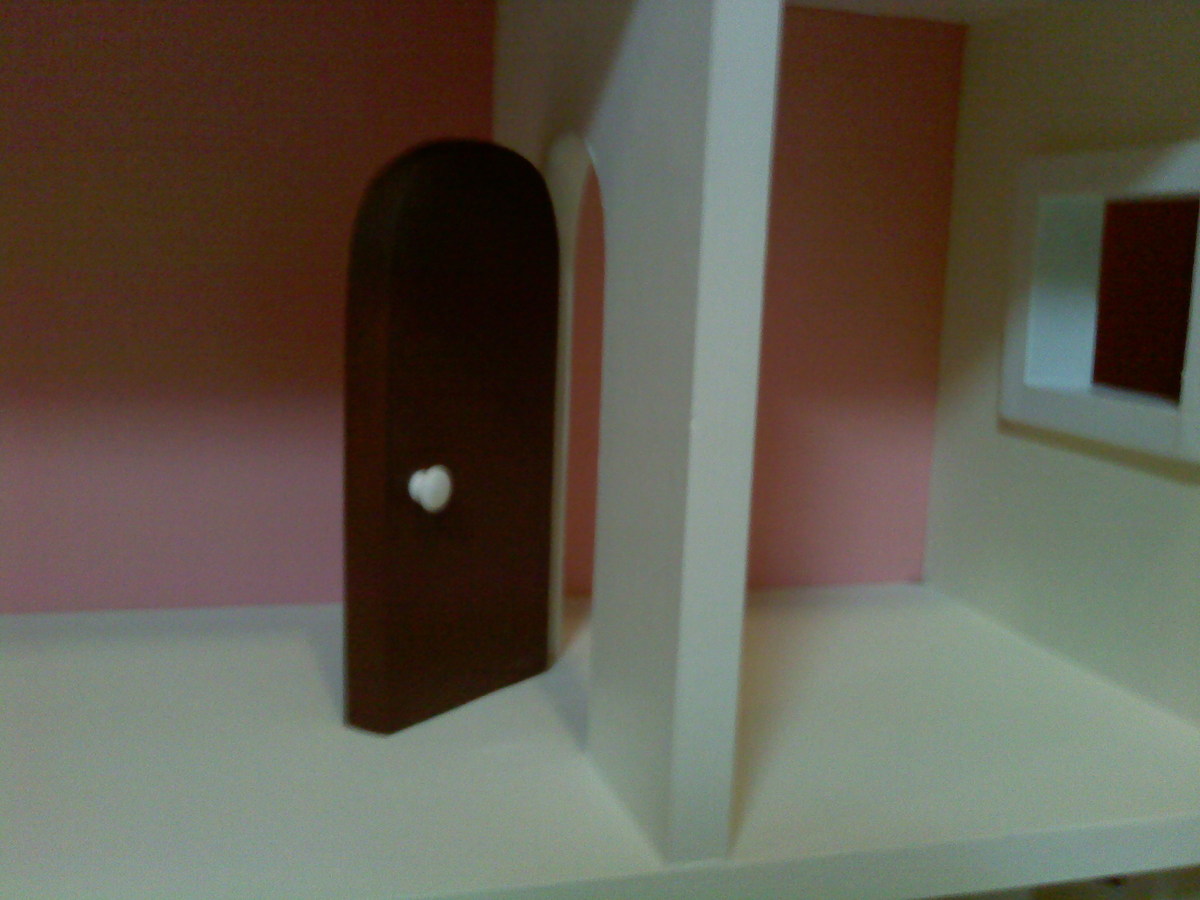
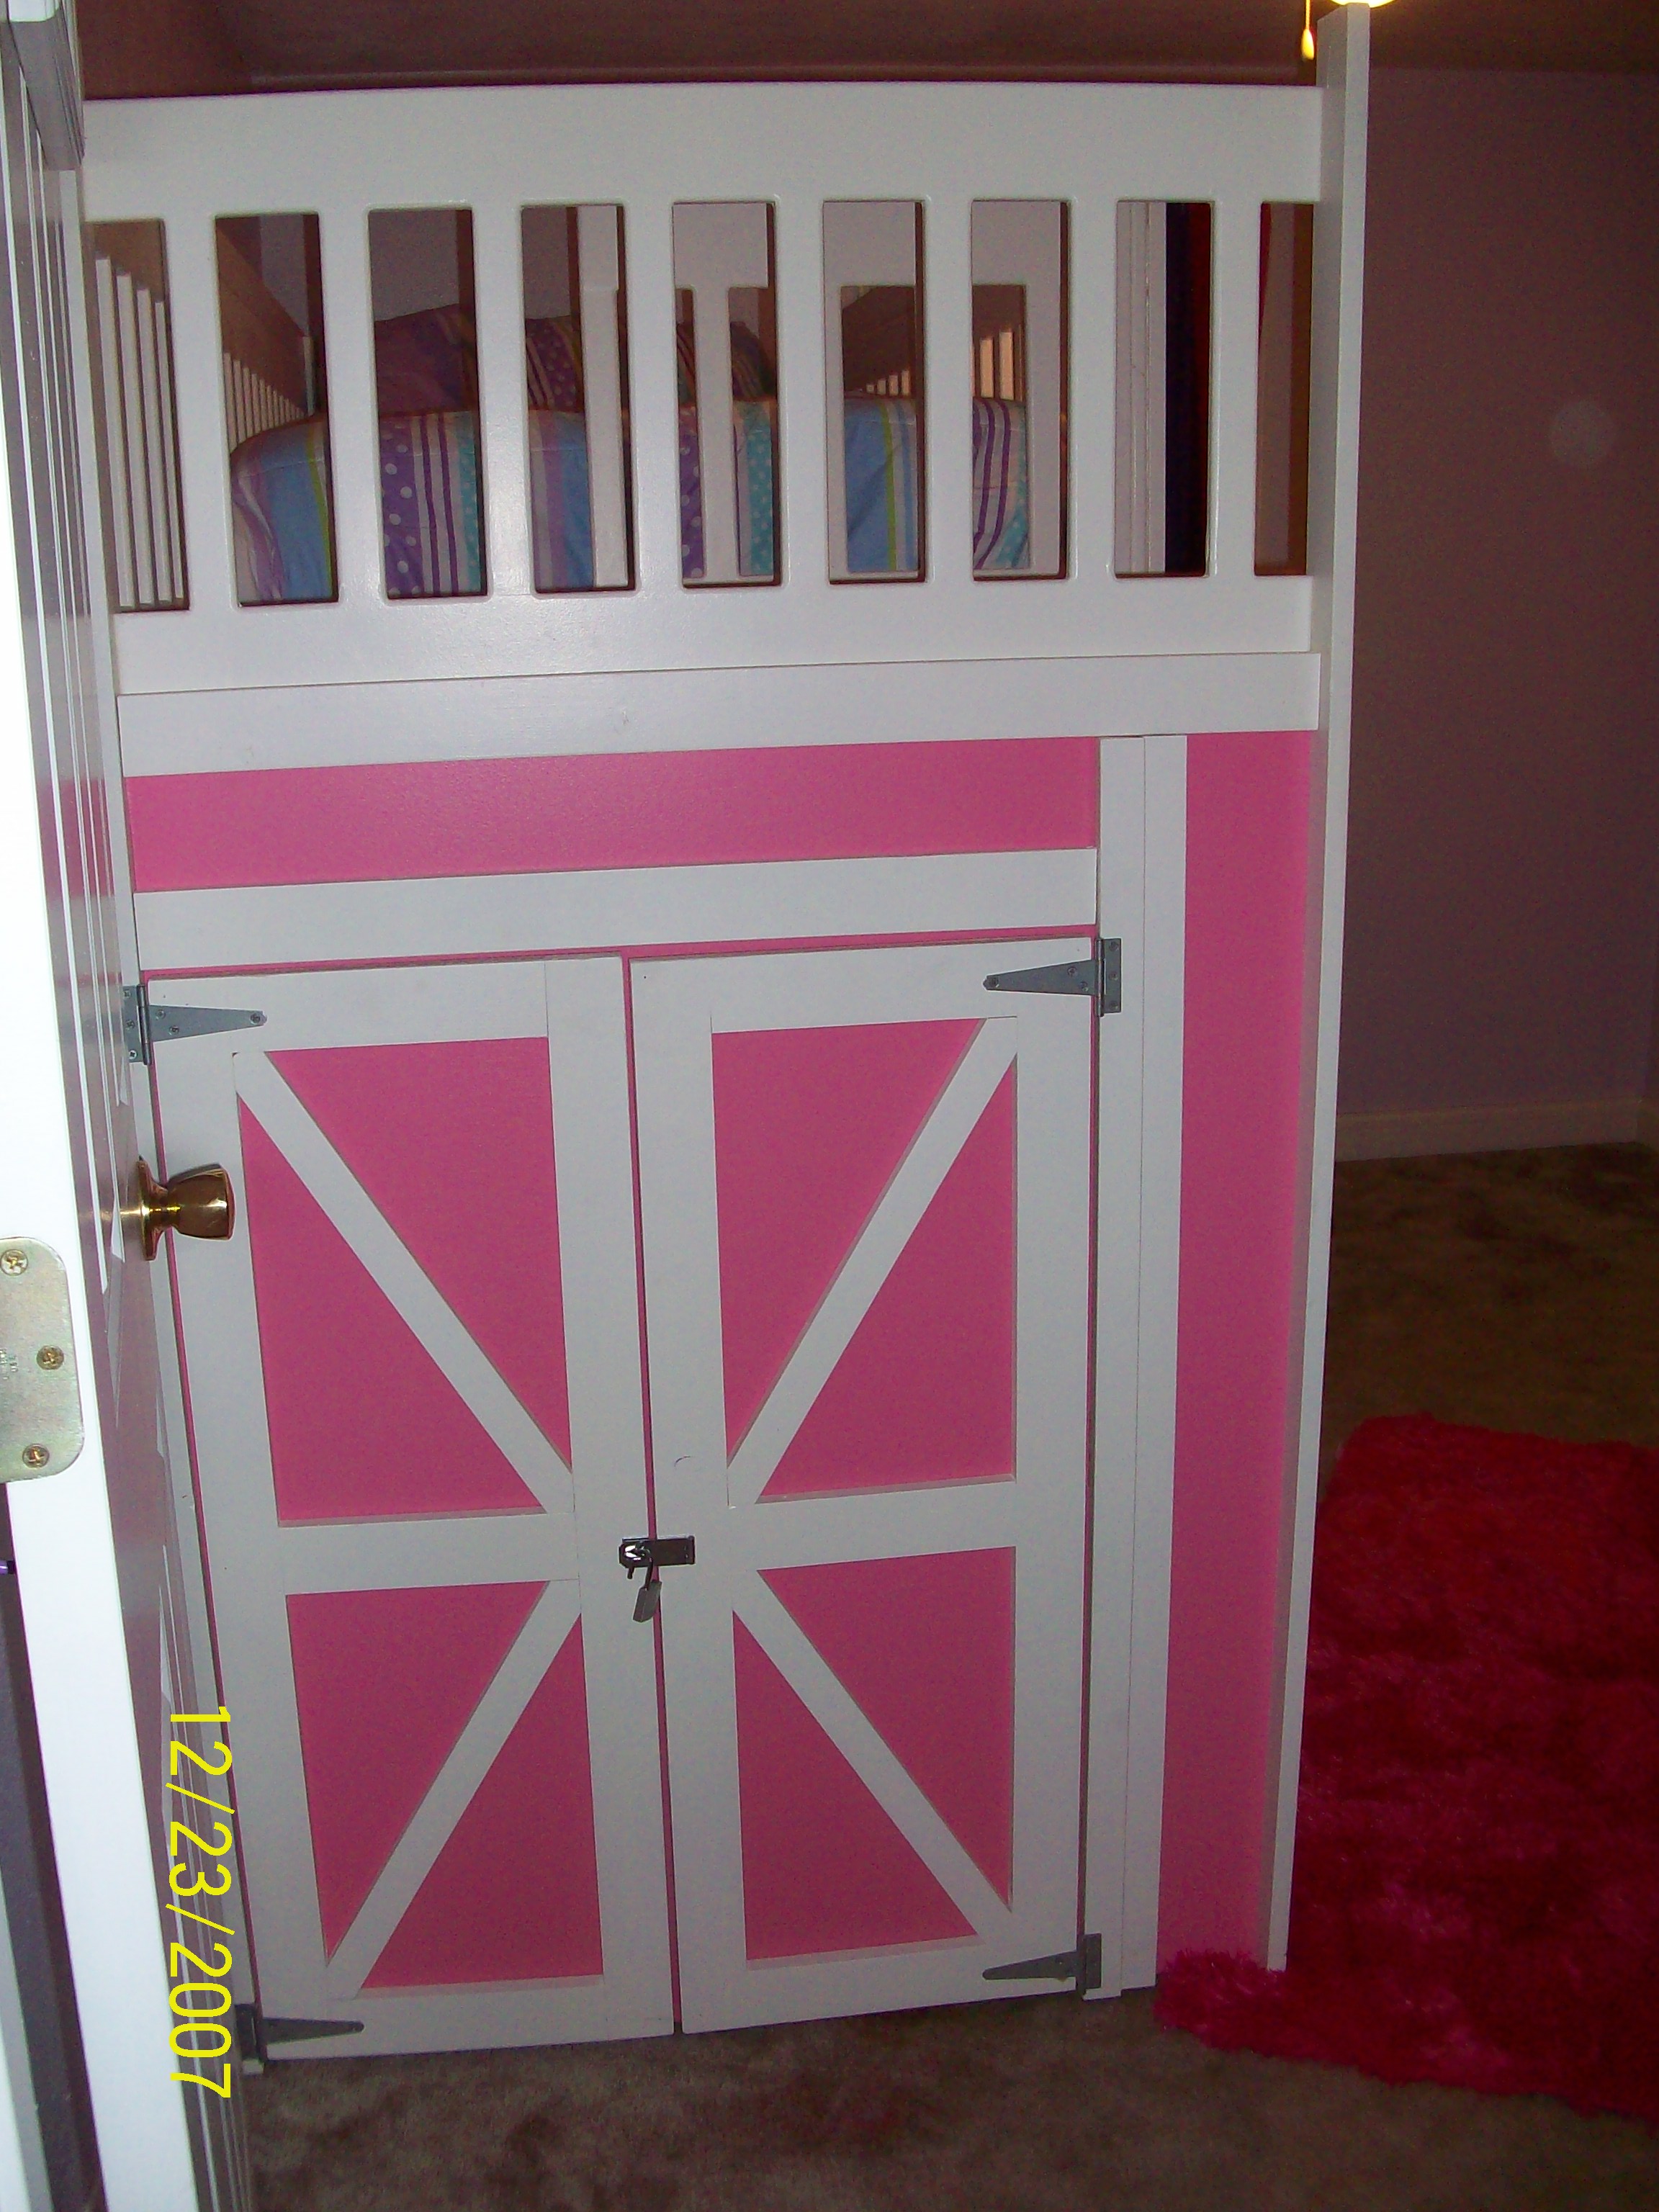
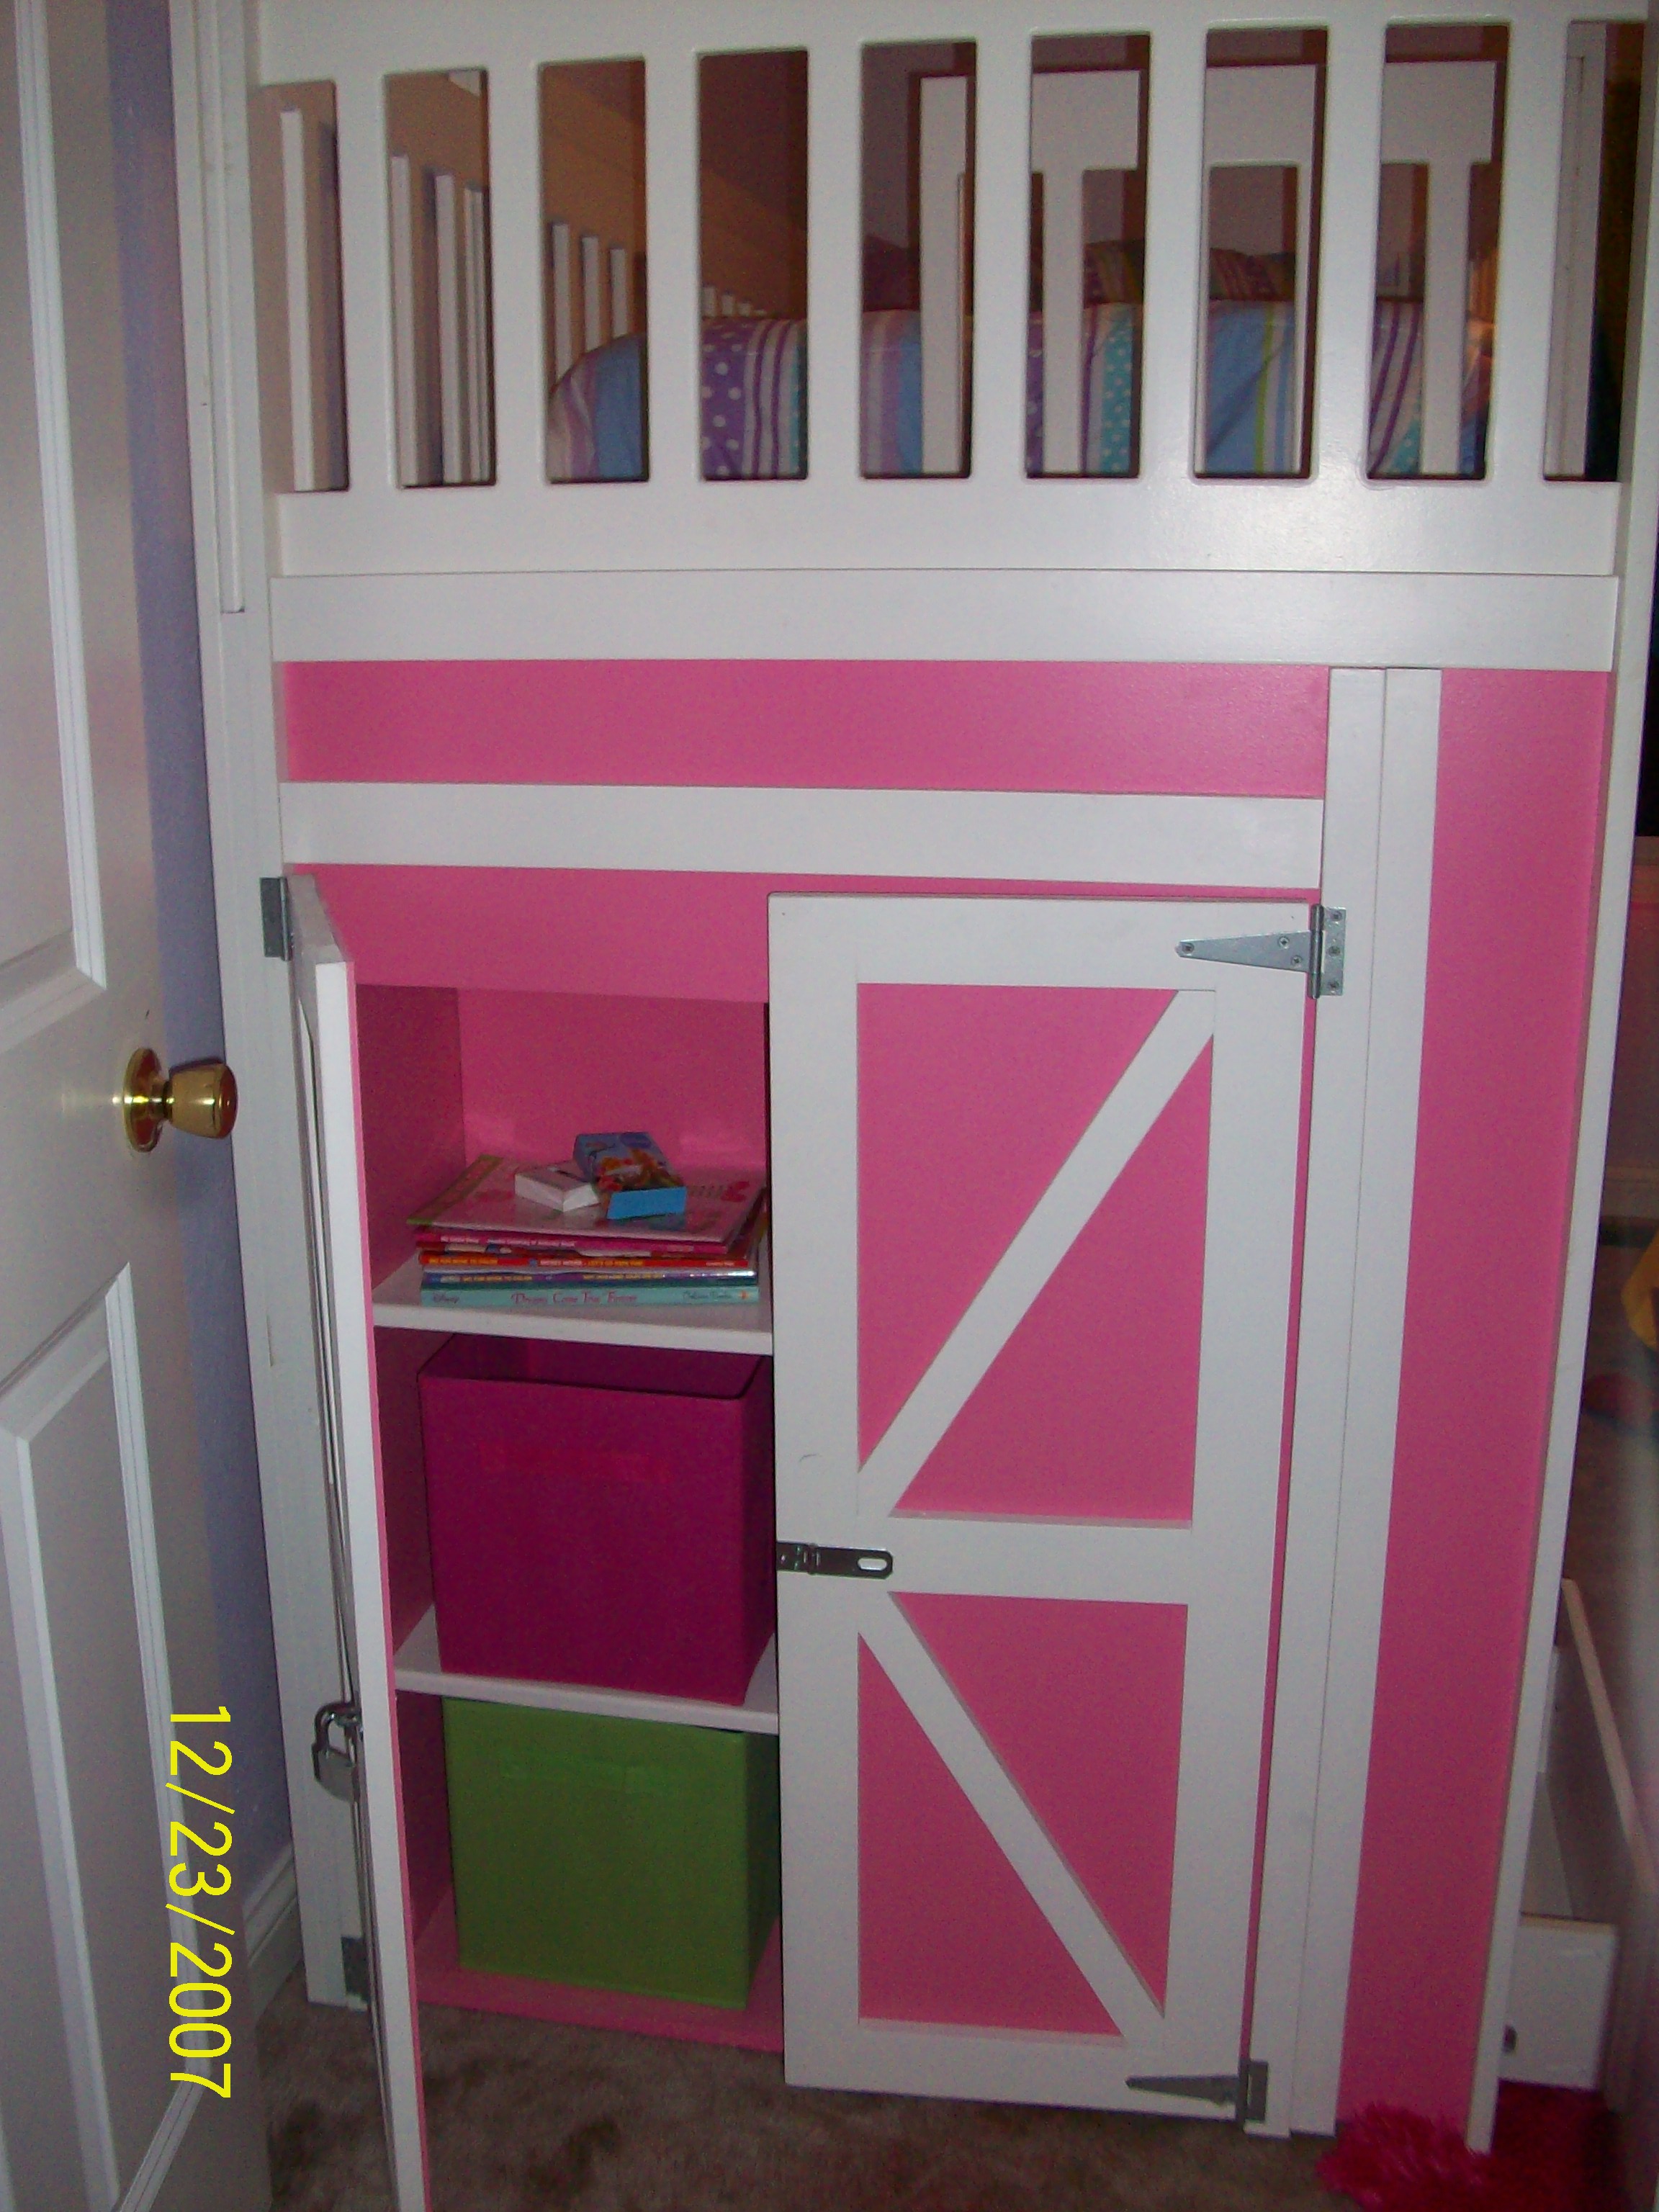
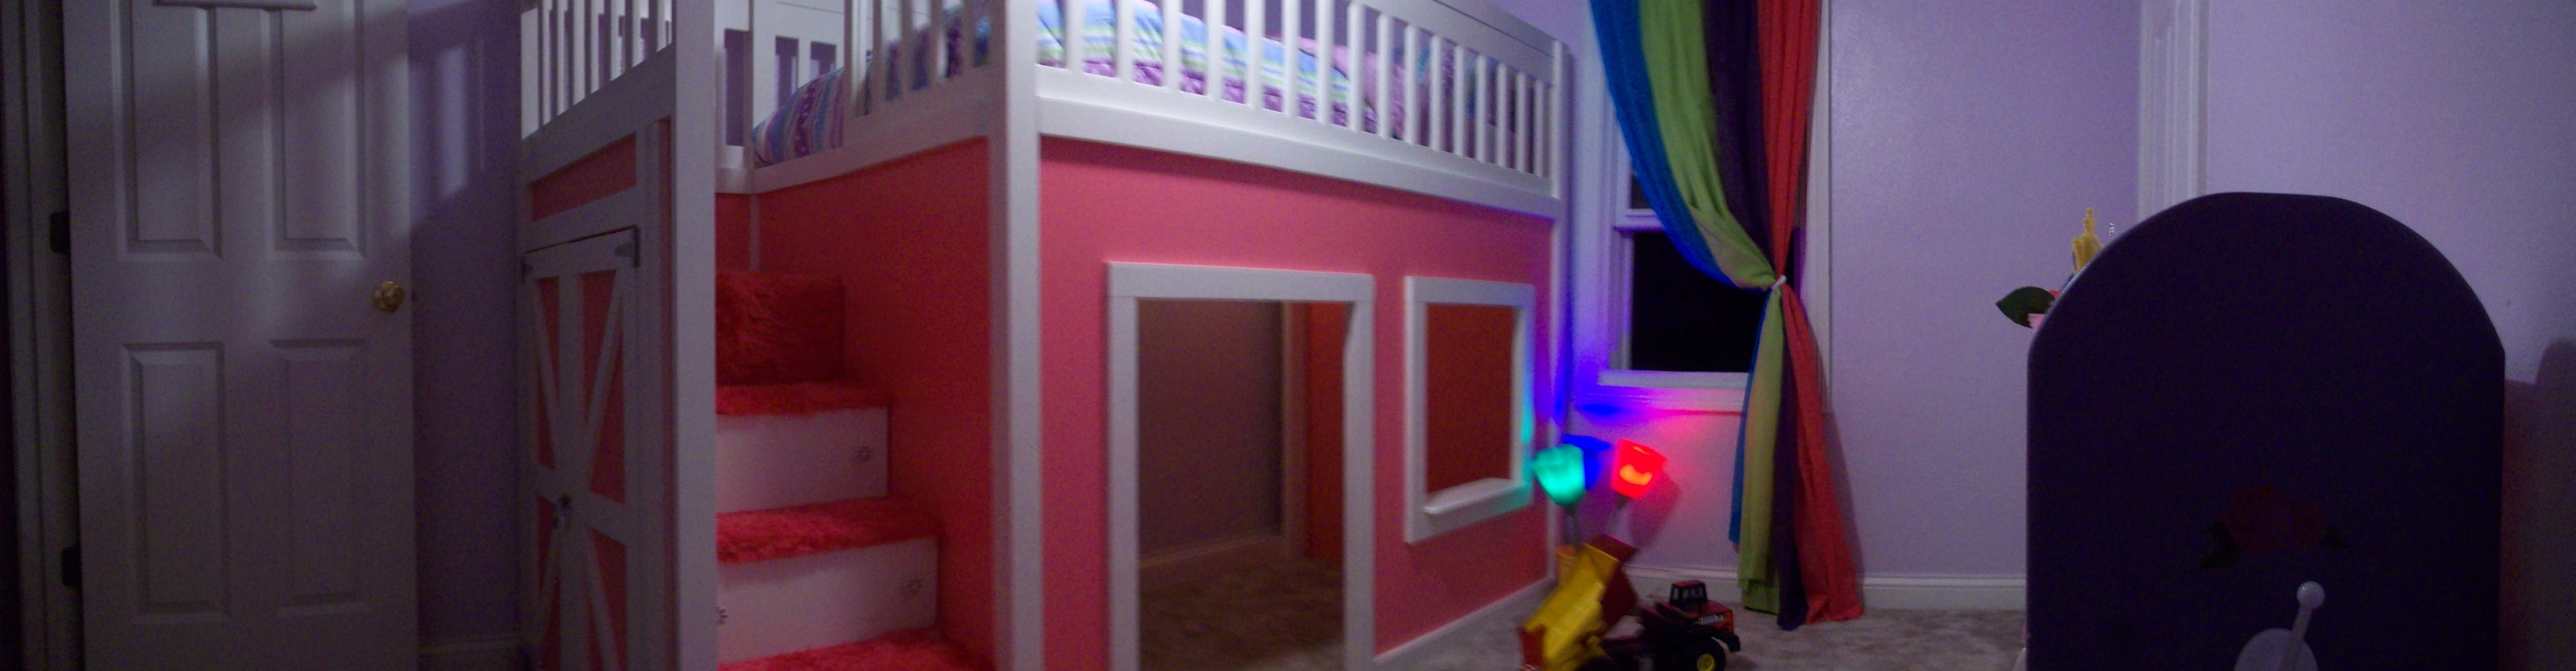
I love the doors!
I love the doors!