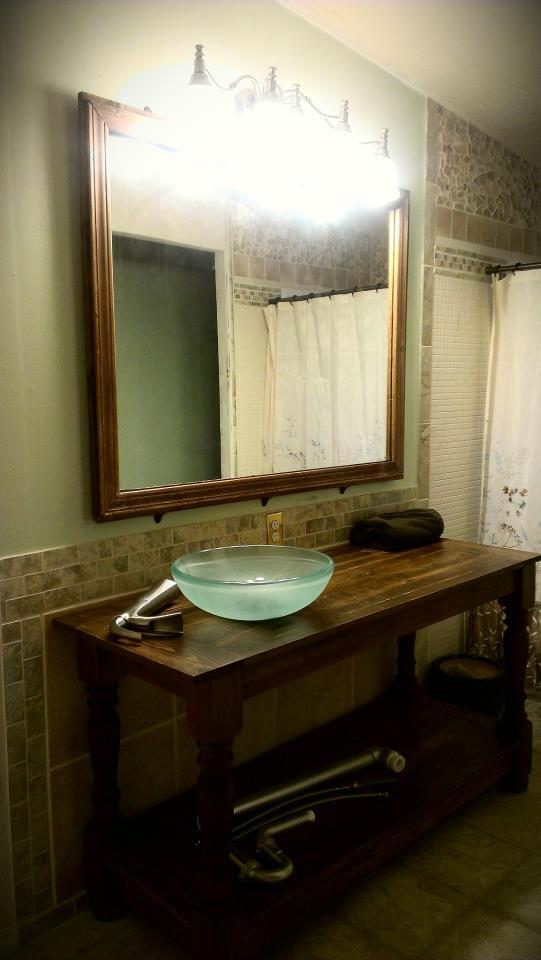
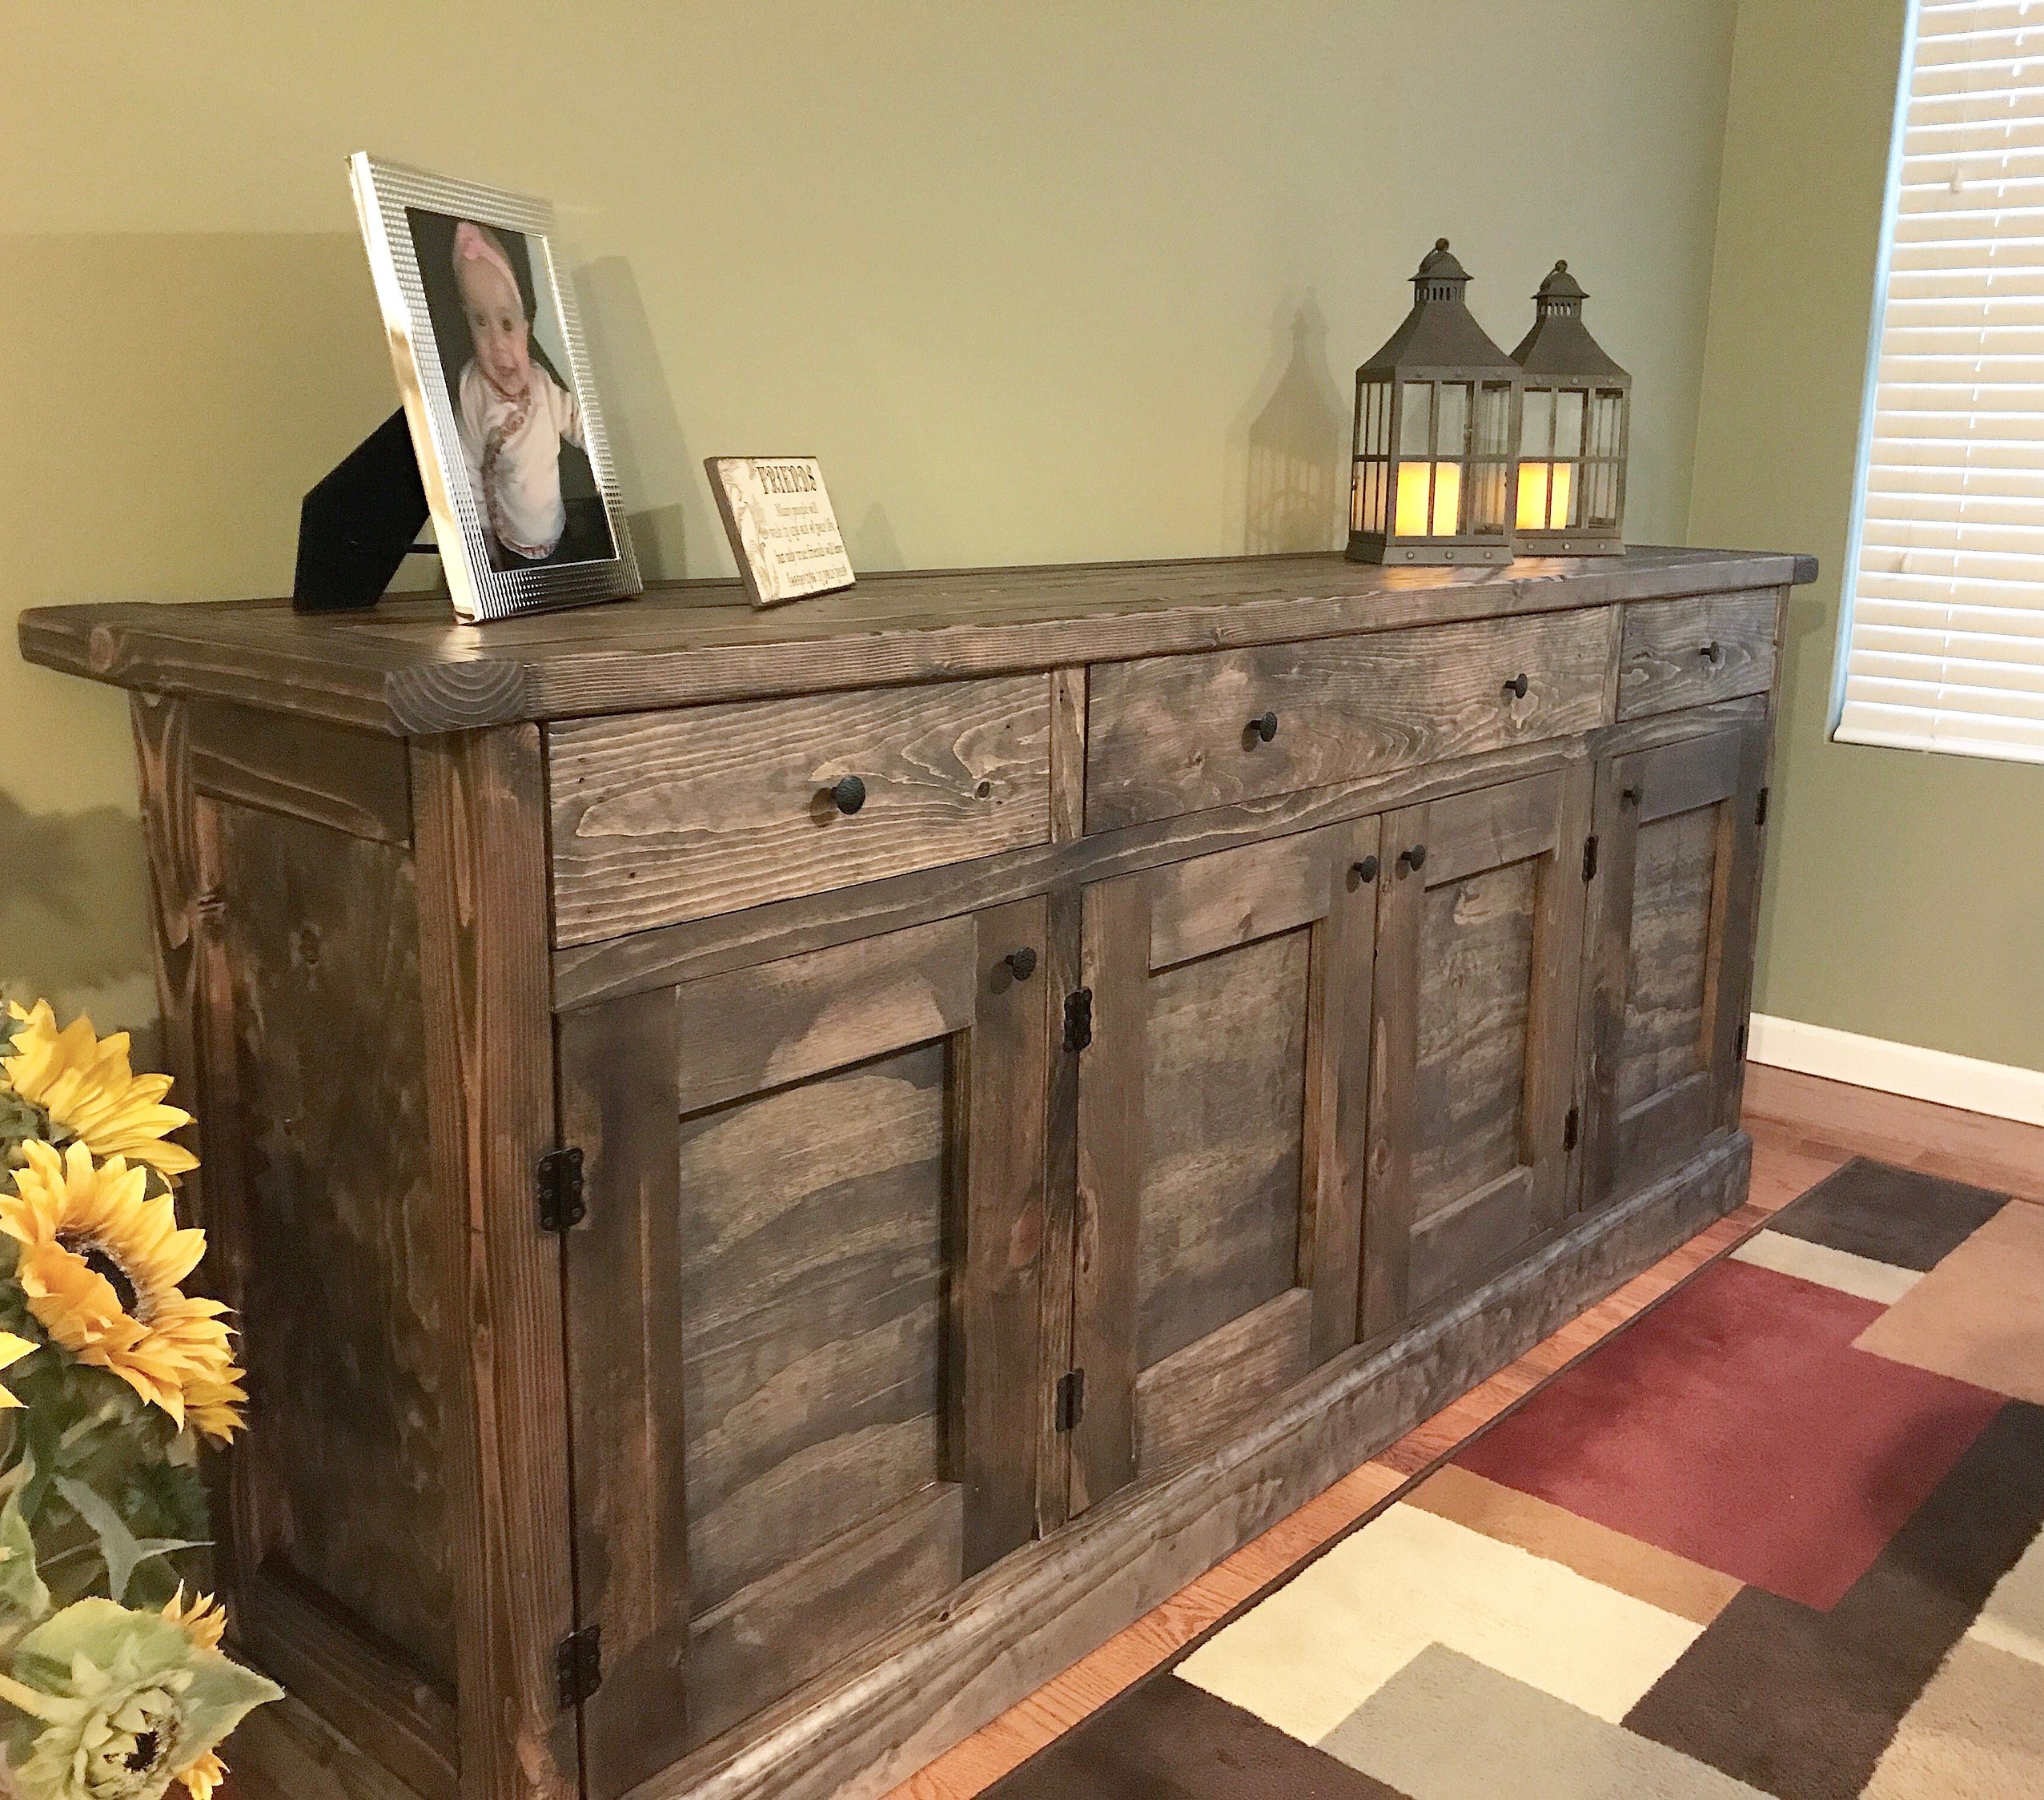
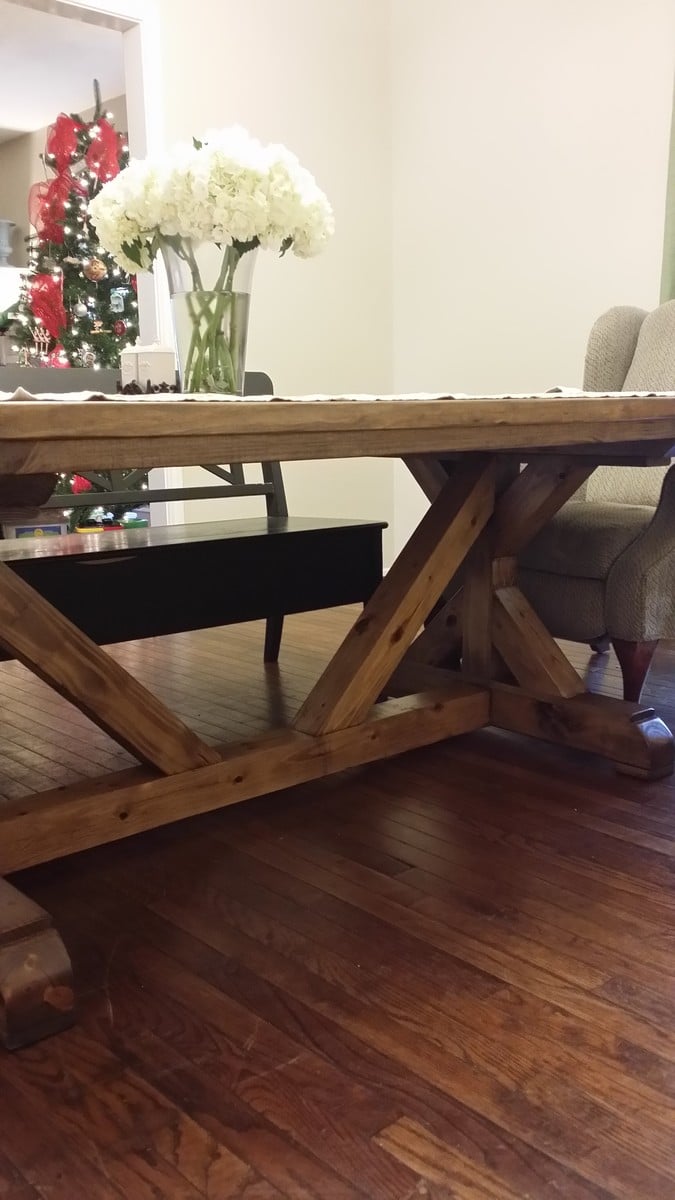
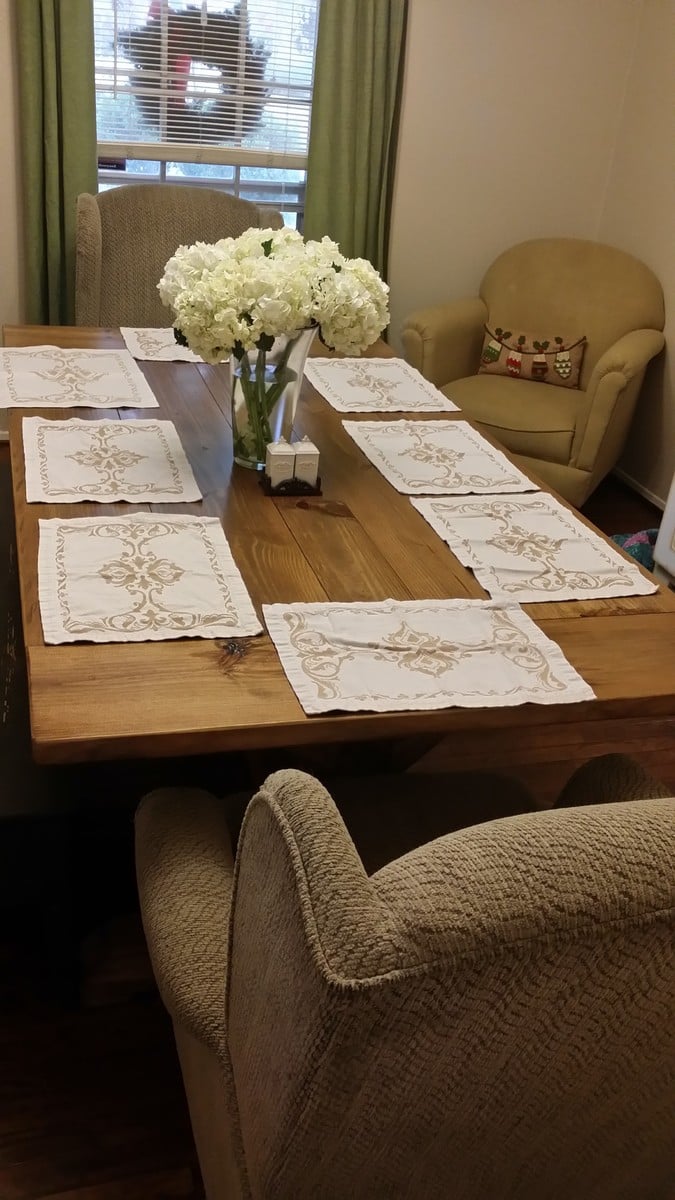
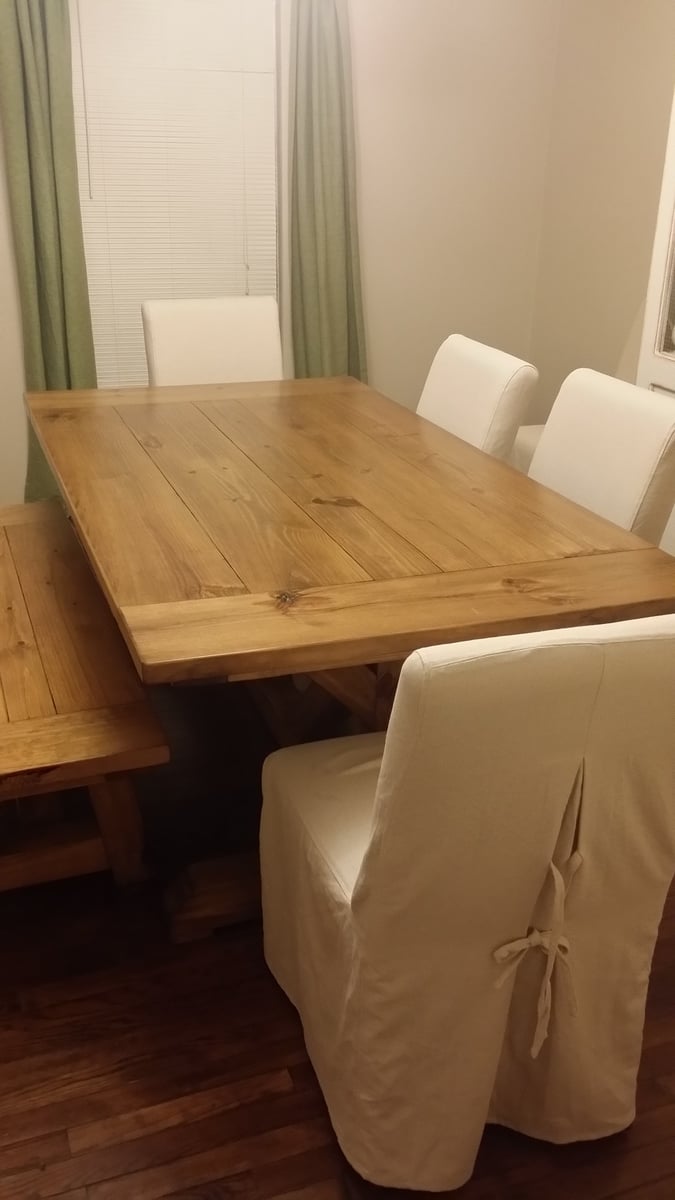
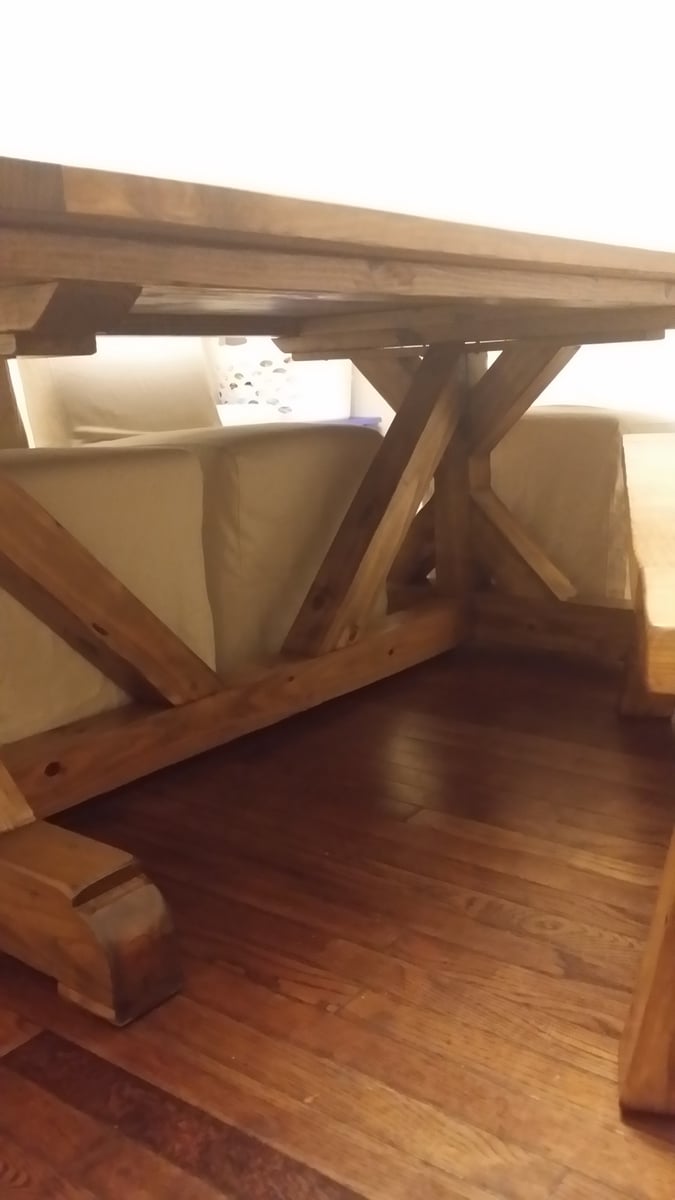
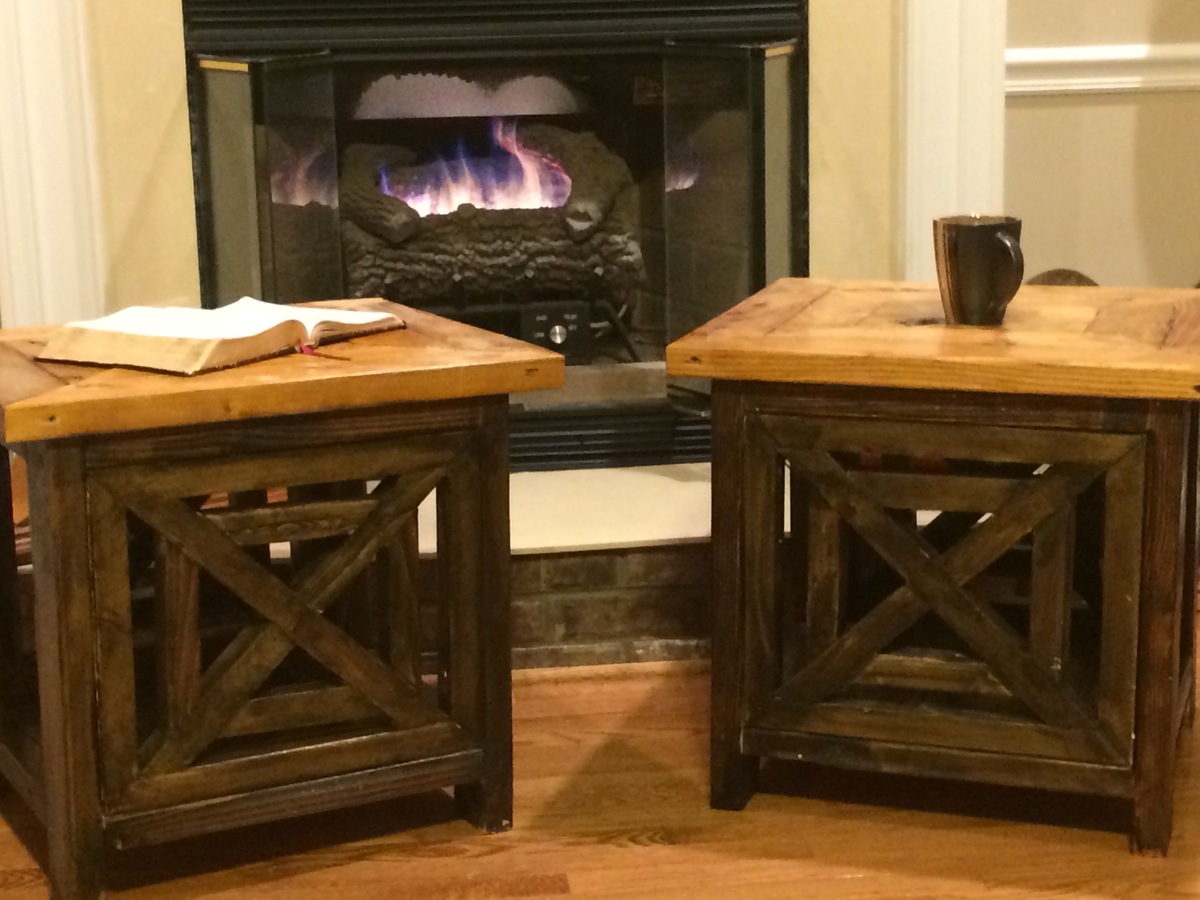
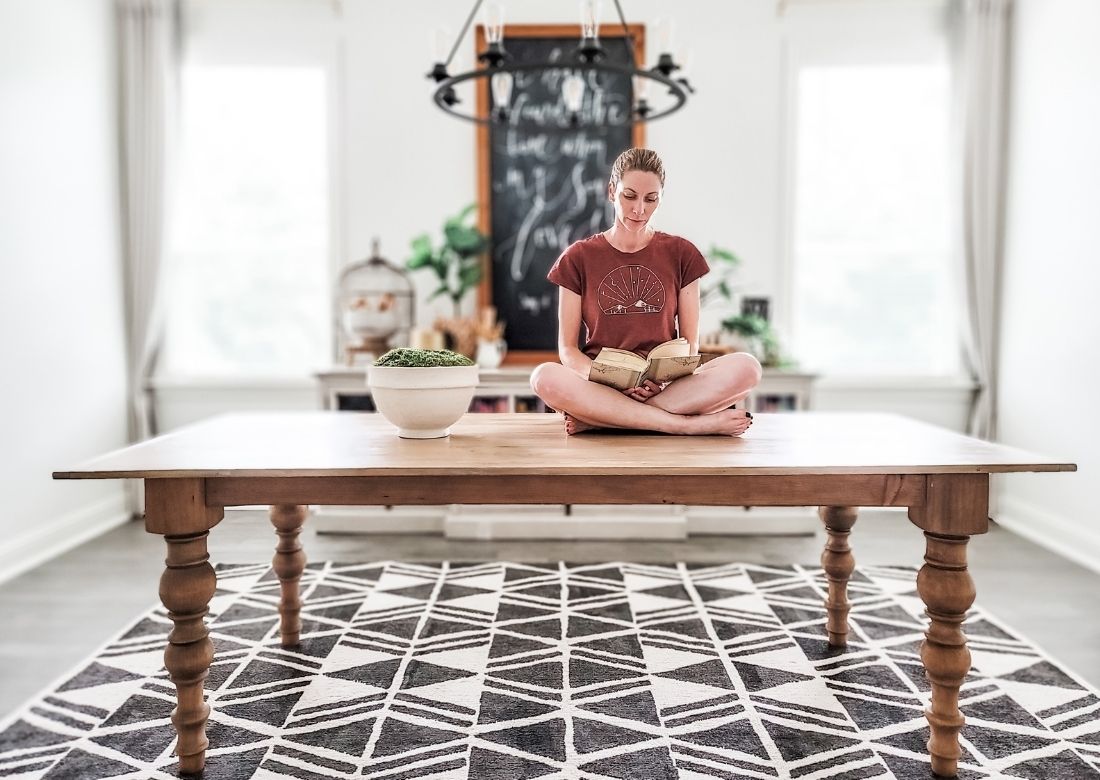
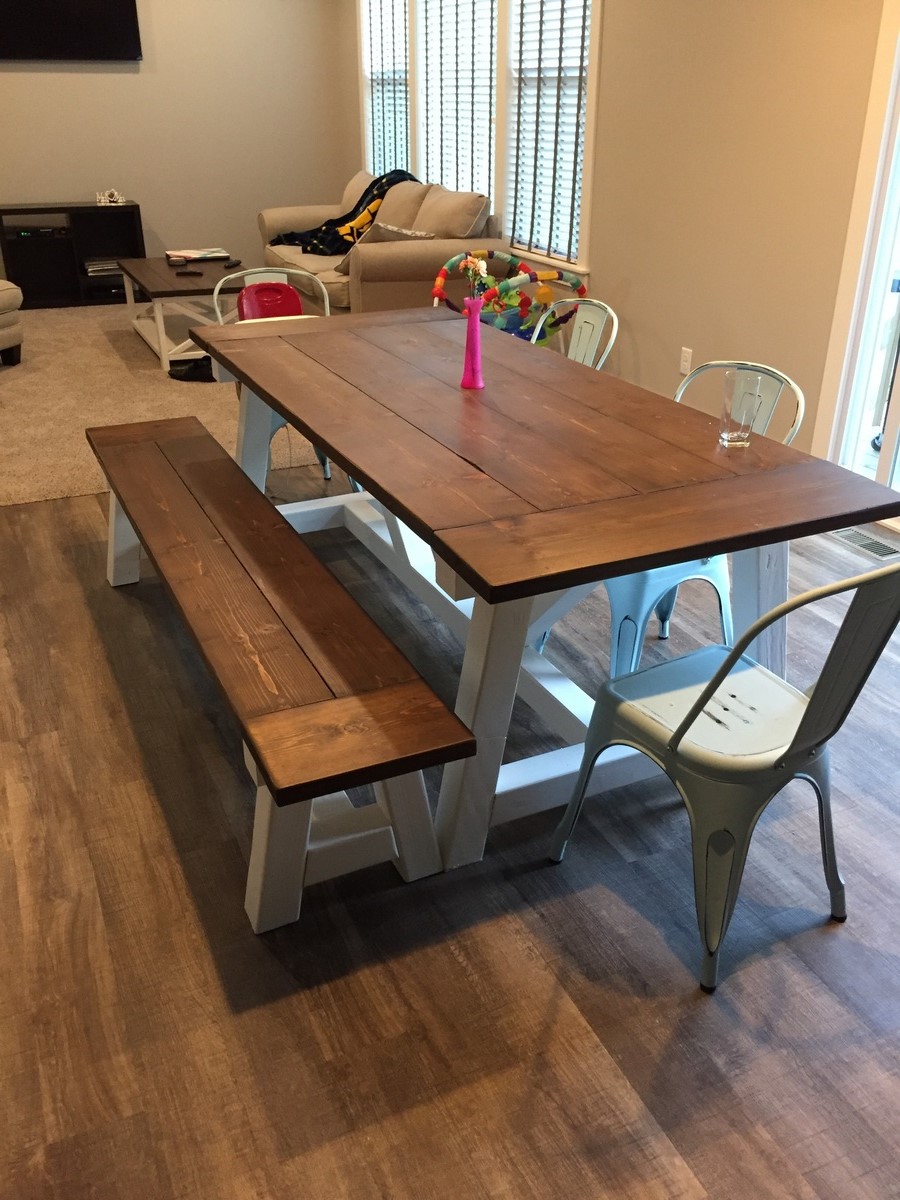
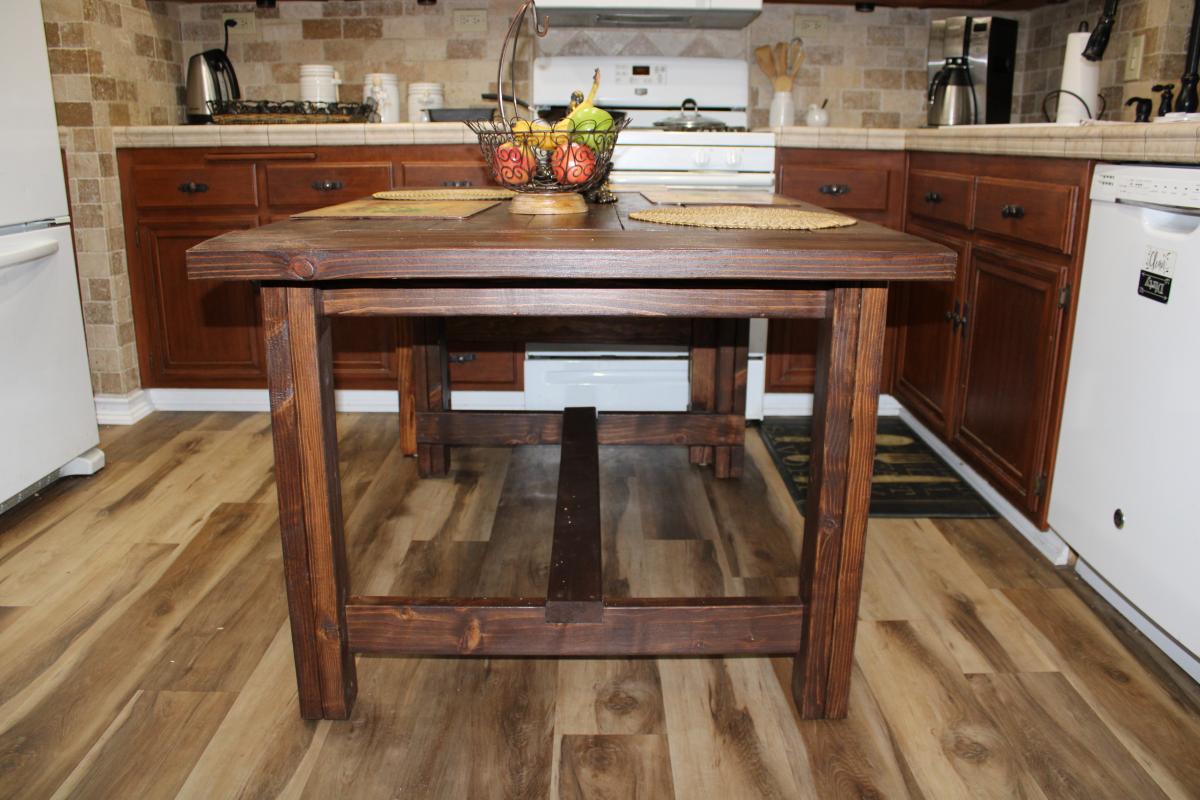
Farm table, with bench
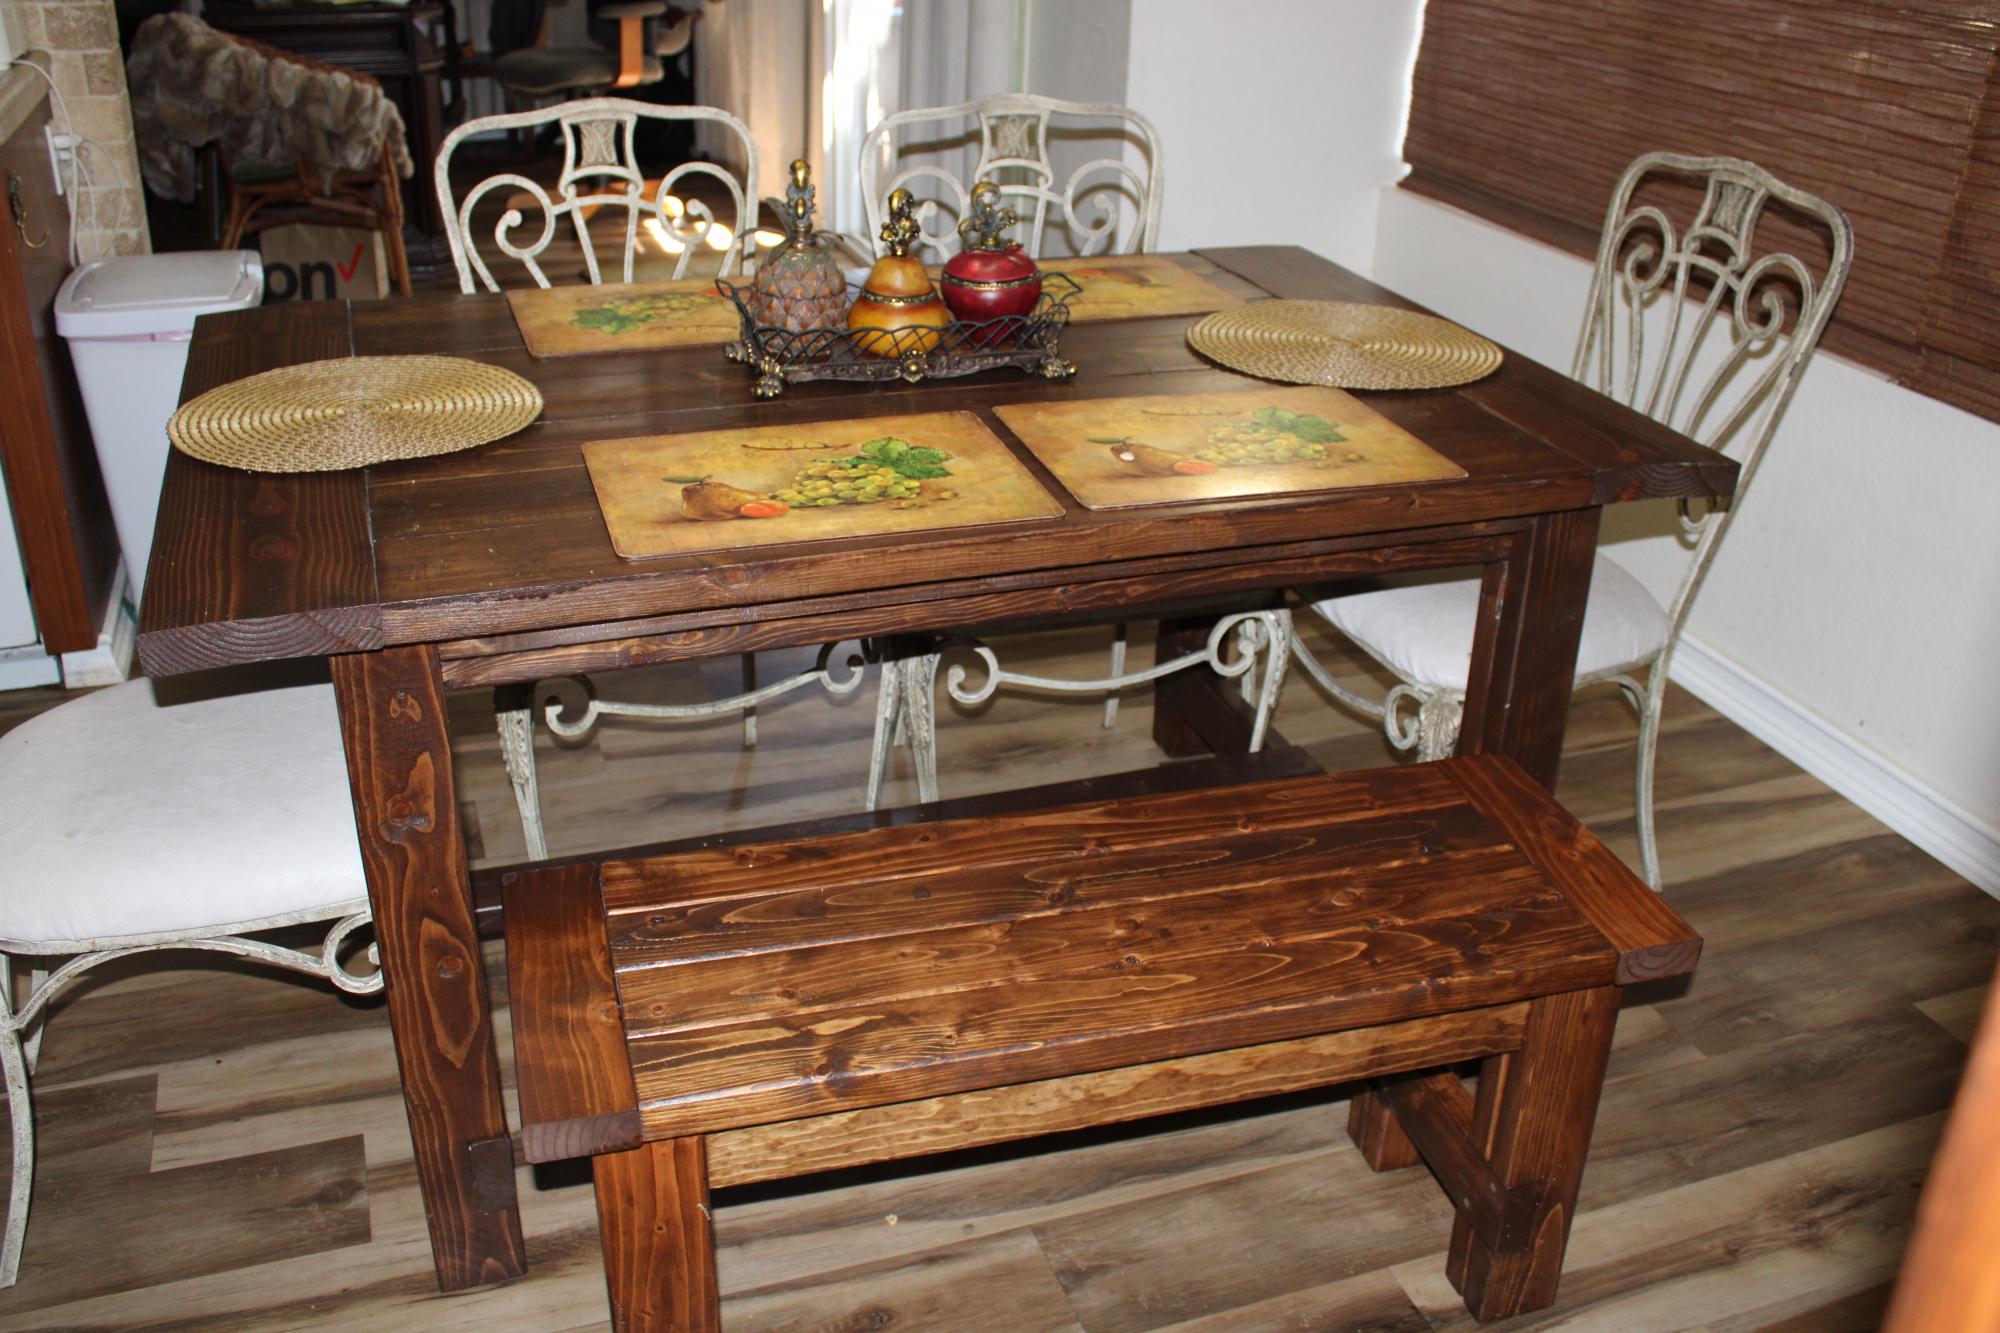
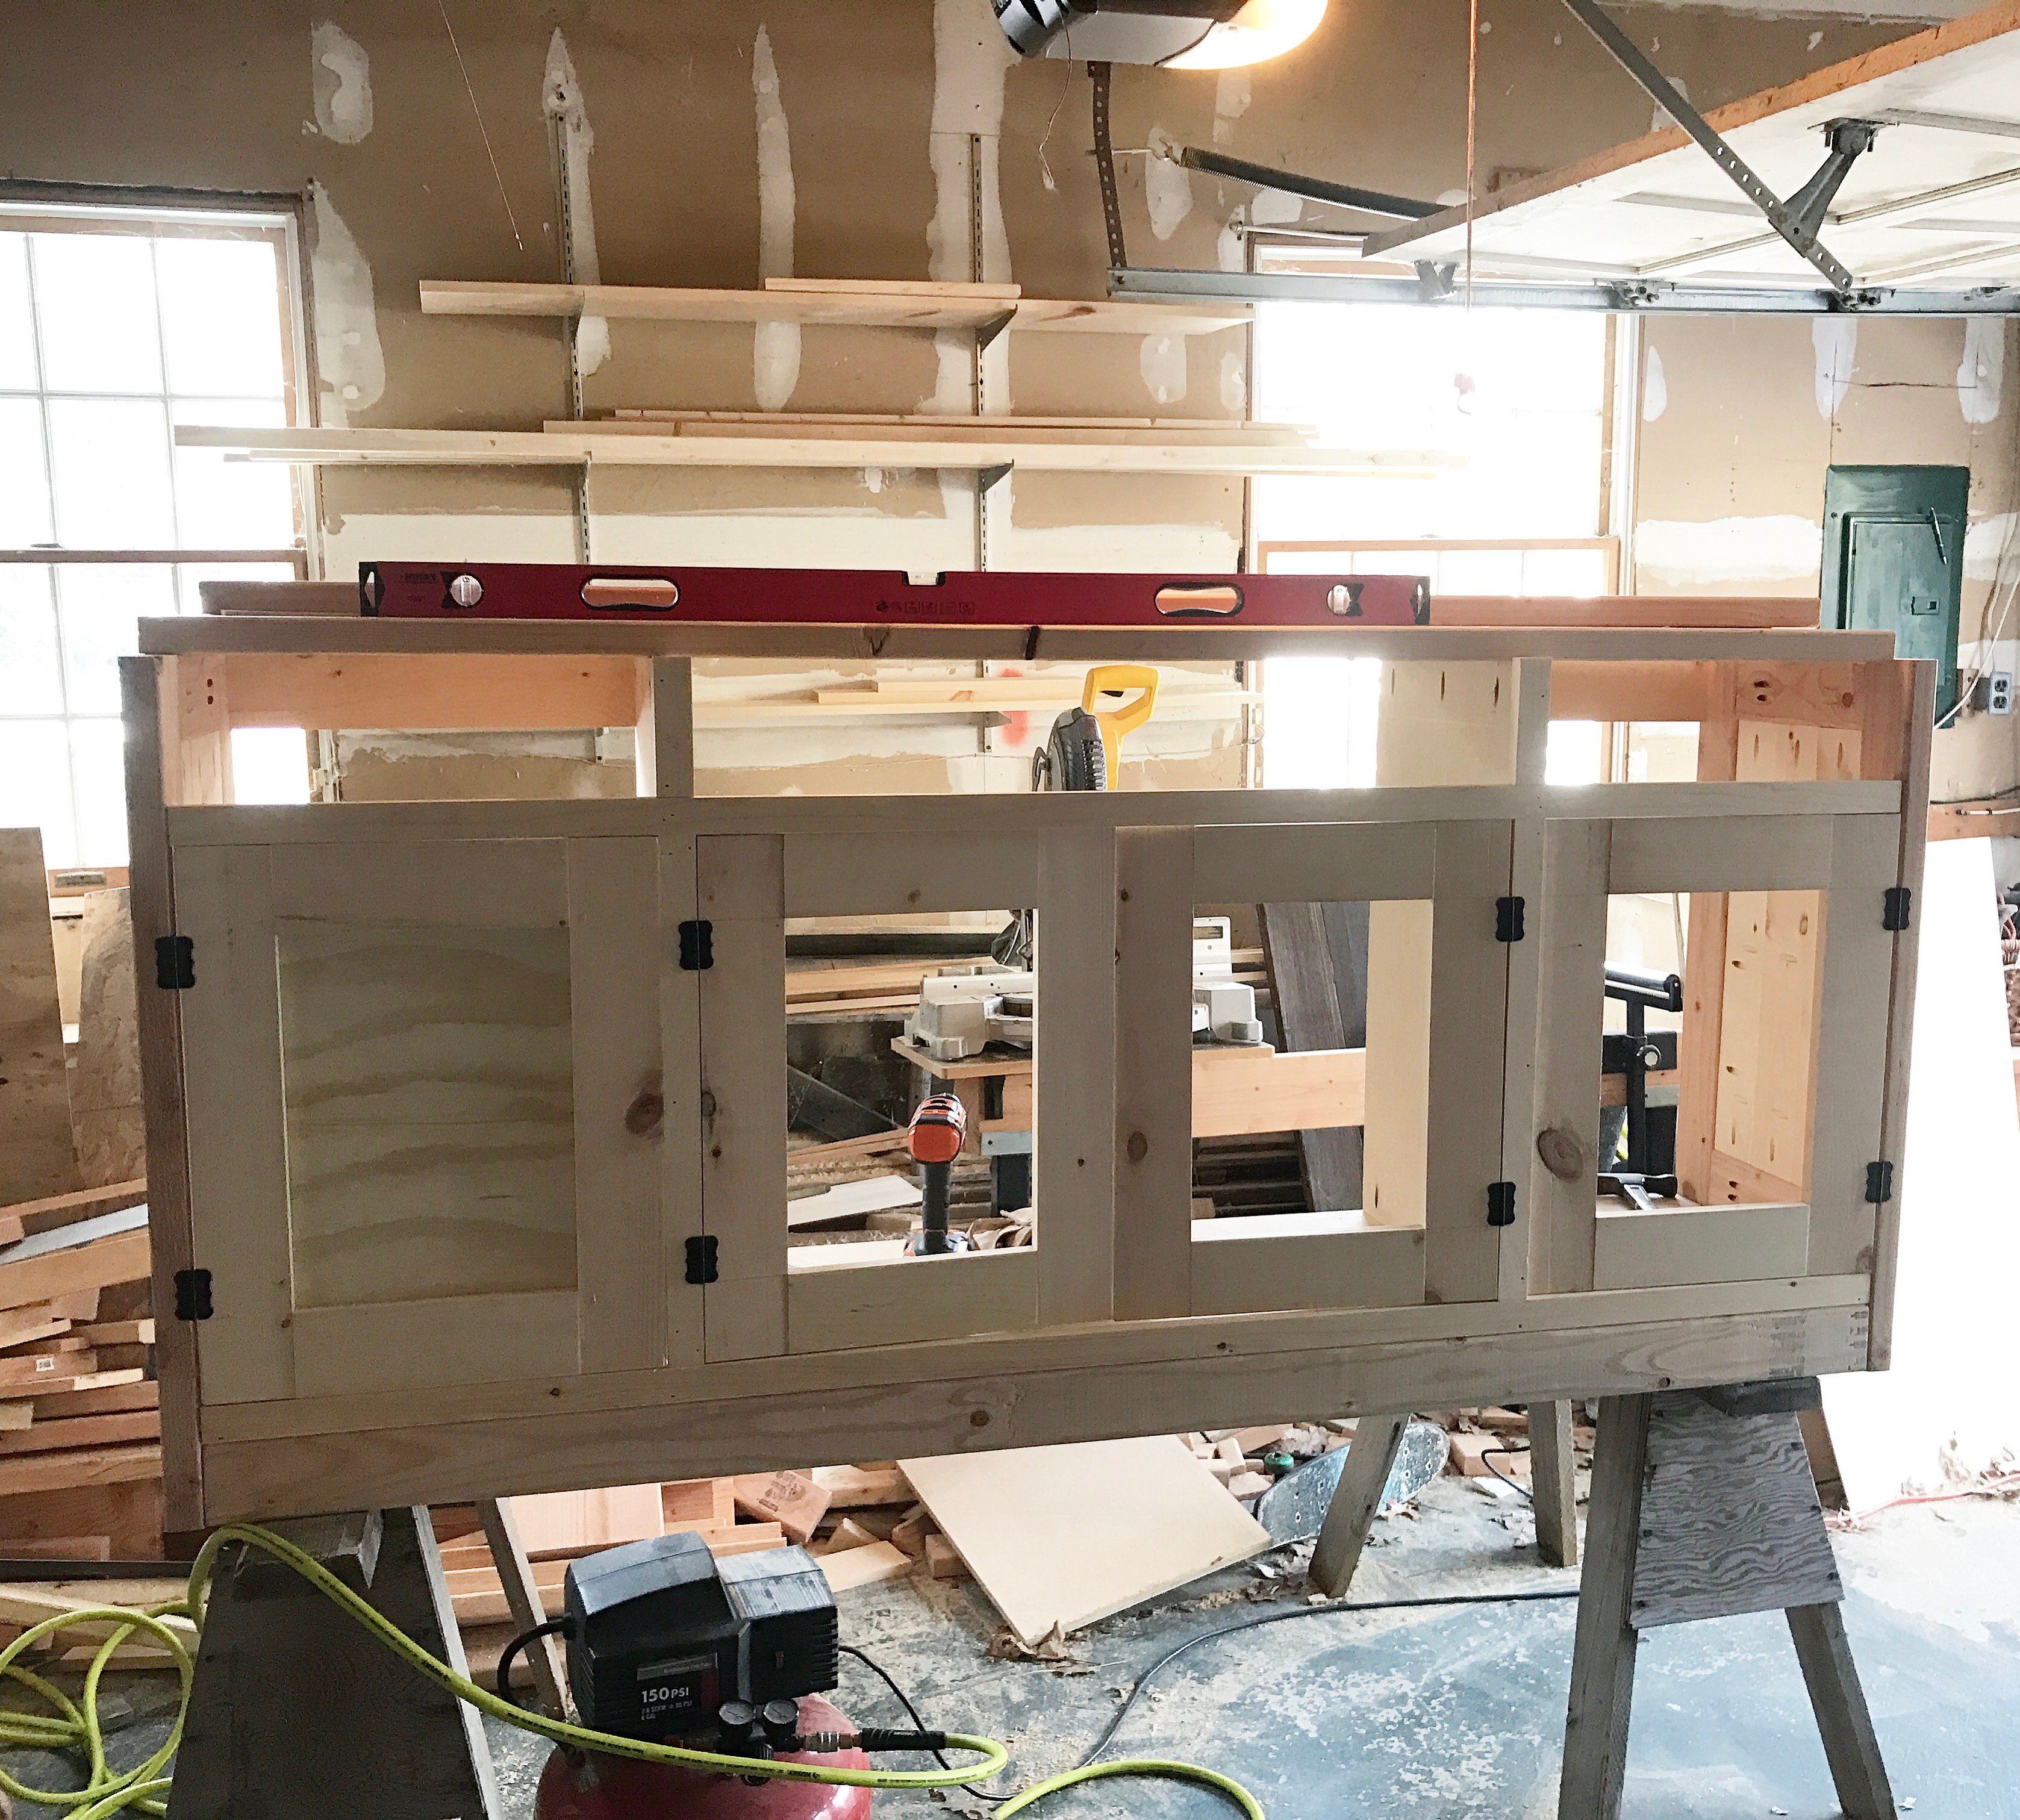
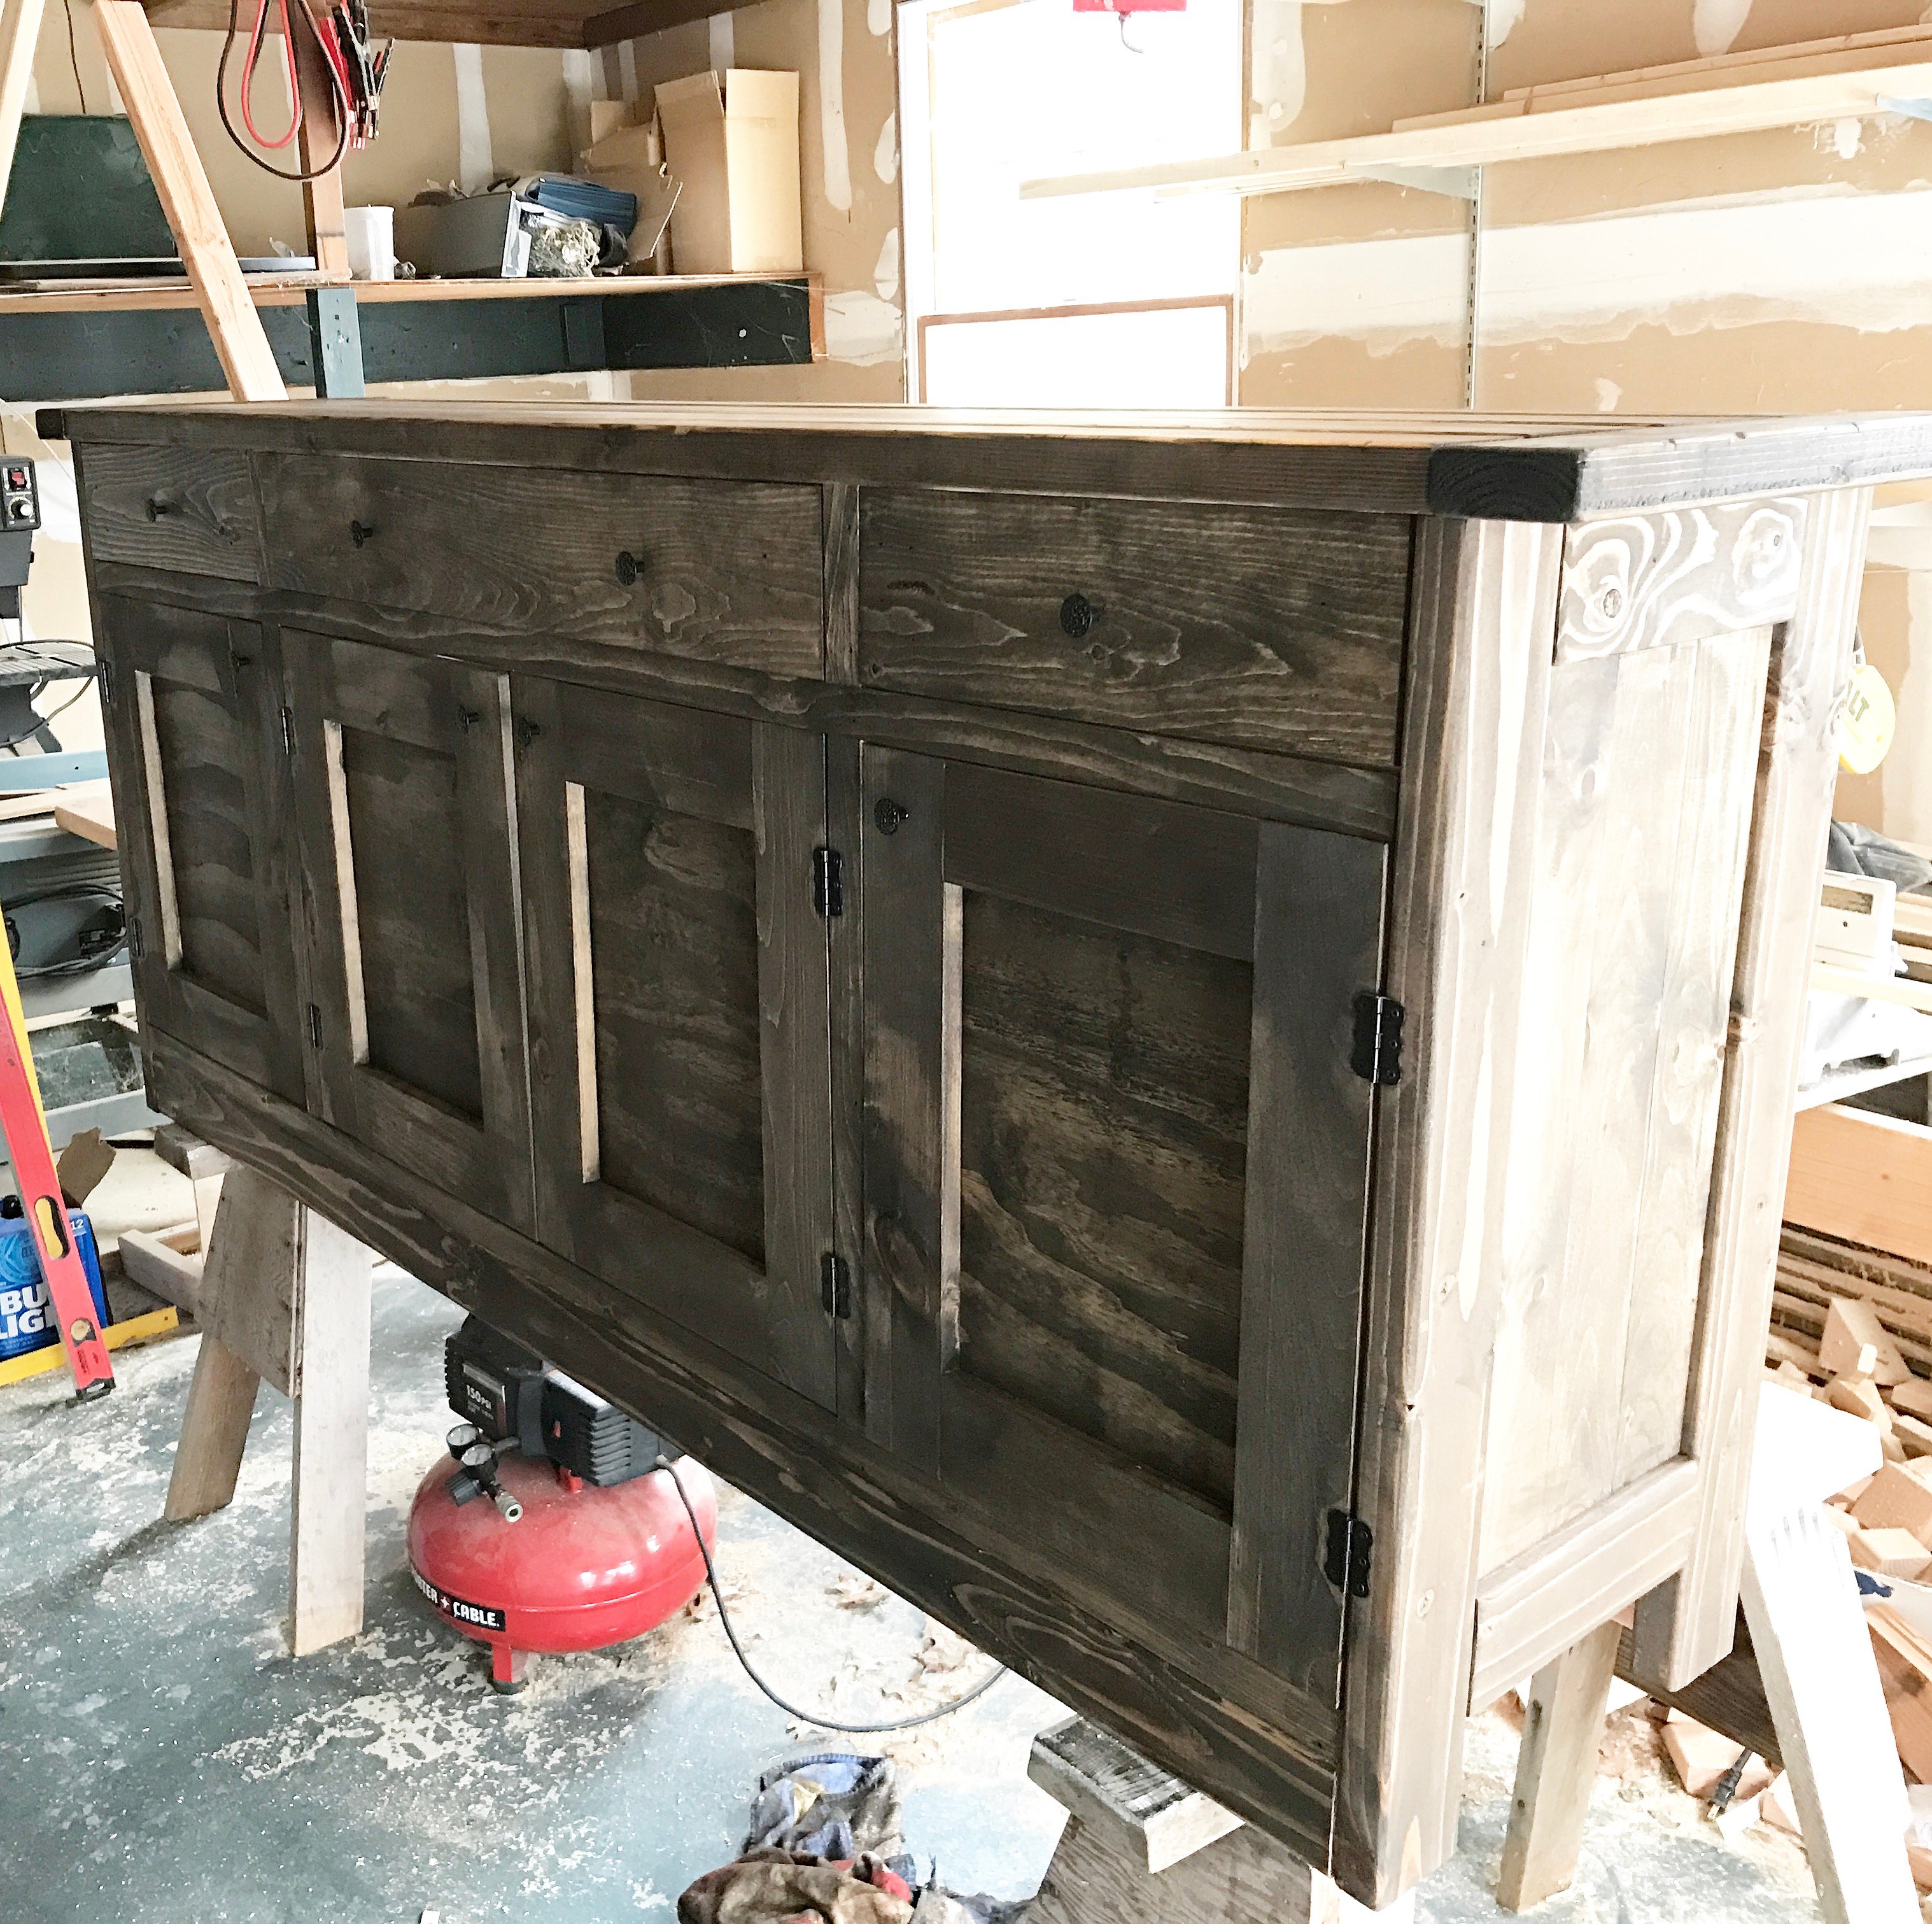
I started with the no pocket hole plans. I then shortened them to fit my kitchen, and modified them to use the pocket holes.
Estimated Cost
Around $200.00
Estimated Time Investment
Weekend Project (10-20 Hours)
Finish Used
Minwax stain, Varathane polyurethane.
Recommended Skill Level
Beginner