Hi Ana
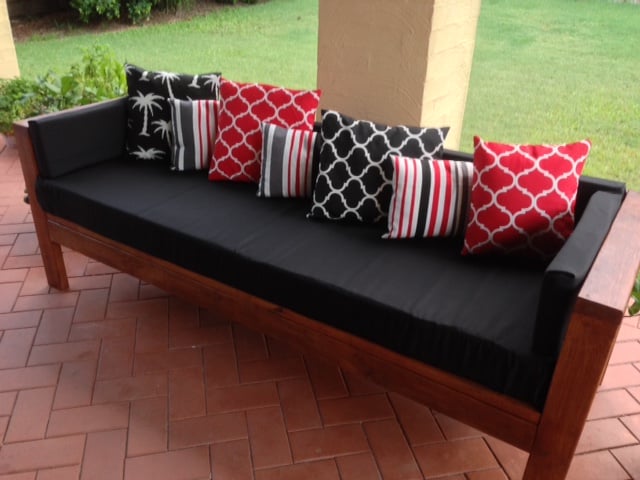
I would like to share my experience making this Outdoor sofa (see attached link). http://ana-white.com/2014/07/plans/outdoor-sofa-2x4s-ryobi-nation
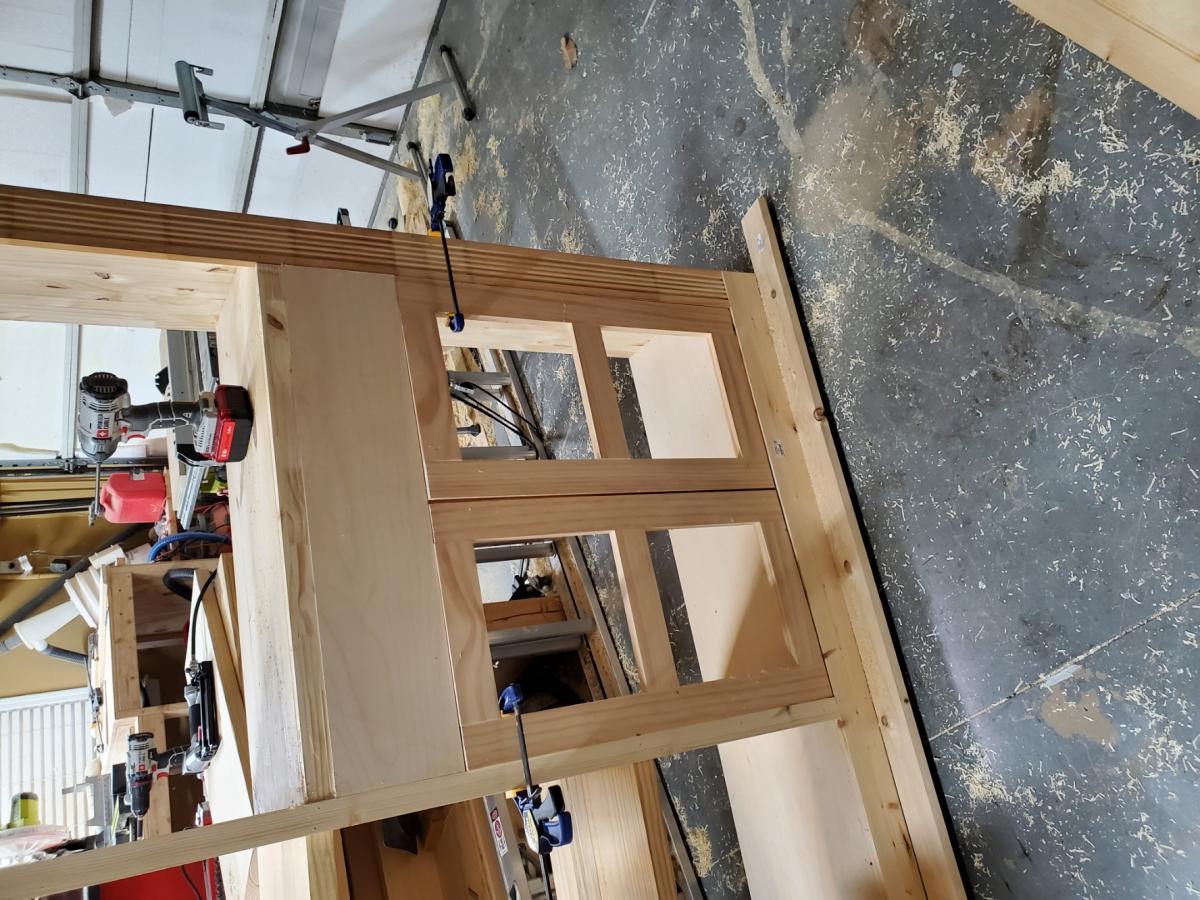
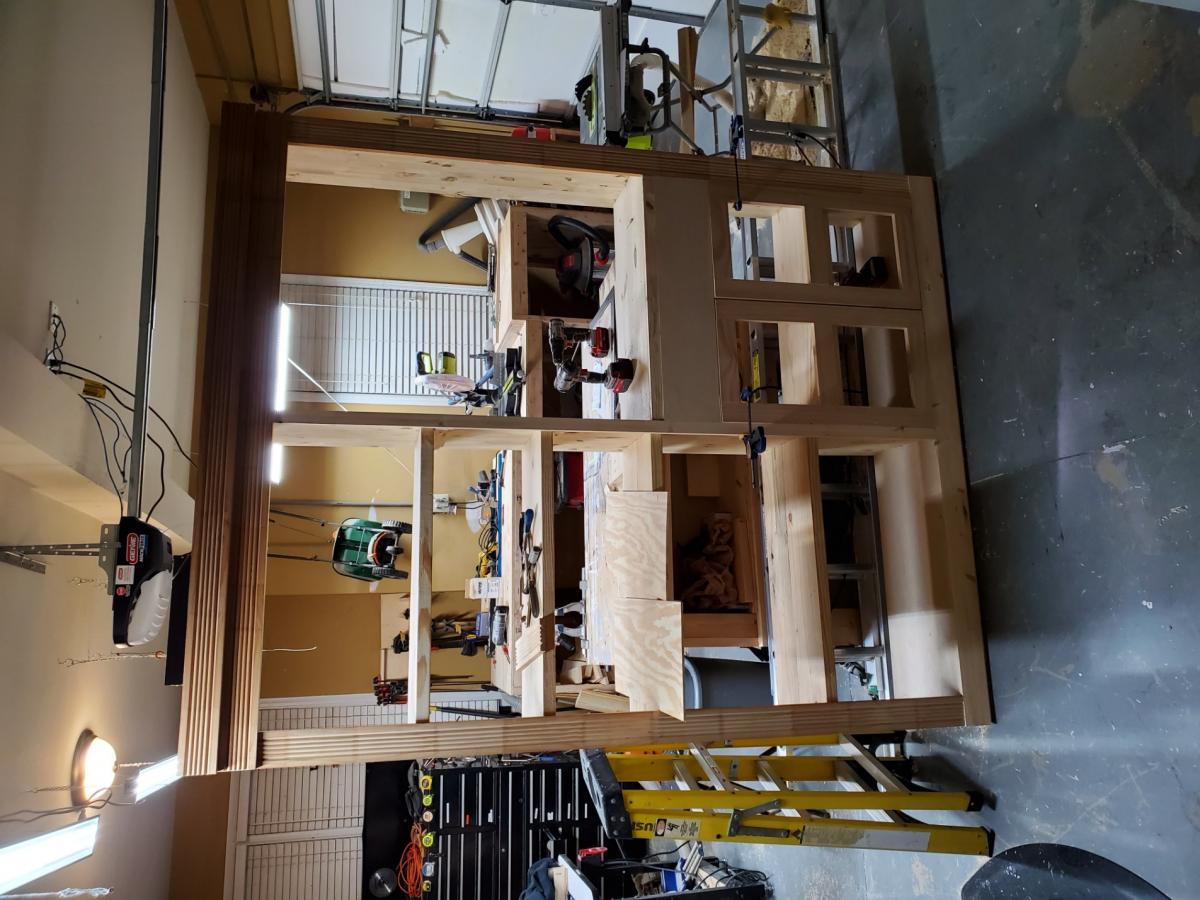
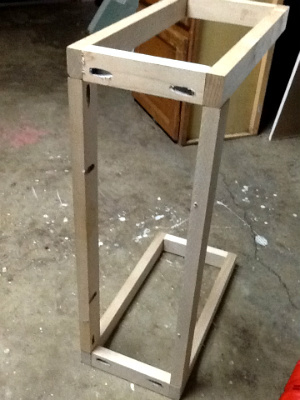
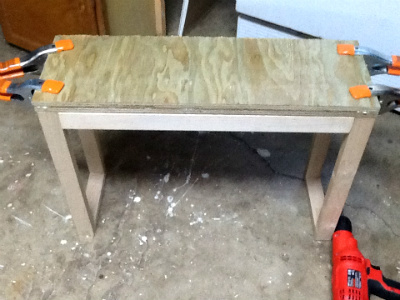
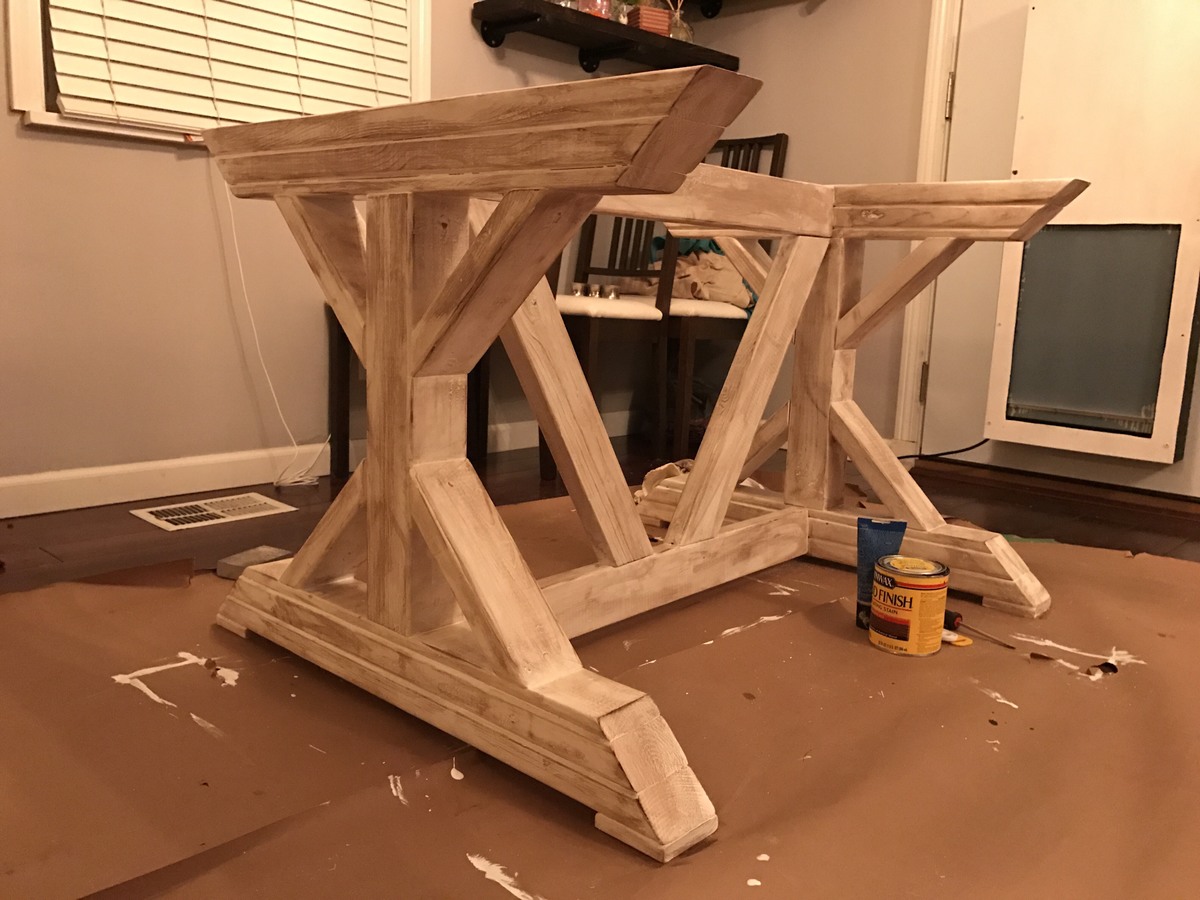
The sofa is supposed to be made using 2x4 boards, but these are not a standard size in Australia so I substituted with 90 x 45mm pine boards. No other changes to measurements were necessary. I followed Ana's instructions and definitely recommend using wide clamps to hold the base when screwing together. I only had short clamps so was rather difficult keeping everything firmly in place when drilling the screws in.
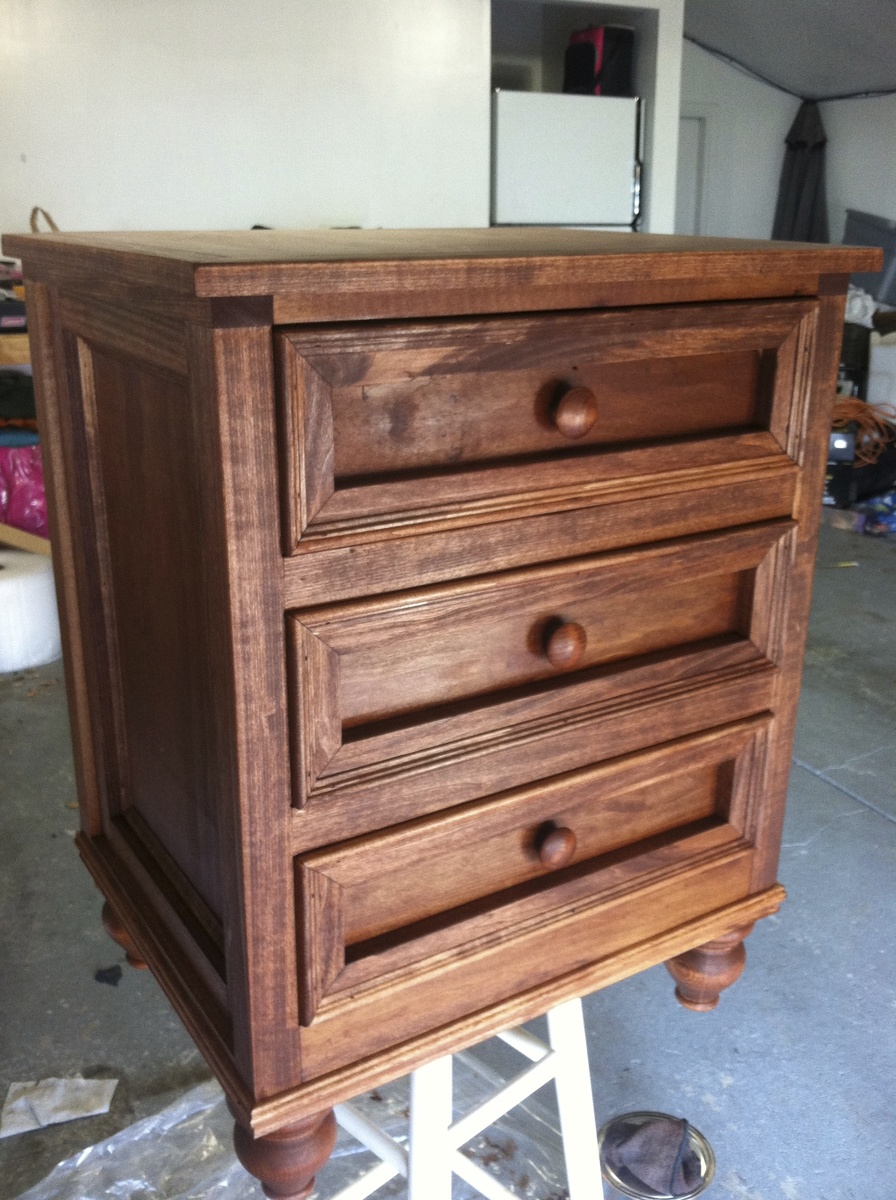
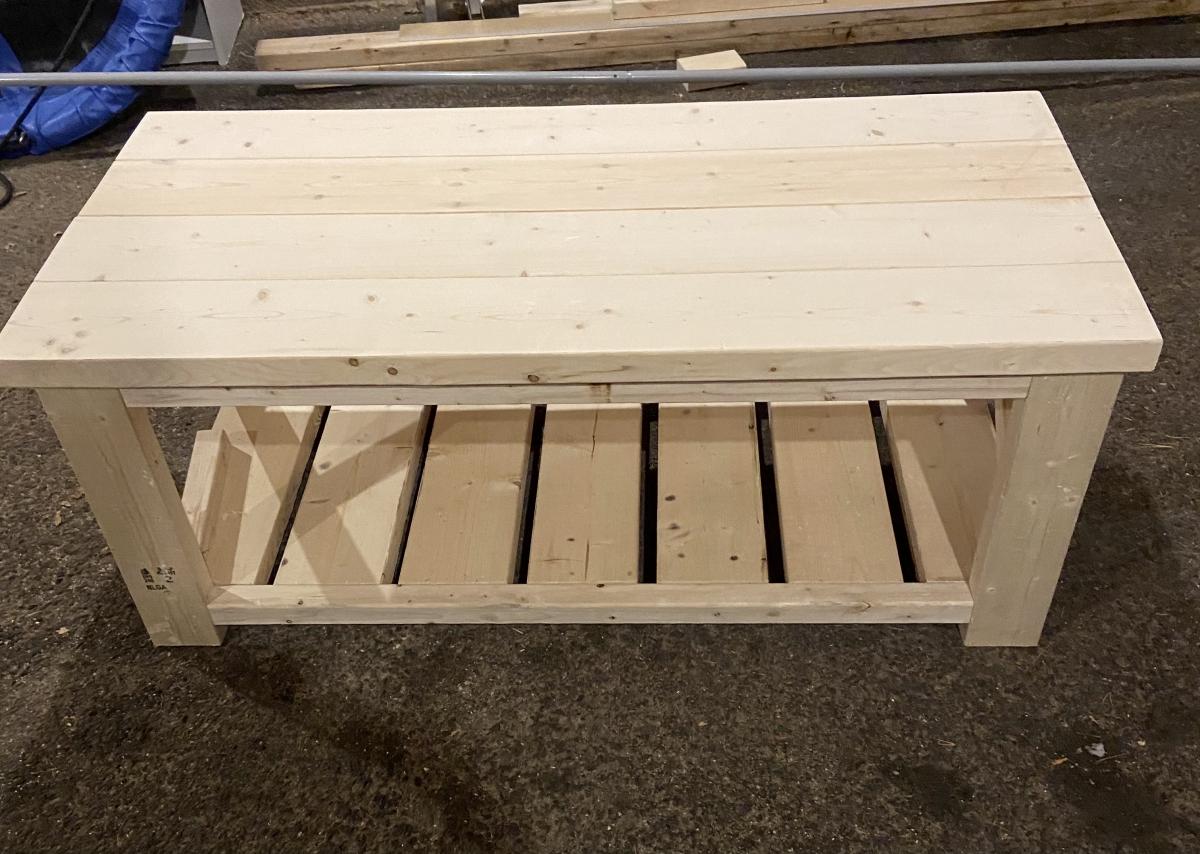
Next step was preparation for staining. I used Cabot's pine filler to fill major holes, knots etc, then sanded lightly paying extra attention to the arms.
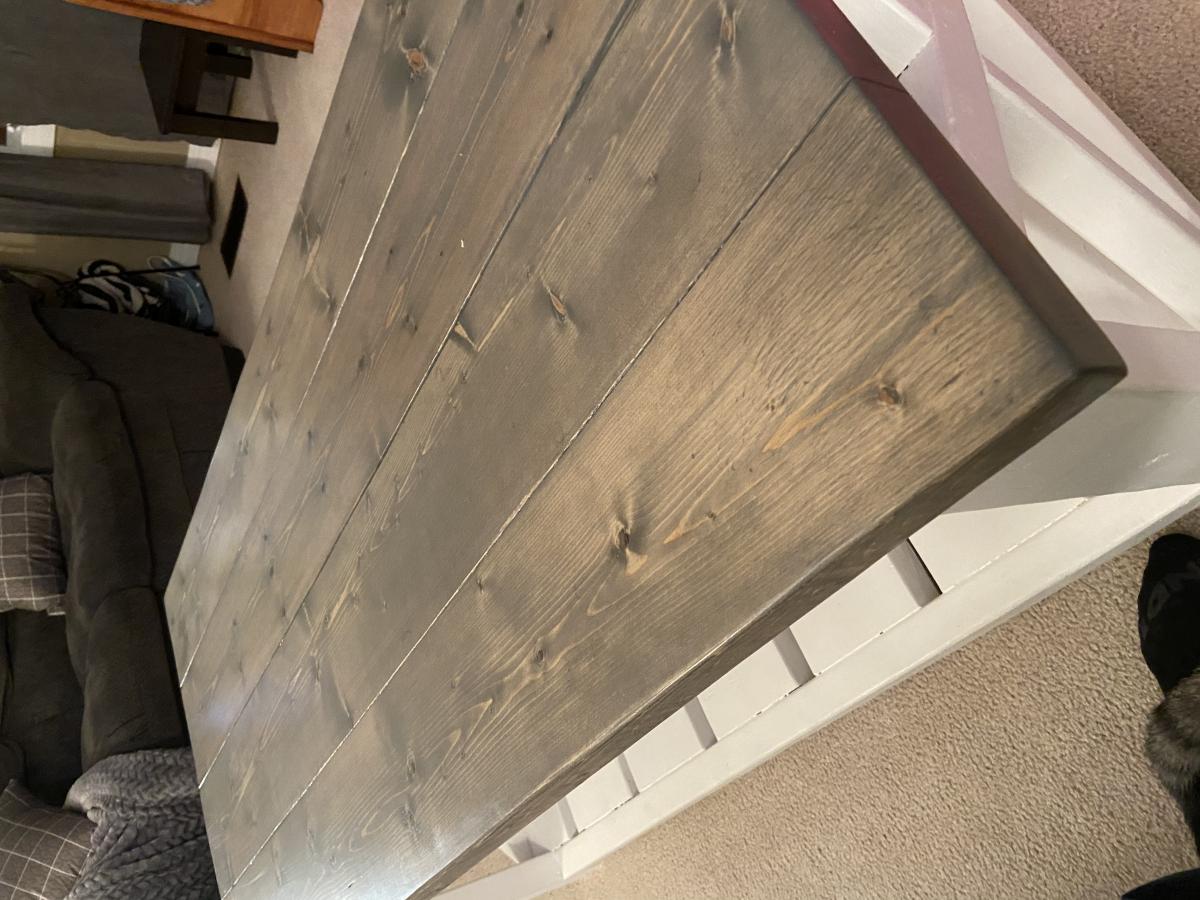
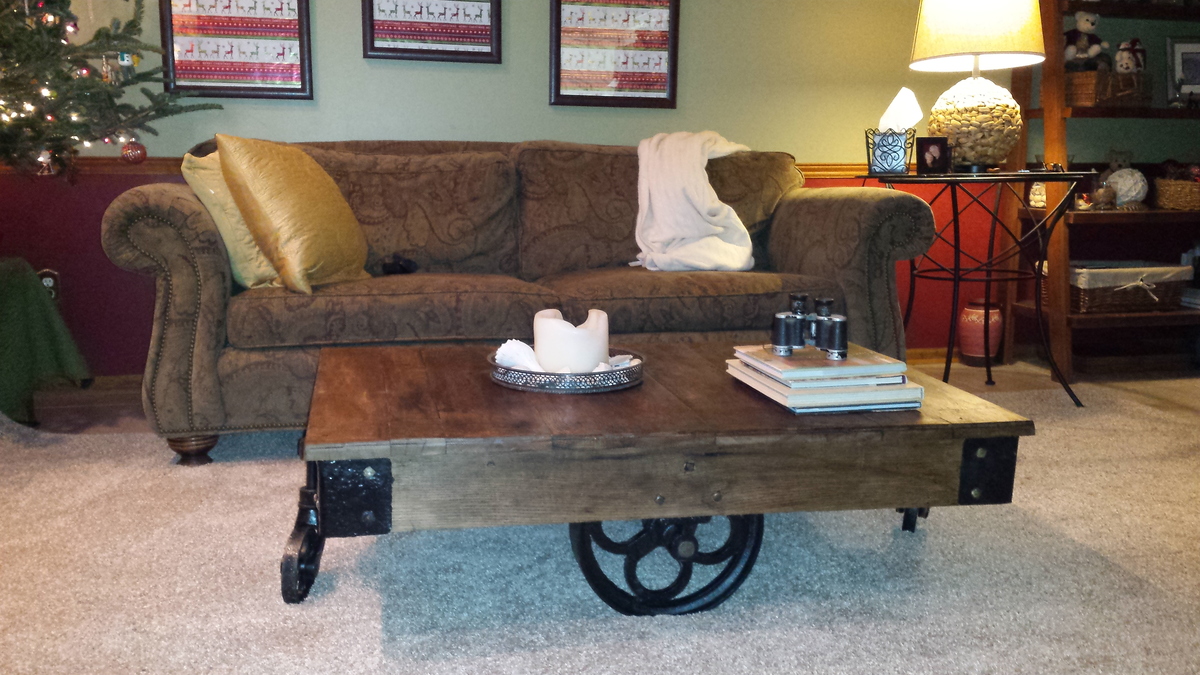
I stained using Cabot Exterior Varnish Stain (teak colour). This turned out a beautiful warm colour that I just love.
Finally the cushions....
For the base I purchased a 5inch thick foam single mattress (on sale $61 so worked out to be really cheap foam). I measured to fit base and cut using an electric knife - worked a treat! I had enough left over to do a cushion along the back plus two small side cushions to go along the arms.
Next step was covering the base and side cushions. I purchased some outdoor Decorating fabric from spotlight as sofa will be exposed to some QLD weather. For the base, I used a similar process to the Censational Girl box cushion cover using Velcro instead of zips.
http://www.centsationalgirl.com/2012/10/simple-sew-box-cushion-cover/
For the side and back cushion I made up 3 sides of the cover, then inserted foam and sewed the last end closed (cheating I know but just too awkward to do proper box ends).
Lastly, the throw cushions.....these were really easy I made envelope cushions from a single piece of fabric....once again no zips (hoorah!). They only took 10minutes each to make and look great. See tutorial below.
http://thehappyhousie.com/simple-speedy-stuffed-sewing-tutorial-diy-envelope-pillows/
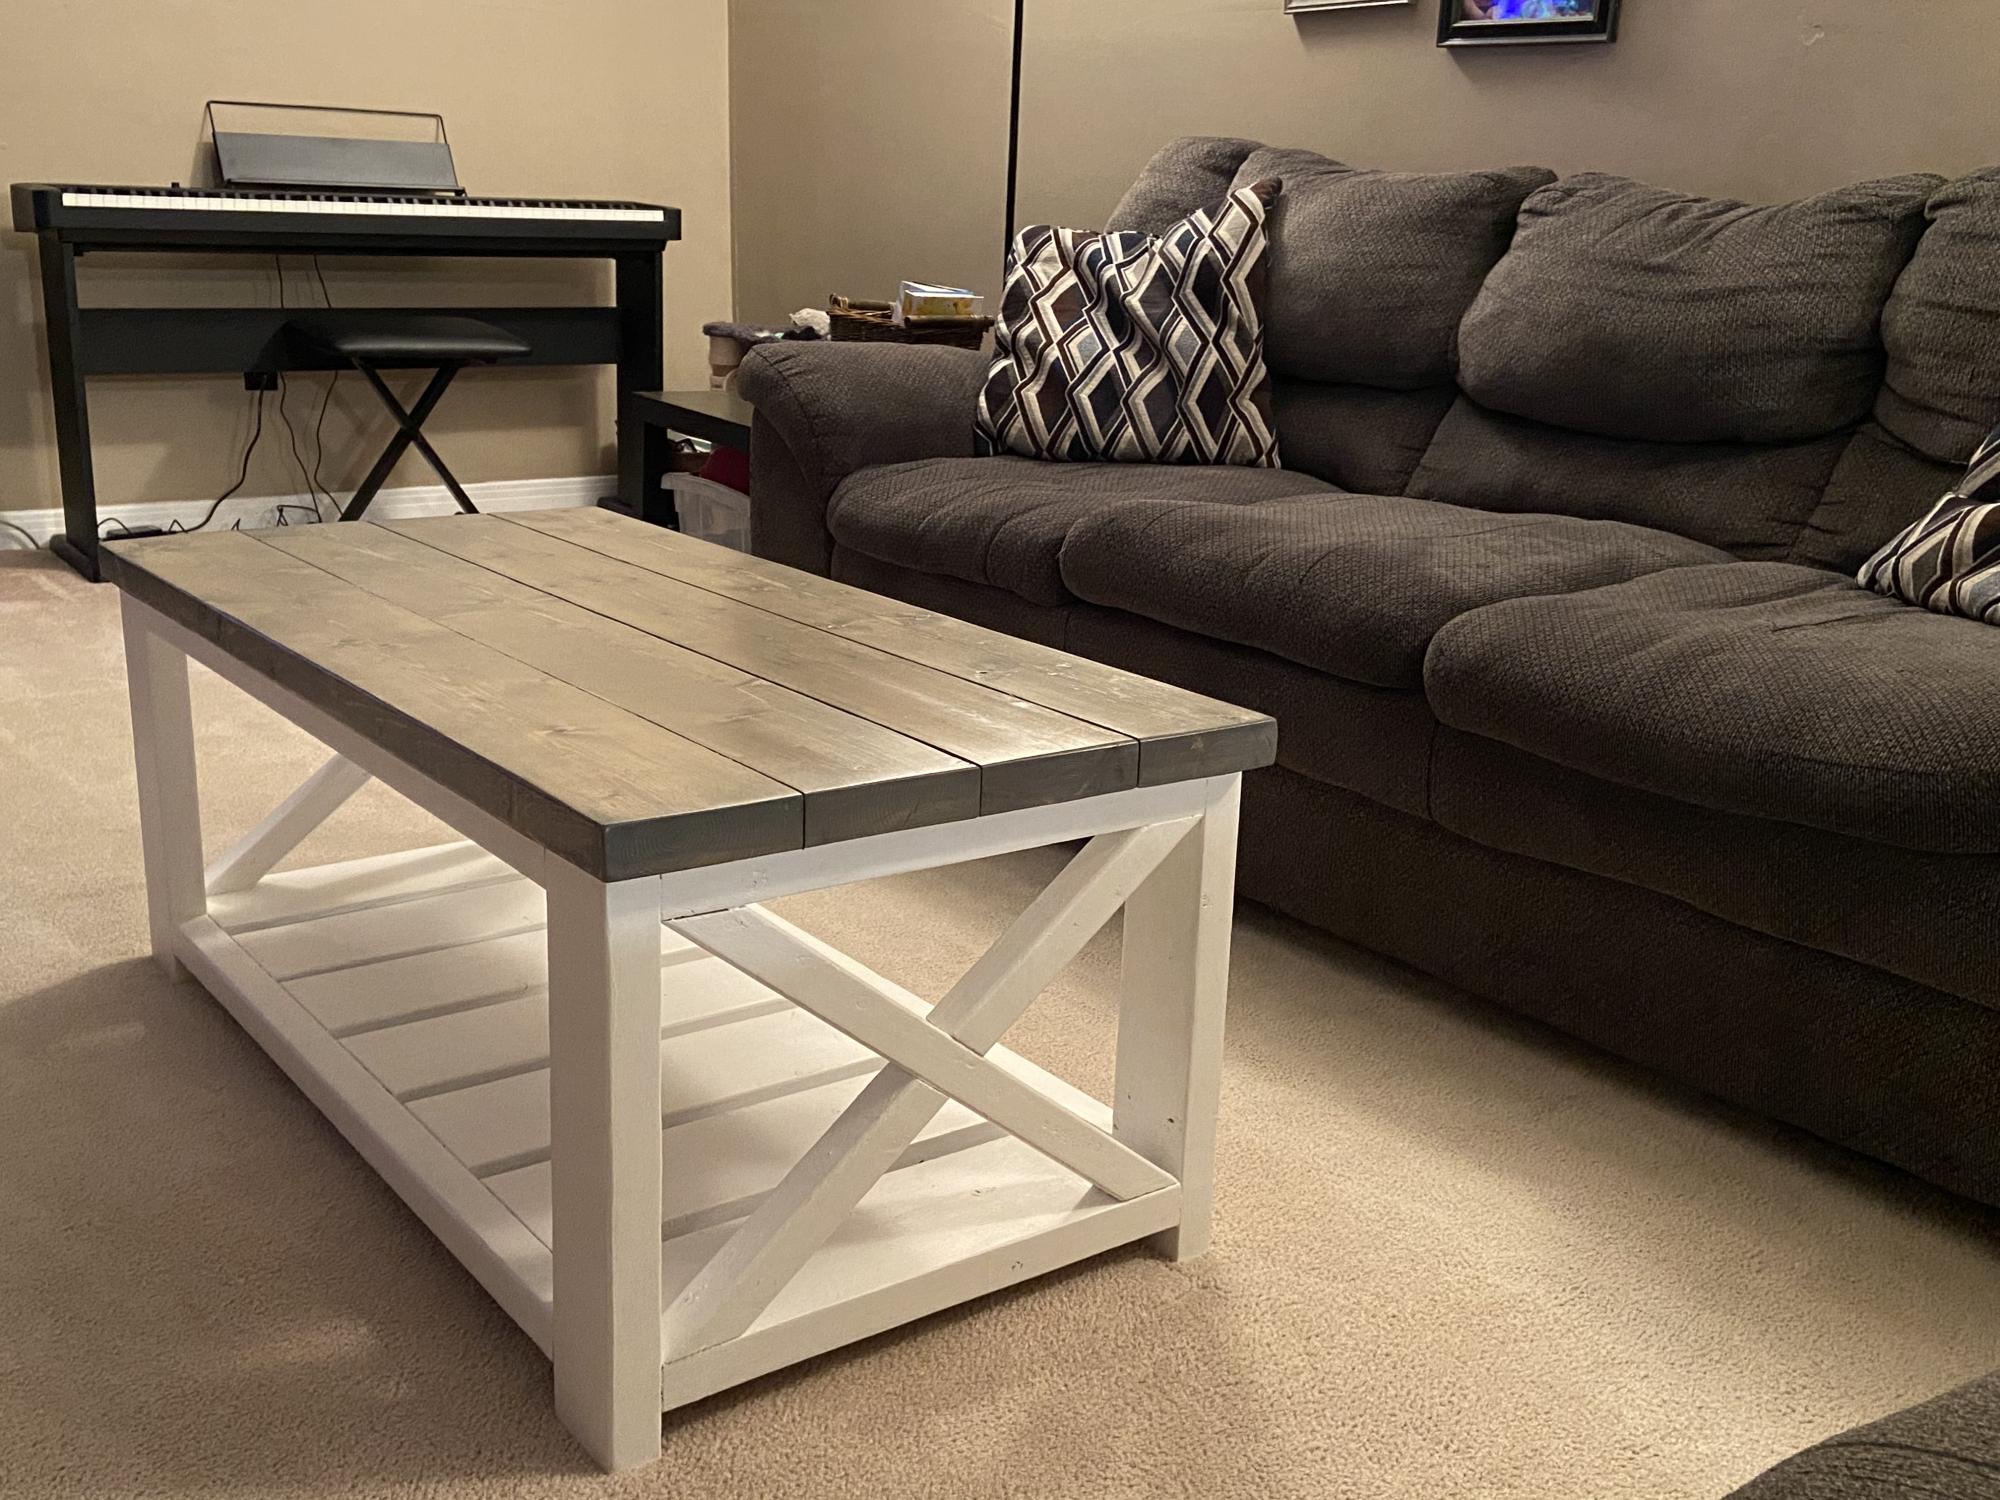
My first build so extremely happy with the result!


Comments
handmadewithash
Wed, 12/31/2014 - 15:16
This looks great. I love the
This looks great. I love the finish you chose.
In reply to This looks great. I love the by handmadewithash
jhavinga
Wed, 12/31/2014 - 17:00
To handmadewithash..
Thank you very much for the comment! =).
Happy New Years as well!
Cheers,
Justin
ehays216
Thu, 01/01/2015 - 08:47
gorgeous!
this looks beautiful, love the stain!
In reply to gorgeous! by ehays216
jhavinga
Thu, 01/01/2015 - 22:48
To ehays216
Thank you ehays216! Ive looked at your Farmhouse Storage Bed a few times.. Have always wanted to try the Steel wool/Vinegar trick.
Cheers,
Justin
Ana White Admin
Thu, 01/01/2015 - 12:07
Stunning!
Picture Perfect!
In reply to Stunning! by Ana White Admin
jhavinga
Thu, 01/01/2015 - 22:49
Thank you very much Ana White
Thank you very much Ana White Admin!
Cheers,
Justin
Smjackson82
Fri, 01/02/2015 - 23:35
Beautiful!!!
Do you mind me asking what dimensions you used?
In reply to Beautiful!!! by Smjackson82
jhavinga
Sun, 01/04/2015 - 16:07
Of coarse! I used the same
Of coarse! I used the same height and depth dimensions, just shortened the width by 9 inches.
Cheers,
Justin
timberandsoul
Sat, 01/03/2015 - 07:40
backdrop
Great job! The love how the color turned out. May I ask where you purchased your backdrop from? And what size it is?
Thanks!
In reply to backdrop by timberandsoul
jhavinga
Sun, 01/04/2015 - 16:09
Thanks a lot timberandsoul!
Thanks a lot timberandsoul!
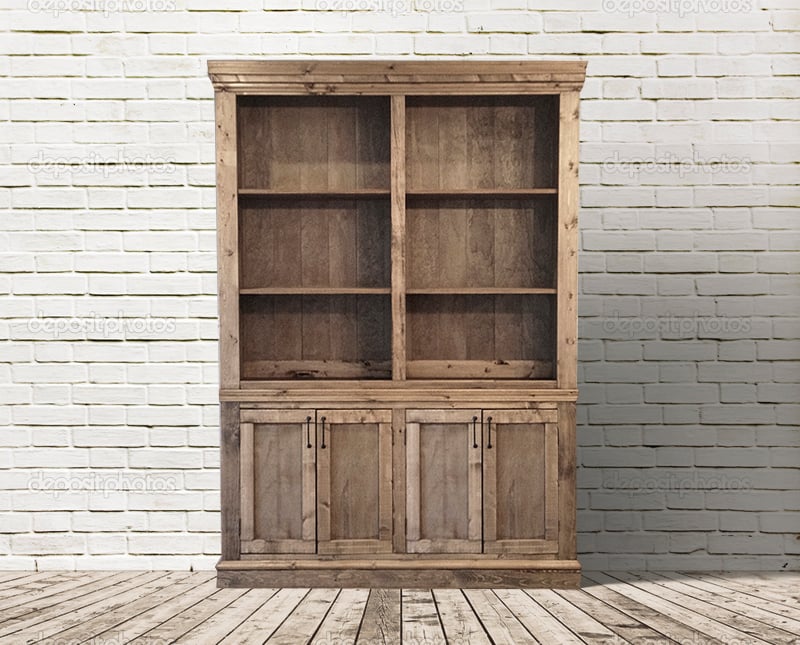
Photo was taken on an empty wall in my living room, Which is currently a light gray wall. thought it looked boring so I did a quick switch of backdrops in PS. I just typed in brick wall in google.
Cheers,
Justin
AndyH
Sun, 01/04/2015 - 11:30
How to achieve that finish?
Hi Justin. Did you use any special technique between the two coats of stain to achieve that effect. Thanks. Andy
In reply to How to achieve that finish? by AndyH
jhavinga
Sun, 01/04/2015 - 16:10
Got your email Andy,
Got your email Andy, hopefully you got mine!
Cheers,
Justin
Singhs
Sun, 01/04/2015 - 16:27
Material
What type of wood did you use, home depot/lowes regular pine or some specialty wood ?
In reply to Material by Singhs
jhavinga
Sun, 01/04/2015 - 18:36
Hey Singhs, I went with Home
Hey Singhs, I went with Home Depot Regular Knotty Pine. Cheap and easy to work with.
Cheers,
Justin
juddgirl2
Mon, 01/19/2015 - 13:03
Stain color and plank backing
I love this! Can you give me information on how you modified the plan to achieve the plank backing and the stain color?
In reply to Stain color and plank backing by juddgirl2
jhavinga
Sat, 01/24/2015 - 13:08
Sure! the plans call for 2
Sure! the plans call for 2 solid sheets of 1/4 plywood for the backing.. I simply just ran the plywood through a table saw at 5.5" wide and brad nailed it the back. =)
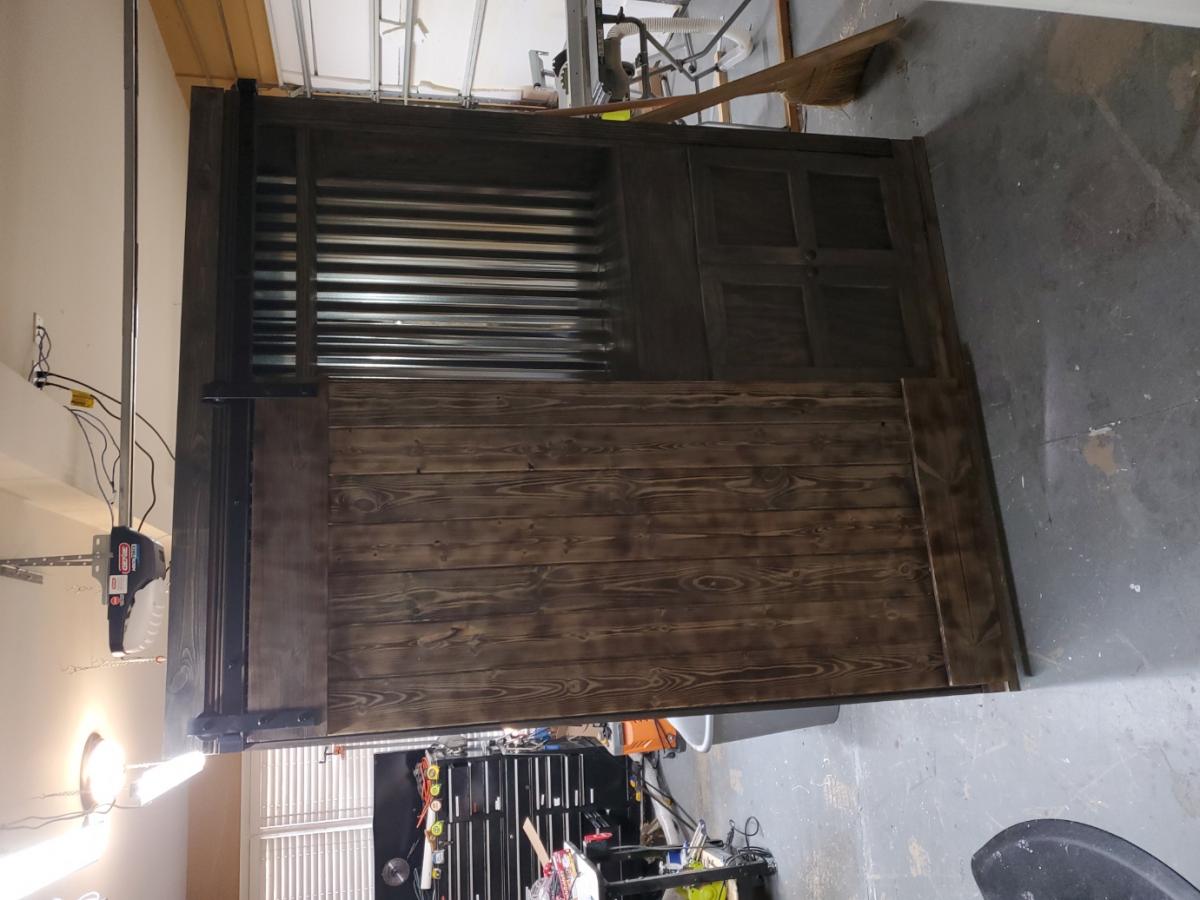
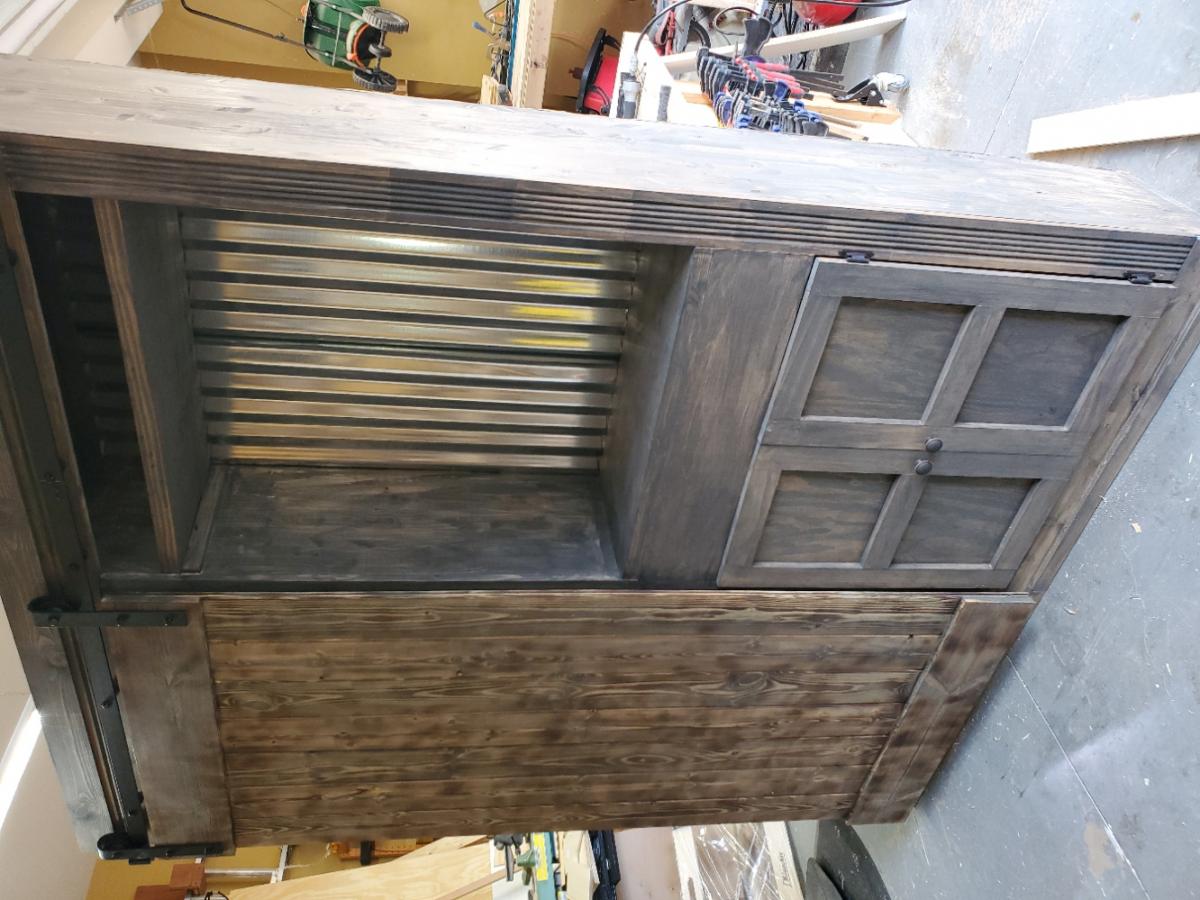
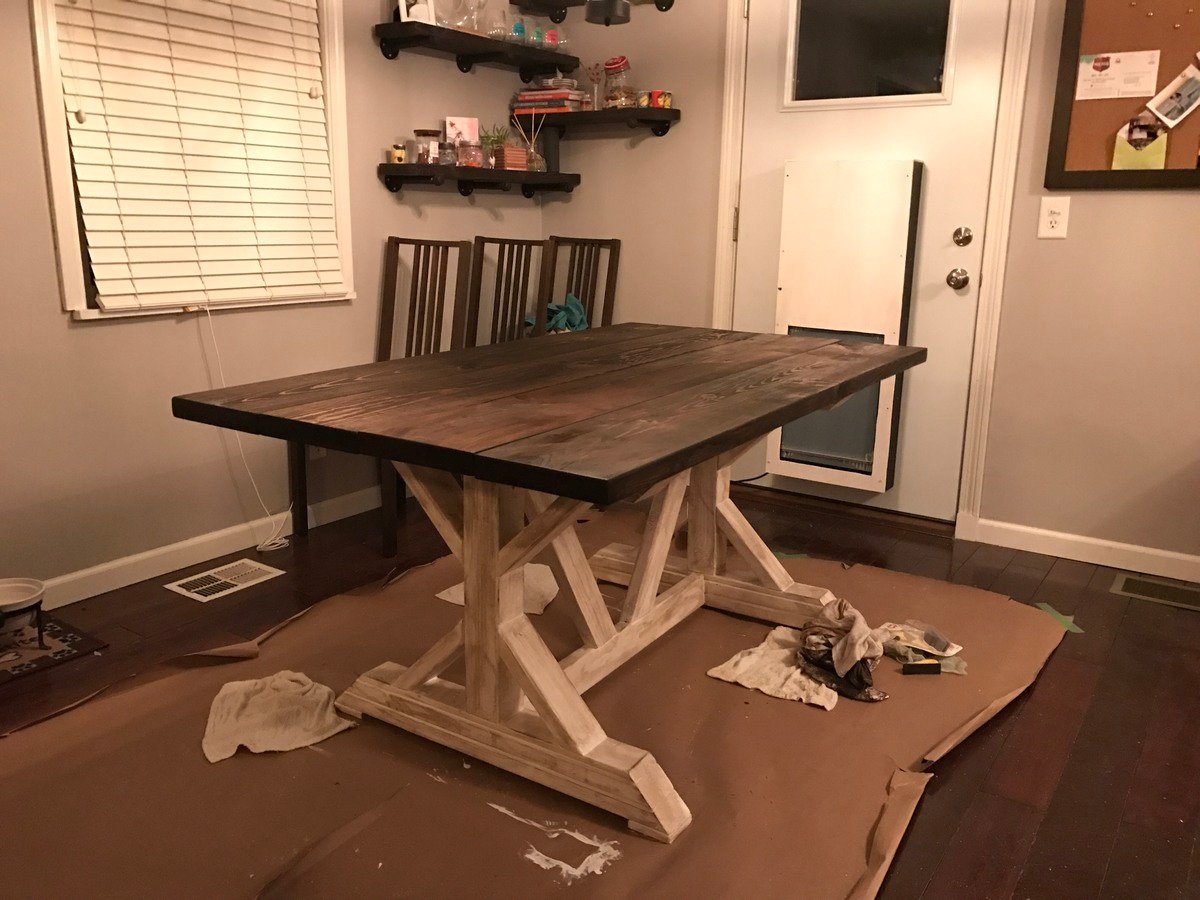
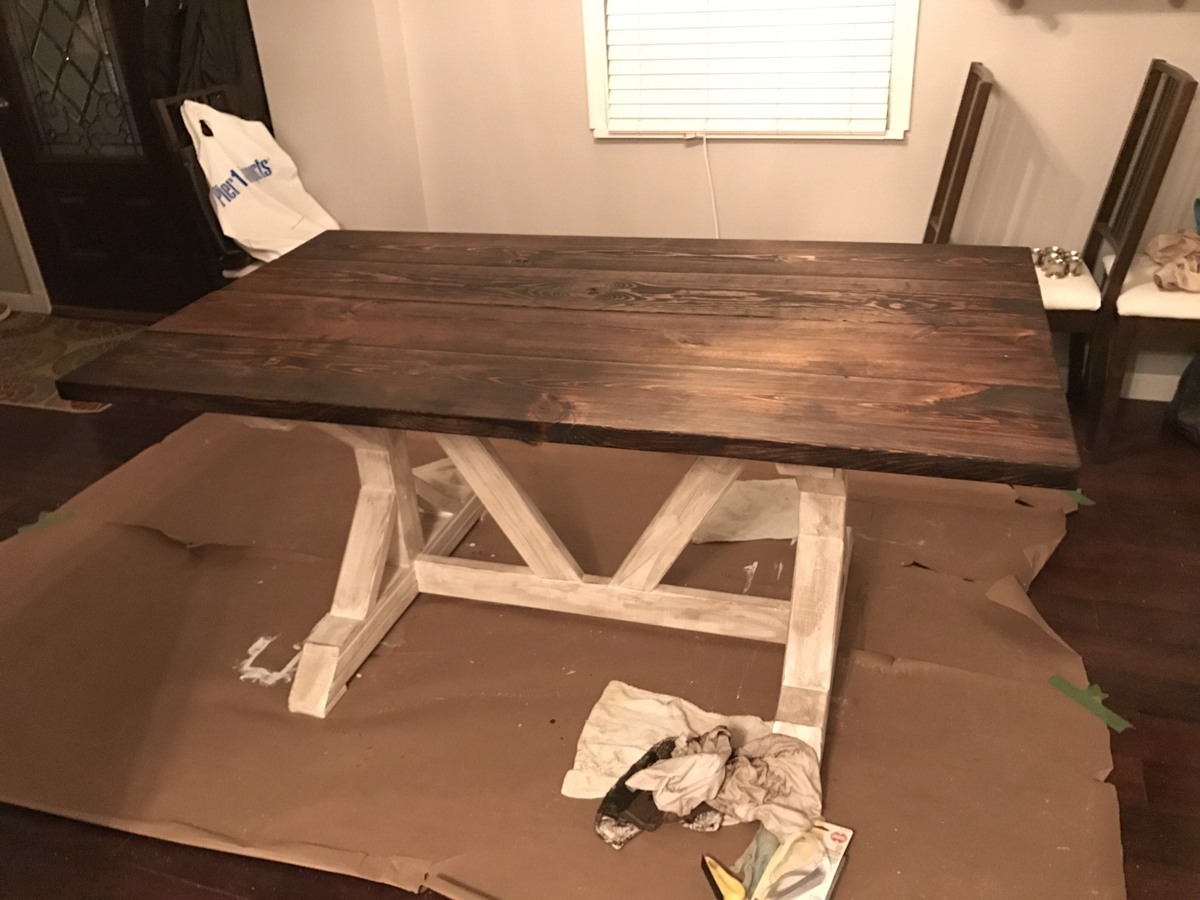
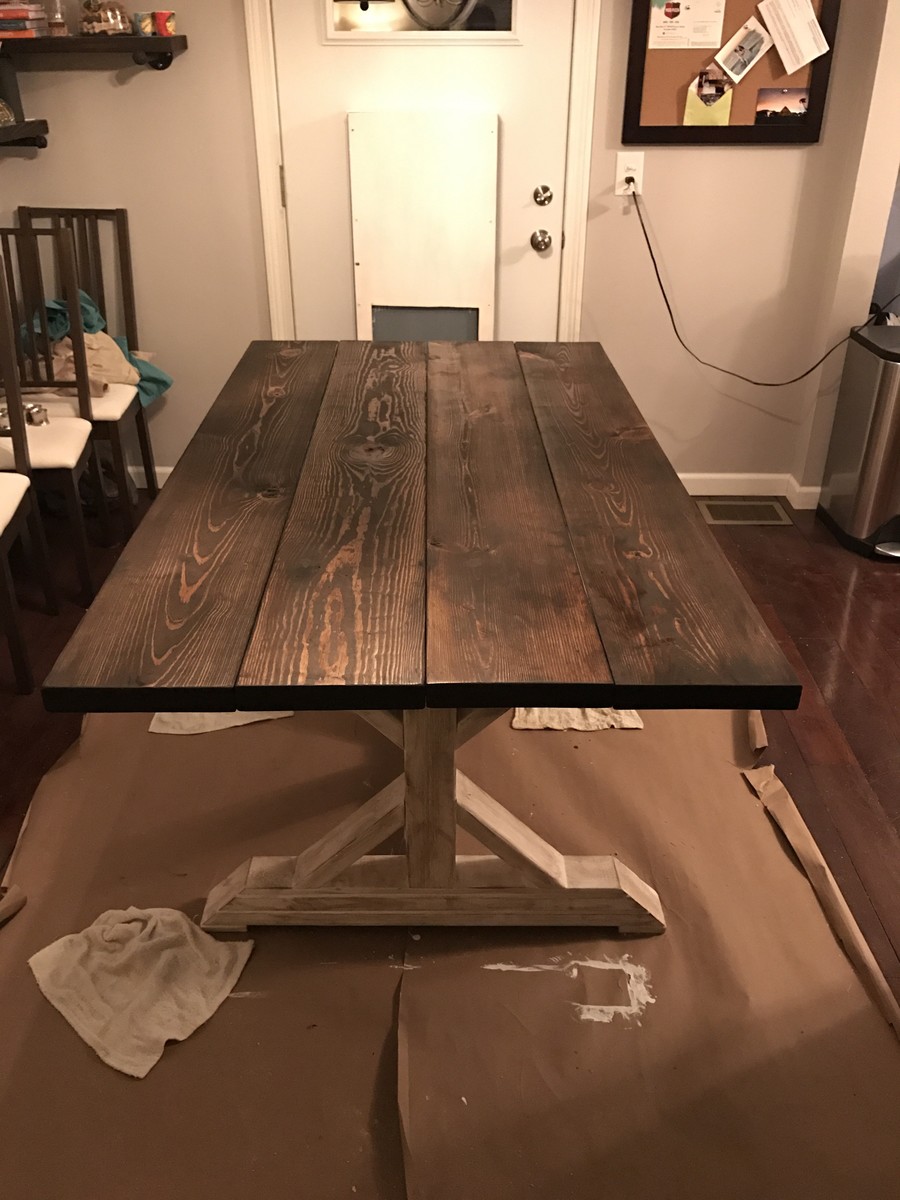
The stain is weathered oak and let sit for 15min. Then right away special walnut and let sit for 15 min.
repeat until desired colour. let me know if you have any more questions!
Cheers,
Justin
Sschoono
Sun, 01/08/2017 - 07:33
Stain question
How many coats did you have to do to achieve this look? The weathered oak looks so light...and gray.
Thanks!
Painterlyrhett
Sun, 05/17/2015 - 19:40
Attaching Sideboard to Hutch
What was your strategy on attaching the sideboard to the Hutch. I haven't seen where there is any instructions or conversation around this. What and how did you accomplish this and/or is there anywhere to go that discussed this that helped you.
Thanks,
meaningfulspaces
Sat, 03/12/2016 - 16:28
Top coat
Did you seal or do a topcoat? If so what kind? Thank you-what a great job!
-Laura
altmana24
Mon, 06/27/2016 - 12:35
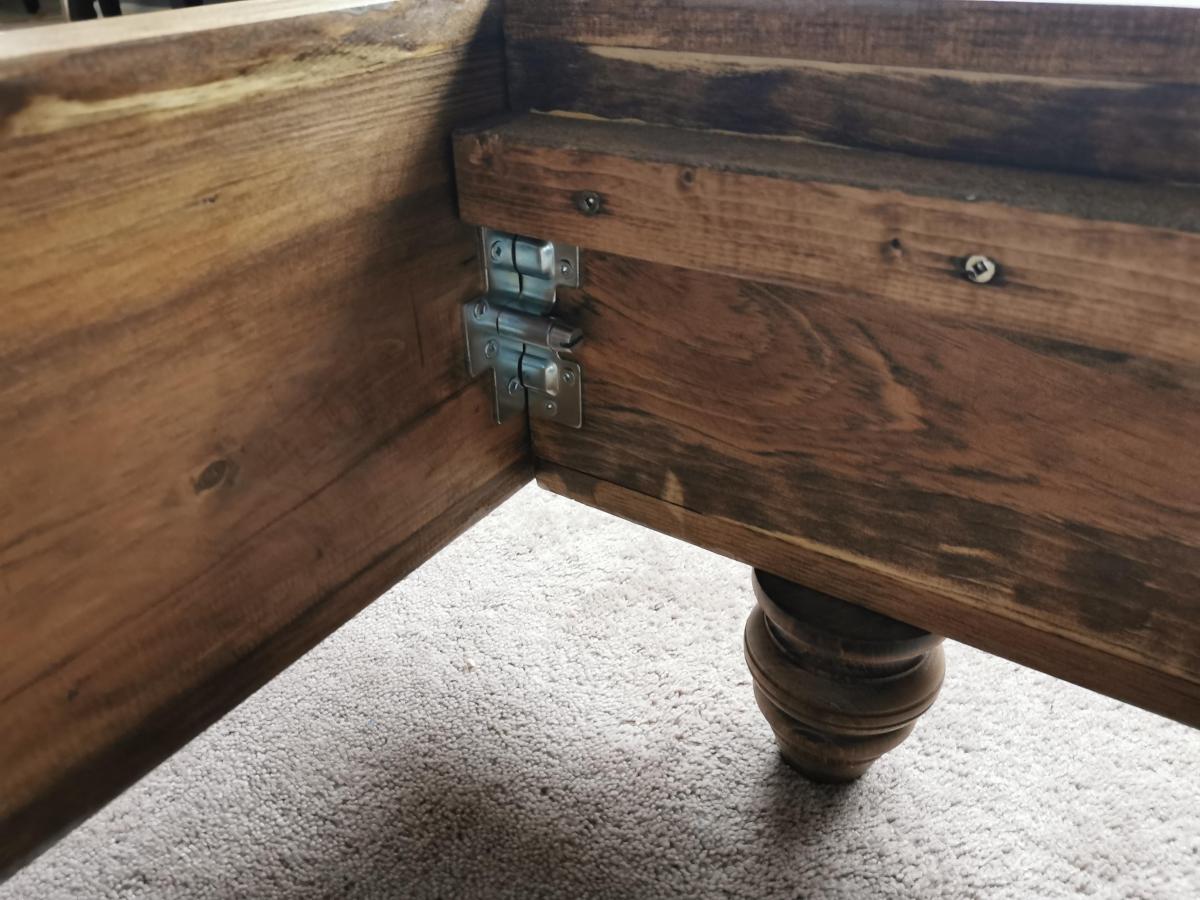
hinges
What type of hinges did you use for your cabinet doors?
suziejc3711
Tue, 07/05/2016 - 00:19
Truly gorgeous!
This inspired hutch/sideboard is absolutely divine! What an awesome job!