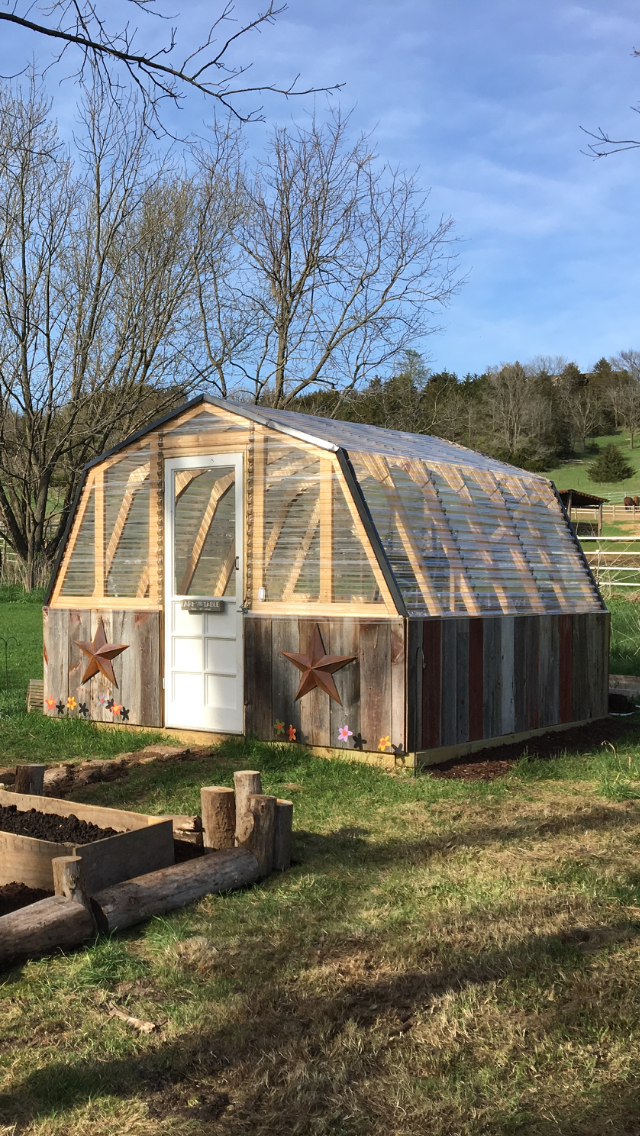
I stumbled on this site a while back as I was looking for ideas for an enclosure for my grill. I decided that my current table was fine, but found a TON of great ideas here on this site.
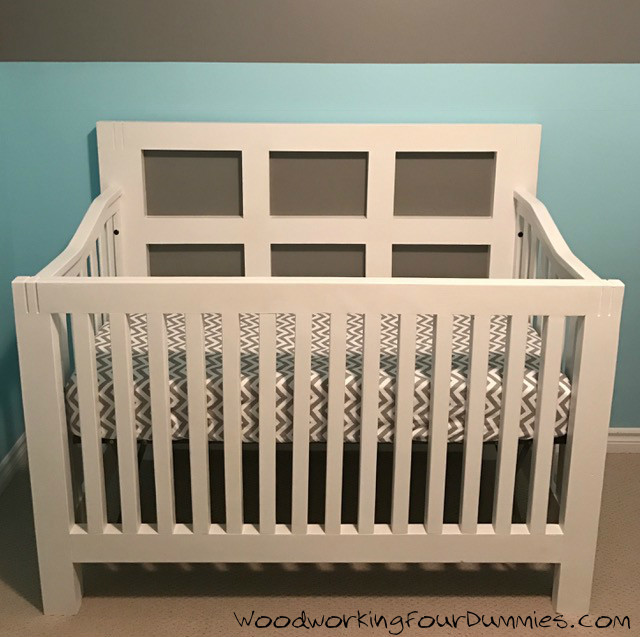
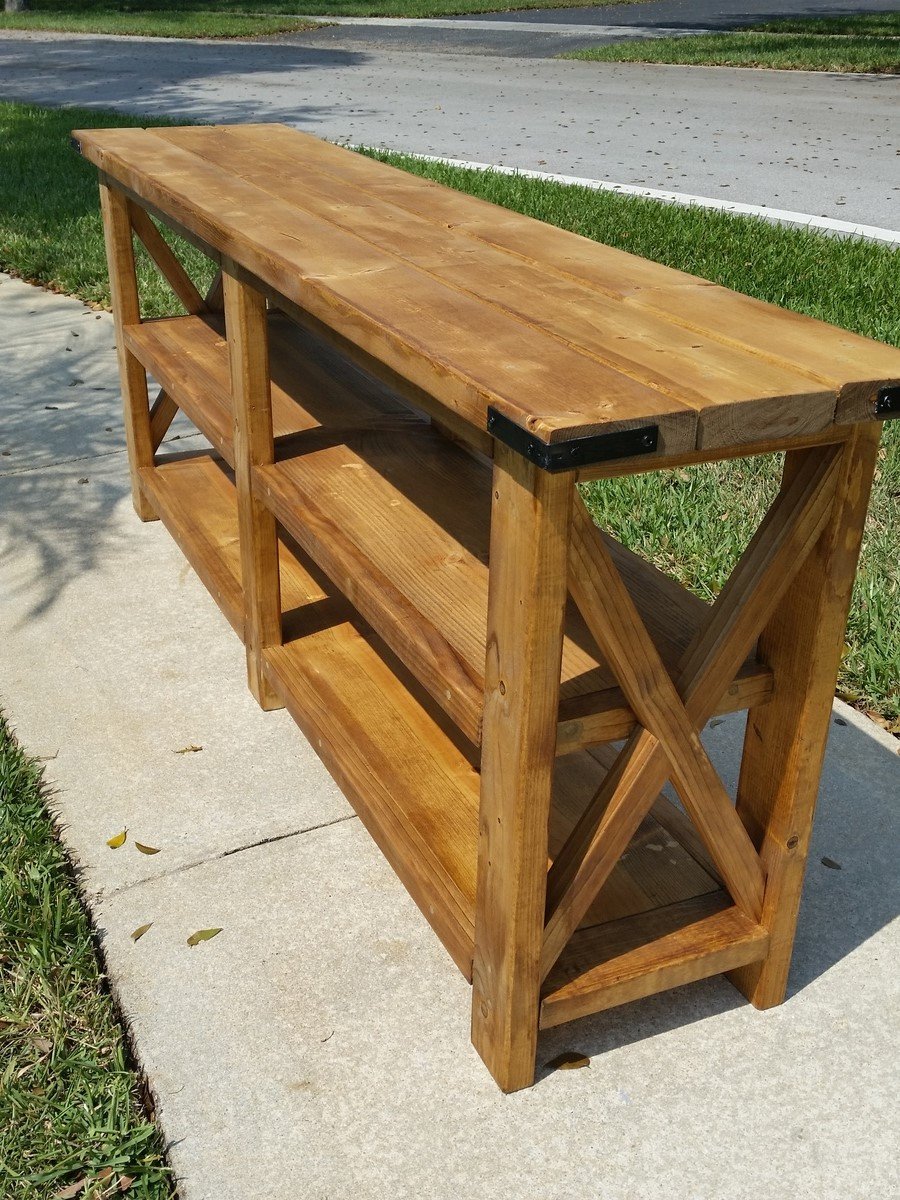
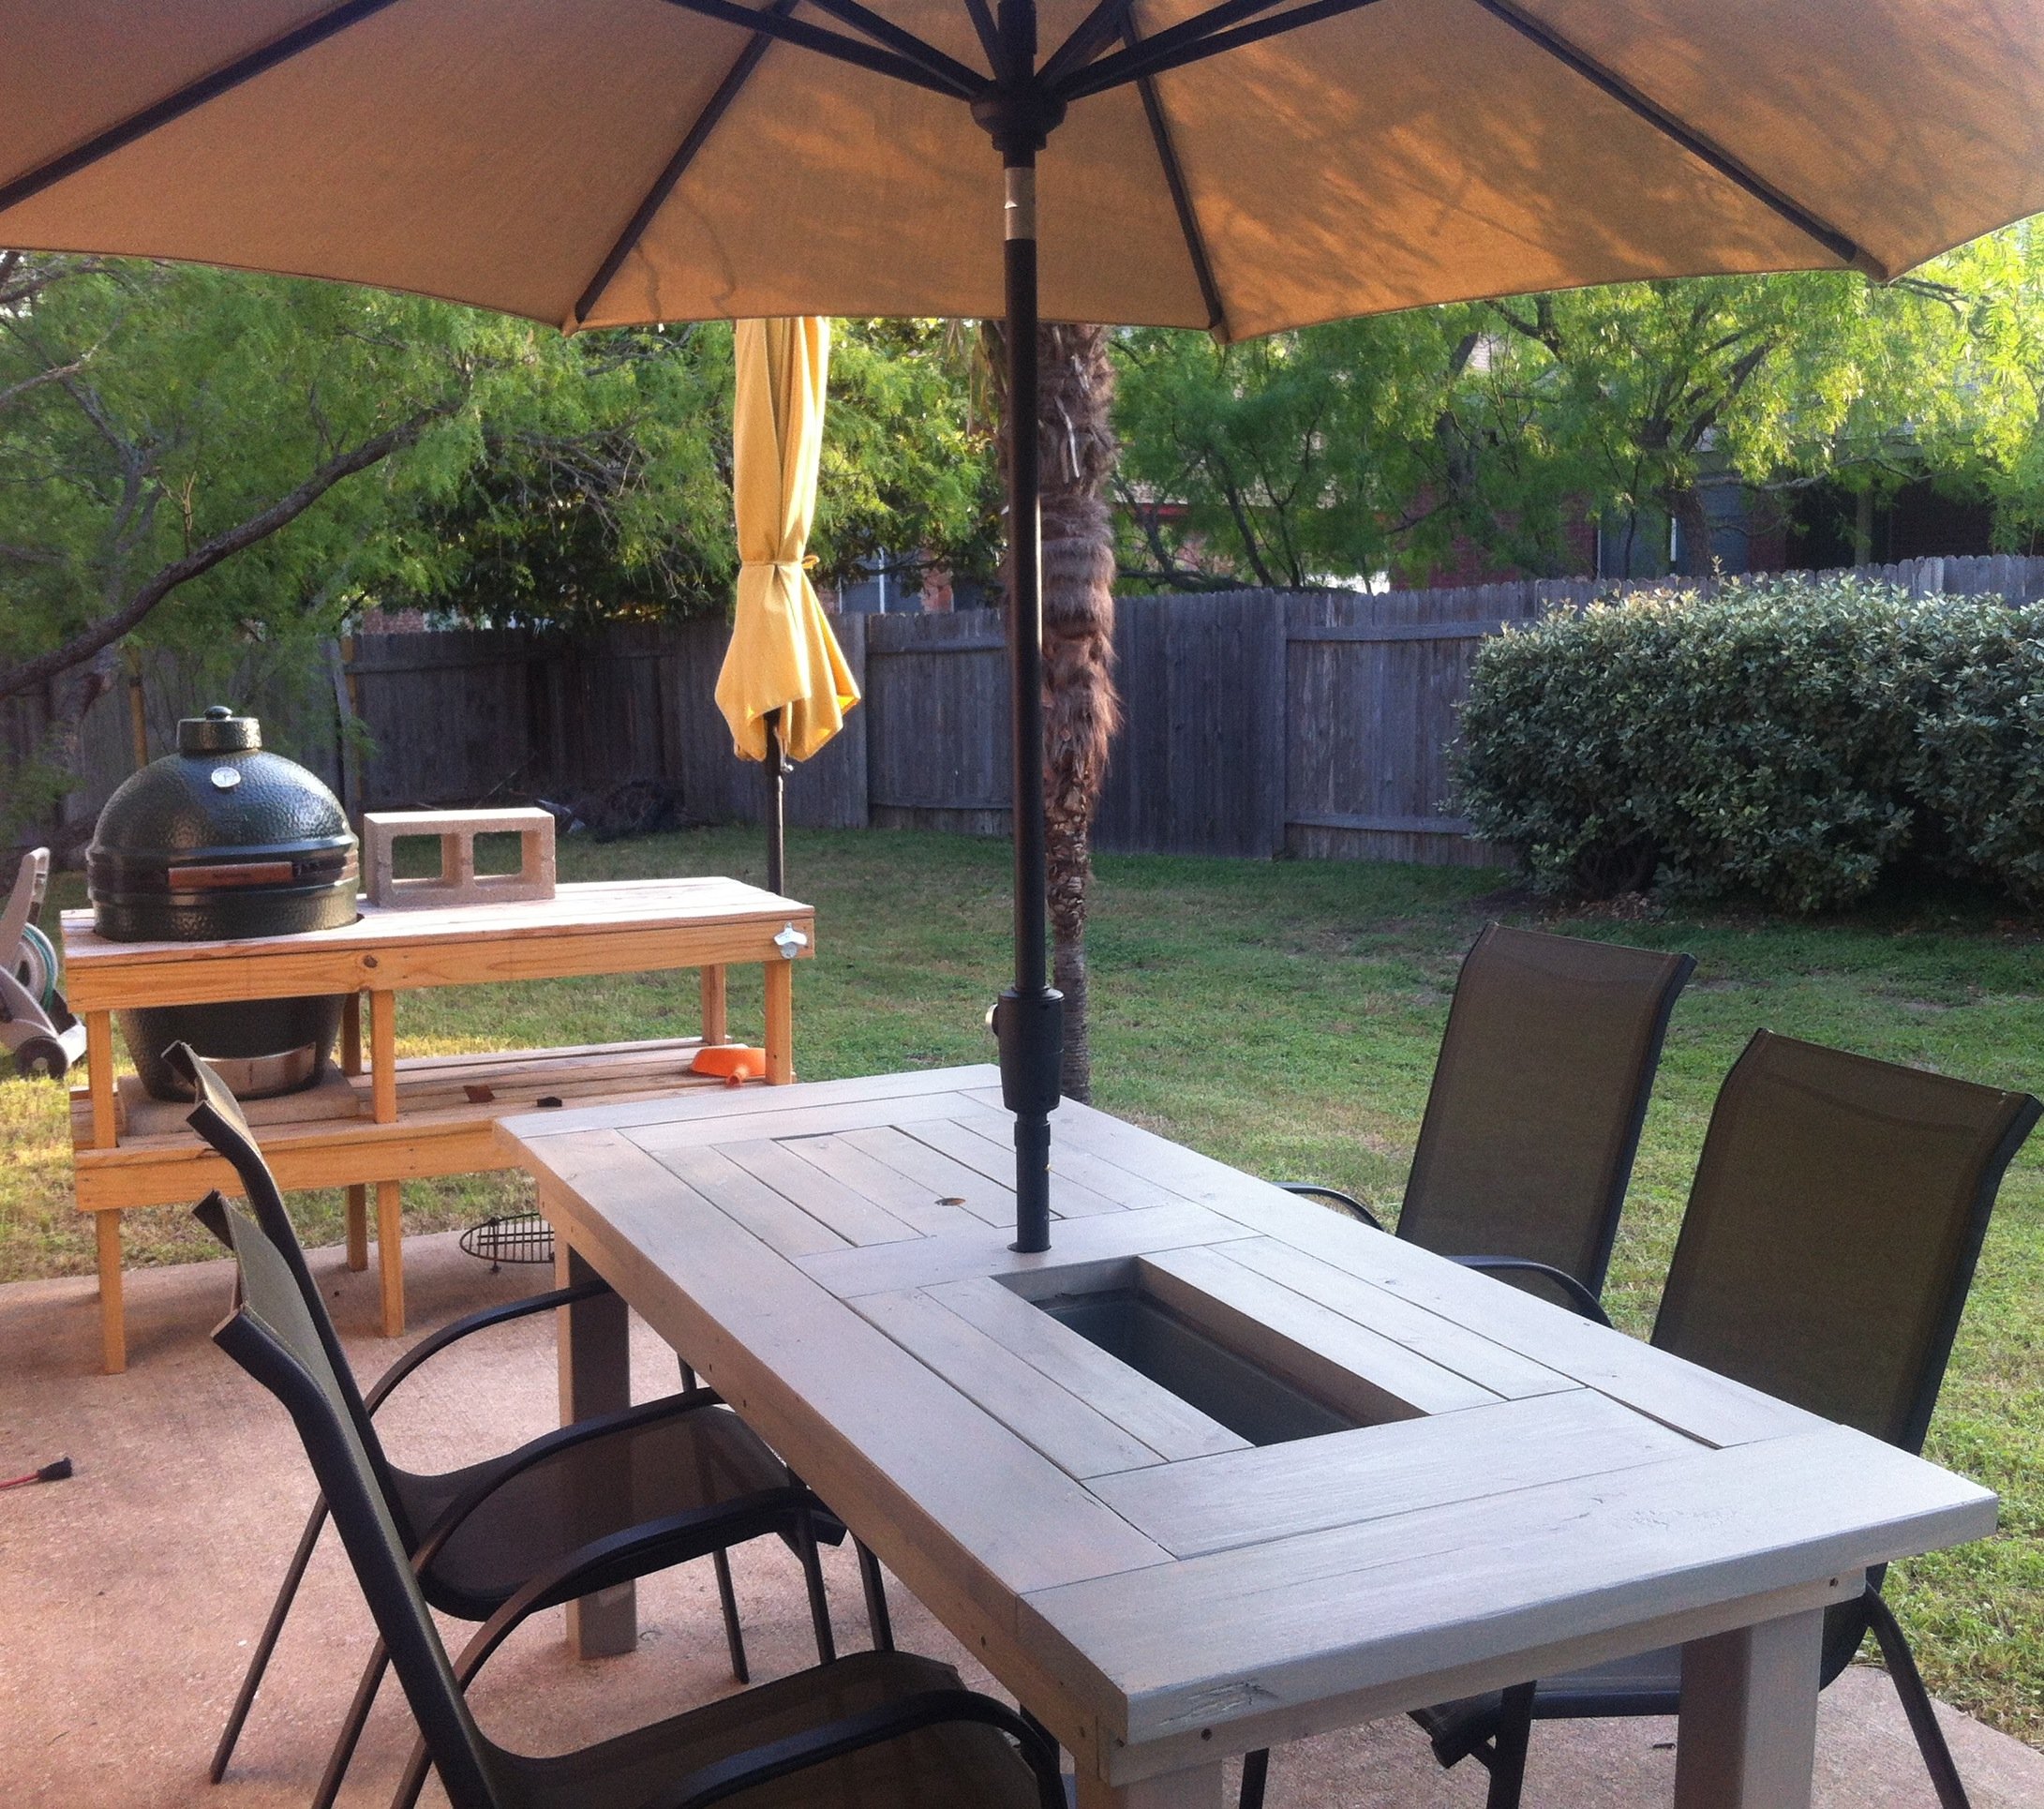
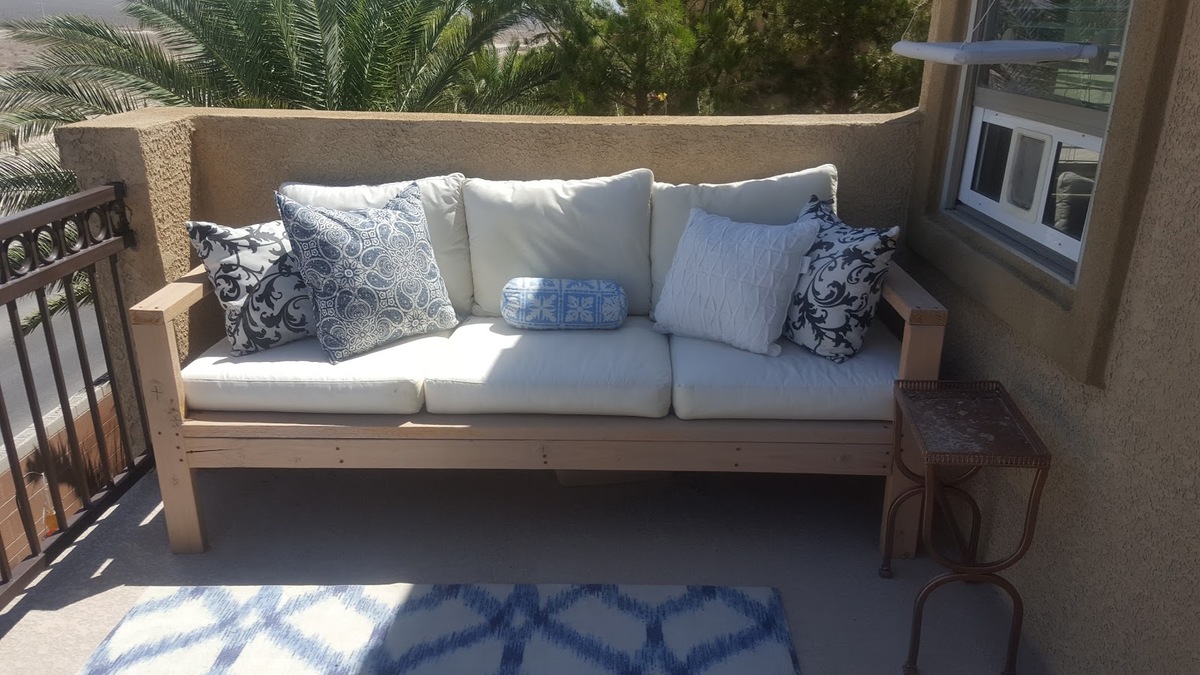
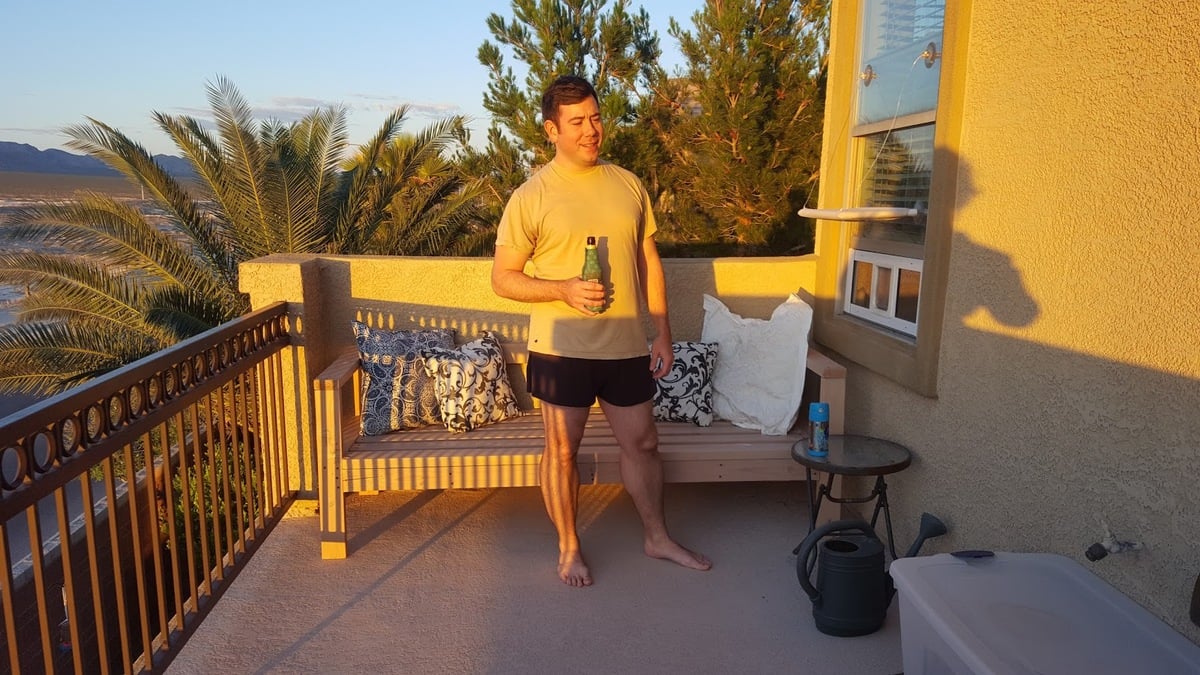
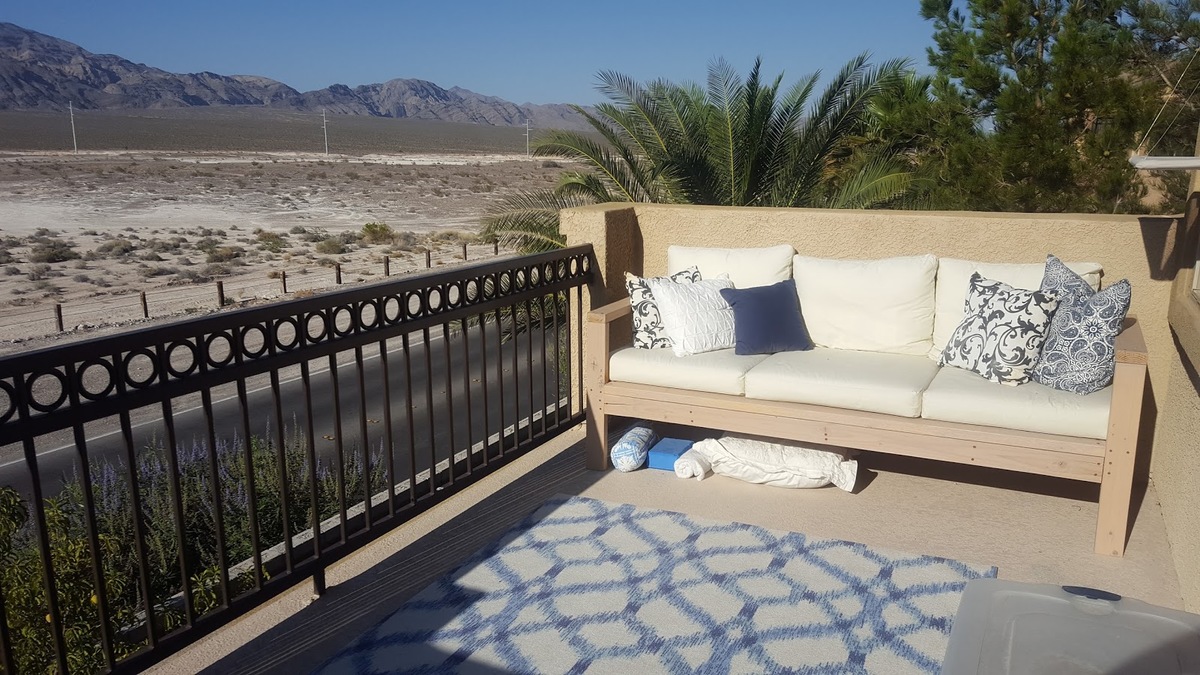
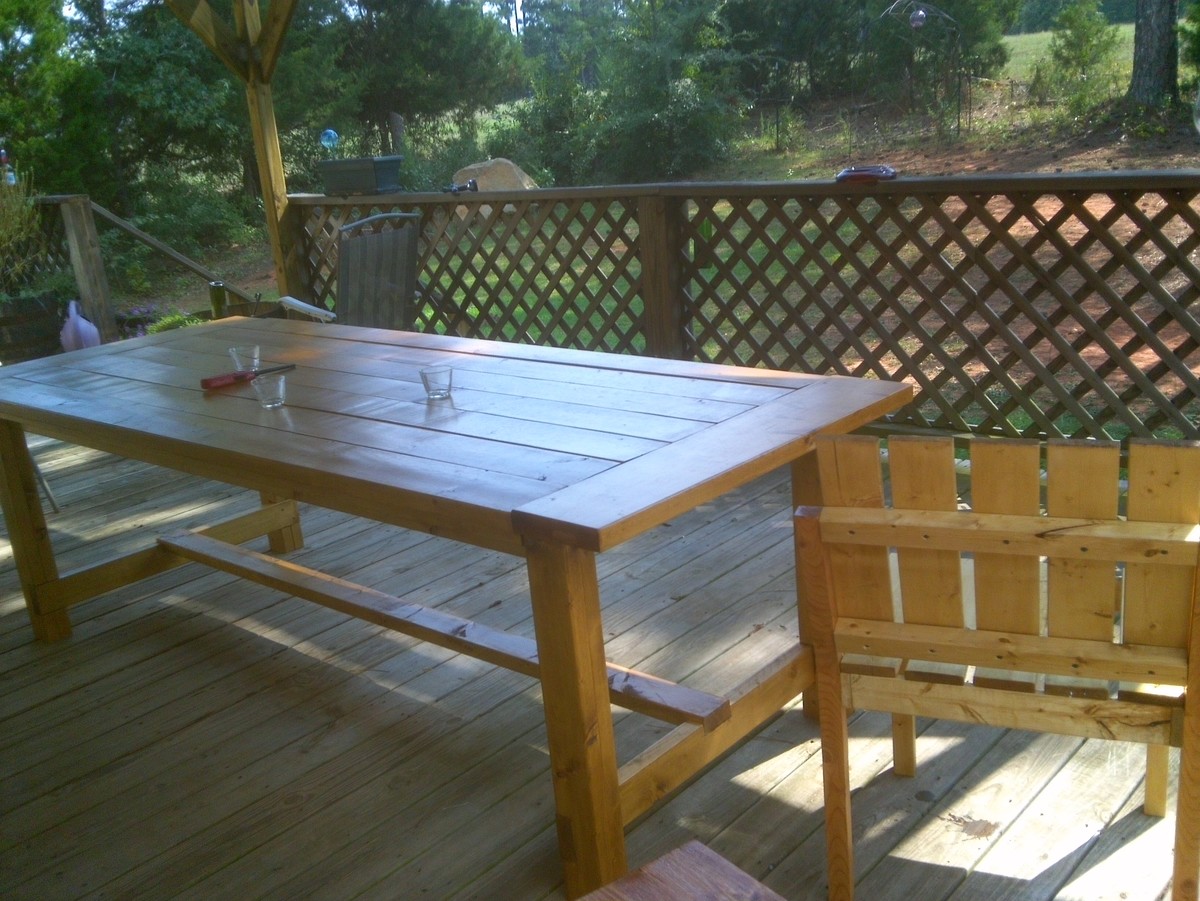
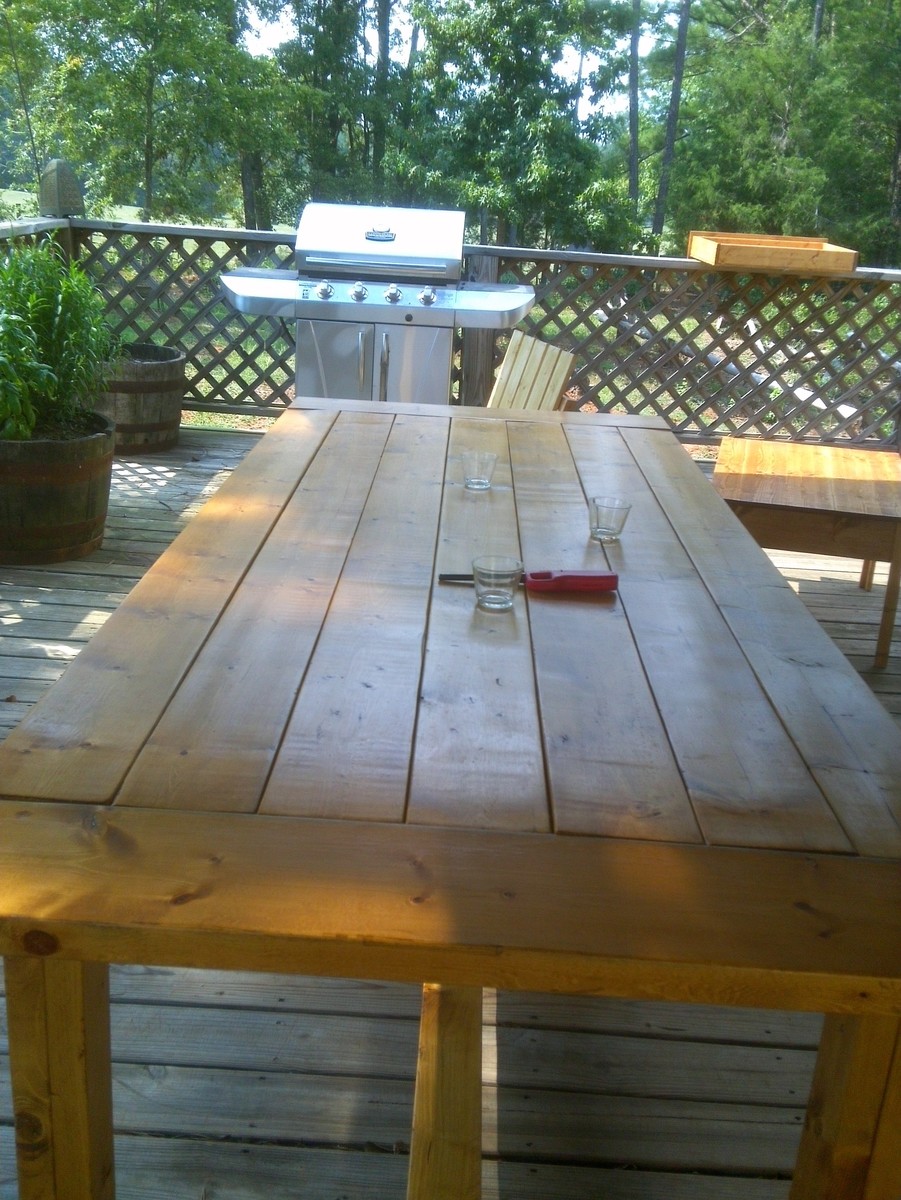
This patio table was first on my list. We enjoy having people over and I really like the built in coolers. We've started using our patio so much more already now that we have a good place to sit.
I modified the plans slightly: Extended the table so that we could fit up to 8 people, used 4x4's for the legs instead of 2x4's, and added a hole in the middle for an umbrella.
I need to build a couple benches (the chairs are a little low). That's the next project on the list!
Estimated Cost
probably about $90 for wood, screws, stain, and planter boxes
Estimated Time Investment
Weekend Project (10-20 Hours)
Finish Used
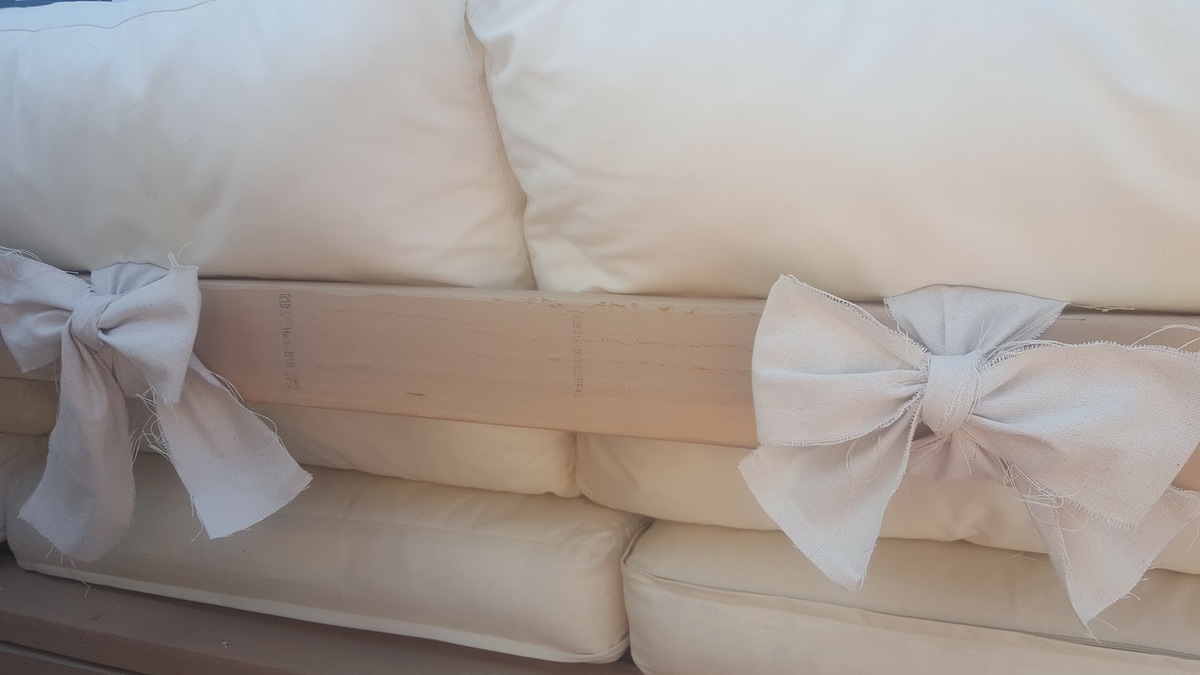
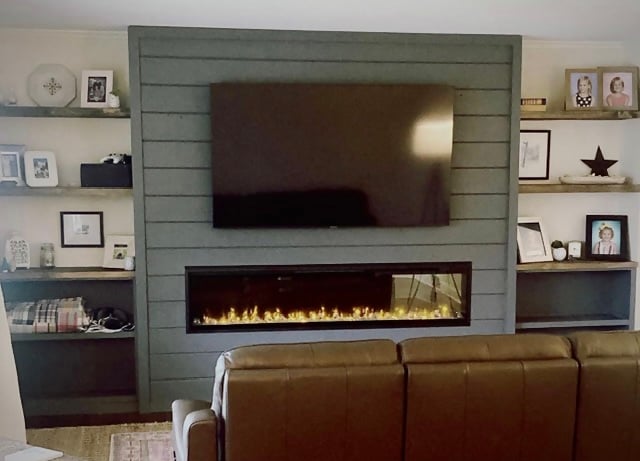
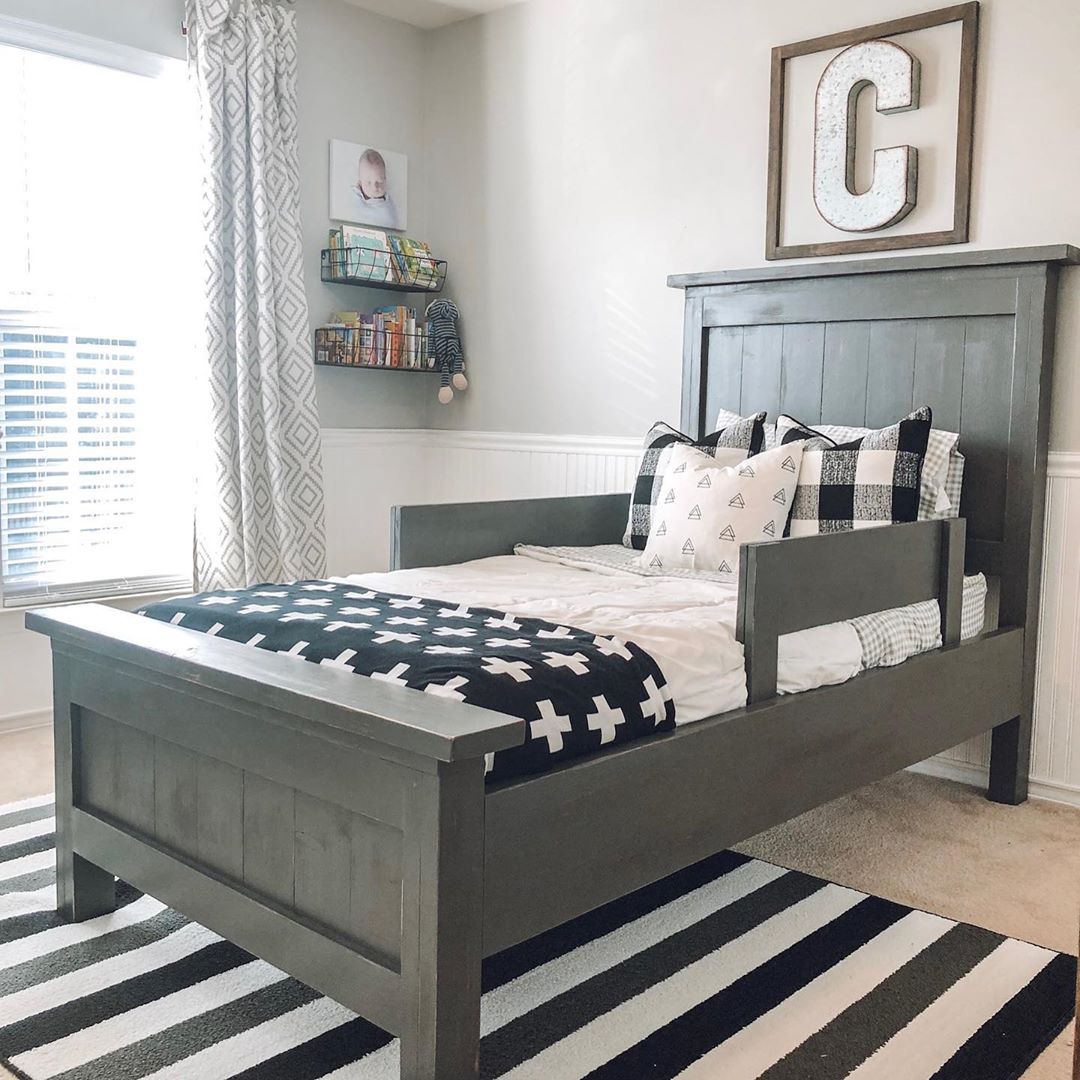
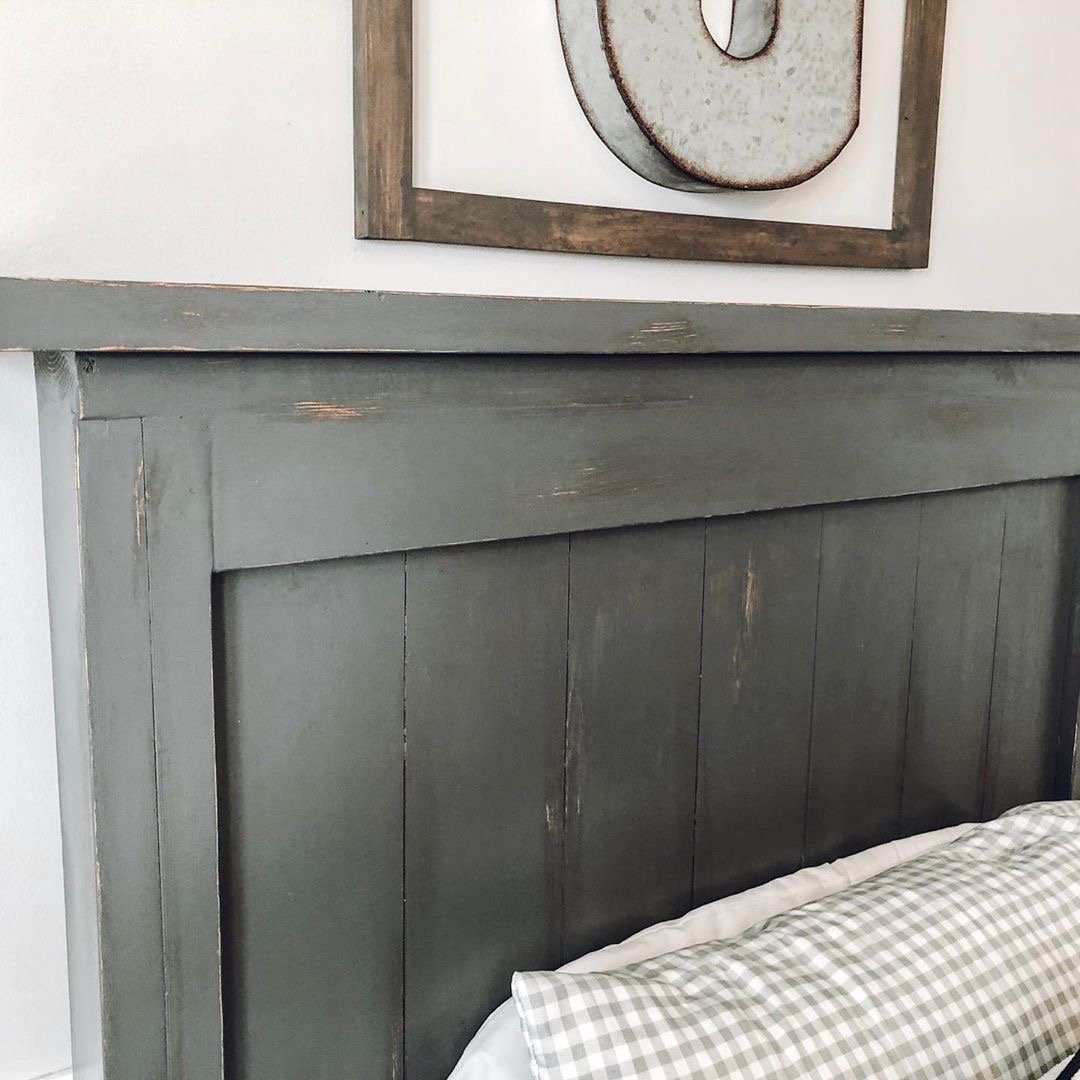
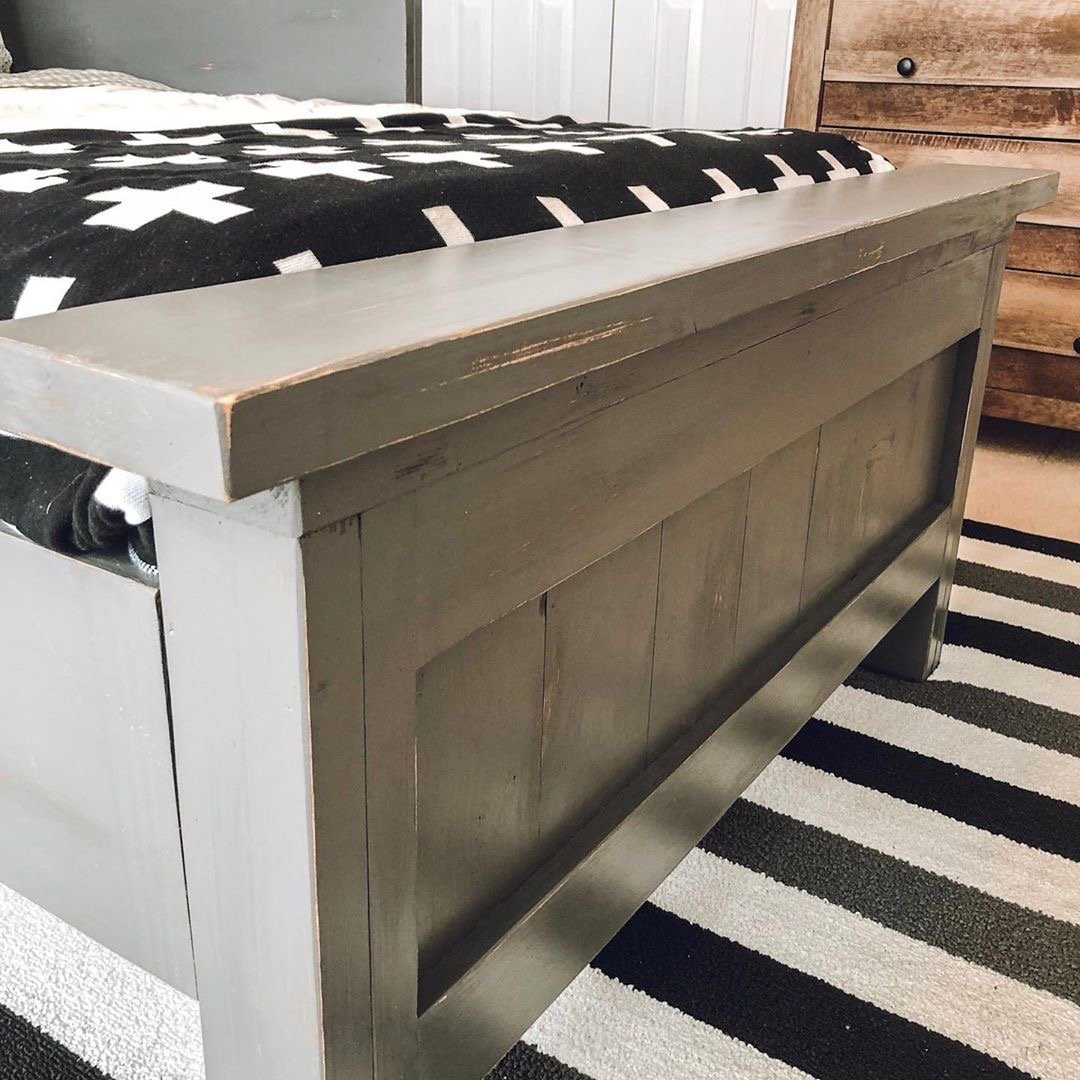
I finished with BEHR Premium Weatherproofing Wood Stain - Semi-Transparent, Drift Gray.
Two light coats. Used a synthetic brush for the first coat, then I lightly sanded w/220 grit and applied second coat the following day with a pad.
I'm not sure if this was the right way to go. I wanted something that would hold up to the elements, but have read several reviews about peeling etc. after I already applied it. I guess we'll see.
Recommended Skill Level
Beginner


Comments
CSaintD
Tue, 11/04/2014 - 08:47
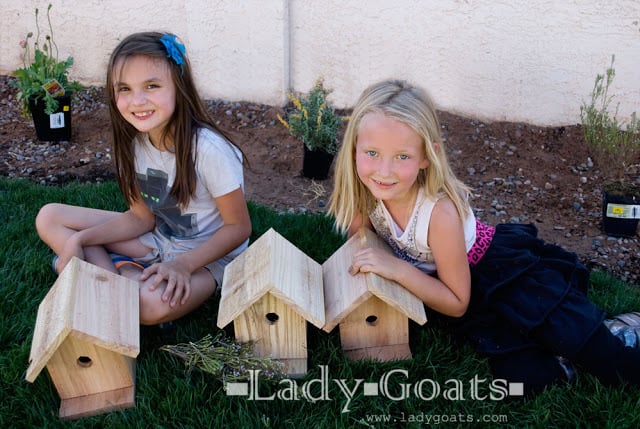
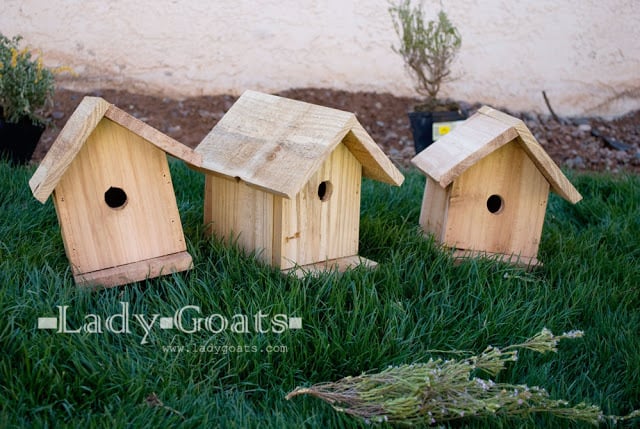
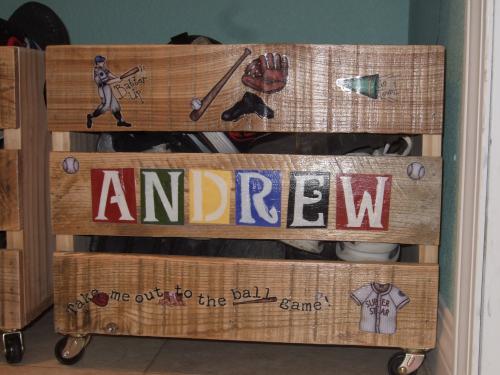
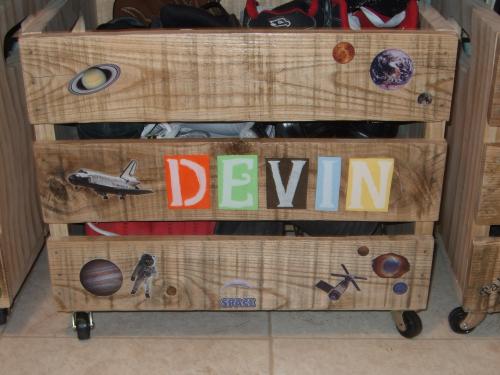
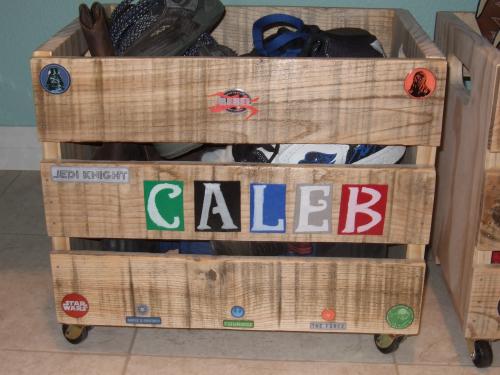
Very nice toy boxes
Such a sweet gift - made with love I can tell. Great job!