Community Brag Posts

DIY Easy Raised Planter

Submitted by Anonymous (not verified) on Mon, 09/11/2023 - 12:57

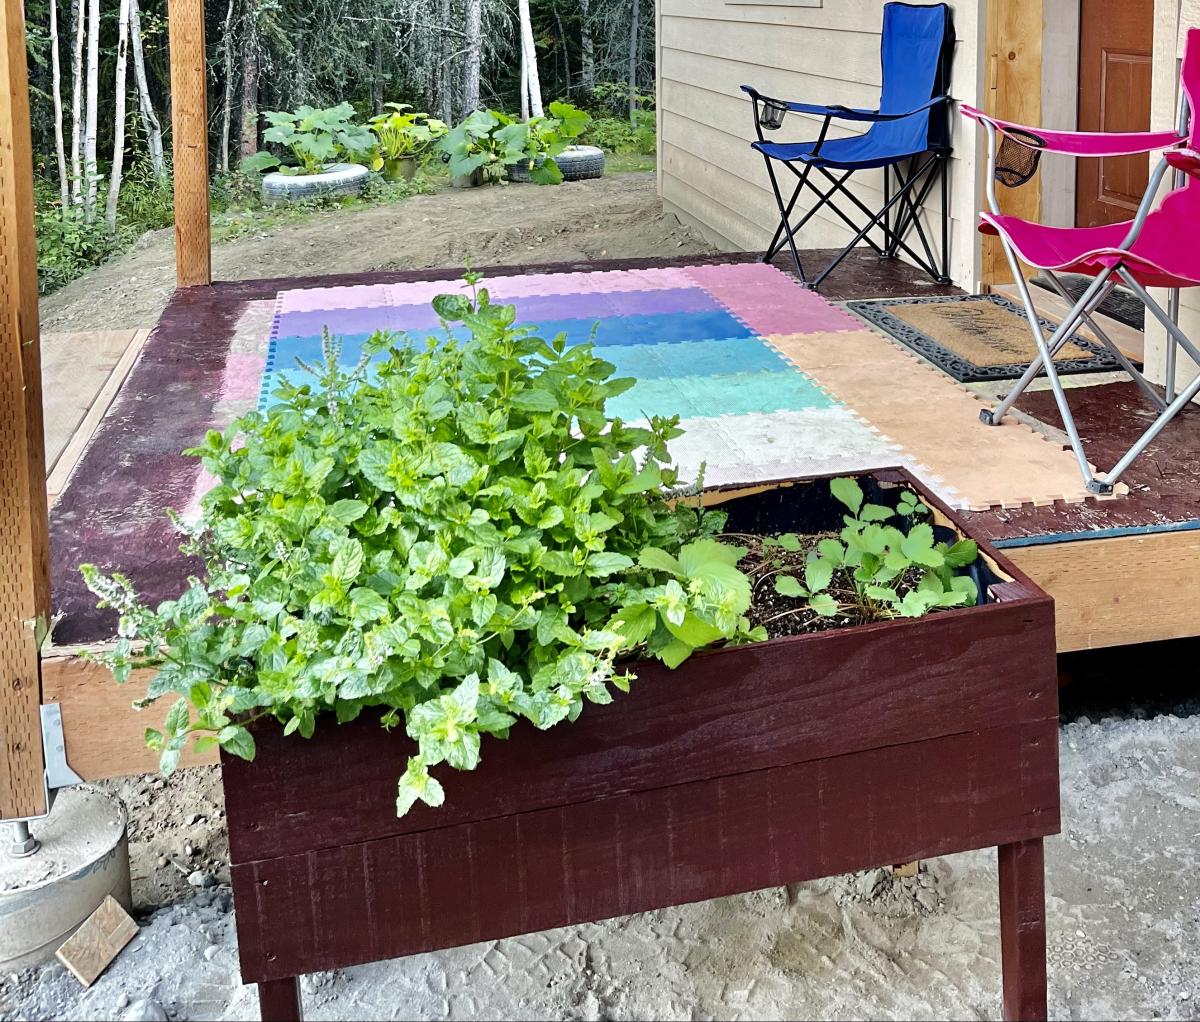
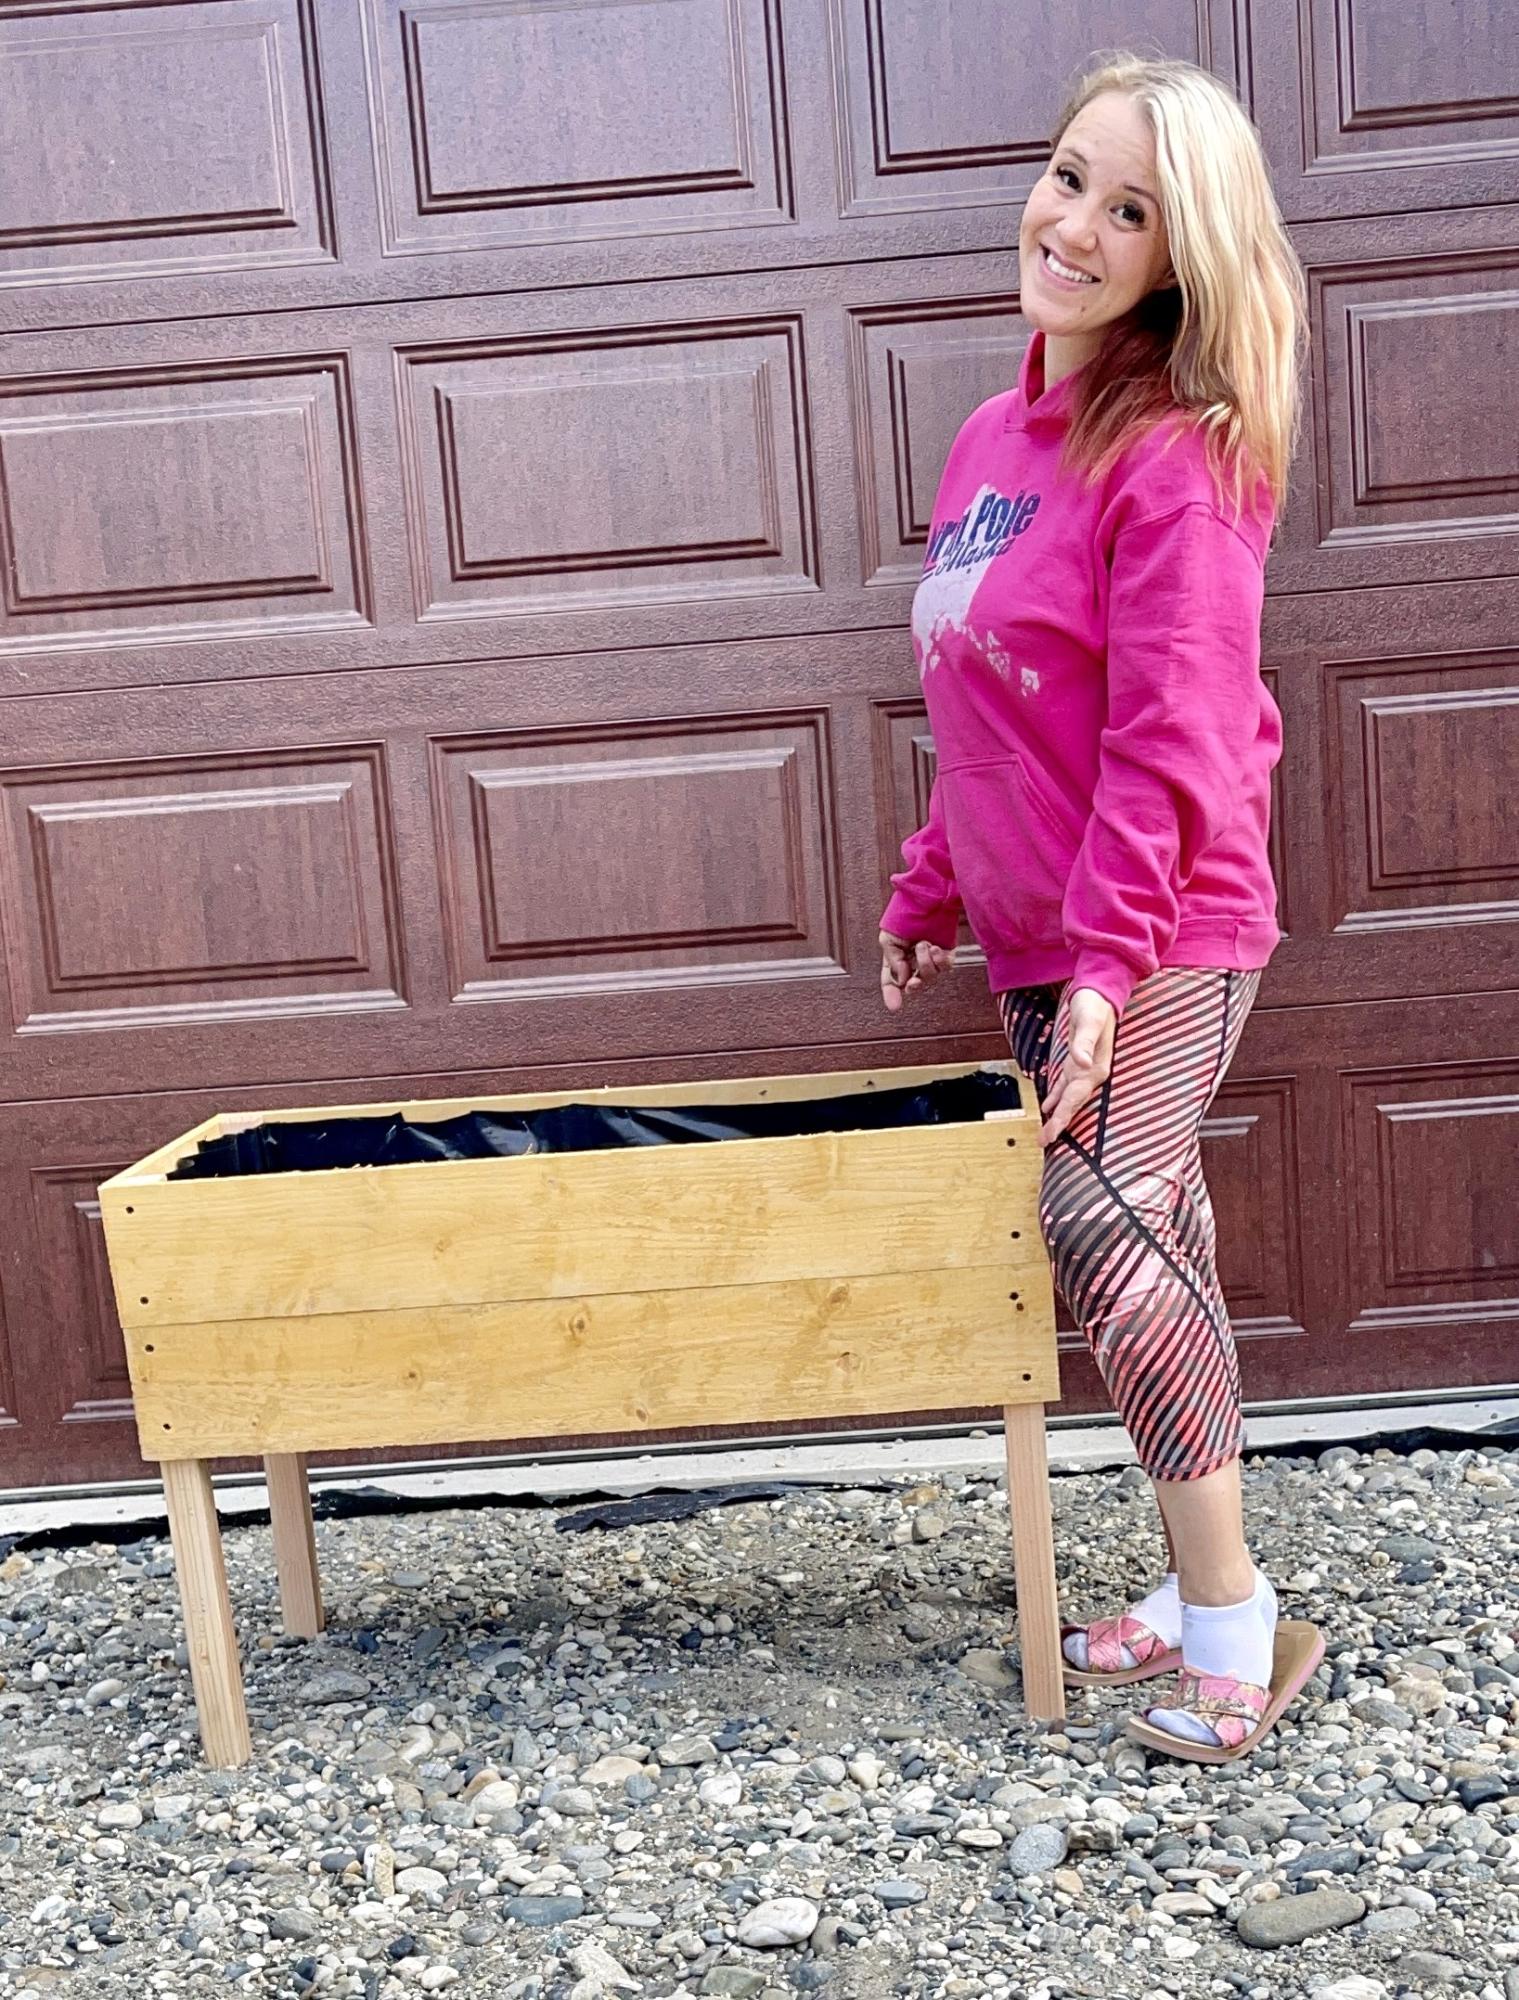
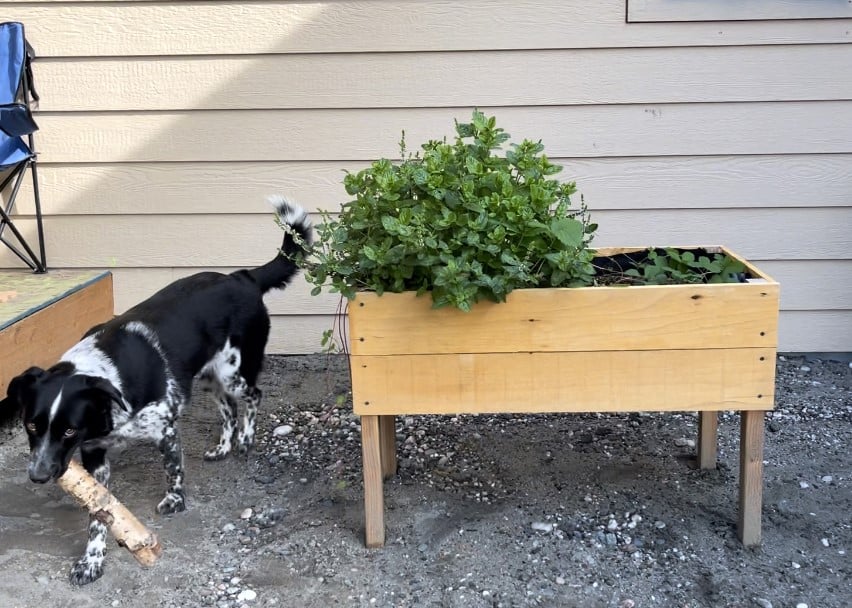
This was my first ever Ana White project!!! I’ve never built anything and really needed a planter for my front door. I loved the size of these and how easy they were to put together. The plans are detailed and easy to follow. I plan to build identical ones next spring for my front yard 😍

Anna Ovchinnikov

Built from Plan(s)

Kids Modern Picnic Table

Submitted by abbpim on Mon, 04/16/2012 - 09:52

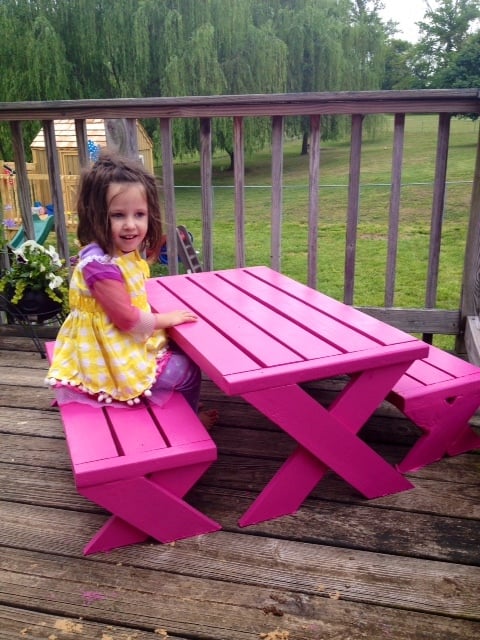
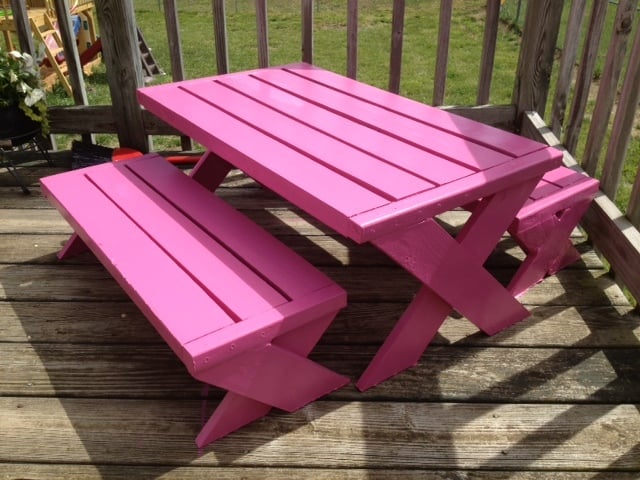
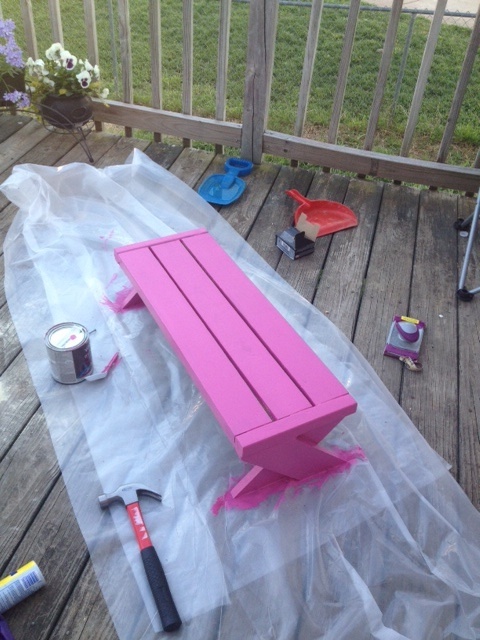
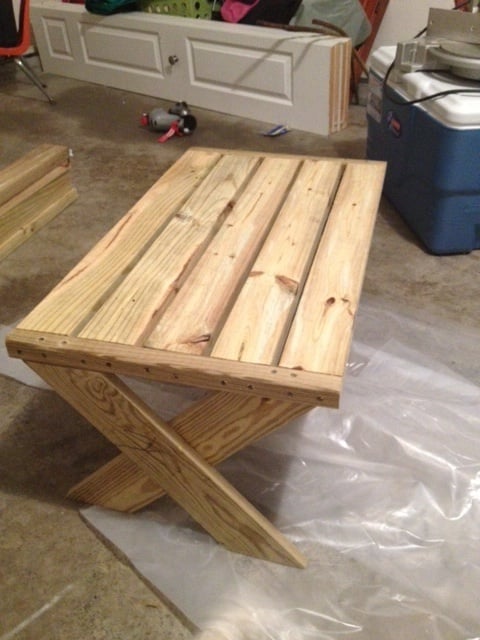
This is my very first wood working project! I know its not perfect and I learned from my mistakes. I found a miter saw at a garage sale and after three hours of plugging it in and unplugging it, I finally worked up the courage to make it make a noise! Then I eventually worked up the courage to cut wood lol! I'm pretty proud of myself for building something and I am going to continue practicing until I can make really cool stuff!

Estimated Cost
$20
Estimated Time Investment
Afternoon Project (3-6 Hours)
Finish Used
Valspar, Quart Size, LA218, Fuchsia, Duramax, Exterior Semigloss, Base 4 214-4.75, 113-31.75, 105-3.63, 115-2Y7

I used 2 coats
Recommended Skill Level
Starter Project

Modern Dresser

Submitted by Anonymous (not verified) on Fri, 09/22/2023 - 07:47

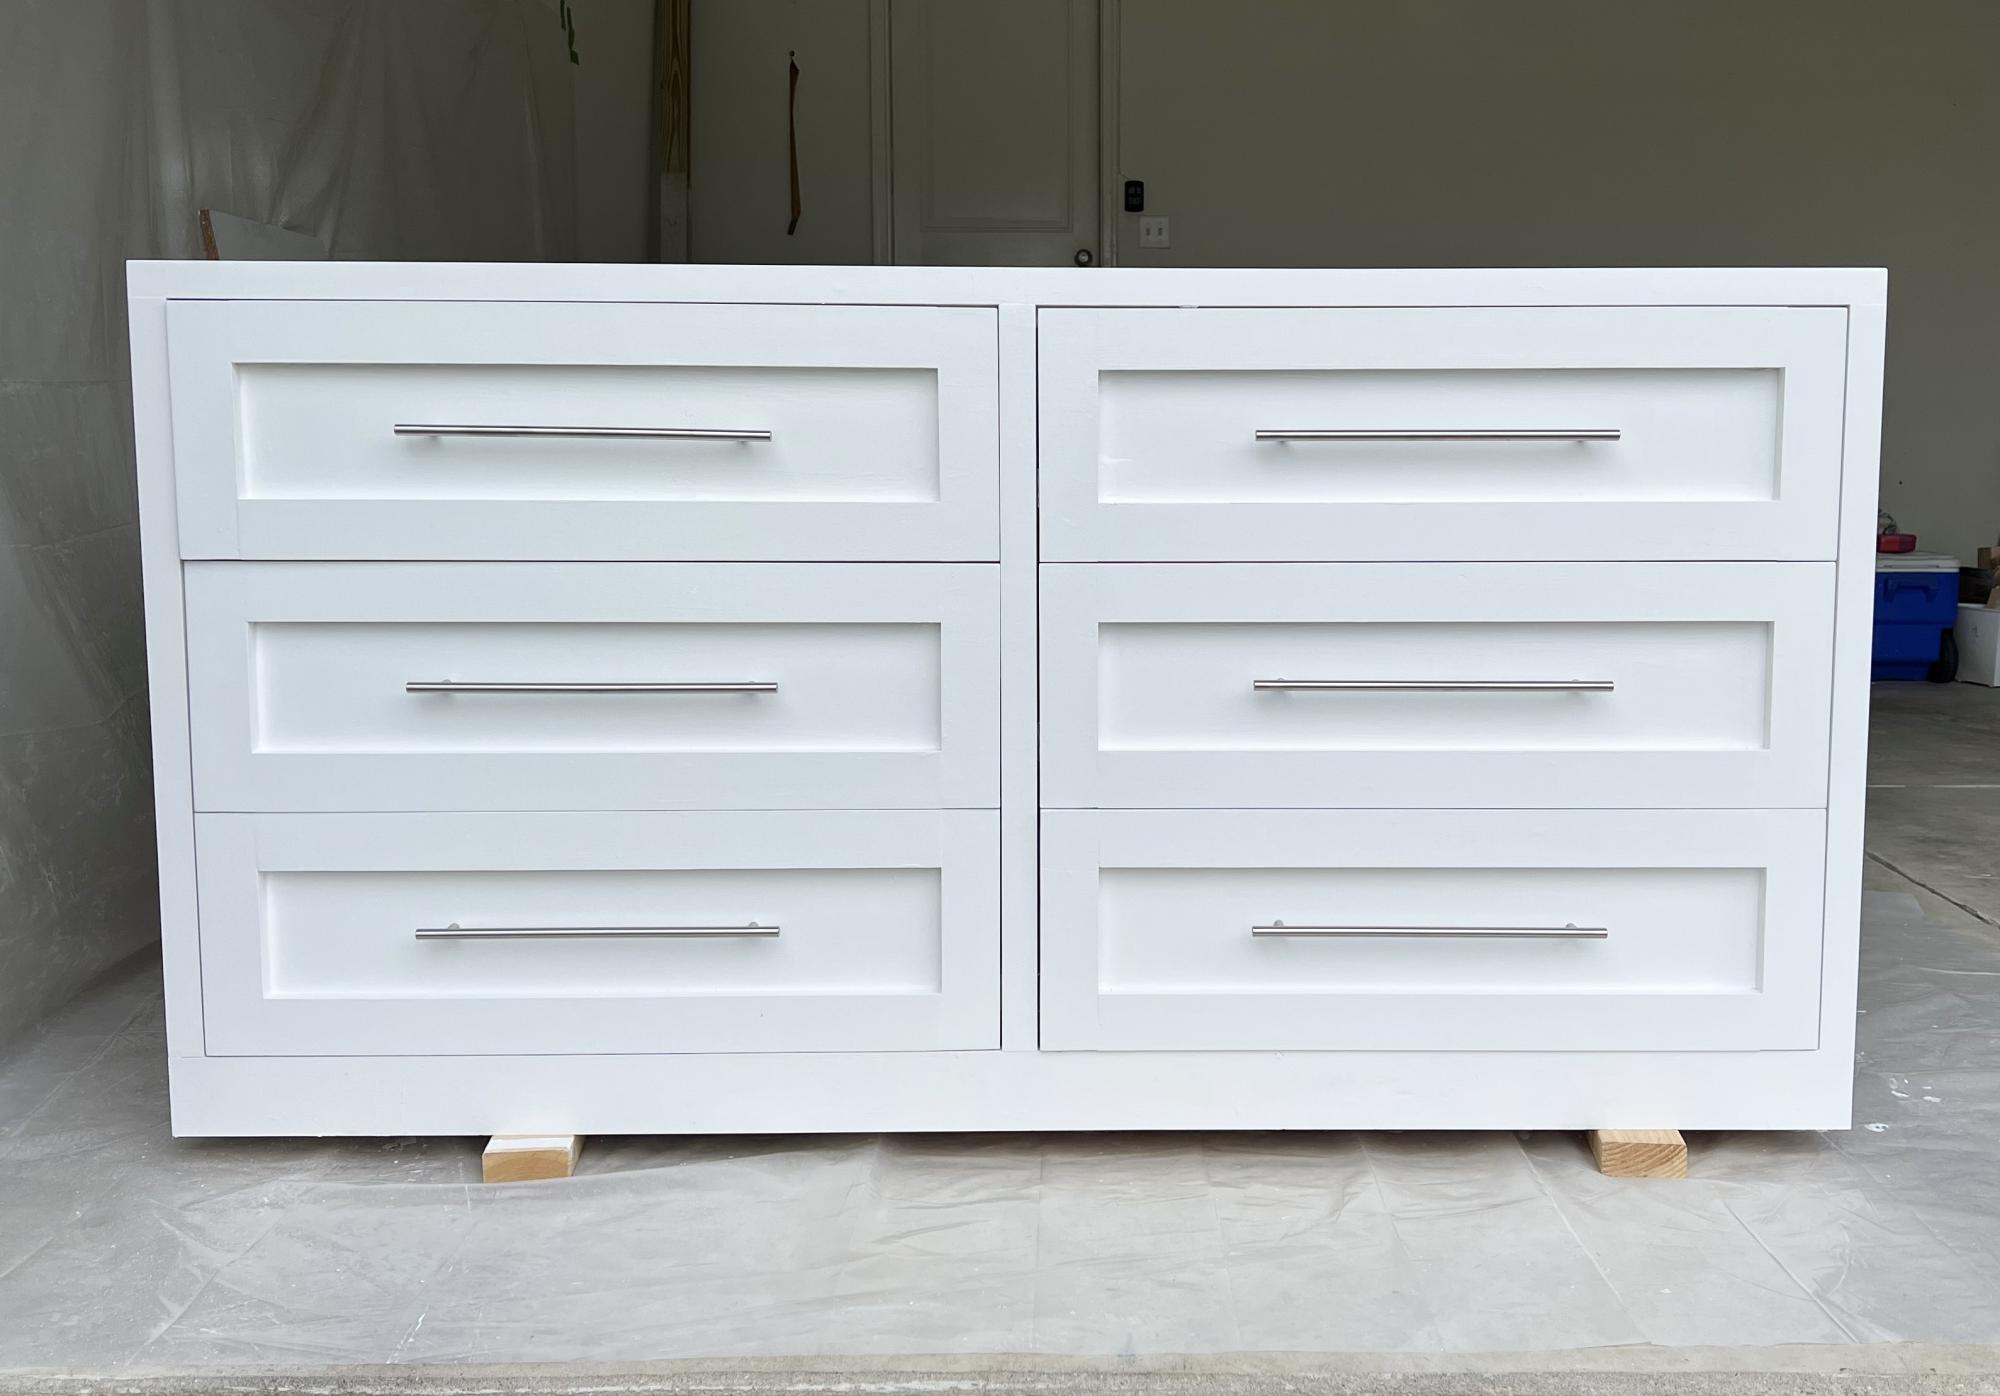
72 by 36 by 24 dresser with 6 heavy duty drawers.

Rasik

Built from Plan(s)

Comments

Three-Legged Stool

Submitted by Anonymous (not verified) on Mon, 05/09/2016 - 13:25

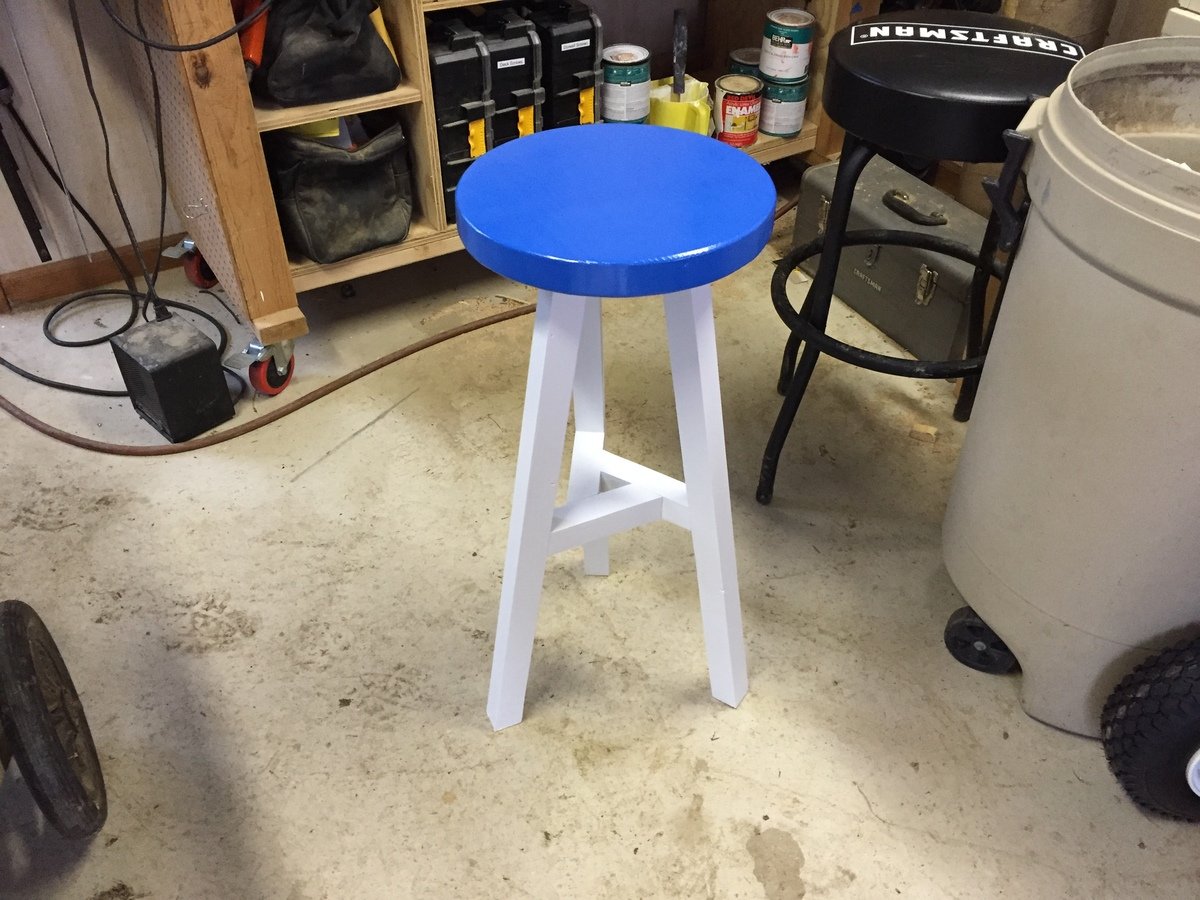
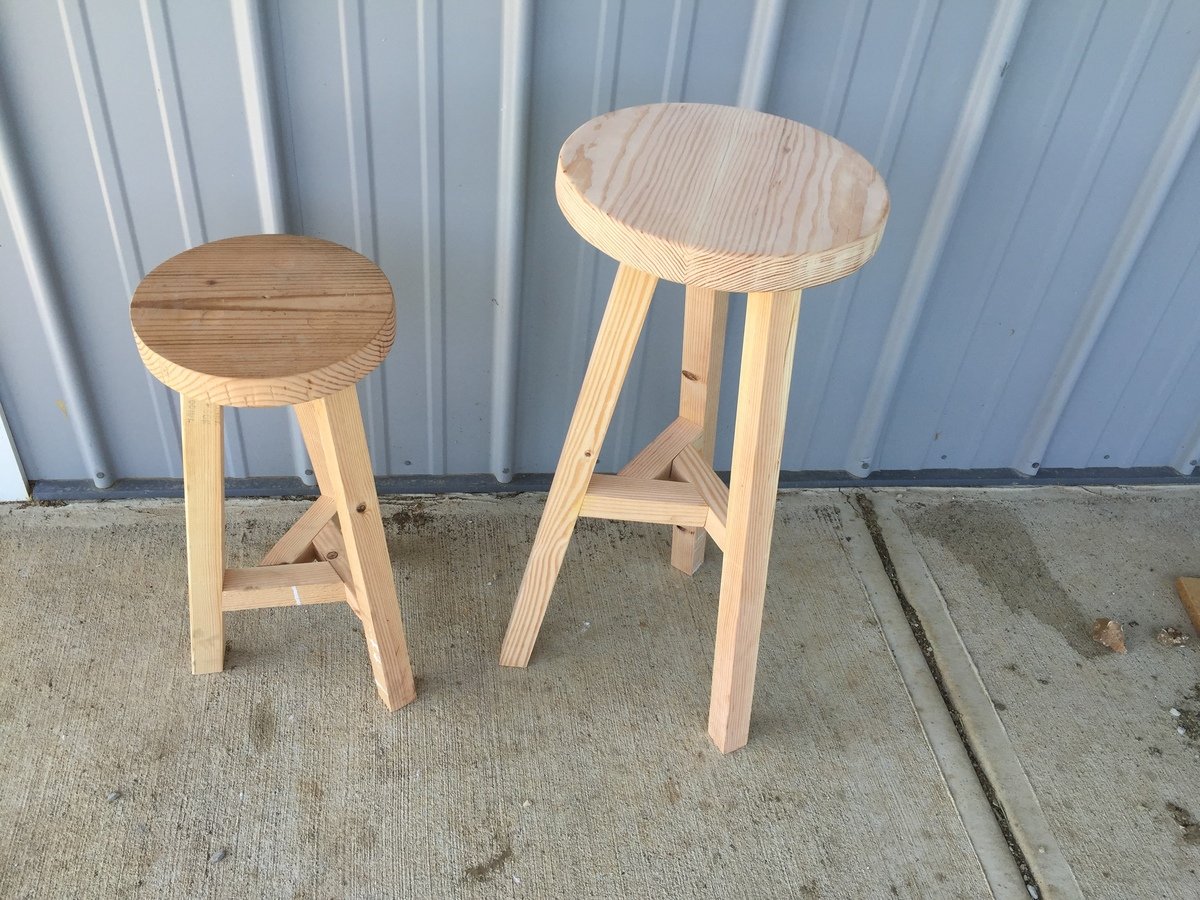
My 13-year-old daughter asked me about making a stool, with the main requirement being it had to have a round seat.  So I turned to this ana-white.com to see if I could find something that we could do and found the plans for the three-legged stool. The first one we made with the dimensions specified in the plans but she thought it was too short.  So we made another one with longer legs and a larger diameter seat.

Estimated Cost
$4. The lumber was scrap and the white paint was leftover. We only bought the blue paint.
Estimated Time Investment
Afternoon Project (3-6 Hours)
Finish Used
Rustoleum Painter's Touch
Recommended Skill Level
Beginner

DIY Wood Shed

Submitted by Anonymous (not verified) on Sun, 10/29/2023 - 19:18

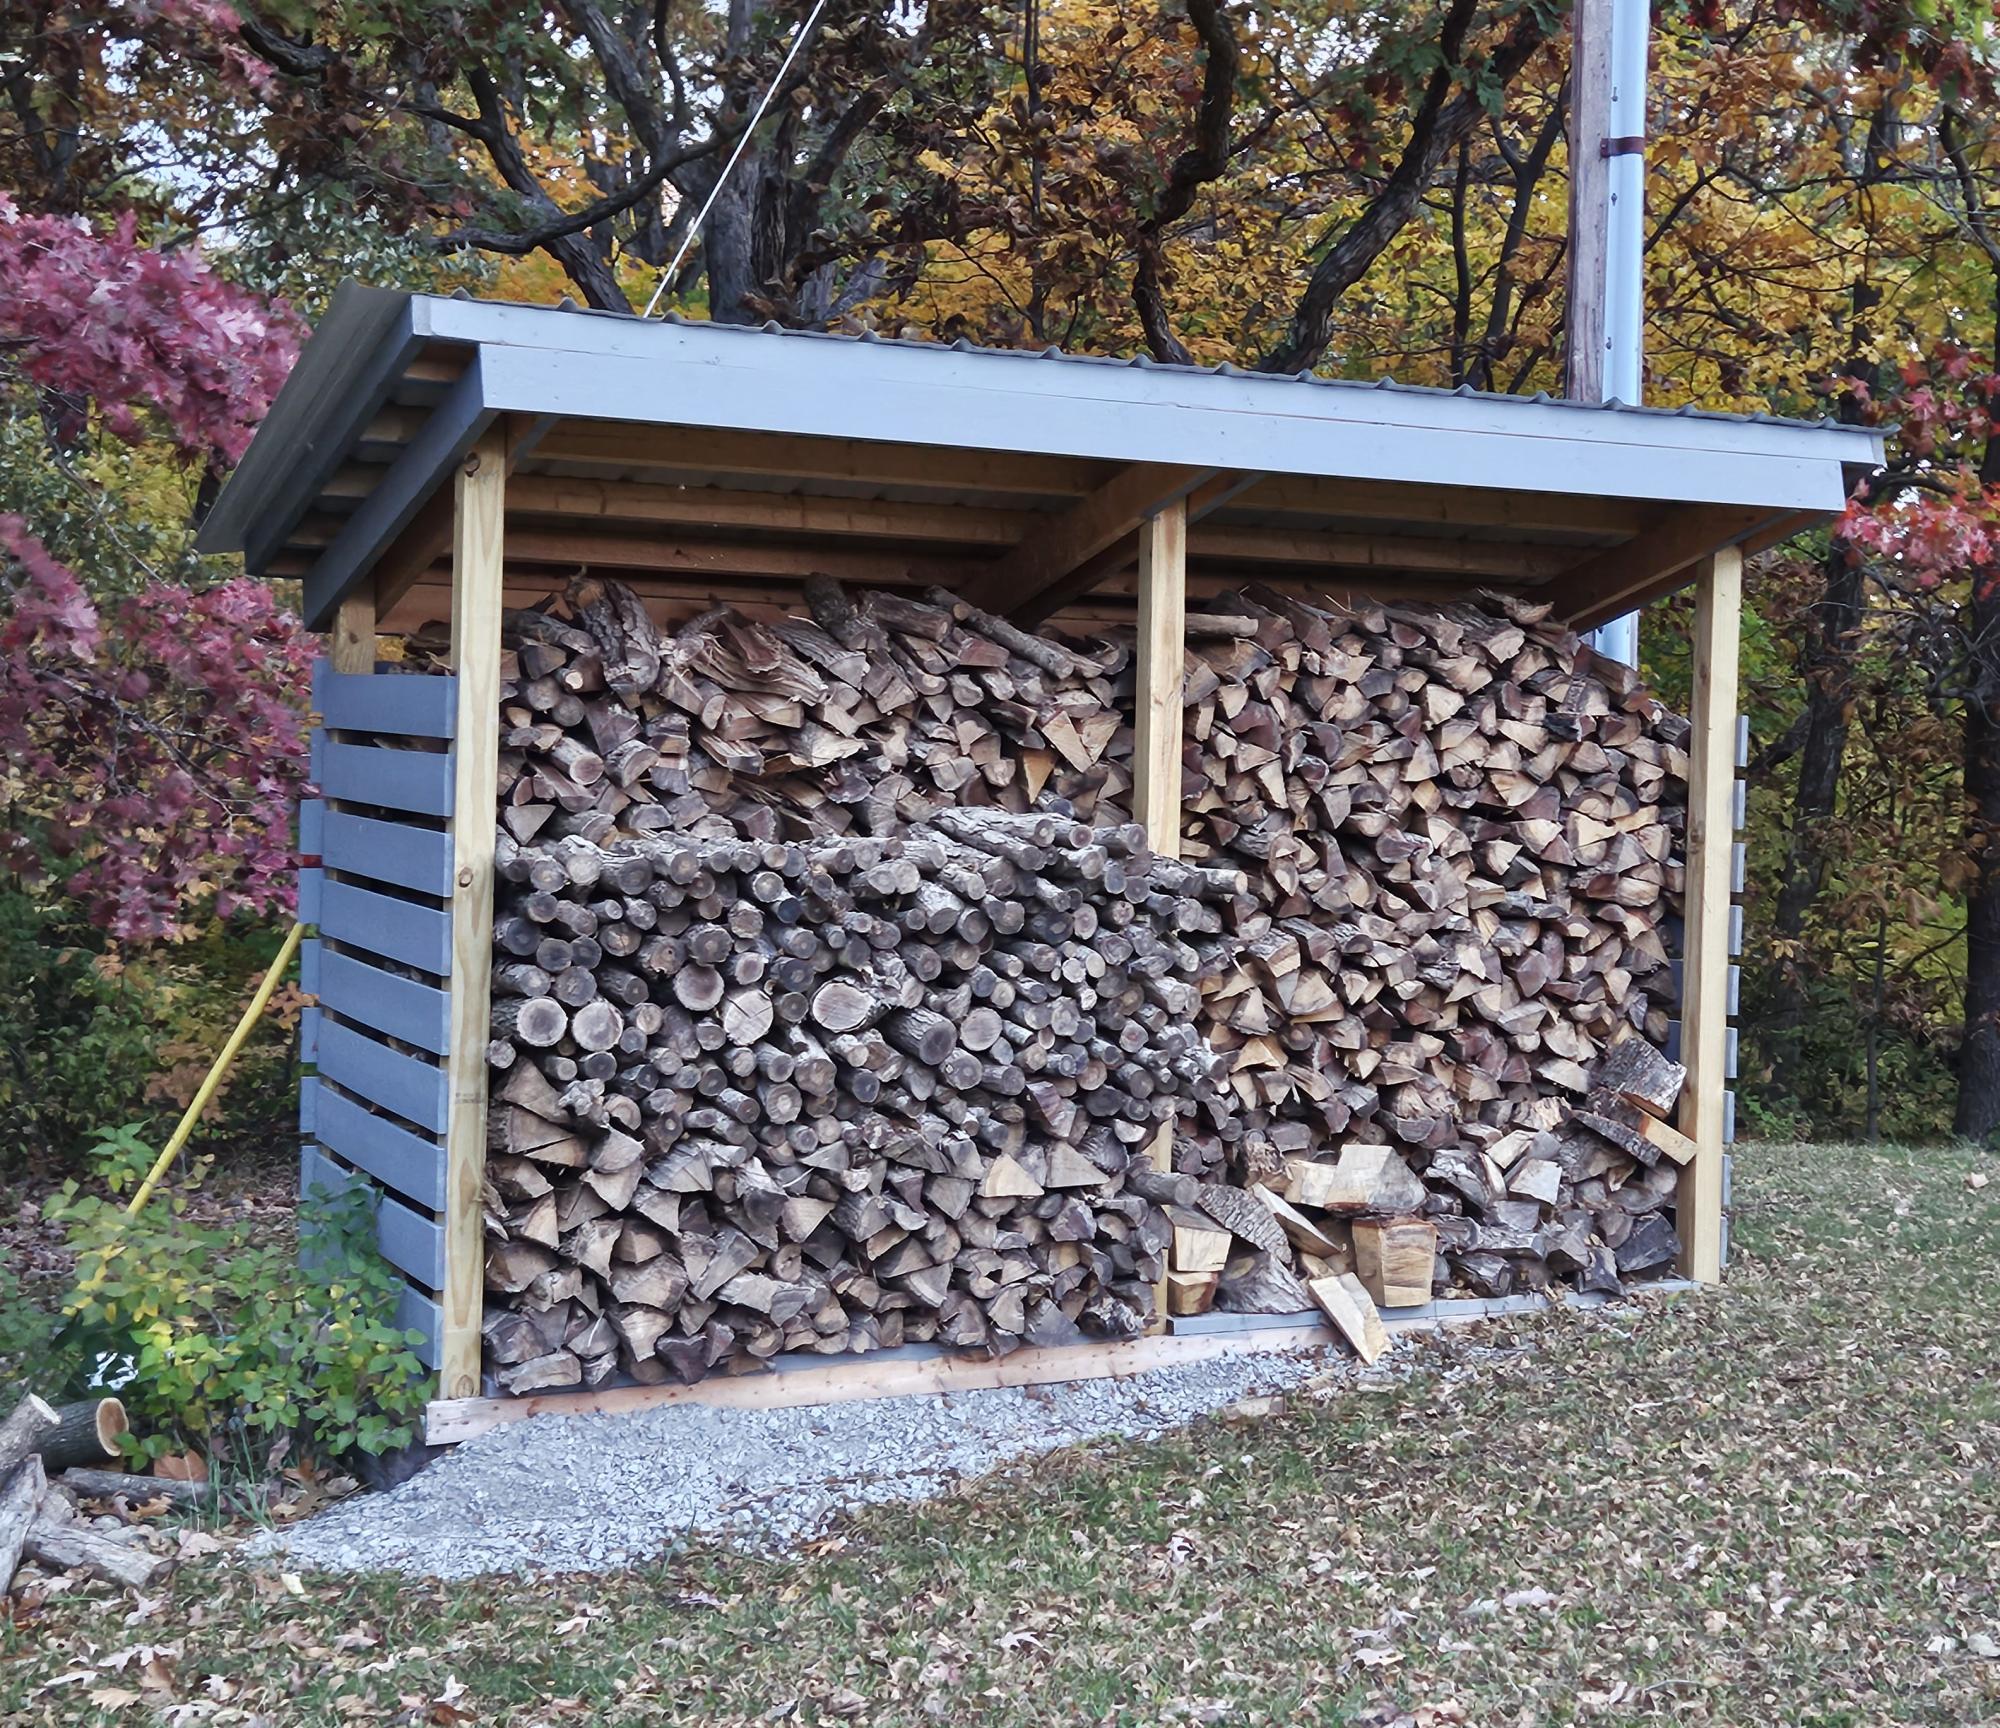
I am a mathematics teacher in Central IL. I teach a class called Geometry in Construction. I had my math students build this wood shed in pieces at the school, then I brought it home and put it together with a few of my son's friends. The students enjoy a math class that gets to go to the wood shop to apply their math skills to a wood working project. I am proud of my students hard work and dedication.

Shari Bruyn (I'm old, so I do not have Instagram or a blog page. lol)

Built from Plan(s)

Workbench

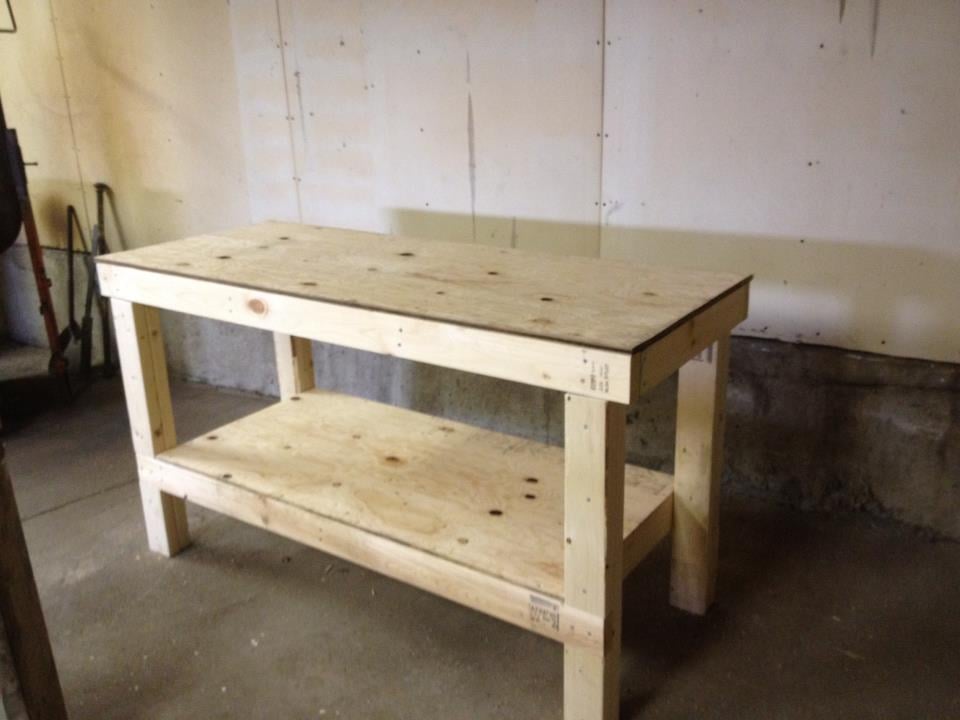
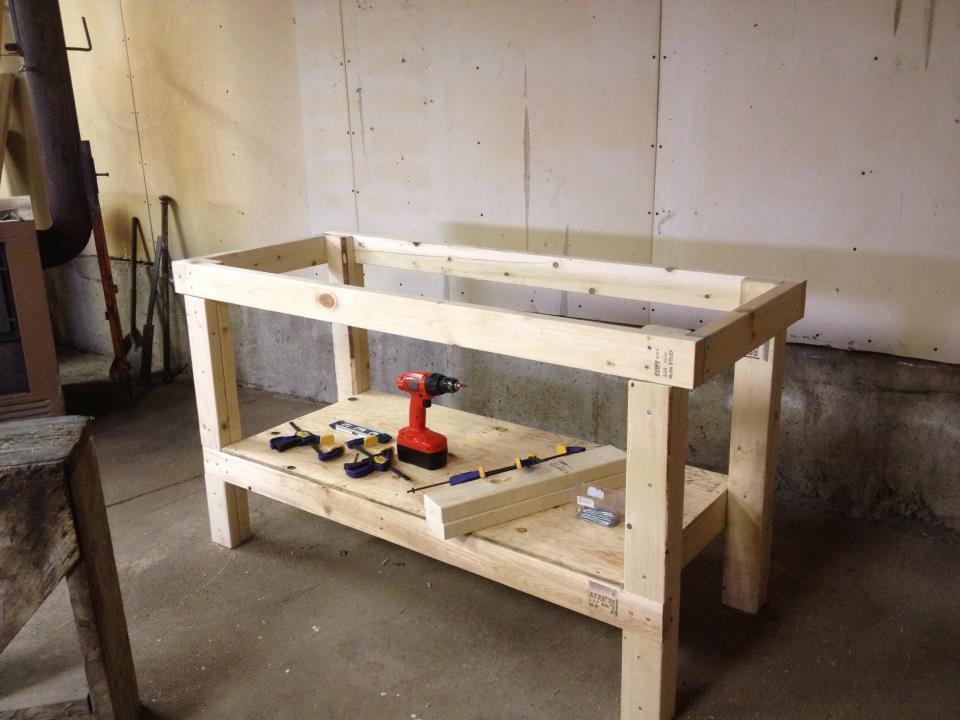
Easy to build! Took about 3 hours!

Built from Plan(s)
Estimated Cost
$75
Estimated Time Investment
Afternoon Project (3-6 Hours)
Finish Used
Floor Verathane
Recommended Skill Level
Beginner

Comments

deannaf

Sat, 05/19/2012 - 05:15

This is fantastic, just what I need to build. Would you mind sharing some measurements such as height, width and depth.

"Thomas" Train Bunk Bed

We wanted a short bunk bed for our sons, age 4 and 1. Our 4-year-old insisted on a Thomas Train bed. We modified the fort bed plans slightly to add stronger barriers on the top bunk and add a barrier on the bottom for the little guy. We also used solid plywood rather than MDF. We used 2x4's and steel angle to hold up the top bunk. It should be sturdy enough for them to use into teenage years. Because we beefed up the strength, the cost increased as well.

We tried staining it and it didn't come out as nicely as we had hoped, but the boys added their own stickers to it and now they have a Thomas bed that they love. When the 1-year-old gets older, we will probably remove the barrier on the bottom bunk to make getting in and out easier.

Built from Plan(s)
Estimated Cost
$200
Estimated Time Investment
Weekend Project (10-20 Hours)
Recommended Skill Level
Beginner

DIY Children's Picnic Table

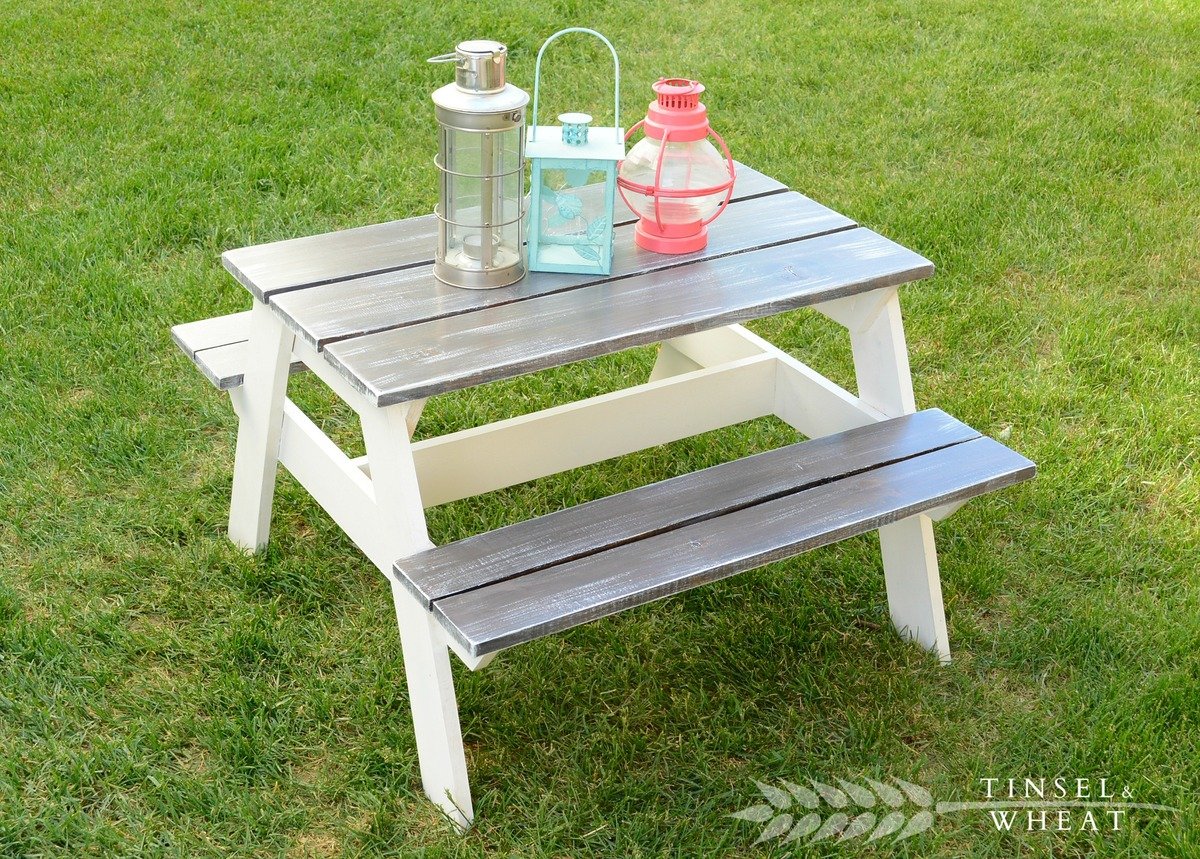
My first truly functional build! I love how it turned out, but even more importantly my kids are loving it - we are literally using it for every possible meal and snack right now. Perfect summer project, and bonus - we get to keep all the eating messes outside! 


Built from Plan(s)
Estimated Cost
$22.50
Estimated Time Investment
Afternoon Project (3-6 Hours)
Finish Used
For the first table I sued a combination of stains.. Minwax Jacobean and Weathered Grey with a white latex paint wash. White semi gloss Behr for the legs and bottom half of table.
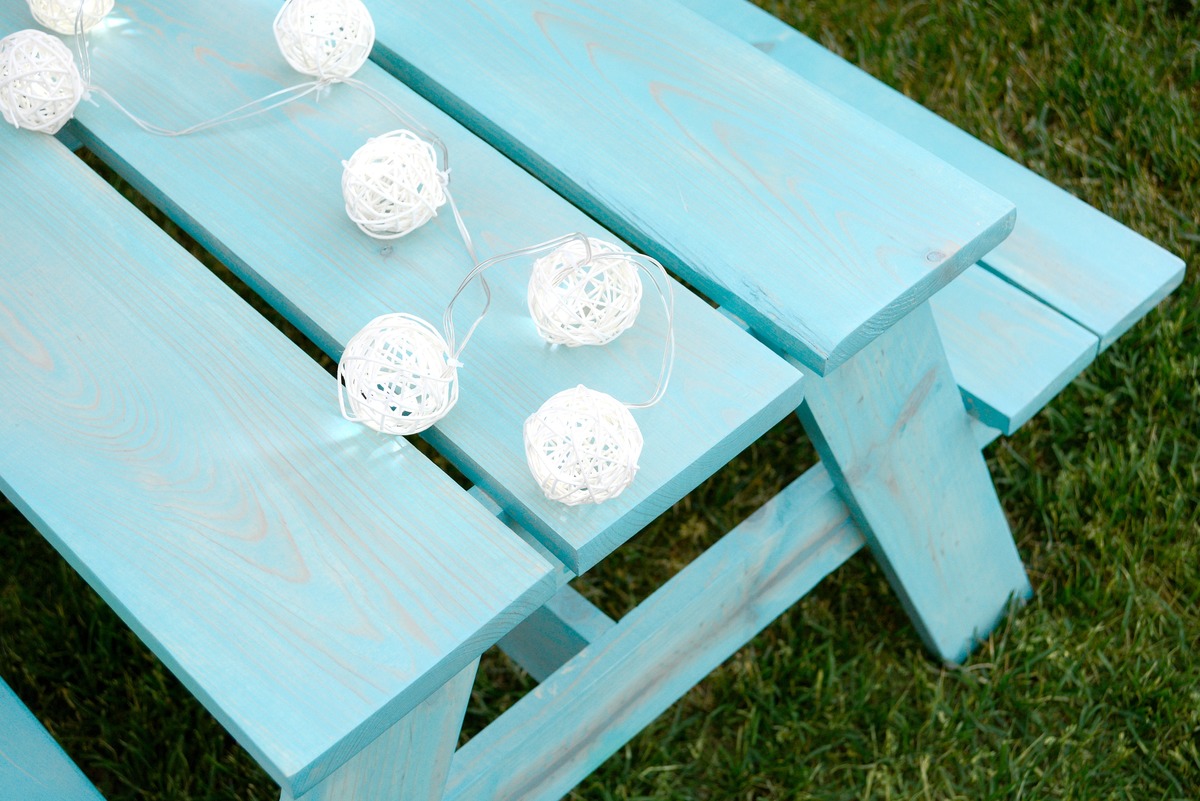
Second table I used Varathane's Vintage Aqua and I sealed both tables with 4 coats of Varathane's SPAR- Urethane.
Recommended Skill Level
Beginner

Potting bench -> coffee bqr

Submitted by Anonymous (not verified) on Mon, 04/27/2020 - 20:34

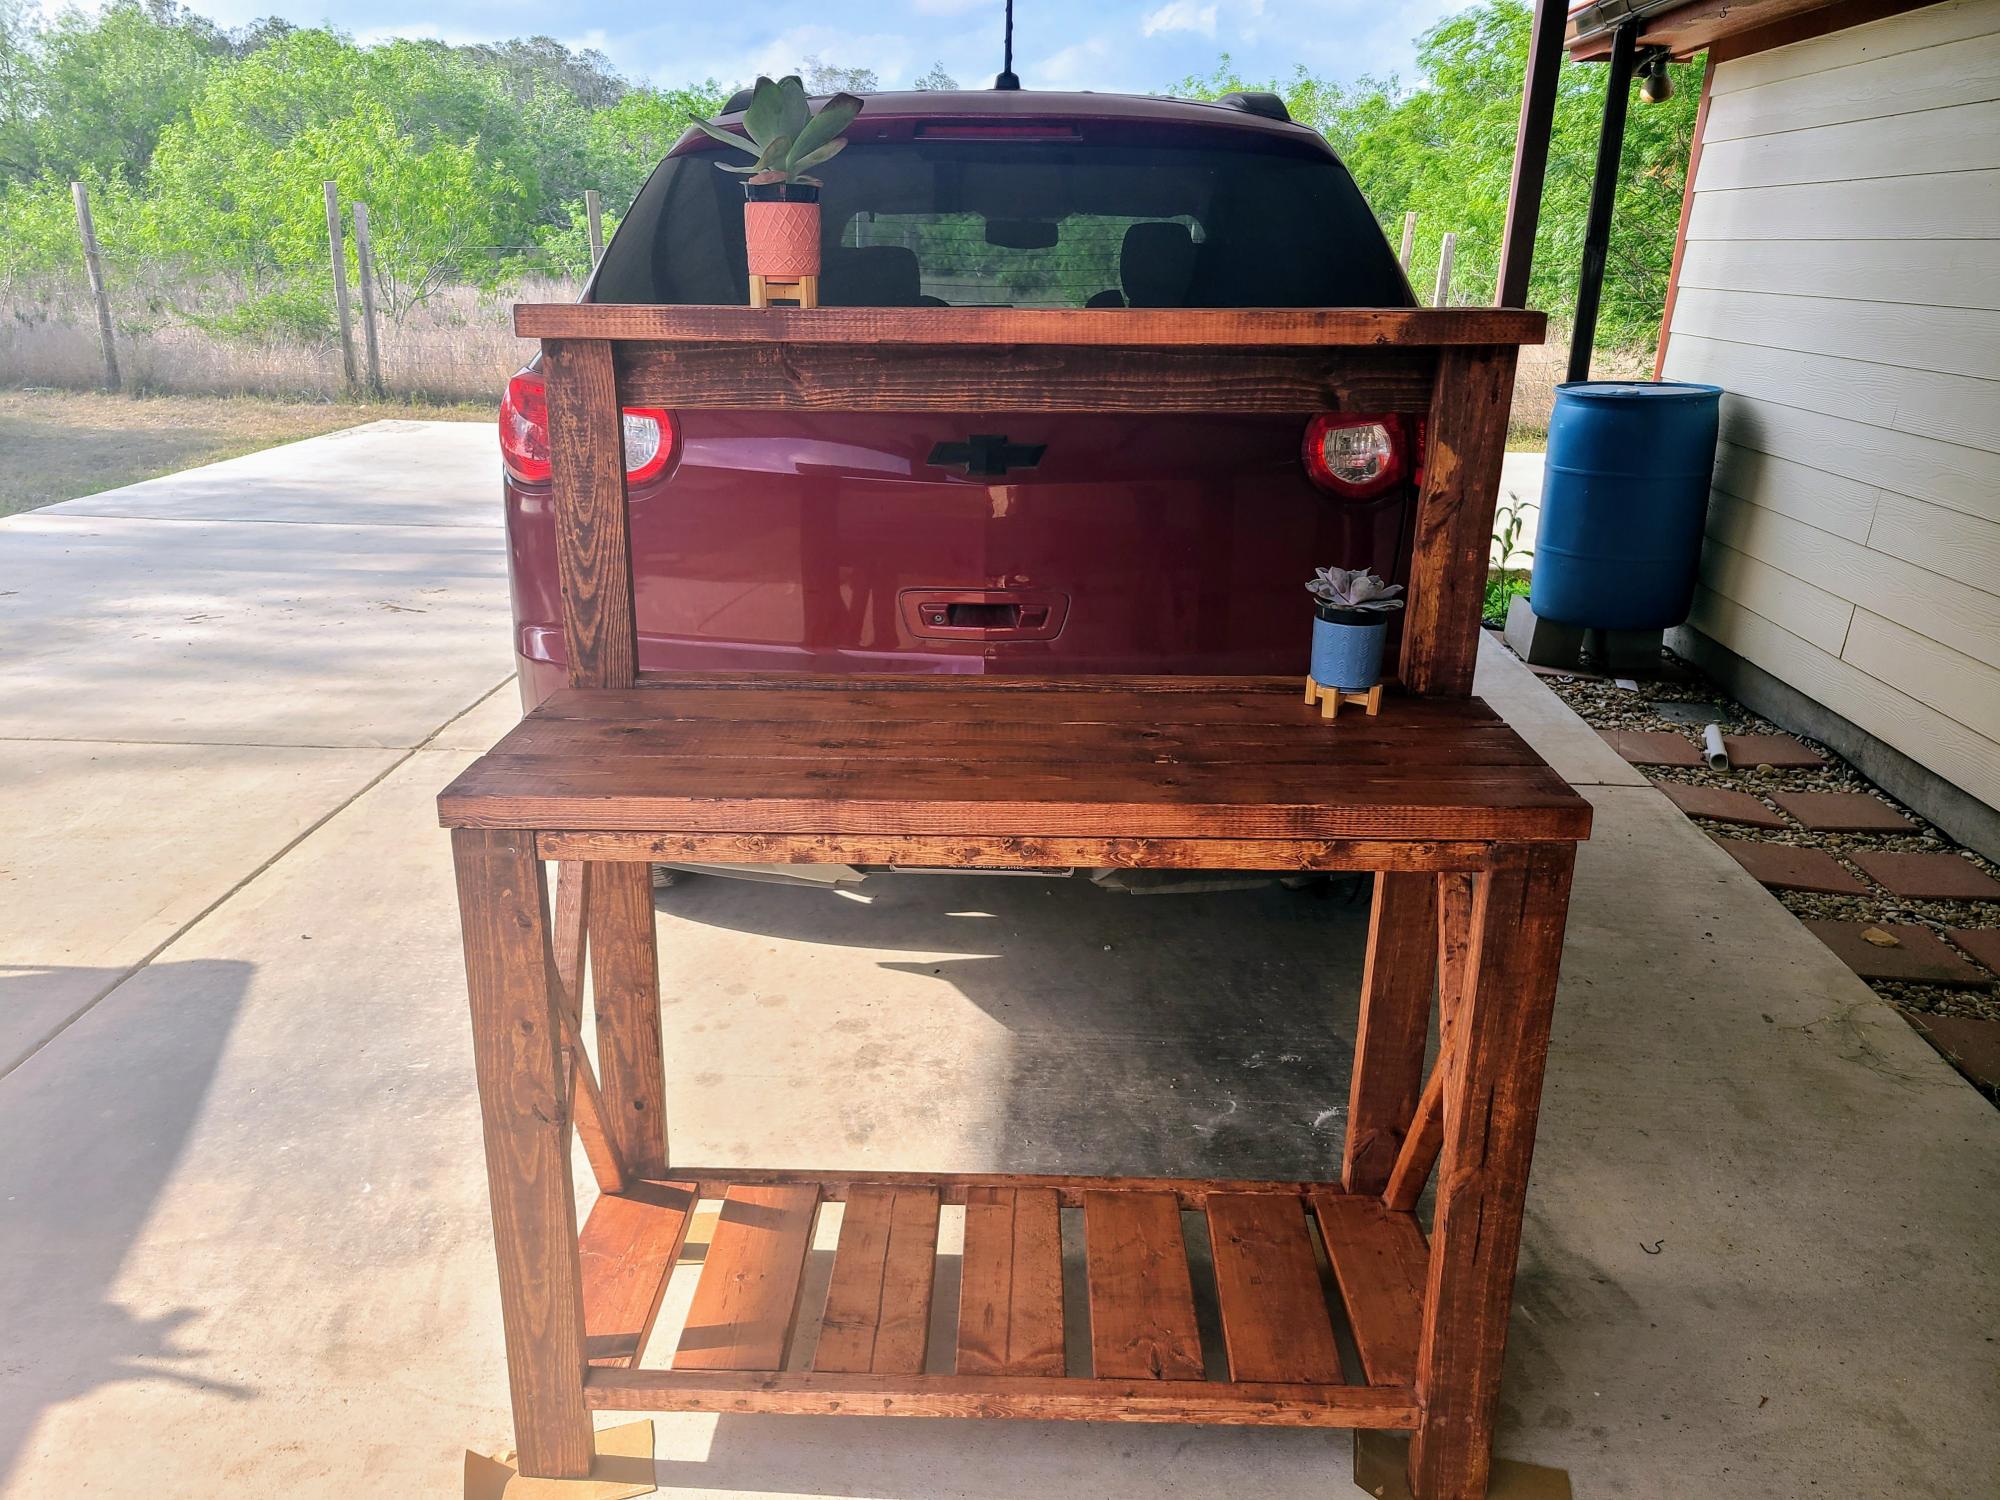
My husband and I decided to turn this potting bench into an indoor coffee bar. Great project for first timers, like myself. 😊

Built from Plan(s)
Estimated Time Investment
Weekend Project (10-20 Hours)
Recommended Skill Level
Beginner

Slat Bench

Cost: $45
Made this bench smaller than the plan so it measures 48" X 18". Using it in a spare bedroom so it will eventually get stained to match the wood furniture.

Estimated Cost
45
Estimated Time Investment
Afternoon Project (3-6 Hours)
Finish Used
Haven't stained the wood, can't decide on a color.
Recommended Skill Level
Starter Project

Comments

Rapturee

Mon, 12/04/2017 - 09:17

That was my idea as well, to shorten it. My wife just asked me if we could part with a few chairs on the back side of our dining room table and if i would make a bench or two across the back wall. Well "of course" i said hahah!!  Nice job on yours!!   :{)

Perfect Lounge Chairs

Submitted by BJ D on Fri, 07/20/2012 - 08:24

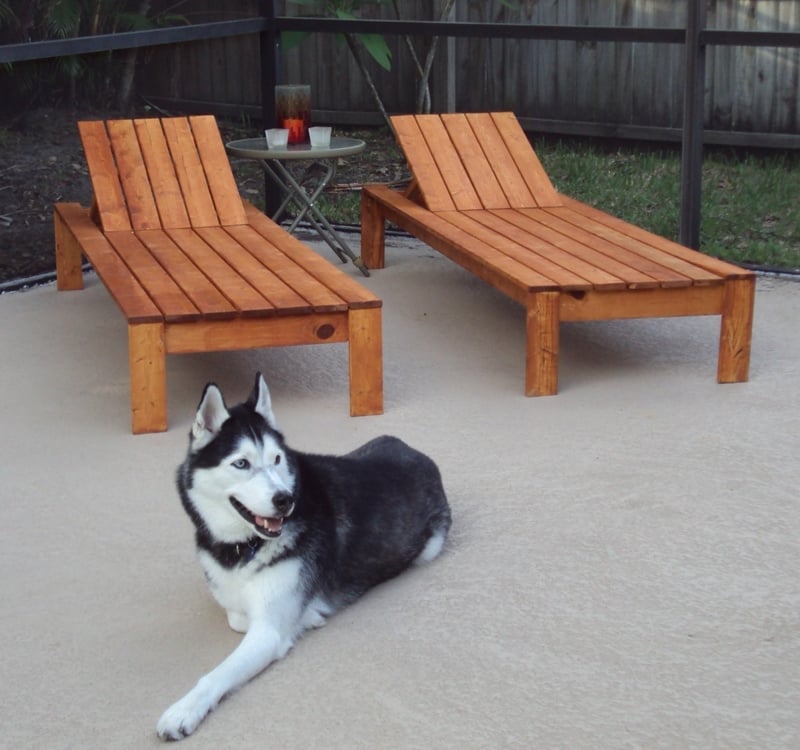
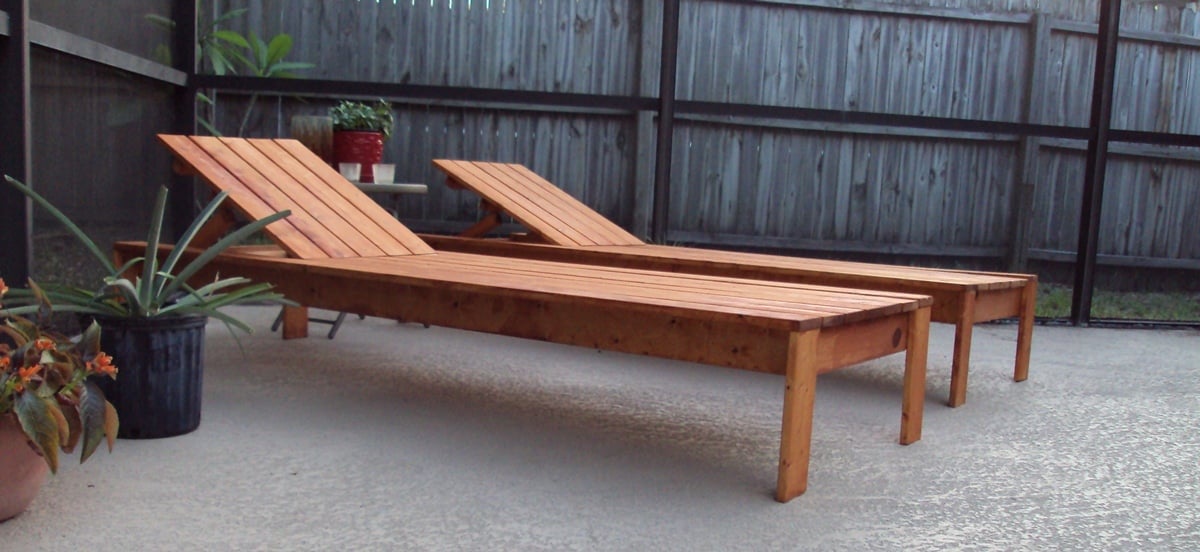
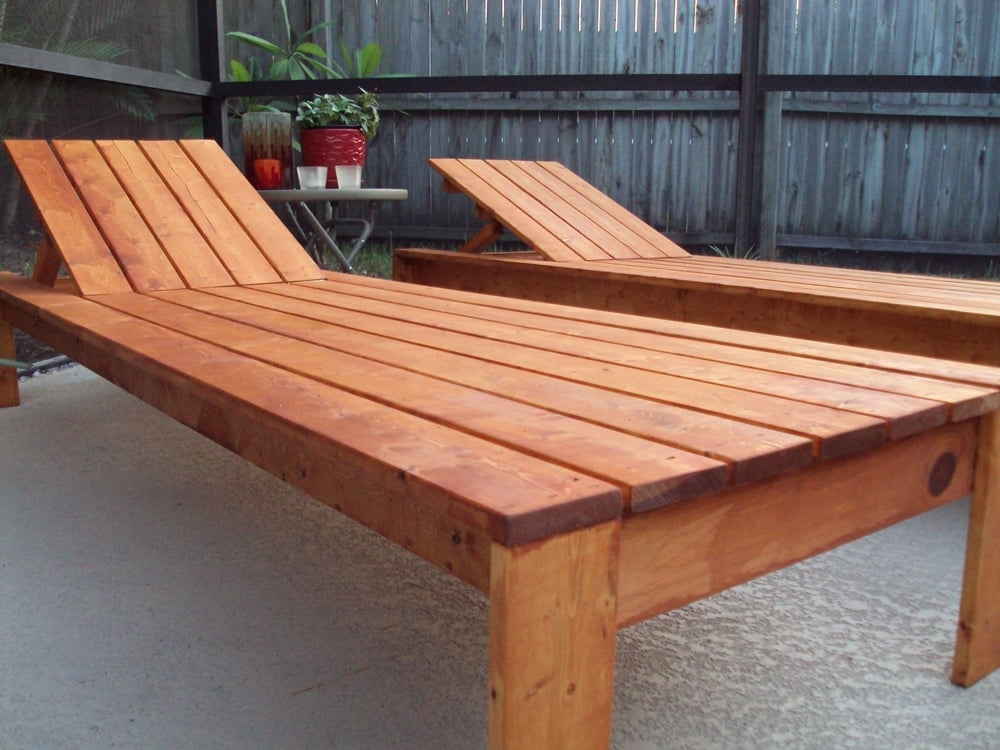
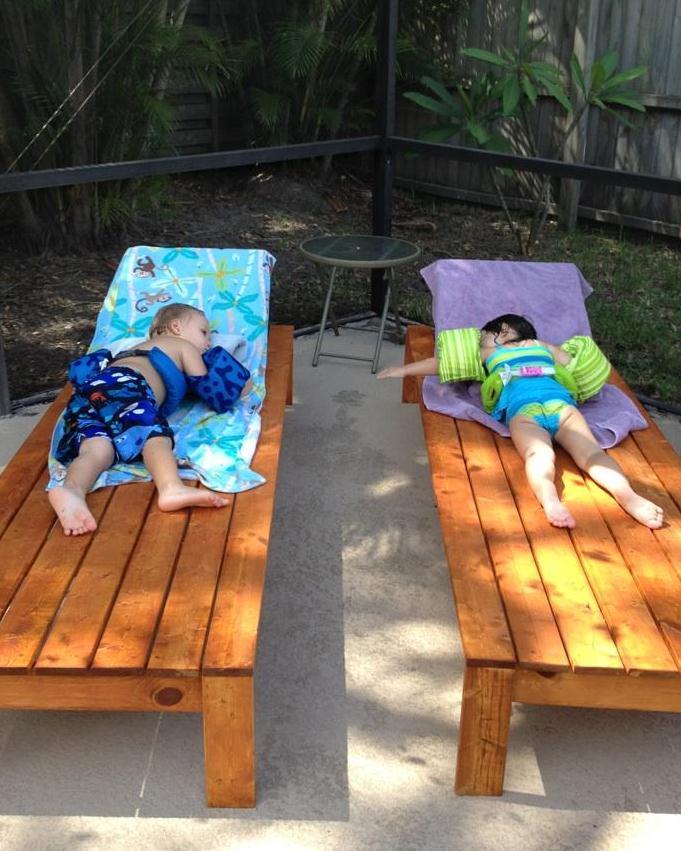
This was a very straightforward and easy build. As soon as they were compled, I wanted a dining table and chairs to coordinate. These chairs were intended to be used without cushins (is there anything better than laying out on a warm lounge chair when stepping out of the pool?) so I recessed the hinge completely below the deck. They were cut adn assembled in two evenings after the little one went to sleep. As you can see, my daughter and her friend approve.

Estimated Cost
$50
Estimated Time Investment
Day Project (6-9 Hours)
Finish Used
Deck sealant.
Recommended Skill Level
Beginner

Comments

BJ D

Fri, 08/03/2012 - 06:04

I ended up adding some additional support under the outsides of the corners. I glued and nailed a small block to the front and back and pocket screwed it to the inside boards for additional strength.

Seasonal And Holiday

Rolling Cart - pallet recovered wood

Submitted by jgrunwaldt on Thu, 08/25/2016 - 19:36

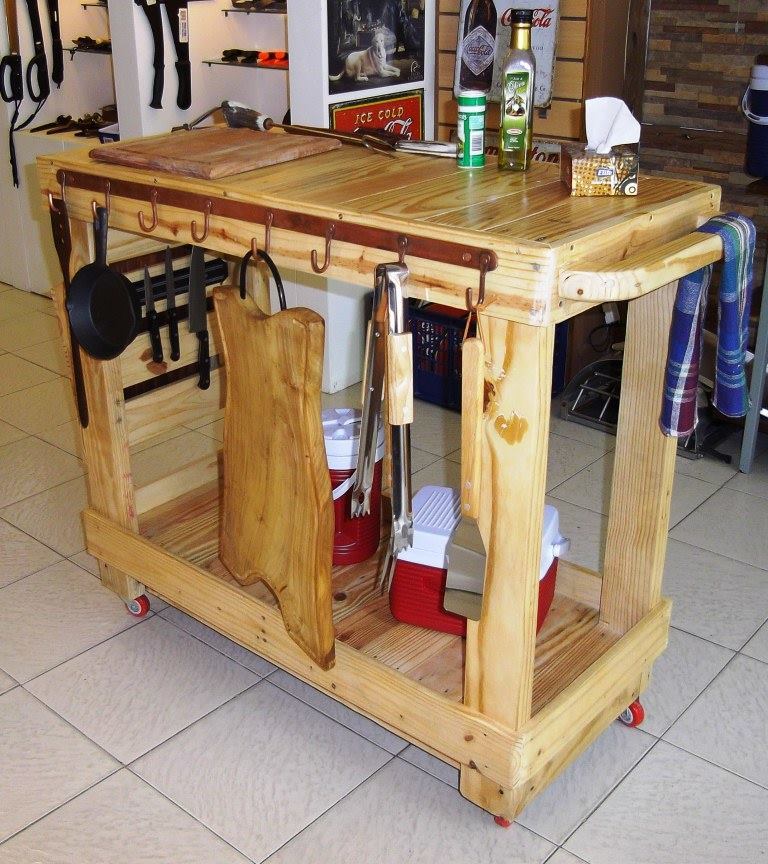
Rolling bar cart made entirely from recovered pallet wood.

Based on original Ana White's plan, I've just added a side pocket and rails on the lower shelf to prevent sliding of items placed on it. 

Later on I made another one for a friend who attached a hanger plate and a magnetic knife holder.

Built from Plan(s)
Estimated Time Investment
Weekend Project (10-20 Hours)
Finish Used
wax
Recommended Skill Level
Intermediate

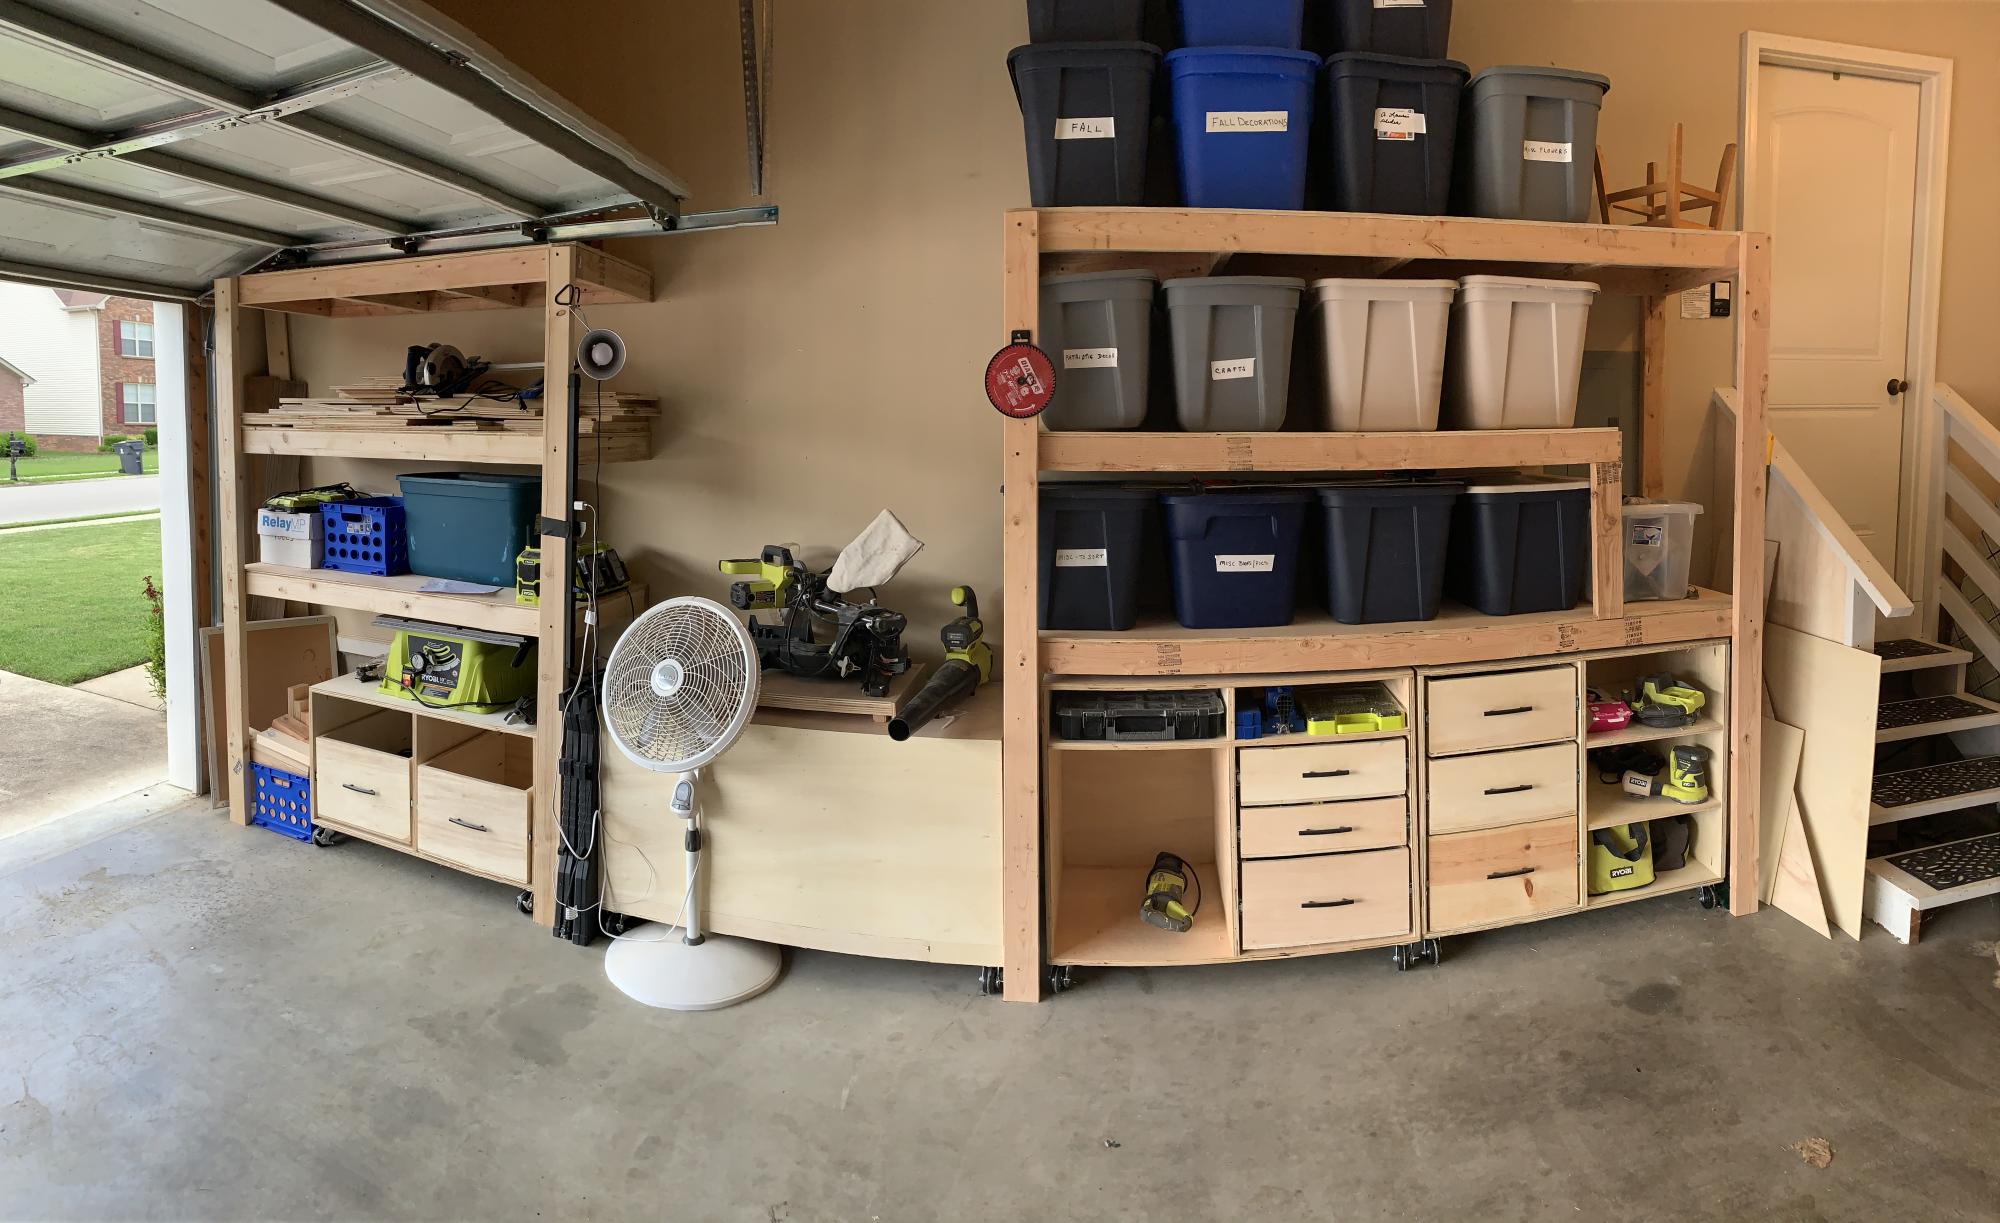
Ryobi Nation workshop and shelves

Submitted by Anonymous (not verified) on Tue, 06/30/2020 - 15:48

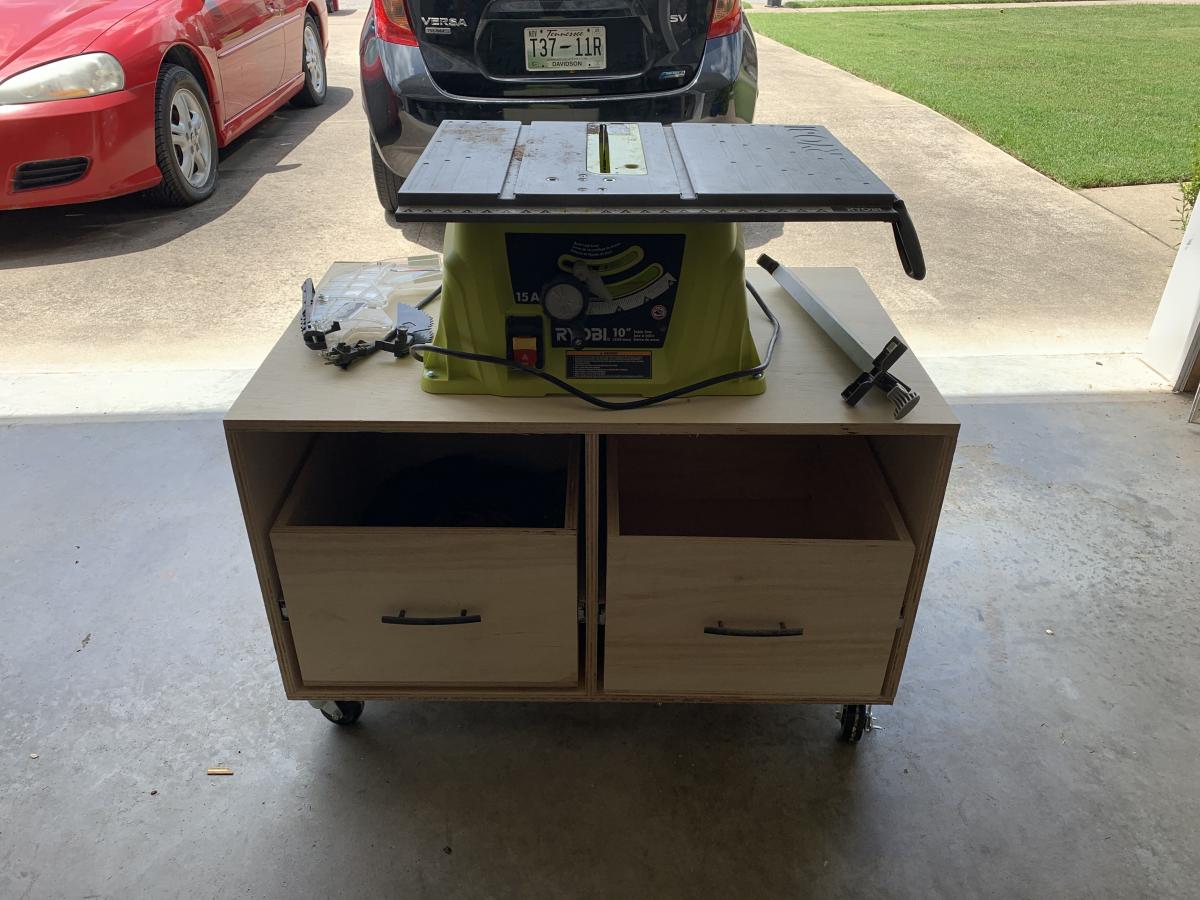
I bought a whole workshop full of Ryobi tools second hand from my brother over a year ago. I started researching workshop plans and came across Anna White’s Ryobi Nation Dream Workshop. I downloaded the plans and spent about 2-3 months working on it in my spare time. I made a lot of mistakes along the way but I’m pretty happy with it overall!

Estimated Time Investment
Weekend Project (10-20 Hours)
Finish Used
None
Recommended Skill Level
Intermediate

Comments

rcjones4

Fri, 08/11/2023 - 11:50

Do you still have these plans for the project? can't seem to find them anymore

Picnic Table

Submitted by asaldanha on Fri, 06/27/2014 - 07:20

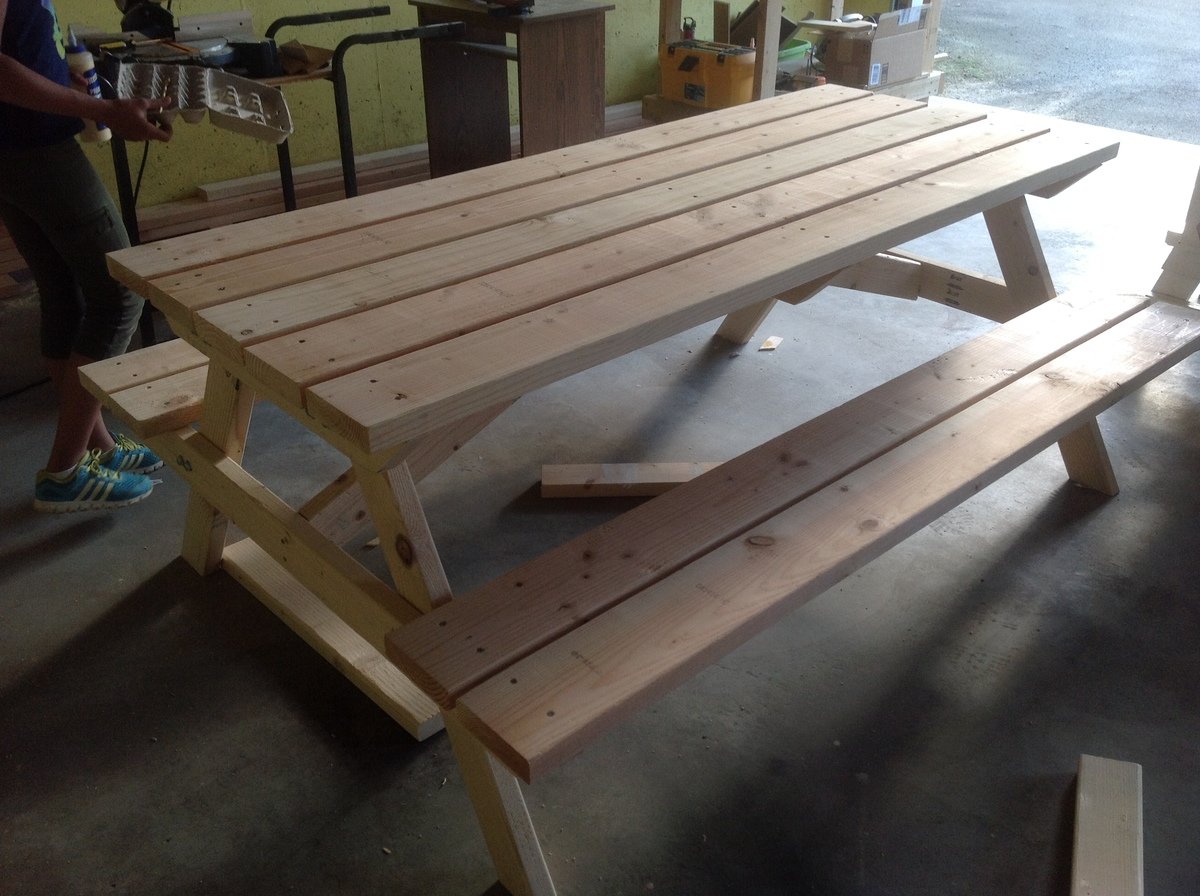
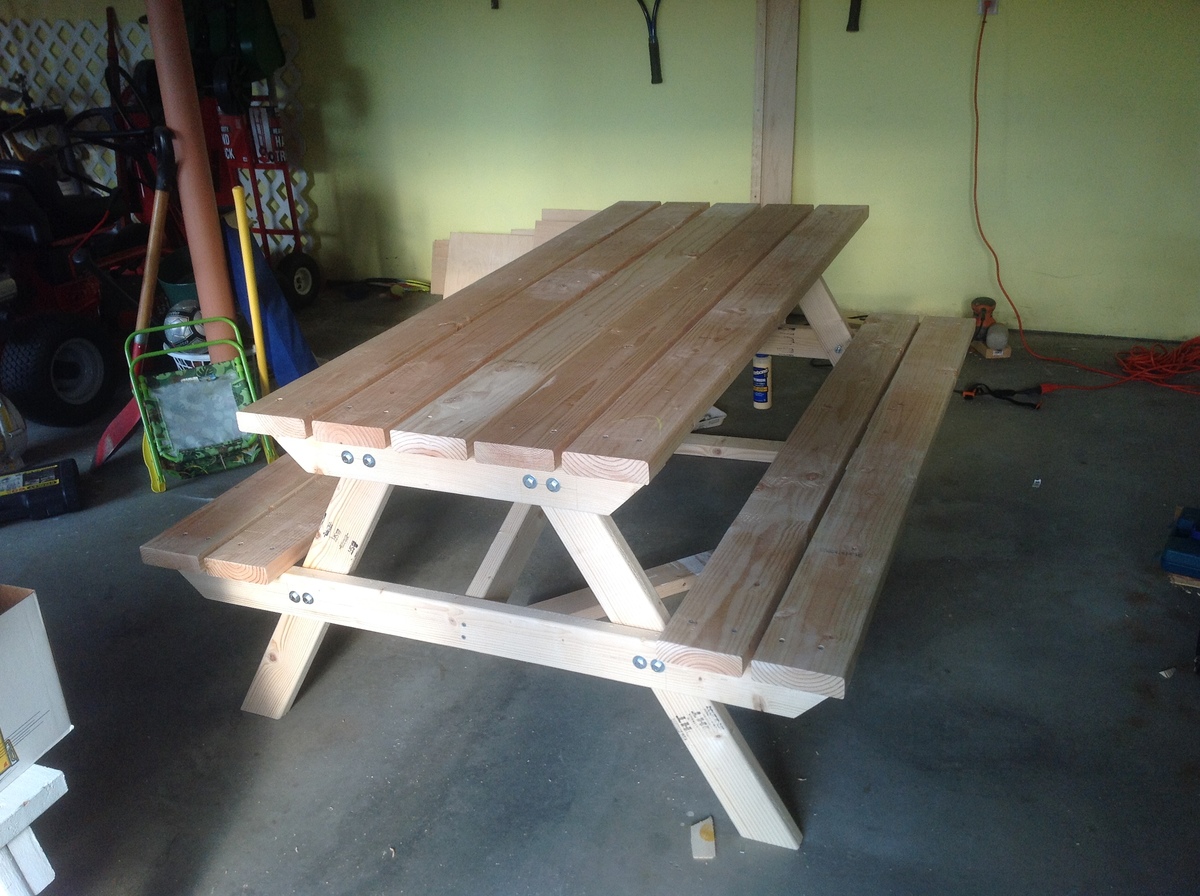
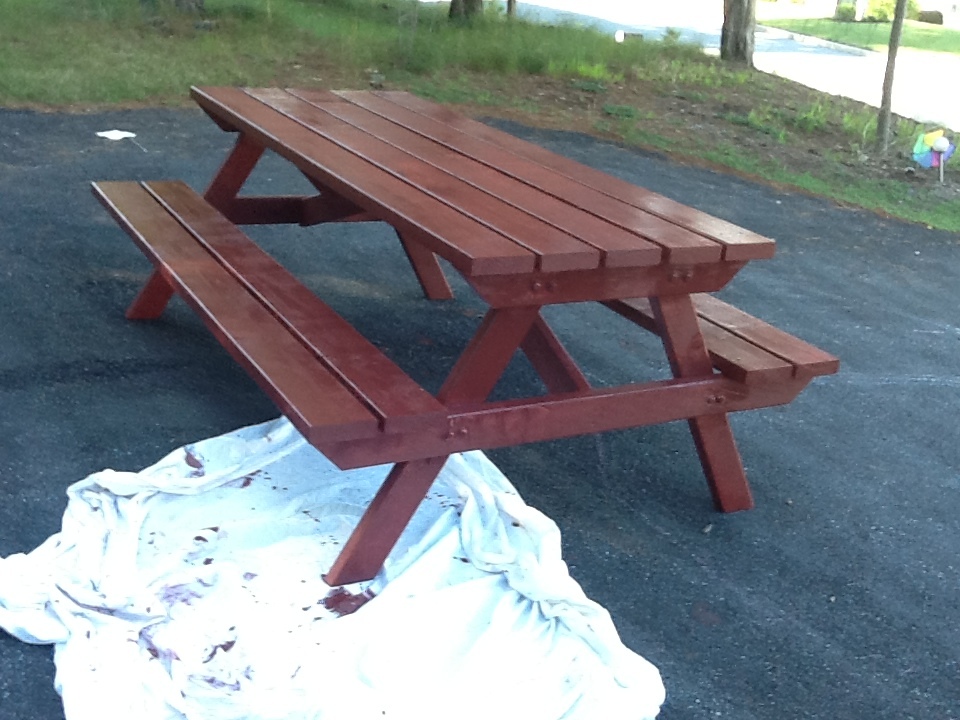
Wanted to kick start my summer projects with something that would not take too long. So I built this picnic bench for a friend over the last weekend. Thank you Ana for the plans.

Estimated Cost
$150
Estimated Time Investment
Day Project (6-9 Hours)
Finish Used
Benjamin Moore Red Barn Stain
Recommended Skill Level
Starter Project

Comments

gkatie26

Sun, 03/01/2015 - 12:16

I was just wondering if these are 5ft boards from the plan or if you used longer boards? If so what length did you use? Love the way this one looks! :)

Rustic Table and Benches

Submitted by Veenstra on Mon, 09/10/2012 - 06:14

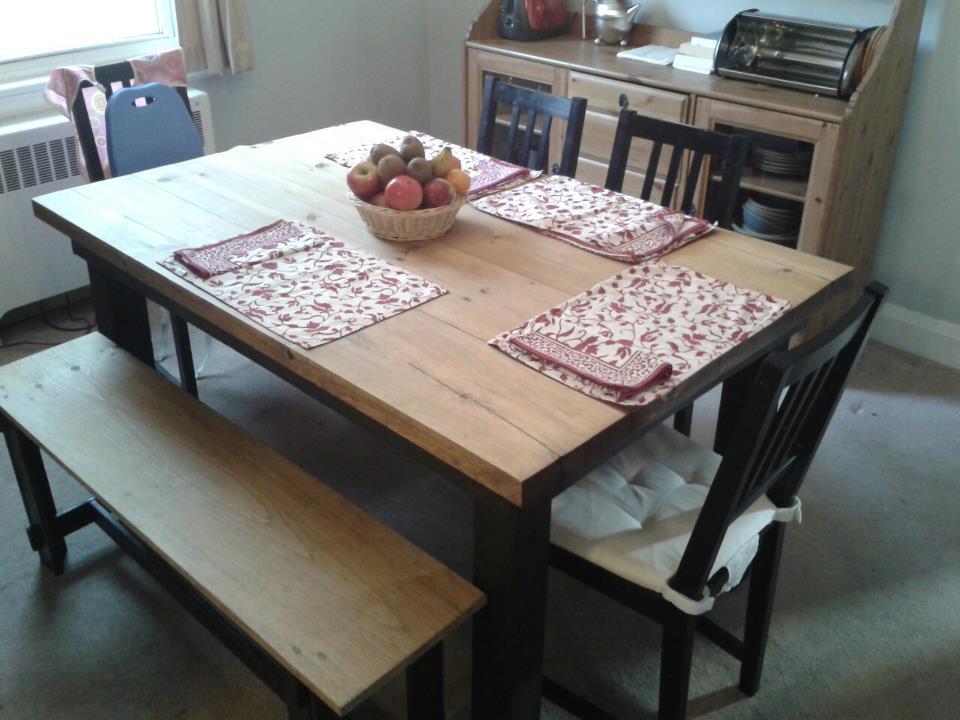
Originally built this to be part of a set and then took it home. (My two year old loves the bench!) Used 4x4s for the legs and increased the table thickness to 2".

Estimated Cost
About $175 (very good quality wood)
Estimated Time Investment
Day Project (6-9 Hours)
Finish Used
Danish Oil
Recommended Skill Level
Beginner

Comments

Shari Hurley

Thu, 03/07/2013 - 23:47

I love what you have done here with the 2" top, and the 4x4 legs. Do you have any plans for this or can you tell me how you attached the wider legs from the inside? Still just screwed it in or some kind of bracket? Thanks :)

In reply to by Shari Hurley

Veenstra

Tue, 06/24/2014 - 11:53

I am just seeing this comment now! I used the plans provided, just switching out the top and legs. I did add a few extra 2x2s under the table top. The end 2x2s are right next to the legs and add a little extra support.

Hallway Shoe Dresser

Submitted by tjbr100 on Wed, 07/15/2020 - 22:19

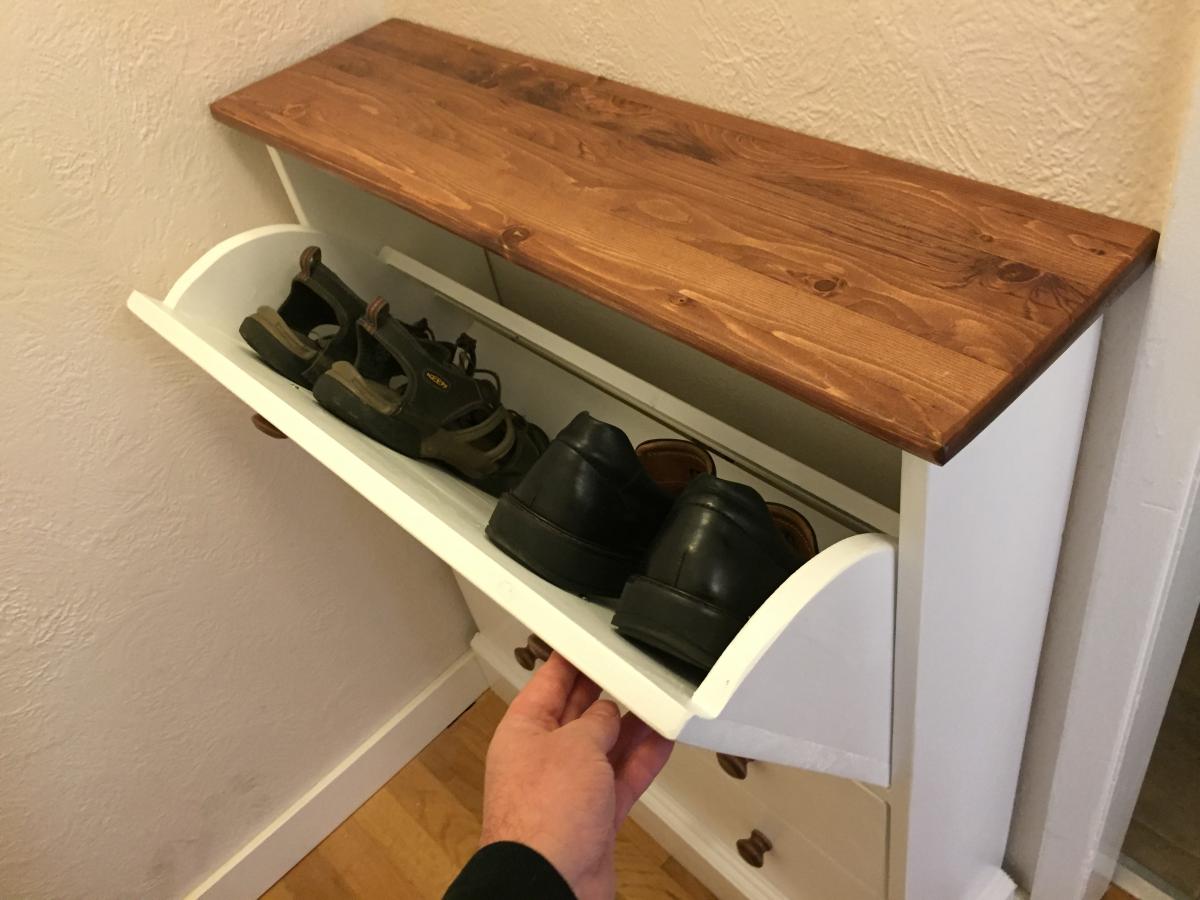
This was the first project we built from Ana White's website and one of our most successful projects to date. Between Ana's great plans and description, along with tips from other people on the site, it was so easy to modify and build this into exactly what we were looking for. Jennifer and I are both novice wood workers, but this site made building a wonderful project really easy. Thank you. Now Jennifer wants a bigger one for the bedroom.

Built from Plan(s)
Estimated Cost
$100 (CDN)
Estimated Time Investment
Weekend Project (10-20 Hours)
Finish Used
Primer and paint on the base, stain and varathane on the top.
Recommended Skill Level
Beginner

Outdoor Farmhouse Table

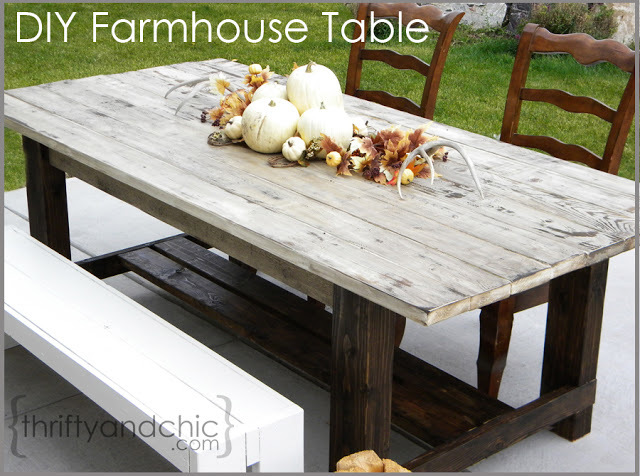
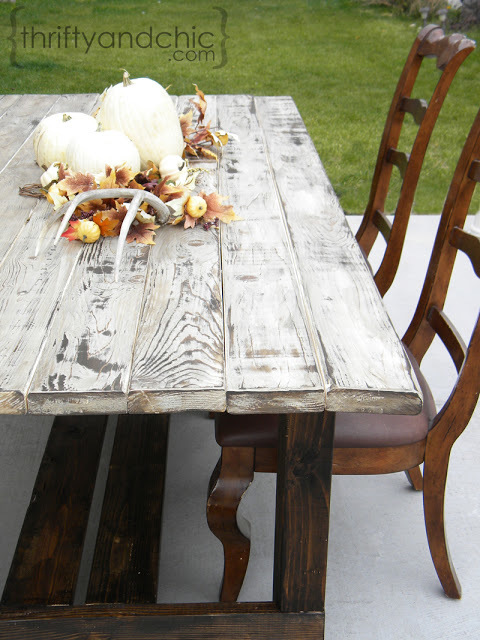
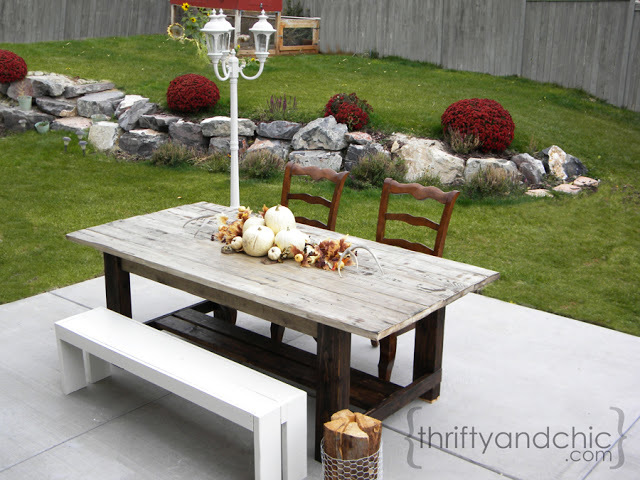
I've been wanting to build an outdoor farmhouse table for quite some time. Getting it to look old with new materials was the idea.Using notches to hold part of the base and experimenting with finishes got the 'rustic' look. I took a few ideas from the Gaby Kitchen Island and implemented my own; it turned out to be a great weekend project!

Built from Plan(s)
Estimated Cost
80
Estimated Time Investment
Weekend Project (10-20 Hours)
Finish Used
Paint, Stain, Poly-acrylic
Recommended Skill Level
Beginner

Comments

Juanita_r

Fri, 10/26/2012 - 23:43

Love the table, especially the finish you used, it looks amazing. just have a question about if it is waterproof...i know it is an outdoor table, but is it protected by a veranda or is it completely exposed to the elements. i want to make one but am hesitant as it will be completely outside! Thanku!

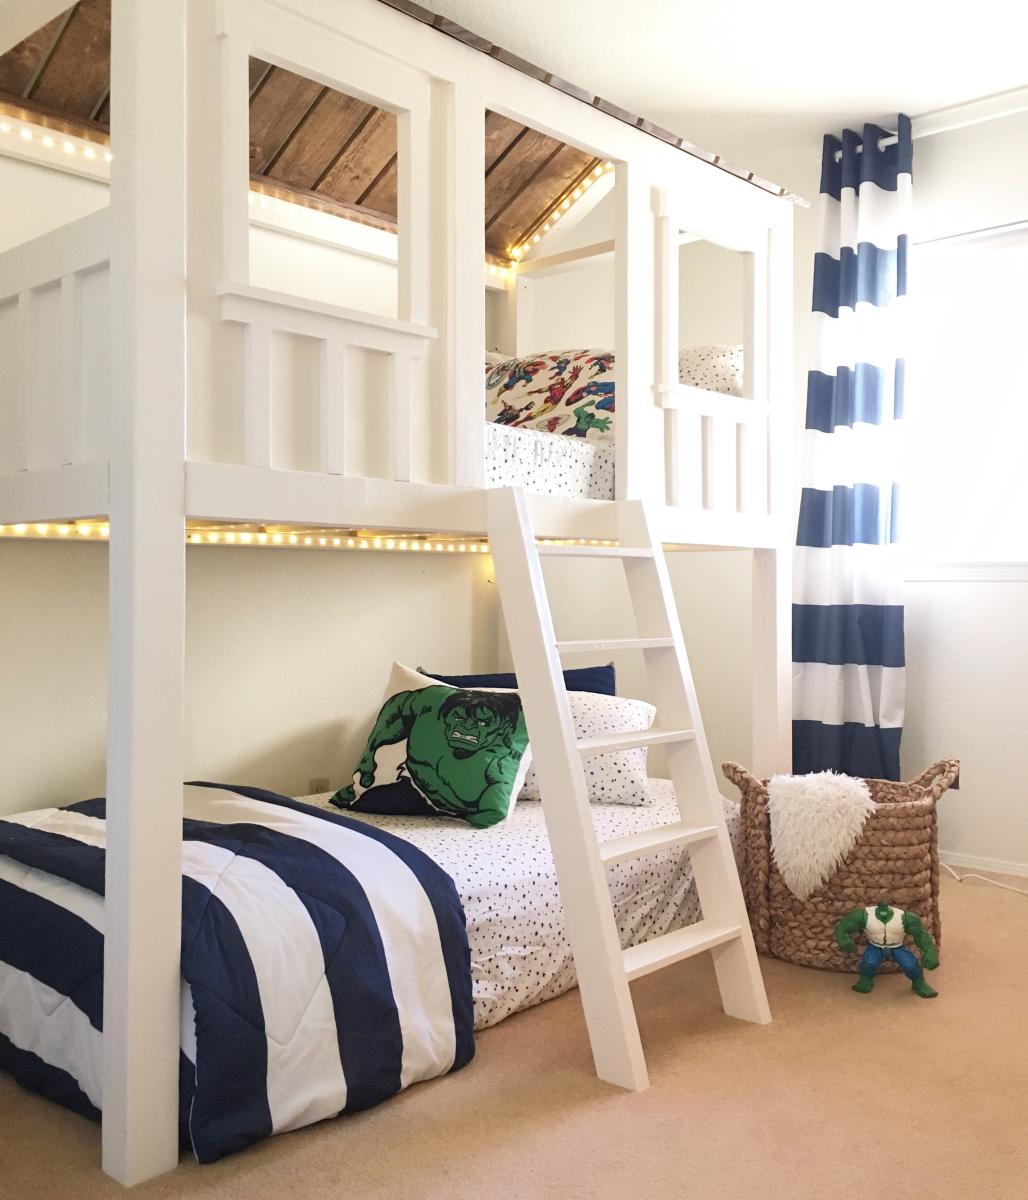
Loft Cabin Bed

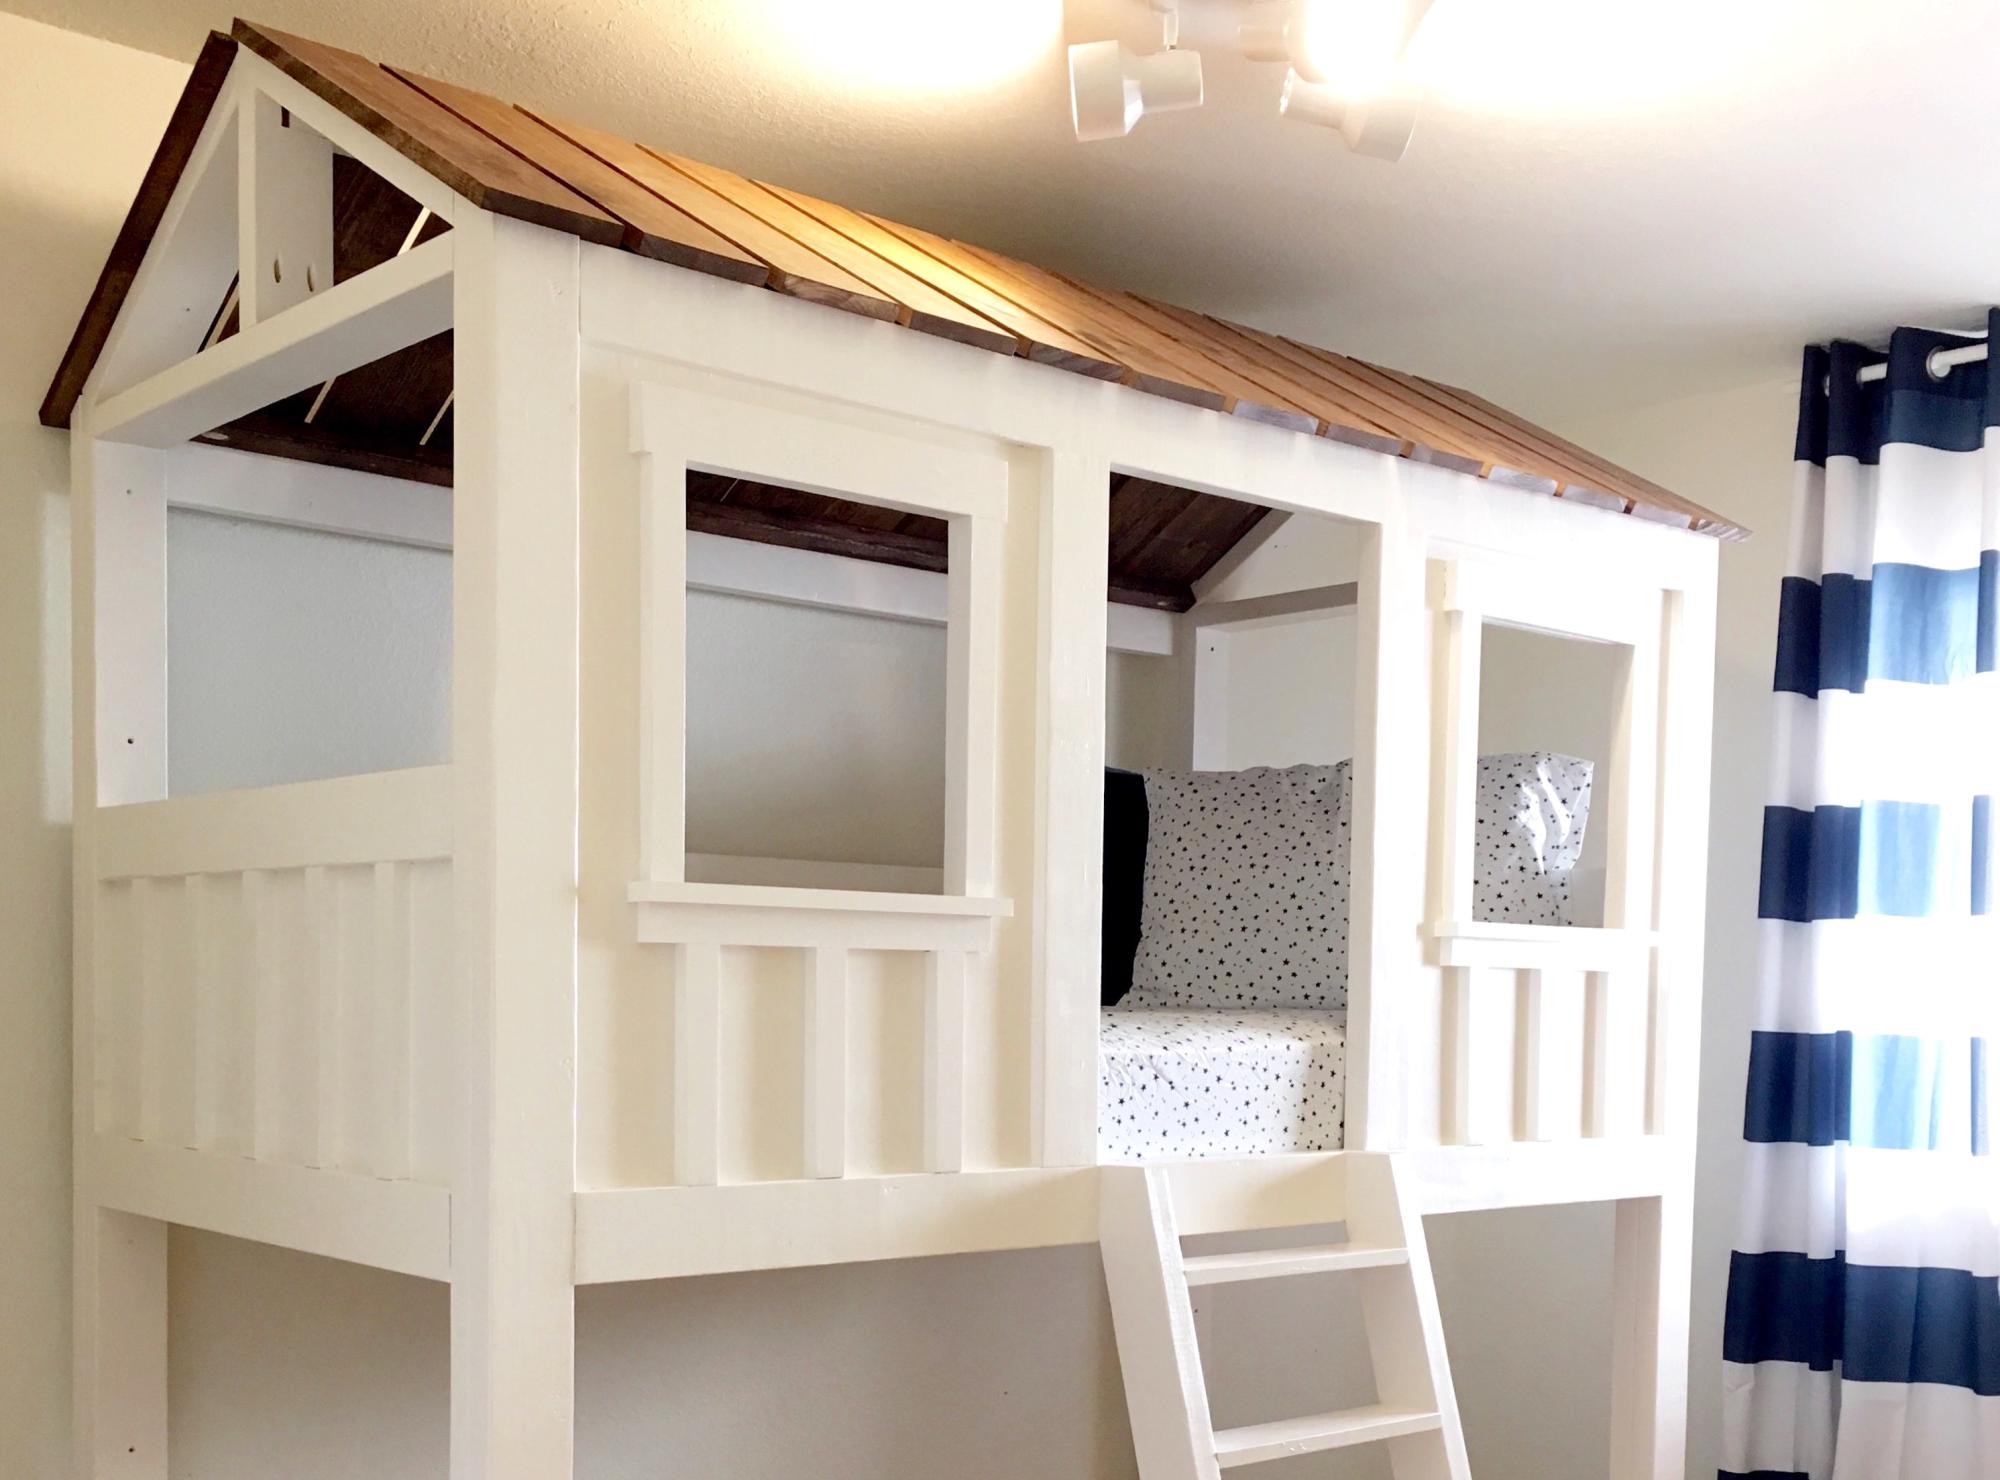
I built the original cabin bed for my son when the plans first came out and it has been such a huge hit. After seeing the loft version on RH, I decided to modify the original plans in an effort to give my son more floor play space in his room. The loft bed was his Christmas gift and I've never seen him more excited (he's four). Both he and his brother spend hours a day playing in the bed and underneath. It's hands down the most satisfying project I've built.  

Built from Plan(s)
Estimated Cost
$300-$350 Cost includes lumber, stain, screws, white paint, and fairy lights.
Estimated Time Investment
Week Long Project (20 Hours or More)
Finish Used
White painted base, and Minwax Special Walnut stained roof.
Recommended Skill Level
Intermediate

Comments

ccreations

Tue, 03/06/2018 - 08:49

Hello, will you be adding plans for the loft bed? It looks as though it is only the original plans from the Cabin bed. Thanks! 

ccreations

Tue, 03/06/2018 - 08:52

Hello, will you be adding plans for the loft bed? It looks as though it is only the original plans from the Cabin bed. Thanks!

kadyfong

Fri, 06/22/2018 - 17:50

This is absolutely stunning!!! I want to build the same one for my kids' rooms! Did I mention I love the colors as well? You did such a great job! Did you have to add anything for additional support since it's lifted higher than the original plan? Anything else I should be aware of or anything you can share if I were to build this bed? Thank you so much!

Kind and Karen

Mon, 06/24/2019 - 10:07

Thank you! I'm so sorry for the delayed response. I don't seem to receive notifications of comments on here. No, I did not have to add any additional supports. It is really sturdy. The build itself is very similar to the original, I just adjusted the height of the bed, and changed the dimensions of the upper cabin to leave more space on the bottom for play or another mattress. Hope that helps some. The plans are linked above in the "blog link" section if you're still interested. 

Kind and Karen

Mon, 06/24/2019 - 10:11

We have 8' ceilings. If you're still interested in the plans, I linked them above in the "blog link" section. Sorry for the seriously delayed response. I apparently need to check my notification settings. Feel free to email me if you have any questions. [email protected]

Ana White Loft Bed Playhouse

Submitted by Anonymous (not verified) on Sun, 01/08/2017 - 13:22

It was very easy to follow the directions and the costs were minimal. Our granddaughter is in heaven with this bed. 

Estimated Cost
$150 not including the cost of the Kreg Jig.
Estimated Time Investment
Weekend Project (10-20 Hours)
Finish Used
Will be using enamel paint.
Recommended Skill Level
Intermediate

Doll Picnic Table From Little Kids Picnic Table Plans

Submitted by chrimicha on Mon, 01/09/2017 - 19:14

This is my scaled down version of the preschool picnic table, made for an 18 inch doll. I used scrapwood that someone was throwing away and supplies left over from other projects, so it didn't cost anything but time. My girls have really enjoyed it. Here are the measurements: 

Cut List: 

4 – 1×3 @ 17-3/4″ (Tabletop pieces) 


1- 1×4 @ 9-3/4″, then cut in half using a table saw to equal 2 pieces (Supports directly beneath tabletop pieces) The longest measurement is 9 ¾”, with the ends cut at a 30 degree angle back to 7 3/4″.


2-1×4 @ 12-7/8”, then cut in half using a table saw to equal 4 pieces (Legs) (angle each end to 30 degrees as shown in preschool table plans) 


1 – 1×4 @ 19″, then cut in half using a table saw to equal 2 pieces (Supports directly beneath seat boards)  (angle ends to 30 degrees as shown in preschool table plans)


4 – 1×3 @ 17 3/4″ (Seat boards) I ran these 1 x 3’s through my table saw to make them 2” wide.


*When attaching the legs, secure them to the supports below the tabletop pieces so that the bottom of the legs will measure 19 5/8” from lateral edge to lateral edge when resting on the ground. In the preschool picnic table plans, this measurement is shown as 33”.
Built from Plan(s)
Estimated Cost
0$. I used wood someone was throwing away and remnants from other projects.
Estimated Time Investment
Day Project (6-9 Hours)
Finish Used
I sanded it really well, and then I painted it with two coats of "Lime Rickey" from Sherwin Williams and a clear coat of spar urethane.
Recommended Skill Level
Beginner
Back