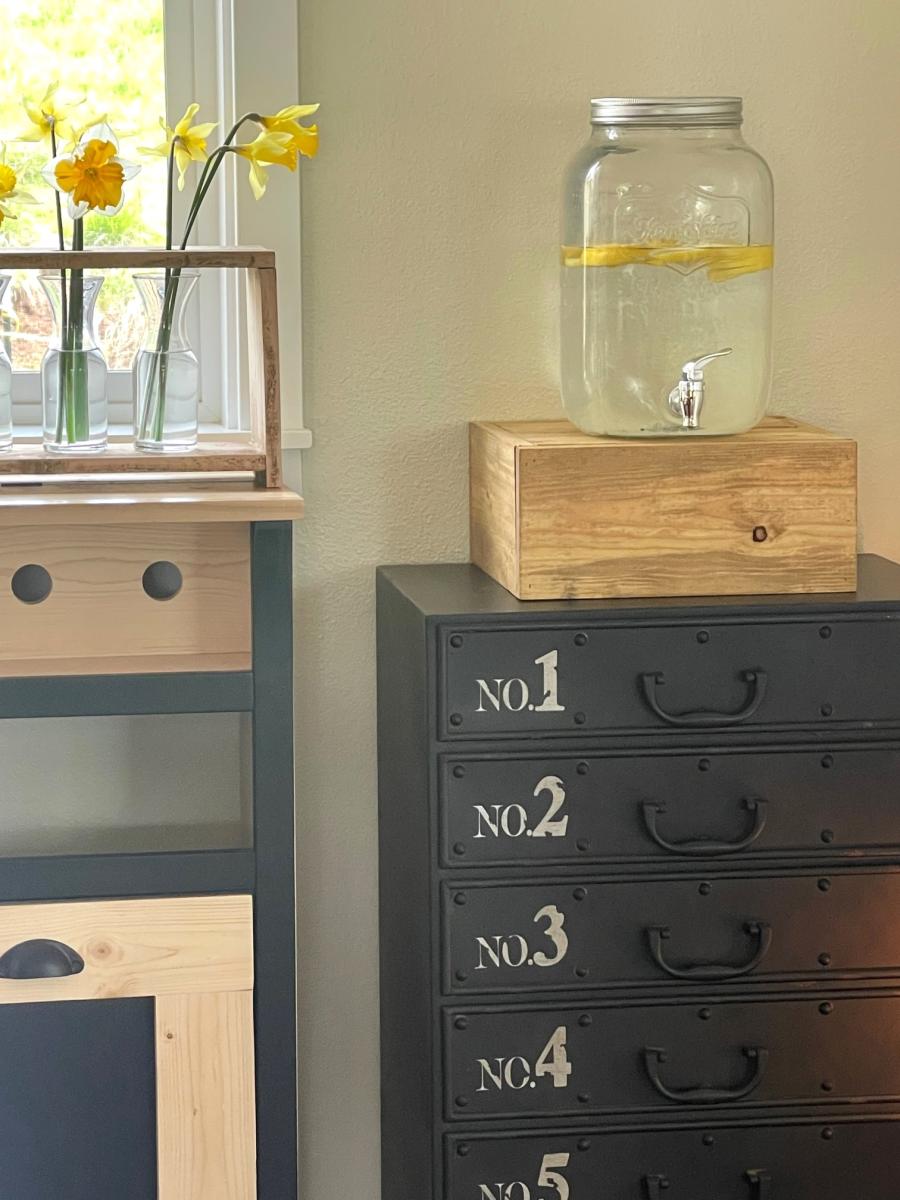
Drink Dispenser Stand
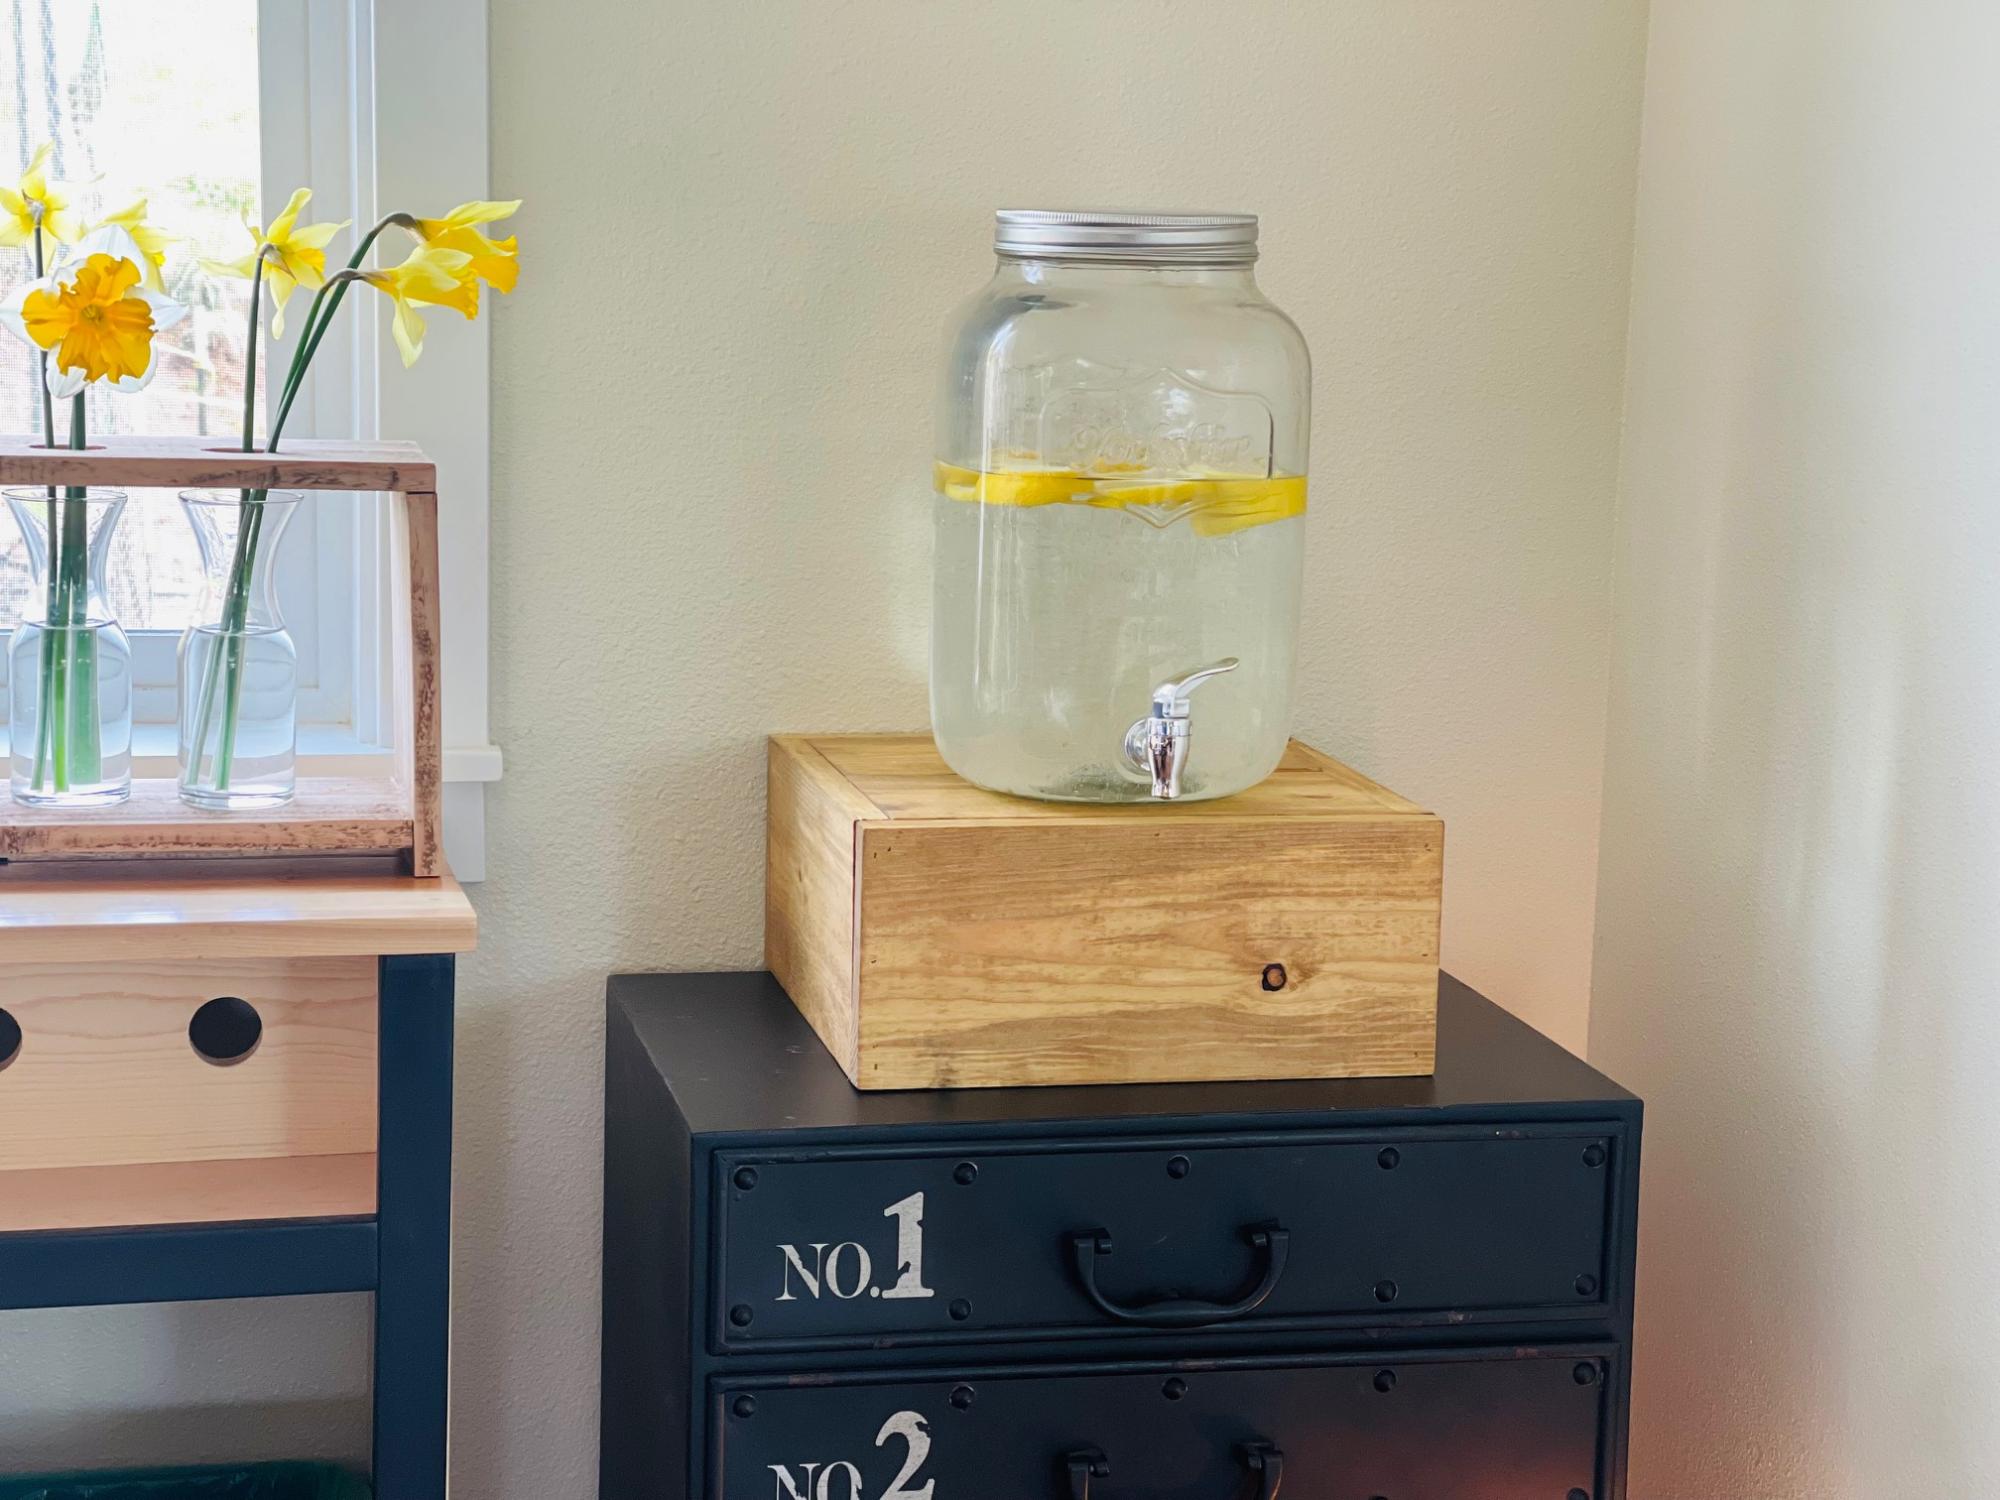
Using the tall cake stand plan I found it doubles as a drink dispenser stand when not being used for cakes.
Built from Plan(s)
Seasonal And Holiday
Using the tall cake stand plan I found it doubles as a drink dispenser stand when not being used for cakes.
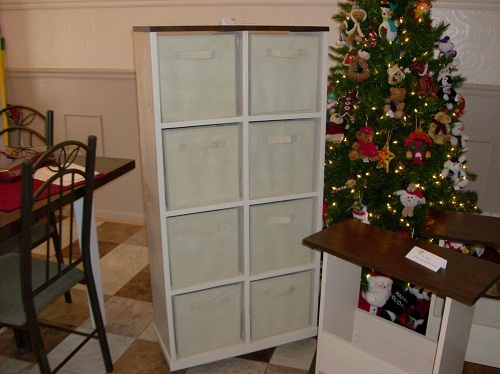
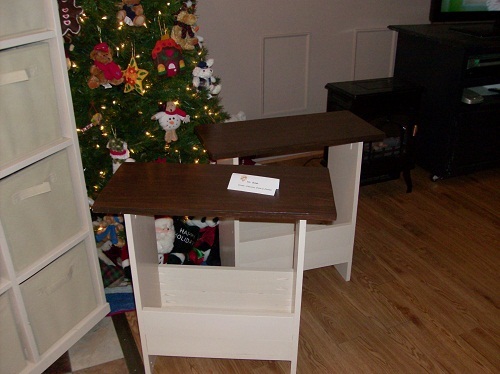
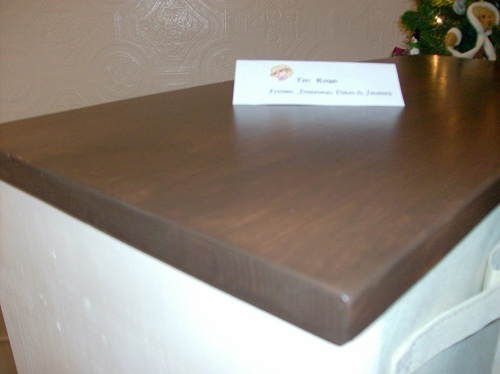
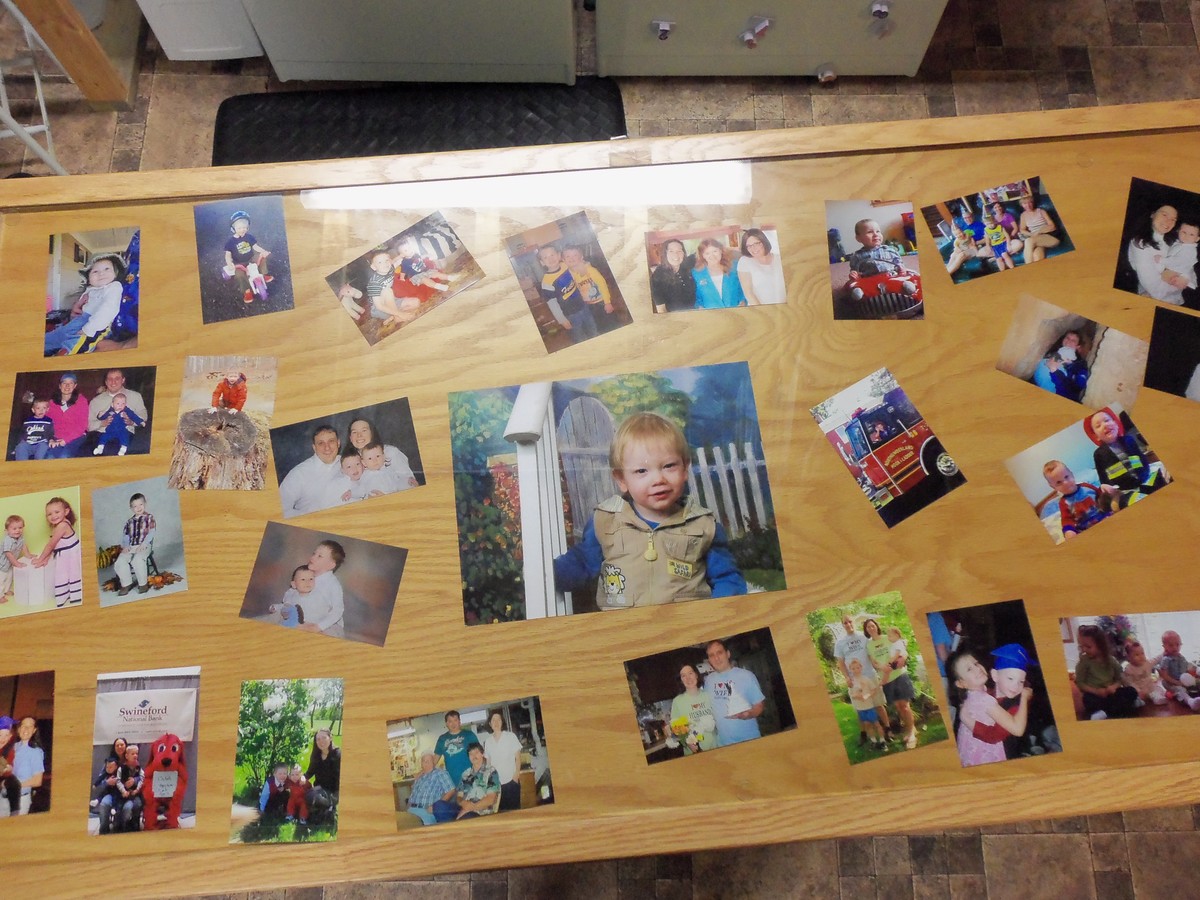
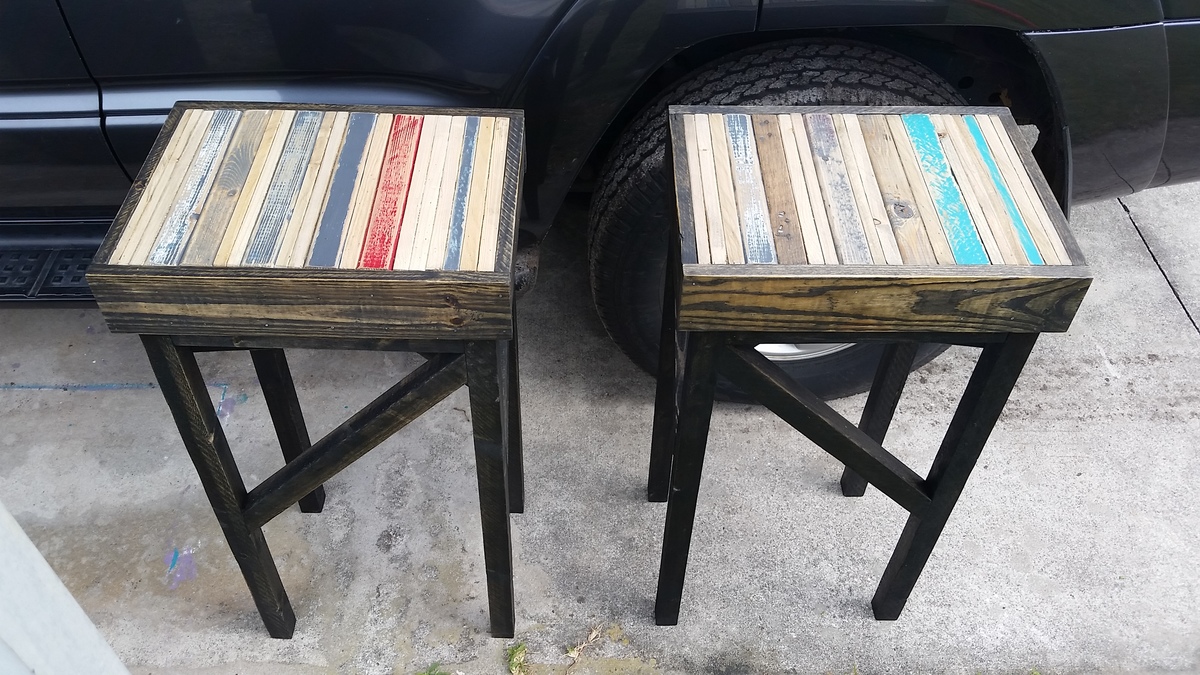
My favorite thing this Christmas was making handmade gifts. Mom's were the most fun. :) The first is the Cube dresser, using the plan from 2x4 console cubby shelf (turned upright), with wheels. Next are 2 recliner side tables, made from the 5 board bench plan, with added shelf at the bottom for books and magazines. The last is the 'trinket box' - which isn't really from a plan, just made up with 1x4 and 1x6 boards. We finished these to match her existing furniture, which we built for her earlier this year. Mom loved her gifts! Thanks Ana!
Sat, 12/31/2011 - 04:26
You did an excellent job! I bet she loved it! :)
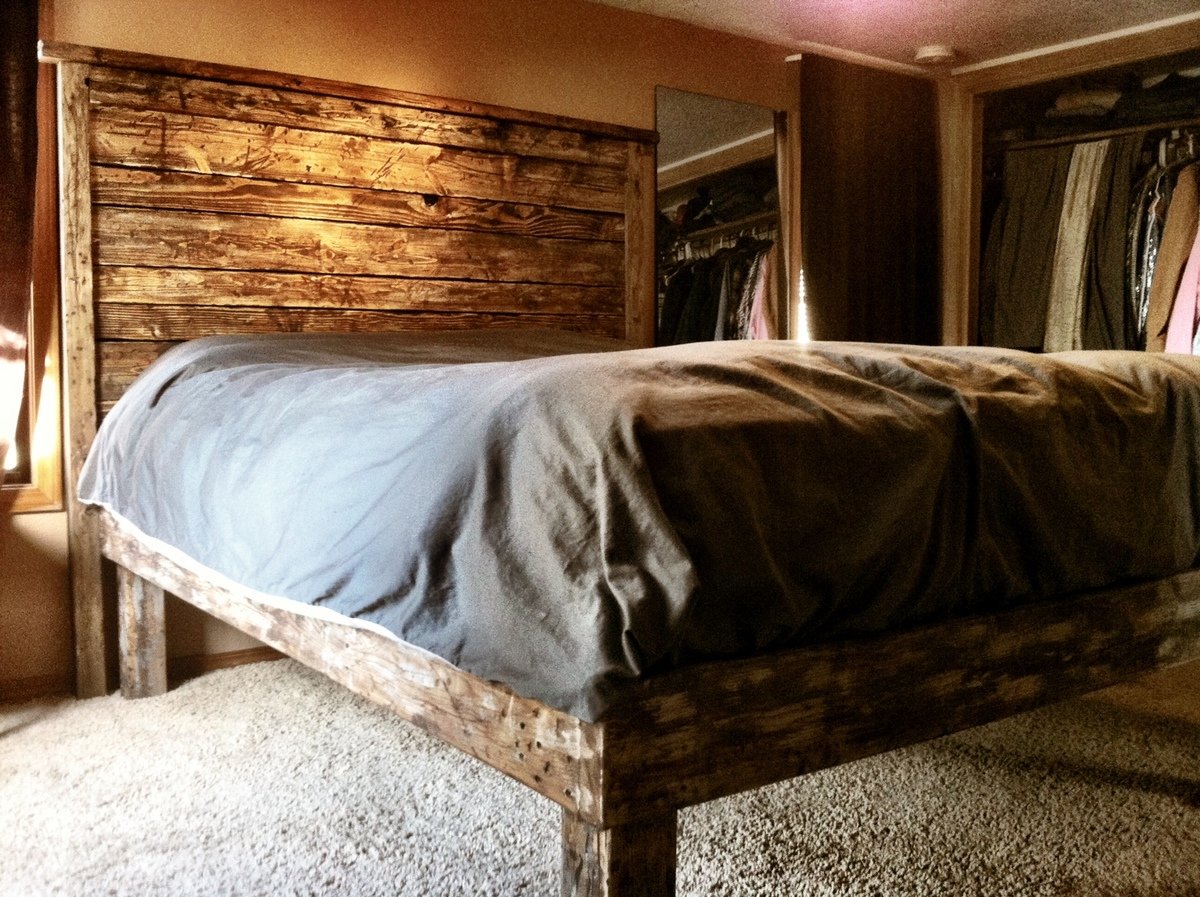
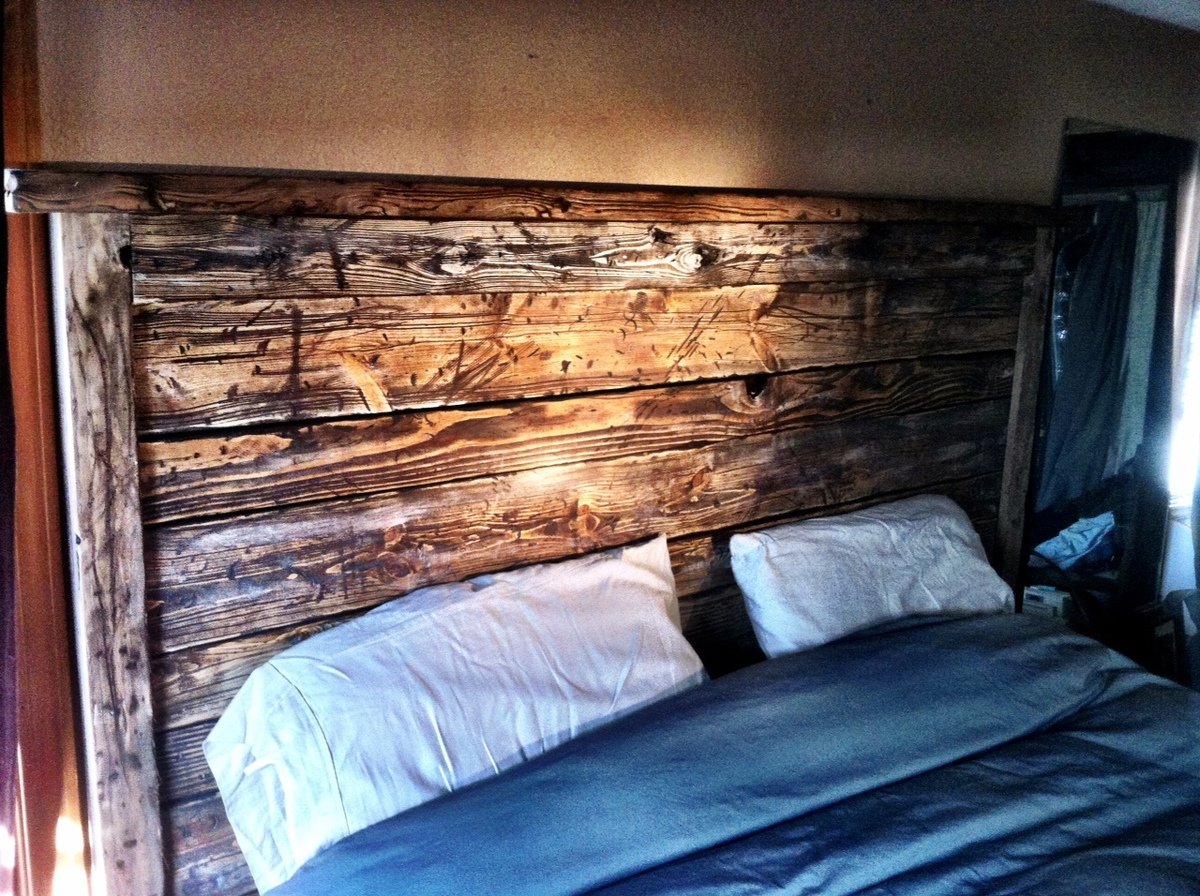
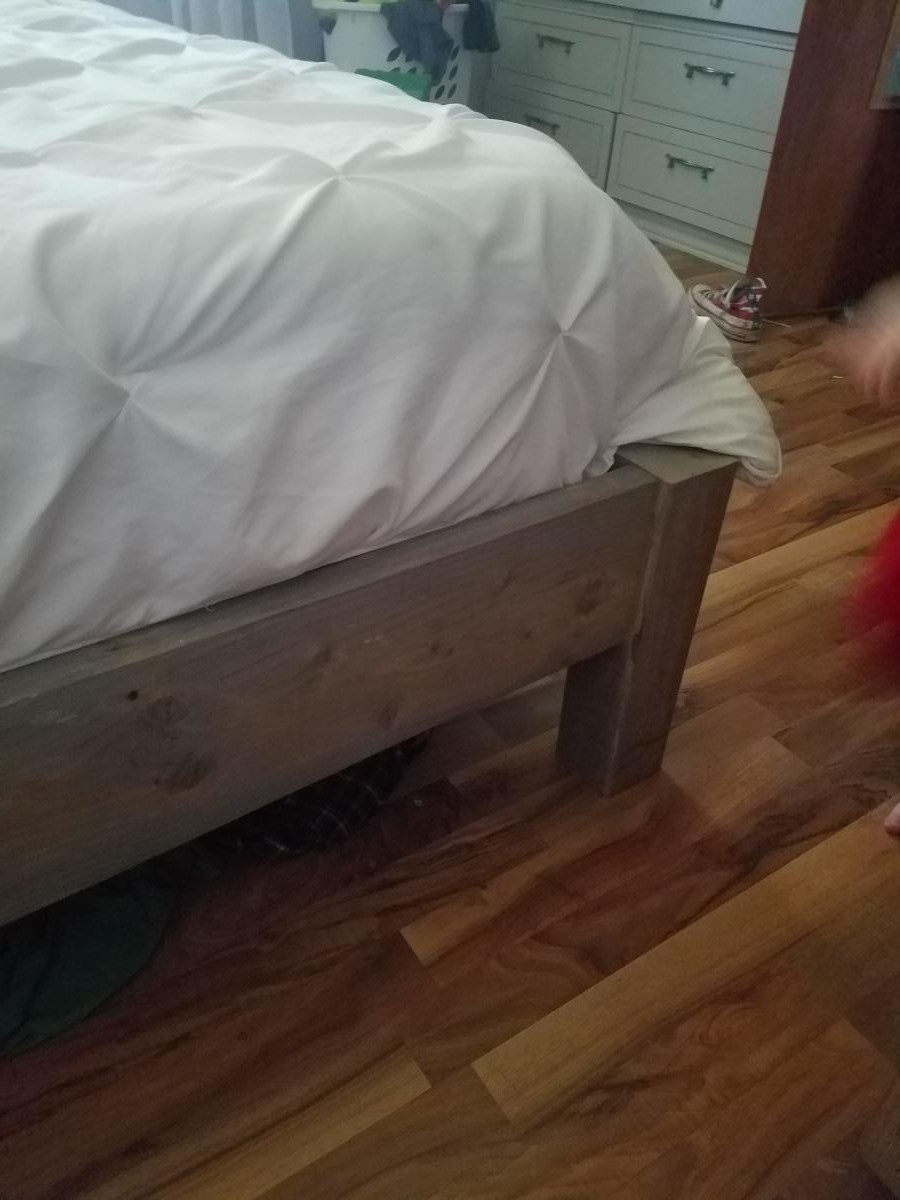
I wanted to make a sturdy bed that was rustic and old looking but still kind of modern... I looked at google images and a photo of Ana's bed popped up. I started with new fir from Home Depot but wanted a good weathered look, so I spent extra time and effort on the distressing. It turned out just like I was hoping!

Sat, 11/16/2013 - 22:54
The light and dark variations in your finish make your project very unique! Nice work!
Val
artsybuildinglady.blogspot.ca
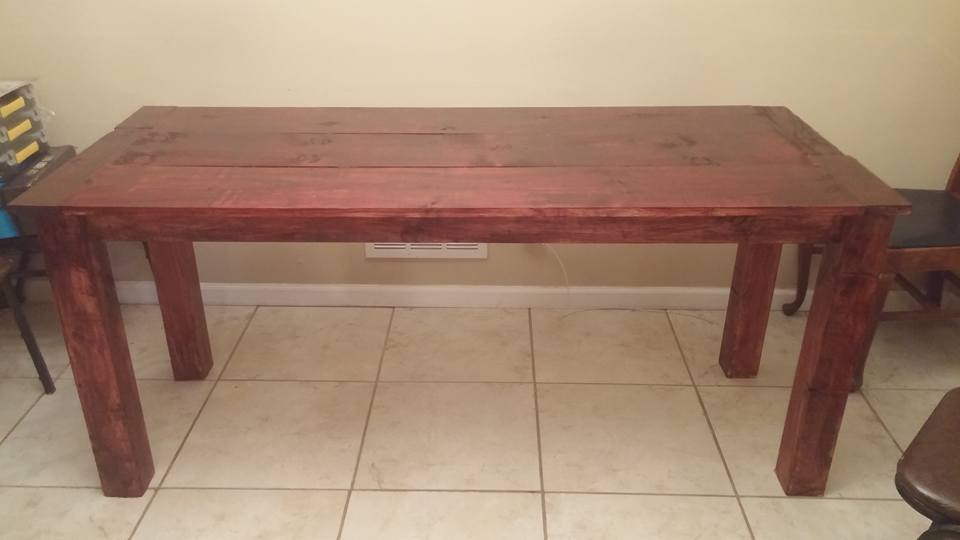
This was my first "big" project. I built it for Thanksgiving. I recently bought a home, and everyone wanted to have Thanksgiving at my new home I had no table, so I built one. Can't wait to start my next project. Love the site!
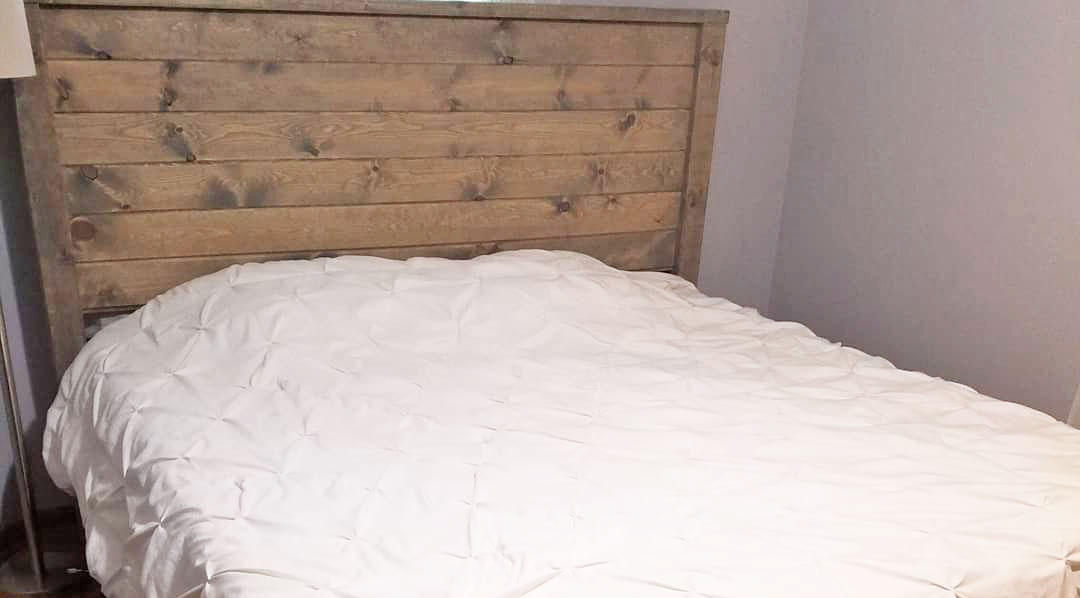
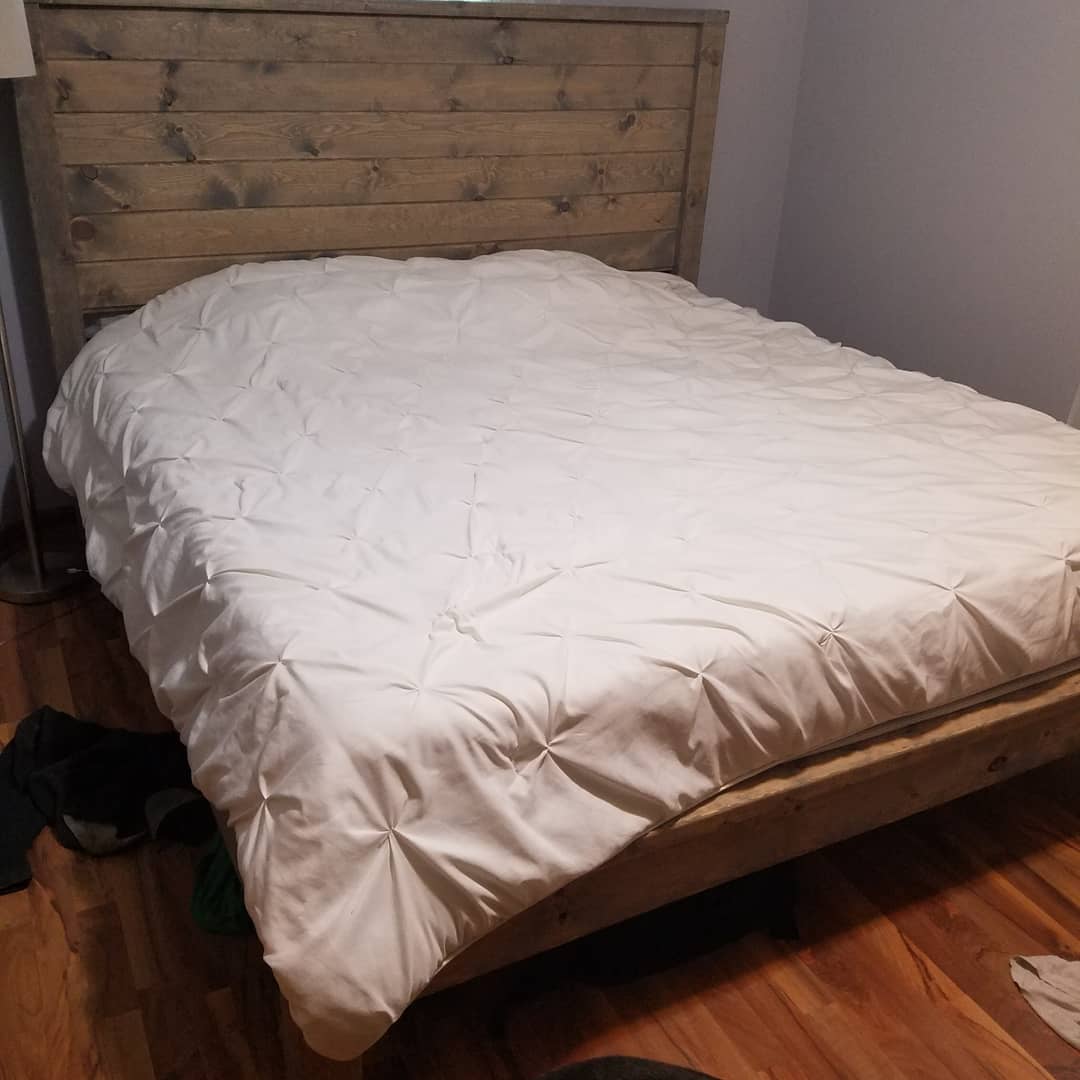
We used 2x6s on the sides so we wouldn't have a ledge on the side of the bed. Everything still lined up really well! We also used brackets to put the sides onto the headboard and footboard. It made it easier to put together and seems sturdier.
Mon, 10/19/2020 - 19:53
I thought about doing brackets too, but not sure how that would work w/the cleets on each side for the slats.
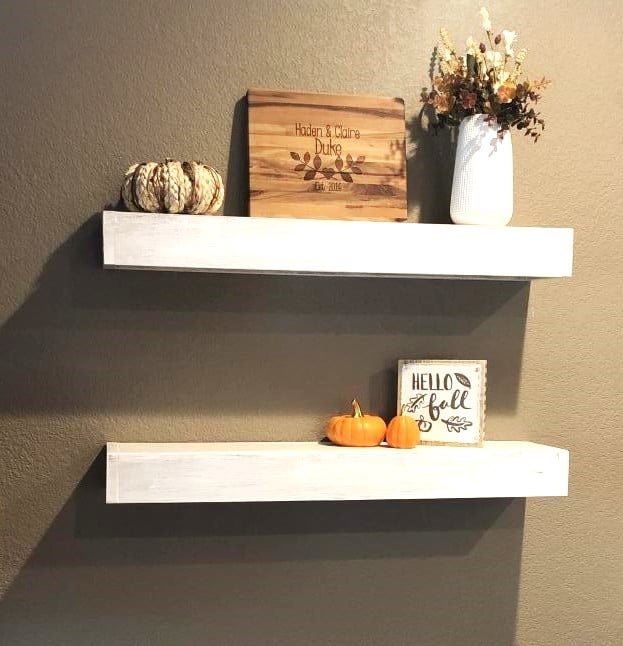
Been loving our Ana White plans!! The table and shelves turned out exactly how we wanted them to & they were SO much cheaper than paying for lesser quality furniture store finds. We’ve received so many compliments!
I just was looking for something simple with a top and bottom shelf with storage. Ended up coming out amazing! Very pleased! it only takes about a day of time, but because of all the stain and glaze coating it took over 24 hours.
Mon, 07/09/2012 - 11:20
Great build !!!! can you specify which plan you used and how you modified it ?

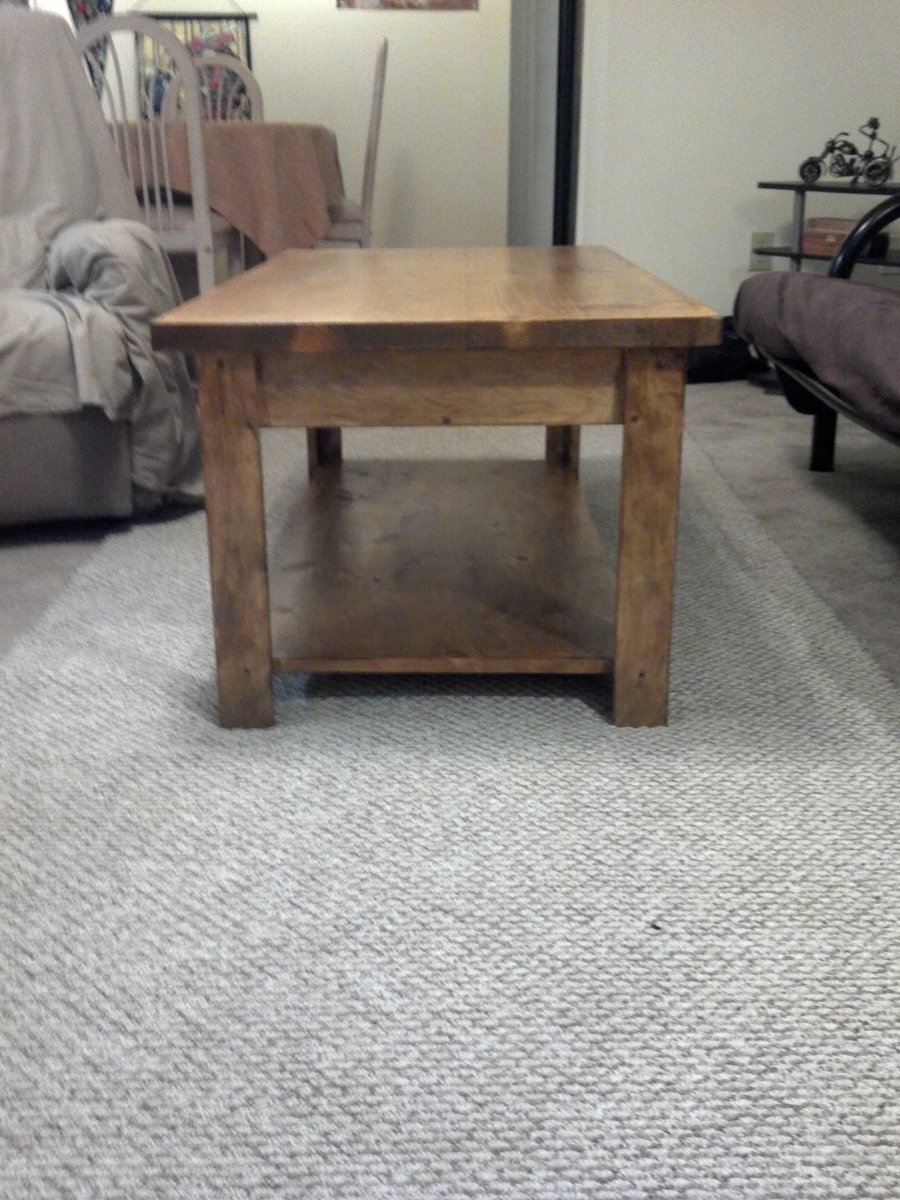
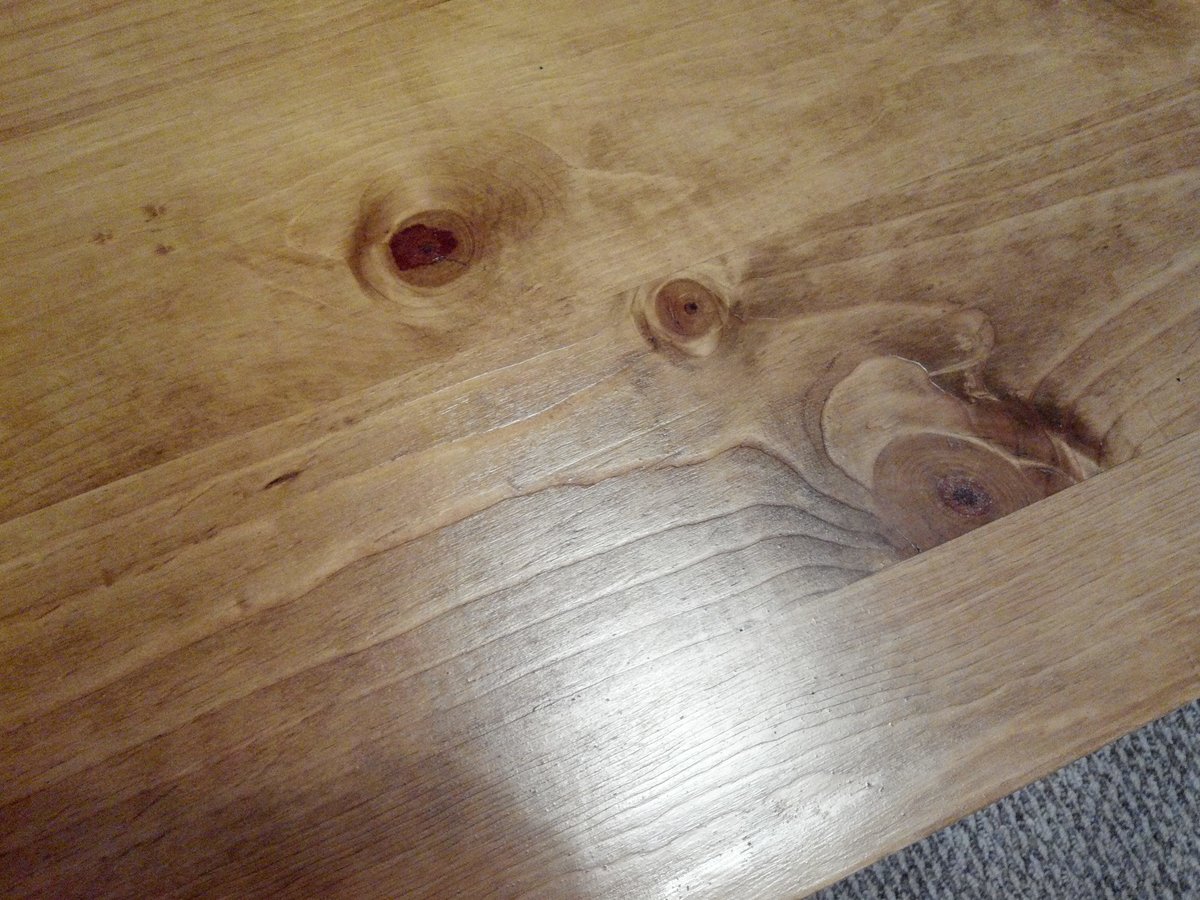
This was my second solo project. I built it for my mom's kitchen to replace her old kitchen table. I absolutely love how it turned out. It is big and functional. Come see how I built it on my blog.
Just wanted to do something a little more original.

Sat, 12/10/2016 - 17:57
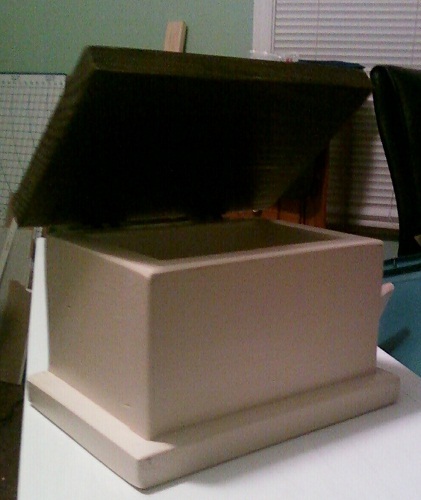
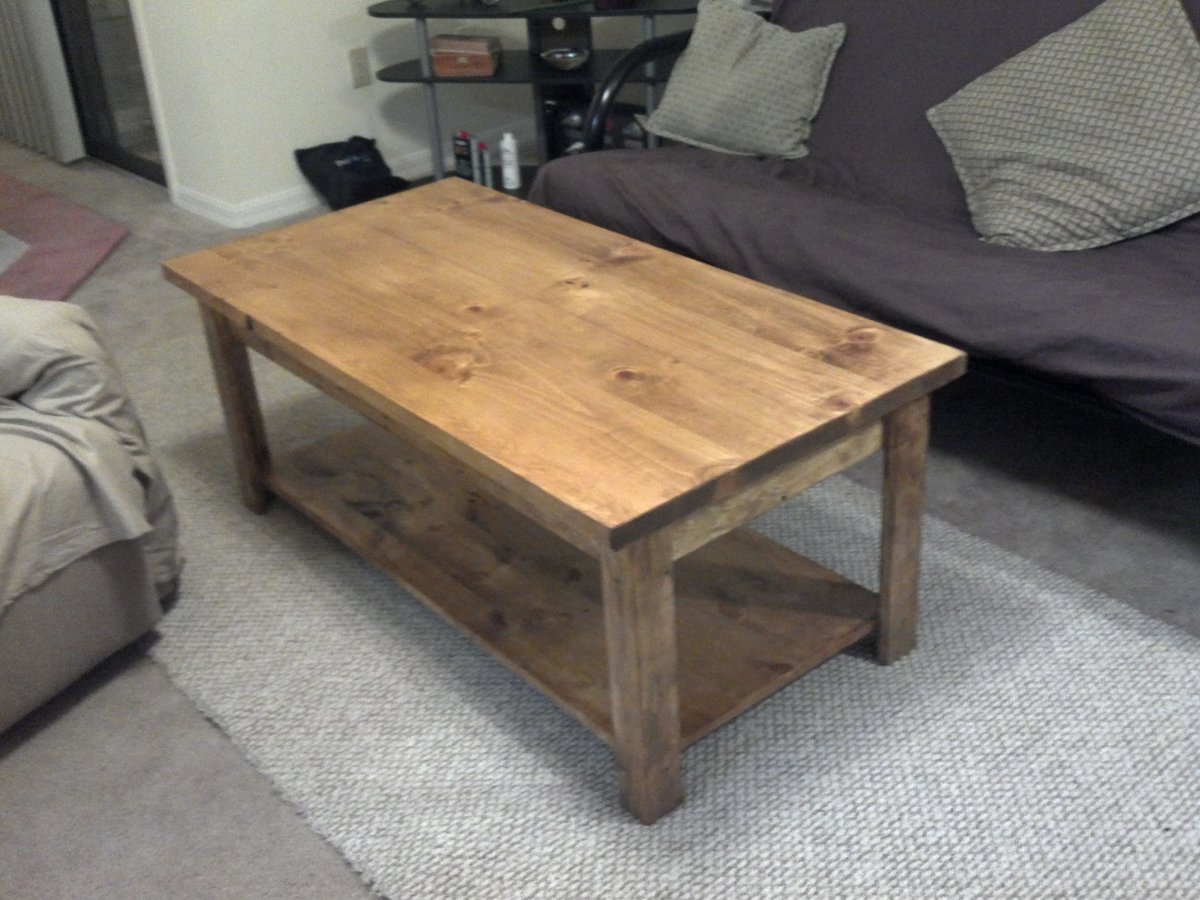
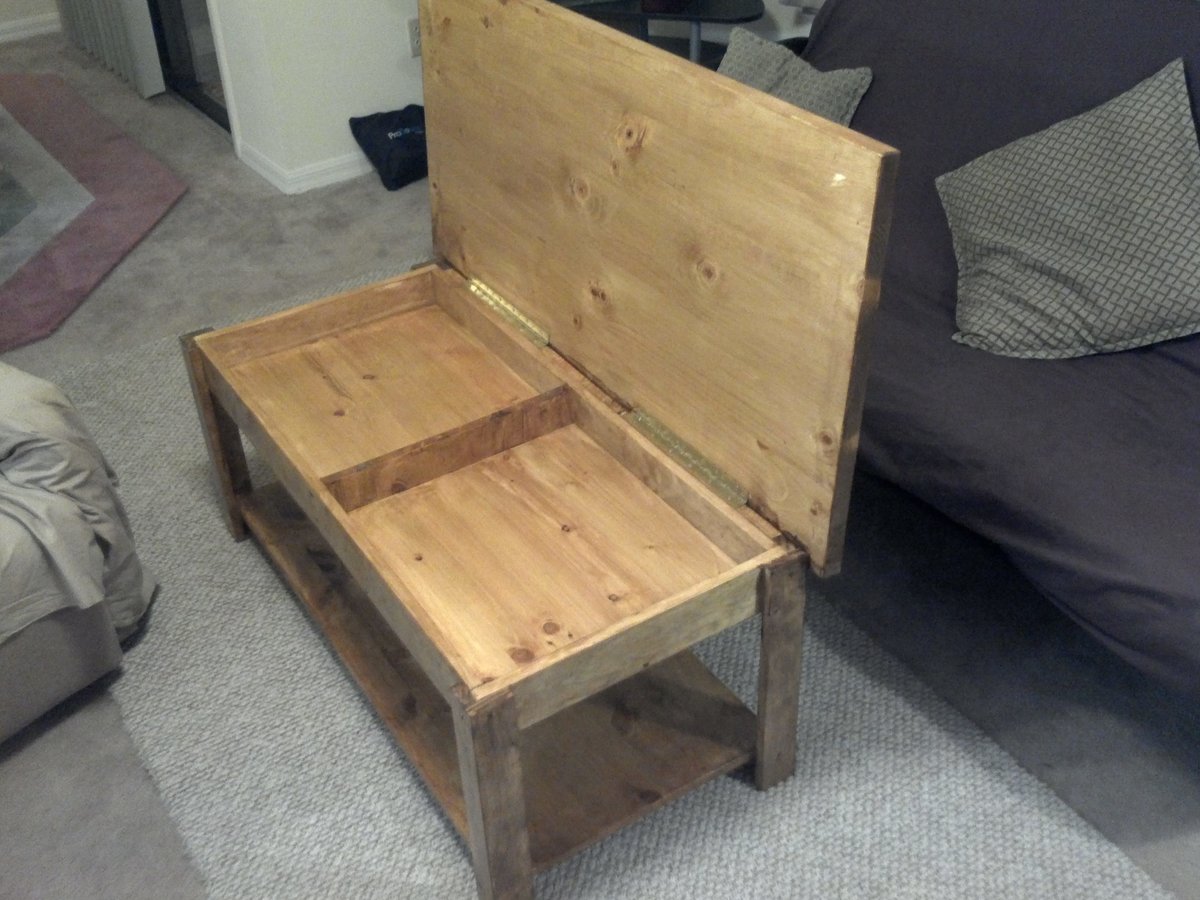
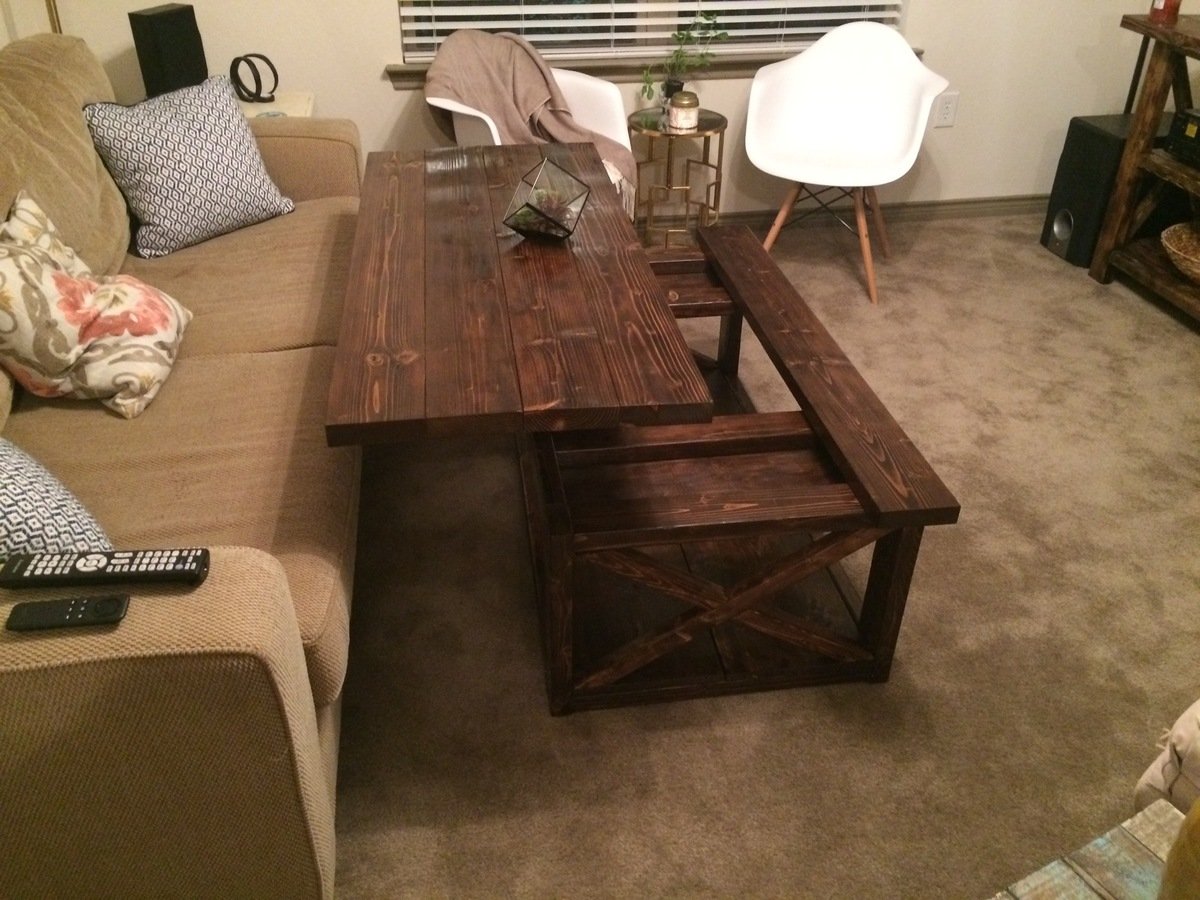
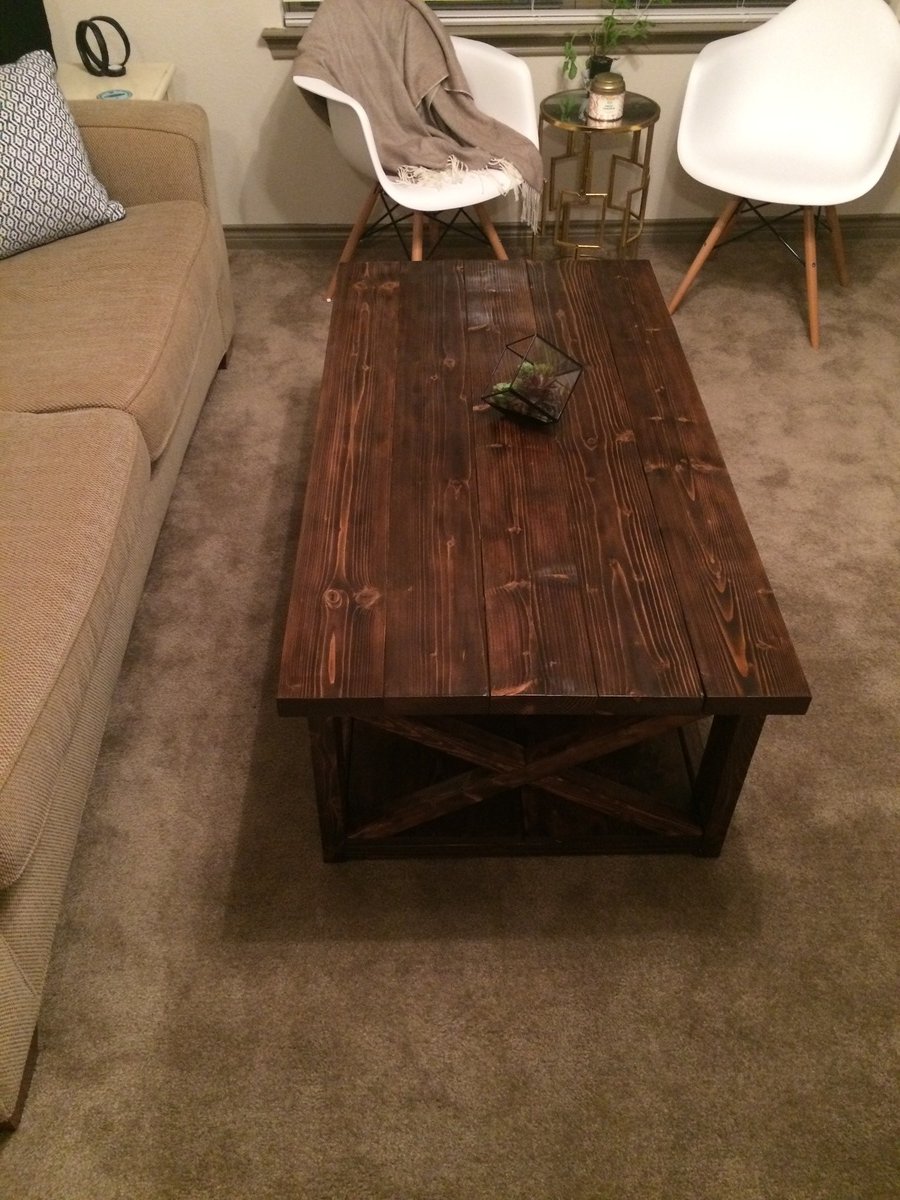
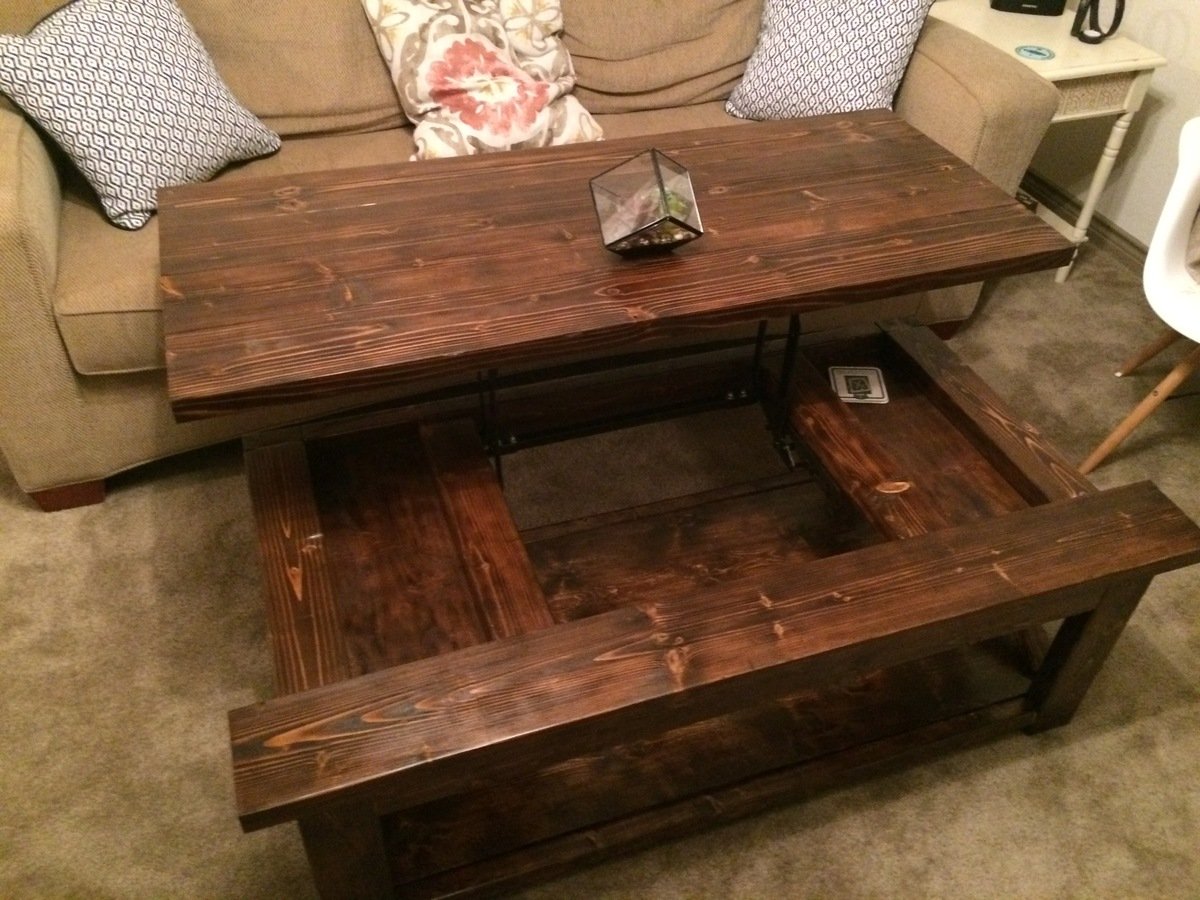
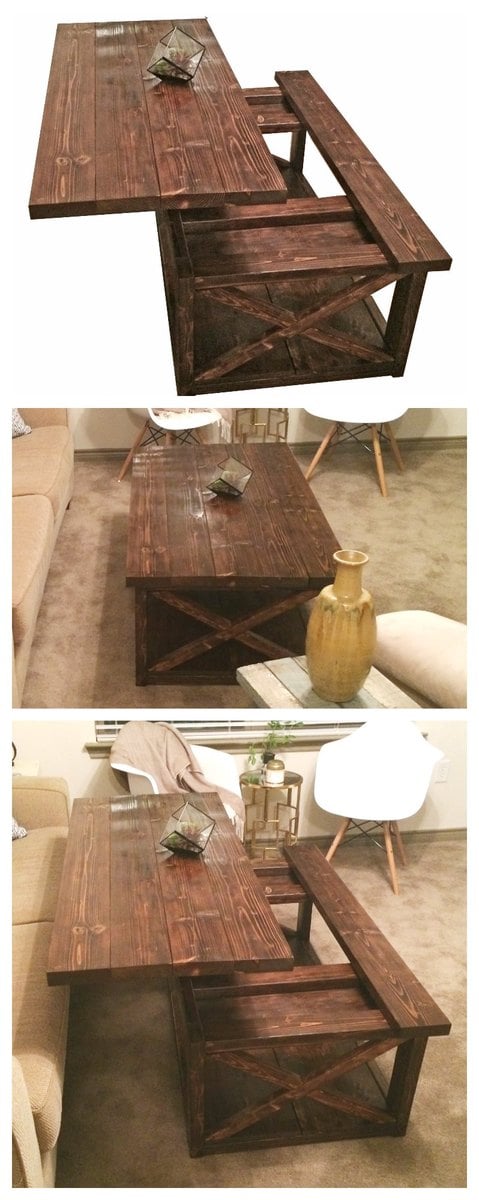
Hi. Are there any plans for this piece using the lift top hardware?
Wed, 12/21/2016 - 20:46
Just curious about the hardware and design if there are any actual plans for this coffee table
Wed, 04/08/2020 - 05:01
Where can plans for this lift top version be found?
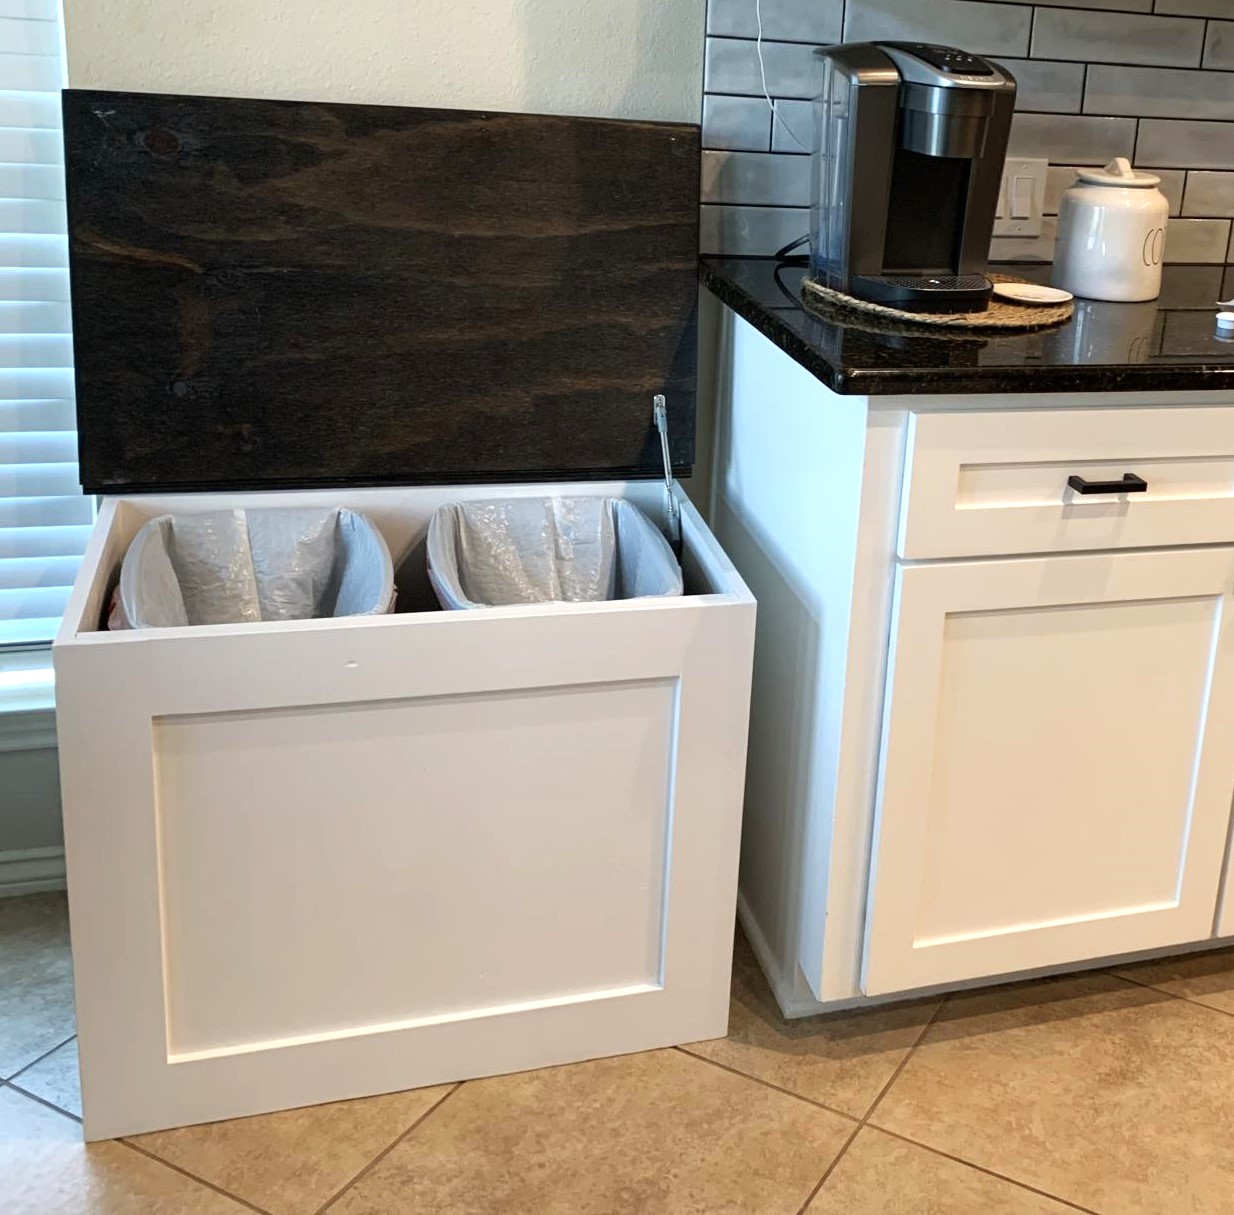
Double trash can cabinet made of plywood. Included soft close hinge. Holds 2 13 gallon cans.
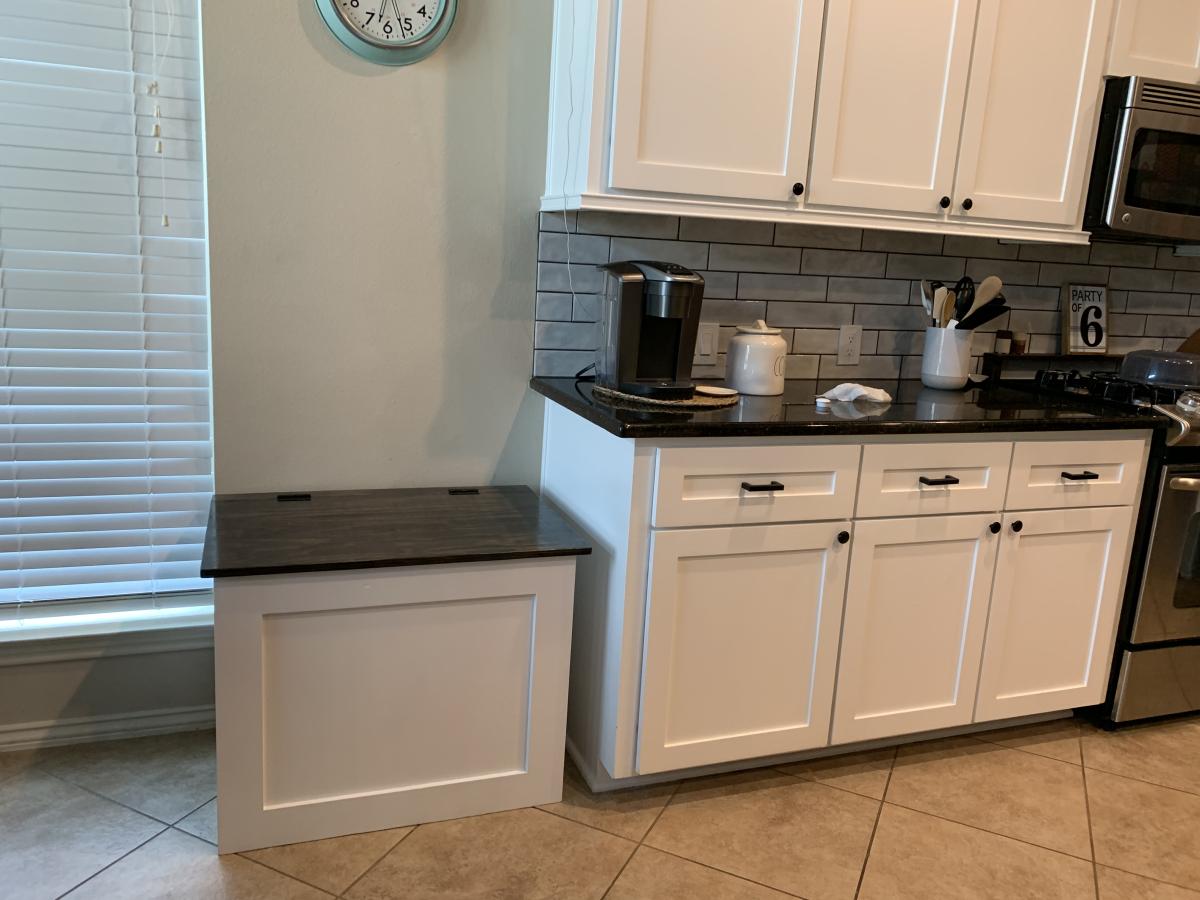
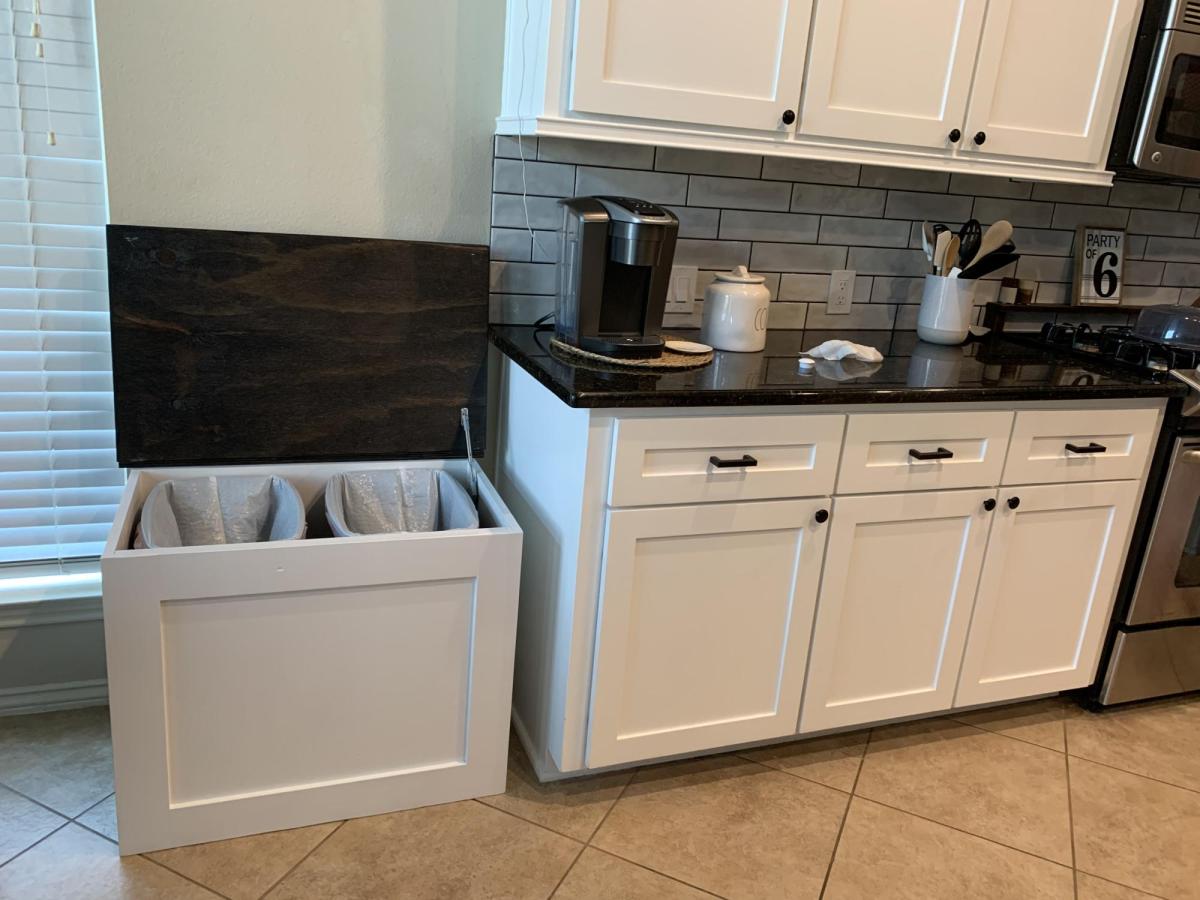
Fri, 05/05/2023 - 07:24
So much better than a regular garbage can! Thanks for sharing your version, it looks fabulous.
Built this bed for my 5 year old for Christmas. I planned on doing it alone but luckily my husband helped because it was much easier to put everything together with 2 people. I definitely recommend the Kreg Jig if you are going to be building this bed. The lumber for the bed was $190 with a 10% military discount at Blue then about another $100 for paint, primer, sand paper, screws, and hinges for the stairs. You could probably do it for less but we sprung for the expensive self tapping screws and I got a gallon of primer and a gallon of each paint color. It took me about a month to finish the bed working but between my twin 1 year olds, my husbands schedule, and making sure I wasn't to loud in the garage (we have a duplex and the garage is right by the neighbors room) I could only work about an hour a night.
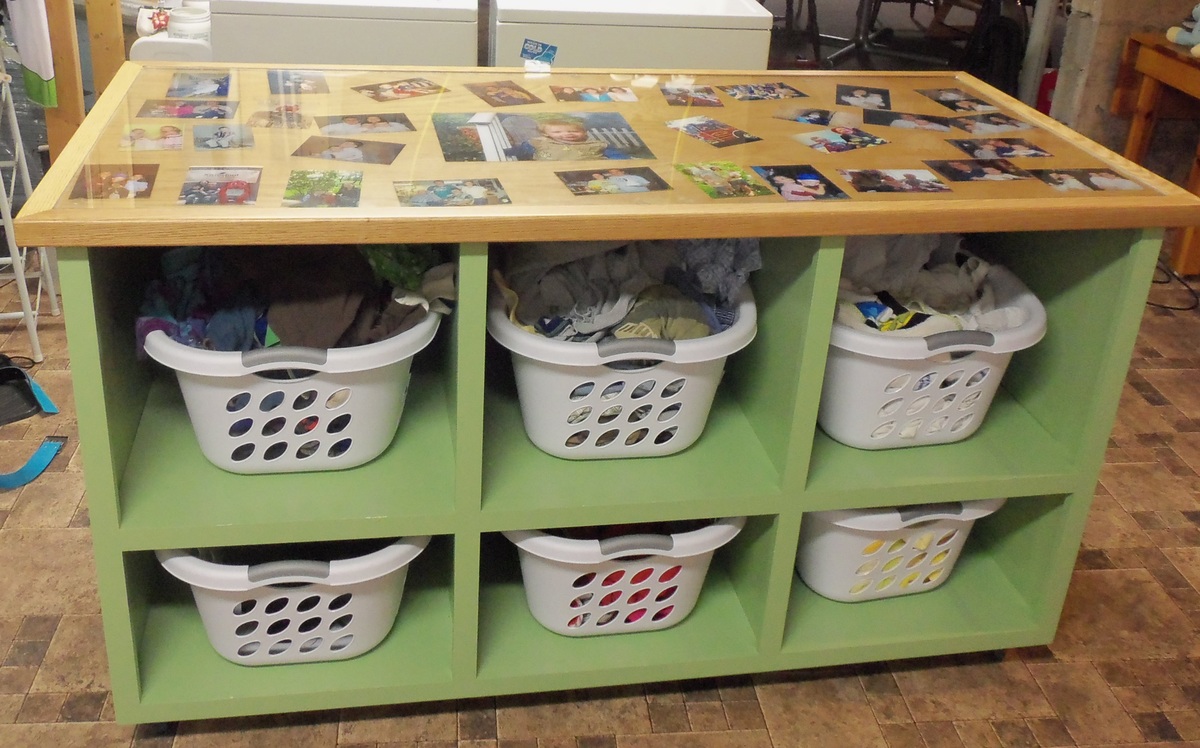
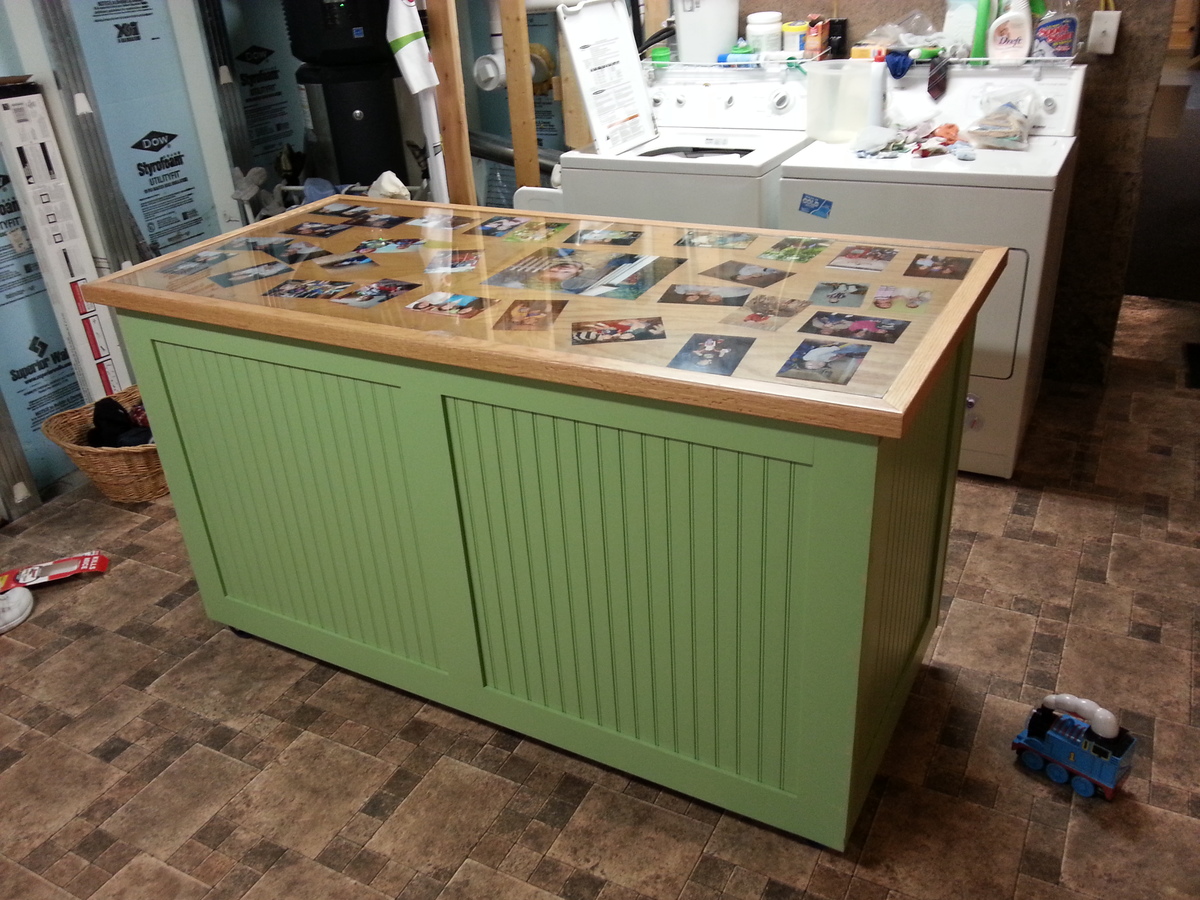
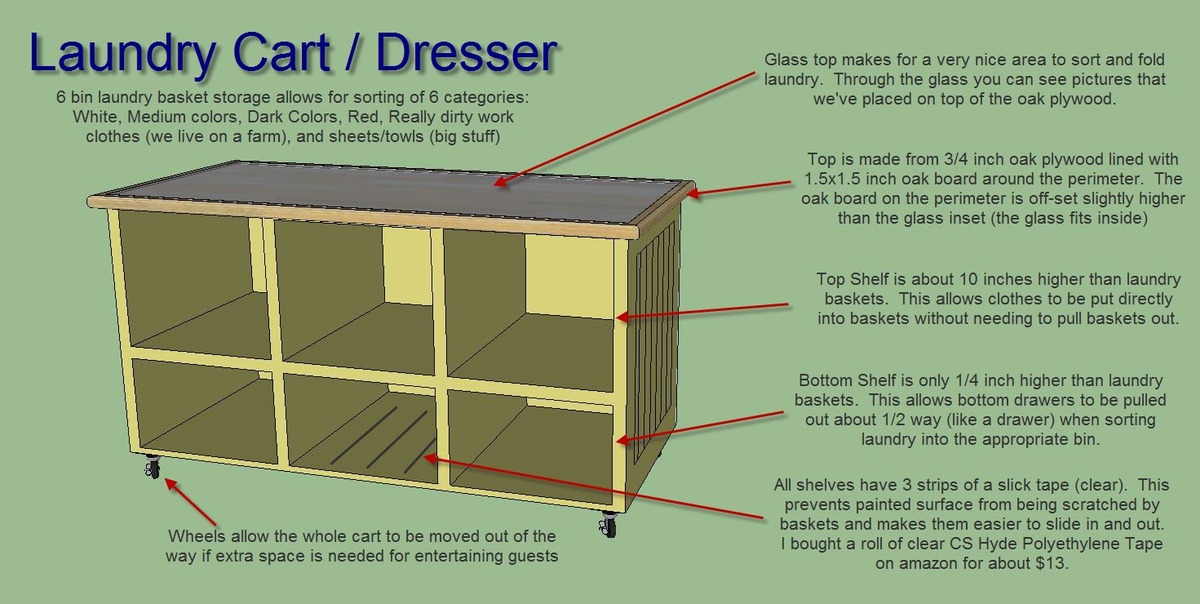
This is my take on the Laundry basket dresser. I started with the idea based on many photos I found on this site, but made some updates/improvements (well they are improvements in my mind anyway). Please view the last picture that has text for explanations of the "features" of my design.
I did some quick drawings in Sketchup, and then did some work in the workshop. I don't have exacting plans on the exact measurements, but you'd probably need to tweak for the size basket you plan to use.
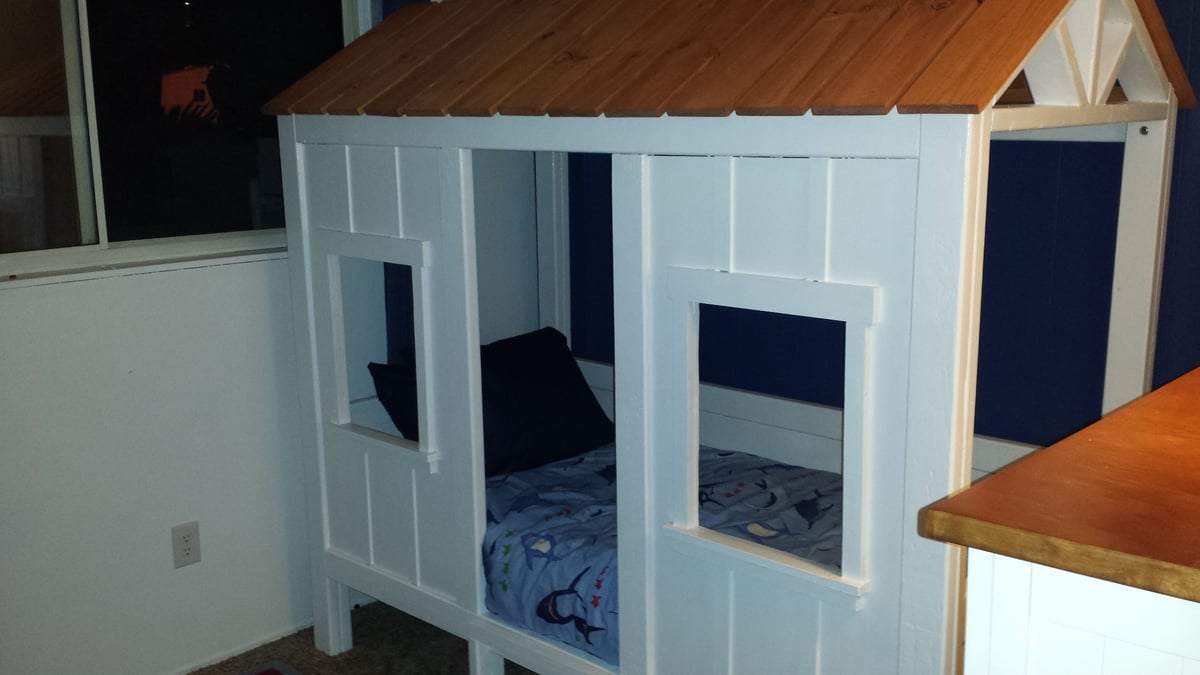
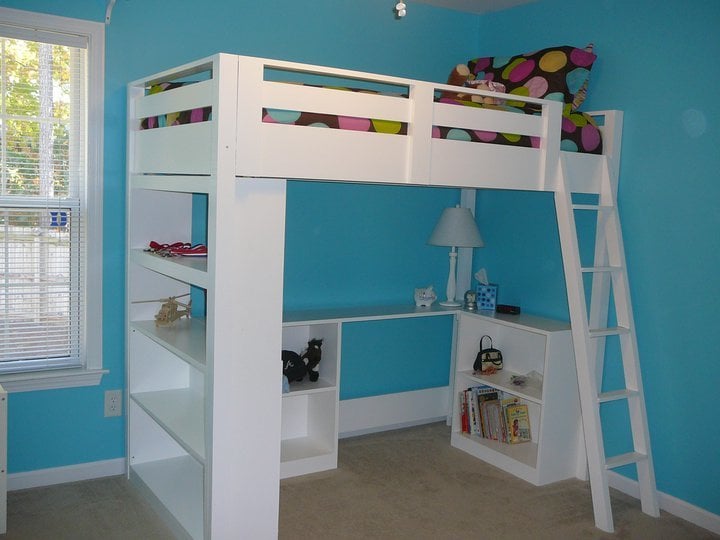
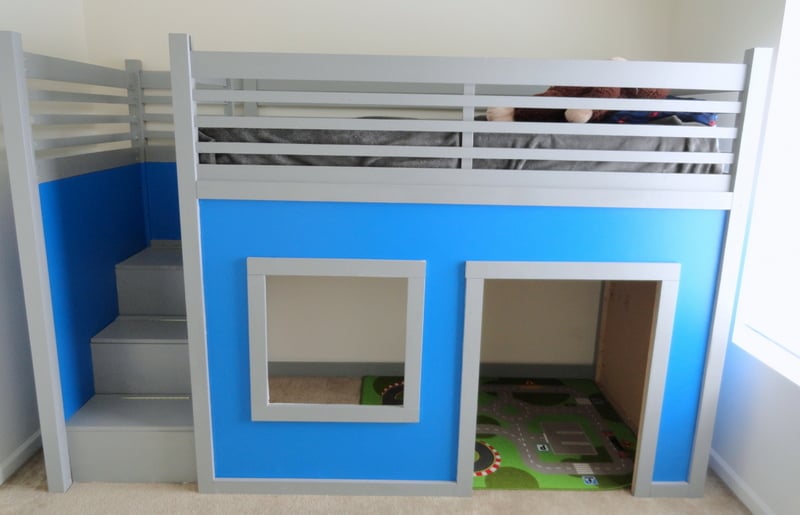
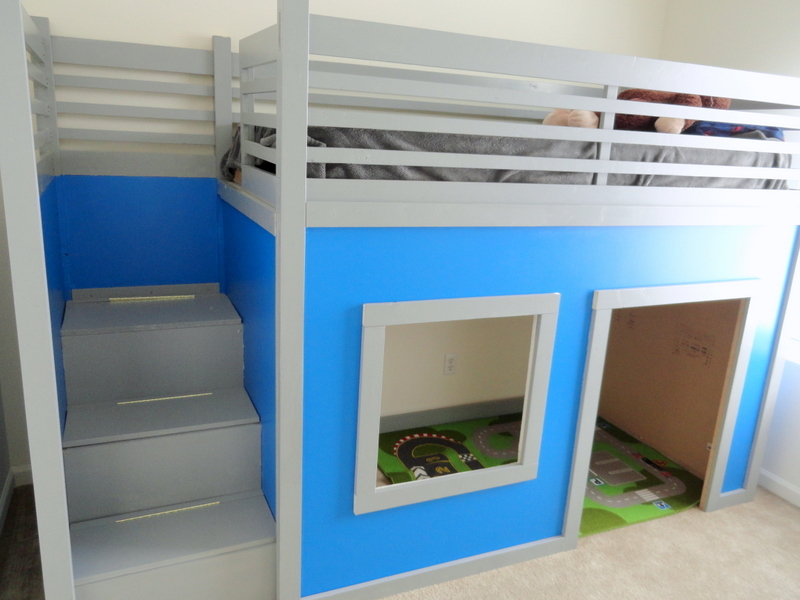
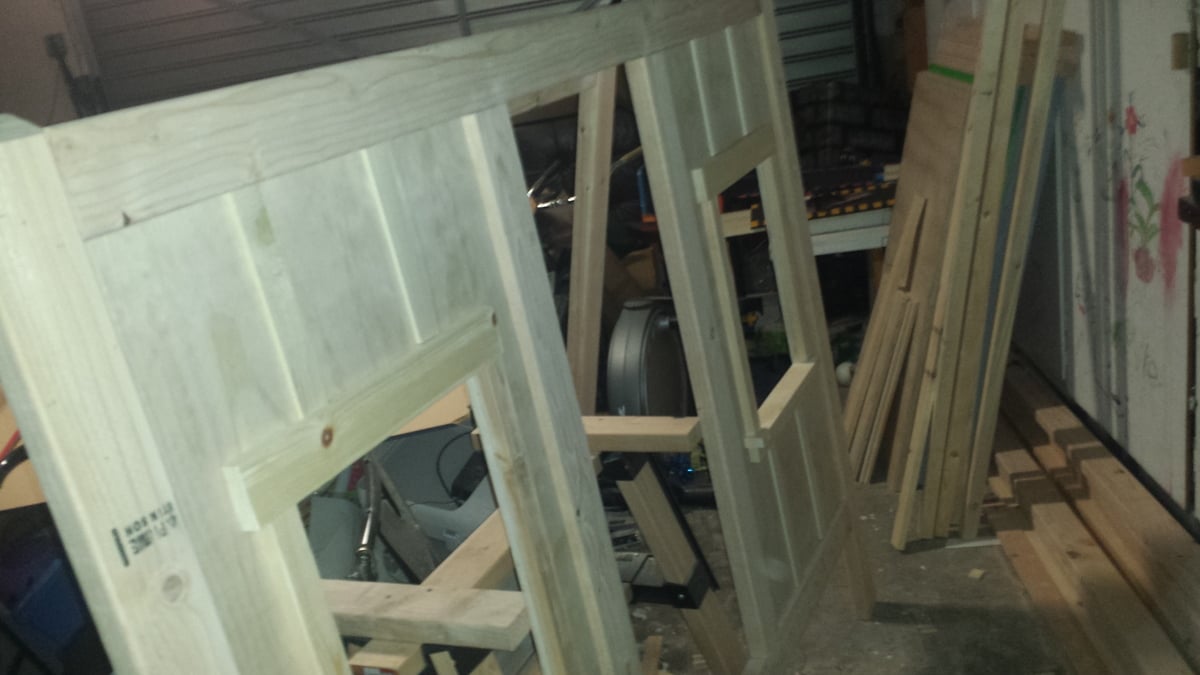
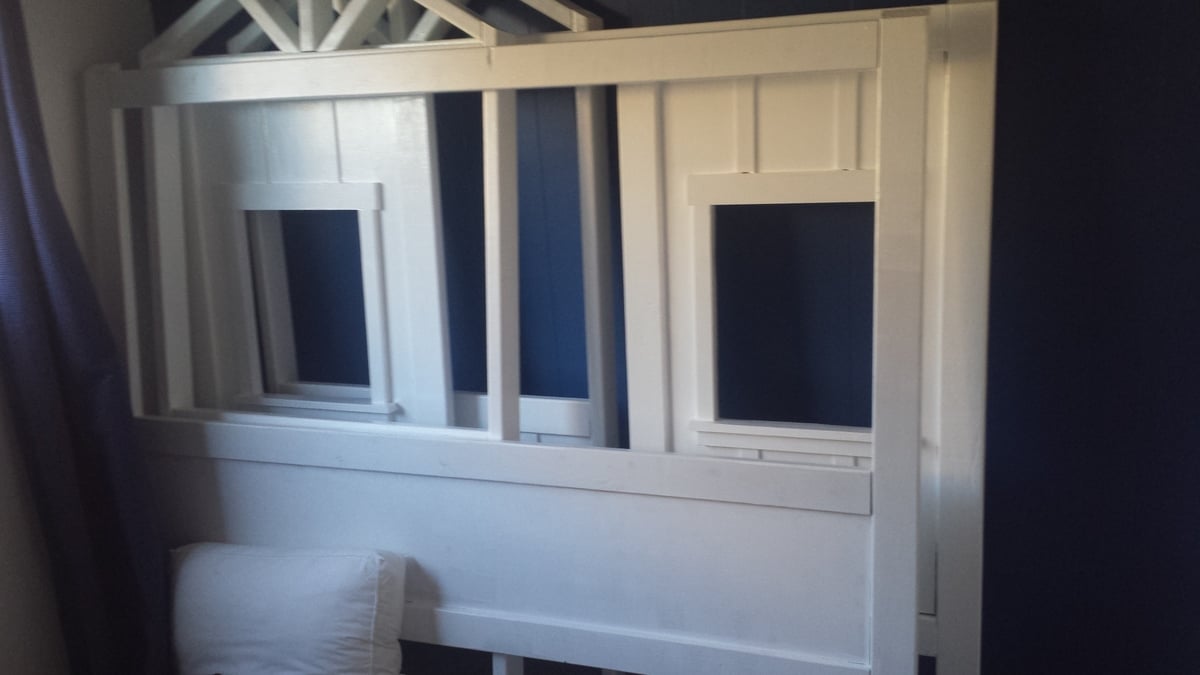
I built this for my son's beach room. We stained the roof to match his dresser and built him a ladder as well.

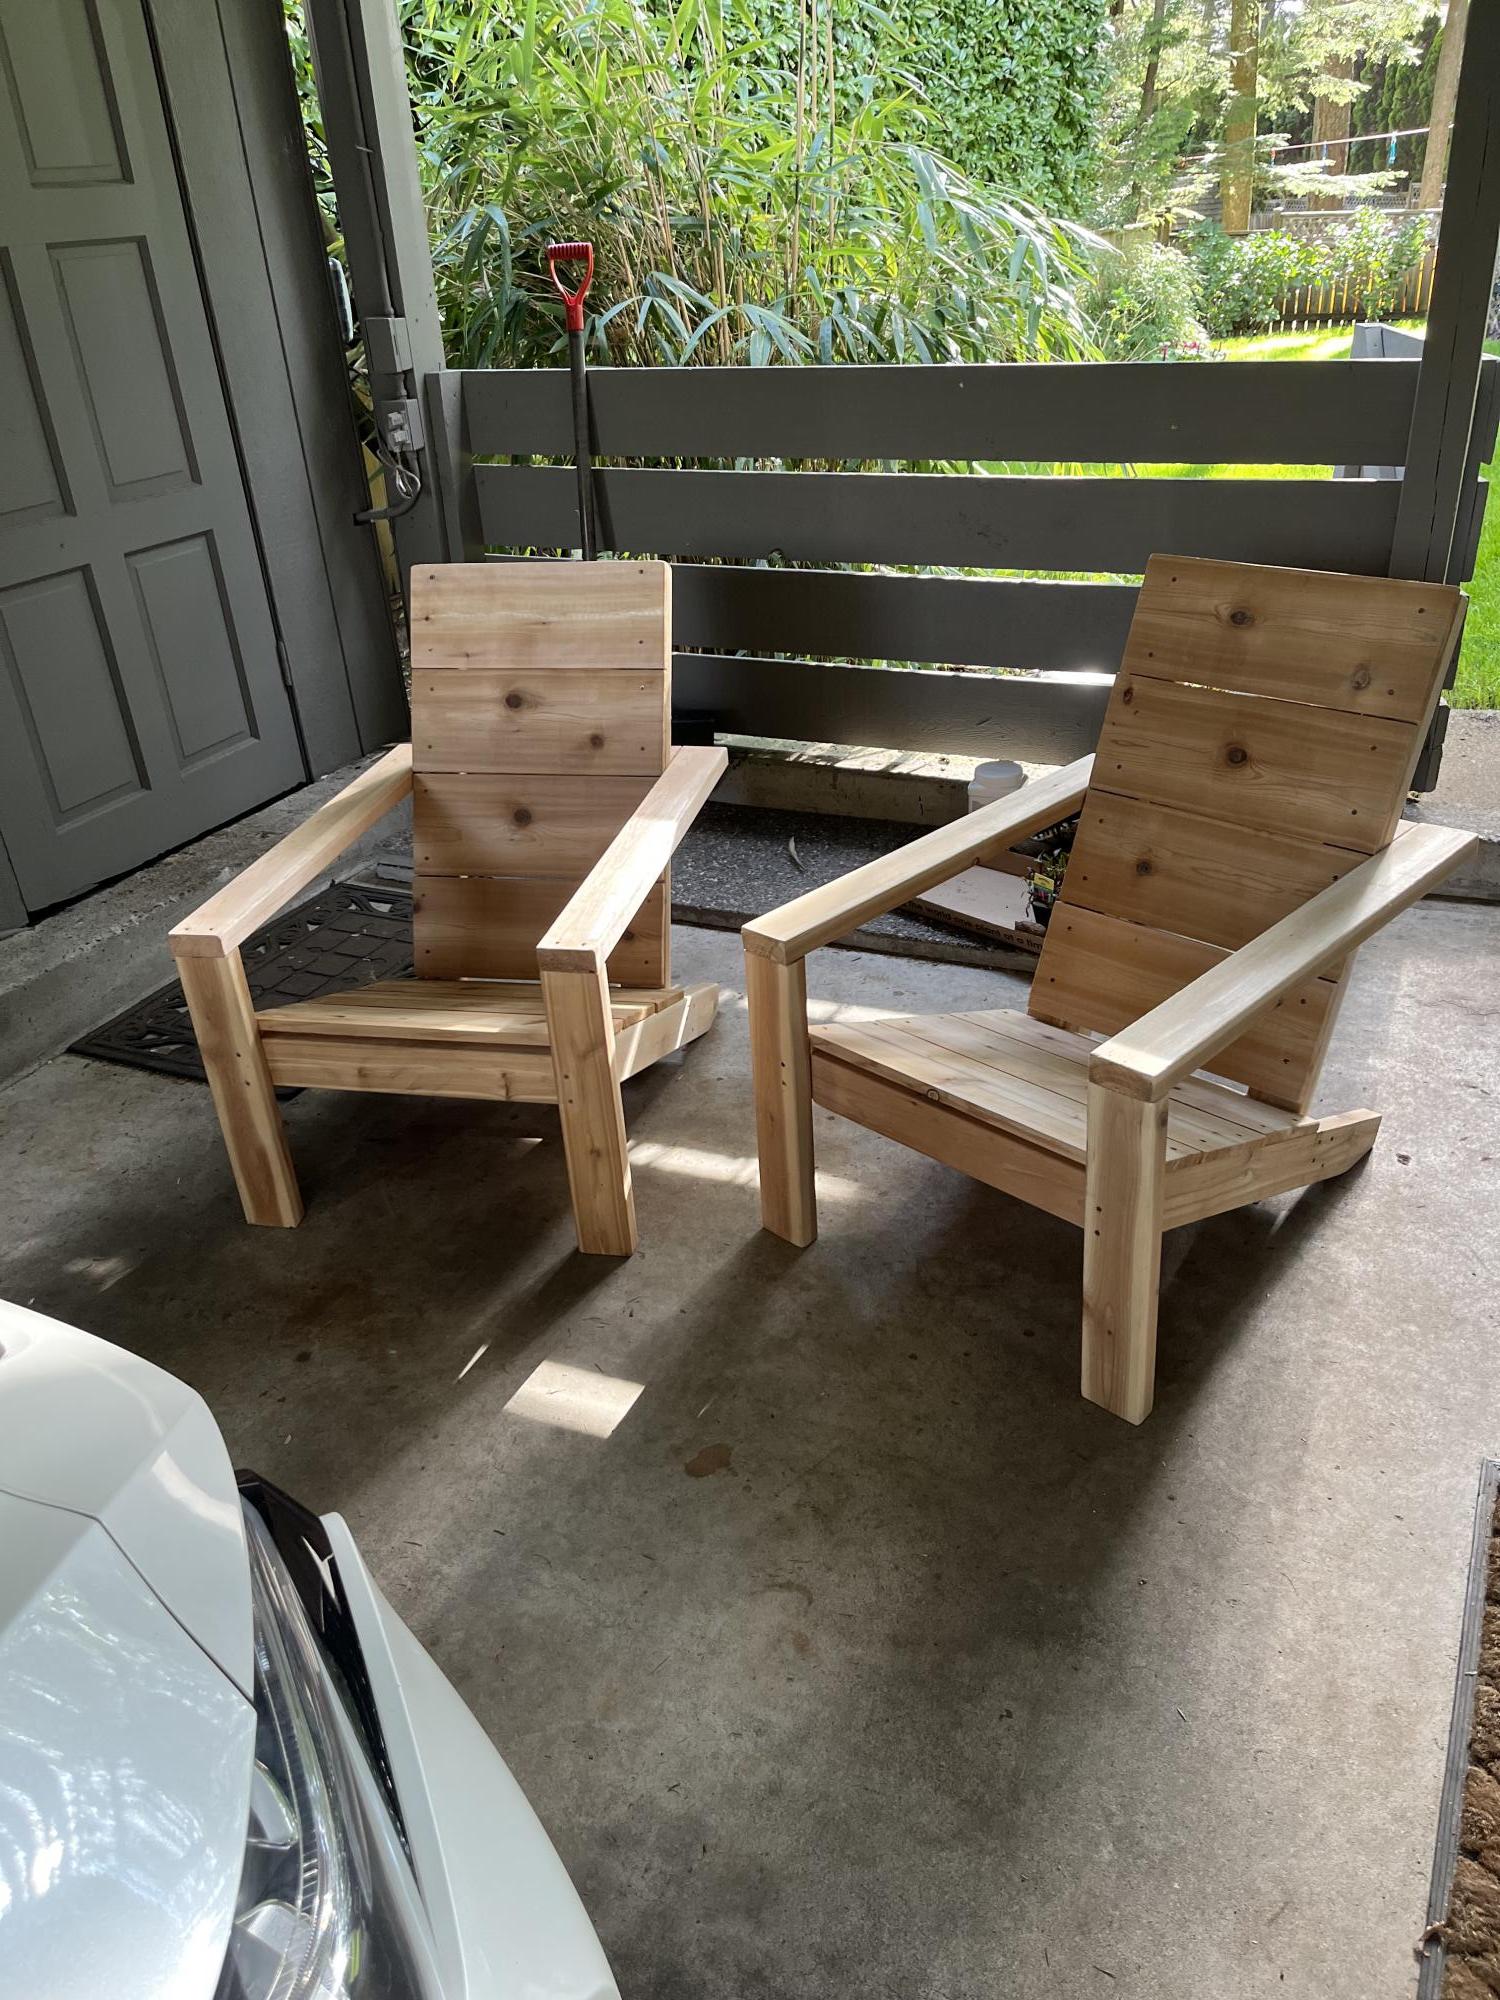
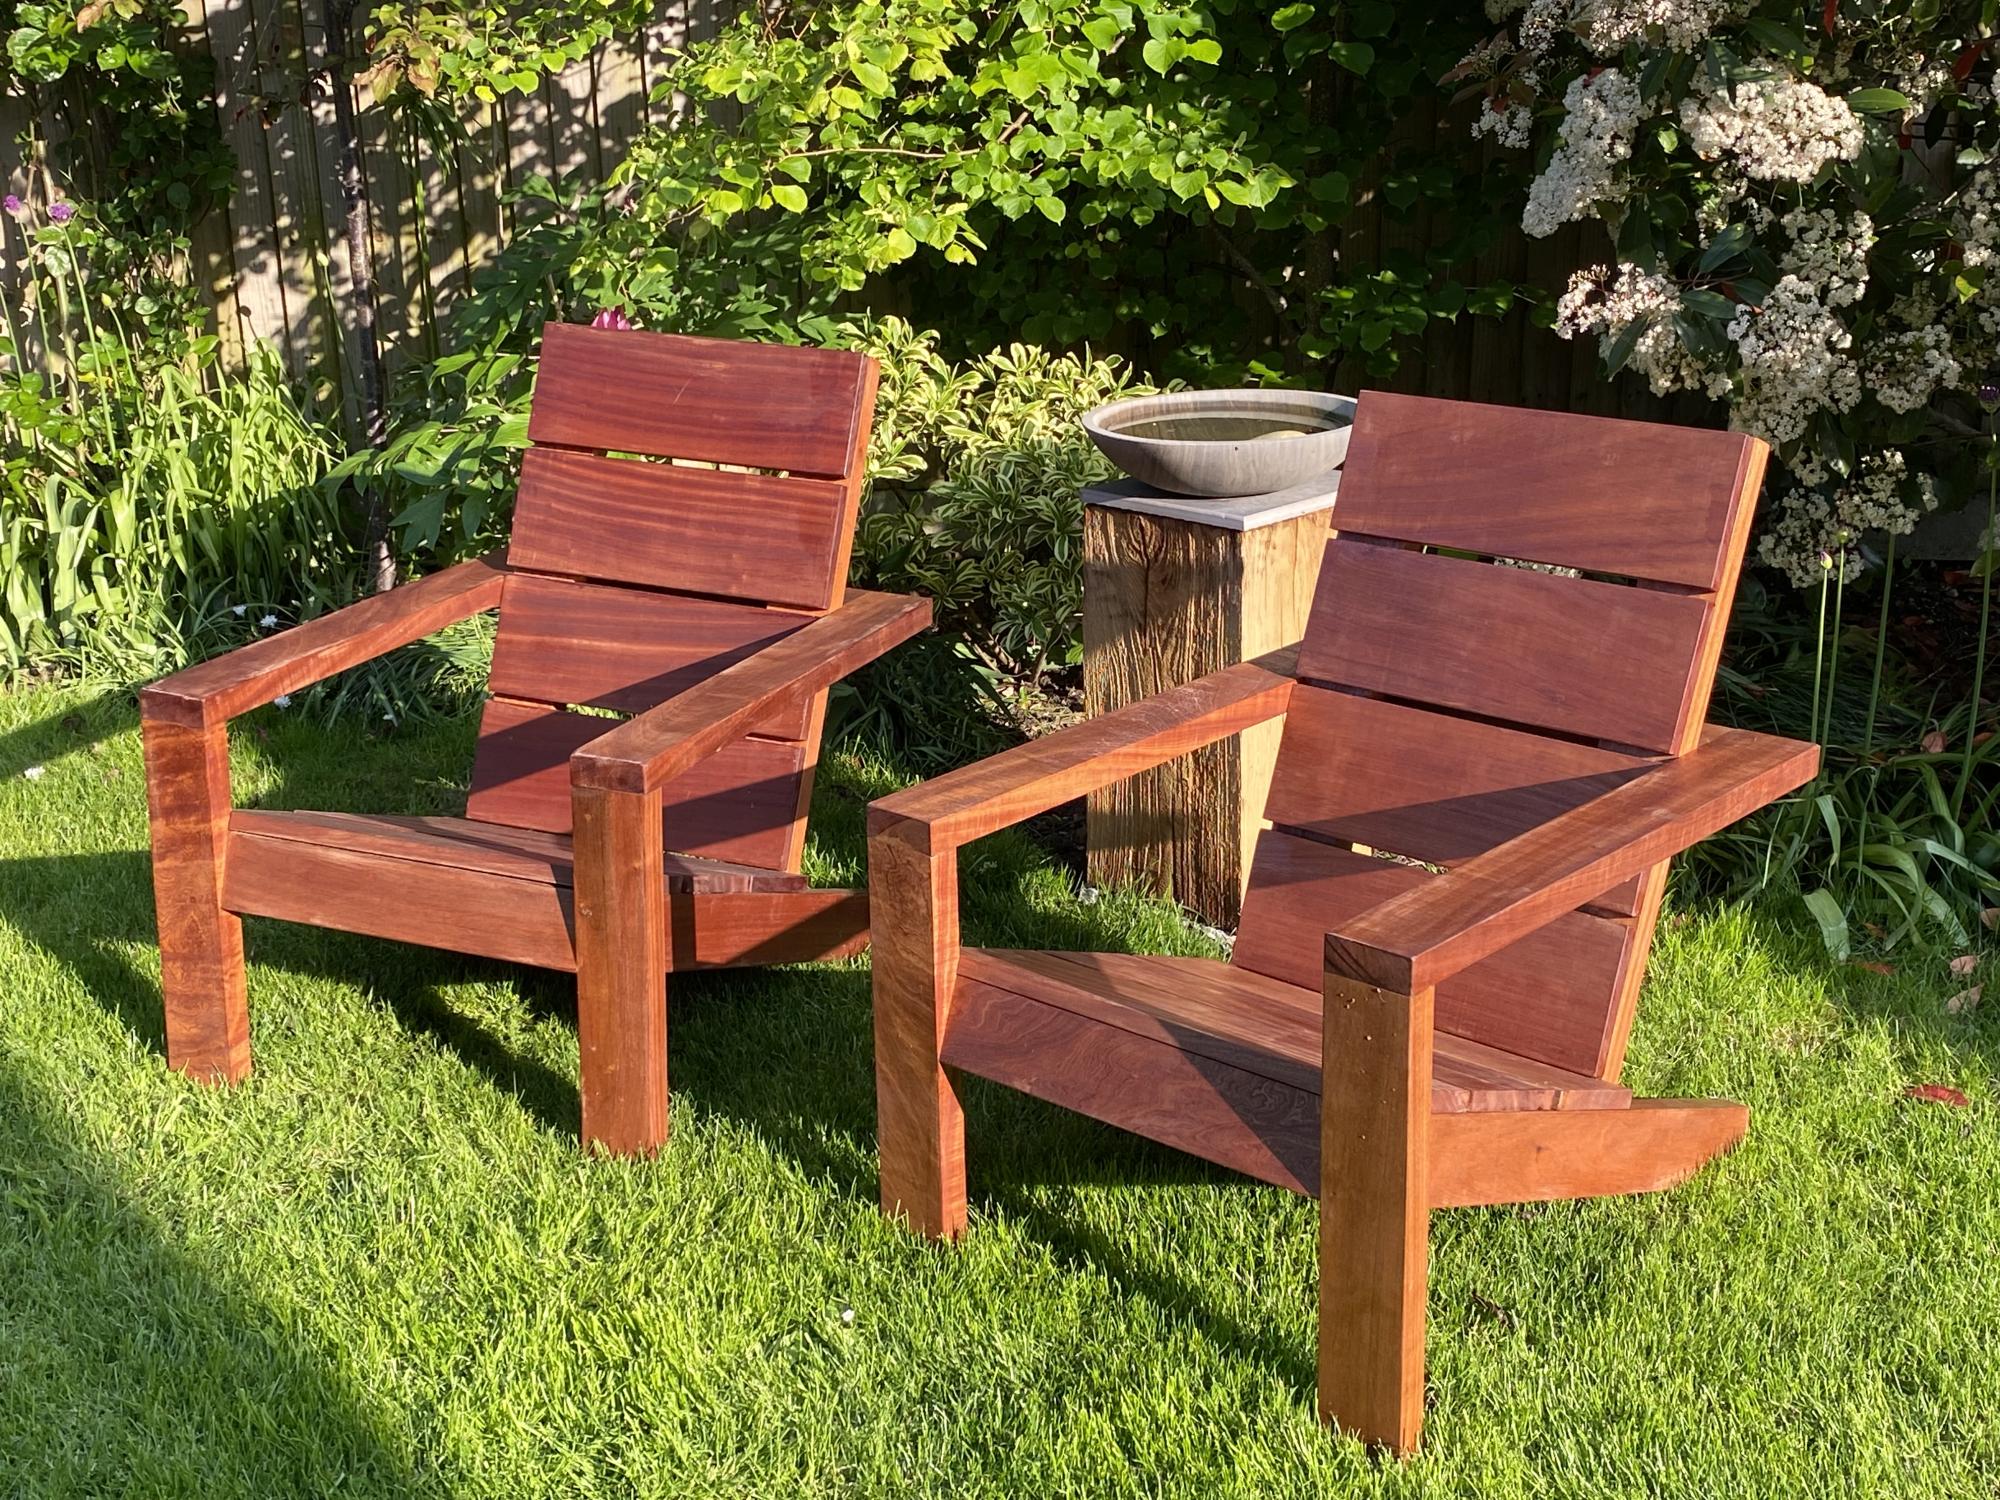
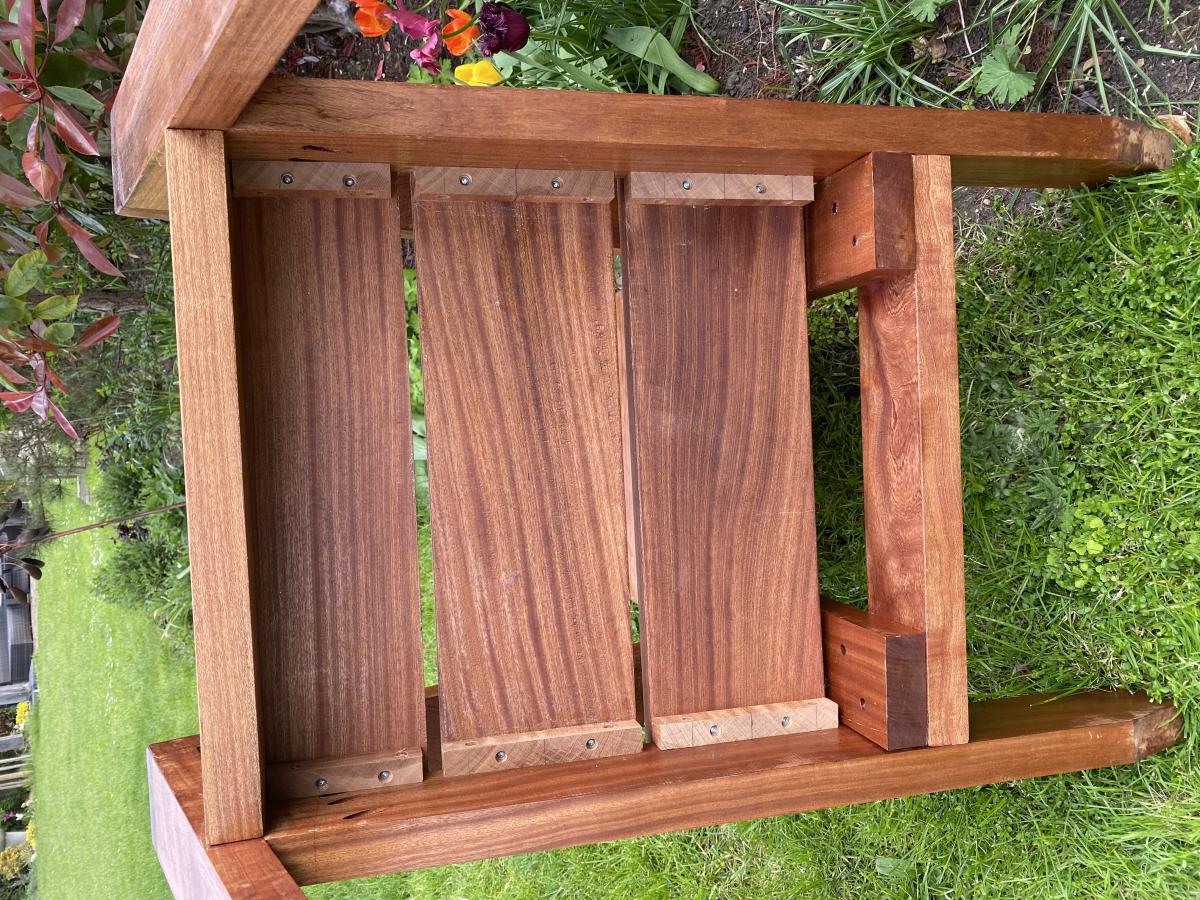
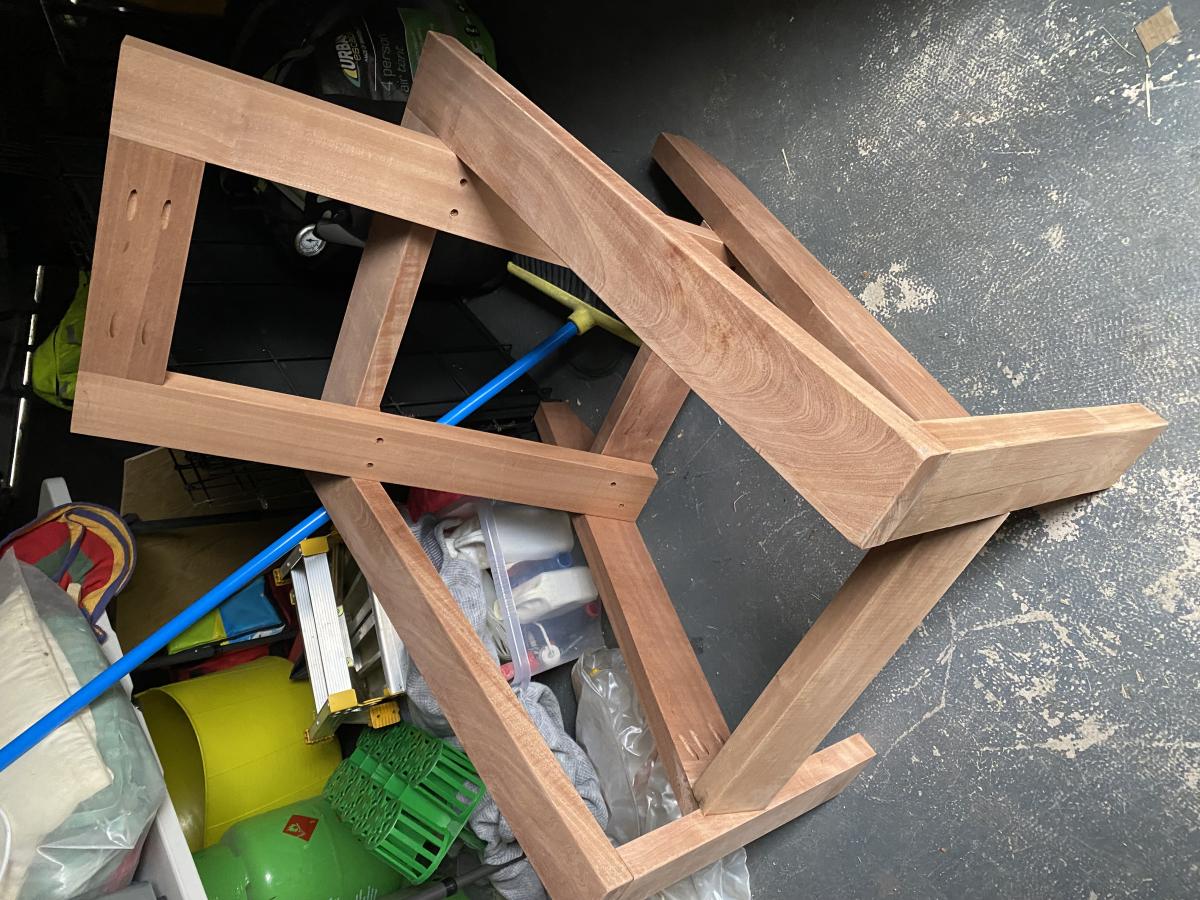
Finished the second chair using Kreg holes fir the arms
Cedar looks good I think
Mon, 05/08/2023 - 10:59
The cedar looks great, thanks for sharing your beautiful build!
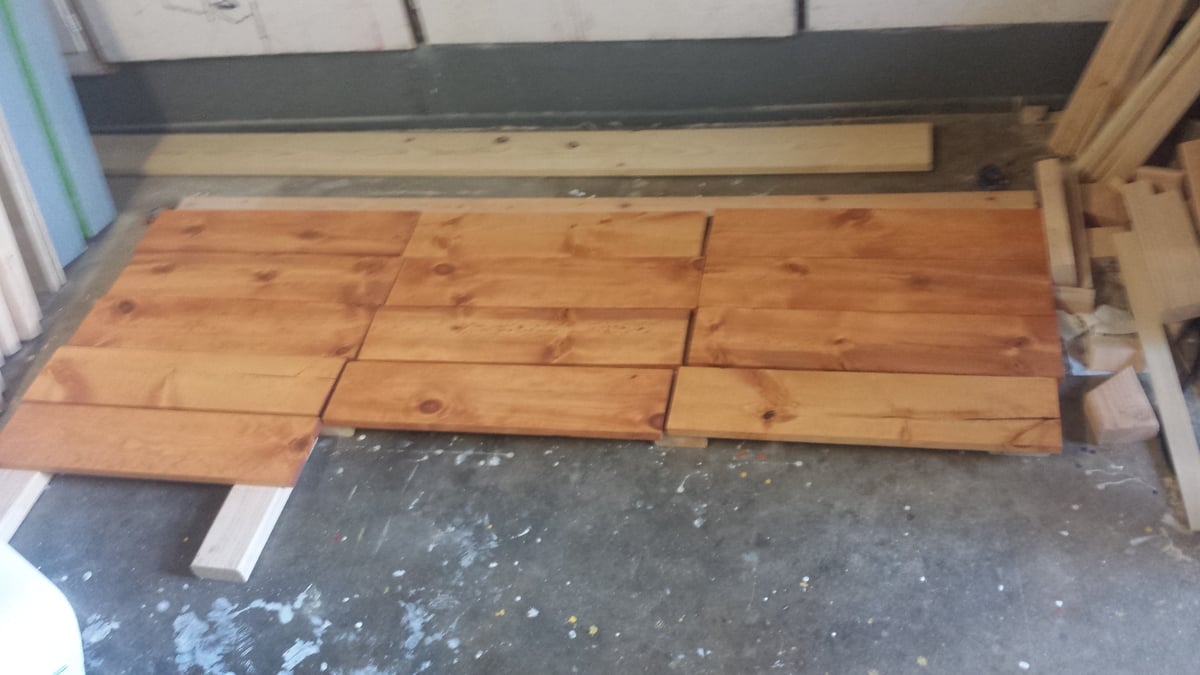
Thank you Ana! I requested my dads name this year for Christmas. Why? He has everything! With the help of my husband & son, we took wood out of my dads old farm house that is about to fall down. The house was built over 150 years ago, and to my suprise the wood walls were beautiful tounge & grove pine. I built the base out of big box pine & stained. The old pine I sanded lightly & scrubed down with murphys oil soap. The only finish was the Austrailian oil sealer in natural. Table left my dad speachless & with a tear in his eye. You made Christmas great Ana - Thanks

Sat, 01/07/2012 - 10:23
What a sweet and thoughtful gift! I love this table and the plan. Wish I had a place in my home to use one.
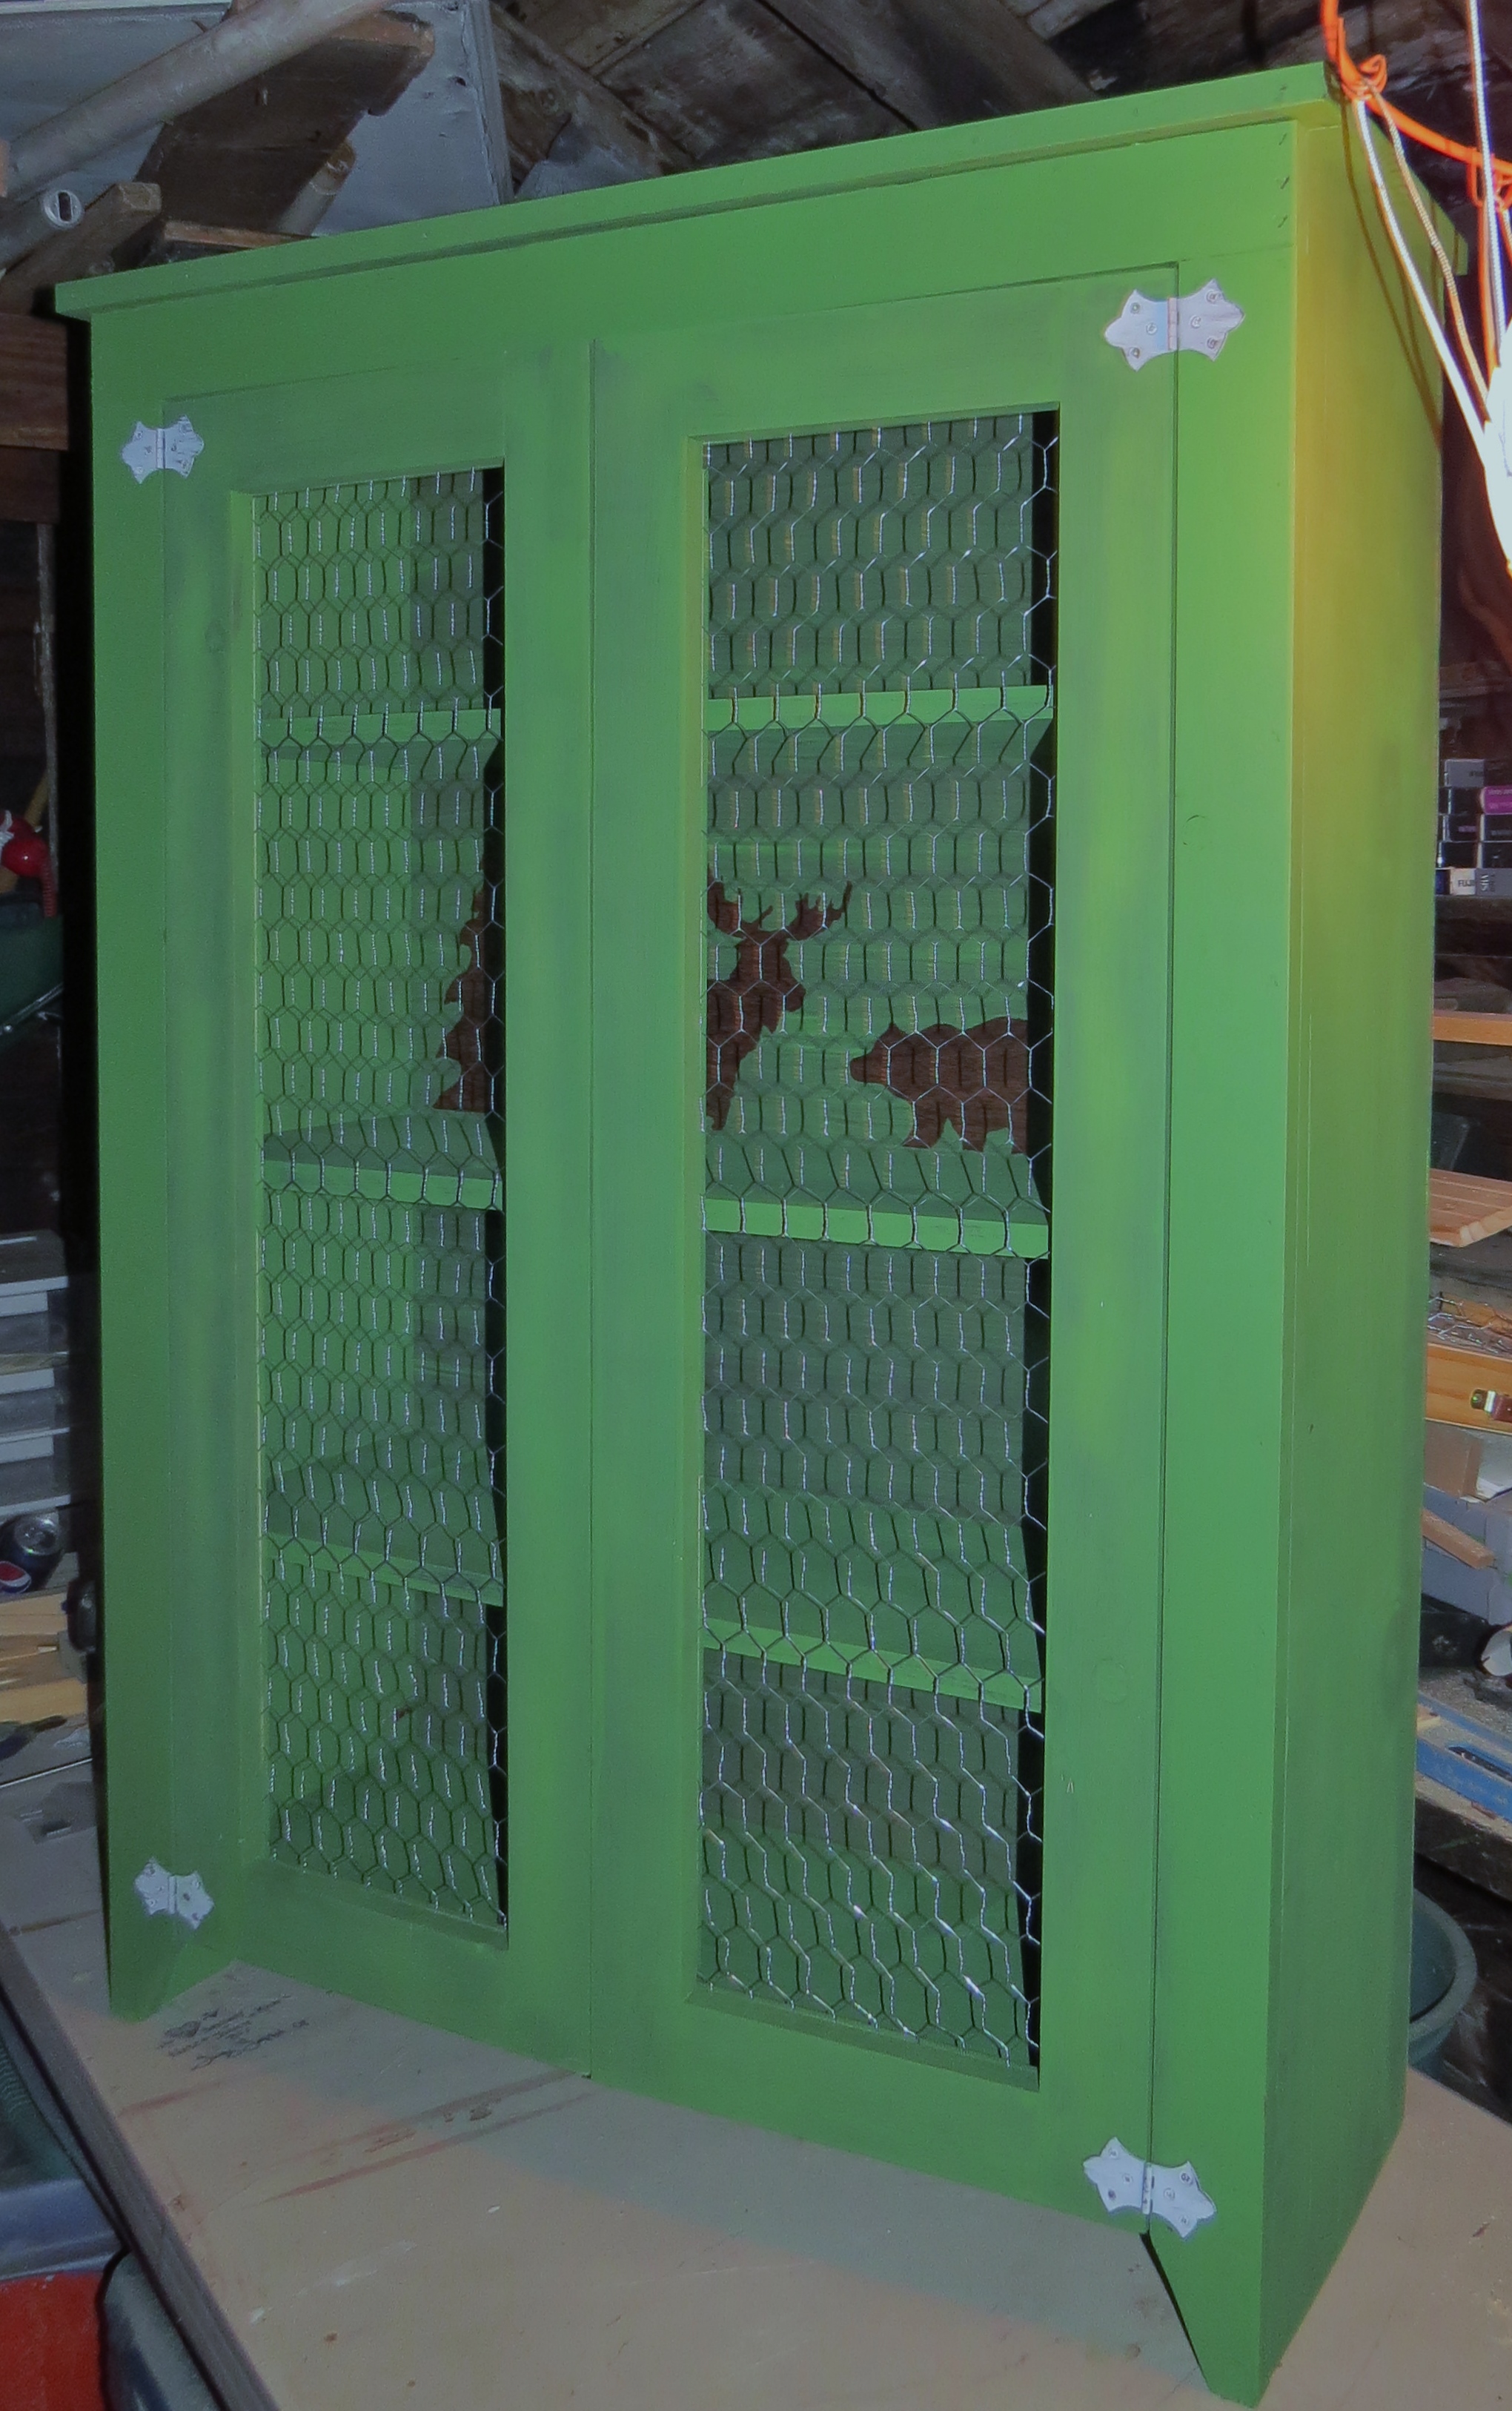
My mom as always wanted a jelly cabinet and there's one for sale at a local antique barn so when I saw the plans I knew exactly what I could get her for Christmas. The plan measurement's were a little off so I ran it through Google sketch-up to get the exact cuts I'd need and to play around a little with the plans. I used chicken wire for the doors and they came out better than expected. For a finishing touch, my mom loves black bears and moose, so I decided to include them in the final design. I went with free drawing them on contact paper and cutting them out and using them as a stencil, I love how they look. Overall it was a fun project. I just need to distress it a little and seal it with poly and it should be better well done.


Sat, 11/23/2013 - 16:29
I couldn't get the link to work in the actual form, but it's Patrick's Jelly Cupboard ... http://ana-white.com/2011/12/plans/patrick039s-jelly-cupbard
Wife wanted me to throw out all the scrap wood I had lying around. Instead I made some killer barstools. Fun look.
This was my first project in about 10+ years, so it's not perfect. Thanks to my oldest son who bought me a compound miter saw for Mother's Day and a few of my hubby's tools. My son's and I completed this project over the weekend. Looking forward to our next team project.
Loved design so decided on hardwood and no visible screw heads….. took a while but loved the result

We took the idea from this brag post, and changed the dimensions to fit the space in front of our window. We actually built 2 bases to ensure it would be sturdy. We love how it turned out! Check out our blog post for more details.


Sat, 07/27/2013 - 09:26
Hi Molly. I can't find the plans for this project. Can you please help me. I absolutely love it!!!

Nightstands are expensive. I don't have money. So, I thought I would build one. I kept this one rustic looking by not filling the holes but I did sand quite a bit. Just not enough to remove the printing on the boards, I think it looks good when it's got finish on it.