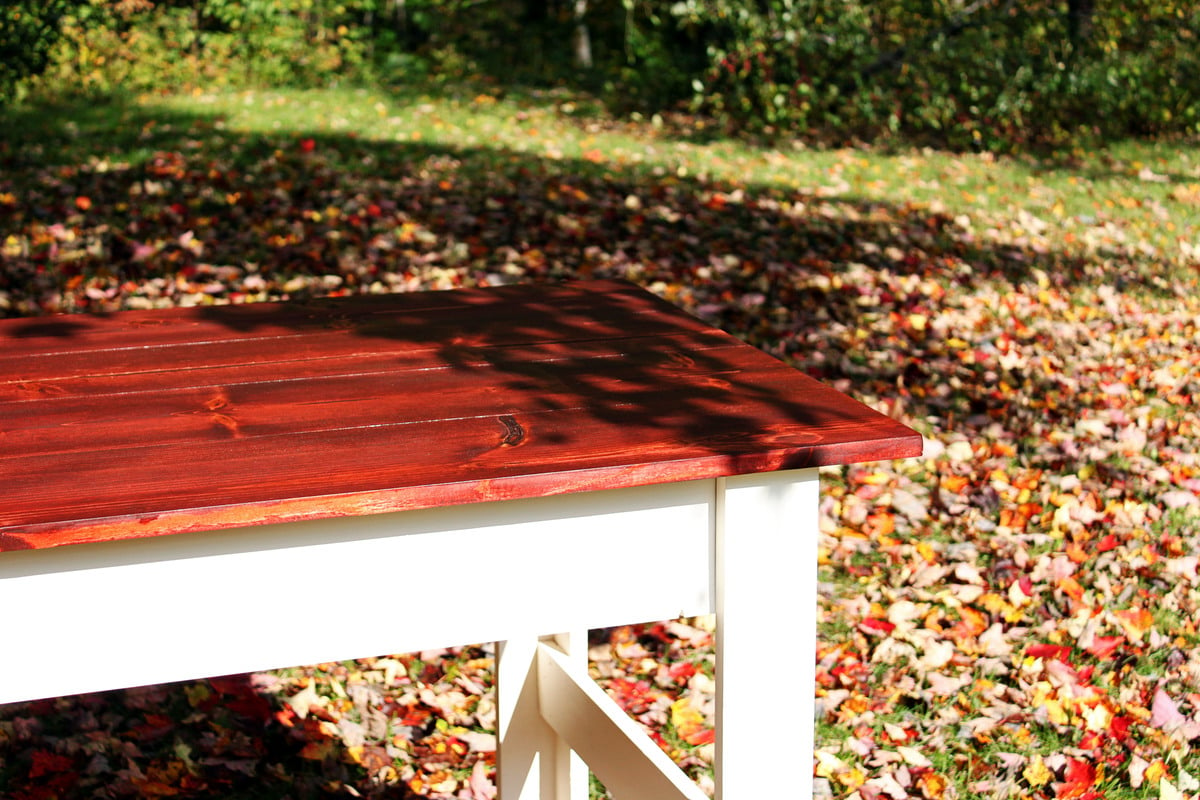
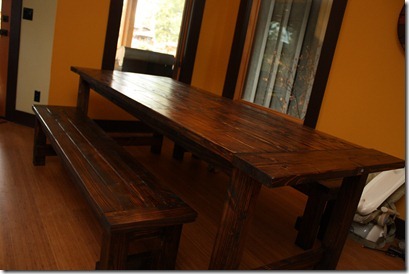
Farmhouse dining room table

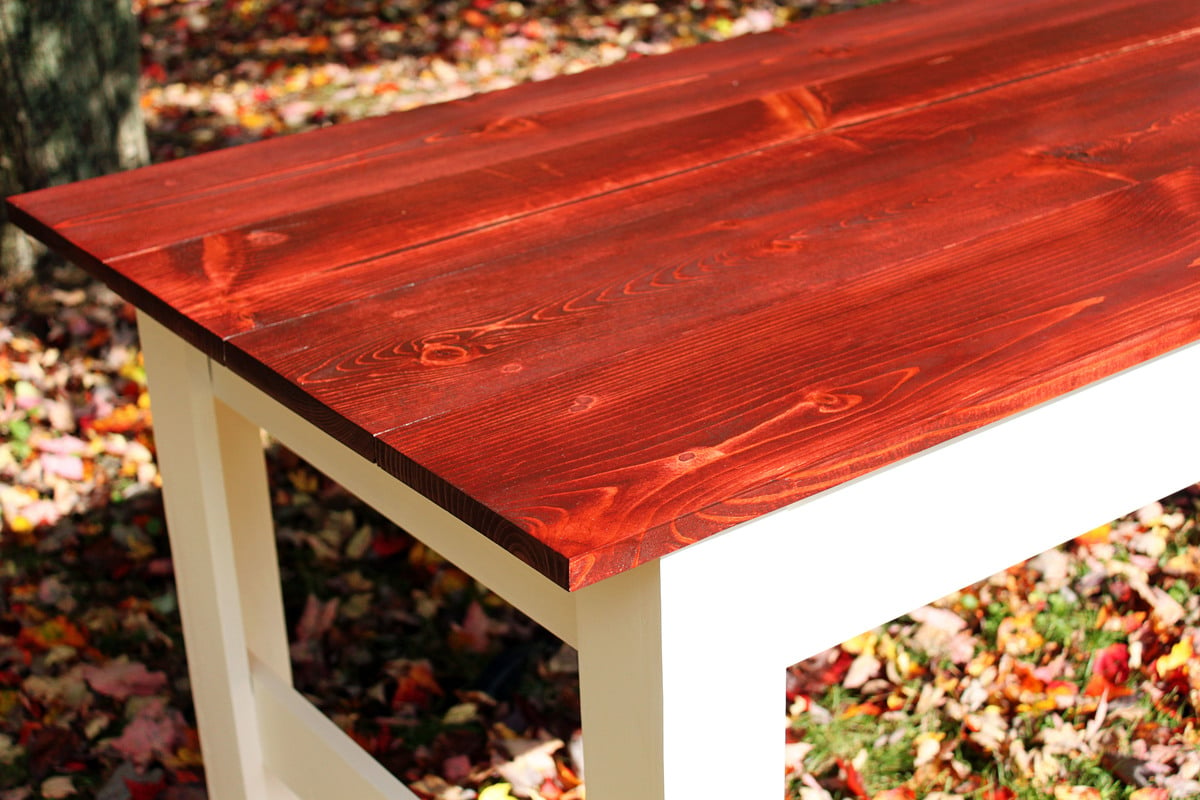
This table started out with several pieces of rough pecan slabs. I planed the lumber and created the table. It is finished with teak oil.
Built from Plan(s)
This table started out with several pieces of rough pecan slabs. I planed the lumber and created the table. It is finished with teak oil.
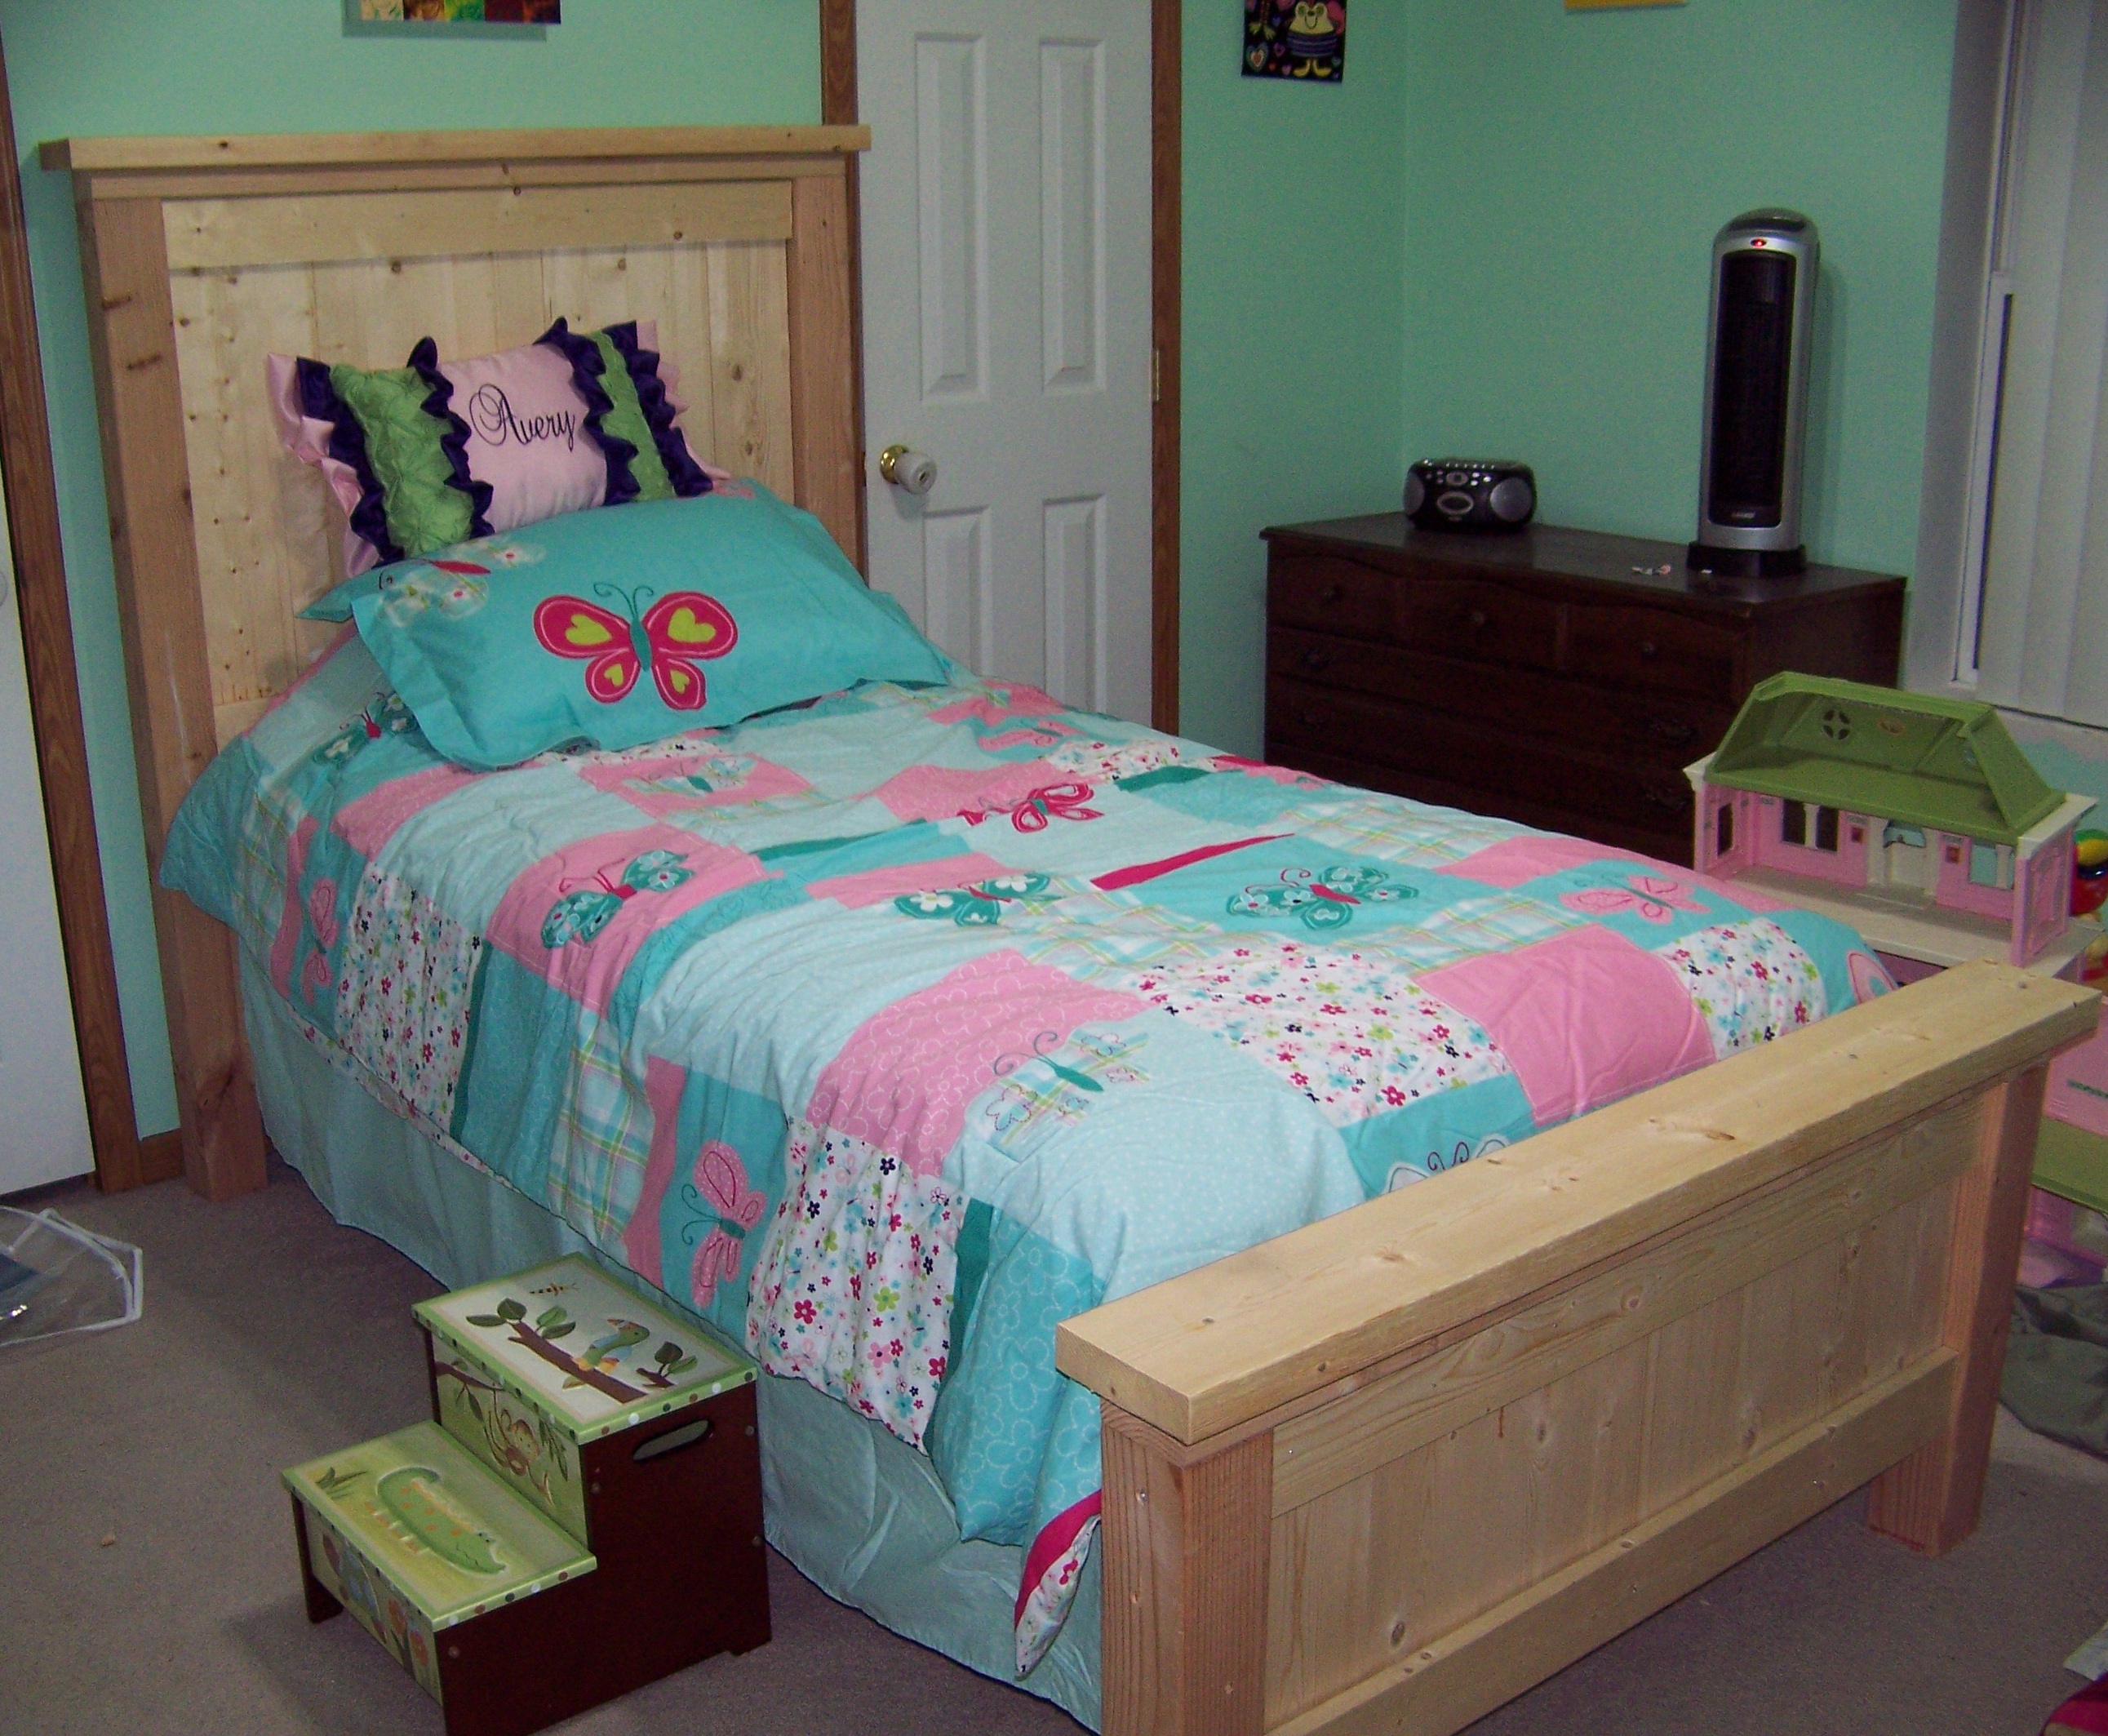
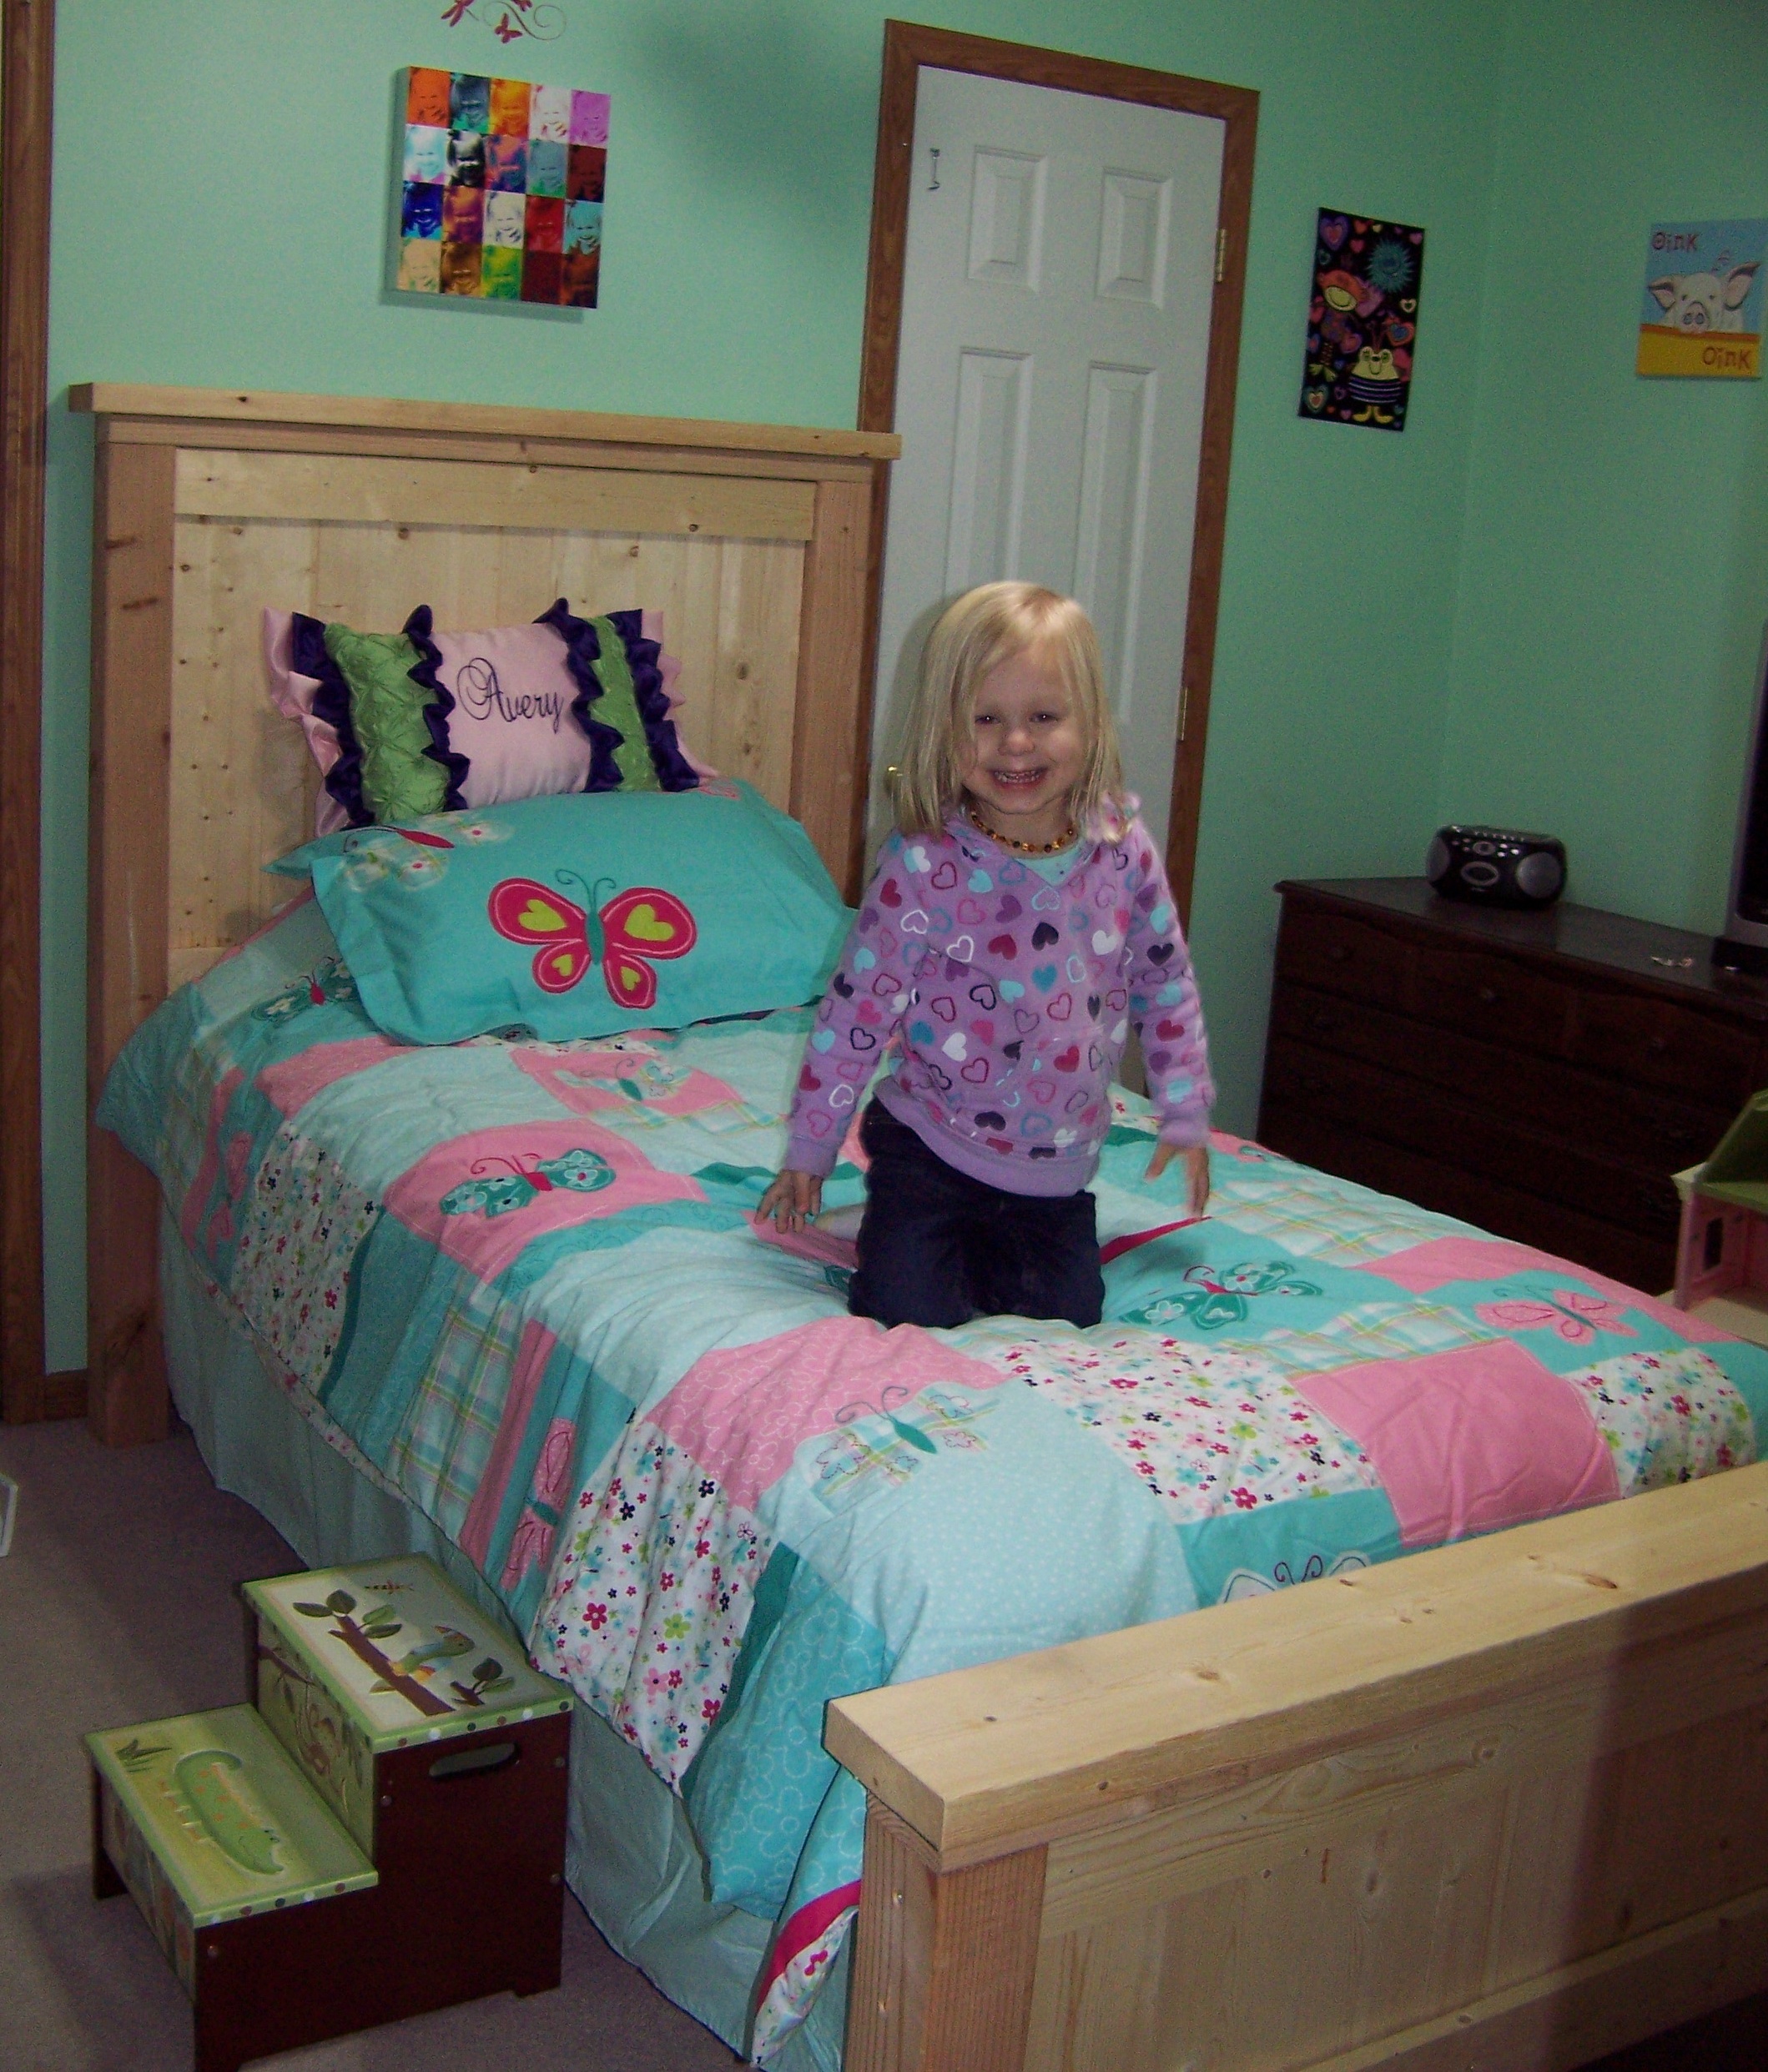
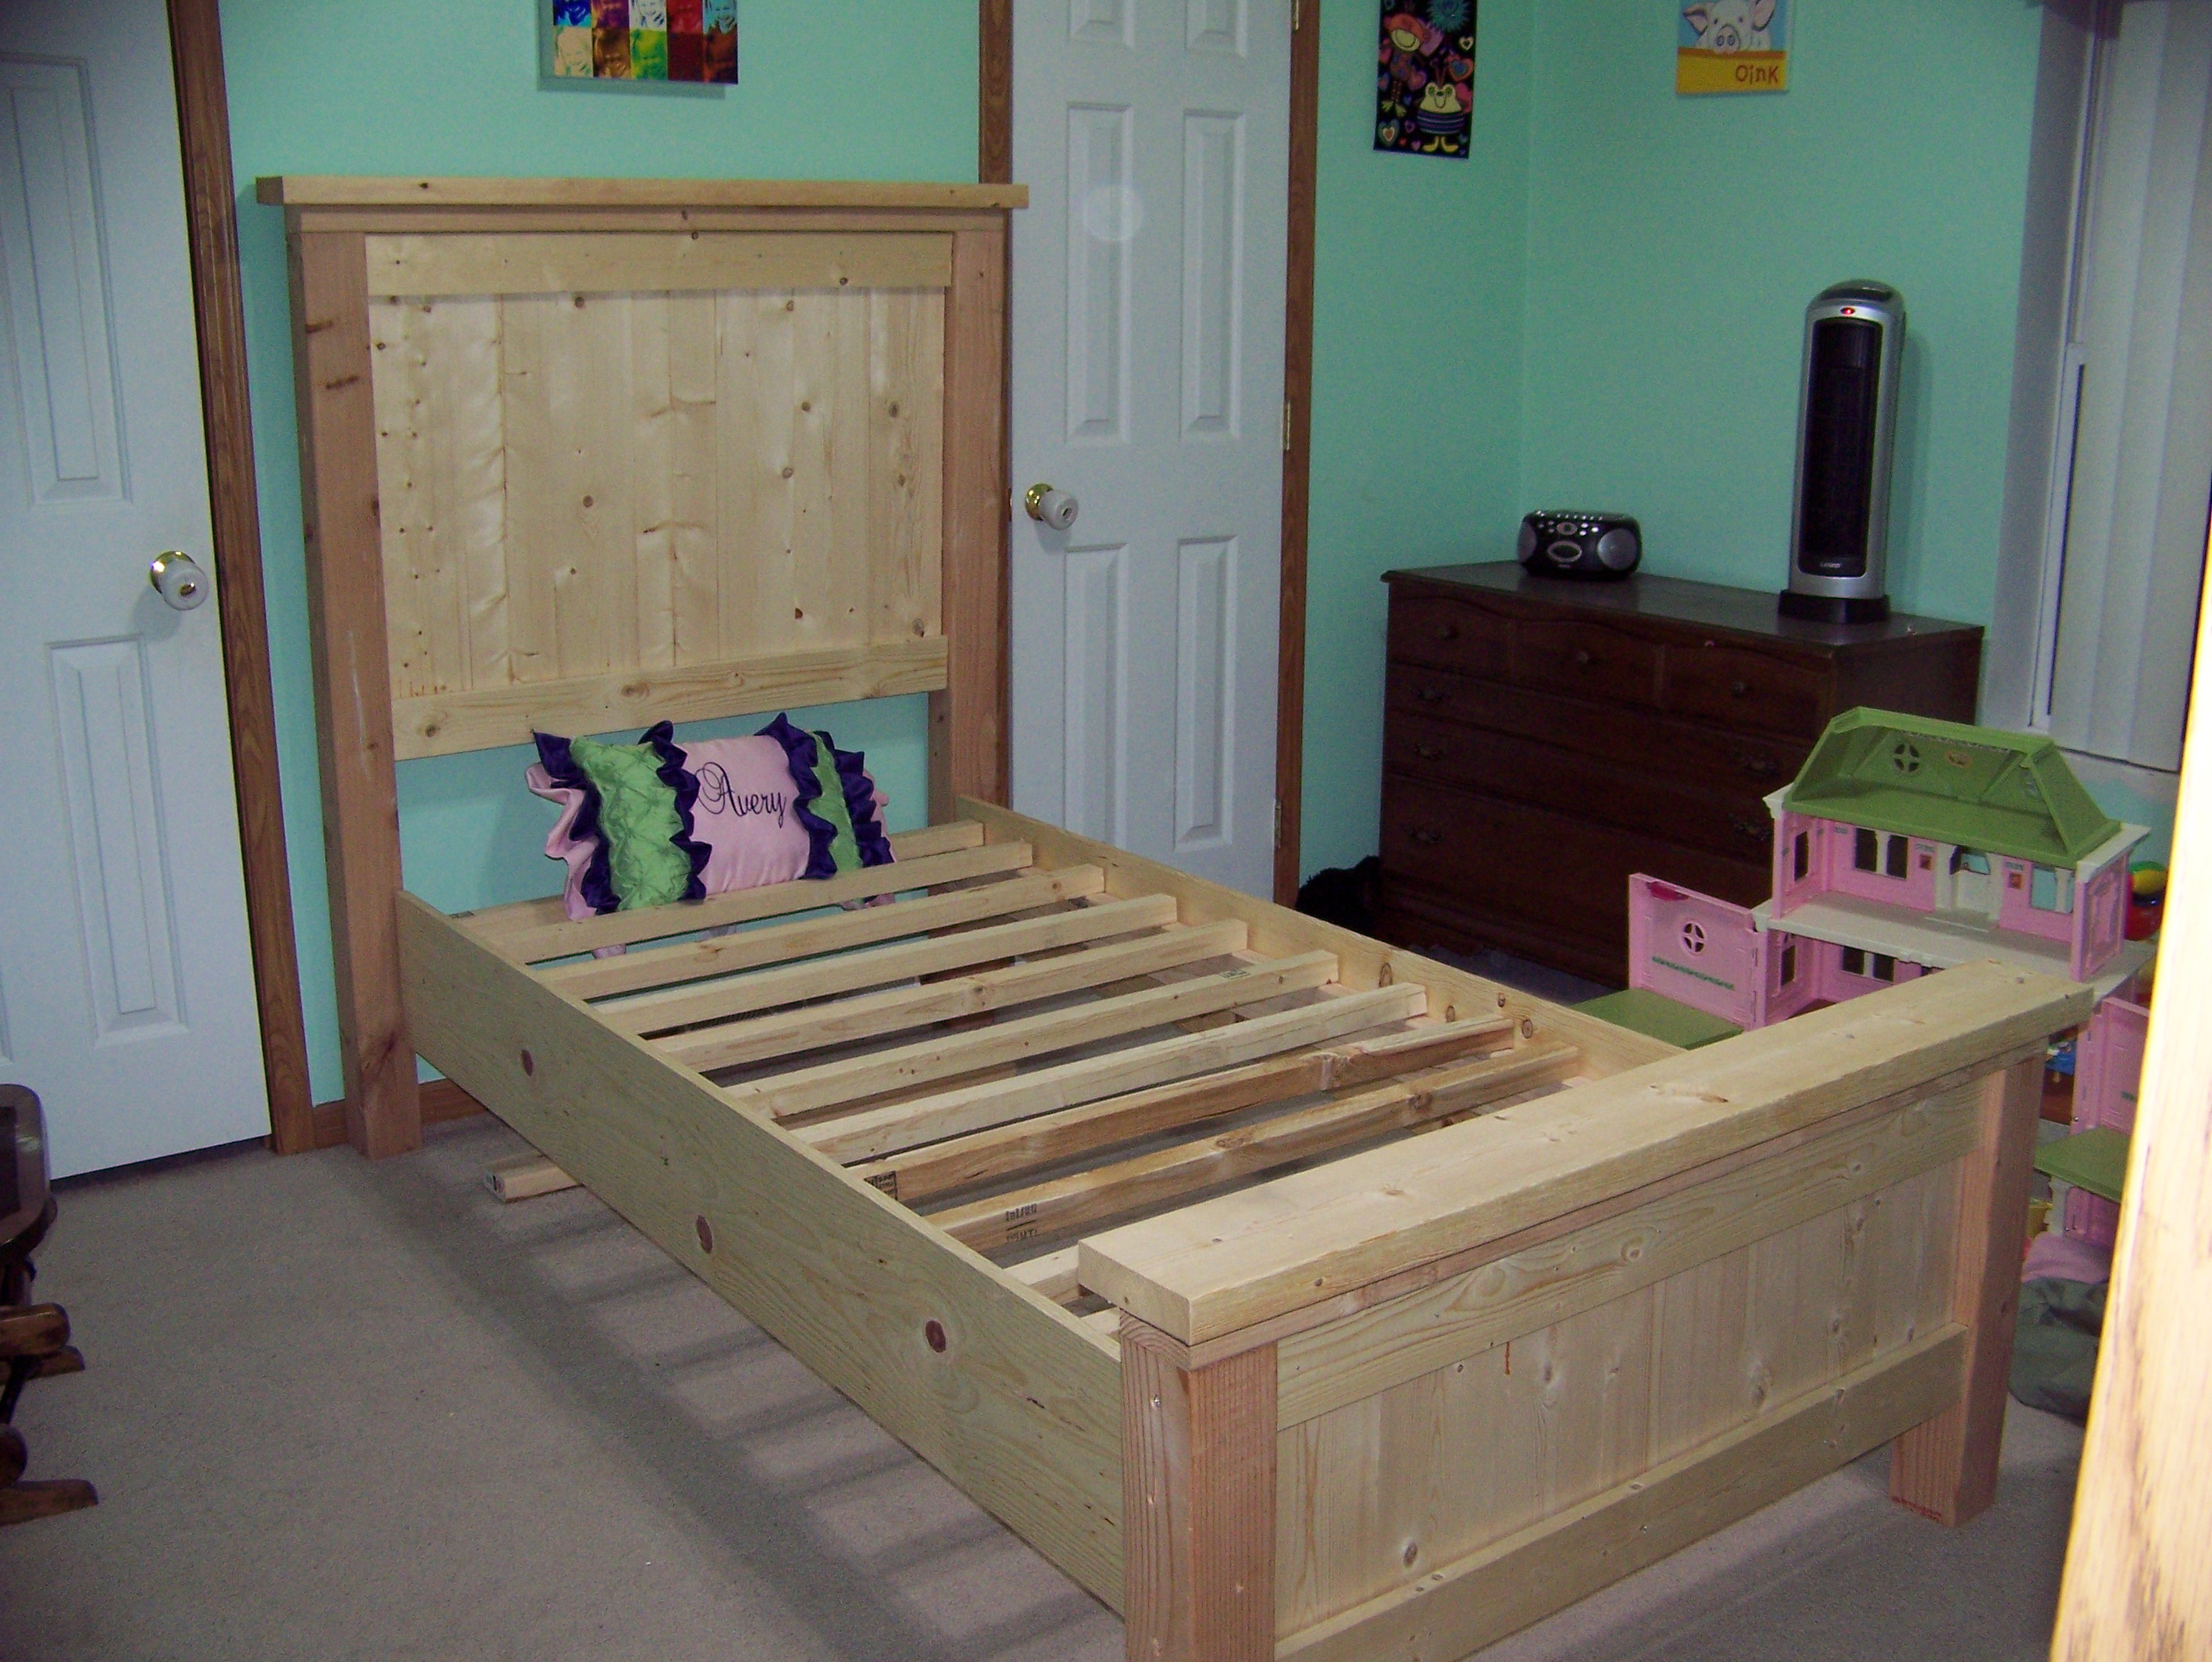
This was made with the Farmhouse Bed Plan.
Woodworking runs in my family, but this is my first item built from scratch.
We decided to leave it bare for a while. It looks beautiful as is.

Mon, 01/07/2013 - 07:24
I will be building this with modifications to the headboard. I'm going to put baseball bats in-between the 4x4's as the header.
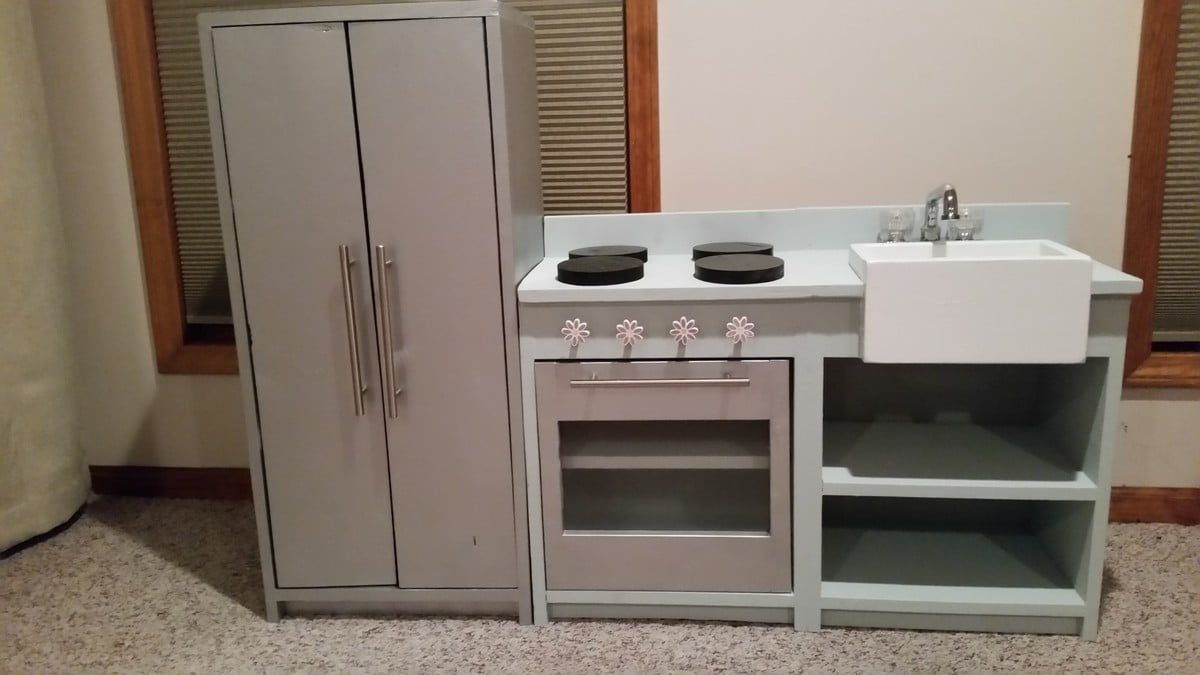
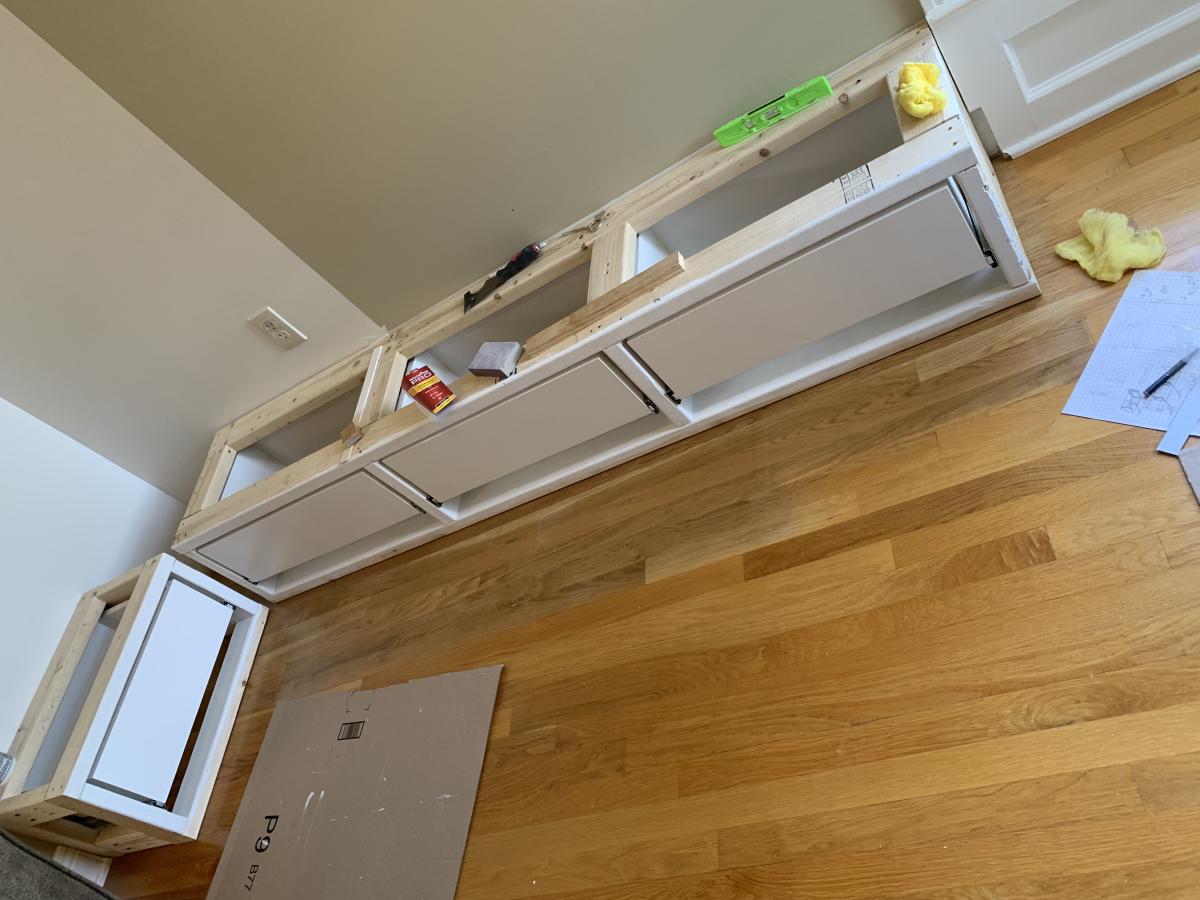
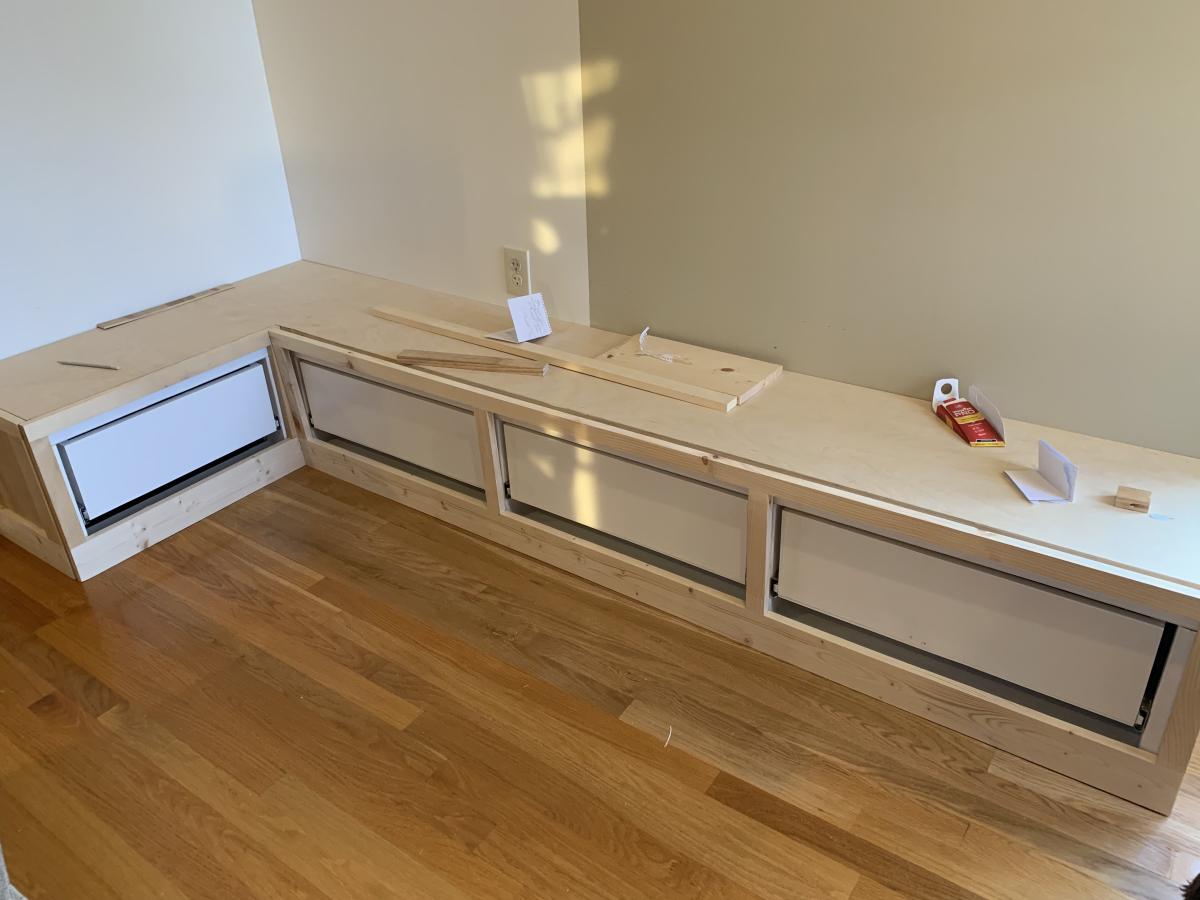
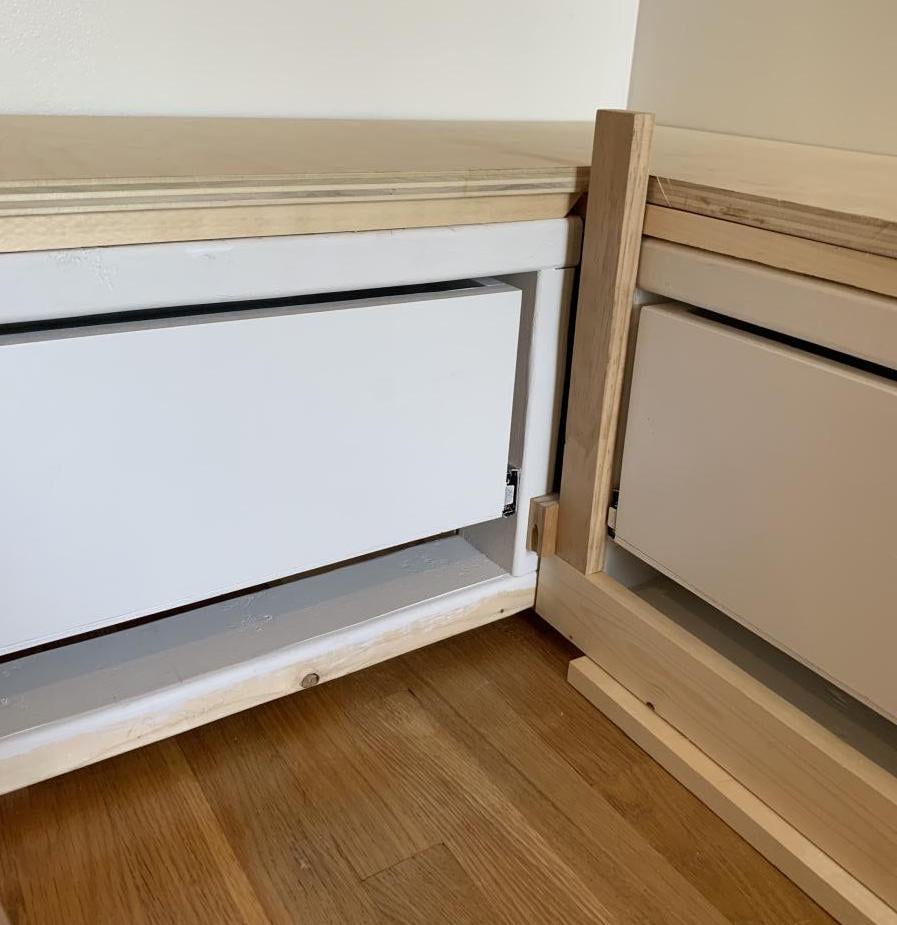
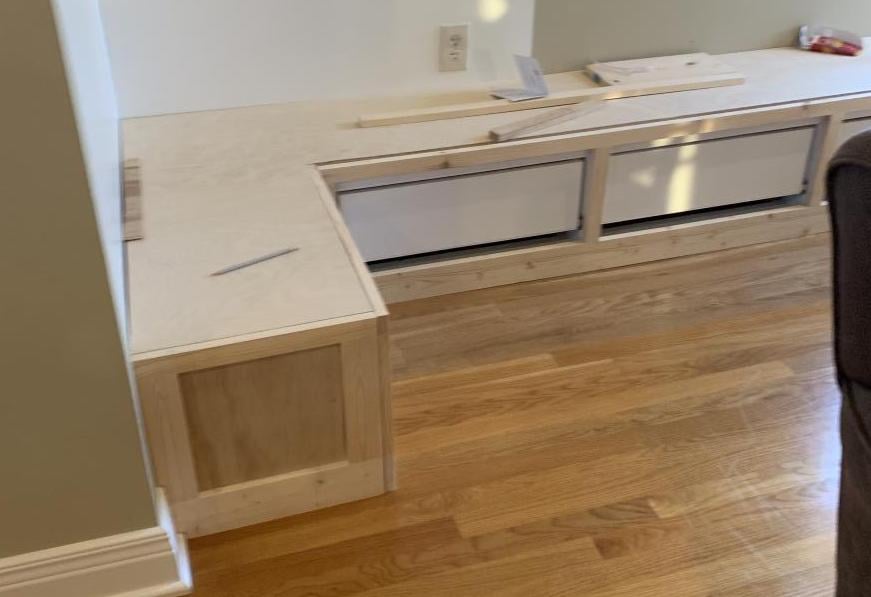
This project went pretty smooth. I built the sink box out of 1x6 and 1x8. Total cost (if I got the right stuff the first time) would have been about $120. Most of that is in the faucet (a $25 laundry faucet from Home Depot), pulls (about $4.50 each), knobs ($3 each), and hinges. I also purchased the wooden discs for the stove at Michael's for about $1 each. I used common pine and sanded it smooth before painting, which saved a lot of money over the more polished pine products. I used stainless steel spray paint for the fridge and stove door, and leftover paint for the rest of the sink and stove. I glued all joints and used my finish nailer rather than a Kreg Jig. I had a hard time finding hinges that will work, so keep that in mind. I ended up buying some of the European hinges that were surface mounted on the inside, and they work well. One suggestion - if you're planning on mounting these next to each other remember not to allow any overhang on the countertop. The plans call for a slight overhang, and I had to do some messy cuts after I had the cabinets assembled to correct that. I ended up attaching the cabinets together for added stability. Overall this was a surprisingly simple project. I'm considering building another cabinet like the sink/stove without any doors just for some countertop space and additional storage.
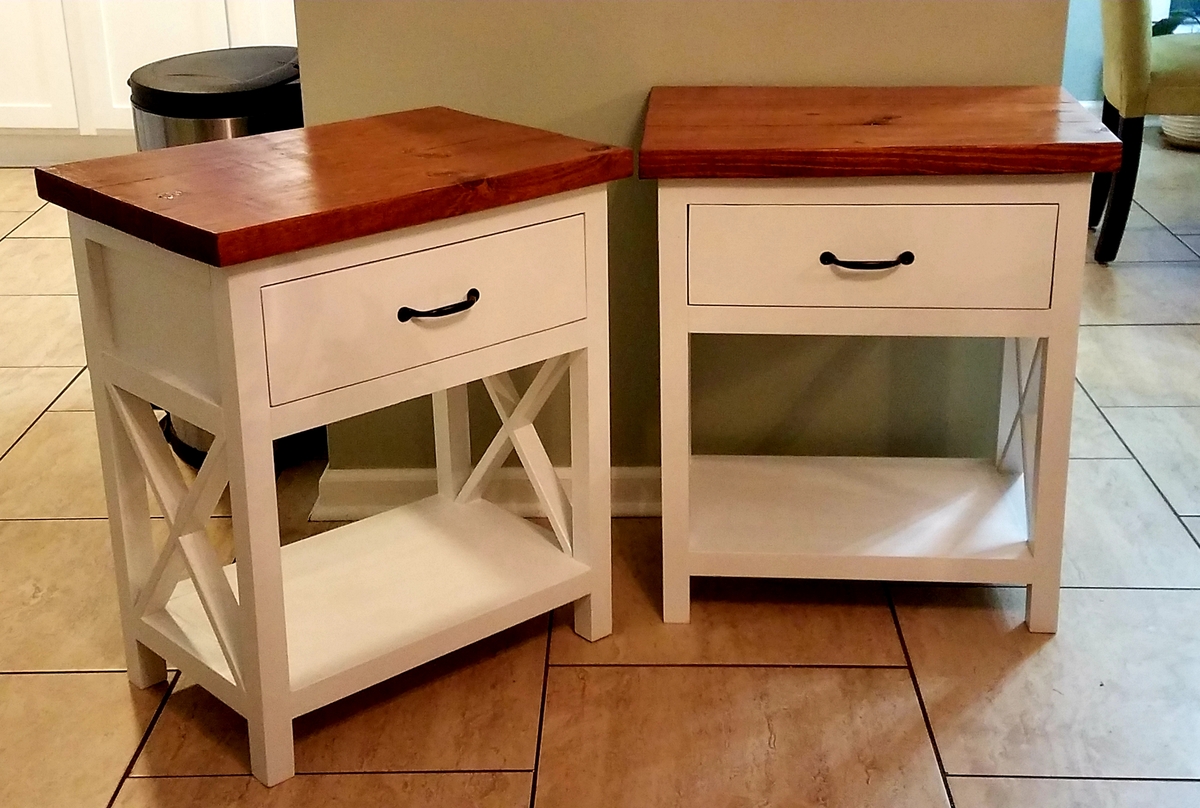
This is the second time i made these tables. The first time was for my son and his fiance to match the farmhouse bed that i made for them but i did not do the inset drawers. Tried but couldn't get them to sit right. My niece liked them and didn't have any tables to go along with the bed her new huband's grandfather had built. I love the inset drawer look so i tried again. The first one i had no problem with but the second one had to make the drawer box over a couple of times. I did differ the pattern a bit and used 2" top instead of 1 inch simply because i had some leftovers. I also used drawer slides instead of wood slides.
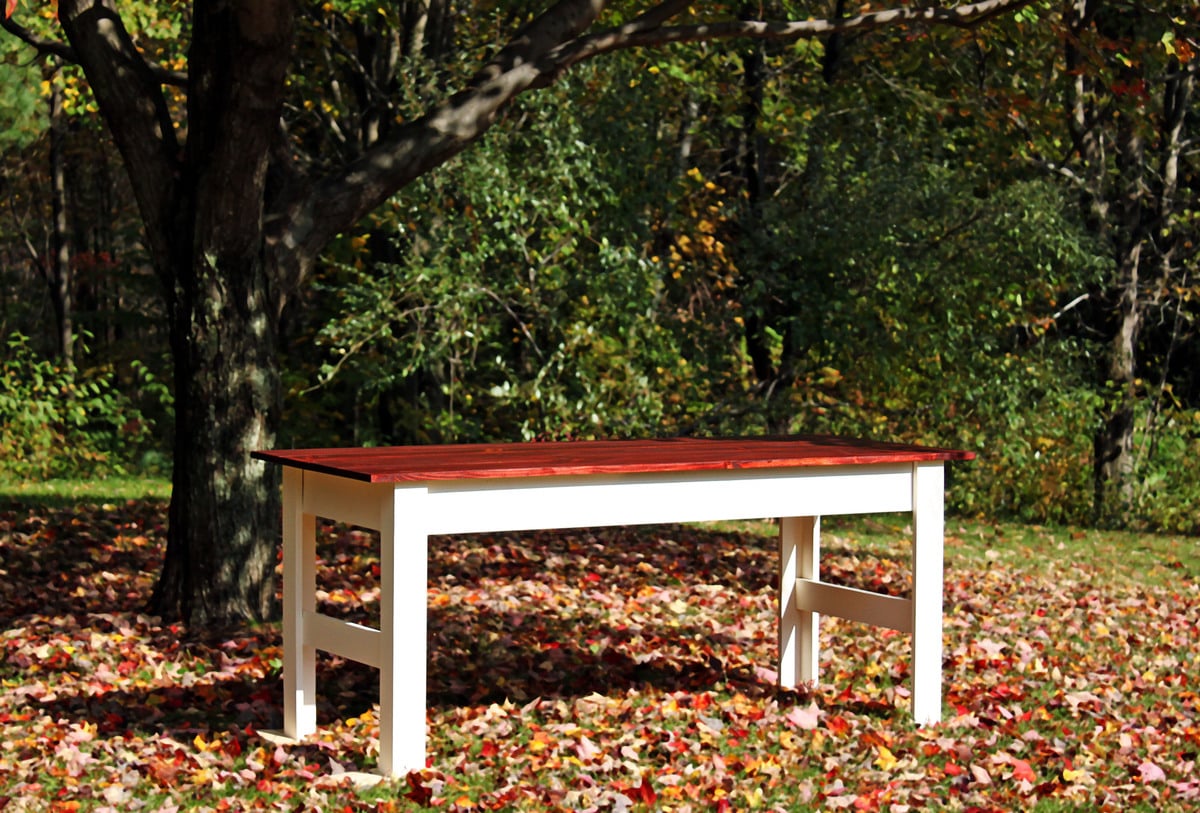
modifications to plans: legs not tapered; shortened table by two feet.
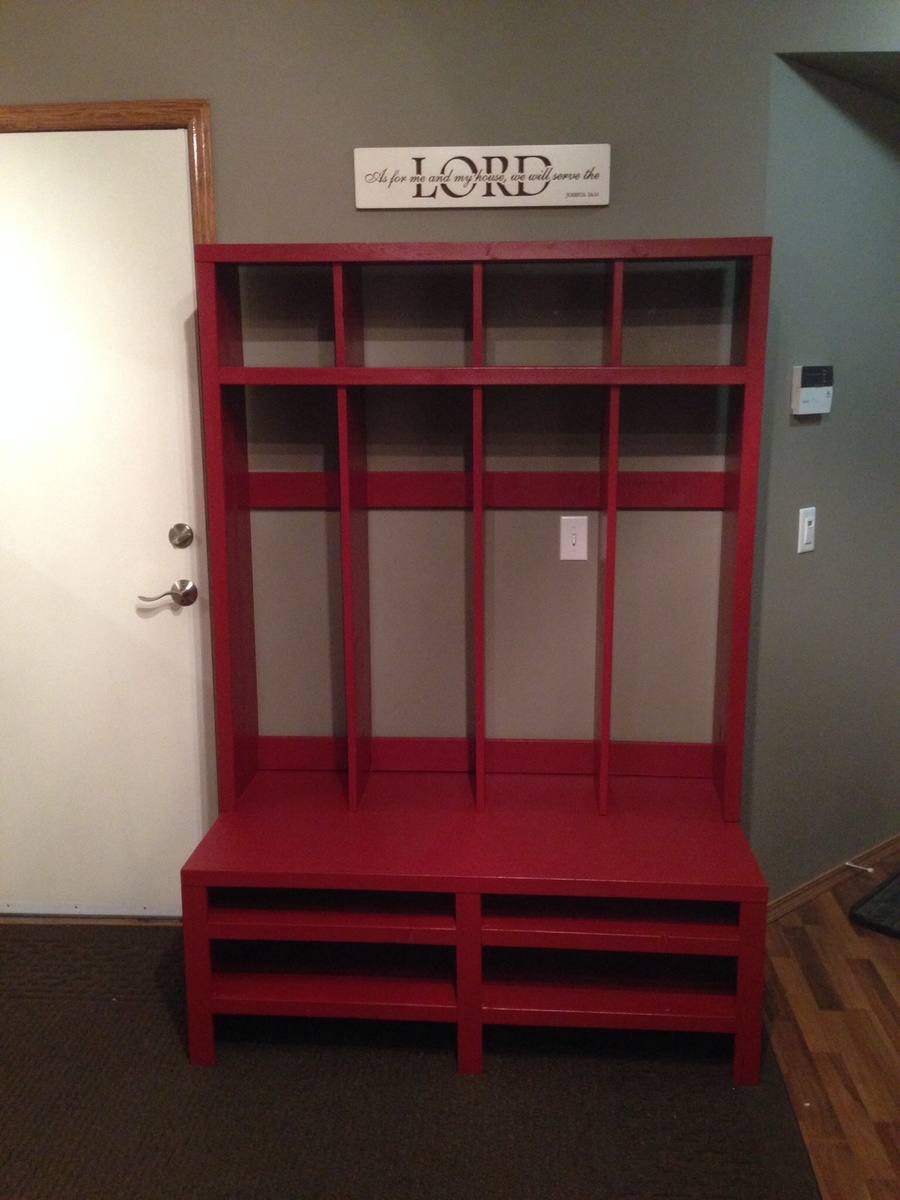
I modified the Braden Shoe Shelf plans to fit our entry space. I also wanted 4 cubbies, one for each family member. This was a Huge learning experience for me but I loved every minute.
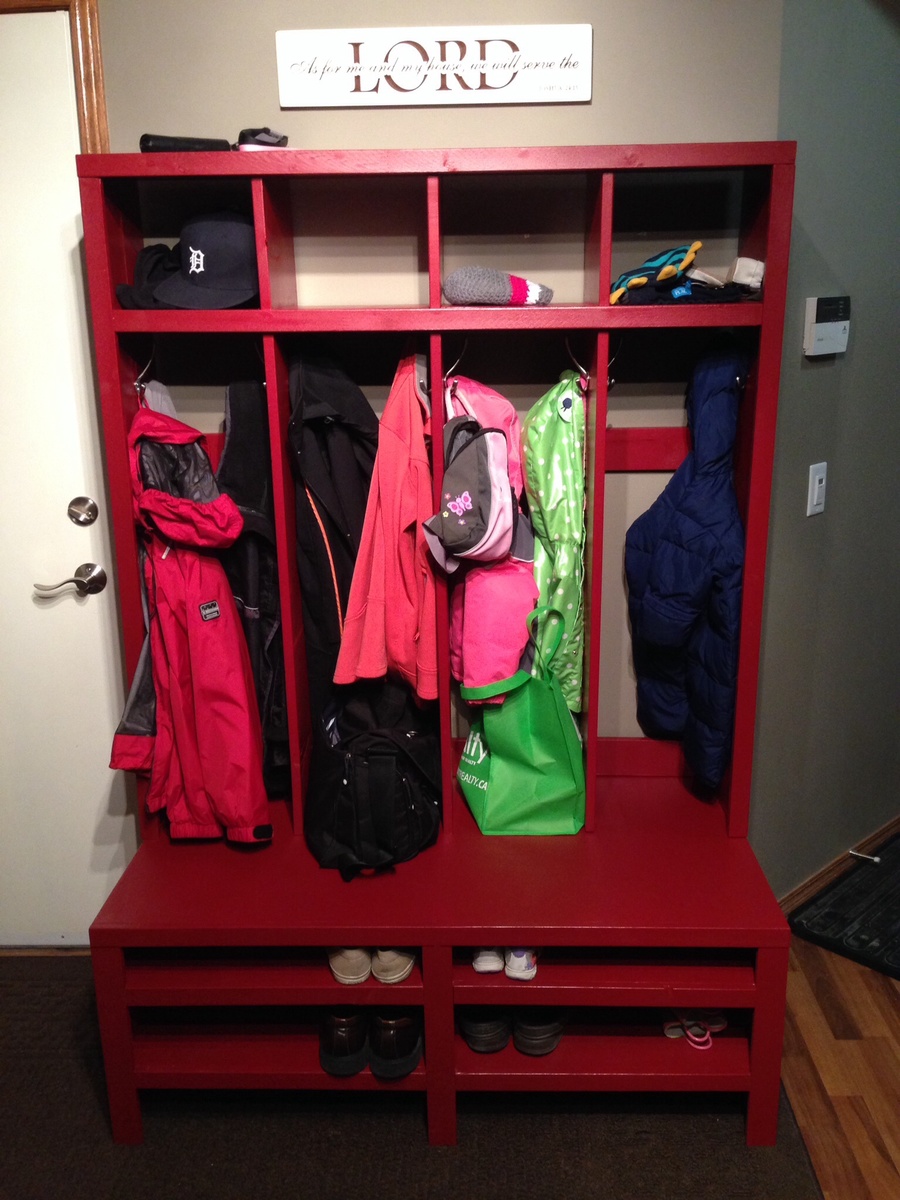
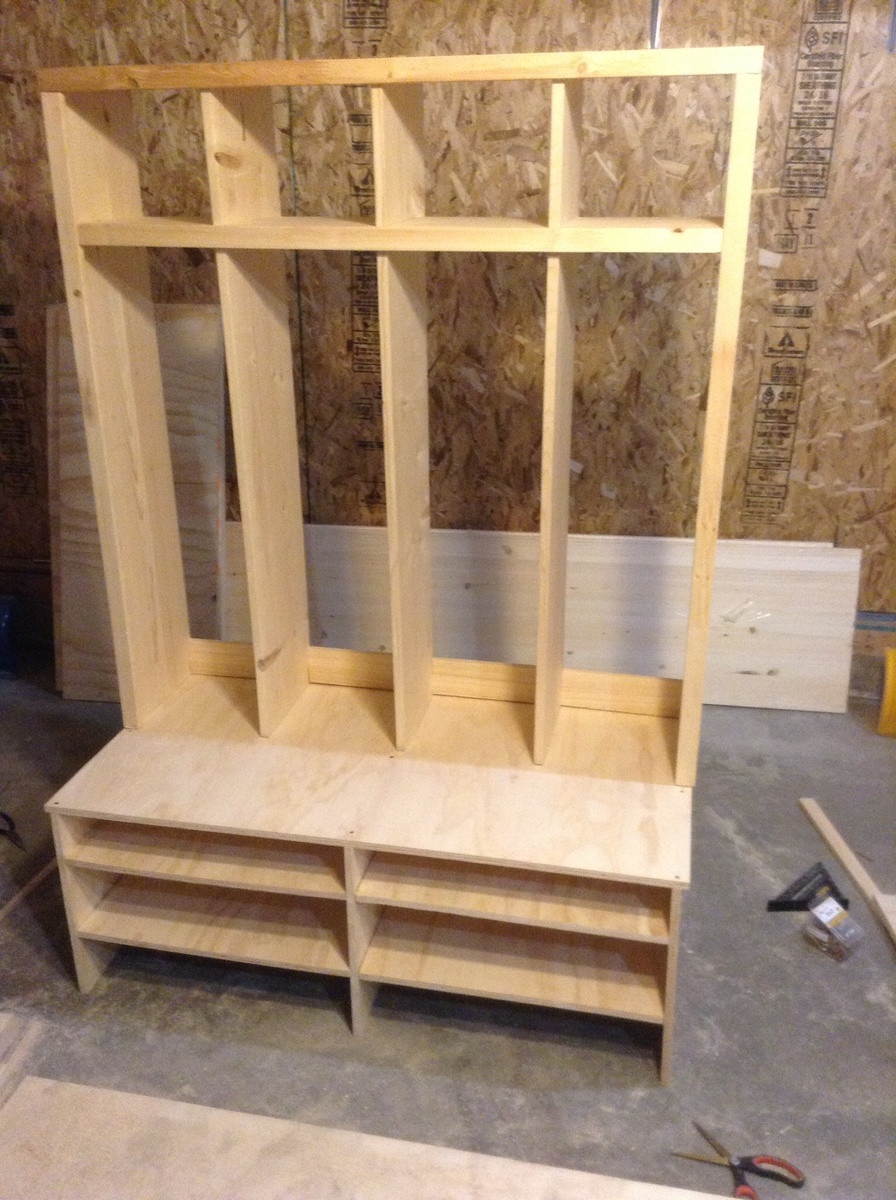
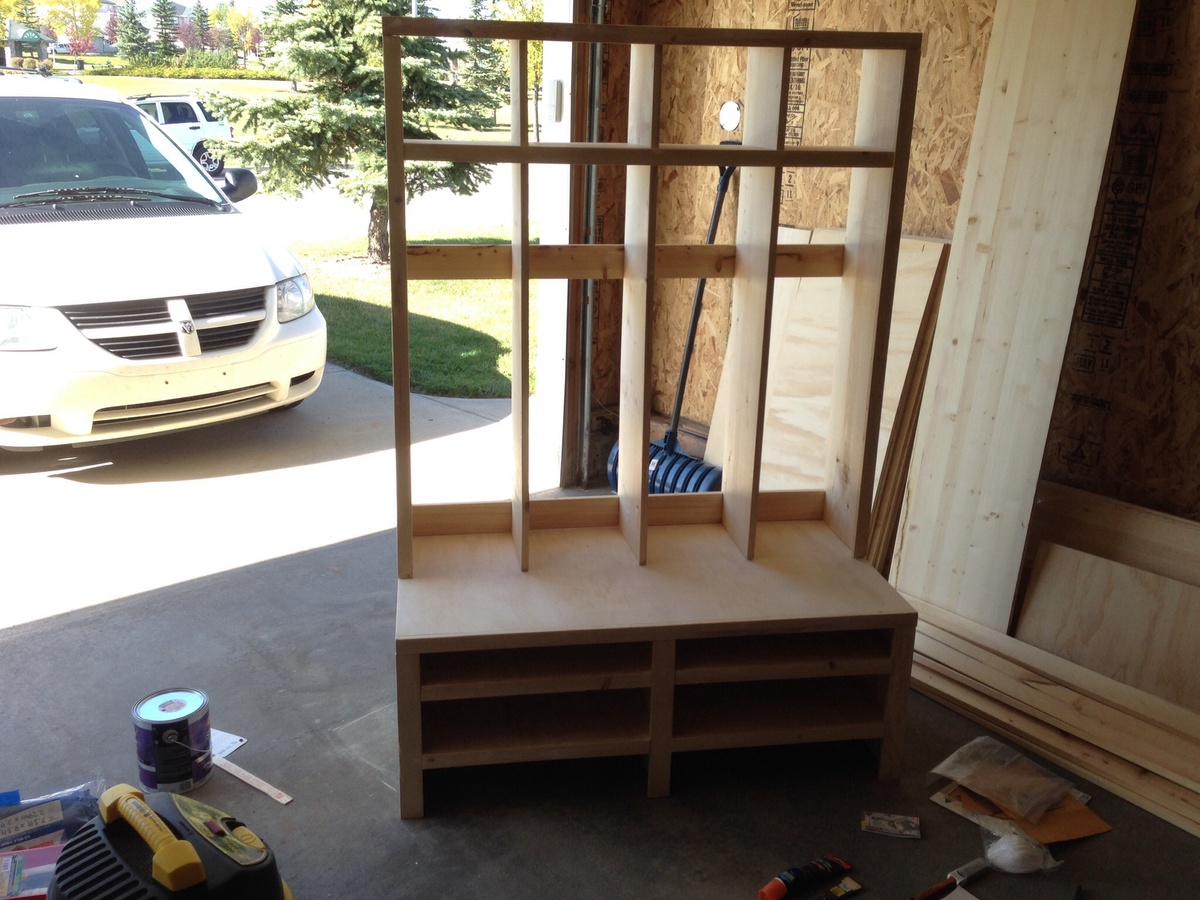
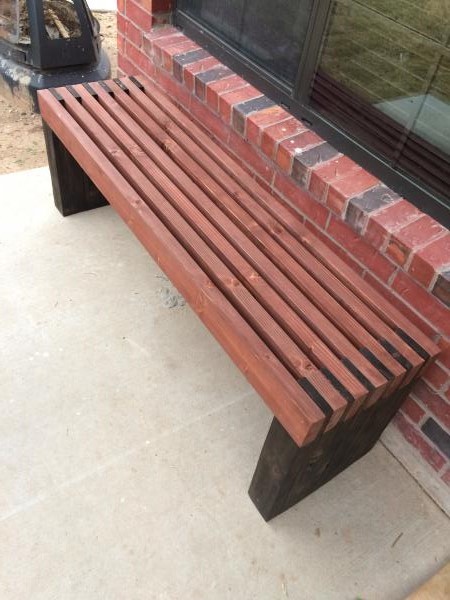
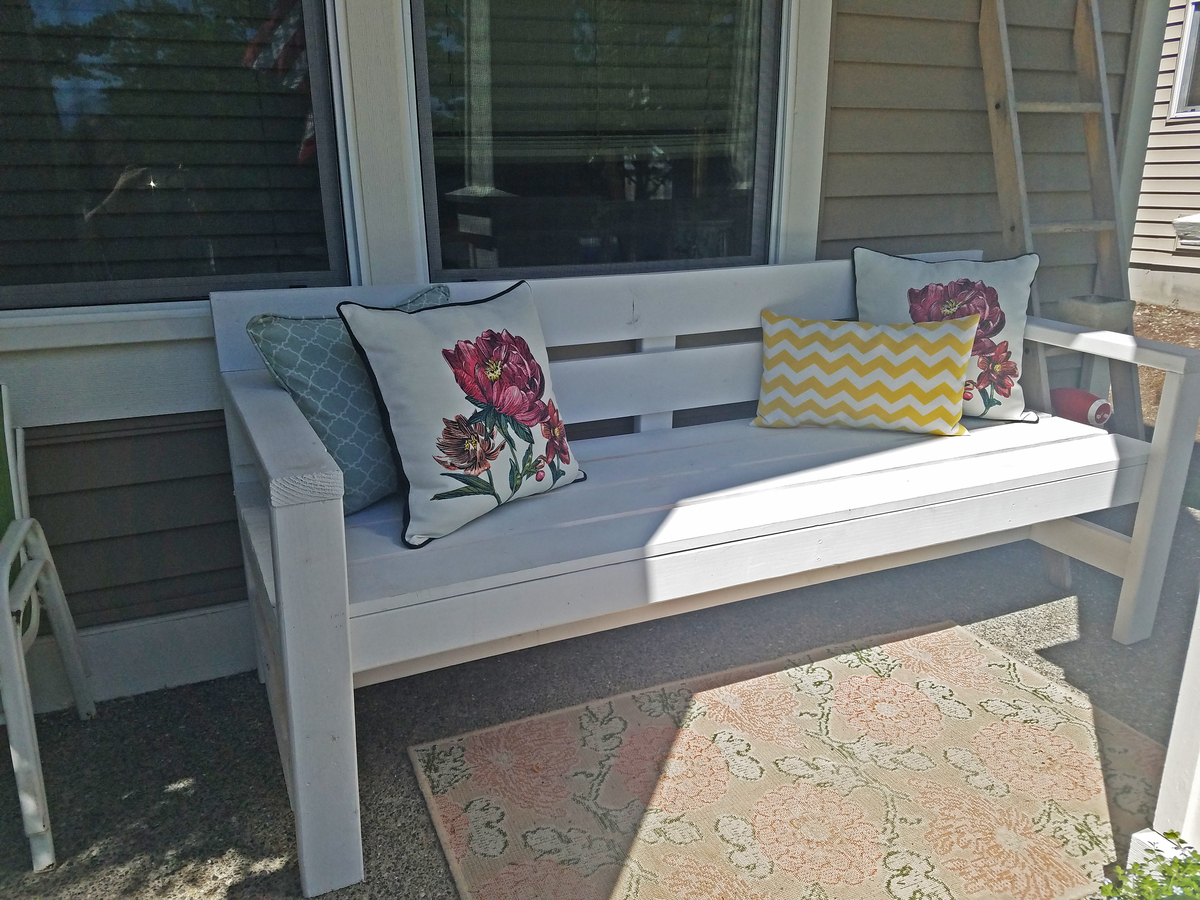
I followed Ana's instructions except for my bench was 56" in length and stained the top red bottom brown.
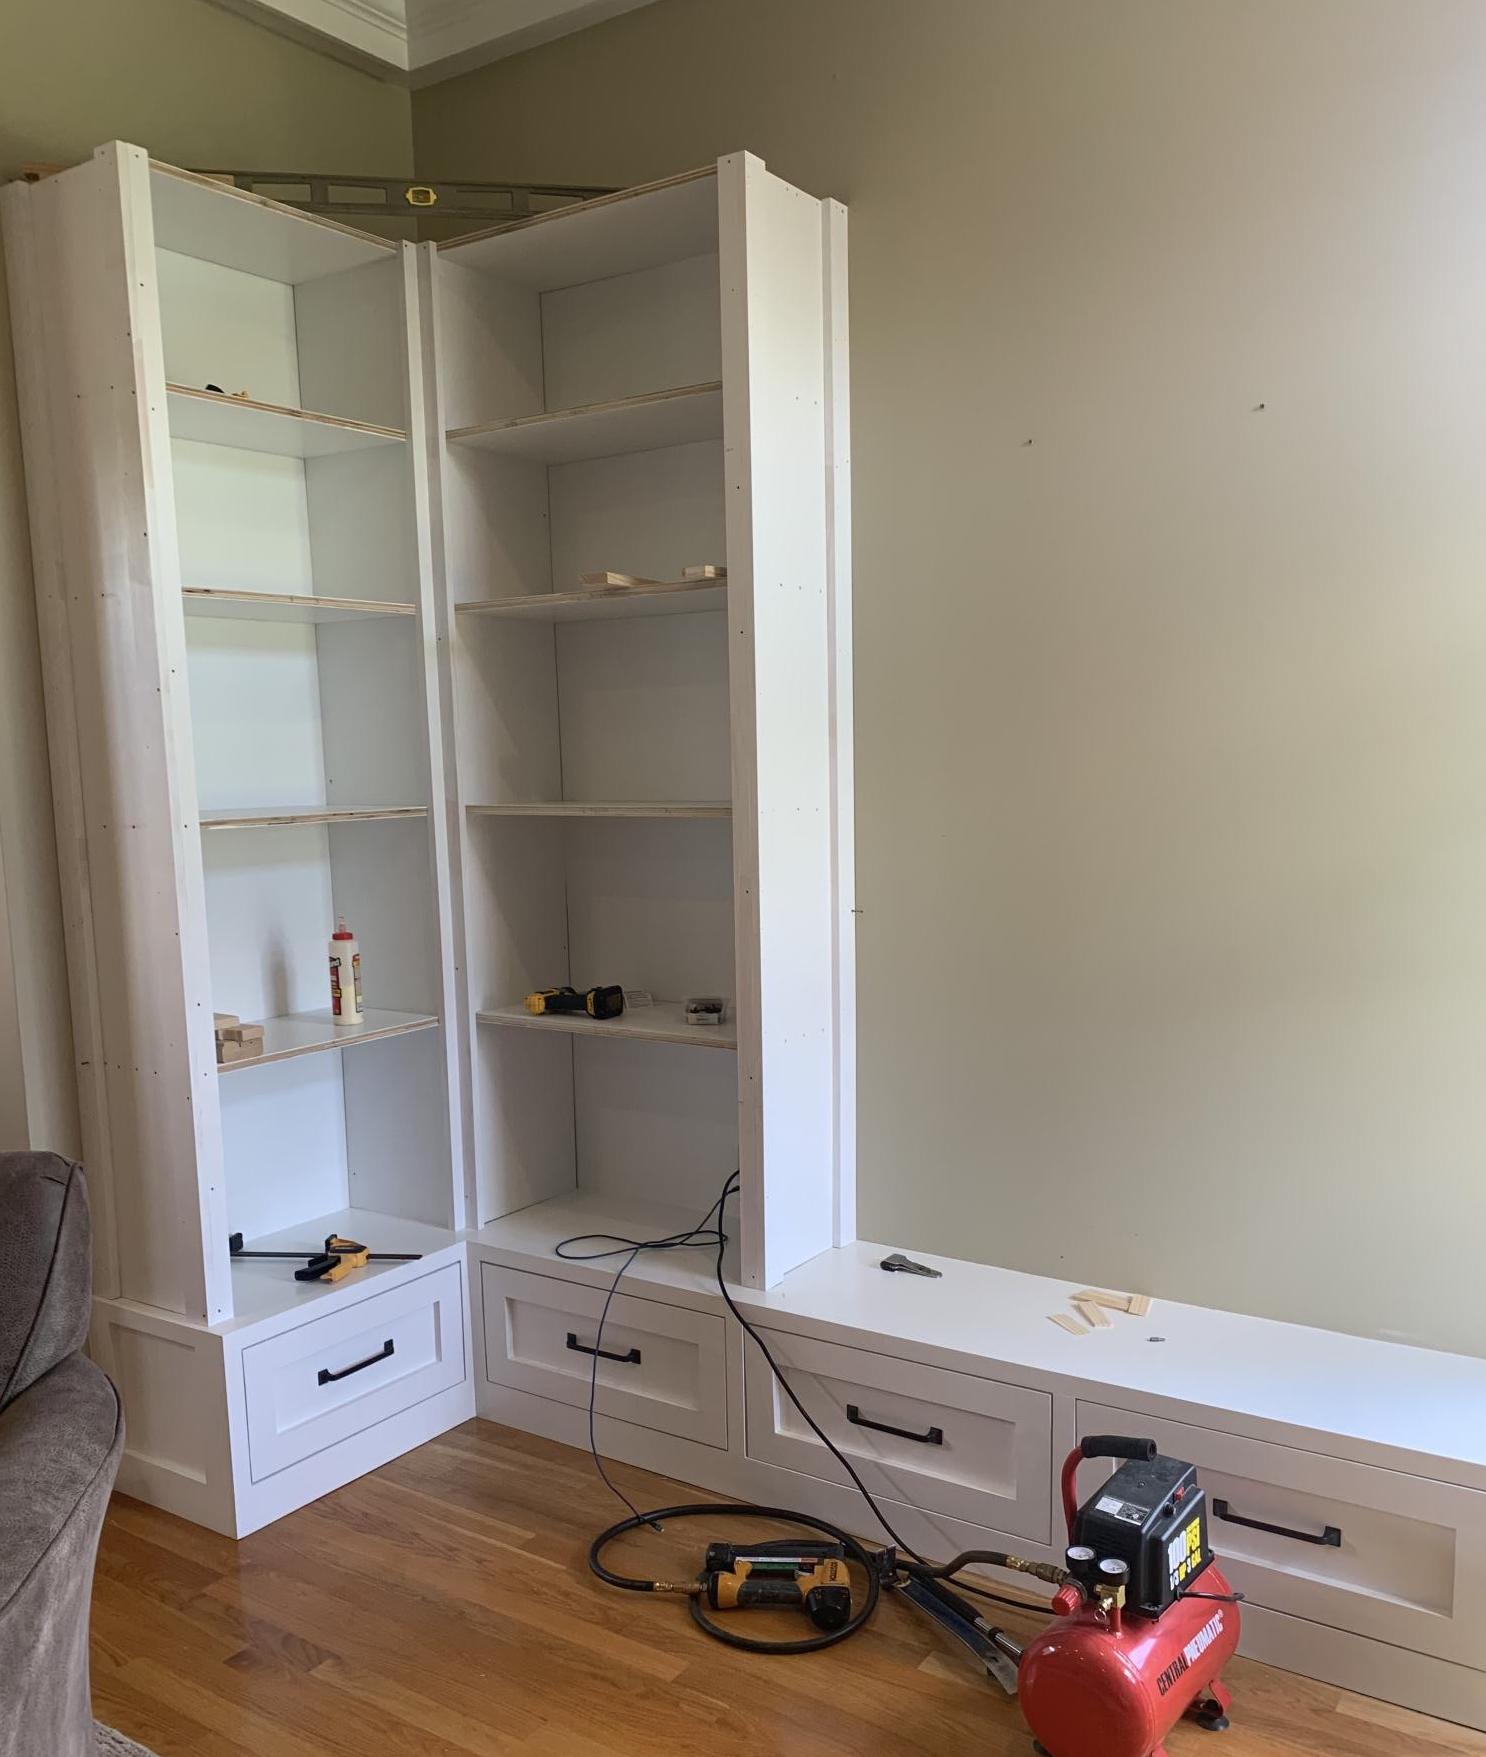
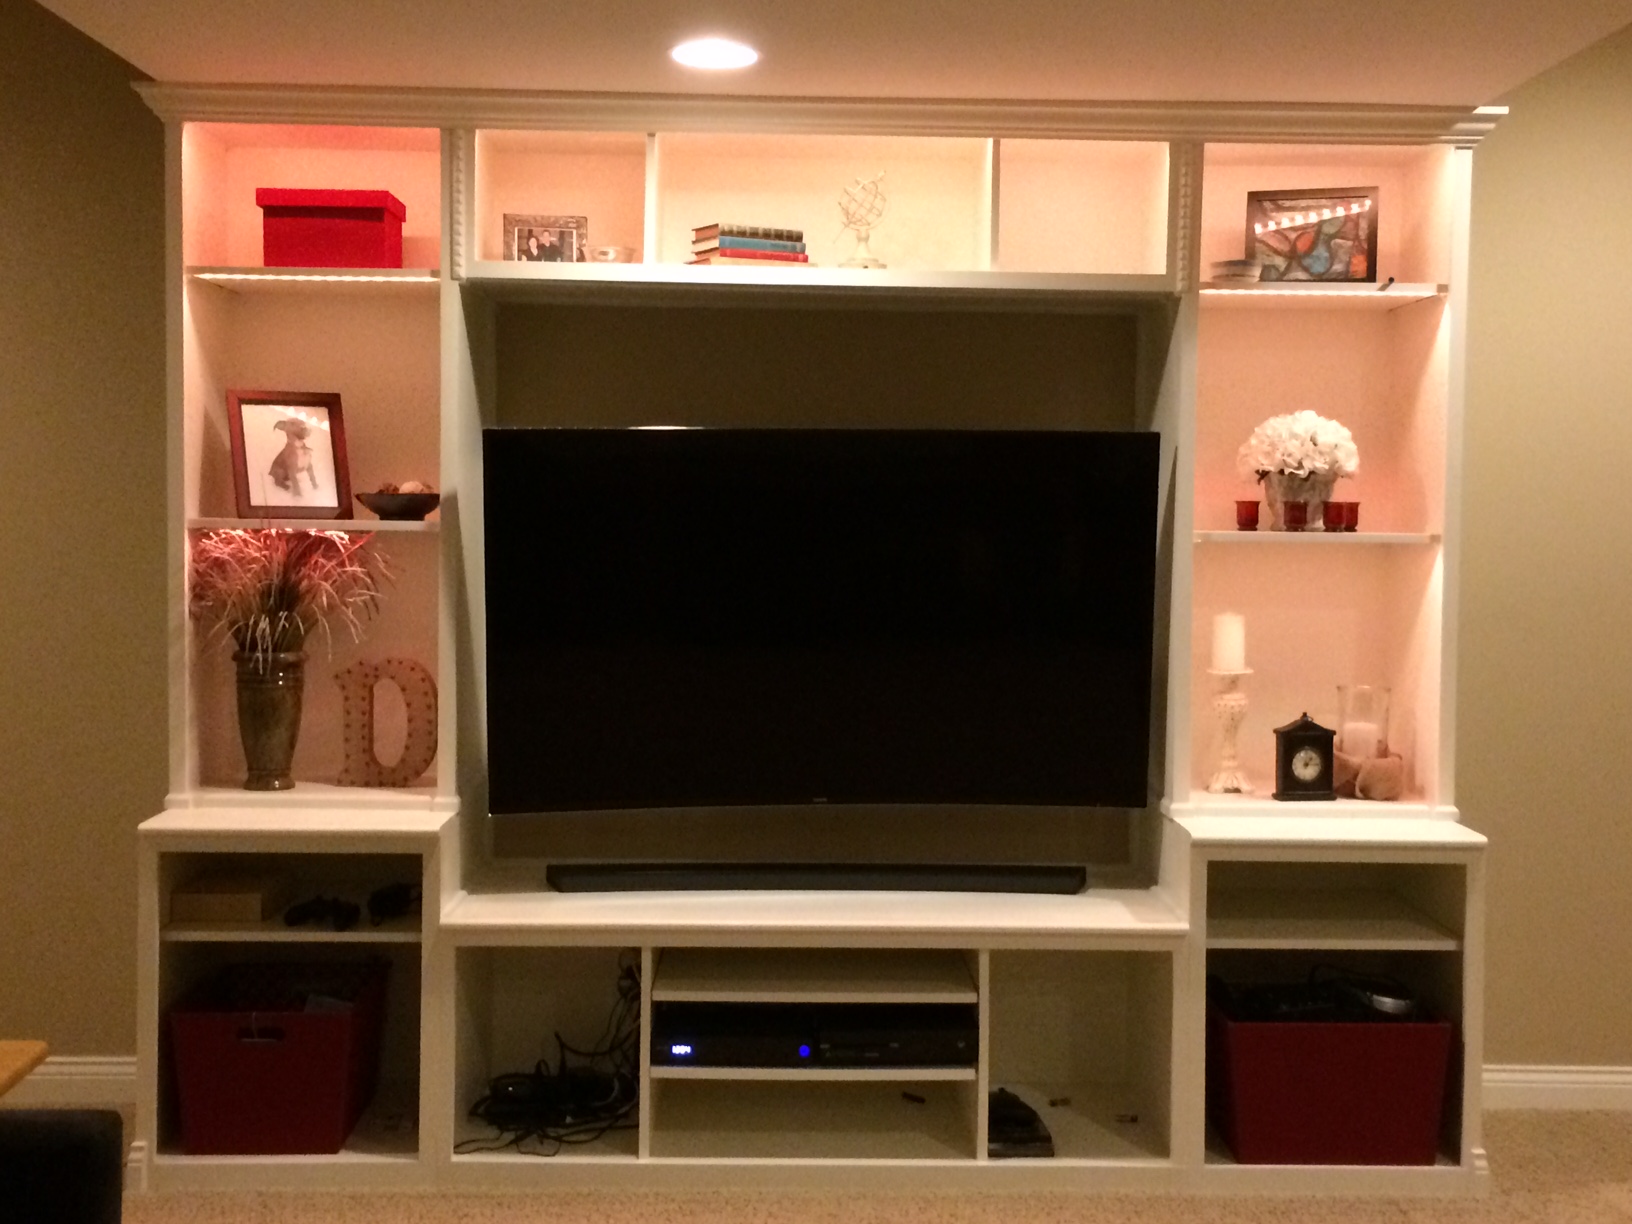
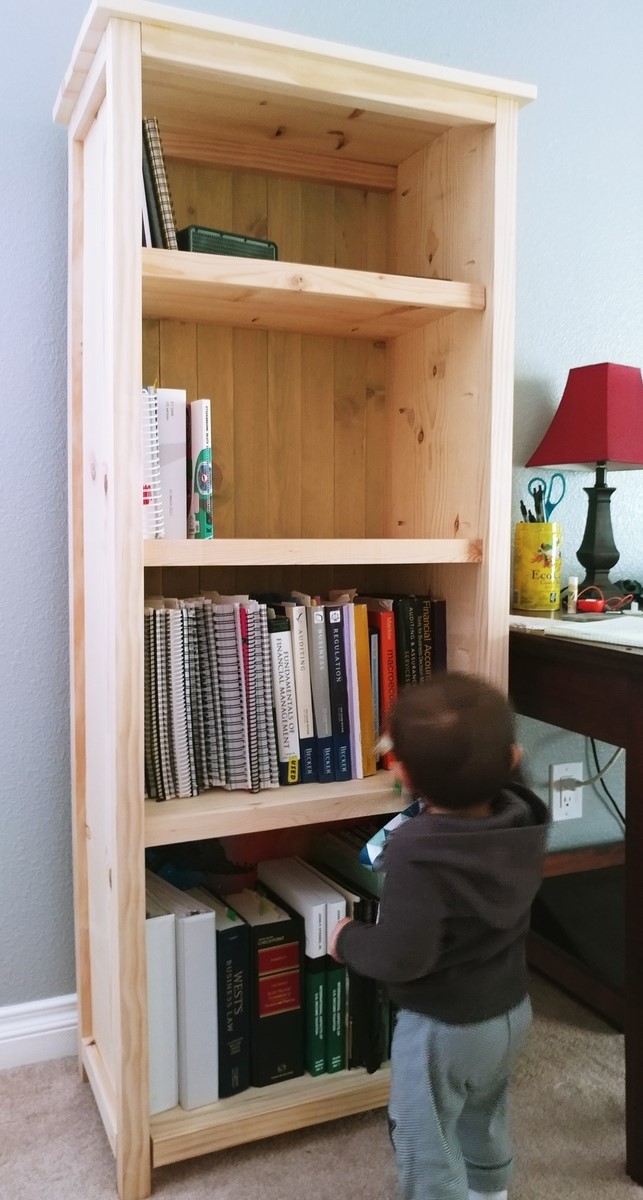
Thanks for the inspiration! First time building something this massive. I have 10 foot ceilings. Bookcases are about t 9 foot tall.
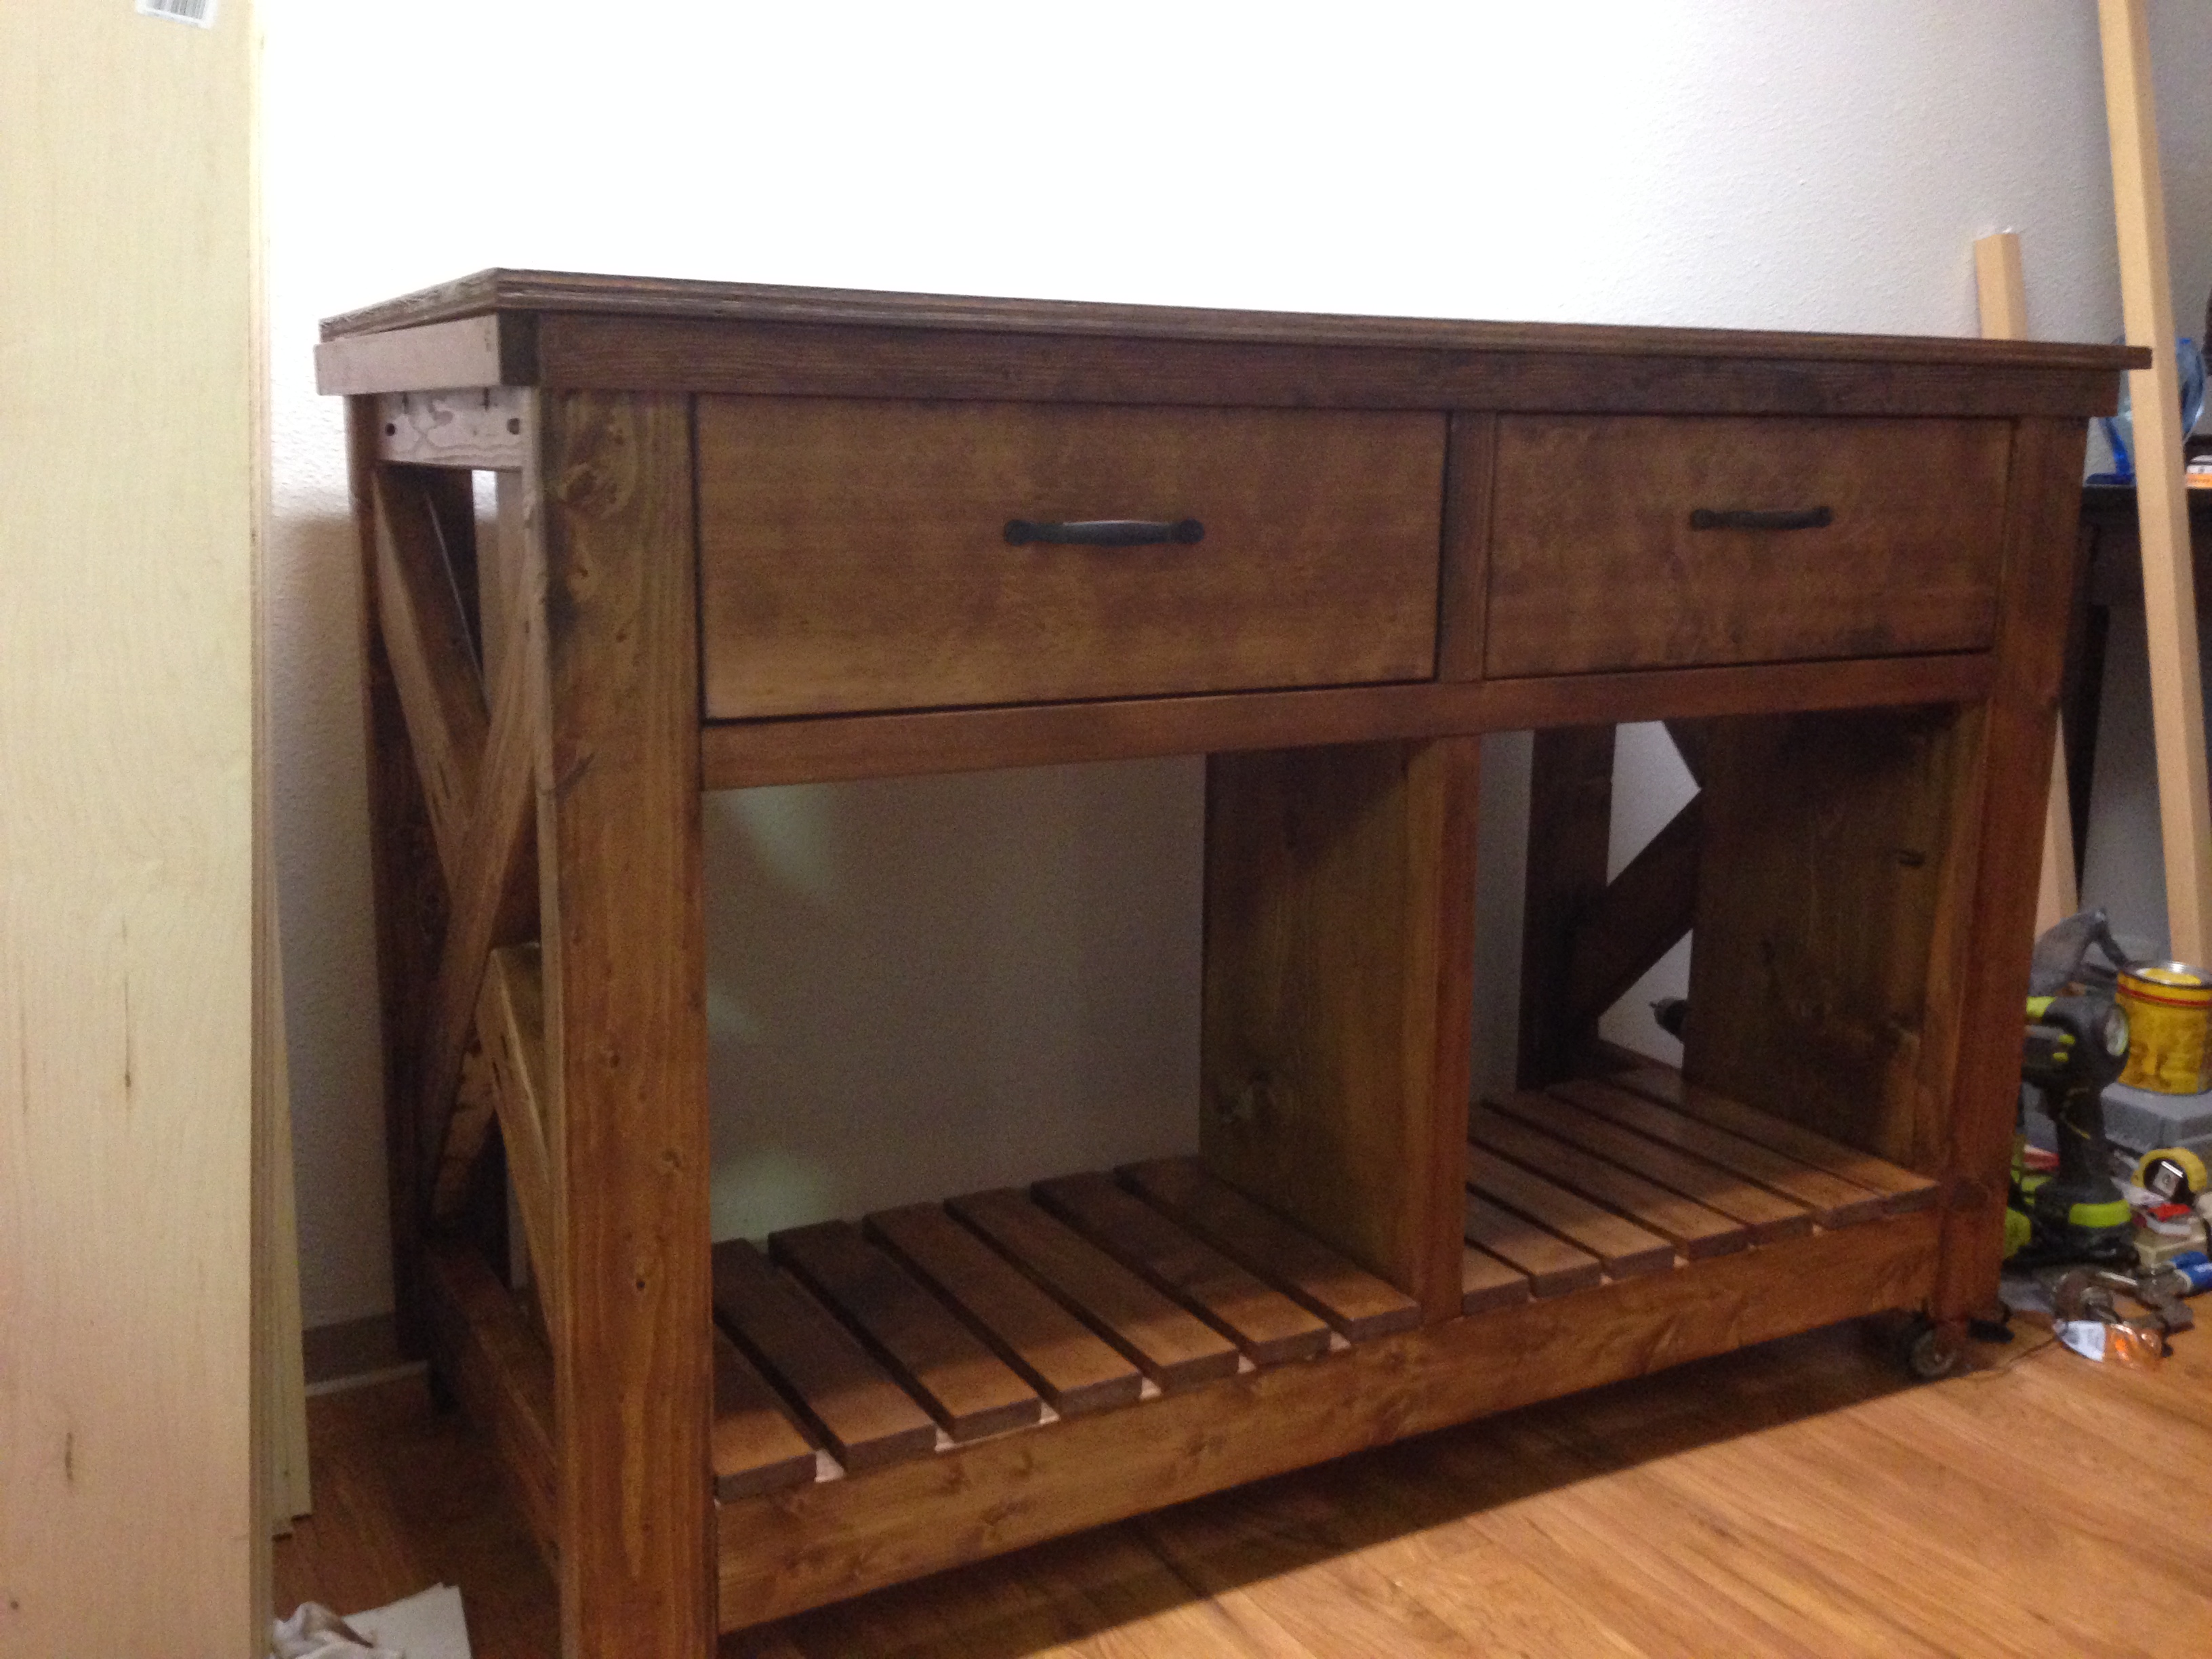
This is the first time I've built something. My wife found this site on Pinterest, and made hints about wanting a kitchen island. Our apartment has maybe 3 feet of useable counter space, so I thought this would be nice to have. Ignore the tools in the picture, I literally just finished it and just put stain on it. Overall, I think it came out pretty good, and I really like the design of it. This site is pretty awesome. I've already picked out my next two projects from here. Thanks Ana!
Kyle
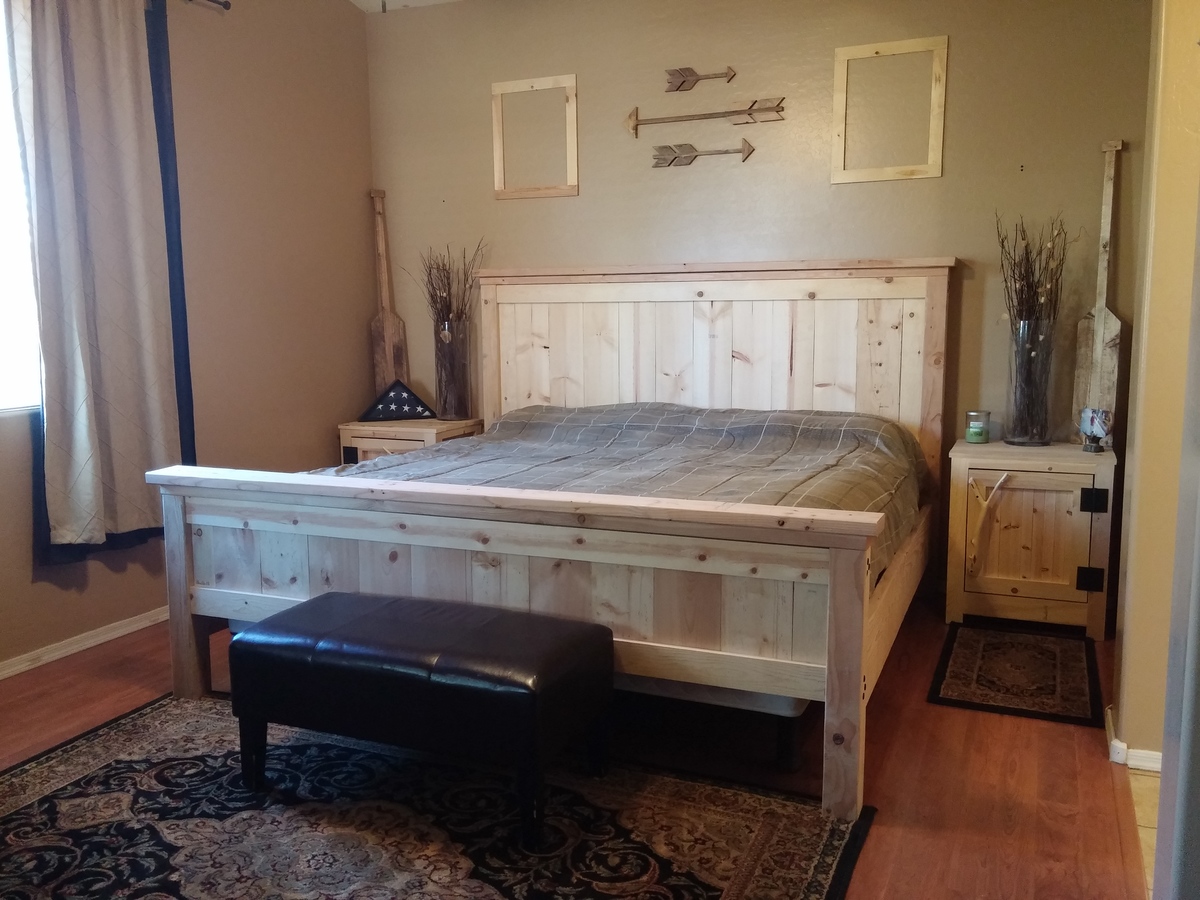
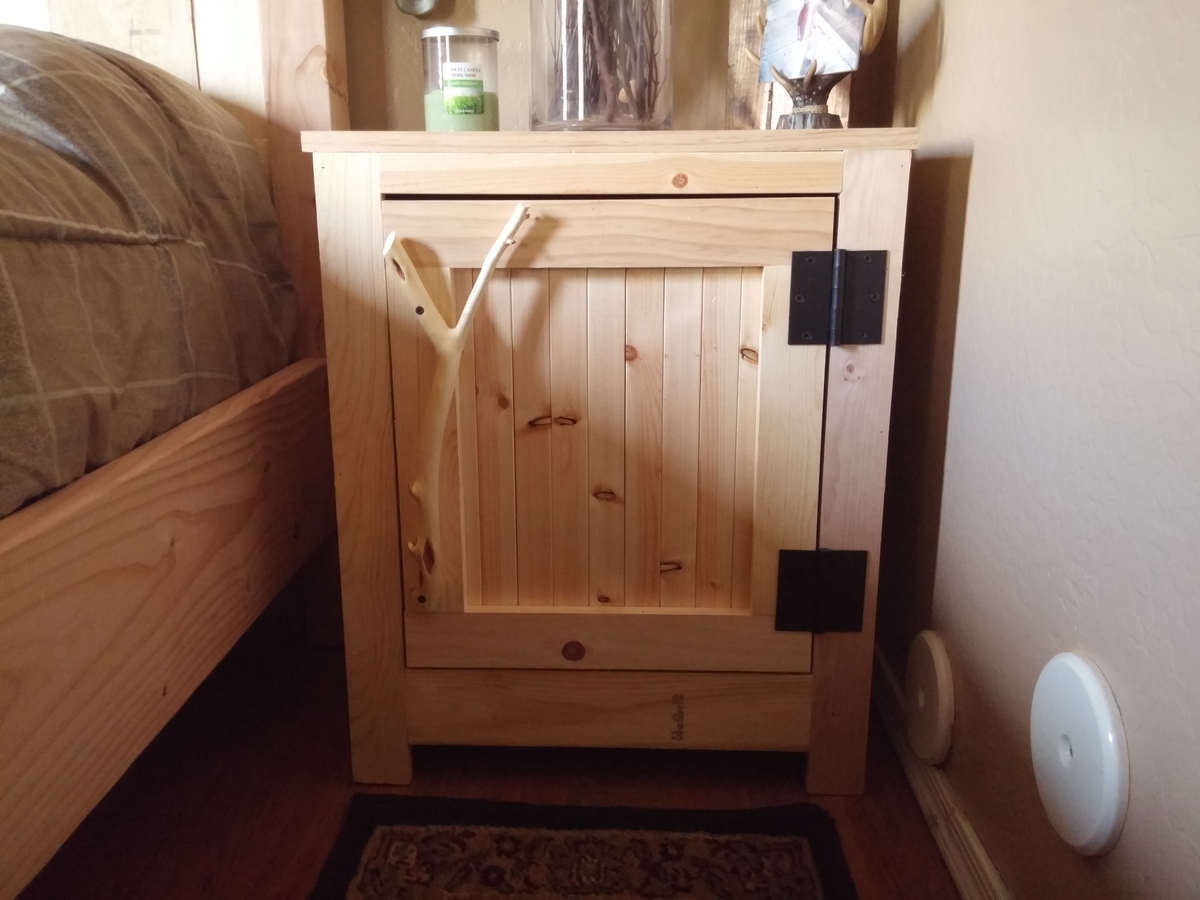
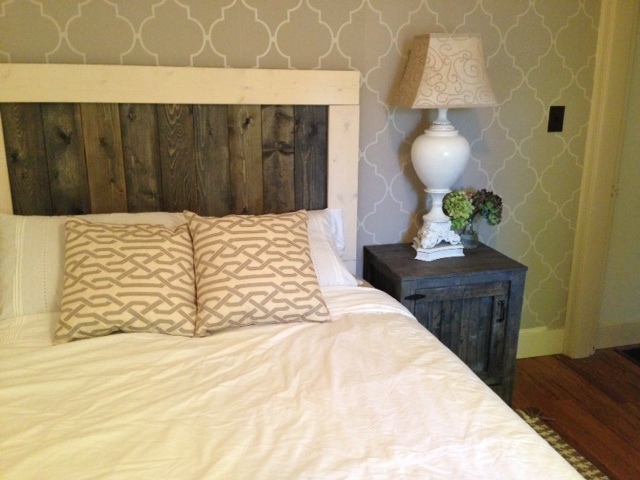
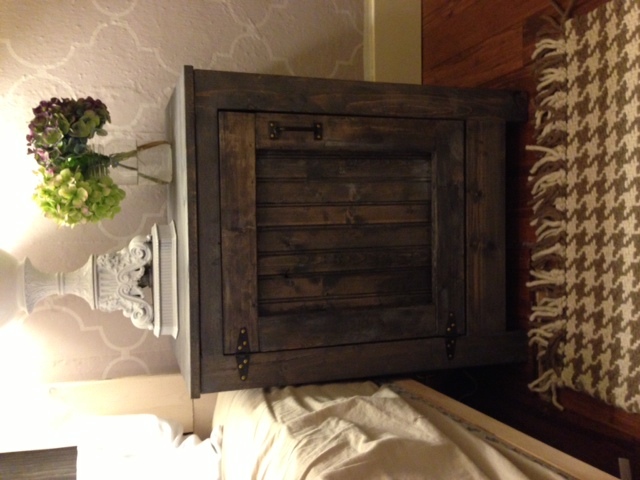
I made this Farmhouse bed frame for my king sized sleep number bed. It is a little wide but overall I am very happy with it. I also made the nightstands from the Kentwood plans. The handles are diamond willow that I picked from the Northwood of Wisconsin.
Wed, 12/28/2016 - 19:28
Very cool, I really like the handles from foraged wood. Strikes me as something perfect for a cabin in the woods.
This was my husbands's 1st Ana White project
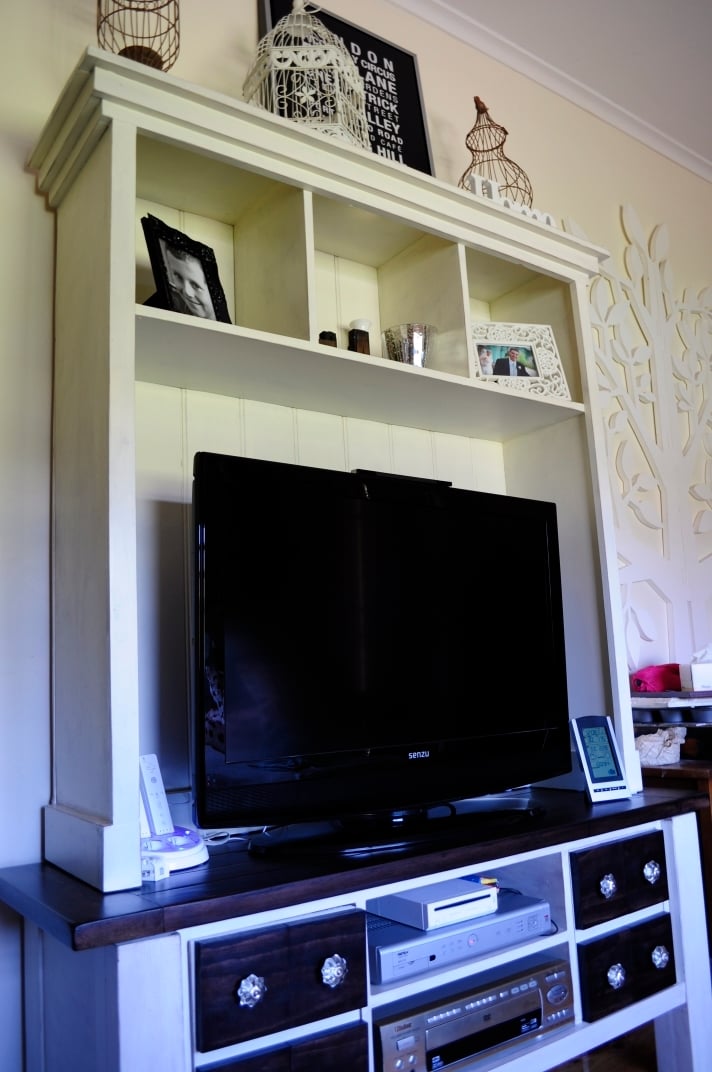
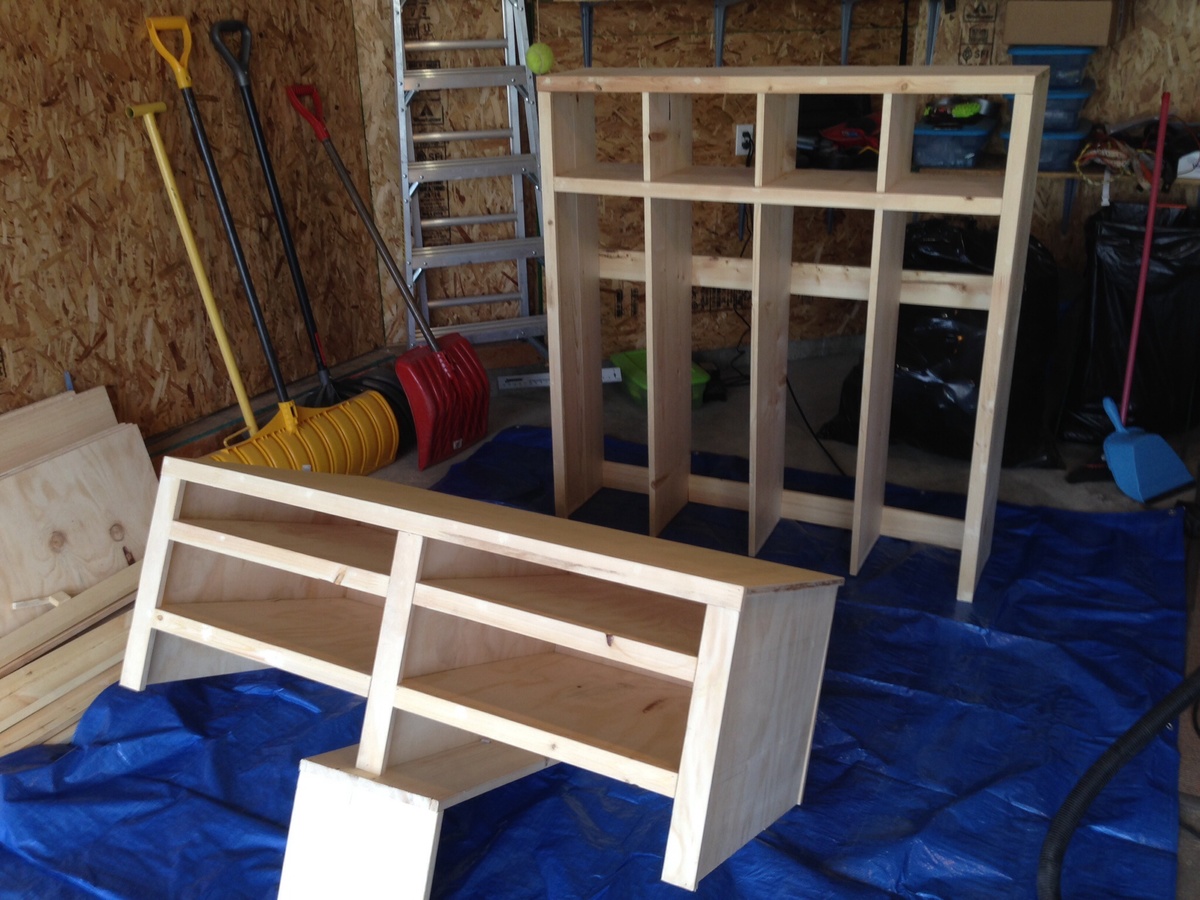
This was the second part of my Tryde media center build. You can read about the console build here.
This part of the project was very quick to put together, I spent a lot of time reading the brag board and looking at pictures of what others produced. I really appreciate when people upload high res pictures of their builds so you can really look at the details - I've tried to do the same on my blog post about this project in case you needed further information (see link below).
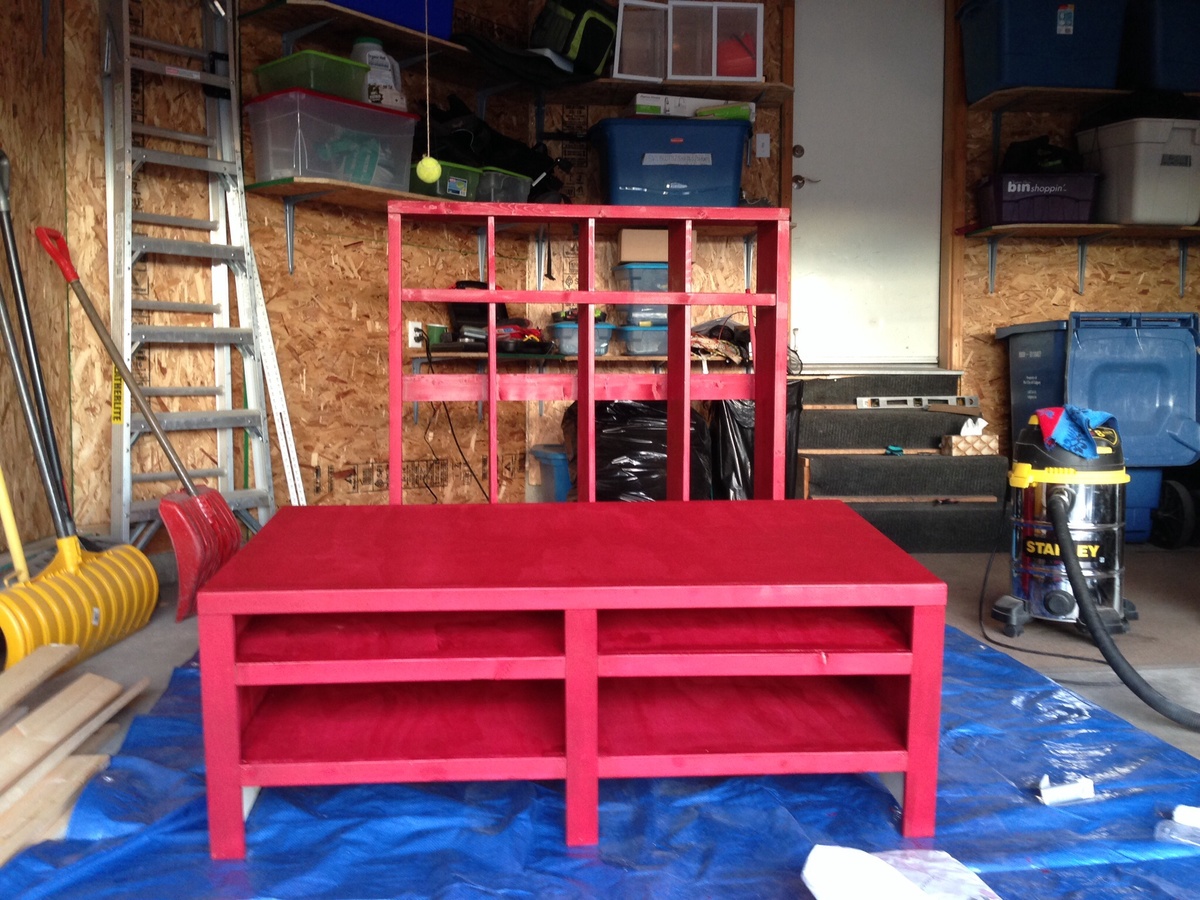
I made the plan as per Ana's original, with some modifications. These were:
I hope you would give this project a go, as a hutch it is very simple to put together for a beginner and quite satisfying. To get more information about my build please read my blog post where I go in to a lot more detail (and leave a comment too, I'd love to know what you think!)
Happy building!

Tue, 10/25/2011 - 08:34
Annie this looks great!
I'm glad you found inspiration in my design. I think I'll go back and upload a side picture and the sketchup model I worked from so that other people can see the details of how I did the trim. I think yours turned out wonderful!
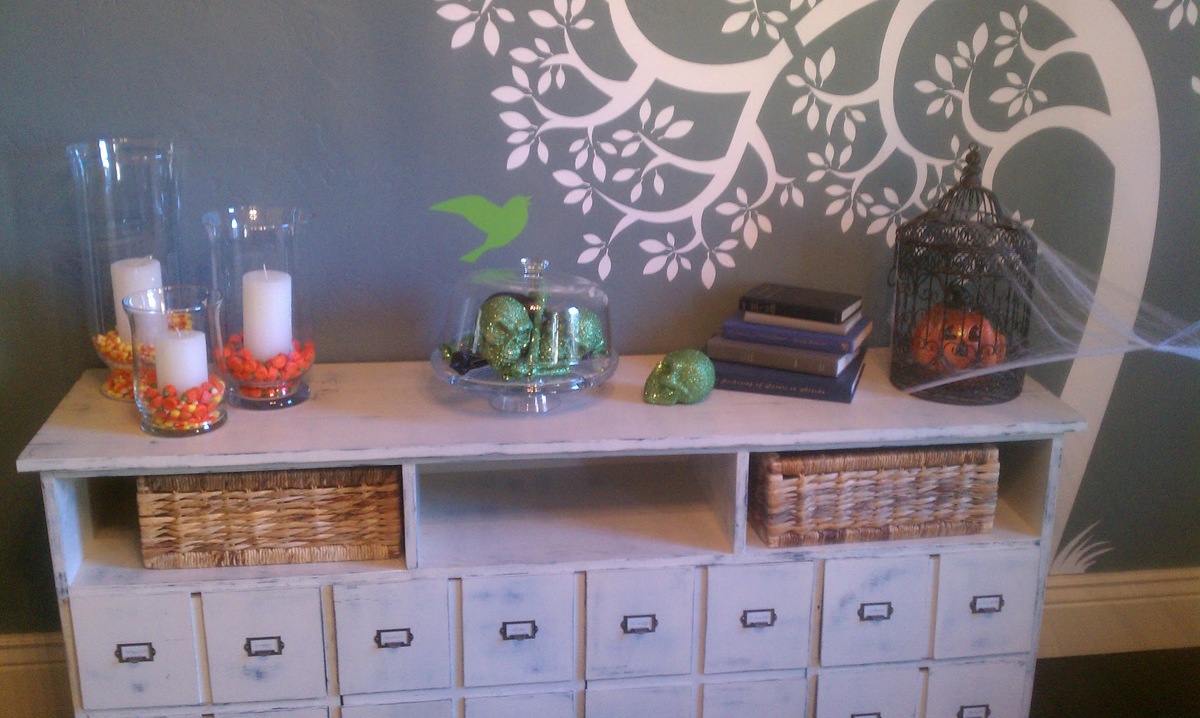
I don't like painted furniture in my home but I really like the look of your furniture. The antiqued white goes well with the stained console top and the faux drawers.
Great job!!
Tue, 10/25/2011 - 15:37
Aww cheers Perchik... You're right, the natural beauty of wood is lovely, but I have so many different shades of wood in my living room from collecting 2nd hand furniture and old college furniture over the years that nothing seems to match :) Plus I do like this modern trend of stained top and painted legs, it looks quite fresh. The hard part with this stuff is deciding which project to do next - so many to choose from :)
Tue, 10/25/2011 - 15:38
Oh also I think if you have that sketchup stuff to hand I would definitely upload it, I zoomed in quite a lot on your photos and others photos of completed builds to understand details that are sometimes difficult to visualise on the plans.
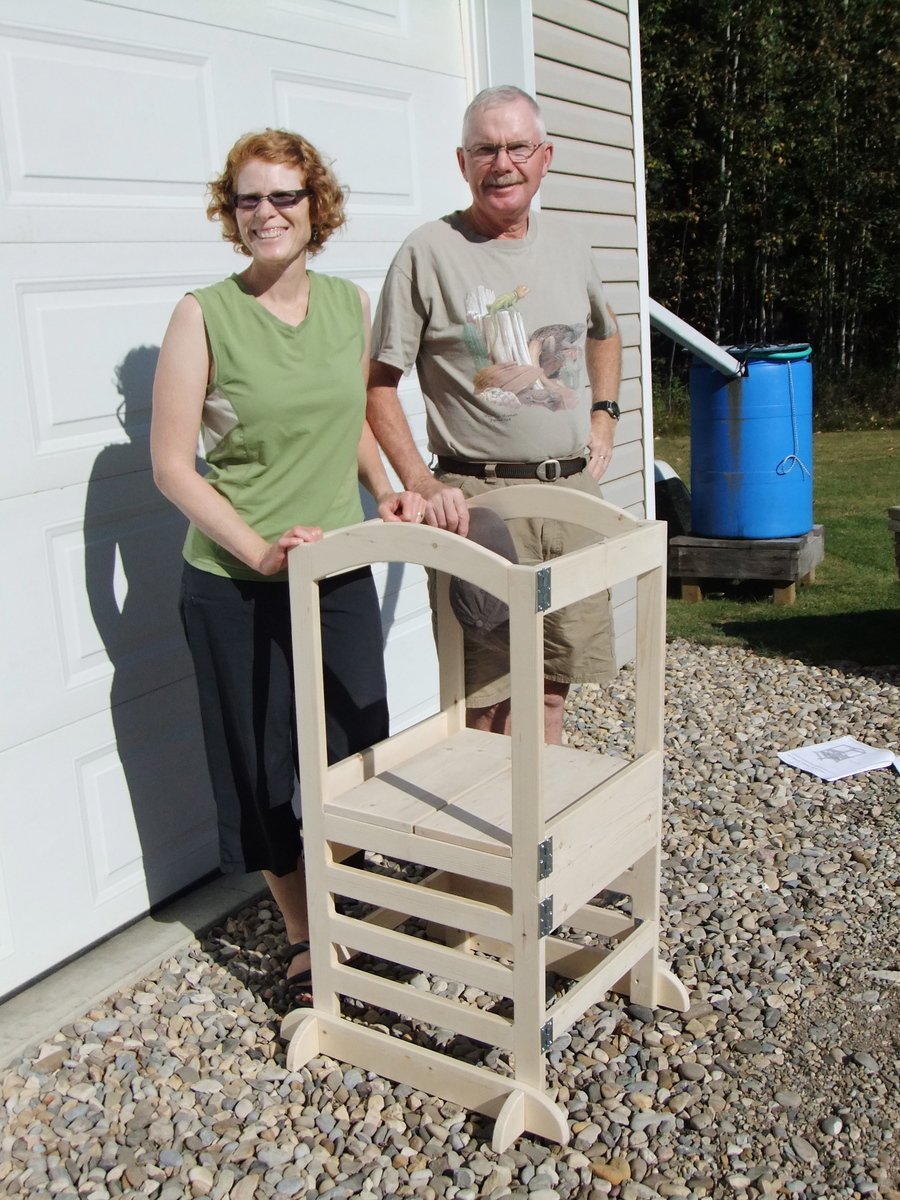
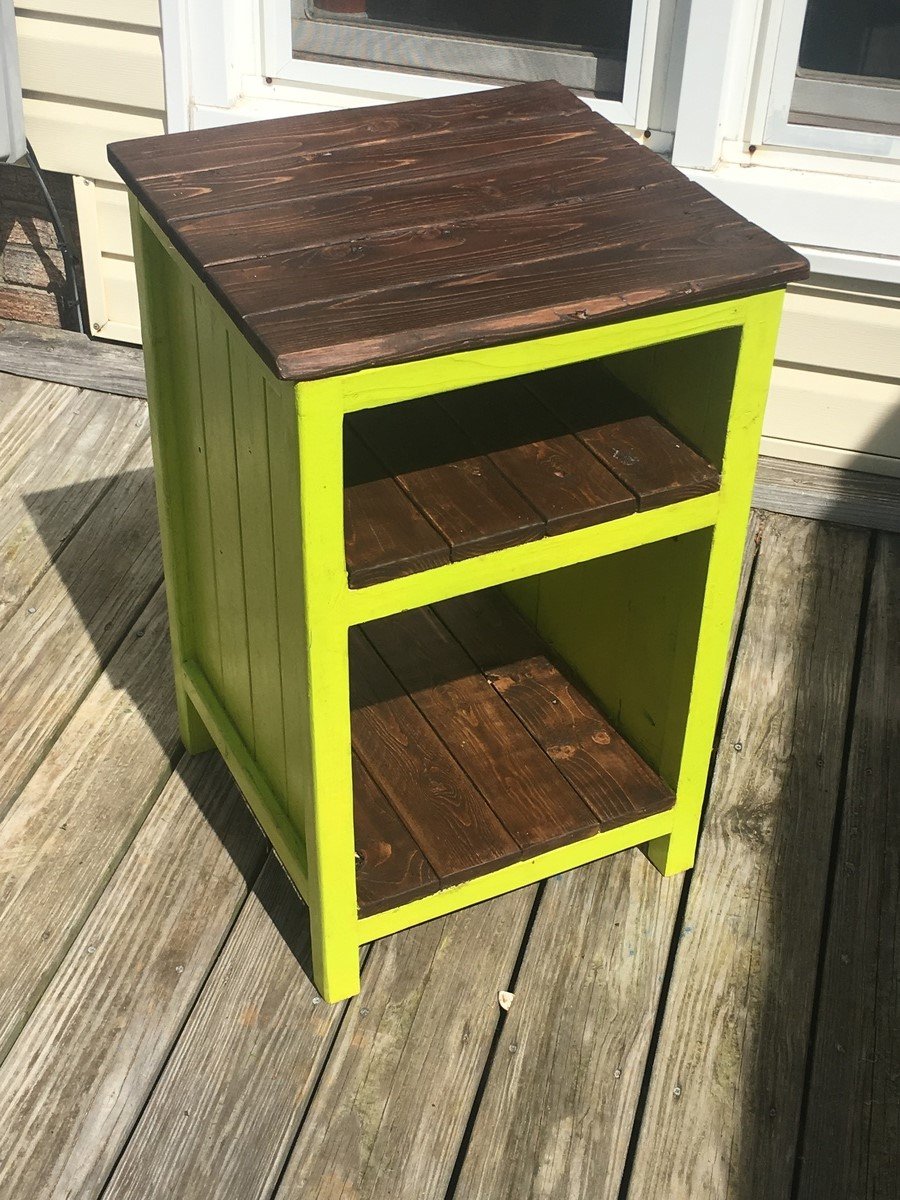
This was my first real woodworking project and I loved it! I had a big helper (my Dad), who has a full woodworking shop teach me how to use the different tools and assist with building. It took a while longer than the plans say because we did some extras like powersanding and rounding off all the edges on each piece before assembling it. My Dad was very picky about it having a polished look! Plus, I insisted on my Dad teaching me, not doing everything for me. We also predrilled and glued on 16 hinges so it would fold. That definitely took four hands to do and the majority of the time.
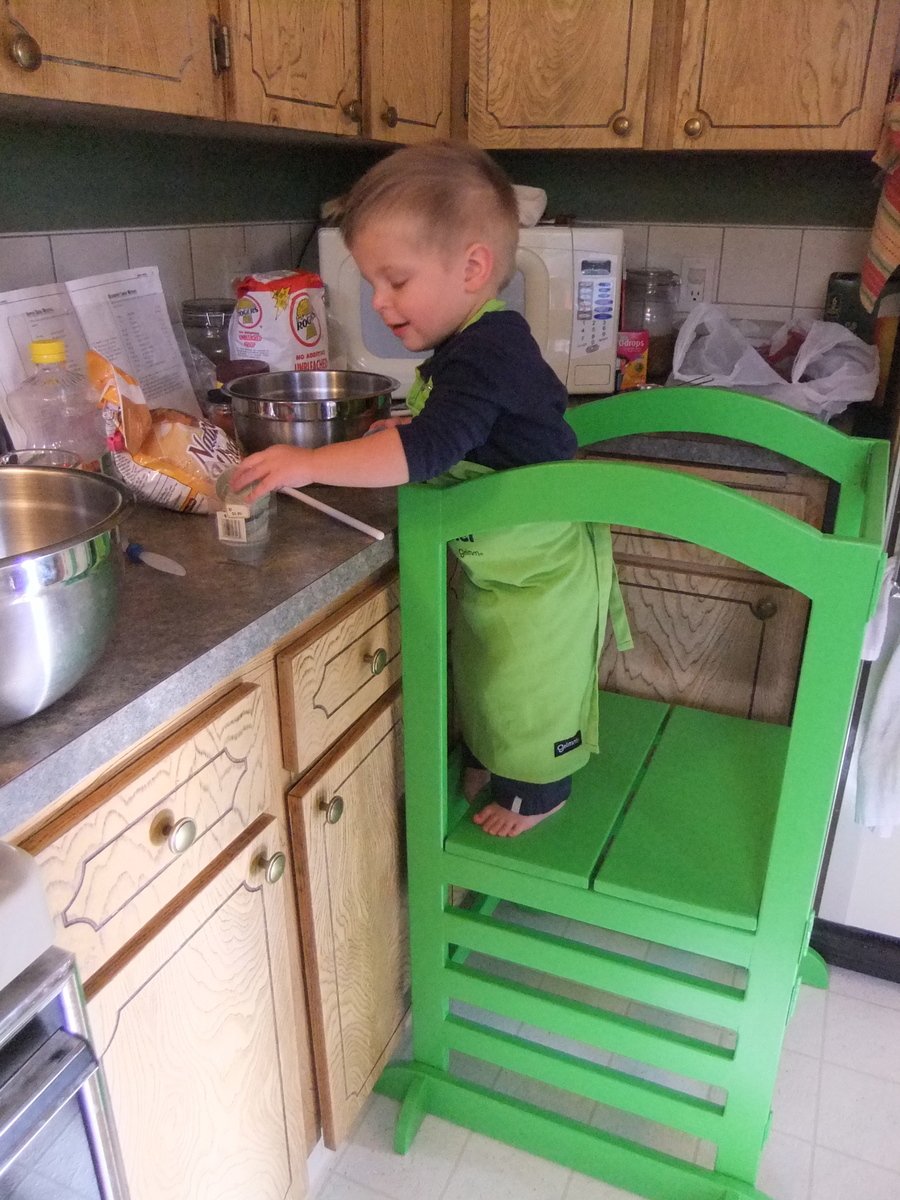
My 'small' helper (our last name is Small) and son Dominic is almost two and loves using it. In hindsight, I would have made it a couple inches less wide overall to fit better in our kitchen that has limited counter space. And would have painted it prior to screwing the sides together with the hinges to make it easier to paint. However, I built it at my Dad's over the weekend, then painted it later. I chose the bright green colour so it would be playful and gender neutral to pass on once we no longer need it.
Thanks for the inspiration and great plans! I will be back for more projects!!!!
Enjoyed making this project. Instructions were great. Very happy with the results.
I actually used the “Bedside End Table” brag plans. This is my first project using plans from this site, I’m pretty happy with it:)

"I scaled down your potting table plans and made this very fun coffee bar to fit my space exactly!" Jen Romito
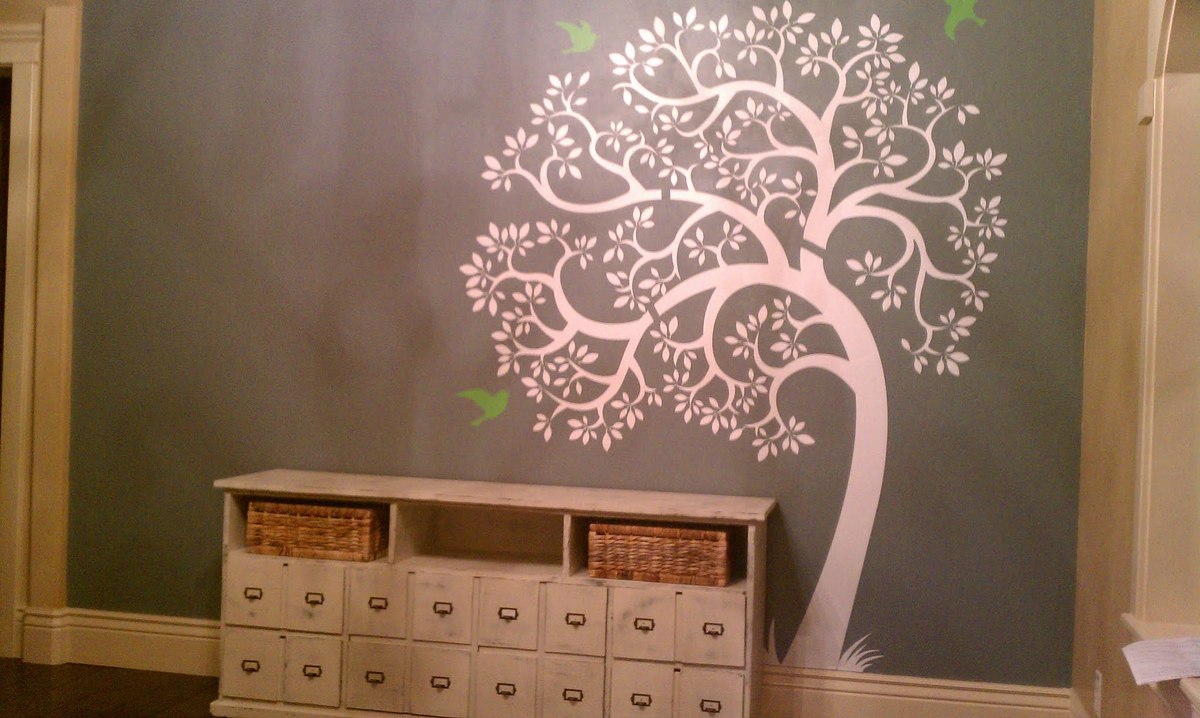
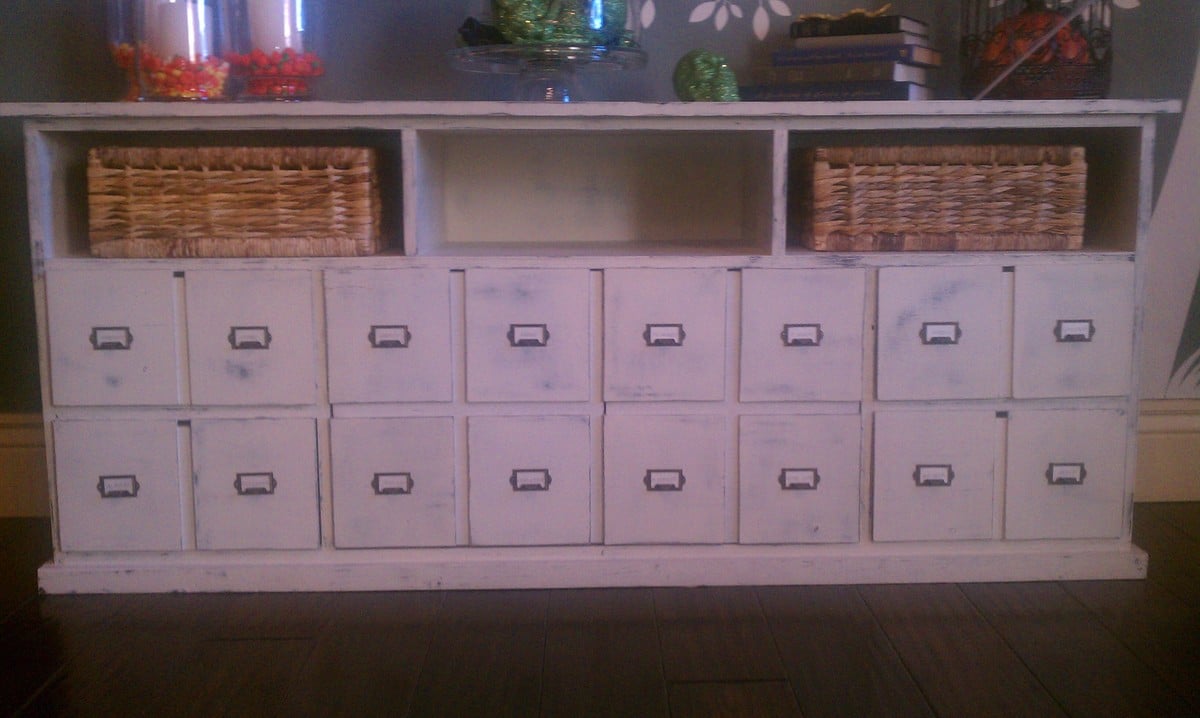
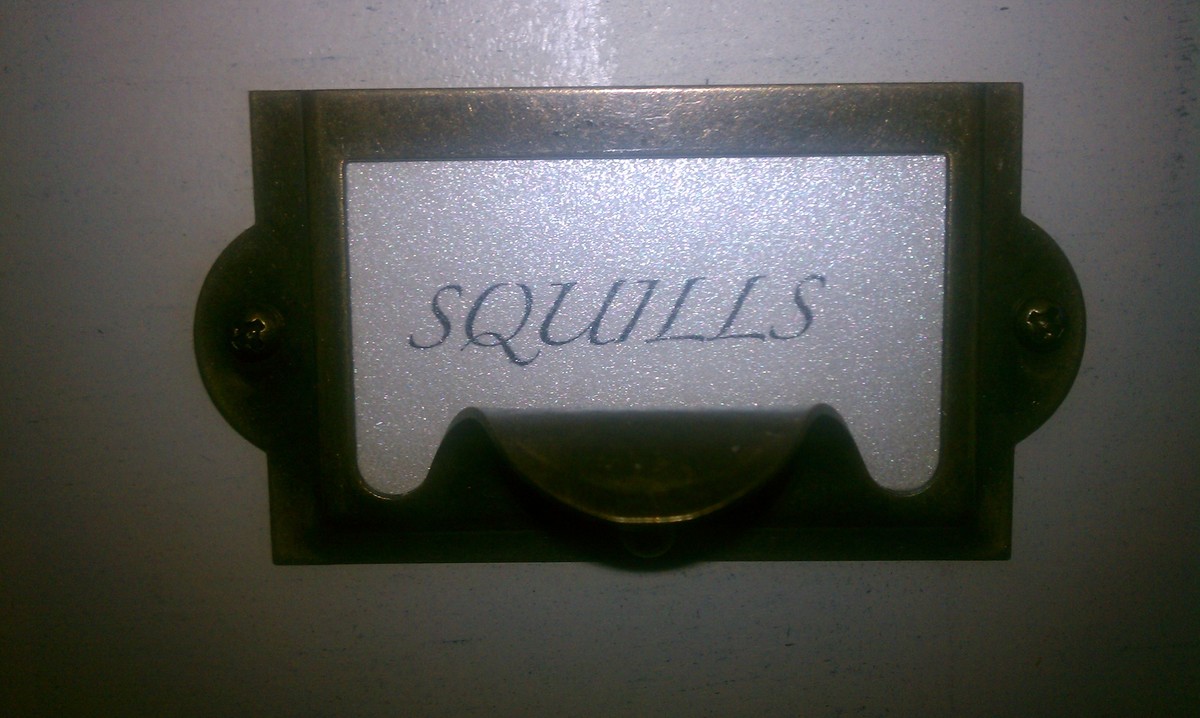
I painted the entire cabinet a dark blue, then painted over it again with an antique white. After it was completely dried I sanded it all down to give it a distressed look. I used antique label holders for the drawer pulls.
Sun, 10/30/2011 - 19:53
Love these things! You did a great job - especially like the pulls!
Sat, 11/12/2011 - 02:55
It's funny cause I have been thinking about doing the same set up with the apothecary console under a wall painted tree. I have to ask how you made the tree - is it stickons or stencil (if so please tell me where you got them) or is it hand painted. It's absolutely beautiful!!!!!!!!!!!!!
Tue, 11/15/2011 - 08:39
Its a vinyl wall decal. I bought it on etsy. I love it.
Tue, 11/15/2011 - 08:40
Its a vinyl wall decal. I bought it on etsy. I love it.
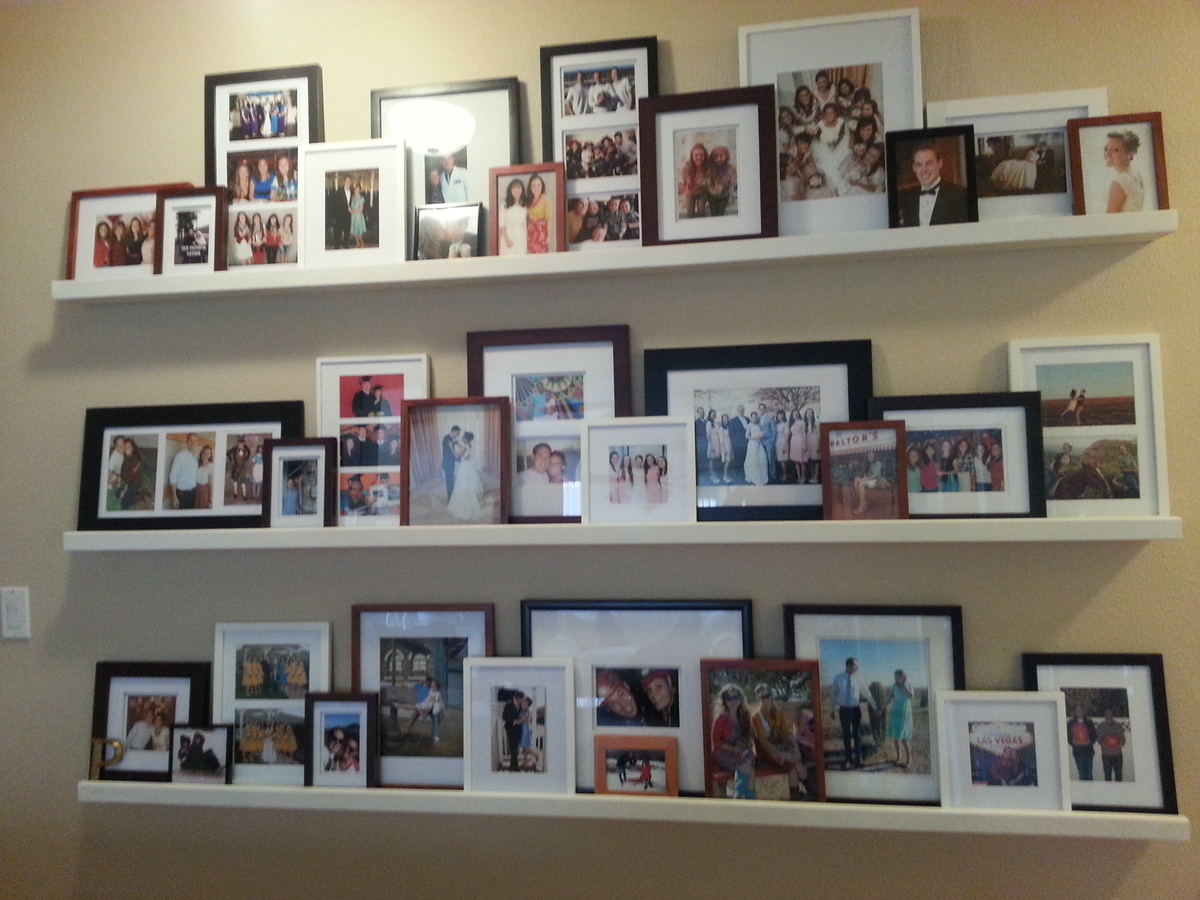
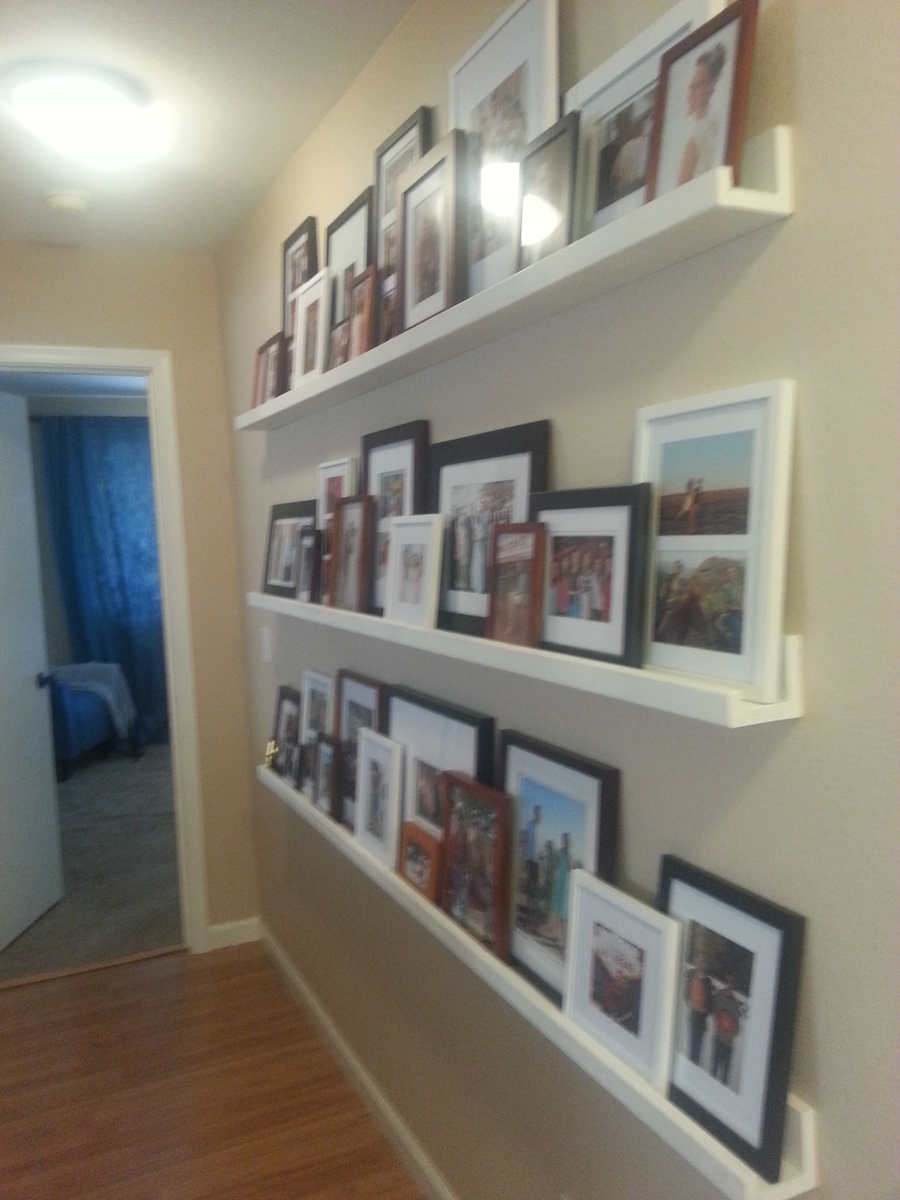
I love my new photo ledges. I had a huge space on my wall and these ledges are perfect. The ledges were so easy to make. I got a kreg jig for my birthday (I never thought I would ask for a tool for a birthday present) and I have gotten so much use out of it. I saw similar ledges at pottery barn for 10 times the cost of this DIY project. I saved so much with these ledges. The kreg jig has already paid for itself. The ledges make it super easy to switch out photos and I love being able to display so many fun photos. Everyone who sees these ledges loves them!! This was my first project. Thanks Ana for the great plans!
Mon, 10/21/2013 - 12:51
I might spray paint all the picture frames white or an oil rubbed bronze in the future...I'm not sure yet. Opinions?

Mon, 10/21/2013 - 18:27
Your gallery looks beautiful! Great job on your first project, congratulations!
(ps- I think the oil rubbed bronze would look super on the picture frames.)

Comments
Ana White Admin
Mon, 01/30/2023 - 09:18
Stunning piece!
WOW, this is gorgeous, love the wood grains and finish! Thank you for sharing.
Johnny_Holman
Wed, 02/01/2023 - 10:02
Thank you
Thank you