Community Brag Posts

Adirondack Chairs

Submitted by jcordle on Thu, 08/16/2012 - 11:48

These chairs are fairly easy to make. The side boards were the hardest part.

Built from Plan(s)
Estimated Time Investment
Afternoon Project (3-6 Hours)
Finish Used
I used Spray Primer and Spray Paint.
Sand very well. Any base primer will work and use any color of paint that you choose.
Recommended Skill Level
Beginner

Cornhole Boards

Submitted by SaraLodise on Fri, 09/23/2016 - 13:15

Cornhole boards for friends and family :)       Used 1x4s for framing and legs, 1/2" ply for top.


"R" set:  Birch plywood tops w/ (2) coats of Miniwax Weathered Oak oil stain. Red stripe is Behr 'Cherry Cola.'  (3) coats of Polycrylic finish.


"AW" set:  Regular plywood tops w/ (1) coat of Miniwax Special Walnut oil stain & Glidden 'Clemson Orange' stripe.   (3) coats of Polycrylic finish.

Estimated Cost
$100/set (2 boards)
Estimated Time Investment
Weekend Project (10-20 Hours)
Finish Used
(see description)
Recommended Skill Level
Intermediate

Comments

Seasonal And Holiday

Corner shelves

Submitted by Kate_14 on Sat, 07/04/2020 - 13:33

I built these beautiful corner shelves for a friend. It is a great beginner project. I used a 1x8 board but you could also use a 1x10 board. You could also build 5 shelves instead of 3. I used pocket hole joinery.

Estimated Time Investment
Afternoon Project (3-6 Hours)
Finish Used
Oil I find at my local mill.
Recommended Skill Level
Starter Project

Cedar sectional

Submitted by rhn0489 on Mon, 07/06/2020 - 11:39

My sister needed new outdoor furniture for her deck and liked the look of the sectional. I used cedar with a clear varnish to creat this piece for her that was perfectly sized for her deck. The challenge to this one was getting it to her house about 3 hours from mine. Fully assembled it would have been tight getting it in my truck. I ended up cutting all of the boards and drilling all of the pocket holes in my shop and then assembling at her house. I have added backs to some of the pieces I have made fro others that want the extr support. I add a 1x4 laying flat across the back of the seat. The slats going up and down then have a slight angle to them which adds comfort and support. I attached the pieces to the 1x4 and the upper back rest piece in the plans.

Estimated Cost
$340 including lumber and hardware
Estimated Time Investment
Weekend Project (10-20 Hours)
Recommended Skill Level
Intermediate
Seasonal And Holiday

DIY Outdoor Sectional

Submitted by Anonymous (not verified) on Mon, 05/06/2024 - 13:25

I used the armless chair plan, and altered the one armed plans to make two chaises. Then I increased the size slightly to accommodate the 25x25 pillows I bought. This took about 12 hours with one person working. I am super proud of it! Finished today, and will eventually stain after the wood has dried out a little. Thank you, Ana, for making straightforward plans that gave me the confidence to do my first woodworking project!

Andrea in Michigan

Farmhouse Table and Bench

Submitted by SNukem on Thu, 07/03/2014 - 21:10

This was our first furniture building project. It took us about 20 hours to complete and we couldn't be more happy with the results. We used 4x4's instead of 2x4's for the legs. We also changed the dimensions of the table so that it was the perfect size for our kitchen. After completing the table we decided to build a bench as well. It is the same plan as the table, just miniaturized. We used Minwax Jacobean stain on the table and then topped with a clear coat. It is a very heavy, sturdy table.

Estimated Cost
150
Estimated Time Investment
Weekend Project (10-20 Hours)
Finish Used
Minwax Jacobean stain - 1 coat applied with rag, We didn't wipe any of the excess off.
Minwax Fast-Drying Polyurethane in Satin - 3 coats applied with a soft brush, light sanding in-between each coat.
Recommended Skill Level
Starter Project

Ana's Adirondack Chairs

Submitted by Tbecker on Fri, 07/11/2014 - 20:12

I built these chairs last summer, they came out amazing! Everybody loves them! Thank you Ana. I also built the sofa for my sun room. Pictures to come.

Estimated Time Investment
Week Long Project (20 Hours or More)
Recommended Skill Level
Beginner

Comments

elfi

Sat, 05/04/2019 - 08:18

My husband made 4 of these with some slight modifications like rounded arms and back.
However the best function he added were 2 wooden wheels he attached to the back legs, we now can move these chairs easily on our deck.
Our goal was to make them look like well worn beach chairs, we used milk paint for that effect. It still lets the grain show through.

Pallet Wood Chalk Board, Shower Wall and Shower Mat

Submitted by kdins31 on Tue, 08/05/2014 - 06:13

As part of my backyard overhaul I've added an outdoor shower and chalkboard against the wall of the house. There's also a small sand pit and deck area, so the shower comes in handy to wash the dirty feet. I had a few pallets sitting under the deck for years and finally put them to use. Some cuts here and there and some sanding and they look great. For the floor mat I just cut the pallet piece you can see in one of the photos in half and framed it with treated 2x4". The chalkboard is a plain sheet of 2x4' project board primed and painted several coats with flat black exterior paint. I used this over the 'chalkboard' paint because it's exterior grade. It works great, even better than chalkboard paint imo. The frame is made of the cut slats of the pallet, just glued and nailed on. The fence also is a cut pallet. I just made random cuts about half way through on varying angles which resulted in two mirrored halves of the pallet. They fit the space perfectly. I love the random look of it and may give it some paint eventually.

Estimated Time Investment
Afternoon Project (3-6 Hours)
Finish Used
I used flat black exterior paint for chalkboard, over several coats of primer to protect the wood in the elements.
Recommended Skill Level
Beginner

Rustic table with storage and chairs

The table top is modified from Ana's farmhouse table, the base is modified from the storage table and the chairs are modified from the extra tall bar stool. This project took me the weekend to complete, because of those darn chairs!!!

Estimated Time Investment
Weekend Project (10-20 Hours)
Finish Used
Cabot pecan stain and semi-gloss Poly
Recommended Skill Level
Intermediate

Comments

In reply to by patrickhosey

little stuf

Sun, 11/04/2012 - 06:52

For the ladder I used straight 2x2s and 2x3's. I like the look of the straight back. I didn't want pocket holes on either side, so I used 3" screws through the legs into the 2x3s. I used a scrap 2x3 as a spacer.

Modified Rustic pottery barn inspired Mason bedside table

I had made this bedside table before, but this time the bottom two drawers just wouldn't work out. I fiddled with them and cut out and made 6 box drawers before I finally just decided on shelves. I used 1/4 inch plywood and 18 gauge brad nails to secure it. Once all this was done ,I found 2 basket "drawers."

Estimated Cost
$35
Estimated Time Investment
Weekend Project (10-20 Hours)
Finish Used
primer, antique white acrylic latex from sherman williams, sanded, glazed with burnt umber acrylic paint added to Martha Stewart glaze and wiped off, Matte finsih Rustolem
Recommended Skill Level
Beginner

Fancy Jewelry Box

Submitted by JoanneS on Sun, 11/11/2012 - 17:37

12/16/14 UPDATE:  Posted a plan for this project, linked in this brag post

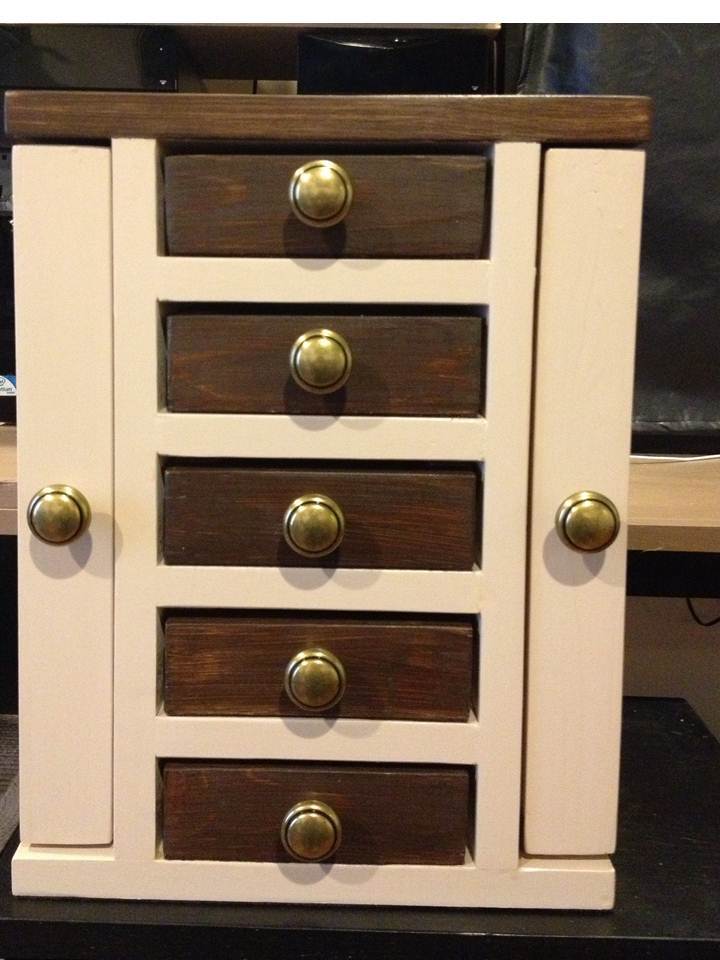
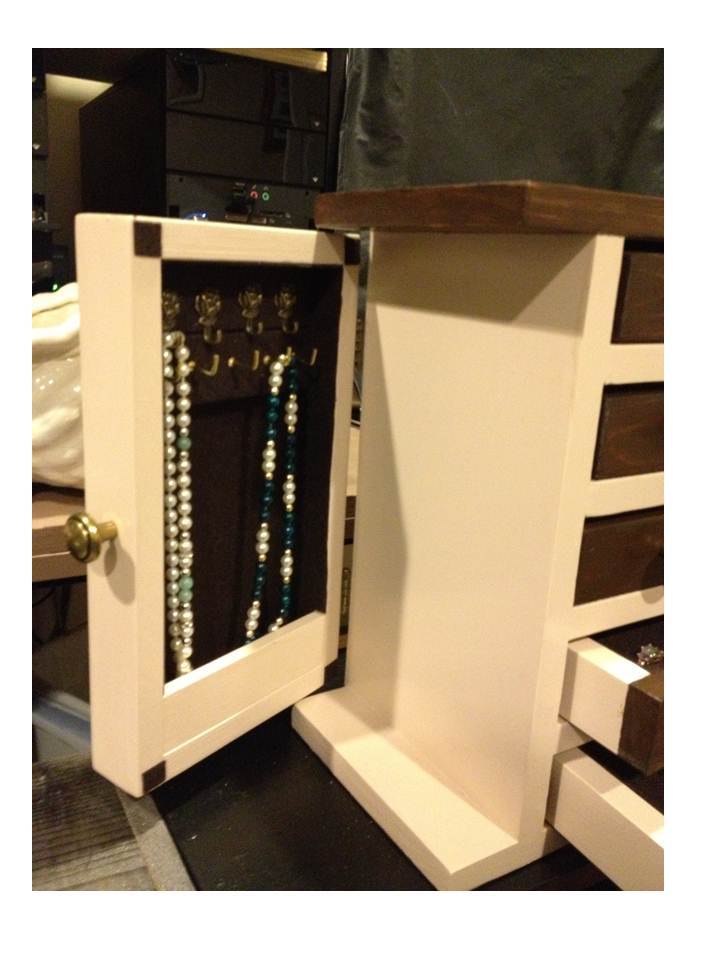
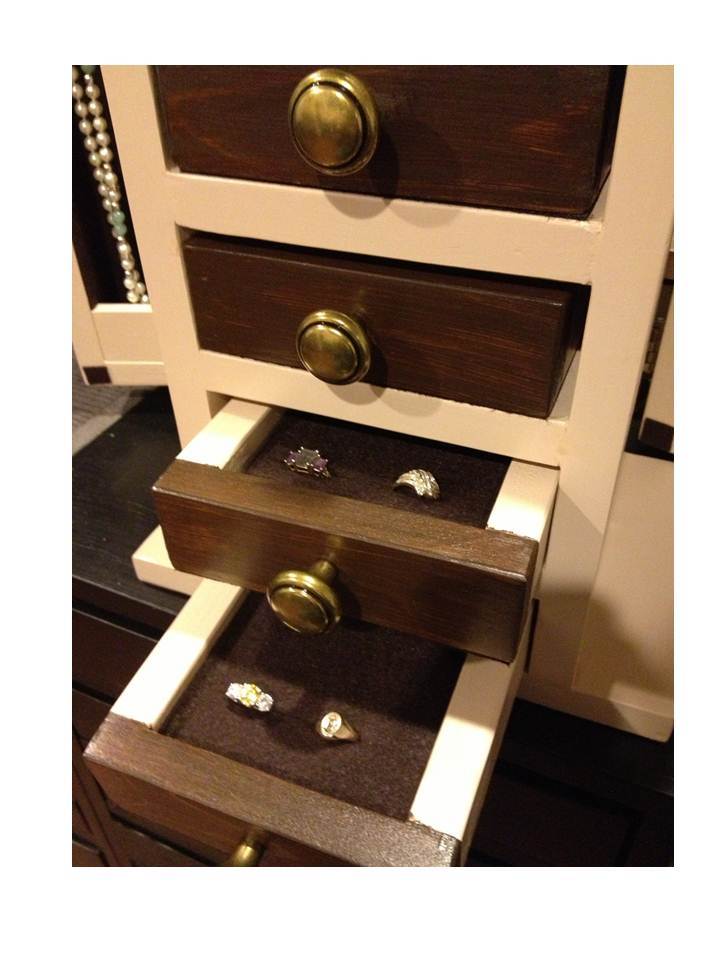
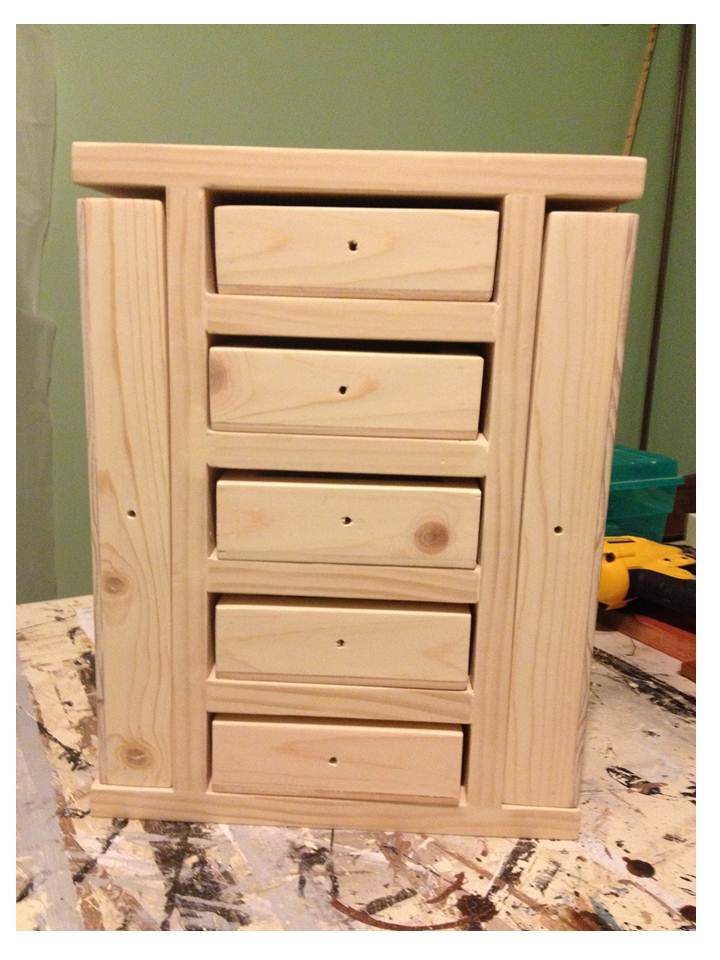
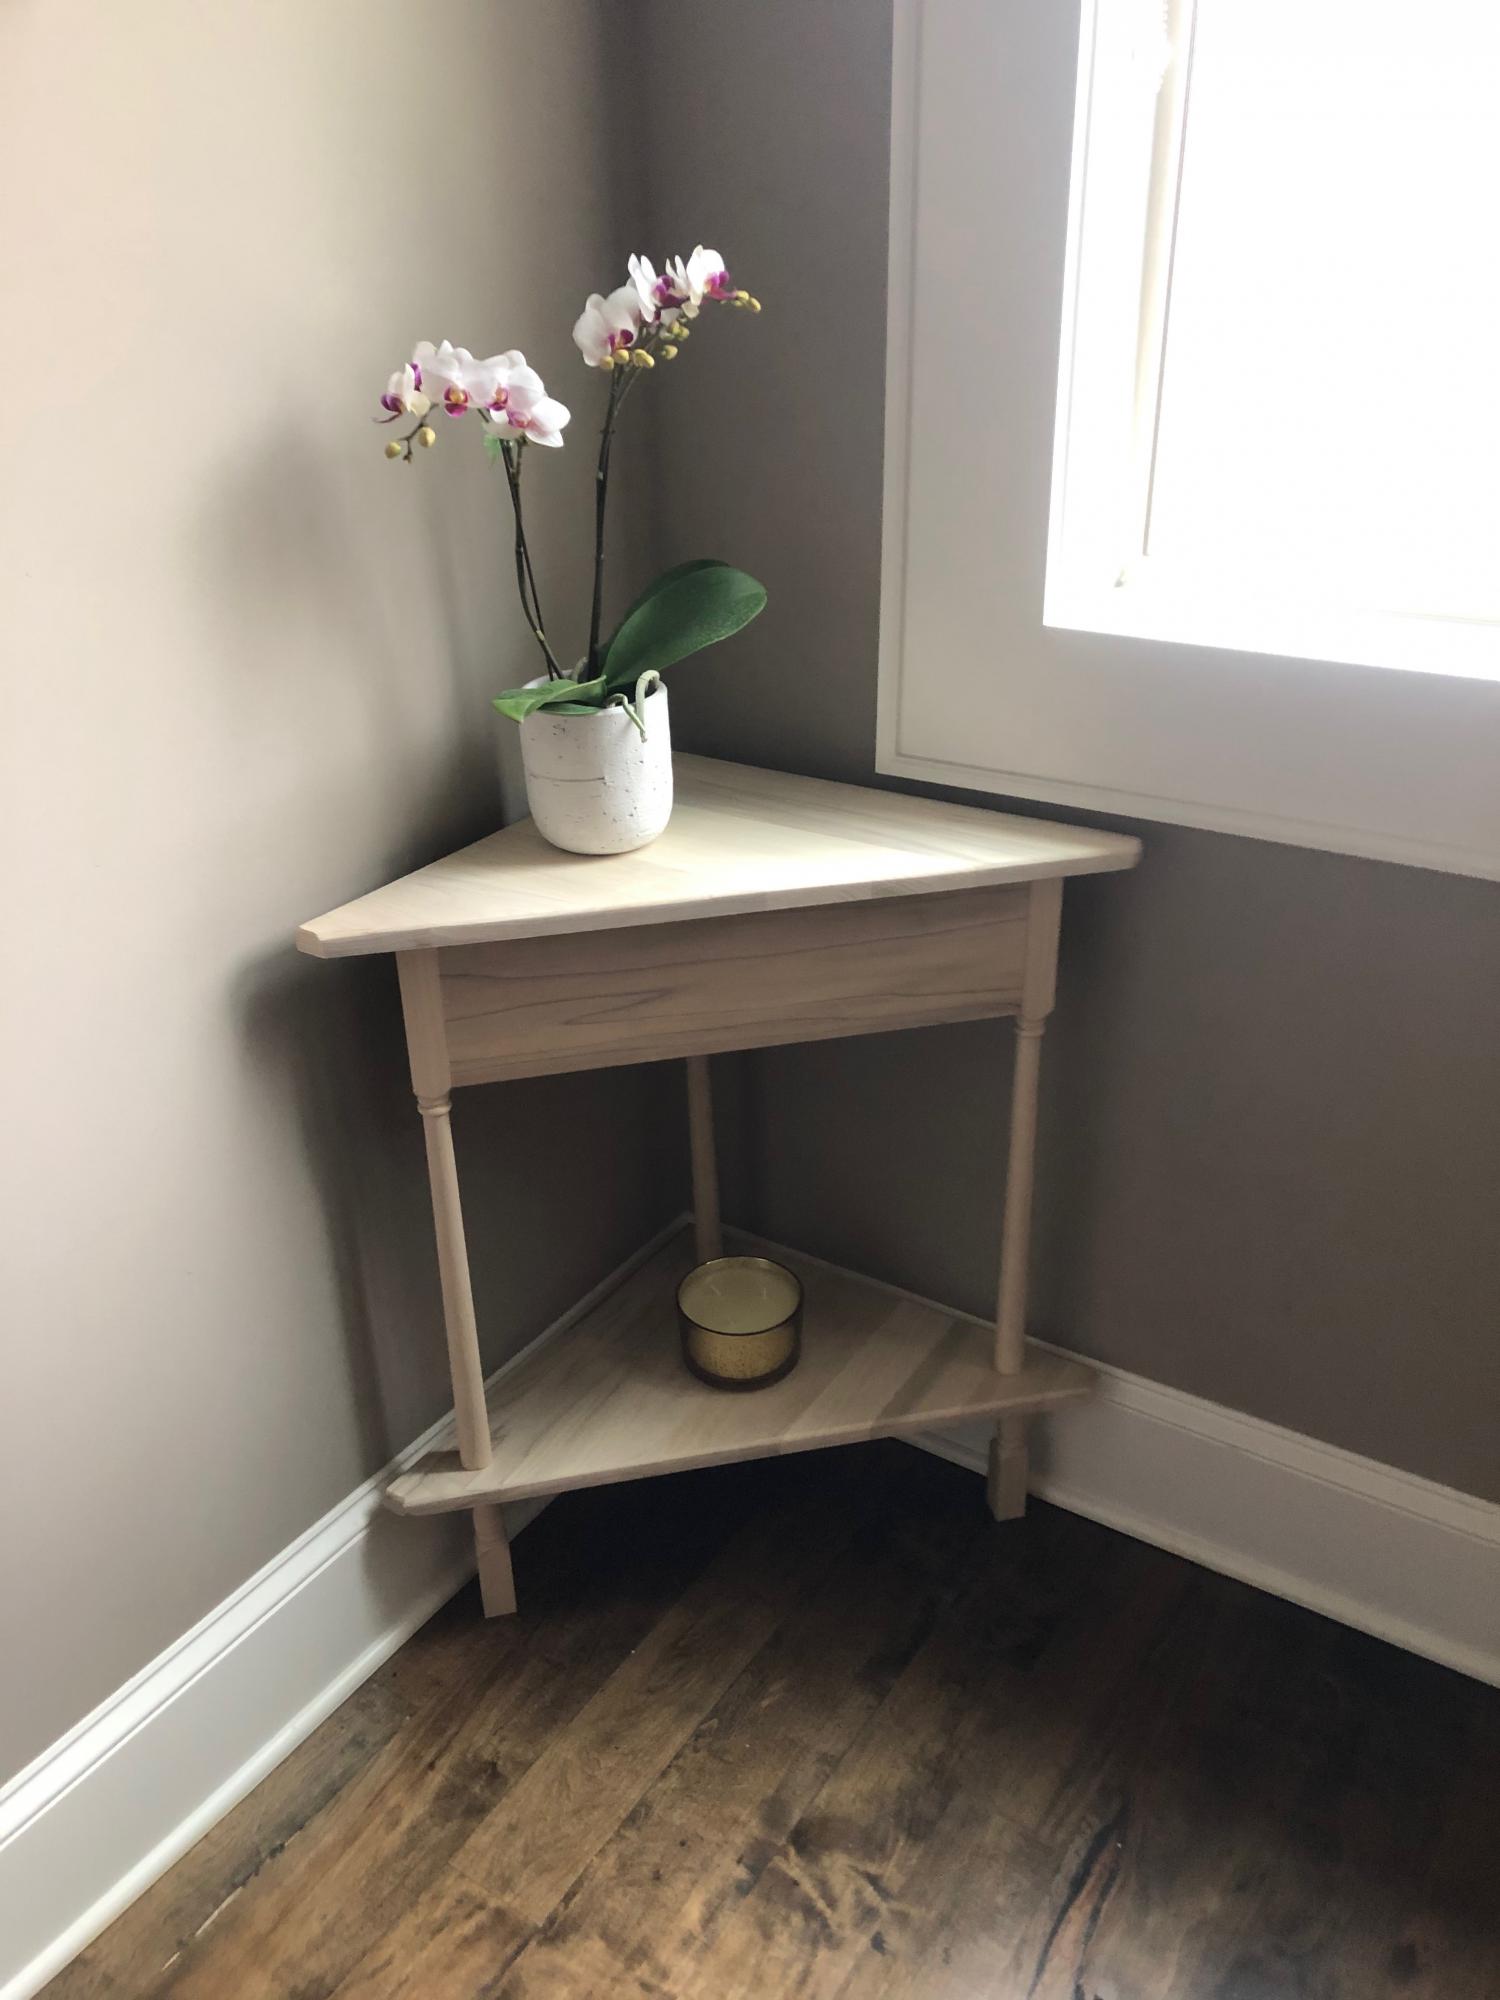
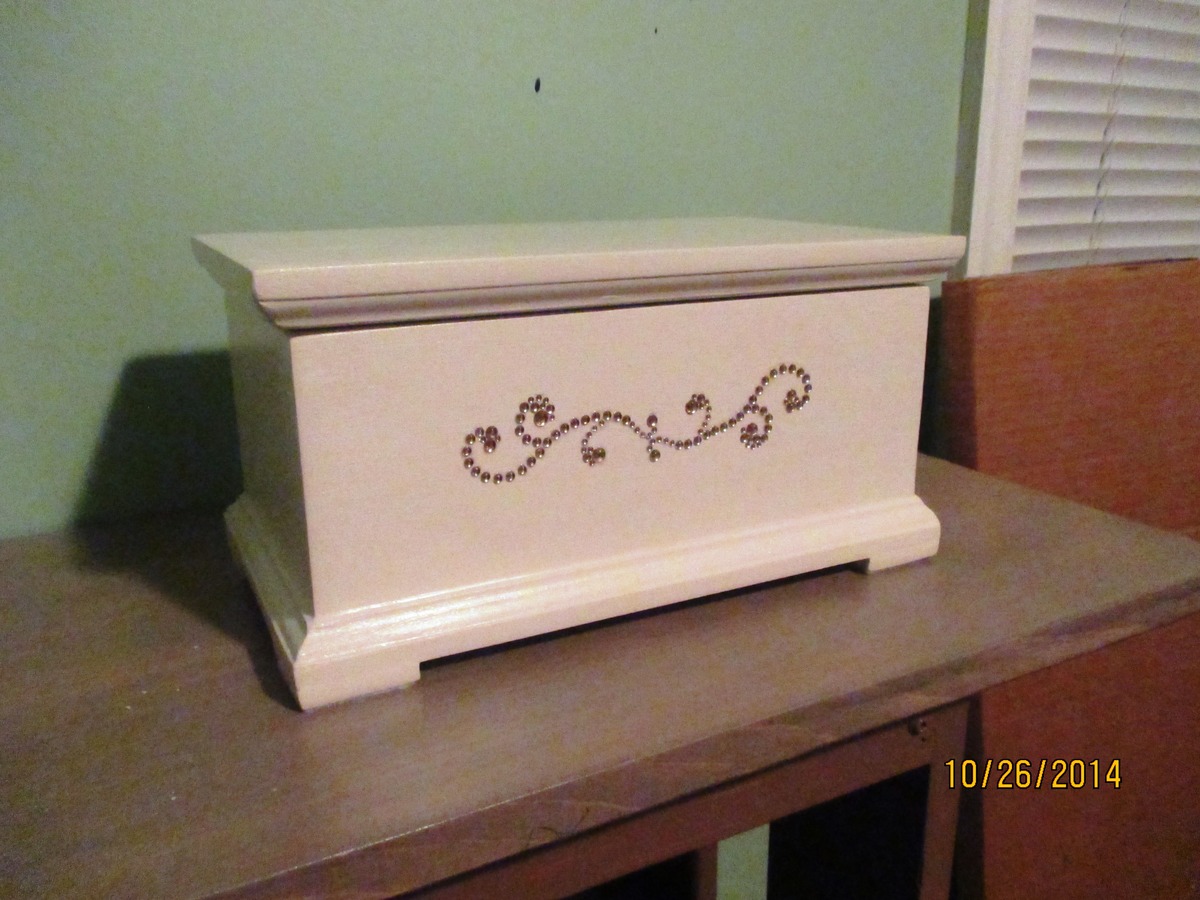
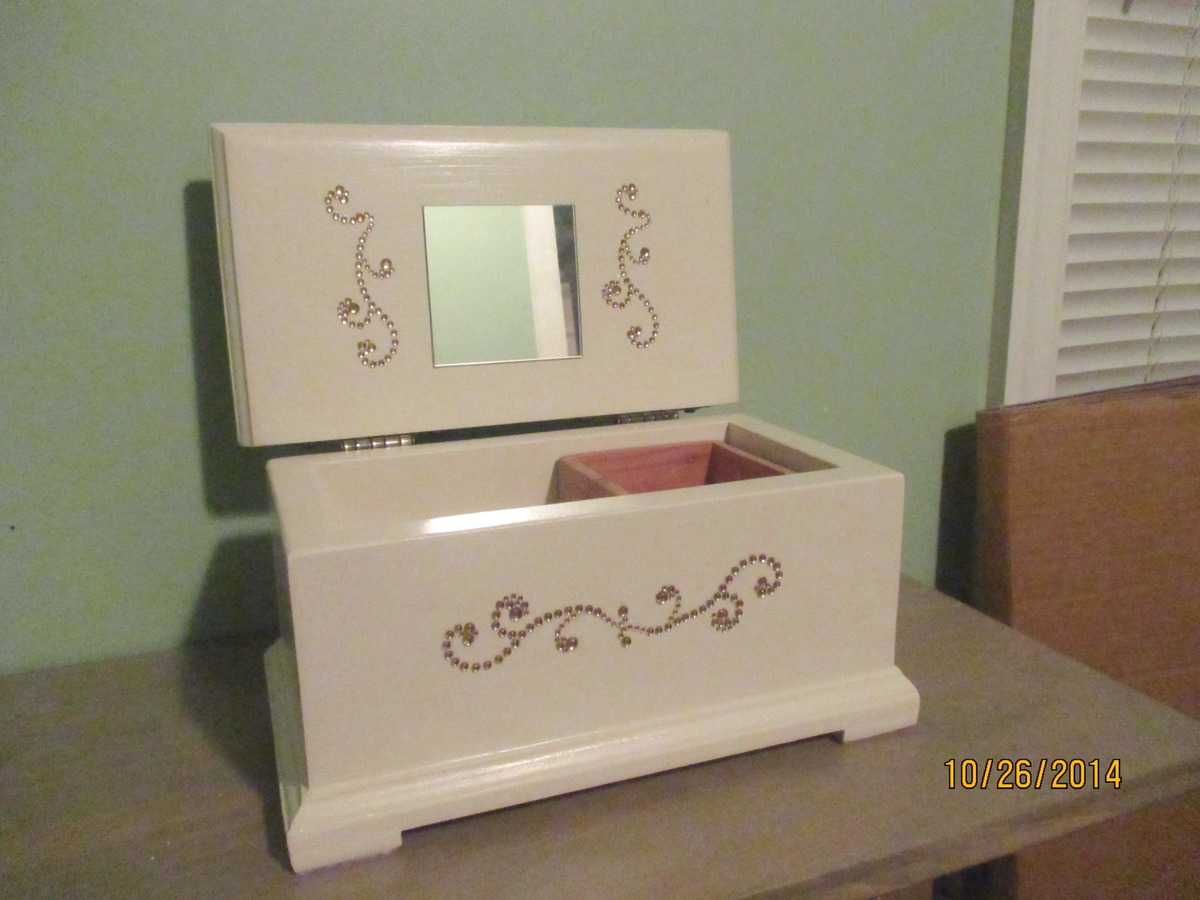
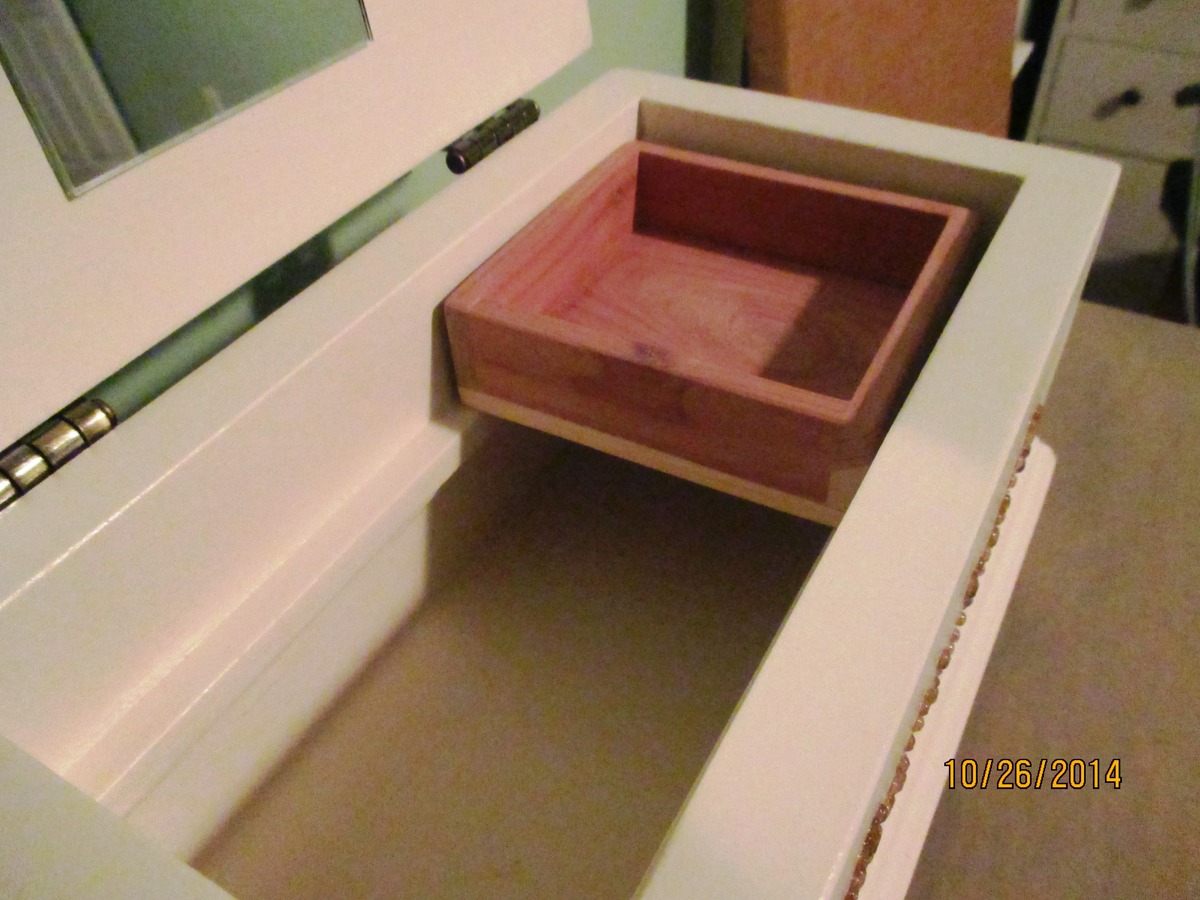
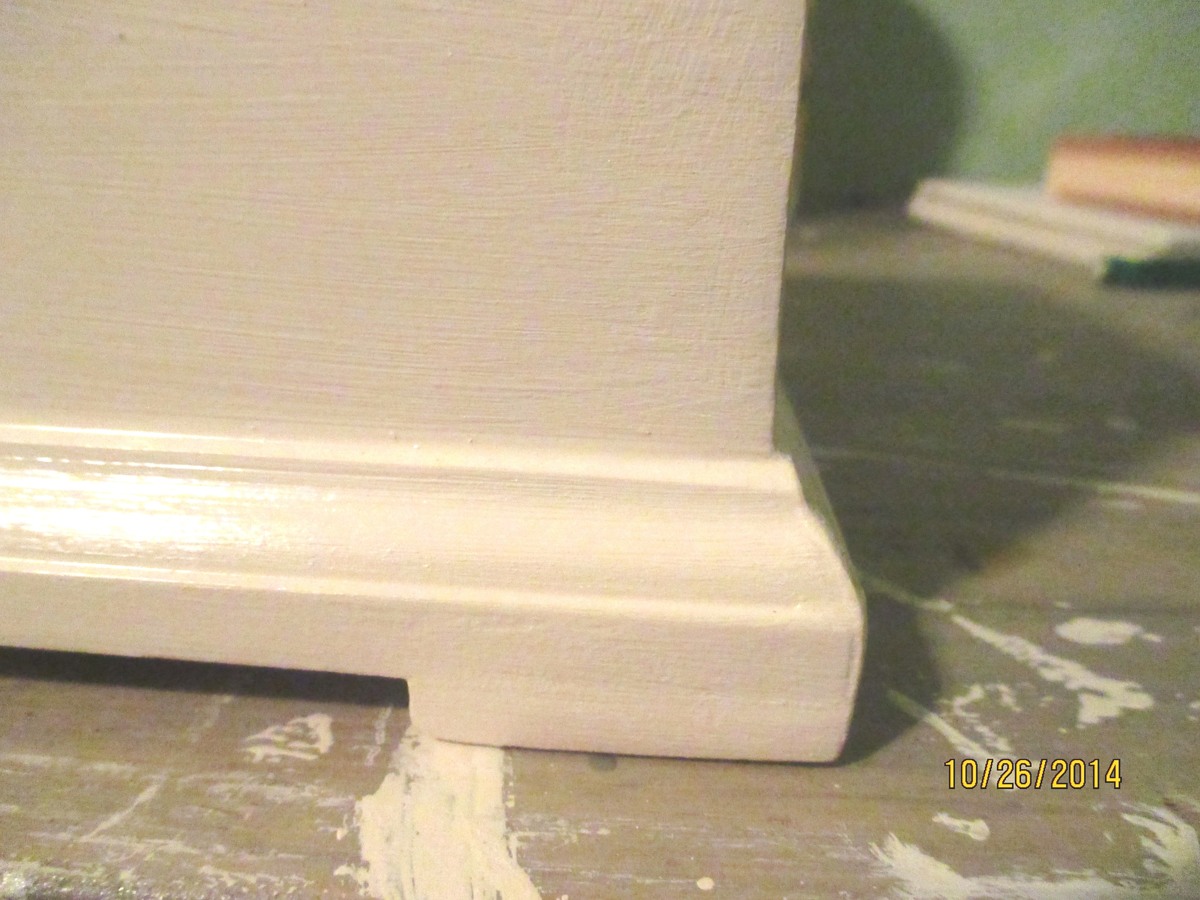
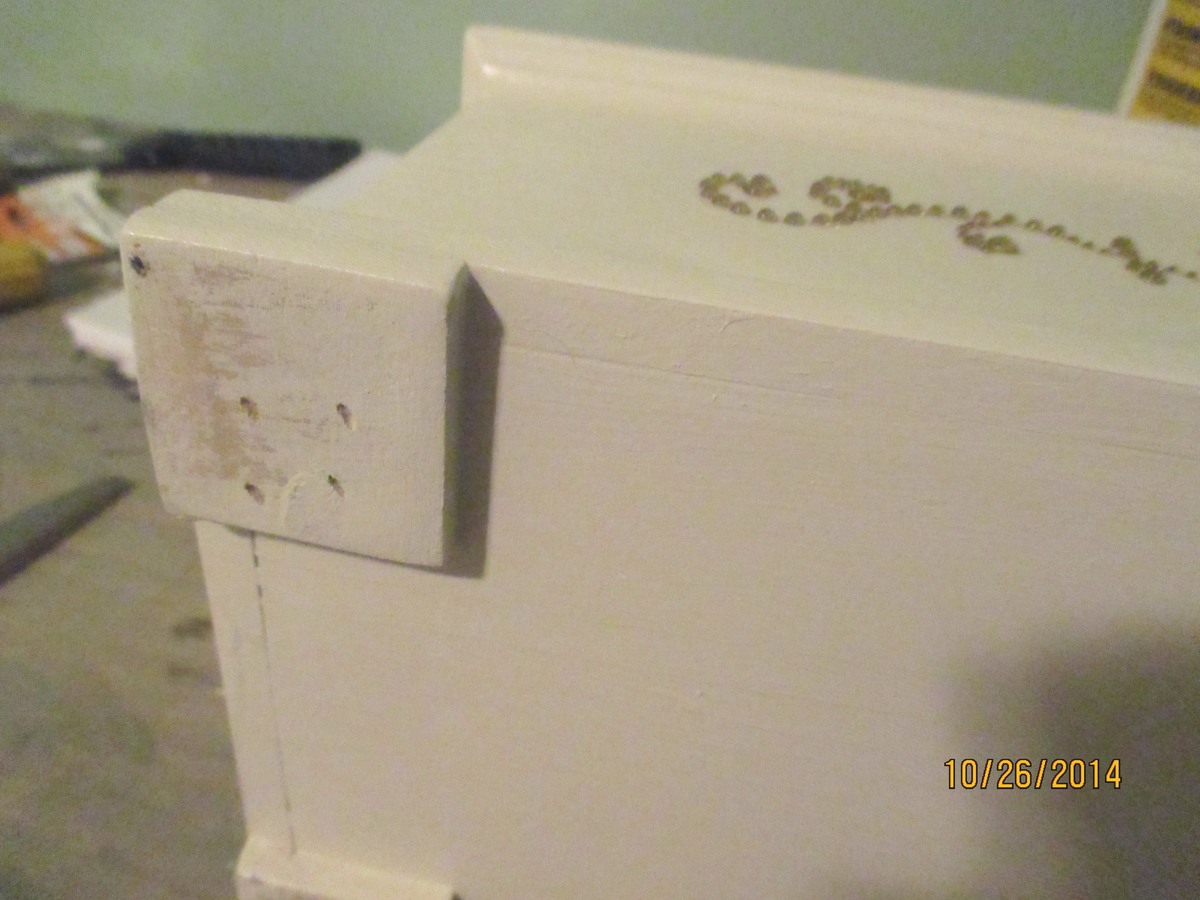
This is a variation of the Easy Jewelry Box plan. The completed measurement is 11” wide, 14 ½” high, and 7 ½” deep. This one has a center “tower” with 5 drawers 5 ½” wide, and a wide overhang on the top and bottom, which covers the 2 side doors that open out for hanging necklaces. The drawers are lined with embossed felt, and the drawer bottoms and insides of doors are covered with sticky-back felt. The 2 removable ring drawer inserts are some scraps of 1” foam, covered with scraps of the sticky-back felt, with slits cut into the foam with a utility knife (cut the slits into the felt first, attach it to the foam, then cut the slits into the foam). Cost breakdown: antique brass knobs: $28, sticky back & embossed felt: $14, hooks: $15, wood: $35, hinges: $7, paint: $5. (already on hand: finish nails, glue, sandpaper, left over stain & poly) . I worked on this a few hours a day over a long weekend, probably about 12 hours total. Finishing took most of this time, the build was actually only a couple of hours.

Built from Plan(s)
Estimated Cost
$104
Estimated Time Investment
Weekend Project (10-20 Hours)
Finish Used
Box and doors: 3 coats Benjamin Moore “Harmony”, sanded between coats, and 1 coat Minwax water based wipe on poly. Top and drawer fronts: 1 coat Minwax Express Color in Walnut, and 1 coat Minwax water based wipe on poly.
Recommended Skill Level
Beginner

Comments

jgg2006

Tue, 12/16/2014 - 00:43

Hello,

Can you please email these plans even if it is just a sketch up drawing

Captain America for Grandson #2

A fun project to make ending with a functional product to boot!  I went all out making sure that each truck/shelf would coordinate with each grandson's theme/decor in their bedrooms.  Chase, who will turn one next month, has a super heroes/comics theme for his room.  Therefore, I selected Captain America as the star of the big rig shelf.  Red, white & blue paints, some wooden shapes and some creativity and Captain America was ready for Mr. Smiles.

Built from Plan(s)
Estimated Cost
$75 ~ supplies on Ana's suggested list plus the extras I purchased to create my 'star'
Estimated Time Investment
Weekend Project (10-20 Hours)
Finish Used
Rustoleum apple red and navy blue and crafter's choice snowfall (white)
Recommended Skill Level
Beginner

Simple Modern Toy Boxes

Submitted by papamike on Sat, 10/03/2020 - 16:58

I made two of these. One for each granddaughter at the time. (Since then I have another granddaughter and a grandson.) Made with solid oak everywhere except the top. I made the top with oak plywood for strength. I edged the lid with oak. These were the first projects I ever made where things had to fit tightly together and the beginning of my woodworking hobby.

Built from Plan(s)
Estimated Time Investment
Week Long Project (20 Hours or More)
Finish Used
Each family wanted a different finish, one a more natural oak and the other a weathered gray stain. I used Verathane stain and satin finish polyurethane on both.
Recommended Skill Level
Intermediate

Comments

2nd Project Bed fit for a King

Submitted by dadto3kids on Thu, 10/16/2014 - 10:35

Second project using completely reclaimed wood.  The plans were easy to follow and I made a few minor modifications.  I swapped out the two 2 X 4's inthe middle of the frame for 2 X 6's and added a center foot to each of them for center support.  I had a hard time finding larger shims and was about to make my own when I grabbed a few pieces of scrap 1 X 3 and started to make the design you see on the footboard. My wife like the look so much that I repeated it on the headboard.  Looking forward to making some nightstands that will match the look of the bed. The boards used to be nailed together as temporary fencing that is what created some of the color variation in the wood and I tried to create some sort of a pattern by alternating light and dark.

Built from Plan(s)
Estimated Cost
$20 for stain and polyurethane
Estimated Time Investment
Week Long Project (20 Hours or More)
Finish Used
Minwax Golden Oak and satin polyurethane
Recommended Skill Level
Beginner

Comments

brickton

Fri, 10/17/2014 - 05:37

This is really nice. I have to admit I was underwhelmed by the original plan when I saw it, but this is beautiful. Really nicely done. 

Corner Table for stair landing

Project for corner of stair landing at my house. Made in an afternoon using poplar wood -- no finish, only water based matte finish polycrylic. No plan used, please let me know if you would like plan supplied.

Estimated Cost
$30
Estimated Time Investment
Afternoon Project (3-6 Hours)
Finish Used
Topcoat only - water based polycrylic
Recommended Skill Level
Intermediate

Comments

Miniature Hope Chest

Submitted by JoanneS on Tue, 10/28/2014 - 18:59

This build is a gift for a friend who is retiring.  It is made from scrap wood and left over finishes, so the only things I had to purchase were the moulding, hinges and “bling”.

Used Georgia’s Jewelry Box plan, with these mods:  made it a little longer with no overhangs; added stop moulding trim around the top and bottom; added some lattice squares for “feet;” added a small sliding tray in aromatic cedar (1/4” cedar closet lining for the tray, stop moulding for the rails), and some self-adhesive rhinestone flourishes (found these at Michaels). 

This would be an afternoon build.  The finish took longer than the build - probably 2 or 3 hrs  (filling, sanding, painting, and attaching the hinges and  “bling”).   It took me much longer to decide how to decorate it, than it did to actually build it ;)

Some squares of sticky-back felt were also added to the bottoms of the feet.

I’m very pleased to say that this gift was a big hit!

Built from Plan(s)
Estimated Cost
$15
Estimated Time Investment
Afternoon Project (3-6 Hours)
Finish Used
Finish is 3 coats of Ace Royal semi-gloss in Crushed Peanut, sanded between coats, and the rhinestones are a champagne gold color. Also added some crystal clear super glue (I used Loctite) around the rhinestones with a tiny artist brush, to make sure the stones stay in place.
Recommended Skill Level
Beginner

Comments

JoanneS

Fri, 10/31/2014 - 15:24

Thank you for the nice comment!  :)  I might build some more of these for Christmas gifts.

:)

Recycling center

Loved building this recycling center. Basically made three cabinets from the plans and then attached them together. Now the dog can't get in the trash and the recycling and empty cans don't gather in the counter and it looks great! I used piano hinges for the doors which makes them feel much more stable.

Estimated Cost
$200 (including 3 garbage cans)
Estimated Time Investment
Weekend Project (10-20 Hours)
Recommended Skill Level
Intermediate

Comments