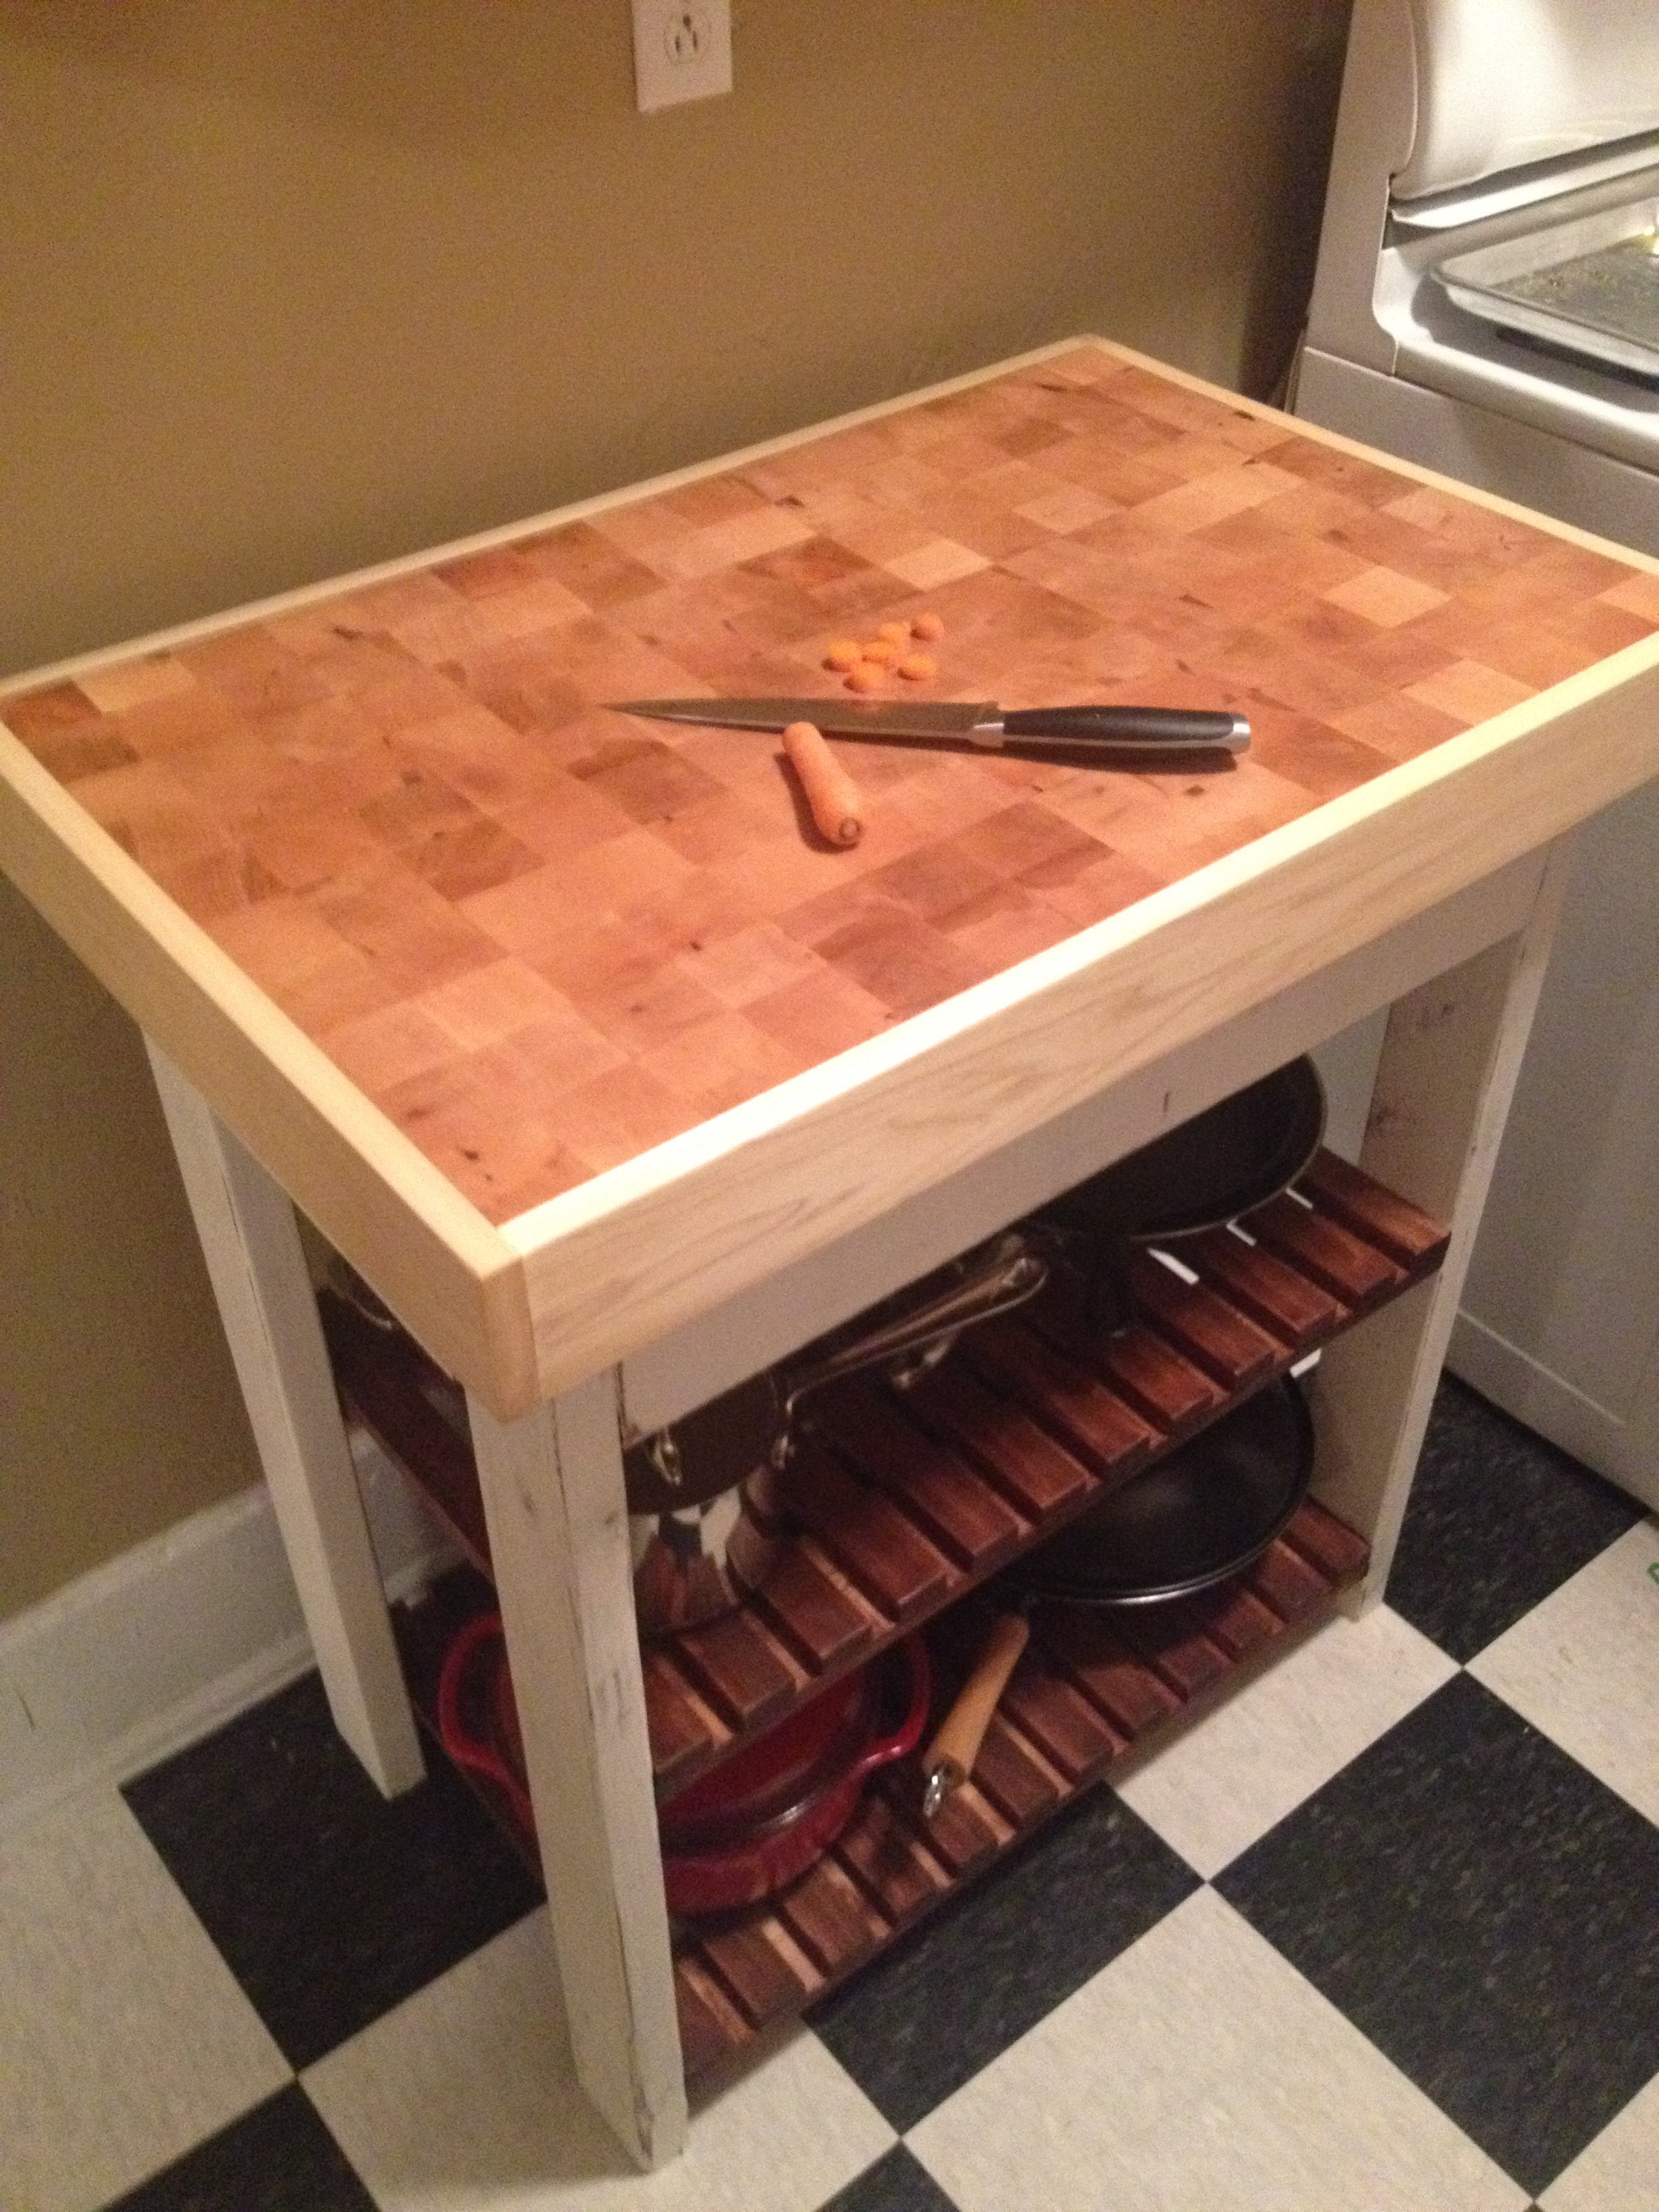
This "island" was inspired by the plans for the Easy Kitchen Island, with a bit of a twist. My roommate is really into cooking, and had a little butcher block that he wanted to upgrade. Our kitchen is fairly narrow, but there was a huge bare spot underneath some cabinets that was begging to be used. Our cabinets were overflowing and we needed more storage space. The kitchen island-butcher block combo solved both problems and fit nicely under our cabinet.
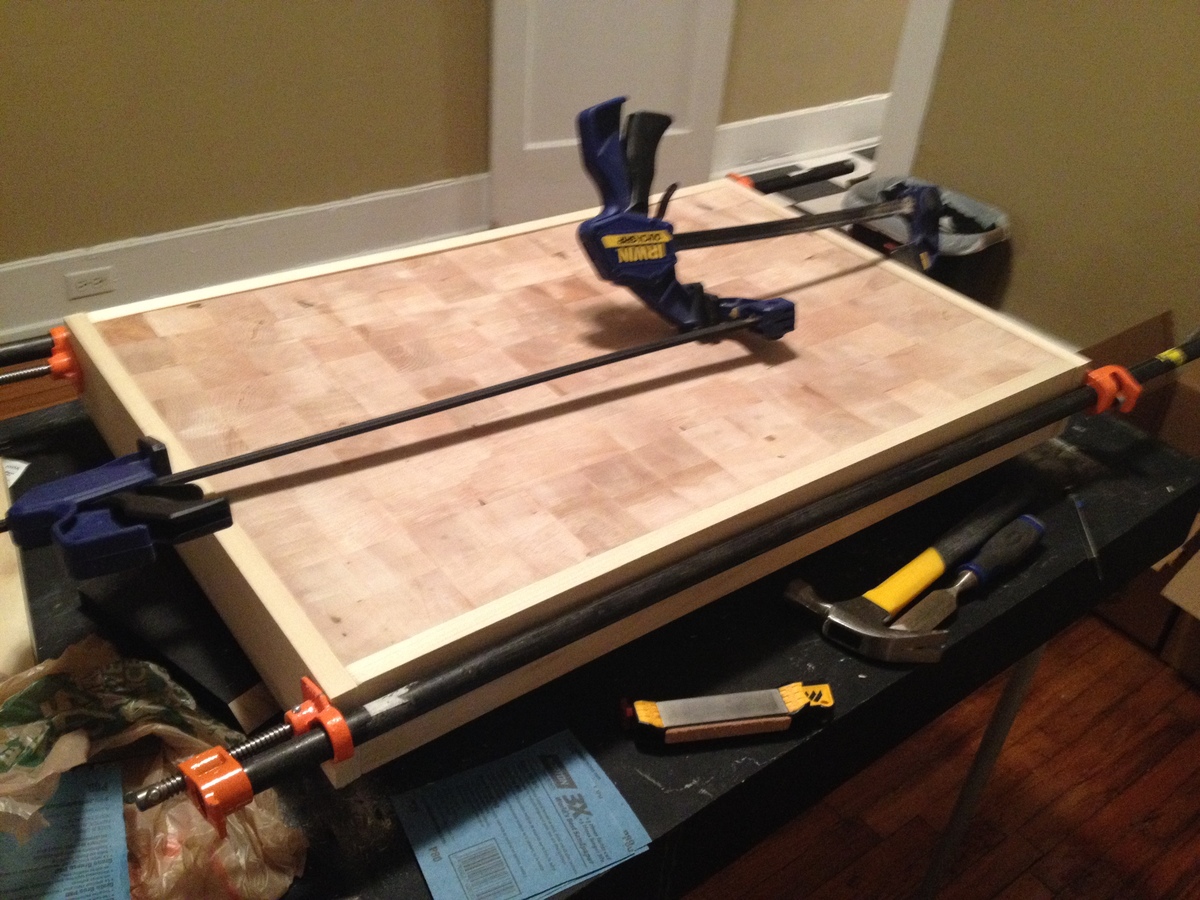
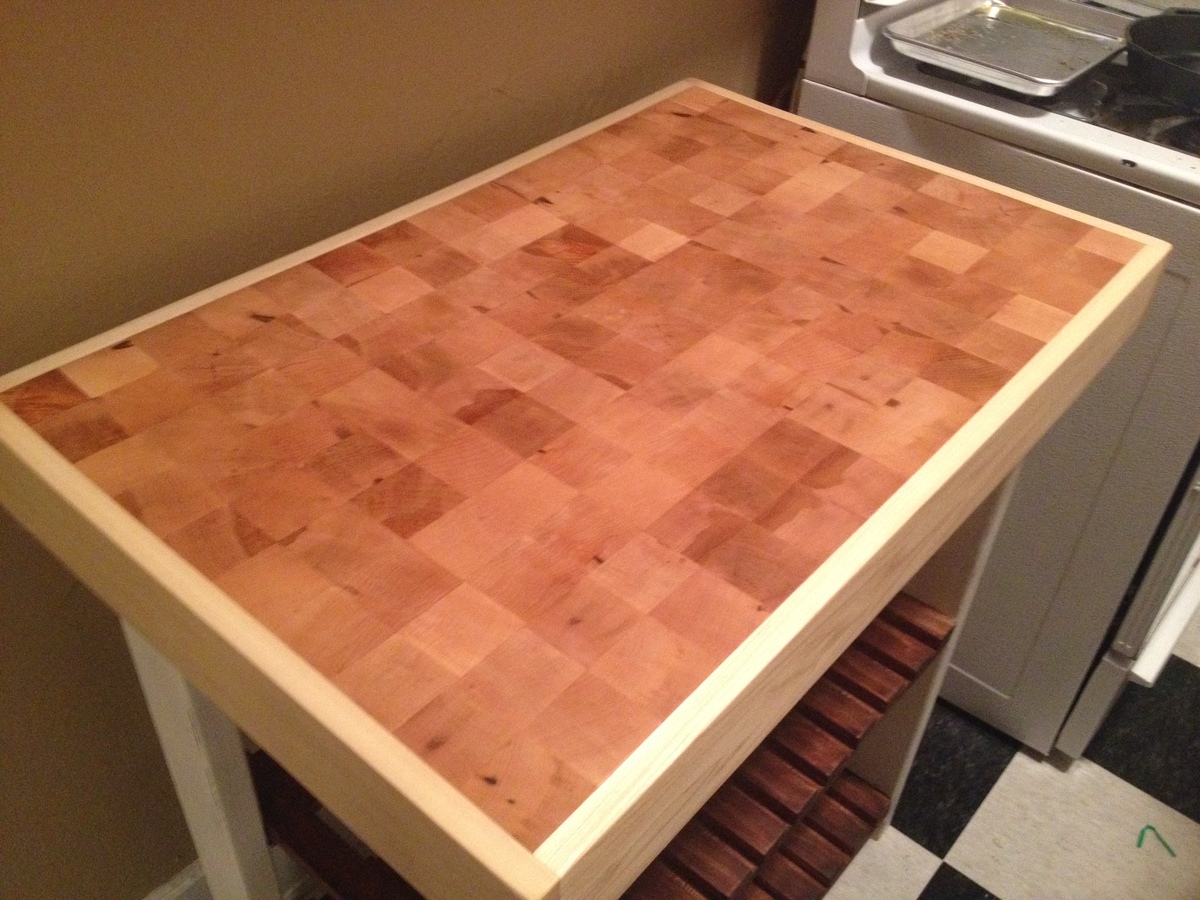
After a little research, we decided to go with an end-grain board made with maple. We looked around and ended up getting a bunch of wood off of eBay for about 65 bucks. The butcher block turned out to be a bear of a project. Without access to a table saw (not going to happen in this apartment) it took some sanding, then more sanding, then a trip to my dad's to use a table saw after all, then more sanding, then more...well, you get the picture. Once all the pieces were assembled, we glued a 1"x4" poplar border onto the sides to give it a more uniform appearance from the sides, as well as to hide the connection to the structure.
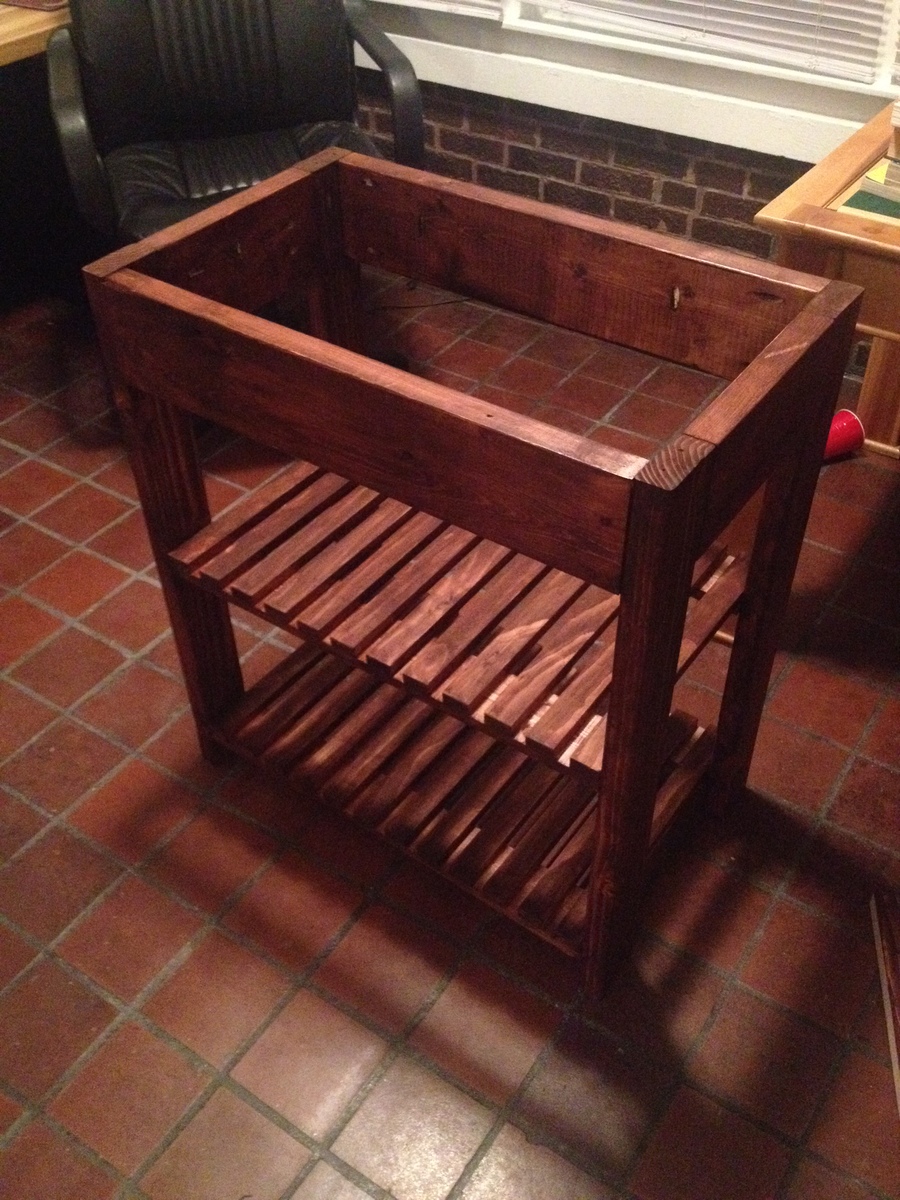
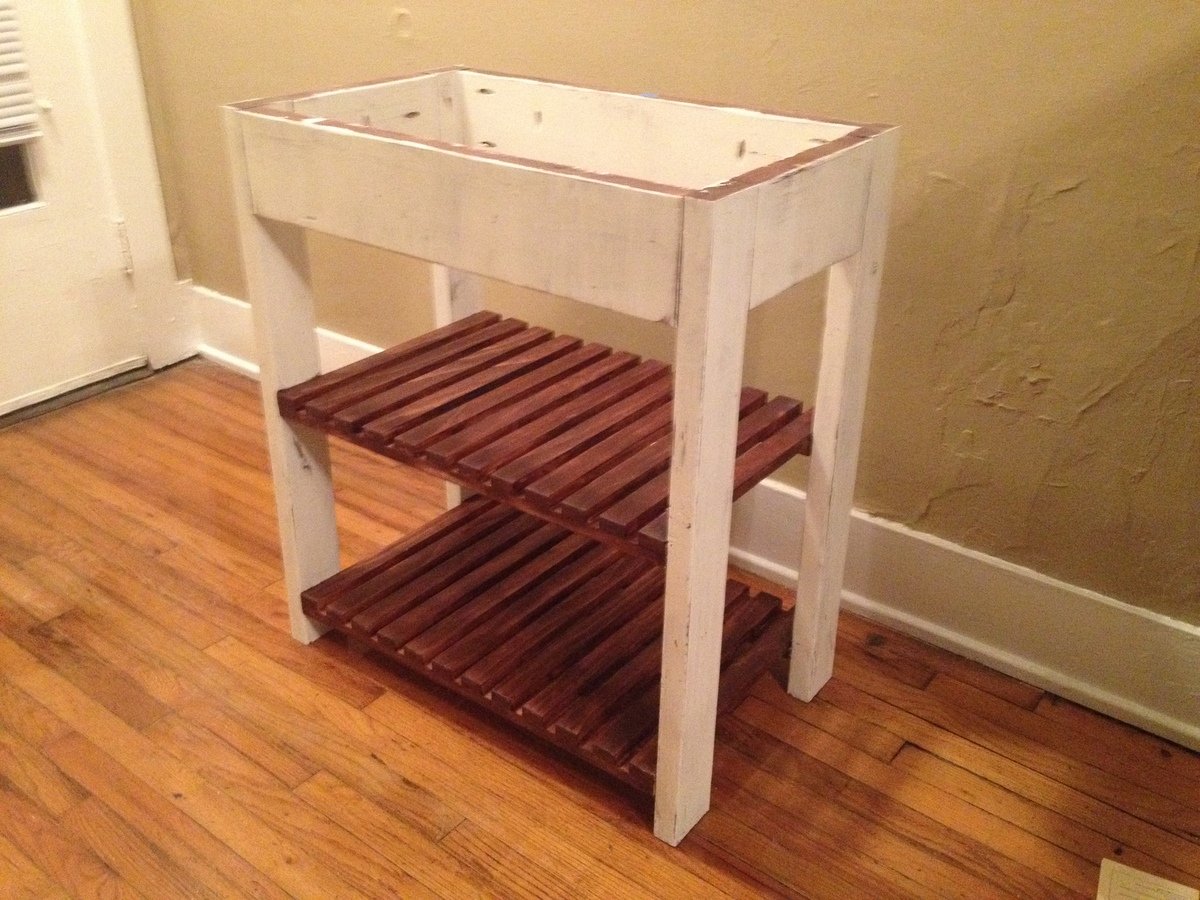
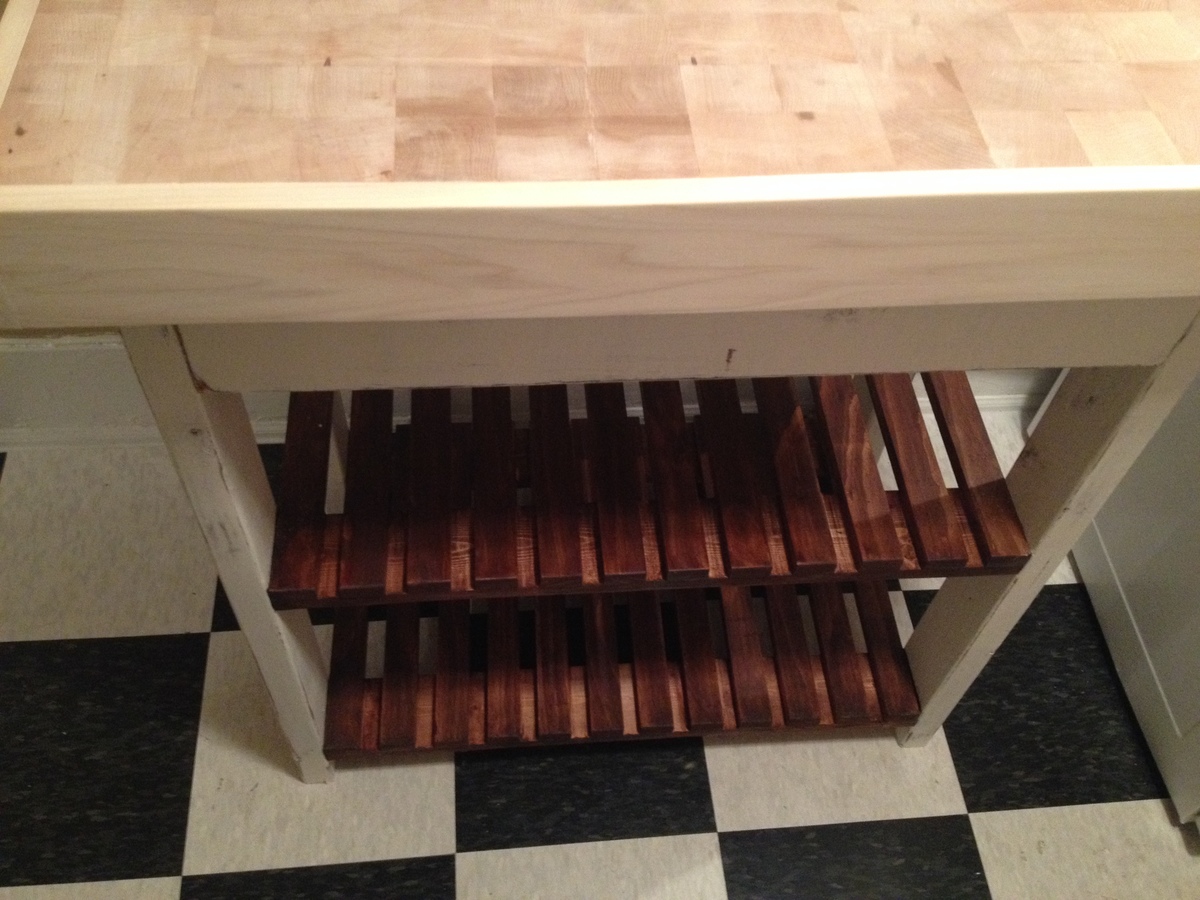
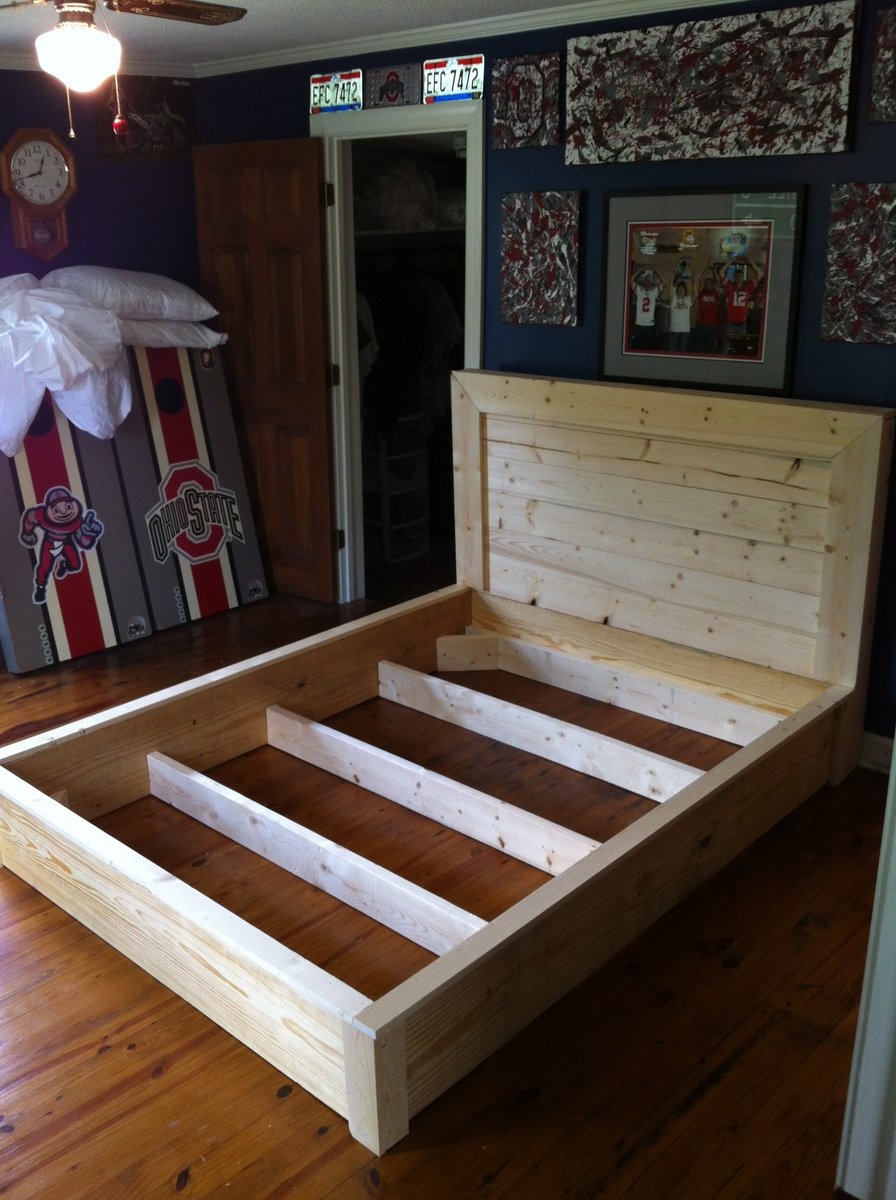
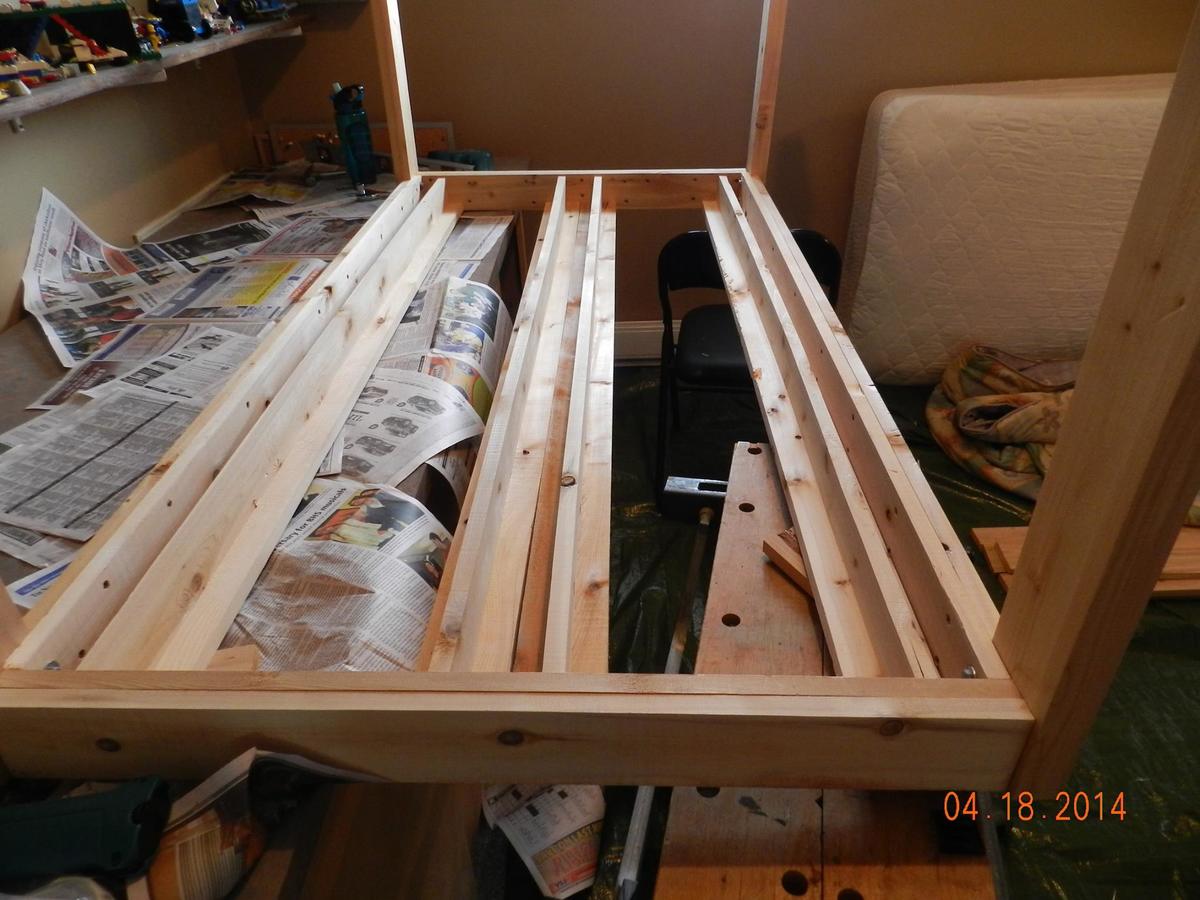
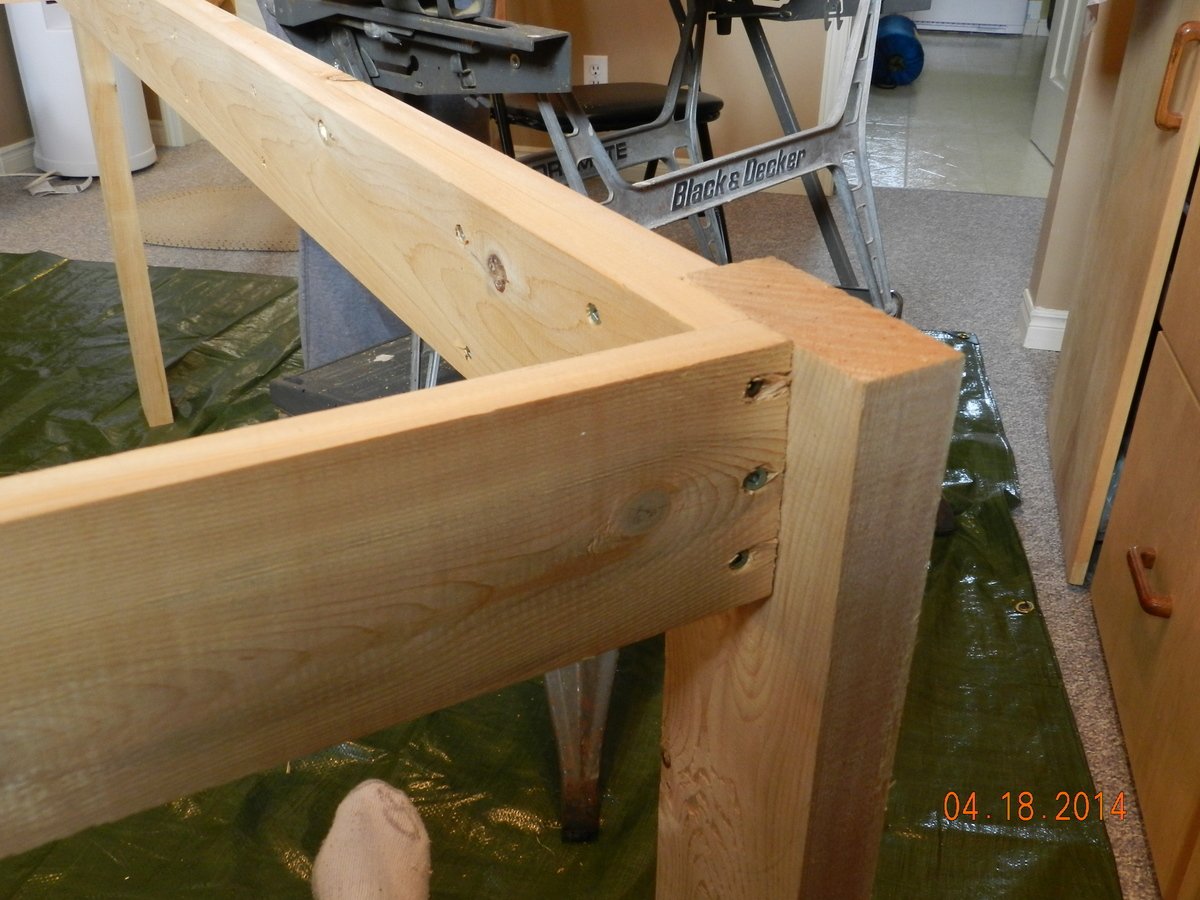
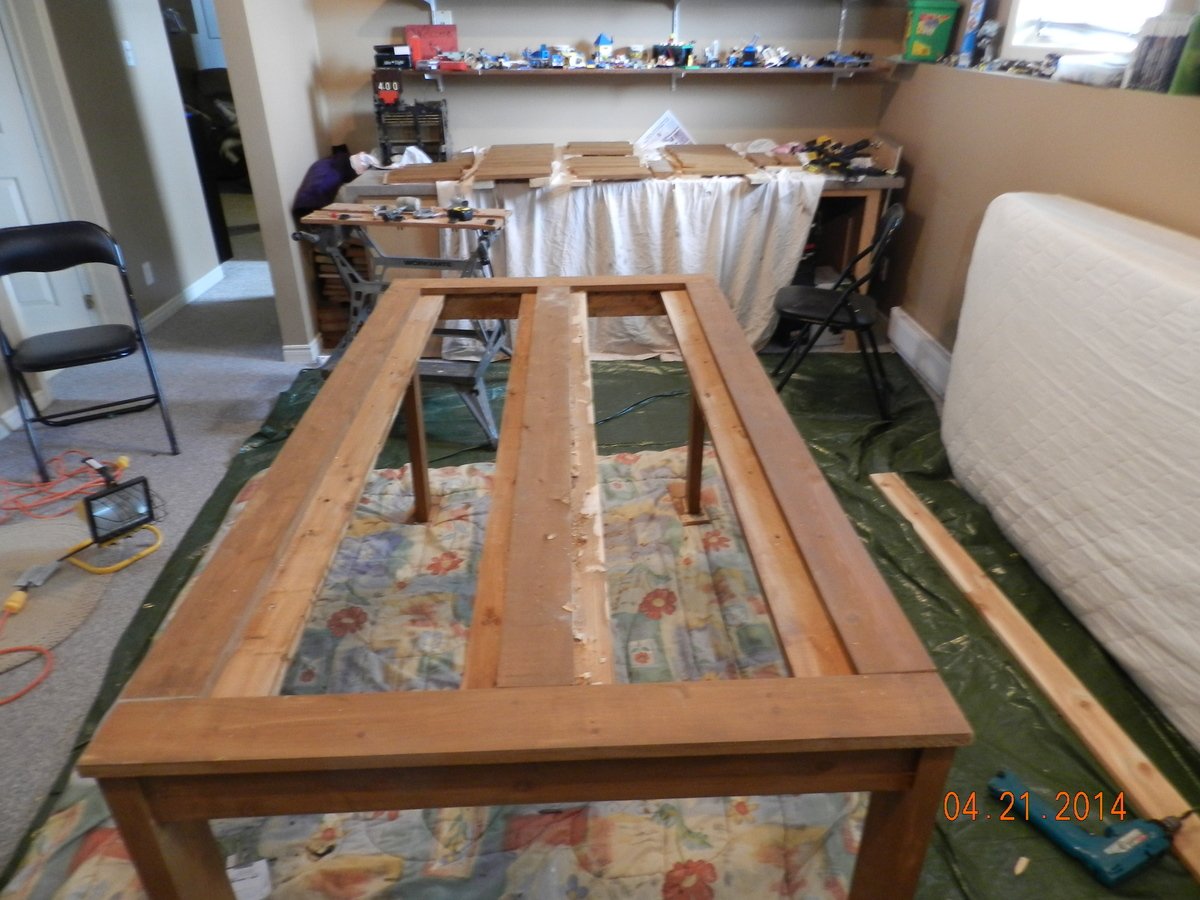
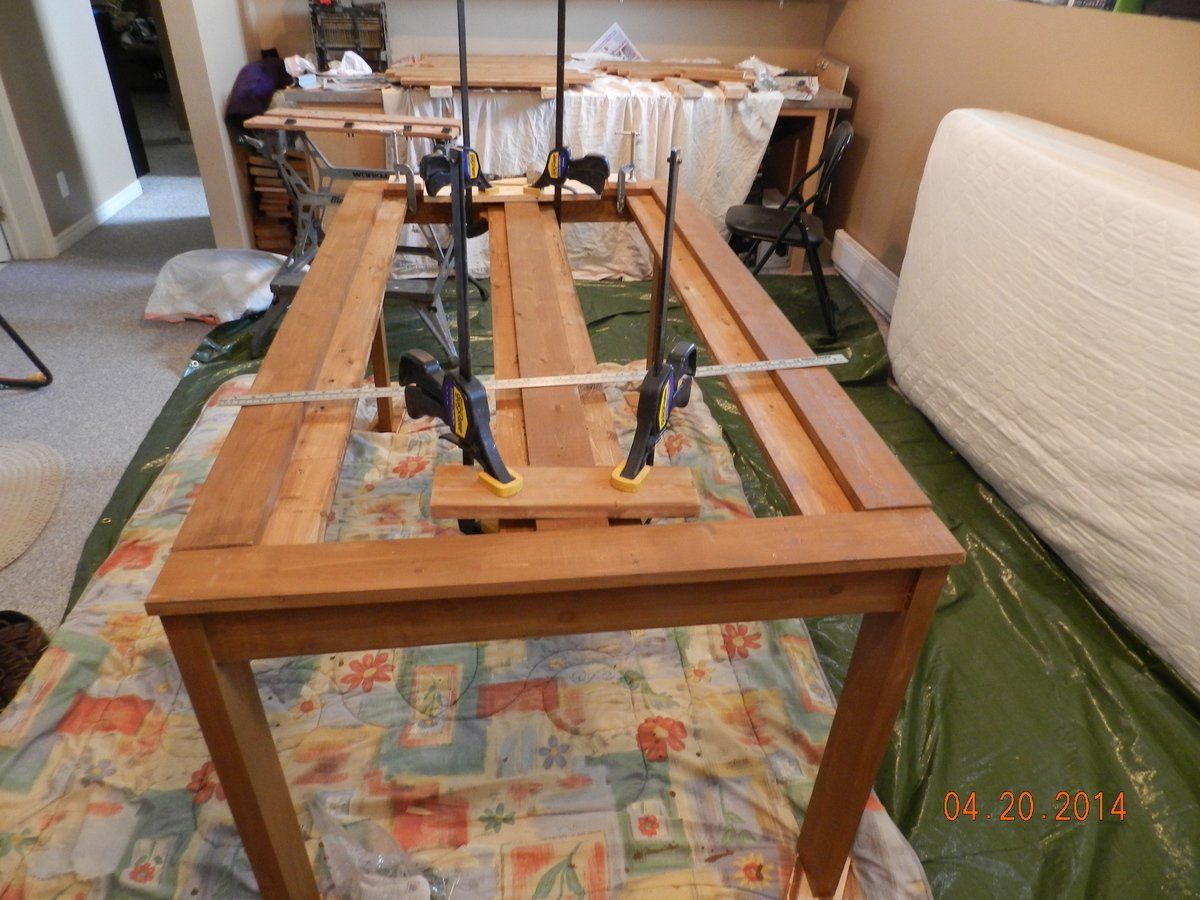
Finally the block was complete and it was time to build the structure of the island. The cuts and the assembly of the main pieces took a grand total of an hour and a half - a great relief after spending weeks on the butcher block. We decided to glue the slats onto the supports to make life easier. Once we got done with that it was time to finish the structure.
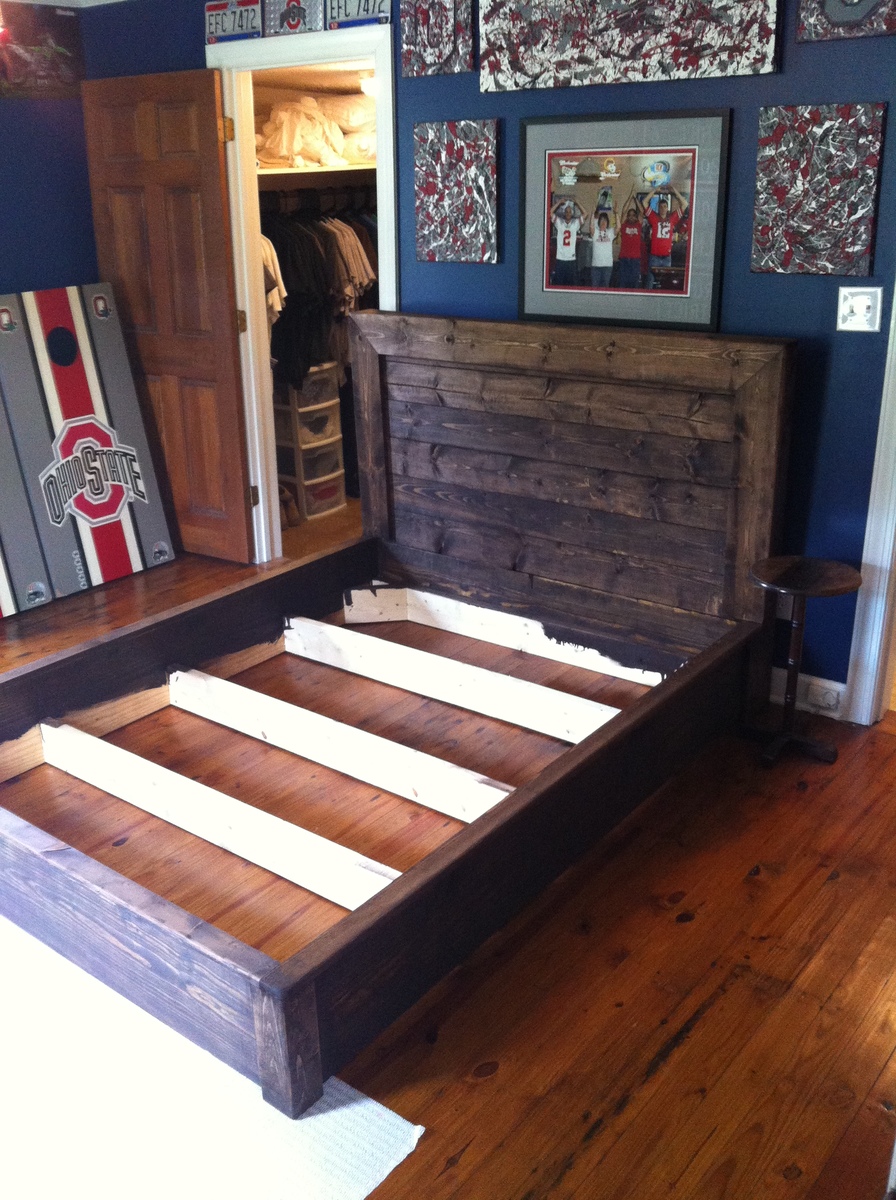
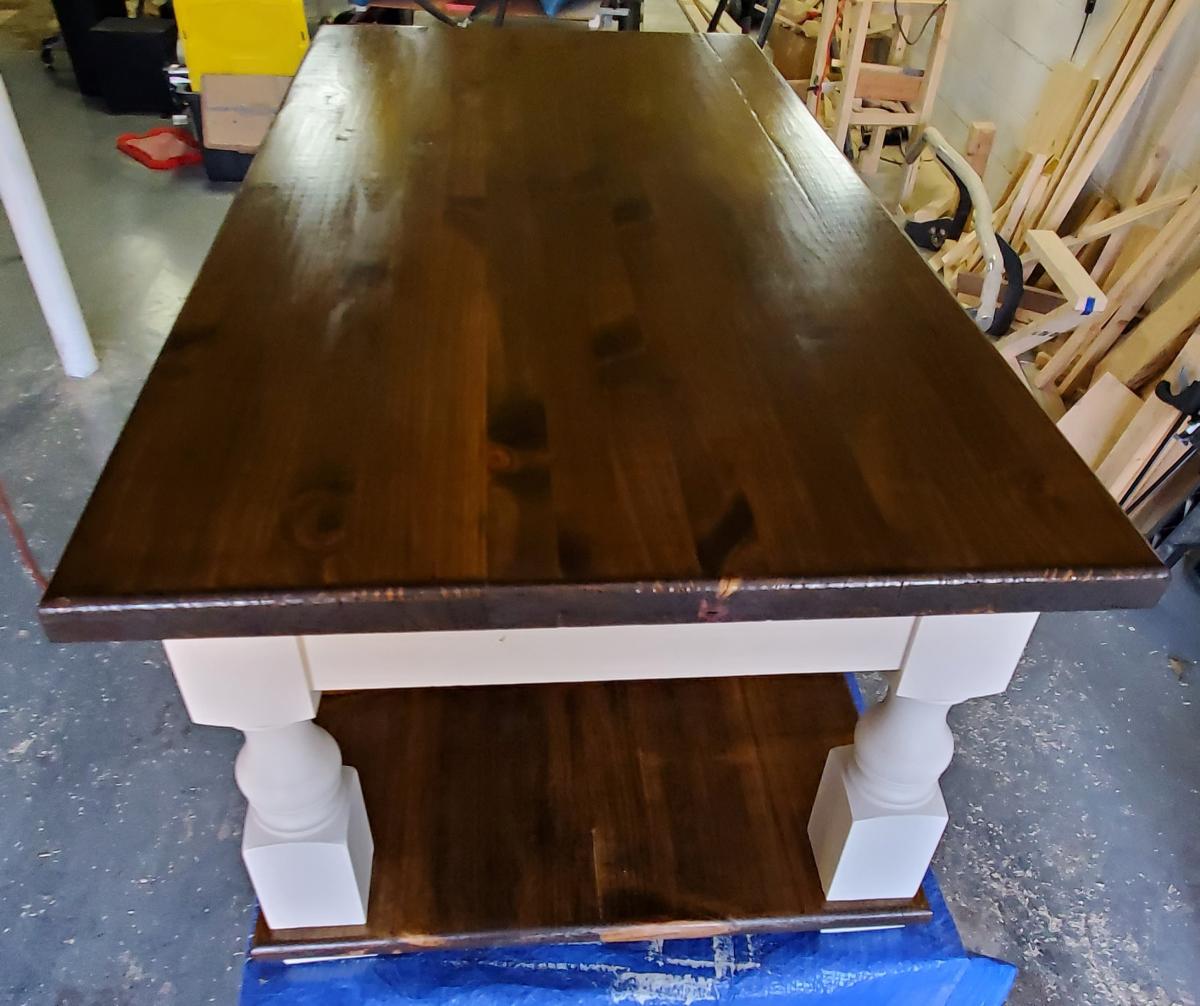
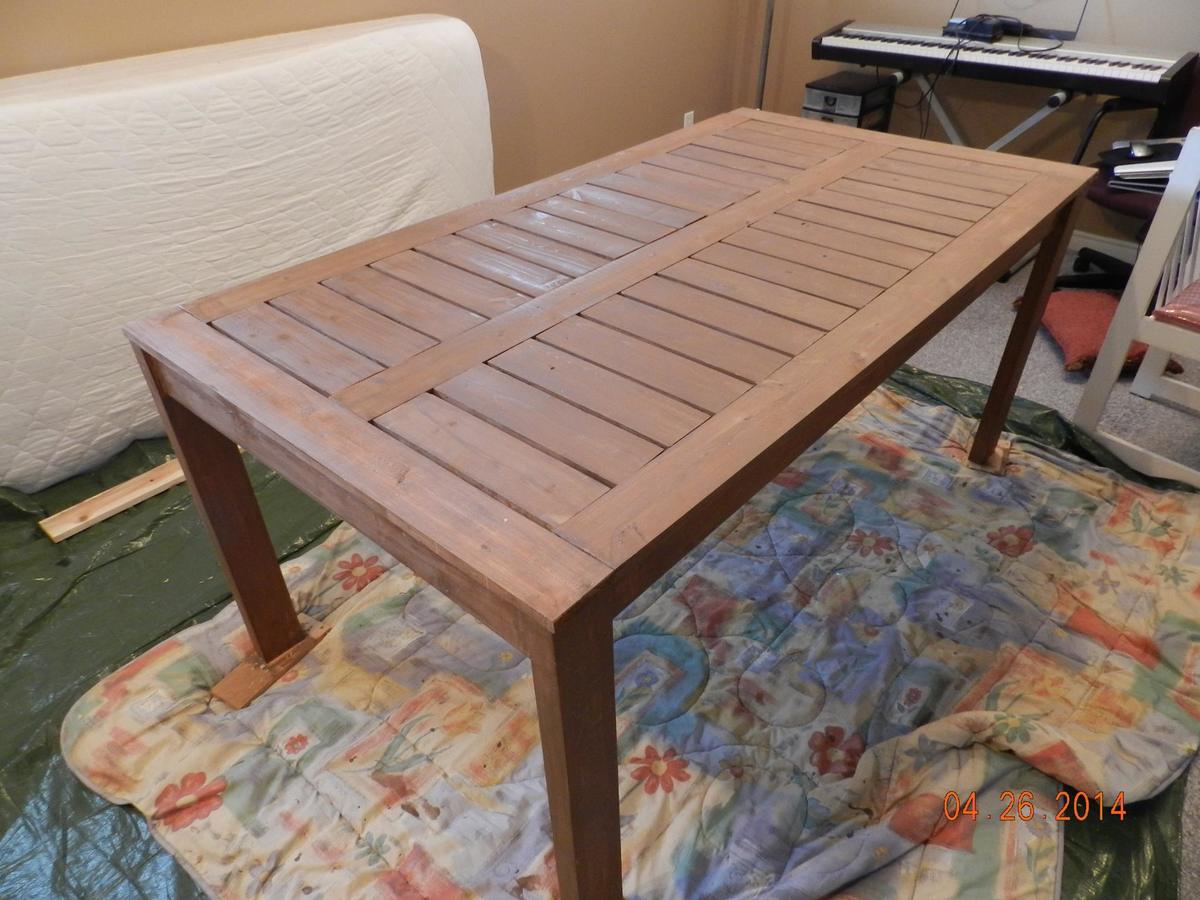
We decided to follow Ana's directions on crackled milk paint. We tried to follow them exactly, but weren't able to get the same amount of crackling on ours. No worries, though, we just sanded down some edges and gave the whole thing a good coat of Polycrylic.
Once all that was done, we screwed the block on and construction was complete! We gave the block and the poplar several coats of Boos Block Mystery Oil as the conditioner and we were done. The oil really brought out the color and the body of the wood, and we couldn't be happier with the results. Can't wait to chop a turkey on it!


Comments
Ana White Admin
Sun, 04/09/2023 - 11:18
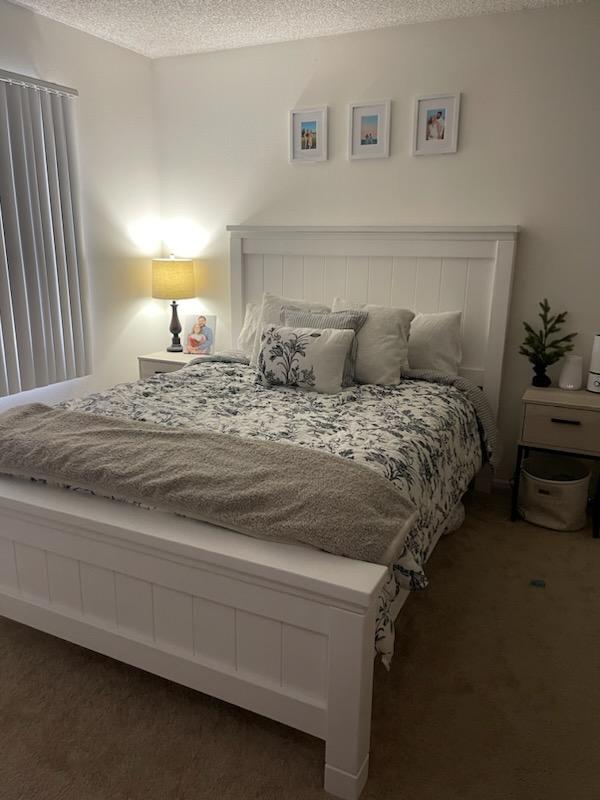
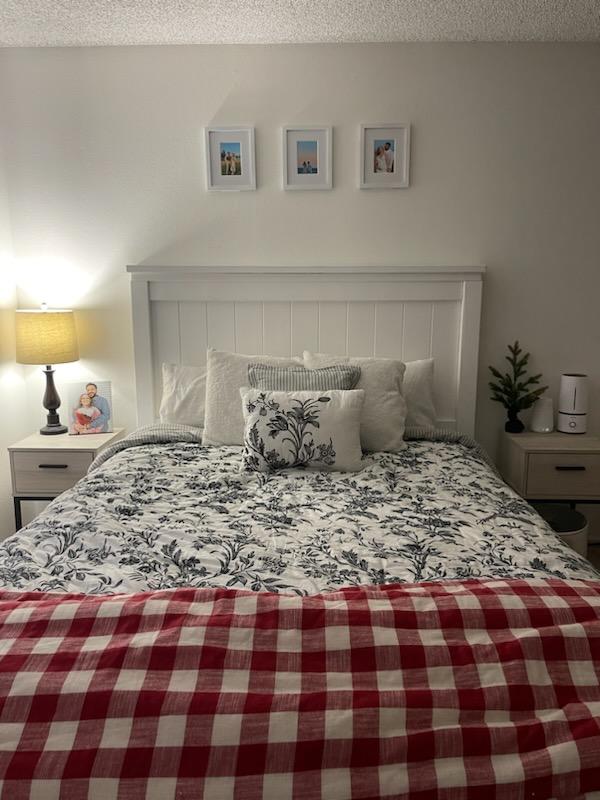
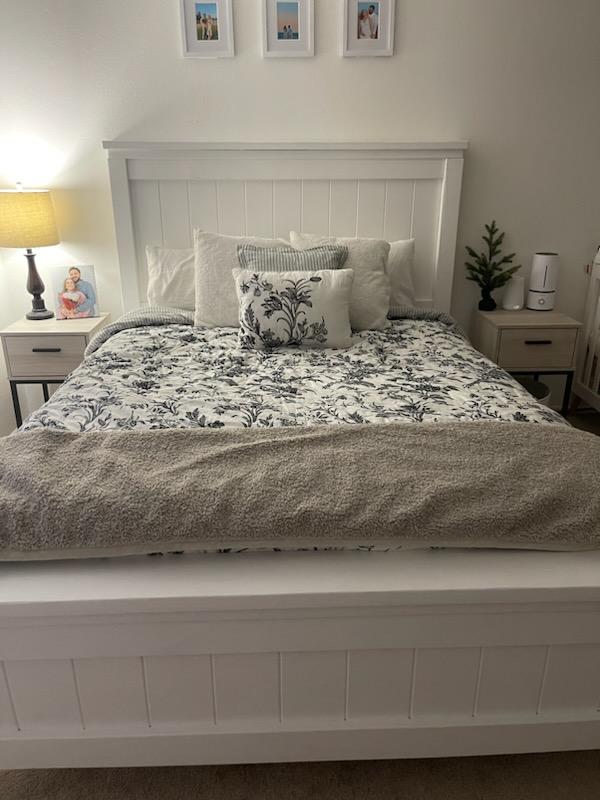
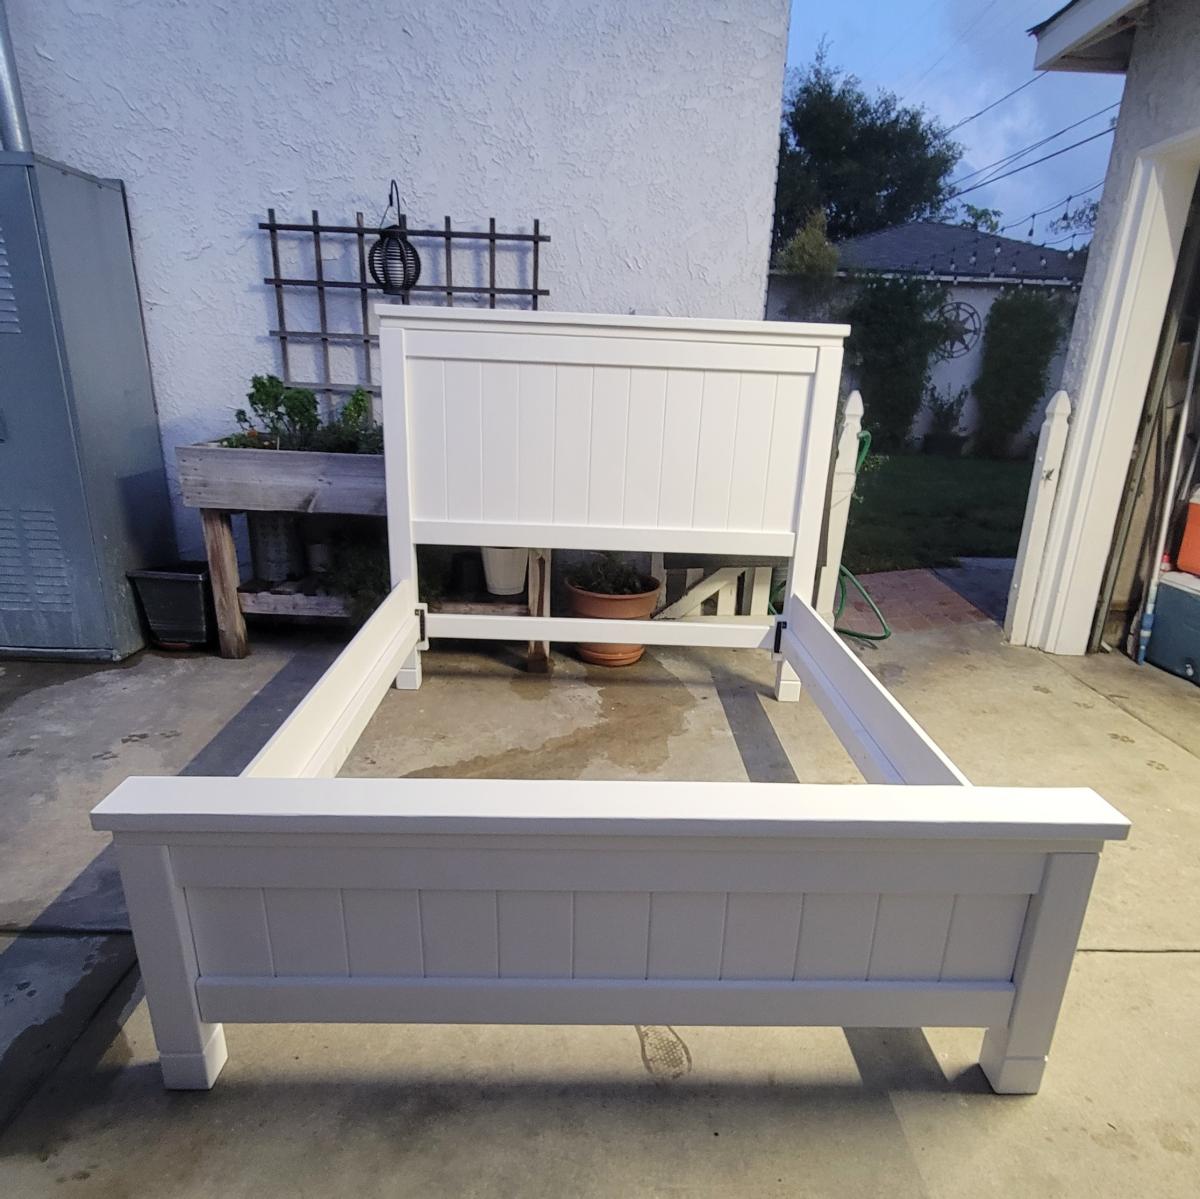
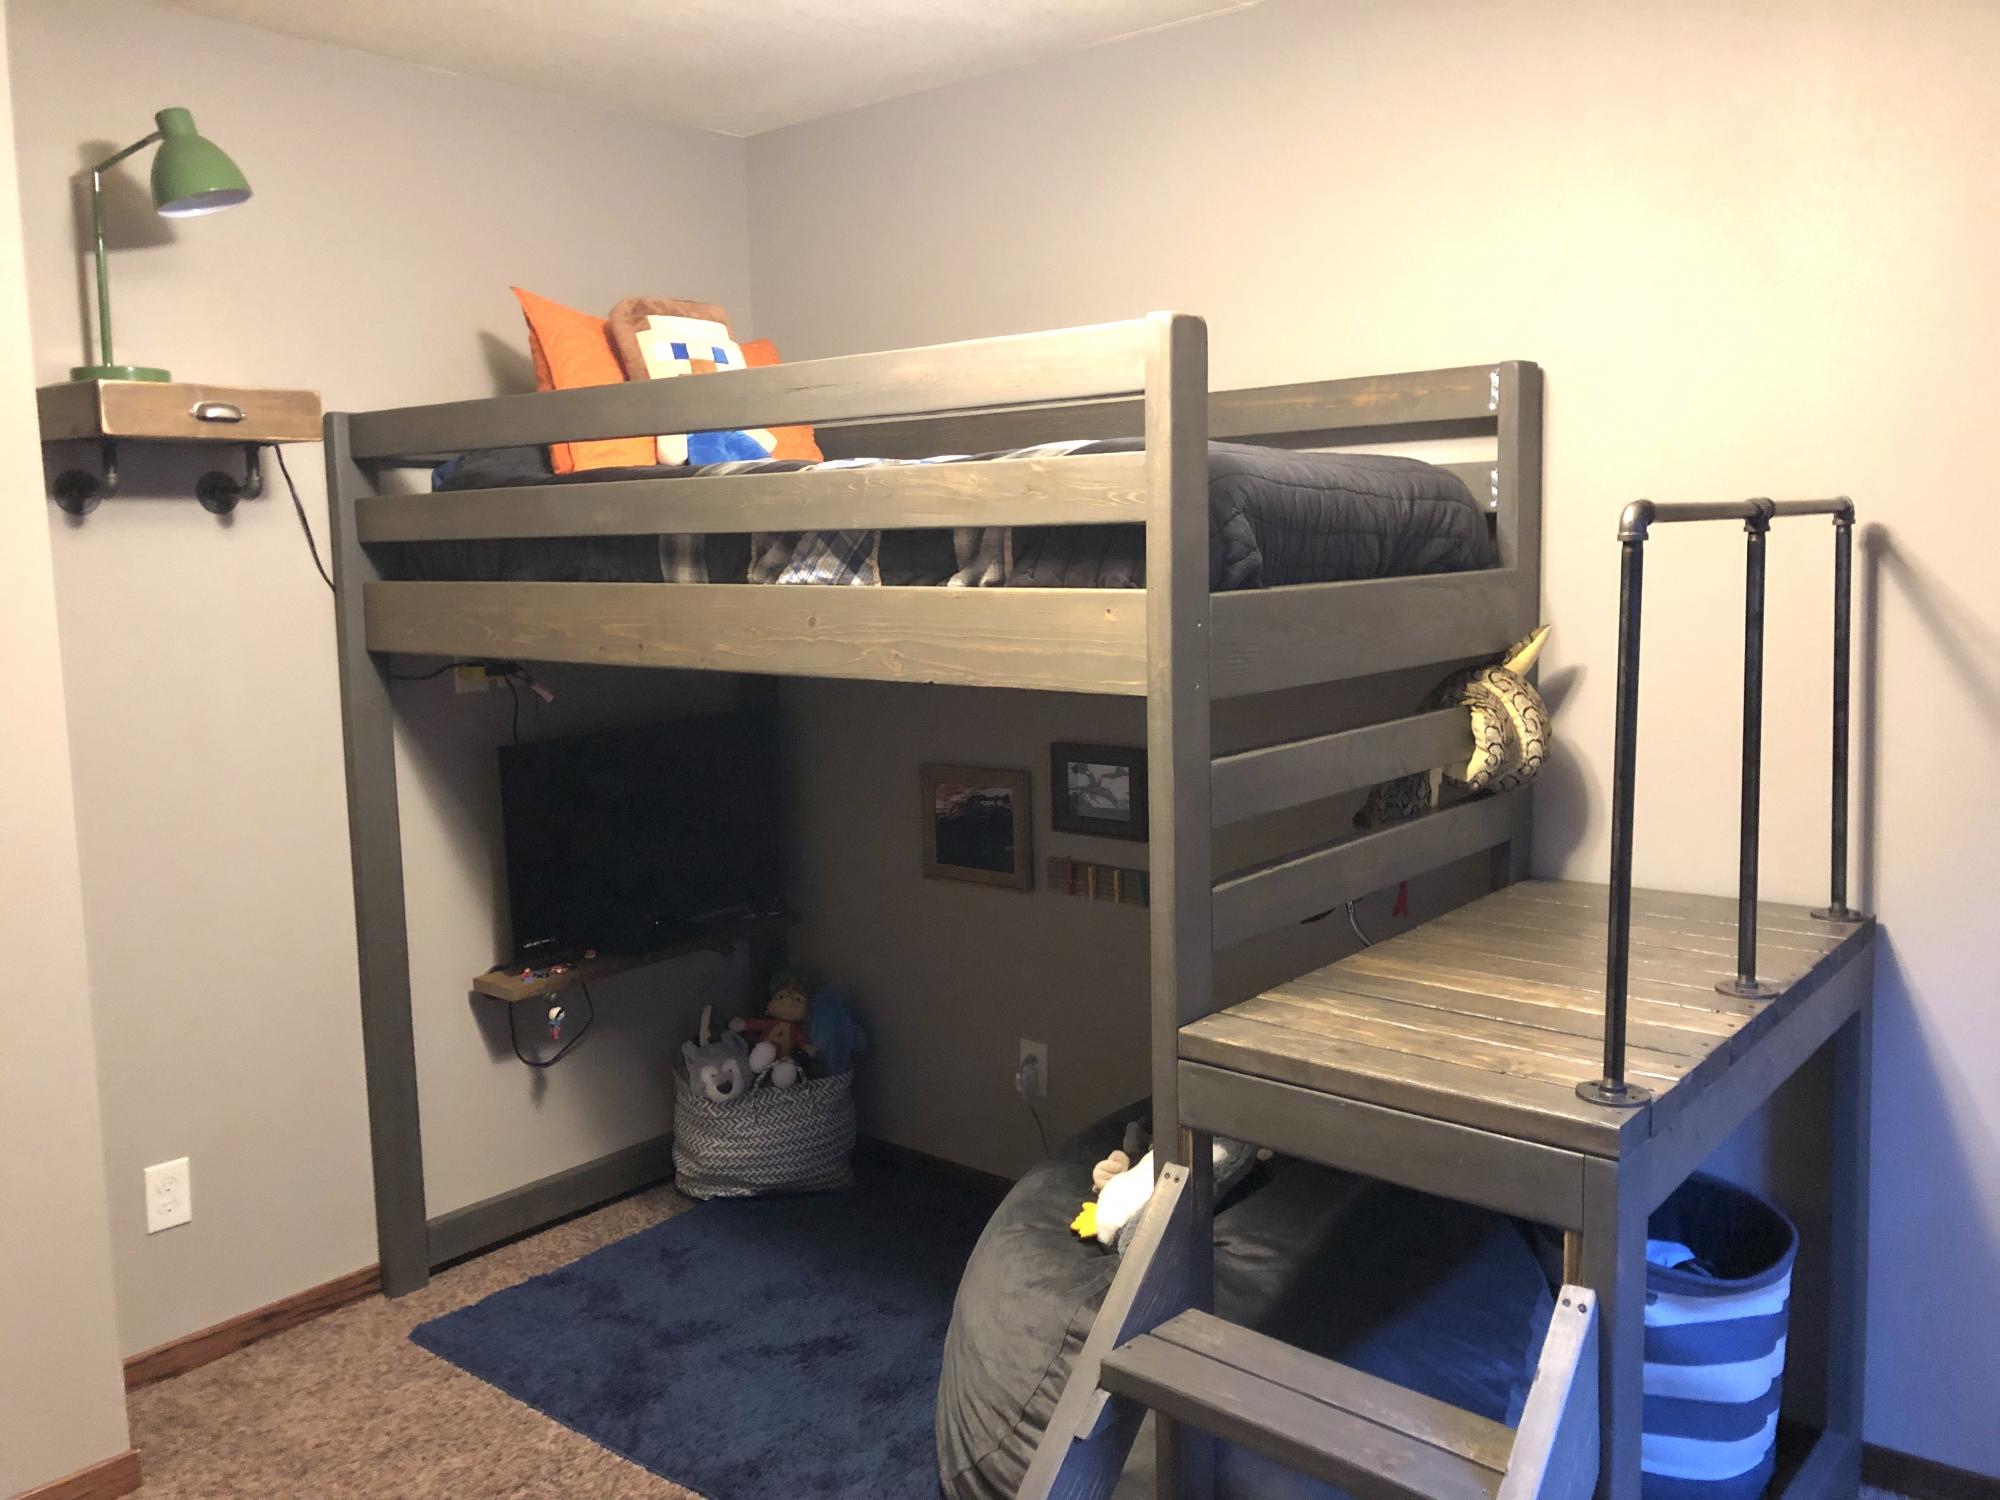
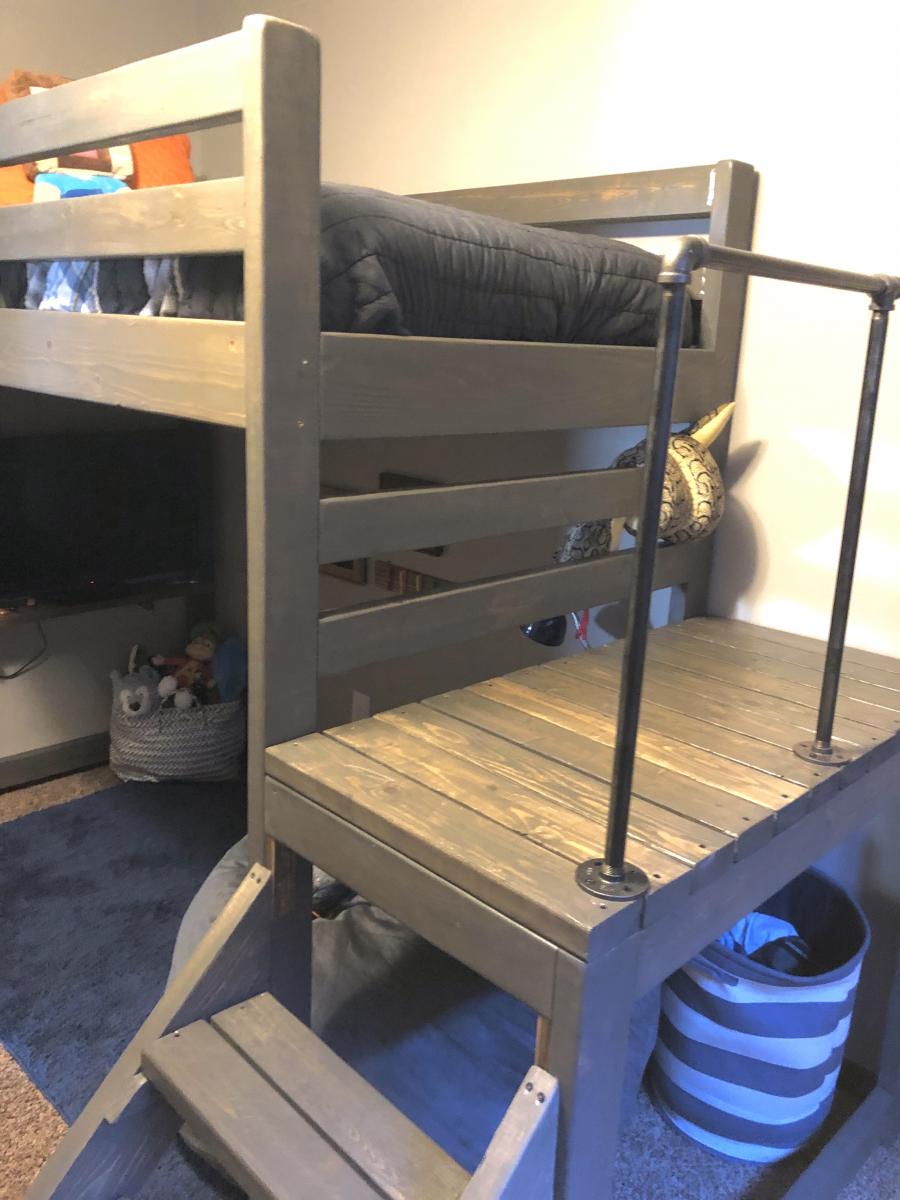
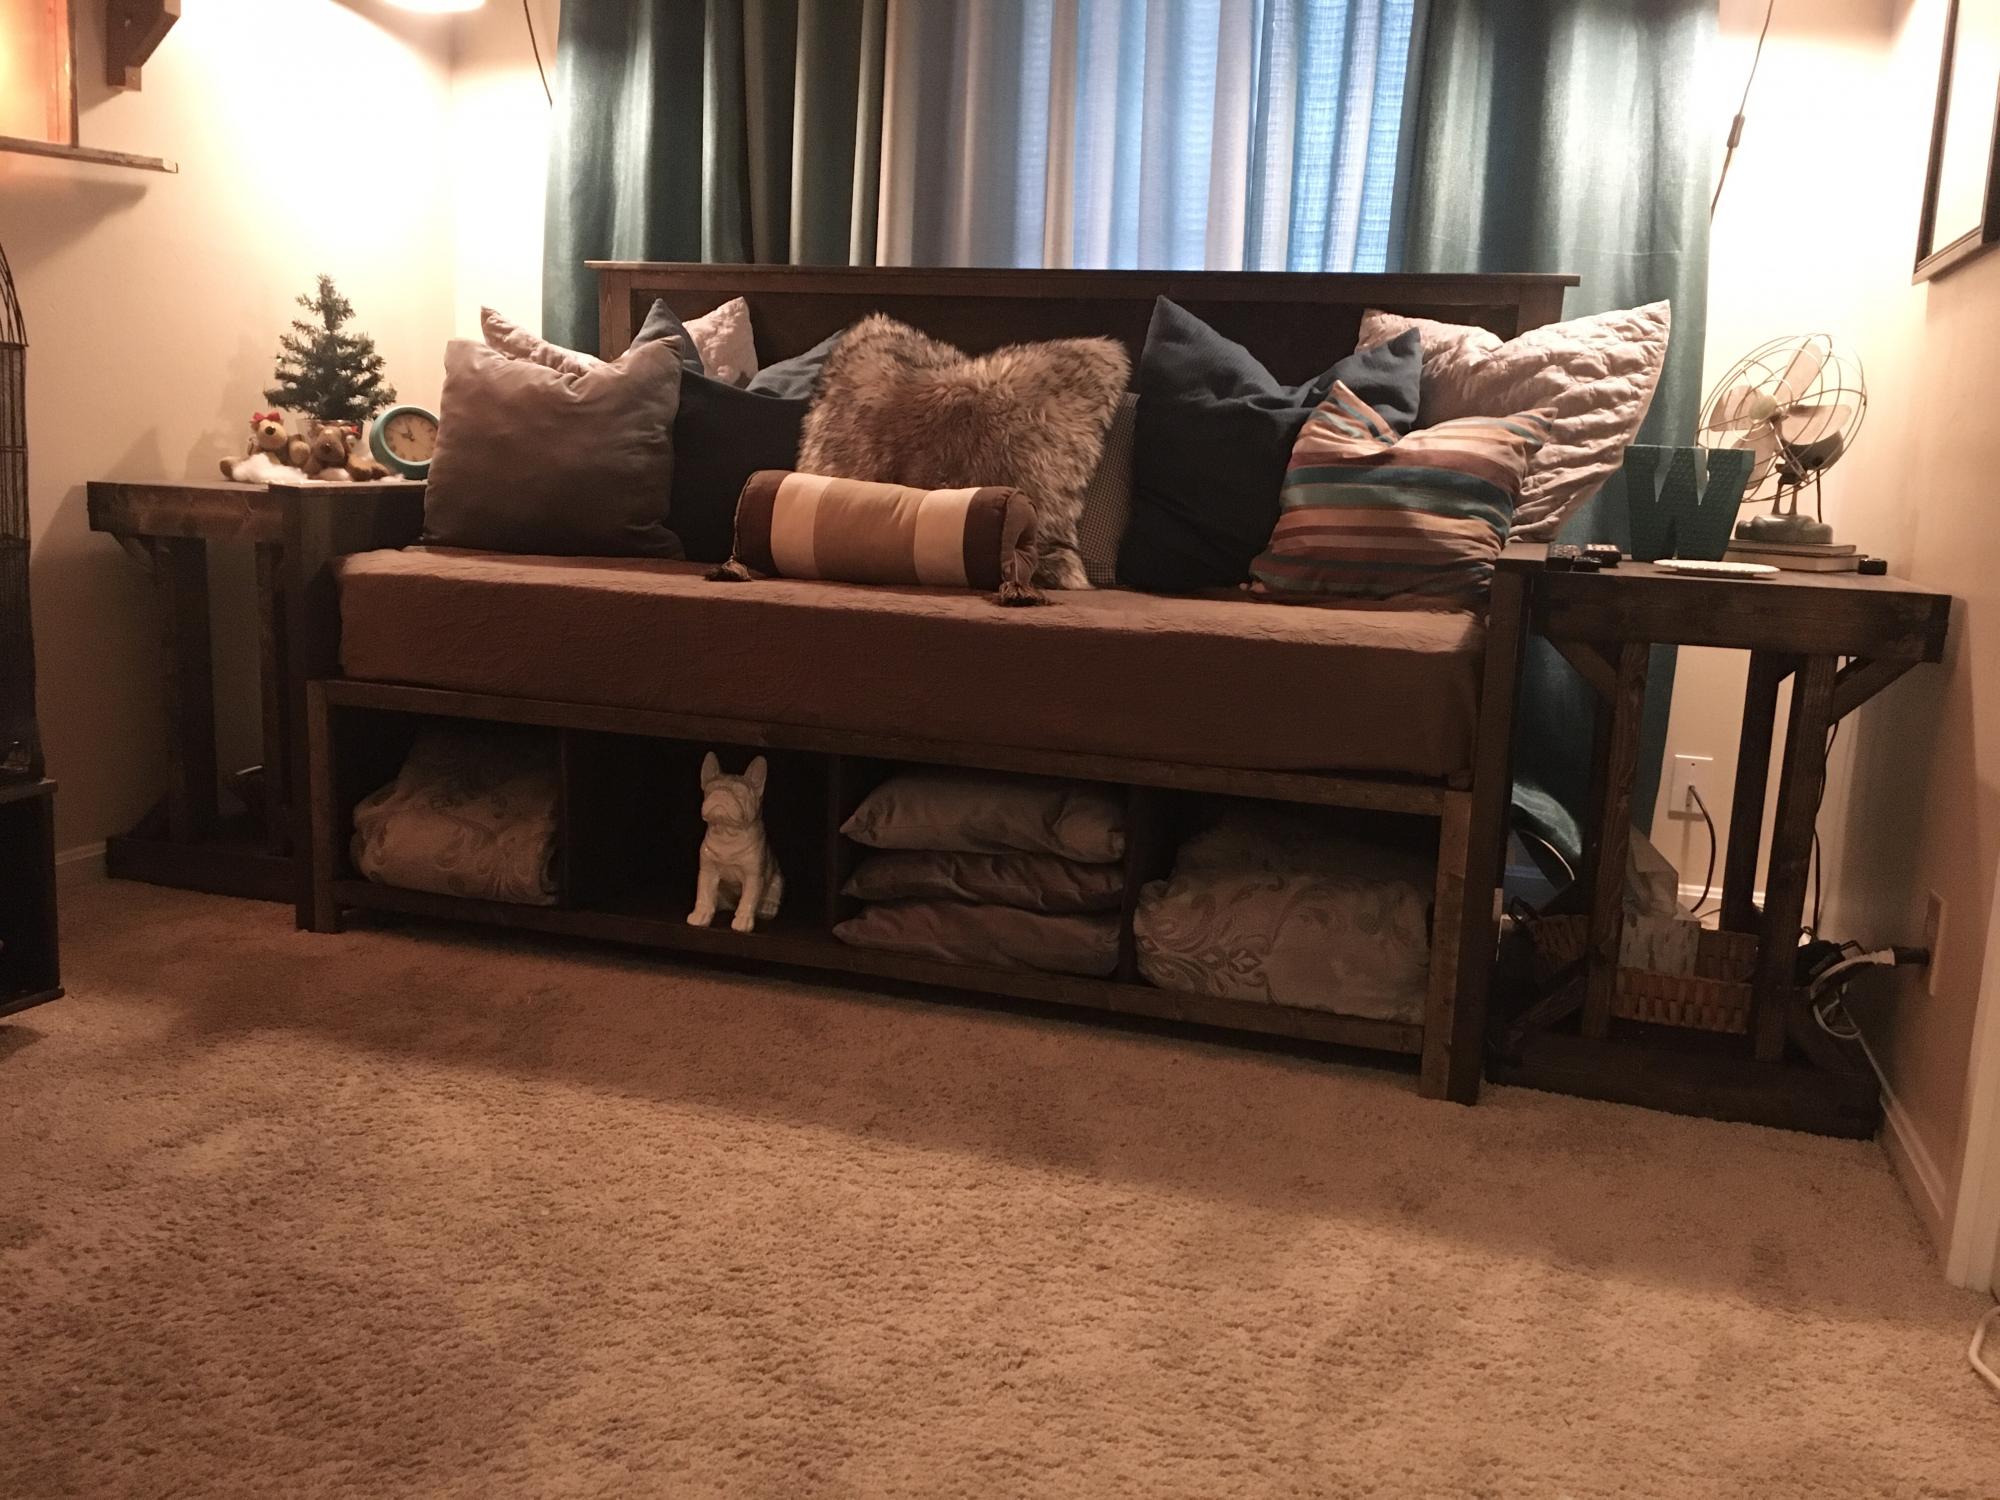
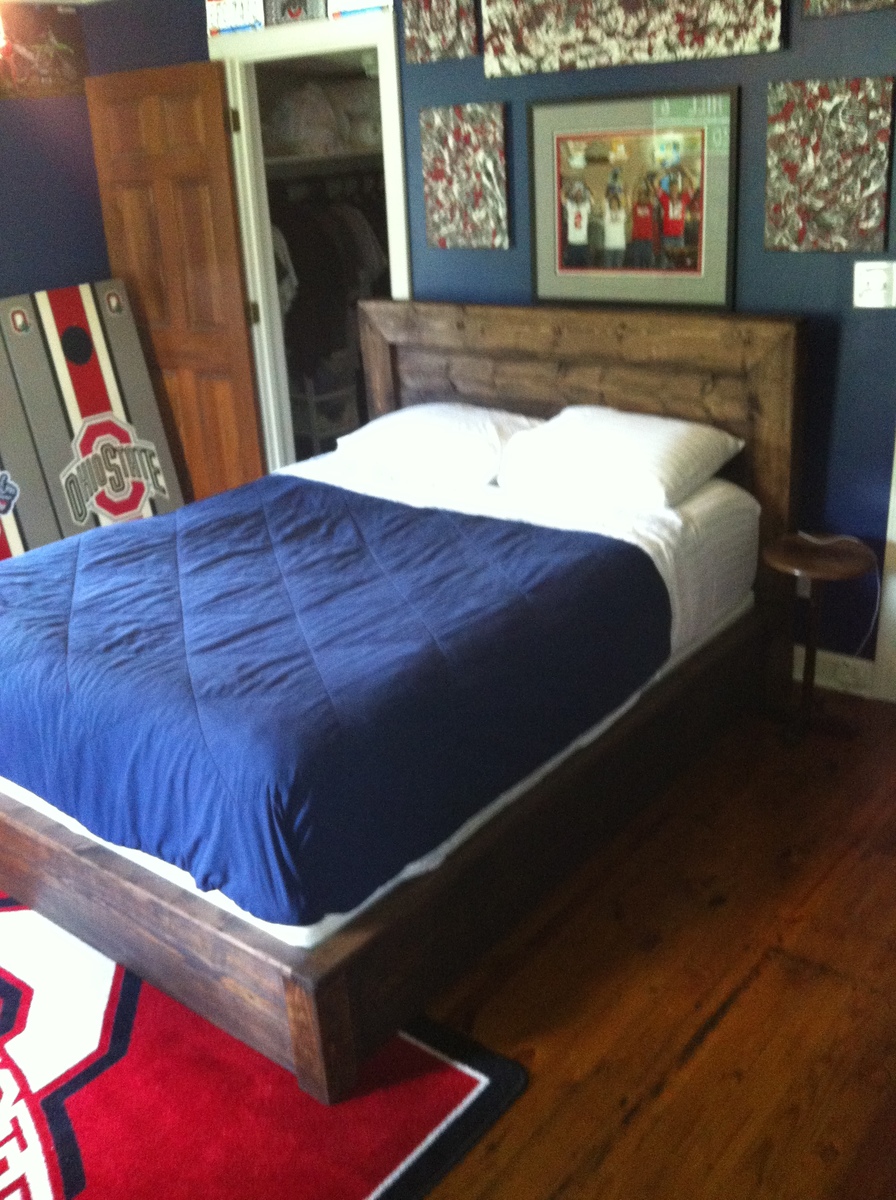
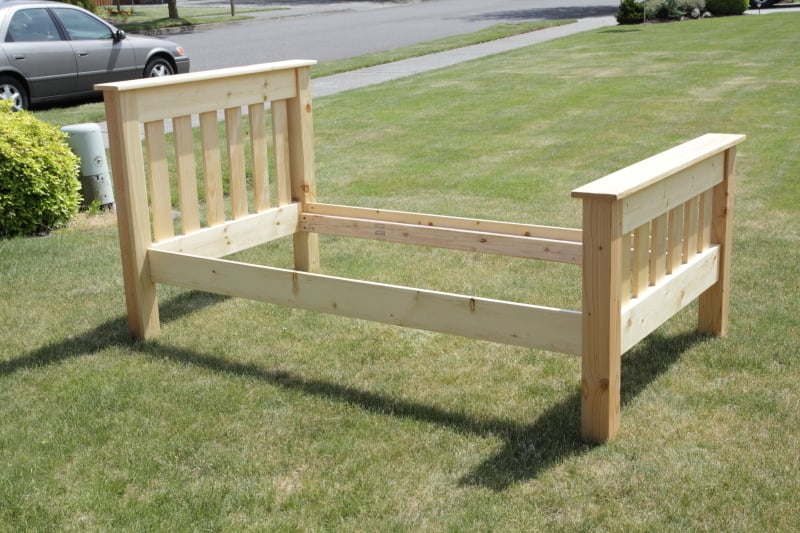
Fabulous bed!
Thank you for sharing such a wonderful gift and build!