Kid’s Adirondack Chair Project
This little chair turned out really well. The only significant changes I made to the plans were to cut the back slats in an arch, round the corners on the arm pieces, and round-over all of the exposed edges.
I changed plan to make deeper. I also modified the bottom trim and top. I put a ball bearing soft door drawer guide on modern door so it can slide back and forth. I feel we need more modern plans on here but with a bit of creativity and using plans you can make anything. I have never built anything before. I love General Finishes Milk Paint in Snow White and I brushed rolled it on (sanded between 3 coats). It’s basically self leveling and leaves a nice matte finish. Used door glide in picture bought from homedepot in the 24 inch and that’s how wide door was and it was 36” tall. Door glide I only used one on top of the door not on bottom as well. Door piece of fiberboard with just strips glued on and quarters spacing them correct.
This is my laundry room and it is about 12x10. It looked so bare with only the washer and dryer. So I thought making this a mudroom also. I live in the mountains and have snow 3 to 4 months a year. This will be perfect. I purchased an IKEA cabinet built it in and added the Ana White plans with two bays.
Built this to give my daughter more space for her books. She picked the color (she's 6), and my 9 yr old son helped paint it.
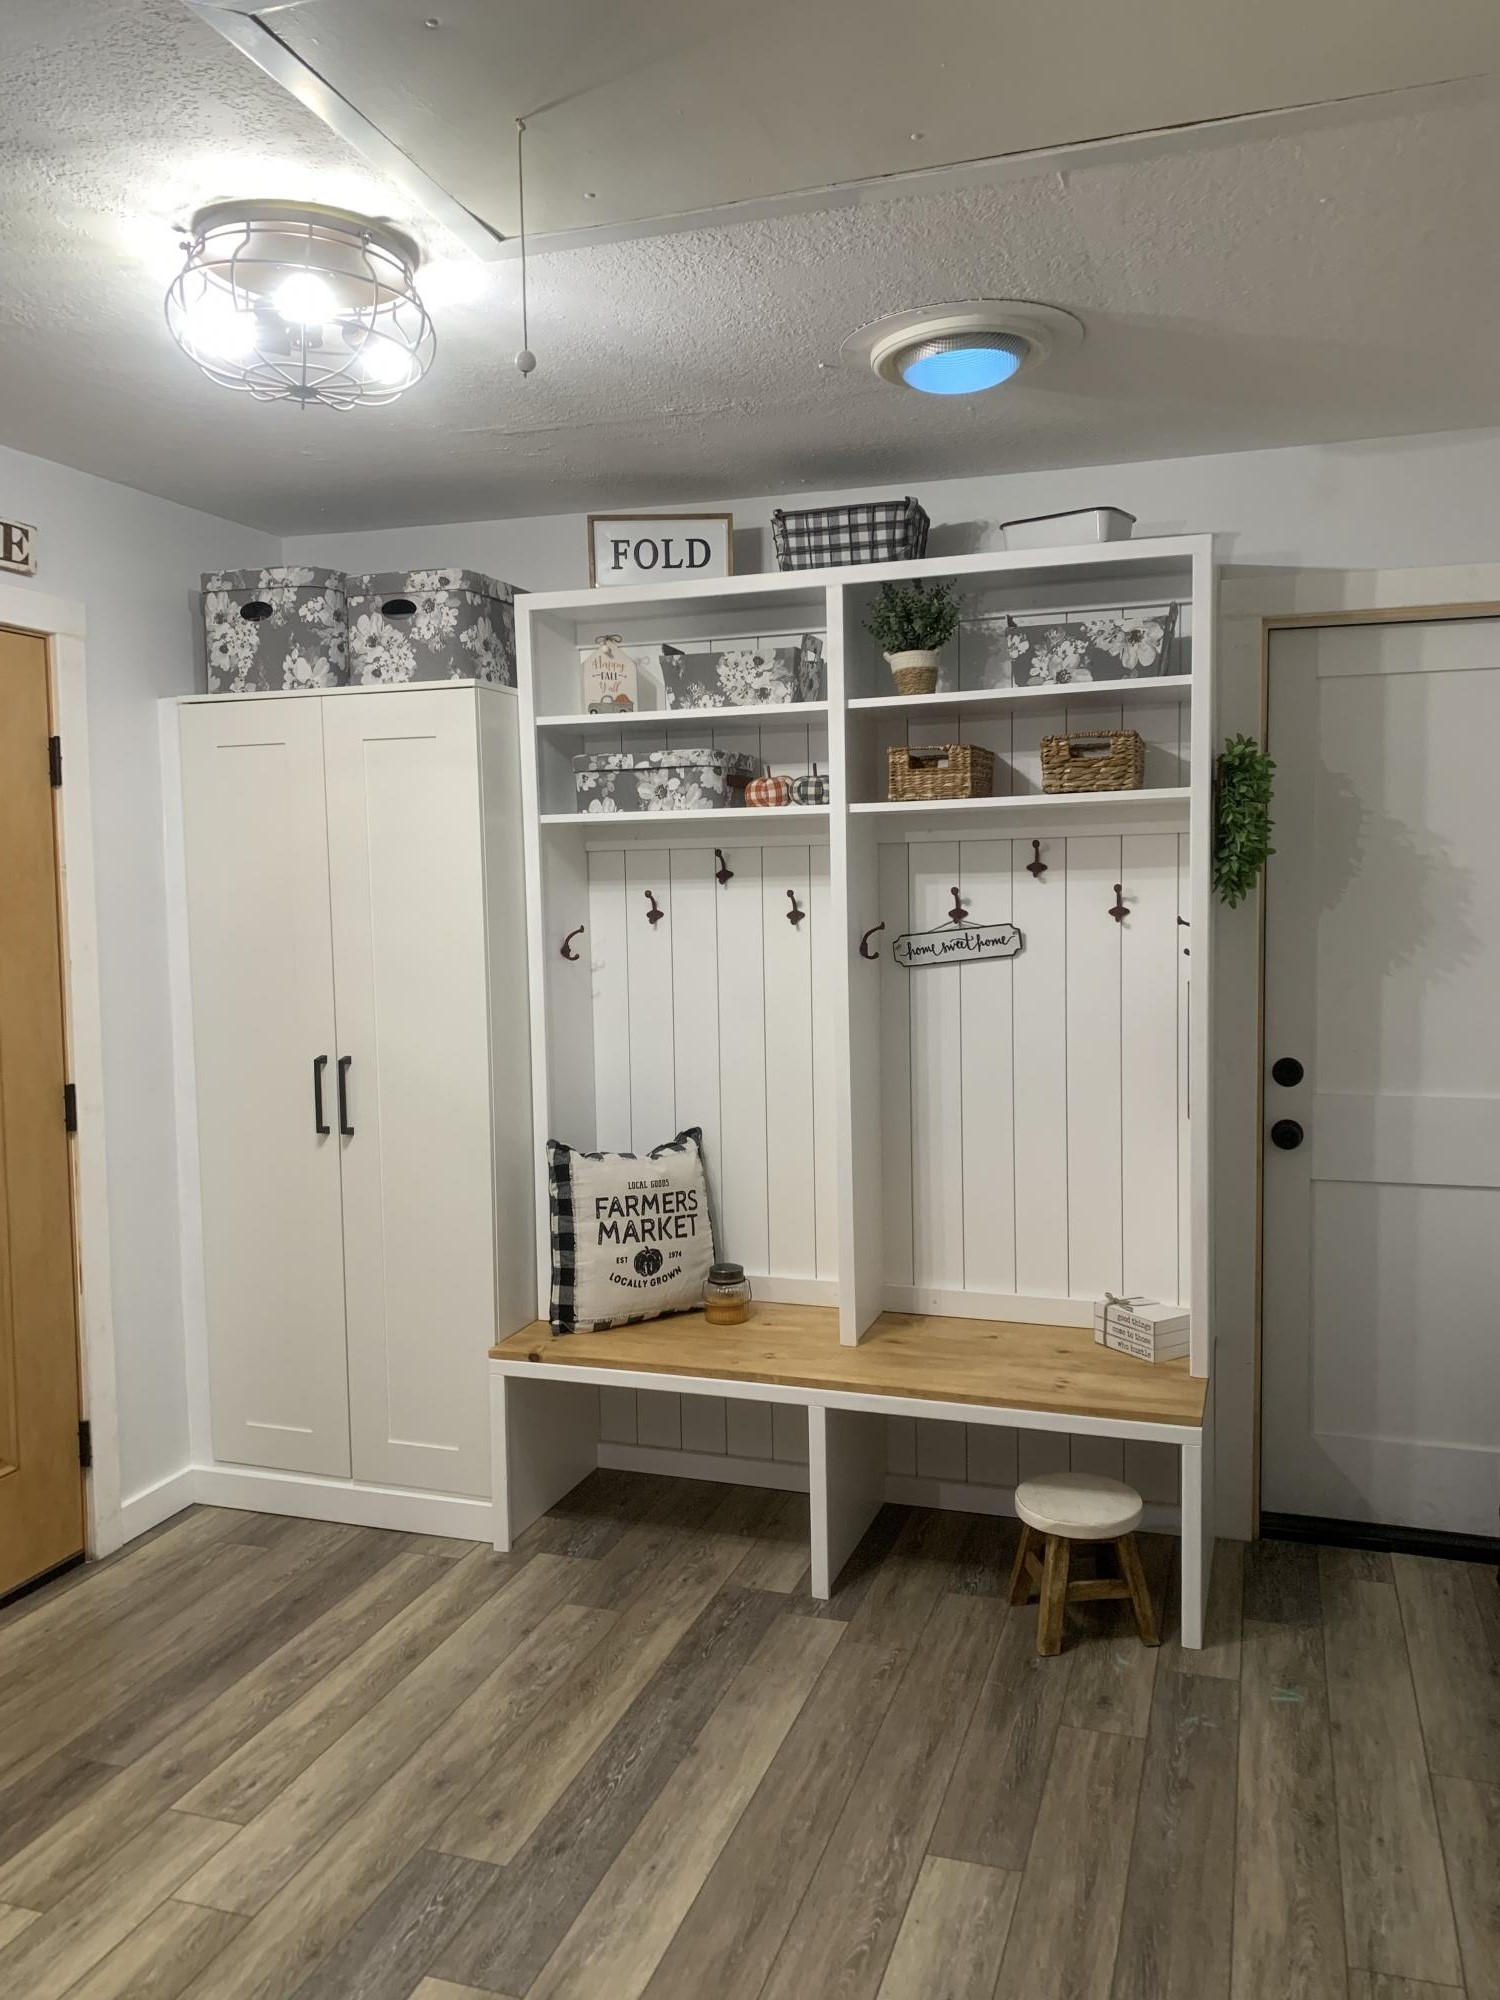
Hello Fellow Ana White Fans!
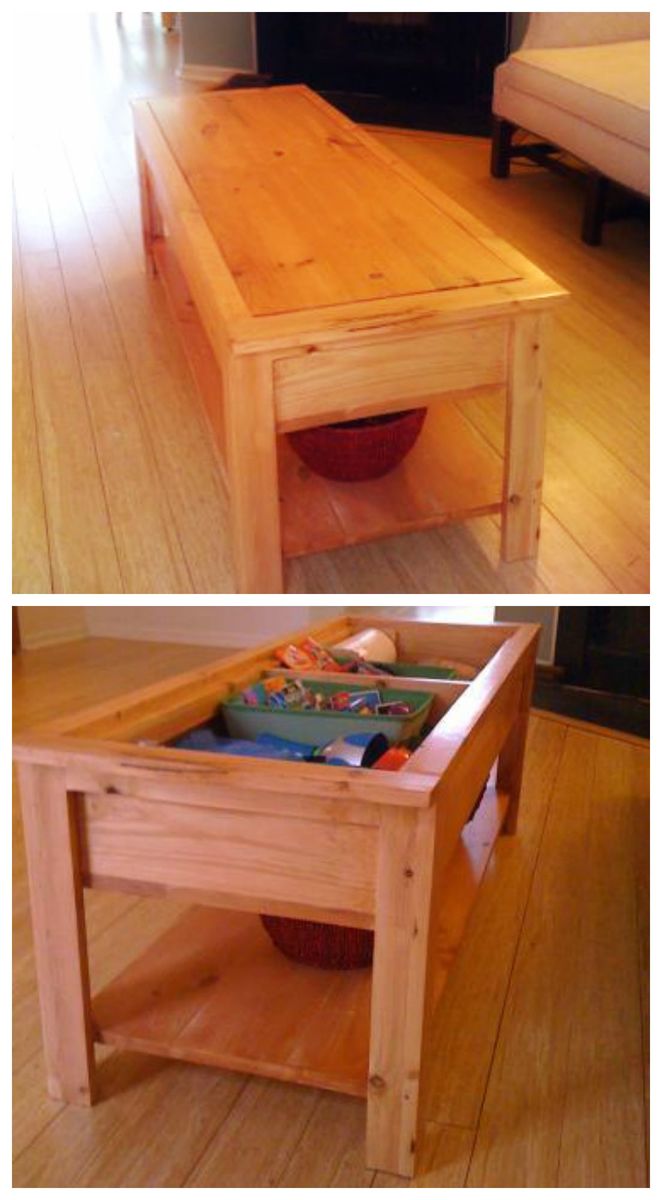
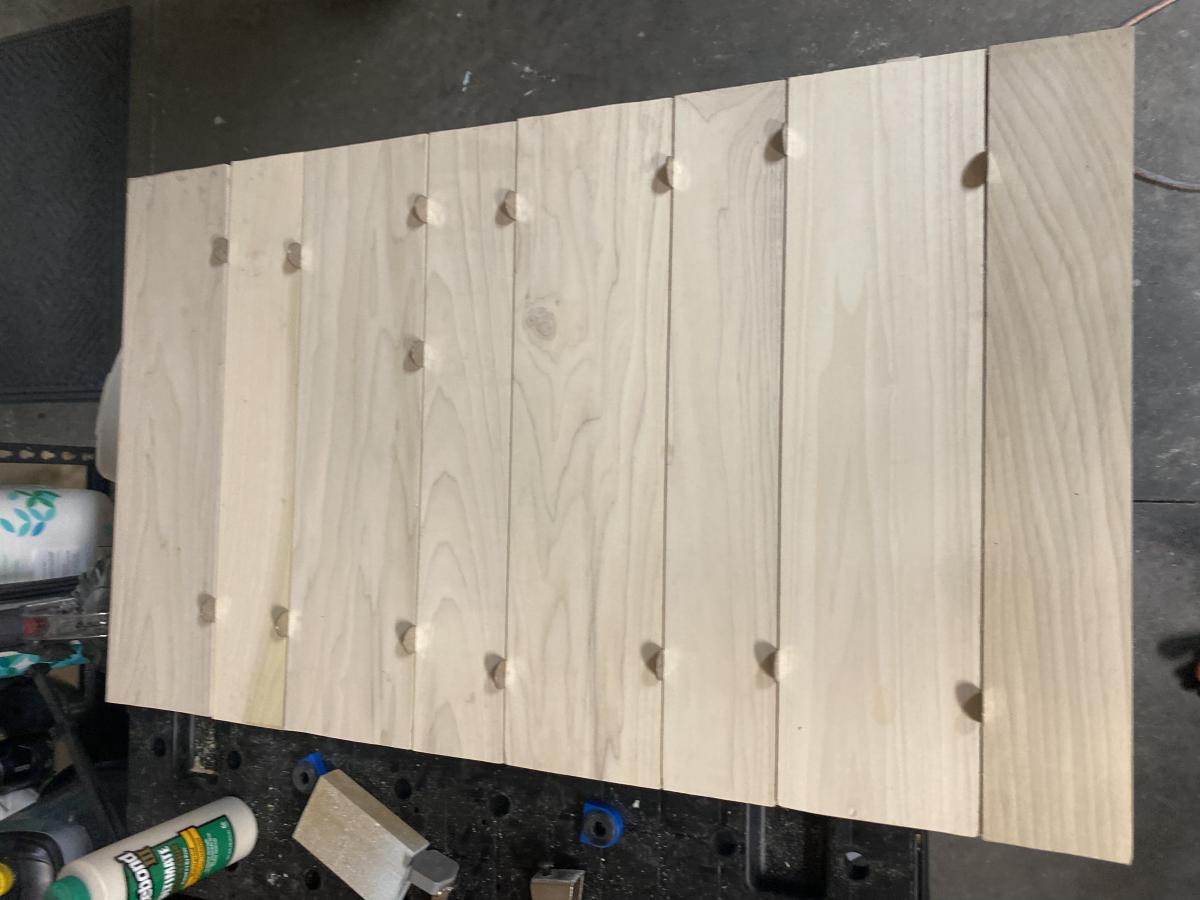
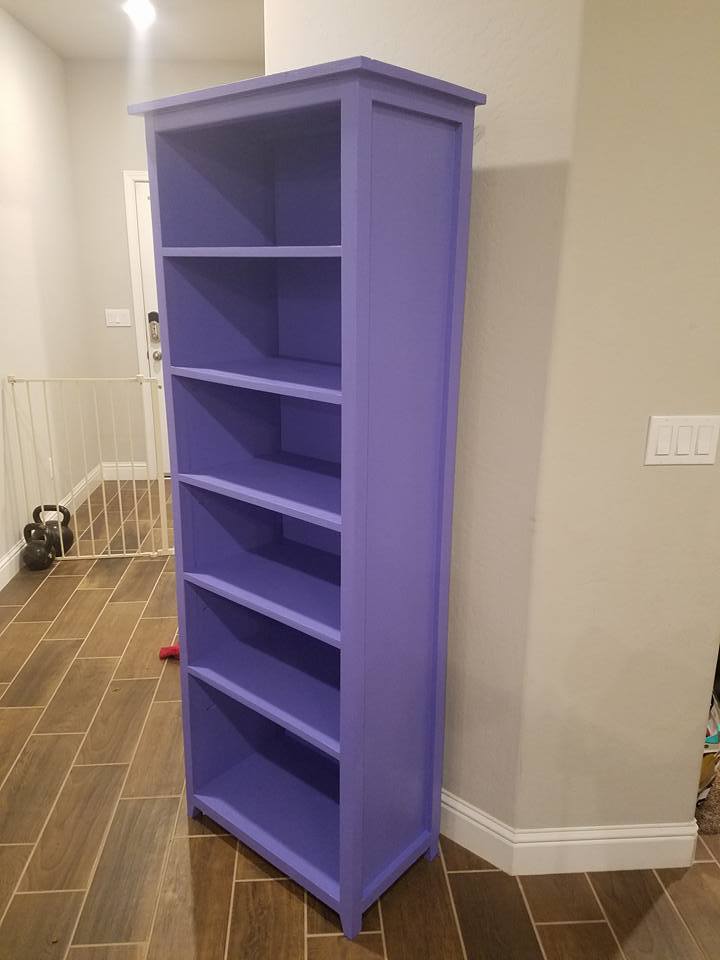
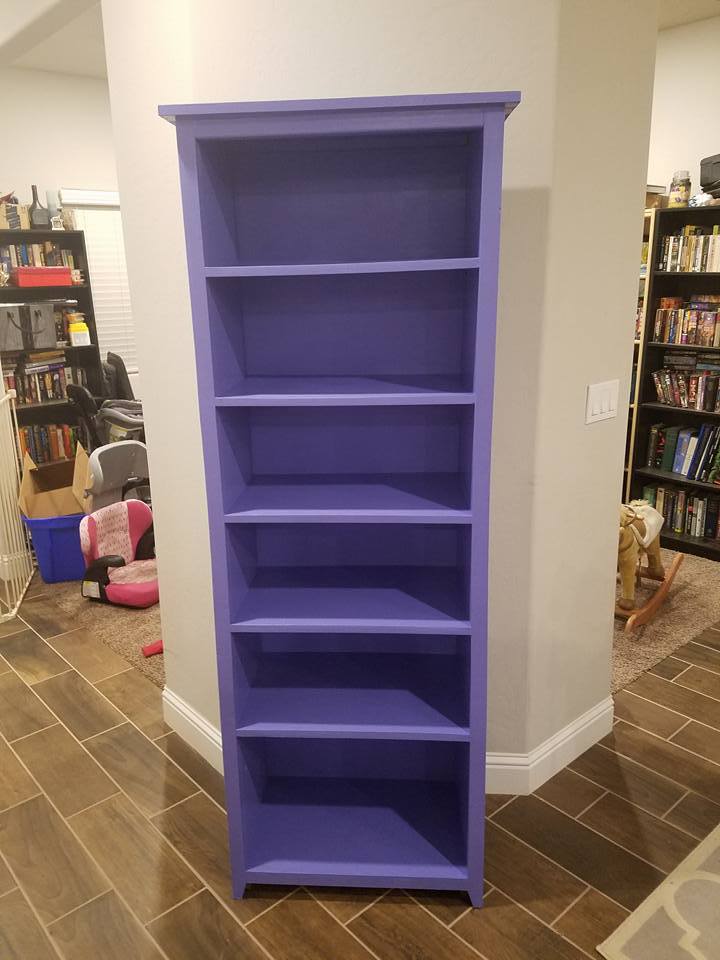
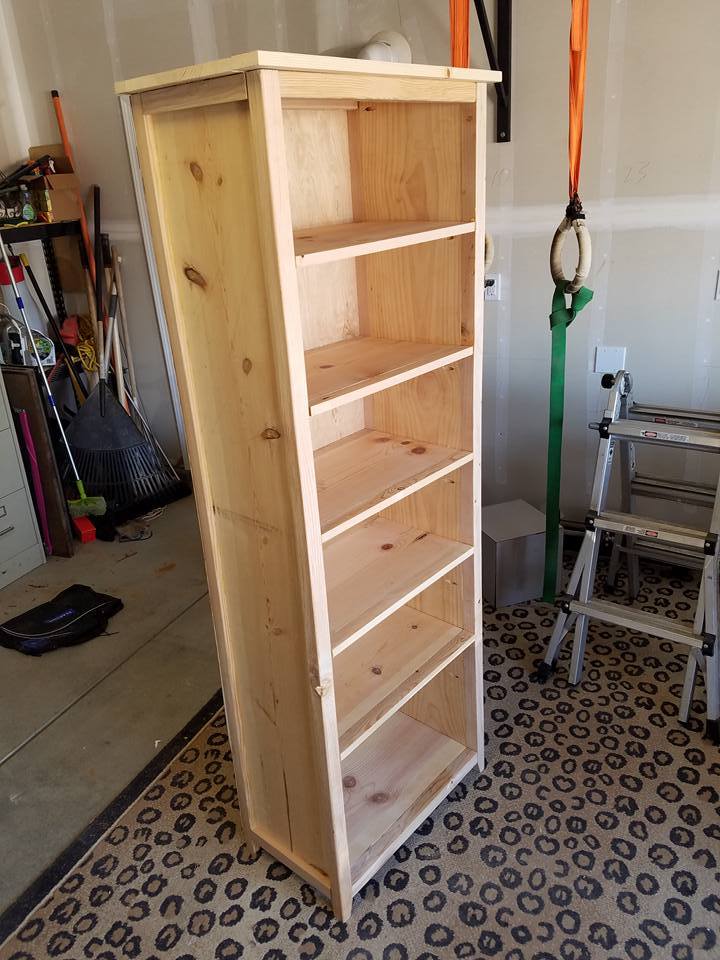
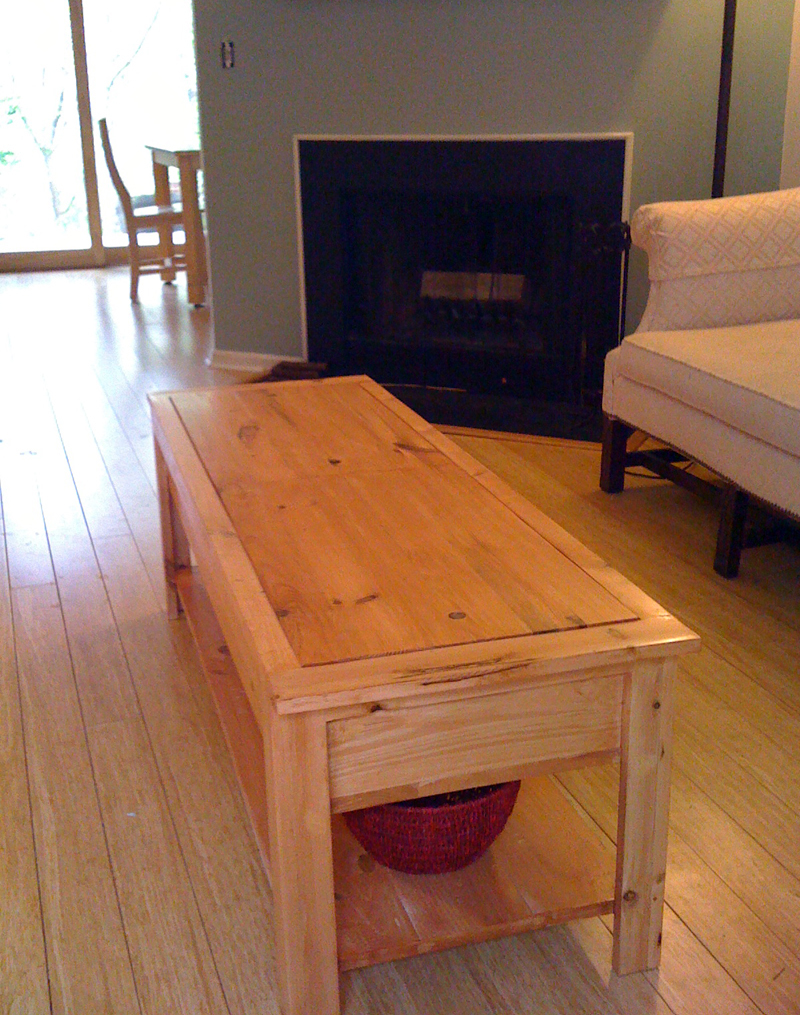
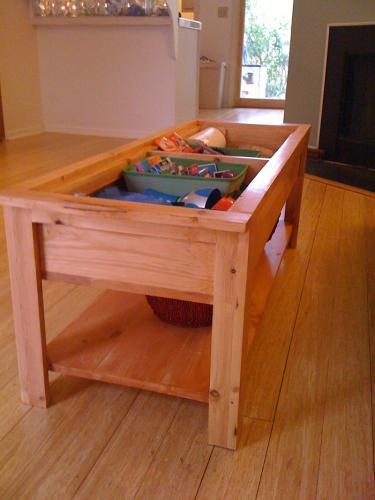
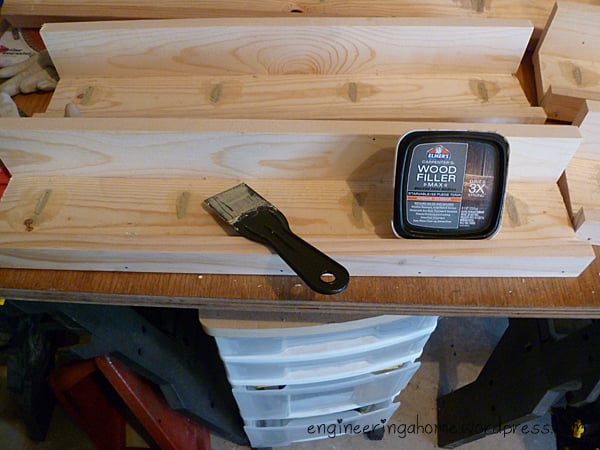
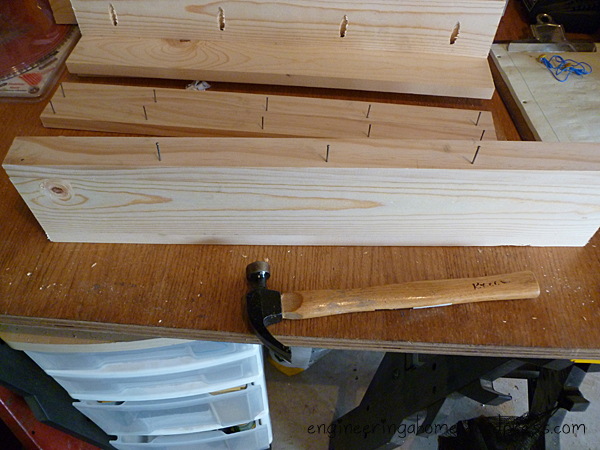
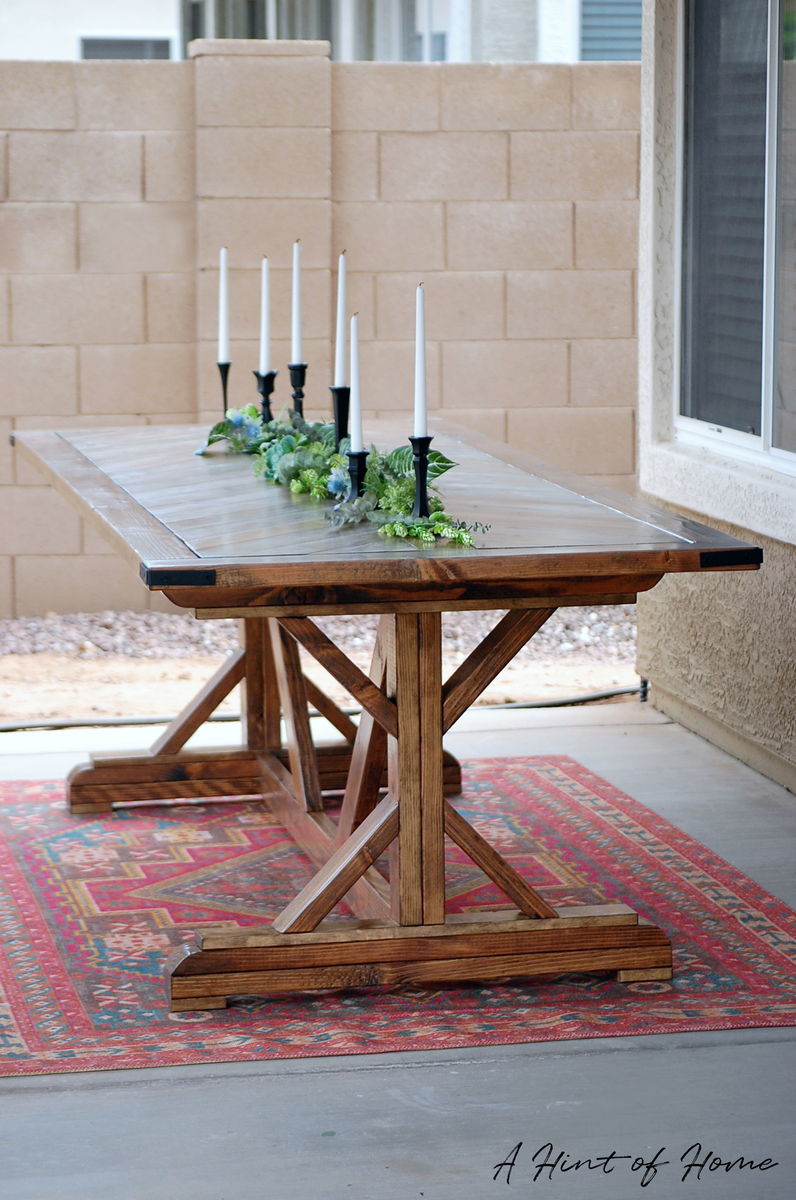
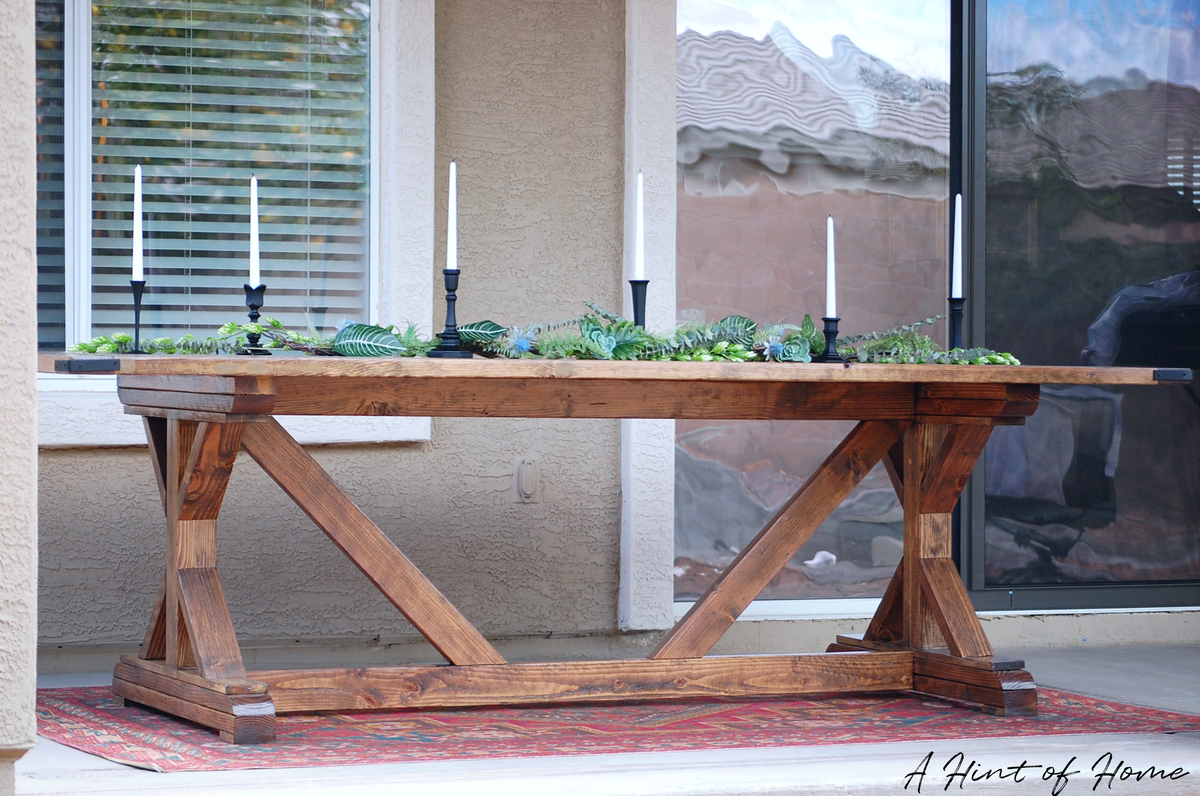
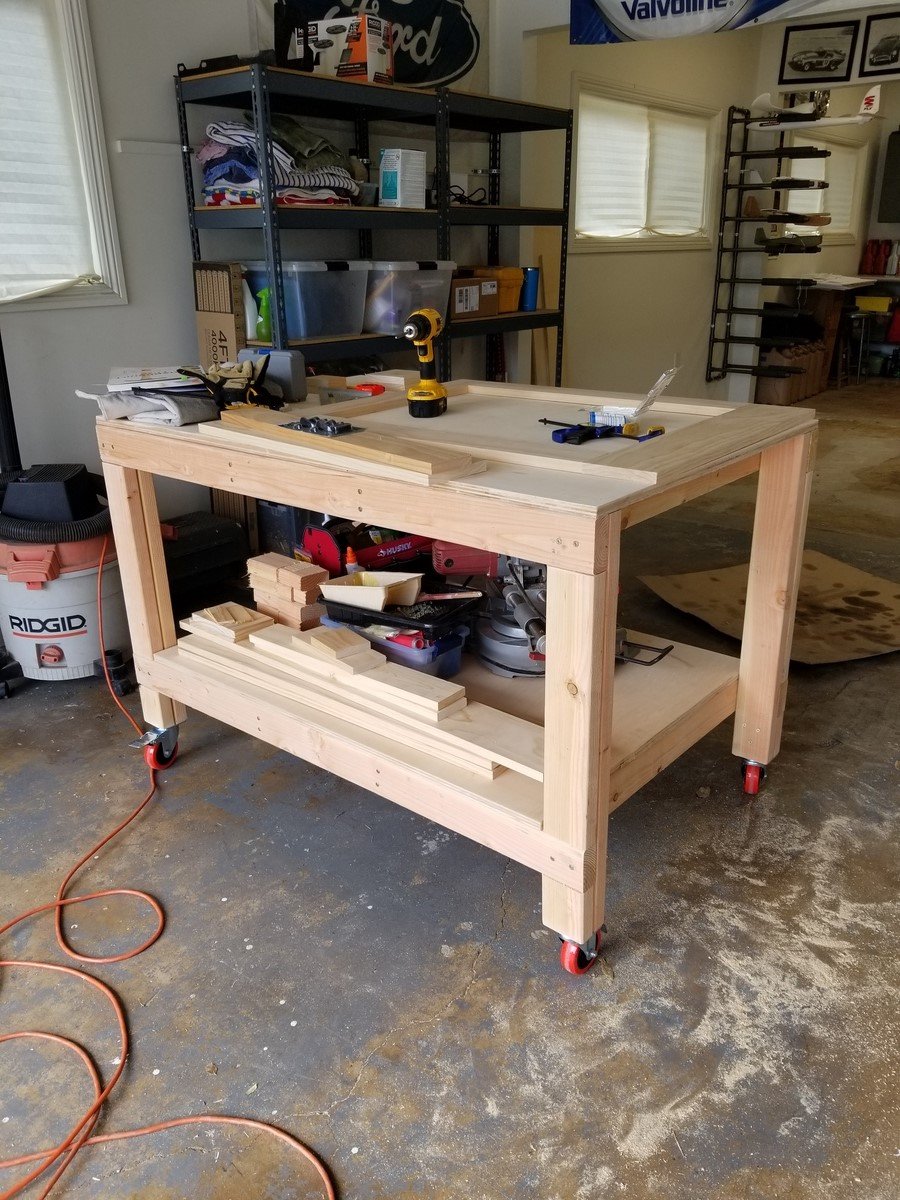
This is from Ana White's lego coffee table plan, but my daughter is not a huge fan of legos, so we’re just calling this project the Coffee Table of Fun! Indeed it was a fun build. This project gave me the excuse I was looking for to buy a kreg jig. Certainly a kreg jig was not required, as the plan calls for a plywood top and bottom, but Ana revealed in the comments that she made her table by planking 1x6 boards with the kreg jig. I was nervous at first with the kreg jig (it comes with a whopping big bit), but now I see a world of new possibilities in building with this awesome tool.
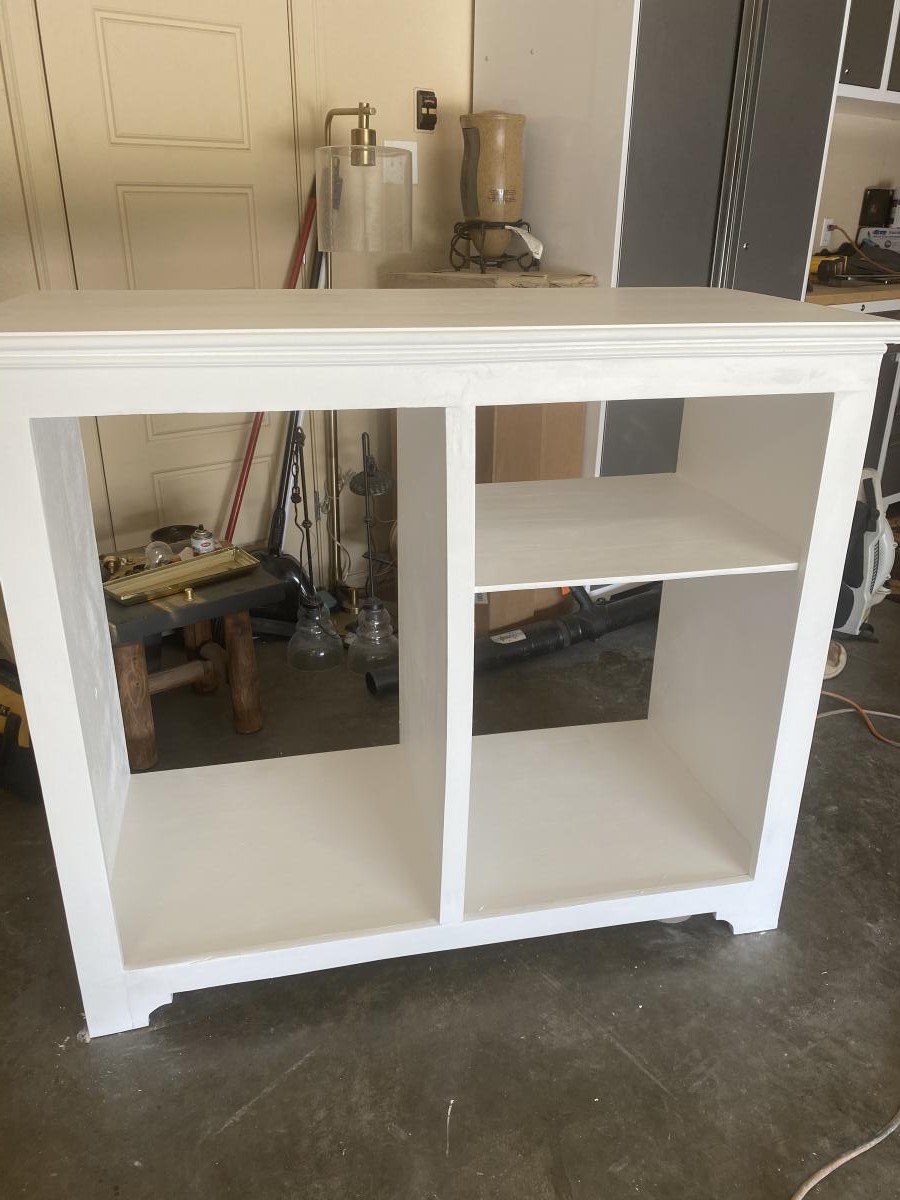
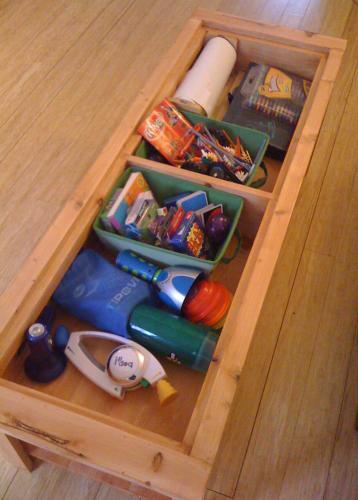
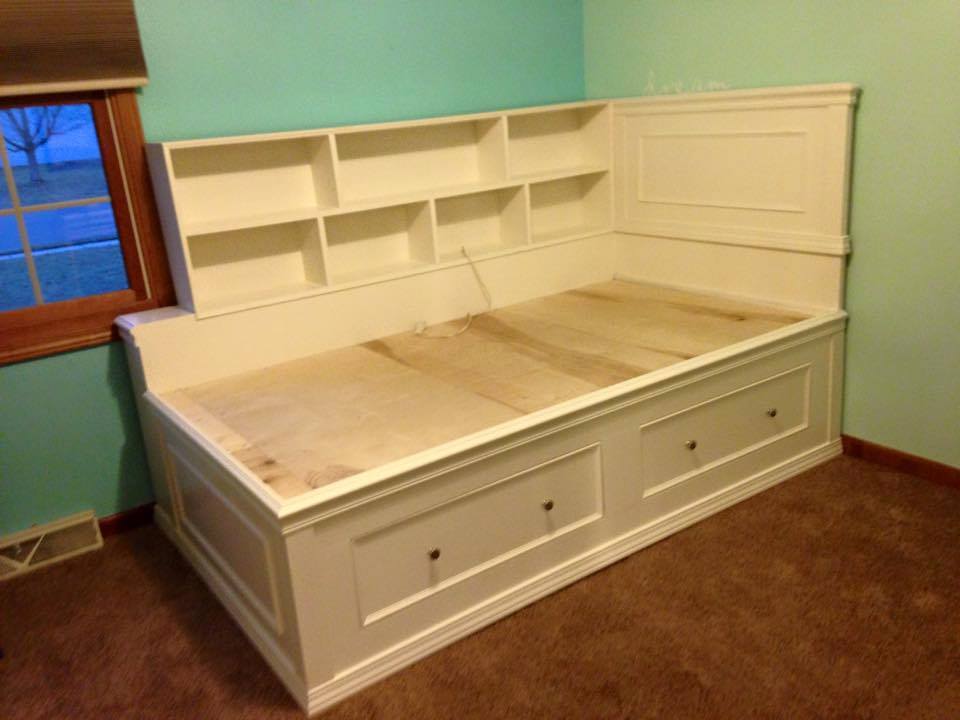
This table came together very quickly. In fact, perhaps it was too quick, because I made a substantial mistake during the build. In step 8 of the plan, adding the top sides, I missed the fact that the top side was supposed to be flush with the top support, not with the box itself, so that there would be a ledge for the top to rest on. I didn’t realize my mistake until I added the top ends (correctly), and then measured for the top piece. Then I scratched my head after realizing that the 3 planked 1x6 boards were not going to fit at all. Oops!
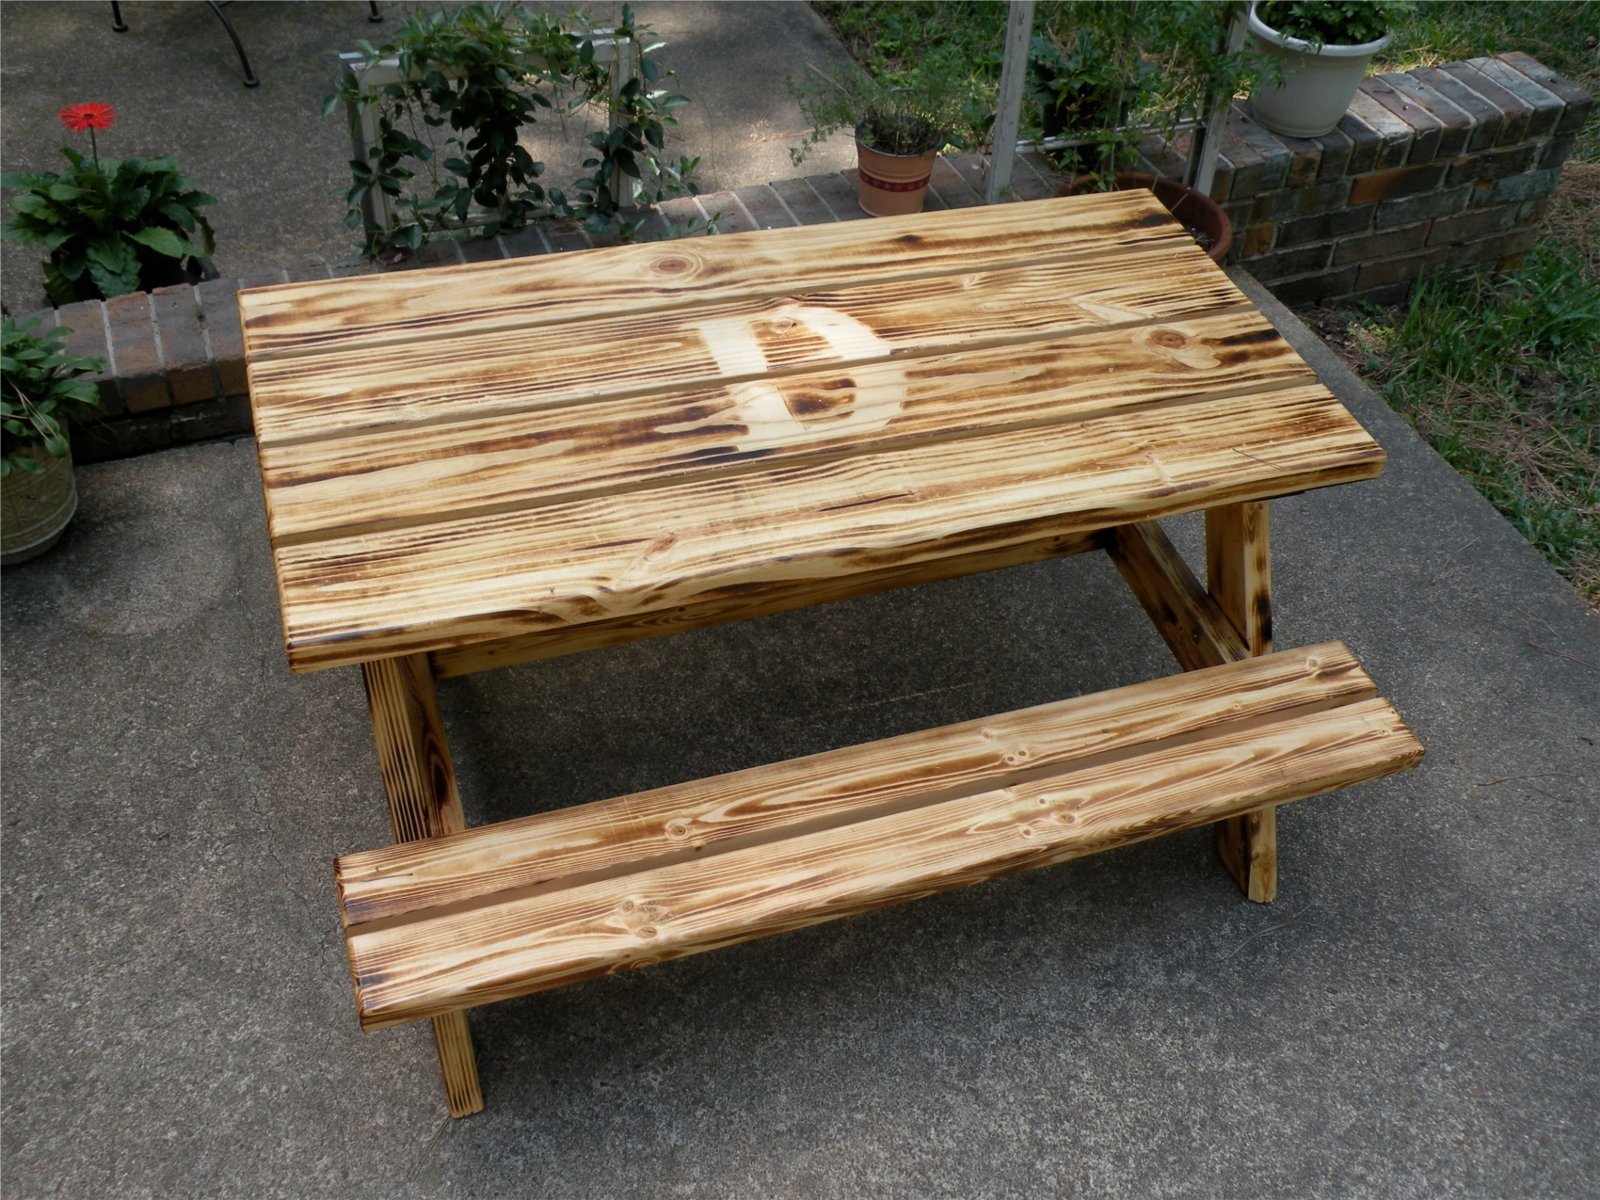
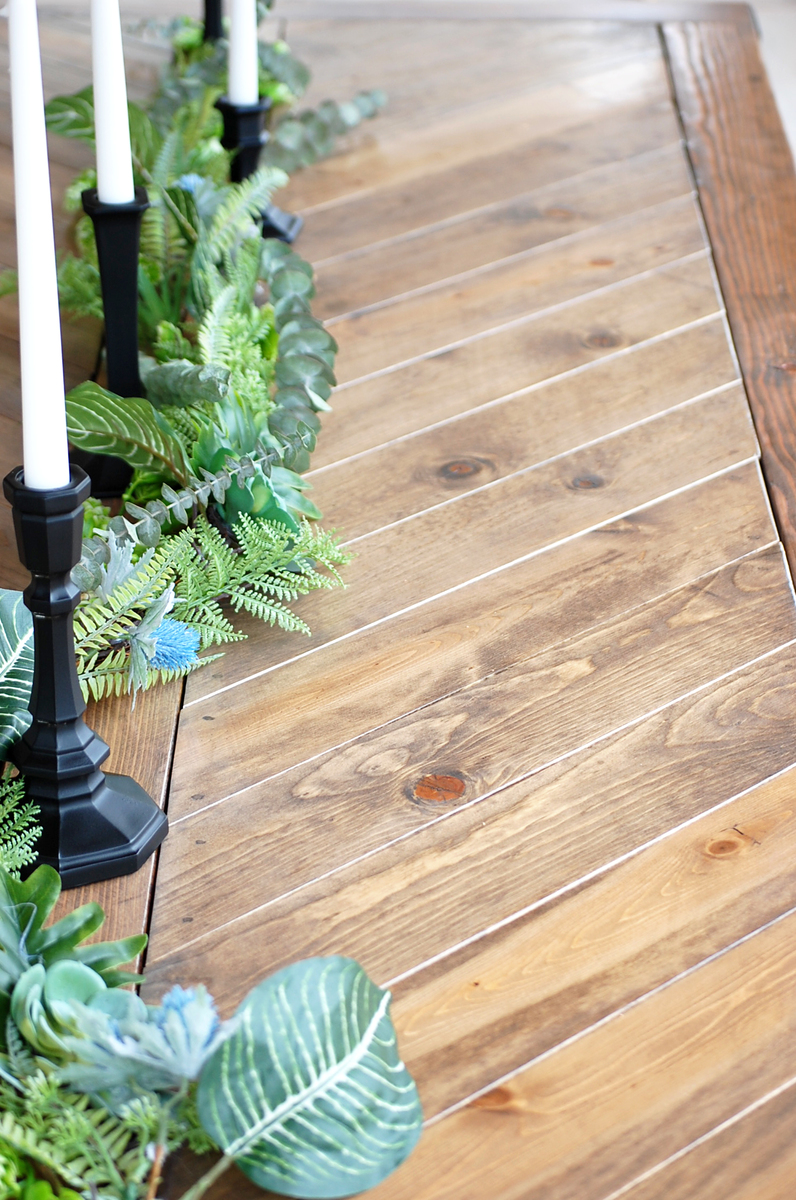
I was disheartened at first, because I didn’t know what to do. By the way, Ana has included a “How-To’s” section on this new site for fellow builders to submit tips. I’d love it if someone could give some pointers about fixing mistakes. Is there any recourse once a board is glued and screwed? Anyway, I took some quiet time to think about the project and had an “Aha!” moment. I ended up attaching 1x2 pieces around the inner edges of the two compartments to create the ledge for the top to rest on. Then, instead of the three planked 1x6 boards that I’d planned on, I used 6 1x3’s planked together to make the top. Yes, there was an unexpected detour from the plan, but it all worked out just fine. I’d rather not make mistakes, but at my current level of experience, I think that mistakes are inevitable, and the mistakes actually give the piece a story and a little extra personality.
Looking forward to the next project!
Cheers!
This bed was built custom for the girl who ordered it. She wanted both a bookcase headboard on the long side and a traditional headboard. The bookcase headboard could not block the window and needed to have access to the outlet behind the bed. The bed was designed to match a dresser that had already been purchased. The drawers below give additional storage.
I built this after going dumpster diving for pallets. We went through and broke up all of the pallets and basically made this entire big piece for the cost of the stain, nails, and backing.
At first I was going to stain these ledges so I only used pocket holes to attach the back of the shelf and I attached the front using small finish nails. The back and the bottom are made from a 1x3 and the front is a 1x2.
Check out my blog post for more information.
I modified this plan quite a bit. I chunked up all of the wood for a sturdier table. I also did braces on the underside of the table and benches so there would be no nail/screw holes on the top. For the D, I taped a chip-wood letter from Hobby Lobby to the wood while I burned over the entire top.
I had been dying to make this bed for awhile but first I needed to convince my husband that it really would be okay to let his sentimental old headboard go. He doesn't like change. Obviously I eventually won. This bed is absolutely bomb proof! I built it as a platform bed and plunked a brand new memory foam mattress on it. We love it!
I followed Ana's Fancy X Farmhouse Table to build my base, but switched her tabletop out for a split herribone design. The tutorial for the tabletop is on the blog!
Wed, 04/18/2018 - 22:46
Thank you for the inspiration on the table top. I followed your plans to make mine in the Chevron pattern as well. Well done! And the bench looks great, too!
This is the new outdoor kitchen I had been working on - finally finished! It was inspired from the kitchen island plans - I like the slats, and thought they would work well outdoors for air flow and water drainage. I worked around the existing grill, and it is all modular, so it can be moved if necessary (such as painting or treating the deck). It includes cupboards underneath the bar, dorm fridge and sink with storage under the countertop. The cooler stand raises the cooler up to 'user' level (no more bending!). Because I'm an avid recycler - most of the products used were recycled items. All told (not including the already purchased grill) - this kitchen cost me a total of approximately $95.00 (I had a lot of the materials already). This project took me approximately 5 weeks working on it part-time after hours. I built one cabinet at a time, then the countertops.
Wed, 07/06/2011 - 10:12
I would love to see more pictures of of your bbq kitchen. This is just what we need. Thank you for sharing.
Wed, 07/06/2011 - 17:29
This looks really awesome Colleen! I was thinking about putting a sink like that on my deck. What kind of finish did you use for the countertops? Would you please post more pictures of it? Great job!
Thu, 07/07/2011 - 04:42
Thanks Kmatt & Viola...I'll try and get some more pictures up asap. For the bar top and countertop I used tile, and treated the grout lines many times with a waterproofer. Both tile and grout were purchased at our local ReStore - a total of 20 cents a piece for the tile, grout was $3. Not bad for a countertop!
Thu, 07/14/2011 - 16:57
What kind of top did you put under the tile? Plywood, cement board?
Wed, 07/20/2011 - 11:48
Wow, this is really amazing! This is just what we need for our new deck - something modular and not too expensive to build. Do you have any more pics? I'd love to see what the area in front of the grill looks like. Very, very nice work.
Mon, 03/05/2012 - 10:54
Hi, I was wondering if you have the plans for the kitchen around the bbq grill, i would love to make this for my husband for his birthday.
Mon, 04/09/2012 - 18:38
Hi, this is great. Is there anyway you can post pics of the front of the bar where the sink is and especially the bbq, I want to build around my existing bbq grill but dont know how. thank you so much.
I added crown molding to the bottom of my ten dollar ledges to add a little fancier look.
Sat, 07/30/2011 - 00:35
Love that touch! Maybe this is what mine need before I install them!
Sat, 07/30/2011 - 08:18
Very classy looking! Just what I was looking for in my home office. Thanks!
Mon, 08/01/2011 - 11:58
Such a great touch with the moulding.
Thanks for sharing.
Tue, 09/20/2011 - 19:54
This looks great! What a wonderful idea! I have a question, Other than the moulding on the bottom, did you follow the plans exactly (Like used the same dimensional boards Ana said to use)? Just asking because yours came out looking so much better than mine (which very well could be the paint job and moulding fooling my eyes into thinking the other boards look smaller, lol)
Great job and thank you for sharing!
Wed, 09/21/2011 - 10:16
I did use the same size boards that Anna said they just might be a different length.
In reply to I did use the same size by Becky Darrington (not verified)
Wed, 09/21/2011 - 10:47
Thank you!
Wed, 02/15/2012 - 11:23
This is great as I am a photographer and love to switch up my photos often. Saves the walls from holes and is just a great idea! I also did not see all the instructions but will have my husband duplicate.
Wed, 04/11/2012 - 15:07
This is great. I made the ledge and plan on adding the crown molding. How exactly did you hang them?
Tue, 07/17/2012 - 13:11
I have high ceilings. I have been trying to figure out what to put at some of the windows to dress them up a bit. I think I may add them to the den area. Photos would be out of the reach of all the grandchildren, but photographs could been seen without cluttering tables.
Sat, 09/08/2012 - 09:00
Has anyone tried using a 1x3 for the back instead of a 1x4? Can anyone think of any reason it would not work?
Also thinking of making it deeper since the crown molding will provide extra support. I want to add more depth so that I can install a power strip under shelf, behind molding so that I can turn it into a charging station. Any thoughts on this? Would love to hear other opinions on this before I start building and then realize the problems that may exist in my plans.
Tue, 03/05/2013 - 10:12
It looks like your ledge is narrower than the one in the plans. Did you use a 1 x 4 for the base?
Thu, 09/15/2016 - 18:54
I feel so stupid... I have never used any sort of molding before. How do you use it? I went to lowes tonight and I don't know where you get the edge piece. My husband (who doesn't build things except for computers) says he thinks you just use part of the long strip and cut at a 45° angle. Is that how?
then what do you use for the bottom portion to cover the gap?
Sat, 08/12/2017 - 10:50
I found Ana's site a few years ago and have been dreaming about things I want to build for just as long. I'm finally ready to get started, and I thought these ledges would be a great way to start. I love the moulding on the bottom, but I have no idea what combination of pieces to use to get this look or what sizes of moulding to use with the 1x4 and 1x2 boards. Can somebody help me?
Tue, 08/15/2017 - 13:21
Sandy - take the picture to any lumber molding department ad start trying combinations.
The original pic was using some crown molding, but a fancy baseboard or other molding would look good too.
My first build... Not perfect but it has led me down a new path... Thank you soooo much Ana! More to come and a plan of my own in the works!
Amazing stair railing upgrade shared by Sara and Chris!
Built this in a weekend, took about 1.5 days. I ended us using 2x4's instead of 2x2's, I think it resulted in a much stronger frame. I also built a base for it to sit on. I got pre-stained cedar fence boards, and overlapped them 1" instead of a 1/2". Pretty easy project, I ended up siding the back on the ground, installing it, and then adding the side walls without the siding (just the framing), and then sided them in place. The doors work perfectly. I took my total inside dimension between walls, made sure the opening was square, and then divided that by two to get the width of each door. I then took another 1/4" off that, so each door had an additional 1/8" gap, it worked perfectly. When I set the doors, I put them on a piece of roofing closed as I screwed in the hinges, and then opened them and removed the roofing. I opted to run the door siding horizontal to use up a bunch of waste wood. I'm happy with the outcome. I also found some 6" self starting lag bolts and lagged through the back of the shed into studs (through the siding) into the garage behind it.
My church was getting new pews and asked if anyone wanted the old ones so I decided to take one and see what I could do with it! The second picture is what it used to look like. I had to take it all apart and cut it to the shorter size that I wanted. I then recovered it with some fabric I found for about $10. I then made legs out of a 2x4 and supported the legs with some 2x2 across the front, back and sides. I painted them with some black primer/paint that I had. This was so fun to do because I had to figure it out as I went along. It was a bit of a challenge at times and I learned a lot from this project. I really love the finished product.
I have always loved the entertainment center from Pottery Barn. When I saw that the sale price was still $900, I knew my husband and I could build it for way cheaper. This took about a week (with a lot of breaks) and the total cost was around $250. I think the biggest expense was the all the knobs, but I feel like they make the piece!
Sun, 04/08/2012 - 23:53
It looks great!! My OCD is totally soothed by your perfectly spaced faux drawer fronts!! From looking closer at your pic I can see that you made all doors instead of drawers and doors. I want to do the same. It also looks like you used a different type of hinge than suggested. Any reason for that? Do you have shelves in all 4 spaces? Would you mind adding a few more detailed pictures, maybe with your doors open? Or just giving some more details to what you did differently would help.
I love this workbench! I added casters so I can move it around the garage, outside, wherever it's needed. I just took 4 inches off the bottom of the legs. My hubby is admiring my handy work and planning on making one for himself.
Wed, 01/25/2023 - 14:31
Love this with the casters! So beautiful. I'm new here and wondering at what point you took 4 inches off the legs. Did you build the table and then just cut off the legs? Or did you adjust the measurements of the cuts? Thanks in advance! :)
Mon, 01/30/2023 - 02:32
The overall height of a 4-inch caster wheel is a little over 5 inches with the mounting bracket, so that also needs to be taken in to consideration. 2nd photo shows the overall dimensions, but to me the bracket and brake area appear to be a bit more than 1.03 inches. https://amzn.to/3DkMKzB
I think the best bet would be to have and measure the overall wheel height, prior to measuring and cutting the lumber.
I was looking for a bed for my daughter, and a project for my sister and me. I looked at a well-known children's website and fell in love with their cottage loft bed, but didn't want to pay $1,300 for it. My sister found Ana's website with plans and everything for the same bed! We built the bed, (with the help of our husbands) that weekend. Abbi loves her bed! Thanks, Ana!
Wed, 11/23/2011 - 15:45
Need plans for a cottage loft bed with stairs. Where do I find plans
Wed, 03/07/2012 - 13:44
Hi. I would love to have a copy of the plans. This is perfect for my daughter!! Thank you
Sat, 05/19/2012 - 20:28
This photo looks like there is more space under than he other photos. Did you follow the exact plans or alter them. I want to put another mattress on the bottom as well
Comments
Ana White Admin
Tue, 07/20/2021 - 10:48
So cute!
Love it, thank you for sharing!